Alls well, had to take break to focus on family. Just started work again on the Warspite when the wife got a great job offer in the great state of Kansas. Had to pack up the hobby room to show the house, it only took 4 days, 47 boxes, and remove the shelves. Good news the house in Kansas has a basement with a room that is twice the size of the old room. Bad news was its taken 3 1/2 months to sell. We move next. week and hope to have the new room ready in May.
Yeah, moving is a pain in the butt. Hope you get settled in soon.
Not much to report - have been installing the backstays (finished up the port side for all 3 masts, currently have 2 more backstays to do on the mainmast, then about another 6 on the foremast). Once I get the mainmast backstays done, I’ll start installing the lower mainmast shrouds.
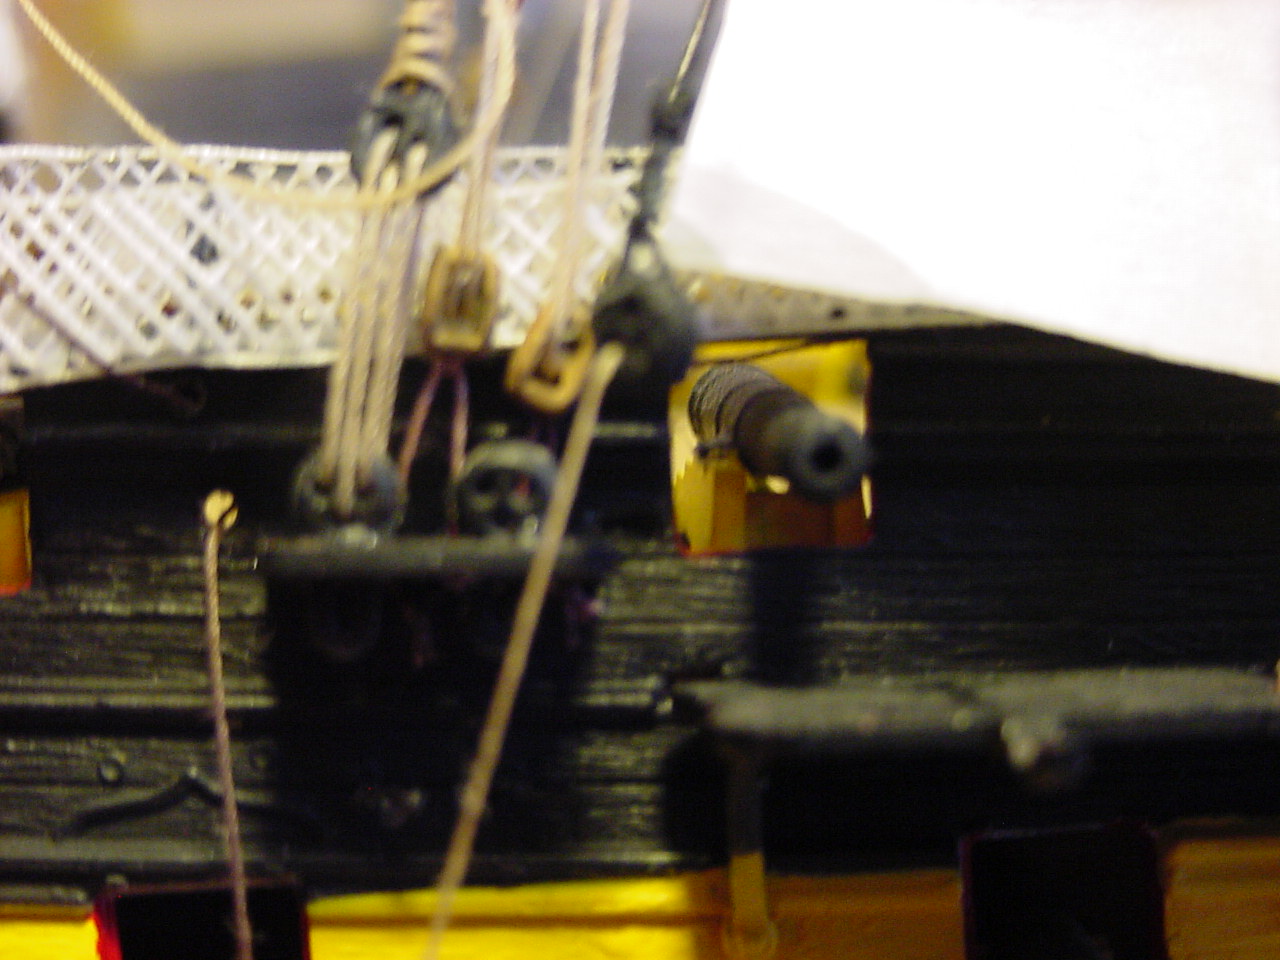
The below photo is of the lacing of the lanyard of one of the backstays that fixes to the mainmast seat - I really like the way the lacing turned out.
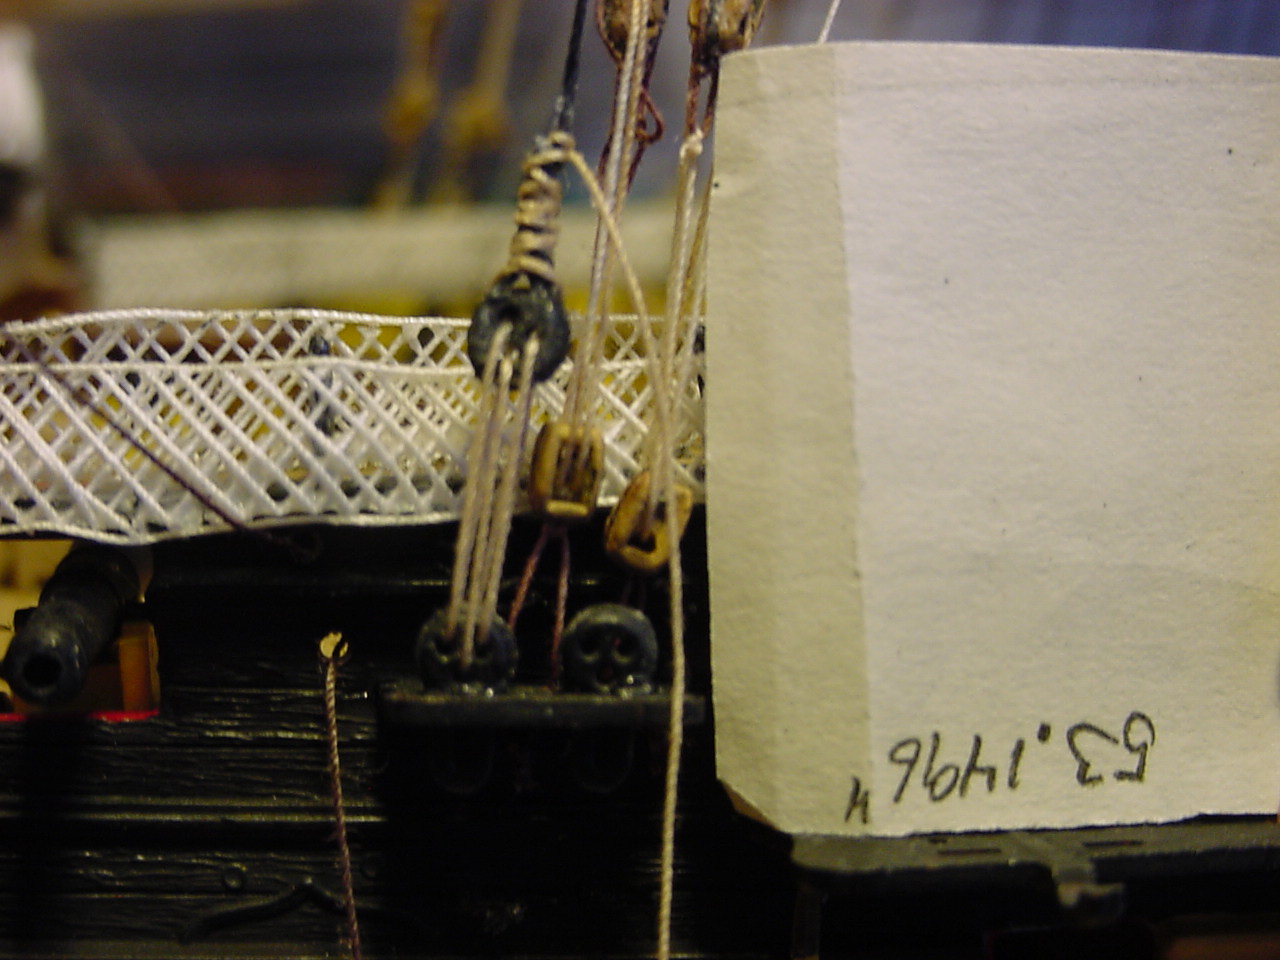
This next photo, although blurry, shows how close the upper deadeye is to the lower deadeye for that particular backstay. In looking things over, I think I can lengthen that distance by taking some turns of that deadeye around the mast (just above the trestletree) to make things look a little better.
So that’s all for now…just a lot of unexciting work.
Thanks for tuning in!
Tim
5 Likes
Nicely done though… That’s the issue I suppose with builds like these is that there is always a ton of little bits and pieces that people may not see or appreciate the work that goes into them, so you get the the required look…
The work going into this is incredible though …![]()
1 Like
Thanks John. You’re absolutely correct about there being a lot of little bits & pieces that get overlooked. The good news is, I’m almost finished with the foremast backstays, so once those are completed, I can go back to working on the mainmast shrouds.
1 Like
Hey Tim,
yep, may be a lot of unexciting work, still there’s progress and above that great to see an update of yours!
Cheers
Jan
1 Like
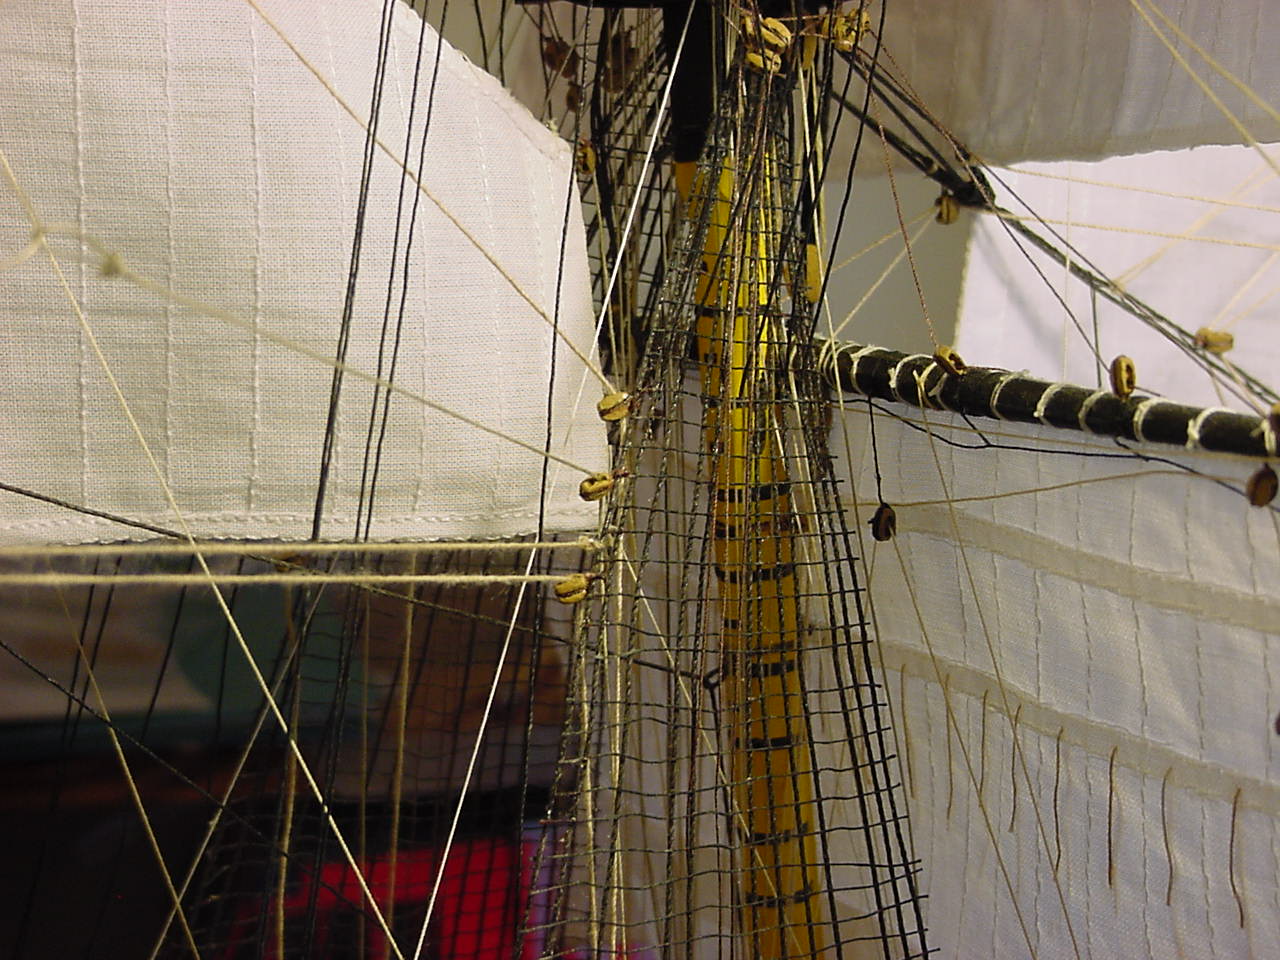
Well, I finally got the lower shrouds finished on all 3 masts. Tasks still to do: fix all the rigging that’s come undone, install the blocks to the main mast shrouds to finish some rigging, paint and install the cannon port lids, then complete the fore and main sail sheet and tack lines. Oh yeah, finish the futtock shrouds. If all this works out, I could actually be done by the end of the year!!
4 Likes
Glad to hear progress is still being made … ![]()
Guess who? ![]()
So with the lower shrouds completed (especially the mainmast shrouds), I was able to put in the last bit of rigging for the mizzenmast. That’s the whole reason I stopped working on the rigging, because the threee blocks that were needed for the mizzen rigging are attached to the mainmast lower shroud. Here’s how that looks:
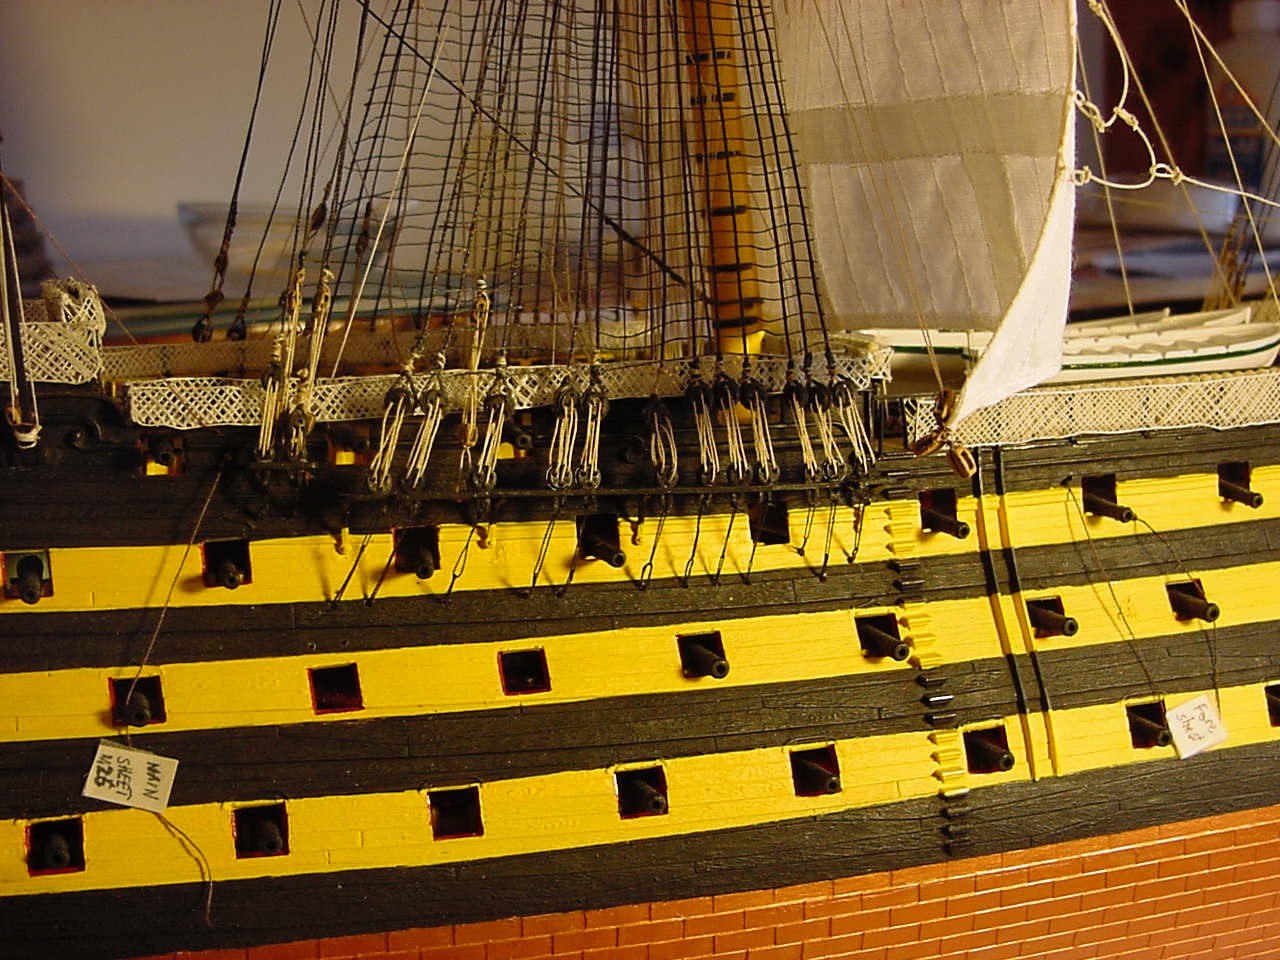
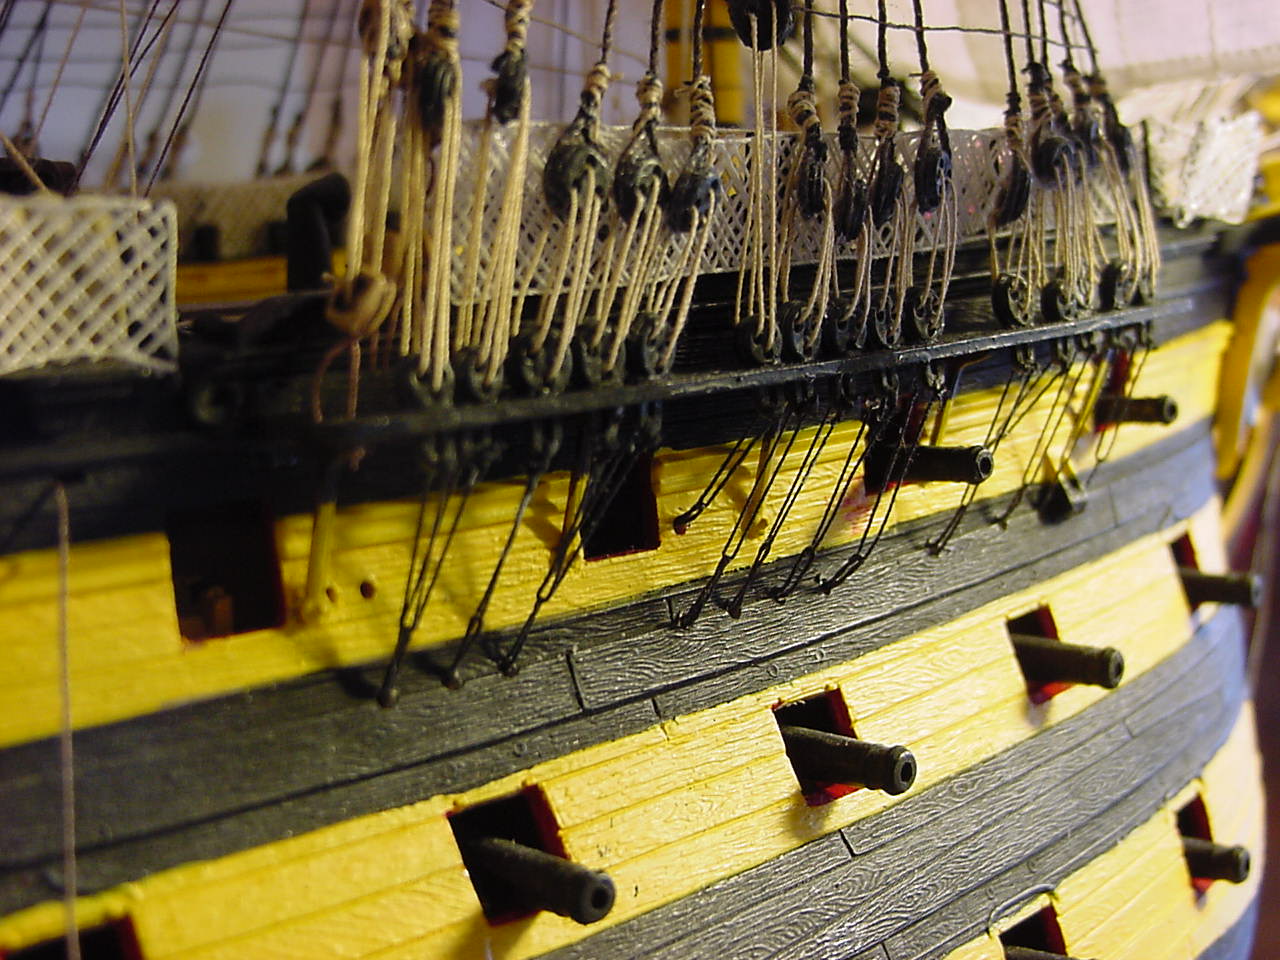
And here’s a couple of detailed pix on another wise droll build - these are what I think are called the “Chainplates”. This particular set is the stbd side main mast. The loops from the hull were created and installed years ago - like 2013 or so. Could have been a bit earlier.
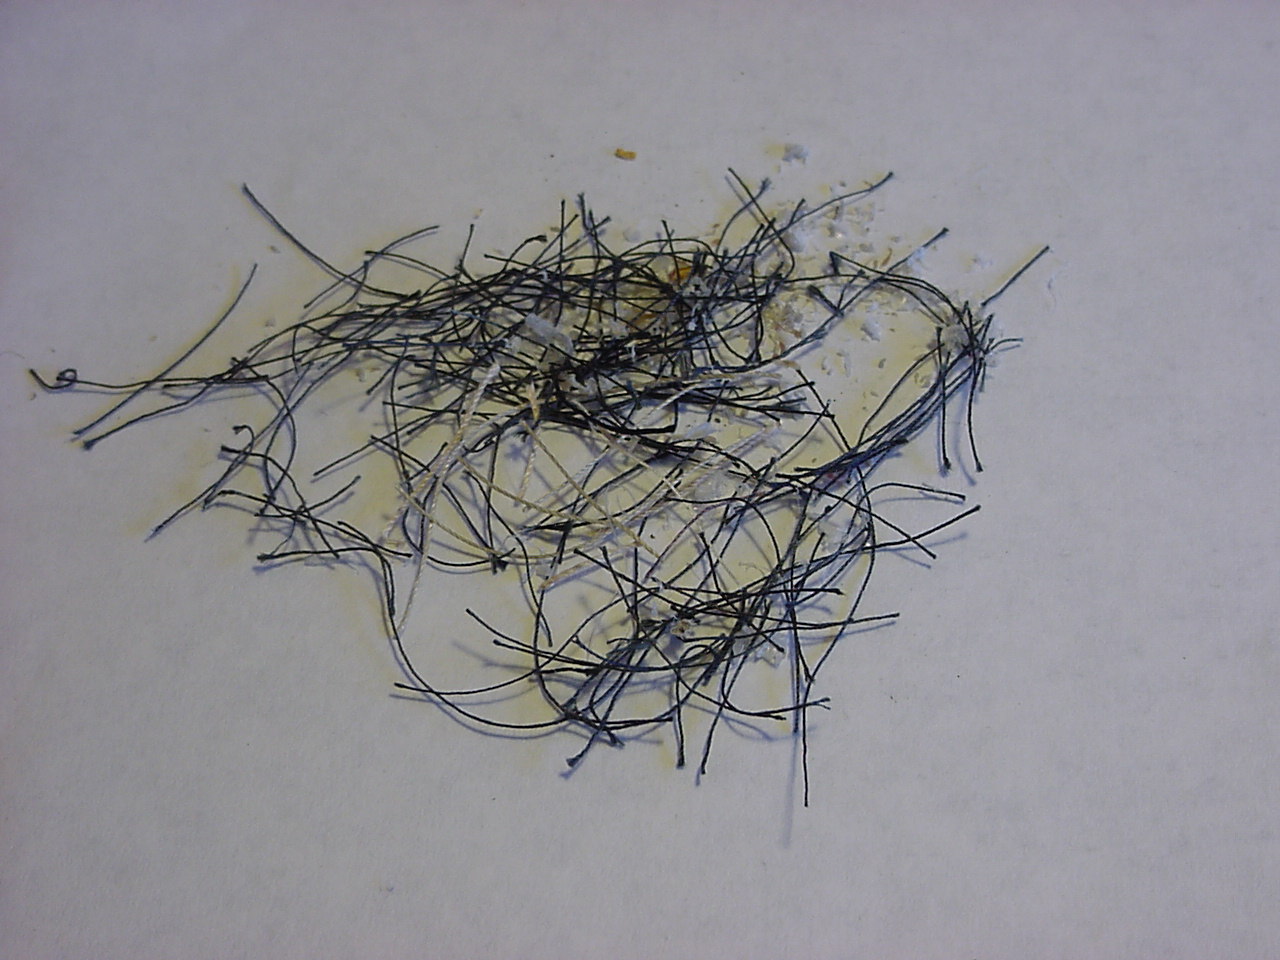
Now for those of you who watch the show “Gold Rush”, here’s a picture of my “tailings pile” - these are all the threads and chunks of glue I cut off once I got the chainplate stuff done.
I started to work on the lanterns that are attached to the stern piece. They went together ok, but painting them is going to be difficult. Plus, Heller has their positions, in their instructions, all fouled up. But not so fouled I can’t figure out what goes where. I also glued into position the flagstaff or jackstaff, not sure which is the correct name.
When installing those chainplate things, one of my problems was, I kept bashing into the cannon barrels that are poking out of the hull. I must have dislodged close to 6 cannons in that process, and I’m not sure I can recover all of them.
So that’s all for now. As always, thank you very much for taking a peek!
Cheers,
Tim
7 Likes
Holy Rigging you’re doing such a magnificent job Tim, bravo. I like the tailings pile too, I did the same after a scratch-build – it gives an extra glimpse of the effort involved. And I’m grateful to you for clearing up a mystery – I always wondered what wtf stood for, now I know: What the Futtock ![]()
Amazing commitment Tim ![]()
Outstanding workmanship Tim, really taking this above and beyond ![]()
Thanks guys!
I was trying to paint the framework on the stern lanterns, but it’s just beyond me. I’ll probably just paint the top of the lanterns in the same yellow as the rest of the ship, with the lower part of the lantern and the support arms painted black. I should be able to get that painting done either tomorrow or Wednesday.
Tim,
what the others already said, simply breathtaking the amount of rigging you are doing. Fantastic job! Great to see progress on your HMS Victory!
Cheers
Jan
Maybe paint the lantern a smokey gray
Thanks Jan! Getting closer to the finish line on this build.
Well, the lanterns are made of clear plastic, so they sort of have a gray color already. I painted the top of the lanterns yellow, and the instructions indicate that the lower part of the lantern and its semi-circular support arm should be black. The lanterns are now installed.
You deserve a good long break after this Tim…
Yeah, I think so too!
This is a question for anyone to answer: I bought a jar of Viello (sp) paint the other day. Since the jar is similar to an eyedrop bottle, how does one…well, use the paint? Am I supposed to squeeze out a quantity into another container, or do I squeeze the bottle to get a “bubble” of paint at the tip, then dip my brush into the bubble? Or do I stick the brush down into the bottle of paint? I’ve never used Viello paint before, so that’s why I’m asking.
Thanks!
Thanks!
I’m probably doing it all wrong Tim, but the rare occasions I use paint from bottles like that, I usually just squeeze out the amount I think I need then add whatever thinning medium if needed and crack on …
1 Like