Convoy!

Small update on my Magirus S330 build.

I’ve added some details to driver’s cab- the (reworked) kit’s gear lever, the superfidly PE handbreak lever and 2 PE panels on seat box sides.

Then I decided to cut both hood panels from brass sheet- I want to have the RHS hood opened, allowing a look into engine compartment and engine.

Used the kit parts as a template, cut the shapes from 0,2 mm brass sheet and soldered 2 lengths of Voyager Models piano hinges where both hood panels meet.Had to temporarily assemble some kit parts to find the right curvatures for front and end sides of hood panels(I still have some slack to take care of, but I will remove it at a later stage).

Some pictures:

Cheers,
Angel

13 Likes

Bonnet looks very good Angel, but that handbrake… WOW… That’s amazing mate

2 Likes

HI Angel,

This is certainly quite an update - your work on the hood is something very inspiring. I’ve used the Voyager hinges on plates on modern armor hatches, and it has worked well - I didn’t know they offered the hinges for general purposes. In addition to the obvious craftsmanship, which is remarkable, I have wondered about the use of sheet brass or aluminum for use on compound/complex curves, similar to those seen on body panels :thinking:

Looking forward to your next update

Cheers
Nick

2 Likes

Lovely detailing Angel. I’ve missed you posting updates to your work.

1 Like

As @petbat said, time for some model building, so that’s what I’ve been doing. The body came together reasonably well, a few oddities, but nothing too embarrassing:


There’s a bit of an awkward transition between the cab and panel area roof, but looks ok. I shot some primer across it - looks fine. I have a faint putty edge - alas, as this won’t be a classic car or hot rod, I can live with it, that is, another ideal spot for some rust! As a whole, I’m pleased with the way the curves in the back came together. Rear fenders and running boards look better than I expected too.

I decided to leave the hood and rear doors open - maybe broken down on the road somewhere? I flied some little pieces of sprue to match the curve in the body to make the tail lights.

All ok on the chassis and engine too - As you can see, I made the body one big module, which goes on and off pretty easily, sits flush etc, though I see here, managed to bend the carb and air cleaner a bit - easy enough to bend back!

@Jimbo , the WC is coming right along! and sits level! The new lug bolts look good too!

Cheers and keep on truckin’
Nick

11 Likes

@ Jimbo, Angel and Nick,
Nice updates. Outstanding work on all three! :star_struck: :star_struck: :star_struck:

HONK!! :speaker::sound:
—mike

2 Likes

That is looking very nice Nick. Some really good surgery going on there to get that to how it looks now. Lovely :+1:

2 Likes

Hmm… you’re doing well. The creative leave was quite long. :innocent: :beers:
Congratulations.
Kalin

3 Likes

Very impressive. Congrats for this audacious conversion and all those rounded borders make it more complicated.
Nicely done mudguards with a regular shape.
Are the doors movable ?

4 Likes

@terminator , thanks and glad you like the progress. You are right, getting the curves to work was the biggest challenge - on the body and mudguards! Some pretty slow back and forth: cut, test fit, recut - and on and on.

Well gents, I’ve got it painted up now - please take a look:

Nothing too fancy here - Started with Anthracite Grey on everything, and then several layers of washes. I decided against adding anything to the engine - like extra wires and hoses, as even with the hood open, it’s hard to see much in there. This is a pretty nice kit, and if a guy wanted to make super detailed version of this truck this is certainly a good place to start.

This version though, is not intended to look like a new truck - leading us to the body:

I found a few examples of this and other 1.5 ton trucks to use as an example, like in the lower right - then went about getting this to have that general look. Same process as the chassis , several layers of washes over a few base colors. In the back, you can see some of the decking on the bed - as is often the case, effort went into something built that’s not all that easy to see. And, the sides:

Some fading, rust, and general decrepitude. So far so good. I’ll glue the chassis and body together tonight, and get some finished pictures tomorrow. I like taking outdoor pics of the final, so into the nhood park the truck and I will go!

Cheers
Nick

13 Likes

@Stickframe Nick, this is looking damn fine mate, love it!

Cheers, D

3 Likes

Hang on Nick - the campaign’s only two weeks old and you’re almost finished? THAT’S NOT FAIR!!! We need to find a way to slow you down… :grin:

Seriously, that’s some mighty fine scratch-bashing you’ve pulled off - I’m in awe.

7 Likes

I agree. Nick your in timeout/red flag on the campaign. You have to park to allow the rest time to start.

5 Likes

Hi all, heres my build


Hoping to make a start tomorrow.

7 Likes

This will be a good one :+1:

3 Likes

Haha! You know better, he’s all over that checkered flag! The man is unstoppable! :tornado:
Nice work as usual Nick! :checkered_flag:

—mike

6 Likes

@AussieReg, thanks D!

And, well guys, I’m taklin to you @barkingdigger, @Tank_1812, and @justsendit, you’re about to see what happens when you rush through a build…you become this guy:

yeah…the guy who insists on leading, with a run-down, old truck - that breaks down - all day!!

Doesn’t matter, low lands, or in the mountains! it just won’t stay running! :smile:

The ol girl is a heck of an off-roader, but this guy aught to just drop an LS under the hood!! The six banger is about shot!

Cheers - now back to the shop - :smile: got to get after it!

I did begin wondering about converting the Revell 1/25 Chevrolet pickup into one of these…the cab is the same - but nothing else is :thinking: :smile:

Nick

13 Likes

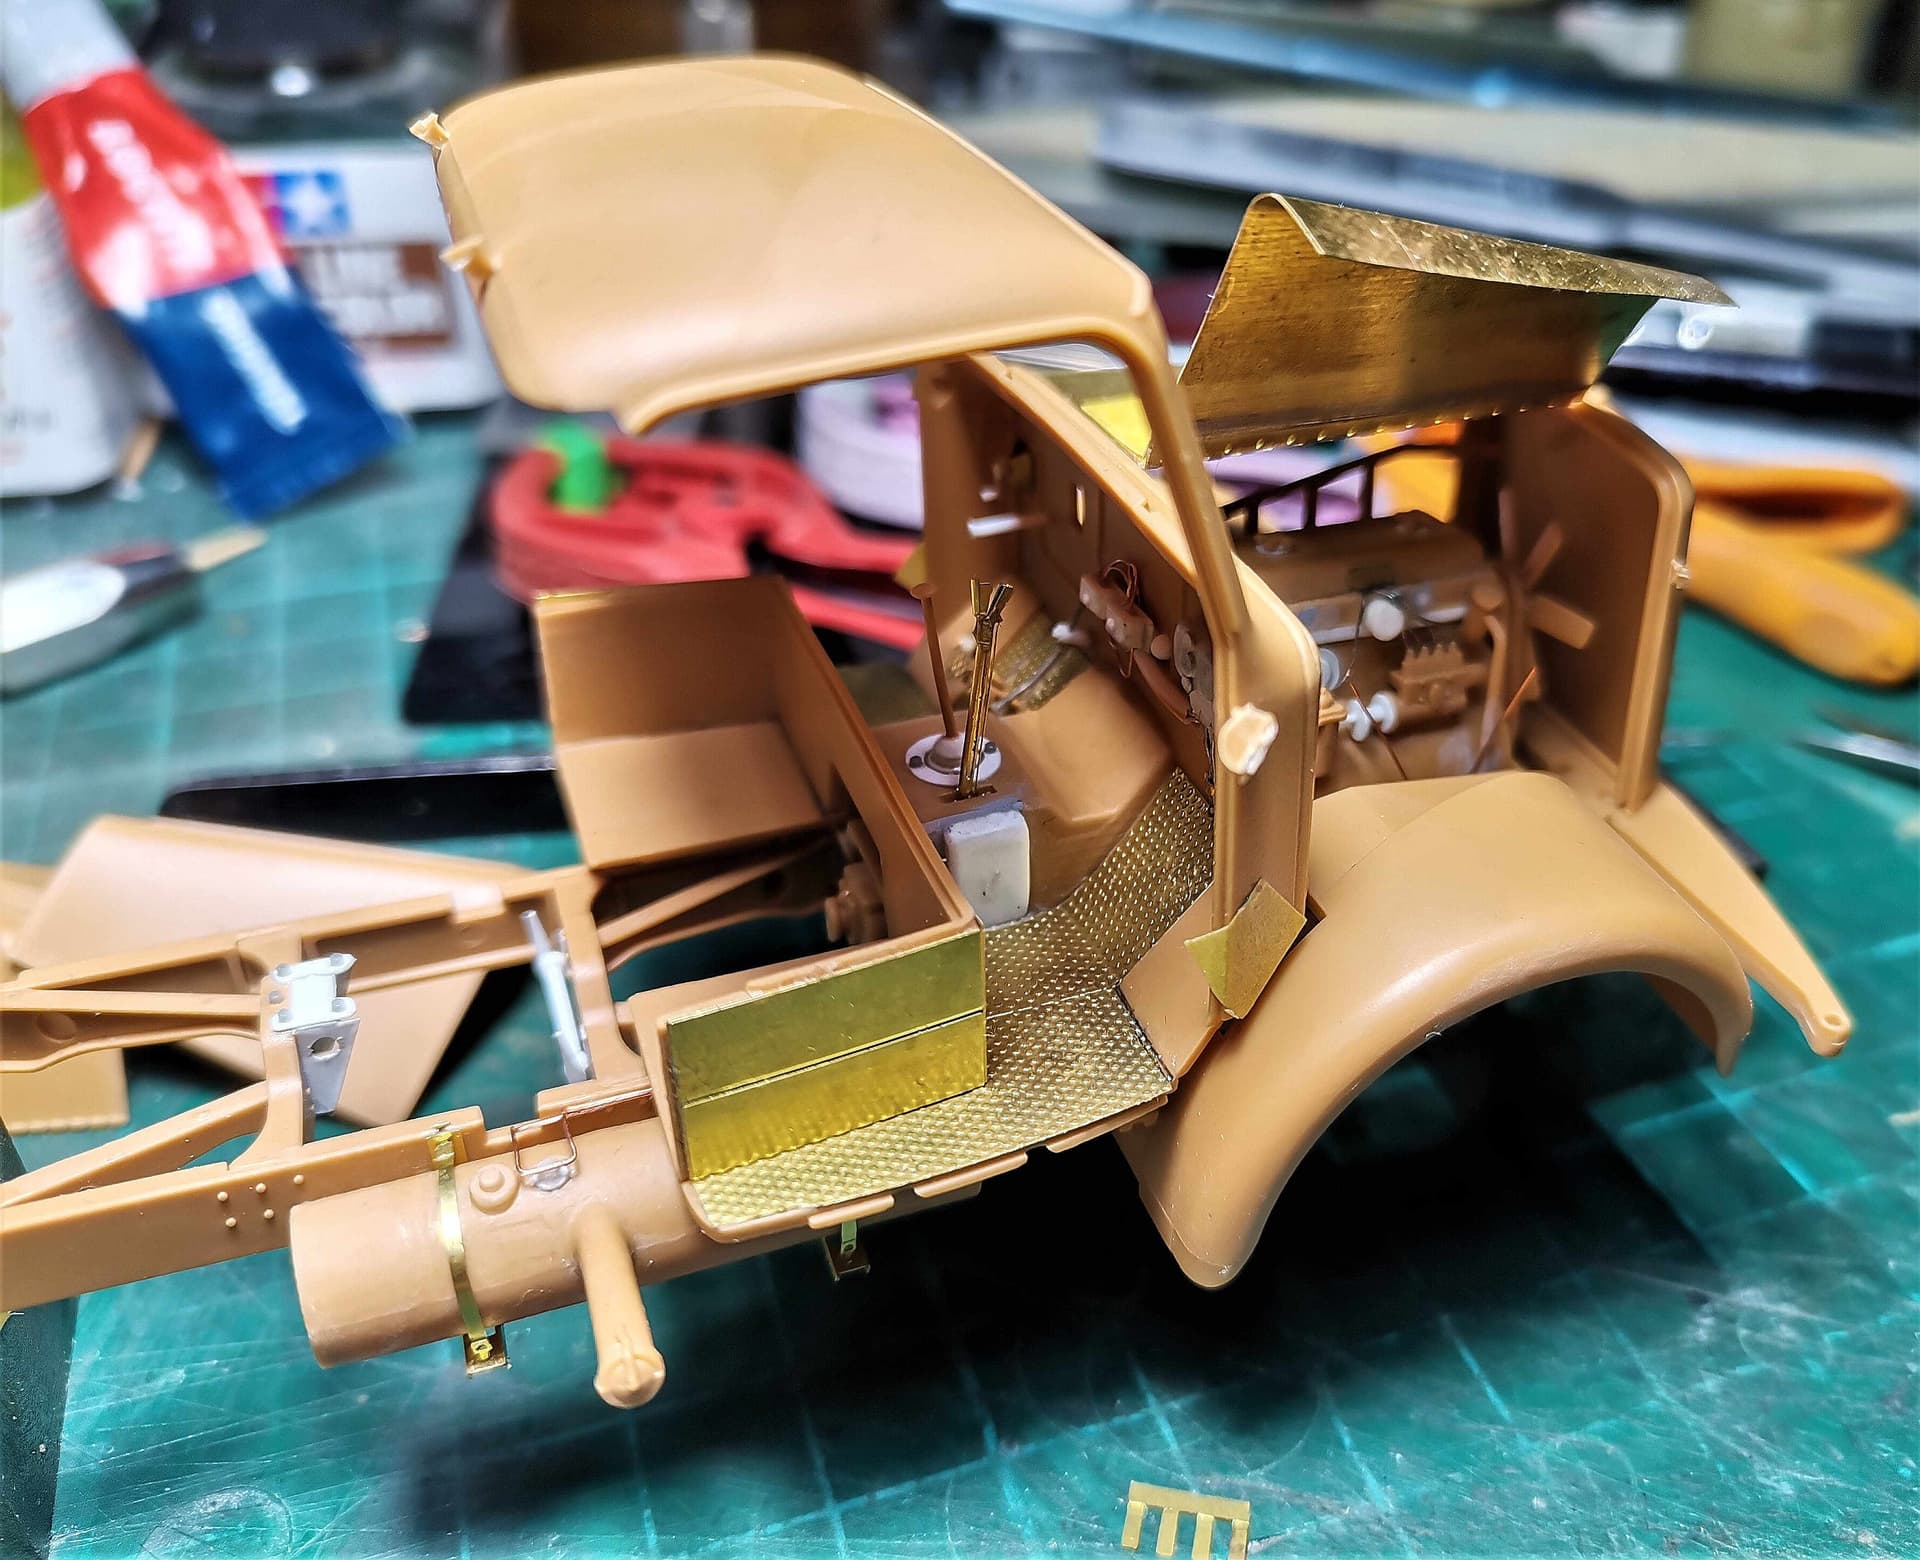
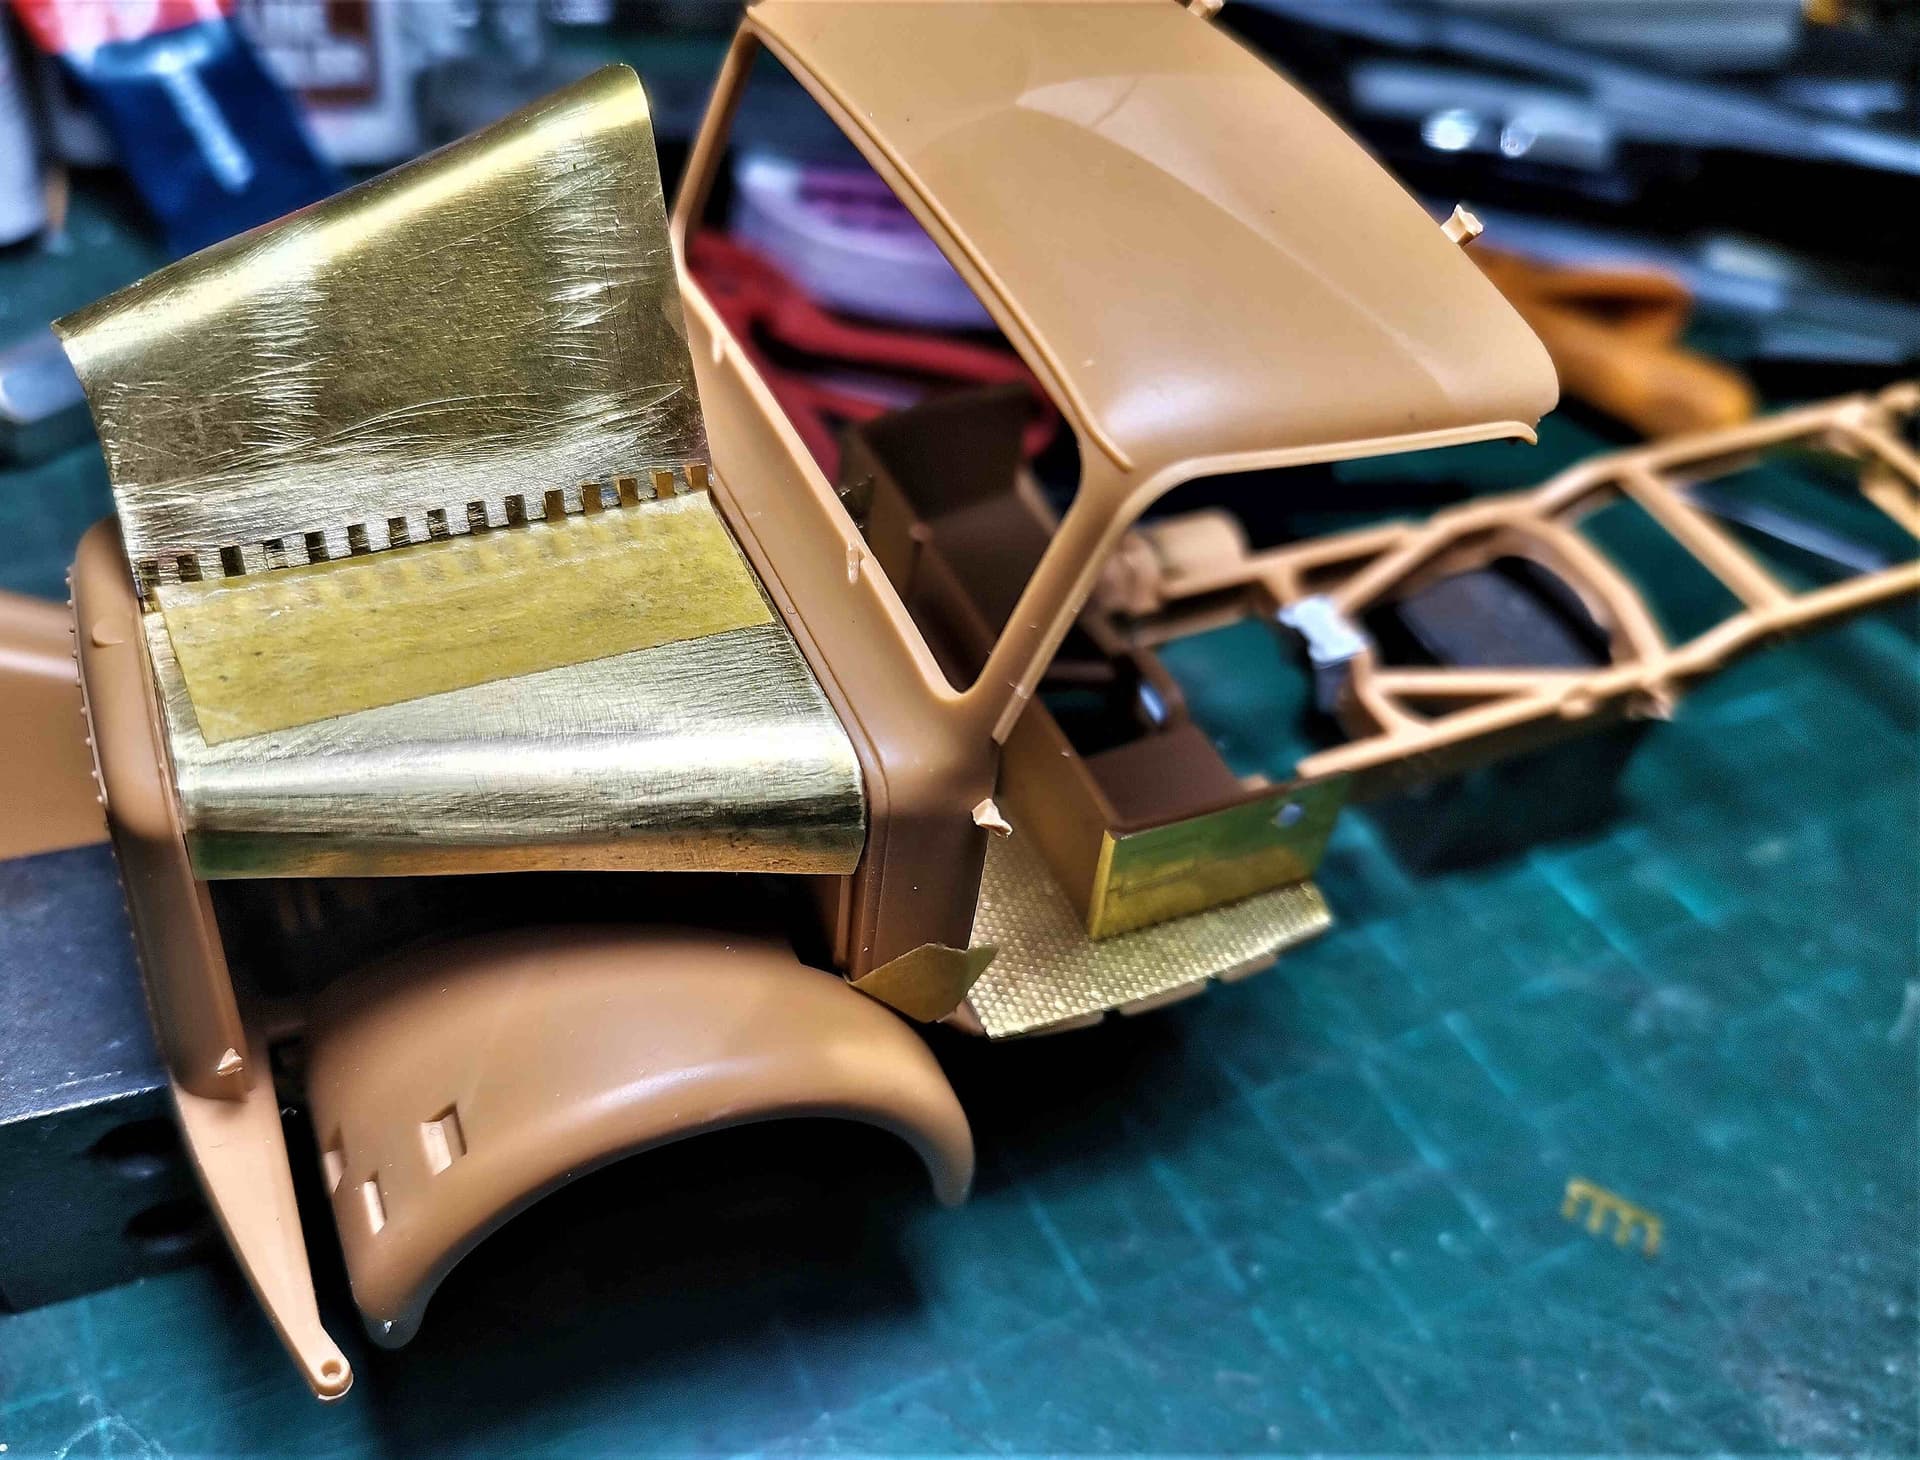
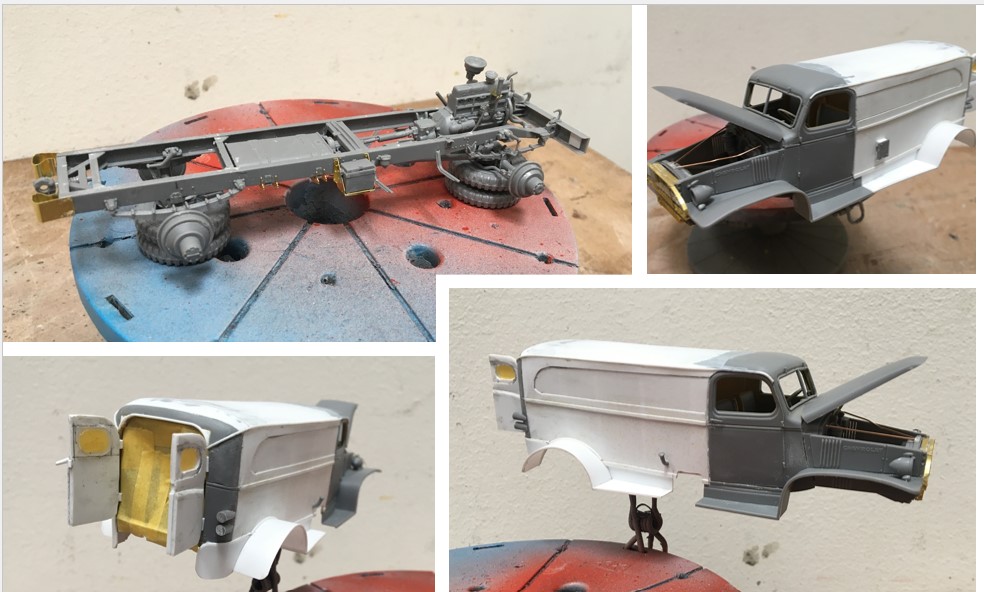
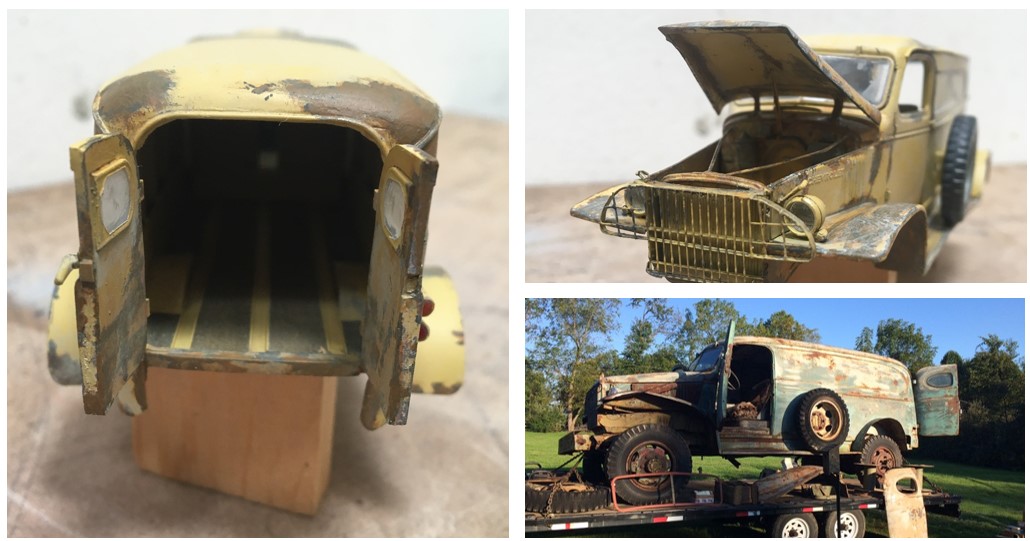
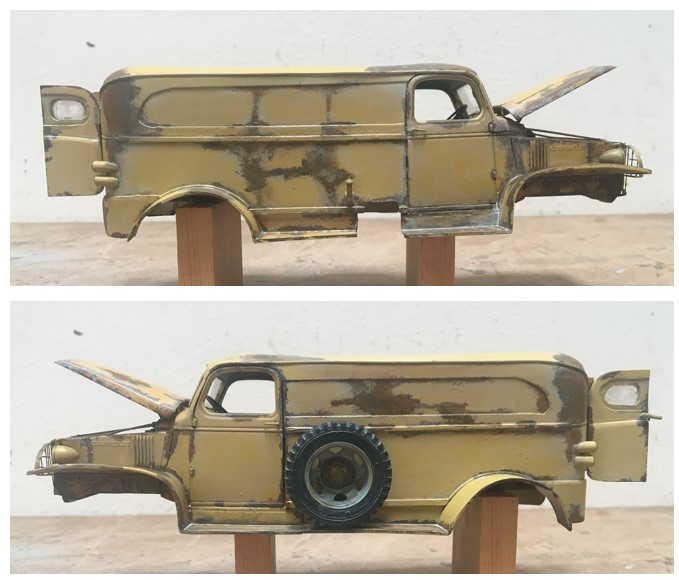
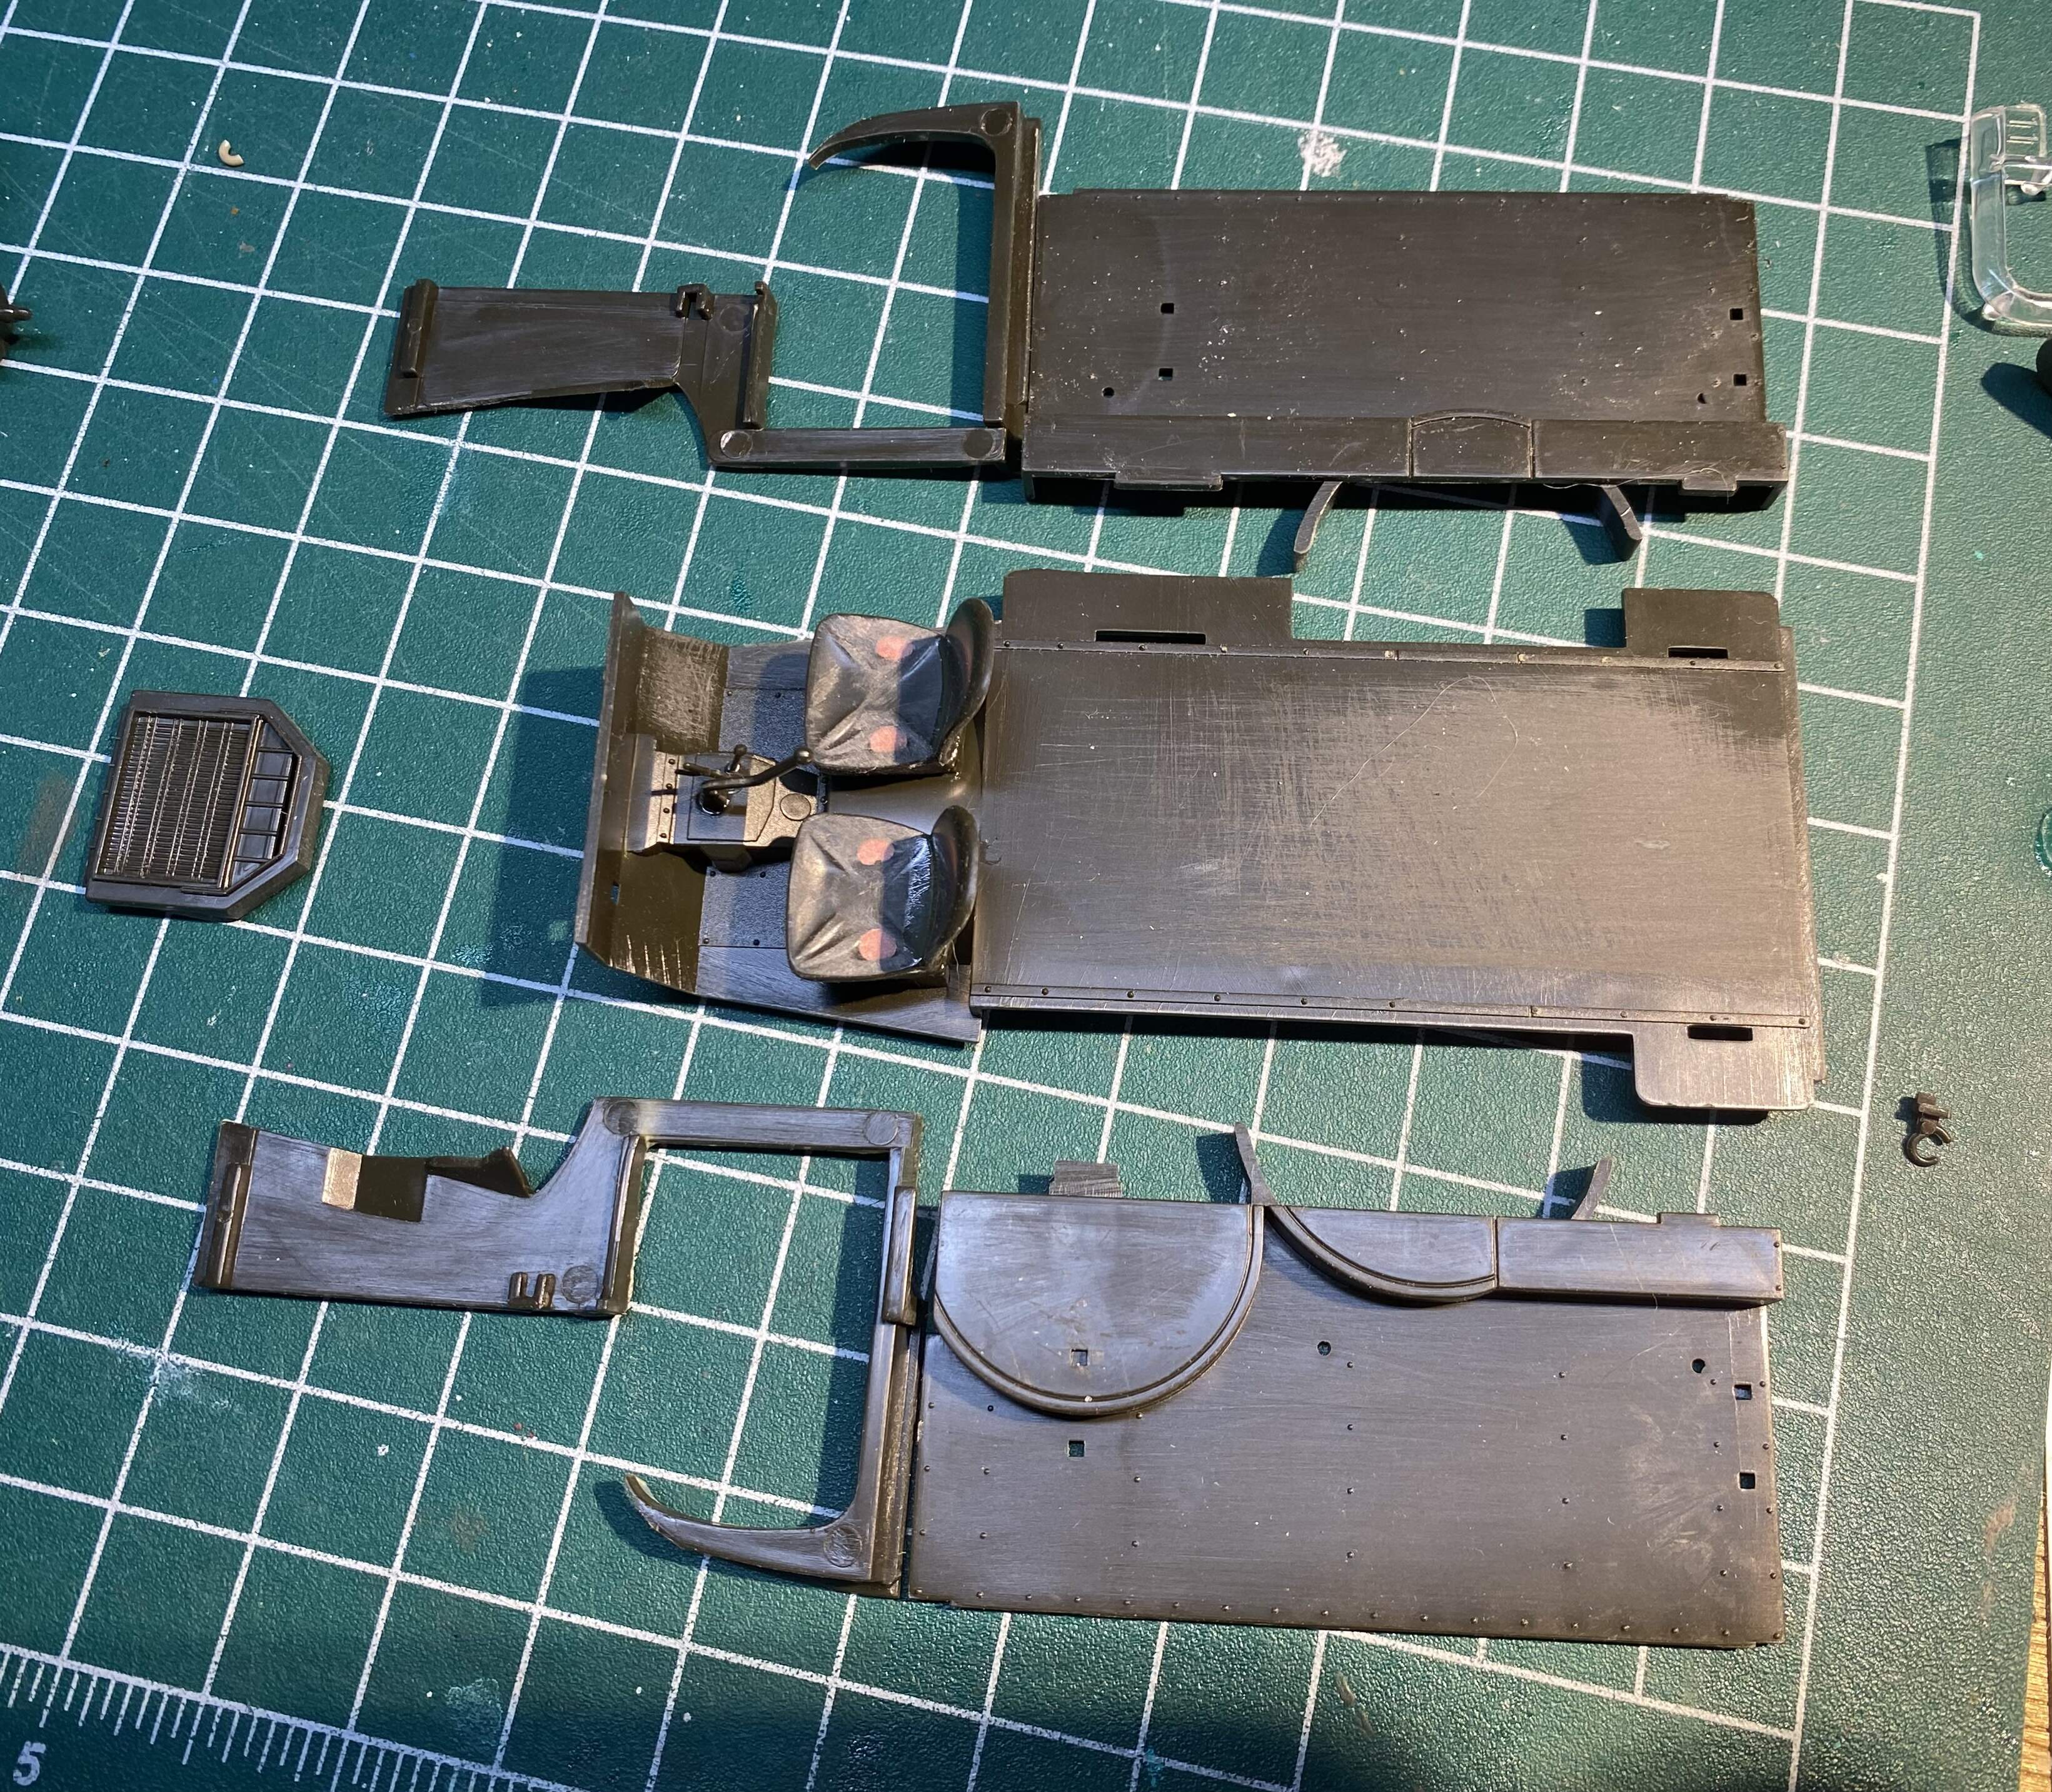
Had a little bit of time over the past few days. Started putting together the cab and floor and cleaning the interior and cab walls.

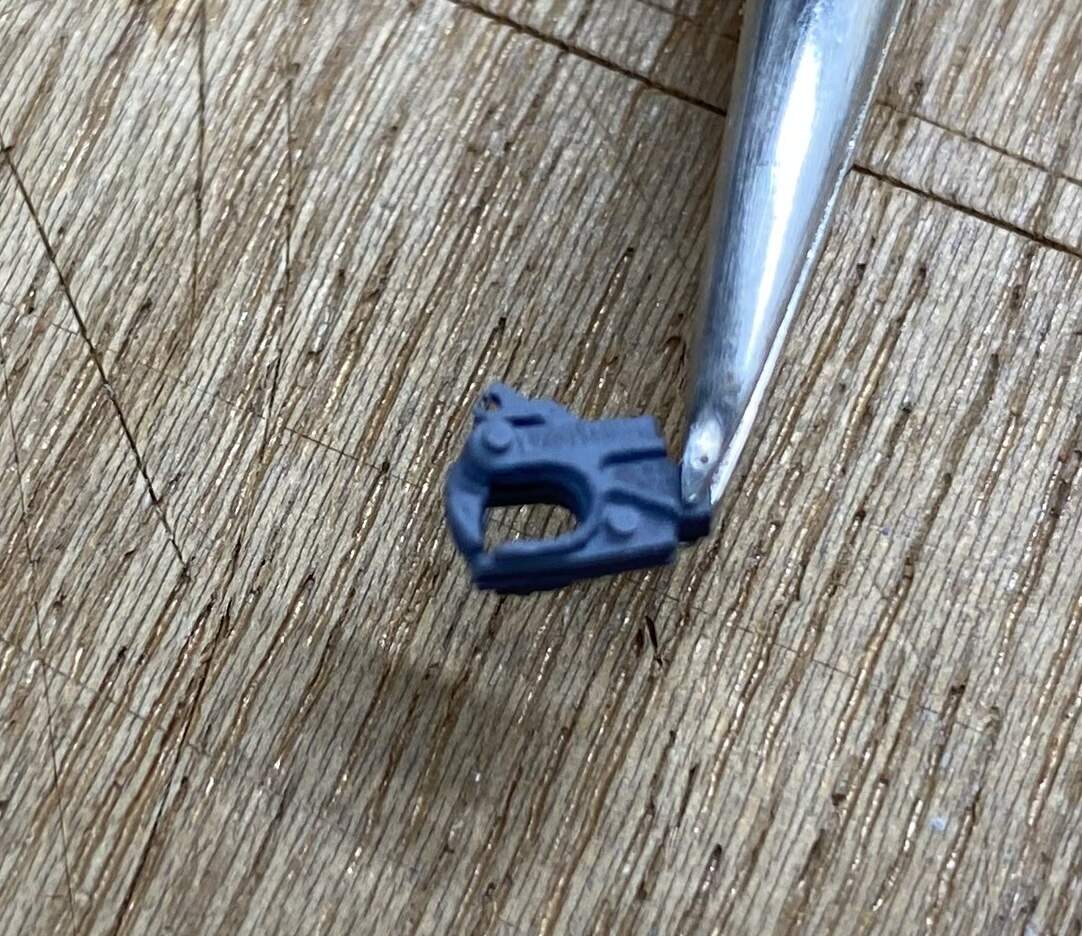
I’ve been mulling over the towing pintle for the past few days - it’s crazy how one seemingly innocuous part can really take over your thought process. The Italeri WC-54 “representation” isn’t even that - it’s a silly little loopy, toy-like thing that doesn’t come close to what the part should look like. After scouring my entire not-insignificant stash of allied trucks I still came up short. I have the AFV Club WC-63 three-axle version of the Dodge truck and I had built the WC51/52 several years ago. Those, of course, have the exact pintle I need, but I didn’t want to raid those great kits for just the towing pintle (as it happens I just purchased another WC-51/52).

SO - I did what my brain told me would be a cool solution. I took an AFV Club kit part and replicated it using laser-cut layers of the resin-impregnated paper product you may have seen me (and Mike Koenig) talking about in other threads.

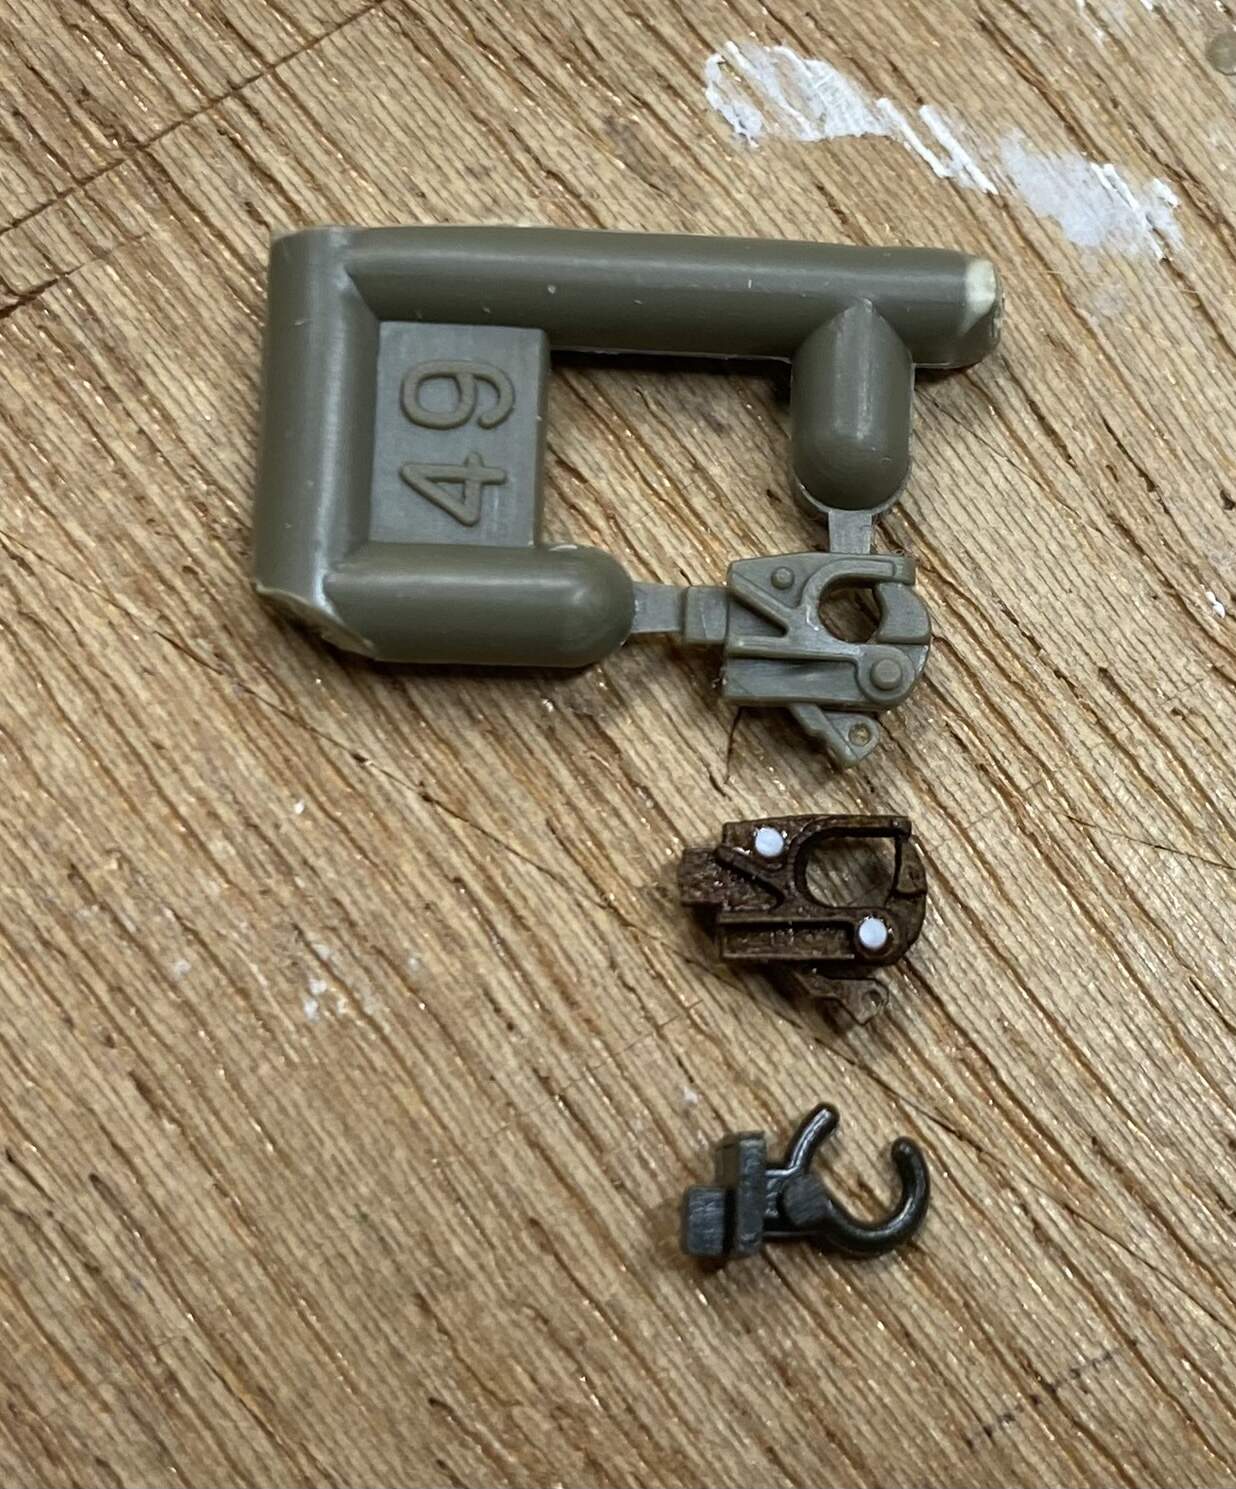
So that’s what I did today. A relatively quick CAD study with calipers handy and here are the layers cut, next to the AFV Club pintle part:

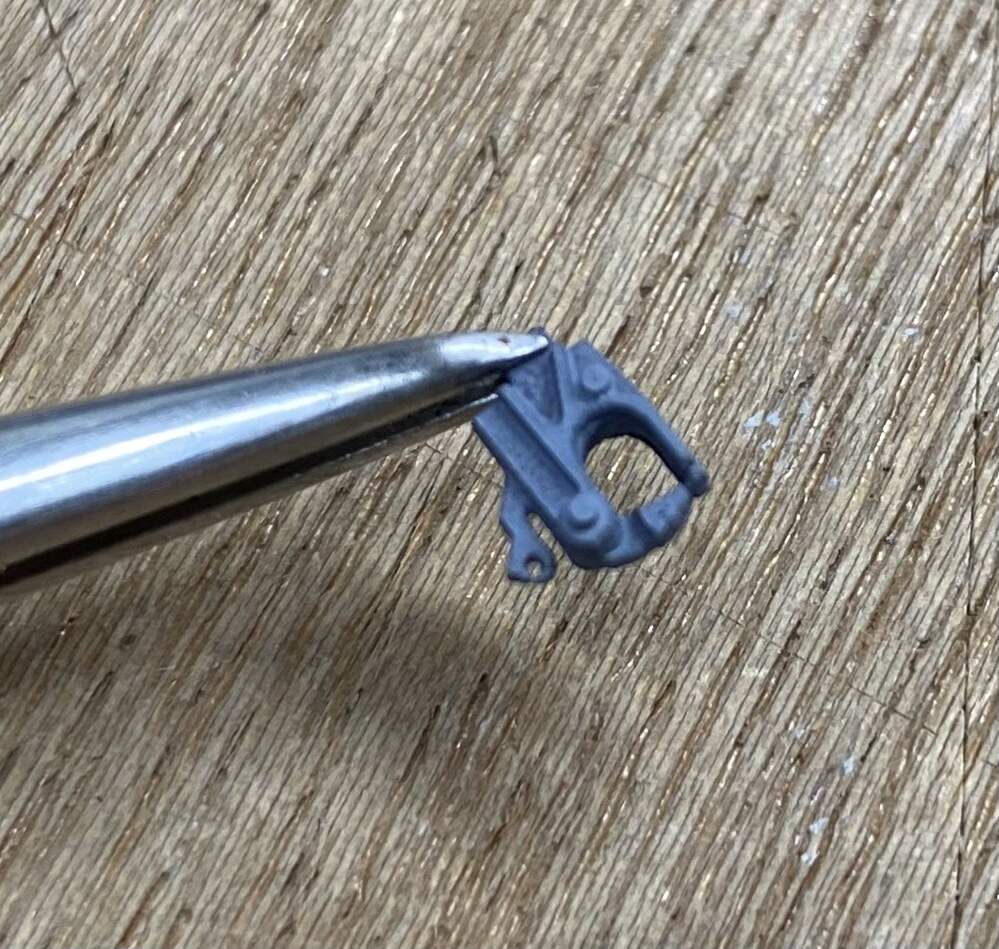
Next was gluing the layers into the three-dimensional part; I used some tiny bits of .020 styrene rod for the fastener/river detail. Here is the AFV Club part, my assembled representation, and the silly Italeri part; you can see why I might be hyper-focused on making a more realistic version:

Finally, a couple shots of the primed “James Harr Model Maker” towing pintle:

I’m very pleased with my efforts, but here’s the kicker, if you’re still with me. Turns out that the AFV Club WC-63, the three axle version of these trucks, has TWO of the towing pintle parts!!! After all of my effort today (really only about an hour total), I was putting AFV Club sprues back from both the -63 and the -51/52 kits and I noticed the pintle parts had different numbers, and then it hit me, could they have done an extra Sprue for the three-axle -63 and added it to the -51/52 ? Why yes, yes they did. D’OH!!! I’m still going to use my version, because, well, just because… aaaarrrgh….

Anyway, time for a glass of wine. Onward, Convoy!!!

Jimbo

11 Likes

Nick - that is just off the charts amazing. Holy cow man, that’s just fantastic! Great job!!!

Jimbo

2 Likes

@Jimbo That pintle is cool! really nice - good idea with the laser cutter - enjoy the glass or two of wine! :smile:

Nick

2 Likes