Dang Nick, I should have throw the flag sooner. She is a beaut. ![]()
4 Likes
Great looking pintle. ![]()
![]()
3 Likes
Fantastic build Nick. You got the finish you wanted, in spades. It looks great.
Nice work Jimbo. Getting all those layers down was amazing.
5 Likes
That is superb … Fantastic work…
3 Likes
Nick, that Dodge is terrific, even if I wouldn’t take the keys off you seeing how unreliable it is! (Or is it the driver at fault? You know, loose nut behind the wheel…) ![]()
Jimbo I feel your pain! Finding that elusive part after scratch-building a replacement is a comedy classic. Still, your pintle is fabulous!
4 Likes
How often have I heard that…
![]()
Cheers,
M
6 Likes
Got a bit more done on my Magirus S330 truck.
VModels generic PE set contains 3 parts to build the grille from PE- a mesh, a thin frame and a Klockner-Deutz logo.I soldered the thin frame to the mesh and then glued the logo with CA on its marked location on the grille.My initial intention was to have the logo soldered too, but the solder creep I found on the mesh after soldering the frame made me change my mind.
I’ve also glued the Notek bracket on the LHS front fender and once set I cut its legs flush with the fender surface- there’s no Notek present on my refference pictures.Did some putty/sanding sessions, but it looks like I’ll need more.
Some pictures:


Cheers,
Angel
7 Likes
Really nice work Angel. You know how to get the most out of that PE…looks great.
1 Like
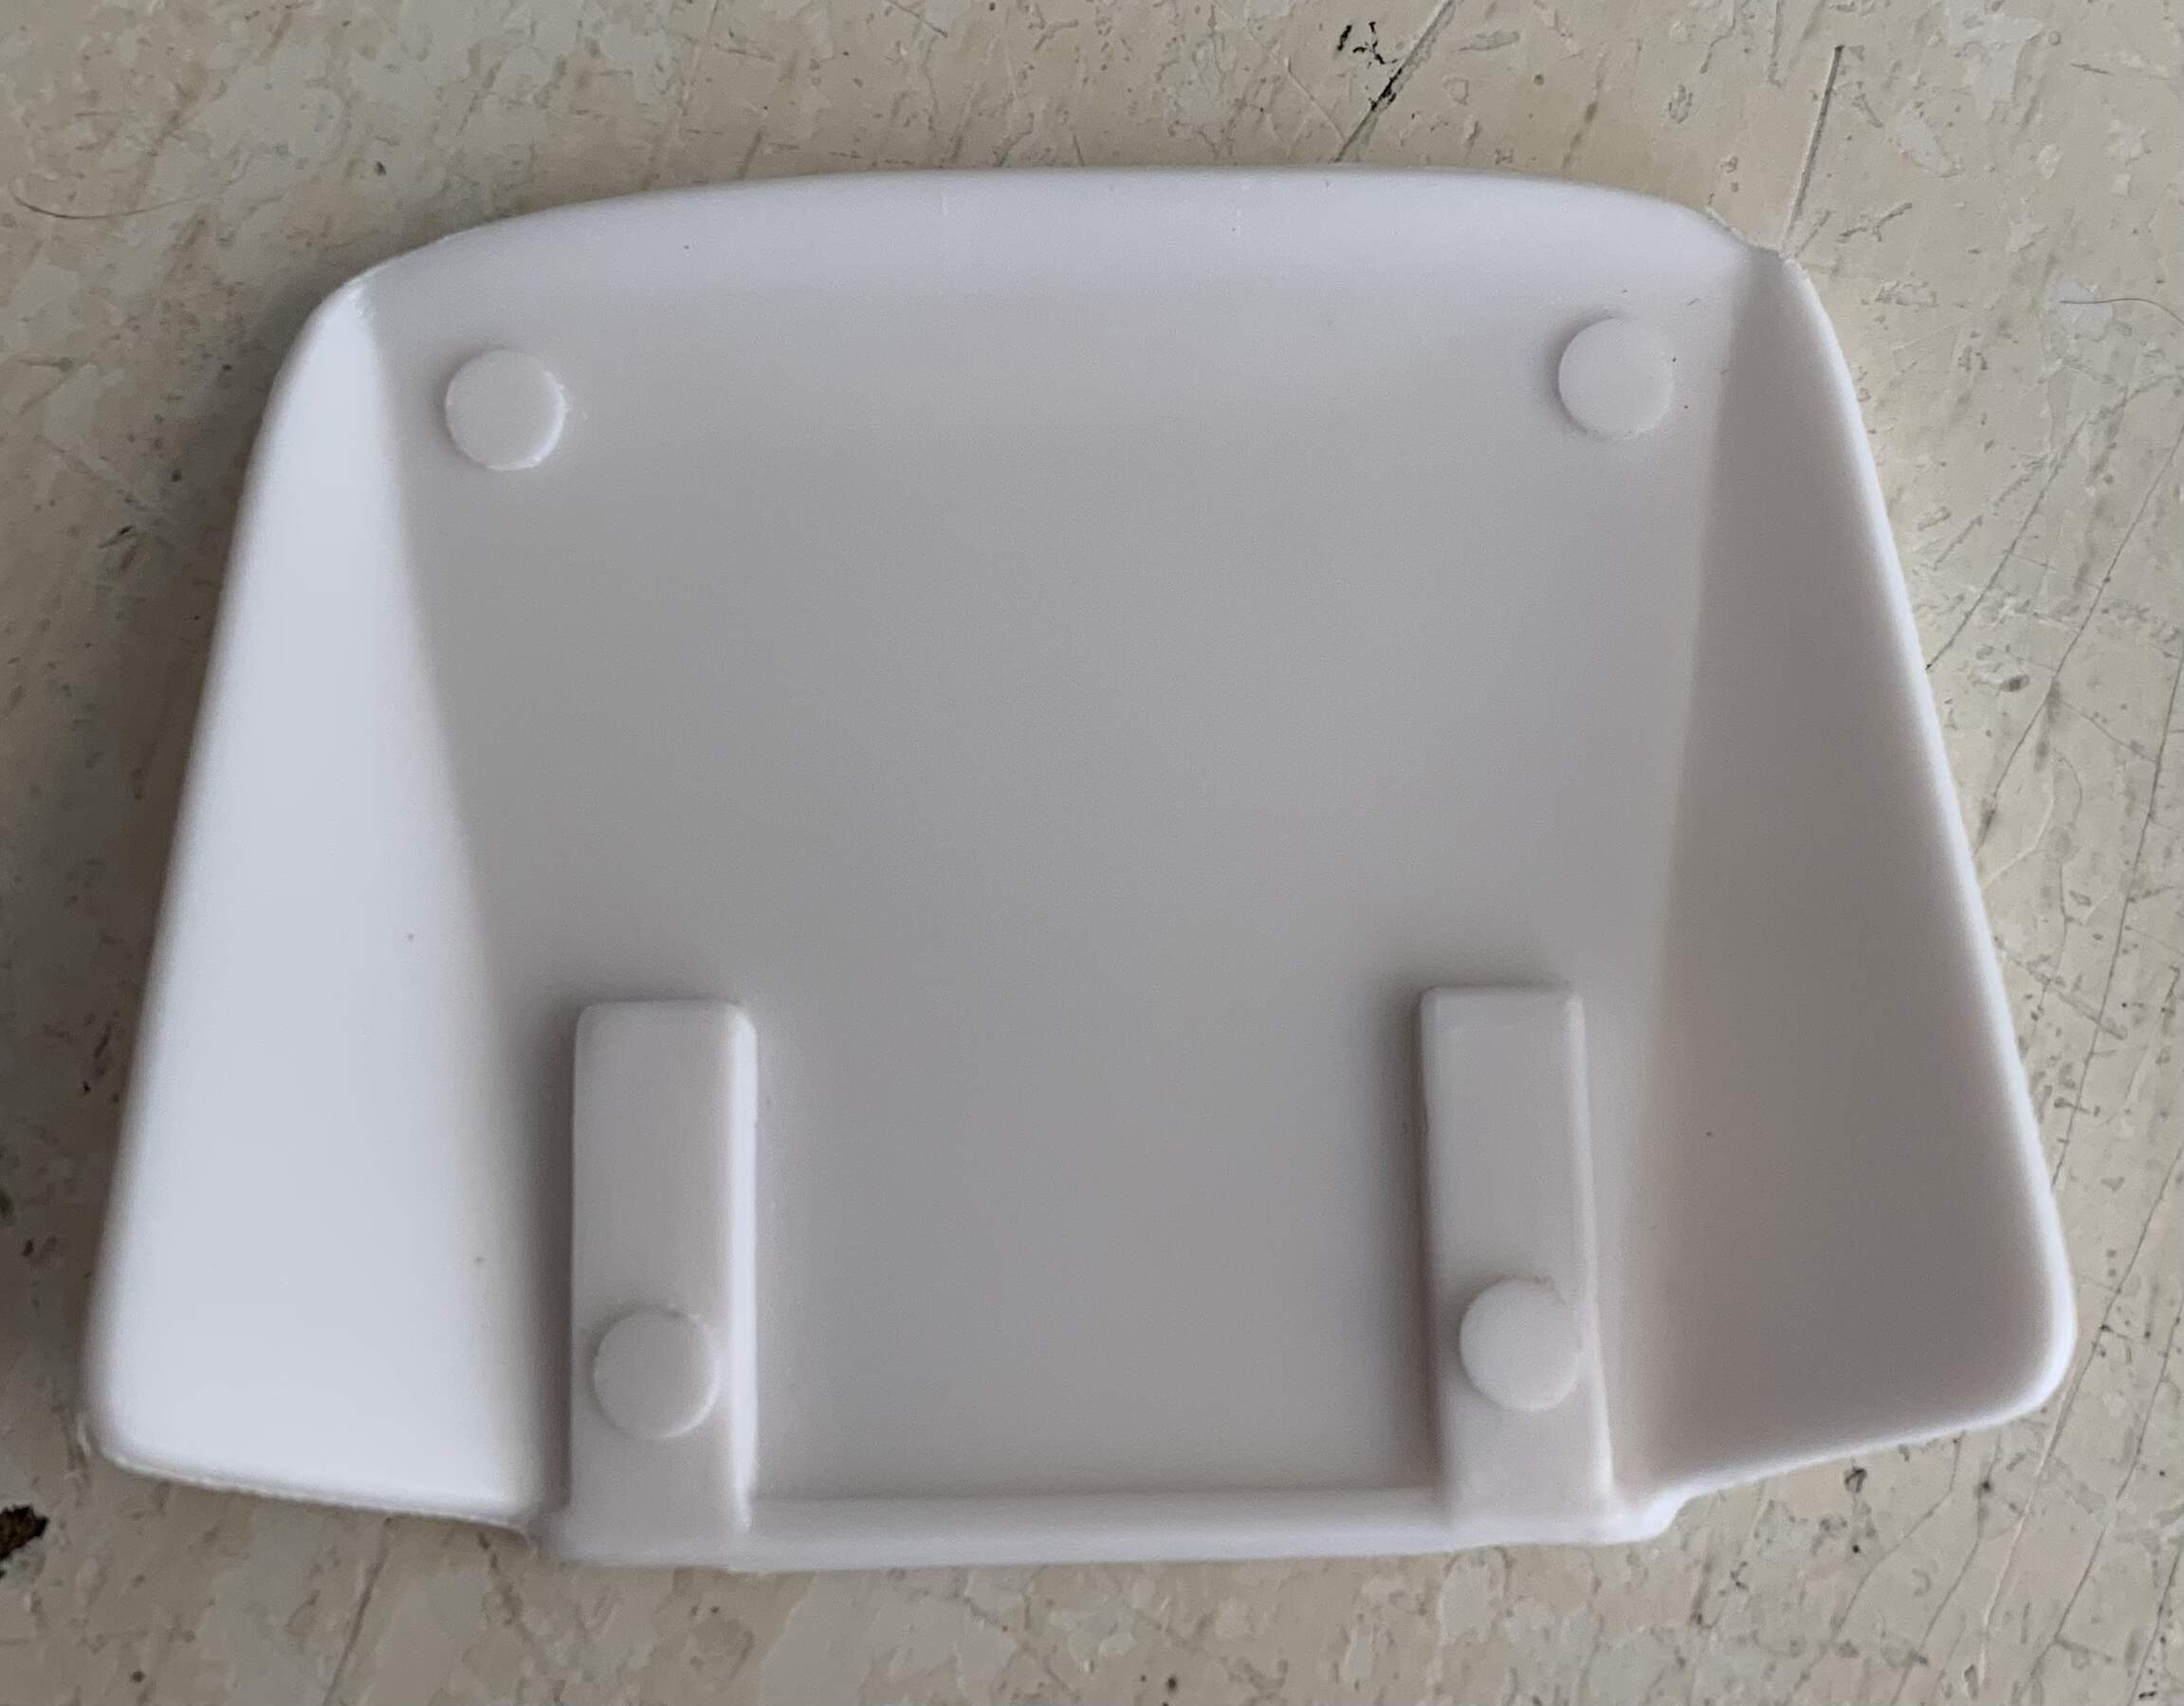
So, kind Sir, how do I go about getting three of those from you? Quite serious. ![]()
More than happy to cover materials, time, postage, 1st mortgage, car payment, etc.
Mike
1 Like

For the campaign, I’m going to try and make the JLTV UTL, which is a pickup version of the standard model. I’m using the Sabre Models 1/35 kit as the base for the project.
Here’s what I’m going to try and do:
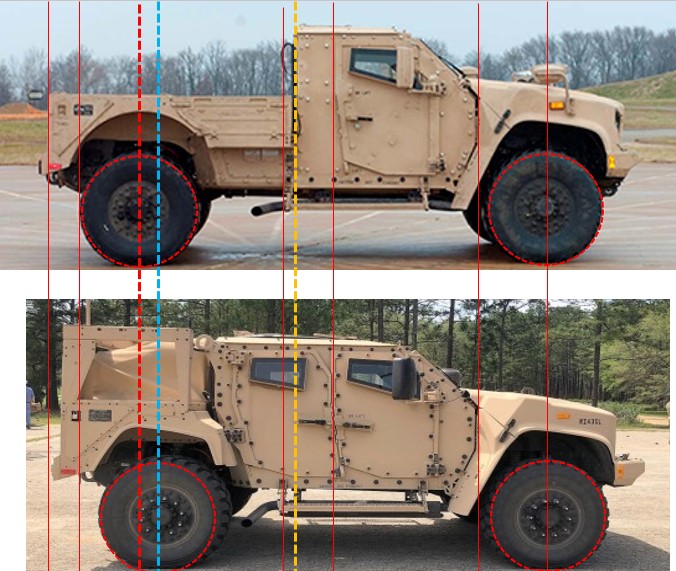
And progress so far:

This is the hull/chassis - I concluded the UTL is longer than the standard version, but didn’t know how much so - once I got into the build, @Tank_1812 Ryan provided me with exact info…and I needed to keep adding length! As you can see in the lower right - well, my extended frame was cut off, extended more, and reassembled, as shown in the lower left. So far so good - aside form my mis-guess on length, the kit is a good one - no problems and pretty nice detail.
Cheers
Nick
9 Likes
Cool project. Love to see scratch building like this.
4 Likes
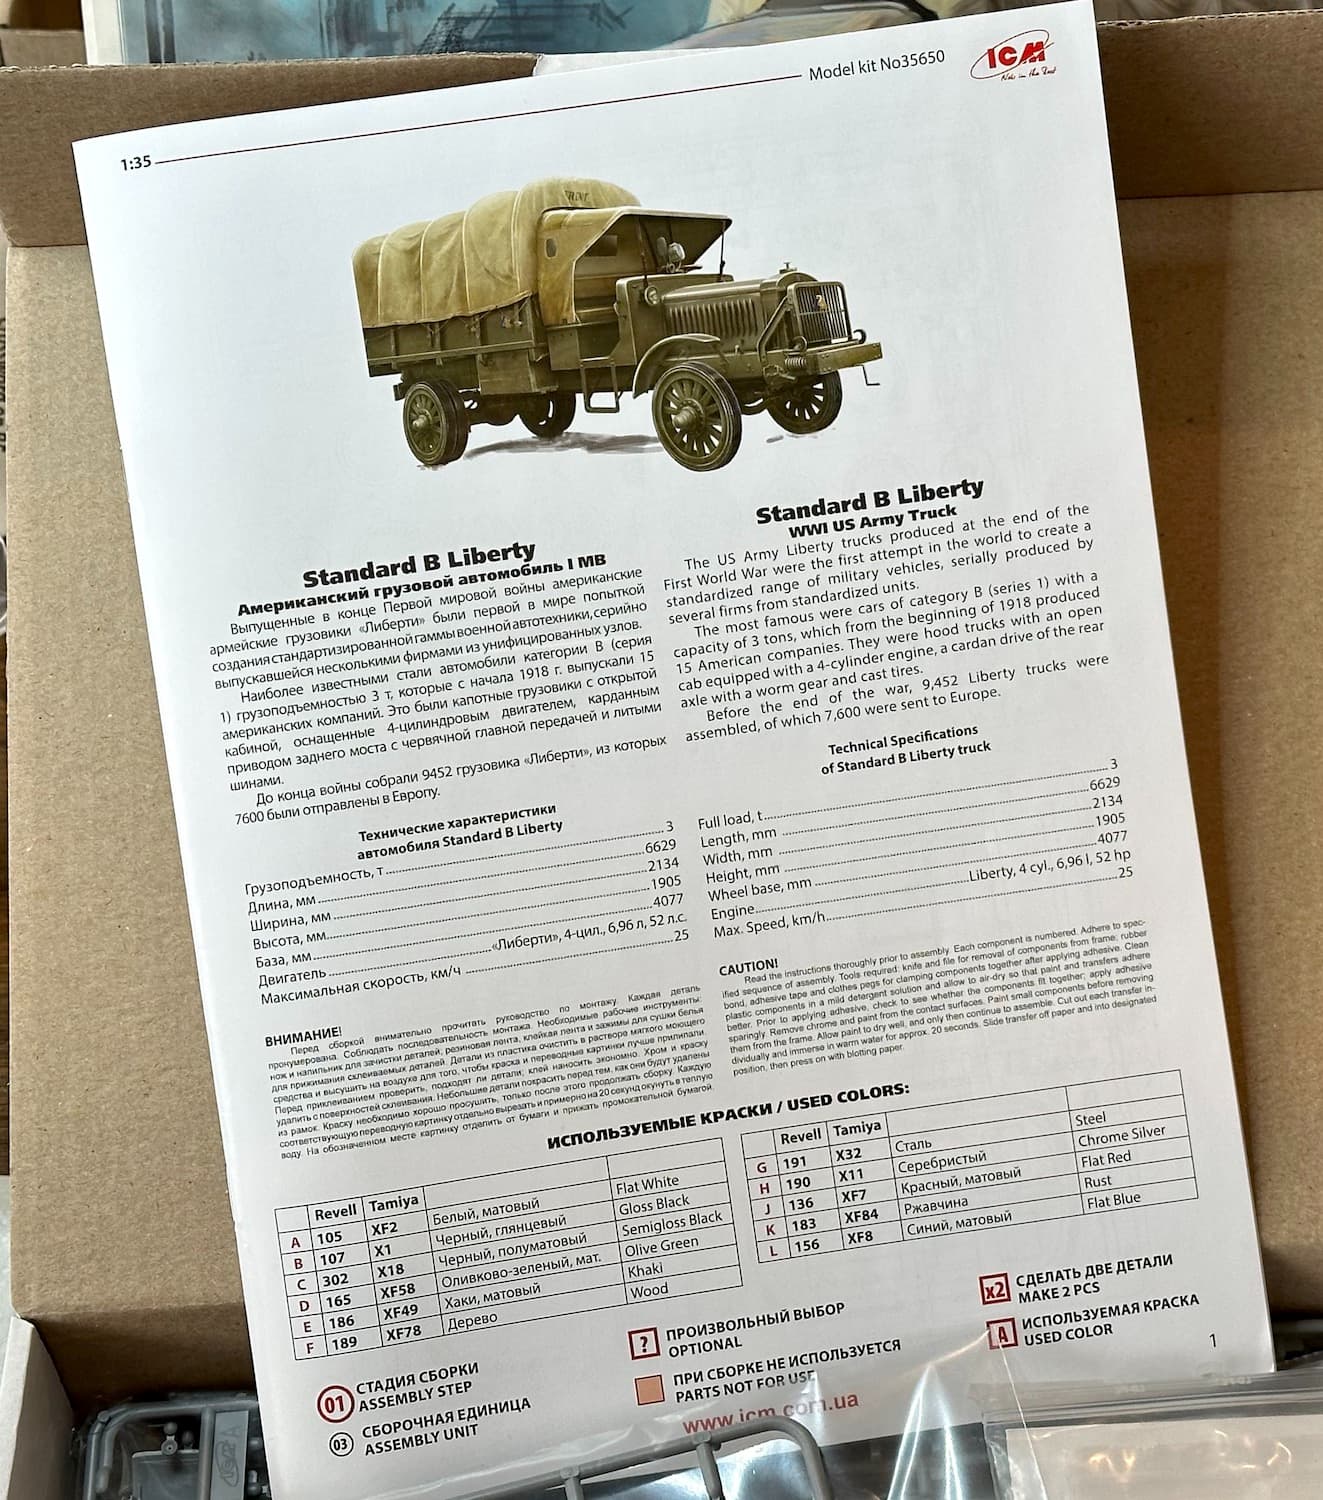
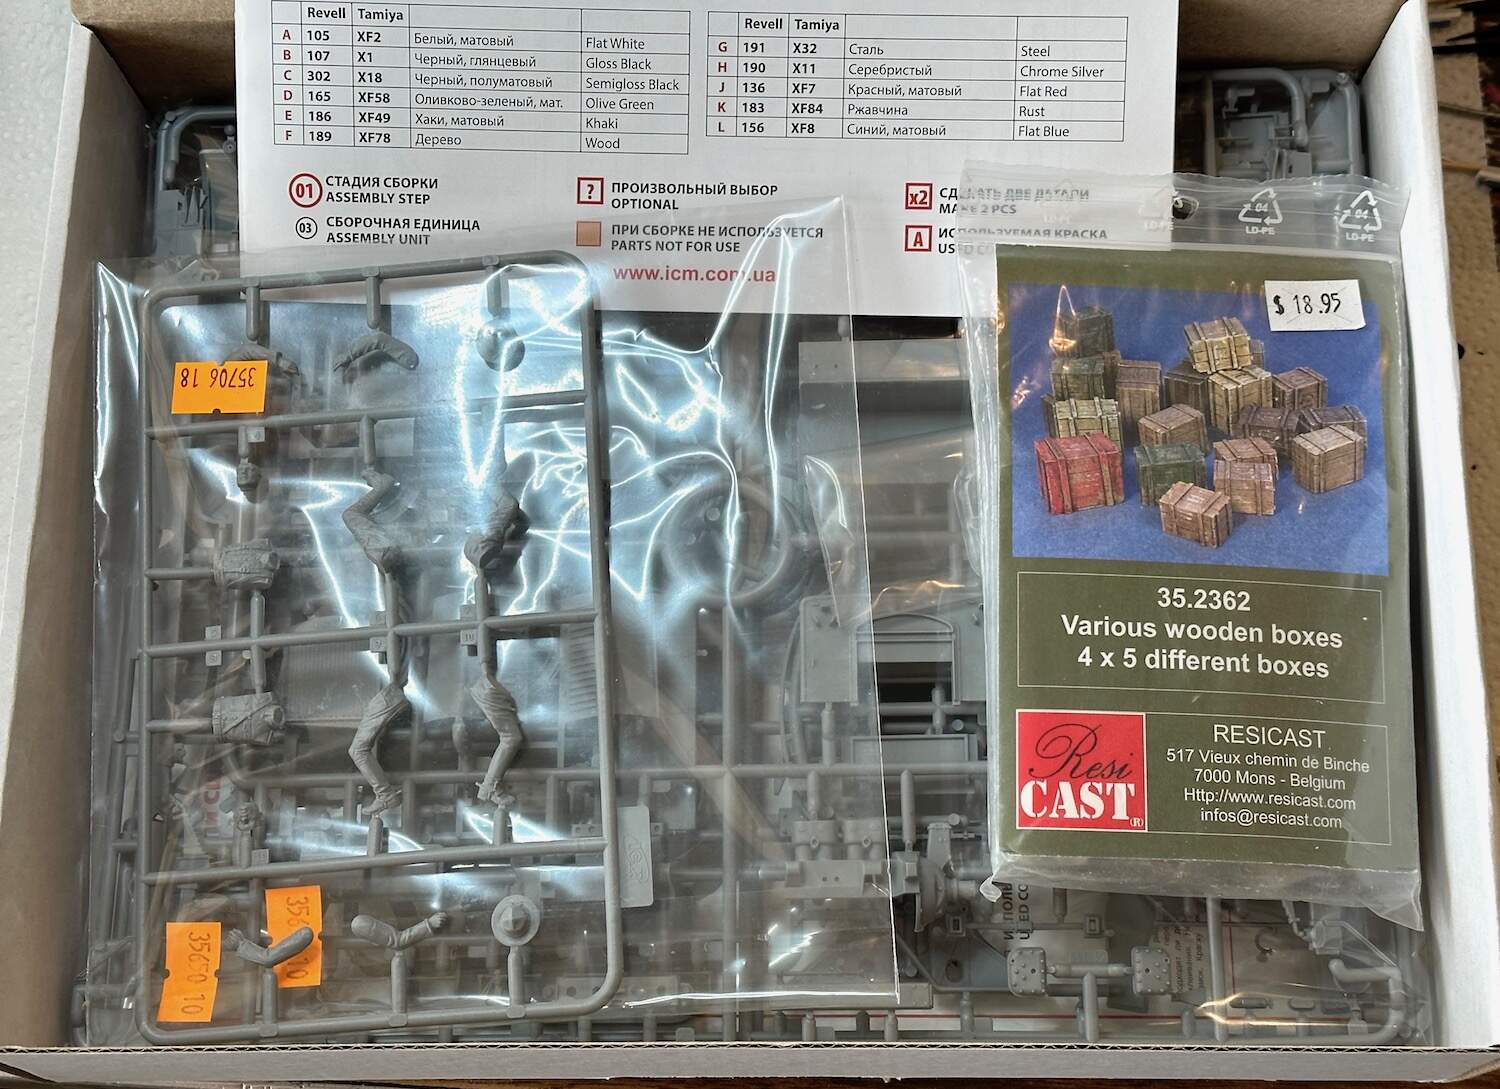
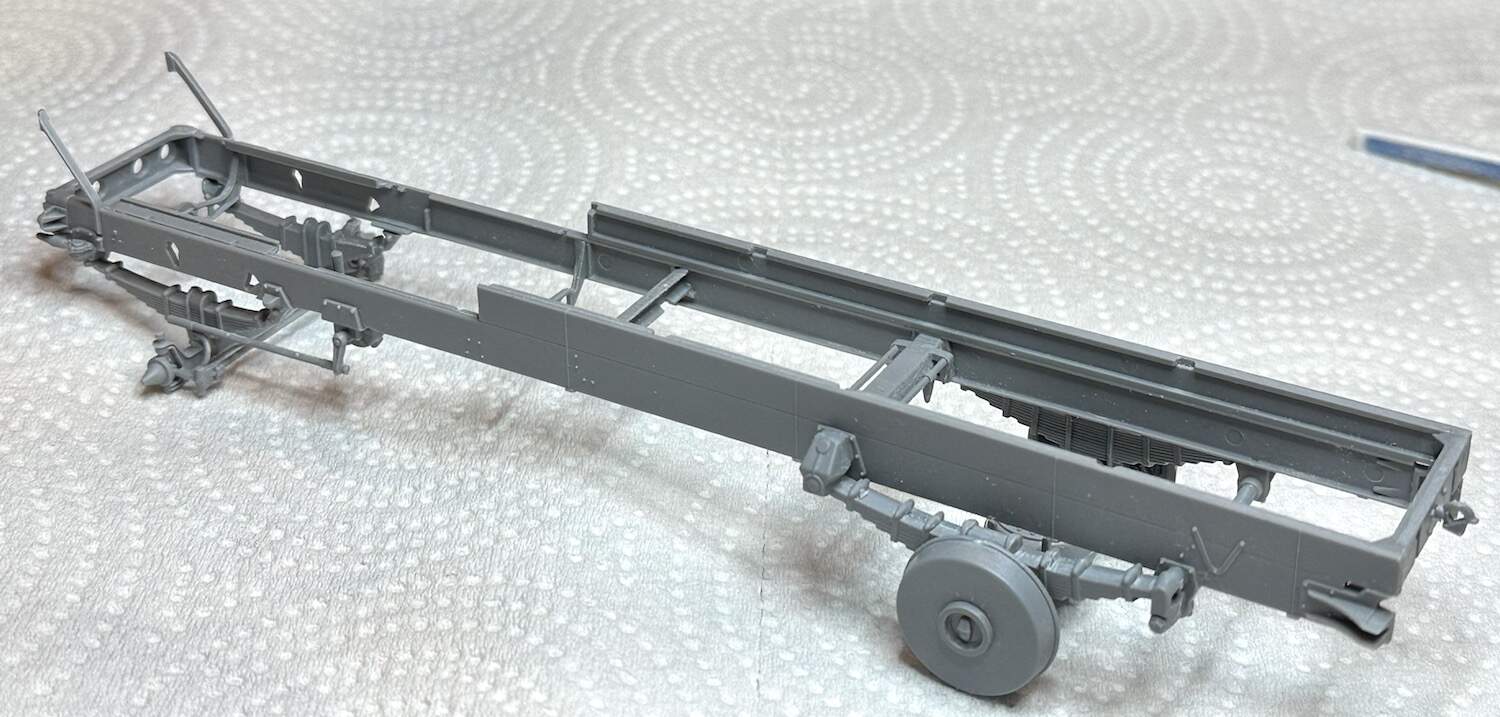
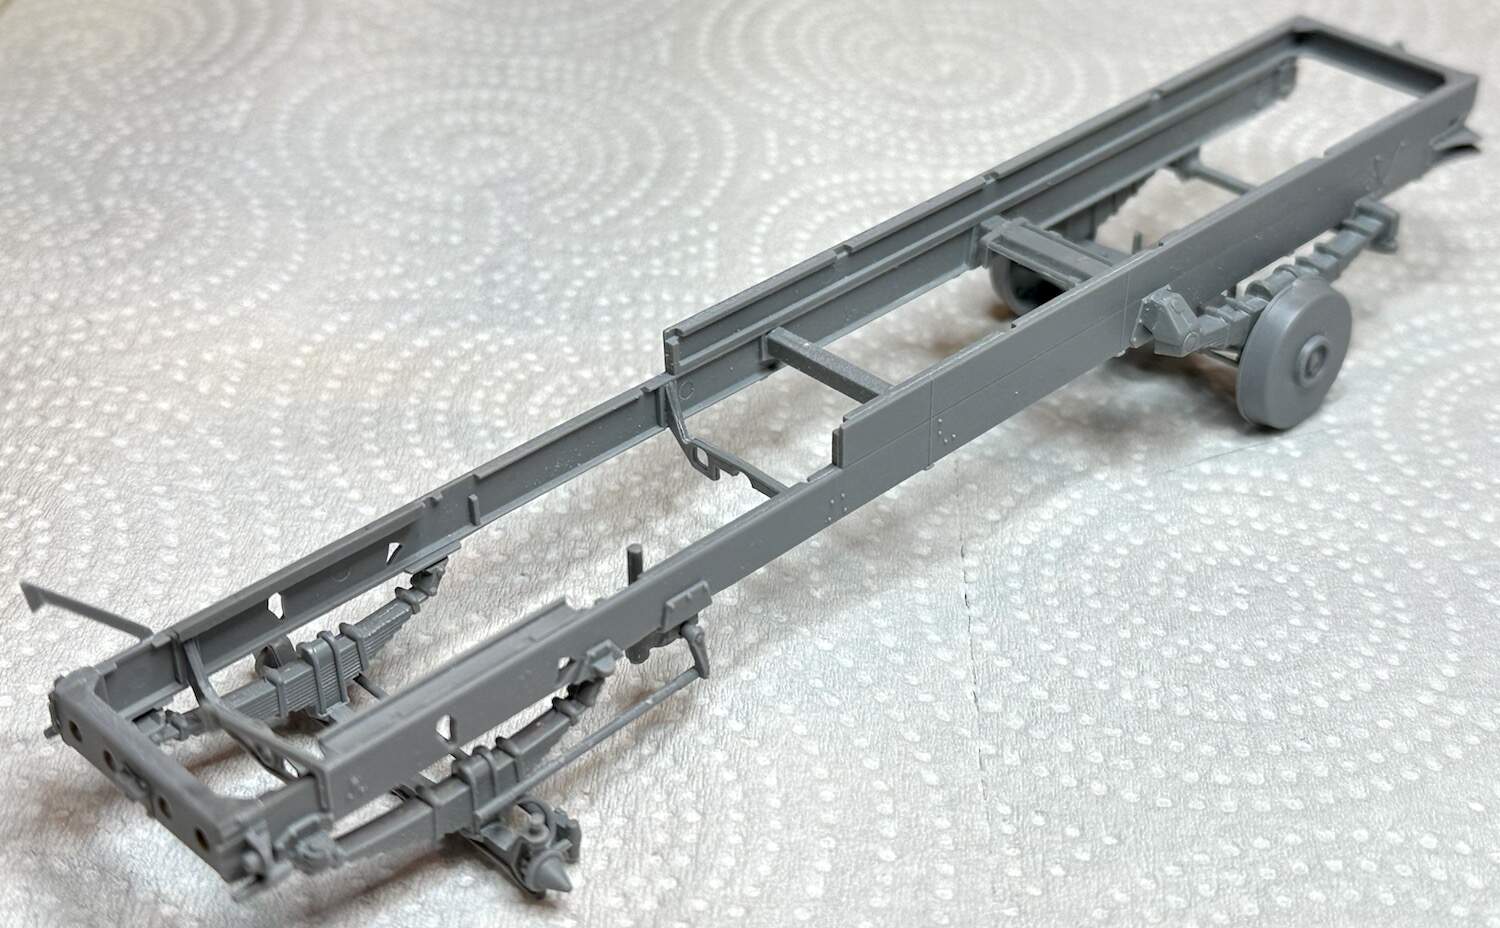
What ambitious builts! I have a fairly simple build here, a well engineered kit that goes together well.
Paul
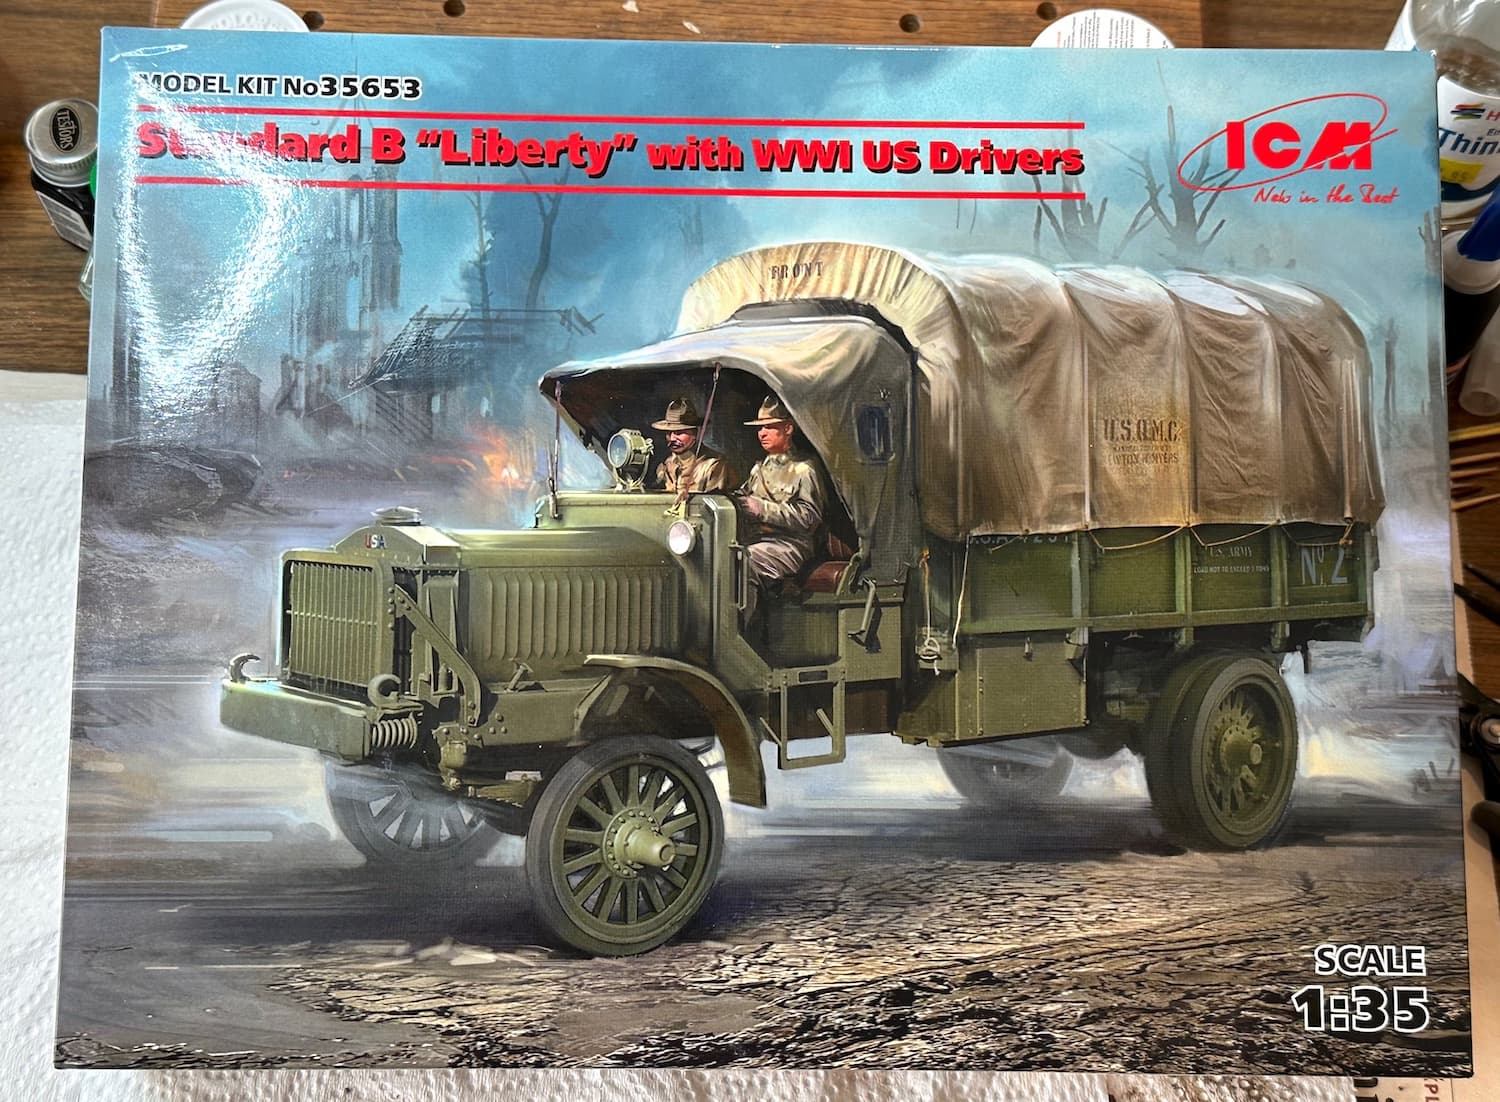
10 Likes
Looks like fun!
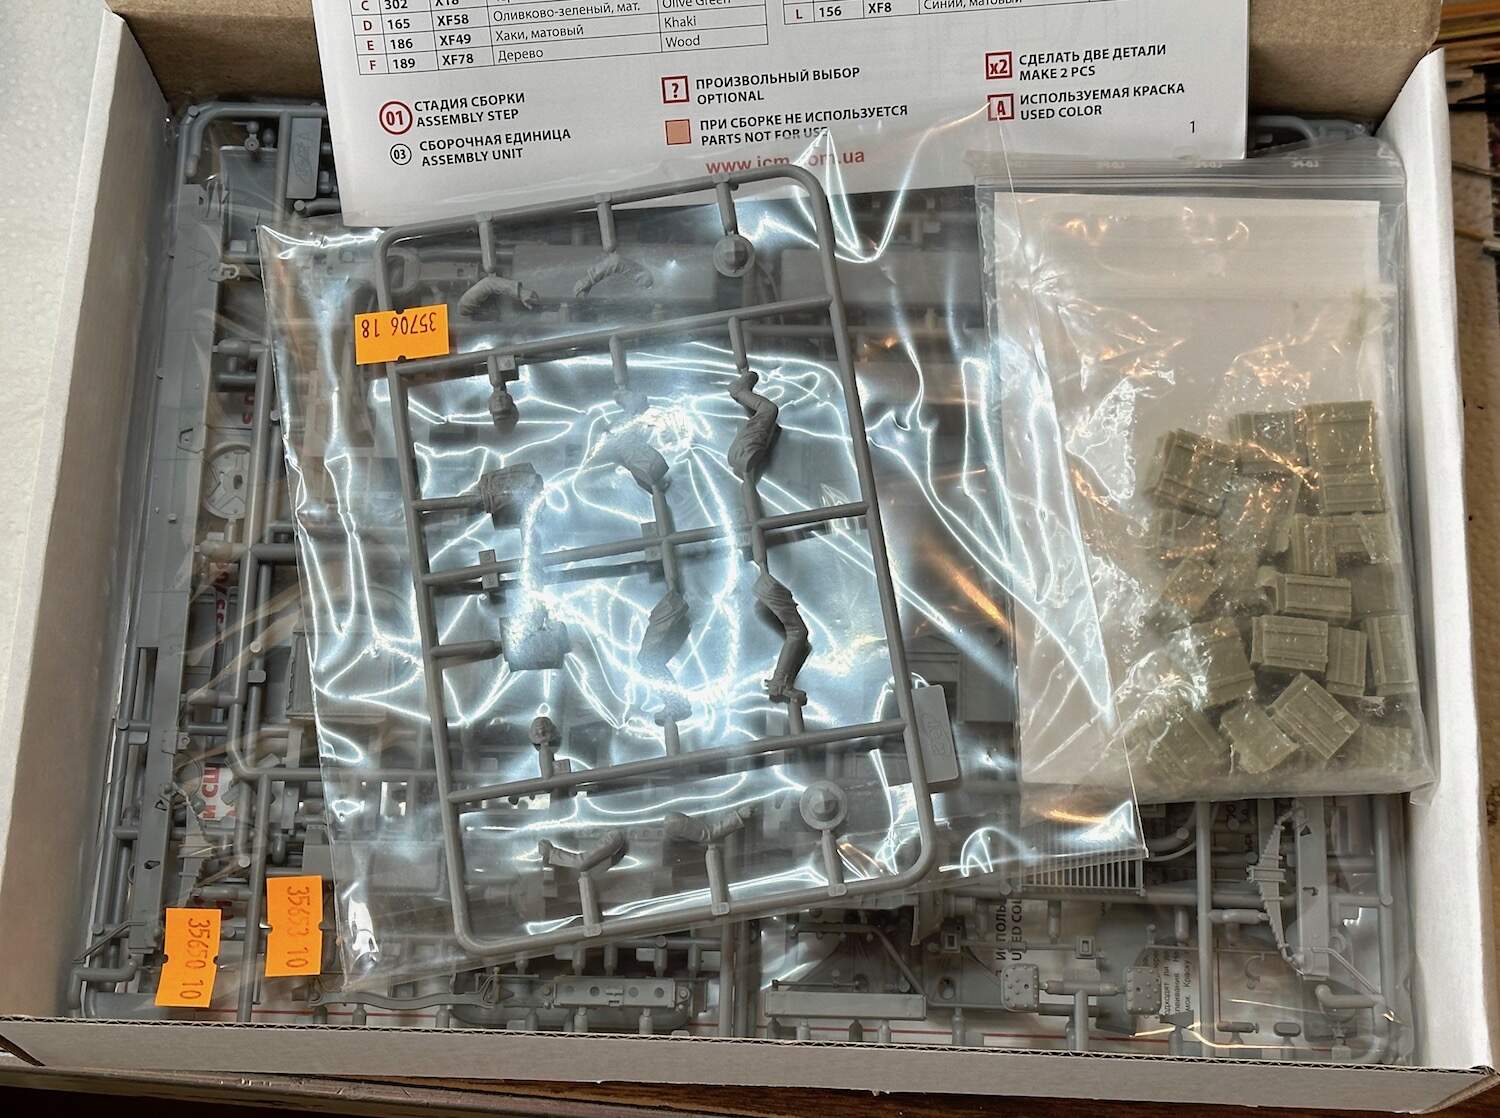
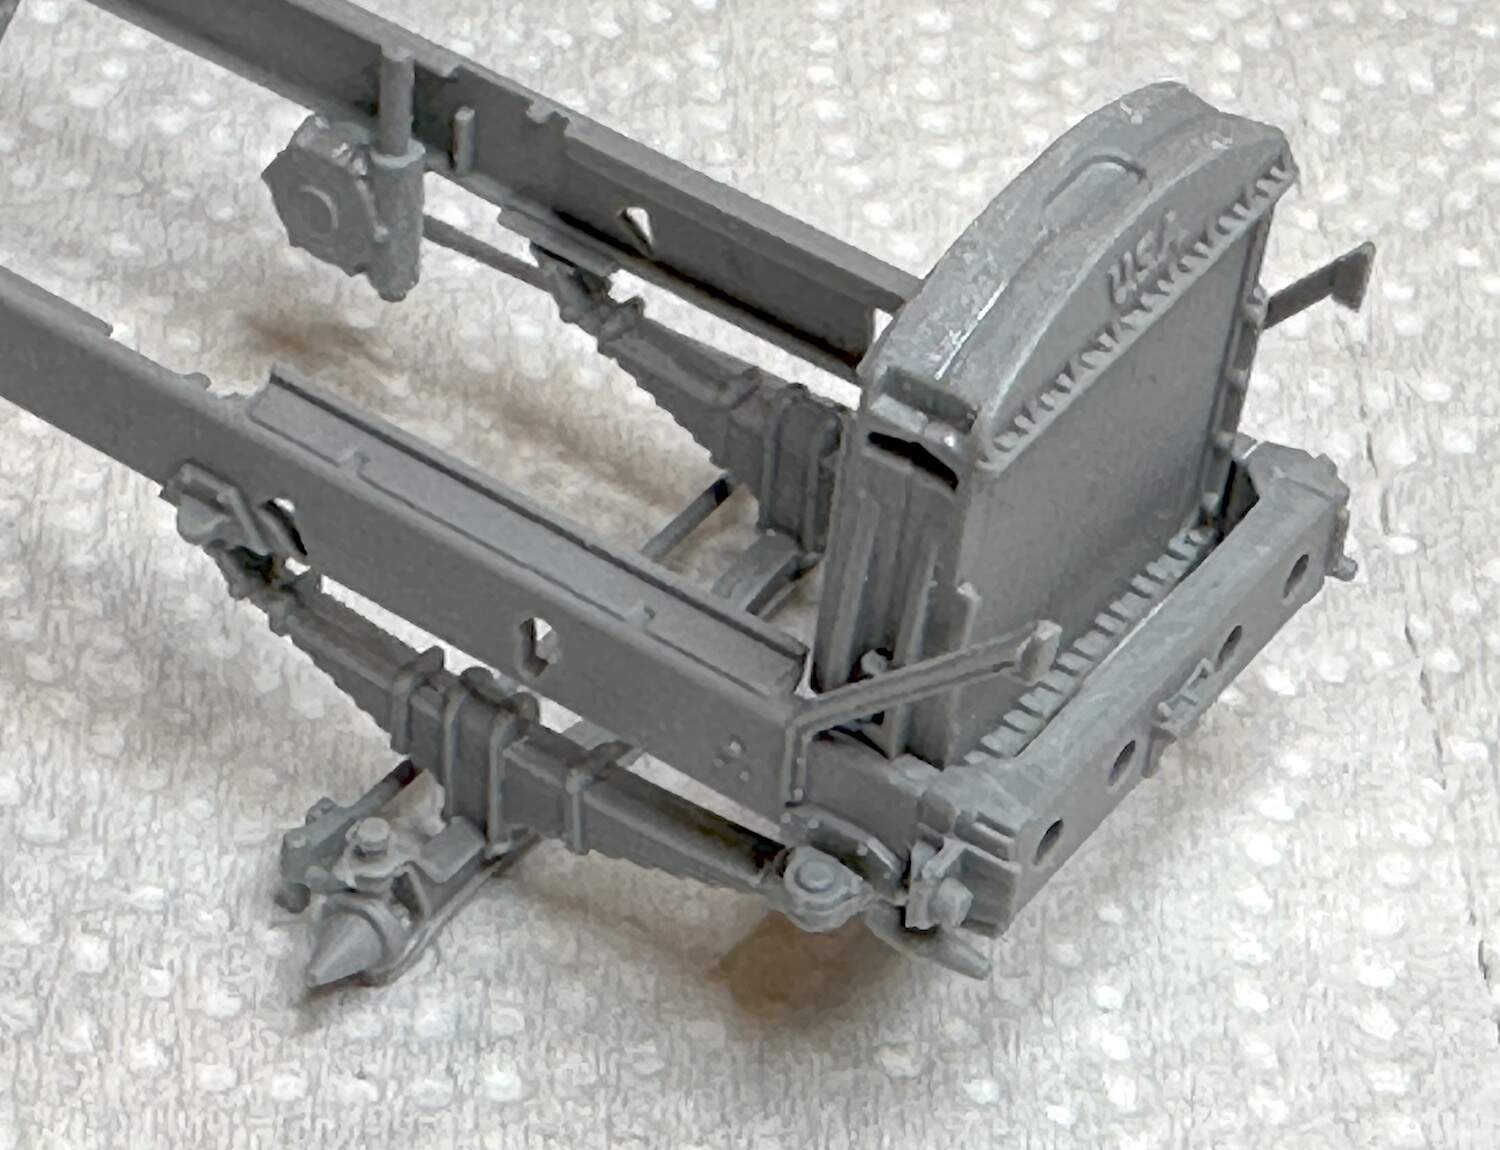
The job started with the frame. The parts fit and the only issue was lack of detail in the instructions. You must look at the parts carefully and see what else goes on later. EG- the front axle fits on either way but the back side of the spindles have tiny holes for the tie rod ends.
The other thing is the radiator is two pieces and should be three. It really needs a top surface that is flat, not a valley like the kit effort. It will need plenty of putty to fix this.
Paul


7 Likes
The Mack is being difficult and she going to fight me all the way.

I have some parts together, lots of sanding and more sanding to go. I removed the exhaust bits and replaced with tube.

9 Likes
Hmm. Looks like my memory of those old kits is a tad rose-tinted…
2 Likes
Some great progress on these builds … dont let it get the upper hand Ryan … the plastic will not beat you !!
2 Likes
I hope not but it’s putting in a good effort. There is know issues I will have to research before attaching major pieces. The wheels but between Stickframe and Jimbo’s help should be ok. I think I can sort out the floor or something close and the all the extra sanding/trimming for fits issues. The key will be once I build the frame, it’s either a good shot at finishing or throw in the towel before the KO. I think it’s a 50/50 bet on who wins that round.
4 Likes
Started the process of widening the cargo bed to allow the Pantsir compartment to fit.
I added some support strips to the underside first off.

Wasn’t to worried about completely the same size strips. A close enough guesstimate is good enough as once it’s all done, this area will be covered with some crud and pigments and won’t really be seen.
Then I started on the additional strips to widen the cargo floor.
I cut one from white plastic strip, using Panther G Schürzen as a guide for the width and length… Then had a eureka moment just as I started the 2nd one for the other side …

Why not just use the Schürzen… so I trimmed off some raised areas on the reverse side, and have filled the gaps in between each plate and open squares where the mounts would go and hey presto… ![]()
Now all I need to do is cut the front and rear end tailgate panels exactly down the middle, and add 1 single Schürzen plate and join them together for the correct width …
8 Likes