This will get a good weathering on the chassis as I want it to look like it’s had a hard life. Also have to think about the wheel guard plates and what’s in the spare box to make those.
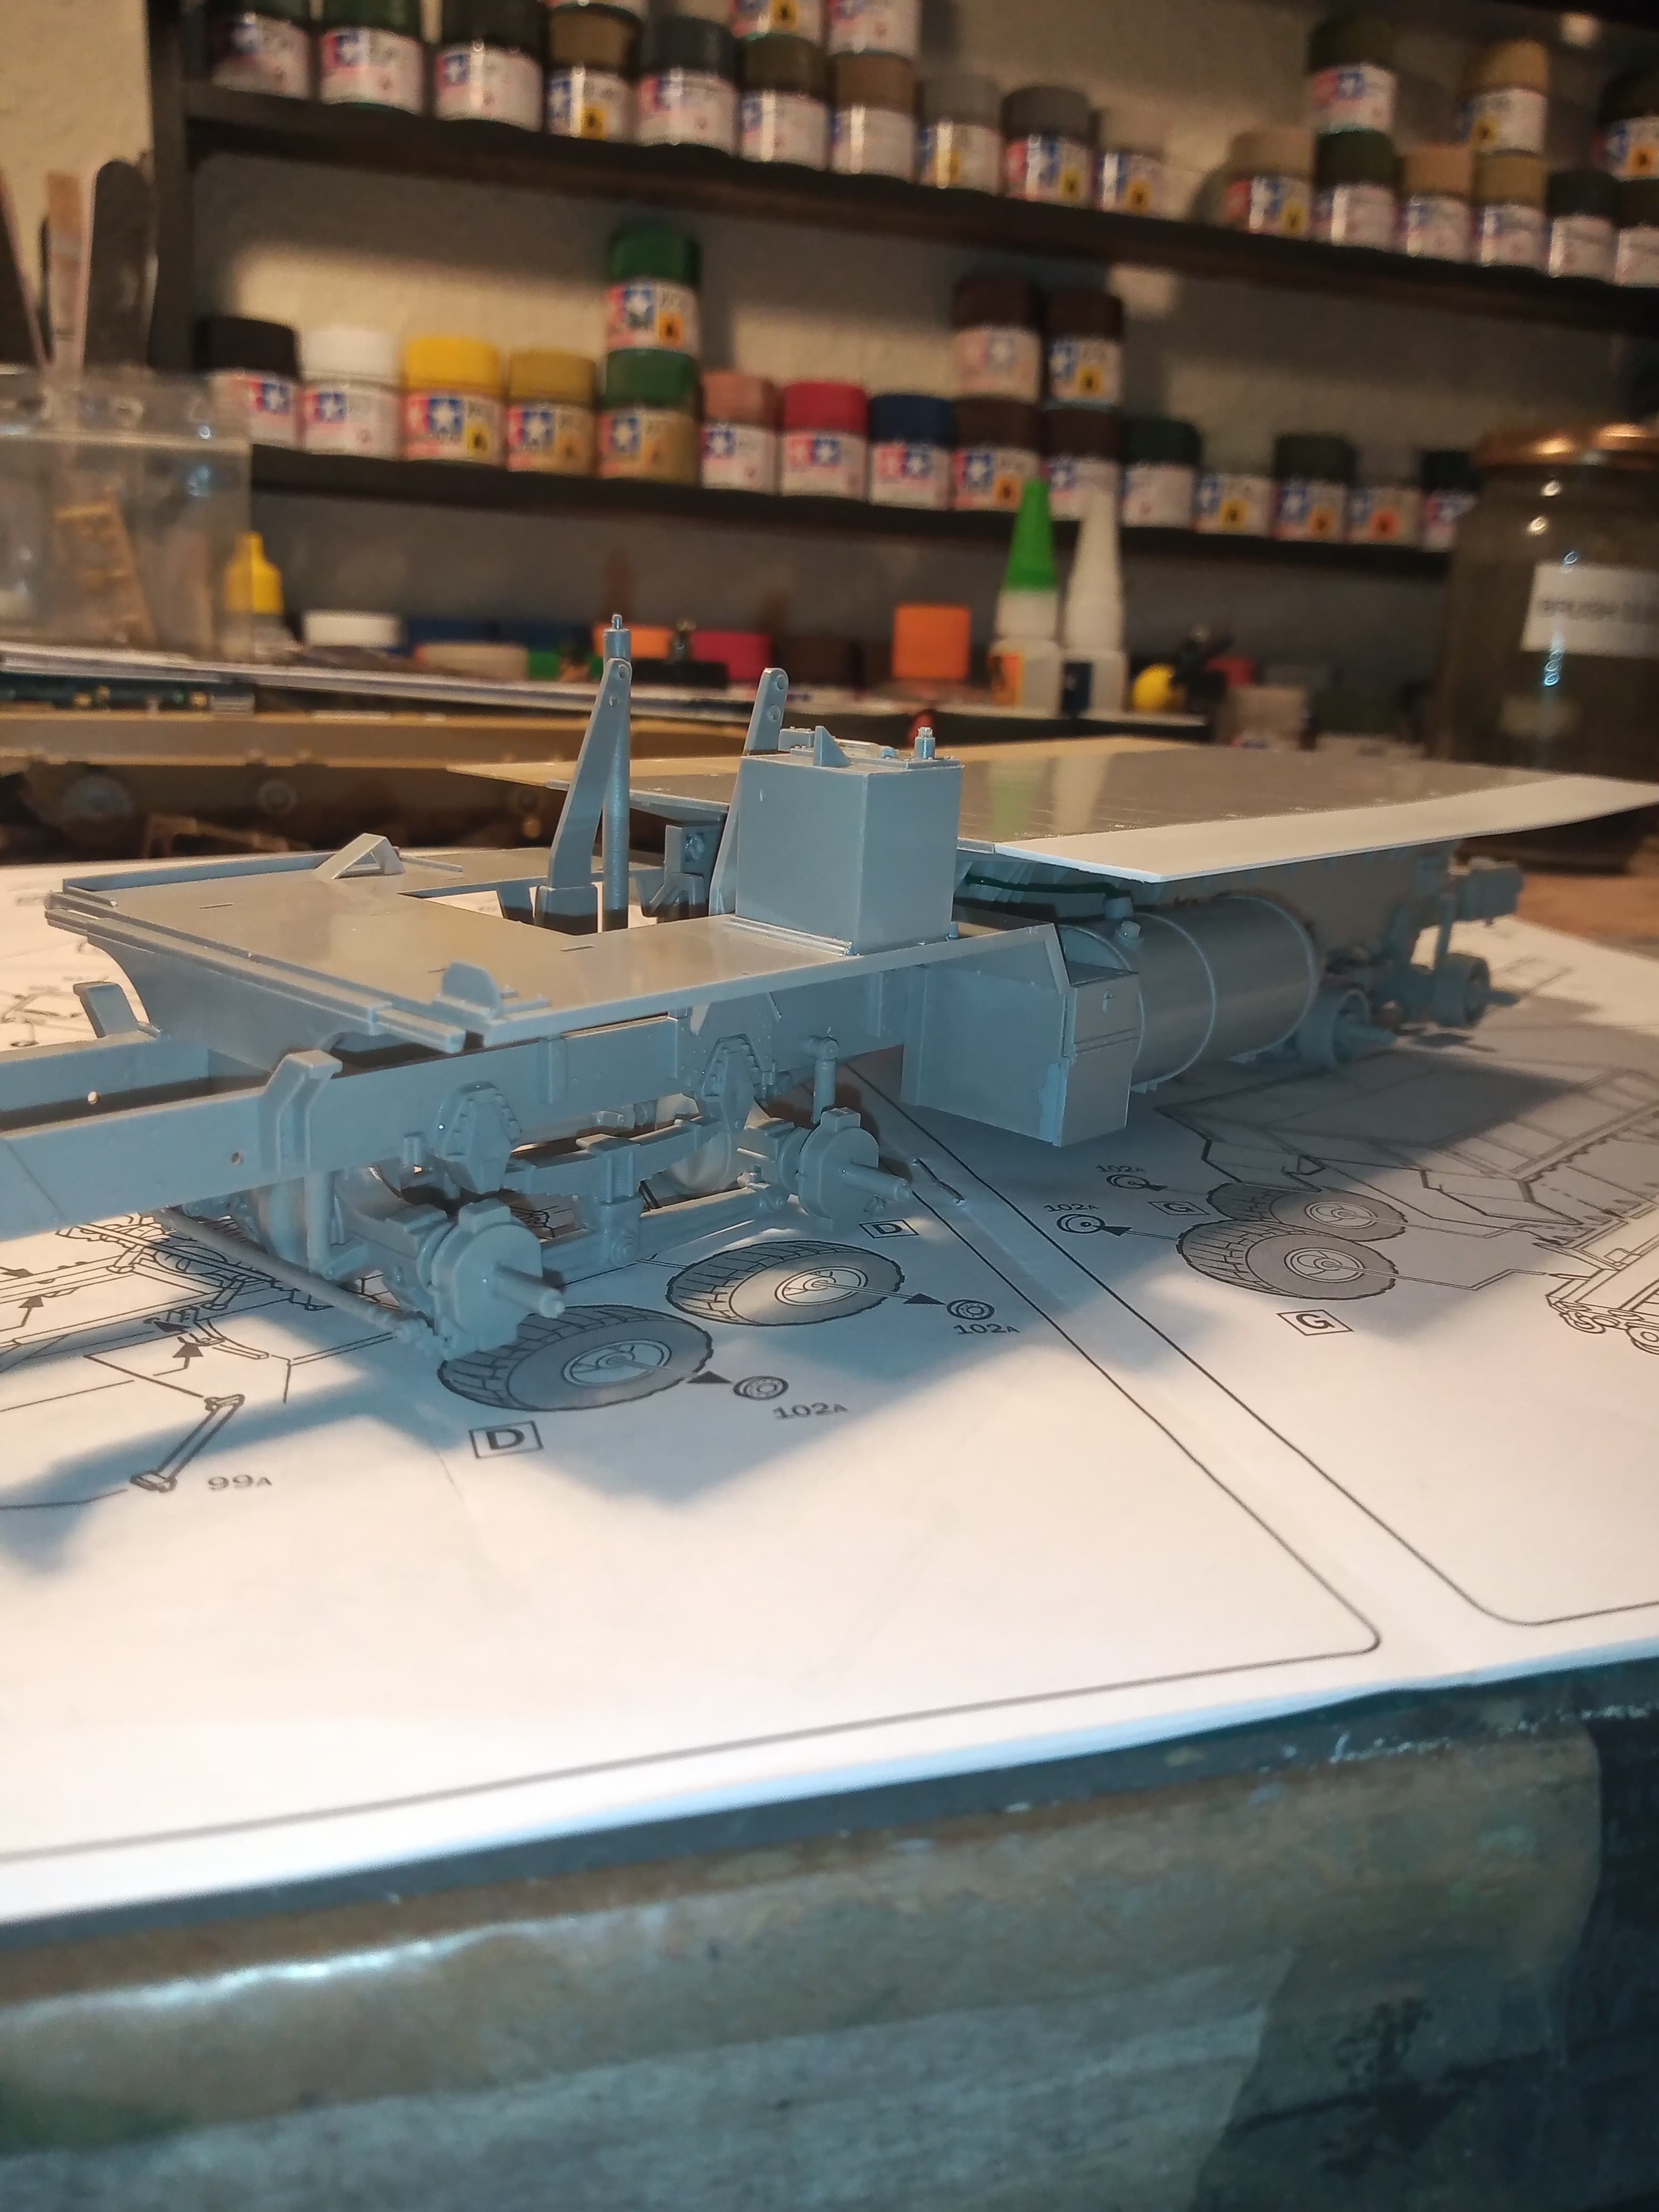
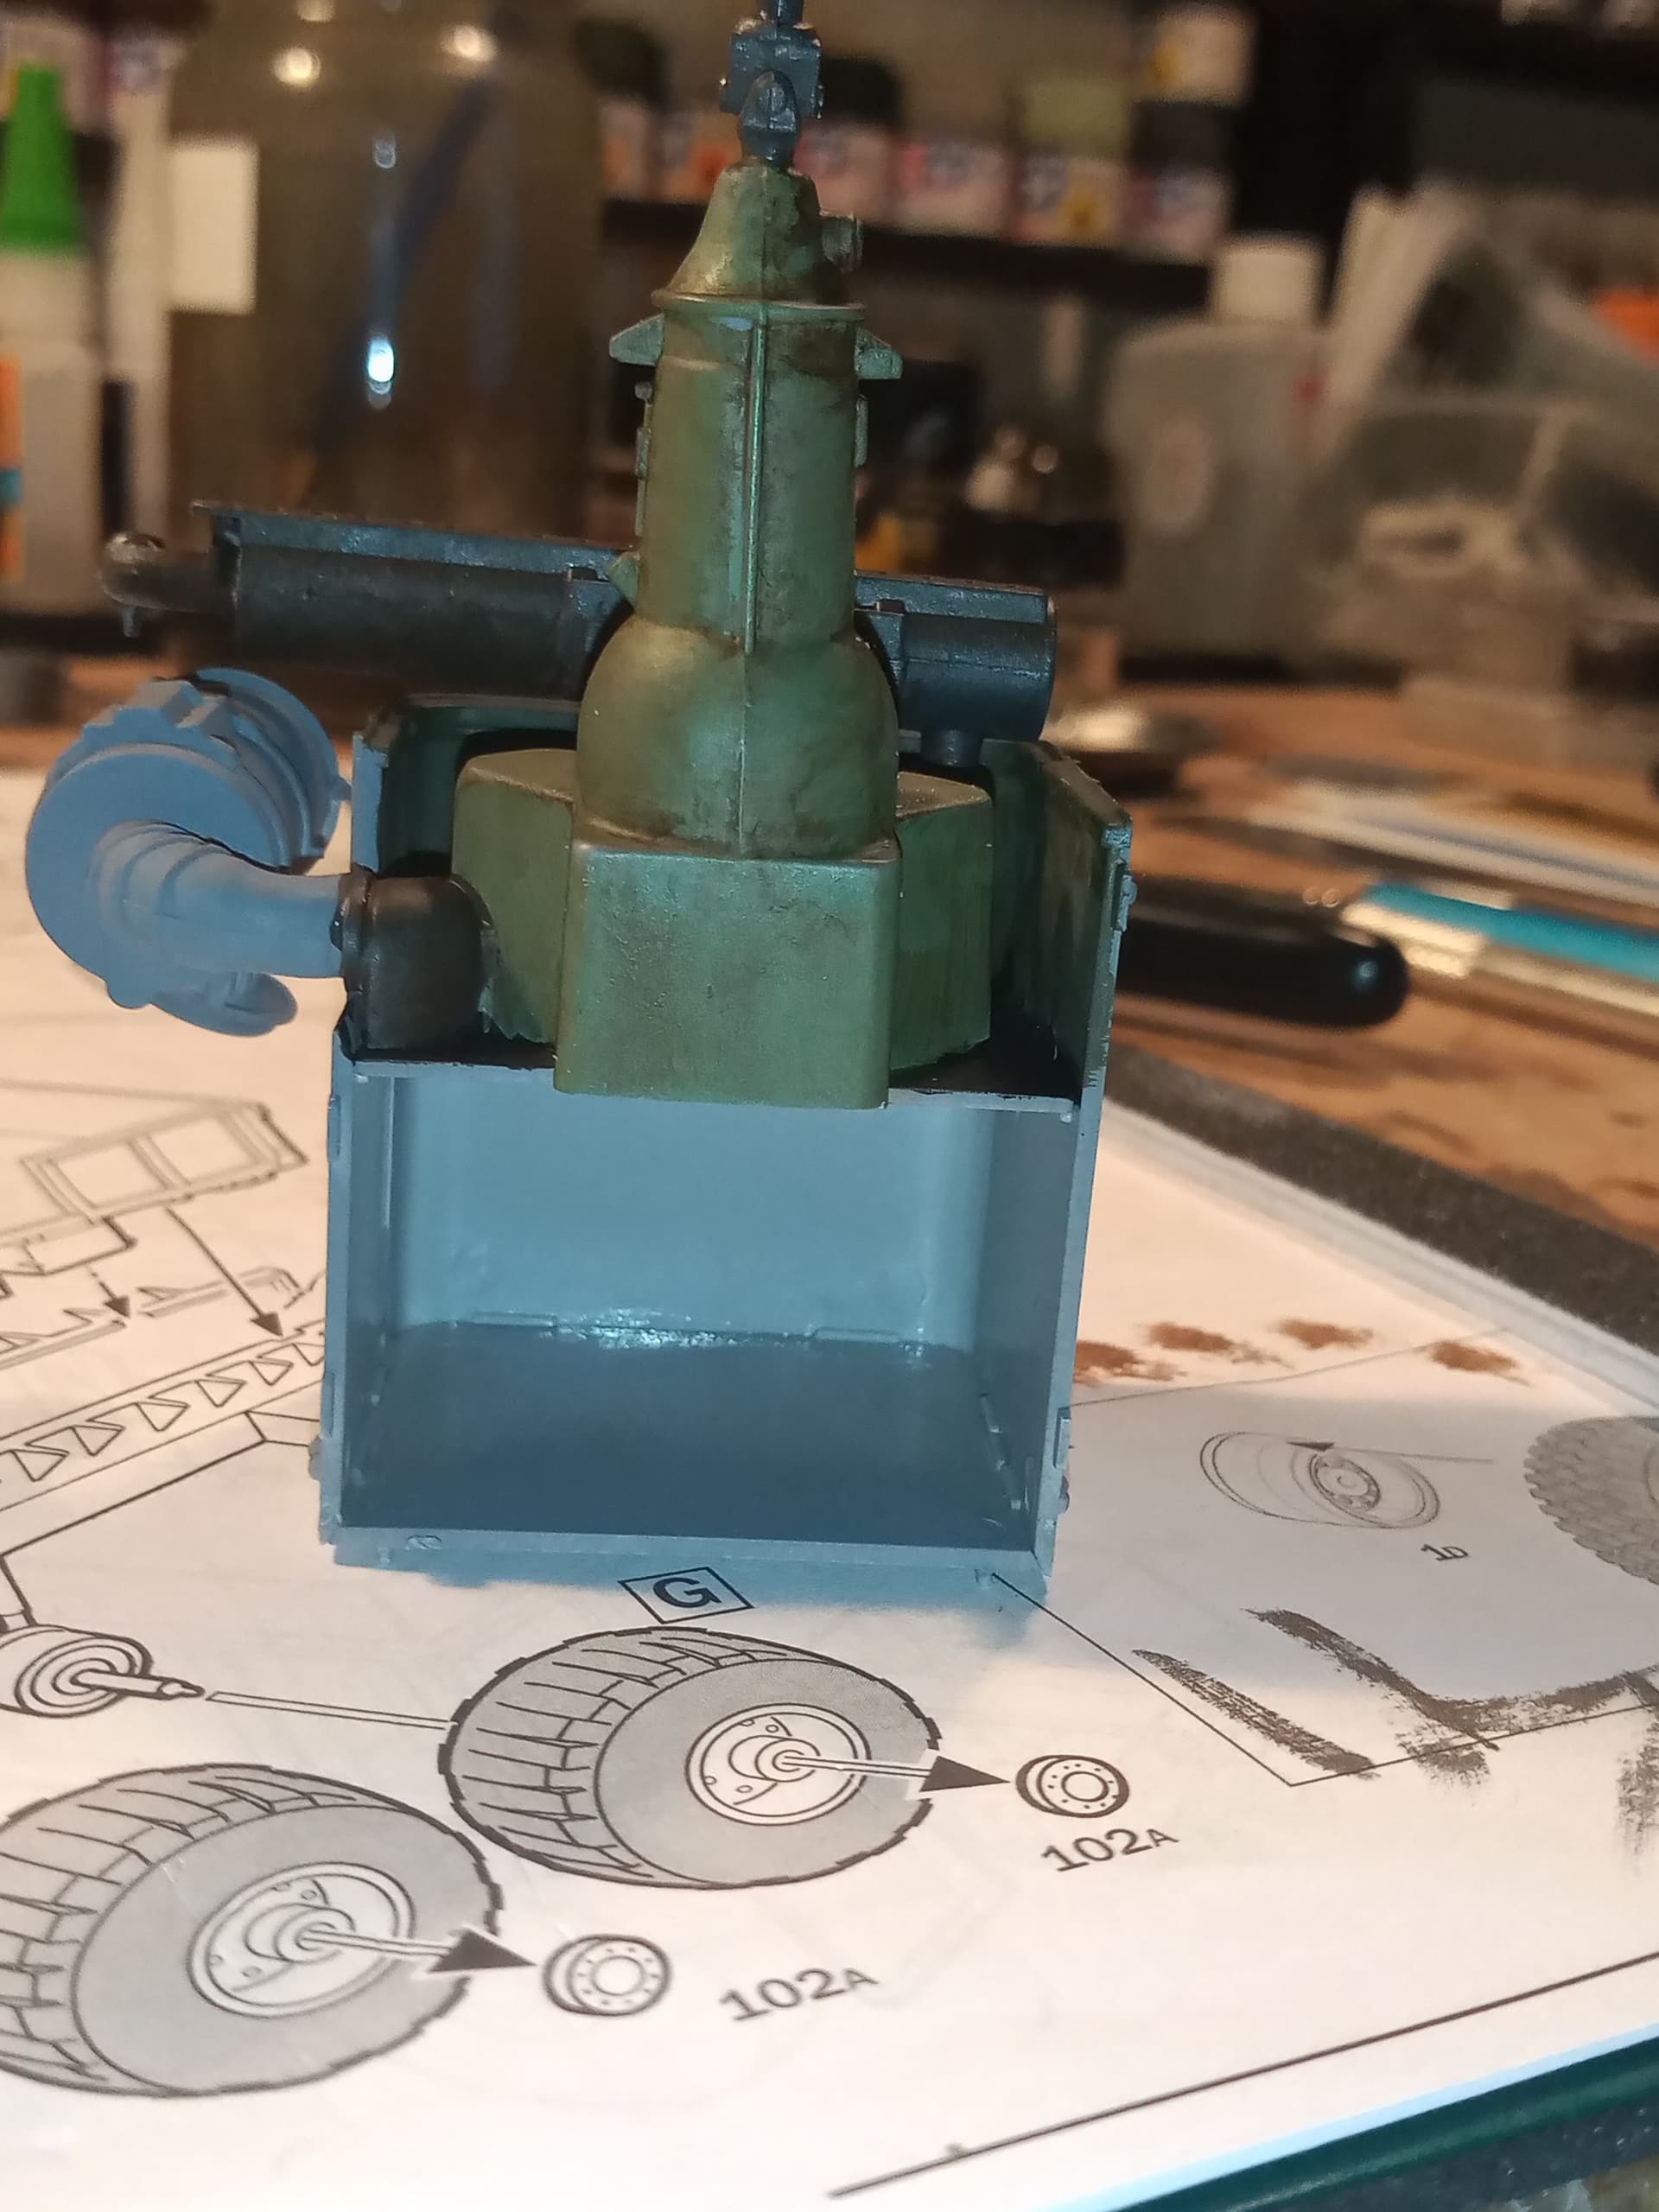
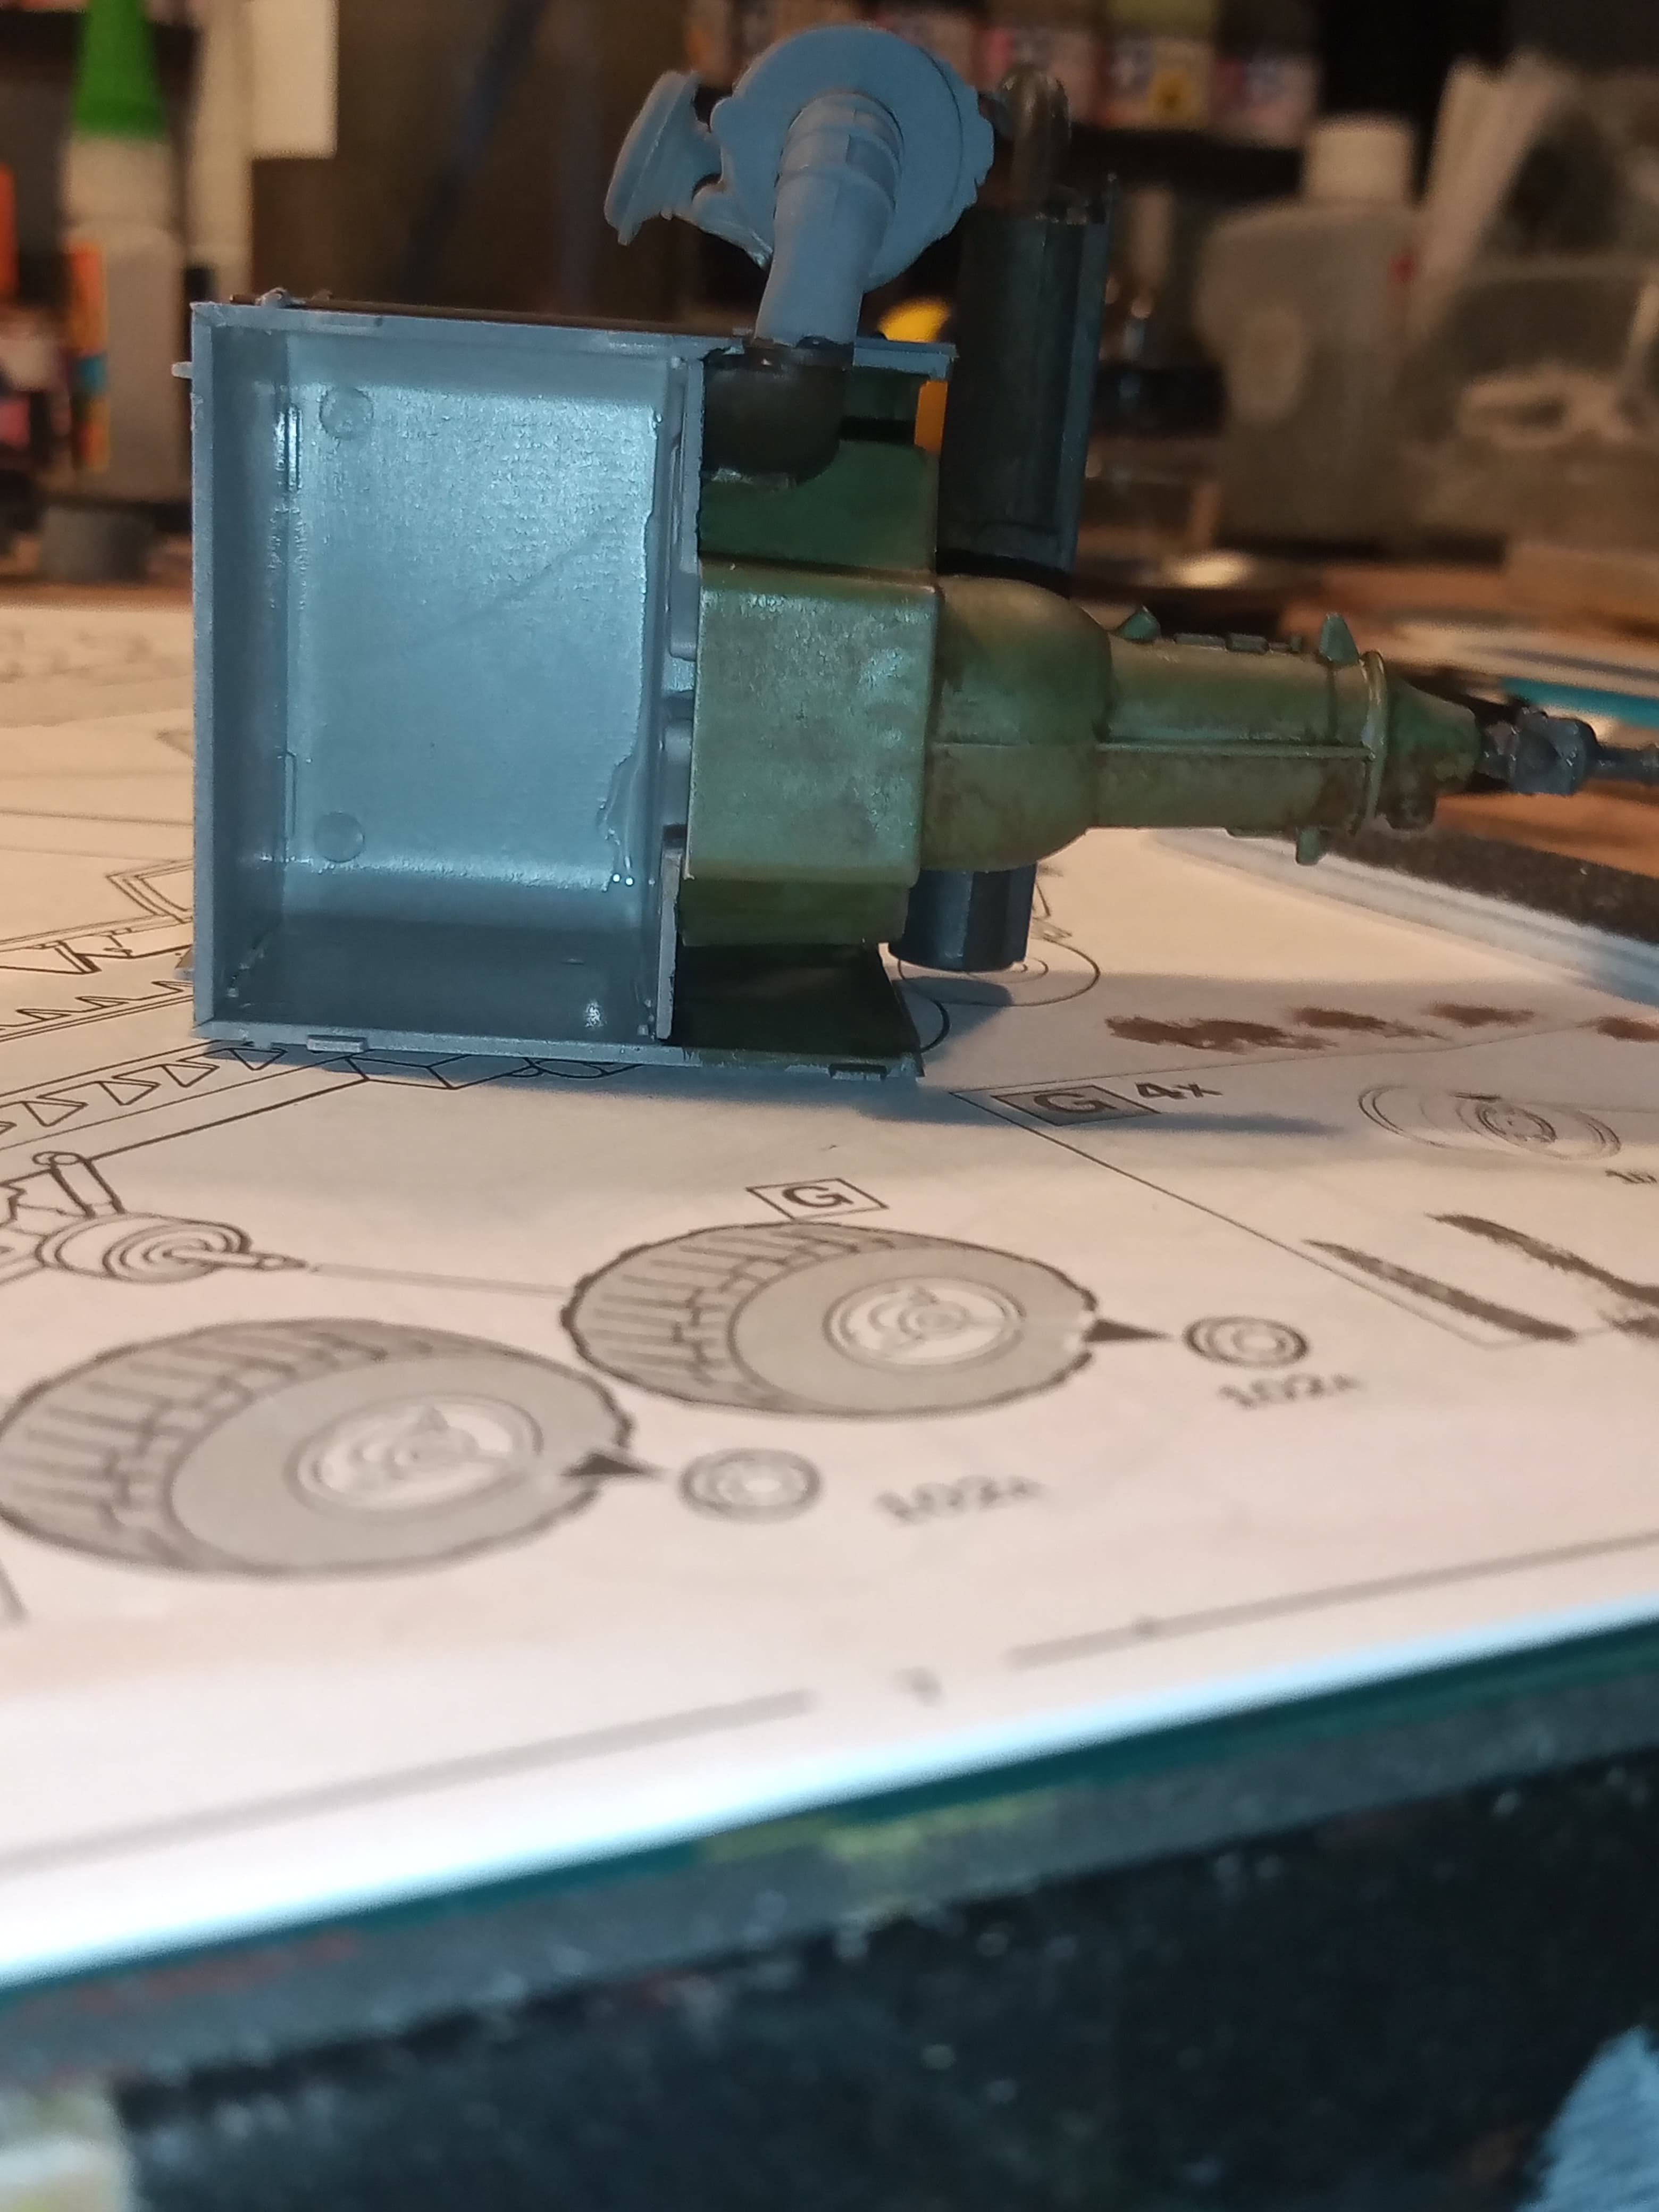
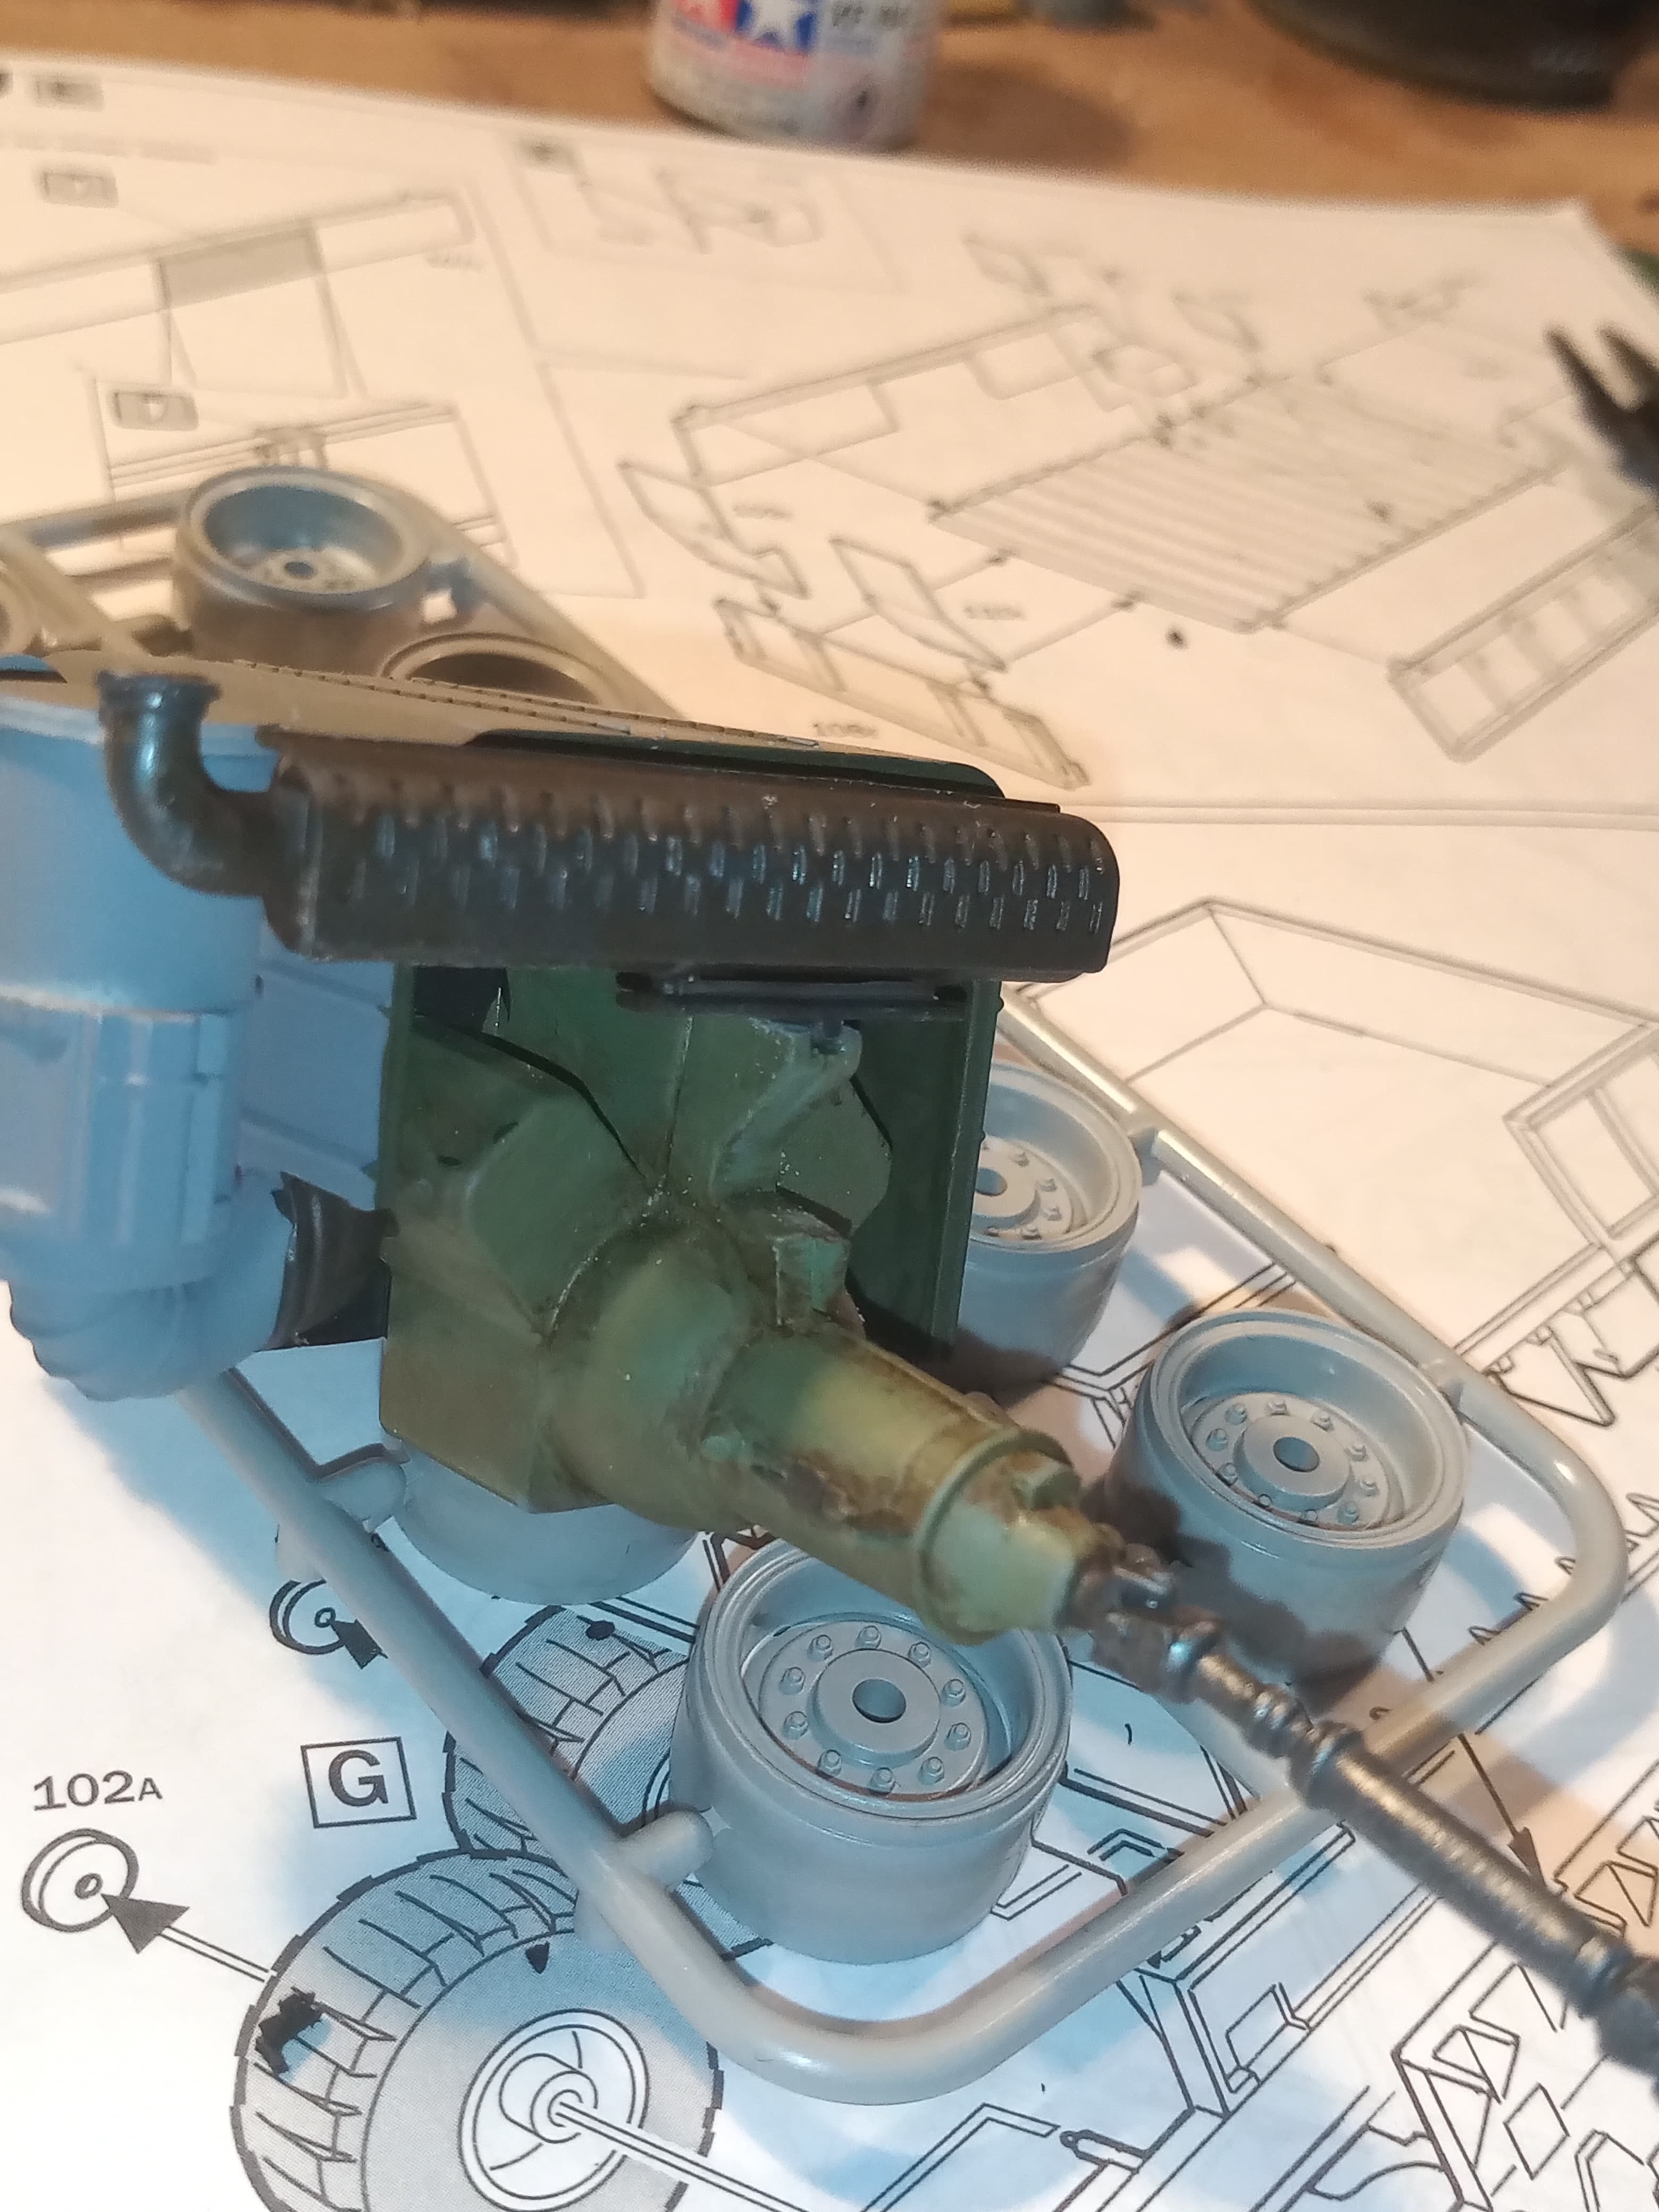
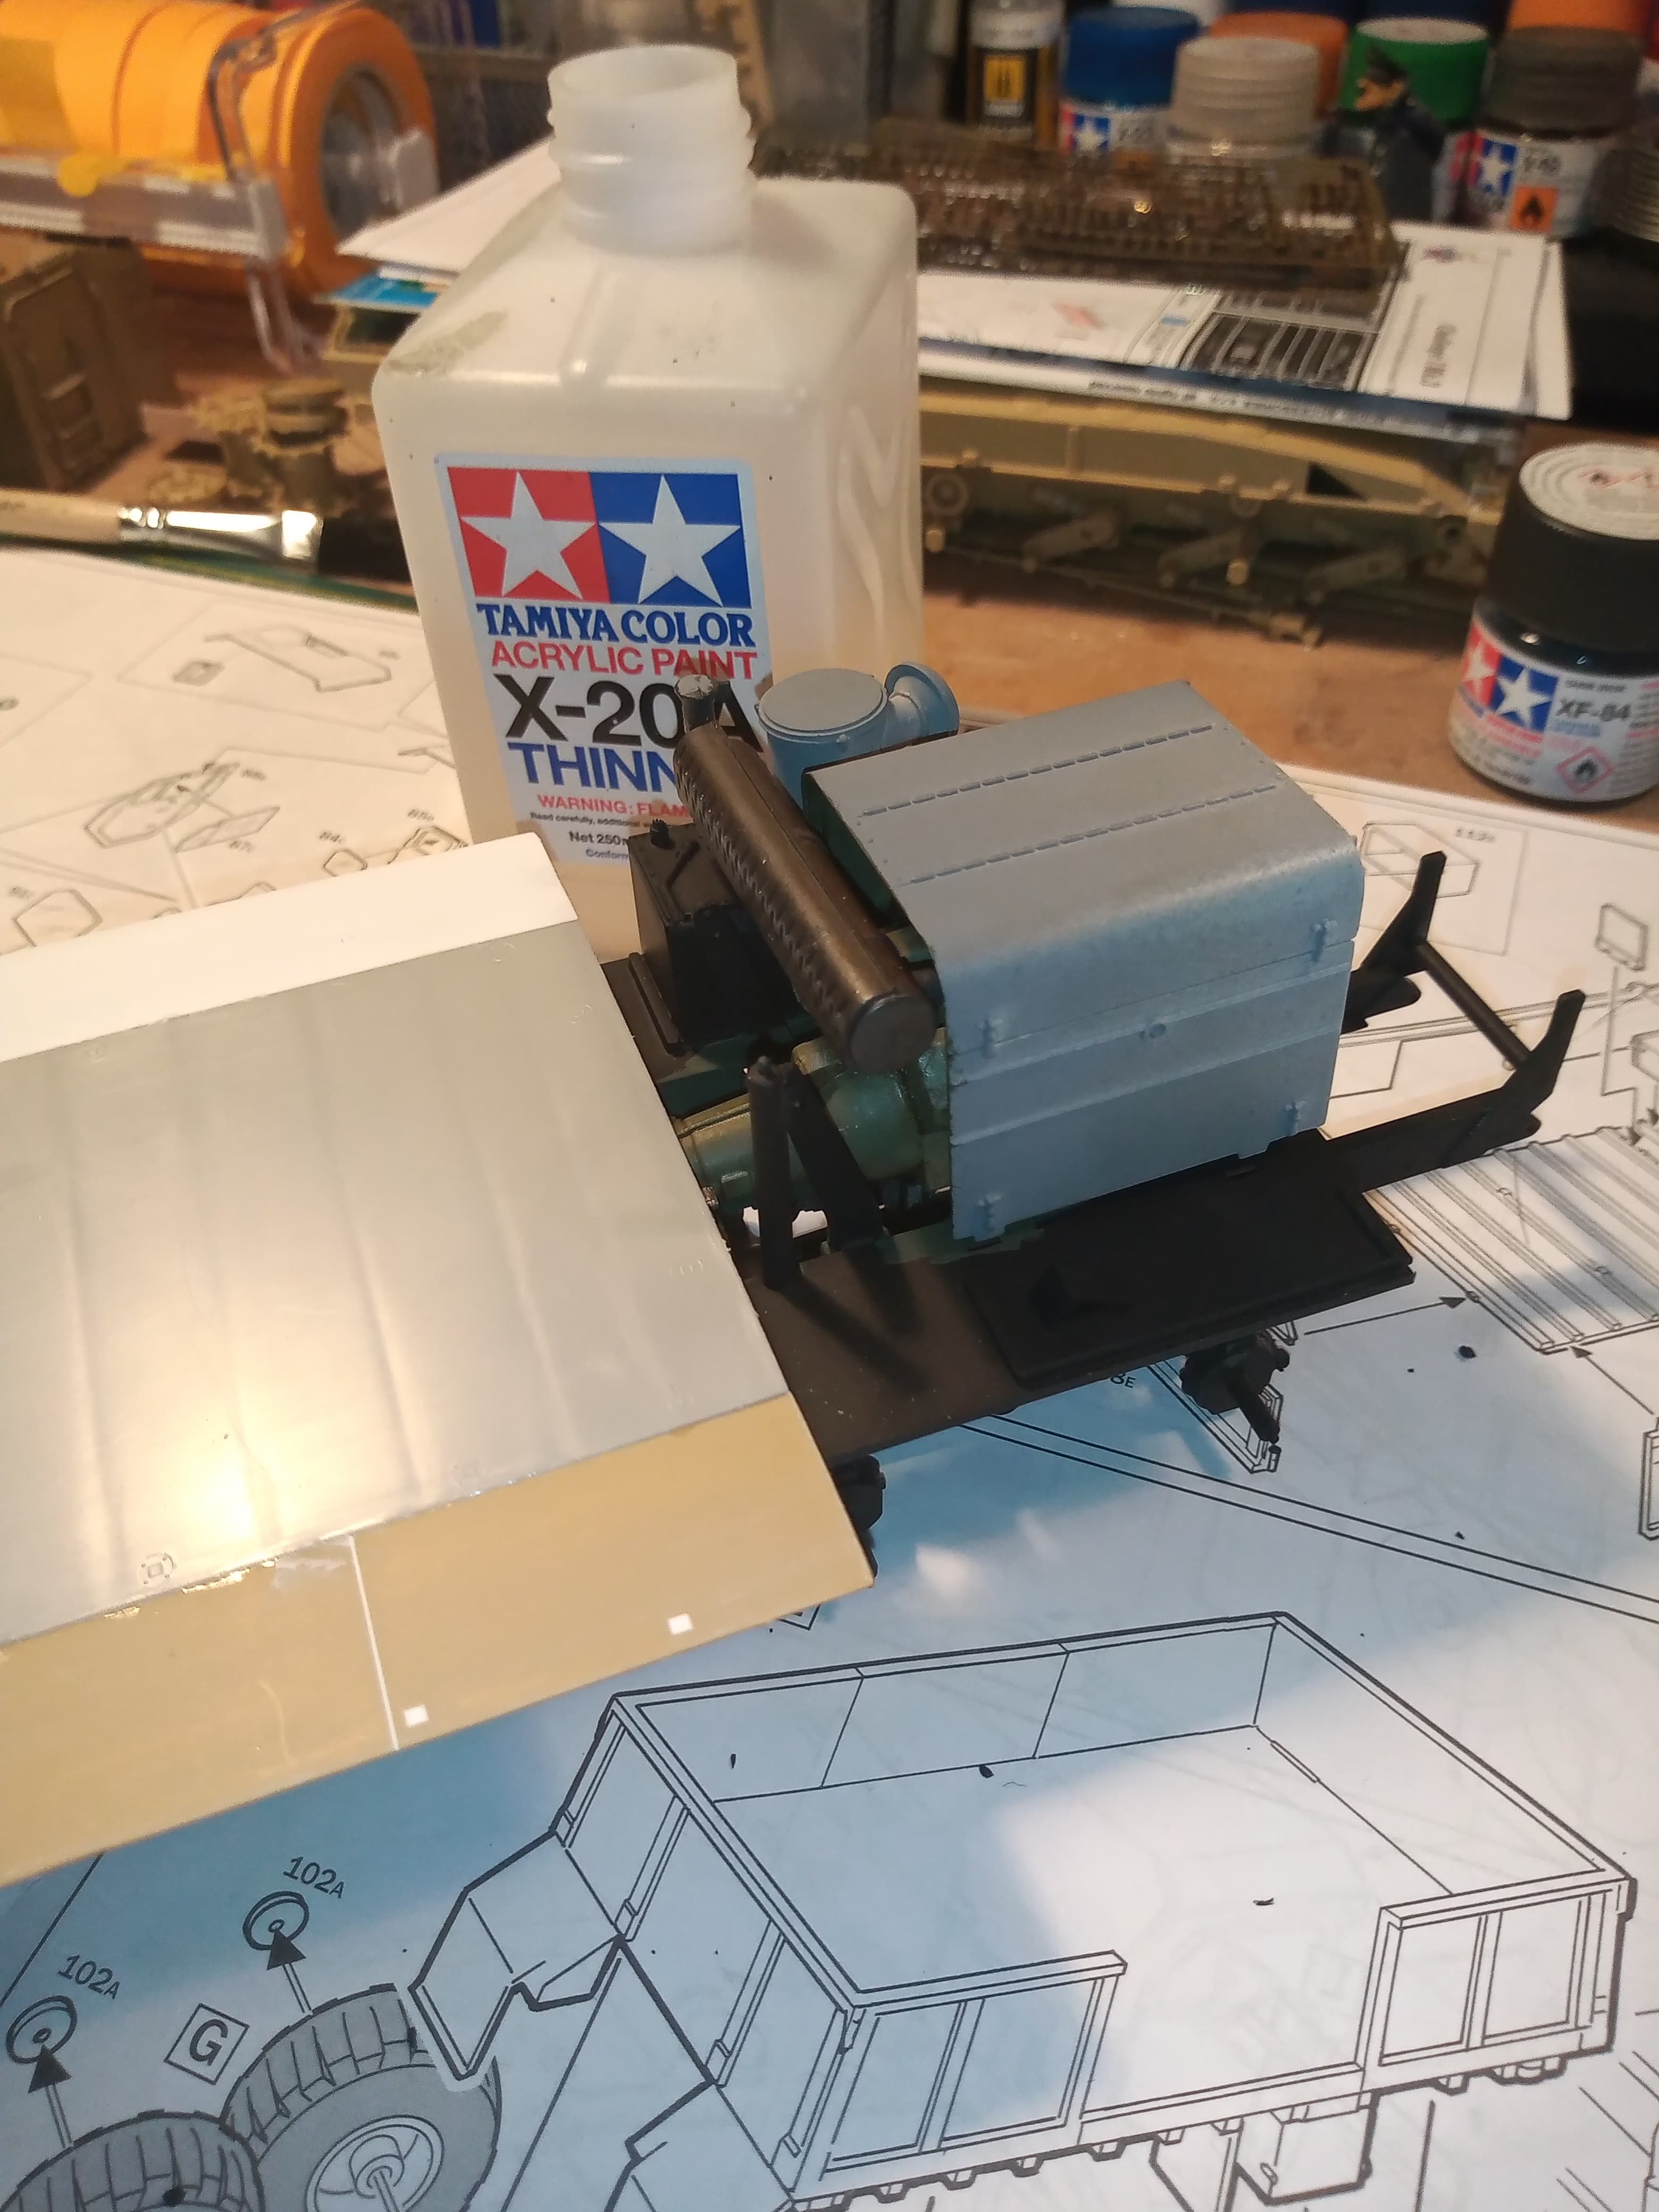
Threw some paint onto the engine area.its very basic, but on the finished item, I will hide it away mostly behind a mesh cover screen. Used Tamiya cockpit green for the block and cylinder heads and the Tx housing, Dark iron for the exhaust pipes and silencer box (out of view) and metallic grey for the turbo.
Yeah thats what I was thinking. I intend to cover that area with a mesh cage which will hide it even more, so wanted to get some colour in there which gives the impression of whats lurking in the depths.
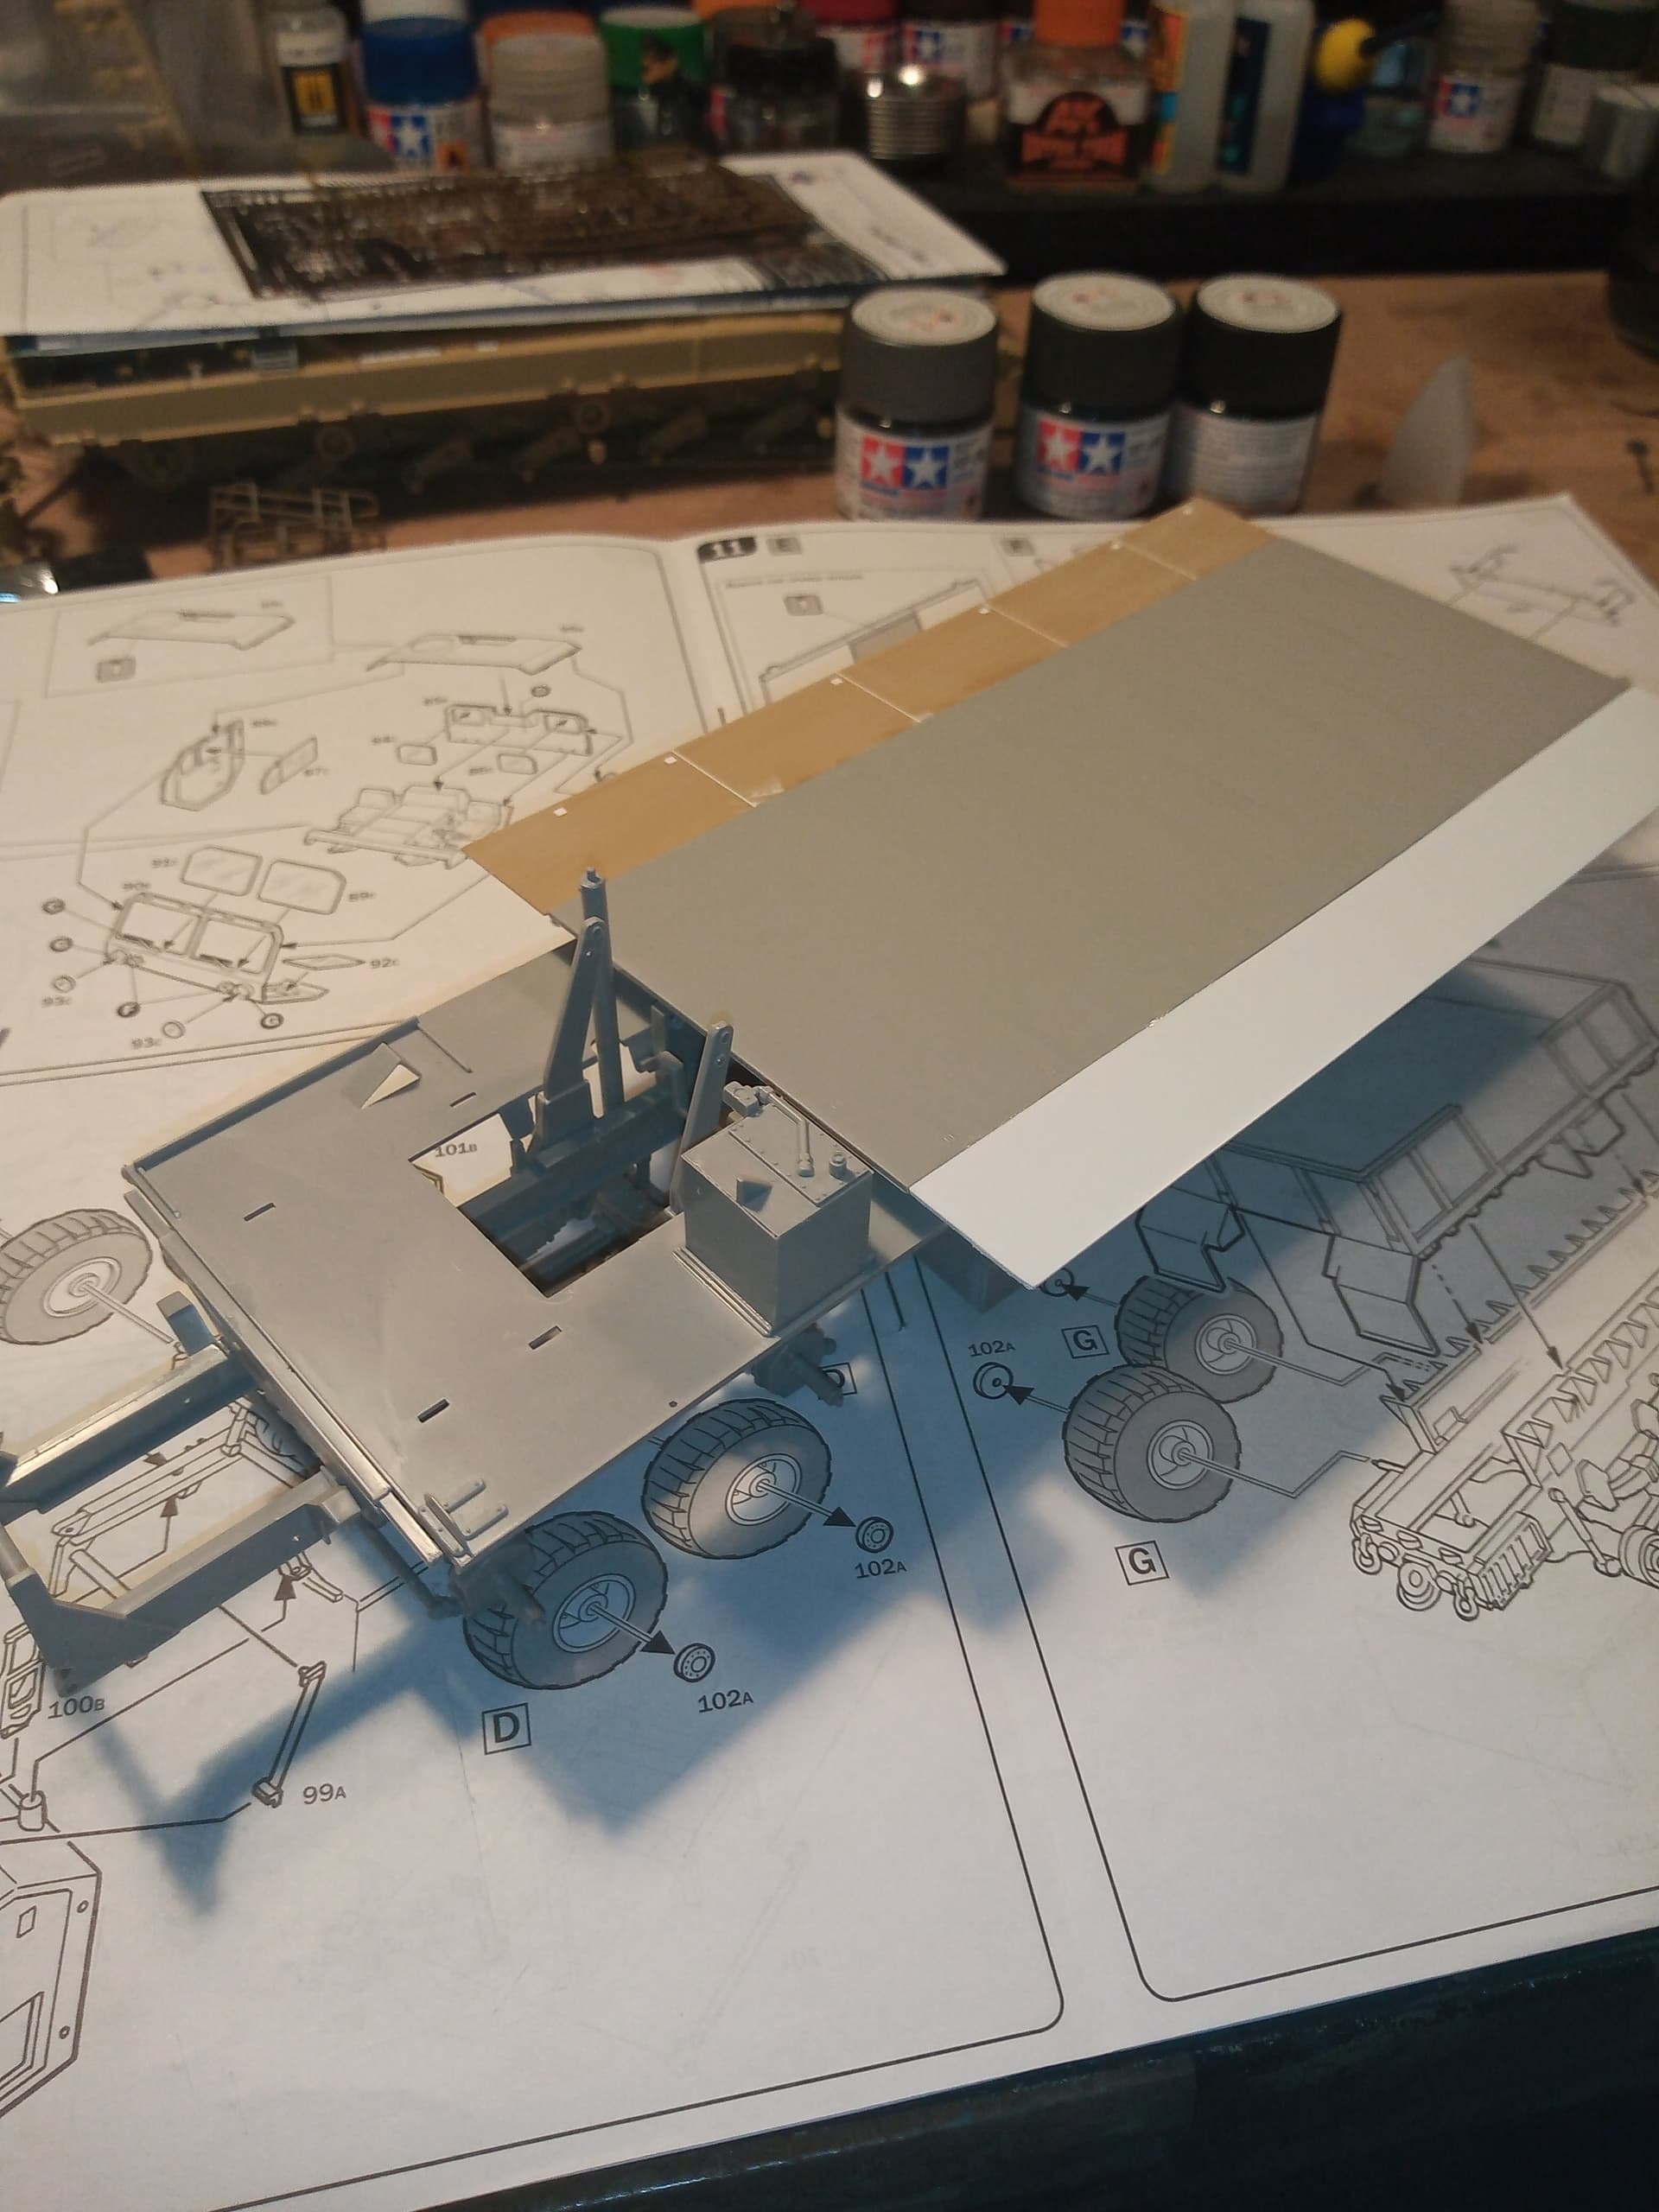
Forgot to mention the cargo bed is only dry fitted at the moment. I will be attempting weld lines cutting across the centre of each side extension to make it look like its 2 short bits to make a long length, and then a long weld line to connect the whole side extensions to the main cargo bed.
Also, under the cargo bed extensions, they will be further supported by long diagonal out rigger supports from the chassis up to the extensions.
@Johnnych01, This is sure looking good - looking forward to see the loaded bed! Your idea with the welds is good too - curious to see how you do that. I’ve tried a couple of times, but haven’t had very noticeable results!
Could you open the hatch over the engine to make it look like someone is working on it? Cut along the seam etc? maybe just tilted up enough so you could see something that looks like, but isn’t fully detailed engine? ha! the model builder’s lament - to show or not to show!
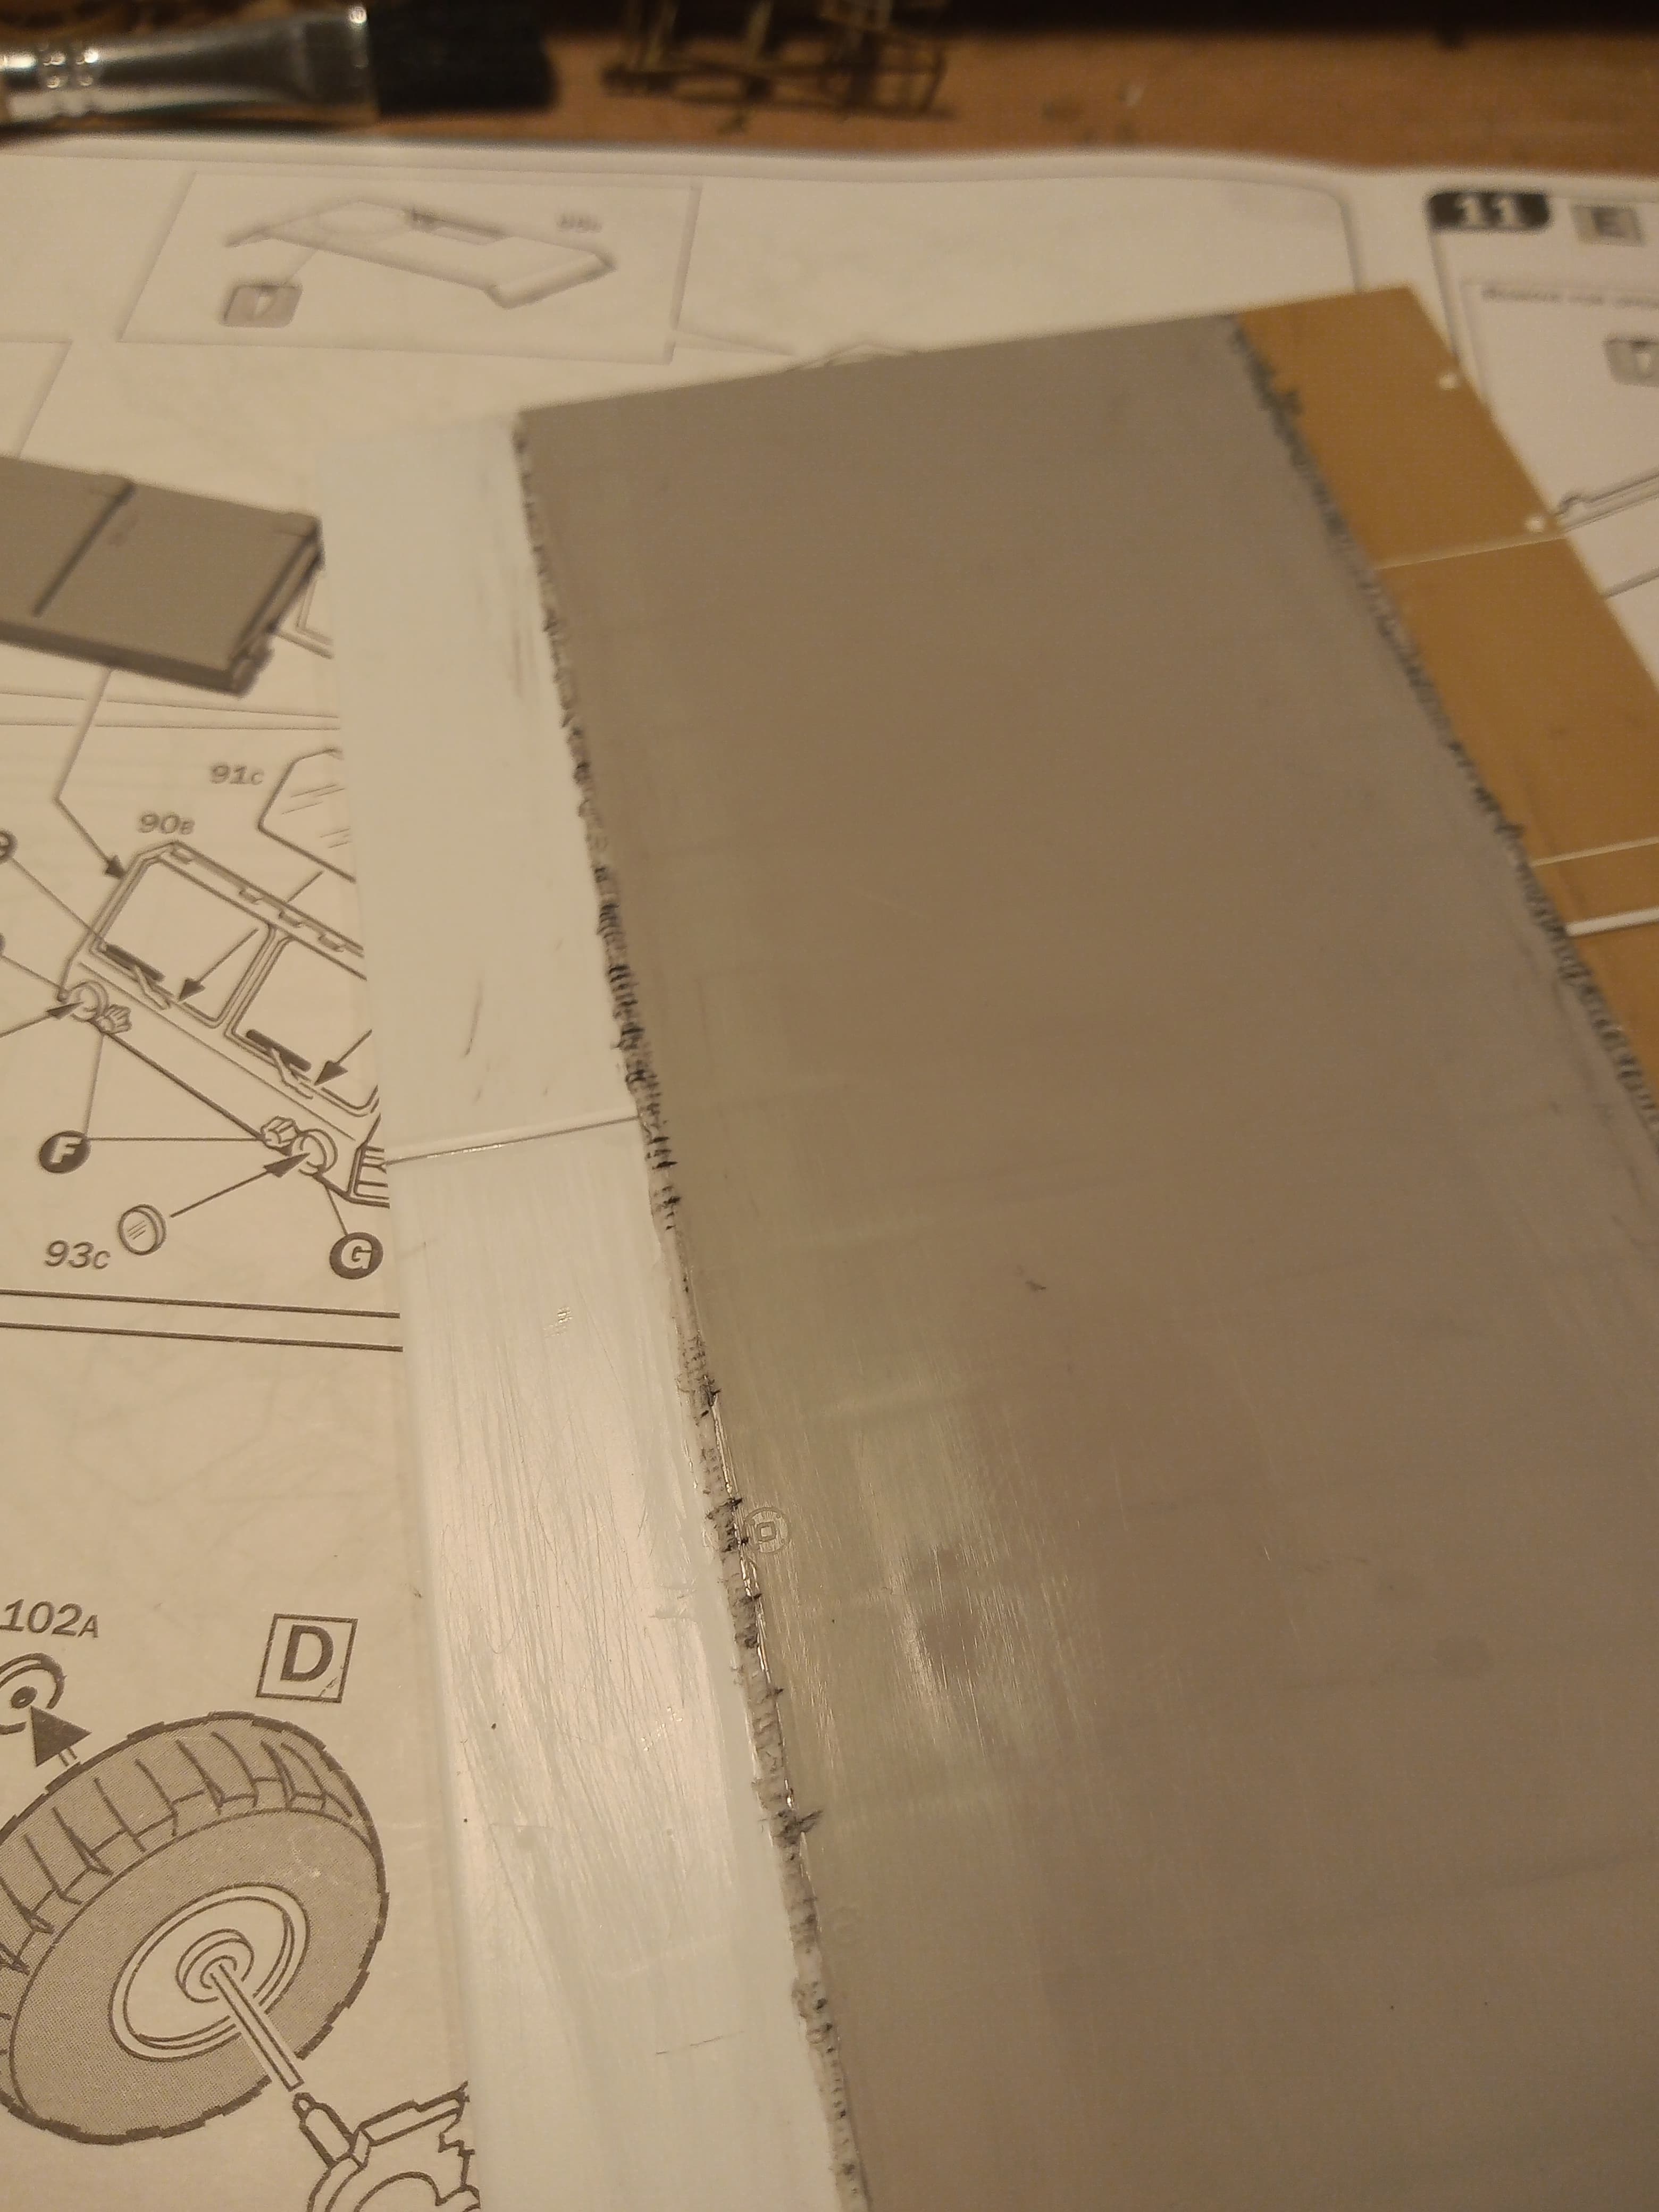
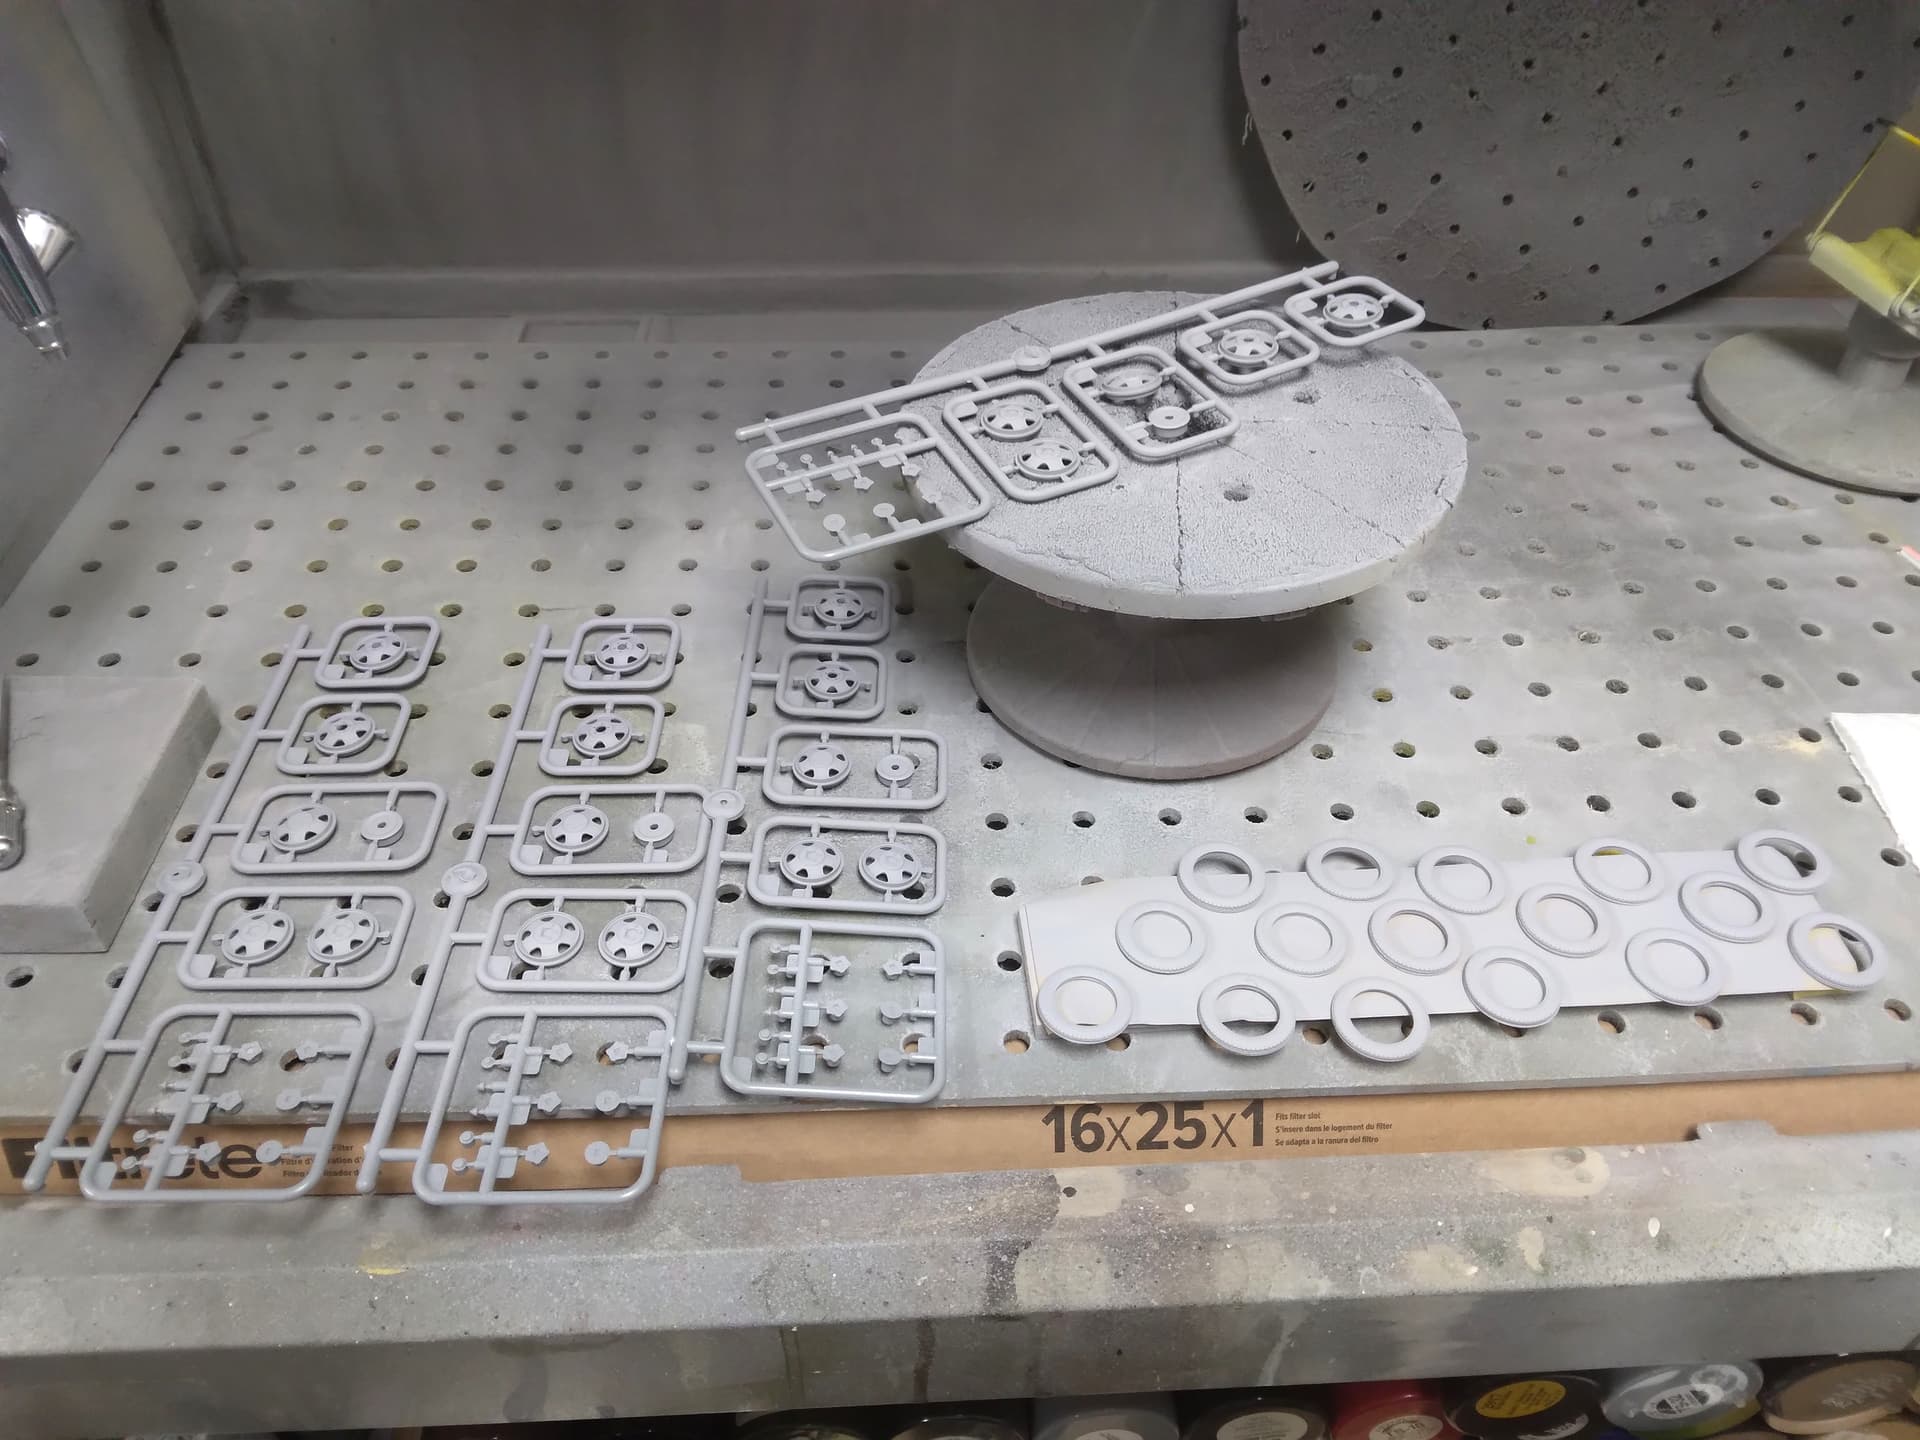
@Tank_1812 , hi Ryan - wow - that is some warp, and those big “dots”…very nice this will keep you busy! Are the kit parts solid enough to help straighten/correct the warp? if not, could you sneak in a sheet of some heavy styrene (that won’t be seen), like .040" sheet, to force the shape into square? Looking forward to seeing how you fix it!
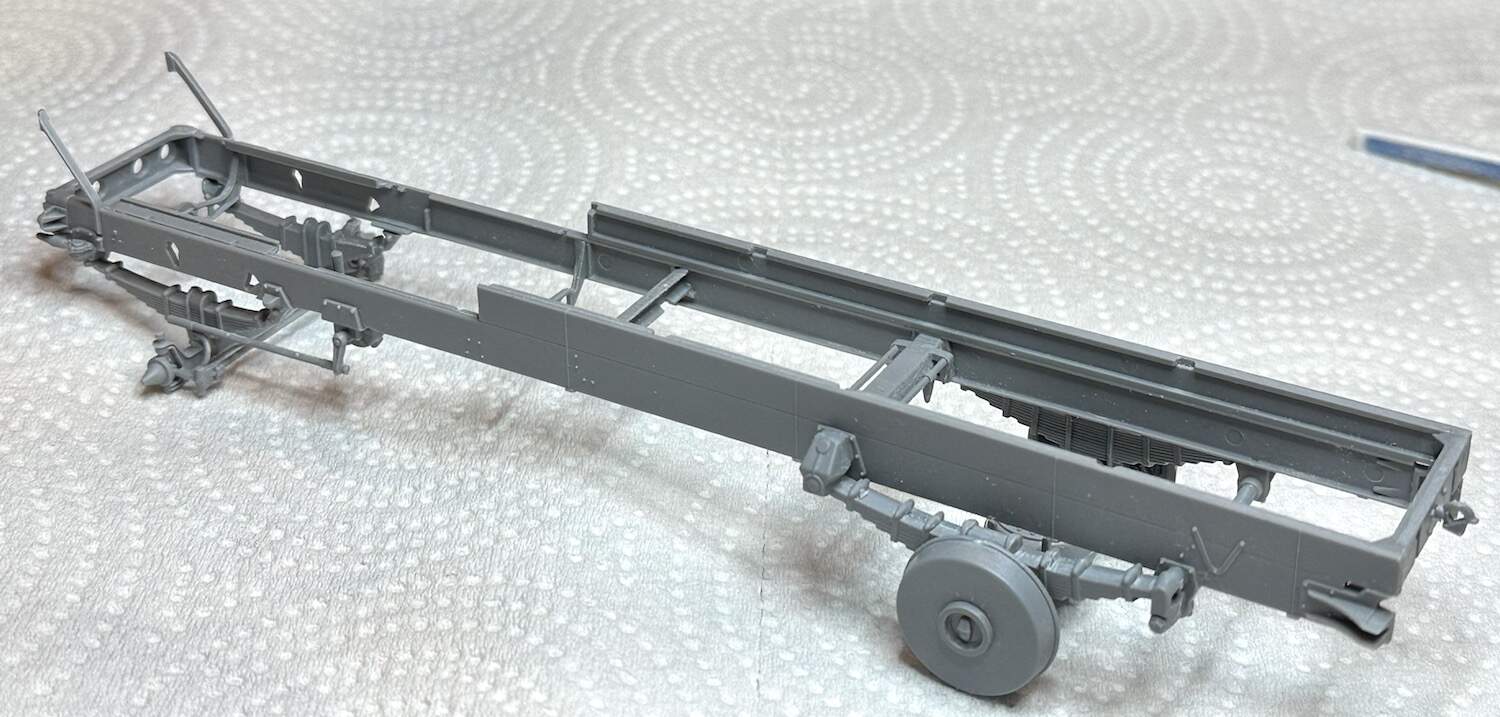
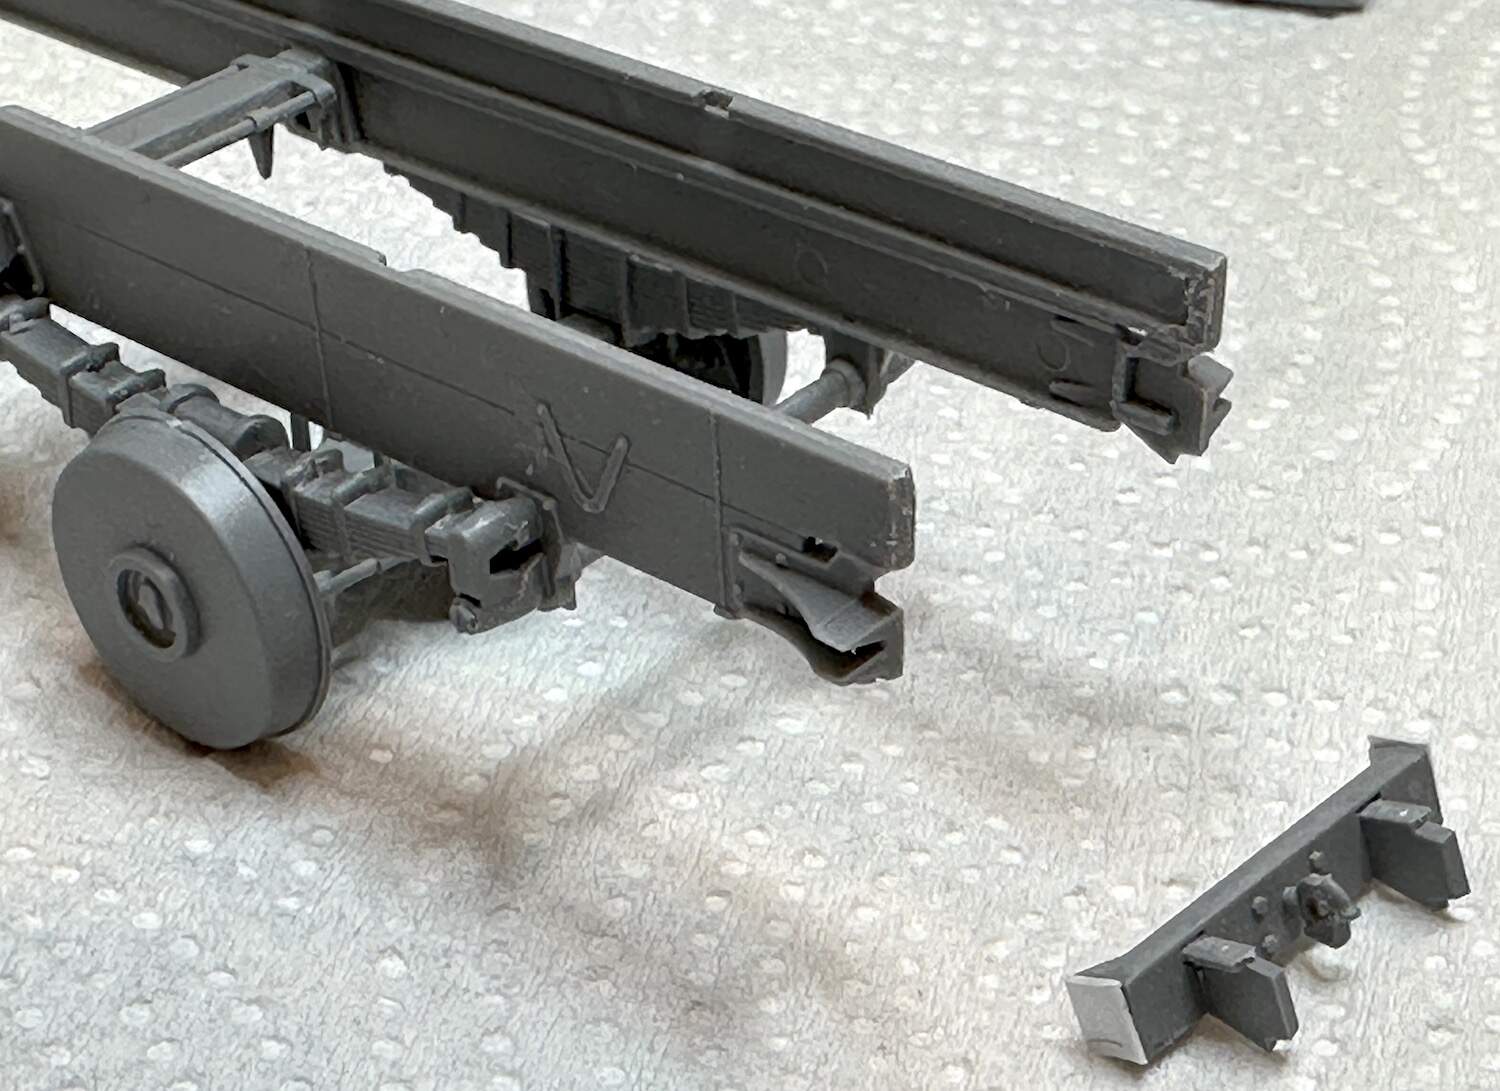
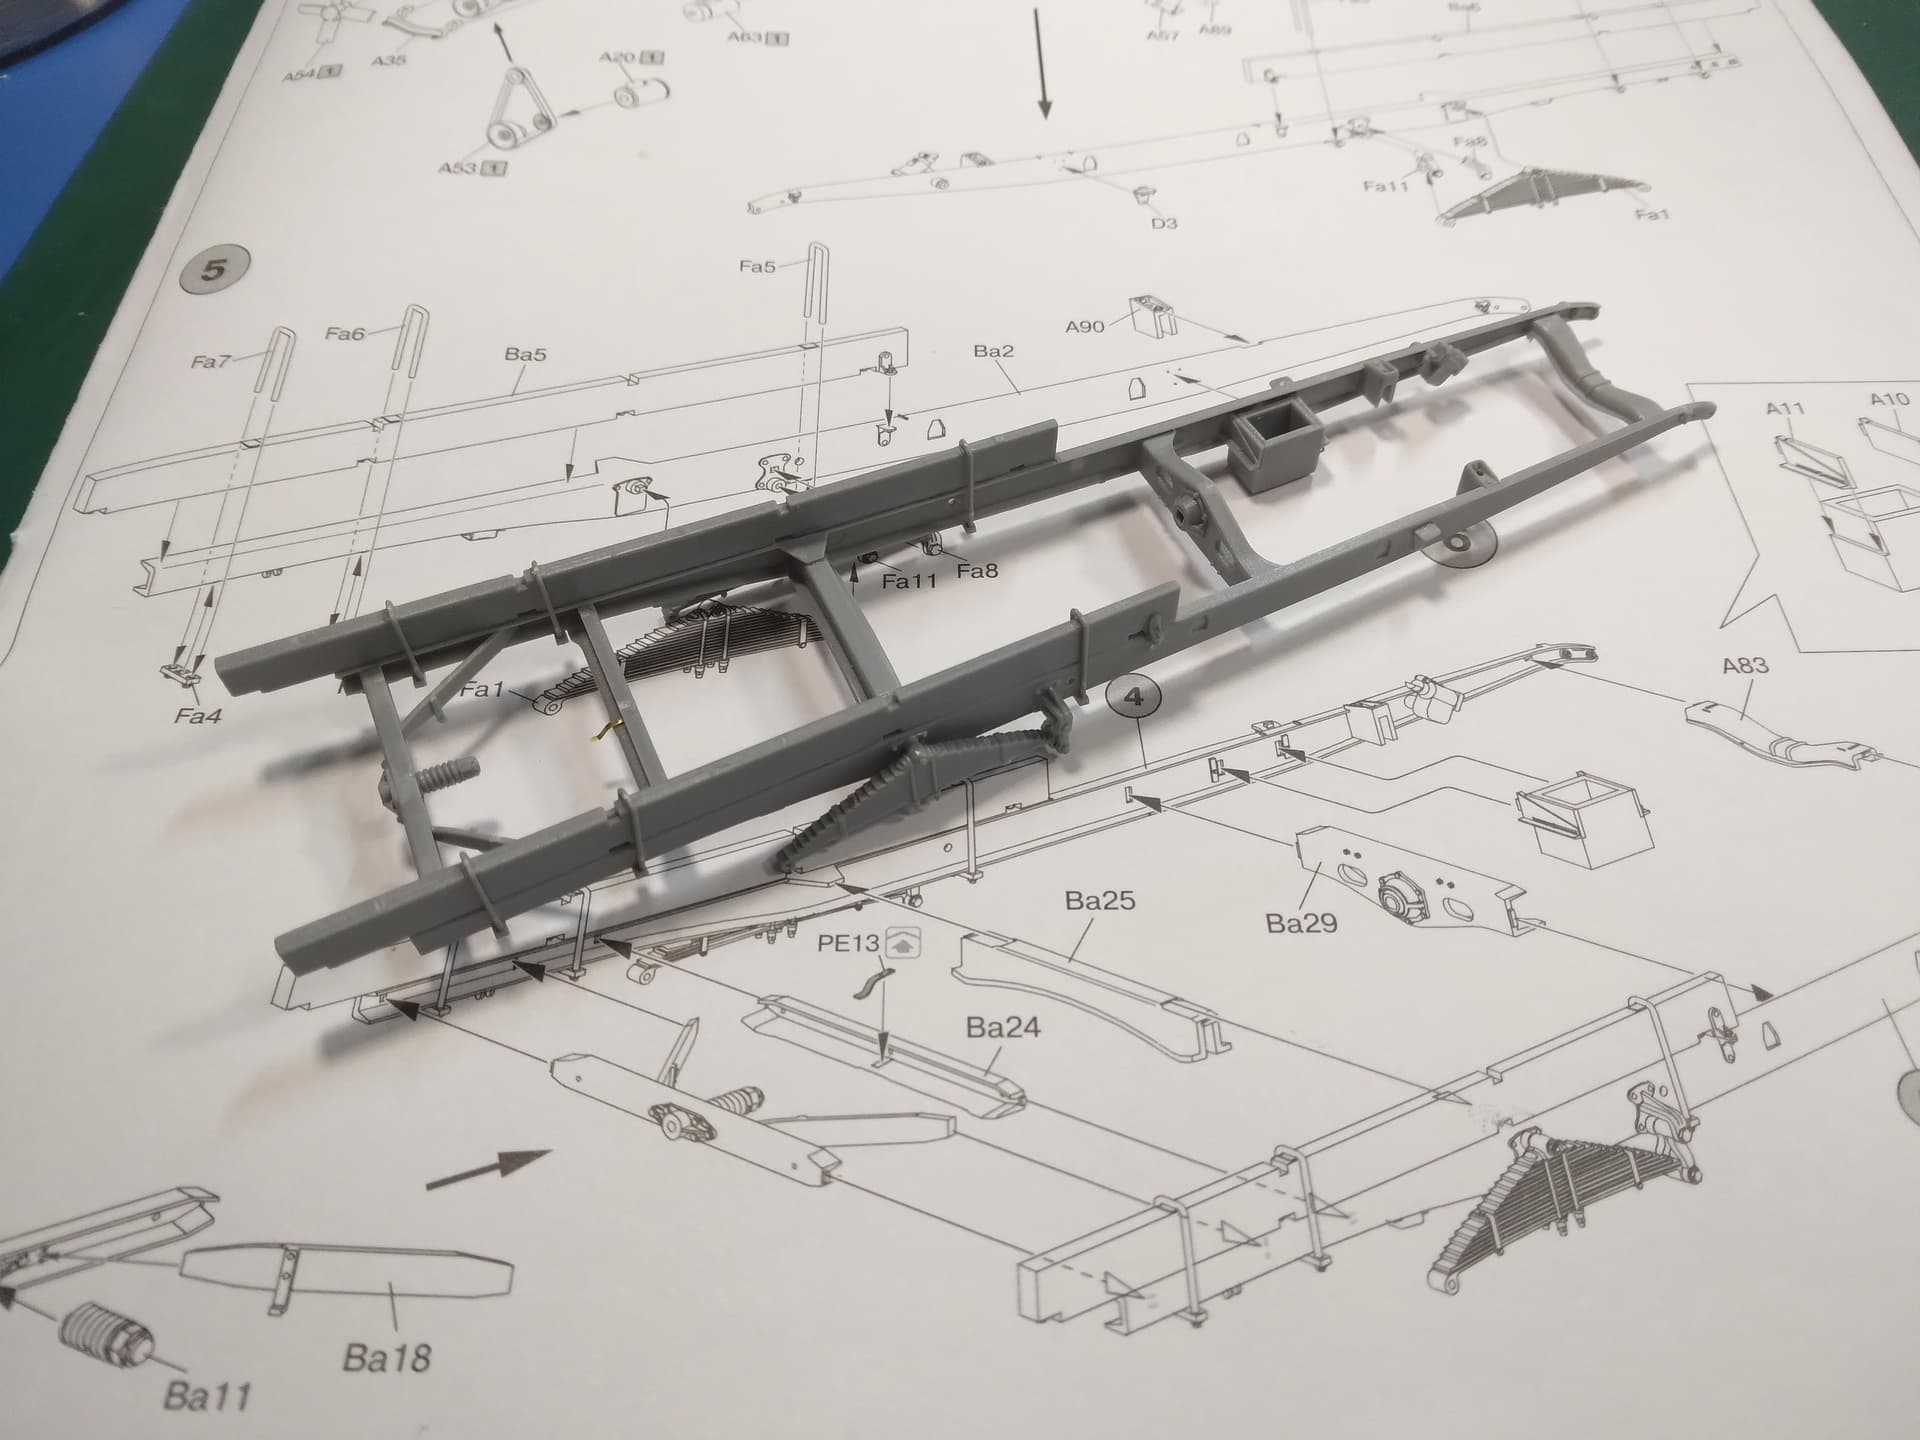
Fess up time! My failure to understand the instructions or look far enough ahead to fully understand them bit me. The rear frame cross member didn’t fit in a kit where everything else has fit perfectly. I puzzled over this awhile and decided that the part had to box in the rear section of the frame. That was standard automotive practice for the time so I sanded it to fit and glued it in place.
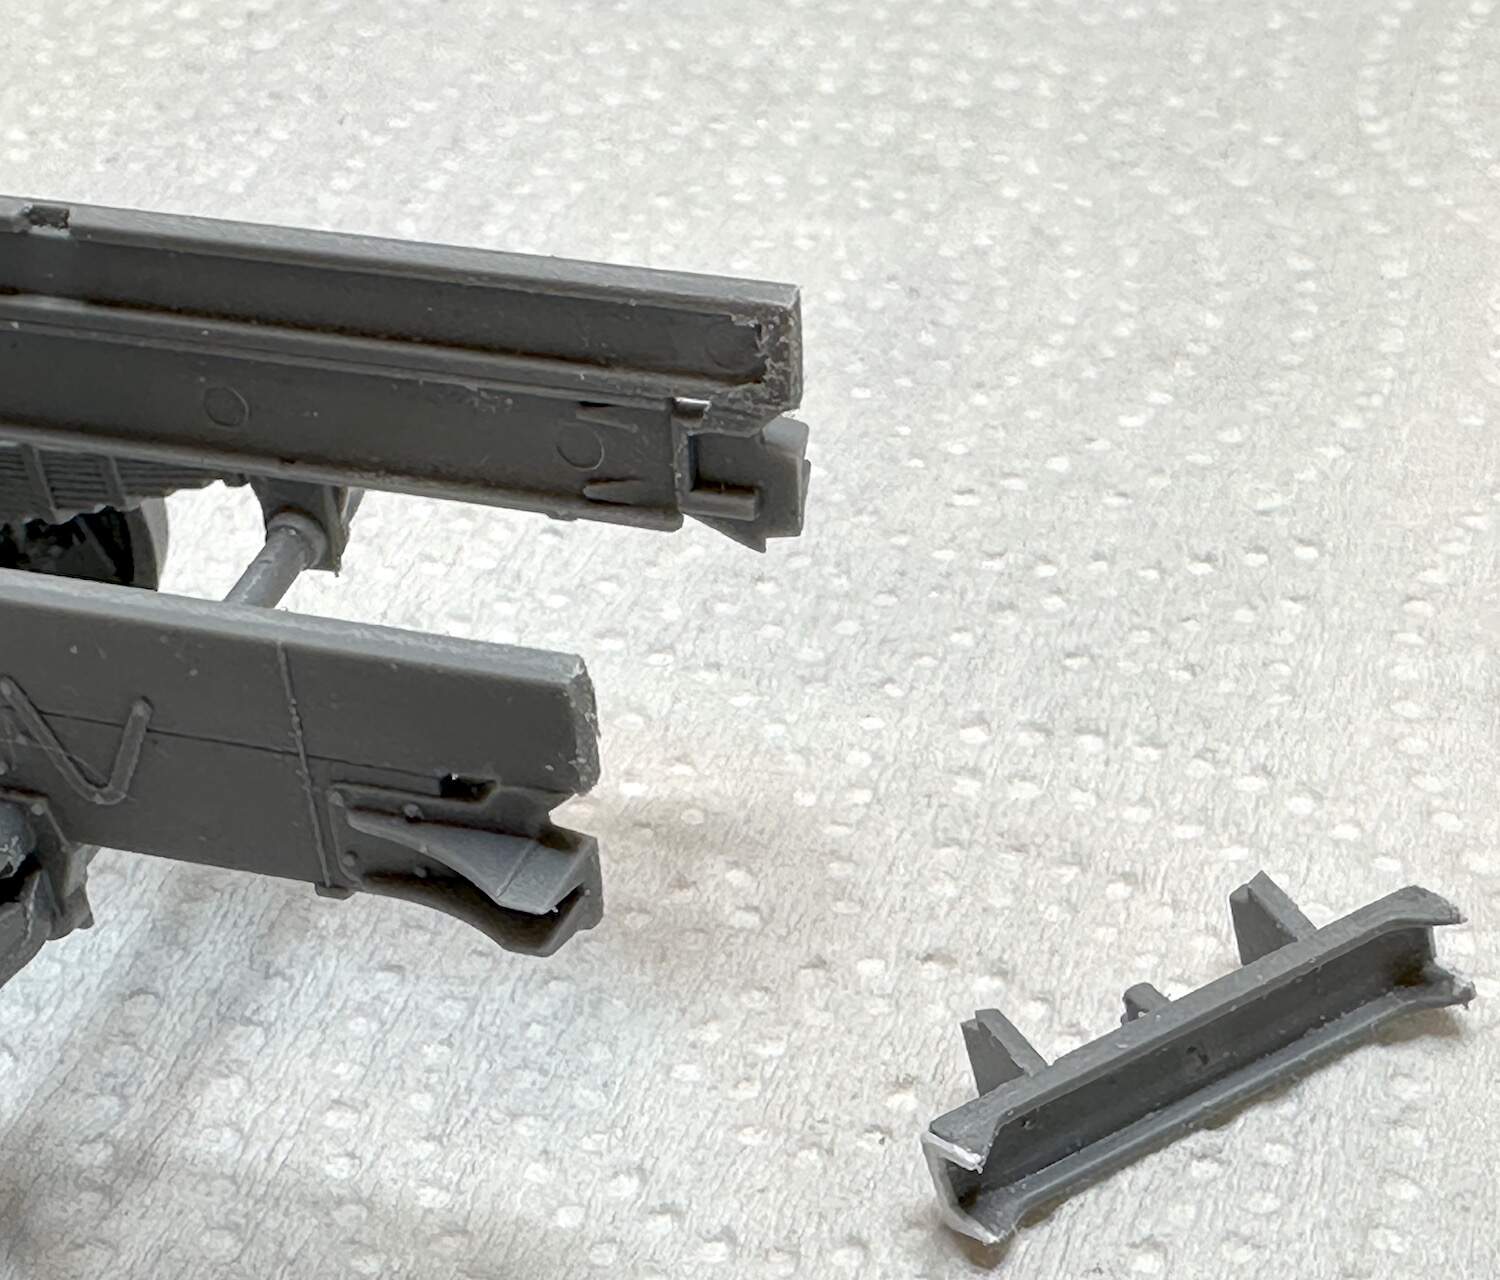
A few steps further, the rear bumpers are supposed to fit on a bracket on the rear frame member & a bracket on the outside of the frame. There was just no way this was going to work!
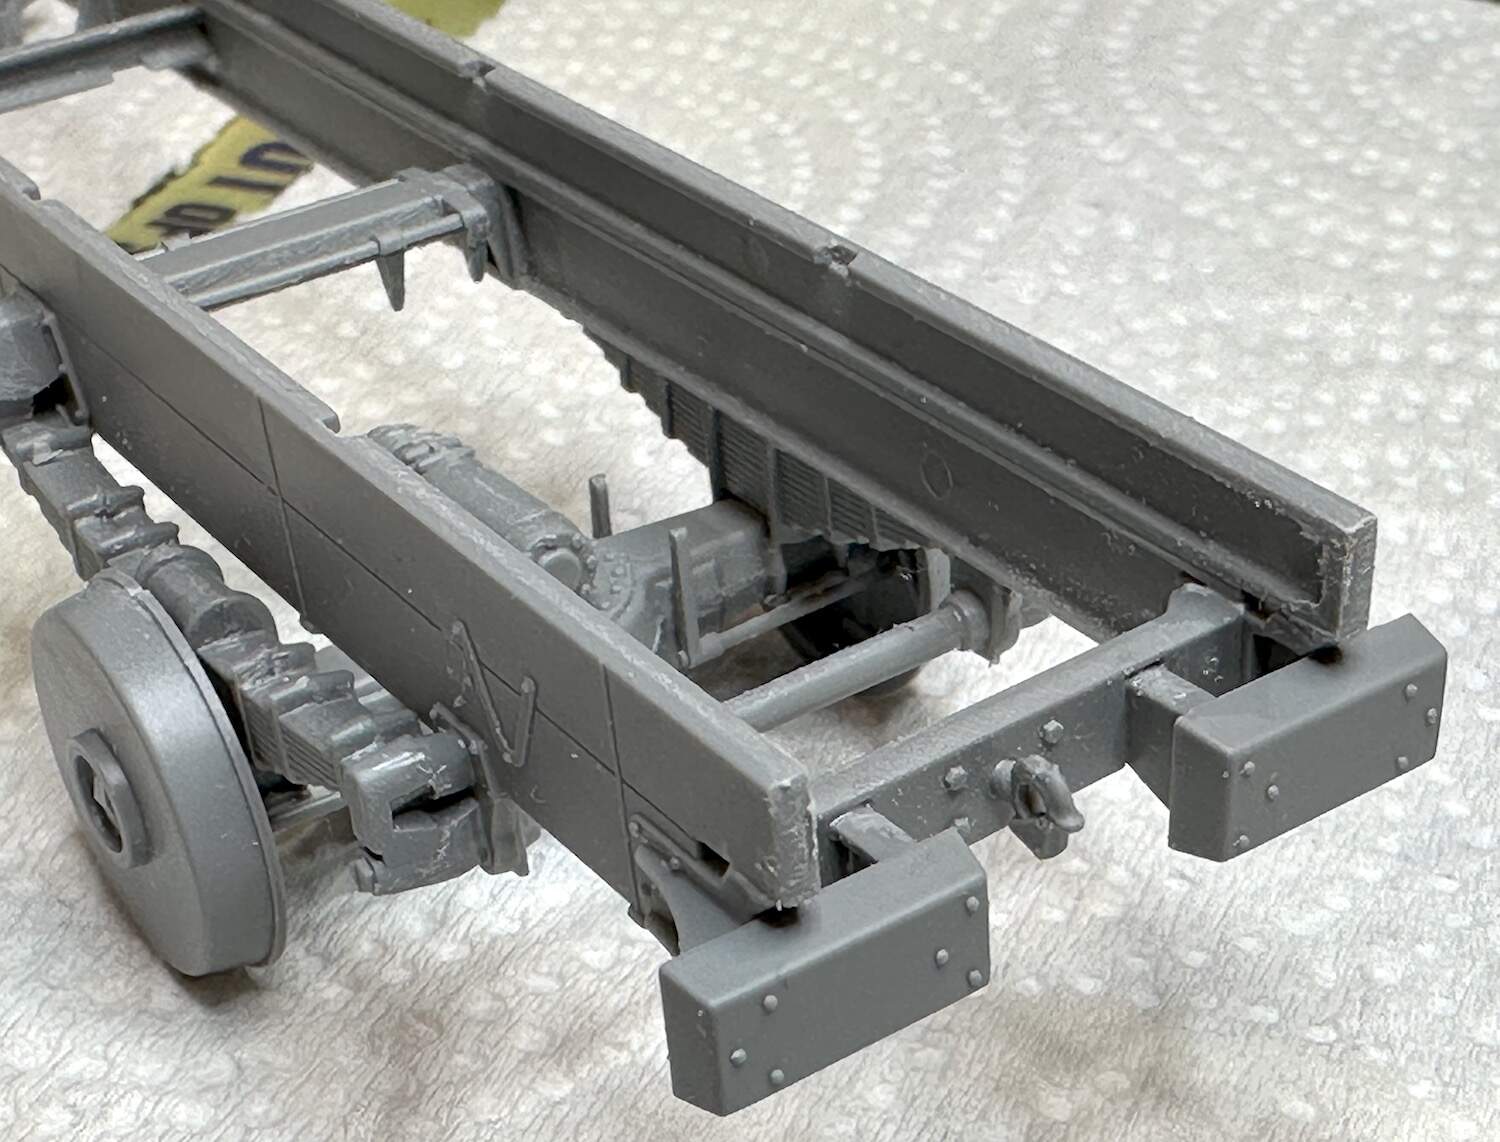
So - out came the PE razor saw and the rear member was sawed off. OK, now what? I had “adjusted” to make the part go where it wasn’t supposed to go so now it needed to be “re-adjust” to fit where it was supposed to go. This was done with .010 card stock. That was trimmed and sanded to fit and the rear cross member now lives where it was intended to be.
Unknown as I haven’t built the frame but my guess probably not. I am thinking to use hot water/hair dryer to bend in place. It will be adventurous either way.
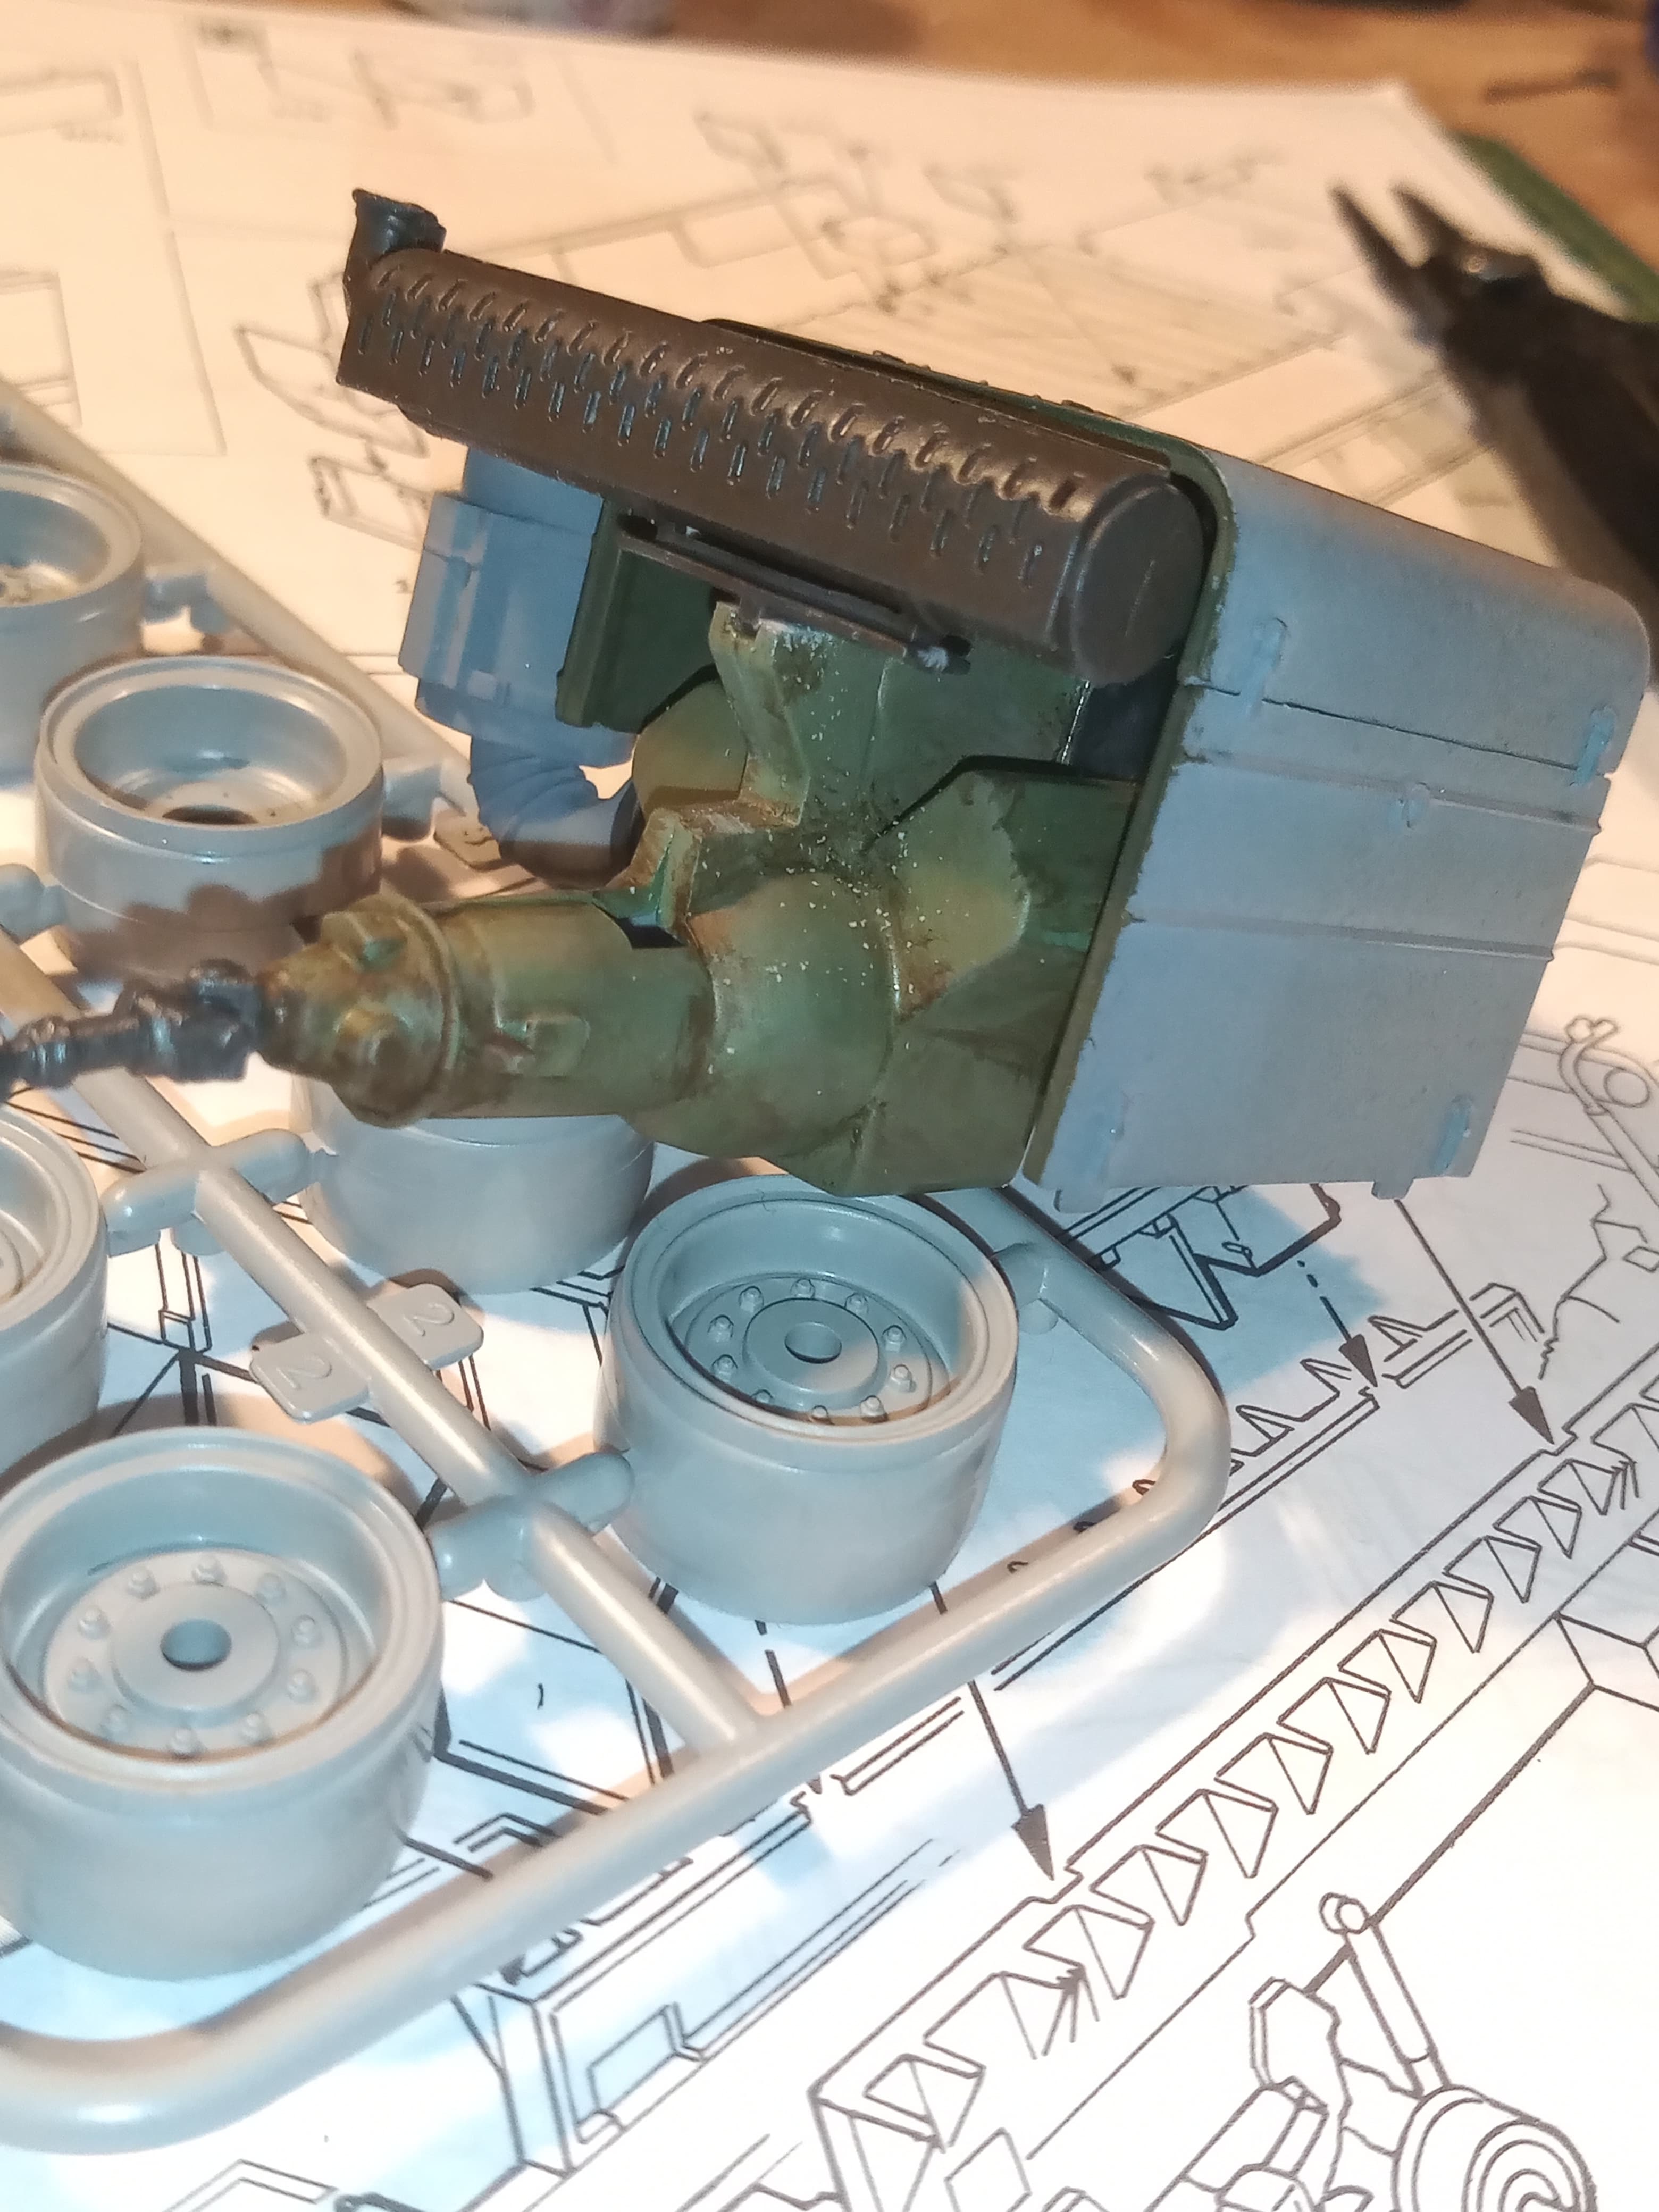
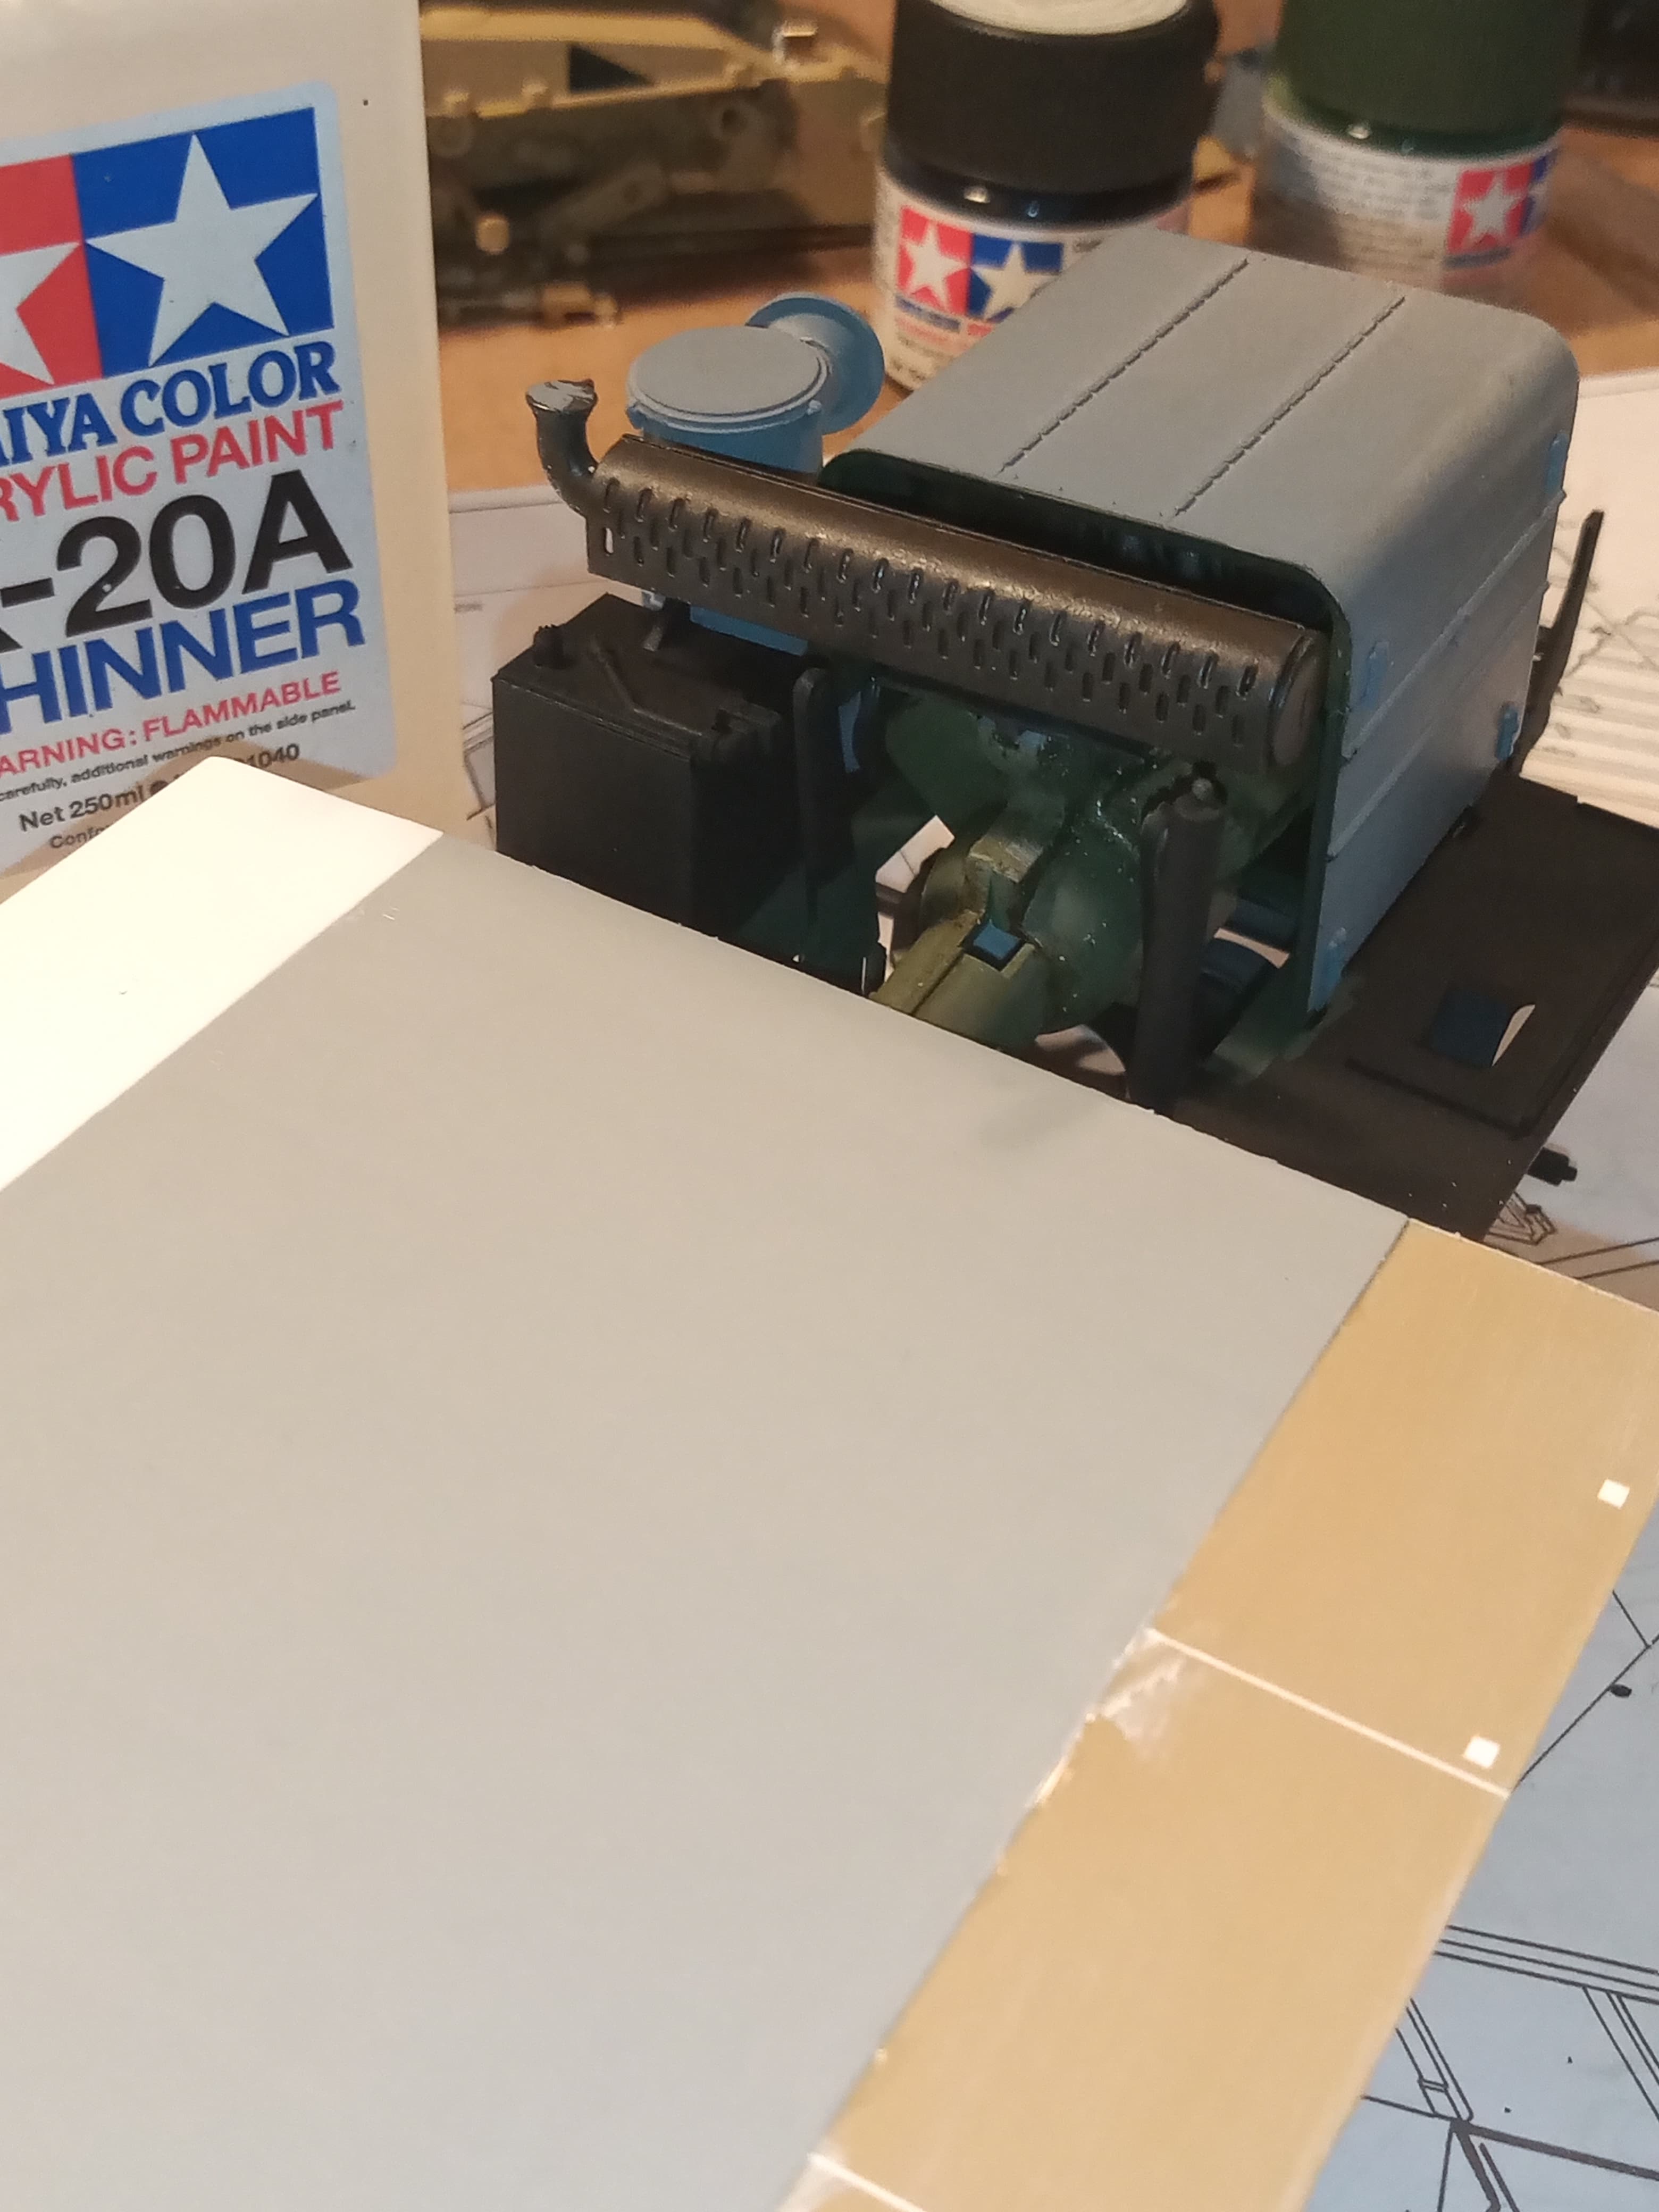
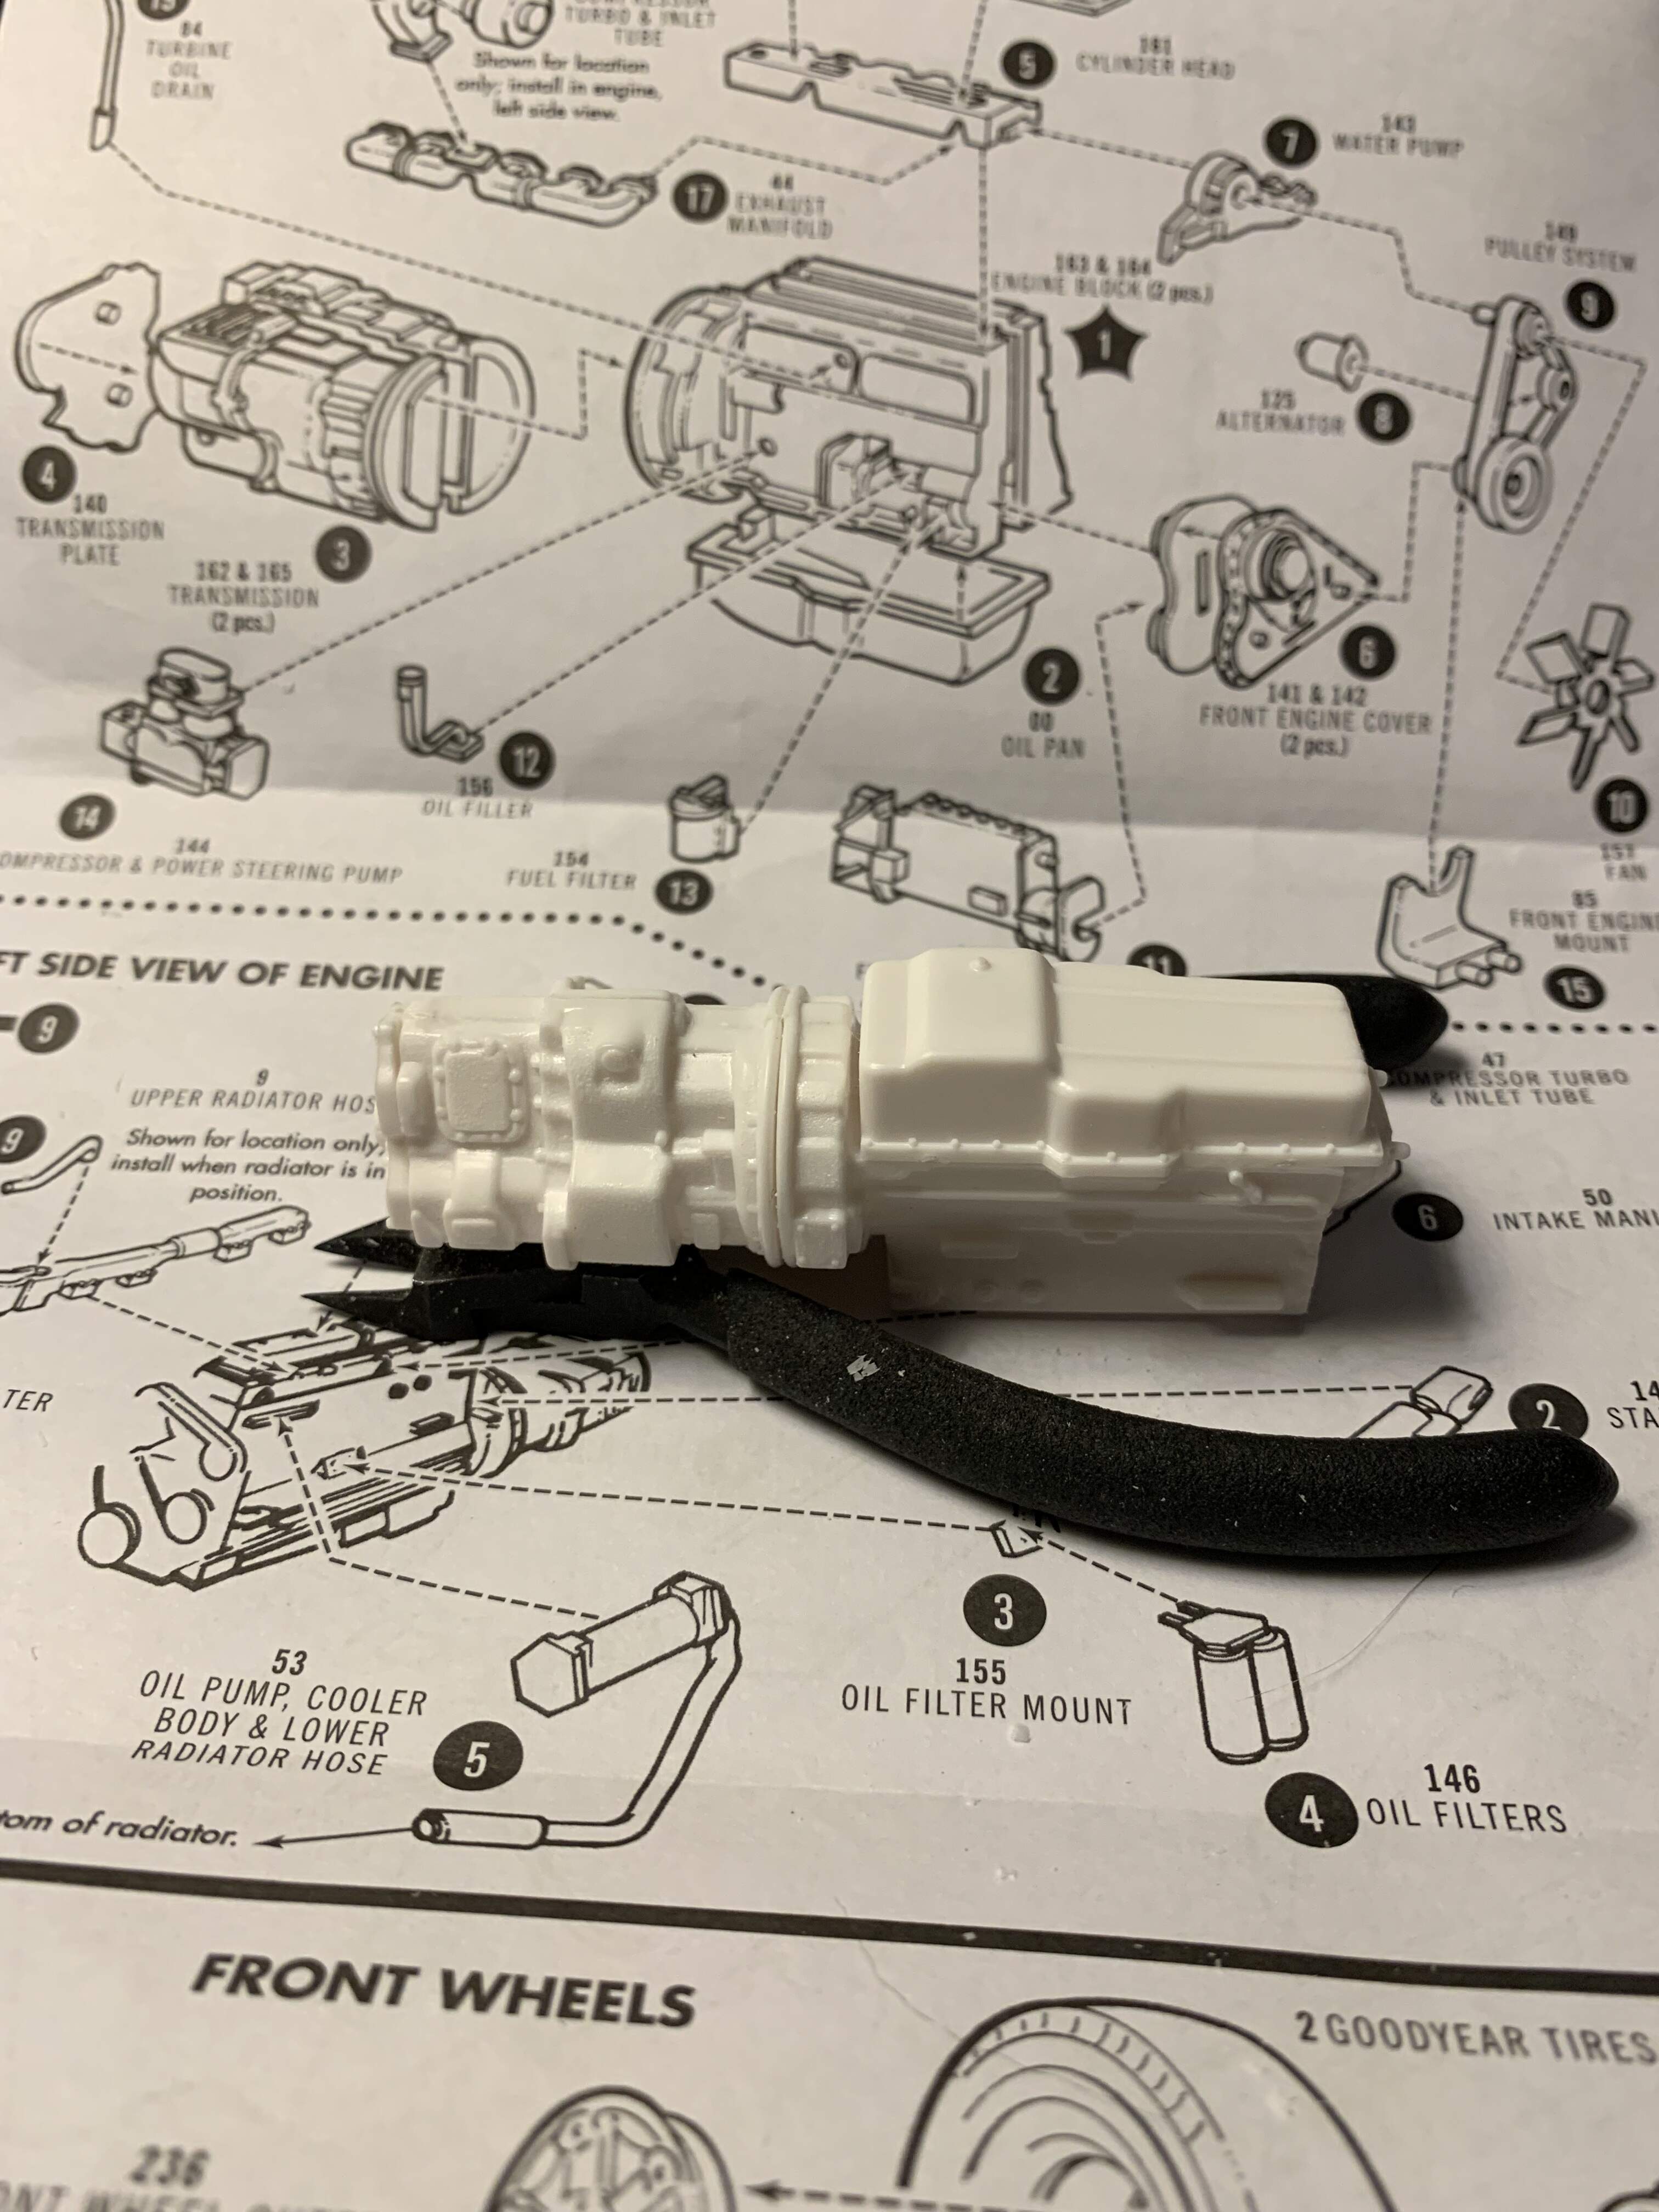
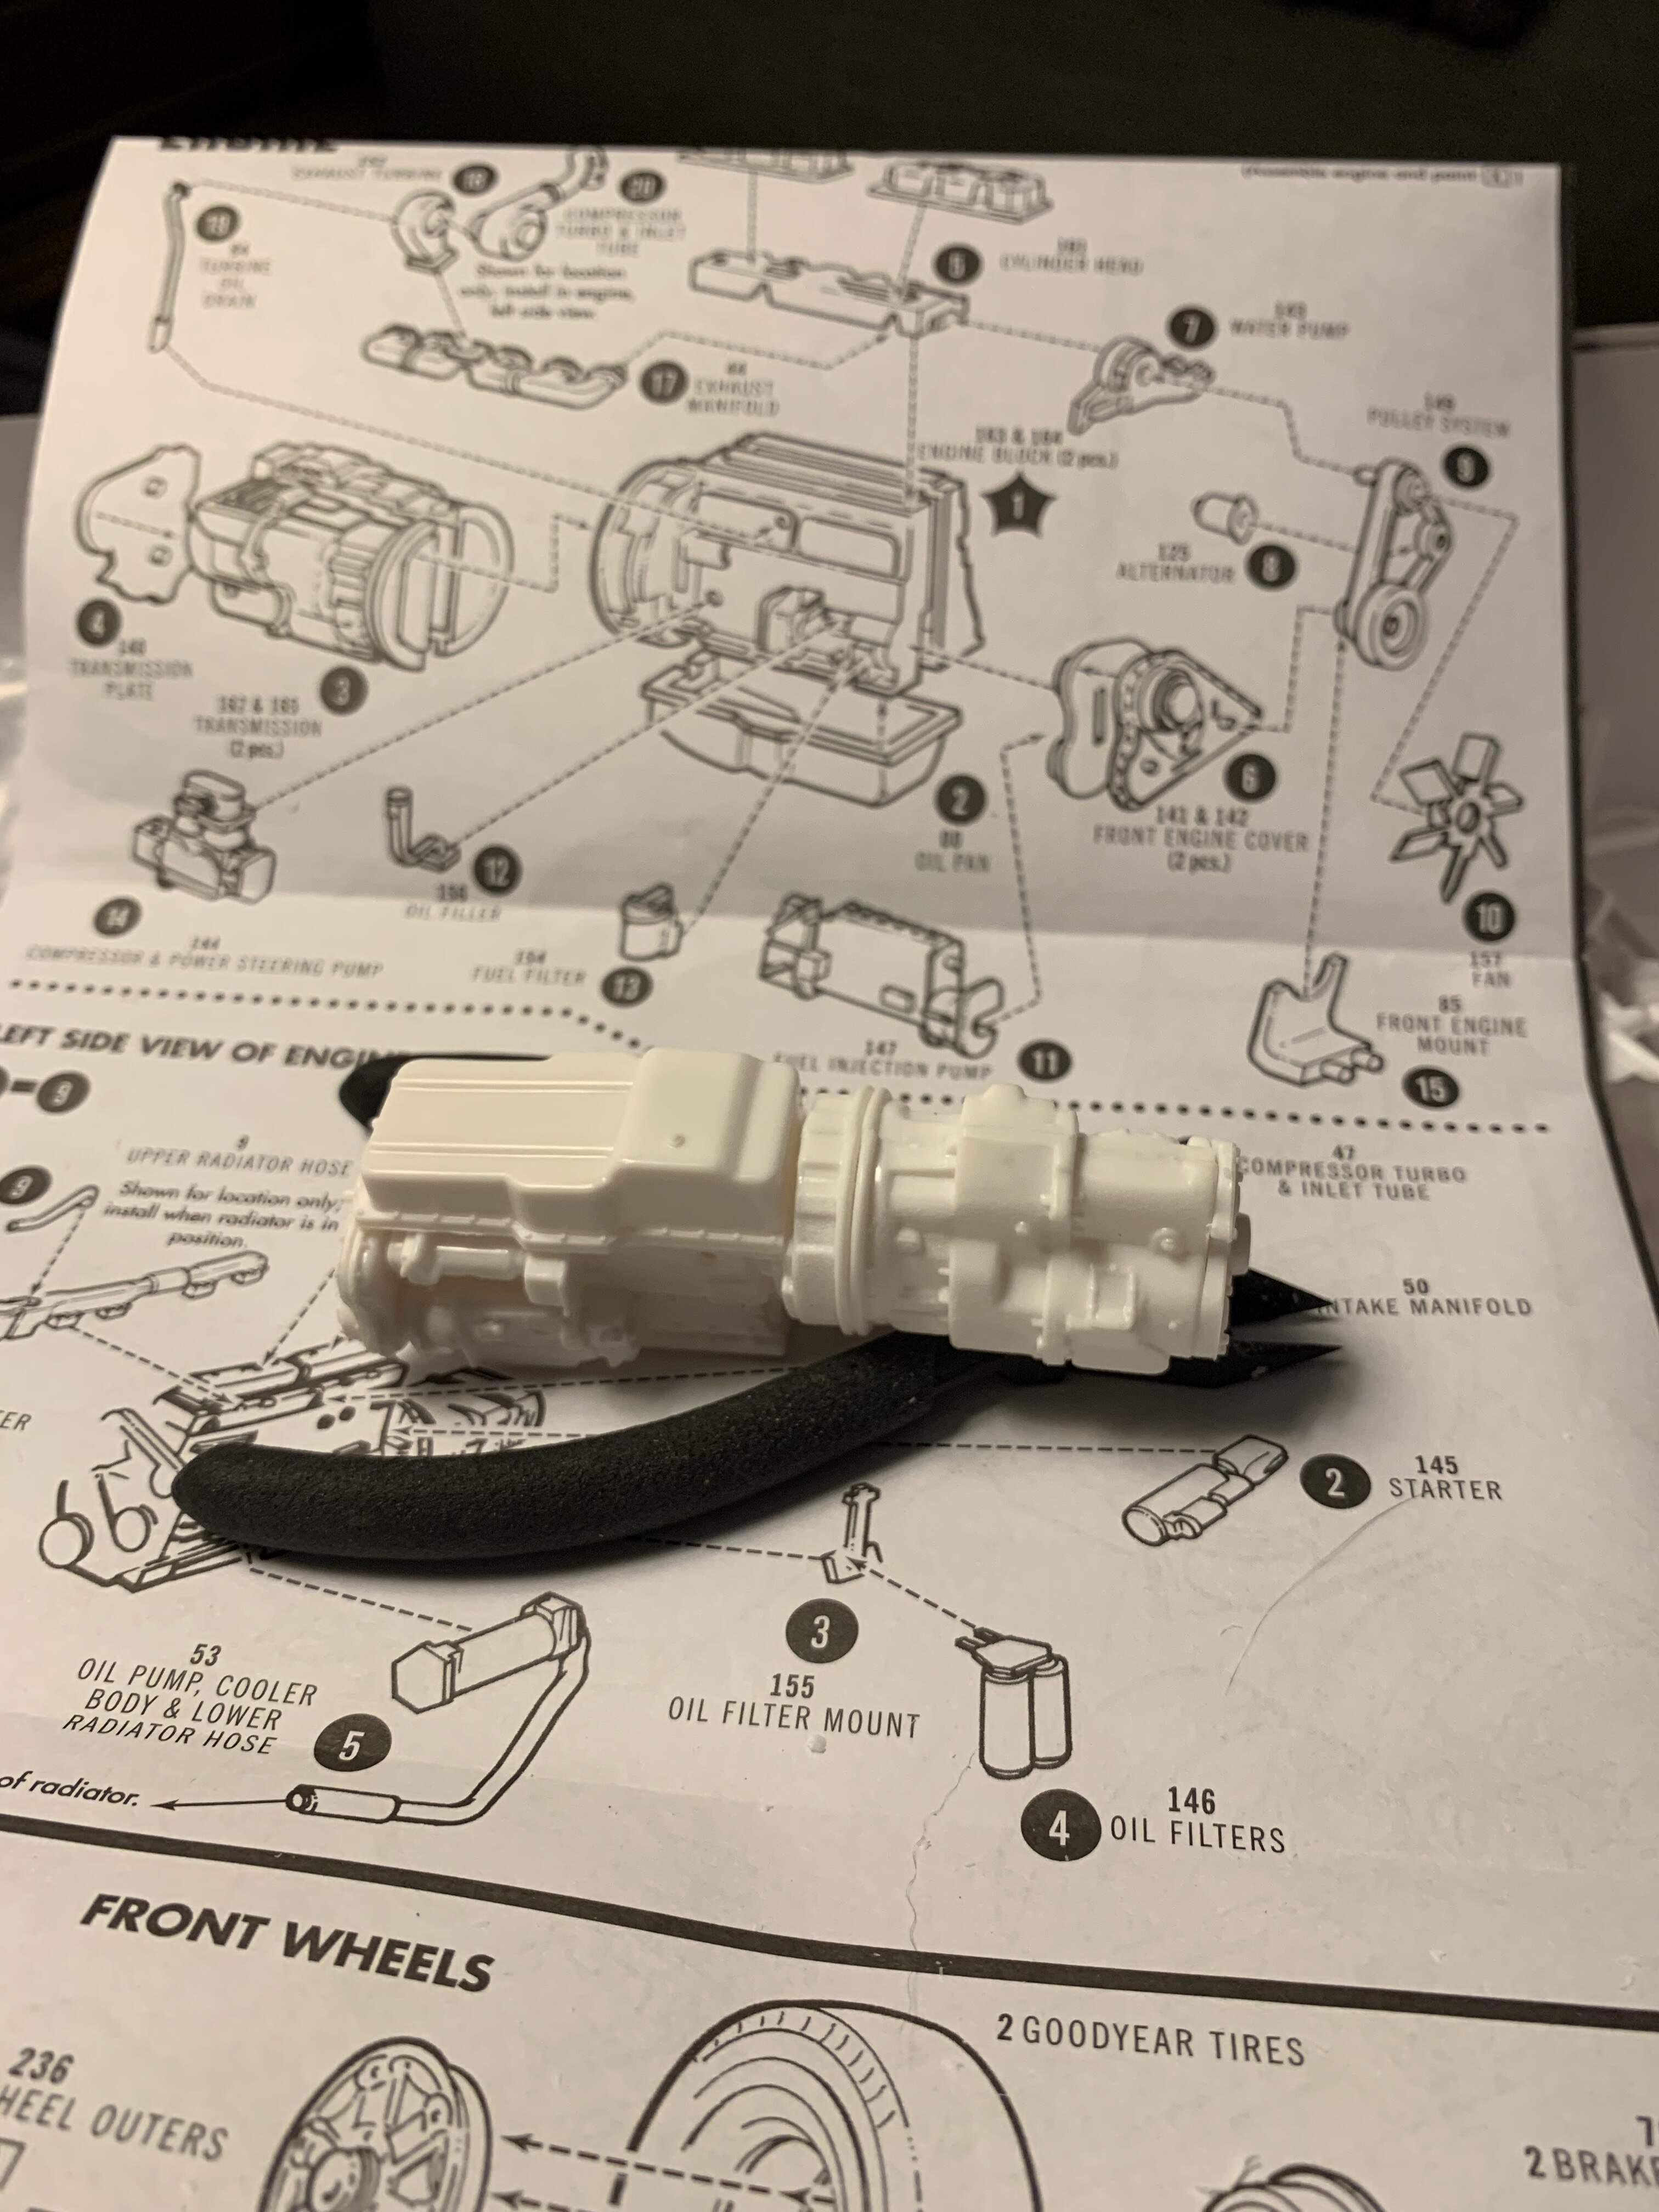
That’s an easy answer Nick … Not to show lol… There just isn’t enough engine to warrant trying to cut the housing panels as you can see in the images I took
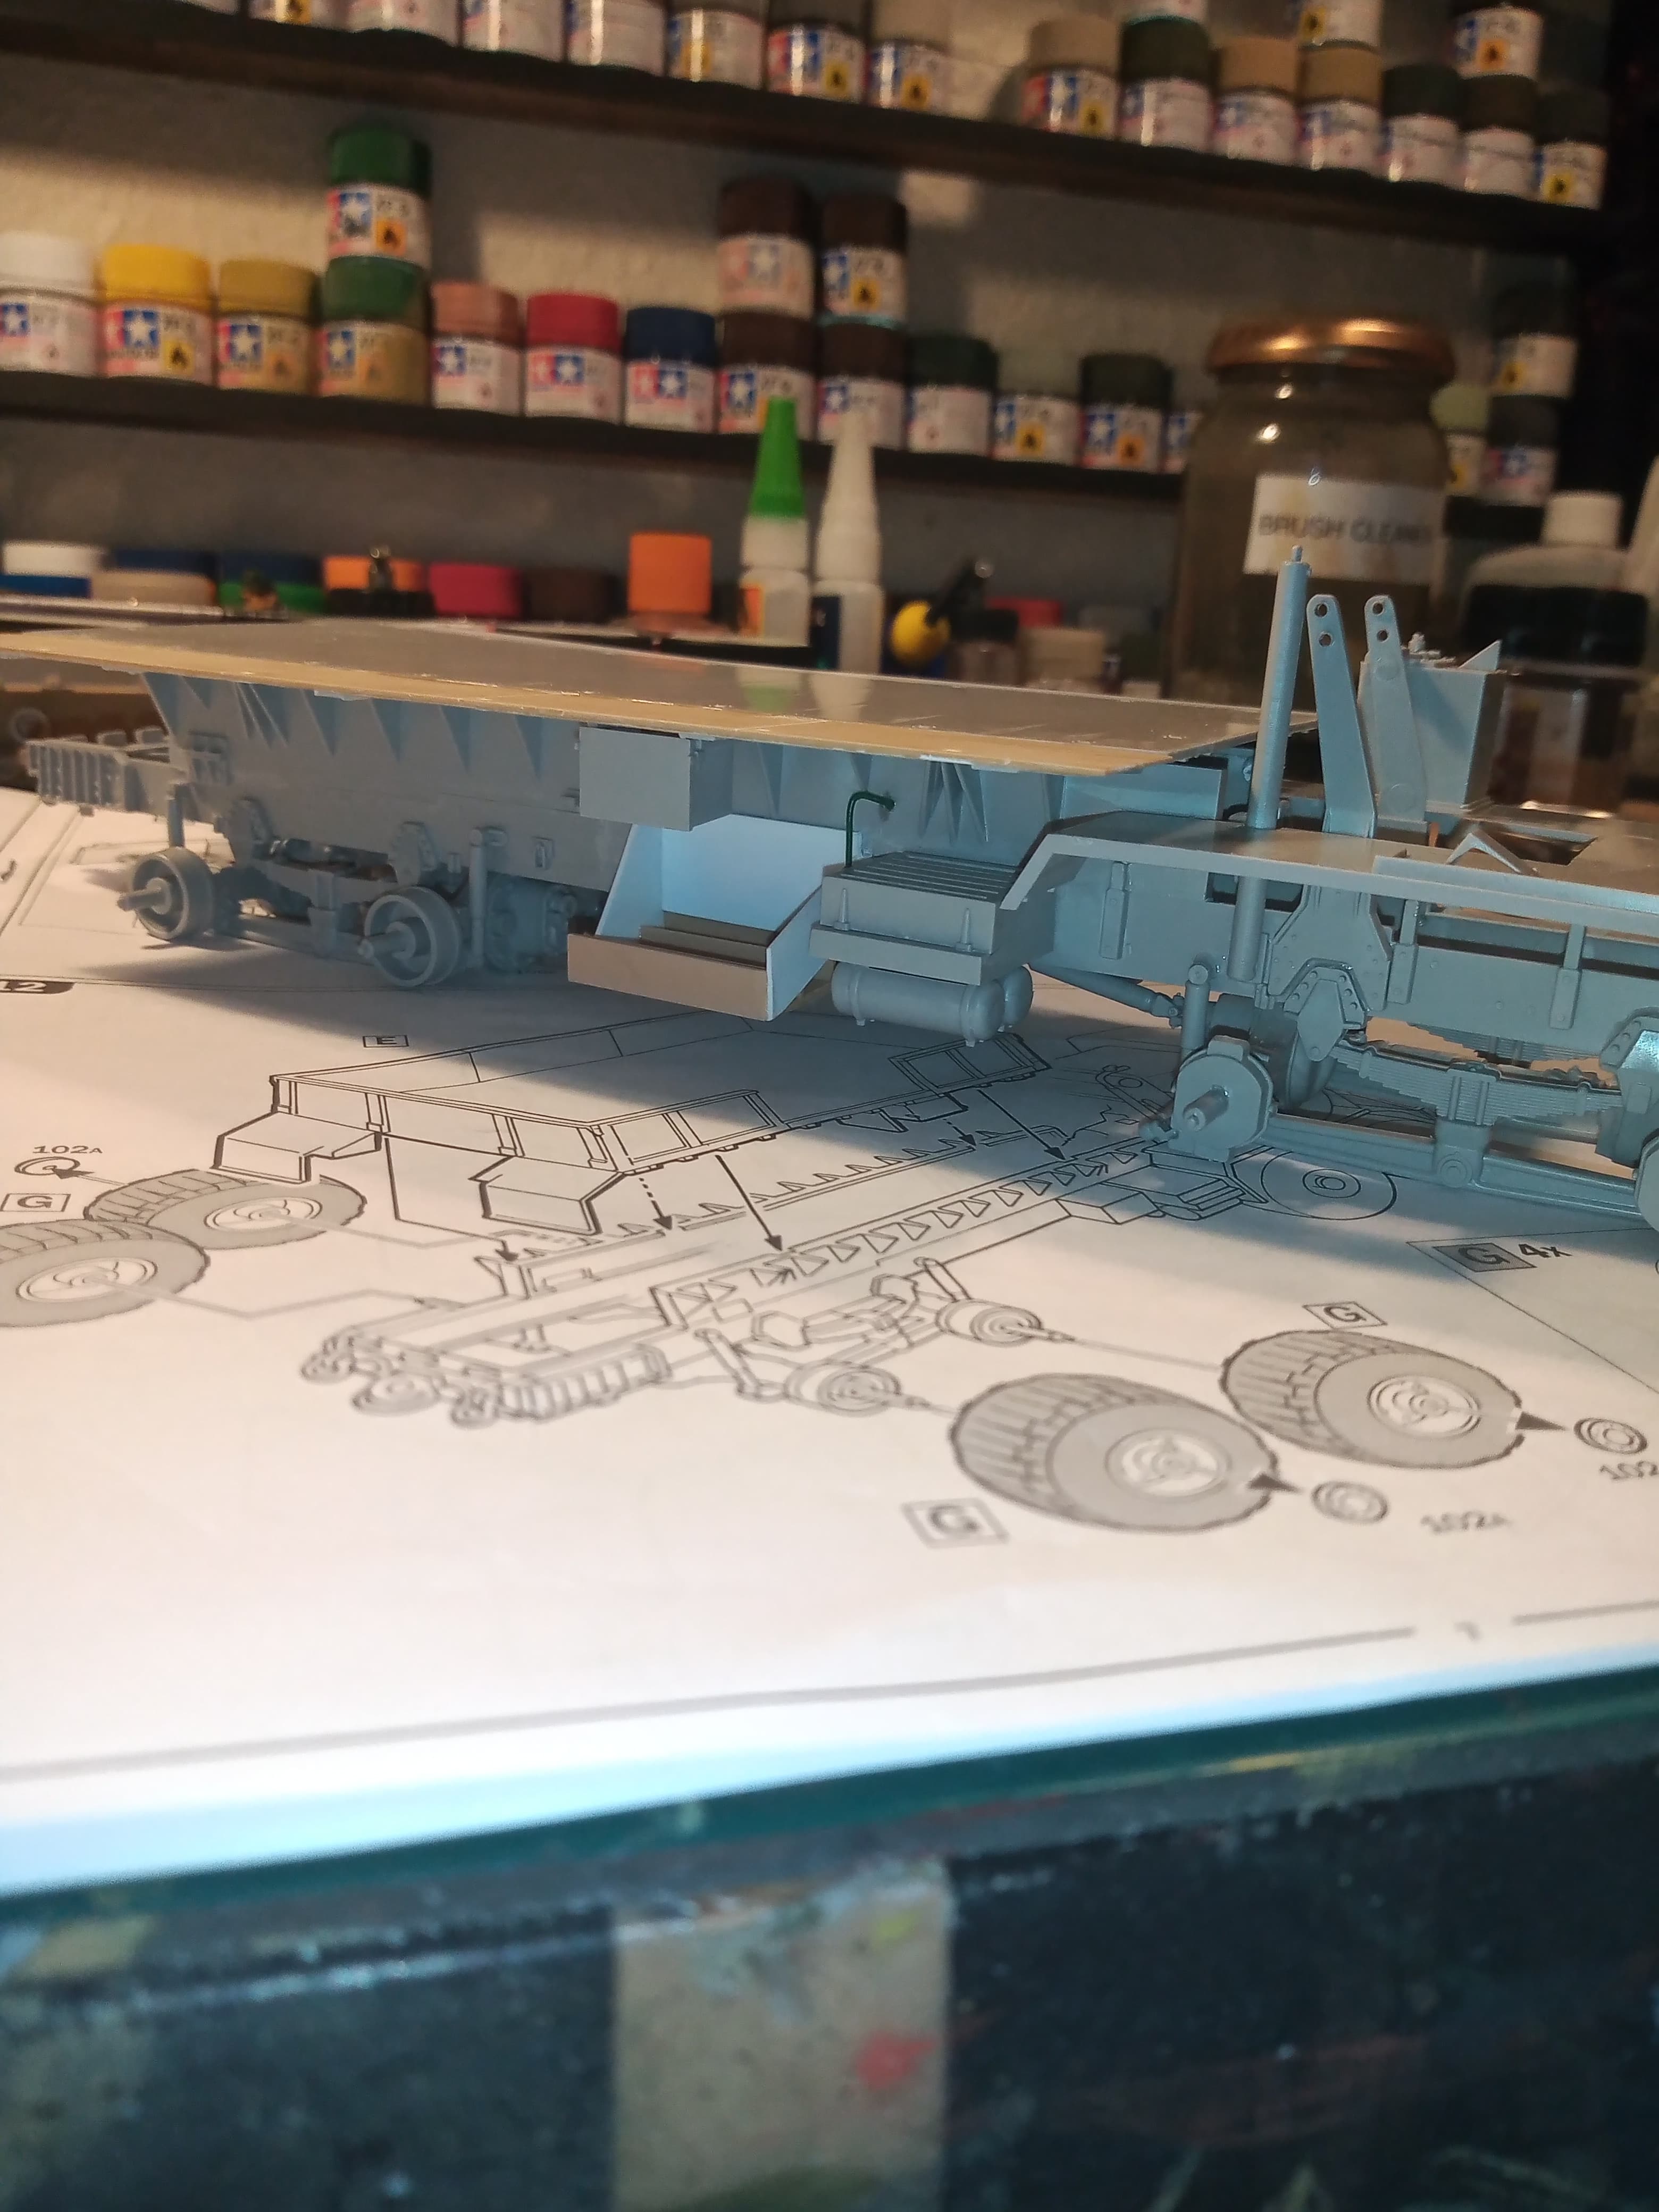
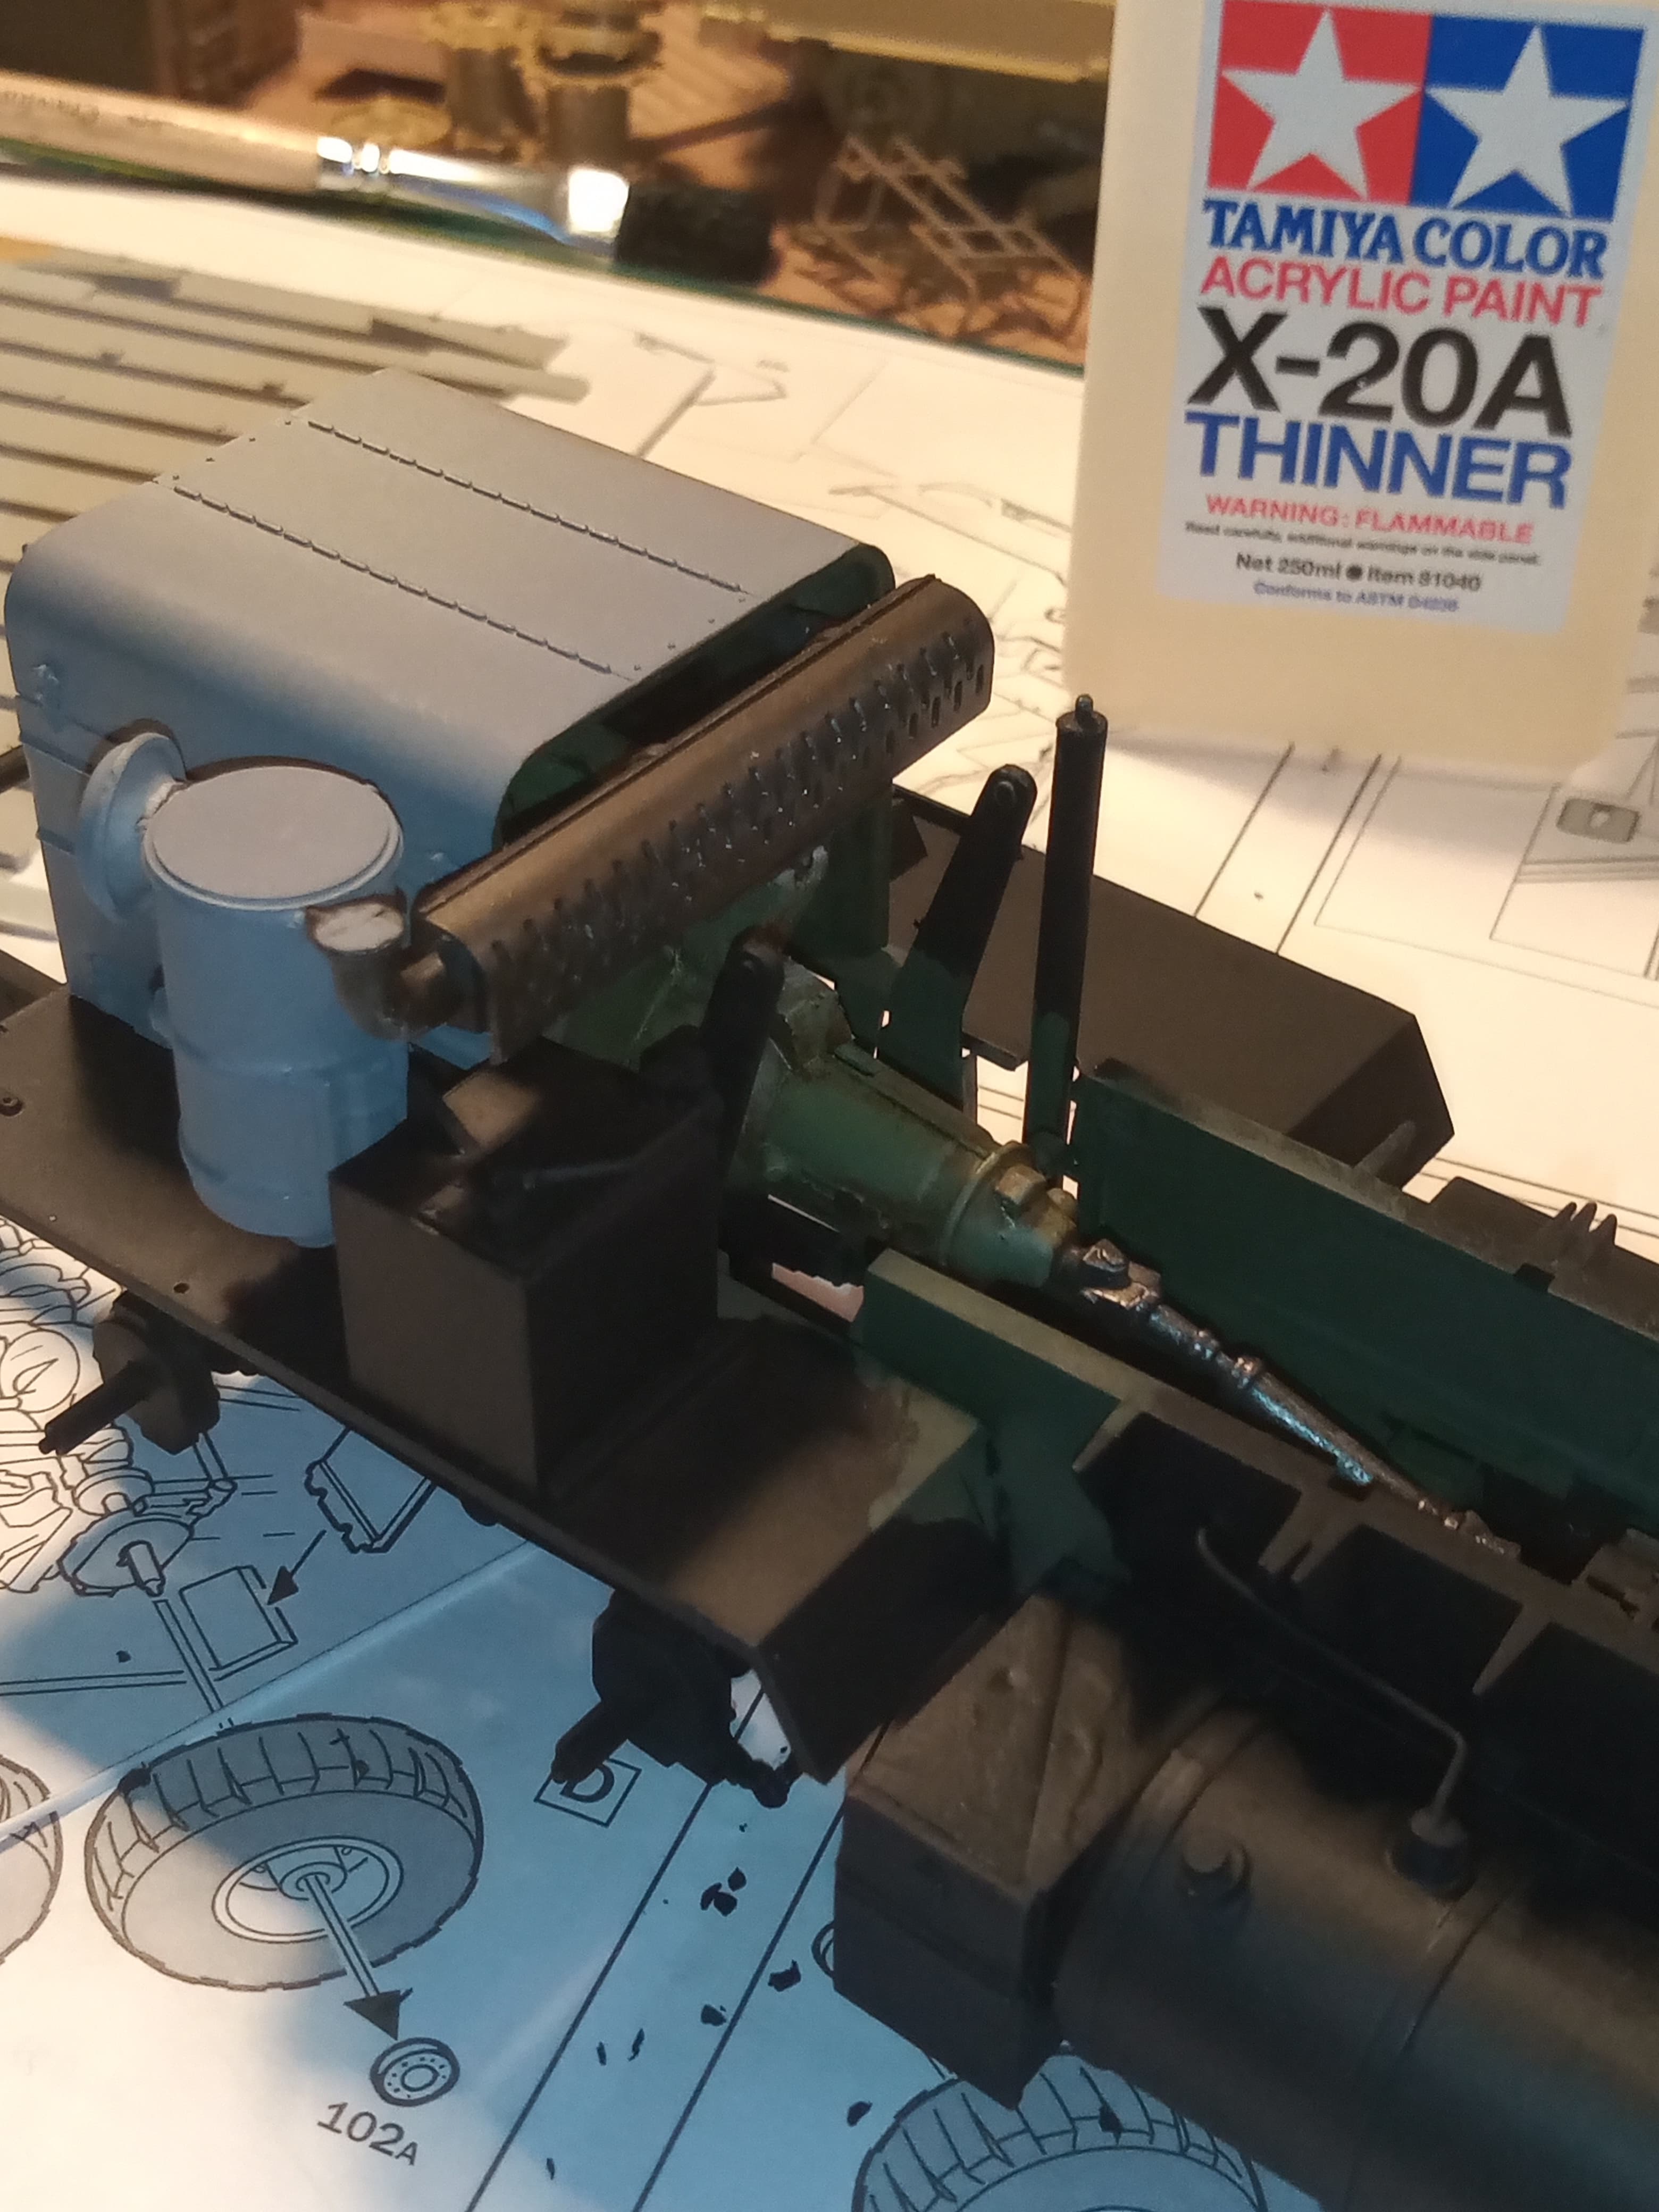
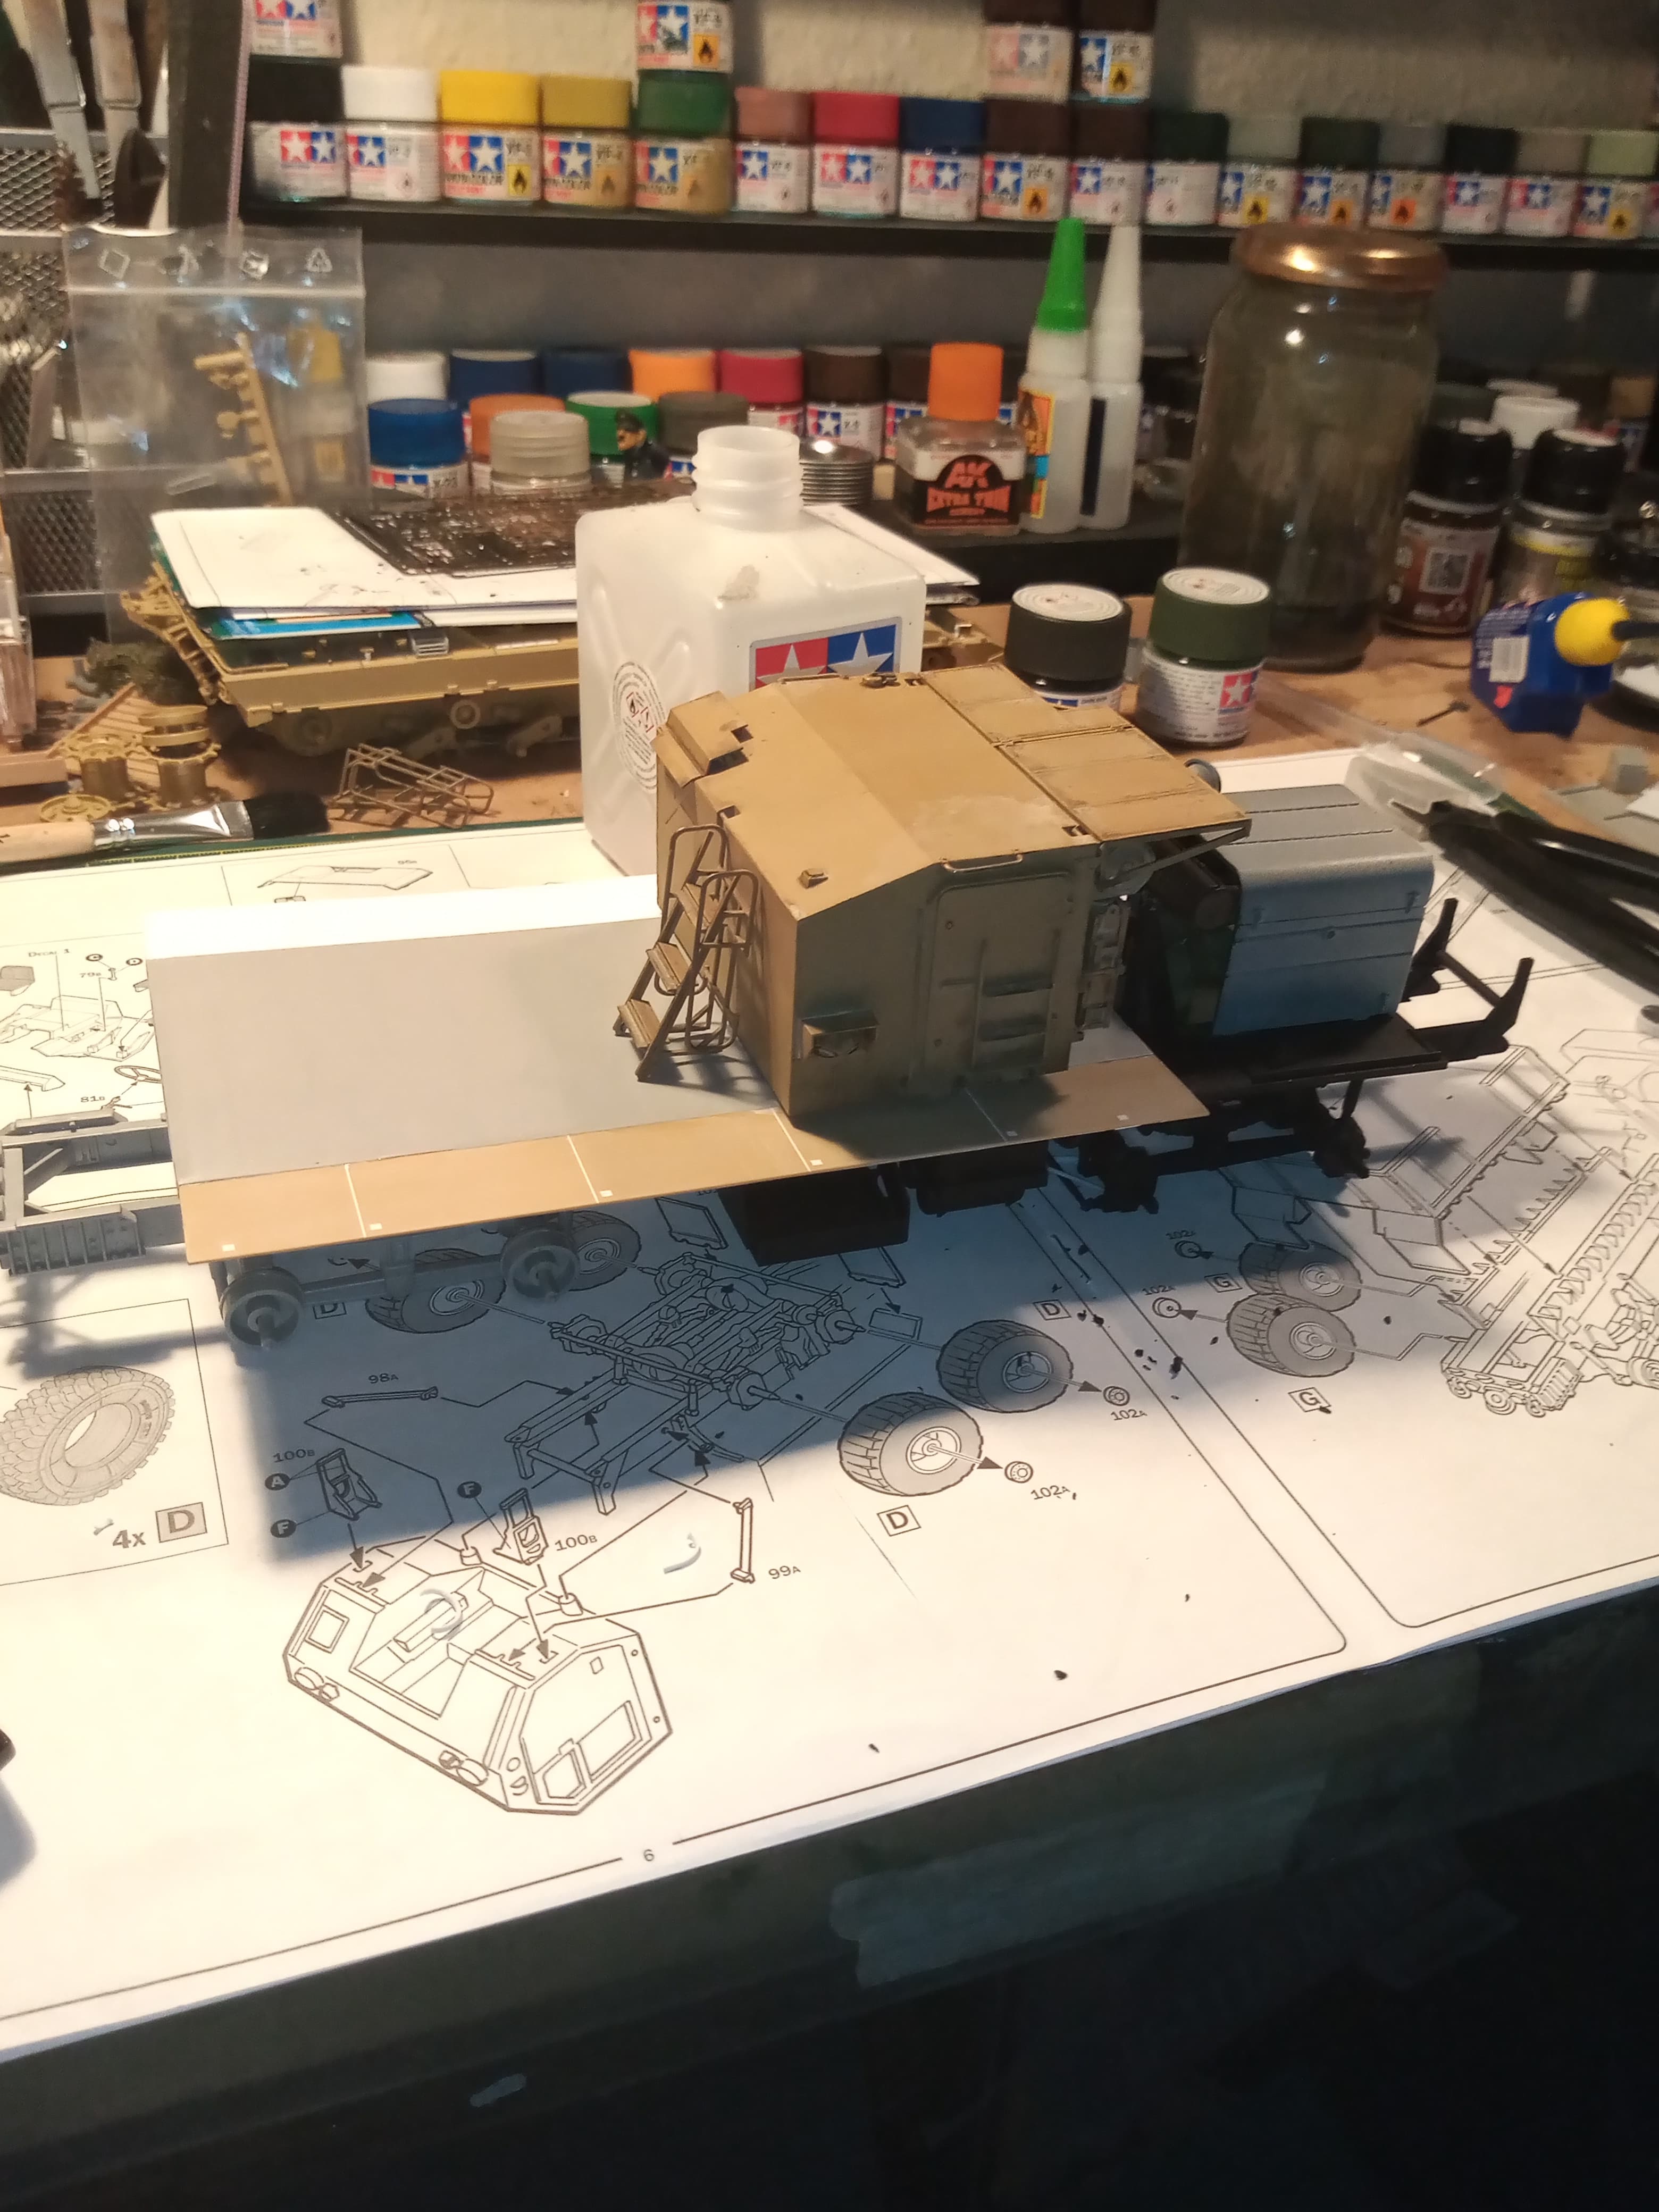
Painted the area around the engine and inner chassis in NATO green as it will be a pain to get in there later… Also fitted the engine housing and you can now see just how little is seen, and dry fitted the bed and then even less is visible …
Not even sure if I’m going to bother with doing a mesh cage for it now.
Also test fitted the Pantsir box to see how that looks…I want to set it back a bit and have another spare wheel and other stowage just in front of it
On the roof will be an armoured .50 station and possibly a 40mm grenade launcher…at the very rear will be another .50 or 40mm…not decided yet.
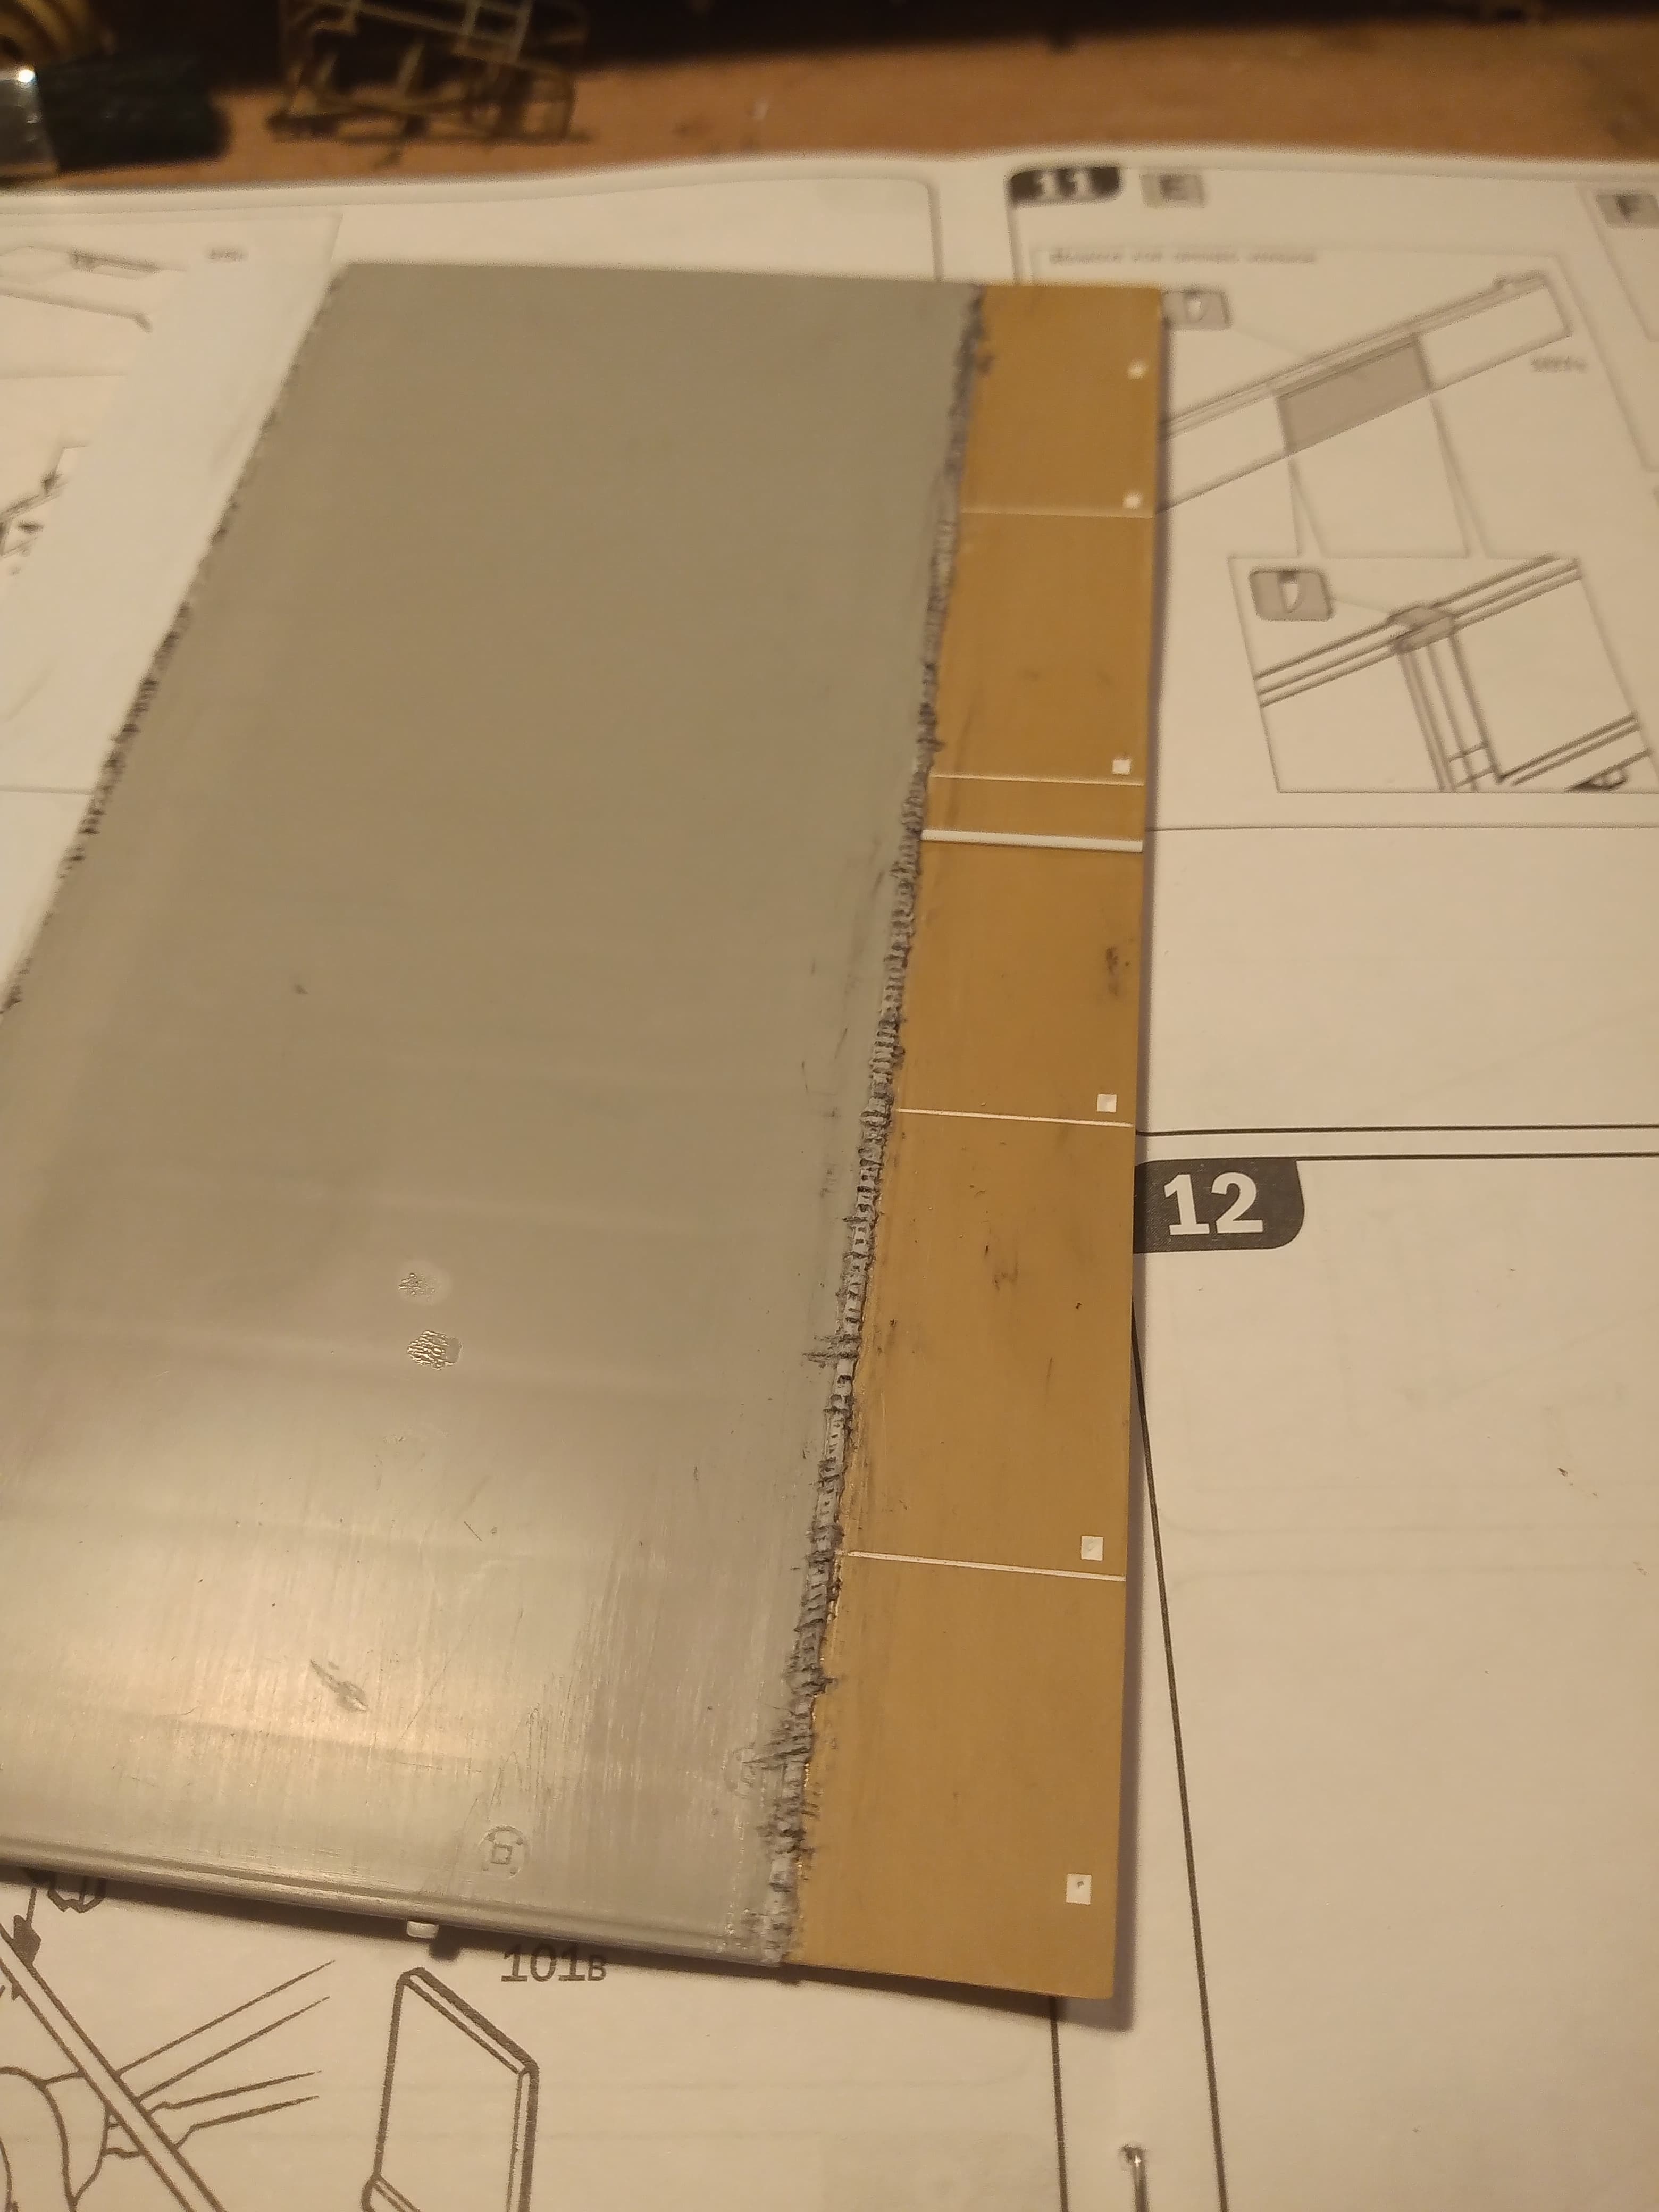
And I did try the weld on the side extension pieces and initially I was trying really hard to get it all uniform and neat and tidy.
But I then thought hang on; this is a post apocalyptic gun truck, it’s not come out a factory … It’s been made up out of bits of this and that, different colours on different panels, quick nasty repairs and modifications… So this is where I left it …
All I used was .50 rod with a lot of glue to soften it… Let it set a while then sanded it a while to lose the rounded look, and then bent a sewing needle, and heated the end and just dabbed it against the softened white plastic rod…
Lower chassis is going to be forest green, but may do a few shocks in CARC and mix and match the wheel colours…
Upper hull and cab will also be green but may use AK NATO or Tamiya for that… Some panels will also be CARC and others primer red. There will be lots of dents, scratches, gouges and rust, wear and tear … But that’s a ways off yet …will finish the cargo bed tomorrow and then start the cab.
No pics, but got the outrigger supports done and secured to the chassis - will add some putty beading around the edges to look like welds. Could only fit 3 as the kit and extra fuel tanks were in the way. Luckily, I can do supports that come straight out from the top of the chassis and join them right on the cargo bed.
Going to do the whole cab next, get it painted with the glass fitted then mask all that up. Will do the cab cupola mount, (not sure what weapon it will have yet …) And make sure all that dry fits and work on a frame that will cover all the windscreen and door windows with mesh…
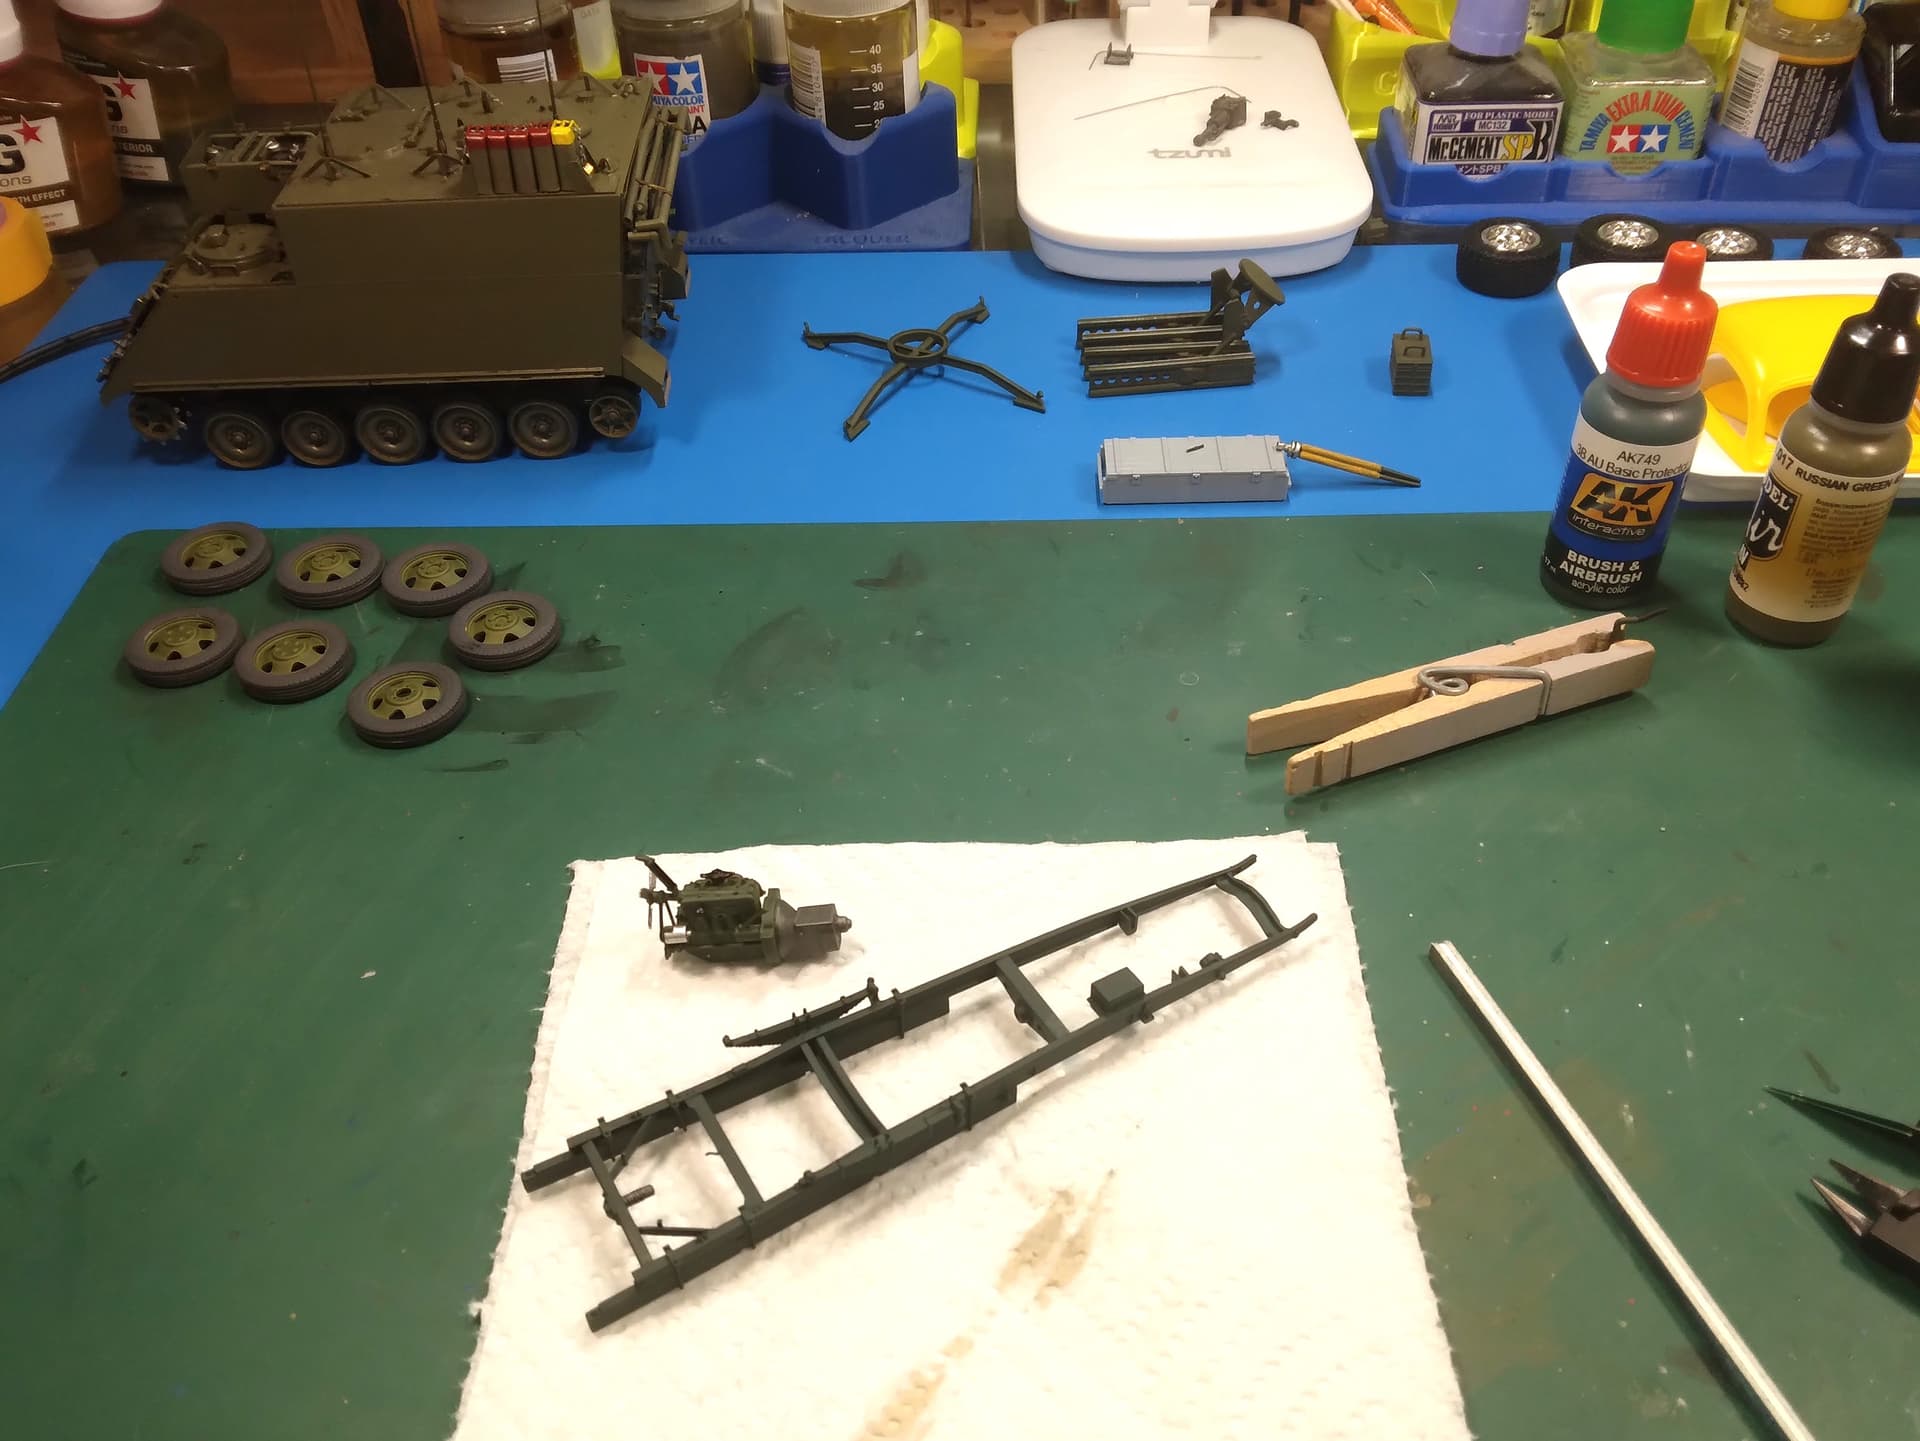
Engine is painted, frame is painted, rocket system is painted (except for the rockets), and the wheels/rims are painted and assembled. Leg’s on fire so I’m pretty much done for the day.
p.s. Tamiya M577 on the left and part of AMT’s '36 Ford on the right. Modeling is great, no REGERTS!