Mike, that’s looking good! Best of luck reclaiming as much of your three days as possible… ![]()
2 Likes
Once again Angel, you are creating a masterpiece… Your super detailing is just amazing… It looks fantastic ![]()
![]()
1 Like
The maestro at work. Looks fantastic Angel.
1 Like
Hoo boy. Hey all. Amazing work going on in here! I’ve been sidelined by moving my elderly mom to an assisted living facility from the nursing home she’s been in. A great deal of logistics etc. And in the middle of tax season. Anyway that’s all gone very well.
A while back I commented in Ryan’s @Tank_1812 build about a possible solution to the vinyl (?) tires in his Mack build. The tires are soft-ish, hollow and one side is filled with the sprue and gates and thin membrane that fill the tire opening. Removing the thicker sprue parts is easy but that thin membrane is hard to do without compromising the ‘bead’ of the tire. And I think that’s the crux of the issue with these - trimming and defining the inner rim of the tires and then filling the void to stabilize the softer vinyl. Add to that the rim halves have no positive alignment - just glue the circular faces as best you can; and there is no positive lock for the tire beads.
I offered to see if I could create solid “tire fillers” on my laser cutter to see if it would offer any advantage. Ryan sent me a package with several tires and front rim and rear “dually” rim parts. He had already filled the tires with foam caulk backer so I had that as an example for scrutiny.
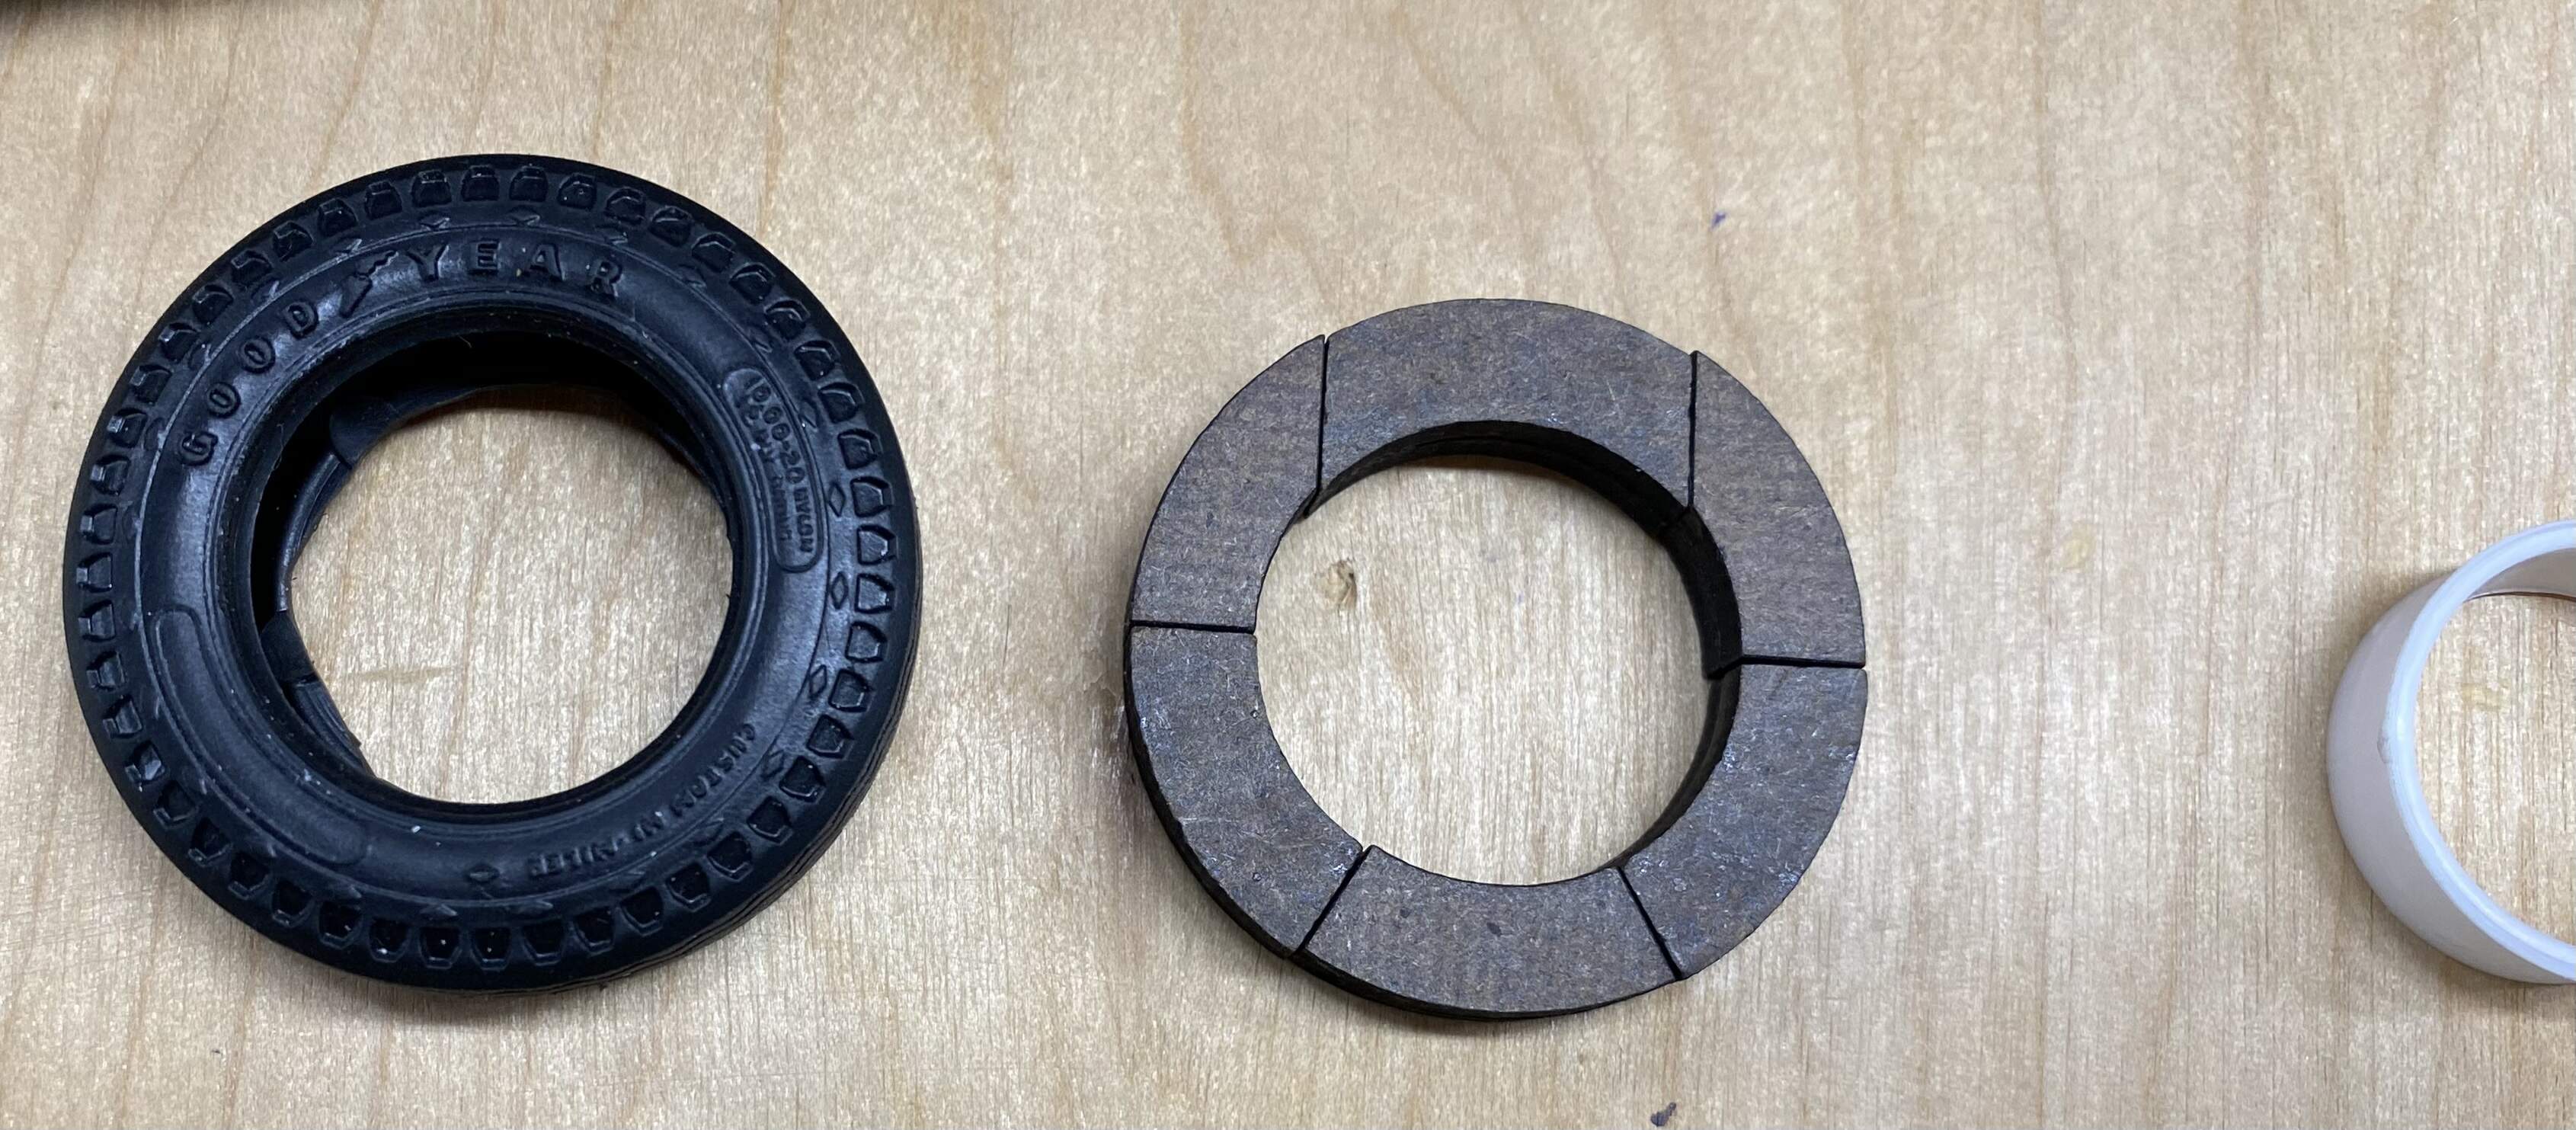
I measured and drew up segmented filler blocks that, once cut and assembled, could be easily fit into the tires. Segmented into 6 parts, as a full circular donut couldn’t be inserted without overstretching the tires….

The parts as cut by the laser…

I used 1/8” Masonite (trying to avoid cutting acrylic as much as possible), and cut two layers….
Which were glued into 1/4” thick donut segments…
The initial result seemed promising but the squareness of the cross section of the filler blocks left a void in the tires, between the blocks and the sidewalls. So I cut additional, smaller radius segments and glued them to the faces of the Masonite blocks; you can also see the foam caulk backer rod material here:
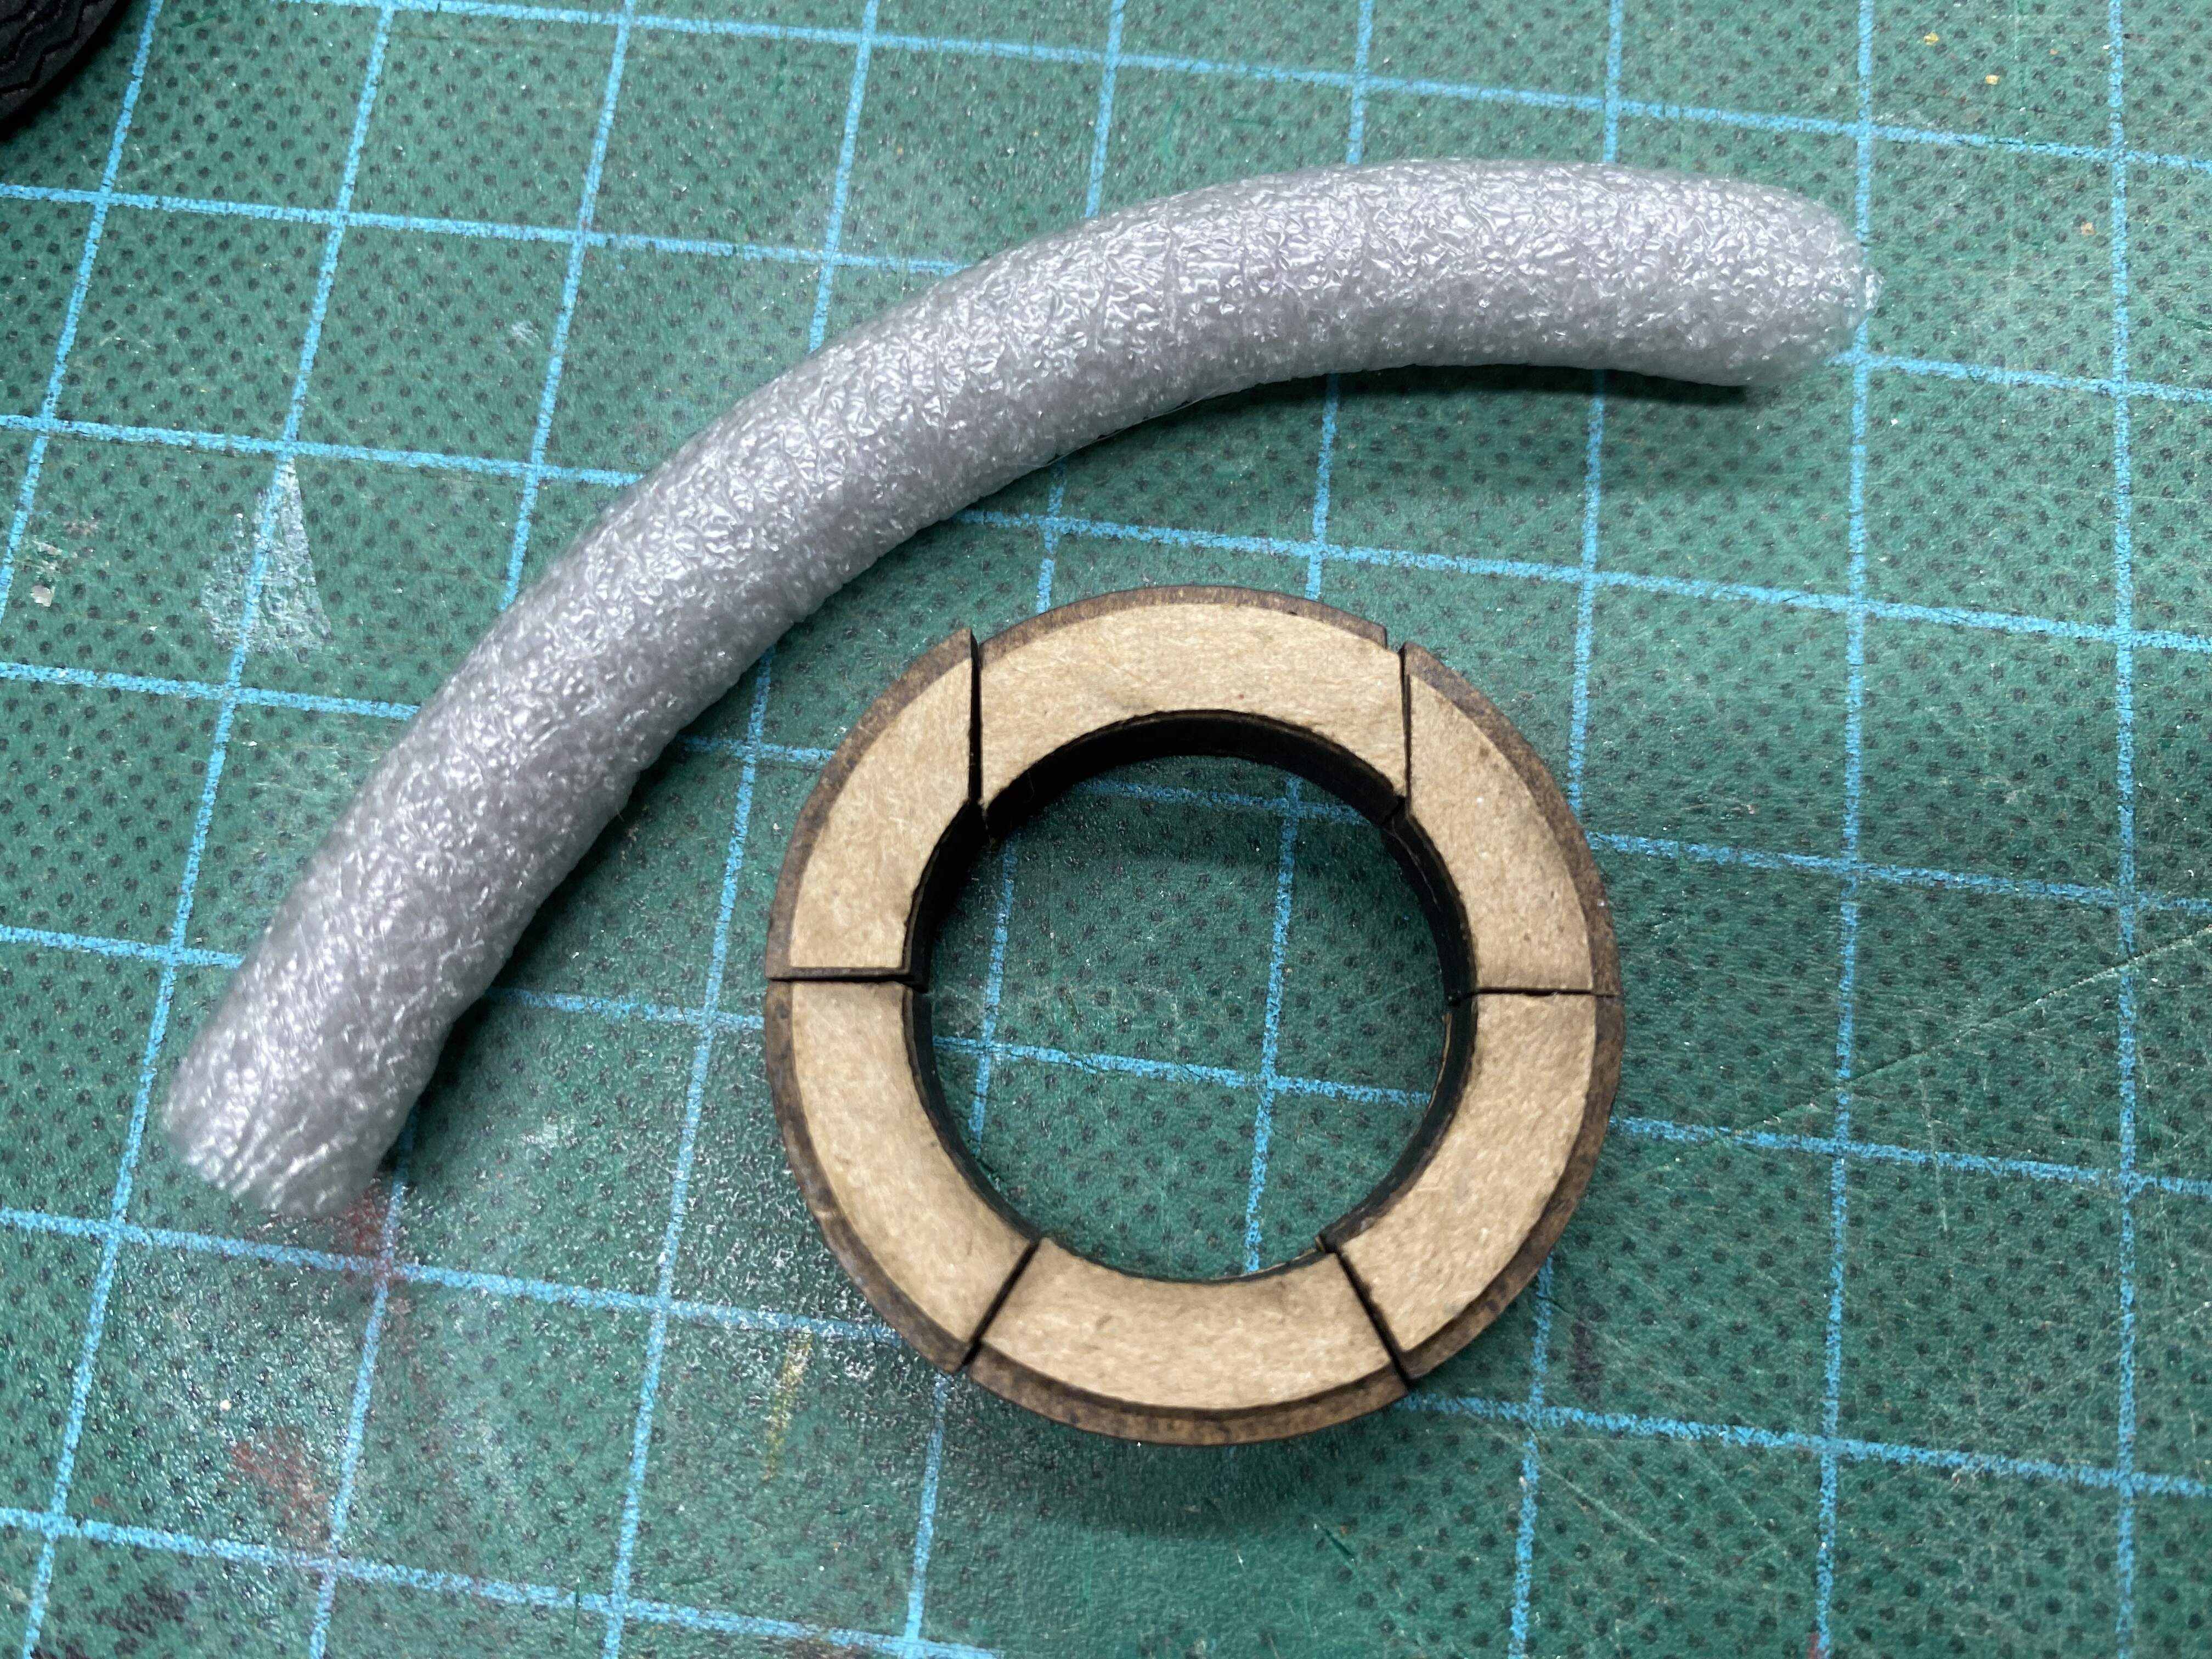
Once inserted these definitely solidified the tires, but are they better than the foam backer rod? Maybe… To be honest I think the foam backer rod works just fine. Can you tell the difference?

The upper photo is the laser-cut inserts. The lower is the foam.
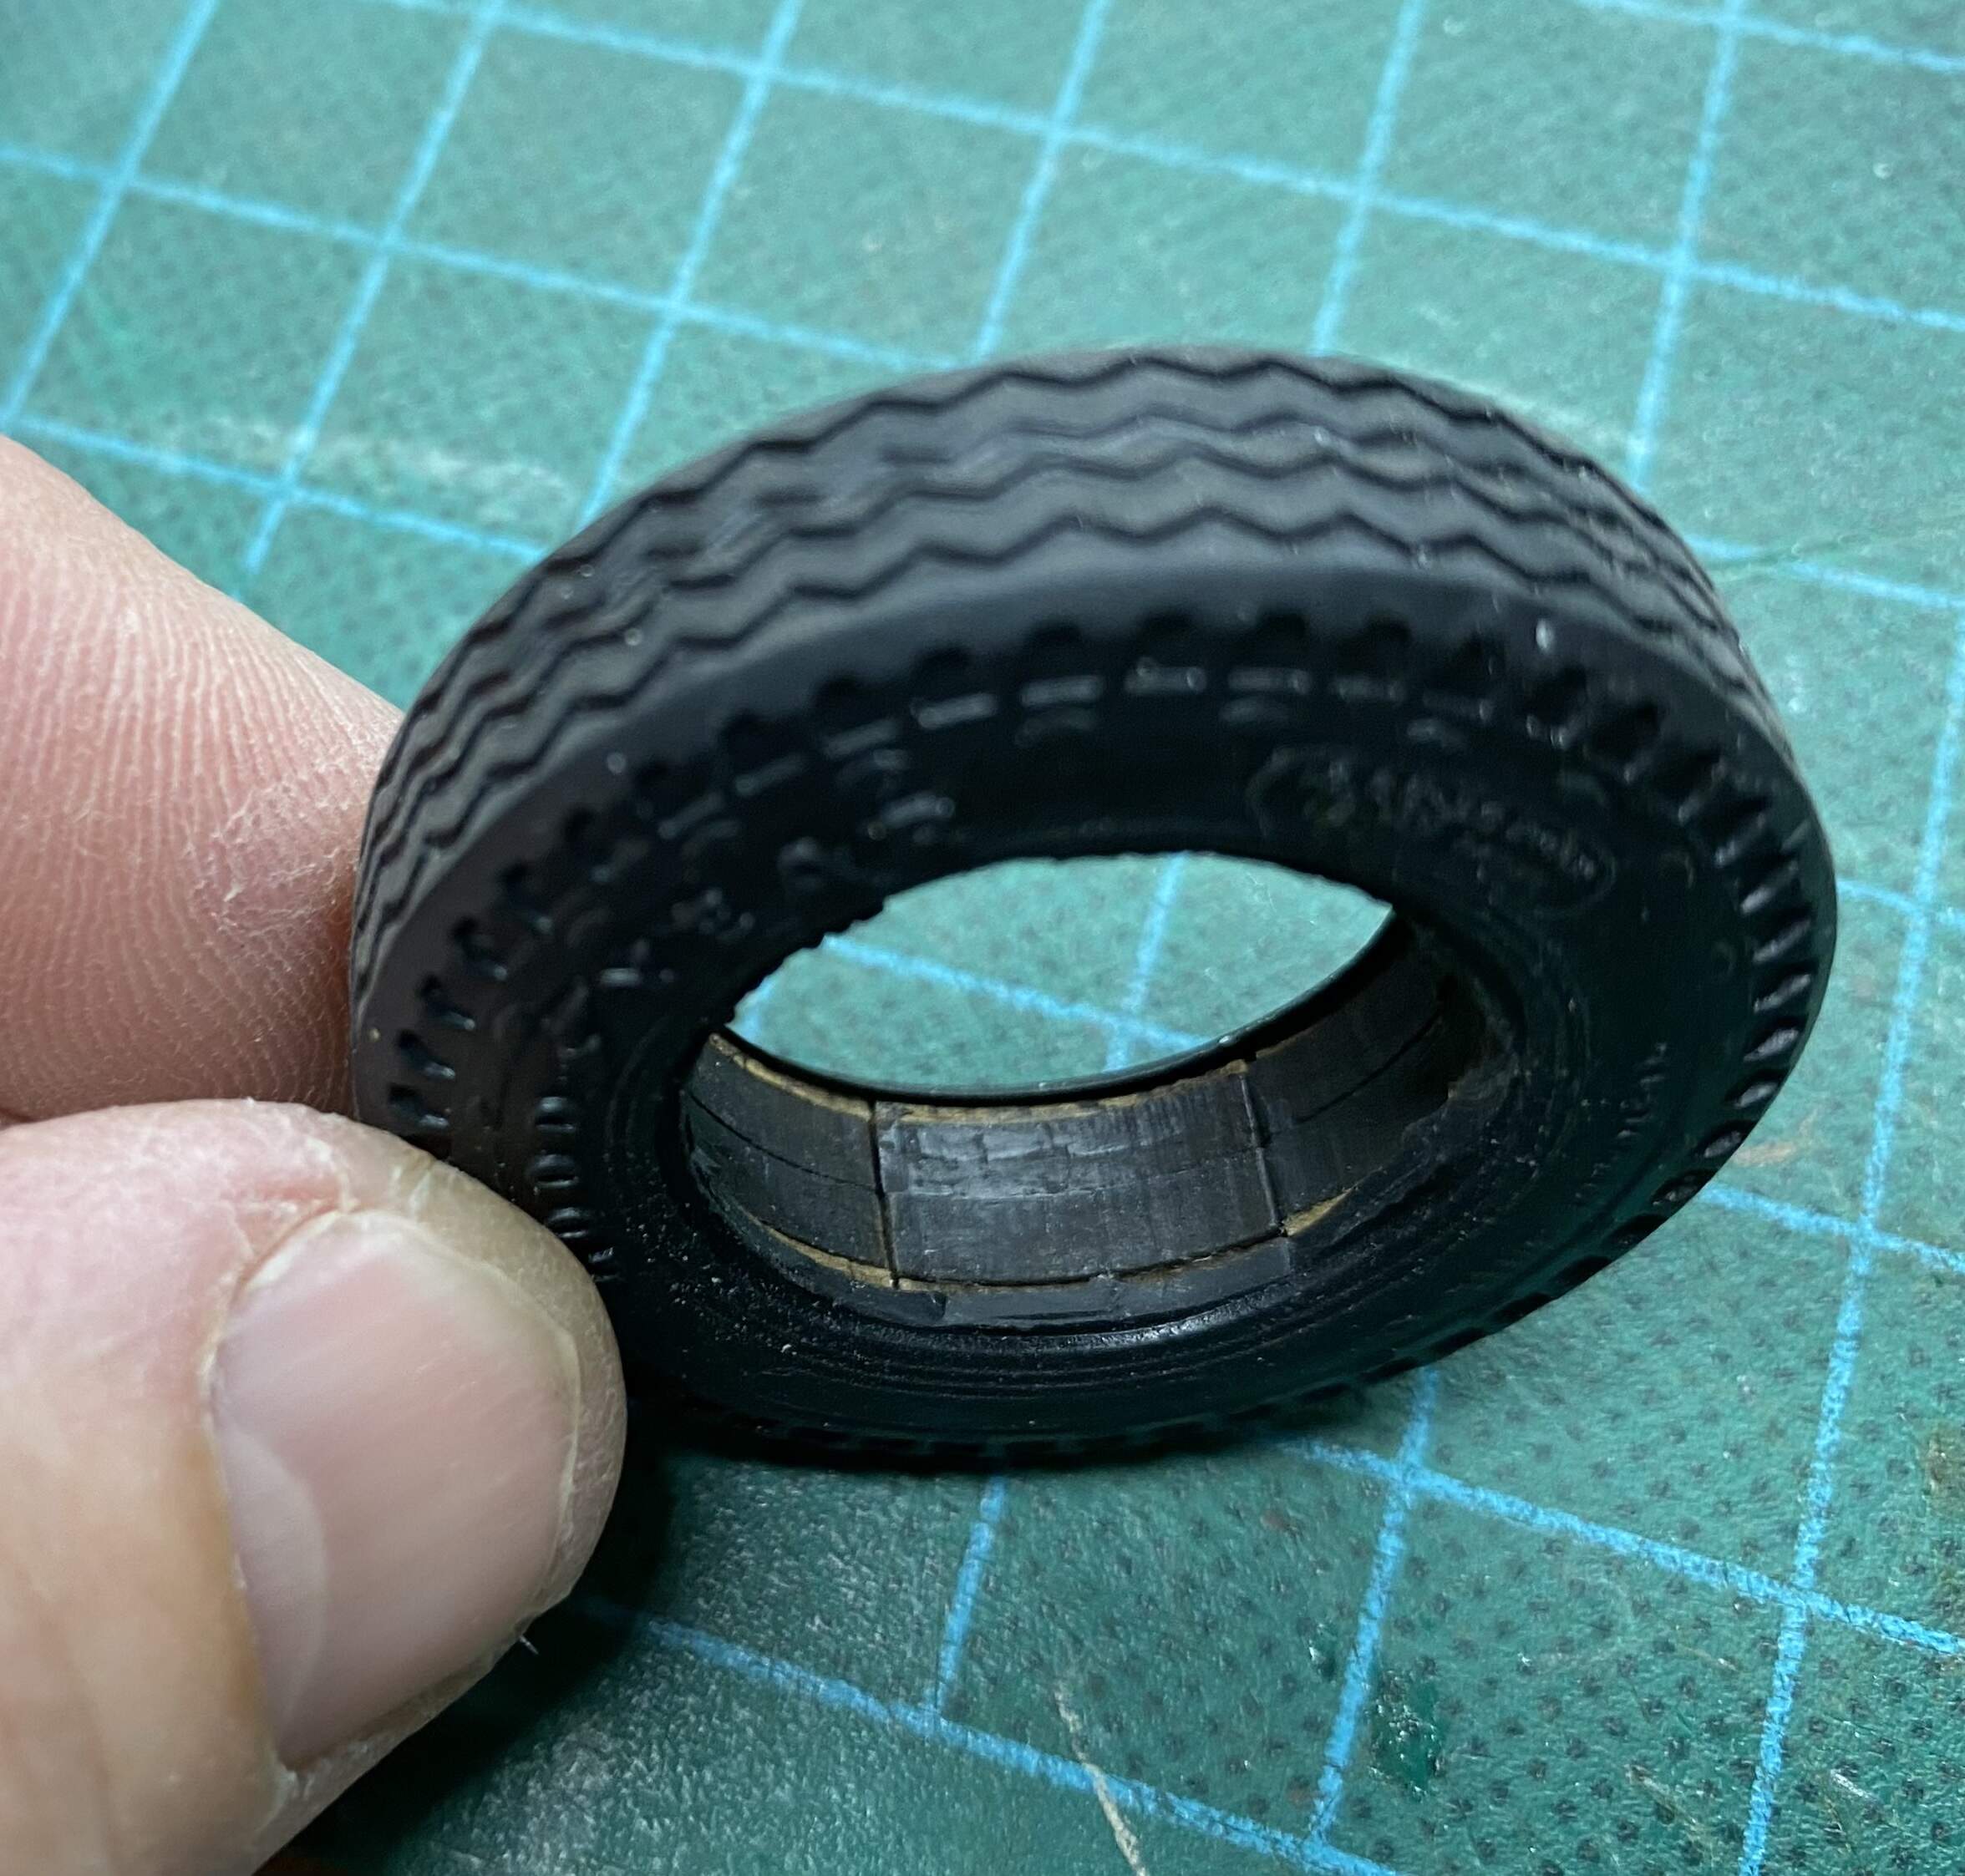
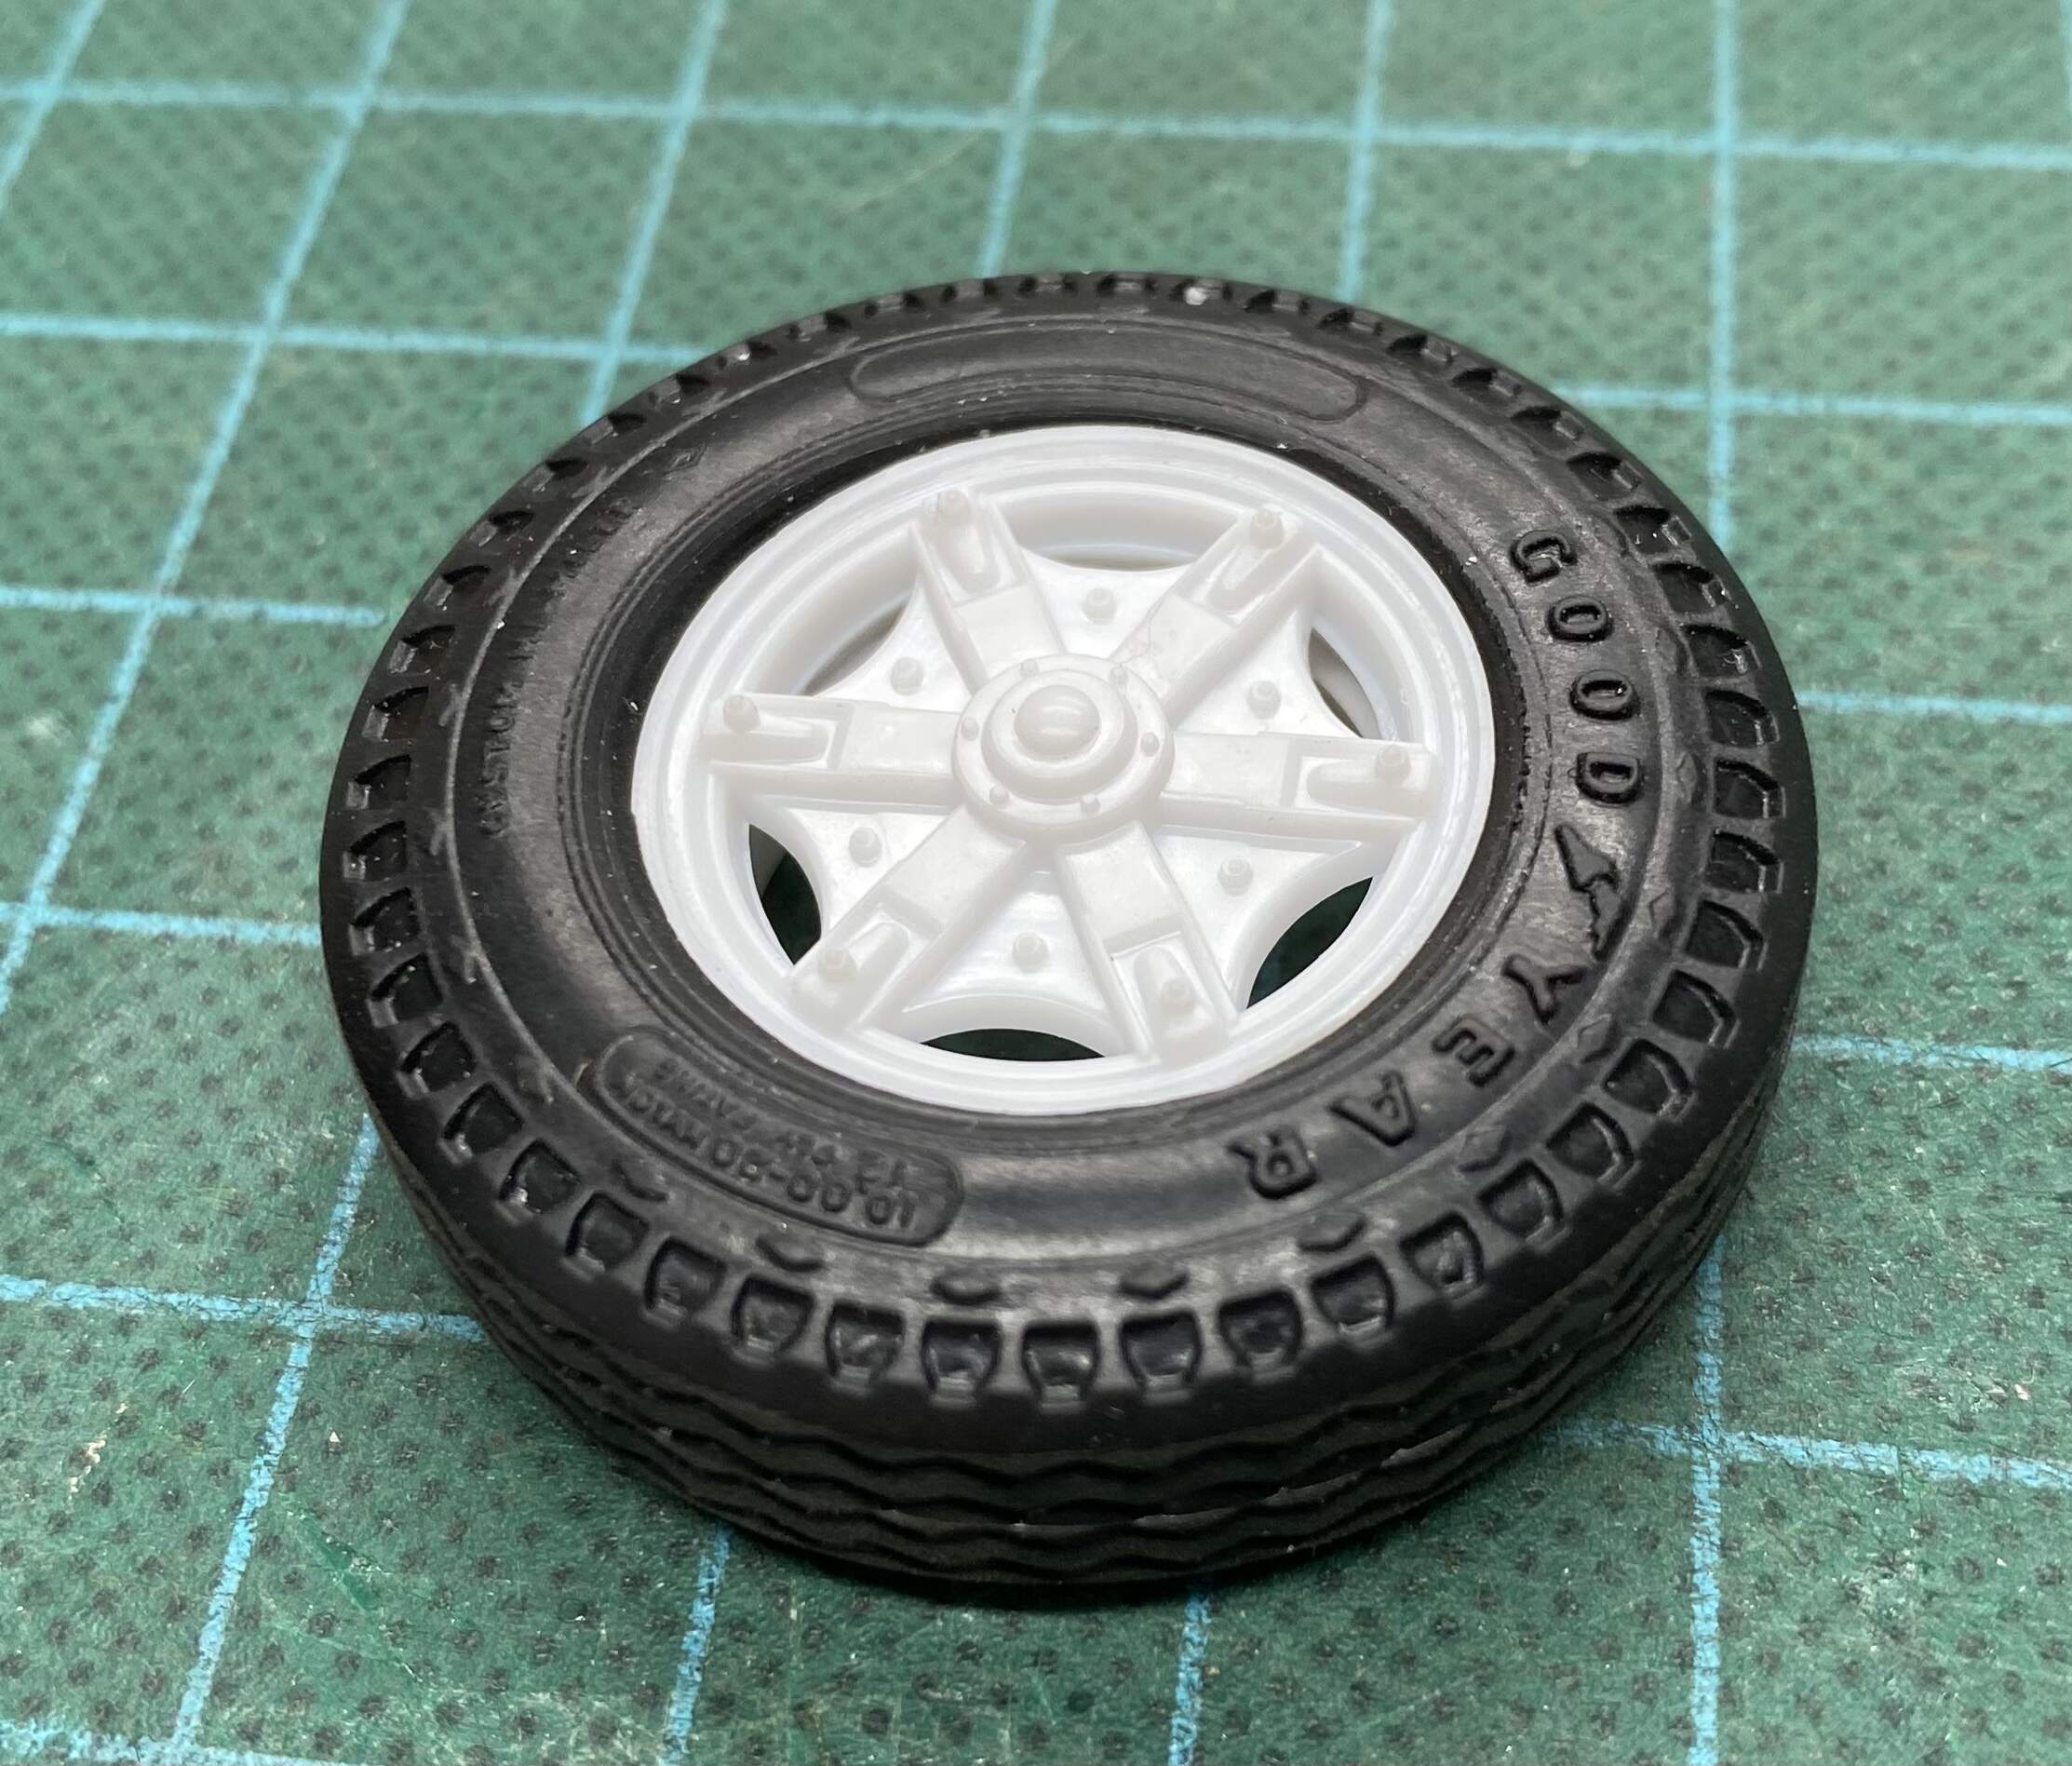
A photo of the laser-cut inserts in place…
Honestly, I think what’s more important than anything is proper and complete clean-up of the vinyl tires; a hassle under any circumstances. Getting the main stub and the 6 mini-sprue stubs cut away is easy. It’s cleaning the membrane away from the tire bead that is very challenging to do cleanly. I didn’t want to mess with Ryan’s tires too much but one suggestion is putting them in the freezer to stiffen the vinyl, then using a fresh #11 blade to cut carefully. Maybe cut a half-circle of scrap styrene sheet to put in the tire and use as a “cutting mat” instead of trying to cut the somewhat floppy tire bead without support. I think I’ll cut a set of parts for Ryan and let him play with them to decide if it’s worth the effort (and let’s face it; 24 pieces per tire [6 segments at 4 layers per segment], times 10 tires, that’s a lot of assembly). I think it was worth a try but the foam backer rod seems to do just as well and retains some flexibility. So there you have it!
Jimbo
PS I should add: I’m very grateful to @Tank_1812 Ryan, for sharing his wheel and tire parts while he’s in the middle of his build, just so I could take a stab at a solution. Thanks Ryan!
6 Likes
A lot of thought in that design Jimbo. Nice to see one guy helping out another. The world needs more of that.
Is applying heat from something like a low heat solder iron a solution to the membrane issue? Just wondering if it will shrivel if the iron tip is held close, or whether it is too much risk of damaging the tyre.
4 Likes
Hi Angel, the brake and lubrication lines are a really nice touch! especially with your operable hood - looking fantastic!
Looking forward to seeing more!
Cheers
Nick
3 Likes
Hello model builders, the JLTV is done. If any of you are interested in the base Sabre JLTV kit, it is really nice, with few problems with construction - the only problems I had were ![]() percent self imposed!
percent self imposed!
So a couple of images:

Building the bed using this approach (ie instead of using the soon-to be released kit of the same ![]() ) was a bit tricky as there is, as it turns out, some sort of operating system tucked in the area above the chassis, so getting the heights correct is important - and a few glamour images:
) was a bit tricky as there is, as it turns out, some sort of operating system tucked in the area above the chassis, so getting the heights correct is important - and a few glamour images:
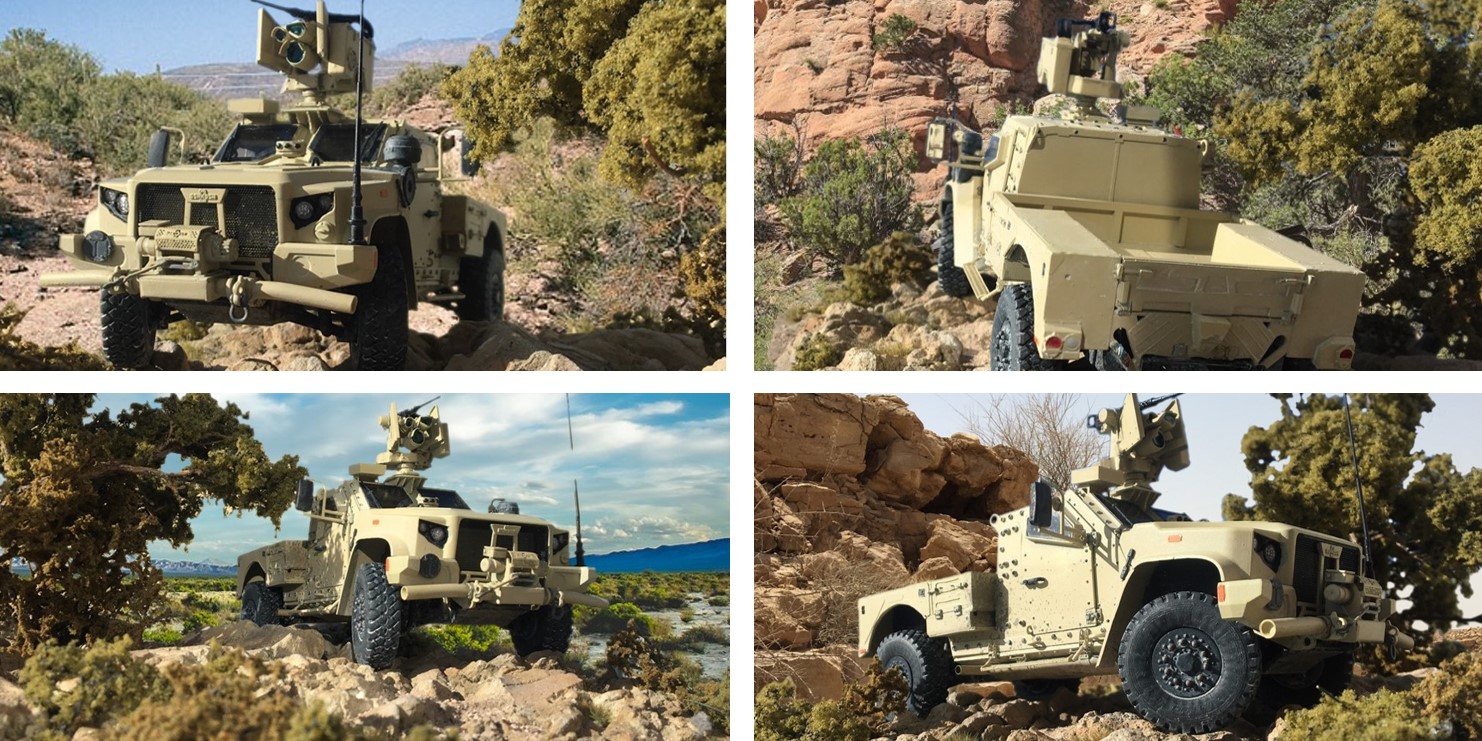
I think this is a good looking rig - it was a fun project too.
With this done, I’m going to start an RG-33 SOCOM AUV build. It is essentially a 6x6 version of the base RG-33, but with a flatbed instead of personnel area in the back. This will also be a kitbash conversion.
OK, lets keep building trucks
Cheers
Nick
11 Likes
Looking ![]() % glamorous Nick!
% glamorous Nick! ![]()
—mike
2 Likes
Jimbo,
It is I who should be thanking you. That is wonderful help for those tires. I think the backer rod has it’s place to help inflate the tires but I think this method might give the extra support to help prevent the slipping off the rim.
I agree on the trimming. AMT does cut one side for you and while it is clean, it felt like the back side one that must be cut away has a thicker wall that helps make things fit better. I will try the freezer method on the next tires.
Wheels had been on my mind this weekend also. I had for original trucking campaign found Paul’s video for the Mack truck, I think it was new then. I found part 2 and that gave me additional information for the wheels. Big Rig Group Build 2021 AMT Mack R685ST Part Two - YouTube
So while looking for the product I found AMT has come out with two semi truck tire sets. It looks like the one in the video is set PP023.
Thanks again Jimbo. ![]()
![]()
3 Likes
That is sick (good) Nick. ![]()
![]()
2 Likes
That’s a top notch build Nick, and the images are brilliant… Very clever ![]()
2 Likes
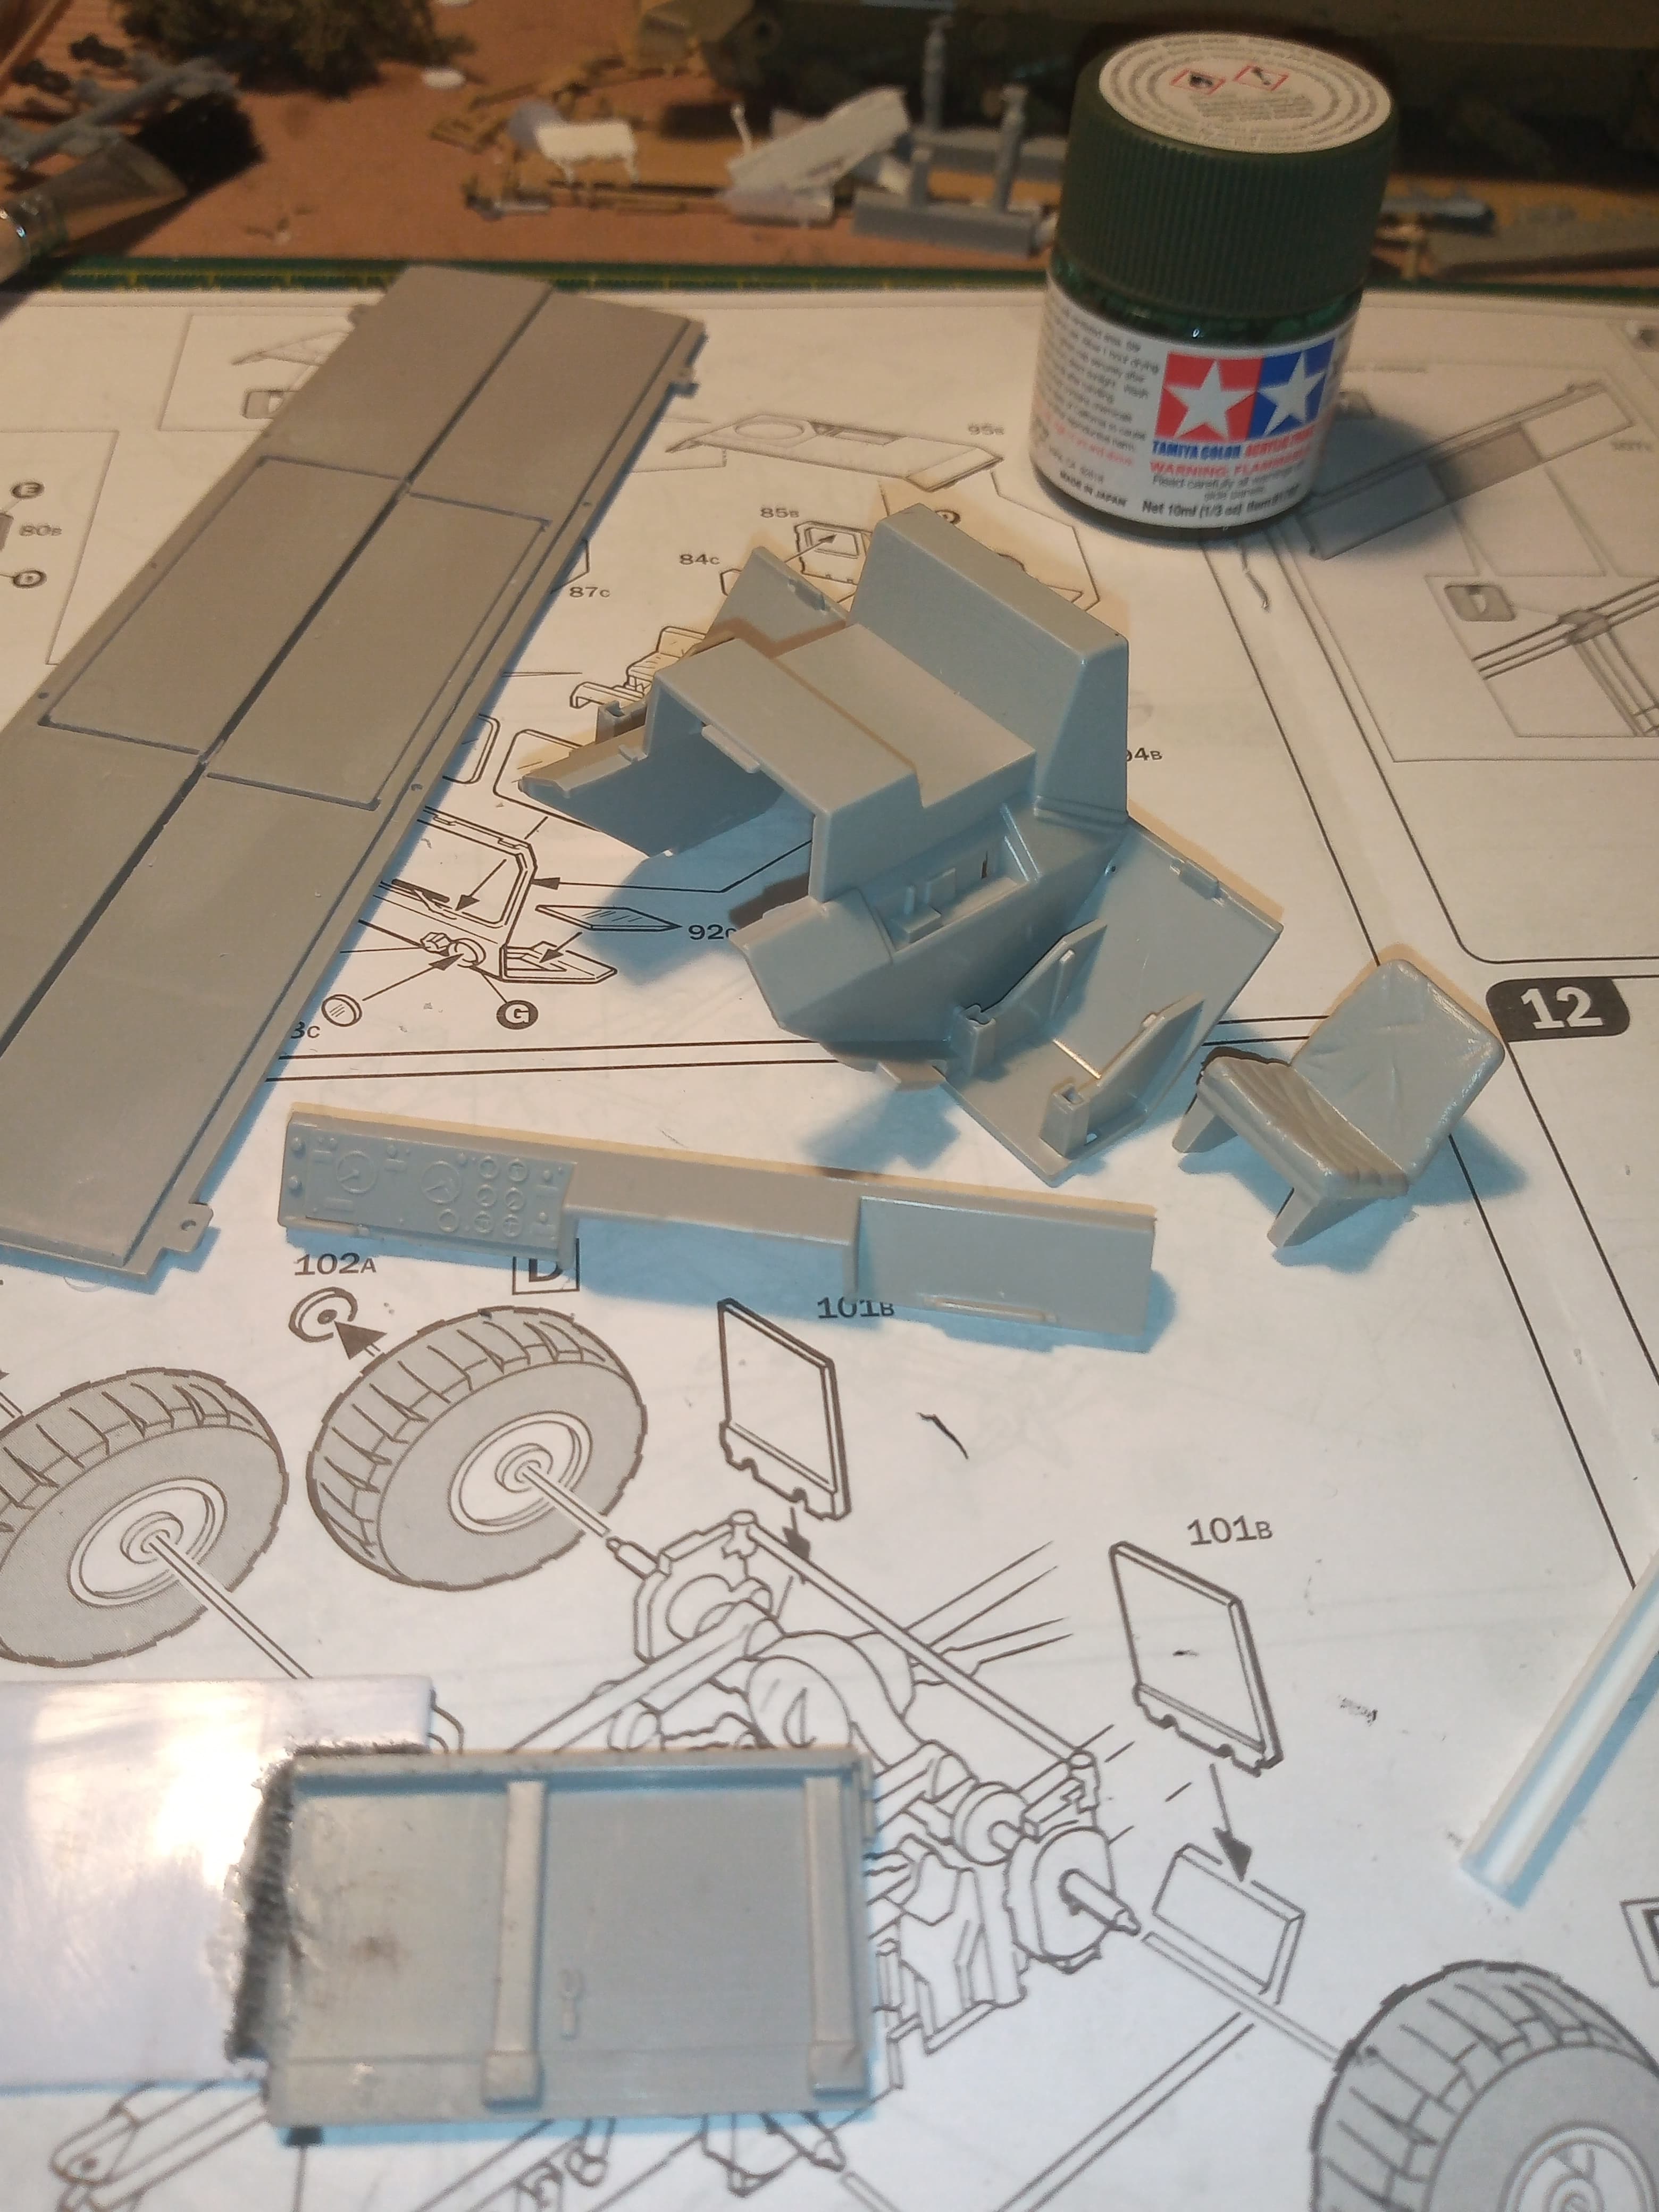
Thought it best to give the old HEMTT some love and not make the CTT the favourite child lol…
Hacked the front panel and tailgate sections in half. Then did the rear first, and used some white ID card plastic from work to make the central section.
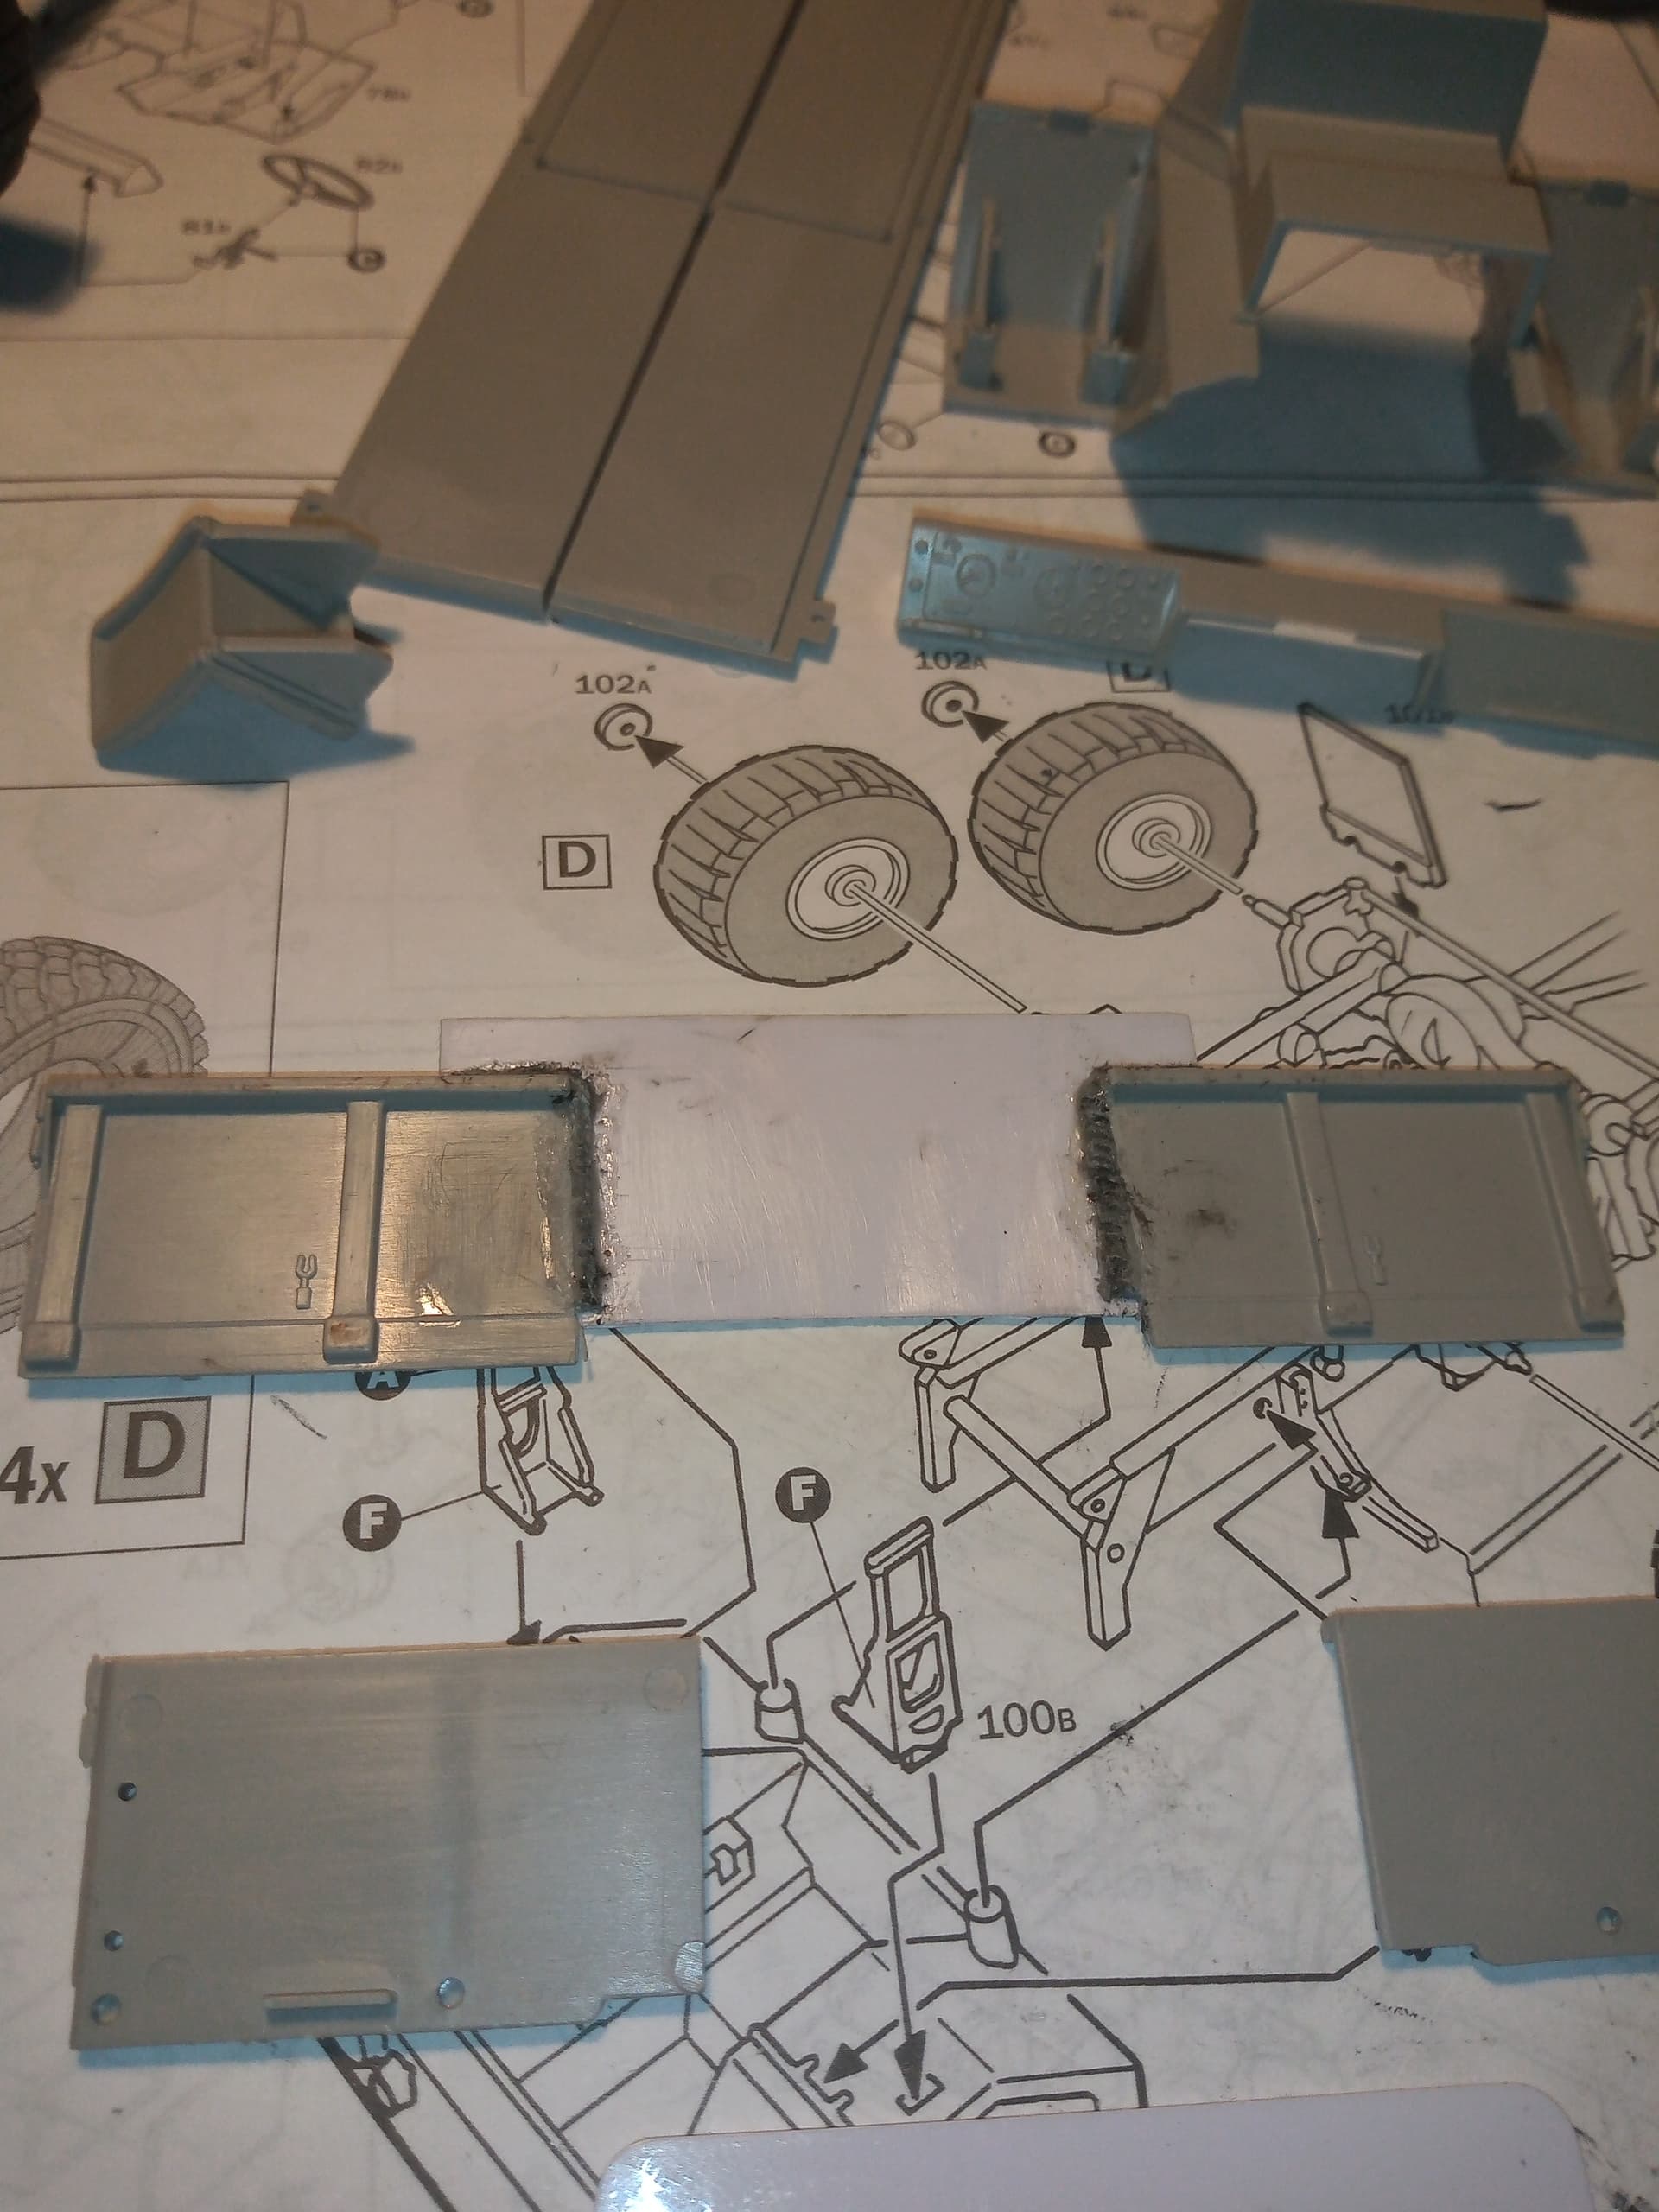
Used some semi circular sprue with lots of glue to try and replicate some thick weld on the front face…could be better but I won’t get to worried by it.
I have to keep reminding myself this is a bodge job, a one off built of loads of different parts and what was available… So staying away from uniformity and nice clean lines …
This is the front cut and ready for the center section…this bit is a tad shorter than the rear as it doesn’t need to offer quite as much protection as the tailgate section.
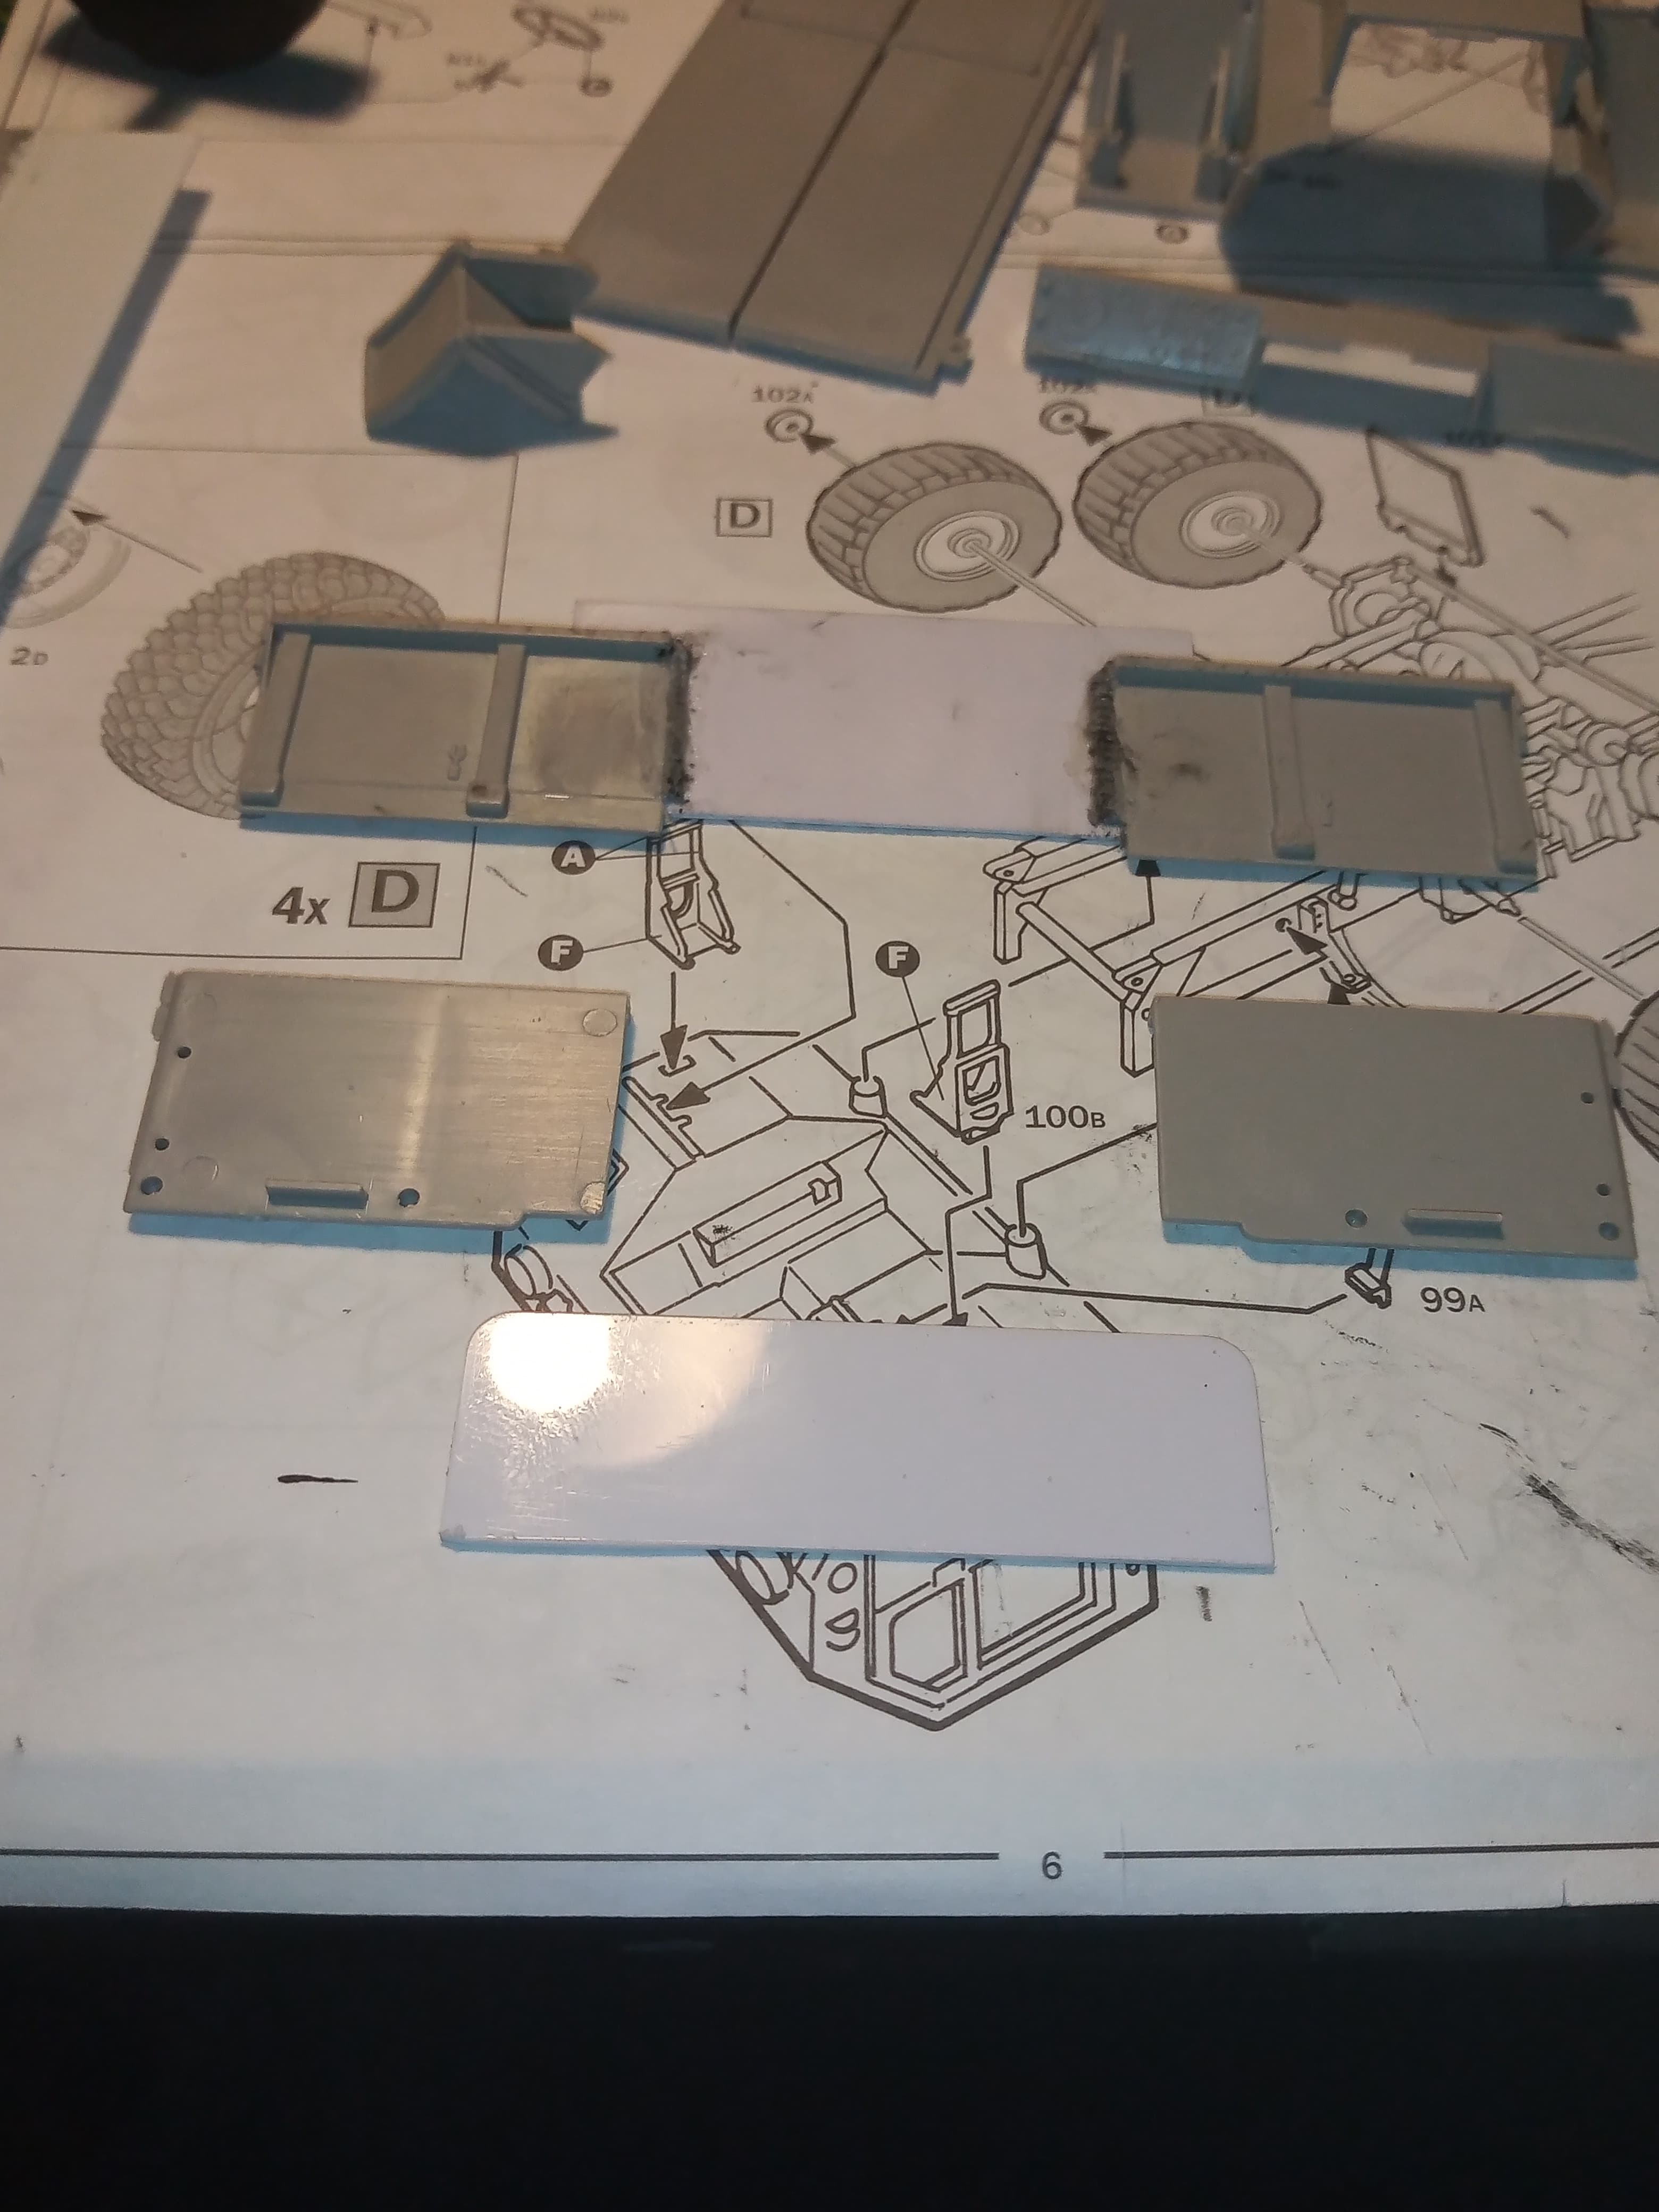
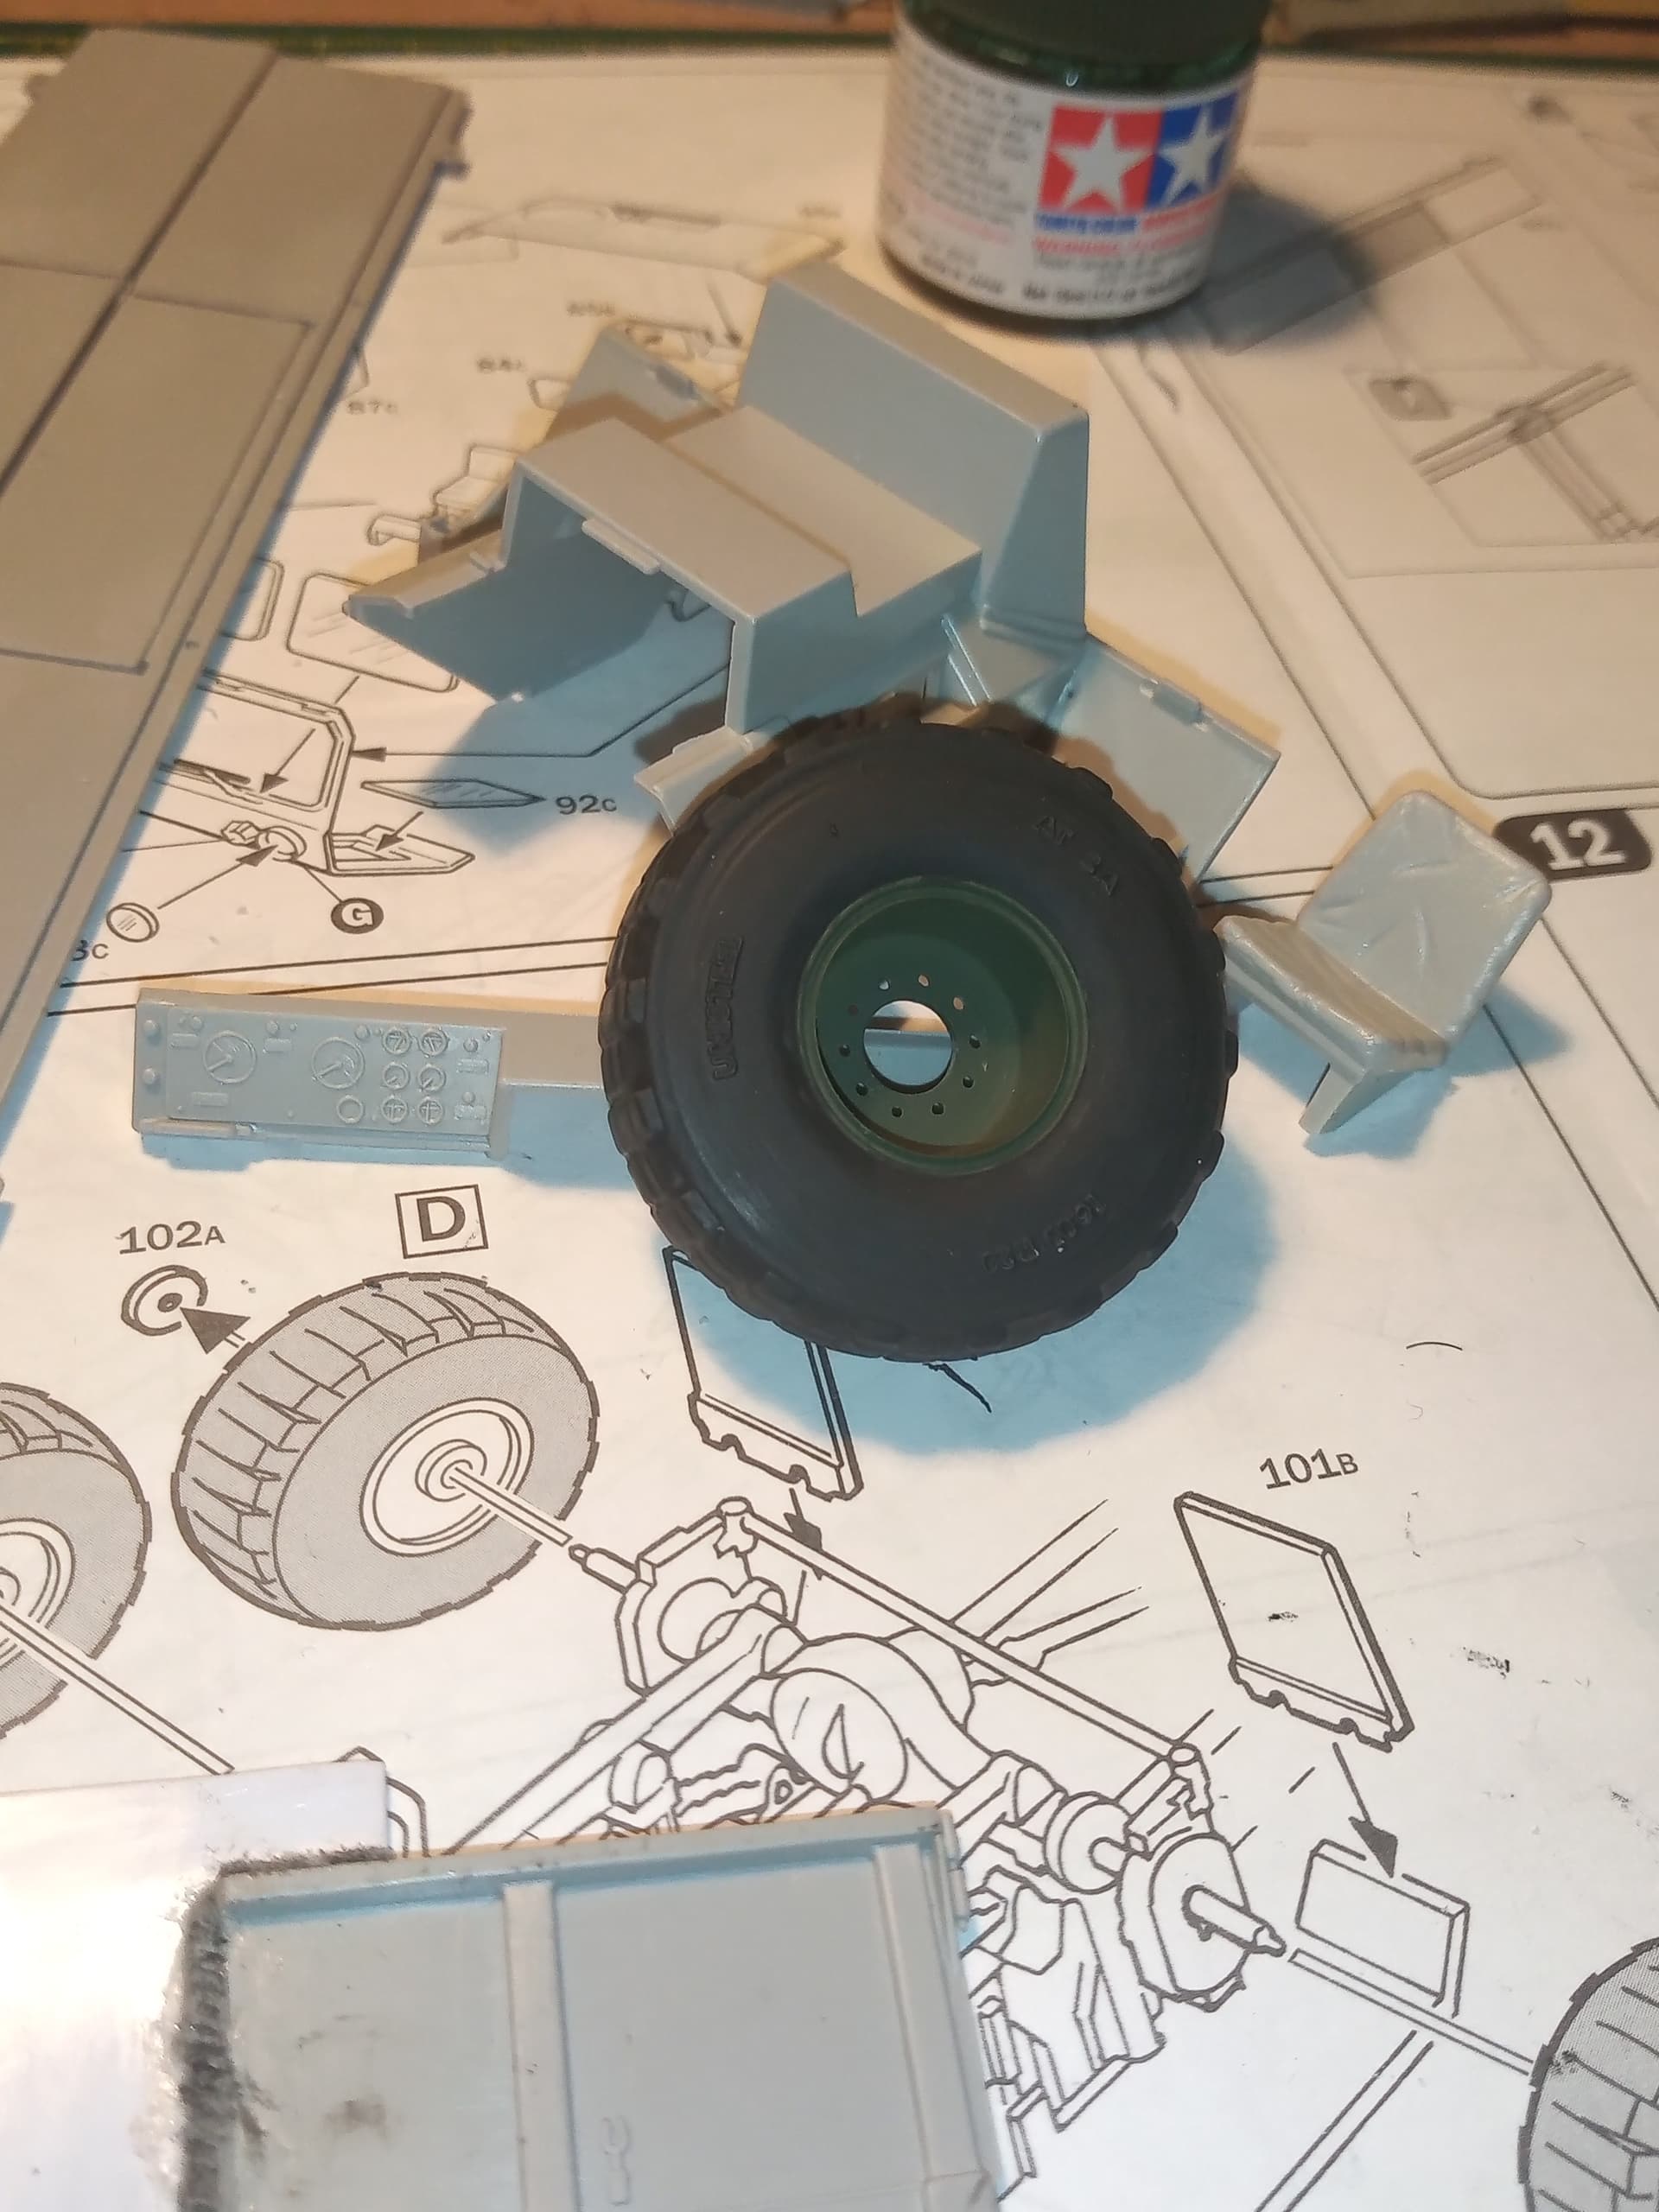
This is the hard plastic kit spare wheel they left included… Looks ok and I will use it as a 2nd spare.
Will start putting the cab together tomorrow and painting it up on the inside …
Breaker 19 … Truck on !!
6 Likes
Jimbo, I like that idea!!
Mike
4 Likes
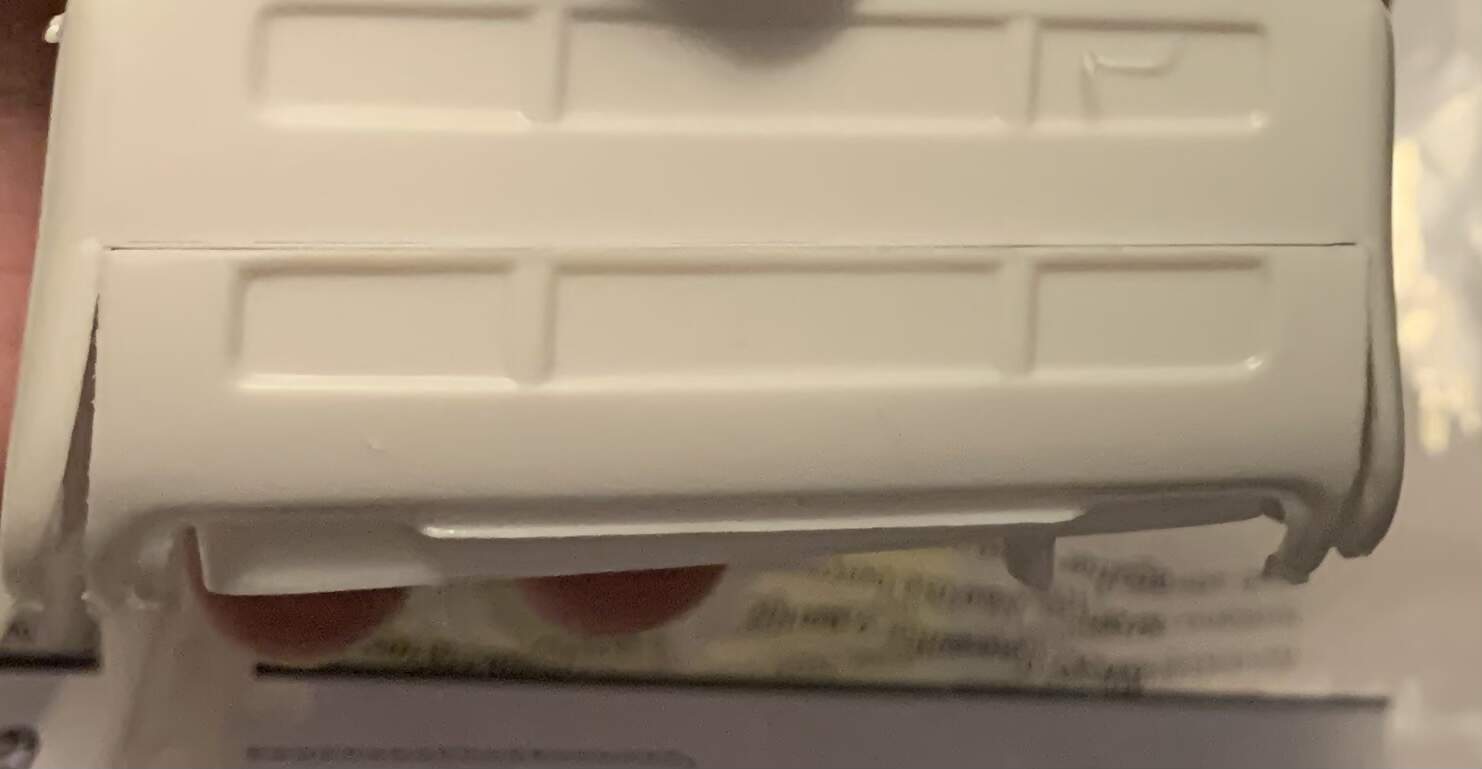
Tonight’s plastic toil.

Would you attempt to remove the pin marks inside the rails or leave as is?

Almost feels like it might be easier to remake the rails then to fight the good fight to remove.
6 Likes
being a sometimes lazy modeller … you know where I’m going with it … ![]()
![]()
3 Likes
mitic film
A tiny drop ![]() of glue would be my only effort to disguise the punch out dimple
of glue would be my only effort to disguise the punch out dimple ![]()
Cajun ![]()
3 Likes
The ones in the rails are all raised. Are you saying to still apply glue to make the edges less pronounced?
1 Like
How much can you genuinely see of that area once its all put together ? … I would seriously leave it if you cannot see any of them. Life’s to short dude. If you are hell bent on fixing them… I have cut down a nail file before to a small square and glued that to a shaped bit of sprue and sanded back things like that … It wasnt fun though … then I found out you couldnt see the area I had sanded … ![]()
7 Likes