Howdy folks! Unfortunately, I’ve not been to my bench in a long time. I got “burned out” big time with too many builds going on at once and a “deadline-type of build” for someone else. I should’ve known better, but I didn’t pay attention to the signs. That, along with a master bath renovation that I’m doing by myself.
I did sit at my bench for a few minutes to fix an outdoor figure that belongs to my wife. Simple, yet effective method to coax myself back into the swing.
Perhaps I’ll get the mojo back shortly.
Mike
8 Likes
Hi Mike, it’s only a hobby, so no need to apologise - just do it when the mood strikes. (I can’t count the unfinished builds lurking in boxes in my storage area…) My own builds follow a pattern of lots of building, followed by stalling at the paint stage when other demands on my time get in the way.
7 Likes
Welcome to the club and we will be here when you’re back which will be shortly we hope. 
6 Likes
Mike, no problem. I feel the same way - take it easy - leave a kit or the hobby for a little while then come back when the mojo is there.
Hope the bathroom turns out great 

See you when the mojo is back 
2 Likes
Hi gang,
I’ve been suffering a big no-modelling patch lately due to work (no time/energy of an evening) and other household tasks, but last evening I cleared the deck and cracked open a box to start one of my wish-list builds! (Still planning to do the radio truck, but it’s stalled at a tricky place for the moment…)
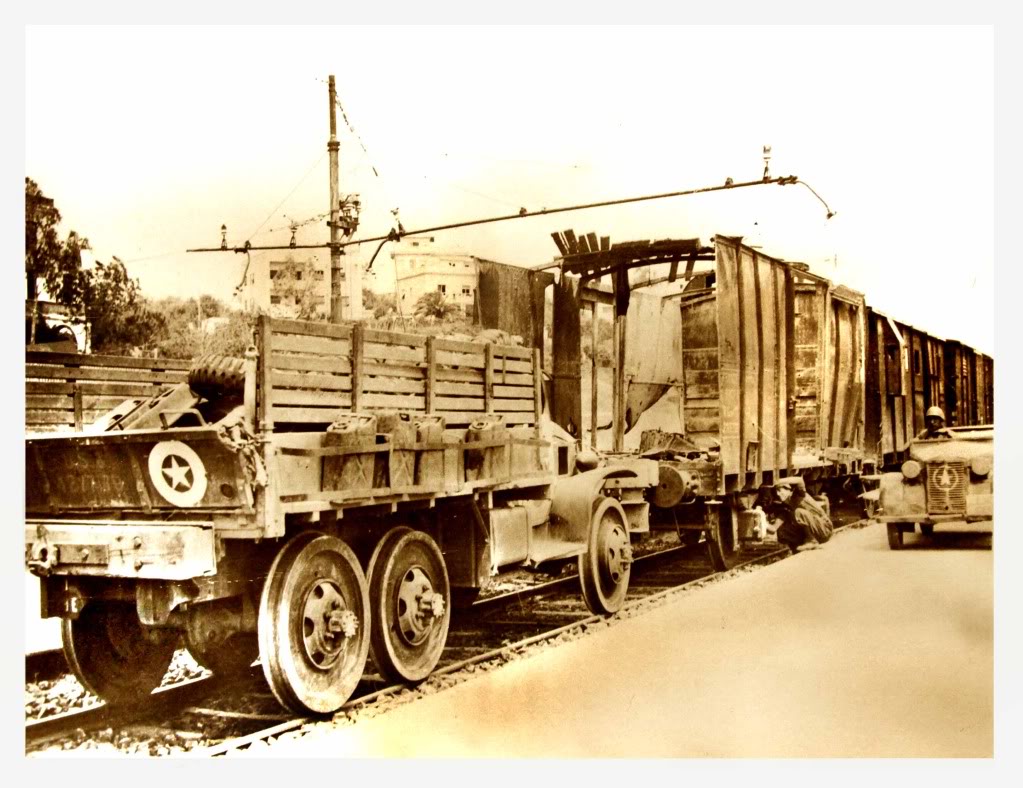
I saw these pics ages ago and really wanted to build it:
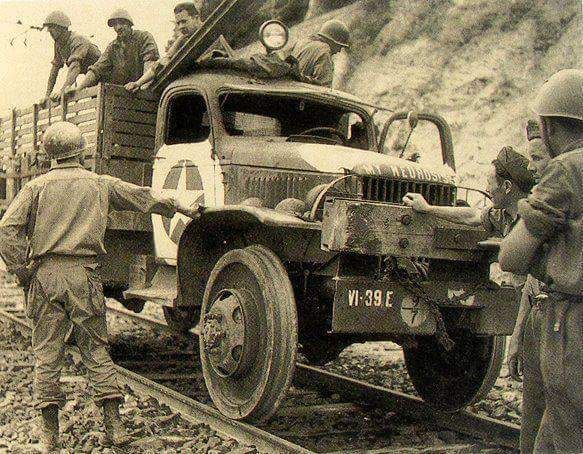
The plan was to use a Tamiya truck frame and bed, with an Italeri closed cab (type 1609 with gun ring), and some wheels I CAD-ed and got a friend to print for me. I picked up a Tamiya kit last week from our favourite coastal anchorage, and then the impulse struck! Adapting the Italeri cab onto the Tamiya chassis was easy enough with a little surgery, and the rest is simple Tamiya shake&bake.
The real thing had a pile of junk in the cargo bed as ballast, including the rubber wheels, so rather than sacrificing the nice Tamiya ones I modified the Italeri ones. Everyone knows they are slightly small, but that won’t show when they are loosely piled in the back! The tricky part was drilling out the bolt holes - about half of them came out OK so will be at the top of the heap…
My plan is to put it on a base with a wagon, just like the photos.
9 Likes
Great start and good to see the mojo back … Looks like cool concept and be nice seeing it come together
1 Like
Nice choice Tom. A very unusual vehicle. Great start to the build too.
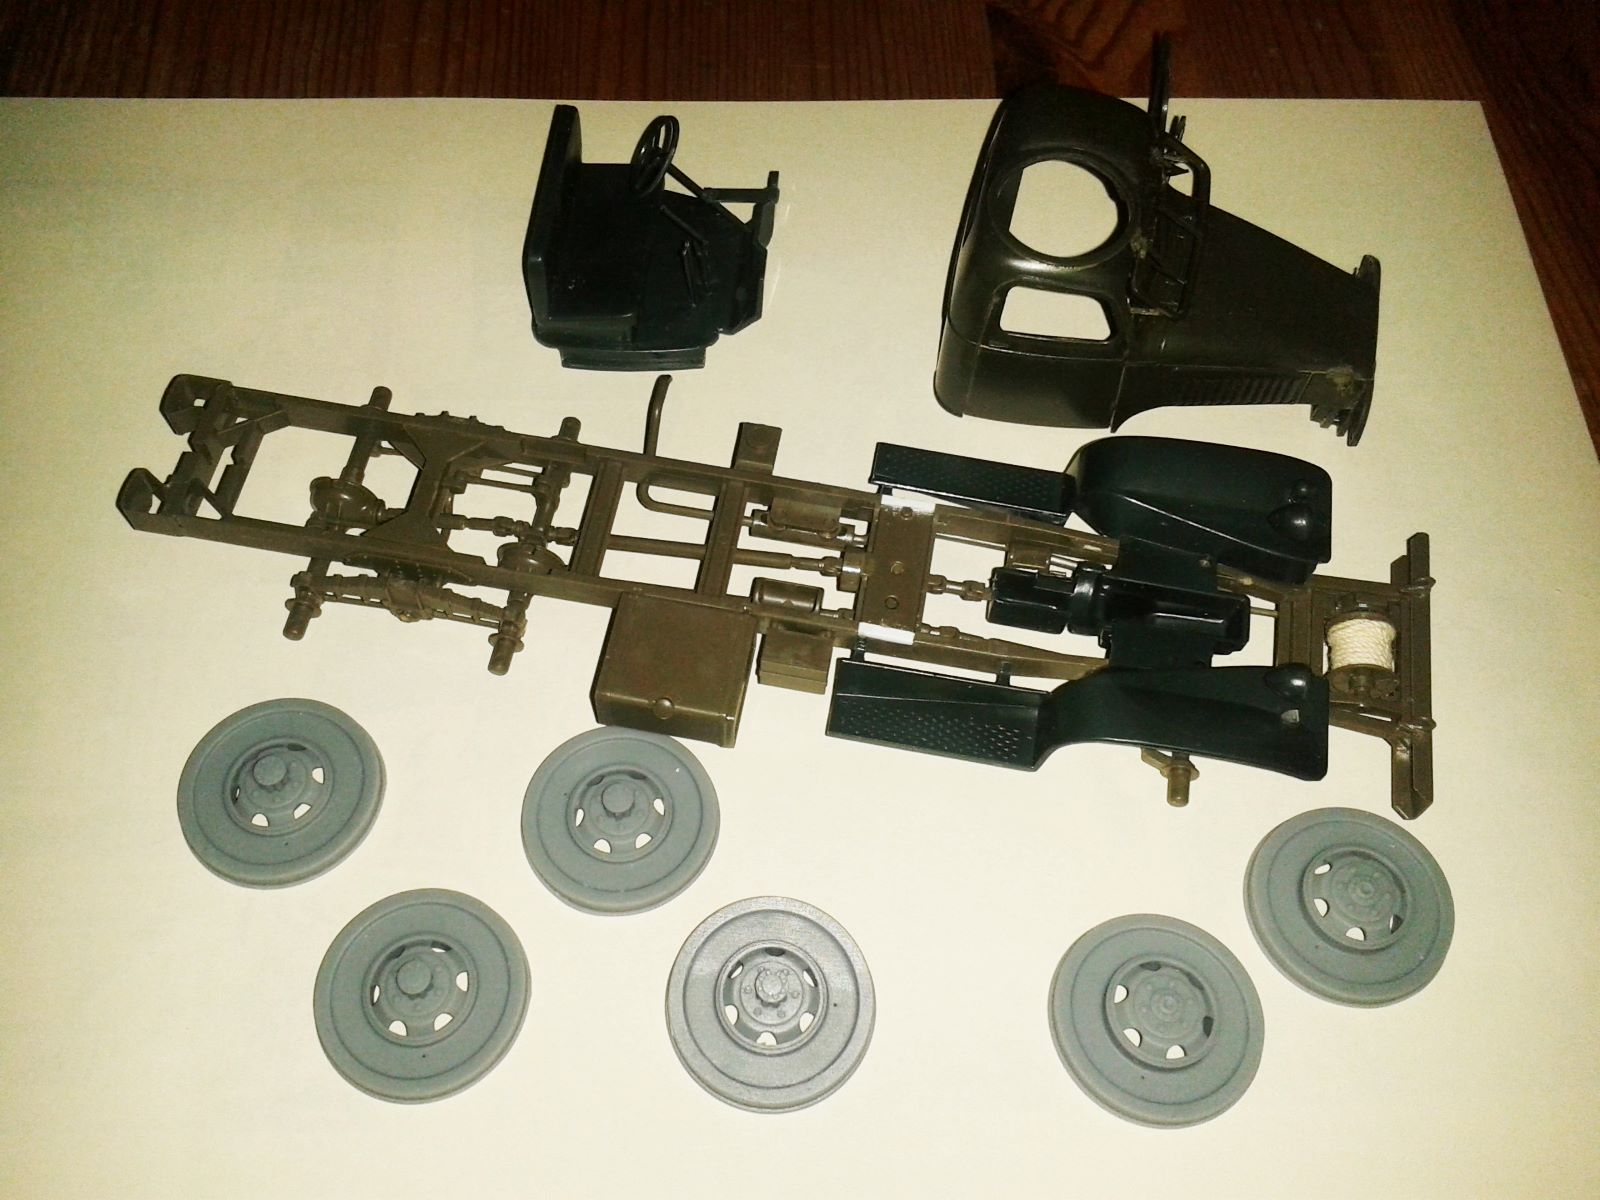
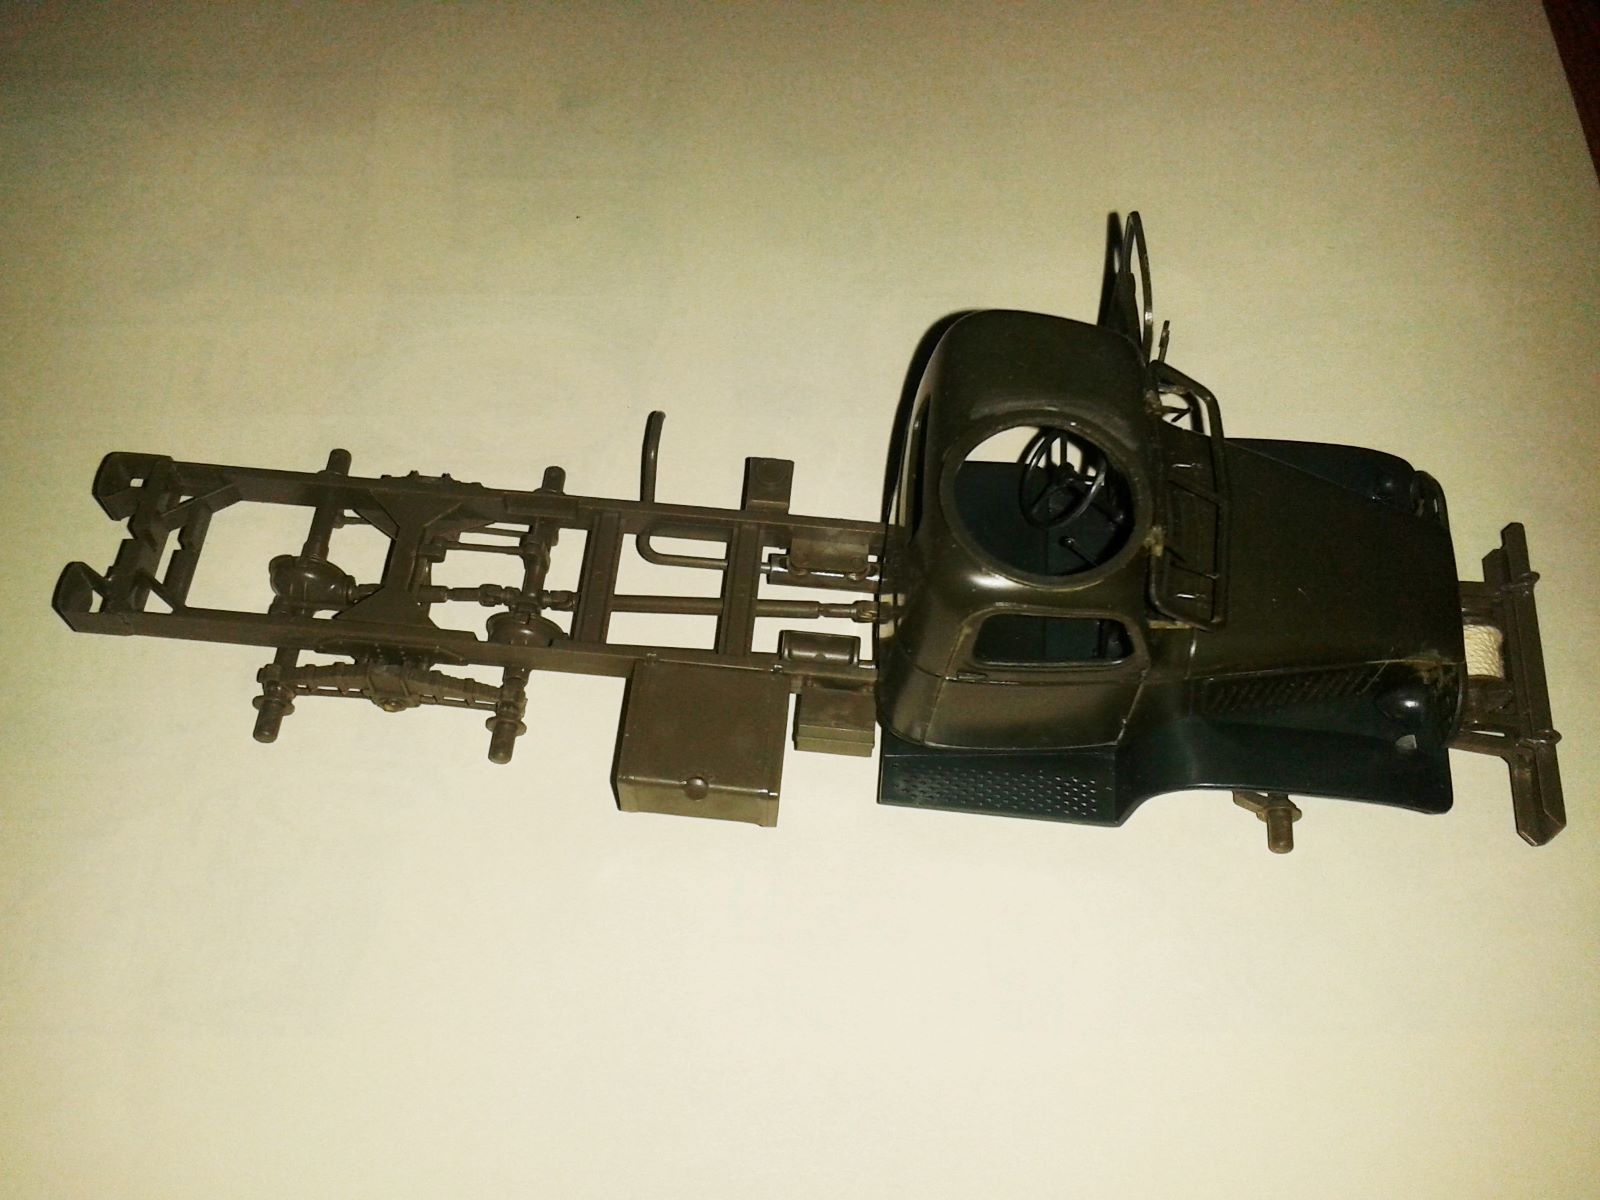
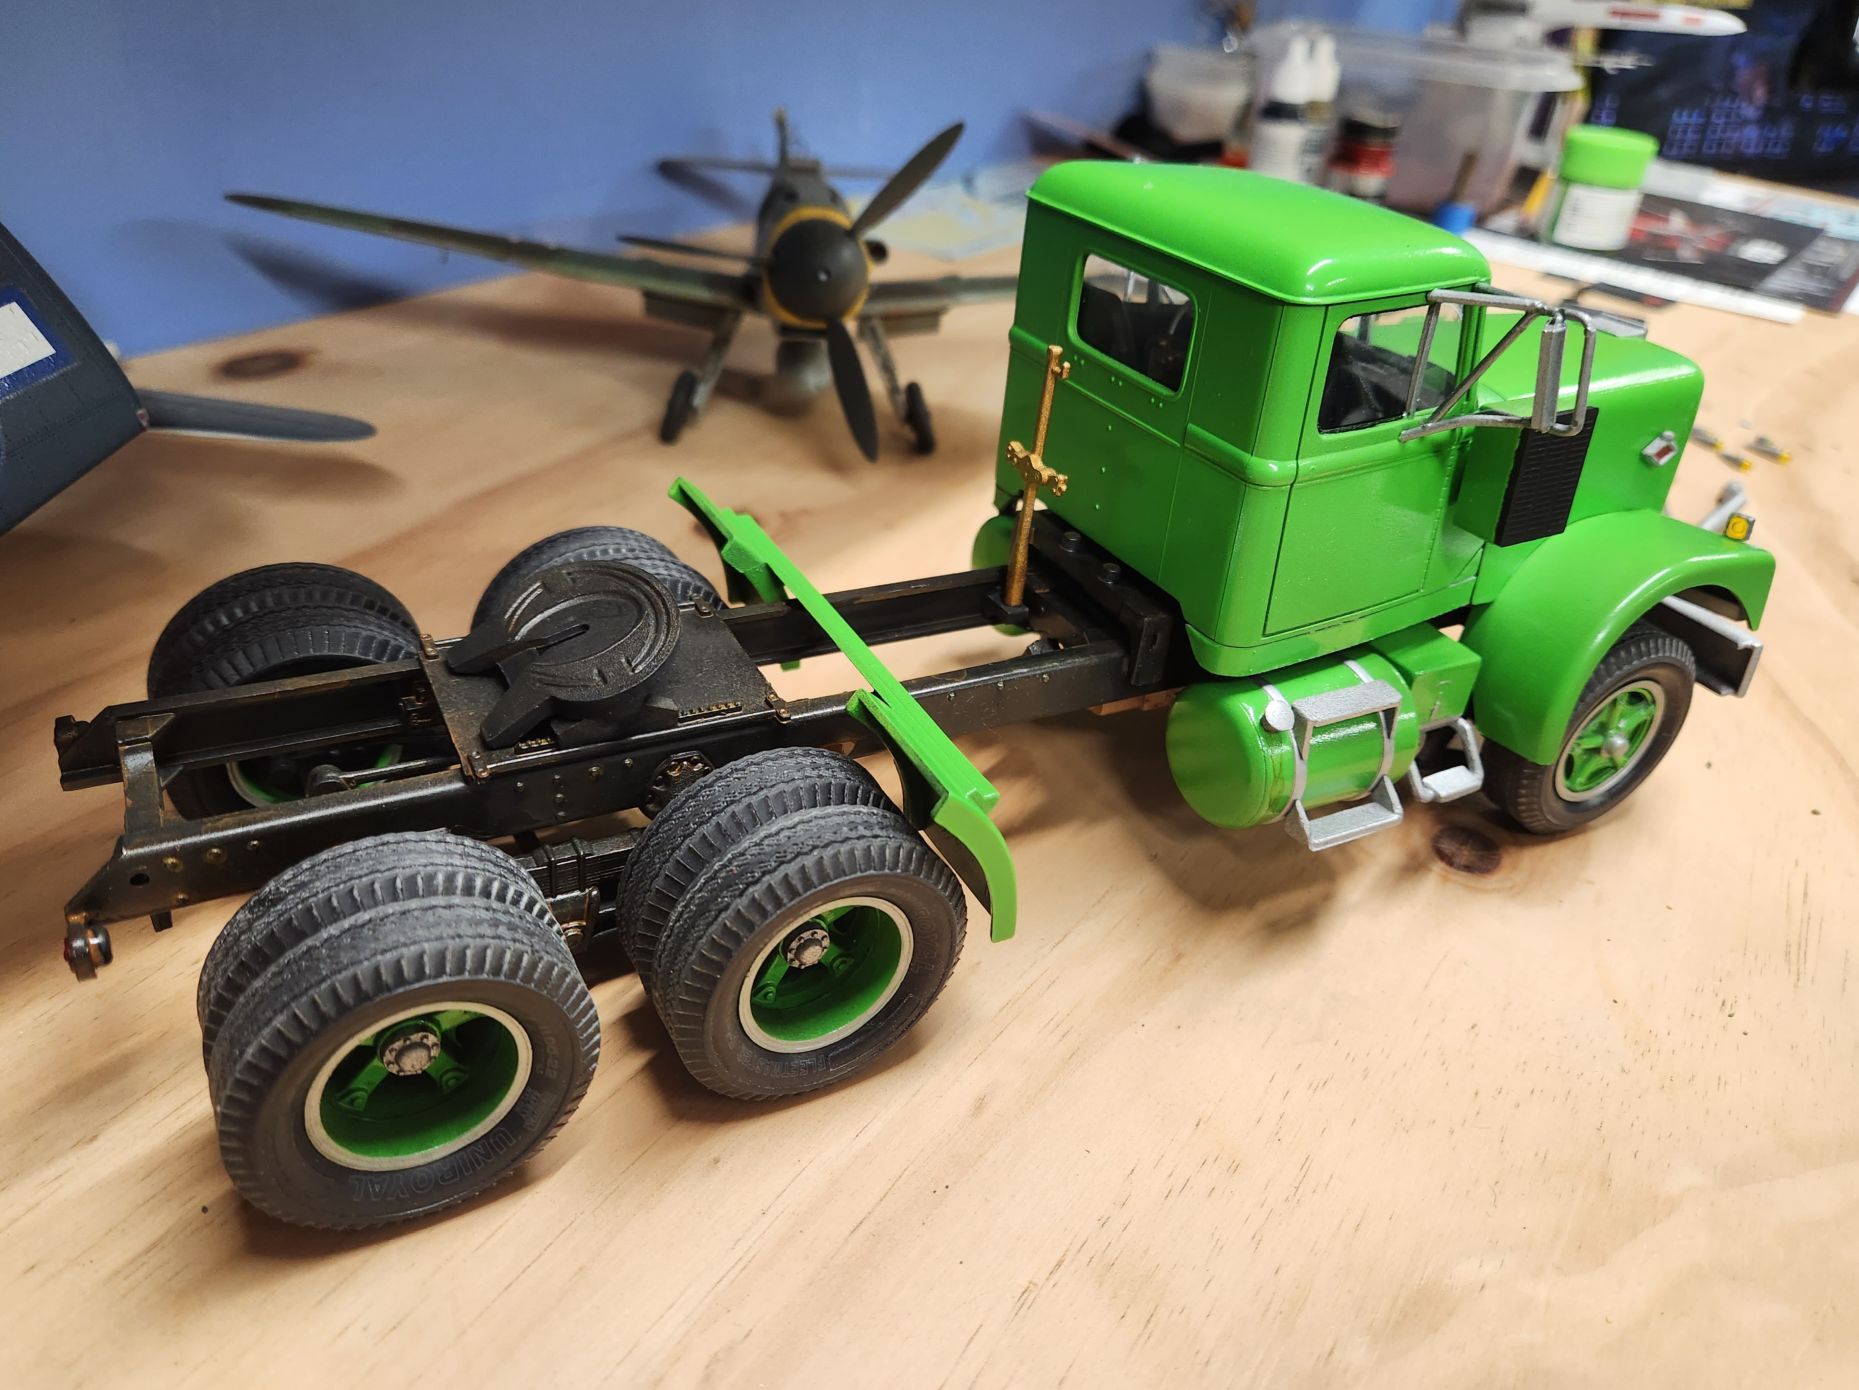
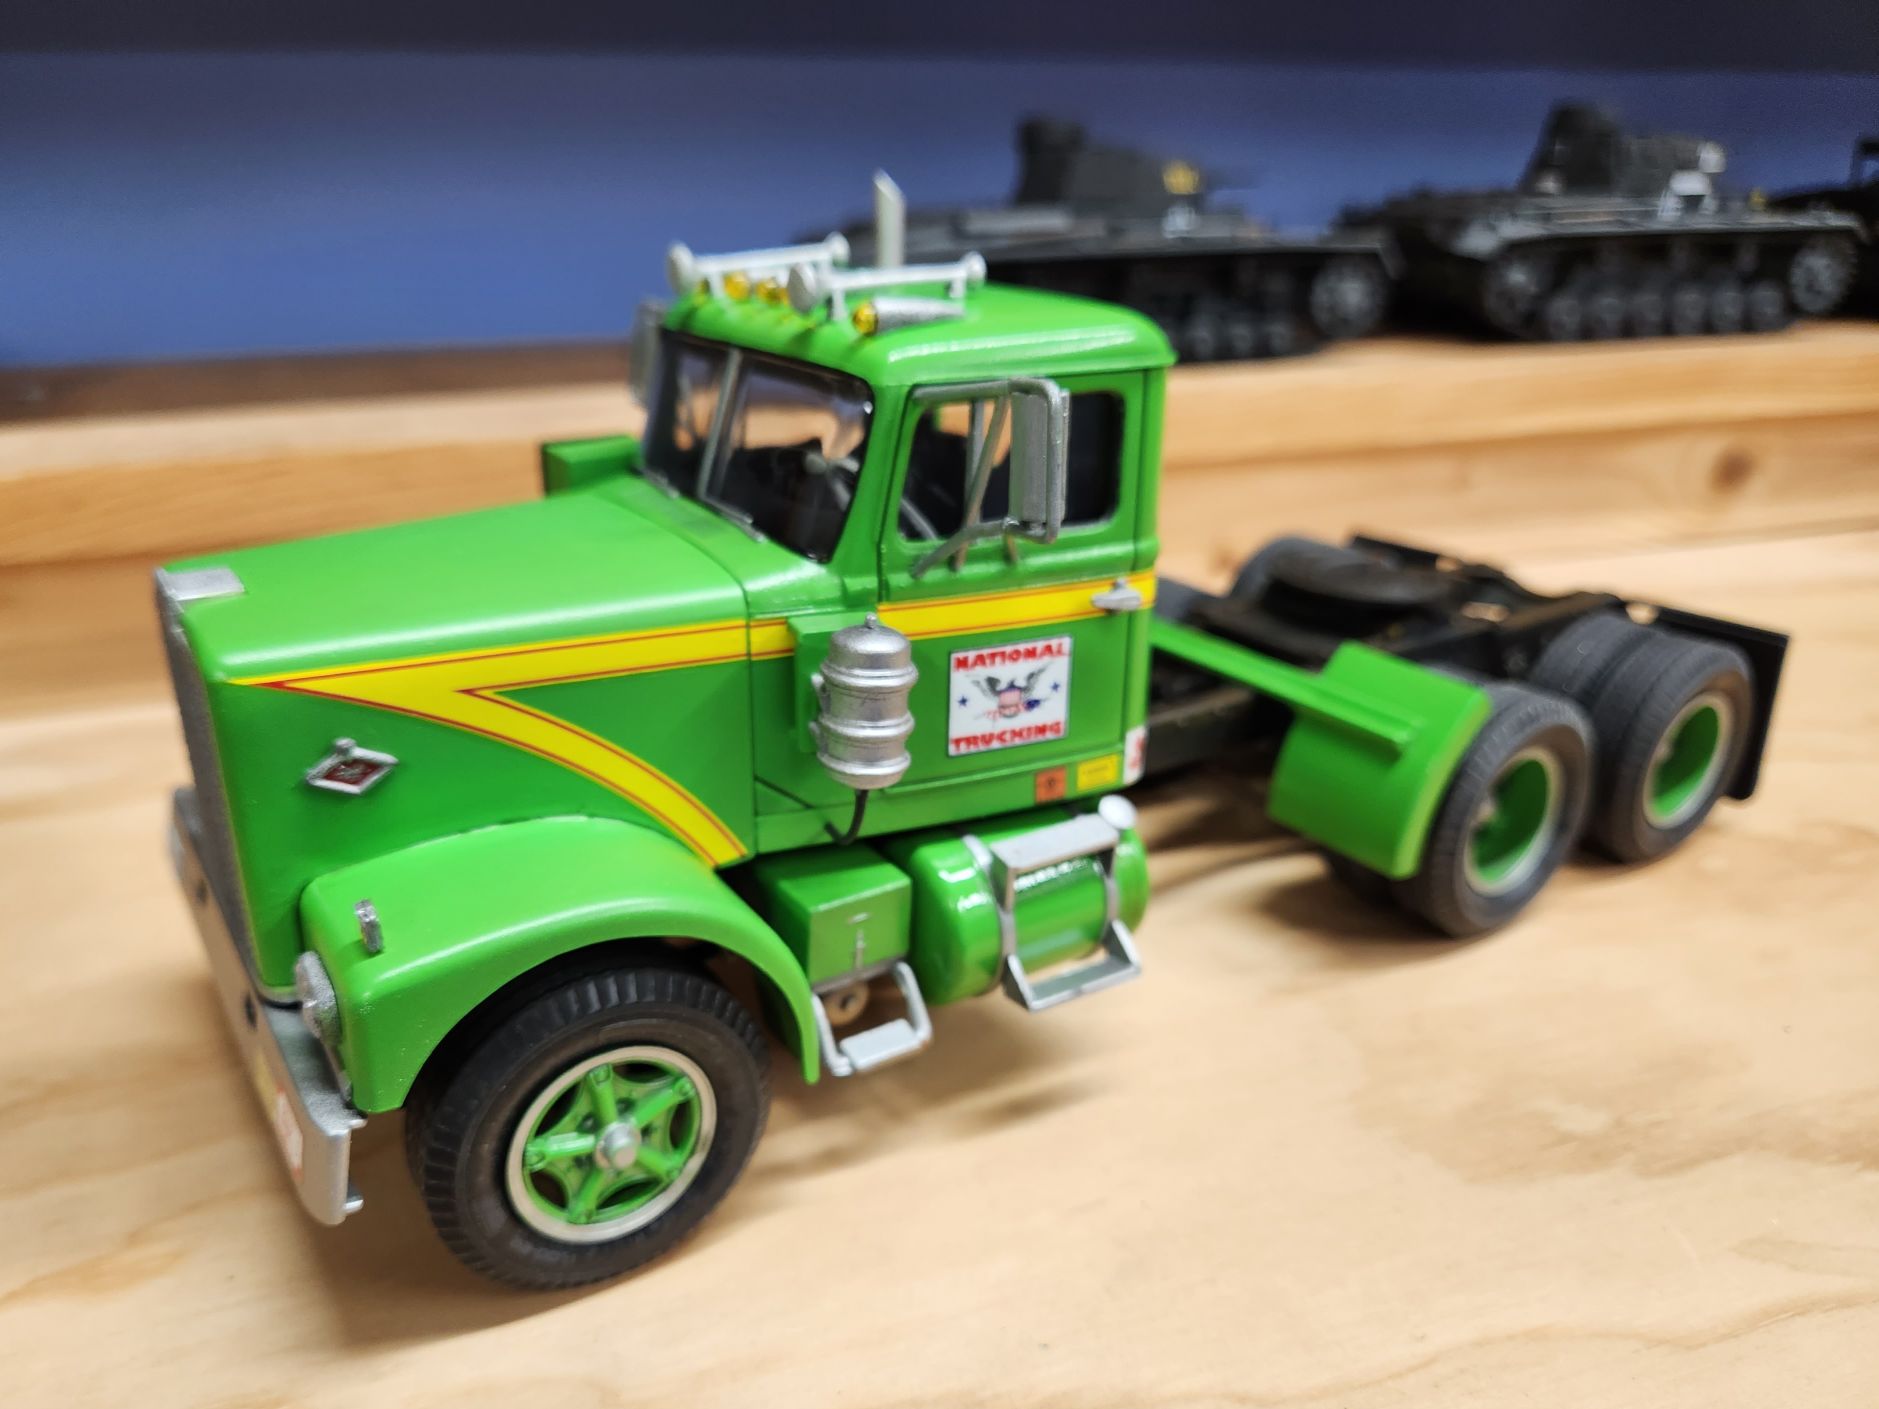
This is where I am presently with the Diamond Reo. I was thinking back on the kits I’ve built over the years and other than military trucks like the Mercedes L4500 I recently built, I’ve not built a commercial truck kit of any kind until now. I feel like maybe I built a cement mixer when I was a teen but can’t say for sure.
For the most part I have been staying OOB but I am not building the exact vehicle in the kit (leaving off the sleeper) and have added some cables and hoses that were too obvious on the actual truck to not have on the model.
Anyway, the cab is not actually fixed yet and I have little bits to add to it after I get it on – no need to glue the same parts on twice.
After I finish this I may take a break to build a Stug before I start the trailer.
11 Likes
Love it! That green is slick! 
—mike
That Green Machine really does bring back memories of the old AMT kits from my mis-spent youth!
1 Like
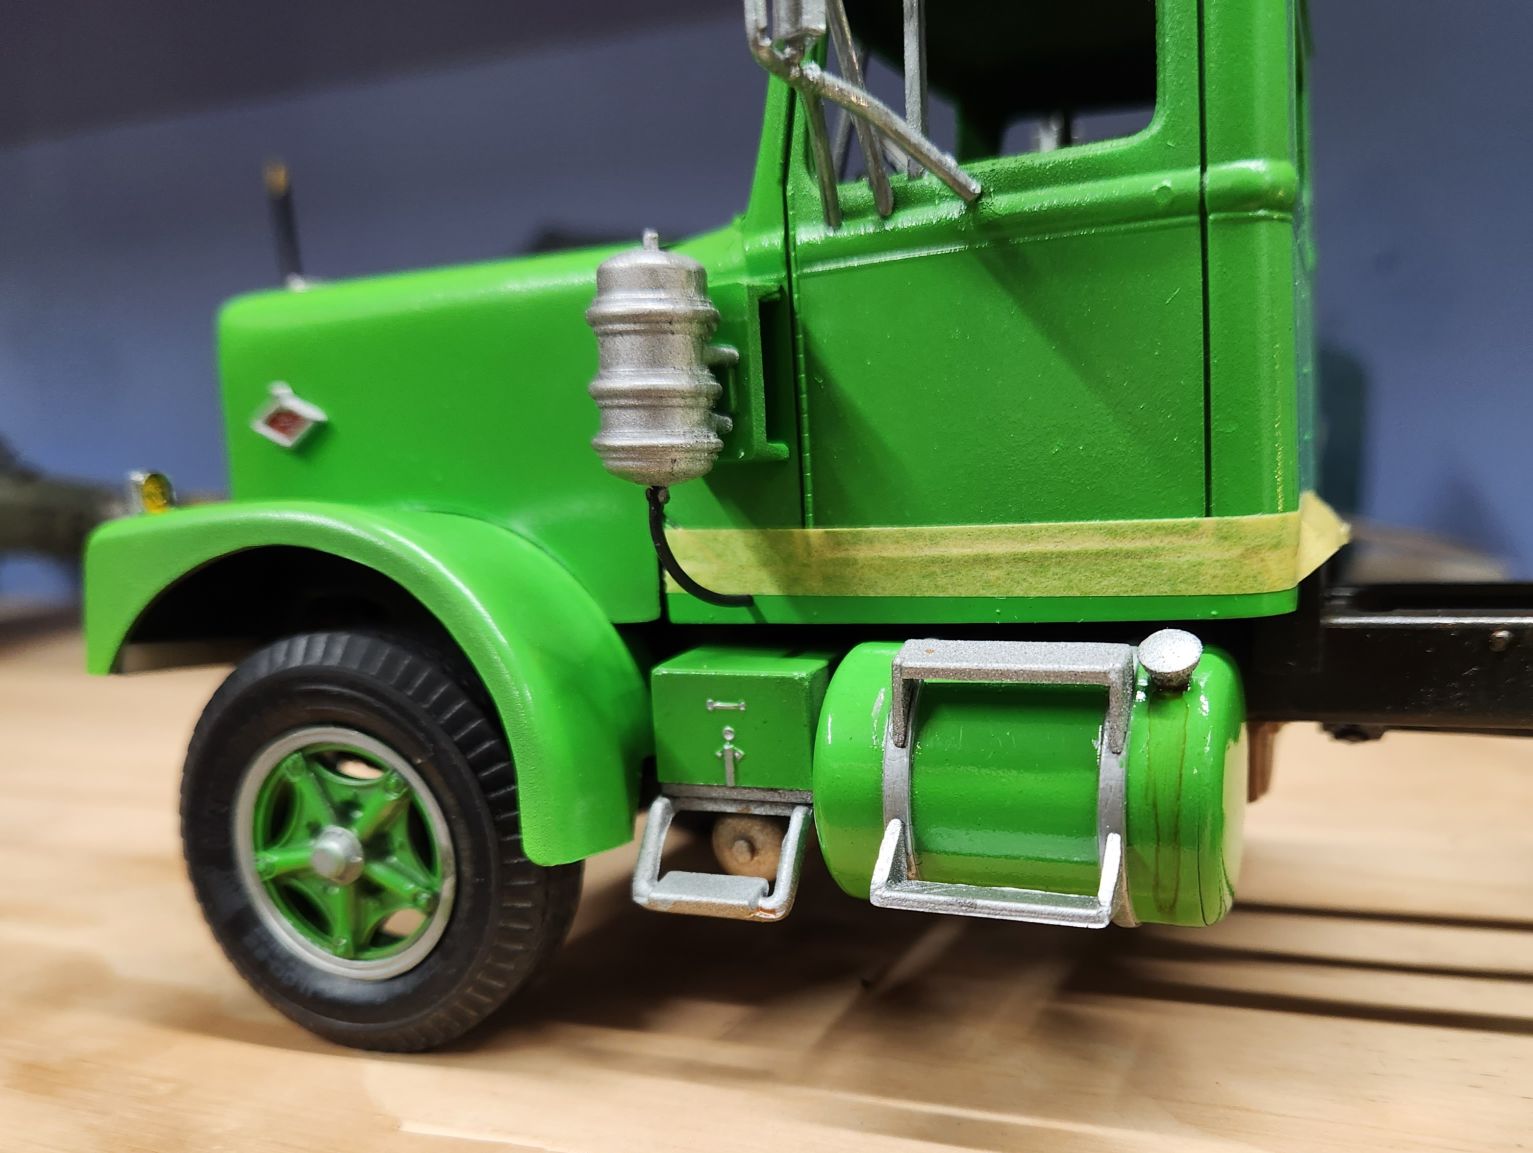
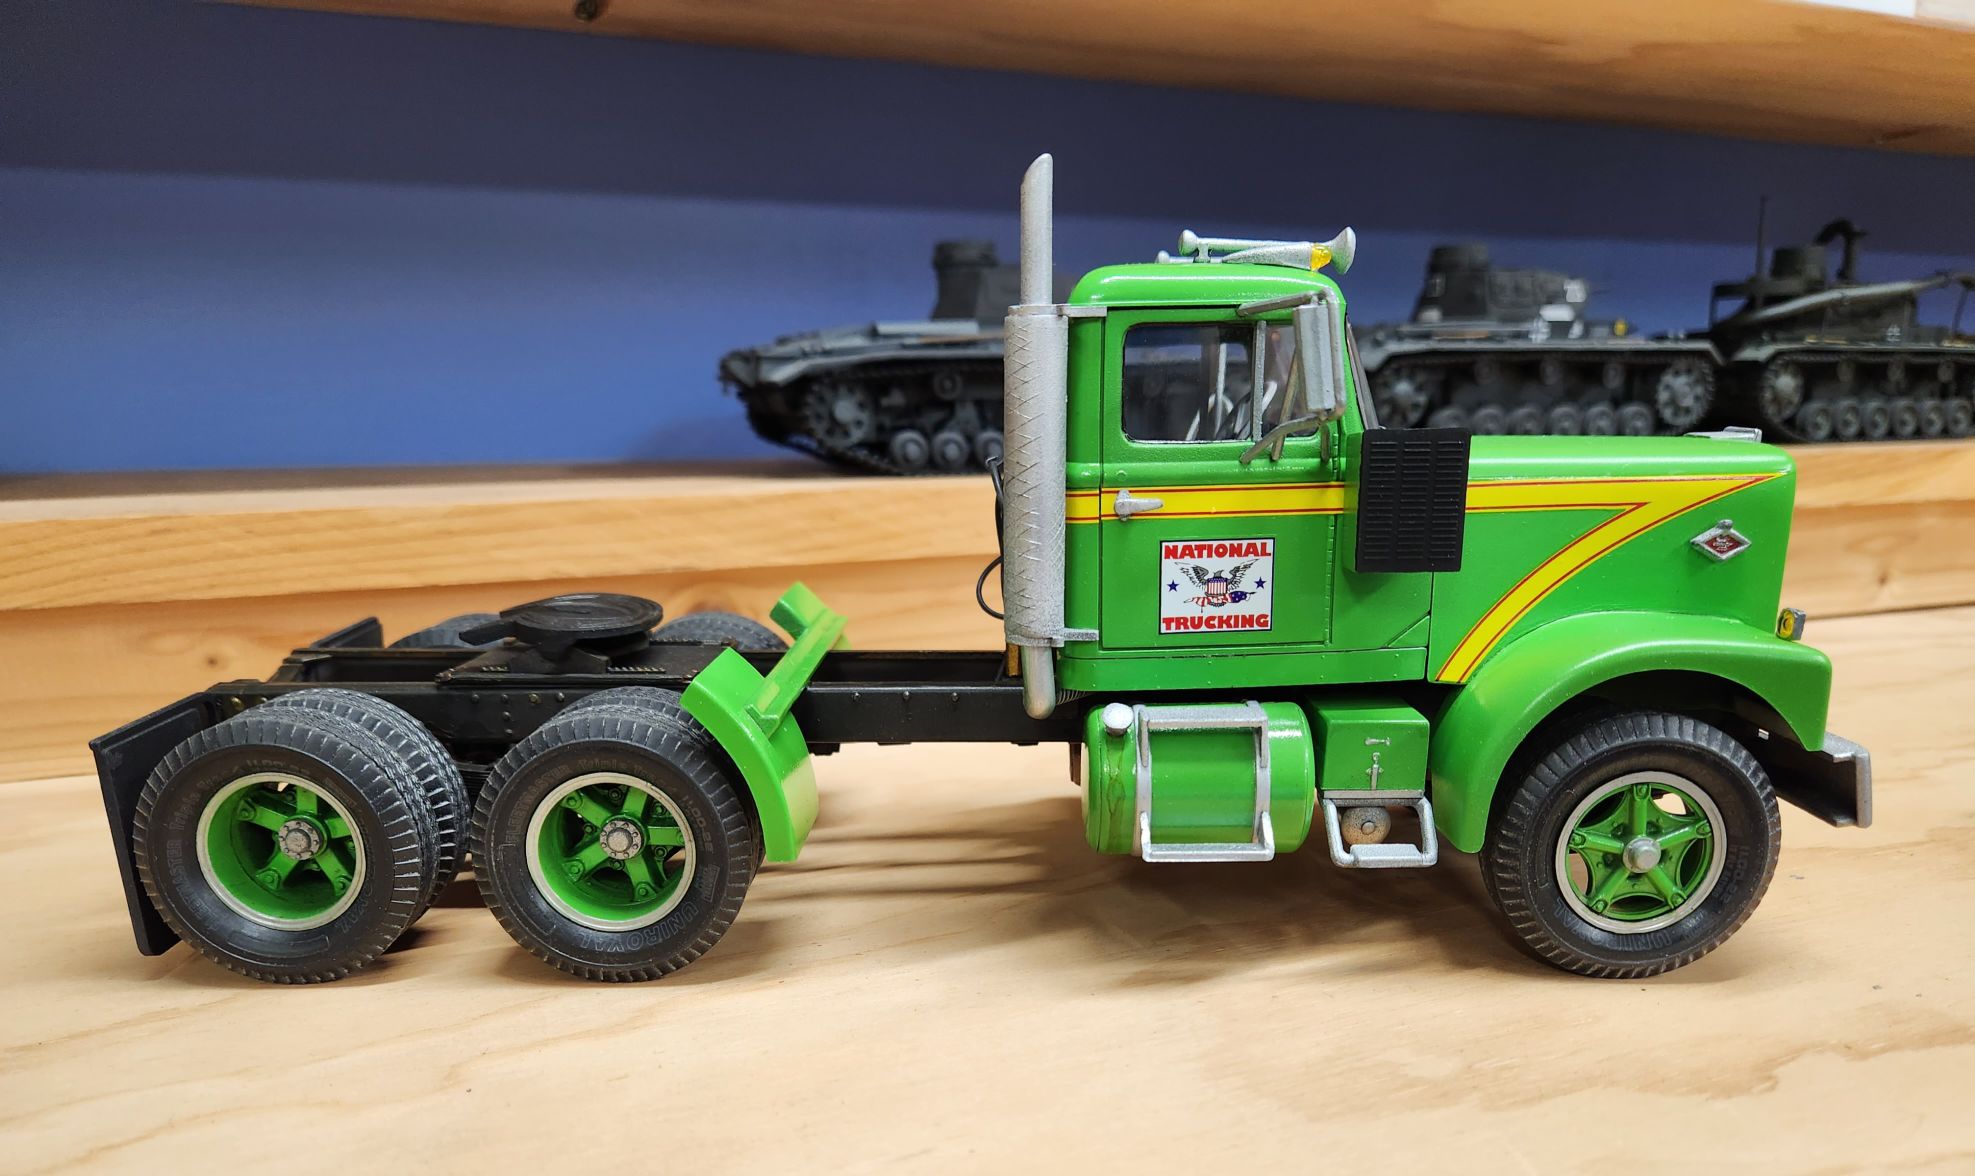
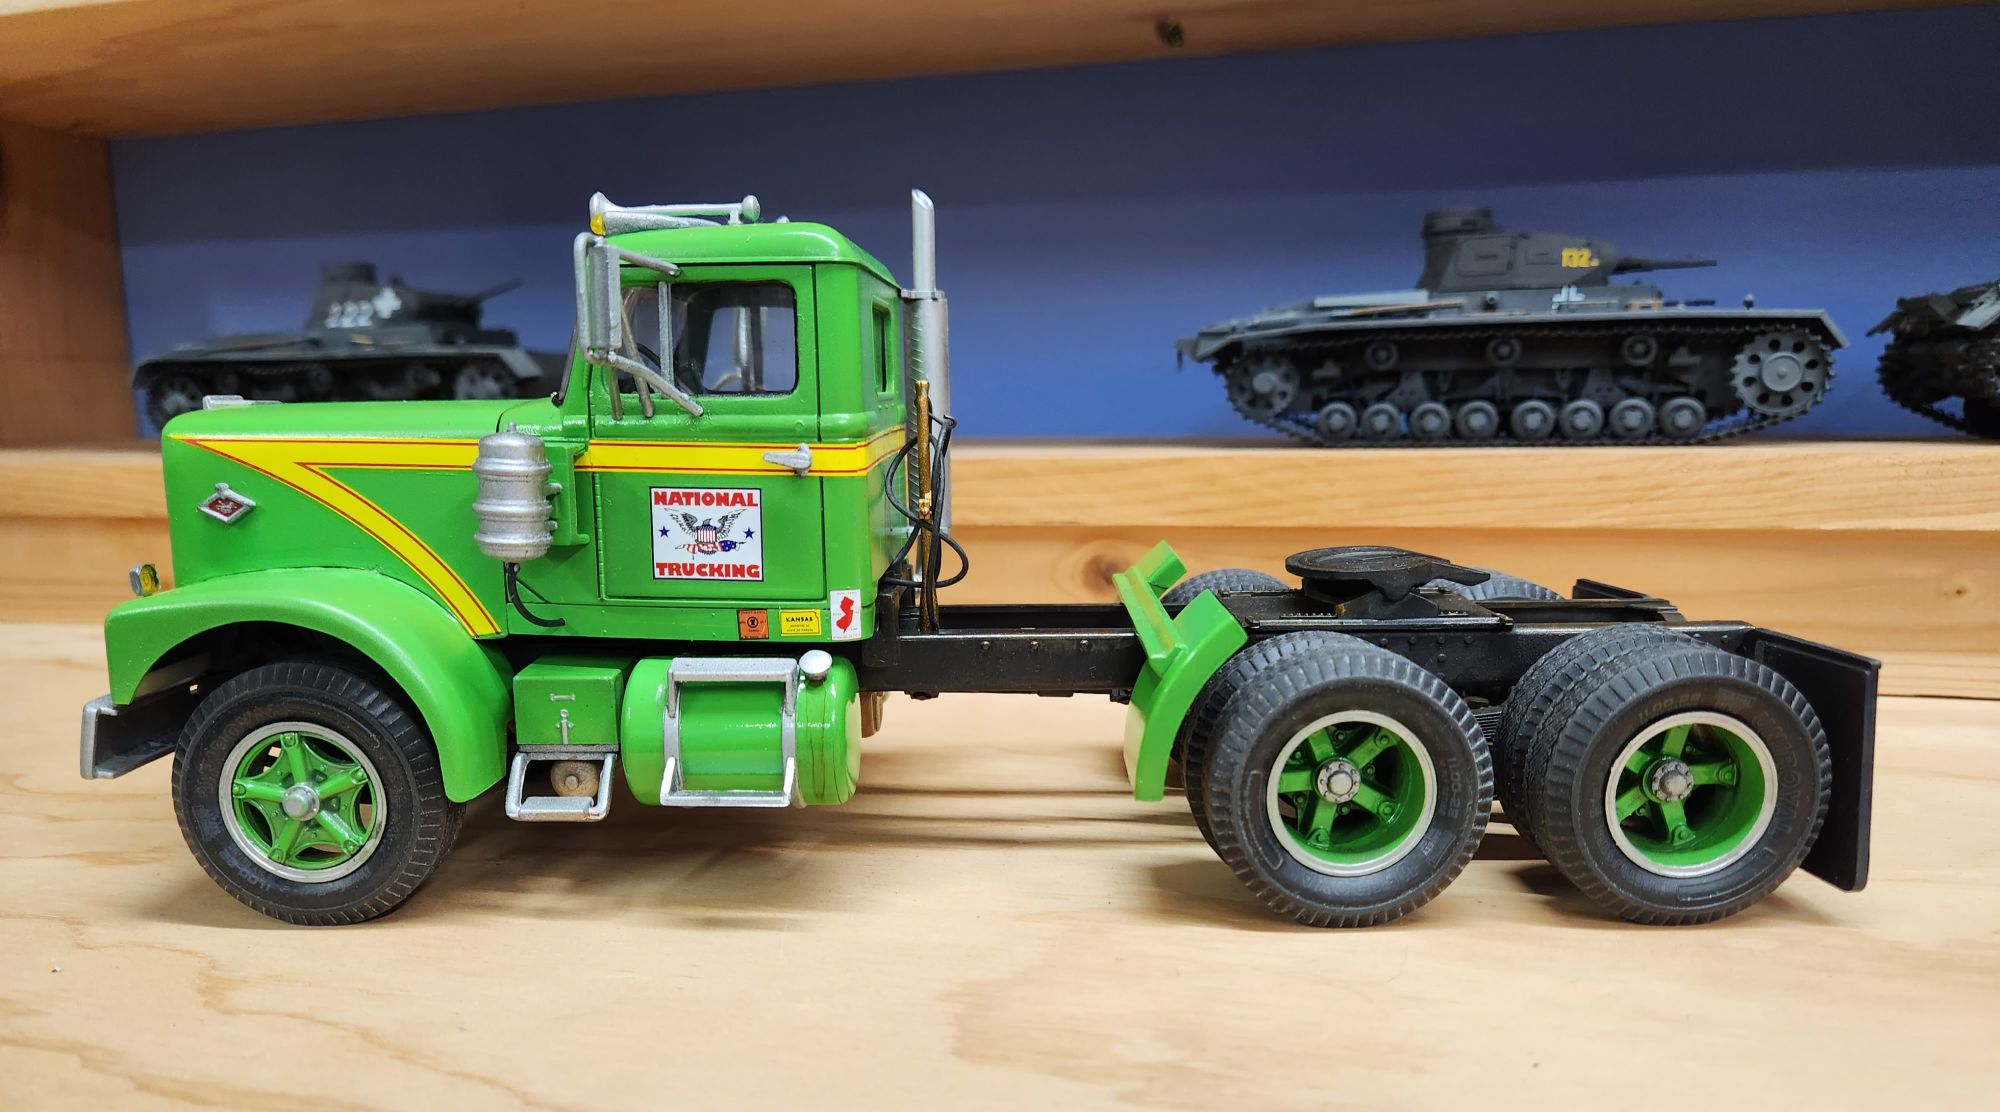
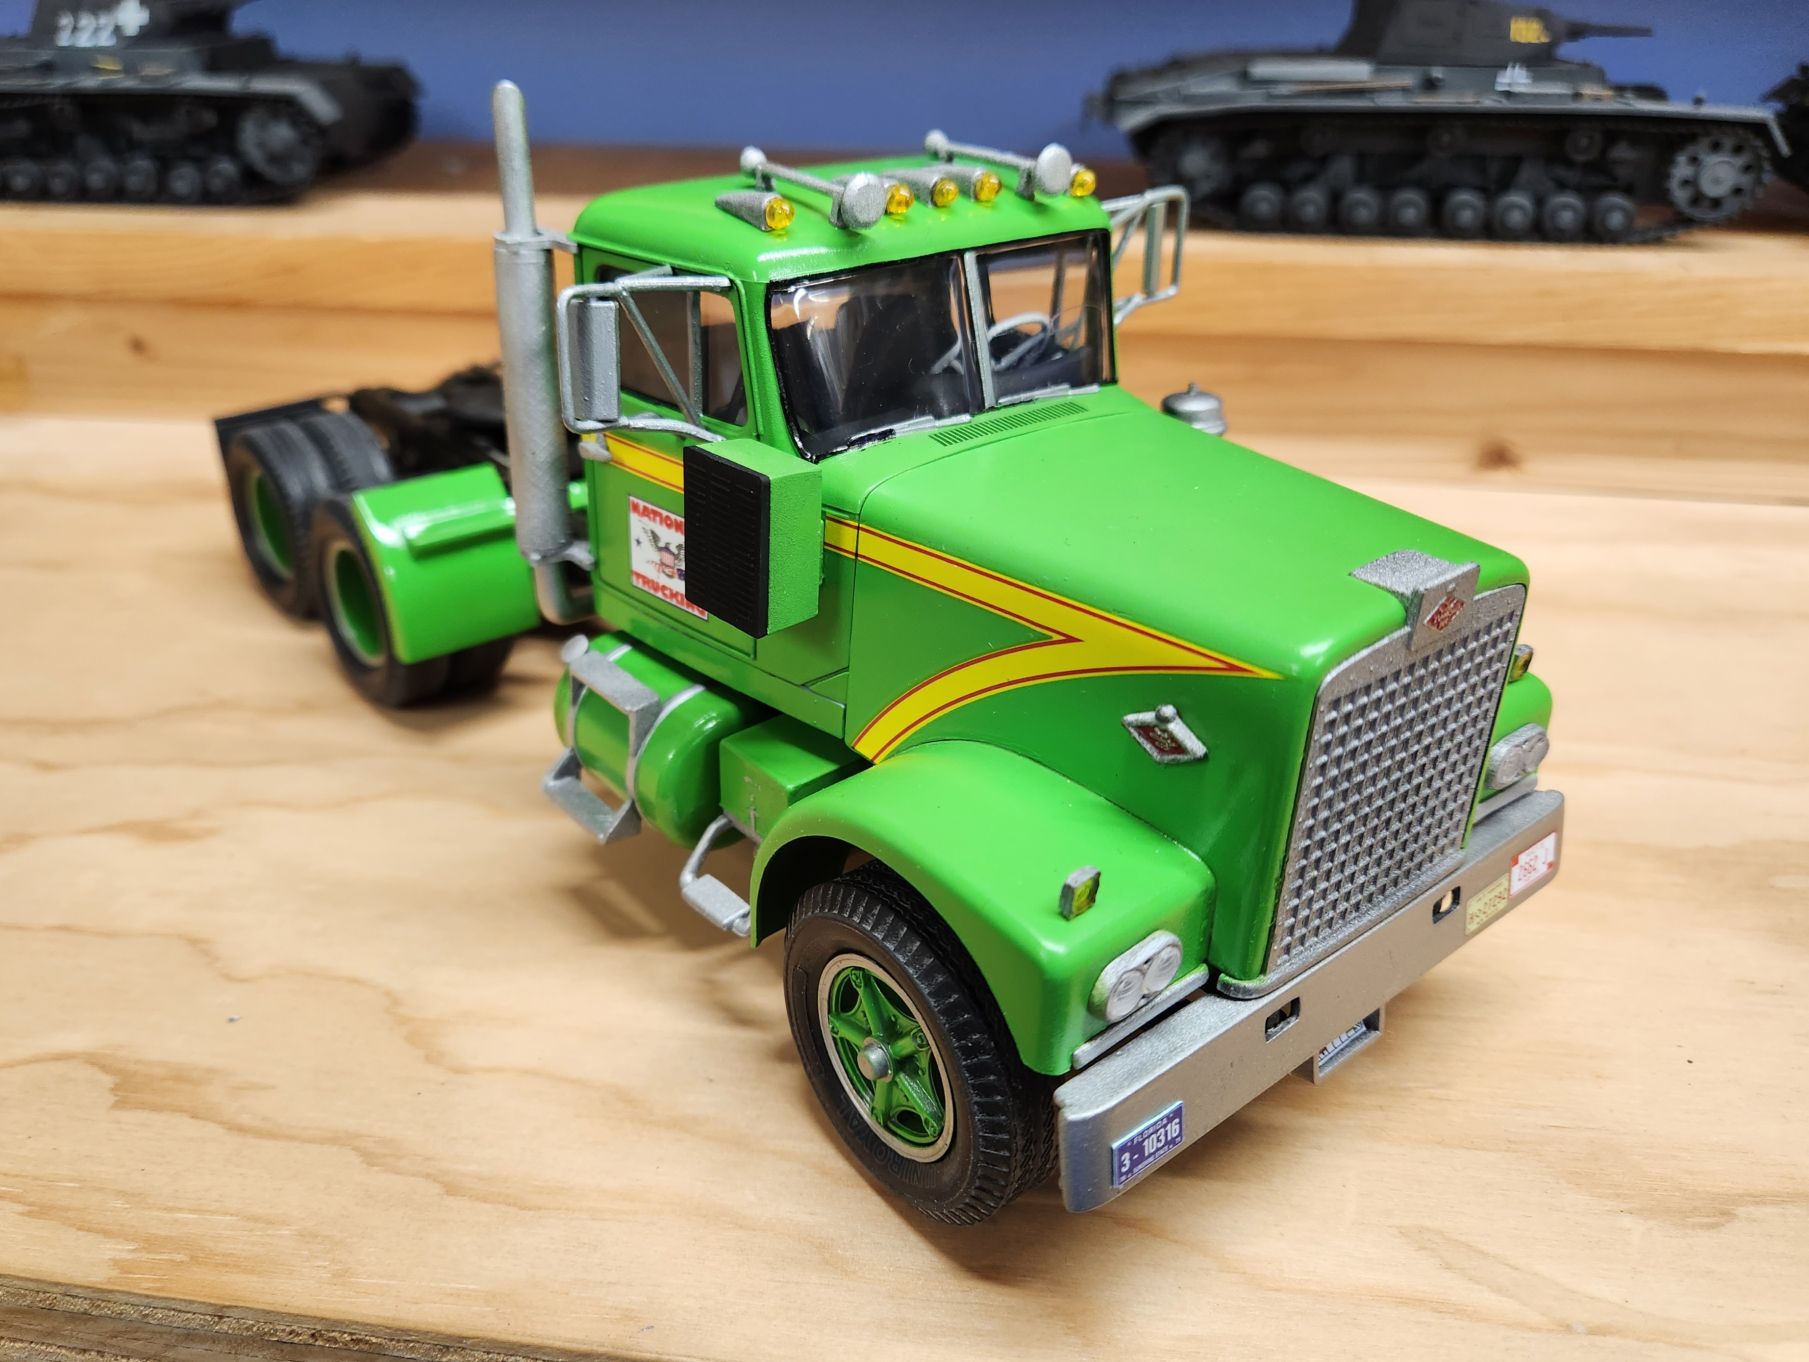
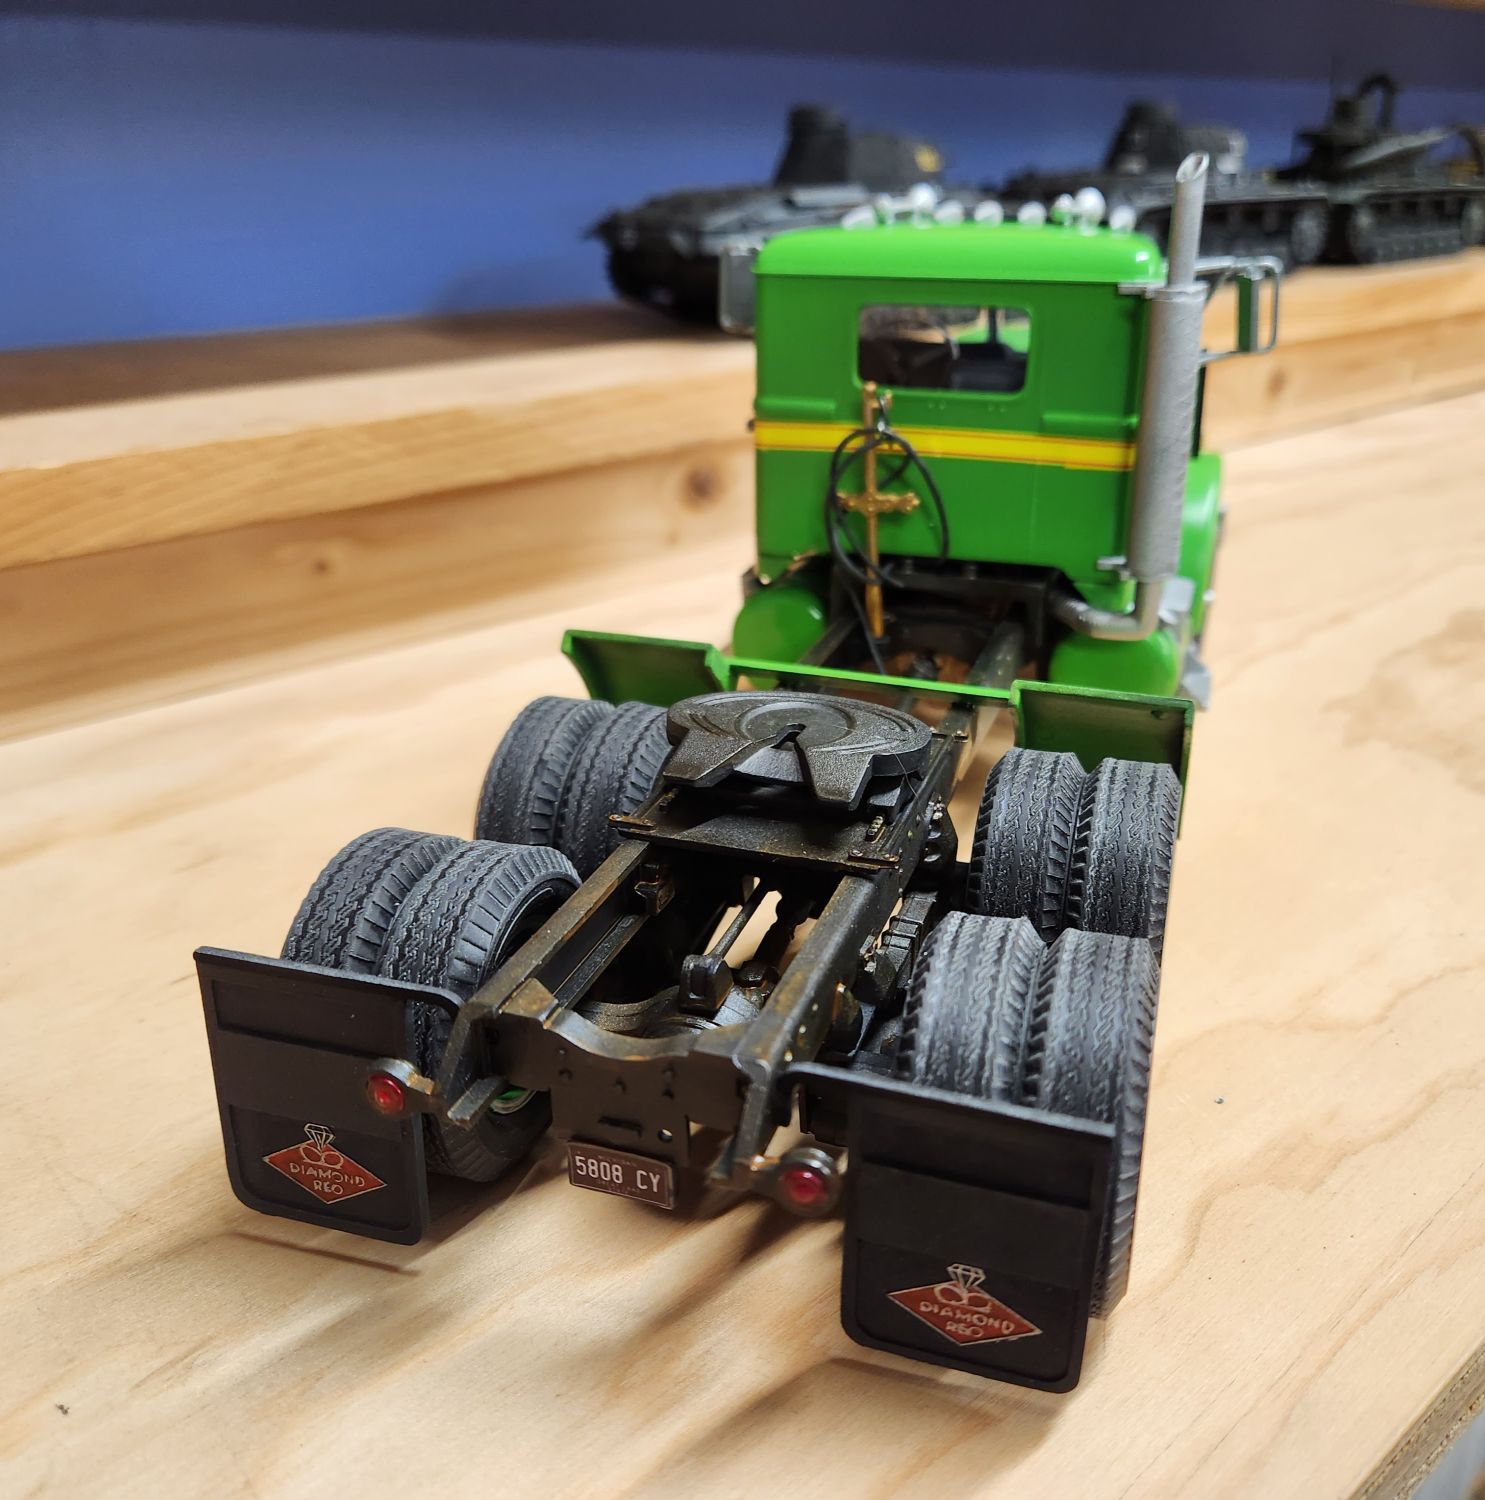
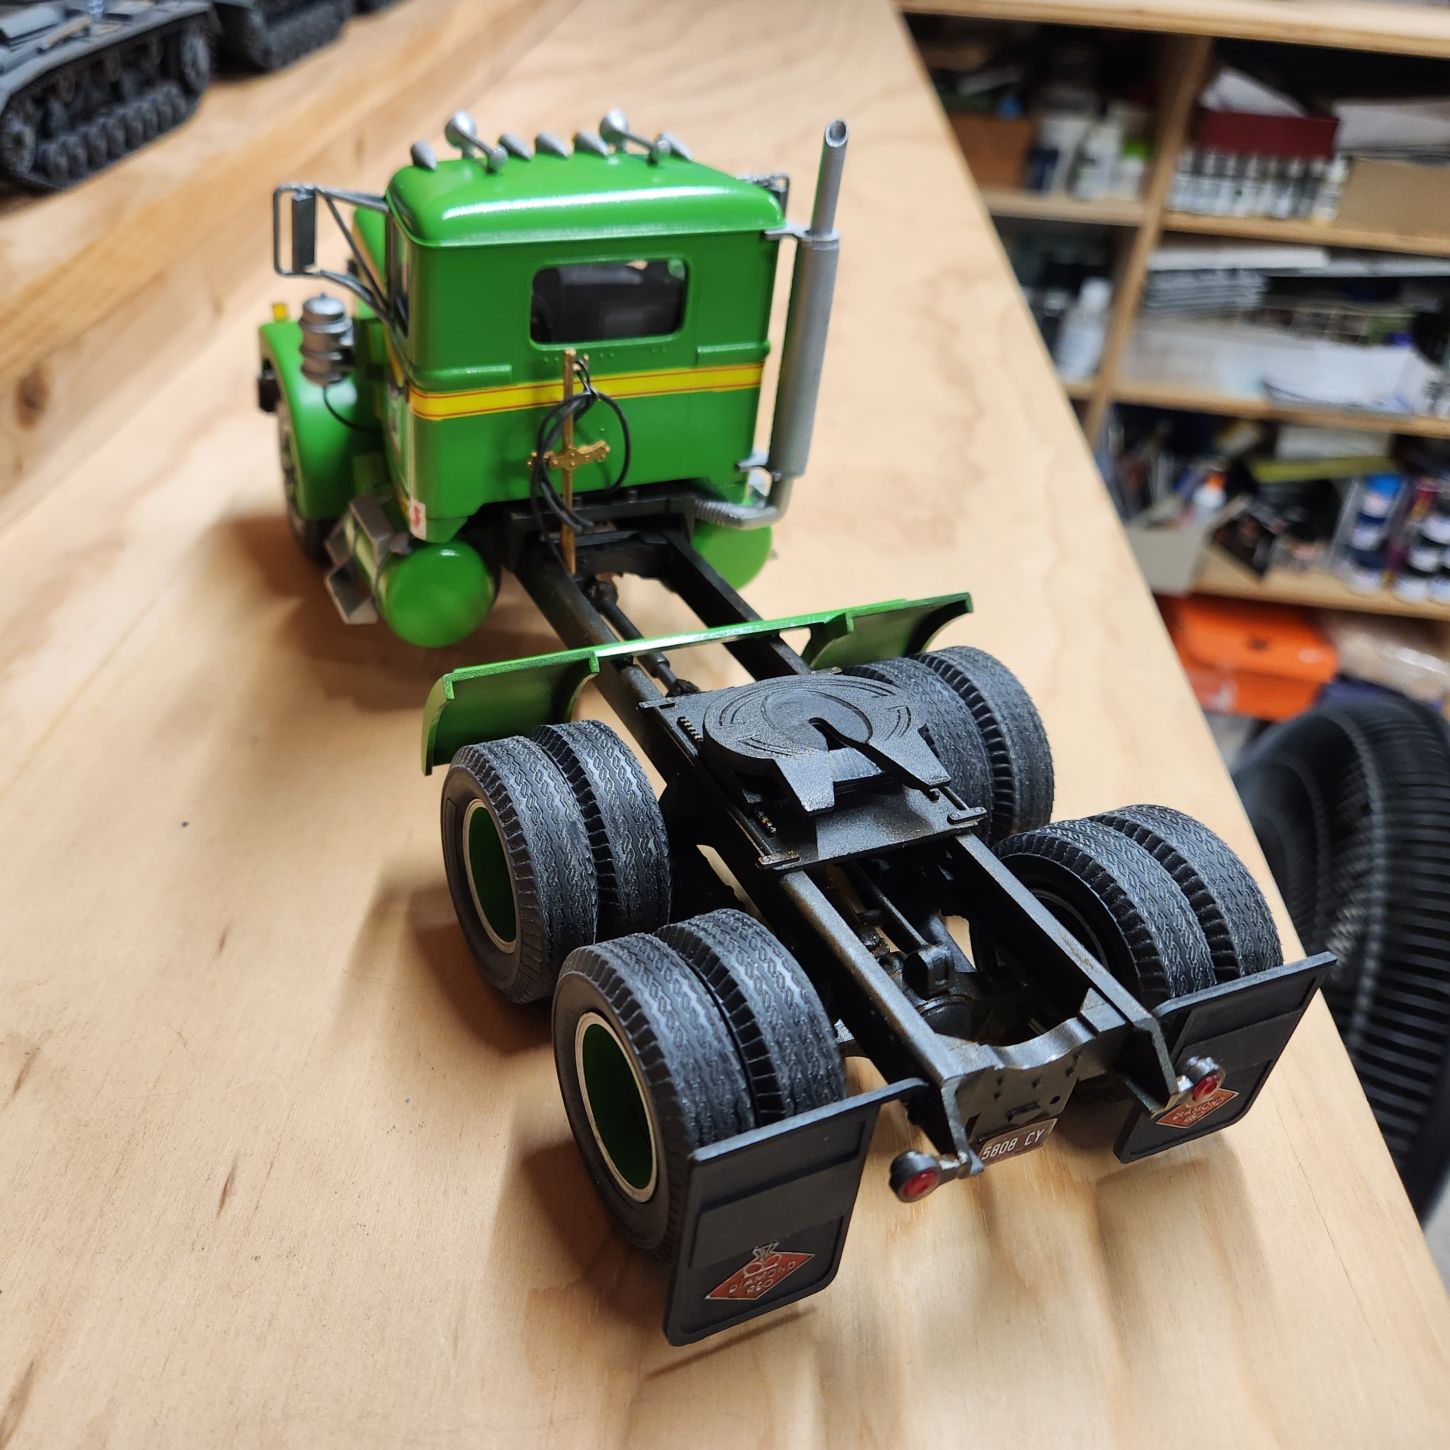
Calling her done. I may go back and add a little more weathering/wear but as a kit she is completed.
Kit was mostly OOB although I used some leftover tubing from the Tamiya 88mm Flak to add some detail. I have still been thinking about it and I still think this might be my first commercial truck build in 48 years of kits. Weird.
Paints used were Tamiya for the overall green, plus the blacks. Markers were used for chrome and rubber trim. Vallejo products were used for rust and stain effects.
Finishing so soon allows me time to think if I want to still build the trailer or not. Taking a short build break right now.
9 Likes
What an excellent finish! But you know in your heart you have to build the trailer… 
4 Likes
Lovely build, really nicely done!
I’m with Tom @barkingdigger, definitely a trailer next up.
Cheers, D
3 Likes
Nice builds,
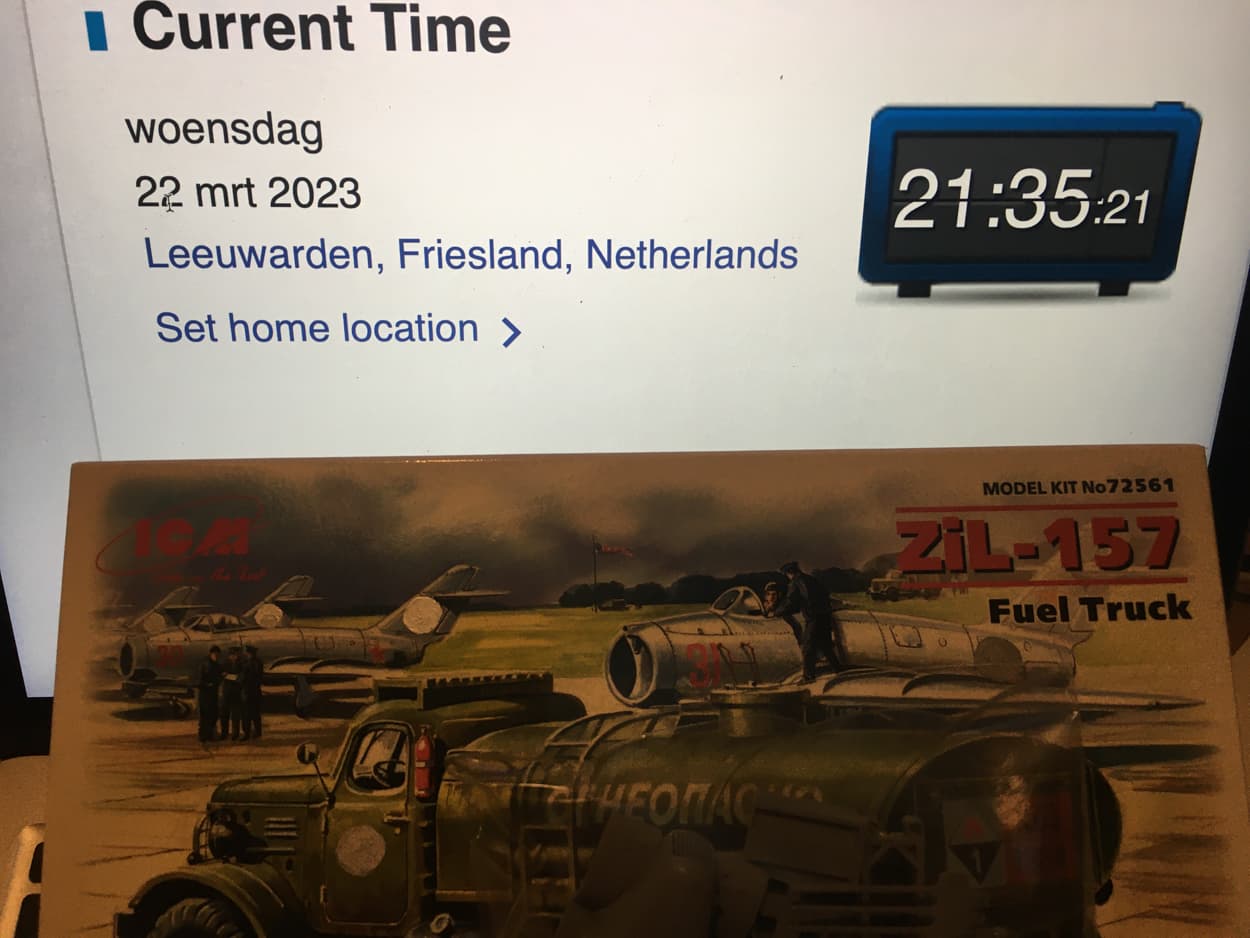
This is mine addition.
I orderd this with a local shop and looking at the box i noticed something weird.
Some body i guess Ukrainian background / sympathy’s literally putting the effort into removing all signs of the in their eyes agressor on the box, all stars had been removed with a silver marker (also on the side of the box) talk about dedication,… mist one but ok i got the message.
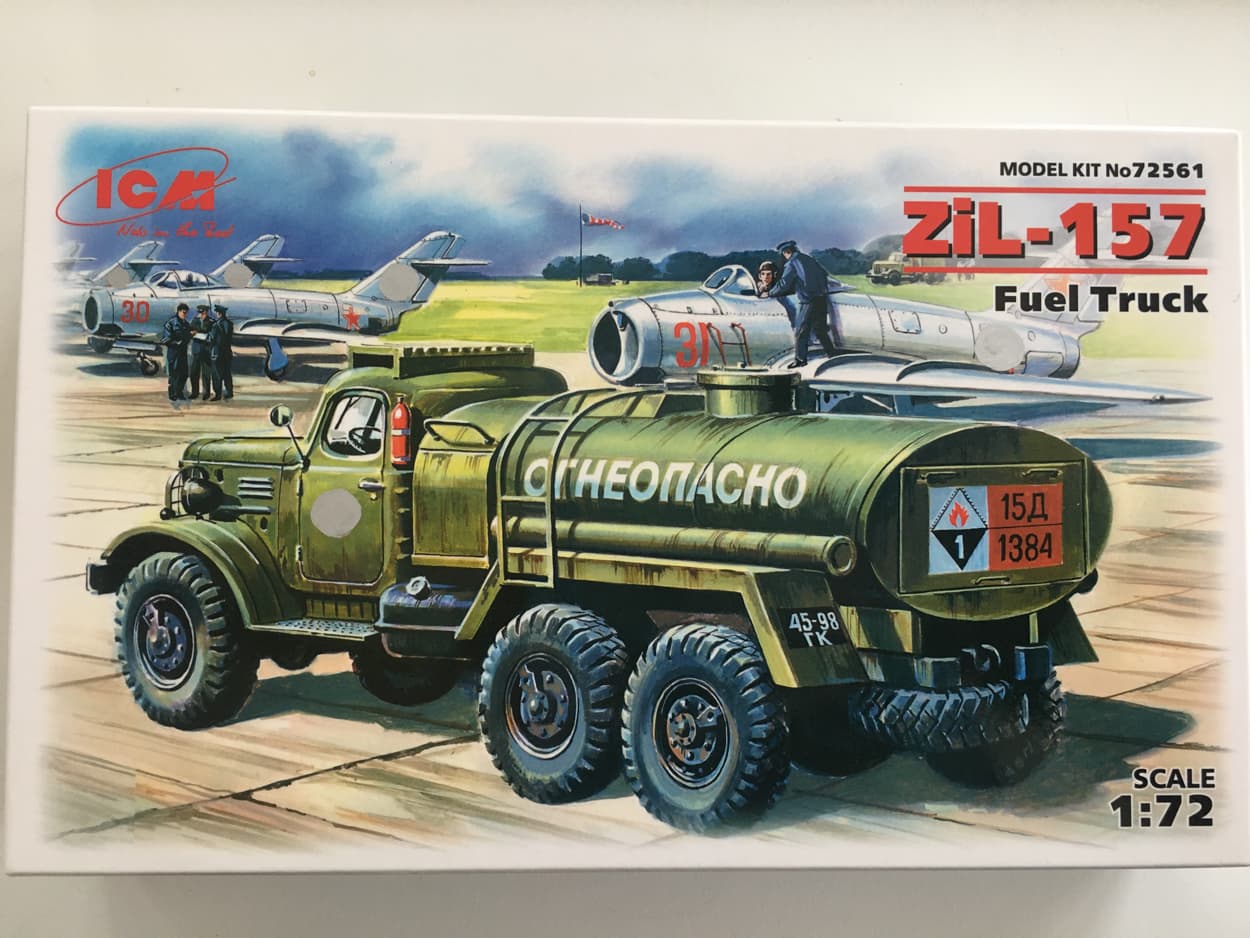
Ok now the (Slava) Ukraine 1/72 scale ICM kit.
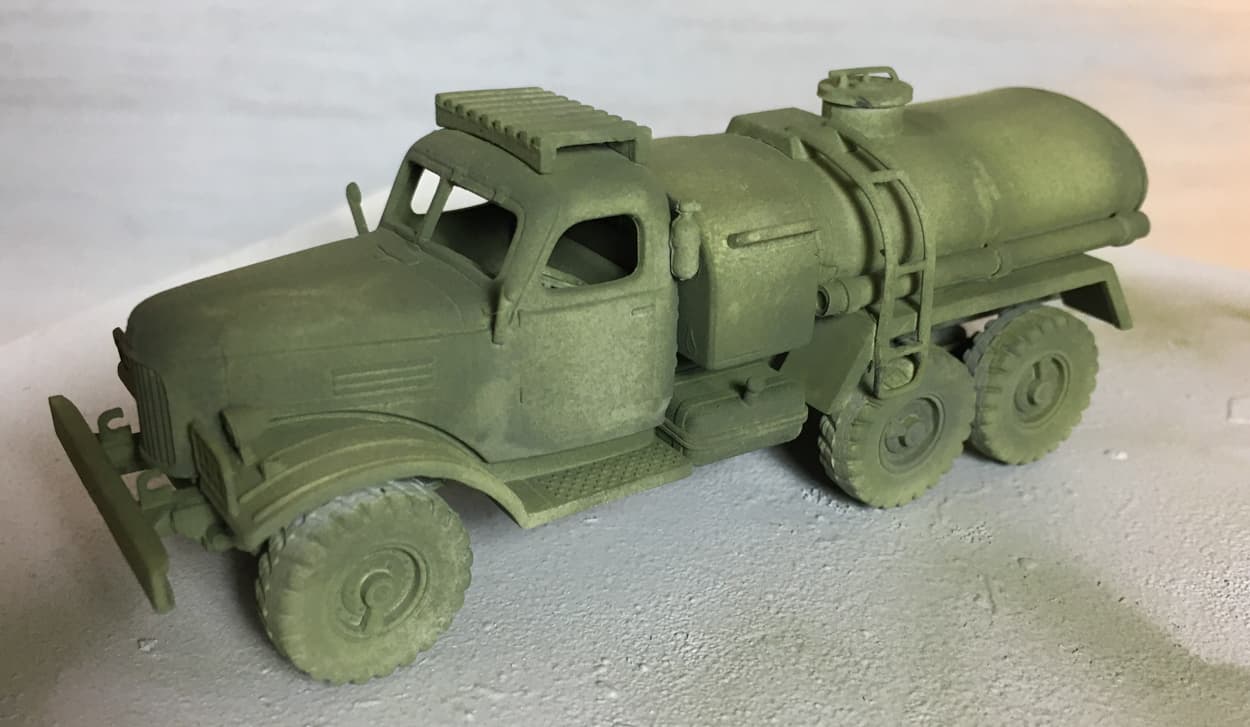
Simple build and everything fits nicely together i did only some minor extra additions (sorry no pictures made during actual building process). Sprayed it in grey primer and then (agressor)green.
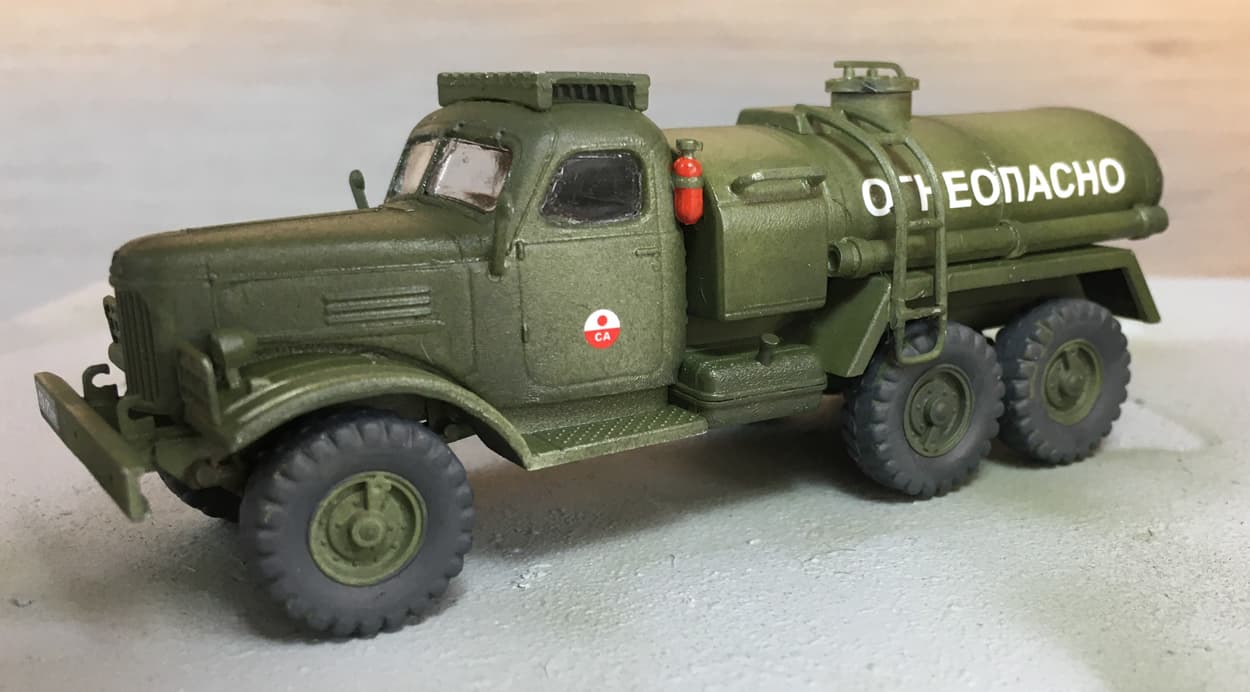
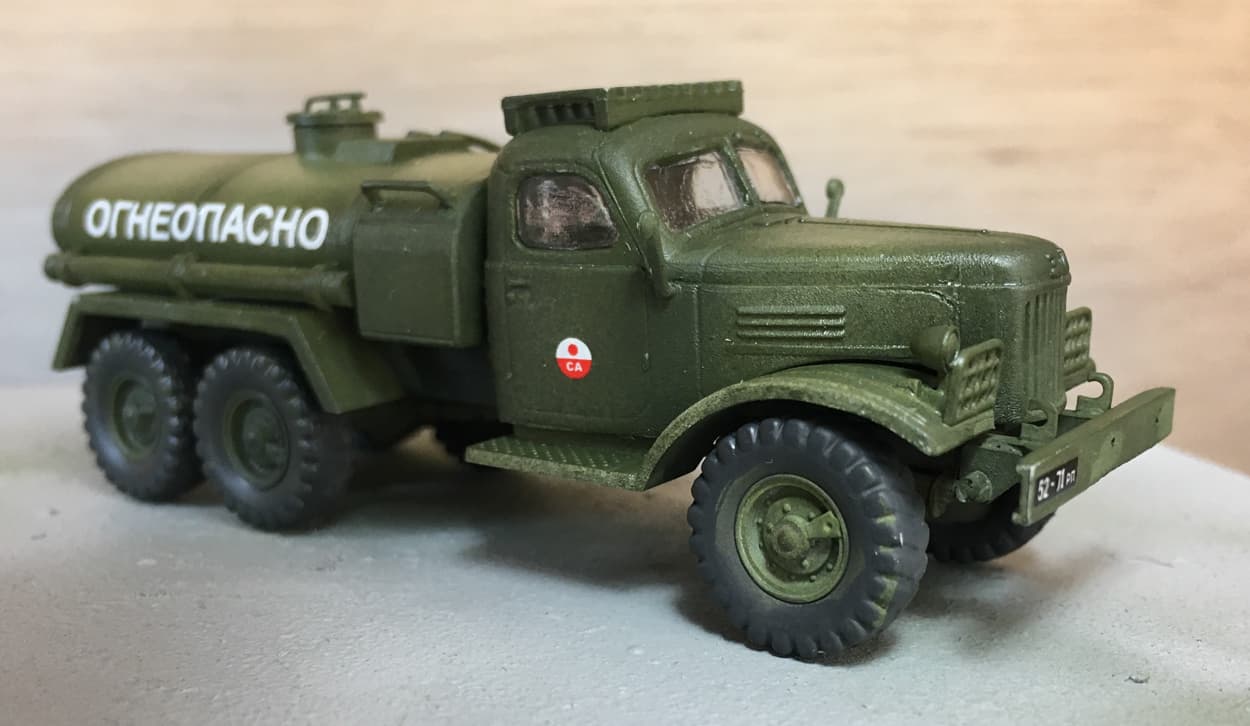
Then a coat of clear before decals
Finished model to follow
9 Likes
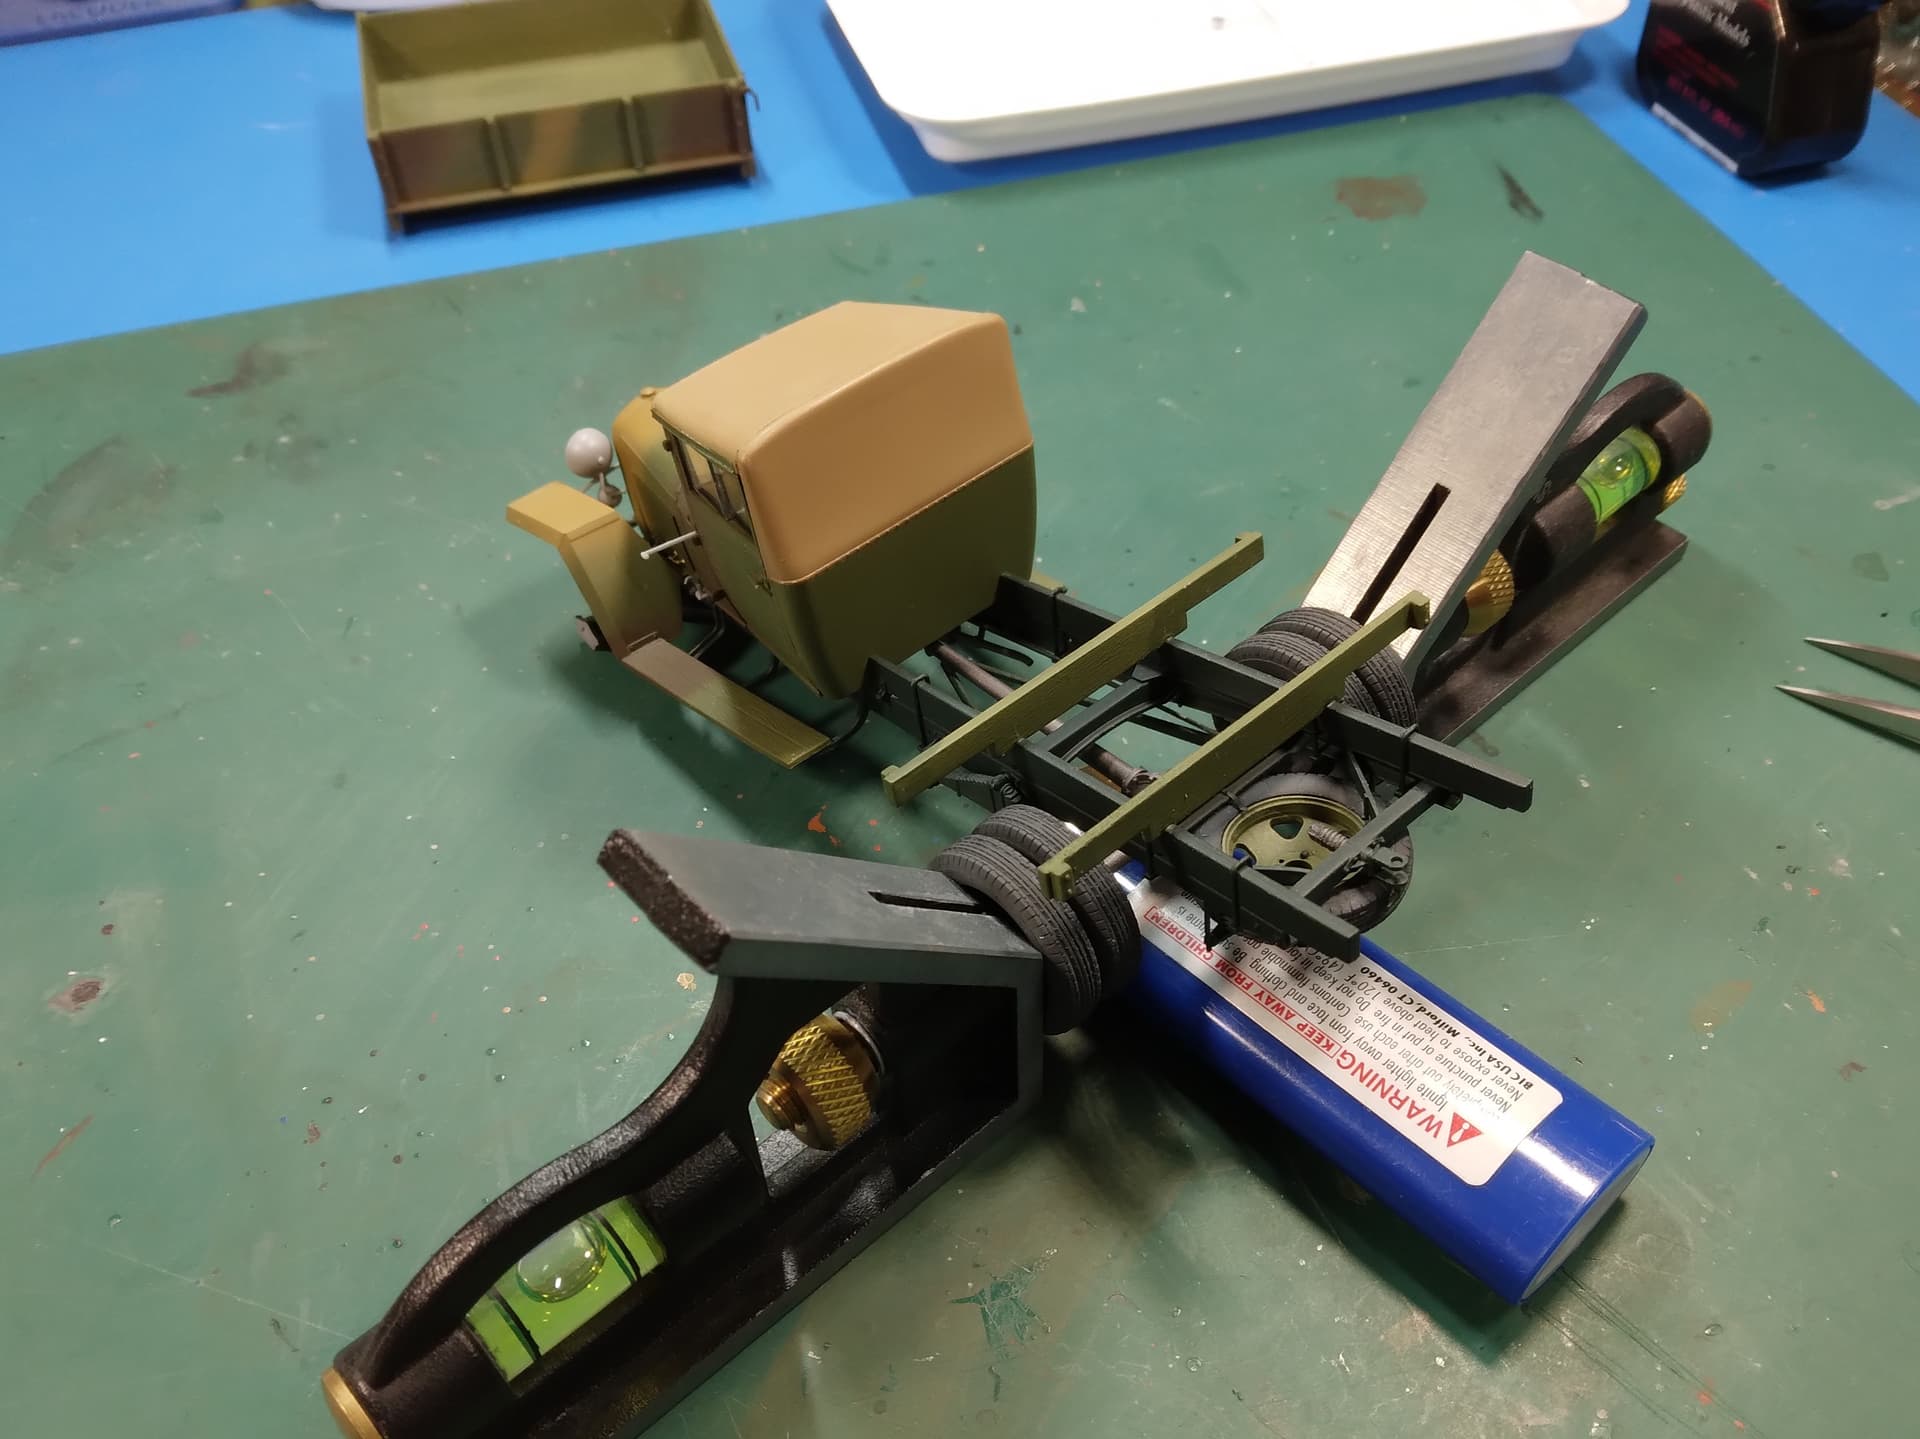
I managed to get to the shop today! Finished that Time-Constrained kit. 
Added some of the little bits and semi-attached the fenders. Once the glue dries at the front of the fenders, I’ll position the supports properly.
About all that’s left on the trailer is painting the lead “straps.”
Mike
8 Likes
Finally putting it’s shoes on. Added a couple more bits to the front.
Mike
6 Likes