Nice Tanker Jesper… looks oily and well used! ![]()
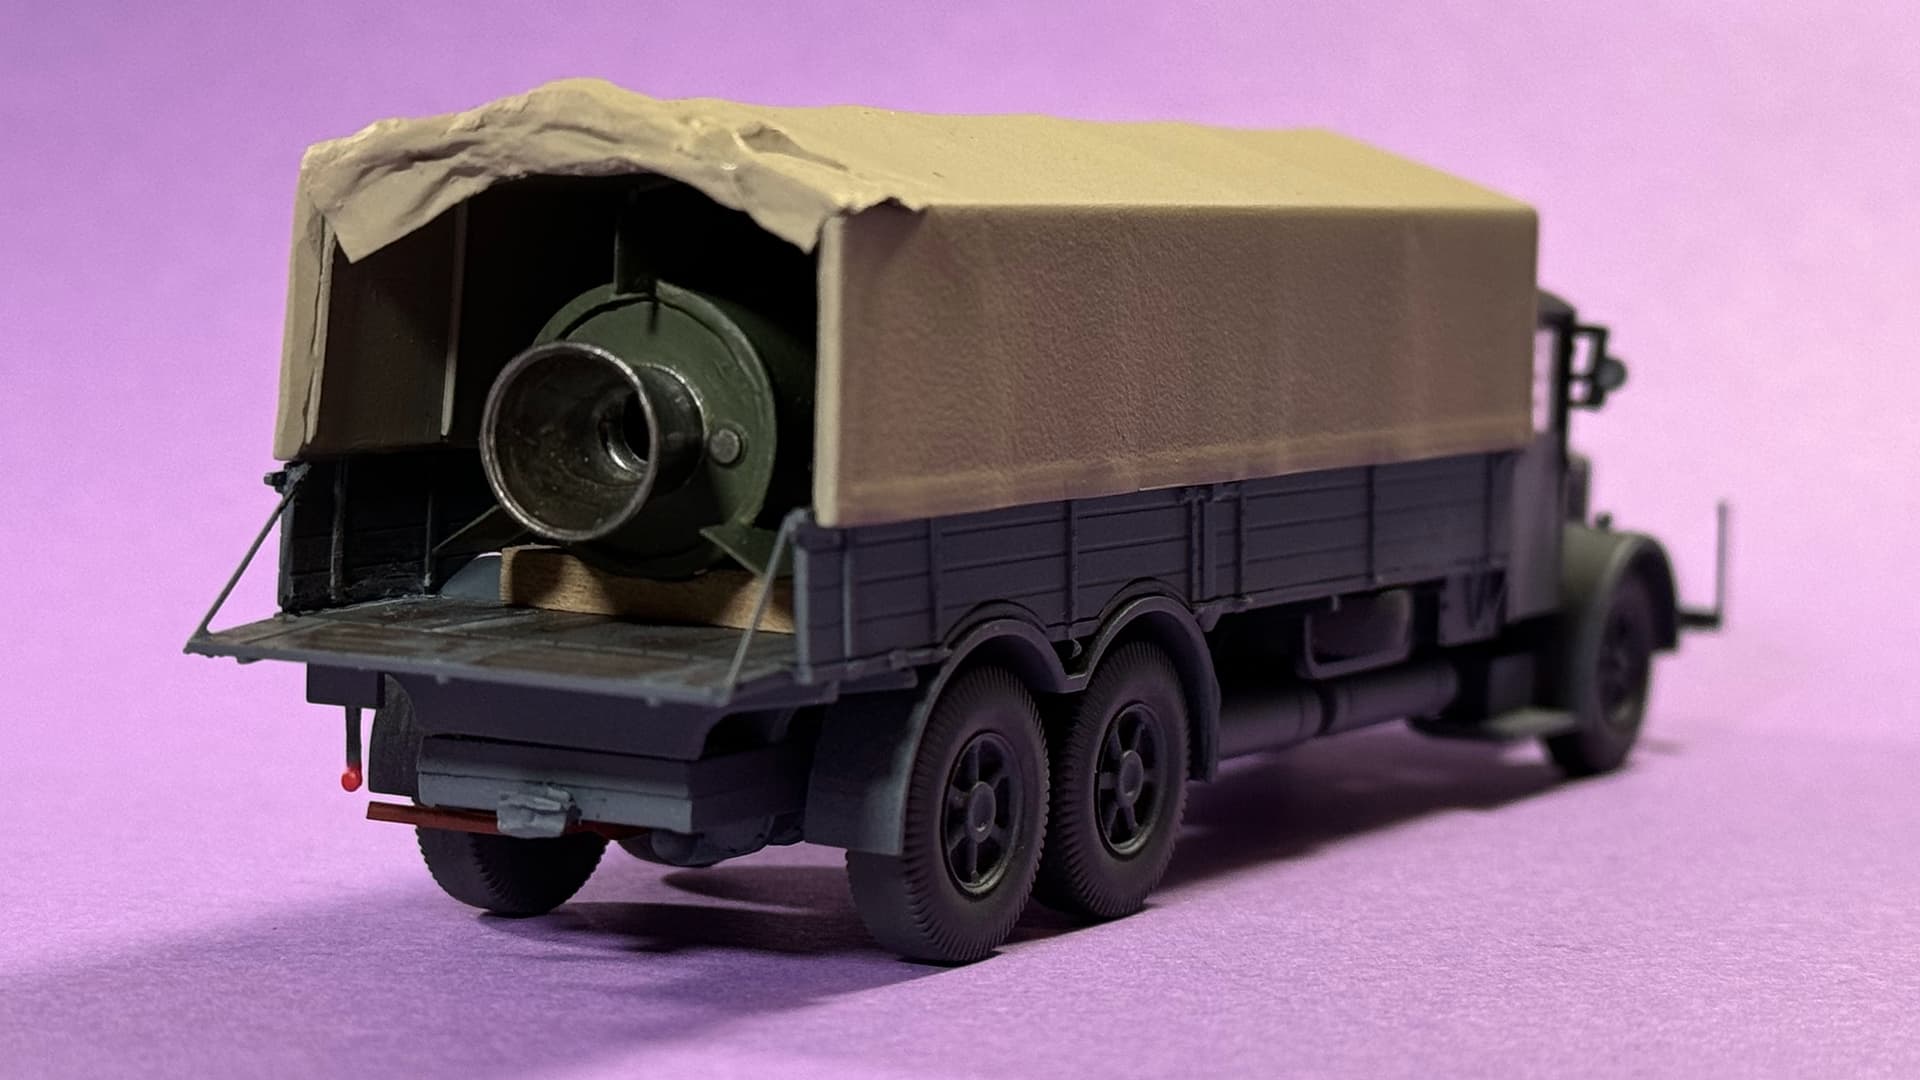
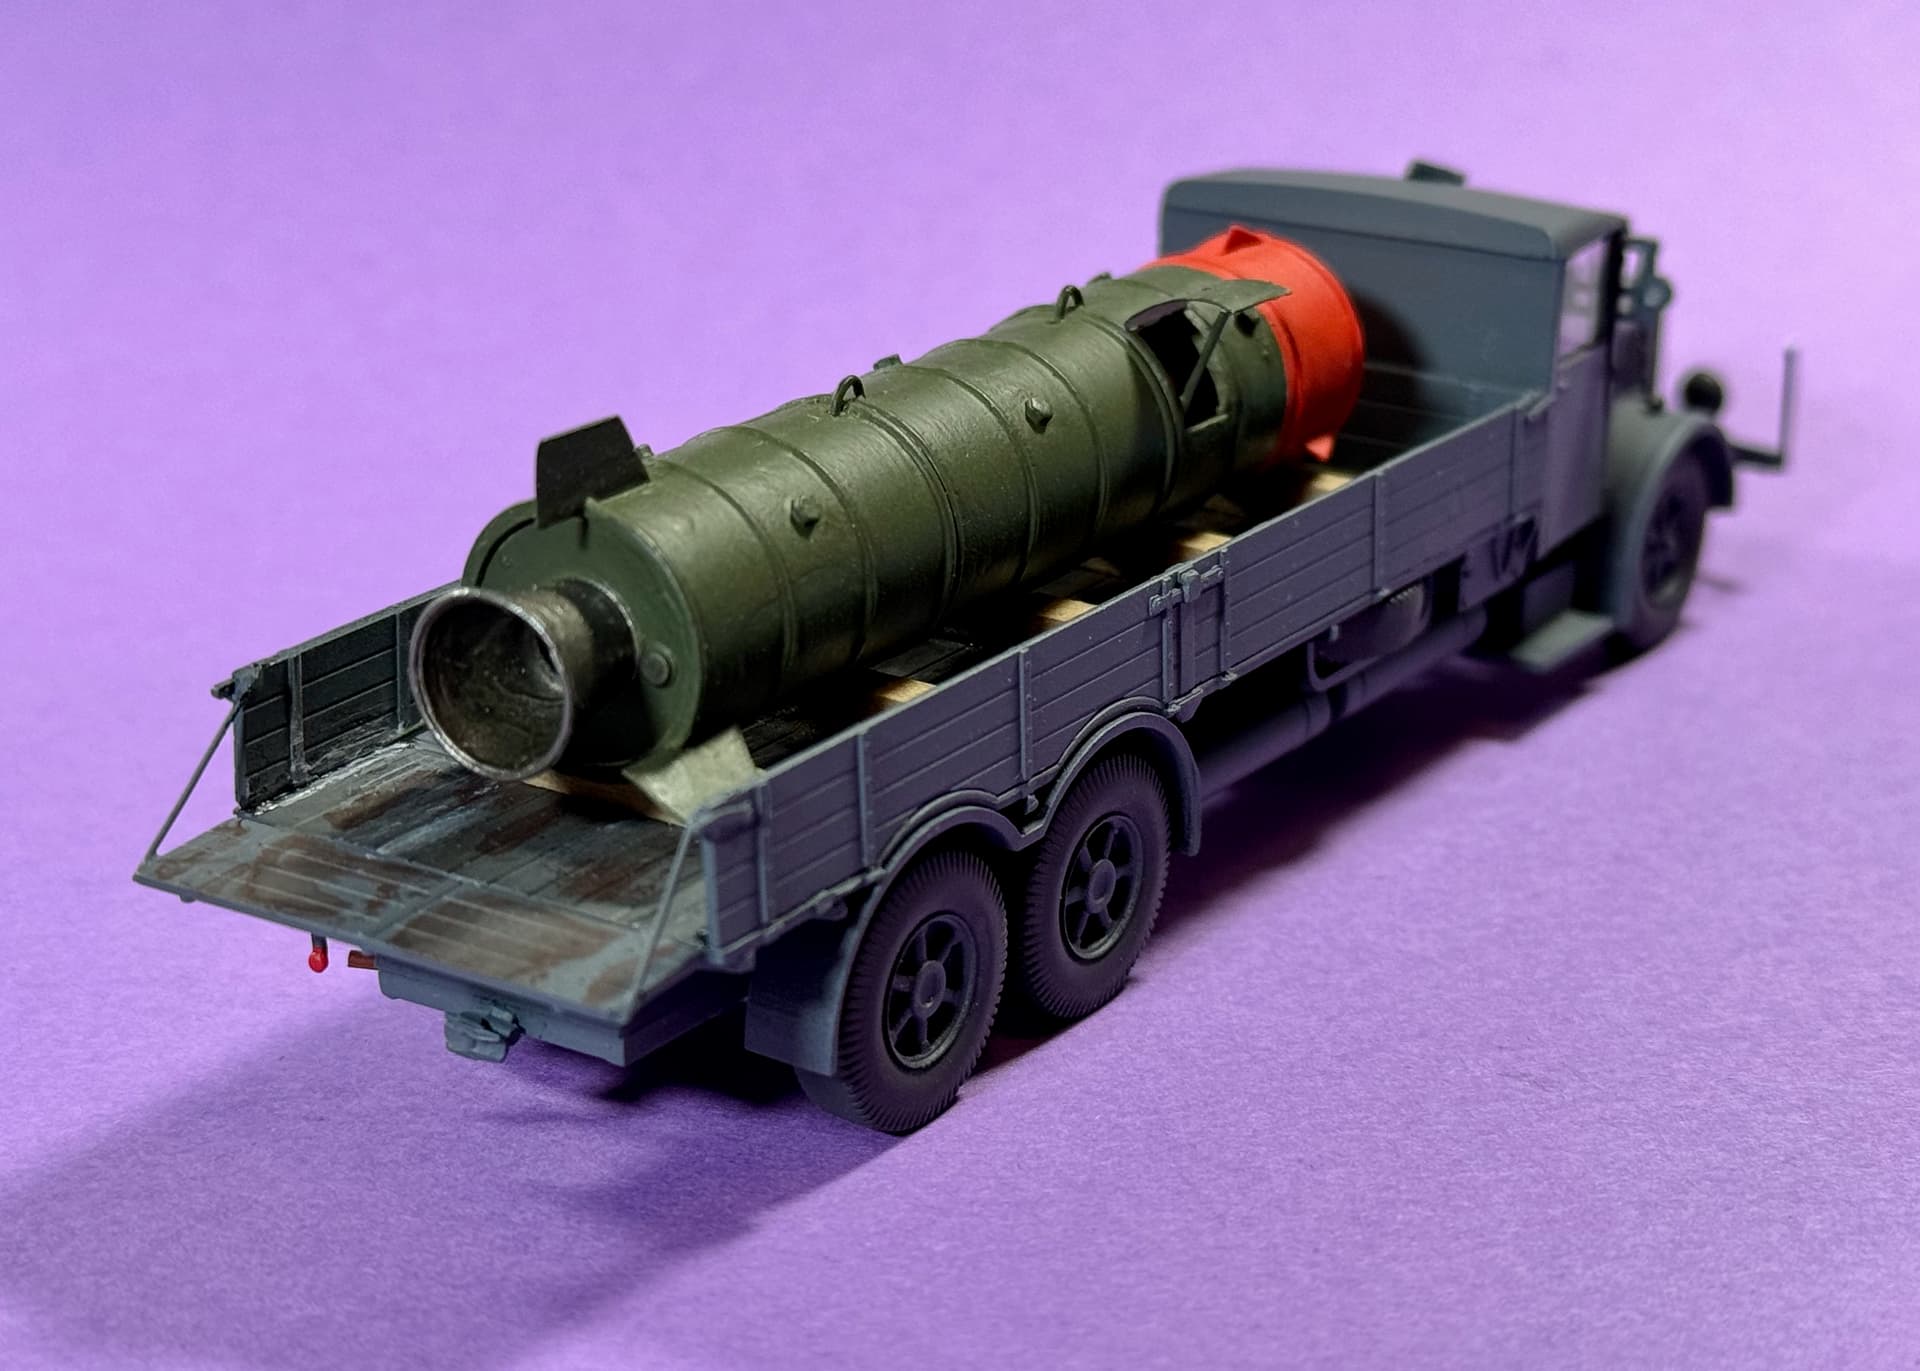
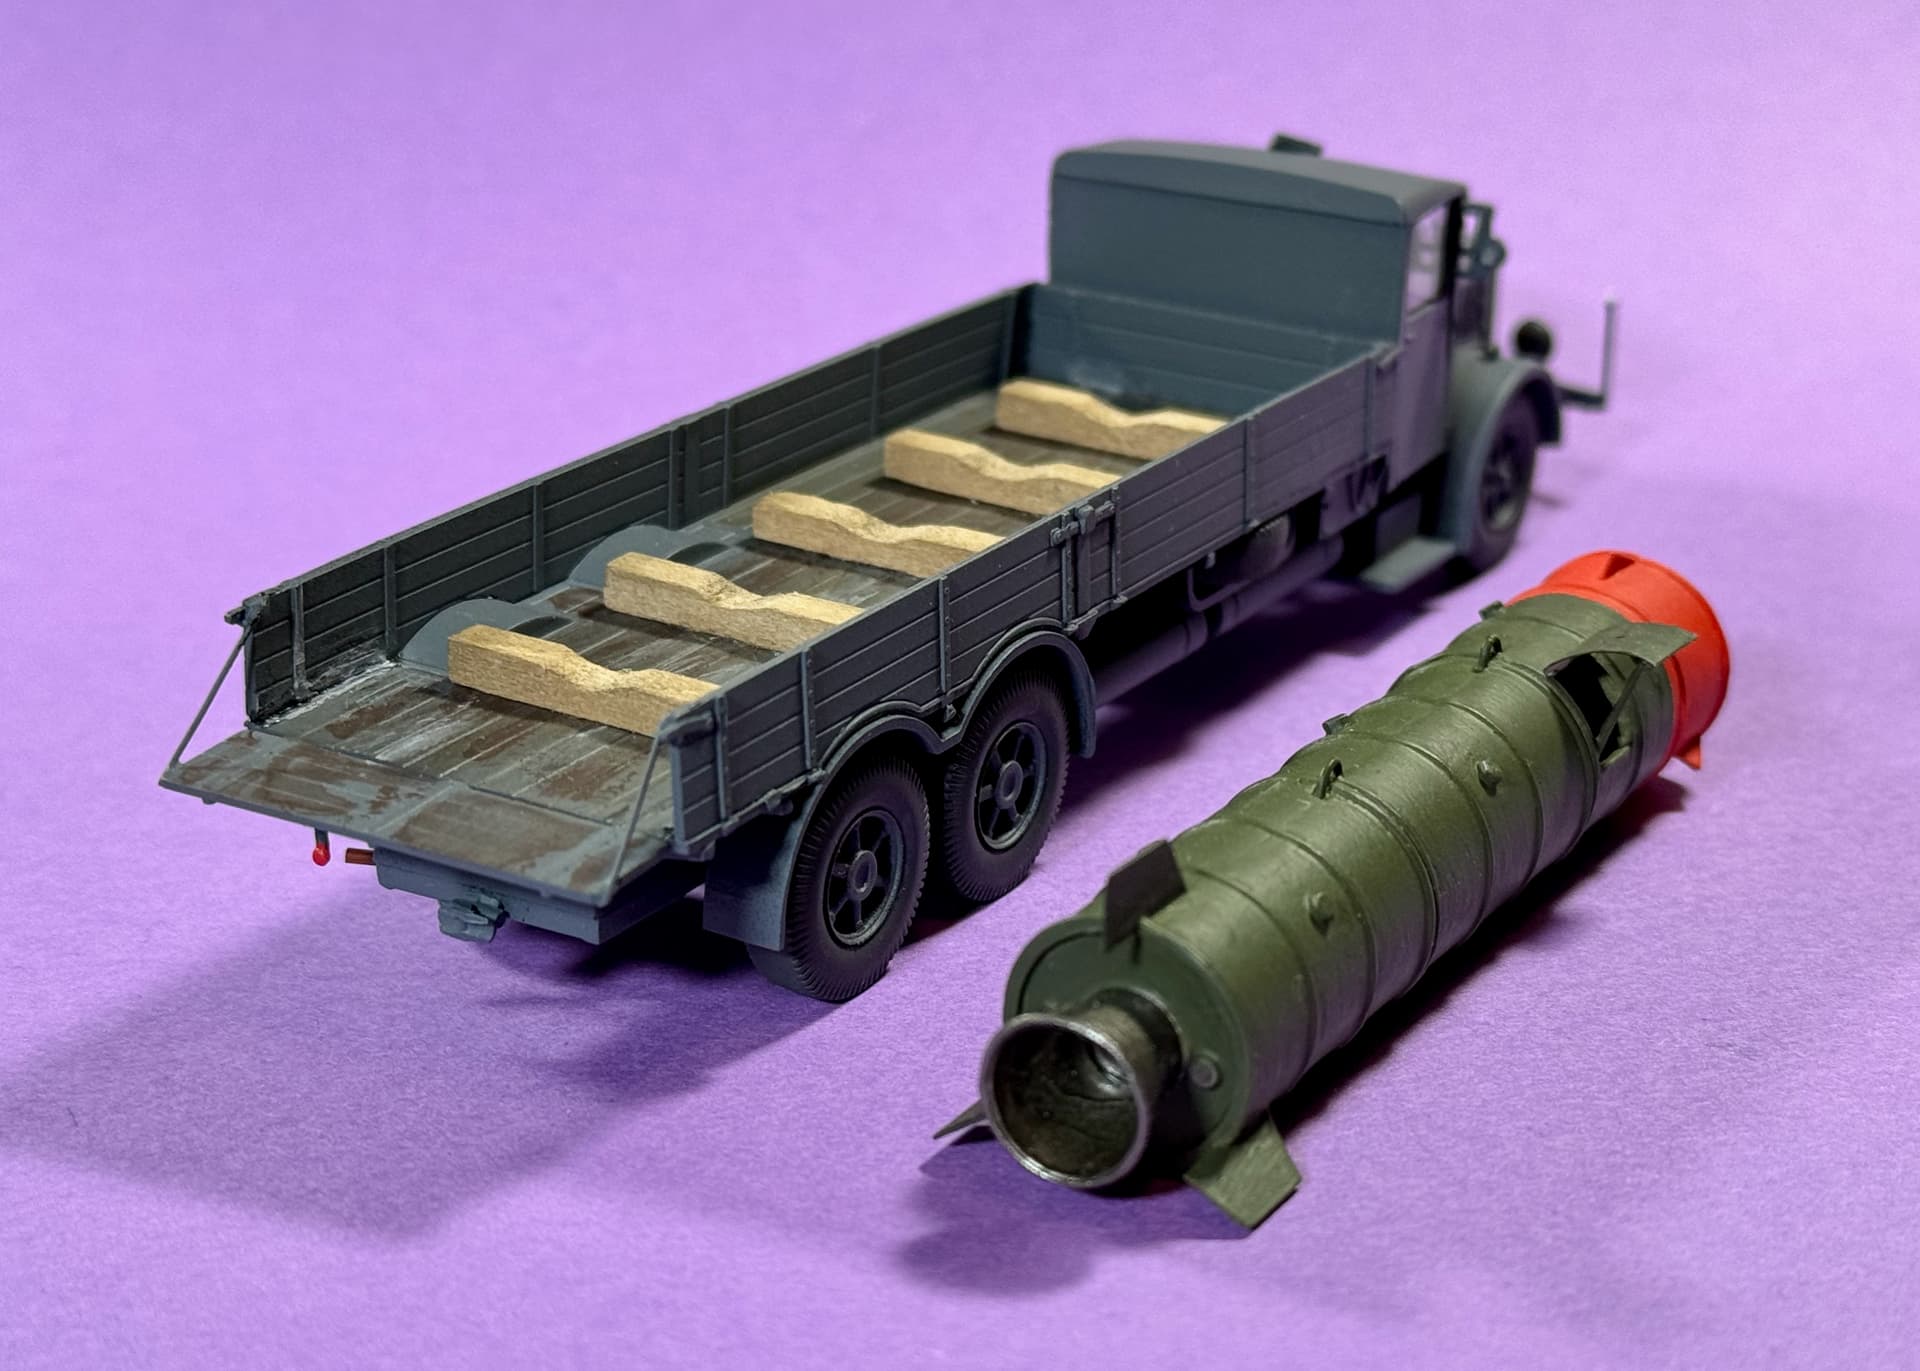
Ja, das ist die ‘Riesige Sprengbombe’ (Huge Explosive Bomb).
—mike …![]()
![]()
Nice Tanker Jesper… looks oily and well used! ![]()
Ja, das ist die ‘Riesige Sprengbombe’ (Huge Explosive Bomb).
—mike …![]()
![]()
Thanks, Mike ![]() yeah, that was a bit of a weird build - something fun to try! So ugly, it’s sort of cool -
yeah, that was a bit of a weird build - something fun to try! So ugly, it’s sort of cool - ![]()
![]()
Cheers
Nick
Definitely. So ugly it’s beautiful!
In that case, I’d dragged a Revell Land Rover Series III LWB out of the stash to check some things for the “Italeri Land Rover kit - how good is it?” thread, I might as well glue the bits together rather than put it back. Hopefully I’ll get a start later today; just now it’s coming up 0530hrsZ and if I don’t get some kip soon I’ll be getting up before I’ve gone to bed…
Cheers,
M
Windows…
The VOMAG windows (acetate) went in with hardly a hitch — no smudges, no finger prints! And then, all hell broke loose when I tried to re-attach the doors to the cab. For some oddball reason, I couldn’t get the doors at the bottom of the cab to match-up again — kept coming apart while glueing with Tamiya Extra Thin. Subsequently, the assembly spent two entire days in maximum lock-down — clamped and slathered in VMS Flexy 5K Black Thin CA (VMS.CM11). … I had to walk away — couldn’t stand to look at them anymore. ![]() … The good news… that did the trick!
… The good news… that did the trick! ![]()
The HANOMAG windows were a bit easier with full access to the interior by simply popping the roof. Only problem… the clear moulded parts didn’t want to play nice. After a bit of trimming and coaxing with tweezers, they finally went in. ![]()
Oh yeah, did I mention hell “breaking” loose? — another Width Indicator had to be scratch-built for the VOMAG — the fourth and final one! ![]()
In addition, I did a bunch of touch-up painting. A few more greeblies to attach, then final assemblies and I’ll be finished with these two.
—mike ![]() …
… ![]() …
…
An automobile designer back in the 30’s had a dream of the future one night, where he saw men in that future building small replicas of the vehicles available in his time.
And so to mess with those future men, this designer created the width indicator knowing that reproducing it in the scales he dreamt of would be maddeningly fragile. If you were to exhume his corpse, you would find a wide grin on his face.
I’ve been done for a while now but really do like stopping in and seeing the additional builds. I’d be up for another “Convoy” build in the future!
Mike
Not a contender in this Convoy Campaign:
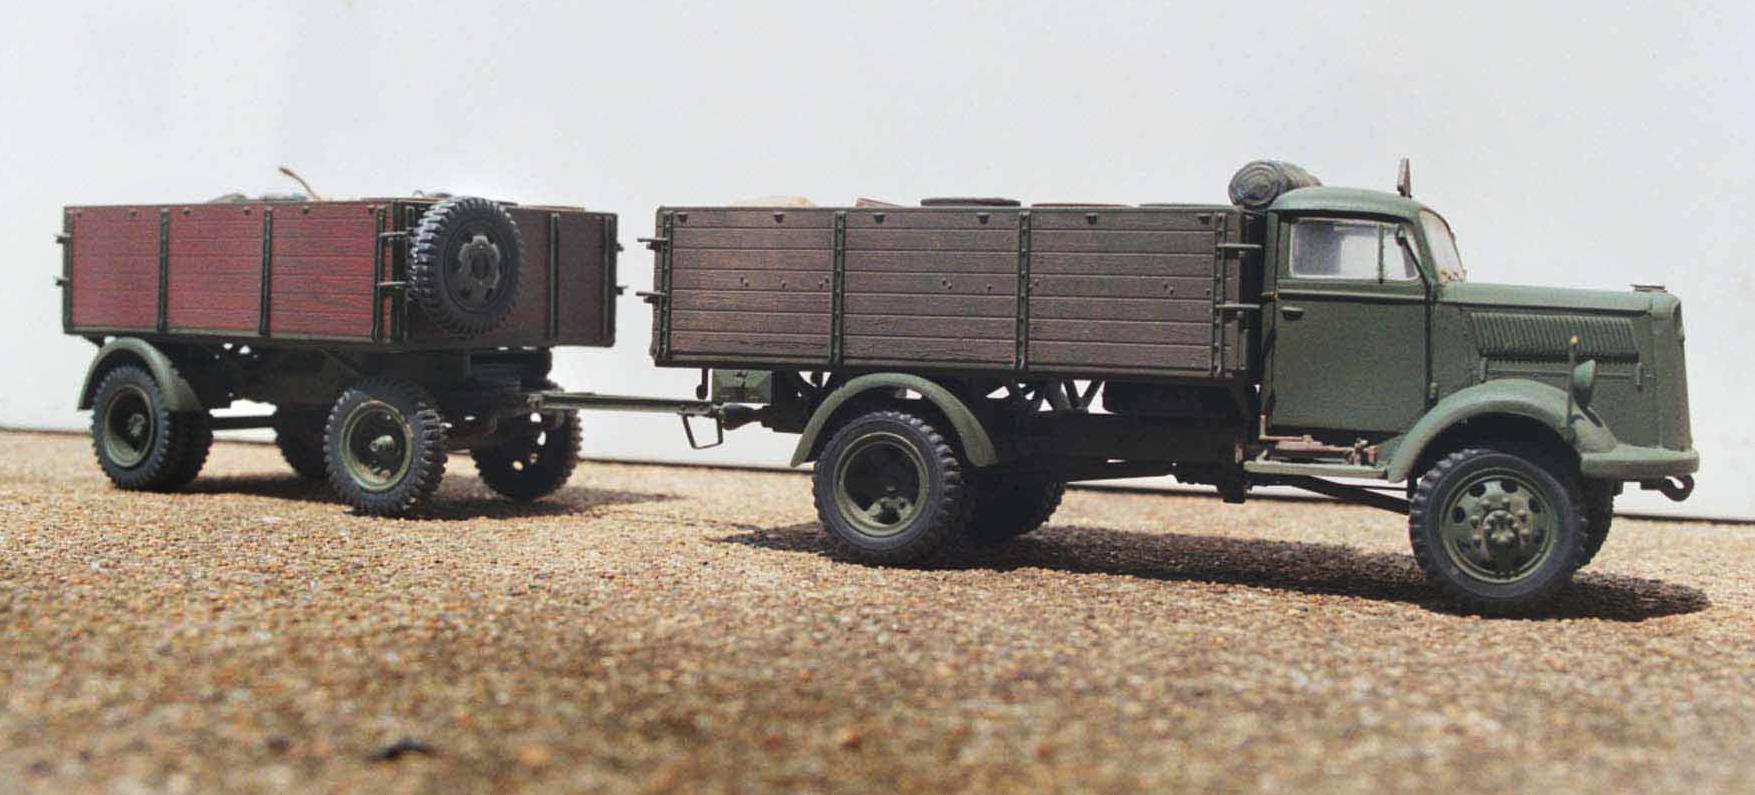
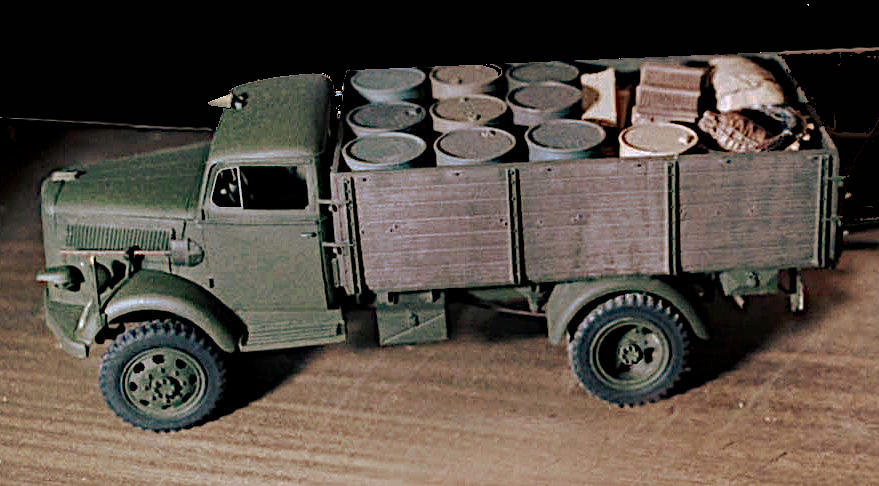
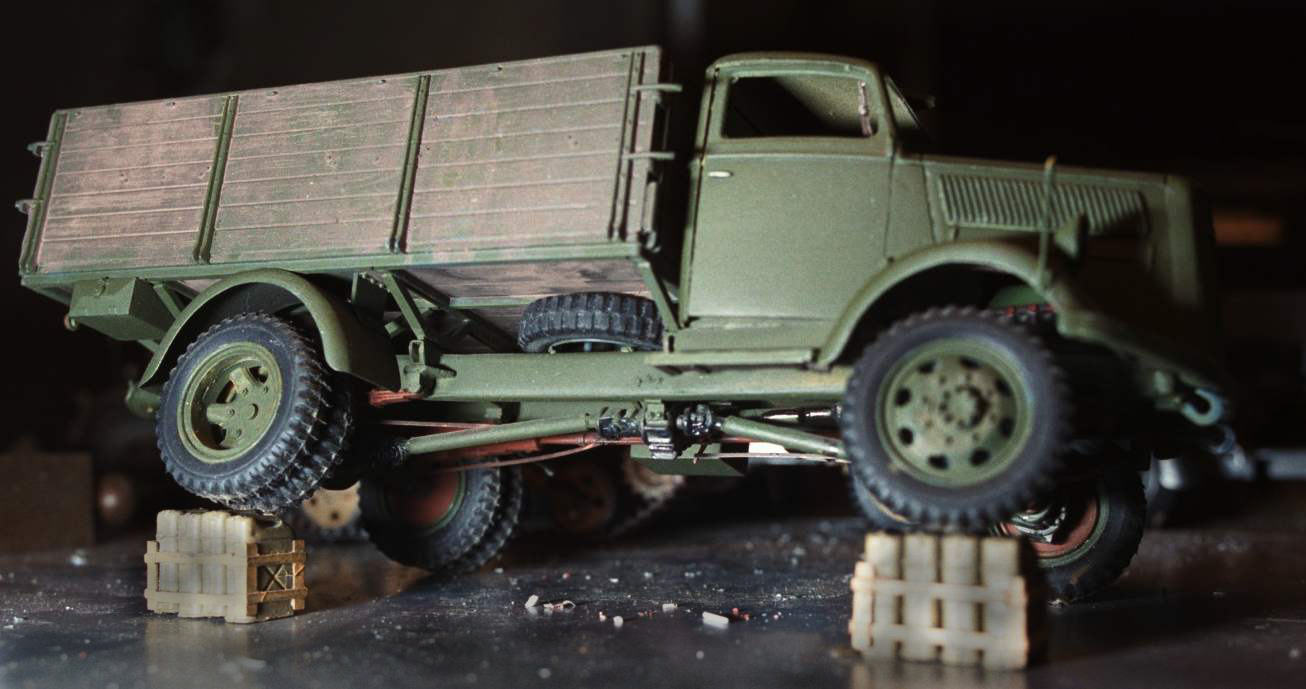
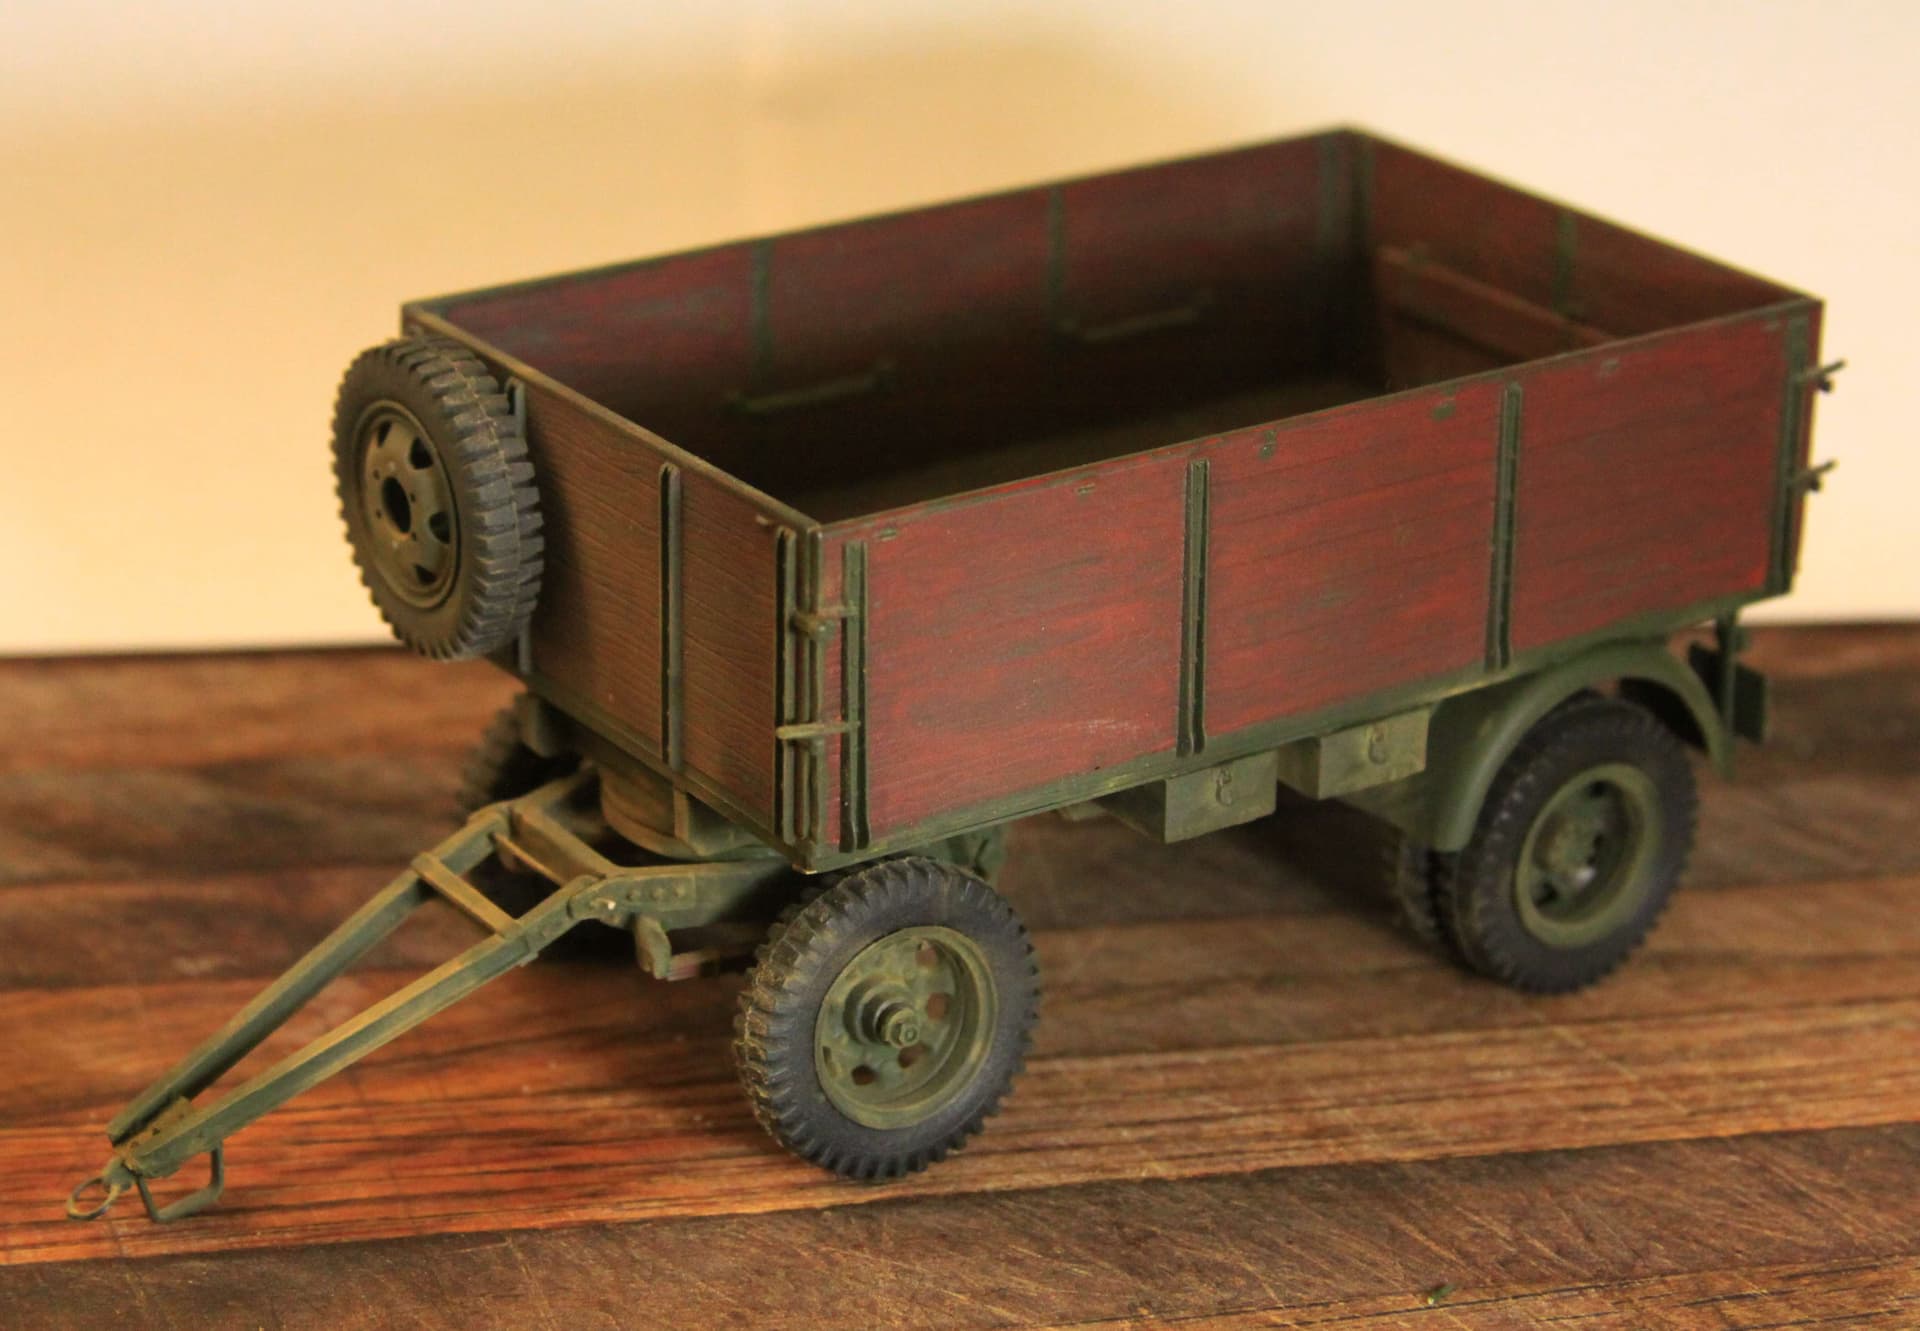
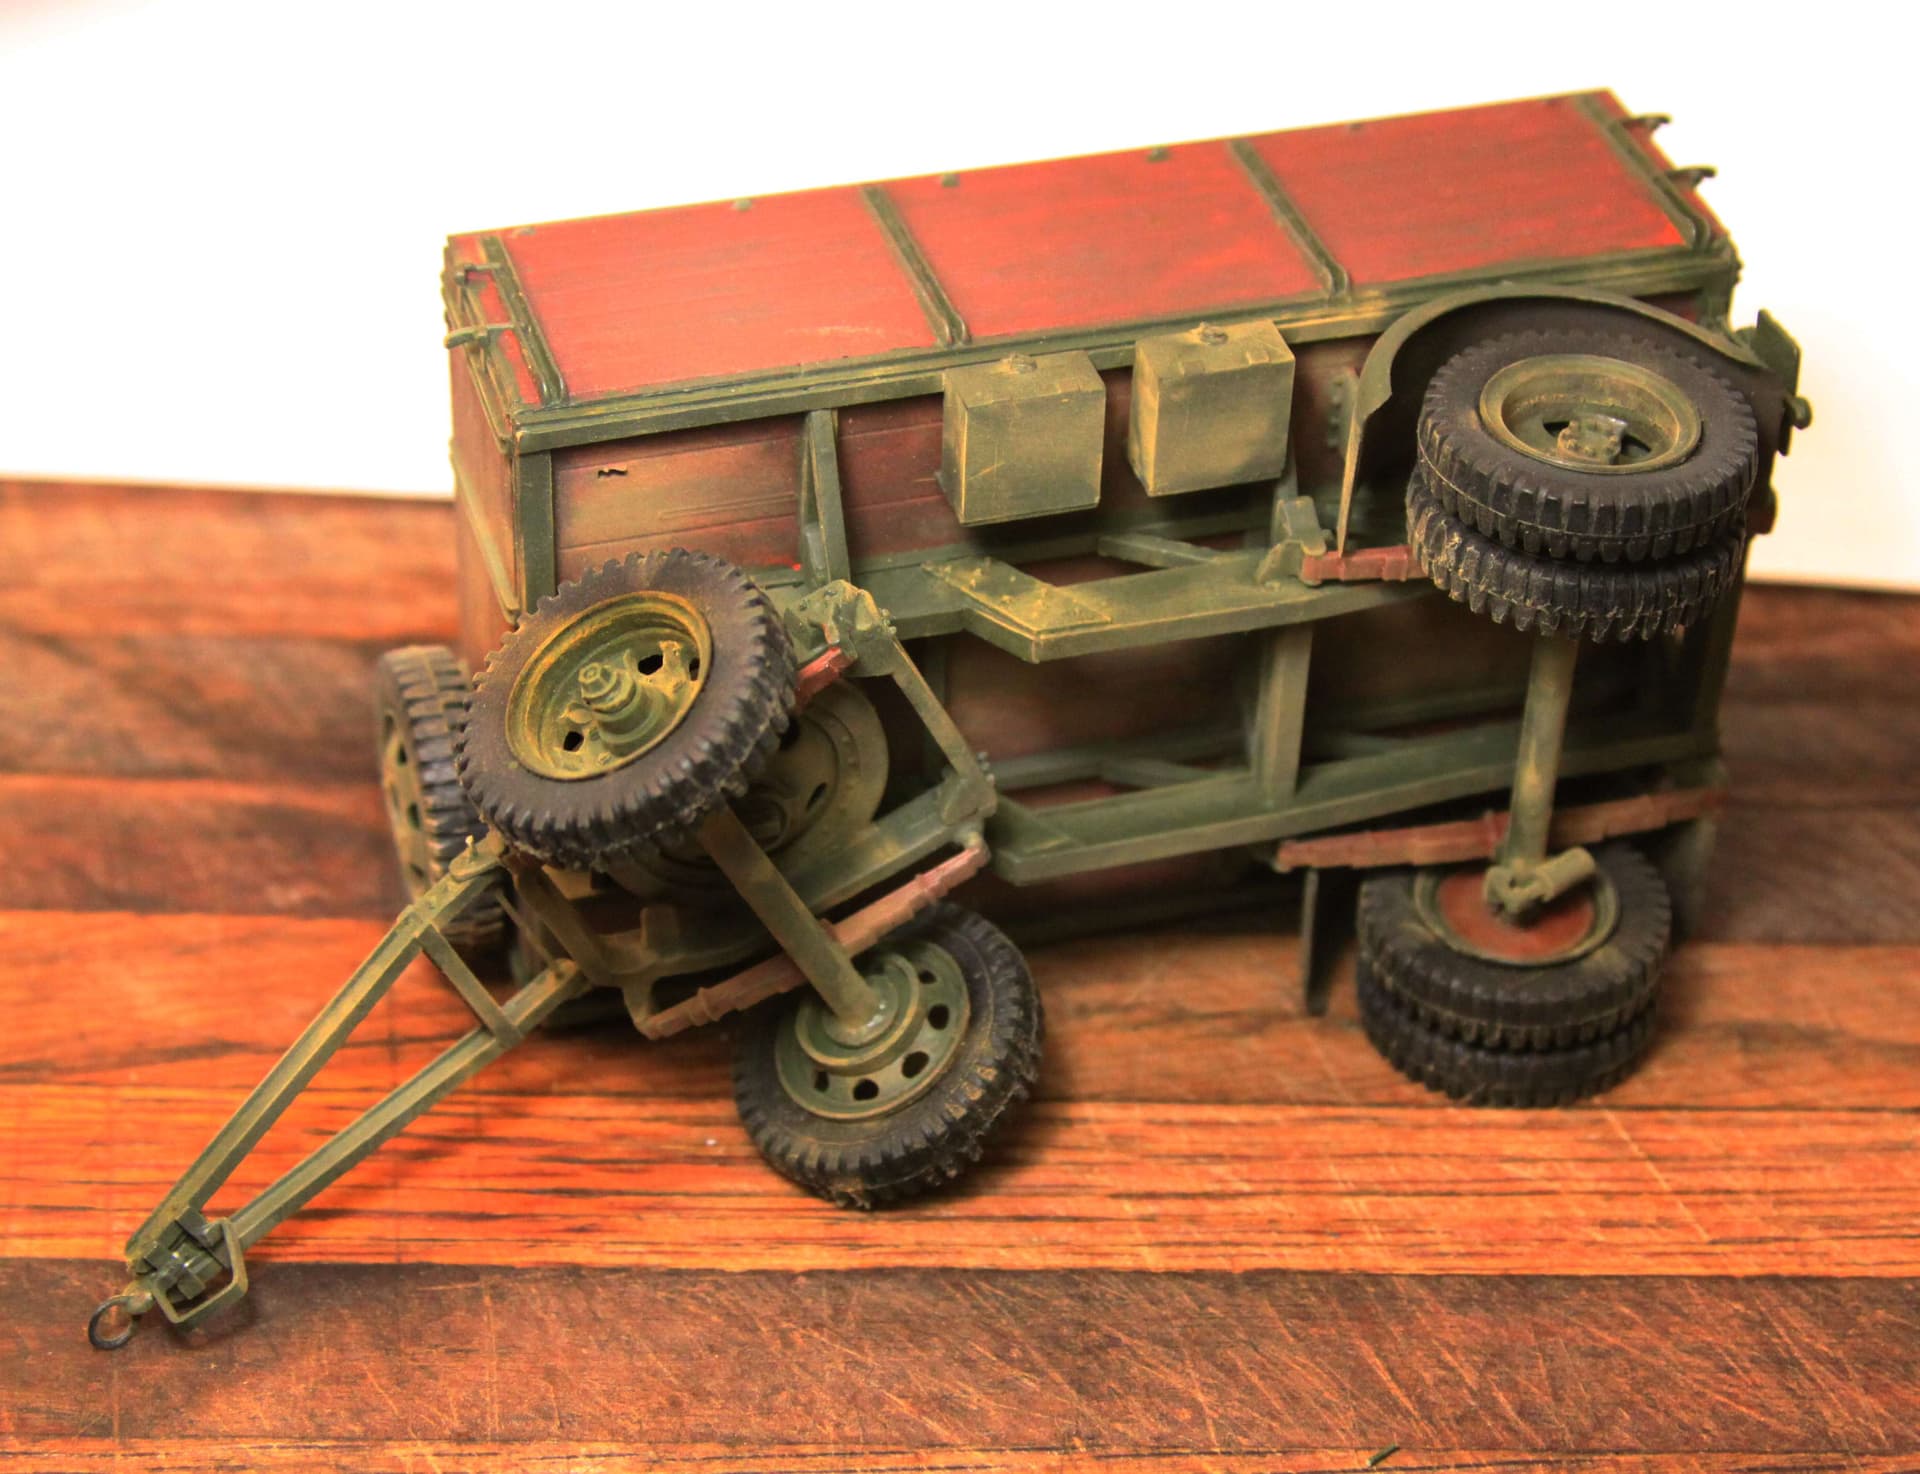
However I am still proud of my scratch/conversion of an Italeri Opel Blitz into a 4x4 and a second Blitz into a trailer;
Interesting. Just now clicked the “Going” button? Hmmmm…
Mike
I assume this could apply to broken trafficators (European Turn Signals) as well:
On my model outside rearview mirrors I replace the support stalks with small diameter Evergreen rod. The Evergreen is far more flexible and forgiving than the much more brittle model plastic at this small size.

I drill a small hole in the truck body and glue in the Evergreen rod for better support. The plastic formula of the EG plastic is soft, flexible and very forgiving. I myself have bumped into these mirrors and they usually just spring back into shape with no damage.
Gotta love that Big Mack. Hmmm - must be almost lunchtime… ![]()
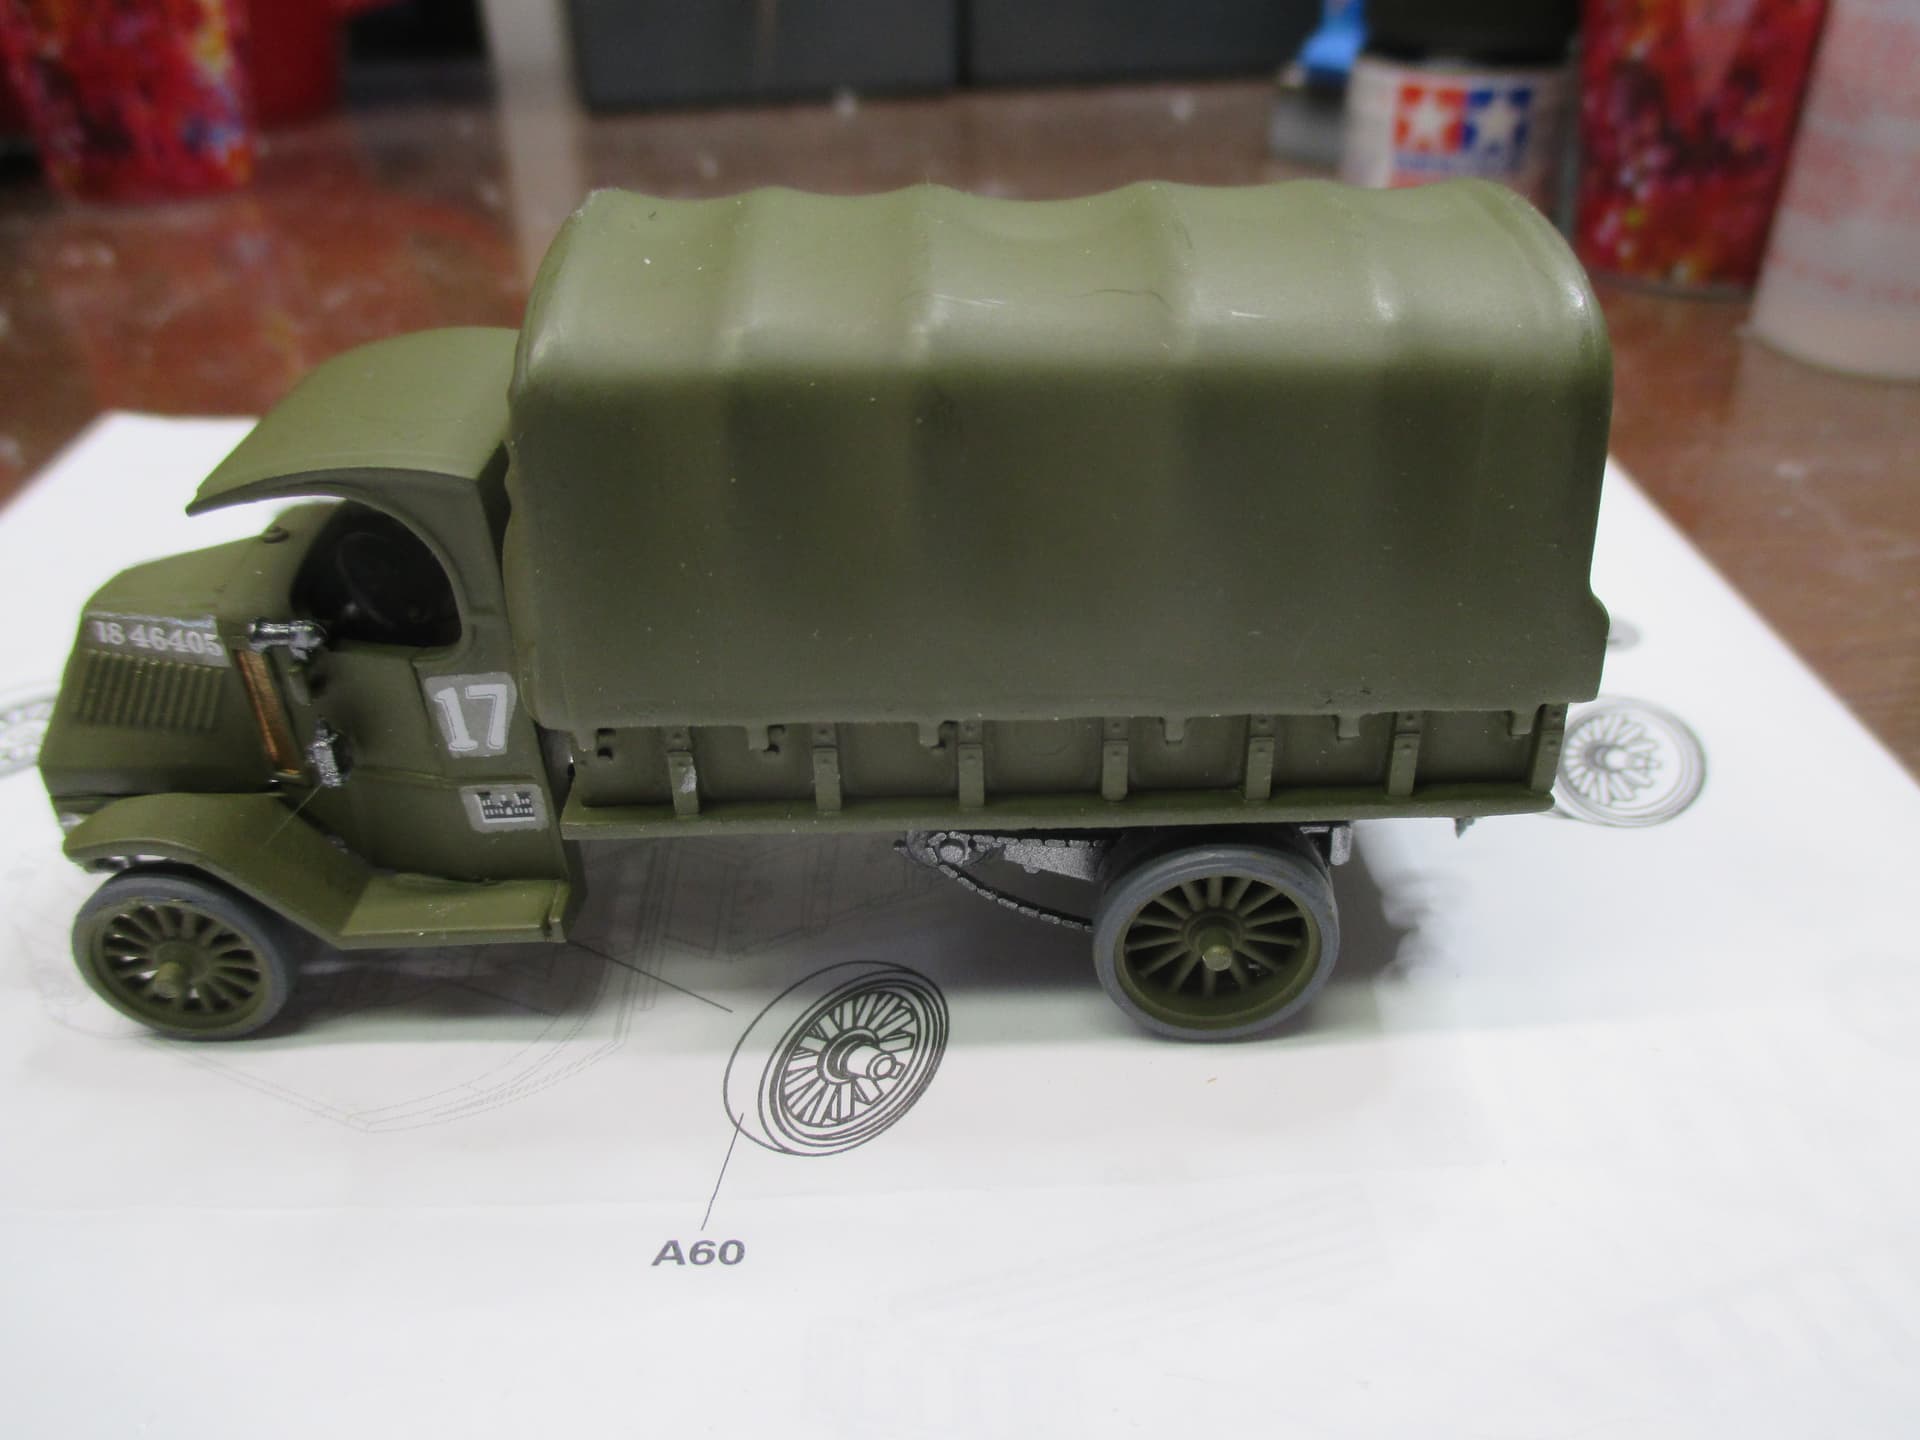
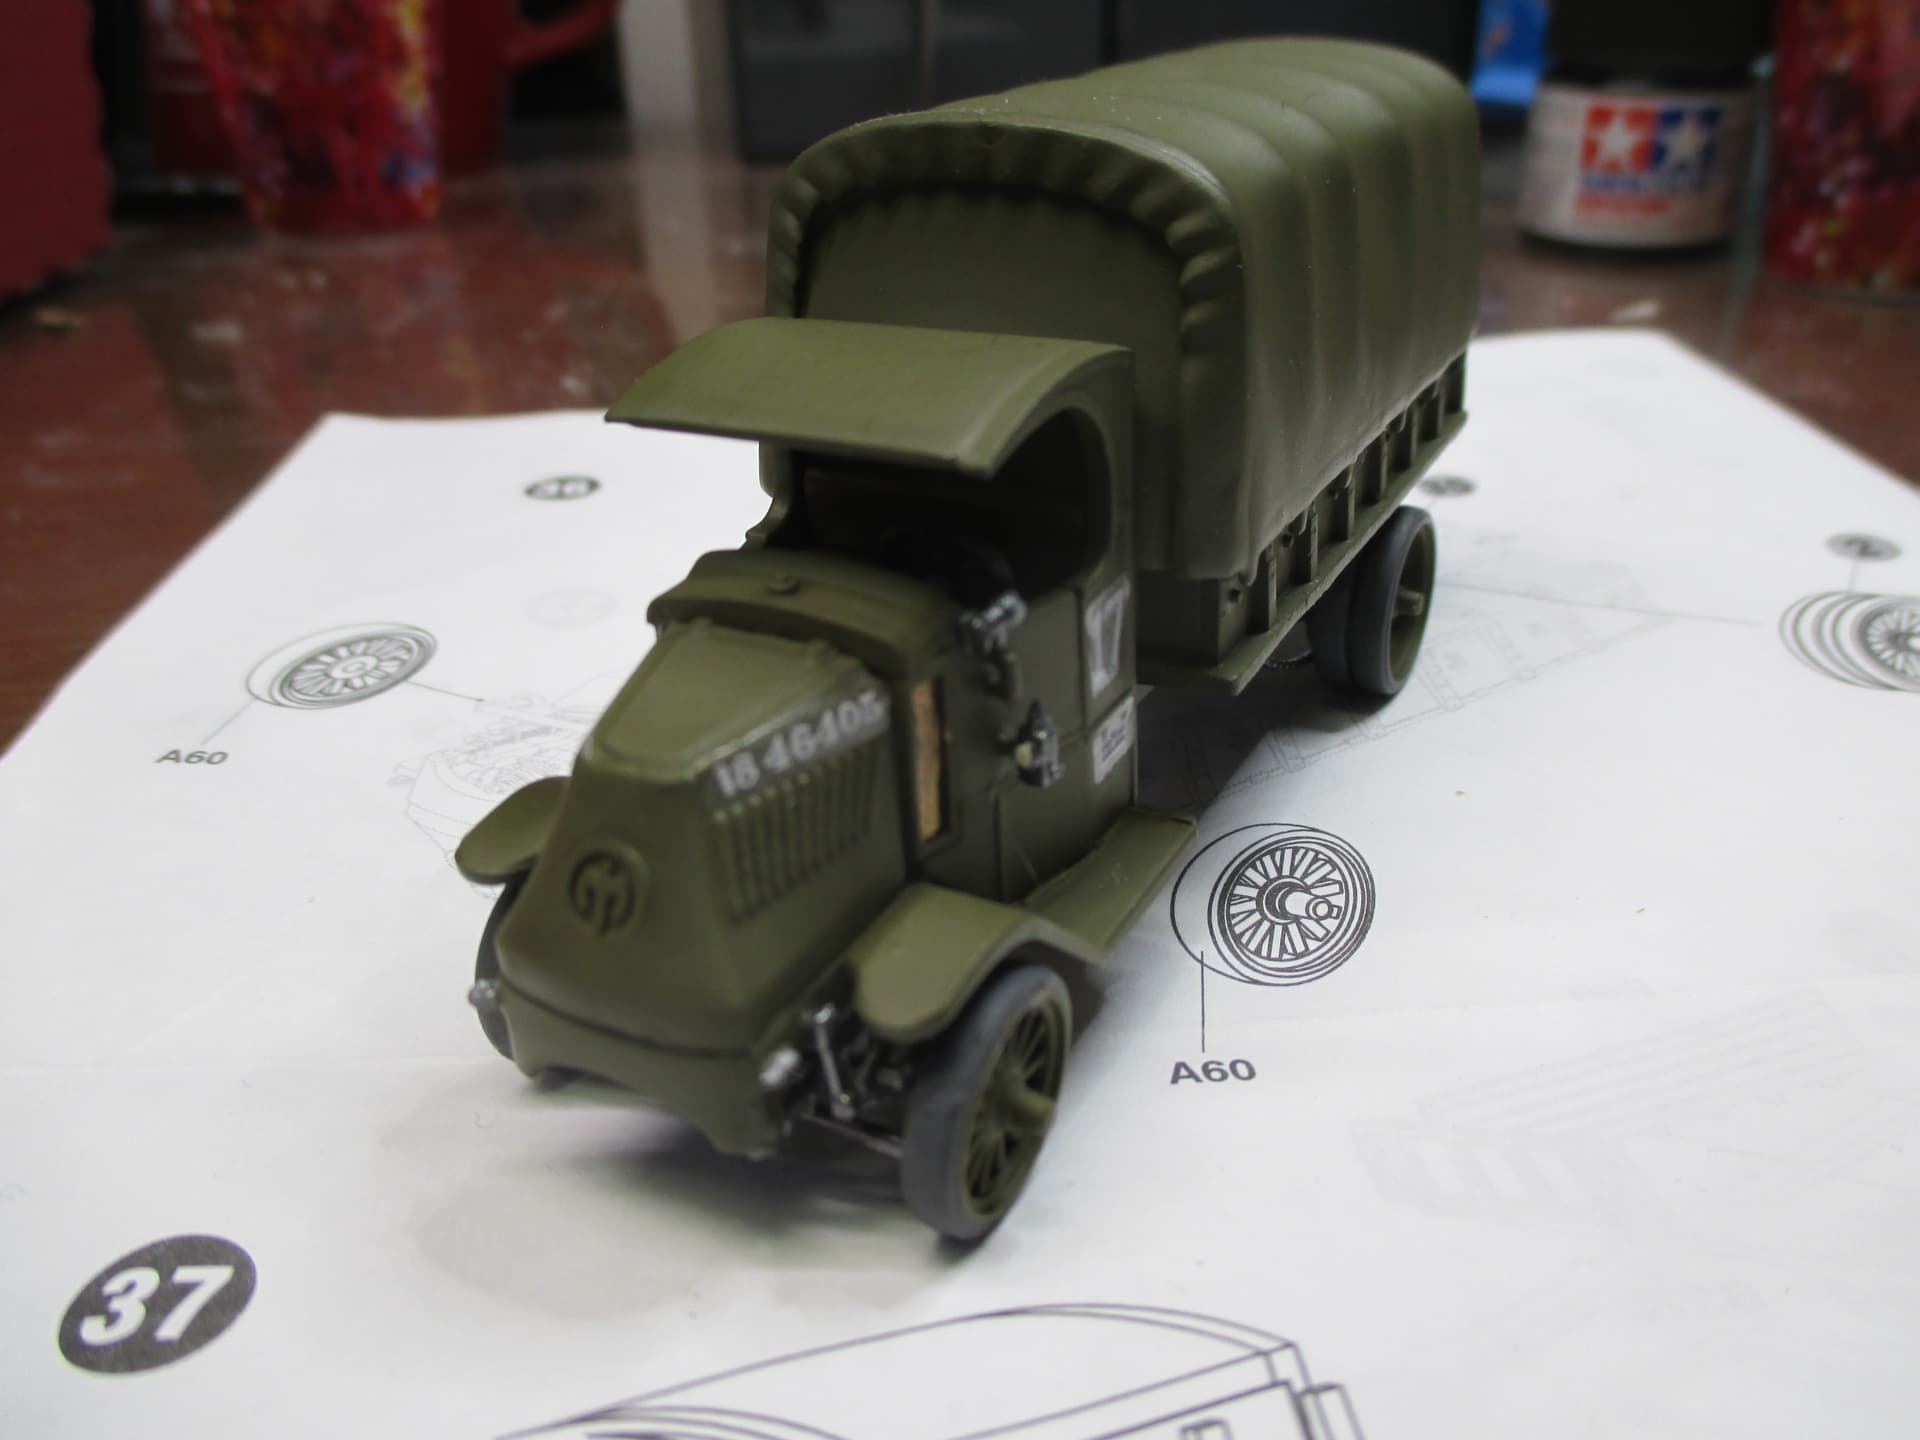
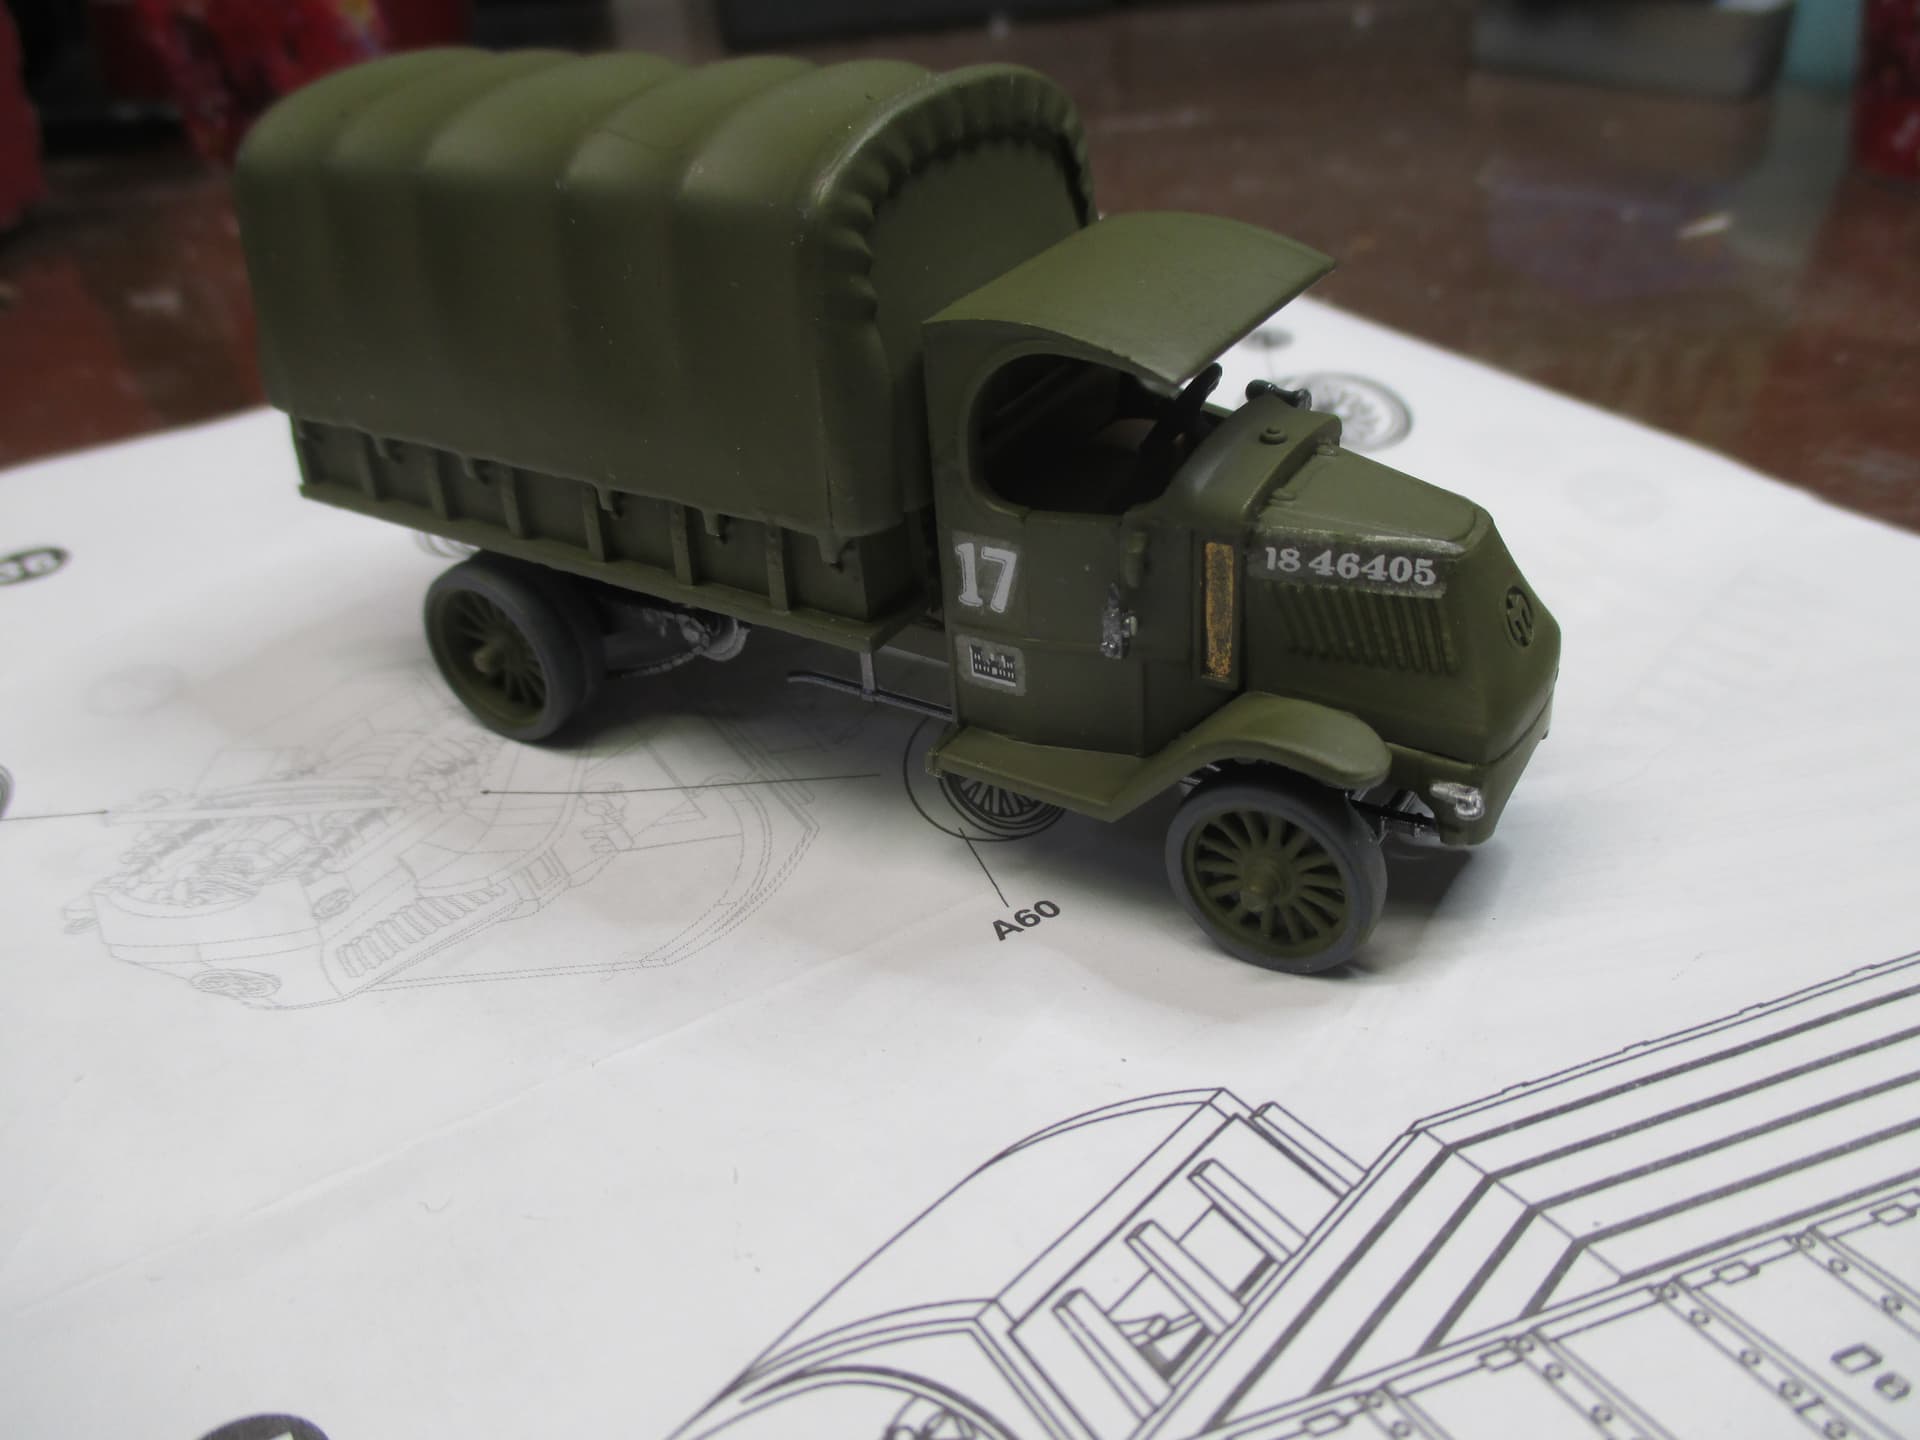
Hey Bulldog, who offers that Great War Mack? Interesting model. I have not encountered that one before.
It’s a RPM kit
Try here mack truck 1:72 - Scale Modeling Search*
These two are done! ![]()
PS: I’ll try to include some better pics later.
Danke for a fun campaign!
—mike ![]() …
… ![]() …
…
I just love the purposeful appearance of the Vomag. Excellent job.
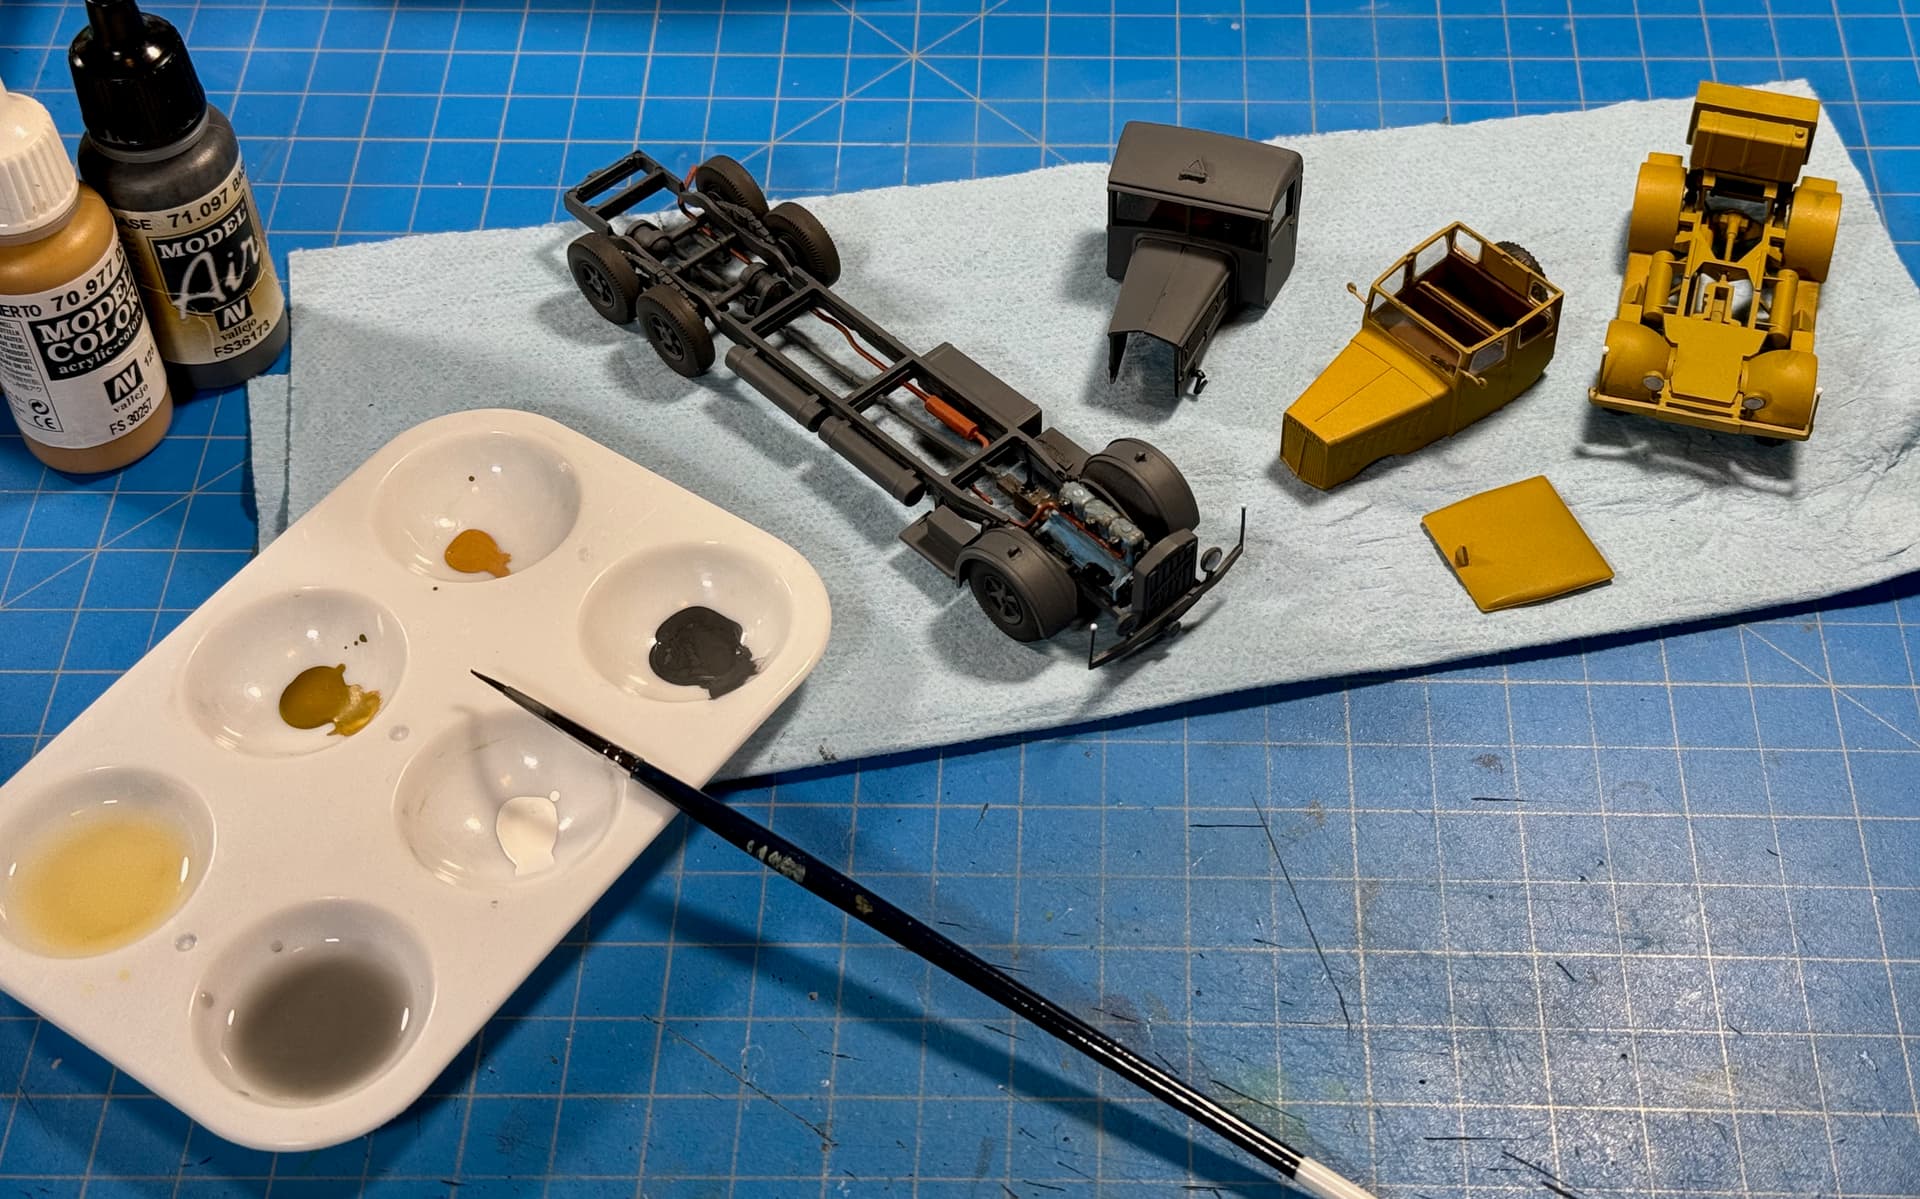
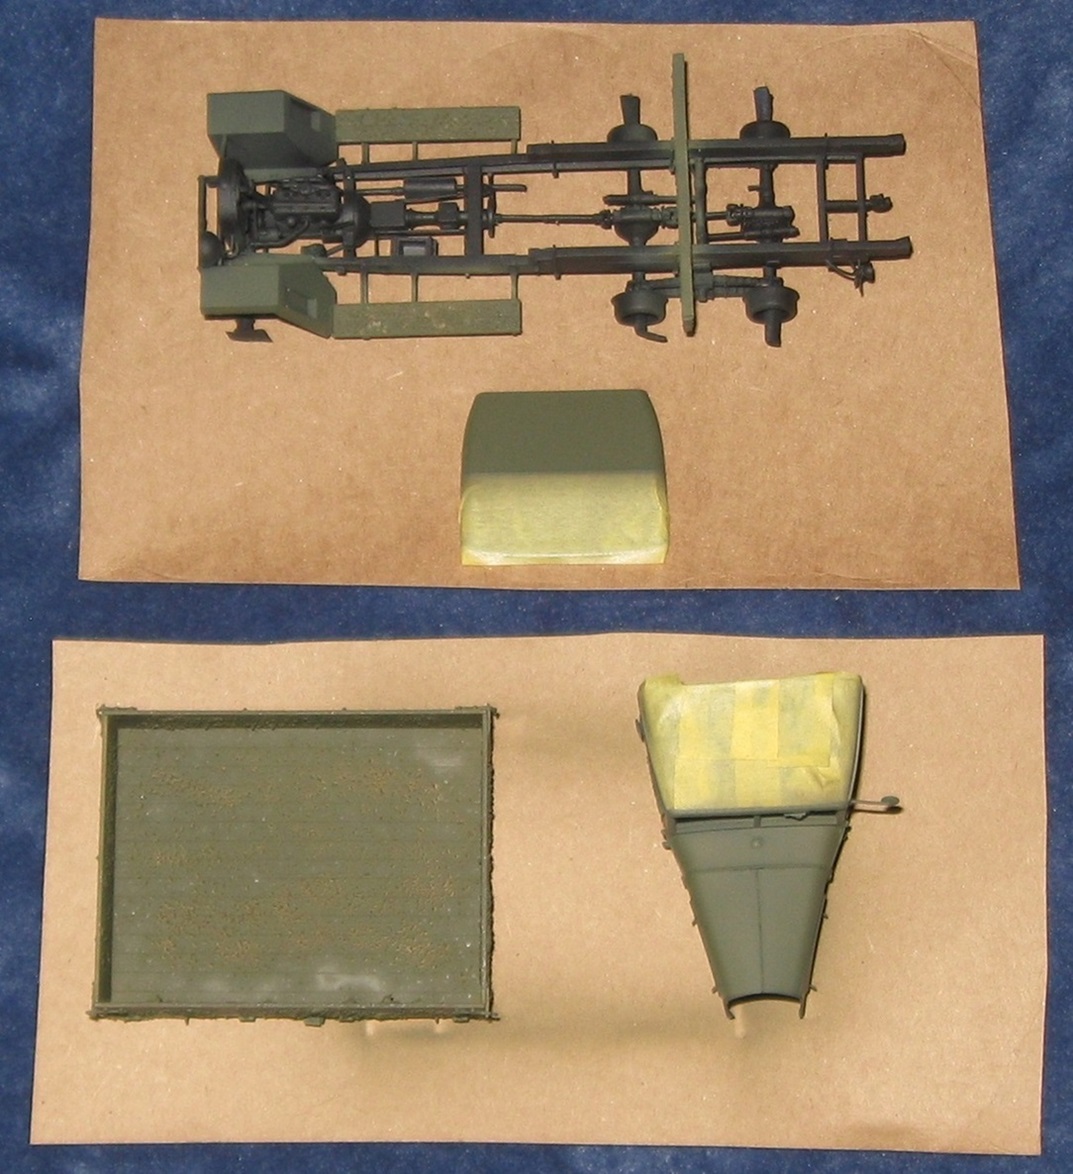
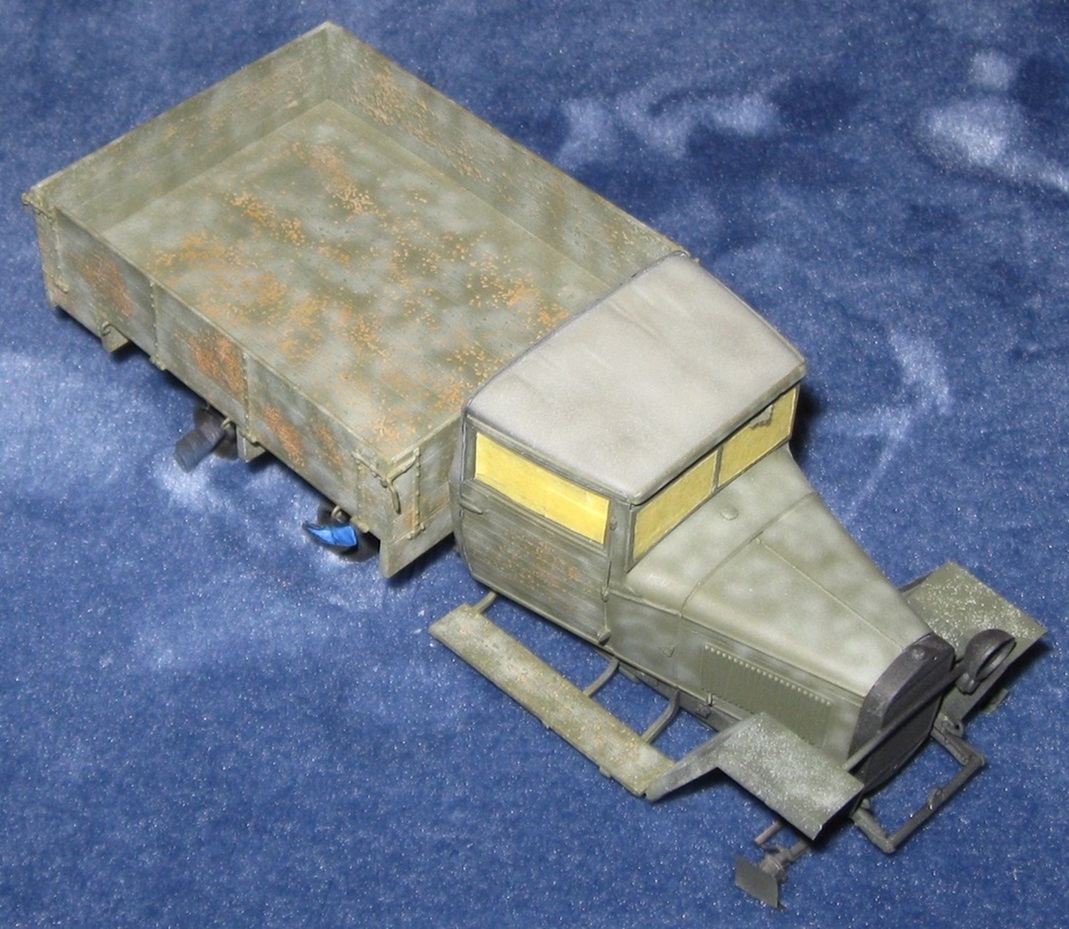
MiniArt GAZ-AAA: Painting is well underway.
Thank you for the one month extension. Since I want to use the salt technique to simulate distressed wood, I decided to take advantage of the extra time and let paint dry two days between layers. The picture above shows where things stand after quite a few airbrush sessions. The top coat requires one more round of mottling, then I will find out if all the effort was worth the payoff.
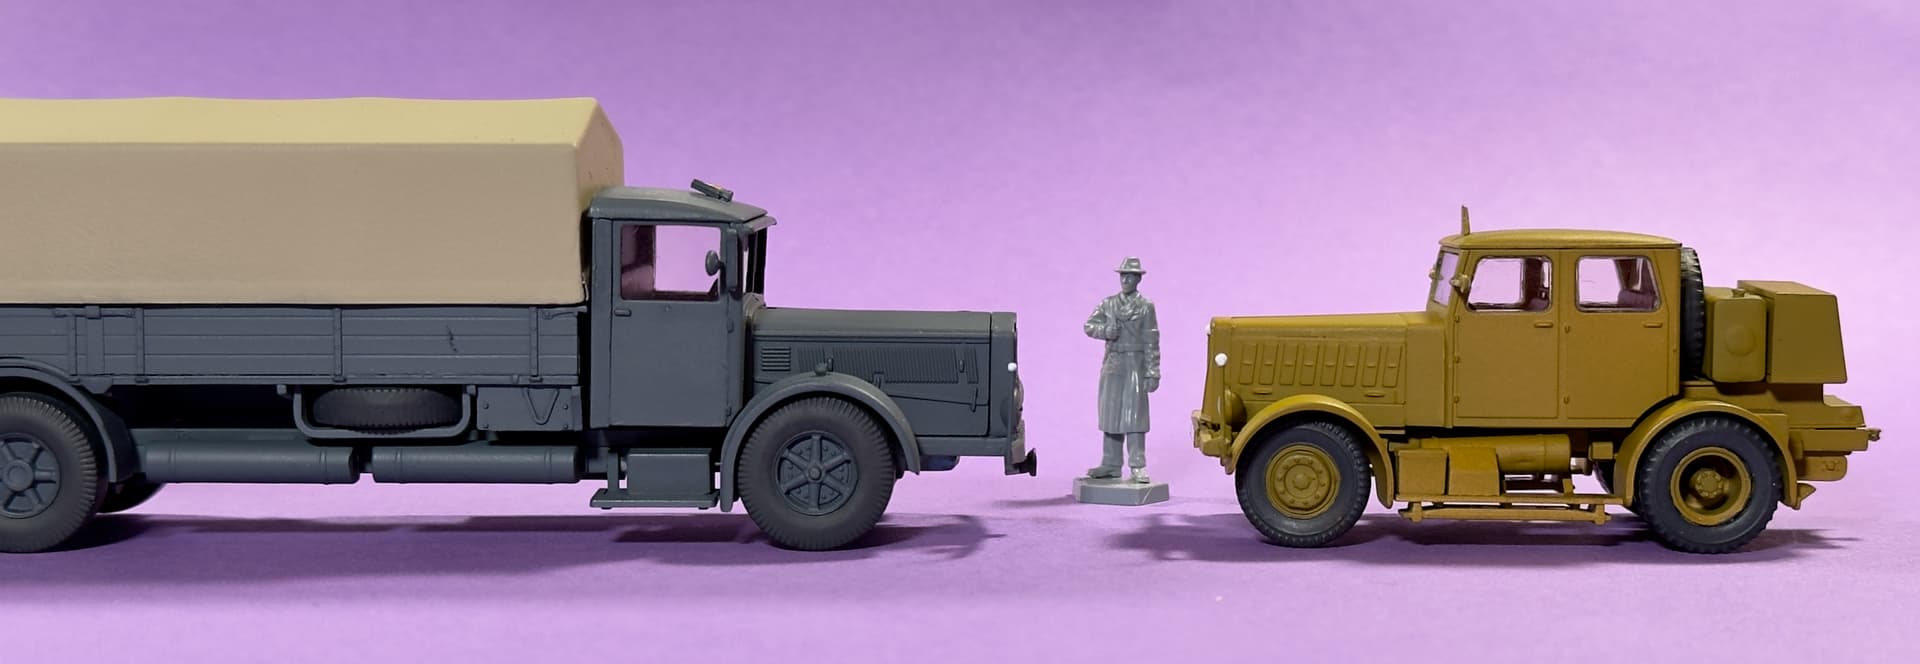
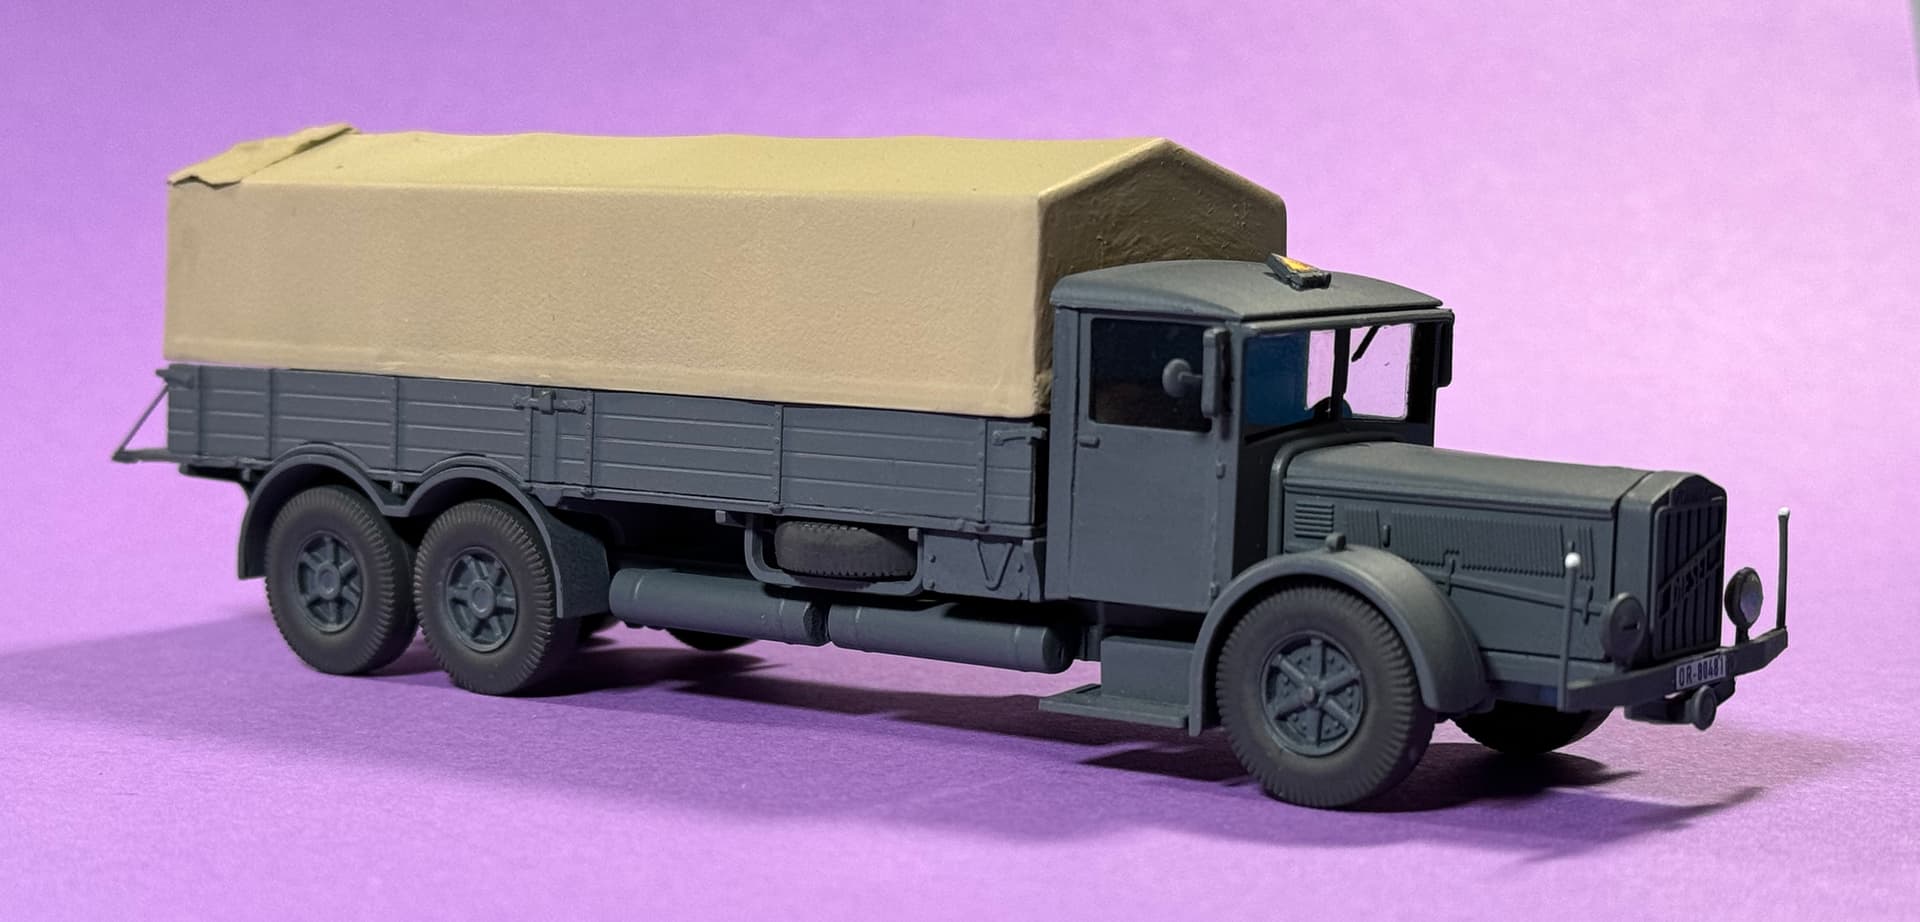
As promised, here are some more pics of my two entries…
VOMAG 8LR LKW WWII German Heavy Truck ![]() …
…
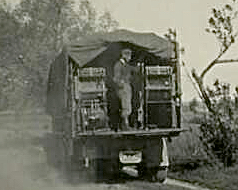
Image is for reference only.
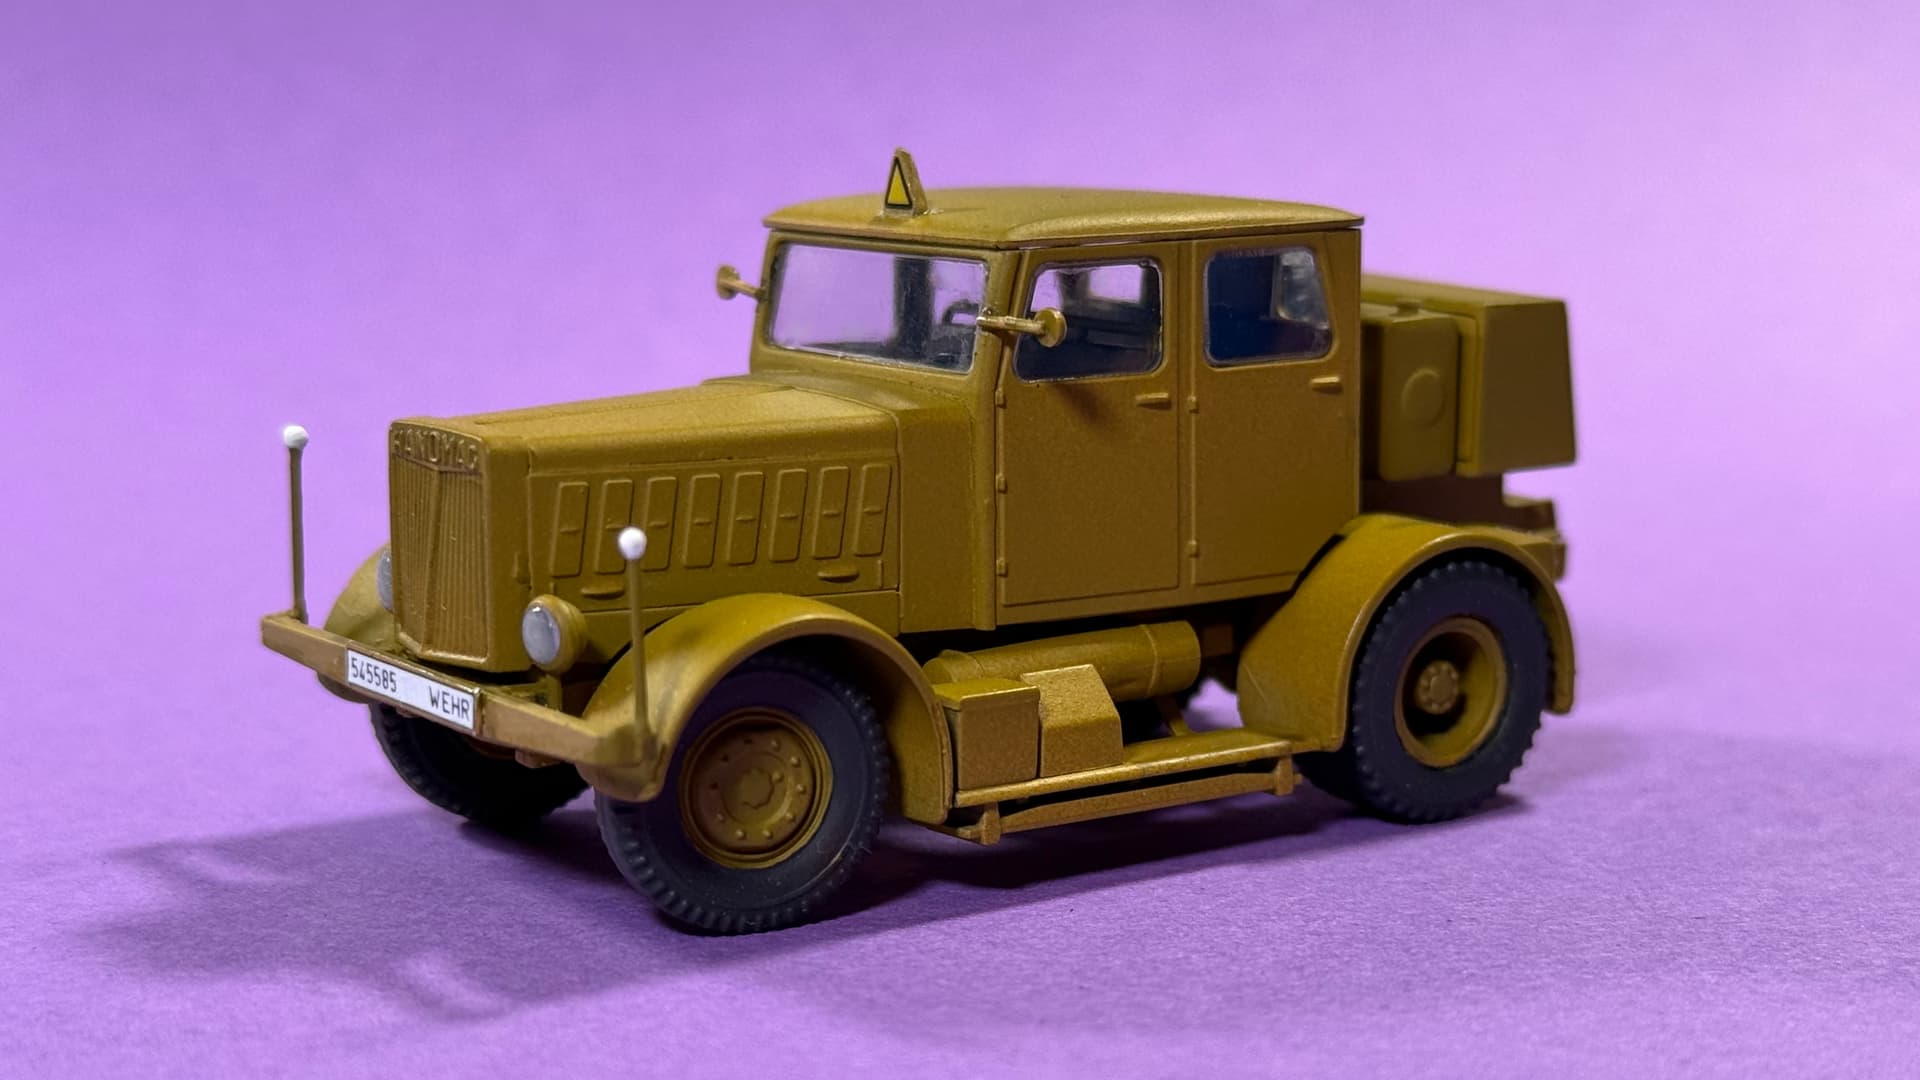
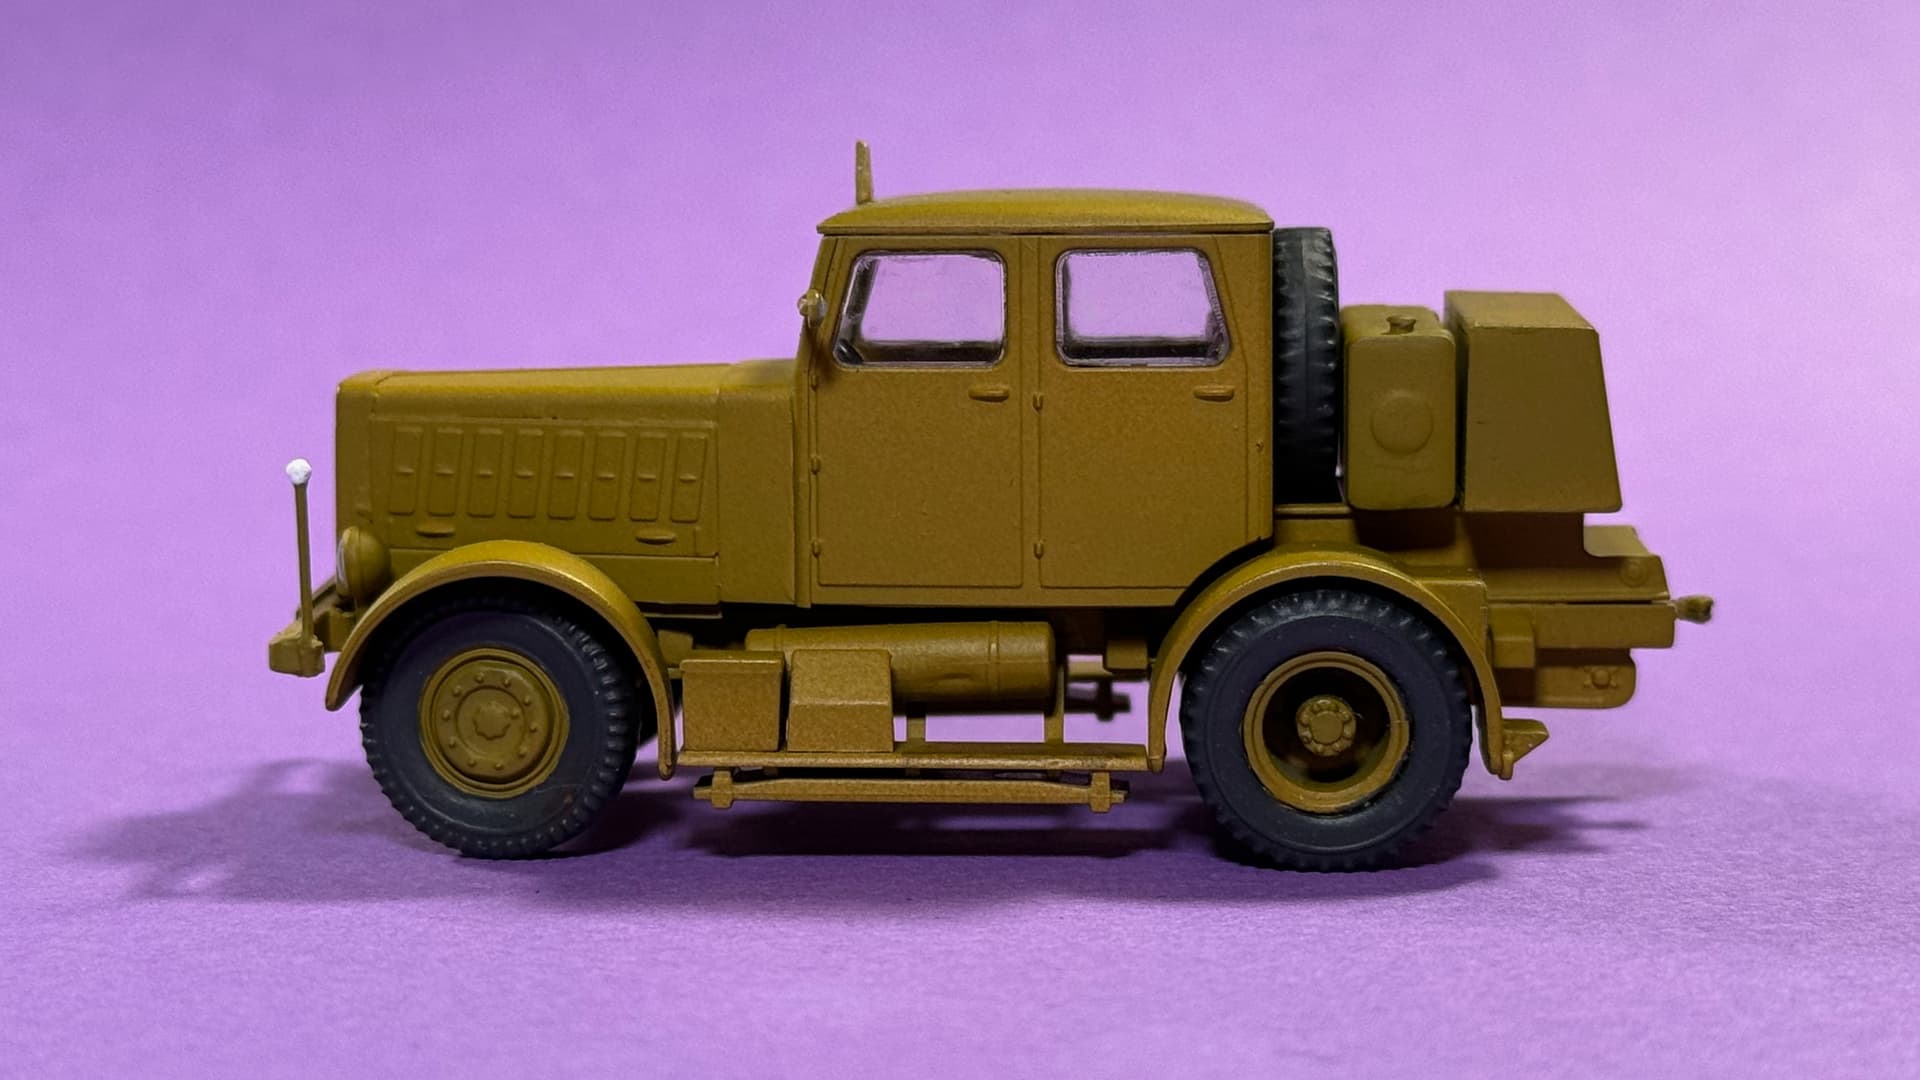
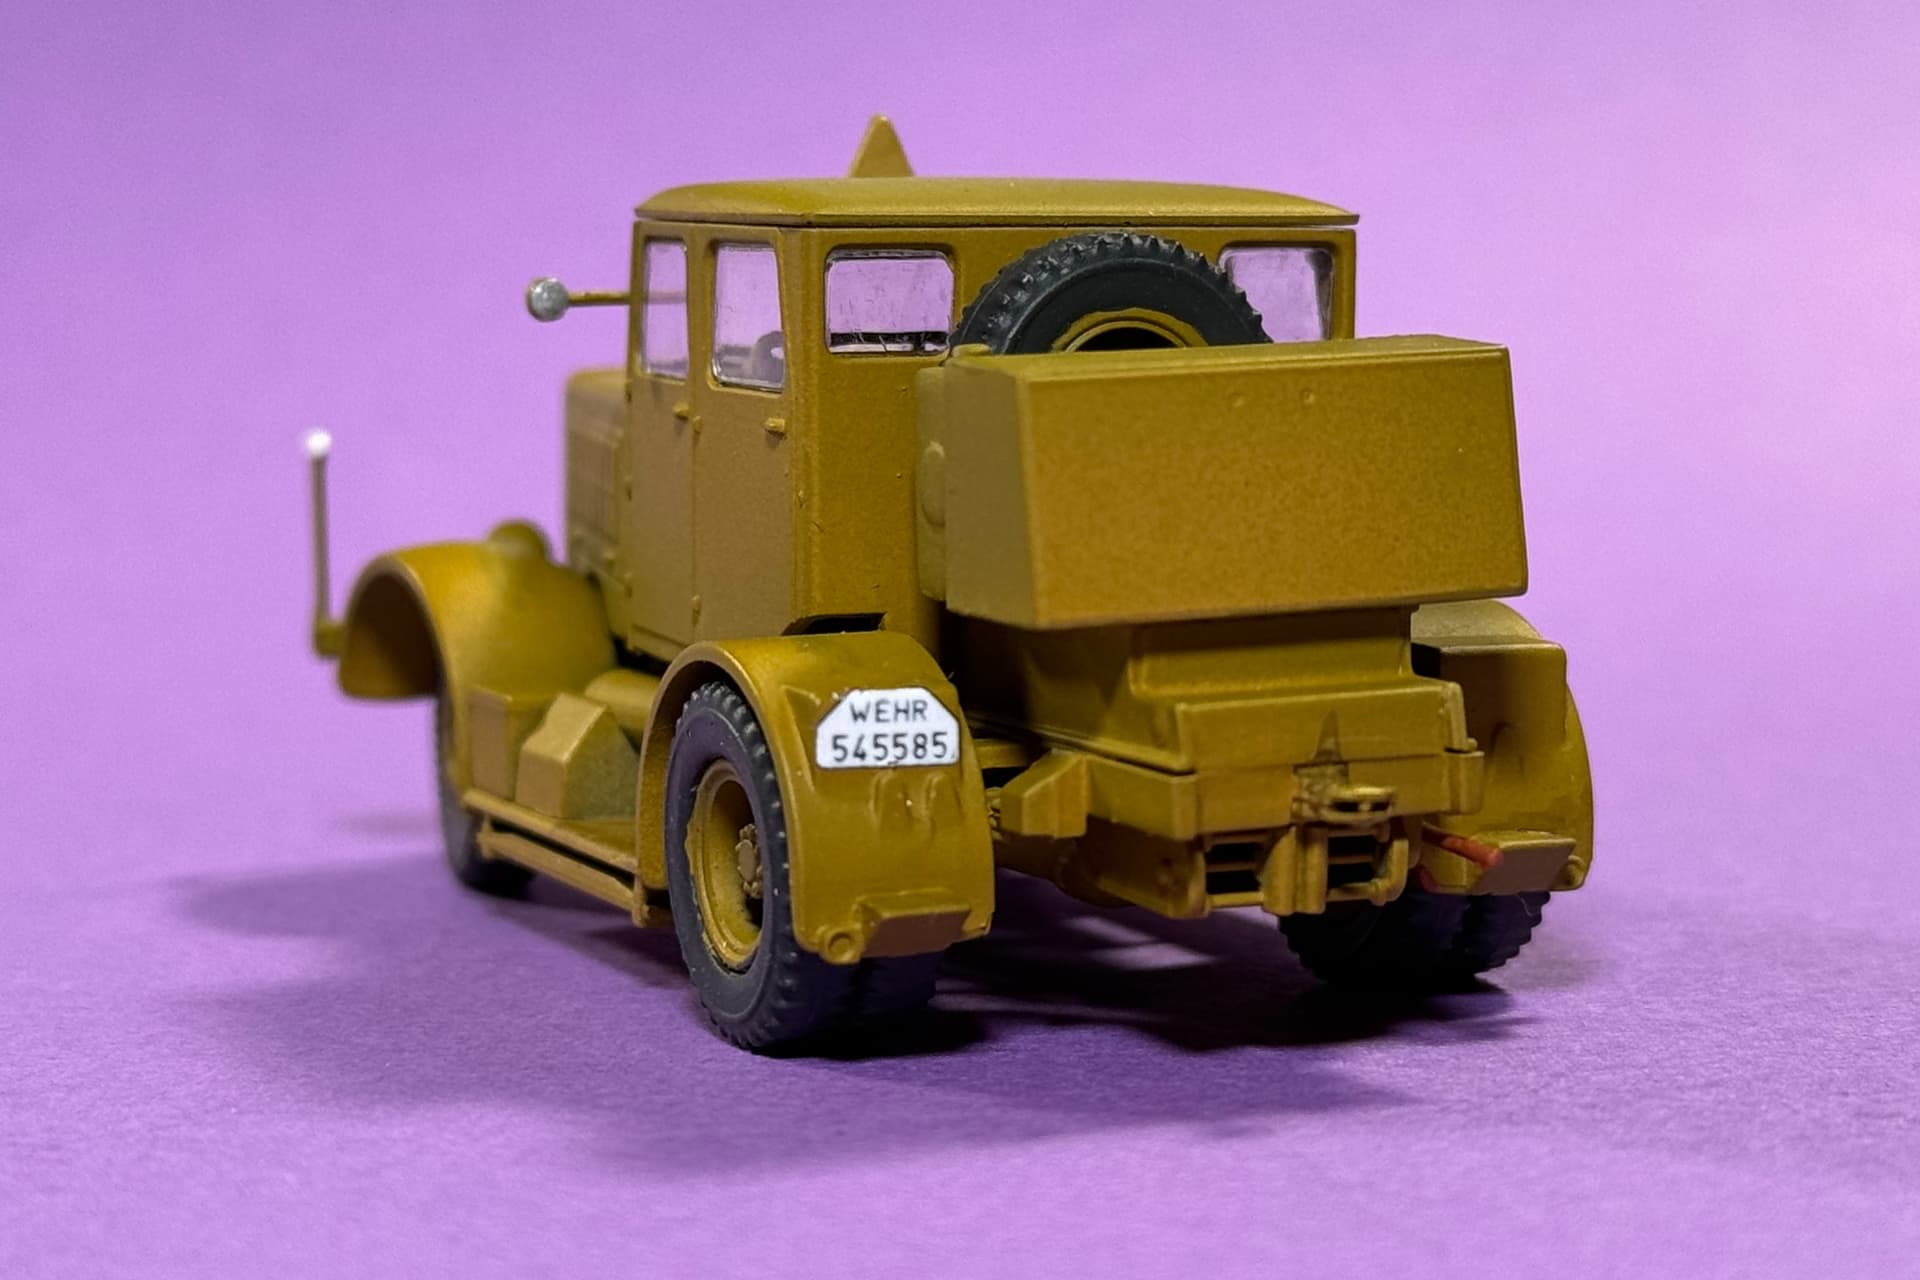
HANOMAG SS-100 Gigant “Schwerer Radschlepper” Heavy Tractor ![]() …
…
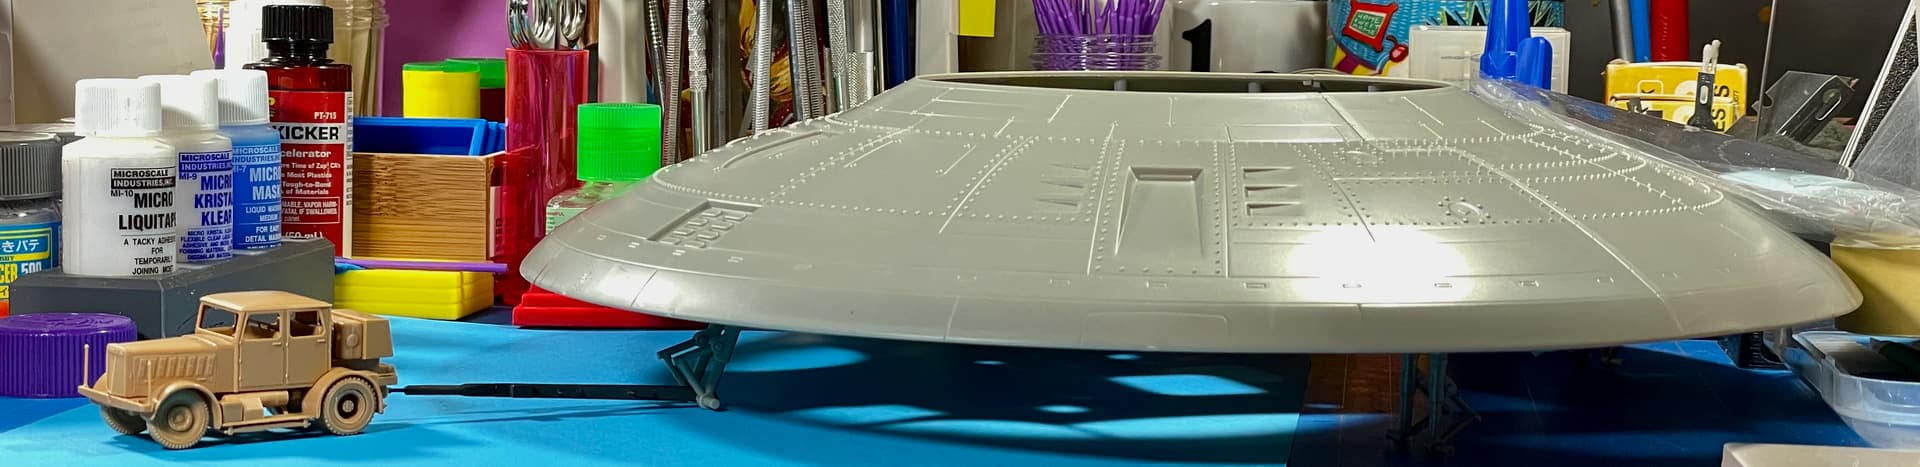
A little size reference from earlier on… The HANOMAG Tractor is effortlessly towing (dragging!) the Haunebu IIb Flying Saucer across my workbench!
Happy modeling!
—mike ![]() …
… ![]() …
…
Beautiful work there Mike!
MiniArt GAZ-AAA: All major parts are now assembled.
This turned into another one of my painting experiments. Things did not go as planned but the results were still instructive. I will use this model to play with painting techniques for two more evenings then seal it up and call it finished.