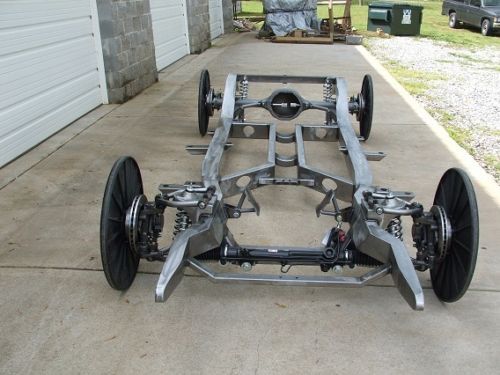
Joel, the original chassis had a smaller cross-member and oblique engine mounts at the front.
I’m not going to set up the mounts as they won’t be visible at all. I will just fix the front of the block down to the cross-member.
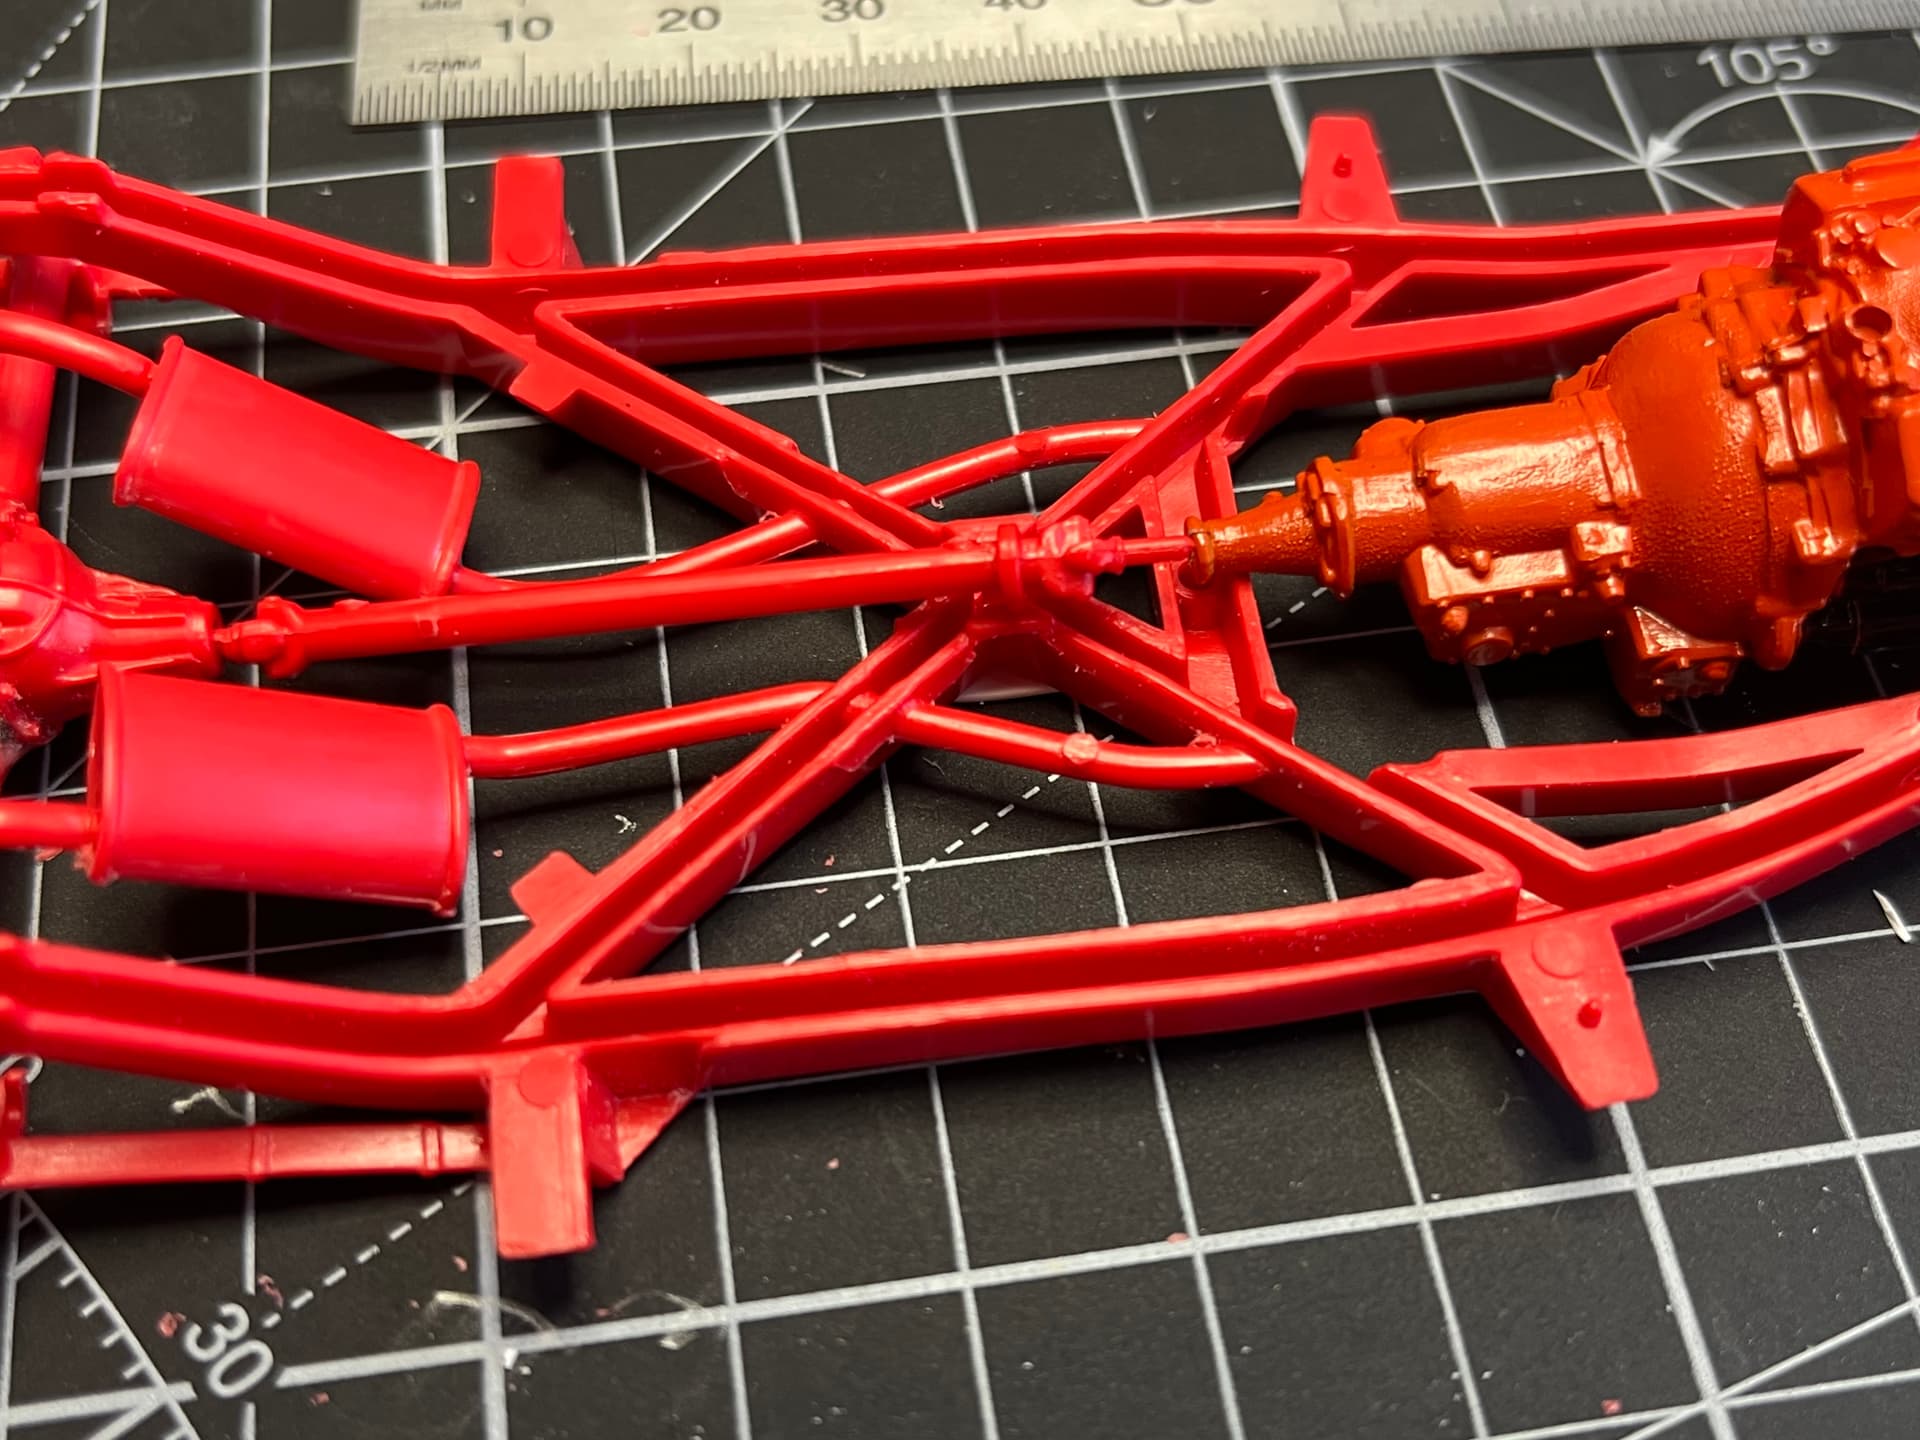
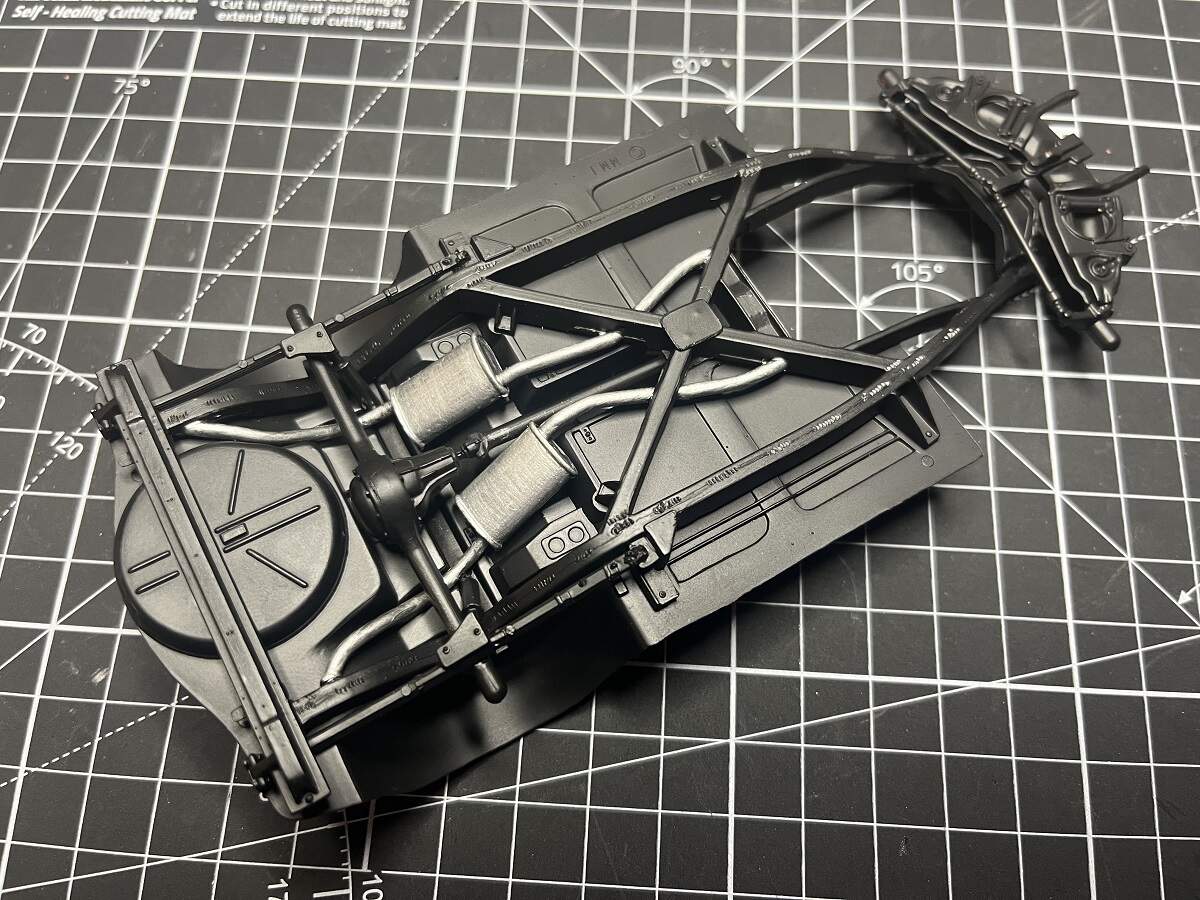
Test-fitting the drive shaft shows that it is a few mm too short with this engine/transmission, so I cut off the front section and inserted a short piece of sprue to extend it, and also added a mount bracket for the tail end of the transmission.
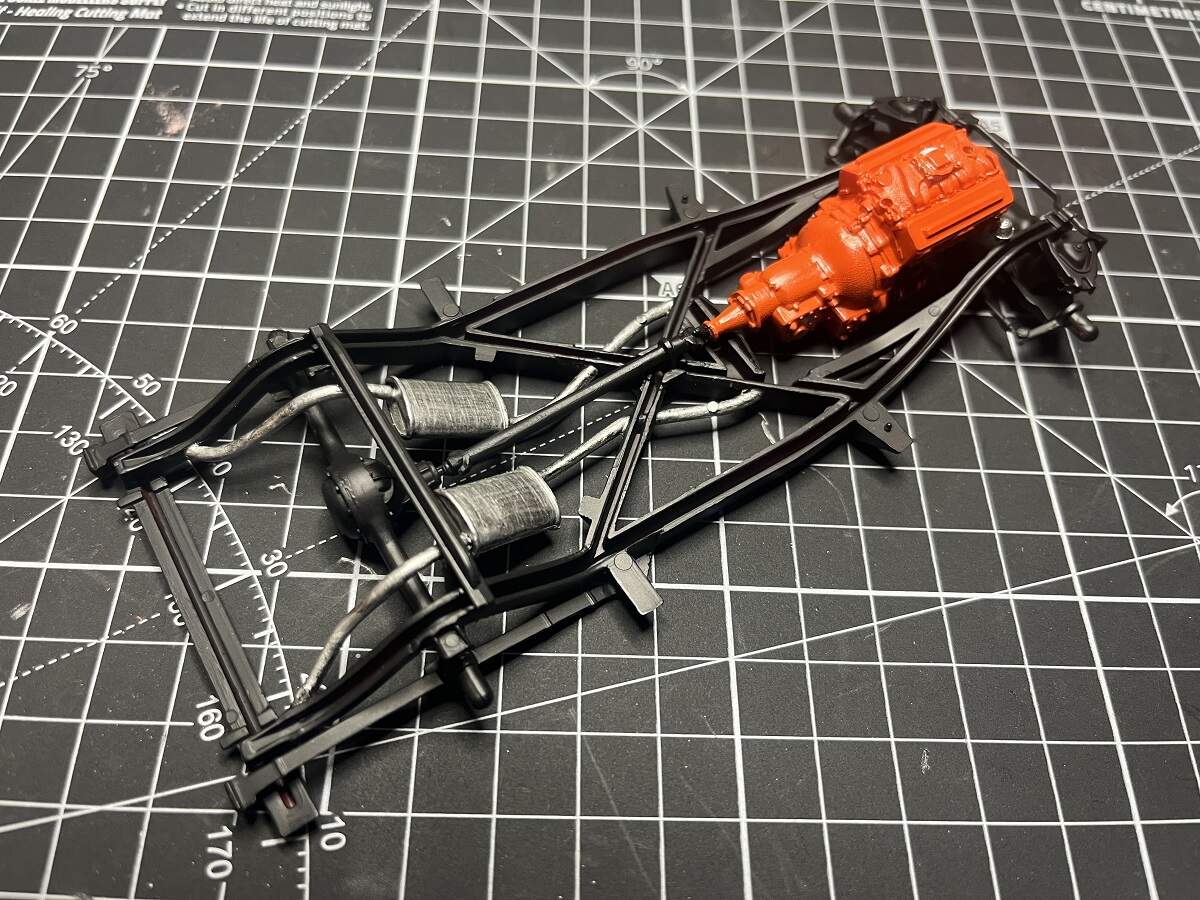
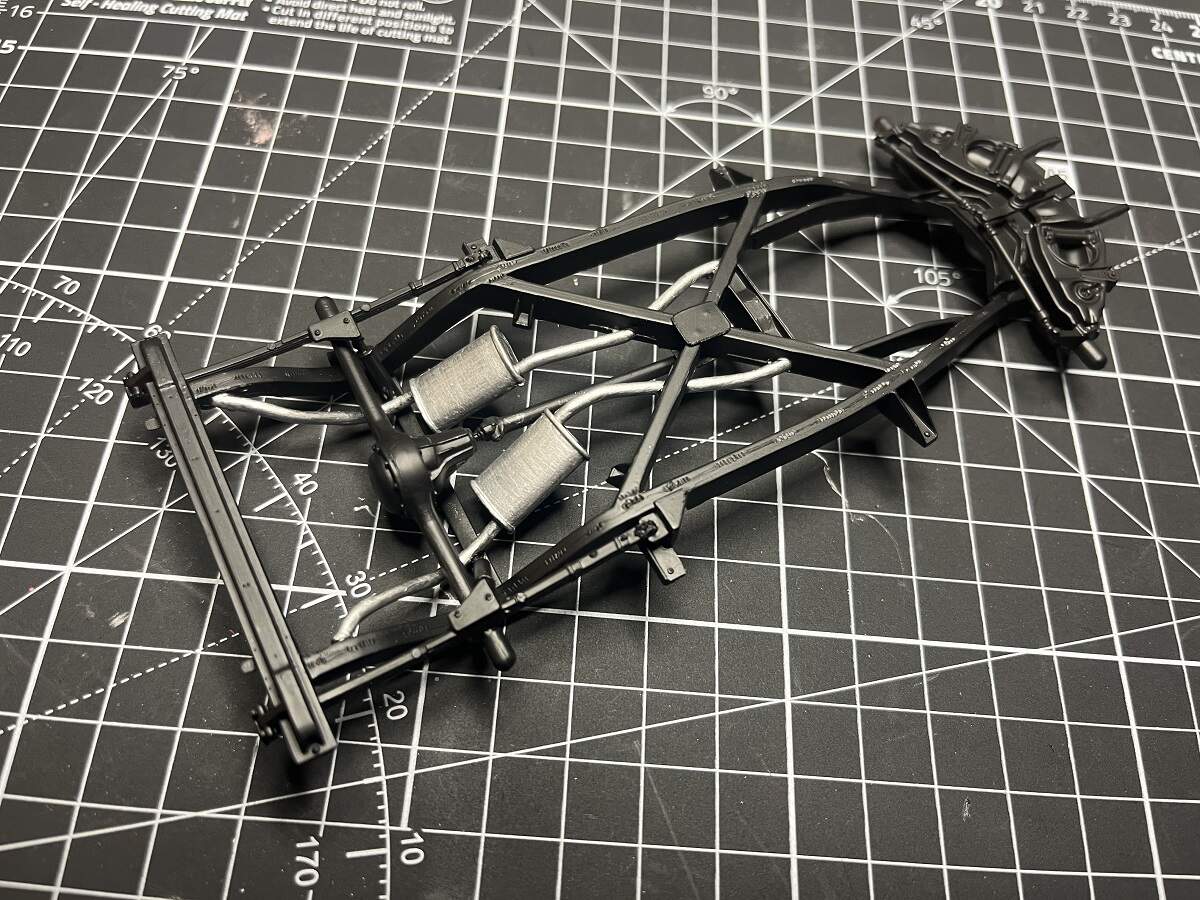
The chassis was primed and painted semi-gloss black, the exhausts hand painted with Citadel Runefang Steel, then the floor pan and chassis were mated up.
A quick test fit shows that the top of the air cleaner might still be a bit high in the engine bay, so I will need to do a bit more hacking and slashing during final assembly there.
D,
Great progress on the chassis. The test fit with the big block Chevy V8 looks great.
I’ve never given Citadel paints a 2nd thought for hand painting, but judging from your exhaust, they seem to really cover well without leaving any brush strokes.
With the “2-Mad” and the '51 Ragtop off the bench, time to put some focus on this build again.
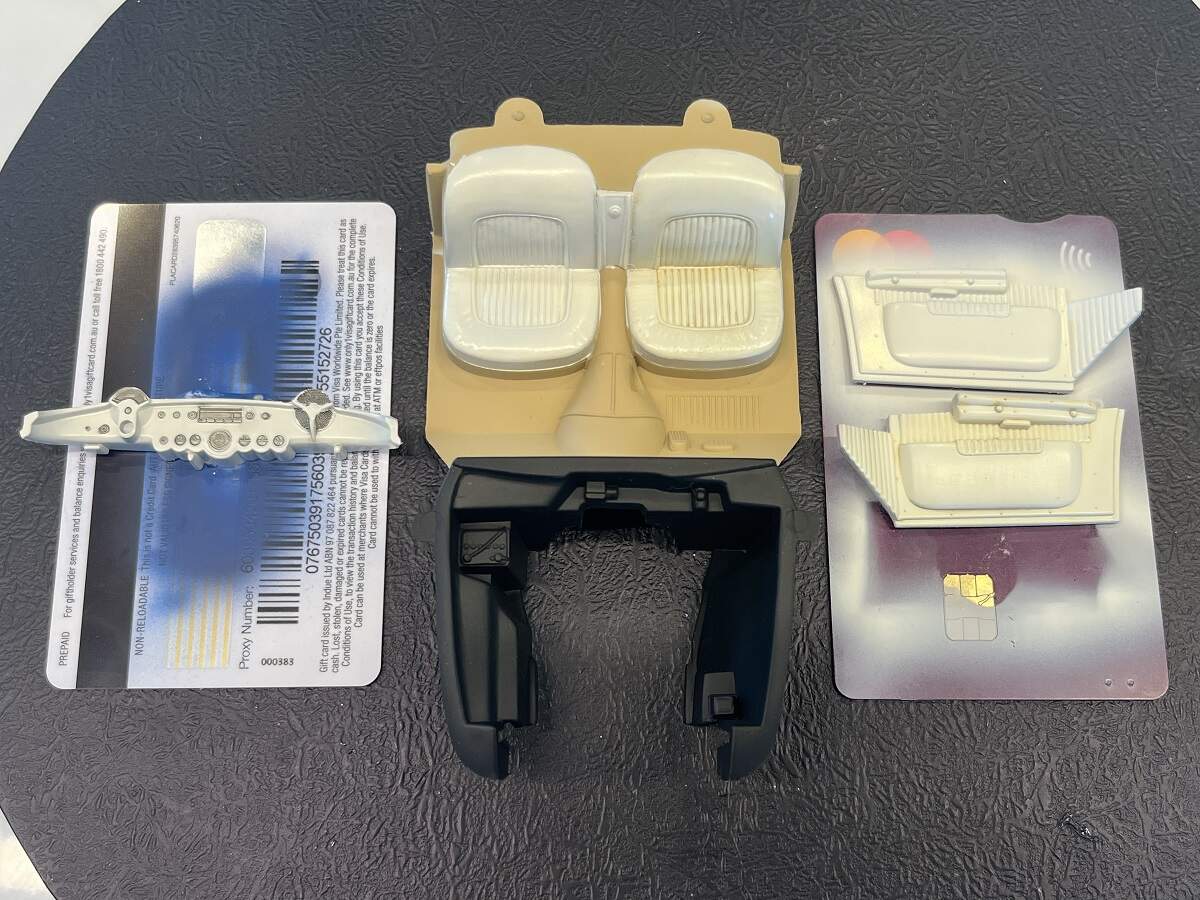
Started work on the interior, I primed the engine bay and underside of the tub MS1500 Black, then masked it off and primed the interior of the tub and the door cards and dash MS1500 grey. I started looking around for a light grey to match the interior of my reference build, then looked a bit closer at the MS1500 and decided that it looked pretty good! I put a good coat of Alclad Aqua Gloss over the interior parts, and will now mask off the seats to paint the floor. Leaning towards Tamiya Acrylic XF-57 Buff for the carpeted areas at this point.
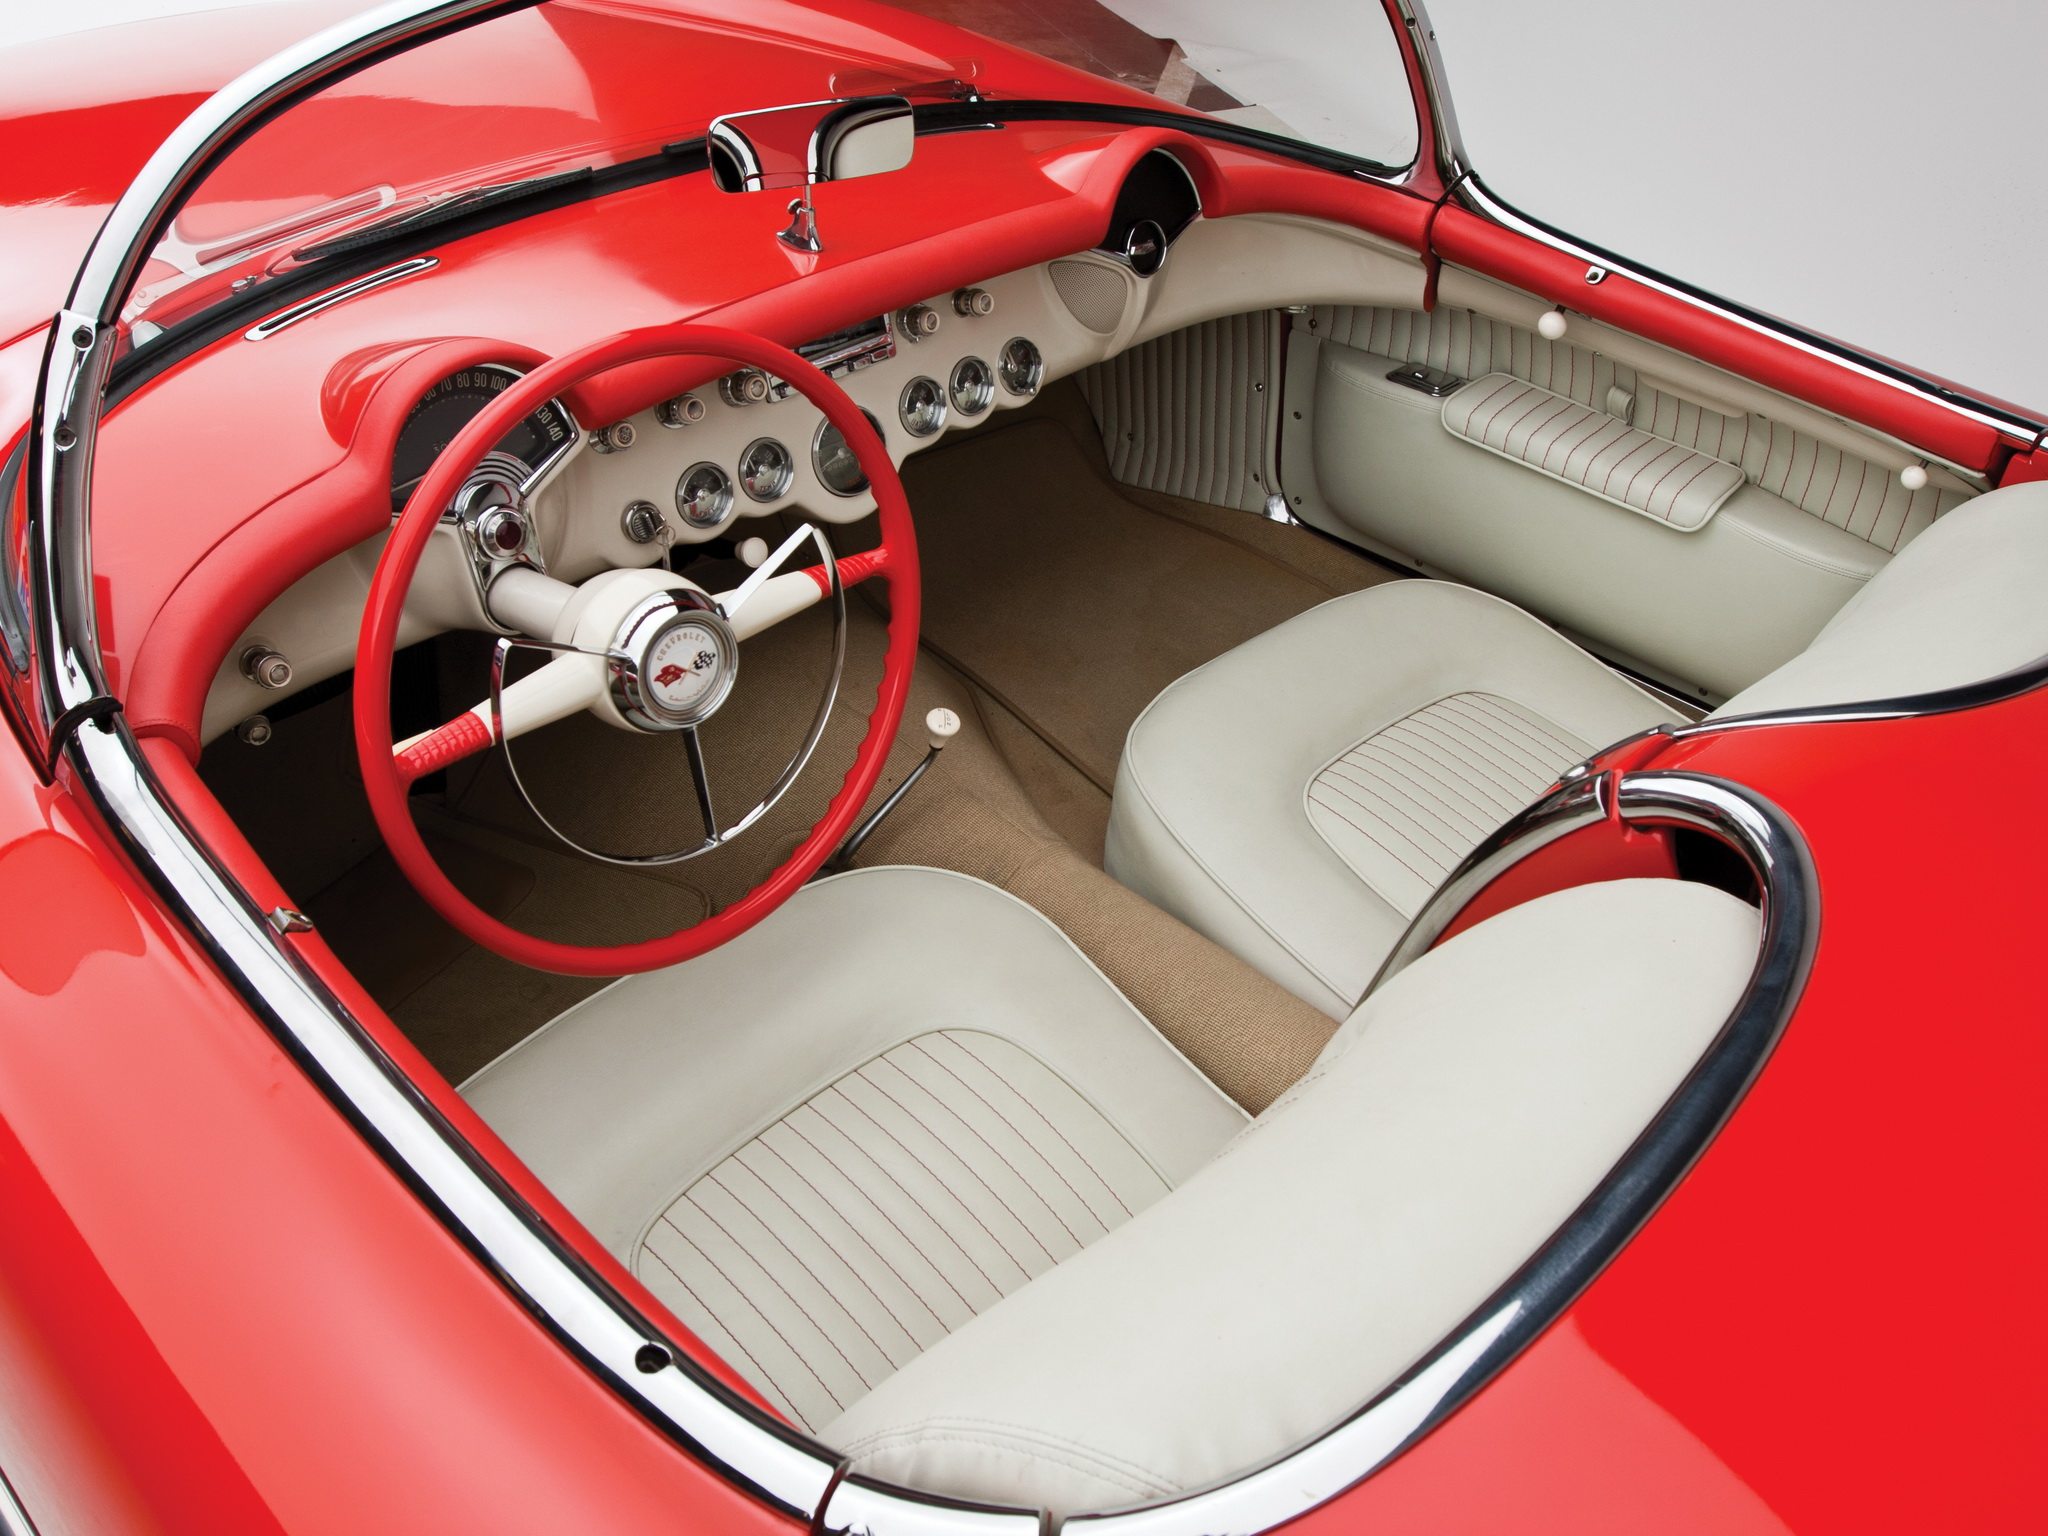
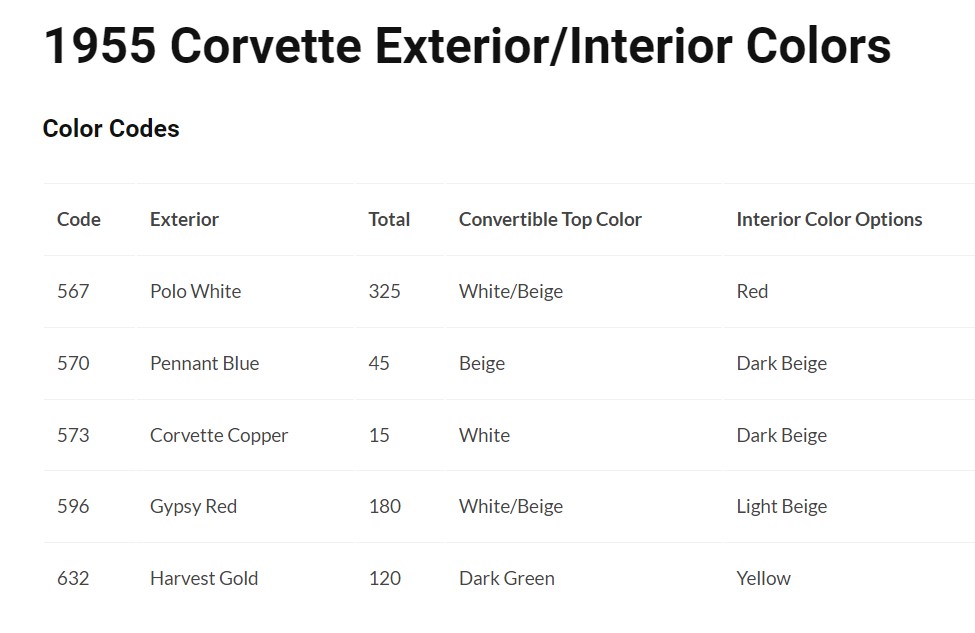
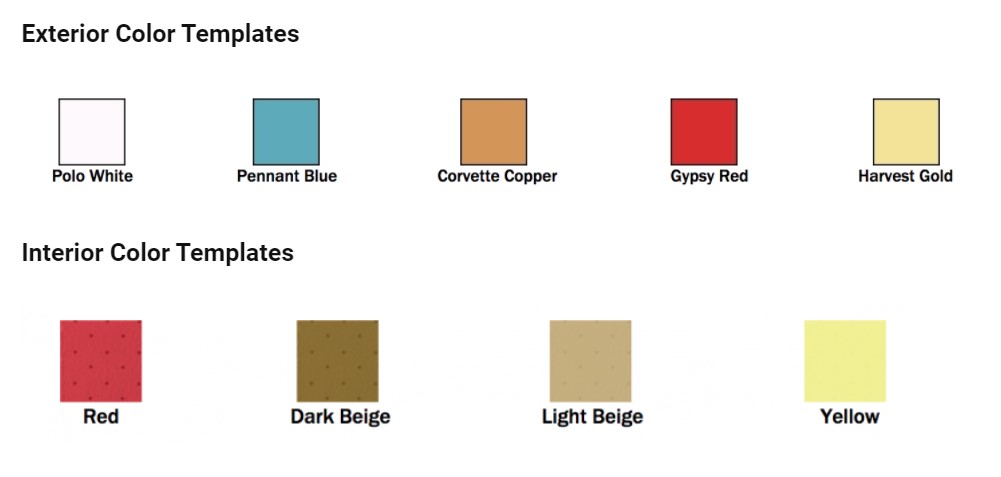
Having second thoughts about the interior colour (seats, doors, dashboard) so I went digging on my favourite Corvette reference website and found this info.
The “Light Beige” on the interior color templates image looks to line up with the carpet in the reference image above, but the seats etc still look to me to have a very light grey tint, almost white. I will paint the carpet Buff and then mix up a little batch of very light grey and see how it pairs up.
The ref. image interior do look greyish, perhaps even with a small amount of light brown(could be my pc screen)
Looking at other ref. images some look greyish, other more white.
D
Just finished reading through the entire build thread, mighty amazing work - a trip through memory
lane. Nothing like a Vette and while I always wanted one, never actually bought one. When I was first married 1970), I had a choice of a Vette or a plane and as a pilot, the choice was clear and simple - my own wings!
Modeling is only part of any build and problem solving the other key part and I tip my Cap to how you resolved so many issues, whether large or small.
Peter .
Thanks Peter, wonderful to have you on board for my adventures here!
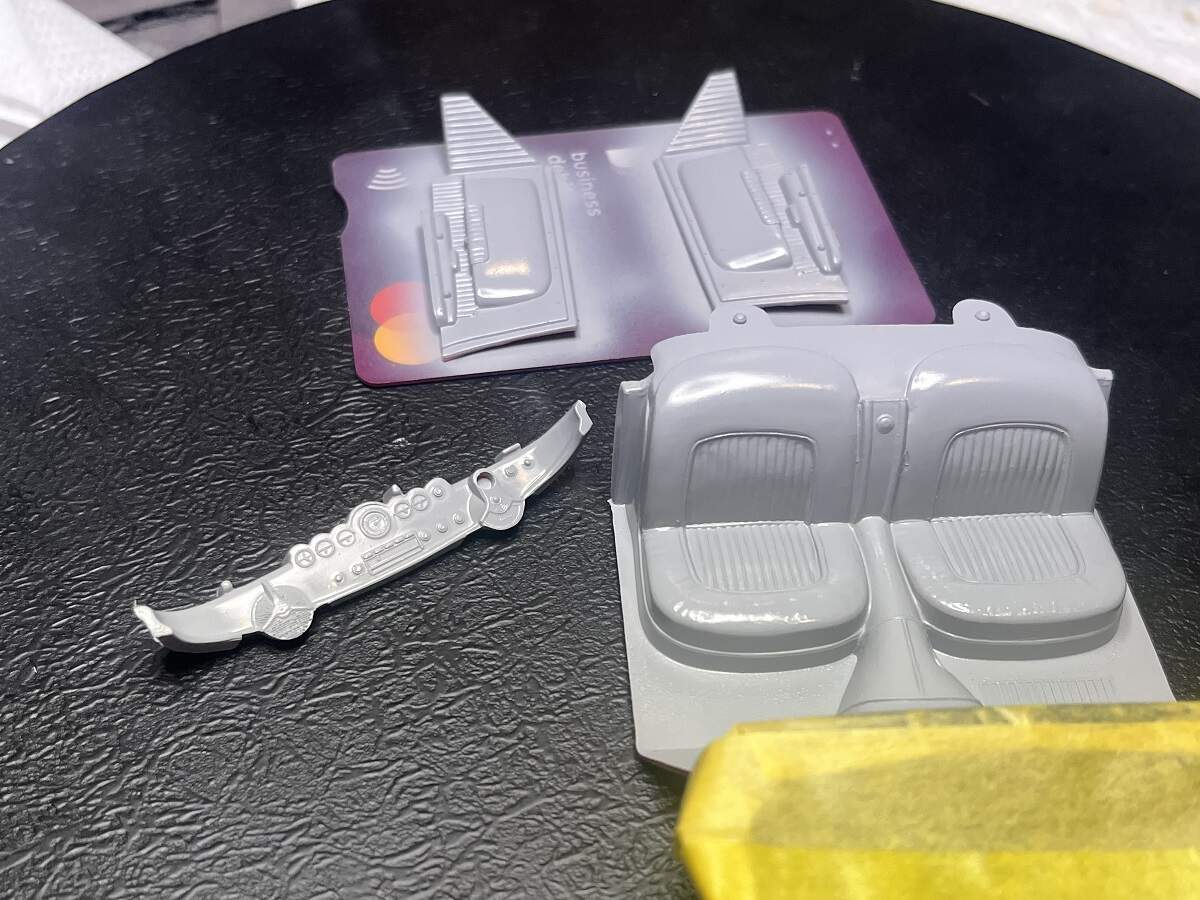
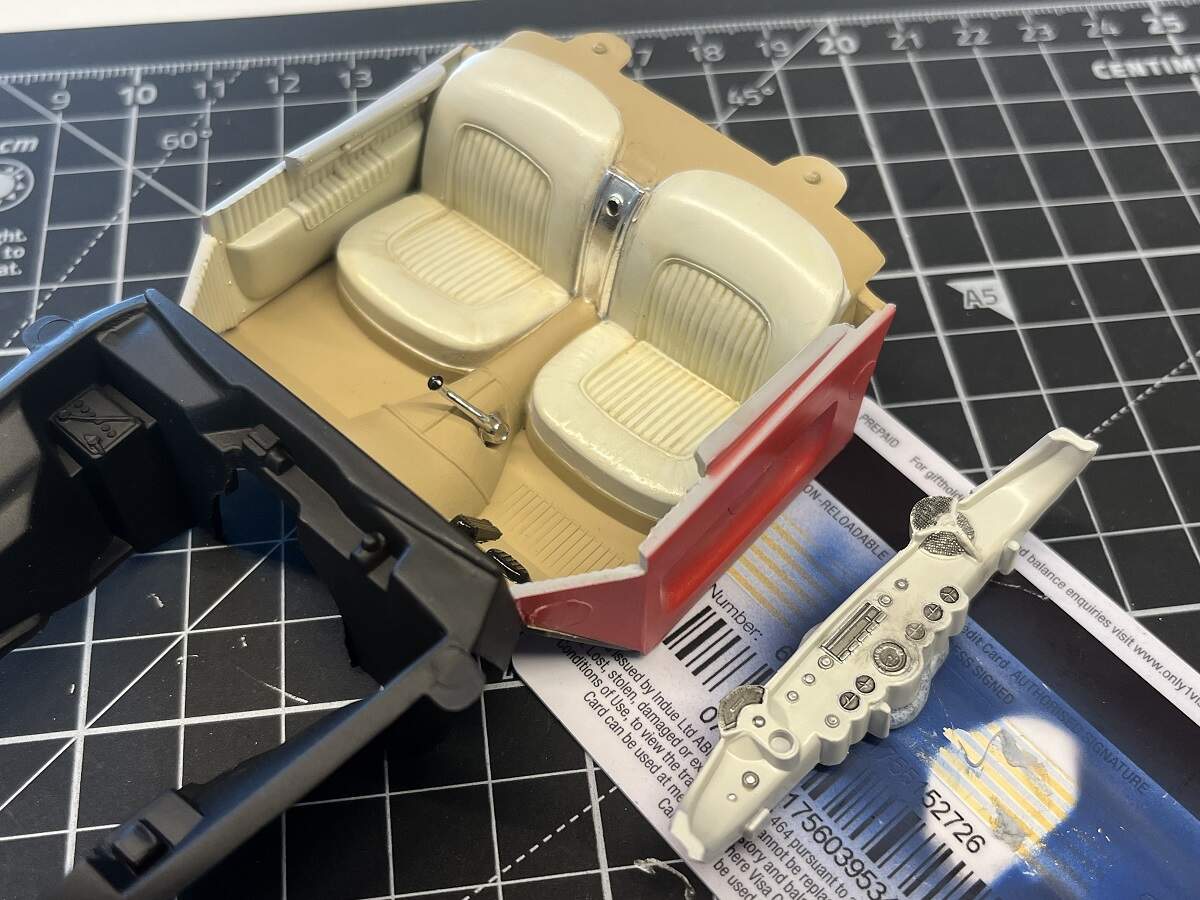
I made a call on the interior colours, I used Tamiya Buff (XF-57) for the floors and then added a drop of Buff to some Insignia White (to knock back the starkness and tie them together a bit) for the seats, door cards, roof and dashboard.
In the photo here I have started detailing the dash with a bit of black Tamiya PLW and there’s also a before/after comparison of the seats and door cards with an application of Brown Tamiya PLW to give it a bit of a lived-in look.
D,
Without any doubt, the Brown Tamiya PLW just makes those seats and door cards pop with an added dimension.
I guess I kind of forgot to mention that my brother is a big time Corvette fan. Of course his all time favorite Vette has always been the 1963 Split window.
Great work on the interior Damian. On your question about the brown PLW it is hard to tell, from the photo is looks just about right, sometimes we are a bit more critical of our own work, but here it certainly as toned down the cream colour.
The interior tub is now assembled and the dash had a bit more detailing done. I’m still softening the wash a bit using a #2 round brush very lightly dampened with AK white spirits, but I can keep doing that during the rest of the build until I’m satisfied with it.
Love the look of those seats; nice smooth leathery look. Waiting to tone down further, until you’ve assembled the “cockpit” is a good call. A seat, on it’s own, will look different, than a seat in it’s full context.
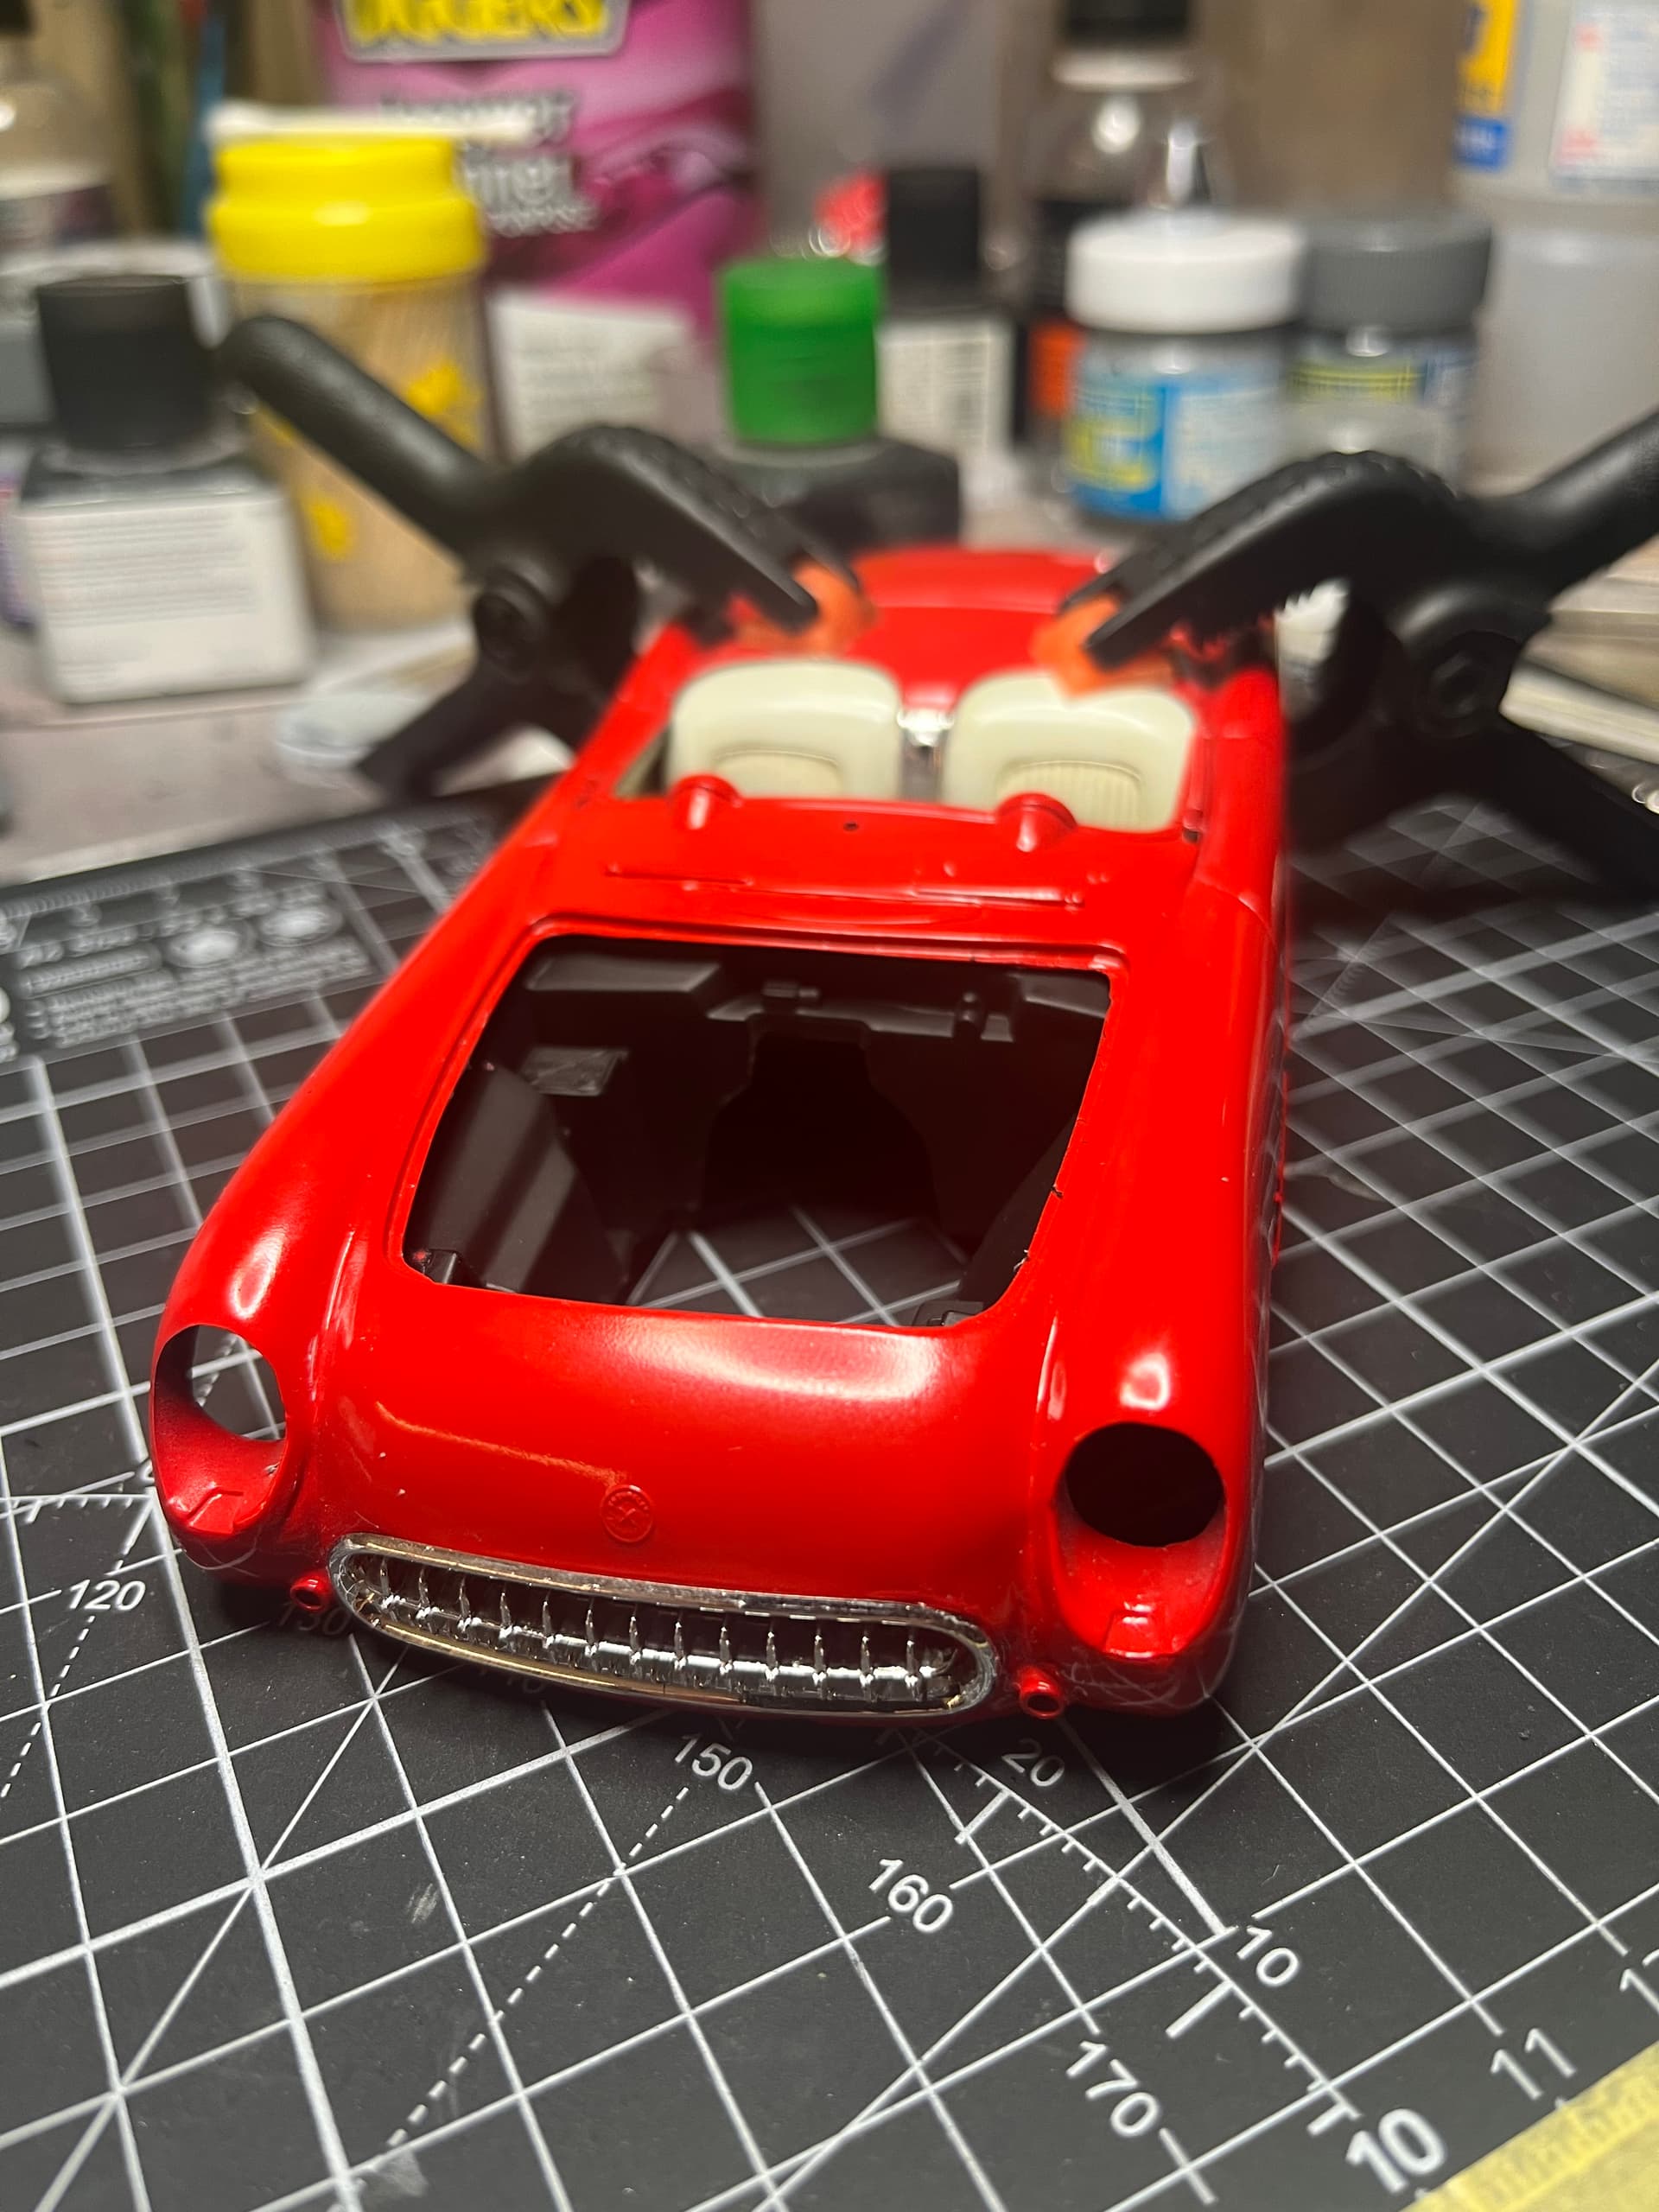
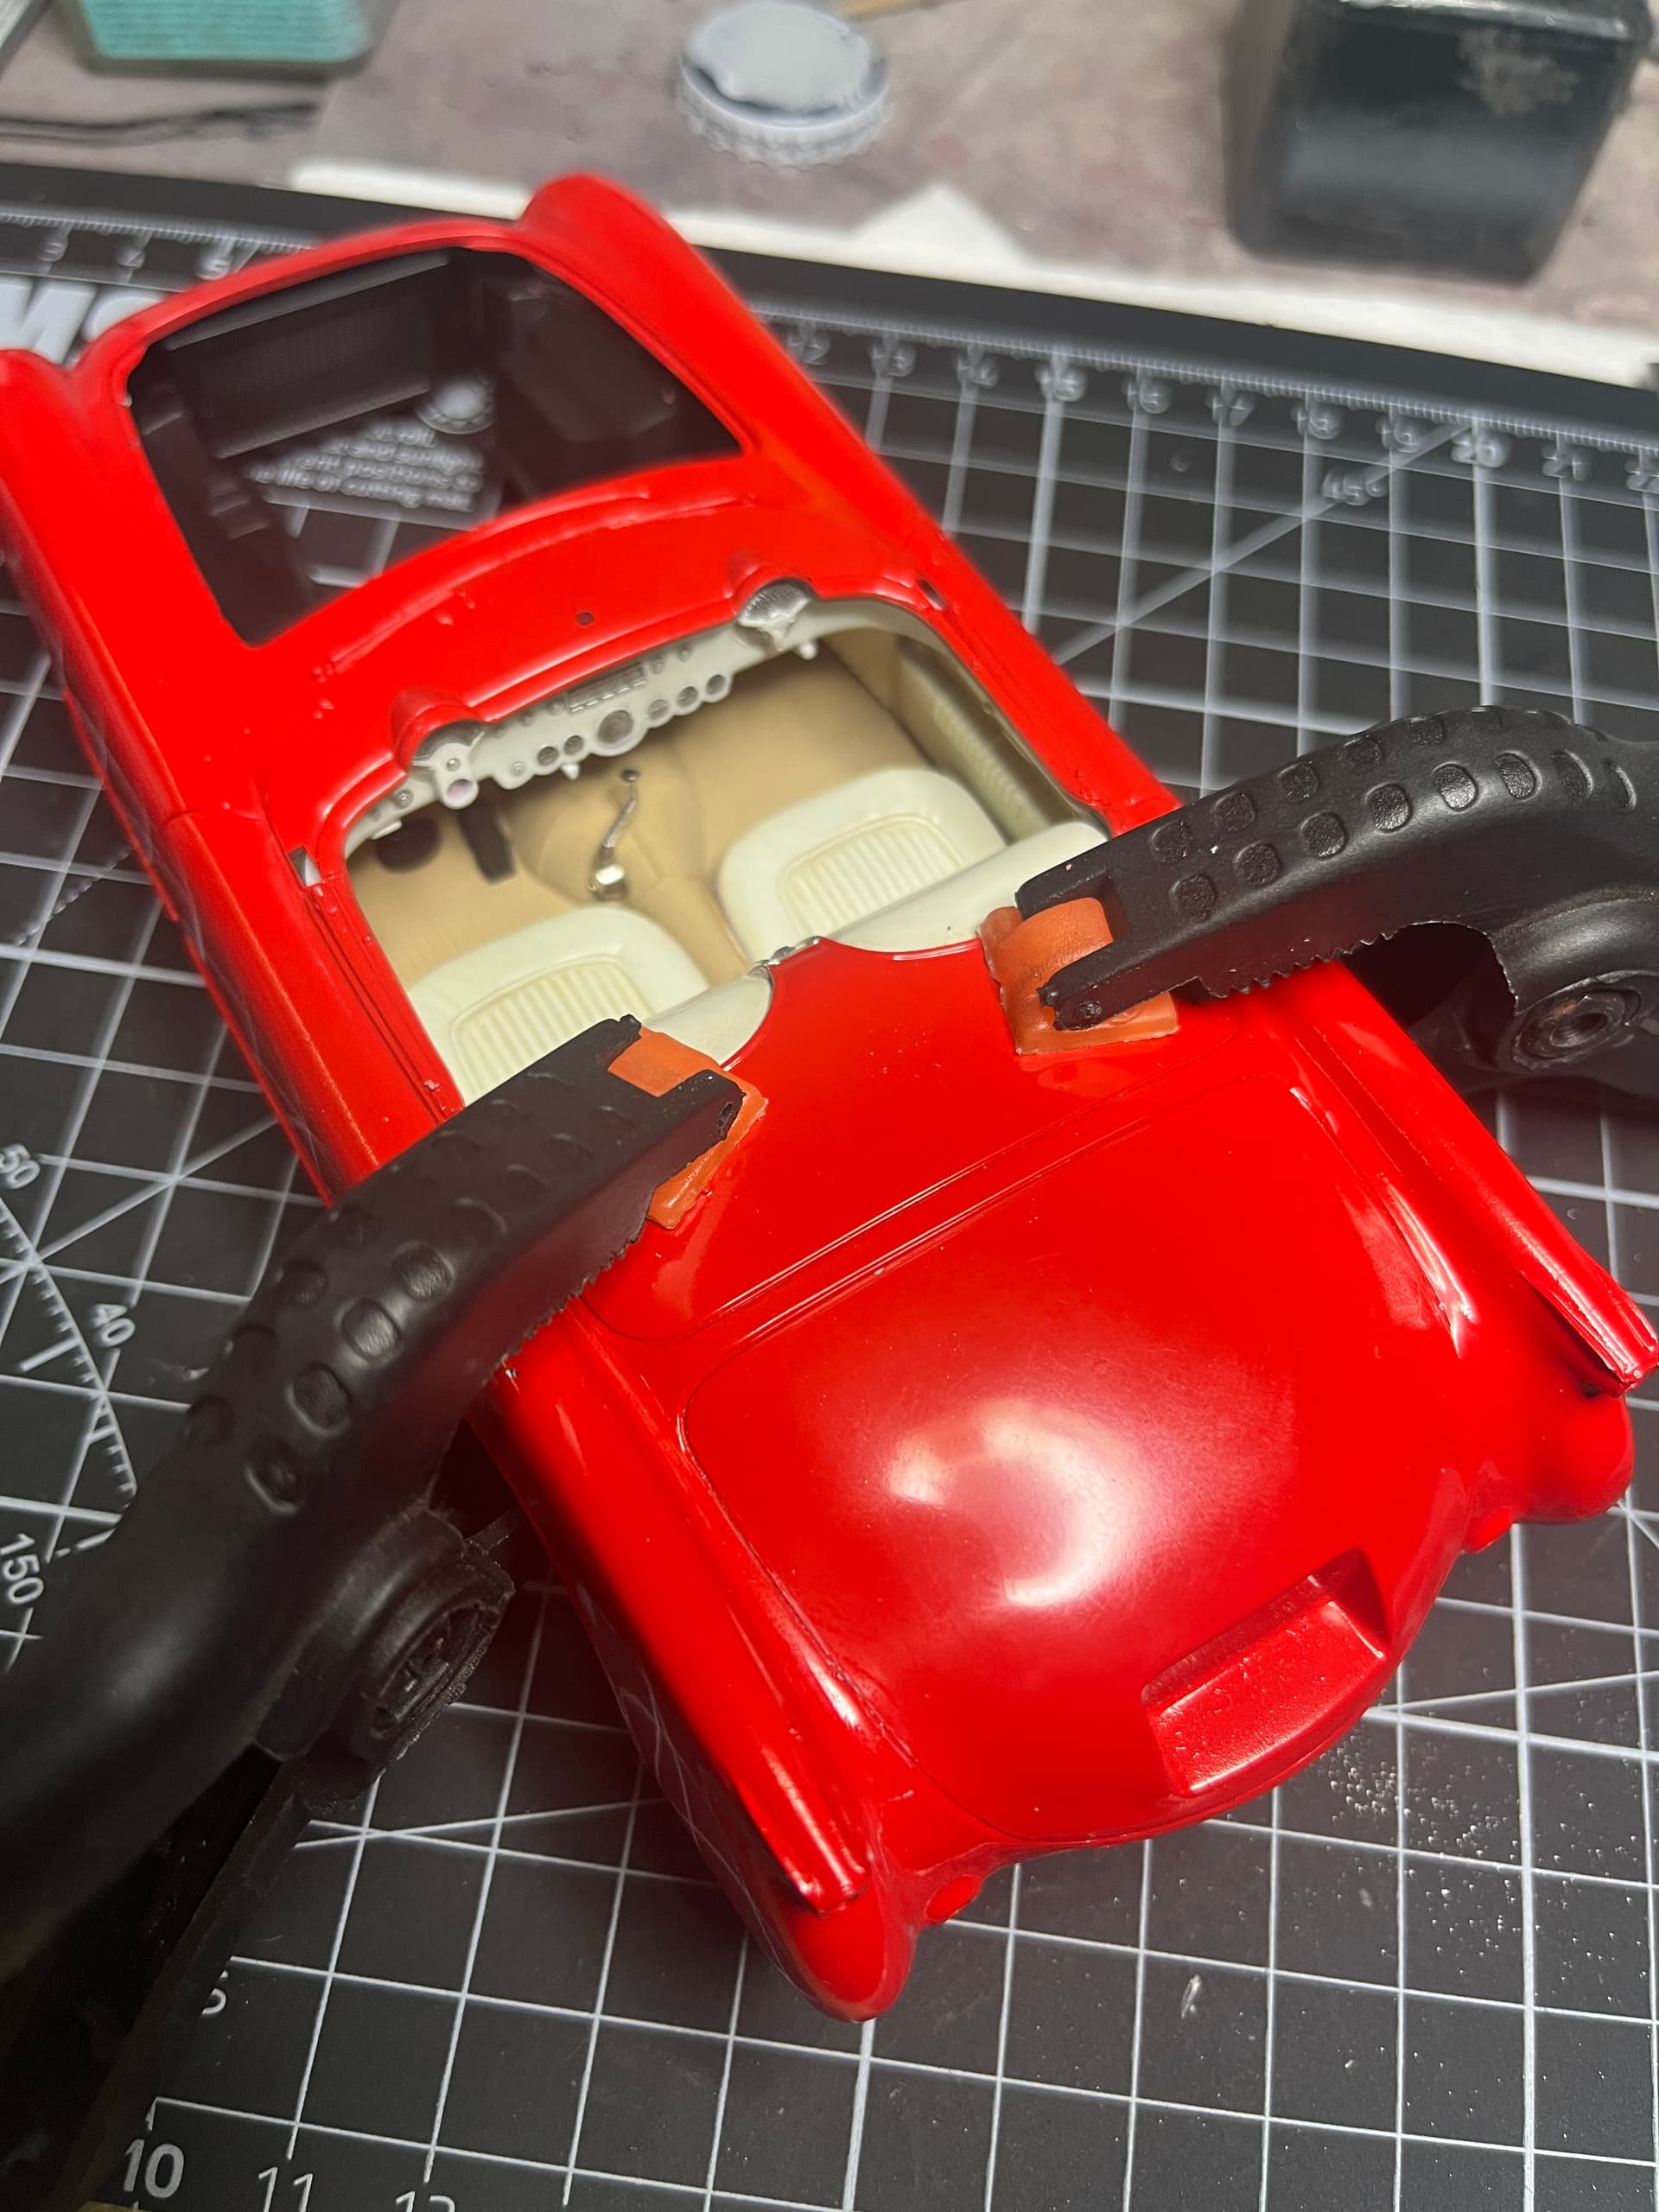
Well the '55 has its smile now, but the twist in the body is making it hard to get the interior tub settled into place. I will glue and clamp one section at a time and leave it for a couple of days to fully cure before moving on to the next section. Hopefully that way things won’t start popping apart again