Thanks for the feedback and support guys, much appreciated!
I’ve glued and clamped one side of the engine bay now, fingers crossed everything stays in place once I get to the final section to be glued up!
Cheers, D
Thanks for the feedback and support guys, much appreciated!
I’ve glued and clamped one side of the engine bay now, fingers crossed everything stays in place once I get to the final section to be glued up!
Cheers, D
D,
Got my fingers crossed big time for you.
![]() ,
, ![]()
joel
Things seem to be staying in place so far which is great! I’ve glued and clamped the LHS inner guard now which was the section requiring the most pressure to get into place. I will leave it a couple of days and then see how we go.
Cheers, D
D,
So far, so good. Any thought to adding a layer of epoxy for further strength over the long run?
joel
I’m planning to run a bead of thin CA along the joins once they have all fully cured. That should capillary in to any little gaps and give some extra hold.
Cheers, D
D,
That should be more then enough extra support for over the long haul for its display life.
joel
joel
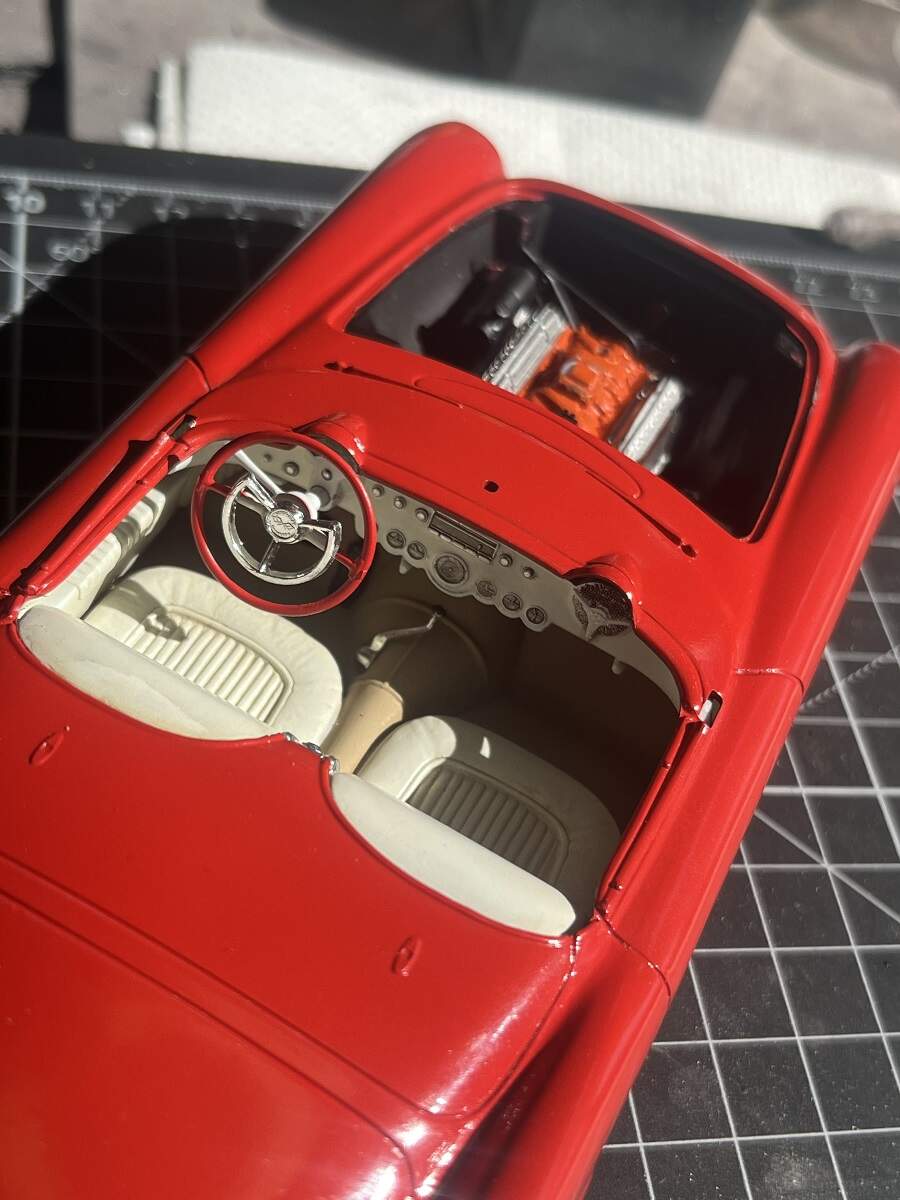
OK, I think we have this sorted. I’ve run a bead of thin CA around the inside join lines for extra strength, and everything seems to be holding firm. Downside, the top of the driver’s seat got damaged from the gluing and clamping shenanigans so I need to mask and touch it up before moving on.
Cheers, D
D,
From what I can see, the damage isn’t to bad. I’d say for the straightening effort this should be a piece of cake.
joel
D
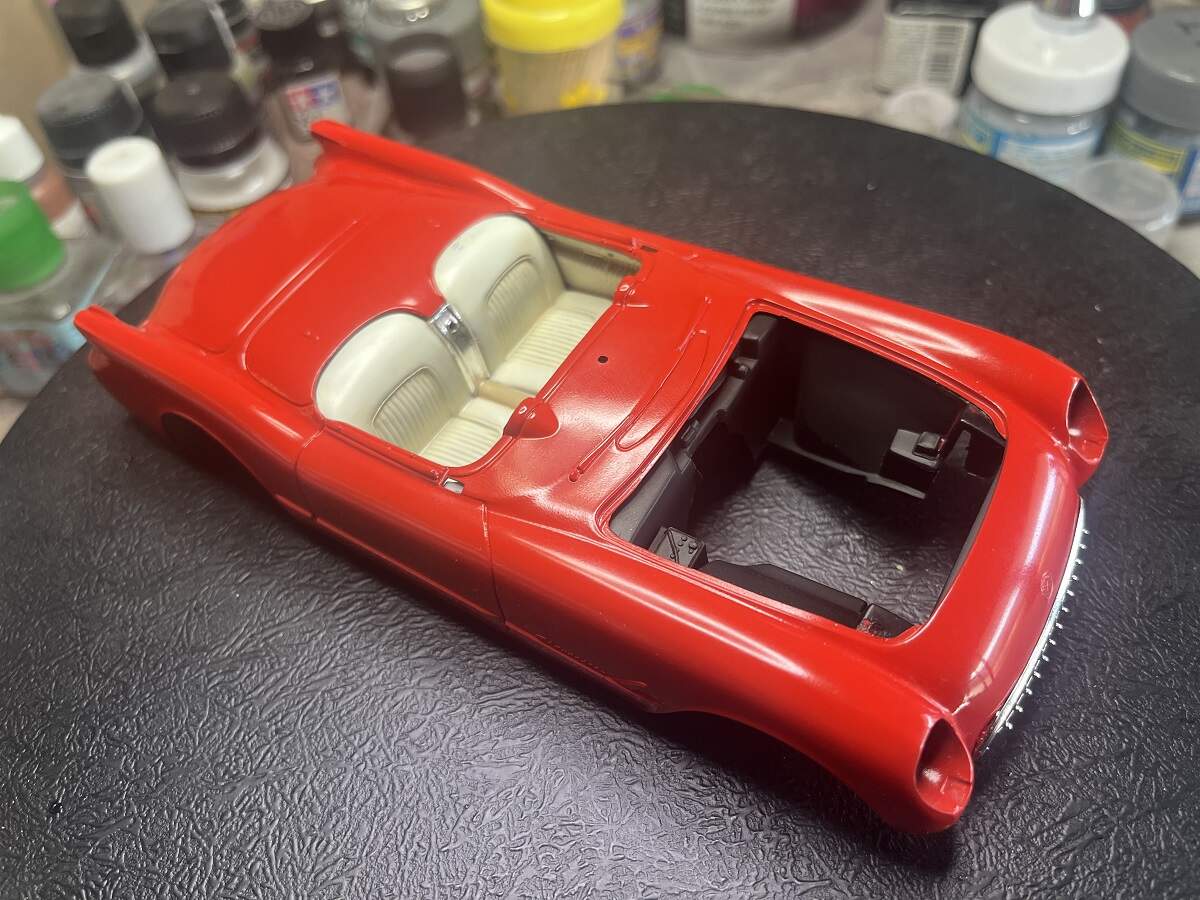
The interior looks perfect and the body shell is coming together with just the right amount of coaxing.
Peter
Thanks for the support Team Willstein!
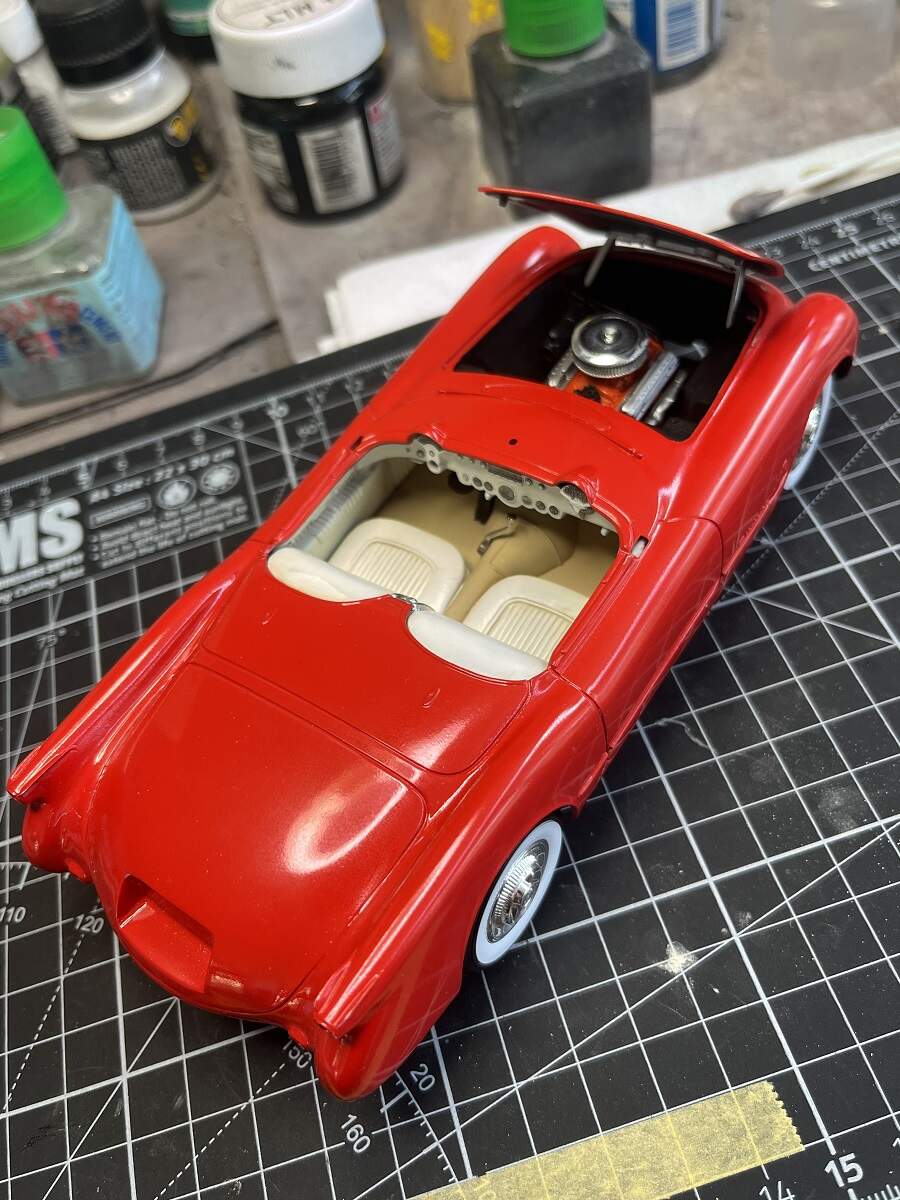
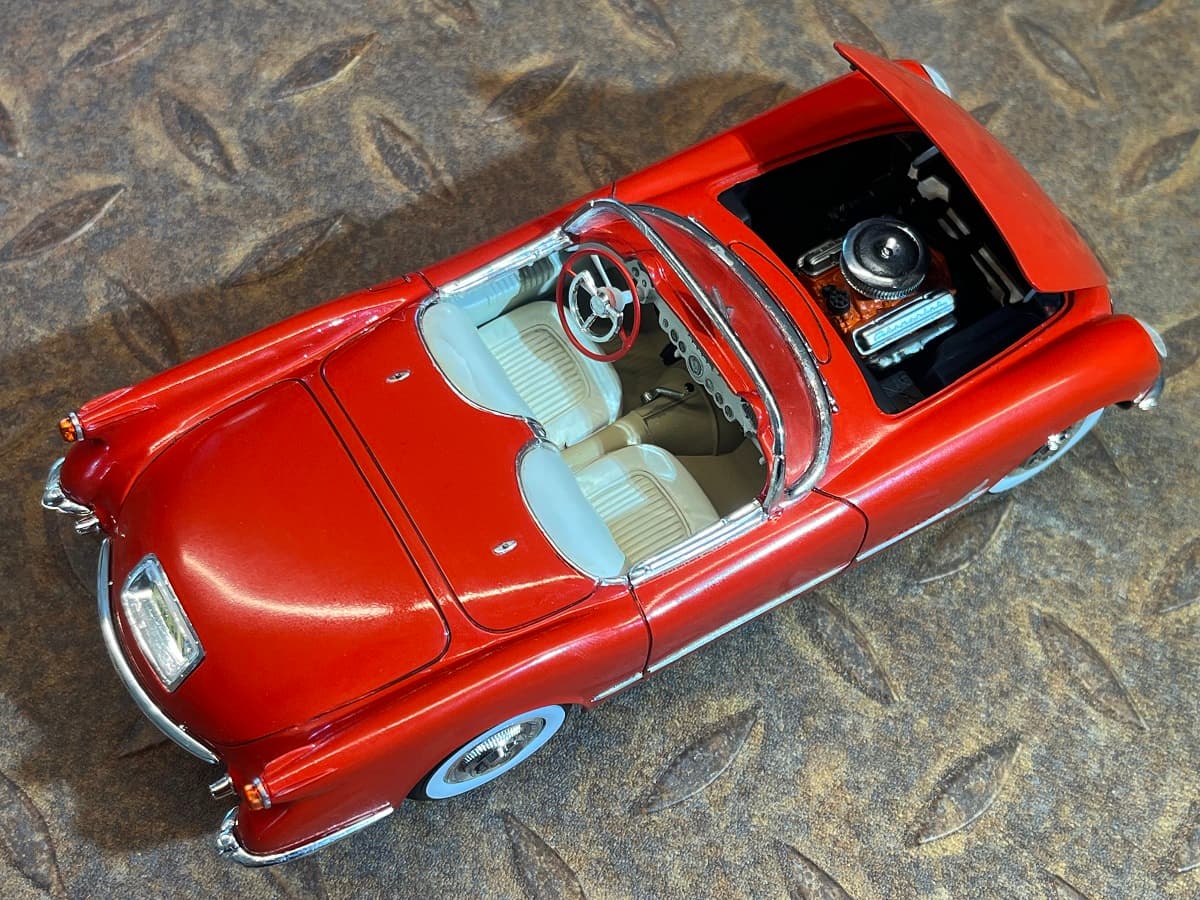
I pushed myself to put some time into this one today because to be honest I just want to get it off the bench now. There has been something NQR about the kit right from the start and other things are starting to affect the final assembly now as well. The twist in the body is still there, although not as bad now, but it means that things just don’t quite line up and won’t stay in place properly.
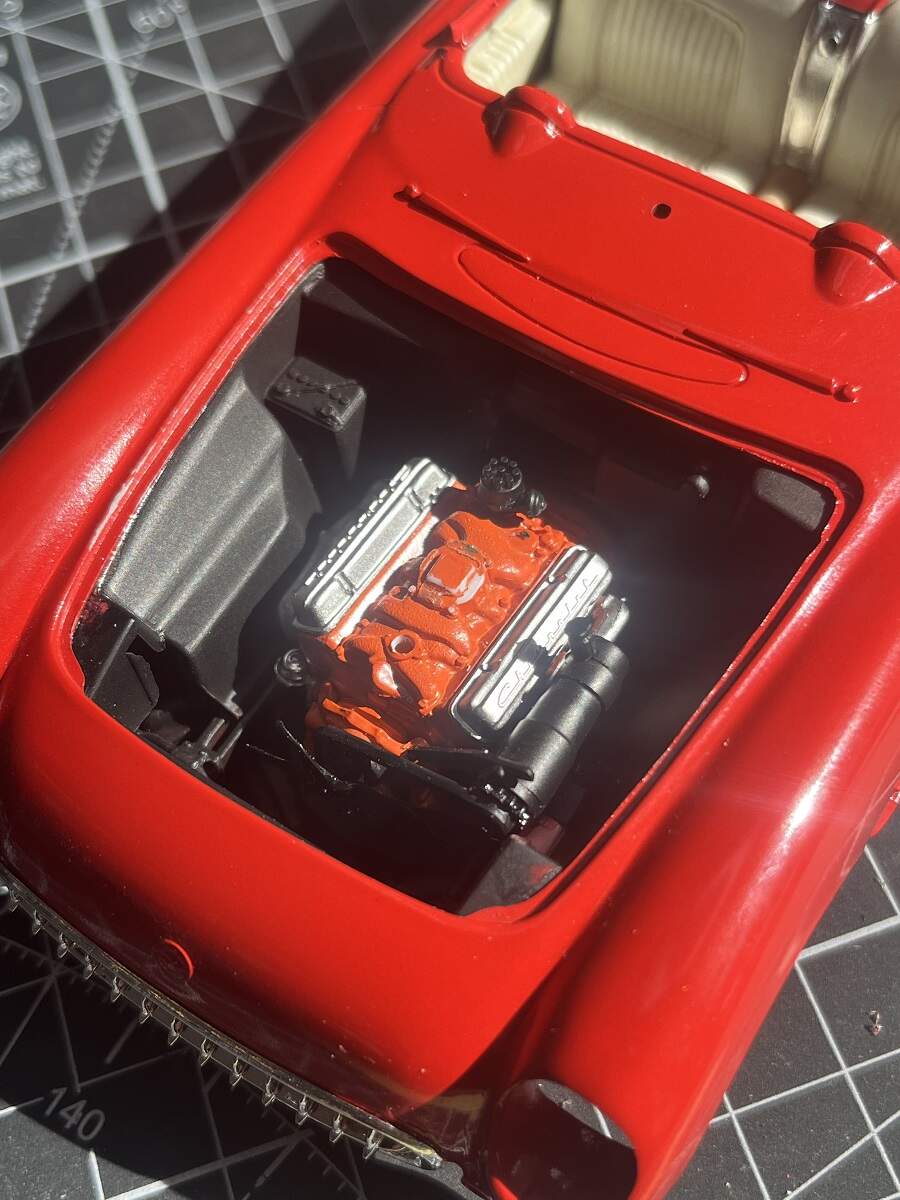
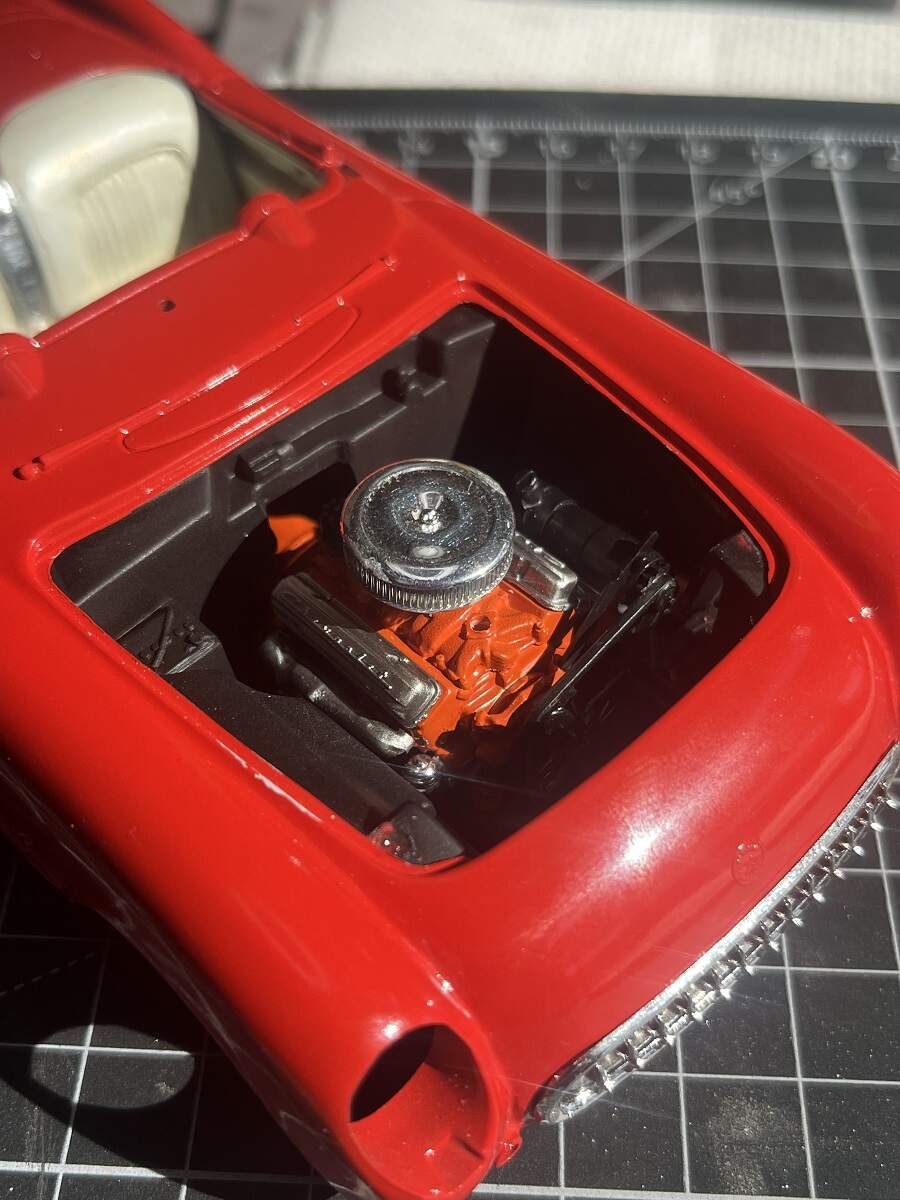
I had to do some more surgery in the engine bay to get the completed engine in place, the alternator was hitting on part of the side wall so I had to carve a section out.
With the engine in place, the air cleaner was still sitting a bit too high for the bonnet to close so I bit the bullet and just cut the carb in half to get it dropped down enough. It’s sorted now and things are coming together.
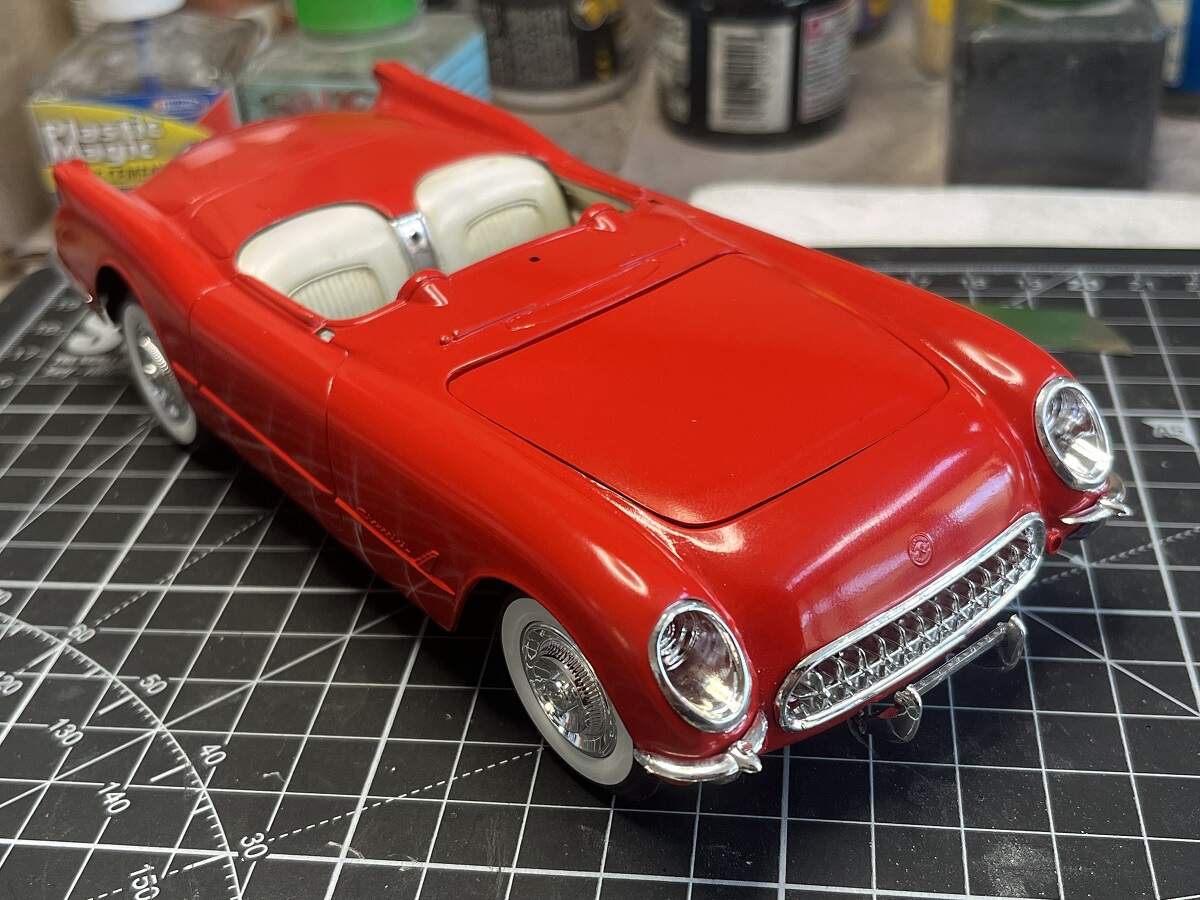
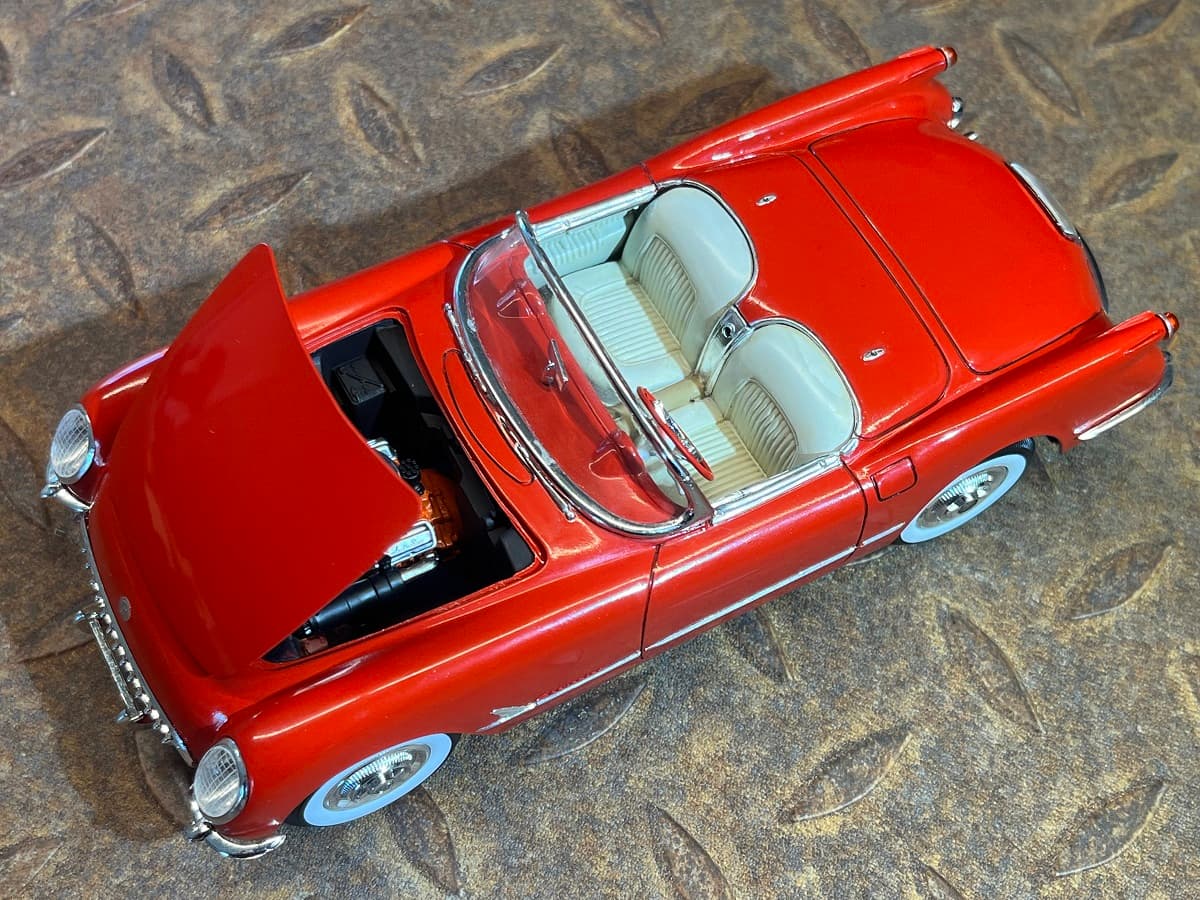
With the noisy bits in place, I started on the chrome front and rear bit’s and pieces.
It’s not apparent from the angled shots, but the front wheels are sitting nicely in place and the rear wheels sitting too far forward in the arches. Like I said, something NQR here. Anyway, clear parts and windscreen to be added then some BMF on the side trim, some detail painting and PLW and it’s done.
Cheers, D
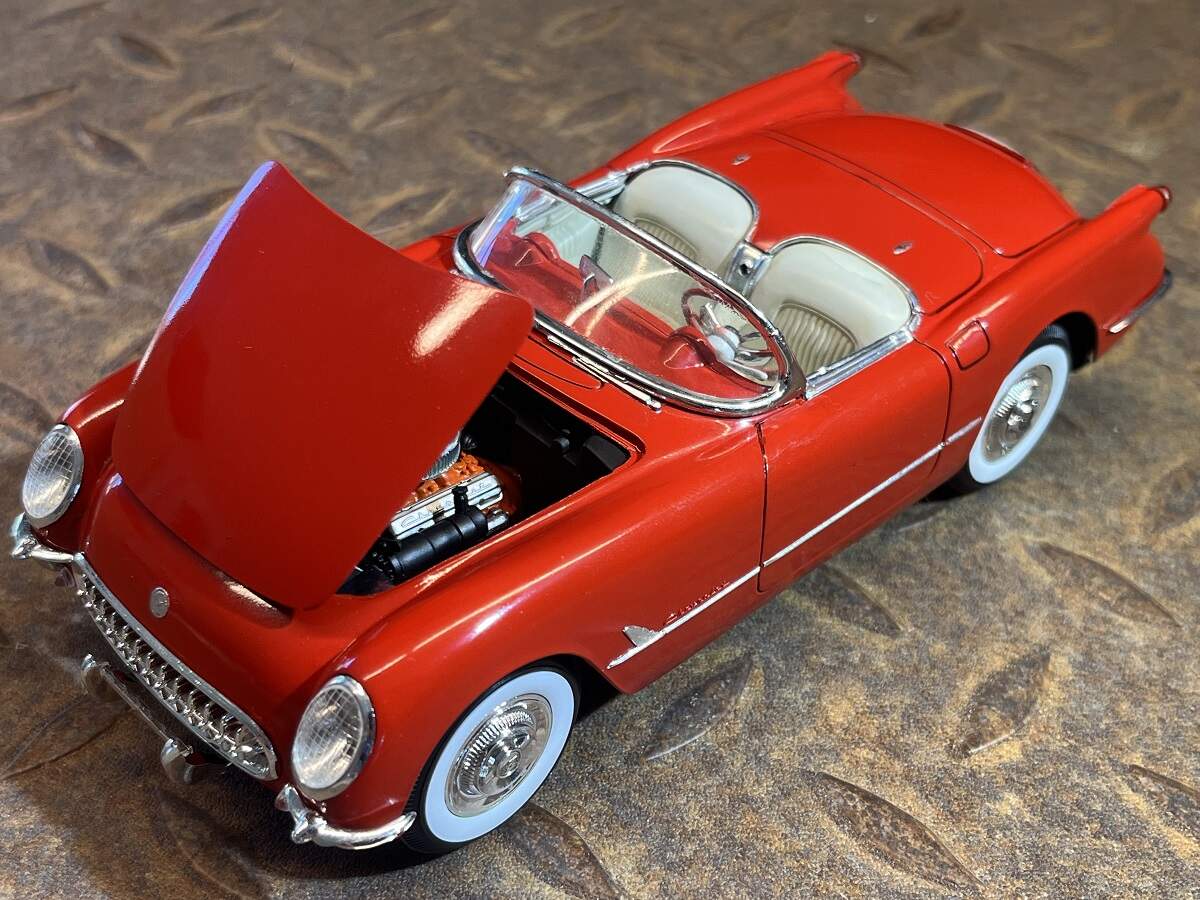
Your Corvette is really looking nice. I like it.
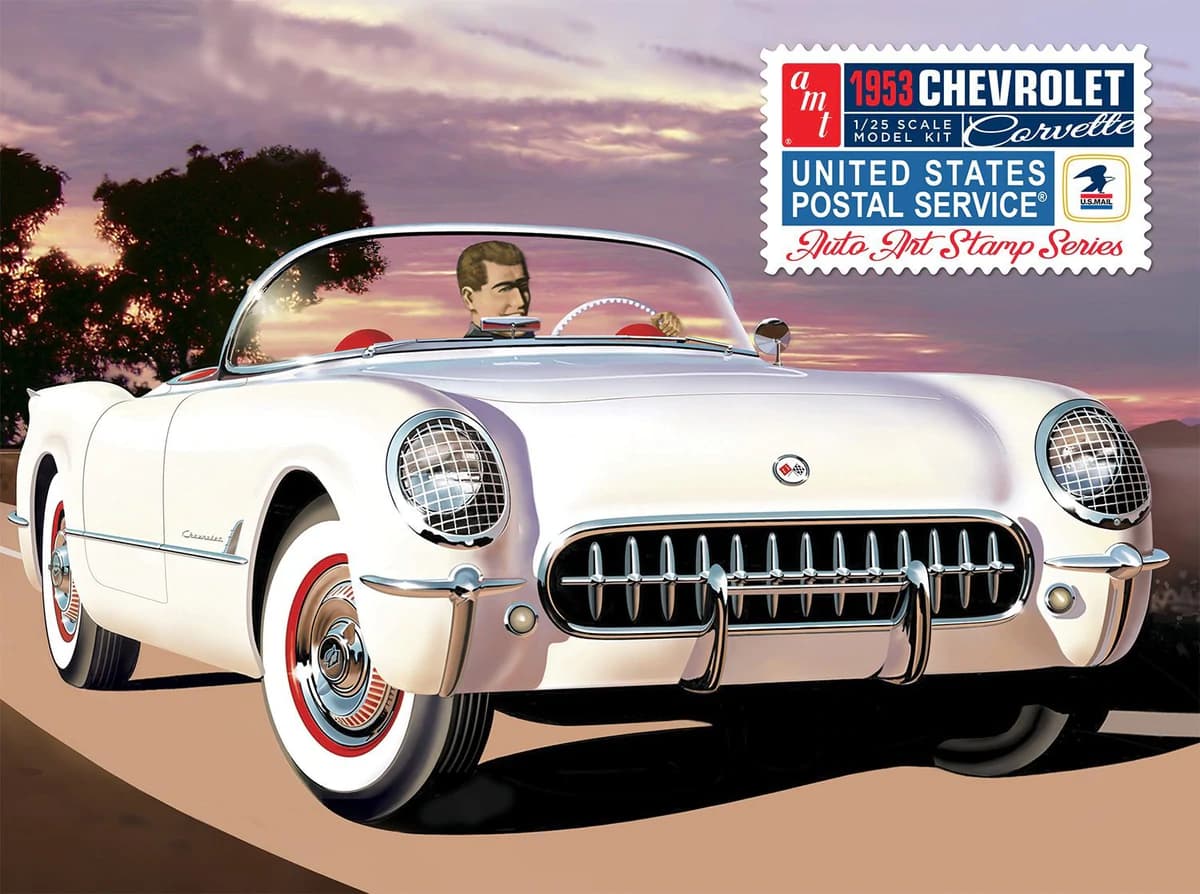
I’ve been considering pulling the trigger on this kit (not that i need to collectable tin or another kit):
Jim
This is the third build of the same kit, just different boxings. The molds are 45 years old now, I would hope that they gave them some attention before releasing a commemorative kit!
The first 2 builds didn’t give me anywhere near the level of grief that this one has, and it’s not related to the engine swap. It’s just a problem kit.
It’s a true classic car, everyone should have one in the display cabinet. I say go for it!
Cheers, D
Nice D ! Remember, it’s a zen thing - the joy of fixing exceeds the joy of not having to fix …
Now it’s time to build a Mustang ![]()
The 1953 Corvette really is an iconic car. I might just have to do it.
Once you finish this, you should do a Thunderbird! I think Revell does a 1956 in 1/25.
Jim
D,
Overall, you’re doing one heck of a great job on this Iconic car build. As Richard said, solving problems and issues is what makes our hobby just that little bit better. Heck, even I succeed at solving a few issues from time to time.
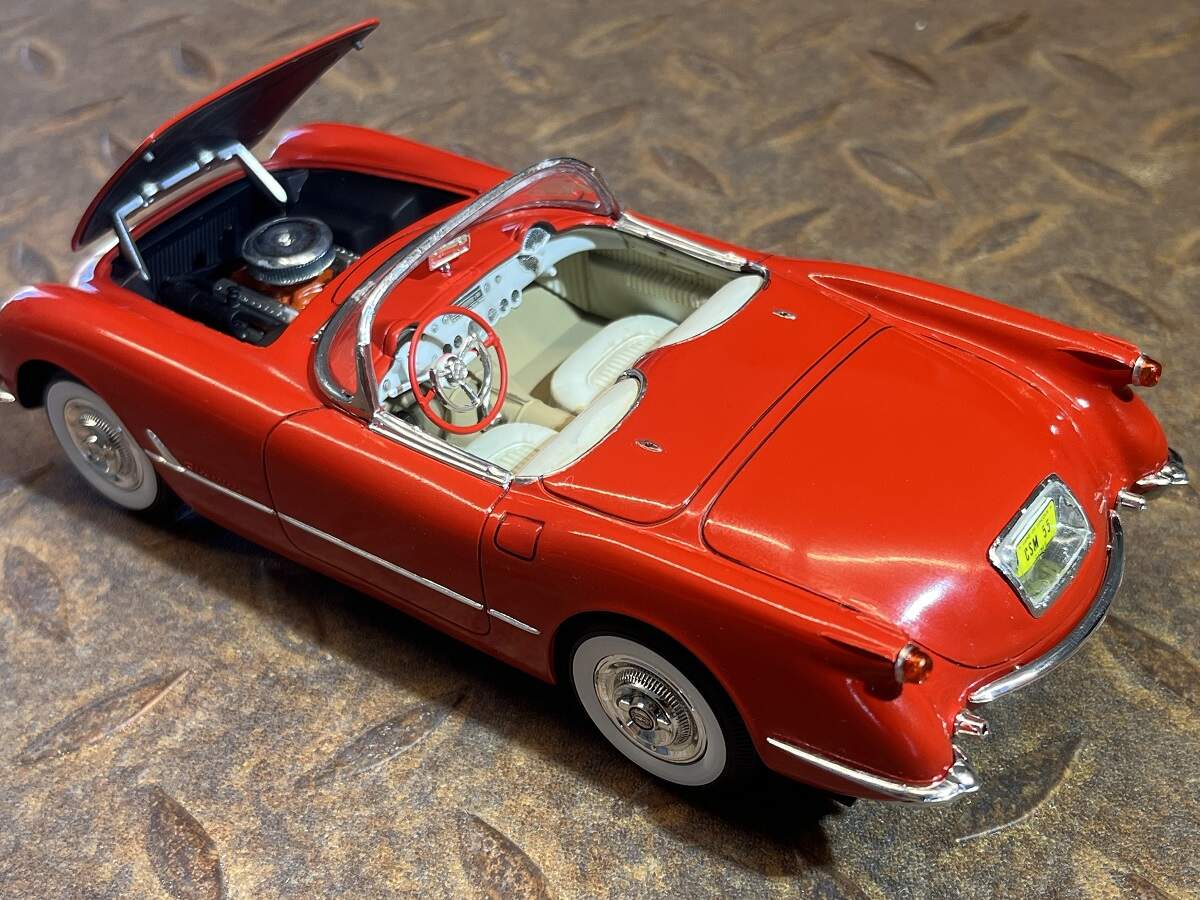
Your needing to cut the Alternator to get the engine to fit doesn’t really show in the pictures, and being painted black is easily missed up close and personal. And cutting the carb in half to lower it so that the air cleaner now lets the hood seat correctly is a job very well done.
The issue of the rear wheels seating a little to far forward in the wells isn’t something that easily fixable or even at all at this stage of the build, and I’m betting that when you post a side picture, it won’t be as noticeable to us as it is to you. After all, I’ve been told numerous times that we’re our own worst critics.
joel
“D’s Custom Automotive Shop” turning out great work ![]()
![]()
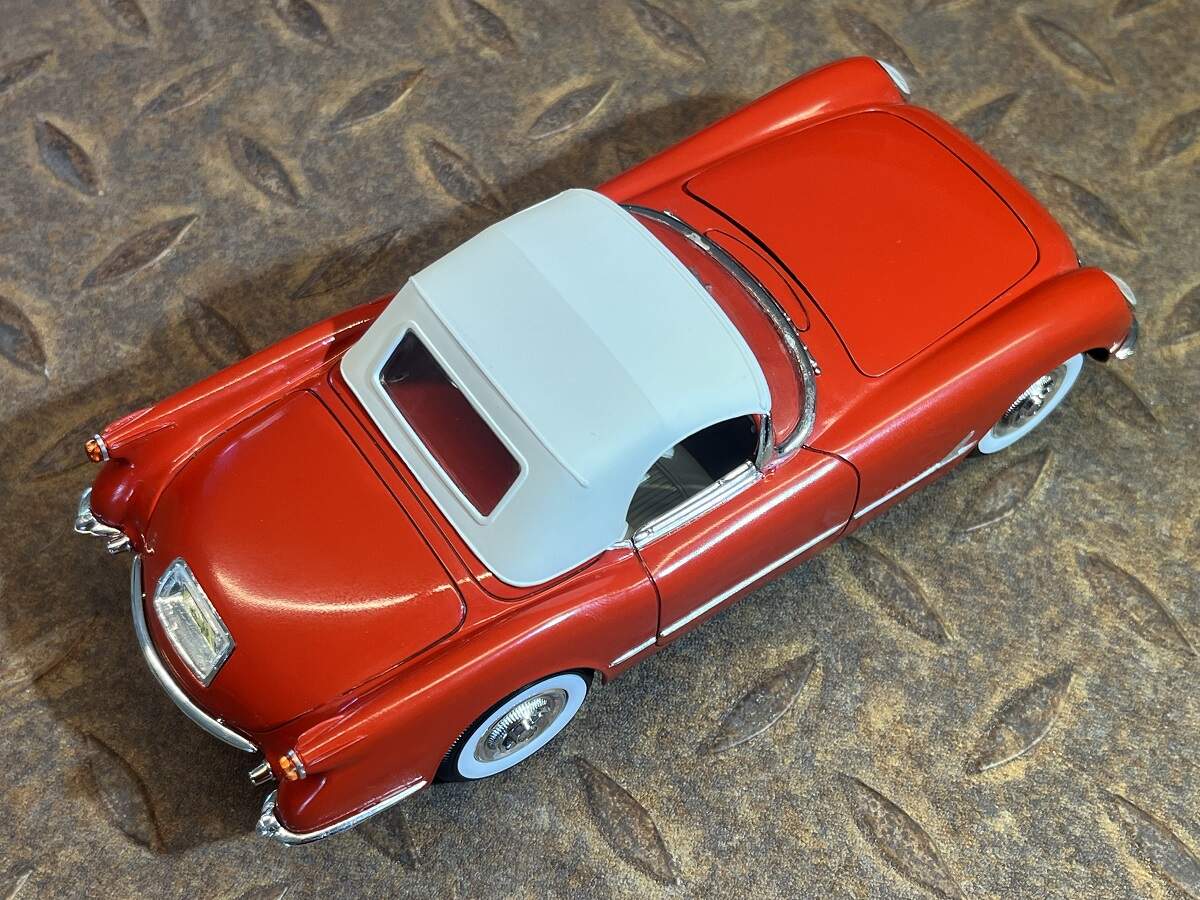
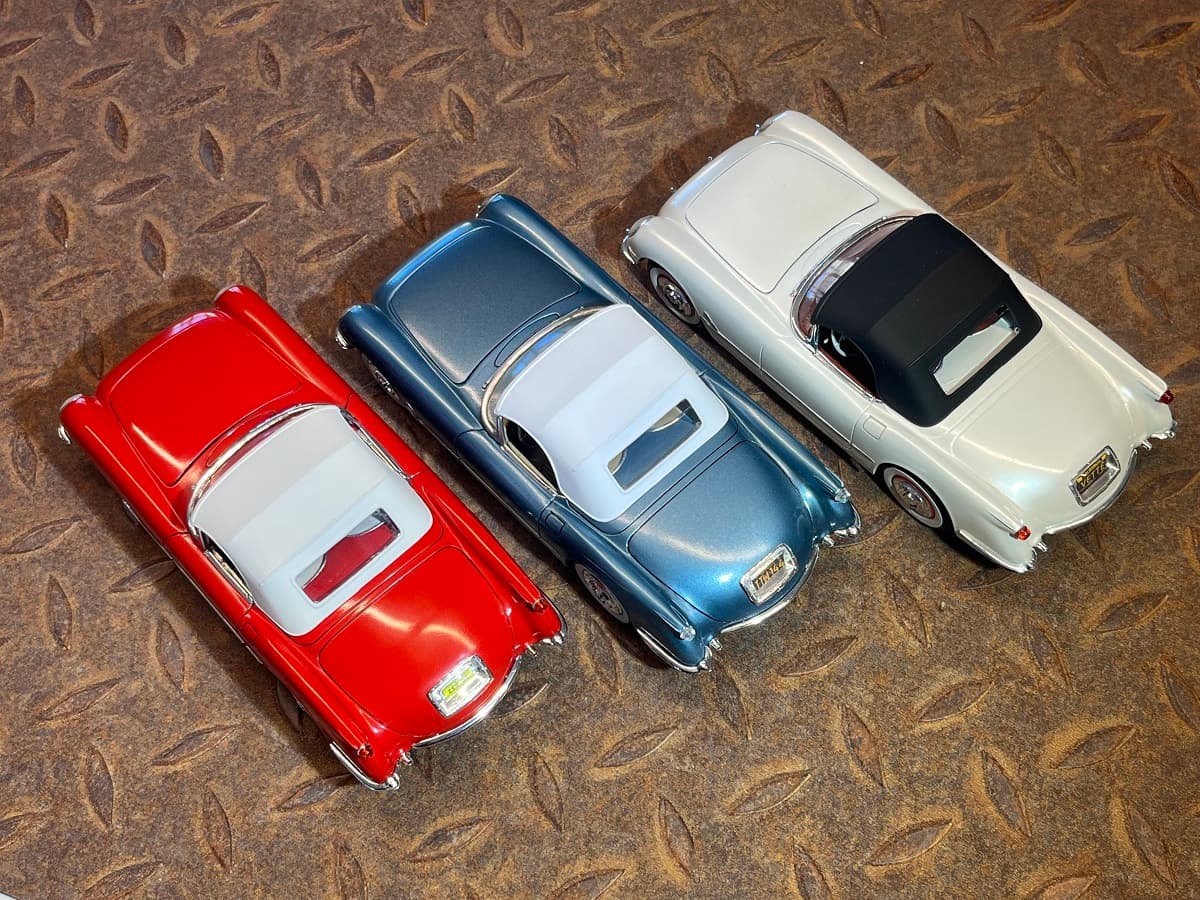
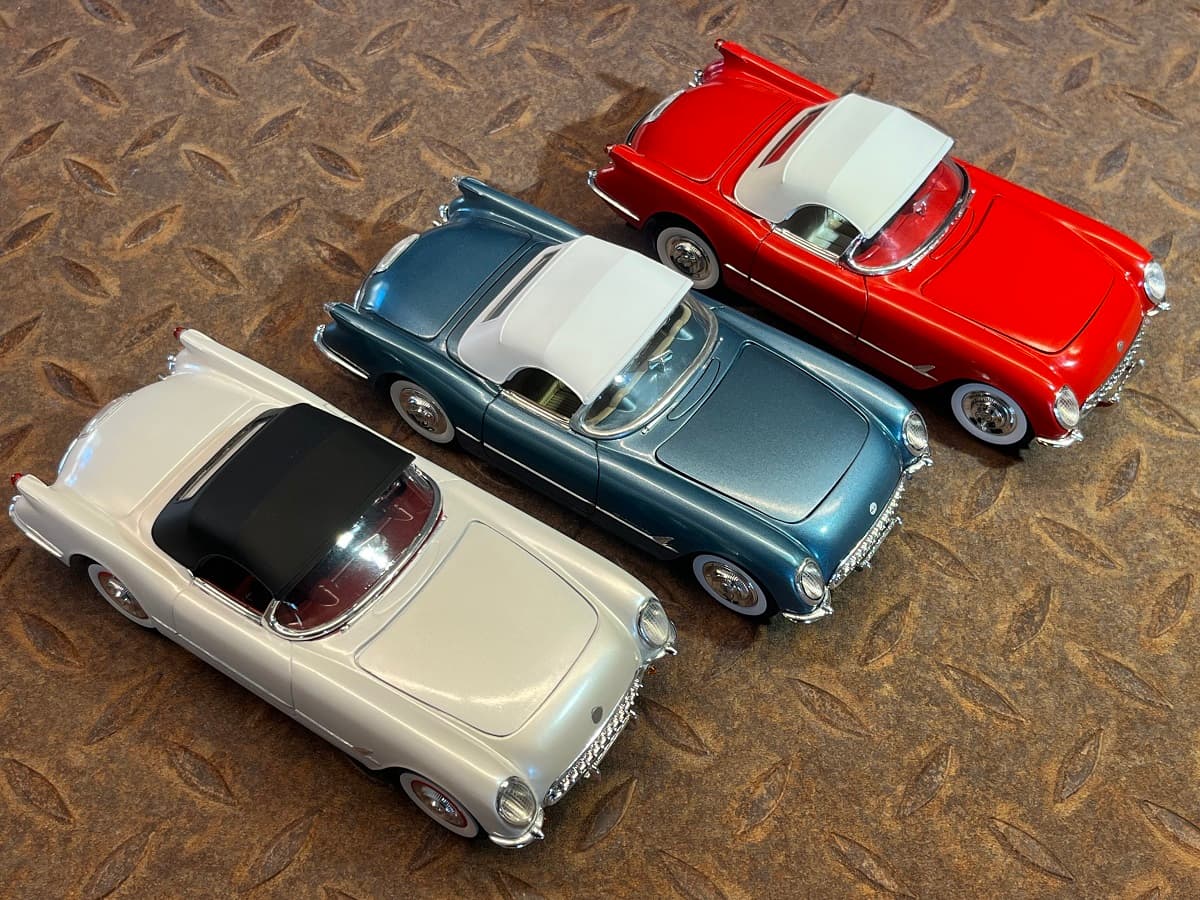
Well I’m very happy to report that the '55 is completed! A final push to get the BMF and chrome detail paniting on, the clear parts worked over and installed, a PLW and final tidy up, and here we are!
And the 3 brothers together.
Top shelf front and centre.
Thanks for the support along the way so far folks, stay tuned for the '56 once I get past a couple more WIP builds.
Cheers, D
Wow! That is sharp!!! ![]()
—mike
Thanks Mike, much appreciated!
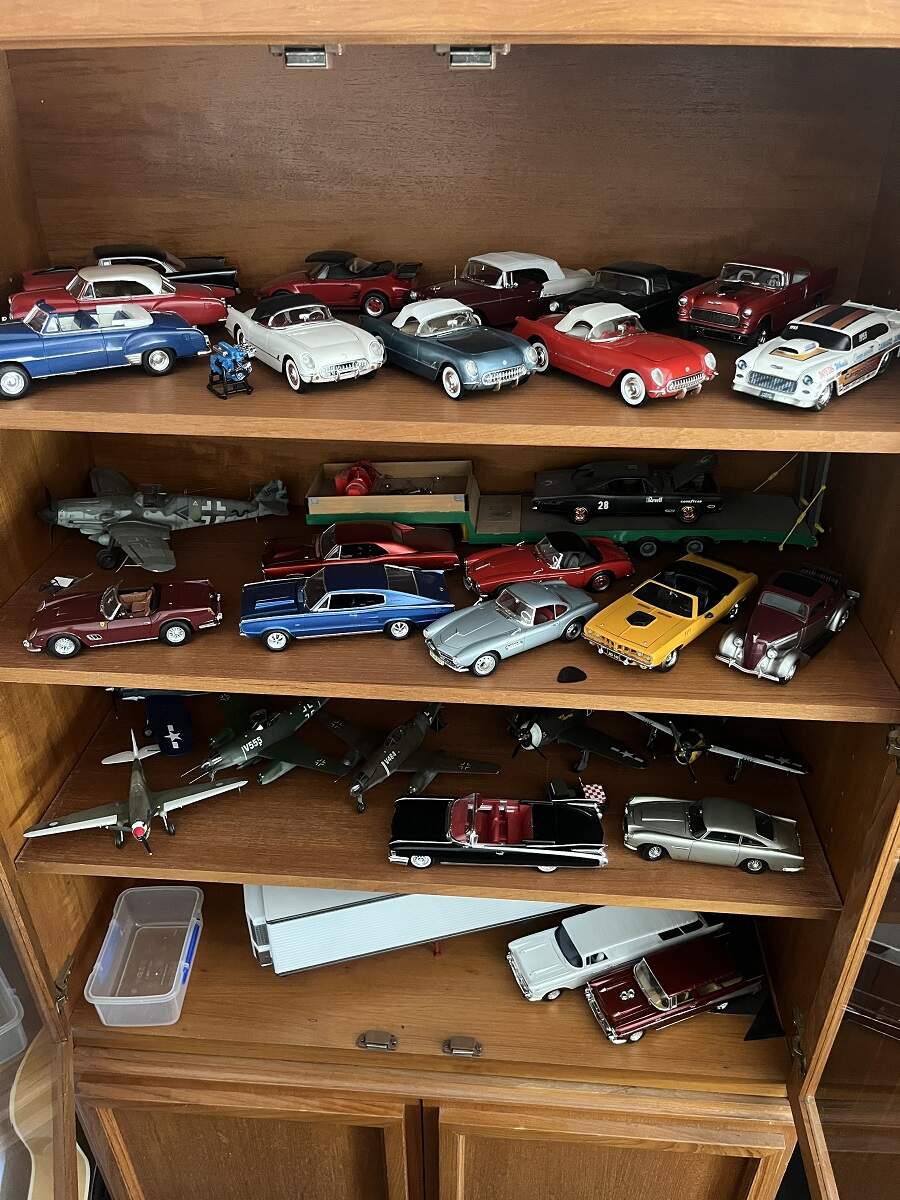
I was going to ask for a picture of the line up - looks like you read my mind ! Another one drug across the finish line. Well done D .