Howdy! no I’m not gong to try to talk like a cowpoke, I’m English. I’m very impressed with the Model trailways series of model kits, they are linked to Model Expo in the United States, I have to say, their customer services is impressive. They are quick and easy to contact if a part is missing, and they very quickly mail the missing part out worldwide.
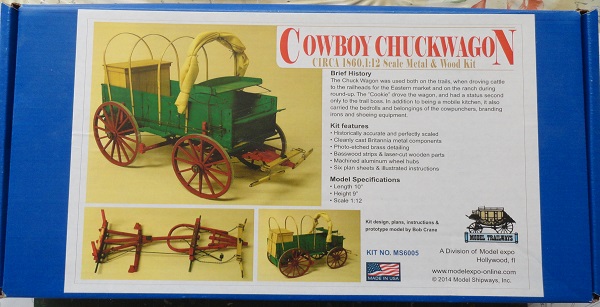
lets take a look in the box
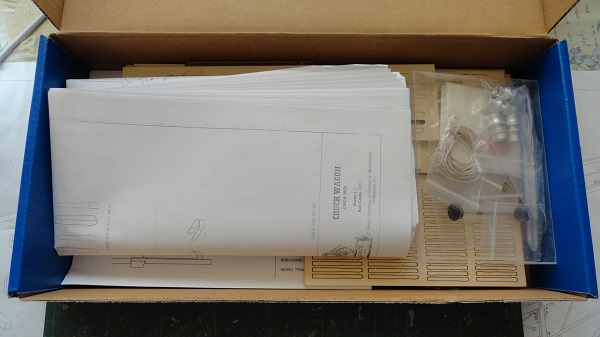
most model kit makers feel underwhelmed at this, everything feels a little bit raw. Unless you are used to making wood boats/ships, a wagon is pretty similar in it’s parts appearance.
I’ll take out the large set of scale drawings and let you gaze down into the kit
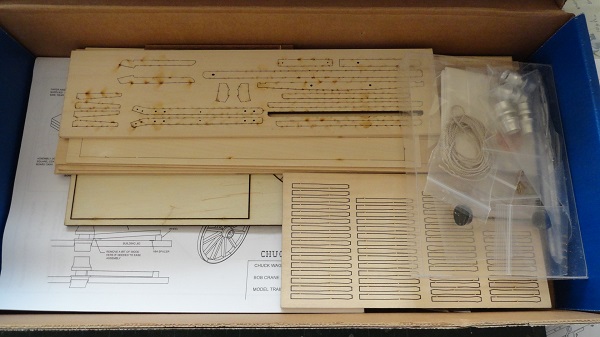
so, step one is to check off the parts in the kit with the parts list supplied, then if anything is missing, I will fill in their on line form and they will mail me it out free of charge. So I’ll be back later when that task is completed.
Parts check done and all is well, no parts missing. so I don’t need to fill in one of their online forms, but I did, asking them how much for a extra set of lazer cut rims from this kit. Reading the blurb, the Chuck wagon was a converted U.S. Army supply wagon, I plan to scratch build a WW1 Army supply wagon one day, these accurate rims would fit the bill, the rest I can cut out myself. Need to go to the land warfare hall at the Imperial War Museum, they have one in the entrance hallway that I can measure up.
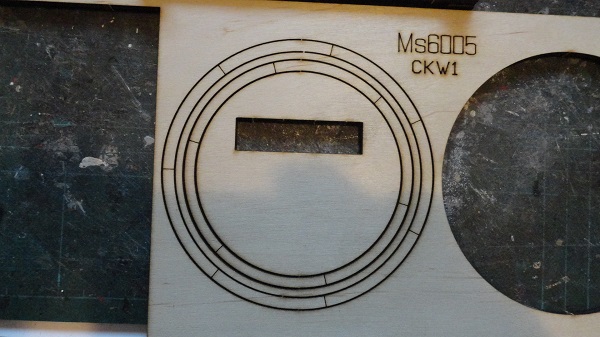
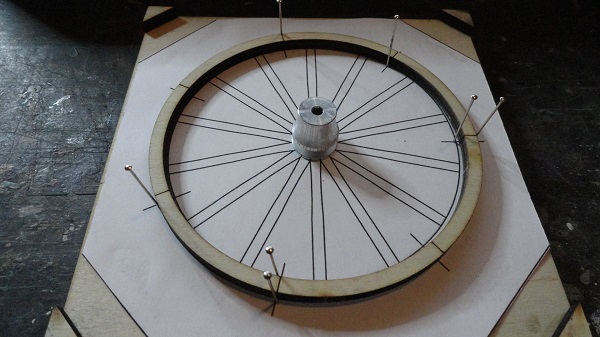
first step in wagon wheel building, pin the rim onto the jig over the scale plan.
this guy from Montana is an excellent wheelwright, and he calls the rim segments correctly as Fellies, not how they are spelt Felloes.

That was very interesting. Every time he grabbed a modern tool, I was thinking how did they do it back in the day.
Haven’t seen one of those before. That’s pretty cool.
the spokes,14 per wheel all need to be profiled the same, taking off the square edges in the middle but leaving them square either end at the “Knocks” where the tennon joins the rim, or fellies.
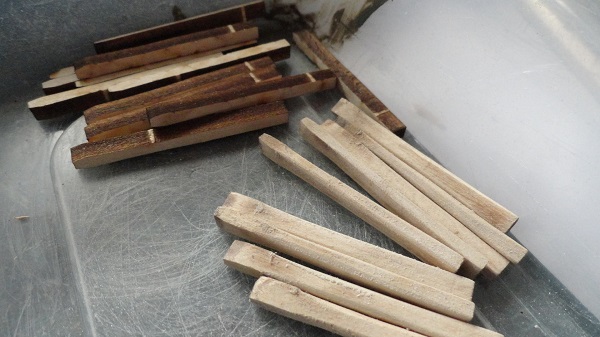
I’m using the same curved sandpaper on all to replicate uniform curves on the spokes while leaving the Knocks square.

I’m doing 14 in one go, a wheels worth, tomorrow 14 more, sitting in the shade with a glass of craft beer, takes the strain out of the task and makes it a pleasure.
on a real wheel this would be Mortice and Tennon joined, but it’s just a butt join with the fellie,
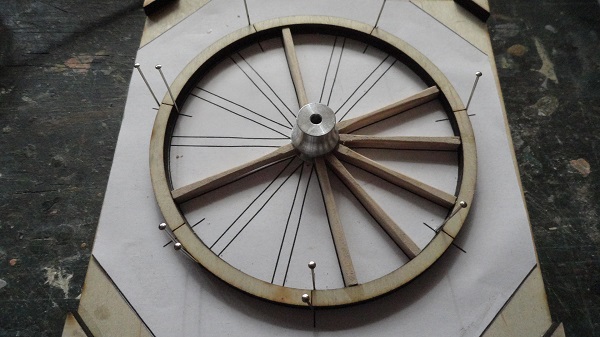
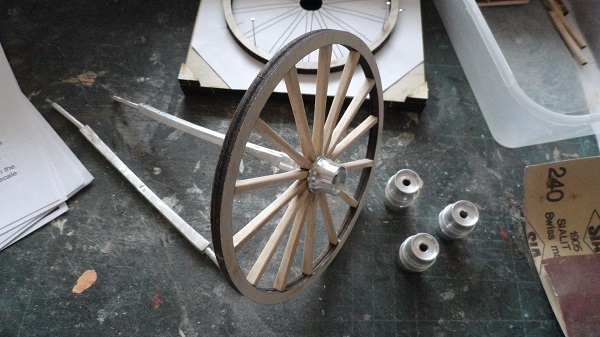
slide the narrow end of the spoke into the channel machined into the metal hub, then firm pressure and strong glue against the fellie. That’s that one done, let that harden off in the jig as the glue dries.
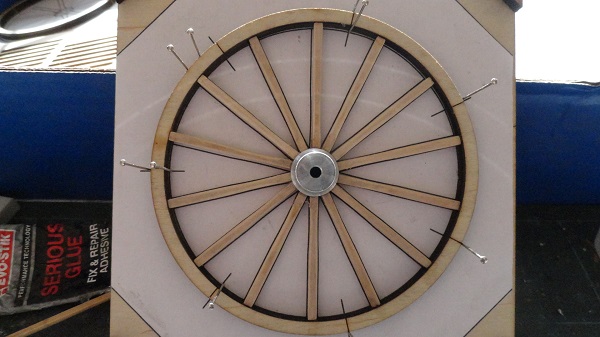
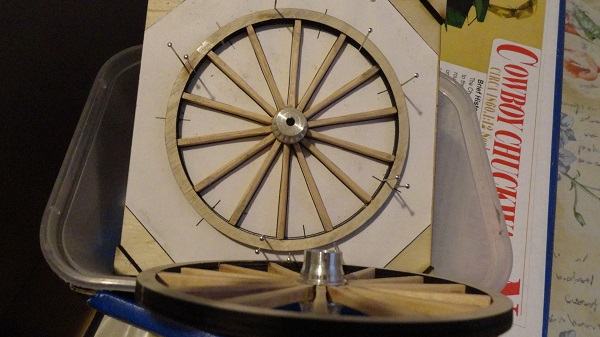
first wheel out of the Jig, very pleased with that.

That sure does look pretty.
A really interesting build. This is going to look really good when it’s finished.
My dad has recently bought something very similar, a caravan trailer, for a Mamod steam traction engine. Not sure if he’s started it yet. Knowing his interest in the Wild West he would love something like this!
when’s his next Birthday, present Idea sorted. I’ve made two other Model Trailways model kits, the Western Mountain Buckboard.
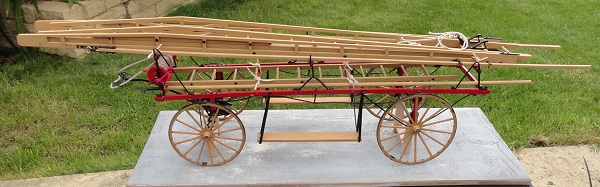
and their fire Service Hook and Ladder Wagon.
they also do a Stagecoach like the one in the John Wayne
Western.
Those are really nice.
Birthdays June next year. I googled and found Cornwall Model Boats stock them. Really cool looking kits, the Hearse looks like something straight out of The Munsters!
The wheel came out really well. top job.
Here’s the Hearse being made by Kev on another modelling site, not one I’d choose, he’s also making a Stage coach, and it’s challenging to say the least.
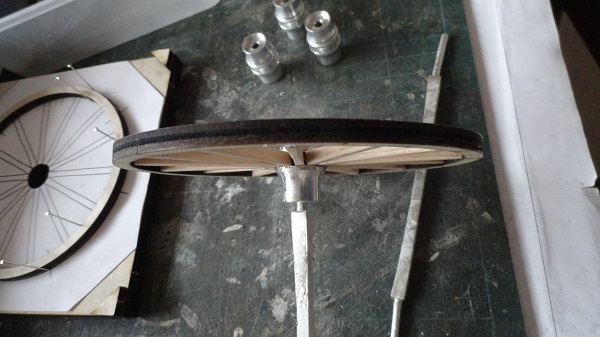
The hubs are spun metal, and are all fairly smooth and identical, but the axles are cast white metal, so need reshaping, early in the build, so glad I remembered to fix this before it was too late.
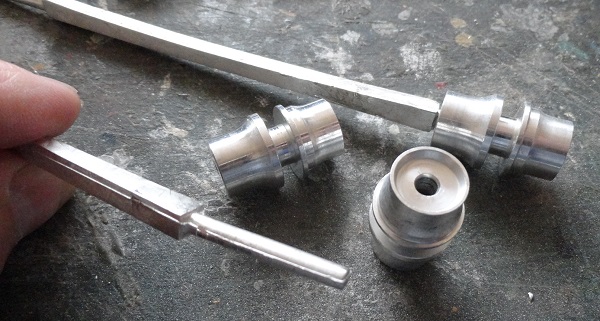
trial fit of each wheel to each axle once it’s sanded smooth, this avoids gnashing of teeth later in the build.
the dishing on this wheel is barely discernable.
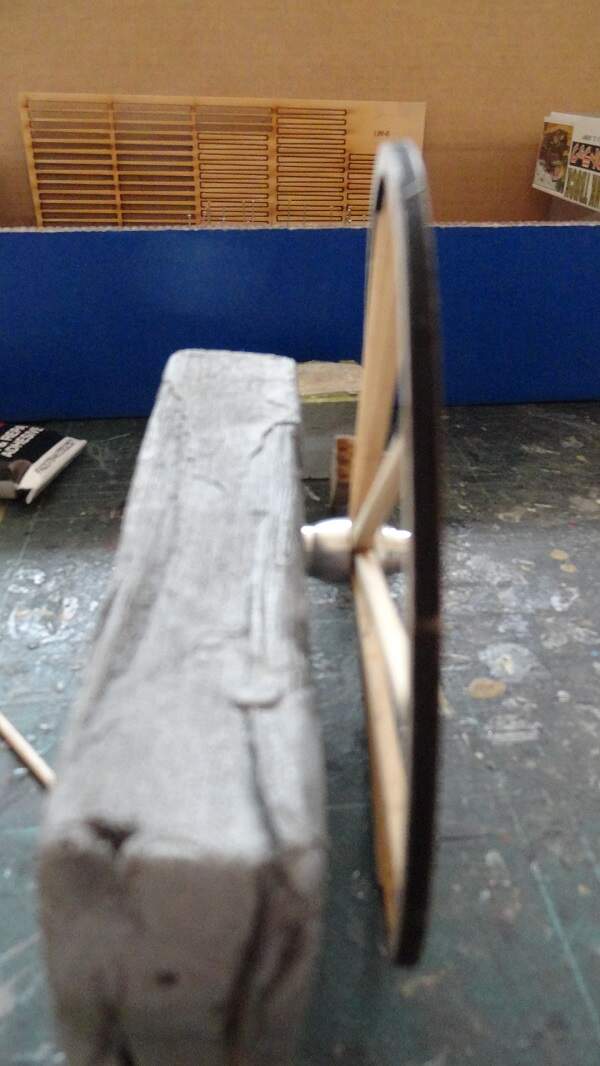
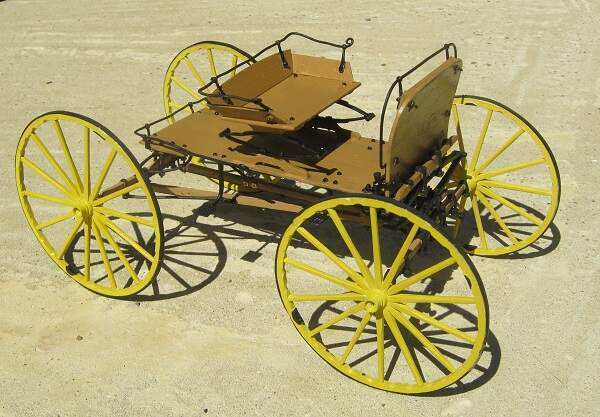
it’s more pronounced on the wheels of the Hook and ladder wagon shown here, the conical shape was to add strength to the wheel to counter the swaying left and right movement of the horses, a wheel was, according to George Sturt, in his book the wheelwright shop, to last a lifetime.
interesting points in this painting By John Constable, he called the work, the Haywain, meaning Hay wagon, if you look carefully at the reach bar protruding from the rear of the vehicle, it has holes bored it’s length through the sides, this was to allow the rear axle to be drawn back extending the length of the wagon.

this is a close up of a detail of the painting. The vehicle is in fact called a Timber Bob in Sussex , or known in Hampshire and Wiltshire as a Timber waggon. Constable started to paint the tailboard in, but I think he changed his mind and instead made it a Timber bob, he didn’t finish it and it’s see through. So why did he make it a timber wagon and not a farm wagon, he is using it to describe the whole community coming together to reap in the harvest. Why is the wagon in the Village stream, to cool the iron tire, making it contract, and making the old wood of the wheel swell, tightening up the whole assembly to stop the tire rattle, a bit like stopping at the modern motorway services to check your tires.
the second hind wheel laid out, let that set before it’s released from the jig.
Yeah it’s definitely not to everyone’s tastes. He did a great job with the kit, very nicely finished.
Just needs a 1/12th Vincent Price driving it.