Nice to see some wip on these wooden wonders. For the last few years, I have been eyeing these wagons, and following along with your work might just help me pull the trigger finger and purchase my first wooden kit. Thank you for the clear and sharp images. Keep up the good work.
1 Like
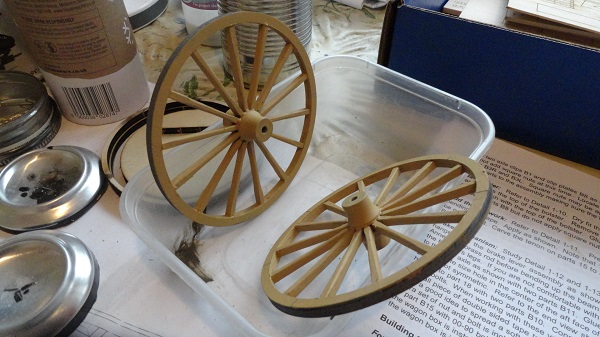
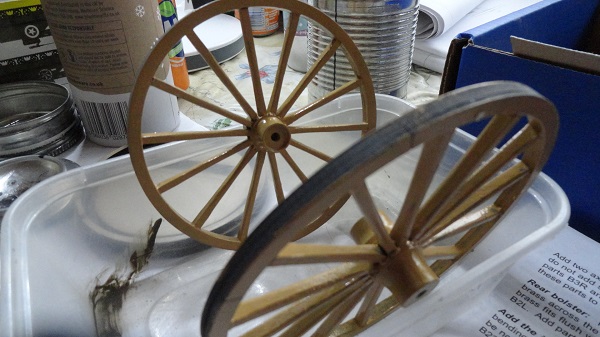
I’ve made a slight mistake on one of the hind wheels, I failed to line up the rim with the fellie join marks on the template, resulting in spokes fitted too close to the join lines, it’s only a scribed line on the rim.
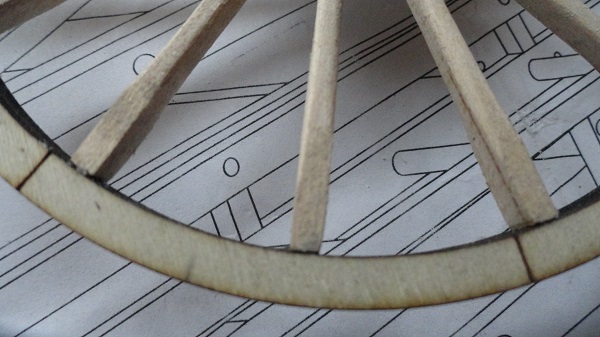
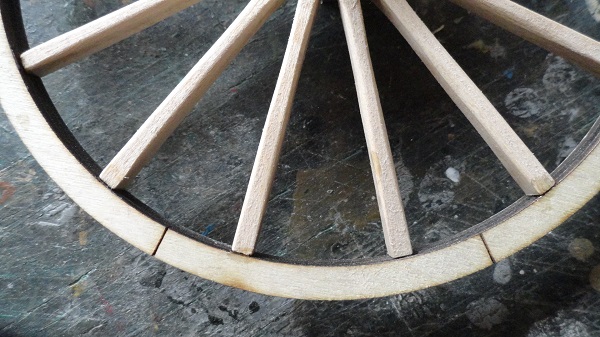
This is the other wheel correctly aligned, two spokes per fellie, or rim segment, the spoke joints away from the joins that join the segments of the rim together.
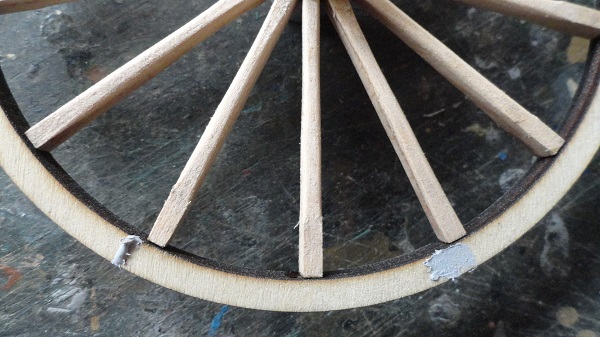
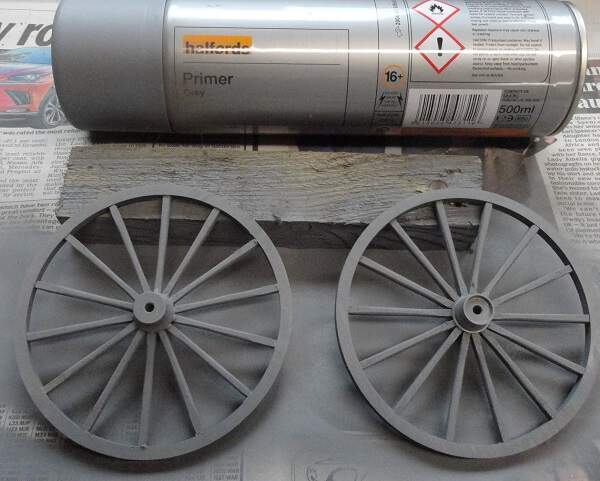
so I’m painting these wheels anyway, the lazer cut leaves a burning to the inside edge of the wheel rim, so difficult to sand off without loosing the correct curve of the wheel, so painting it Ocker will work, and the hub is metal, that needs to be painted to match the rest of the wheel anyway, as in real life the hub is also wood. So Mr Surfacer filler to the rescue, I can scribe the fellie join lines later.
5 Likes
re-scribed the join lines and applied a second coat of Mr Surfacer filler.

5 Likes
Beautiful work on this, really fantastic to see something like this coming together.
1 Like
slight pause of a couple of days on the wagon, to build a Type 23 Frigate HMS Westminster for the family of a young man serving on board her, service family, so they go to the top of the modelling list
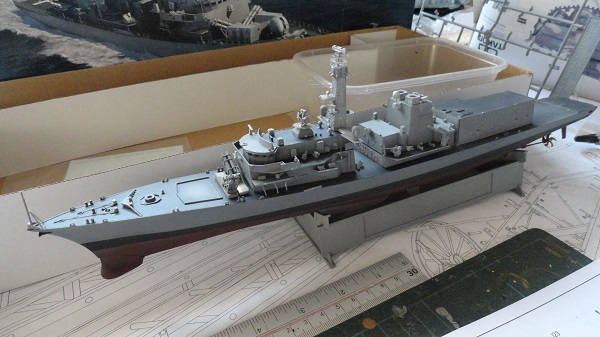
I’m plowing through this, picked it up from my local model shop day before yesterday, never made a modern warship before, it’s quite a revelation, more on the Chuck Wagon in a couple of days
5 Likes
Really like that wheel assembly jig you made. I’m watching and learning from this build because I’ve never built a model like this before.
1 Like
the hind wheels in grey primer spray paint.
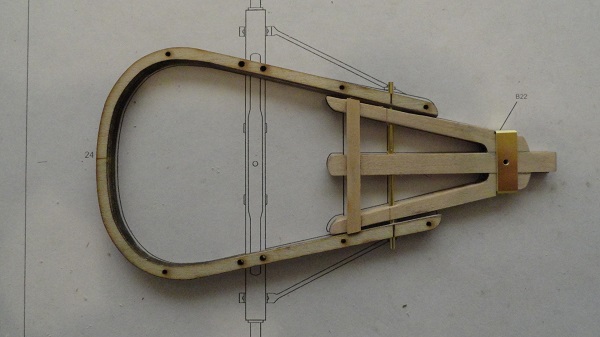
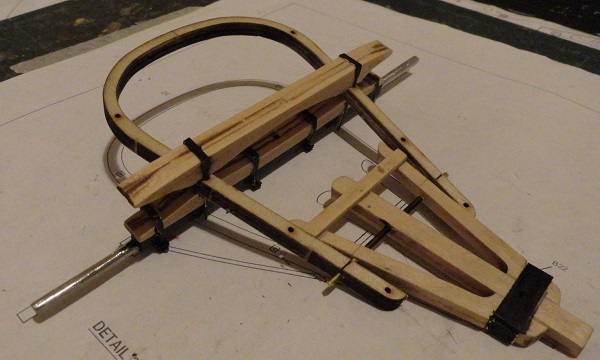
making a start on the fore-carriage, this rotates under the front of the wagon to allow steering, it also carries the front wheel axle.
3 Likes
The curved structure is called the hounds on a British Farm Wagon, the curved part would be square.
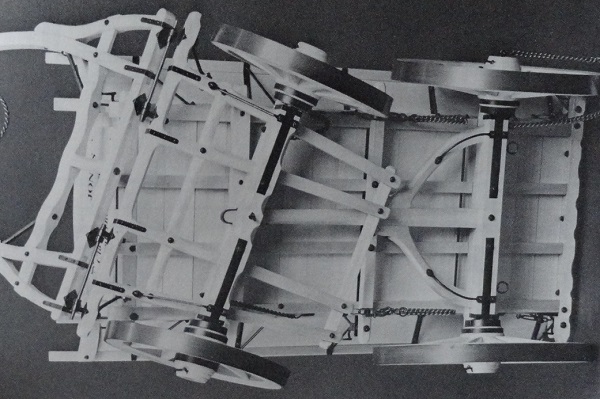
British farm wagons were build with templates passed down from generation to generation of wheelwrights, But American Wagon makers weren’t obliged to conform to such tradition, they were free to re-think the horsedrawn needs of the new world. This is the view of a British Farm wagon undersides, you can see the square structure of the forecarriage.
4 Likes
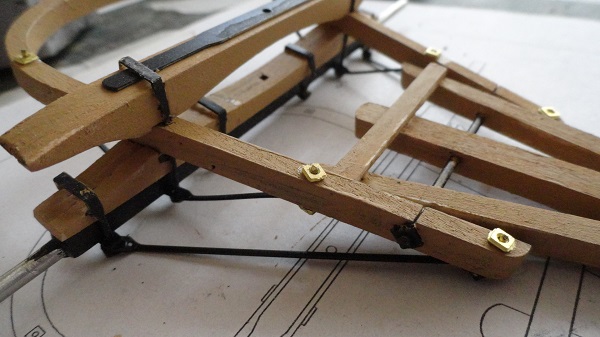
the hinged hounds, the brass rod will get securing nuts on either end, the Shaft is made short, I could make a full length one, but it would add an unnecessary extra 370mm to the overall length, so I’m staying with the short “cut away” shaft supplied in the kit, as a short shaft is a common model wagon ploy.
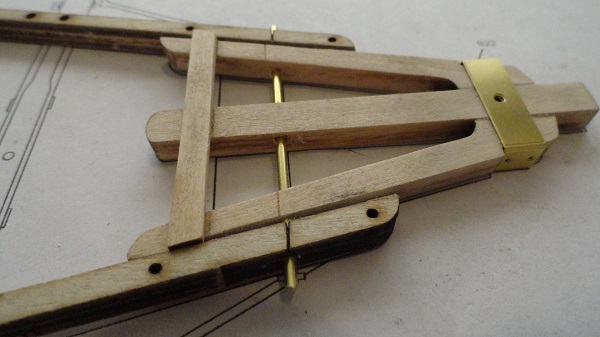
the kit provides a PE sheet, the brass drop tongue strengthening plate is the first PE part fitted
7 Likes
the hind wheels painted, looking a bit too matt and lifeless, I’ll give them a coat of matt varnish, even though it’s matt it will reflect a bit of light.
sorry for the slow pace on this, when the ship is out of the way, it’ll pick up a pace.
4 Likes
Ha….you build like a machine. I for one am not worried about your pace.
2 Likes
This is a great thread, I love that there are such varied aspects to this wonderful hobby!
Looking forward to more progress reports.
Cheers, D
2 Likes
Cheers Tank, I’m glad you find my build interesting, it makes it worth while when other modellers, like yourself, drop by.
the Fore-carriage, one stage further with the front axle bolster fitted.
6 Likes
Cheers D, Variety is the spice of life, and all that, I generally don’t specialize in one area, I kinda move around a bit looking for other areas, I’d try any aspect of static display modelling, except Busts.
the Kit PE sheet sprayed black, wish I’d done this right at the start, picking out the PE when it’s fitted is an unnecessary step.

4 Likes
the Hind wheels in matt varnish, fresh coat of varnish, it might dull down a tad as it dries off. But already they look far better than that dull lifeless bare paint.
4 Likes
The wagon is interesting on it’s own and your SW builds are equally interesting too.
1 Like
The fore-carriage completed to this stage, ready for the king pin that will travel all the way through it to allow it to swivel.
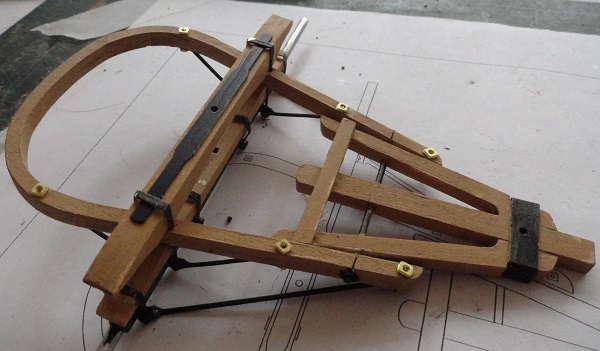
just touch the nuts in black paint. The strengthening struts fitted.
4 Likes
Thank you Tank, here’s my other 1/72 Millenium Falcon, the cheaper one from Revell not the £500 from Bandai. Just finishing the paint effects.
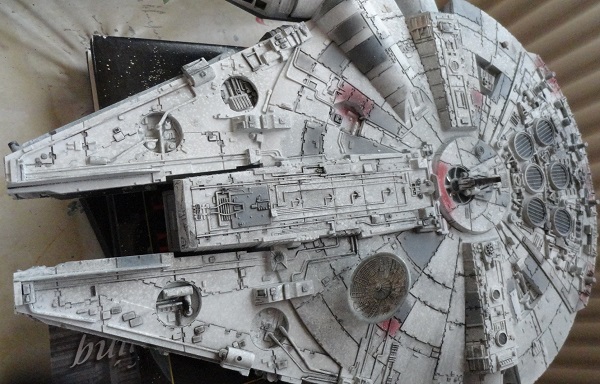
3 Likes
Noice. It’s always been a favorite bird of mine but a man has to know his limits (price and skill).
1 Like
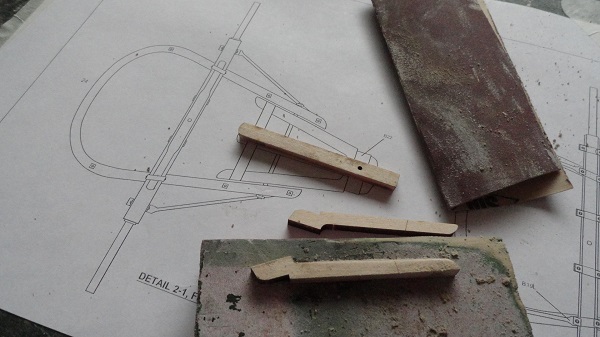
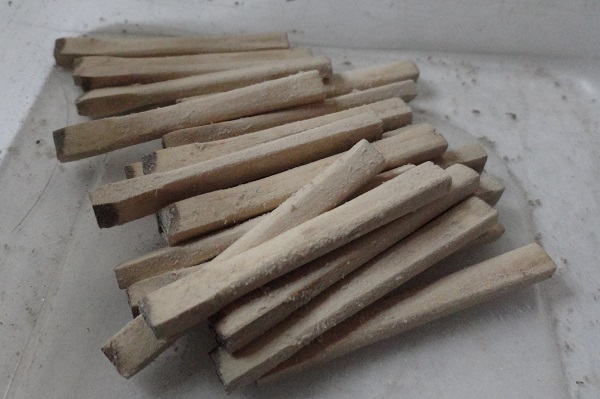
starting on the Fore-wheels now, and the start point is the spokes,taking the square or oblong pieces of boxwood, sanding and shaping them, all 24.
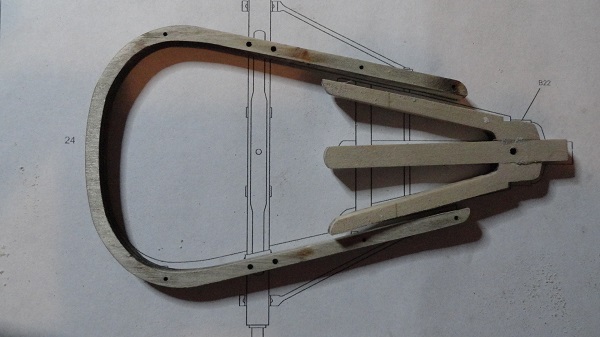
all spokes fitted, slotted in at the top into the channel in the hub, and a square butt joint at the rim.
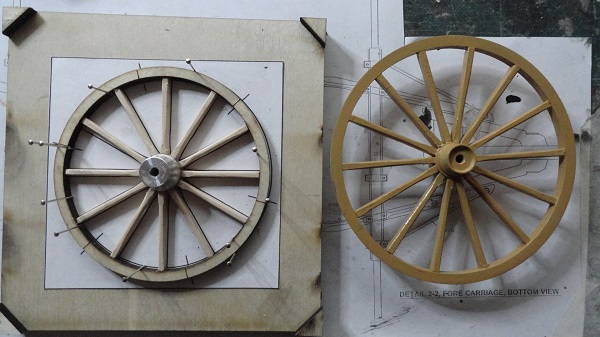
Shown on the jig as the joints dry, alongside a Hind wheel for comparison.
4 Likes