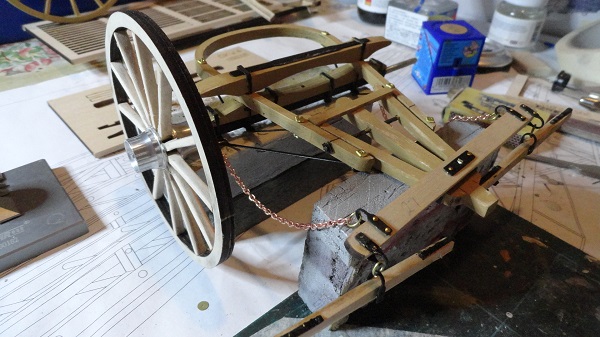
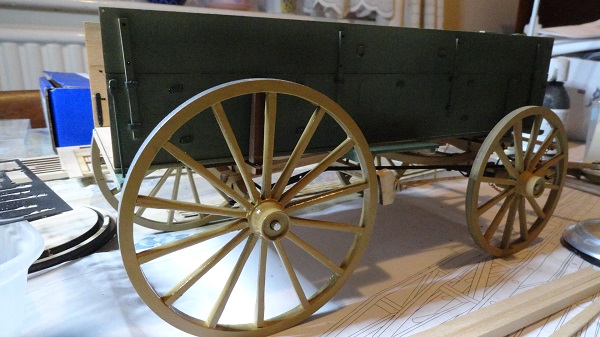
fore-carriage nearing completion.

first front wheel just slipped on, so glad I smoothed the axles at the start.
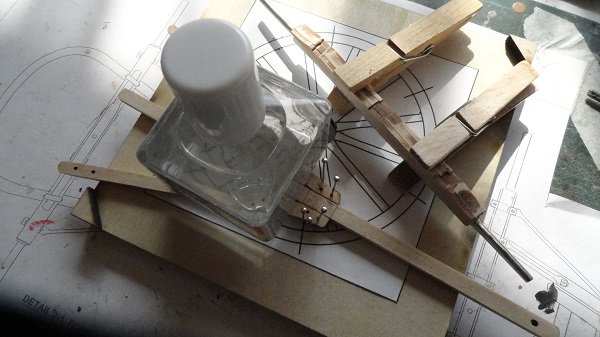
second front wheel laid out on the jig, let that glue dry for a few hours now.

4 Likes
Man this is just crazy cool!!! WOW!!!
1 Like

Hey well it was either that or Paint Your Wagon. Fascinating build & beautifully done, looks like you also find occasionally working with wood a perfect antidote to plasticitis (plasticitis – pain or irritation caused by excessive sprue cuts) It’ll look awesome as is, but any plans for some nags and/or landscaped base too? ![]()
3 Likes
No Horses, it would make the glass case massive, it’ll be unhitched, tailboard down as a table, I’m looking at 1/12 scale doll house classic kitchenware, old pans, coffee pot ect, it’s amazing what’s out there in 1/12 scale. But I’ll have to do a fair amount of research into the world of the Cowboy.
so far so good, the second wheel out of the jig and slipped right on there without a hitch.
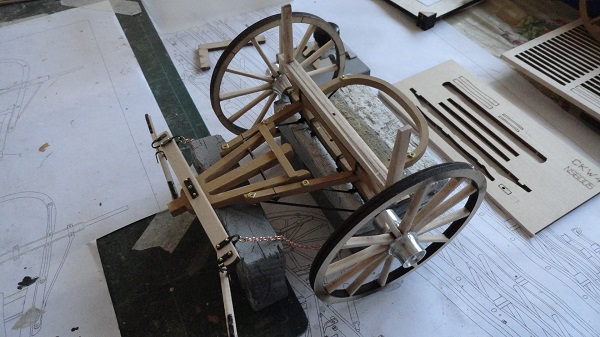
the forward body bolster, it has to swing independantly on the upper axle bolster to allow the fore-carriage to rotate above the body. Making sire the uprights are square.
happy with all that, just paint needed, now for the king pin.
5 Likes
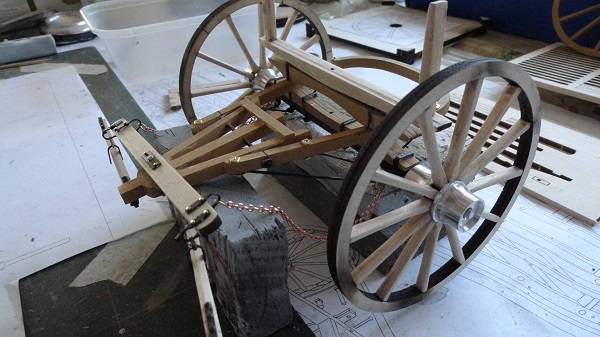
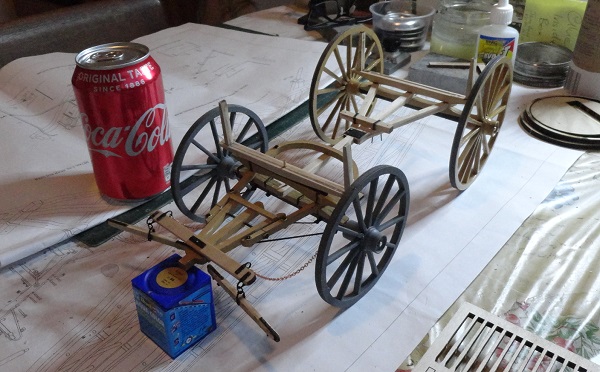
building the reach pole and strengthening timbers square and flat.
the reach pole with the king pin test fitted together with all the main components of the wagon chassis.
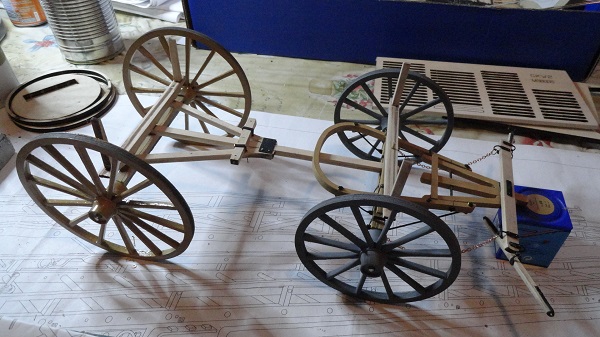
shown with a standard coke can for scale.
7 Likes
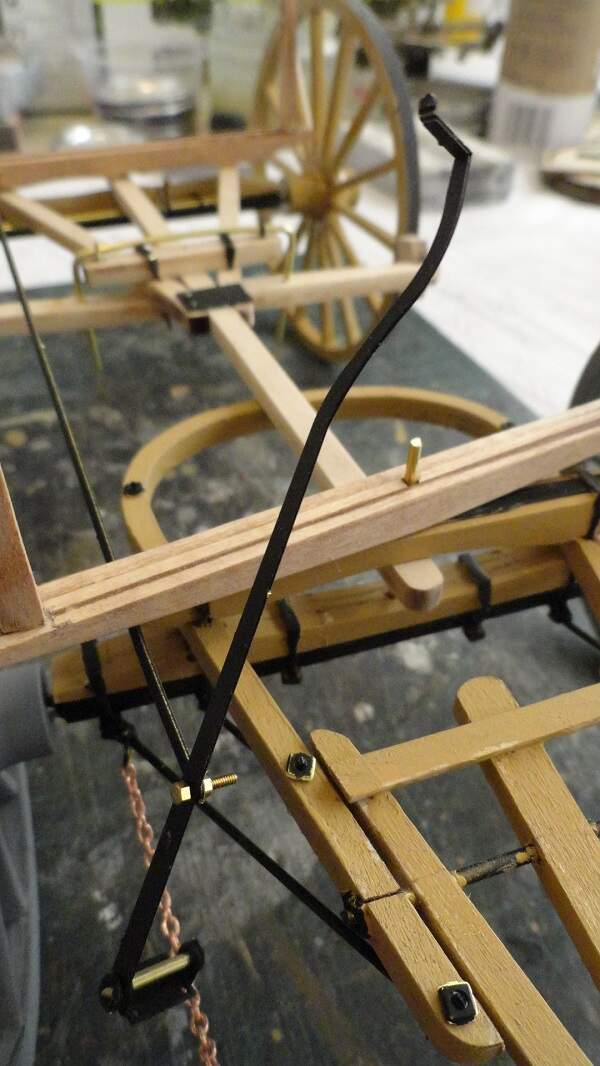
moving smartly along with the brake system, the lever and it’s swivel base have to hang about till the floor is installed.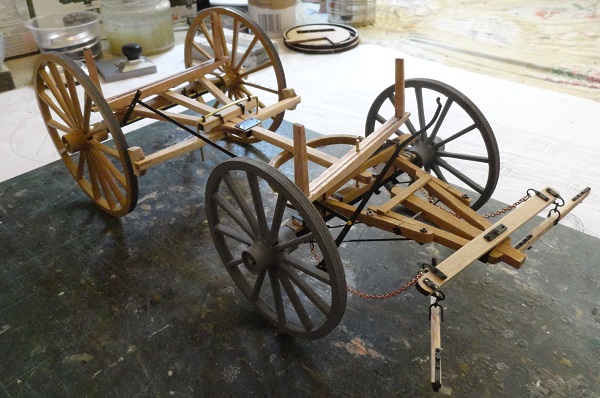
4 Likes
experimenting with wood stain, light oak, doesn’t seem as effective as paint, the rear body bolster has had two coats of stain and don’t look that changed by it.

4 Likes
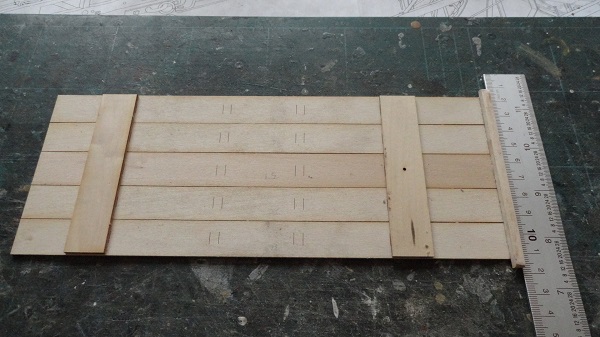
the floor boards all leveled up with a steel rule, glued on the sill to keep them all square.
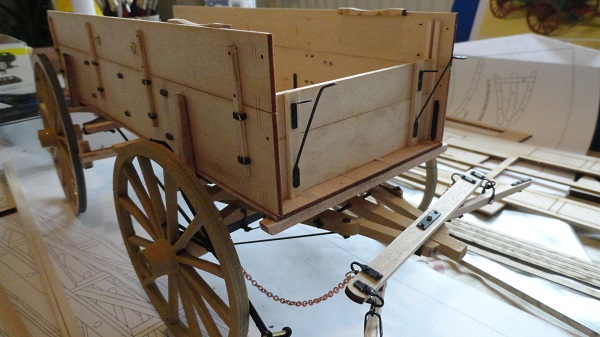
up go the detailed sides of the body, let that dry before moving it onto the chassis for a trial fit.

7 Likes
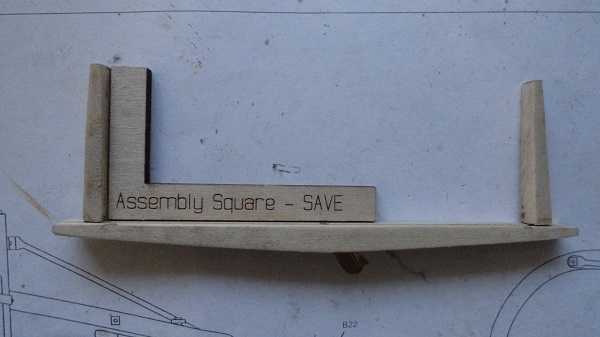
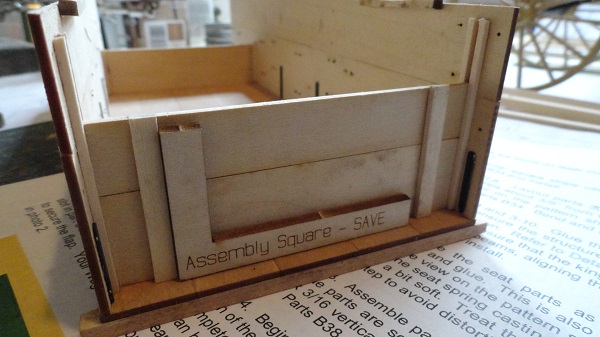
front board in place with the strengthening uprights, the building square has come in handy, it came with the Fire Brigade Hook and Ladder wagon kit.
the footrest support irons in place, they just need final angle adjustment before the board goes on.
5 Likes
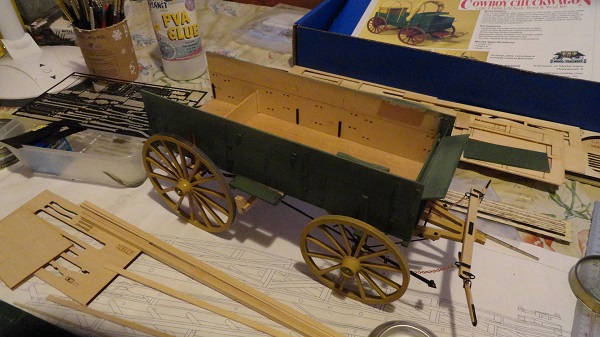
green body, just like the box top artwork, unsure as of yet about the red wheels and chassis.
drivers seat to make next, with it’s leaf springs make of white metal.
7 Likes
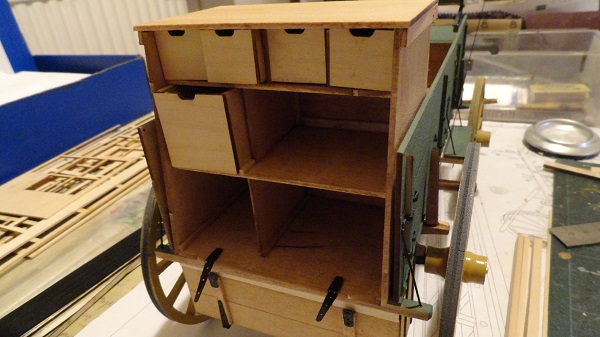
making the pan box that sits underneath the rear of the wagon.
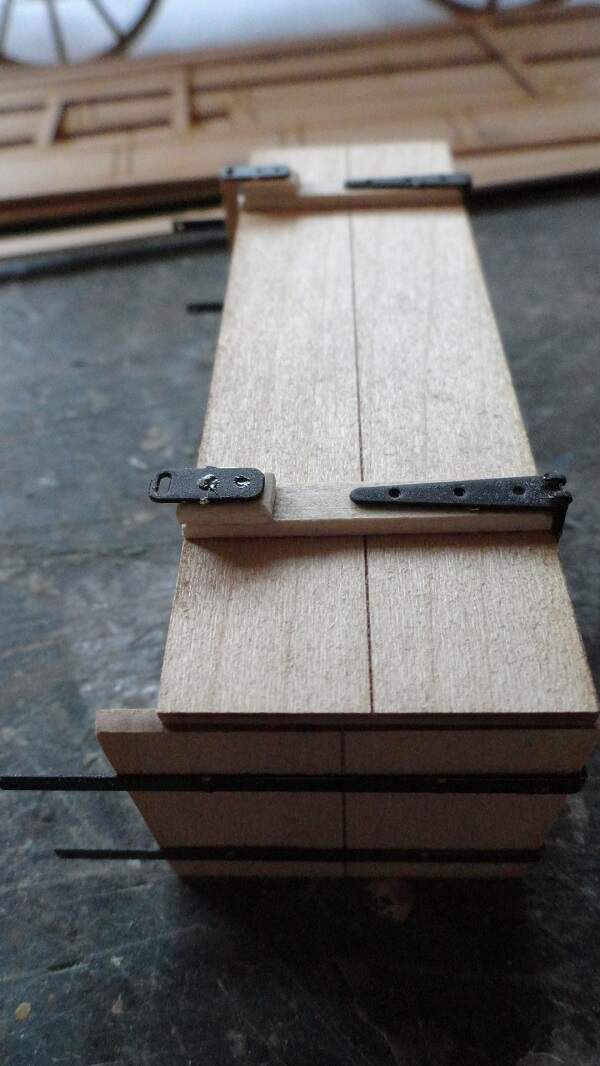
finished pan box sat in the back.
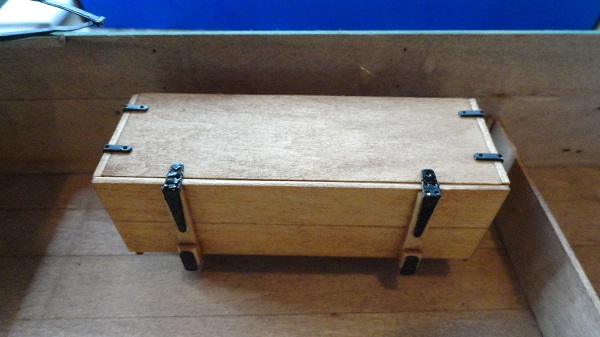
building the Chuck box and testing for fit in the wagon.
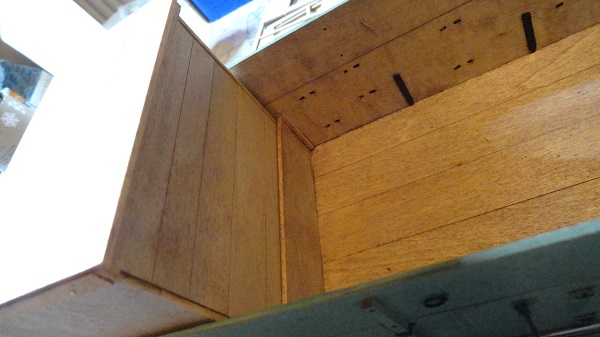
this is where the beans and corn and a bag of flower, coffee, sugar maybe a wrapped joint of salt beef. KFS,tin cups and a coffee jug would be kept.
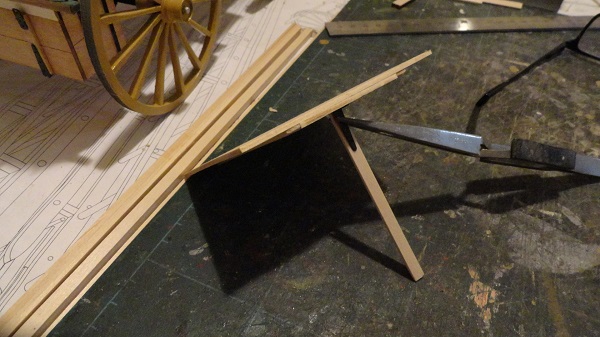
the tailgate with it’s drop down support leg.
7 Likes
Great-looking build. As I see this chuckwagon come together, it reminds me of the movie ‘The Cowboys’ with John Wayne. There’s a scene in which the kids steal a bottle of Cookie’s whiskey and get drunk. The next day they’re all lined up at the back of the wagon for a dose of castor oil from Cookie to fix their innards.

2 Likes
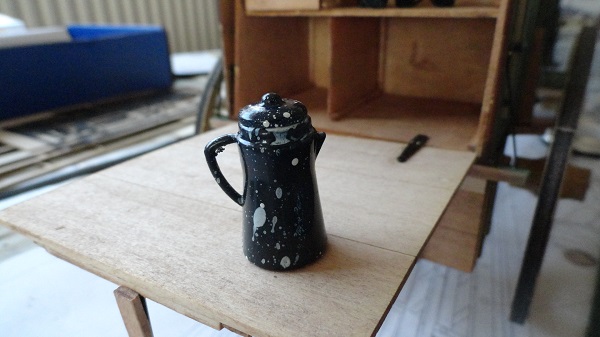
I’ll have to watch that, I may get some ideas of what else was carried. in the meantime I’ll re-paint this /12 scale coffee pot to burned black.
these turned wood kegs will get the strakes re-painted in various wood shades, the bands and top will get the styrene sheet treatment.

3 Likes
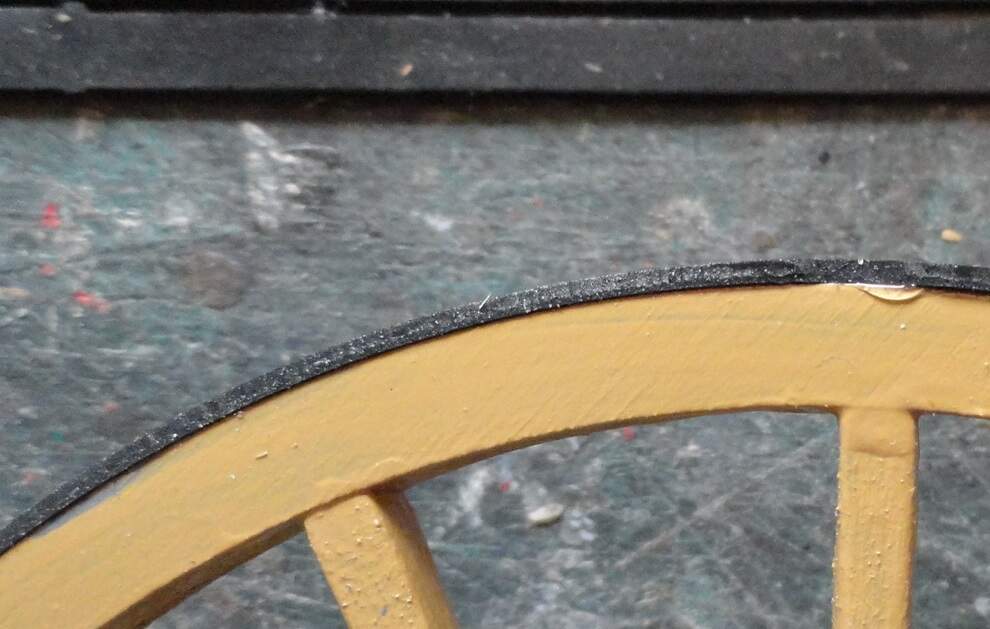
putting the tyre on the hind wheel. It’s just a rubber gasket standing in for a steel tyre.
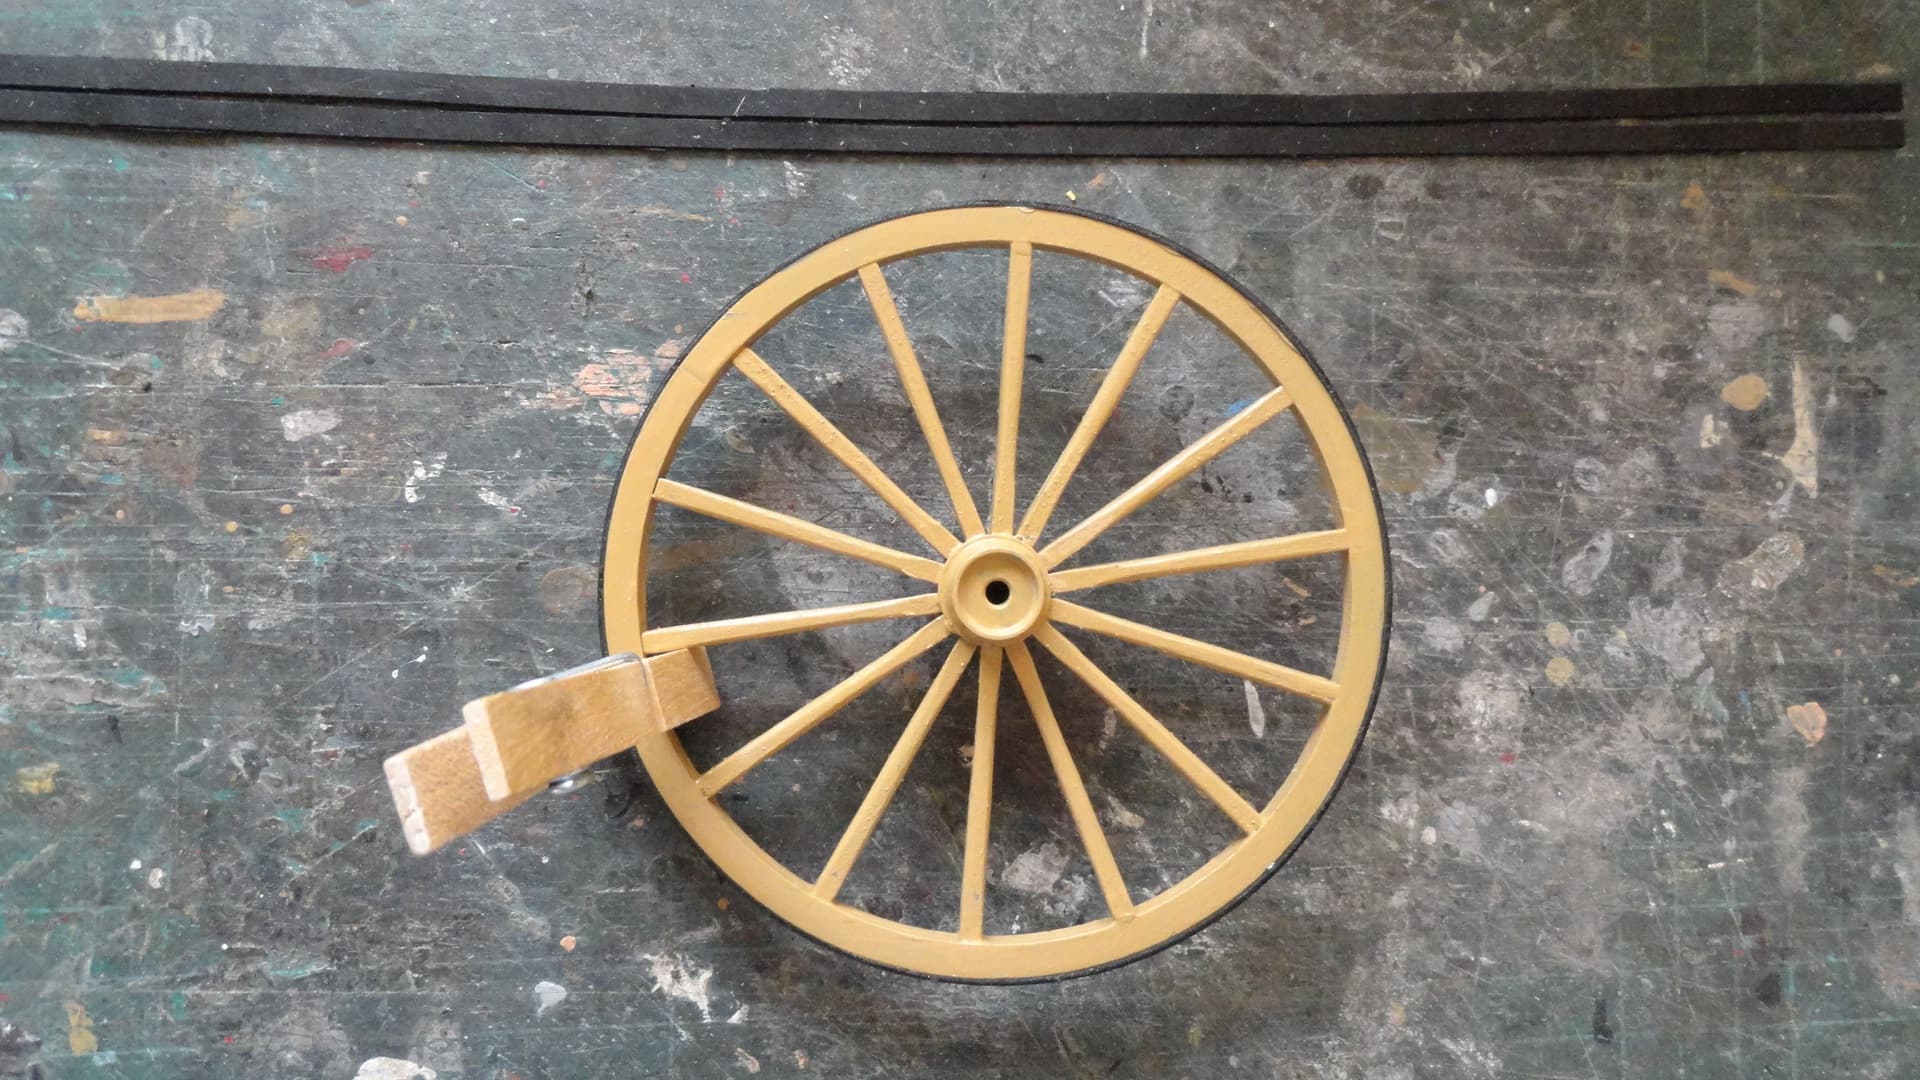
George Sturt in his 1890’s book the Wheelwright shop, describes the tyring process, and the sights and sounds , the steel band is heated up in the blacksmith’s furnace until it is cherry red, then placed over the wheel and hammered into place before being cooled by water from a rain butt, the metal band contracts as it cools drawing the wheel into a tight strong unit, Tying the wheel together, hence, Tyres, a word passed down in the English language. George describes the sound of clicks like those of a childs toy cap gun, as the mortice and tennon joints click firmly into place.
My tyres are secured with glue, some of which has bulged out.
4 Likes
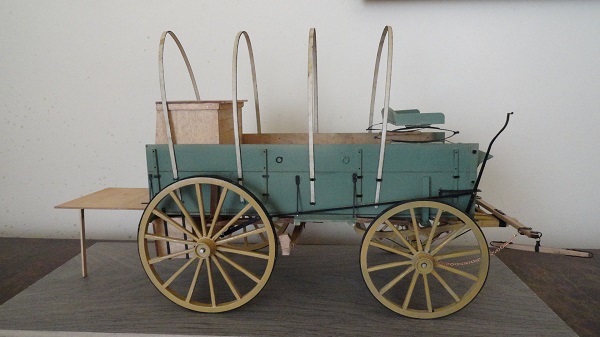
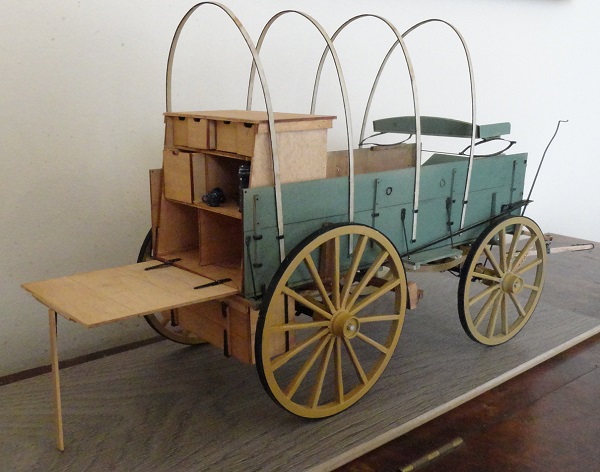
the main parts of the wagon are completed, just the cloth top to tie back against the forward hoop, that is how they normally operated in dry weather
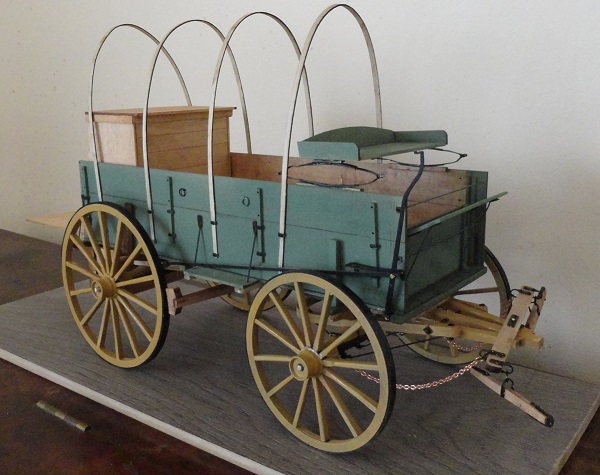
there are still a number of steps left to fully complete it
Paint touch ups all over the vehicle, the tyres to paint steel.
a couple of tie bars on the chassis that I’ve omitted
The grass on the diorama base.
The 1/12 scale cooking utensils and a Winchester 73 to procure.
wheel hubs to lock in place.
then a glass case.
10 Likes
That is pretty and ready to hit the ole dusty trail.

1 Like
Looks amazing. A shame about the staining though.
It has been a real pleasure watching this come together- it really looks awesome with everything all together now.
2 Likes
I grew up in Wyoming; there are still a few chuck wagons in use out there in addition to museum pieces. This is a real beauty of a model and I’m glad I got to witness it. I saw a tyre replacement once at a museum and it’s exactly as you described.
1 Like
Intense work going on with this build. Can’t do anything but appreciate all of the talent that’s being put into it.
1 Like