Busy week on the Lanchester.
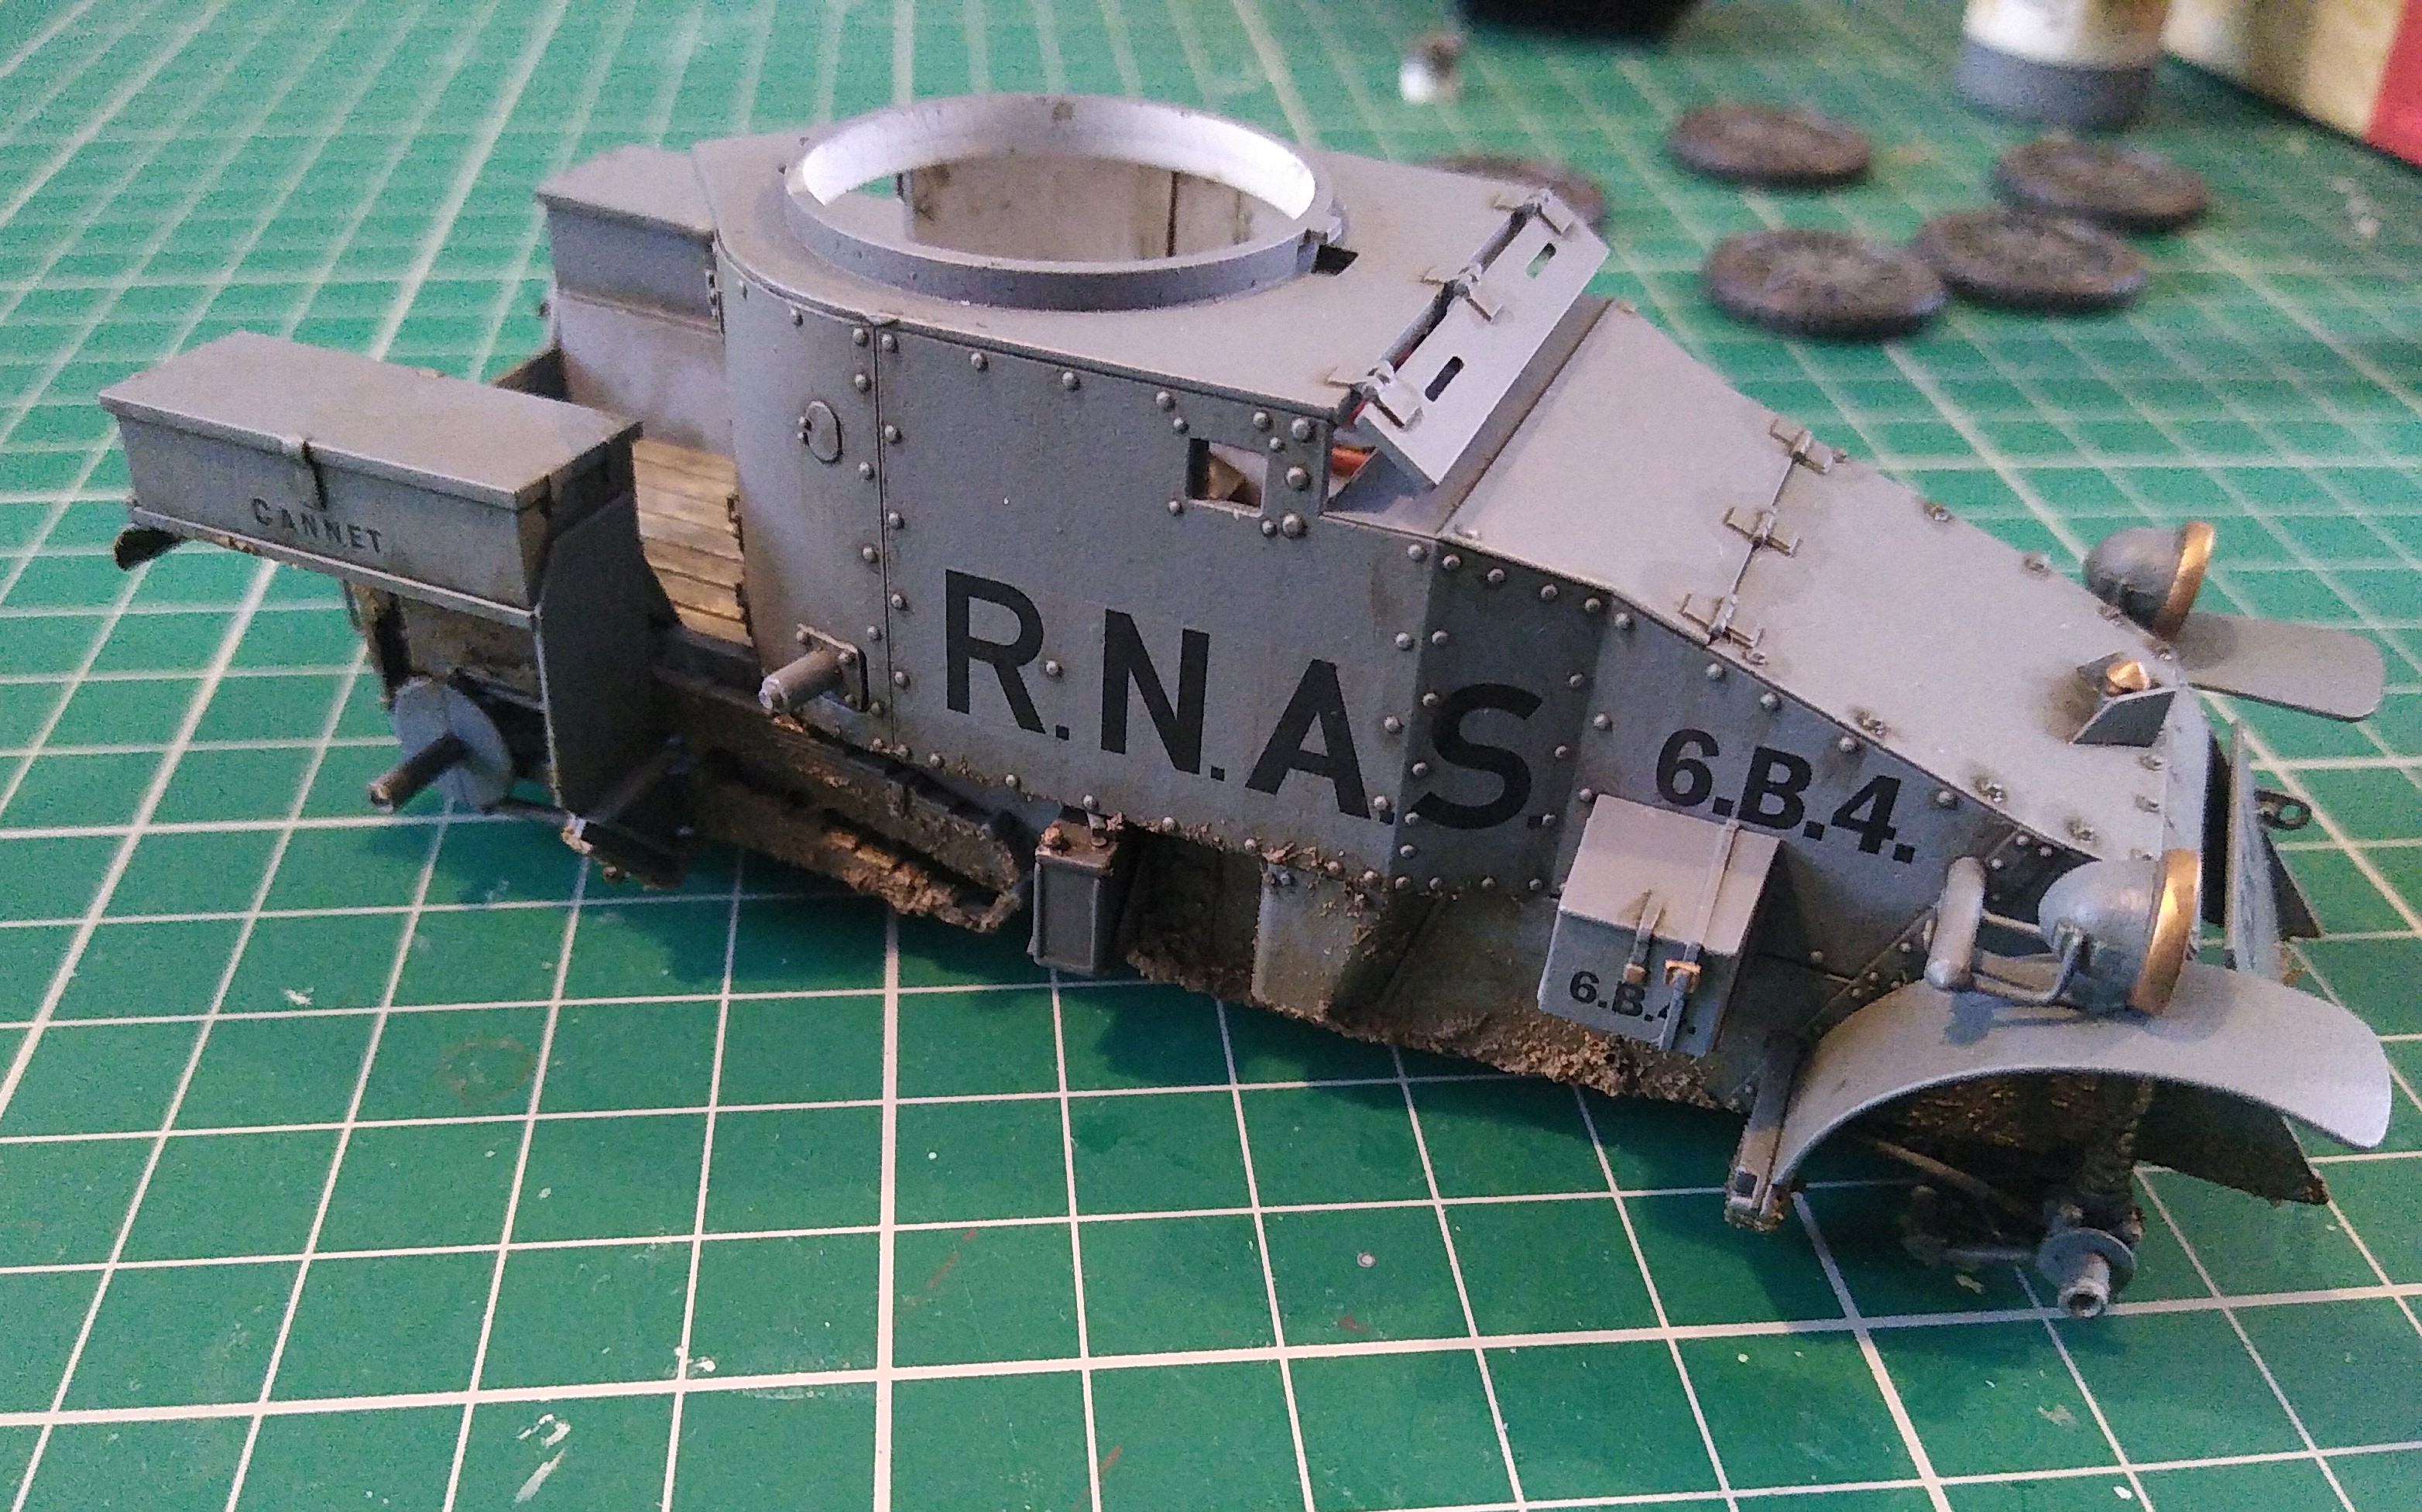
Gave it a coat of gloss, decals and sealed with some matt clear.
I decided to use the decals for ‘Cannet’ from B Section of 6 Squadron. I have no idea what Cannet refers to. The only result on Google was a town called Le Cannet not far from Cannes. I do wonder if it should read Gannet?
Decals went down with no trouble. The film needed a few pin pricks and Microsol and Set to settle over the rivets. Fortunately no bad reactions to the solutions.
Just need to attach the final parts and then we can start some weathering.
7 Likes
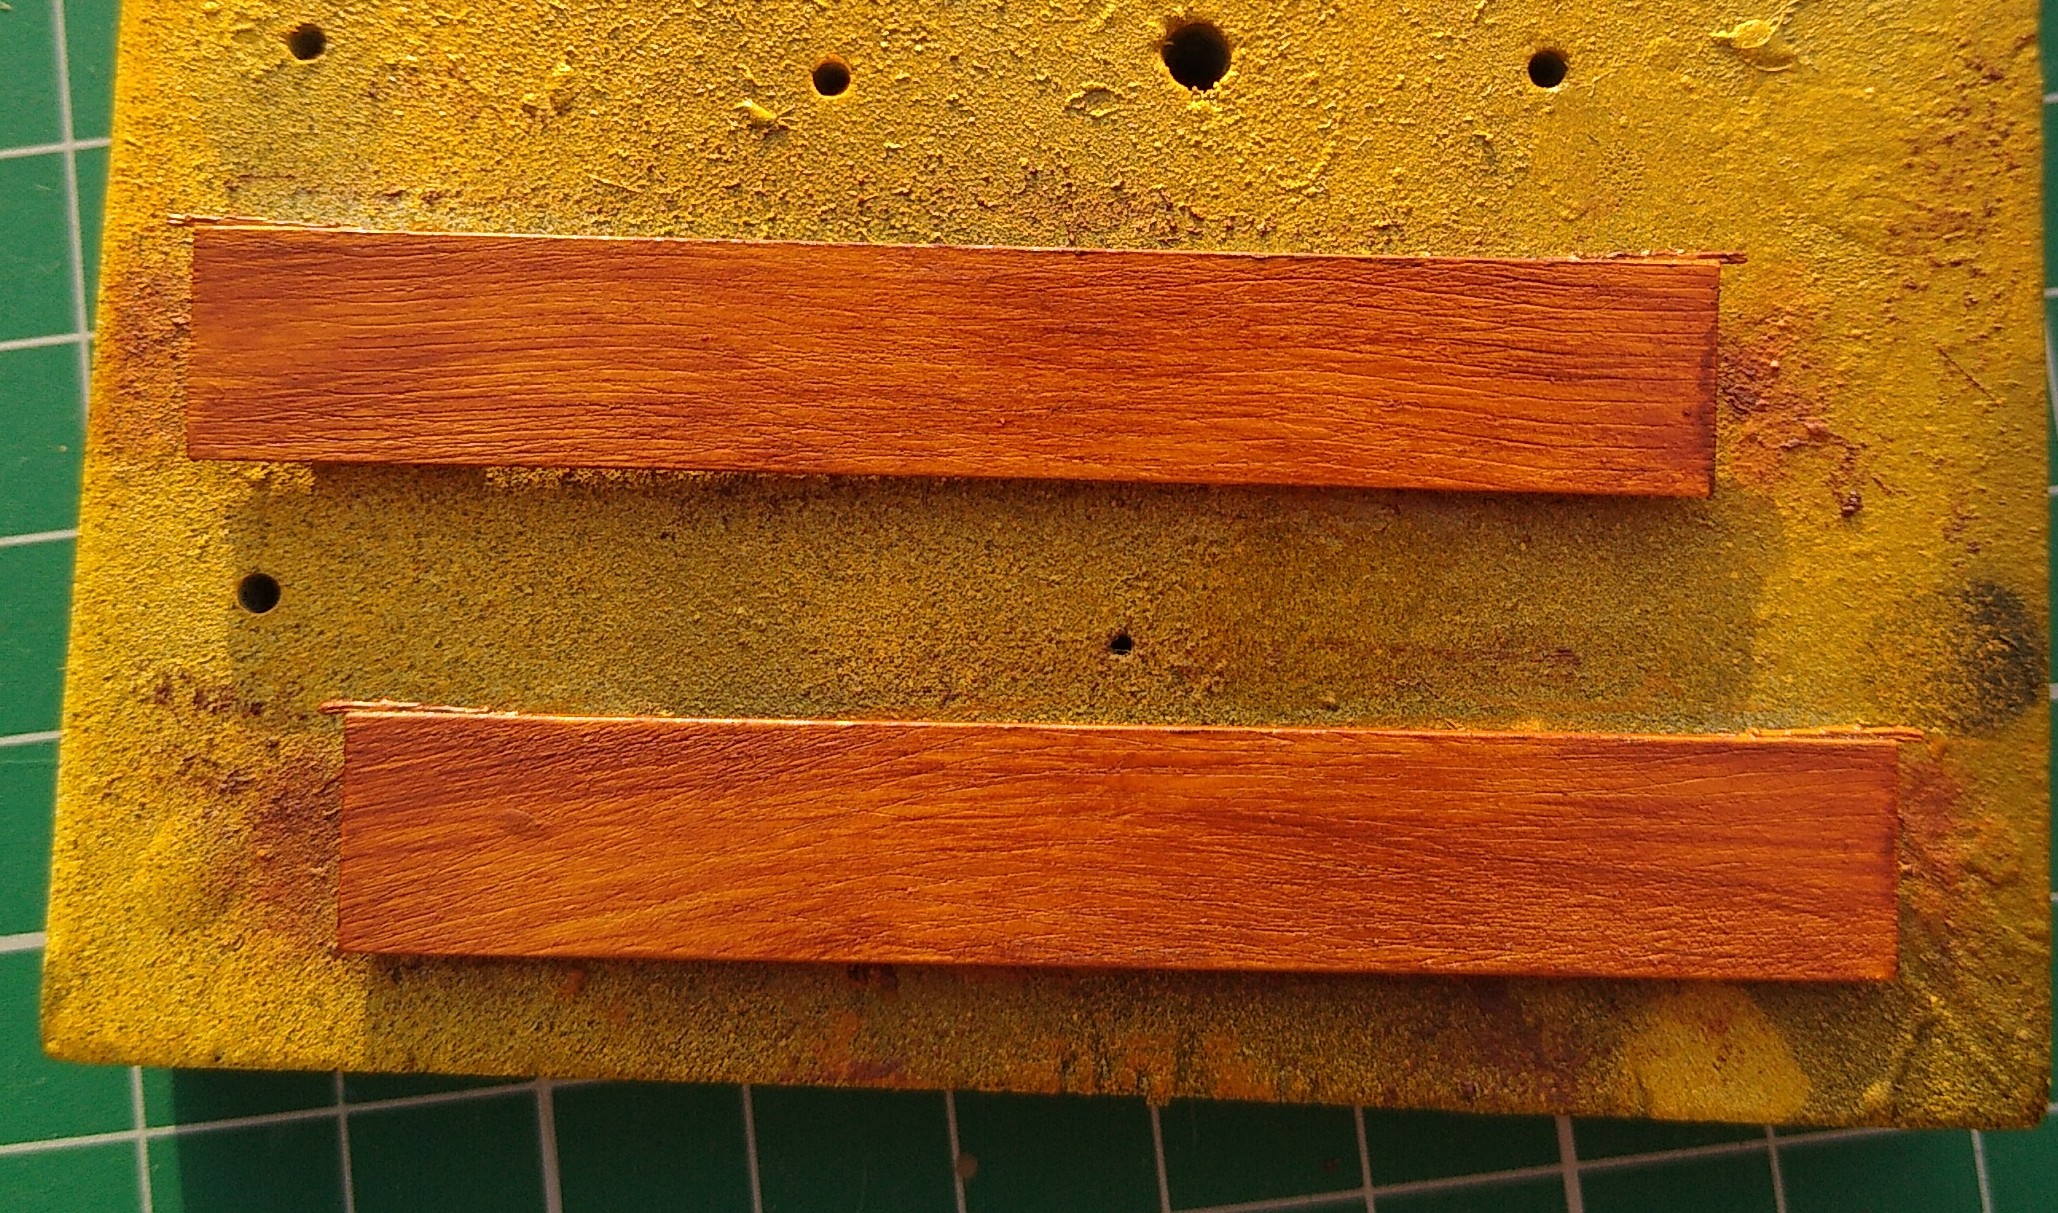
And the unditching planks.
To simulate woodgrain, I scored the boards with the razor saw, then used the oil paint over acrylic method. Last step was a coat of Tamiya gloss clear orange. Gives a nice depth and warmness to the colour as well as protecting the oil.
Turned out better than I expected.
5 Likes
Looking fantastic Stephen. Love the wood effect
1 Like
Thanks Peter.
I was really happy with those pieces. Especially with how quick it is do. Will have to make sure my weathering is a little restrained, so I don’t hide all of the work under mud!
1 Like
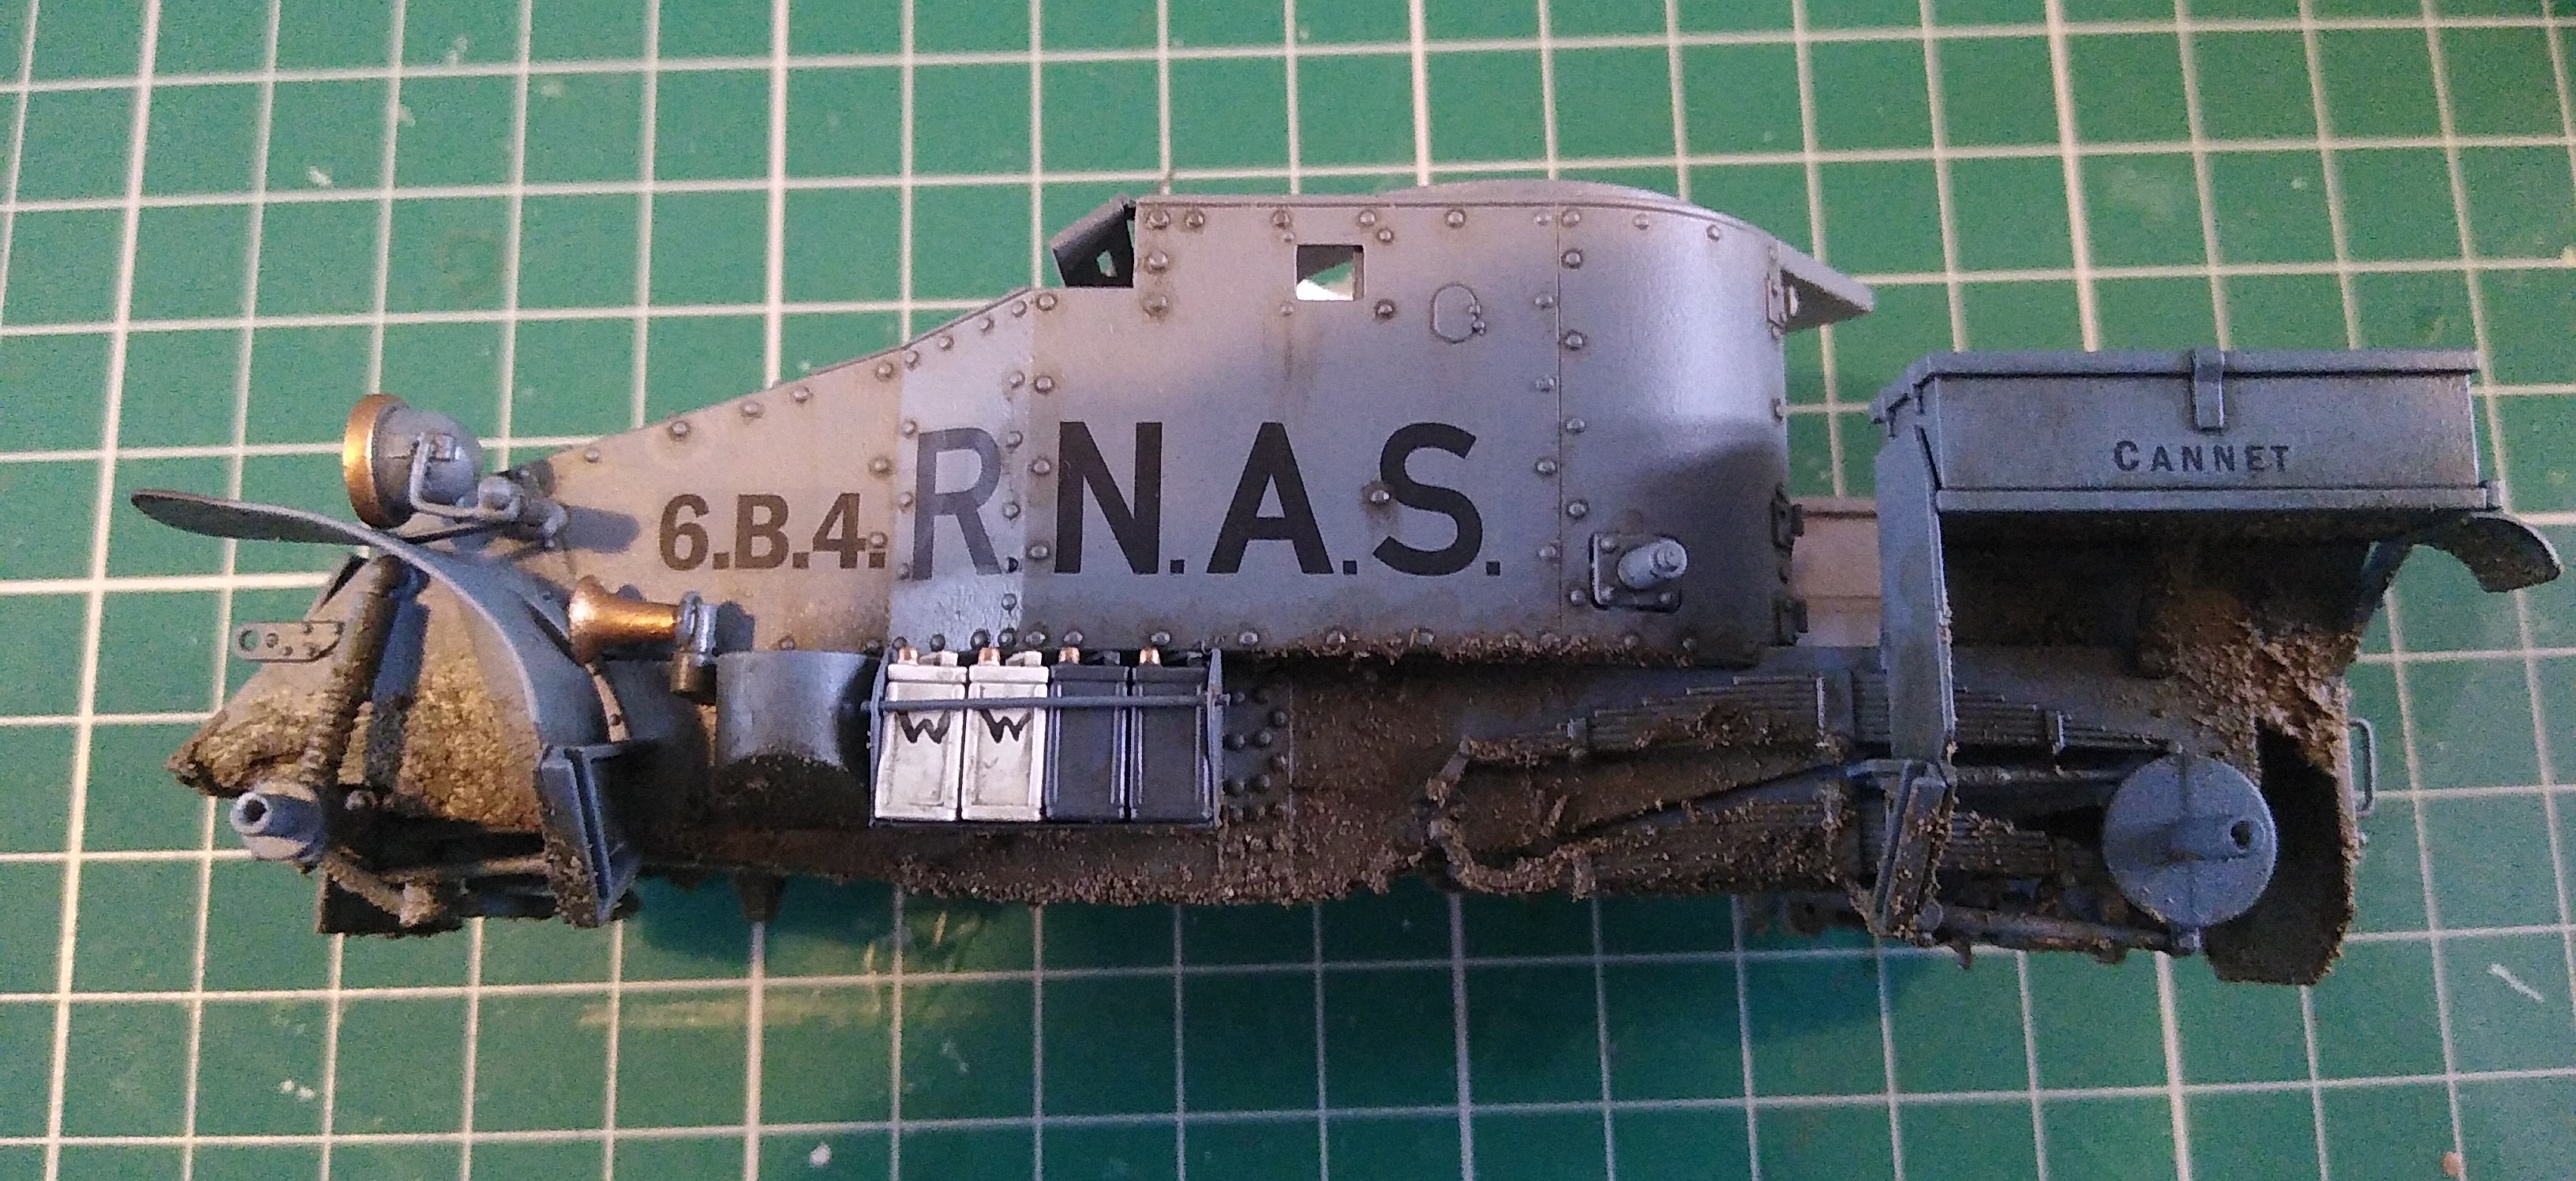
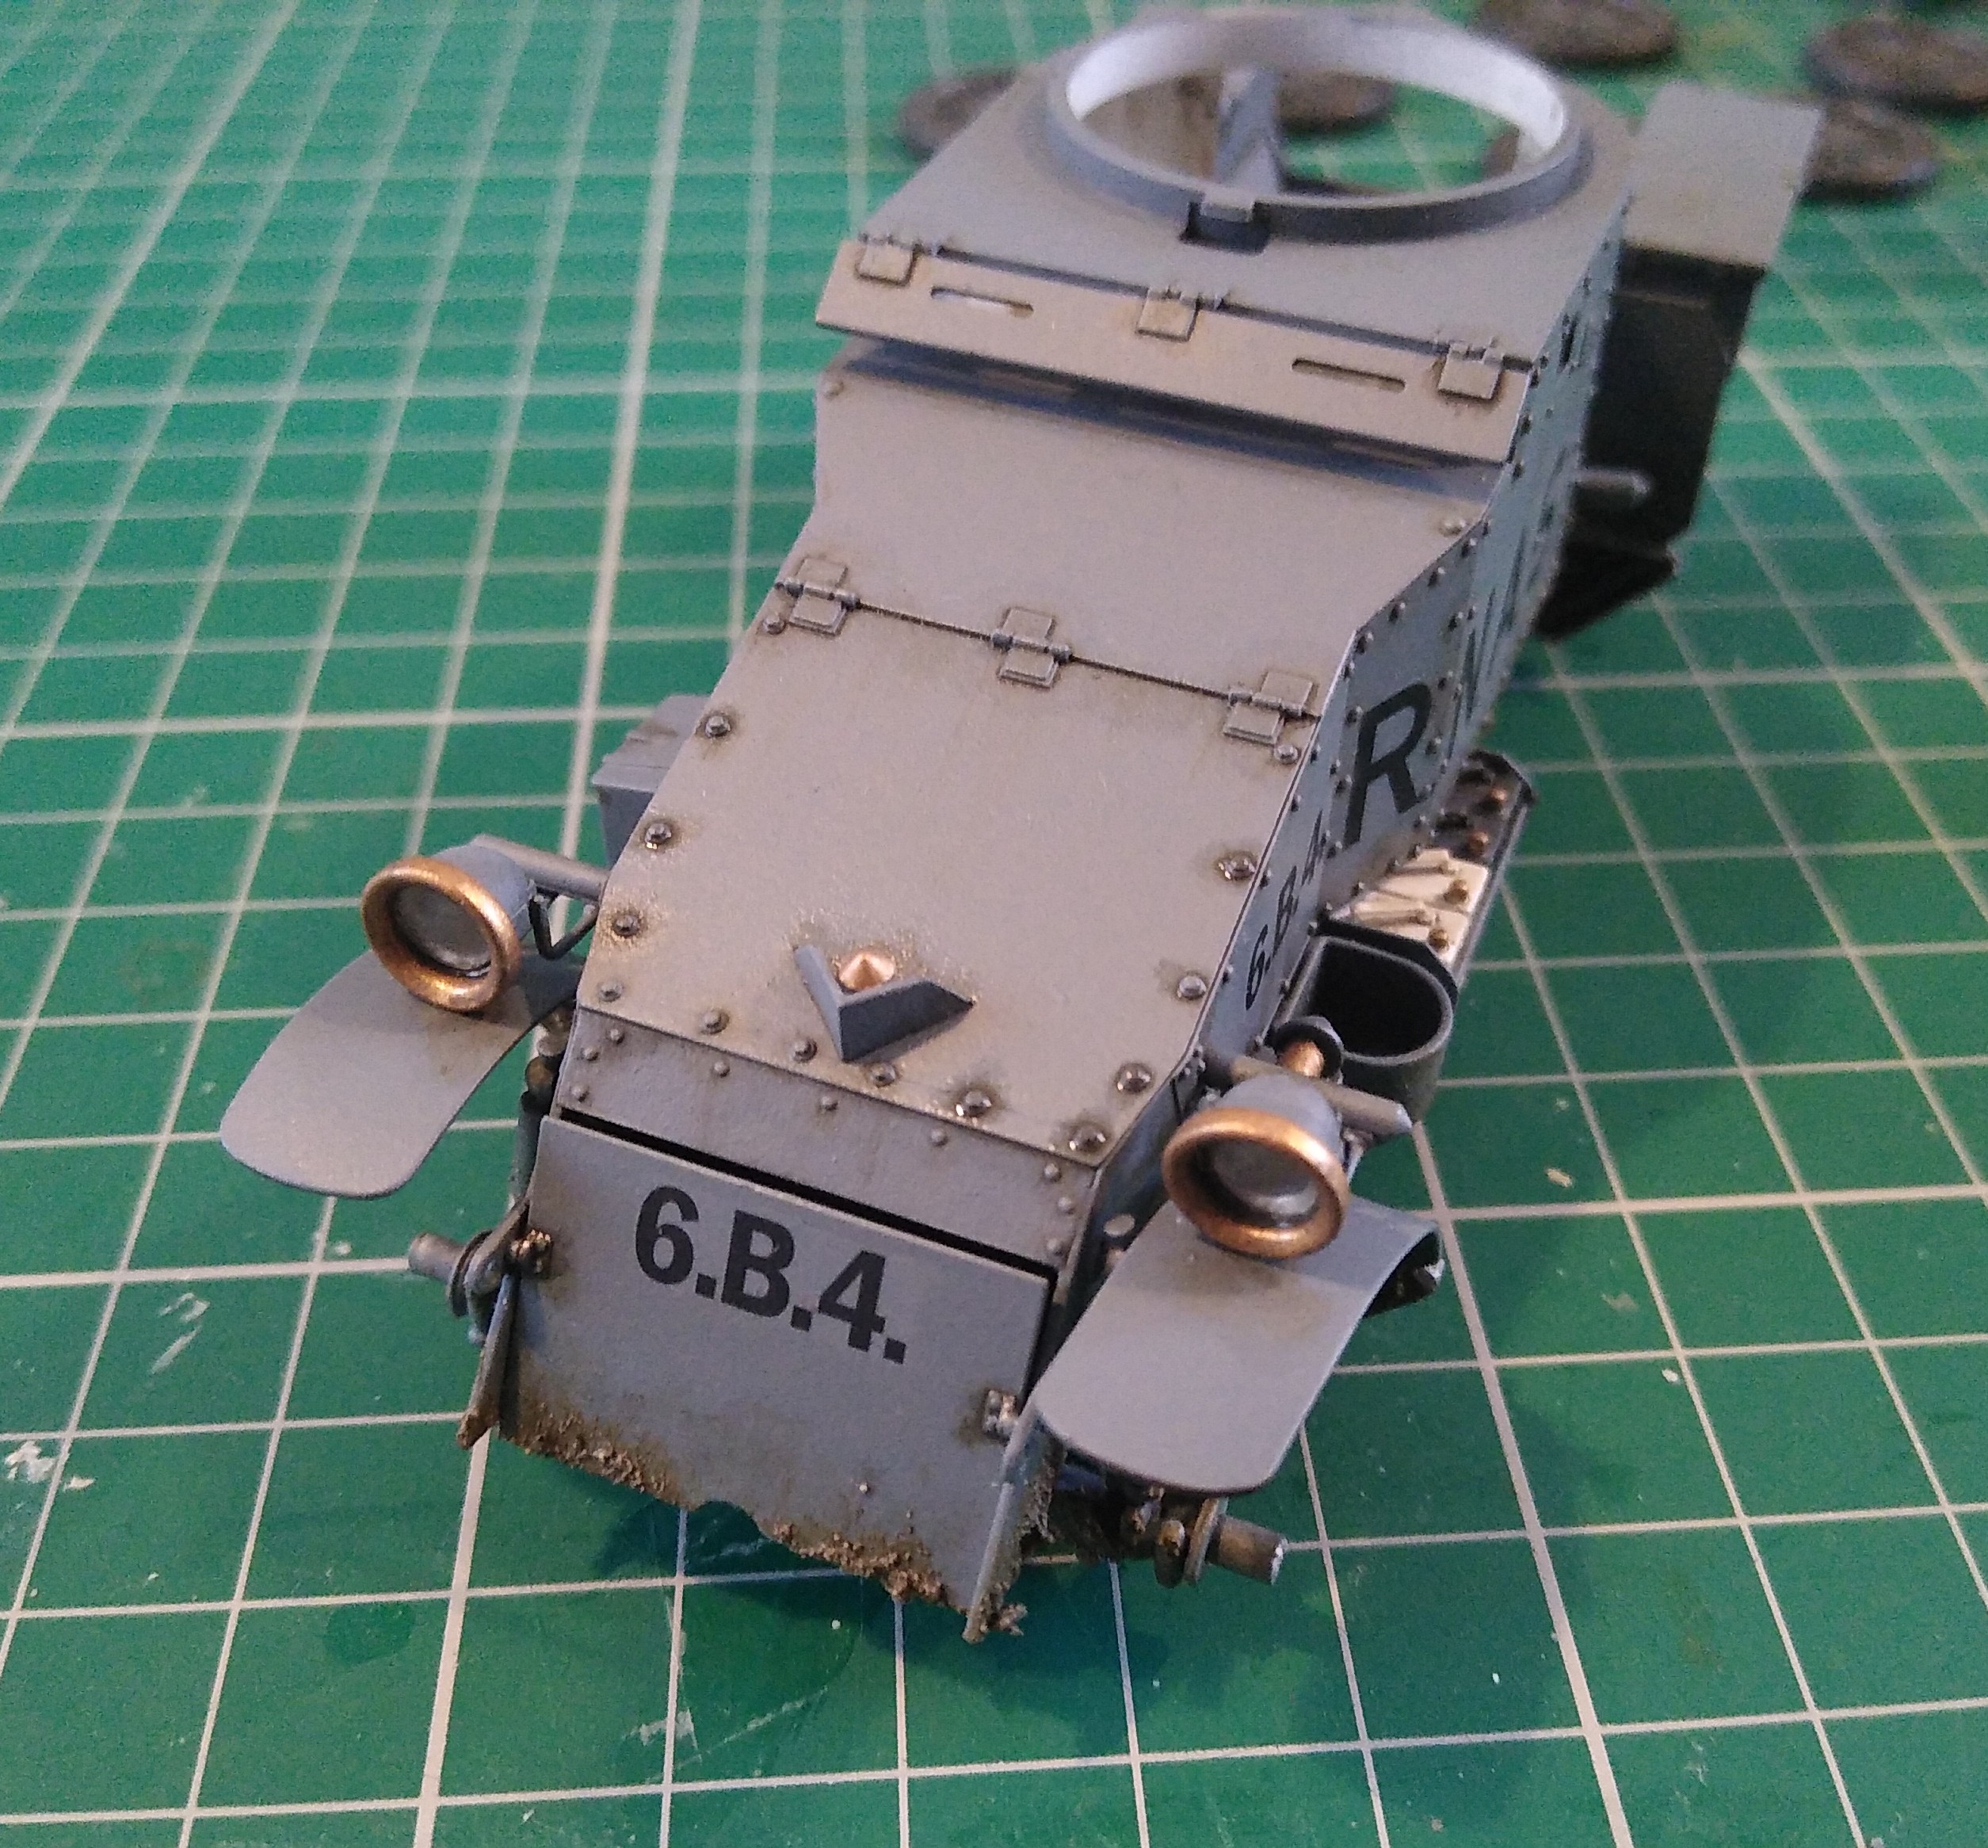
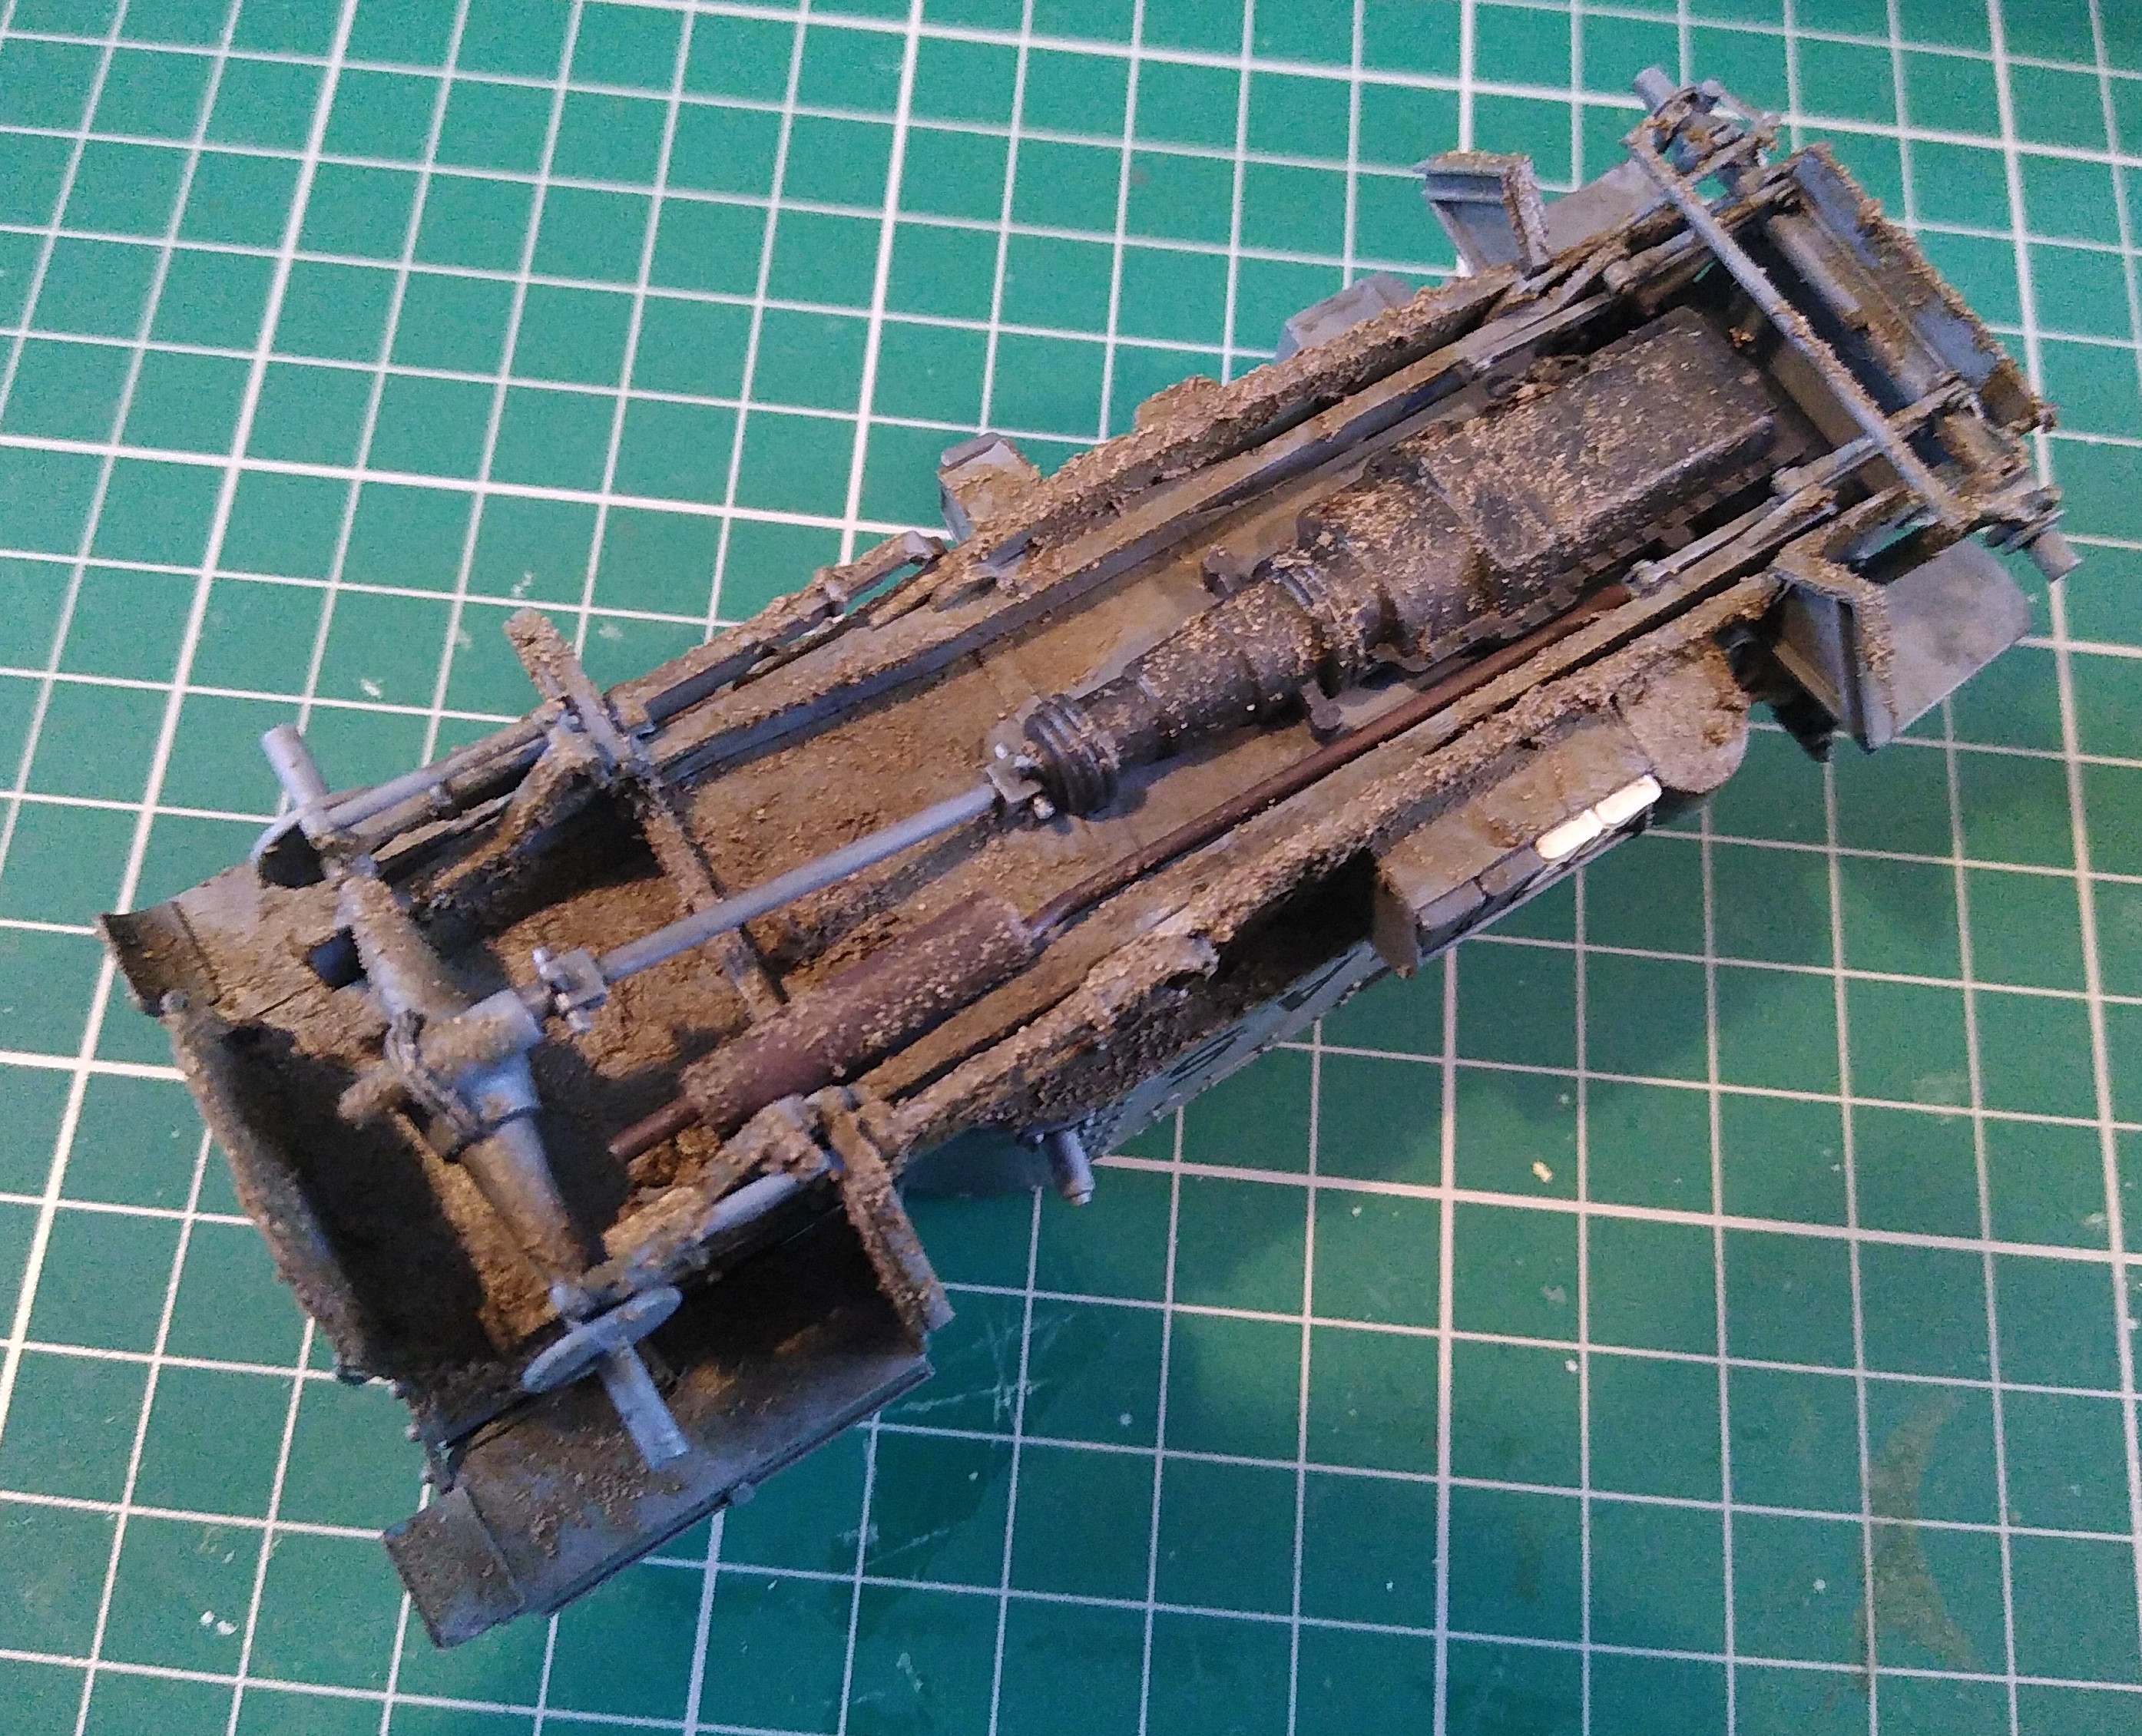
Had a bit of time this weekend to get some weathering on the model.
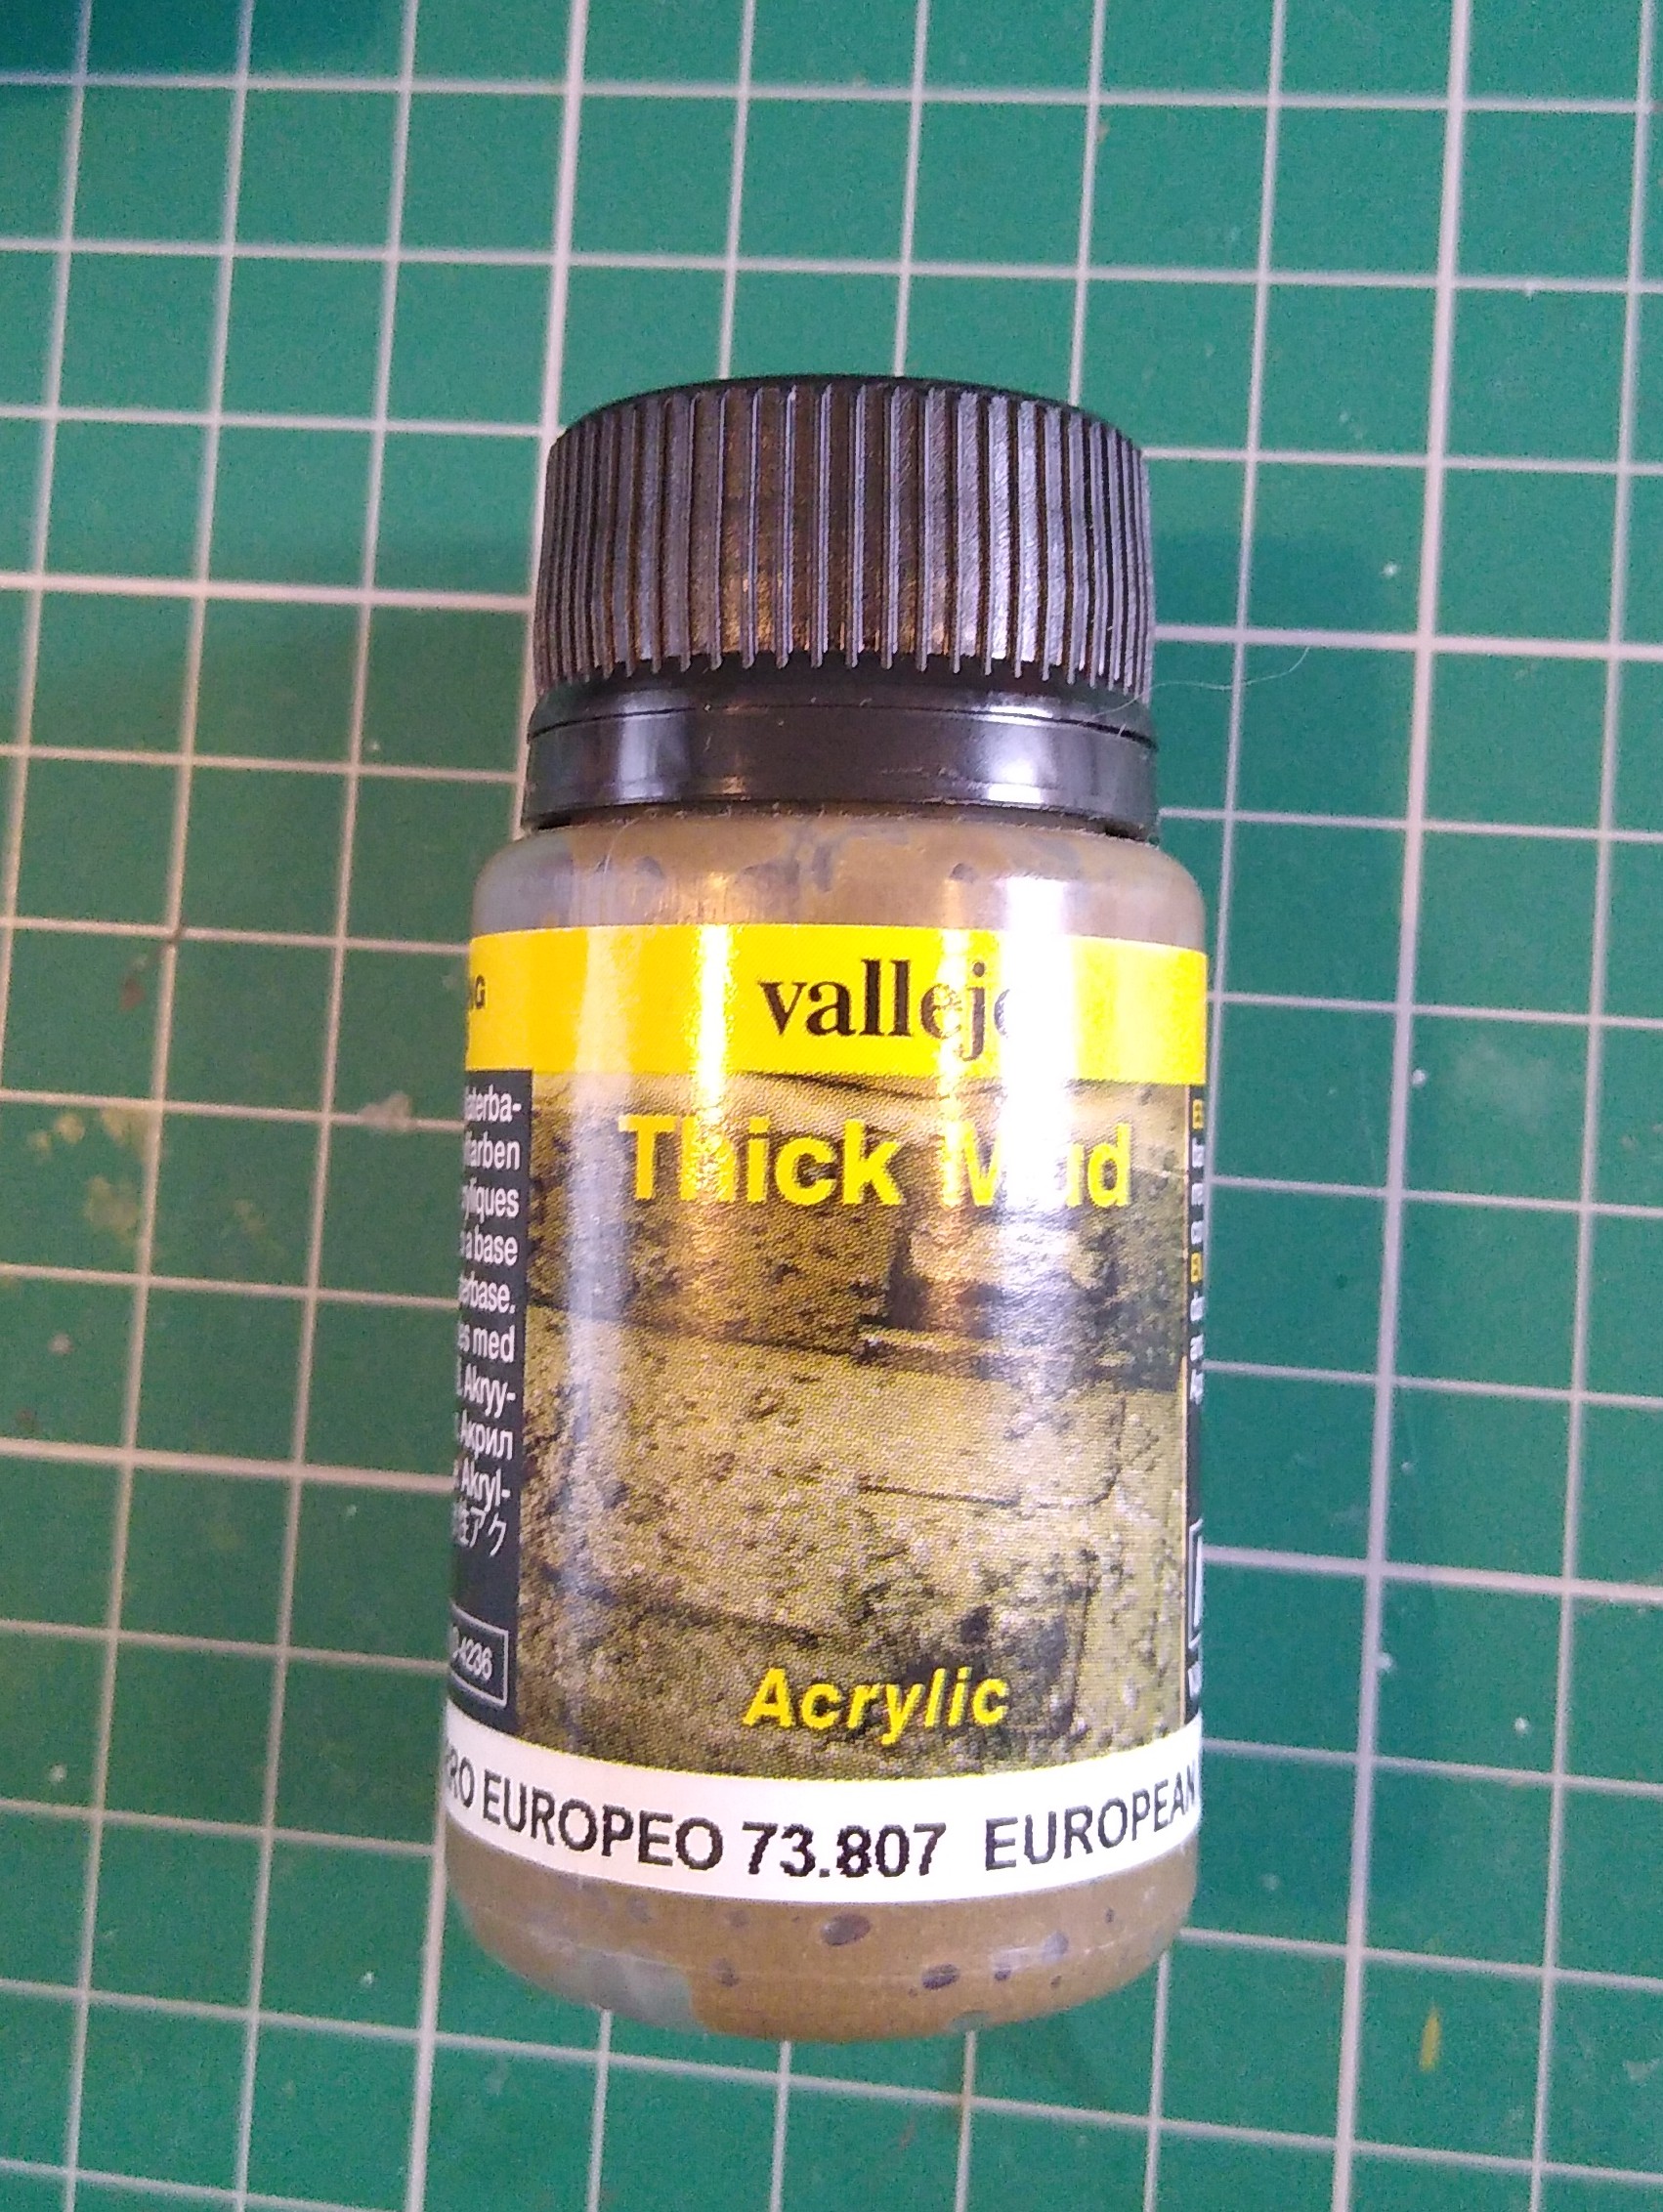
Simple oil pinwash around rivets and panel lines to bring out the details, then stippled on some of Vallejo’s Thick Mud on the underside. I used an old coarse bristled brush, you don’t want to use good brushes to apply this stuff!
Still a few spots to do like the drive shaft and I’ve just noticed I’ve still not painted the strap on the toolbox. Think it might need some pigments to blend it all together.
Thanks for looking.
9 Likes
Really looking the part now Stephen. Some models just need mud to make them real.
1 Like
Thanks Peter.
Anything from the Western front needs some mud.
I’m not going to add more, don’t want to hide any of the detail. Going to have a look at it tomorrow in better light and see what needs doing to blend it in.
Got wheels to do as well.
1 Like
All the extra work is really paying off . Great looking build
1 Like
Stephen that woodgrain looks incredible. Could you explain specifically SBS how you did it and what you used please?
1 Like
Thanks guys. I’ve had to put it on hold at the moment while I shop around for a case for it. Don’t want any dust getting in it!
Matthew, the technique itself is quite simple. The hardest part is waiting long enough for the oil paint to dry fully!
Let me remember what I did.
-
Scored the boreds with a few passes with a razor saw to add some texture. Some of the lines I curved to make it look more natural. Light sand to remove any burrs and scrubbed off the sanding residue.
-
Sprayed Tamiya white primer and brushed on a coat of Vallejo buff acrylic. Any sand or off white coloured acrylic will work, but not enamel in case you get a reaction with the oil. You can change the shade to replicate whatever wood you want. Brush painting works really well because any brush marks add to the overall effect.
-
When dry, I used an old stiff flat brush to lightly brush on the oil paint in the direction of the grain. Almost like a drybrush. A little goes a long way! I used an old tube of Mig Oils Dark Rust, but any brown, ochre, umber or sienna shades will work. Again, match the shade to the wood you want to replicate. Grey’s work really well for old and weathered wood.
-
After leaving it a while to dry (a newer and wetter tube of oil will take a little longer), take an old flat brush damped with thinner (enamel thinner, white spirit, turps) and gently start to blend in the oils in the direction of the grain.
-
Put the part in airtight container to thoroughly dry. At least a week, maybe longer if it was a new tube of oil. This probably the most important step. Oils get tacky as they dry and fluff or pet hairs can be very difficult to remove once stuck in it!
-
When dry seal it with a clear coat. If you want a varnished wood Tamiyas rattle can clear yellow and orange are fantastic for this. Matt clears are great for untreated or weathered wood.
Hope that’s helpful.
Best advice is have a practice and see how it turns out. The real beauty of this technique is that if it’s not going how you want, you can wipe off the oils with a thinner damped rag and start again. Oils are very forgiving. Sometimes a wipe can even give you the effect if it leaves a trace behind.
With practice it’s very easy to do.
All the best
Stephen
2 Likes
@phantom_phanatic Thank you very much Stephen that is an excellent explanation. I understand completely. The method is so convincing! I have this kit inbound and hope to try this technique on mine. This kit looks like a real beauty. You have certainly done an outstanding job on it!
1 Like
Happy to help.
It is a really nice kit. Just be careful keeping parts square and it shouldn’t give you any trouble.
As Robin says a few posts above, the roof does need some trimming along the edge to bring it down a little. I hadn’t noticed that till I’d glued it down but have made a note in case I do another.
It’s not very clear in period photos if those boards were painted grey or varnished. I went with the varnish to be add some colour and variation to grey hull.
Good luck with it.
Well, this one has sat for far too long unfinished.
So, let’s try and get it done.
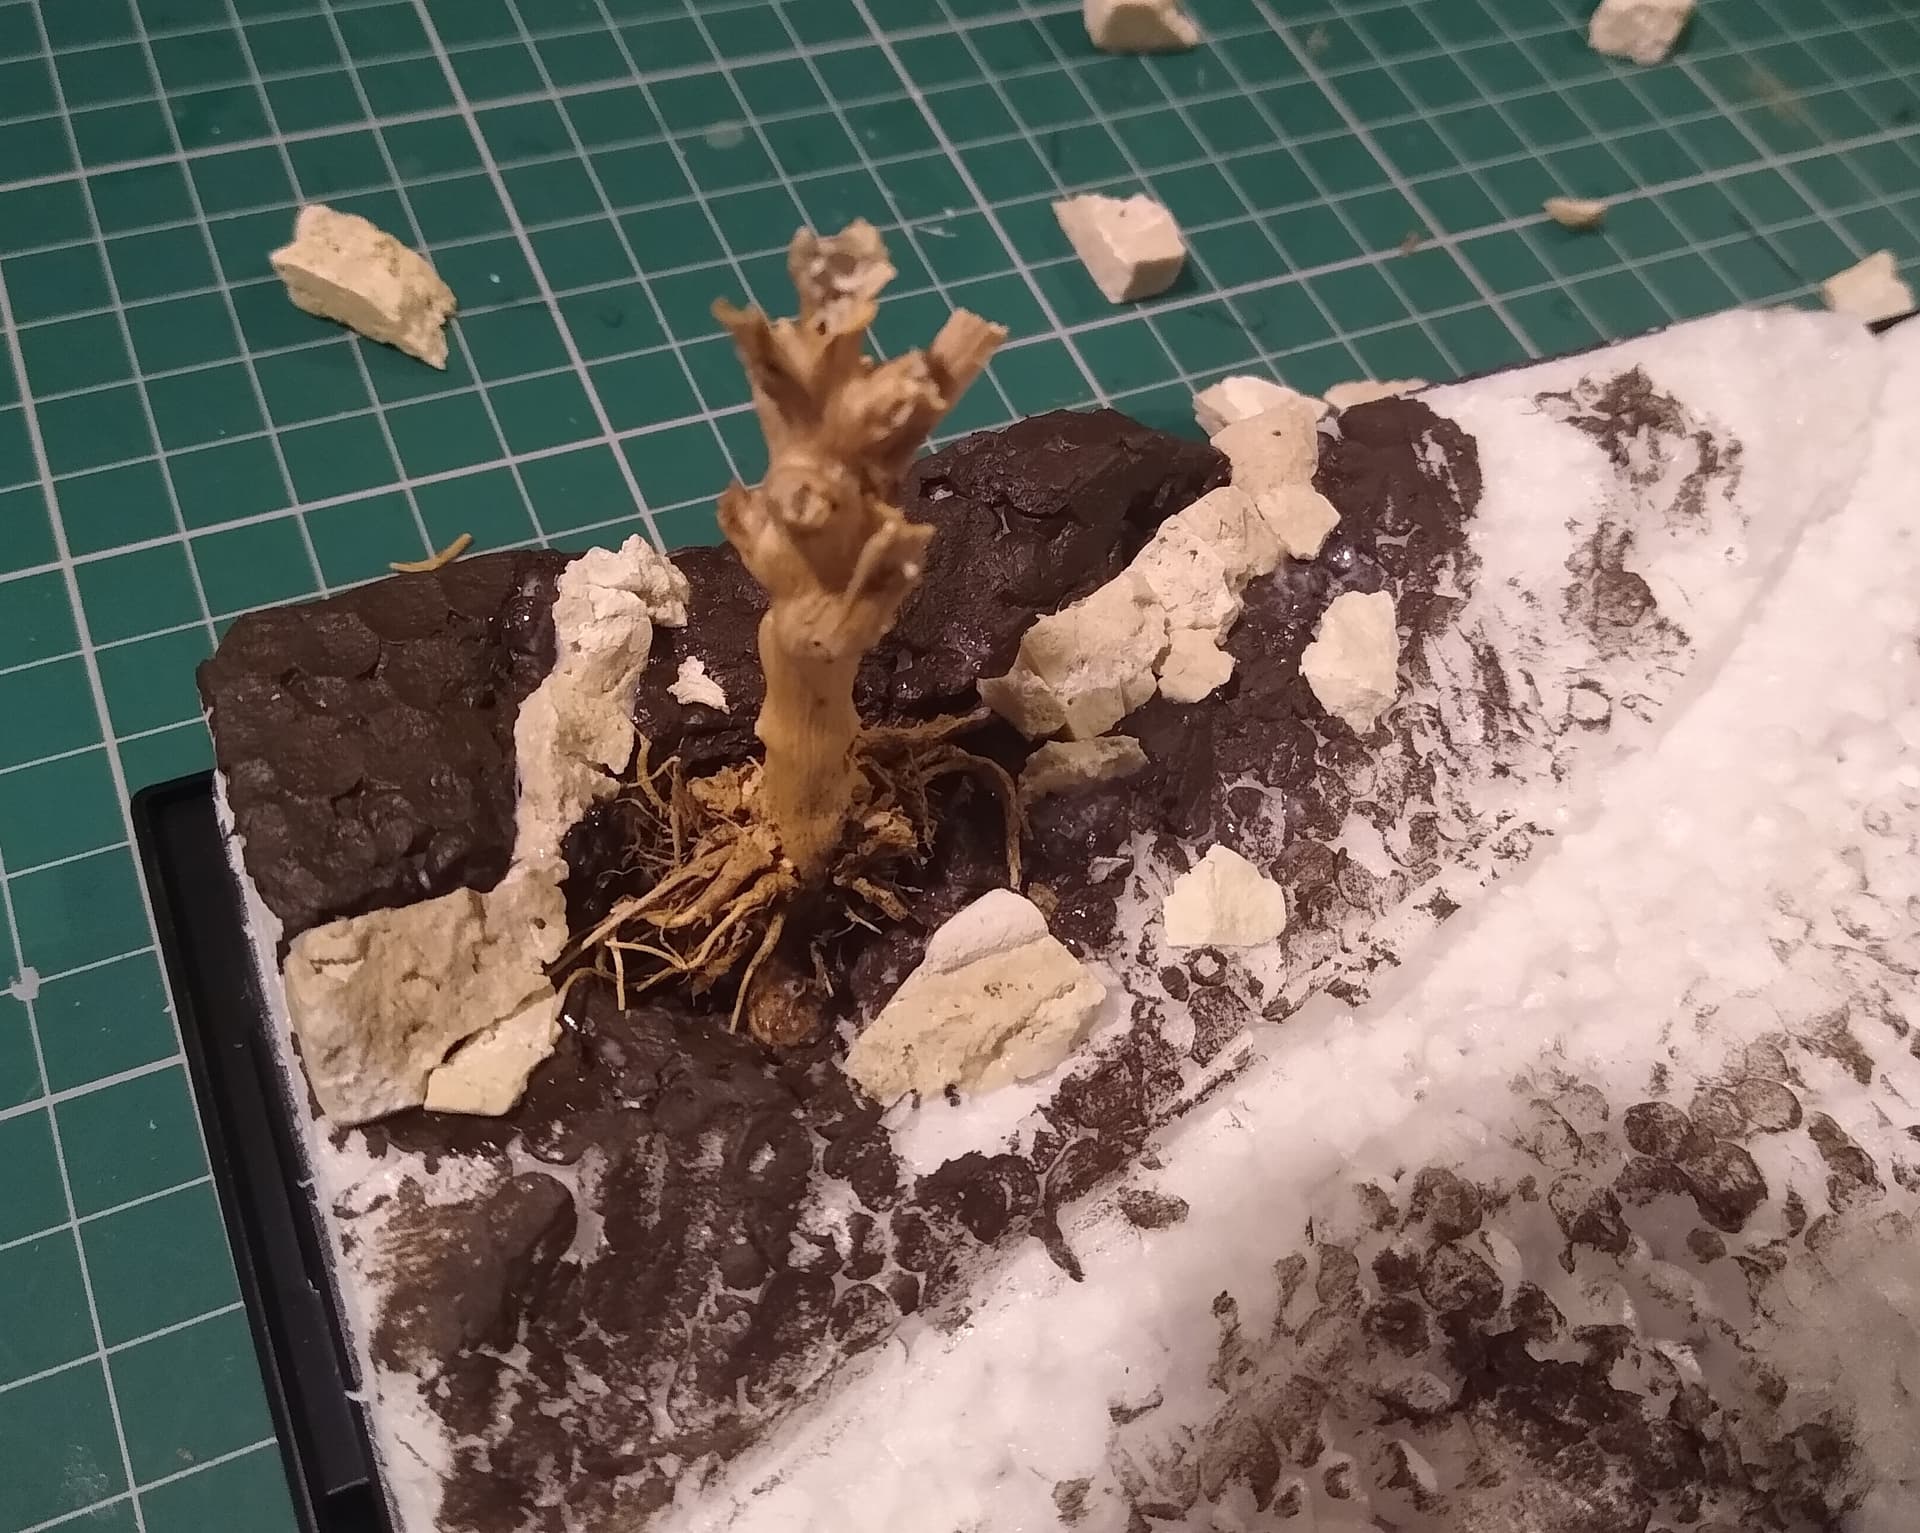
I’ve picked up a couple of CSM’s crewmen and a Trumpeter case to keep the dust away. Today I made a start on the groundwork.
Just glued some styrofoam down for a base, ready for some shaping and filler applying.
My vision is to have it parked up on a muddy track while the crew check a map while stood in the back.
6 Likes
Looking at the photos, I’ve noticed that the camera has shown up the carrier film around the decals. I wonder if that’s the angle and light causing it?
Very strange as I can’t see it in the flesh and they went down over a good coat of gloss.
Probably just the sheen from the decal, Stephen.
If you apply a mat clear coat, it should dull it down 

It had a couple of coats of matt. I think the photos do give it a slight satin shee.
I wonder if it’s picking up the slight raised surface from the carrier film. Seems to be more noticeable on the large RNAS decals.
I’m not too bothered as I can’t see it on the actual model. Just peculiar that the camera picked it up.
2 Likes
Lovely looking build and paint job Stephen, and really looking forward to the construction of the base,  .
.
Having looked closely at the images, and for what it’s worth, I would concur with you that it looks more like the fractional thickness of the carrier film that is showing up,  .
.
G, 
2 Likes
Thanks guys.
Hoping to get the basic ground work done tomorrow.
Have not long got back from a night in London. We went to see the play The Shark is Broken set during the making of Jaws. It’s a three man show set on the Orca. Roy, Robert and Richard arguing, joking, fighting and getting drunk while they wait for the shark to be fixed.
If it tours I thoroughly recommend it.
3 Likes
Managed to work on it a little more today.
Chopped out some of styrofoam to make the beginings of old ruts in the track and other interesting undulations and a hole to plant the tree. The tree is the stem and root ball from one of 2020’s chilli plants that I dried out. Makes for a very convincing old dead tree. And added some rocks. These are chips from the natural stone tiles we put in the kitchen when we moved in. A few needed trimming to fit. I thought they would make useful scenery bits, so kept the chips.
Going to leave this overnight for the PVA glue to dry and then blend it all together with wall filler.
6 Likes