Curious - How do you paint your builds?

My usual sequence is to assemble the lower hull and running gear and weather all that. Once dry the tracks go on and I proceed to attach the fenders. While waiting for the wash on the lower hull to dry, I usually assemble the turret then set it aside until all the stowage boxes, tools, etc. are added to the fenders. Headlights and brush guards and antennae are usually the the last things to go one. Once everything is complete the lower hull is masked off and the remainder is painted.

I ask because I’ve noticed some folks paint and weather the turret before they have completed the fenders and upper hull and I have been thinking of doing that with a current build. Soooo, I guess my question is to whose who do the turret is why do you do it that way? Is there some advantage that you see or is it just a personal preference? Thanks.

1 Like

I can see doing the hull and running gear separate for weathering needs but not the turret. I mean I can doing it separately but not at a separate time. I would want most of the weathering to blend together, with similar products and methods. I would track of that in a heartbeat. Maybe the vehicle type drives that. :man_shrugging: to each their own.

3 Likes

I am going to, going forward finish the entire lower hull before doing any uppers. I find it hard to airbrush the lower hull when the model is hilly build.

1 Like

The painting sequence can be a nightmare for me sometimes especially if the interior is finished for viewing. Ideally, I’ll paint the whole model and road wheels, but I like to weather the lower hull and suspension before I attach the road wheels. For me this is where it gets labor intensive because the washes need to be applied over a gloss coat. As far as painting the turret beforehand I guess it’s whatever blows your skirt up, just seems like an extra step if the hull and deck have yet to be painted.

Cajun :crocodile:

1 Like

I build as much as possible, usually leaving the road wheels and tracks, tools, and small items separate. Everything gets painted and then the road wheels, track, tools and any other smaller stuff gets added. After everything is on, it all gets weathered as one since that is how it would happen in reality.

7 Likes

I’m a keep it simple guy. If it doesn’t have side skirts, I assemble the entire kit: tracks, turret, pioneer tools, and stowage. I then prime it black and then airbrush the camo or OD. The tracks, road wheel tires, tools, stowage, etc are brush painted in place. I then weather. It’s simple and fast with contest winning results.

6 Likes

As HeavyArty
I usually glue the upper & lower halves together, before adding anything that would get broken during construction.

IF the lower hull has complications, deep armour skirts, or Churchill etc., I will paint as much as possible, wheels & running gear, hull etc, then protect the running gear with Alu foil or Saran Wrap/Clingfilm.

1 Like

I generally incorporate finishing stages into the construction stages. Sometimes the only way to have access to certain areas is when you’re building them, so advance planning and anticipation of how the progress of the model will limit, or even prohibit reaching into areas guides my approach.

For instance, right now I’m building a Trumpeter Scud missile launcher. The way the kit is designed, once the upper hull has been attached to the lower, the suspension and tracks must be completely assembled. However, the fenders which are molded attached to the upper hull will prevent reaching the upper tracks and the complexity of the suspension means that painting the various sub-assemblies (wheels, tracks, lower hull sides, etc.) must be done before they’re permanently assembled.

The crew cab is a large, fairly open structure with lots of visible interior details which includes a floor “module” that fits into the lower hull and a firewall that establishes the lower hull wall geometry. All of this must also be completed and painted before the upper and lower hulls can be joined.

At this moment, I have the entire lower hull and suspension dry-fitted and ready to paint. All of the wheels are loose, and the tracks (glued indy link-to-link type) are made into two runs for each side. I have perhaps two dozen or so interior parts and subassemblies that are also all loose, but dry-fitted.

All of this work is just about ready to start painting and will also need to be final assembled in stages. Only once this is all done will the upper and lower hulls be ready to actually join together and the rest of the kit assembled. There’s no point right now in doing any of the external details for the upper hull and superstructure until all of this “foundation” work has been completed.

I have actually written out a plan for the finishing and intermediate construction stages just to be sure that I don’t forget something and to make the sequence as logical and efficient as possible. This will start off with using acrylic texture gel medium to add 3D earth textures to the lower hull and suspension and culminate with attaching the upper and lower hulls together at which time the lower hull, suspension and tracks along with the interior of the crew cab will be completely finished and weathered.

This is a bit of an extreme case, but more so really just because the model is so large, and I’m doing a lot of extra work on the visible crew cab interior. Still, the overall approach, incorporating finishing and construction stages together, is pretty normal for me.
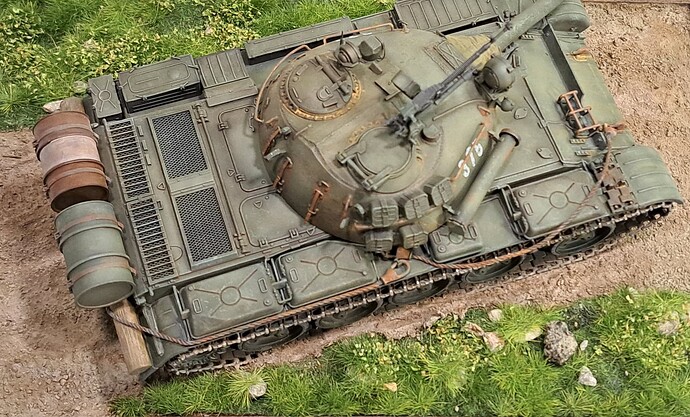
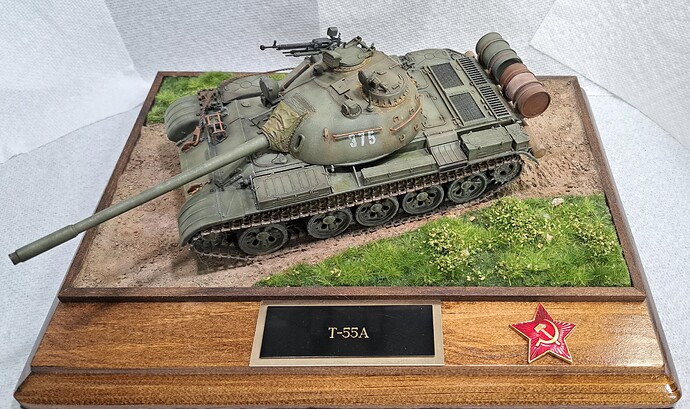
3 Likes

Very similar to Taylorrl’s approach.

Assemble the entire kit: turret, pioneer tools, and stowage. I like having subassemblies like hull, turret, wheels & track separate.

Prime it weathered black and then airbrush the camo or panzer gray or whatever. Apply high light shades of base color or camo.

The tracks are airbrushed separately, basic weathering of dirt etc applied. Final weathering after attached to model.

Mask road wheels/tires so that the weather black primer coat is left as the tire rubber.

Brush paint tools & stowage on model.

The model is weathered as a unit, starting with lower hull and working upward. Basically heavy to light.

2 Likes

First, I assemble everything possible going from big parts to little parts. Hull and turret get assembled first, then all the details get added. I leave off wheels, tracks, and tools. I keep hull and turret separate.
I airbrush the tracks.
I airbrush the wheels rubber black.
I airbrush the wheels base color using a circle template.
I airbrush the hull and turret base color.
I airbrush camo pattern if called for.
I weather the tracks by hand and install the wheels and tracks.
I hand paint the tools and install them.
I weather the tank.

3 Likes

Expanding on weathering since that often uses paint with washes, dry brushing, mapping, stippling, chipping & filters plus other mediums; How do you approach weathering?

  1. Weathering one small area of the model complerely to create a reference key for the rest of the model. Then weather the rest of the model accordingly one area at a time to match the key. I think Mike Rinaldi is a big proponent of that method.

  2. Do each step like filters & pin wash to the entire model then move to the next weathering step.

  1. Other
1 Like

I do it to the whole model, then move on to the next step. Here’s my finishing sequence:
Base paint
Acrylic clear gloss
Decals
Acrylic clear gloss
Acrylic clear flat
Oil washes
Oil filters
Oil dot staining
Oil pin washes
Oil drybrushing
Chipping and scuffing
Pigments
Mount to base so nobody touches the pigments

2 Likes

My painting sequence includes some steps no so far mentioned.

Do something horribly wrong
Panic
Try to fix the horribly wrong thing

I want to develop an algorithm that does not include the above steps but they always seem to end up in the painting sequence. :upside_down_face:

9 Likes

My finishing sequence is similar to Matt’s.

Wash & dry model subassemblies
Base paint - weathered black
Color coat, camo & shadow paint
Stipple & map colors similar to color coat
Paint attached tools & details
Acrylic texture paint to suspension & lower hull

Weather tracks - black, Floquil antique Bronze, washes of rust & dirt, paint wear marks, drybrush

Oil washes
Oil pin washes
Enamel pin washes
Oil w/enamel color coat drybrushing
Oil drybrushing
Oil dot staining (sometimes)
Chipping and scuffing (sometimes)

If using decals, clear gloss, Decals, clear gloss. Dirty markings with pastels & pigments.

Acrylic clear flat
Very light drybrushing
Pastels & Pigments
Very light filters of “dust” thinned 30 to 1

Mount to base so nobody touches the model.

Add name plate to base.

I always like to weather directly on the paint. I like avoid clear gloss coats when possible.

5 Likes

LOL I can’t tell you how many times I’ve gotten all the way to the end of that finishing sequence, messed up, and had to strip the model back to bare plastic!

2 Likes

Hey, you copied my painting technique! Actually, that seems to be my entire model building technique.
Ken

1 Like

My sequence is very similar Matt except I don’t usually do the clear coats for decals.

1 Like

Shep Paine said if you can see it you can paint it. If it works for him…

I all boils down to attention to detail I guess. I’ve seen instances where someone adds painted tools after painting the tank, and you can see shiny areas of CA where they glued them on. Others paint them afterward, as I do when I can, and you can see minute bits of sloppiness where paint gets on something it shouldn’t. I try to avoid this by using pieces of Post It notes underneath tools. Whichever method people use, if they would just go over it with an Opti-Visor before calling it done, they could catch a lot of those small mistakes with CA or paint.

2 Likes

I dont, usually after 50-75% of the build is done I loose interest and open another box. I have maybe 30 unfinished kits and maybe 20 waiting for paint. But on the rare occasion I do start to paint, I do airbrush the whole kit at once including the tracks. Then I paint the details with brush.

3 Likes

Opti-Visor and beyond. …:mag_right: …:iphone: …:desktop_computer: One sure-fire way to reveal mistakes (even the most obvious ones your eyesight missed), is to upload annd review images on your computer. … WHAT?!!! :scream: … Gets me every time!

—mike :face_with_diagonal_mouth:

3 Likes