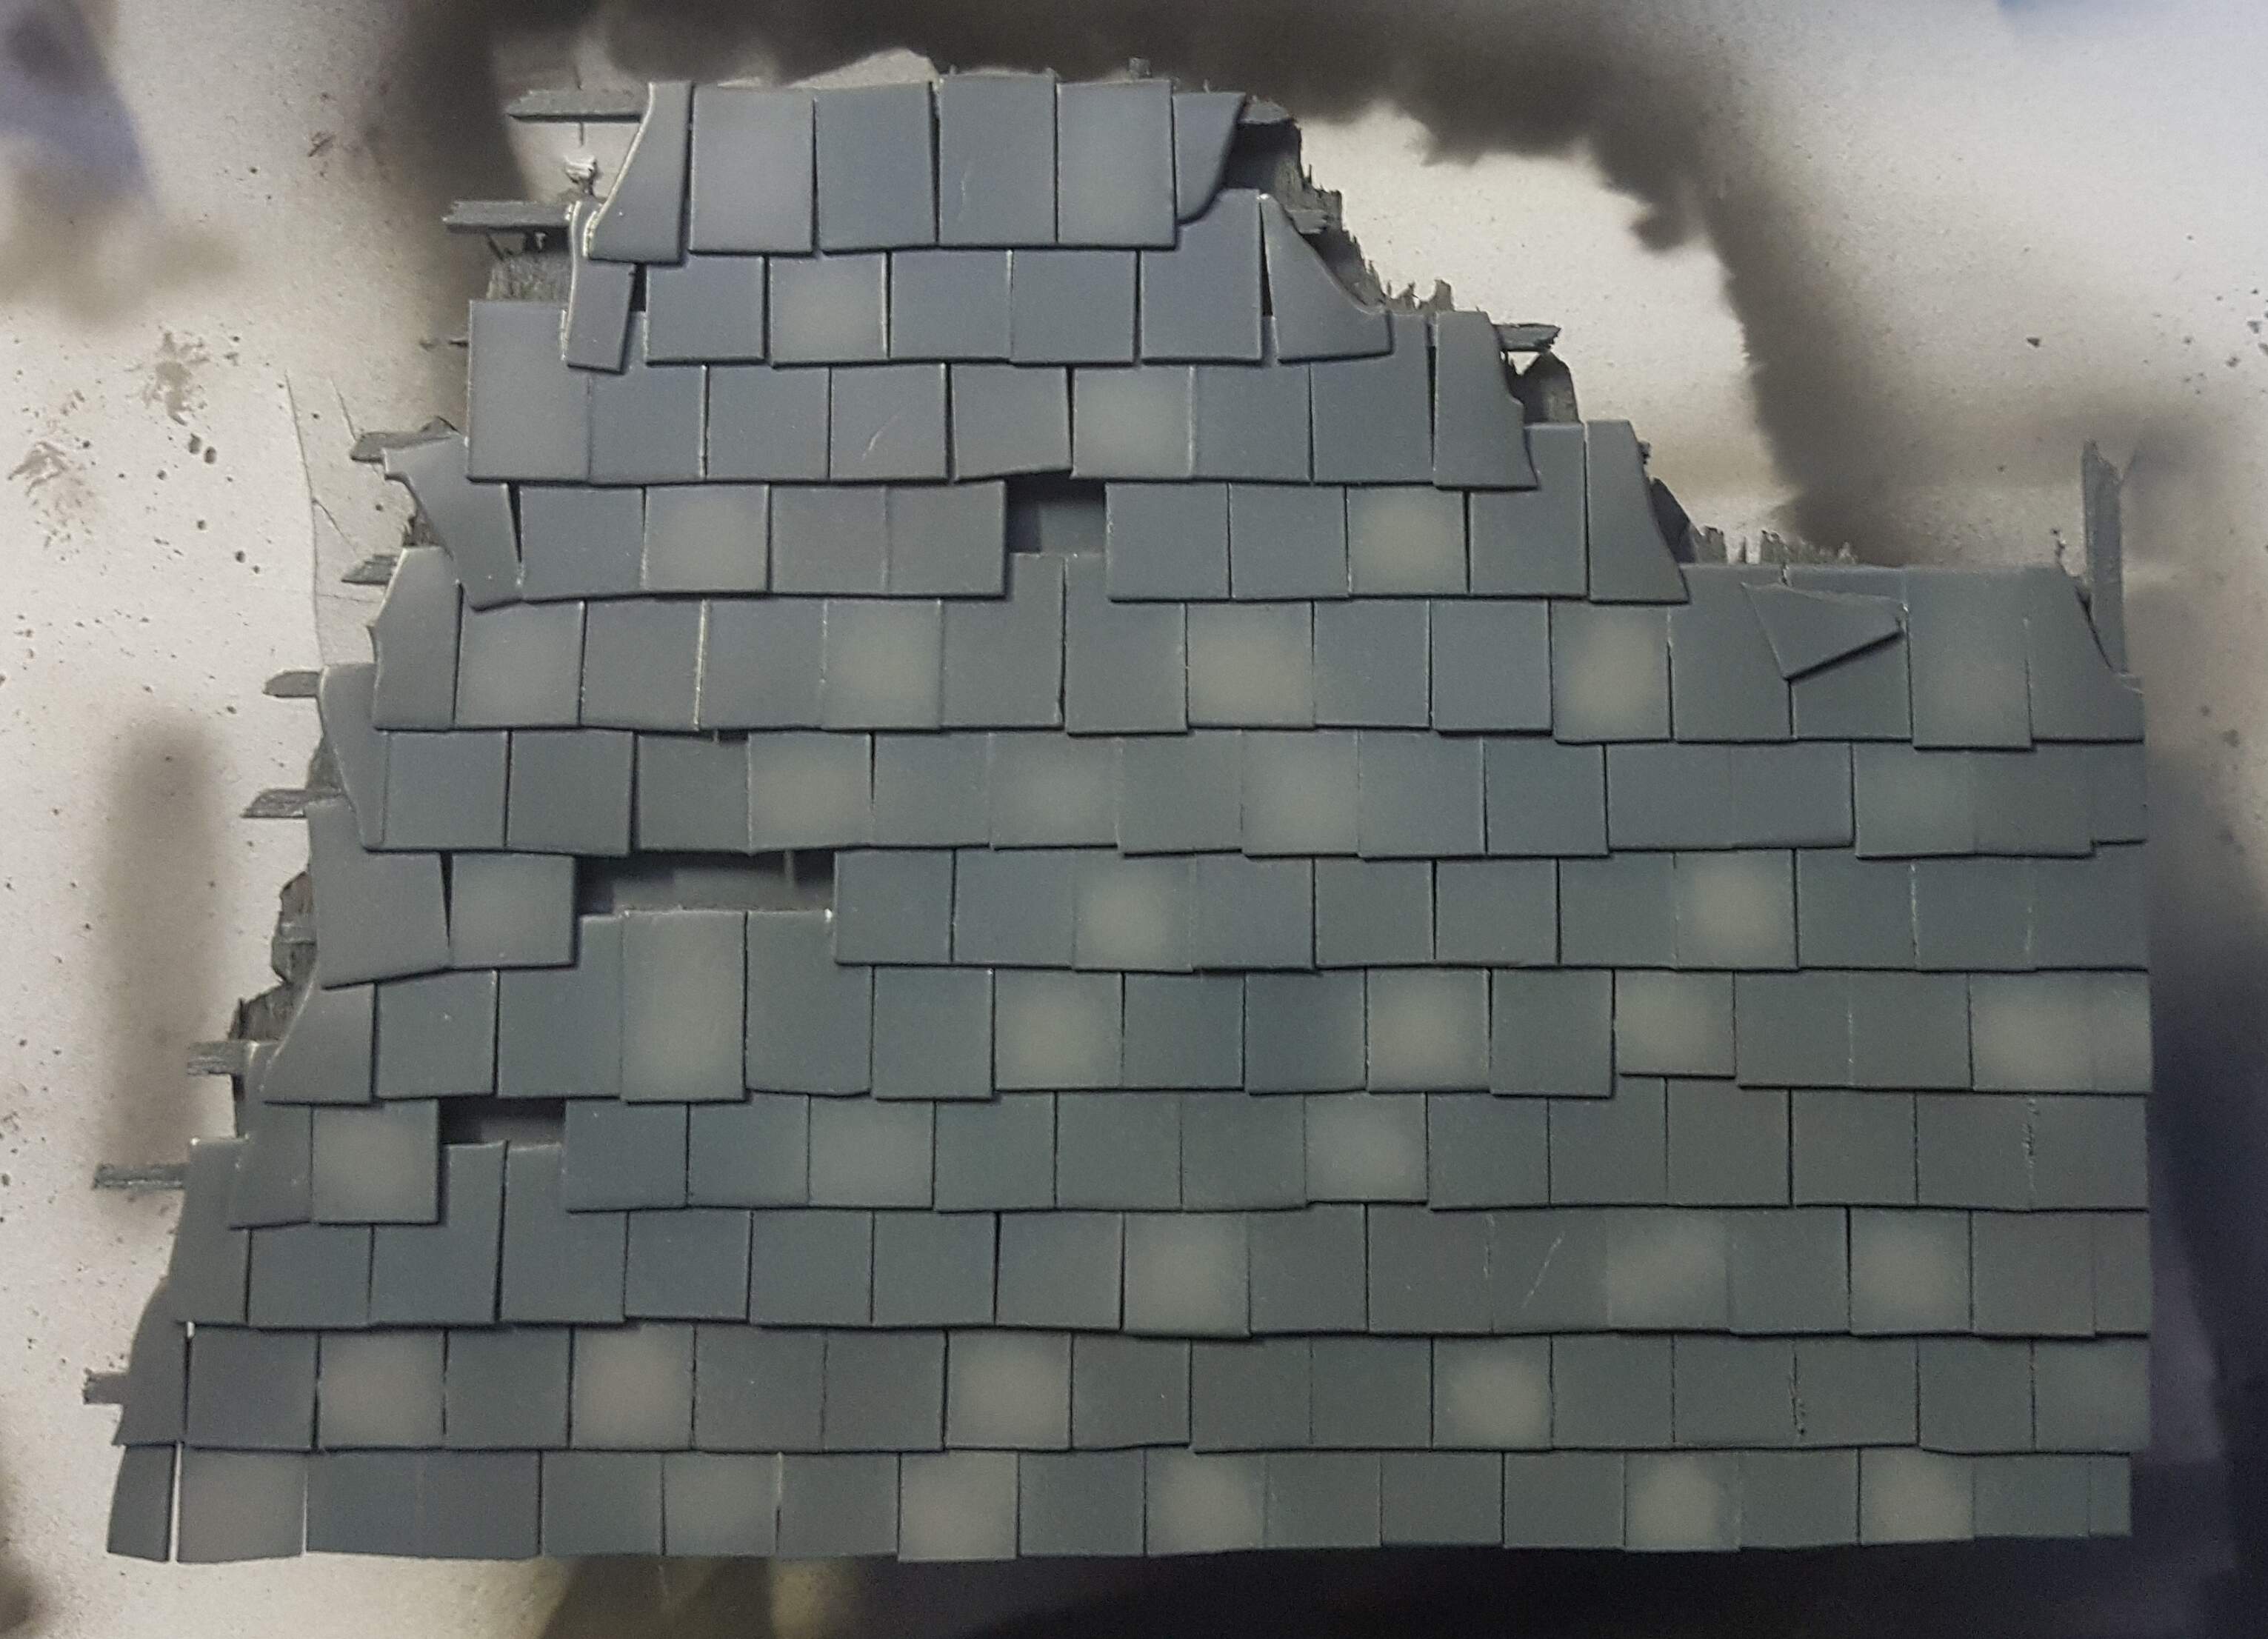
After sanding and cleaning up the roof section and test fitting, I decided the front overhang of the tiles was not sufficient enough so I added another row to the front. I have also added some scratches in a few tiles.
After test fitting again once the additional row was added, I reprimed the whole lot. I managed to sort the airbrush issues and have managed to get a base coat of slate colour down. Very happy with this coat, with only a few touch ups needed when dry.
This will be darkened with filters and washes etc.
1 Like
Smallest of updates after a day at work today. I repainted the base colour a bit darker as it dried lighter than it went on. I have also picked out random tiles in a lighter grey. This will be blended with washes and moss on the slate roof tiles.
2 Likes
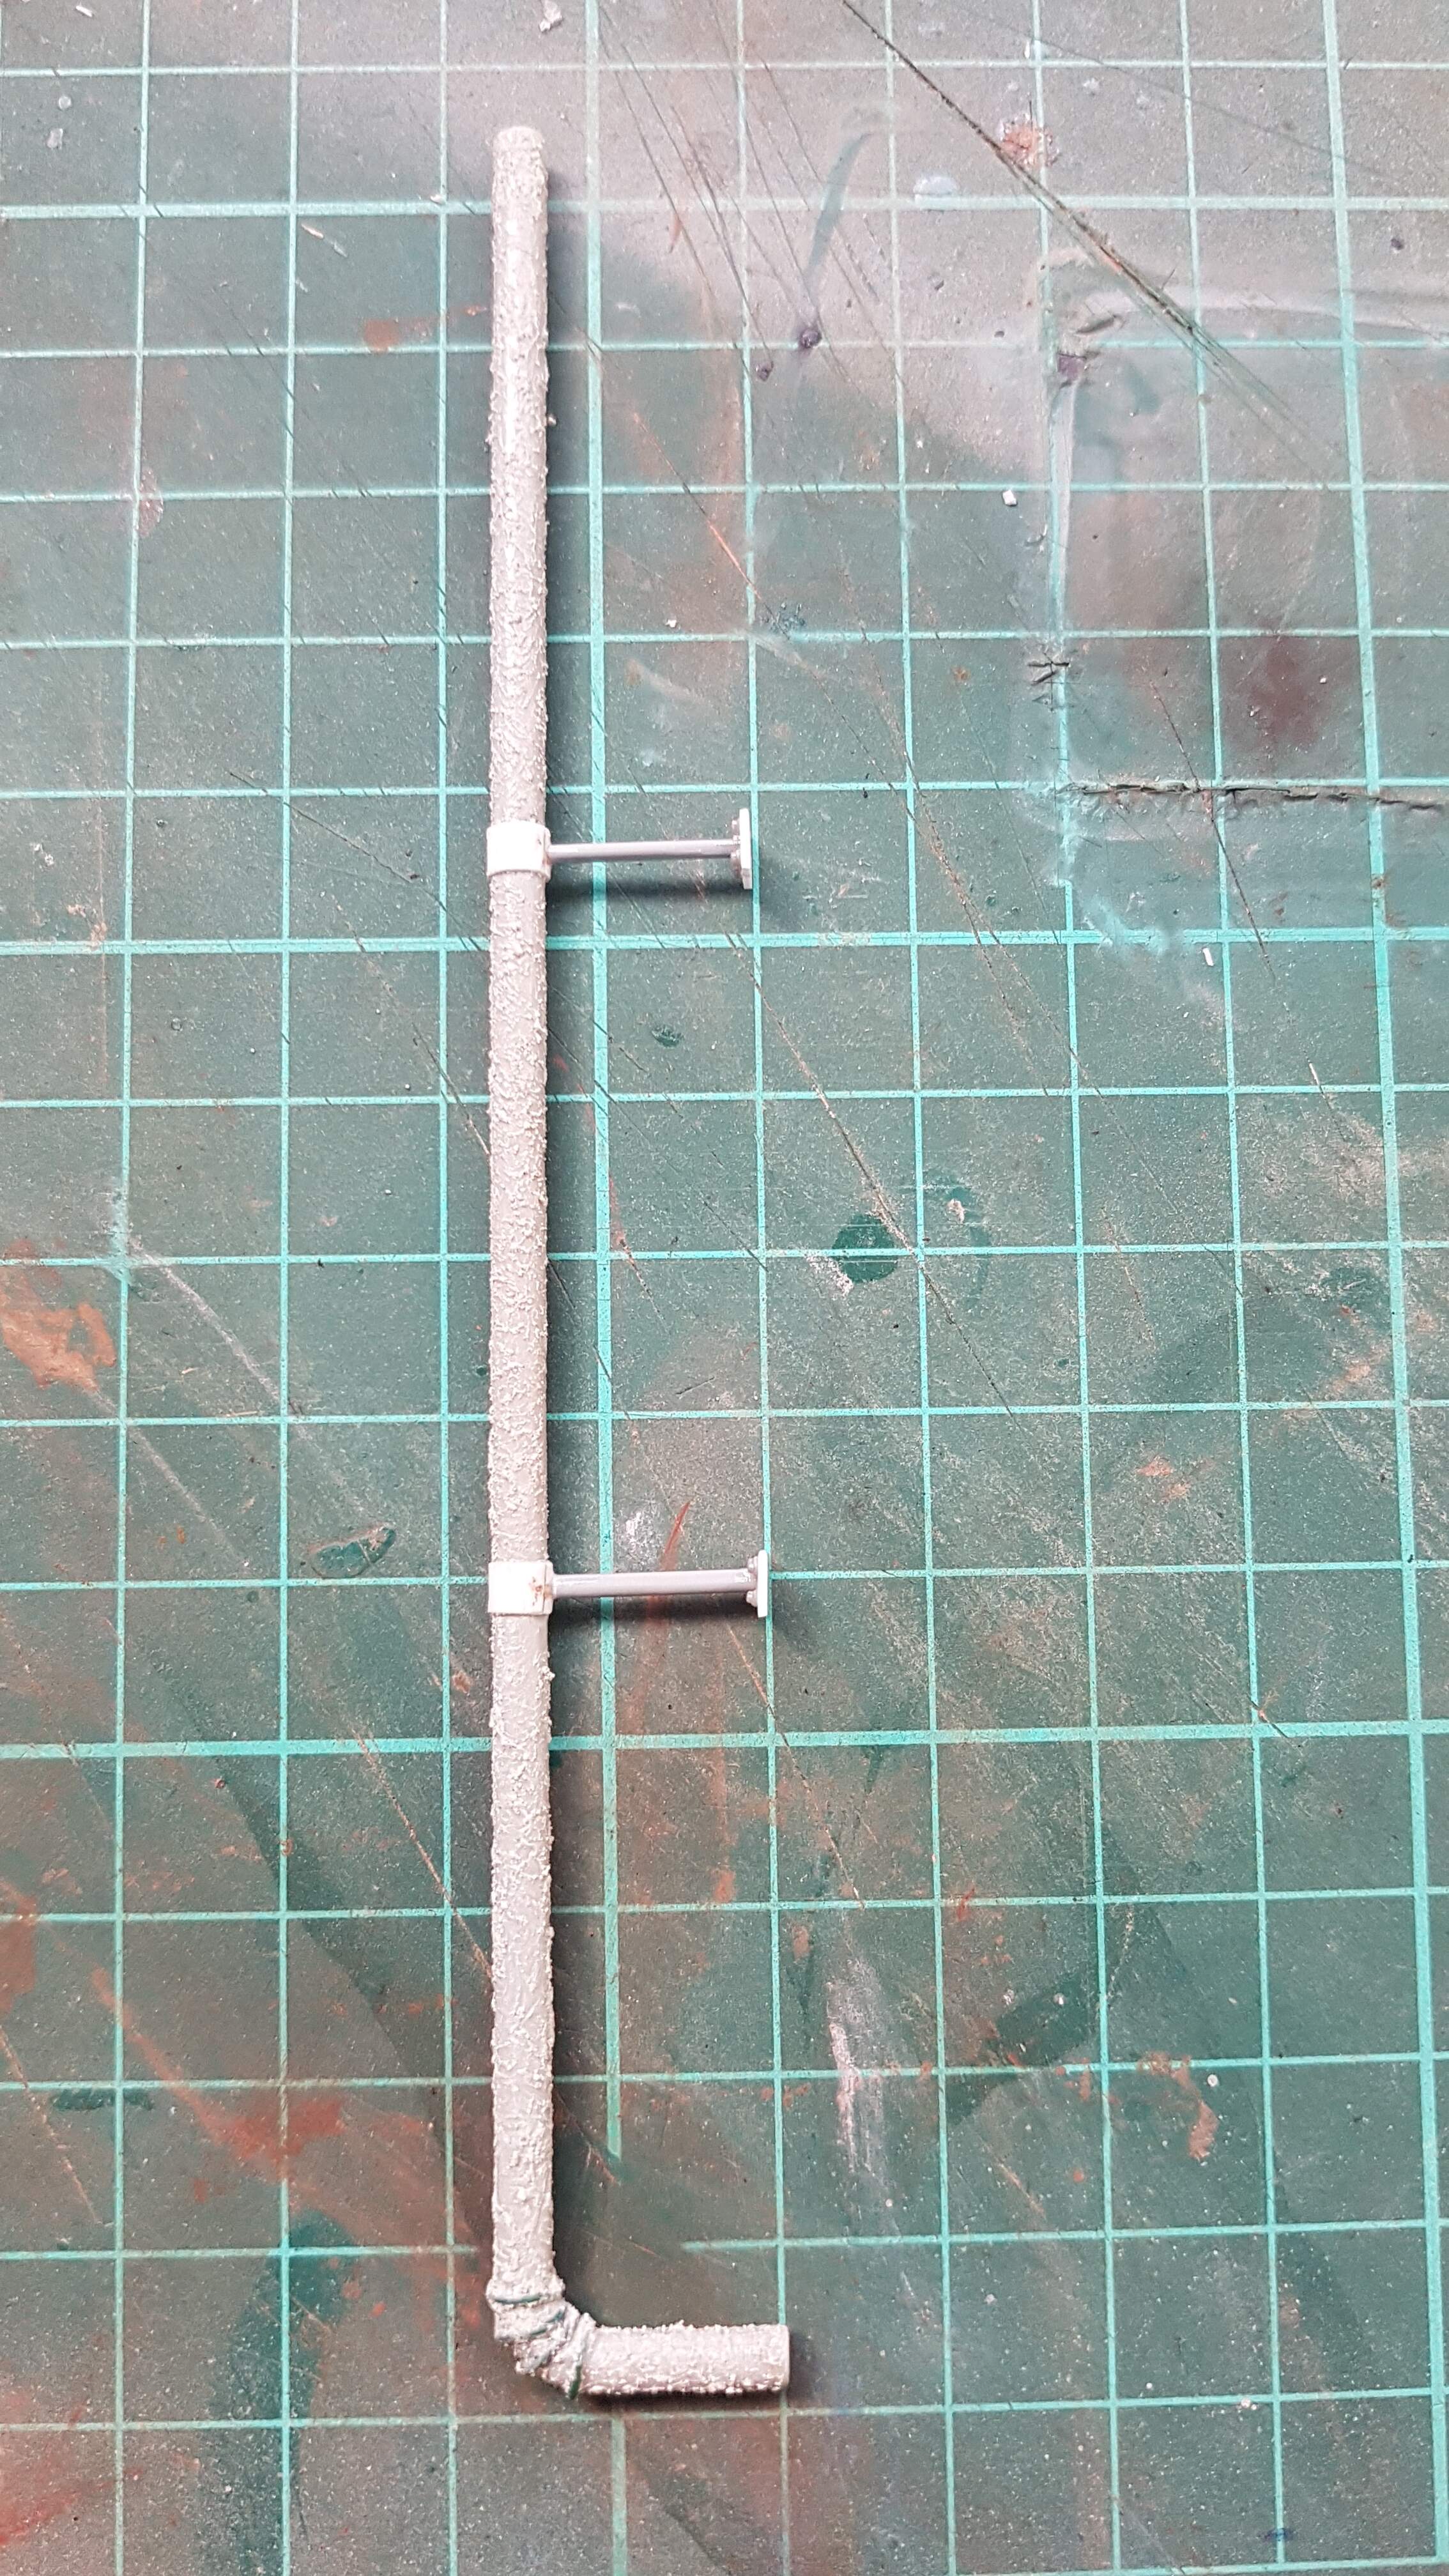
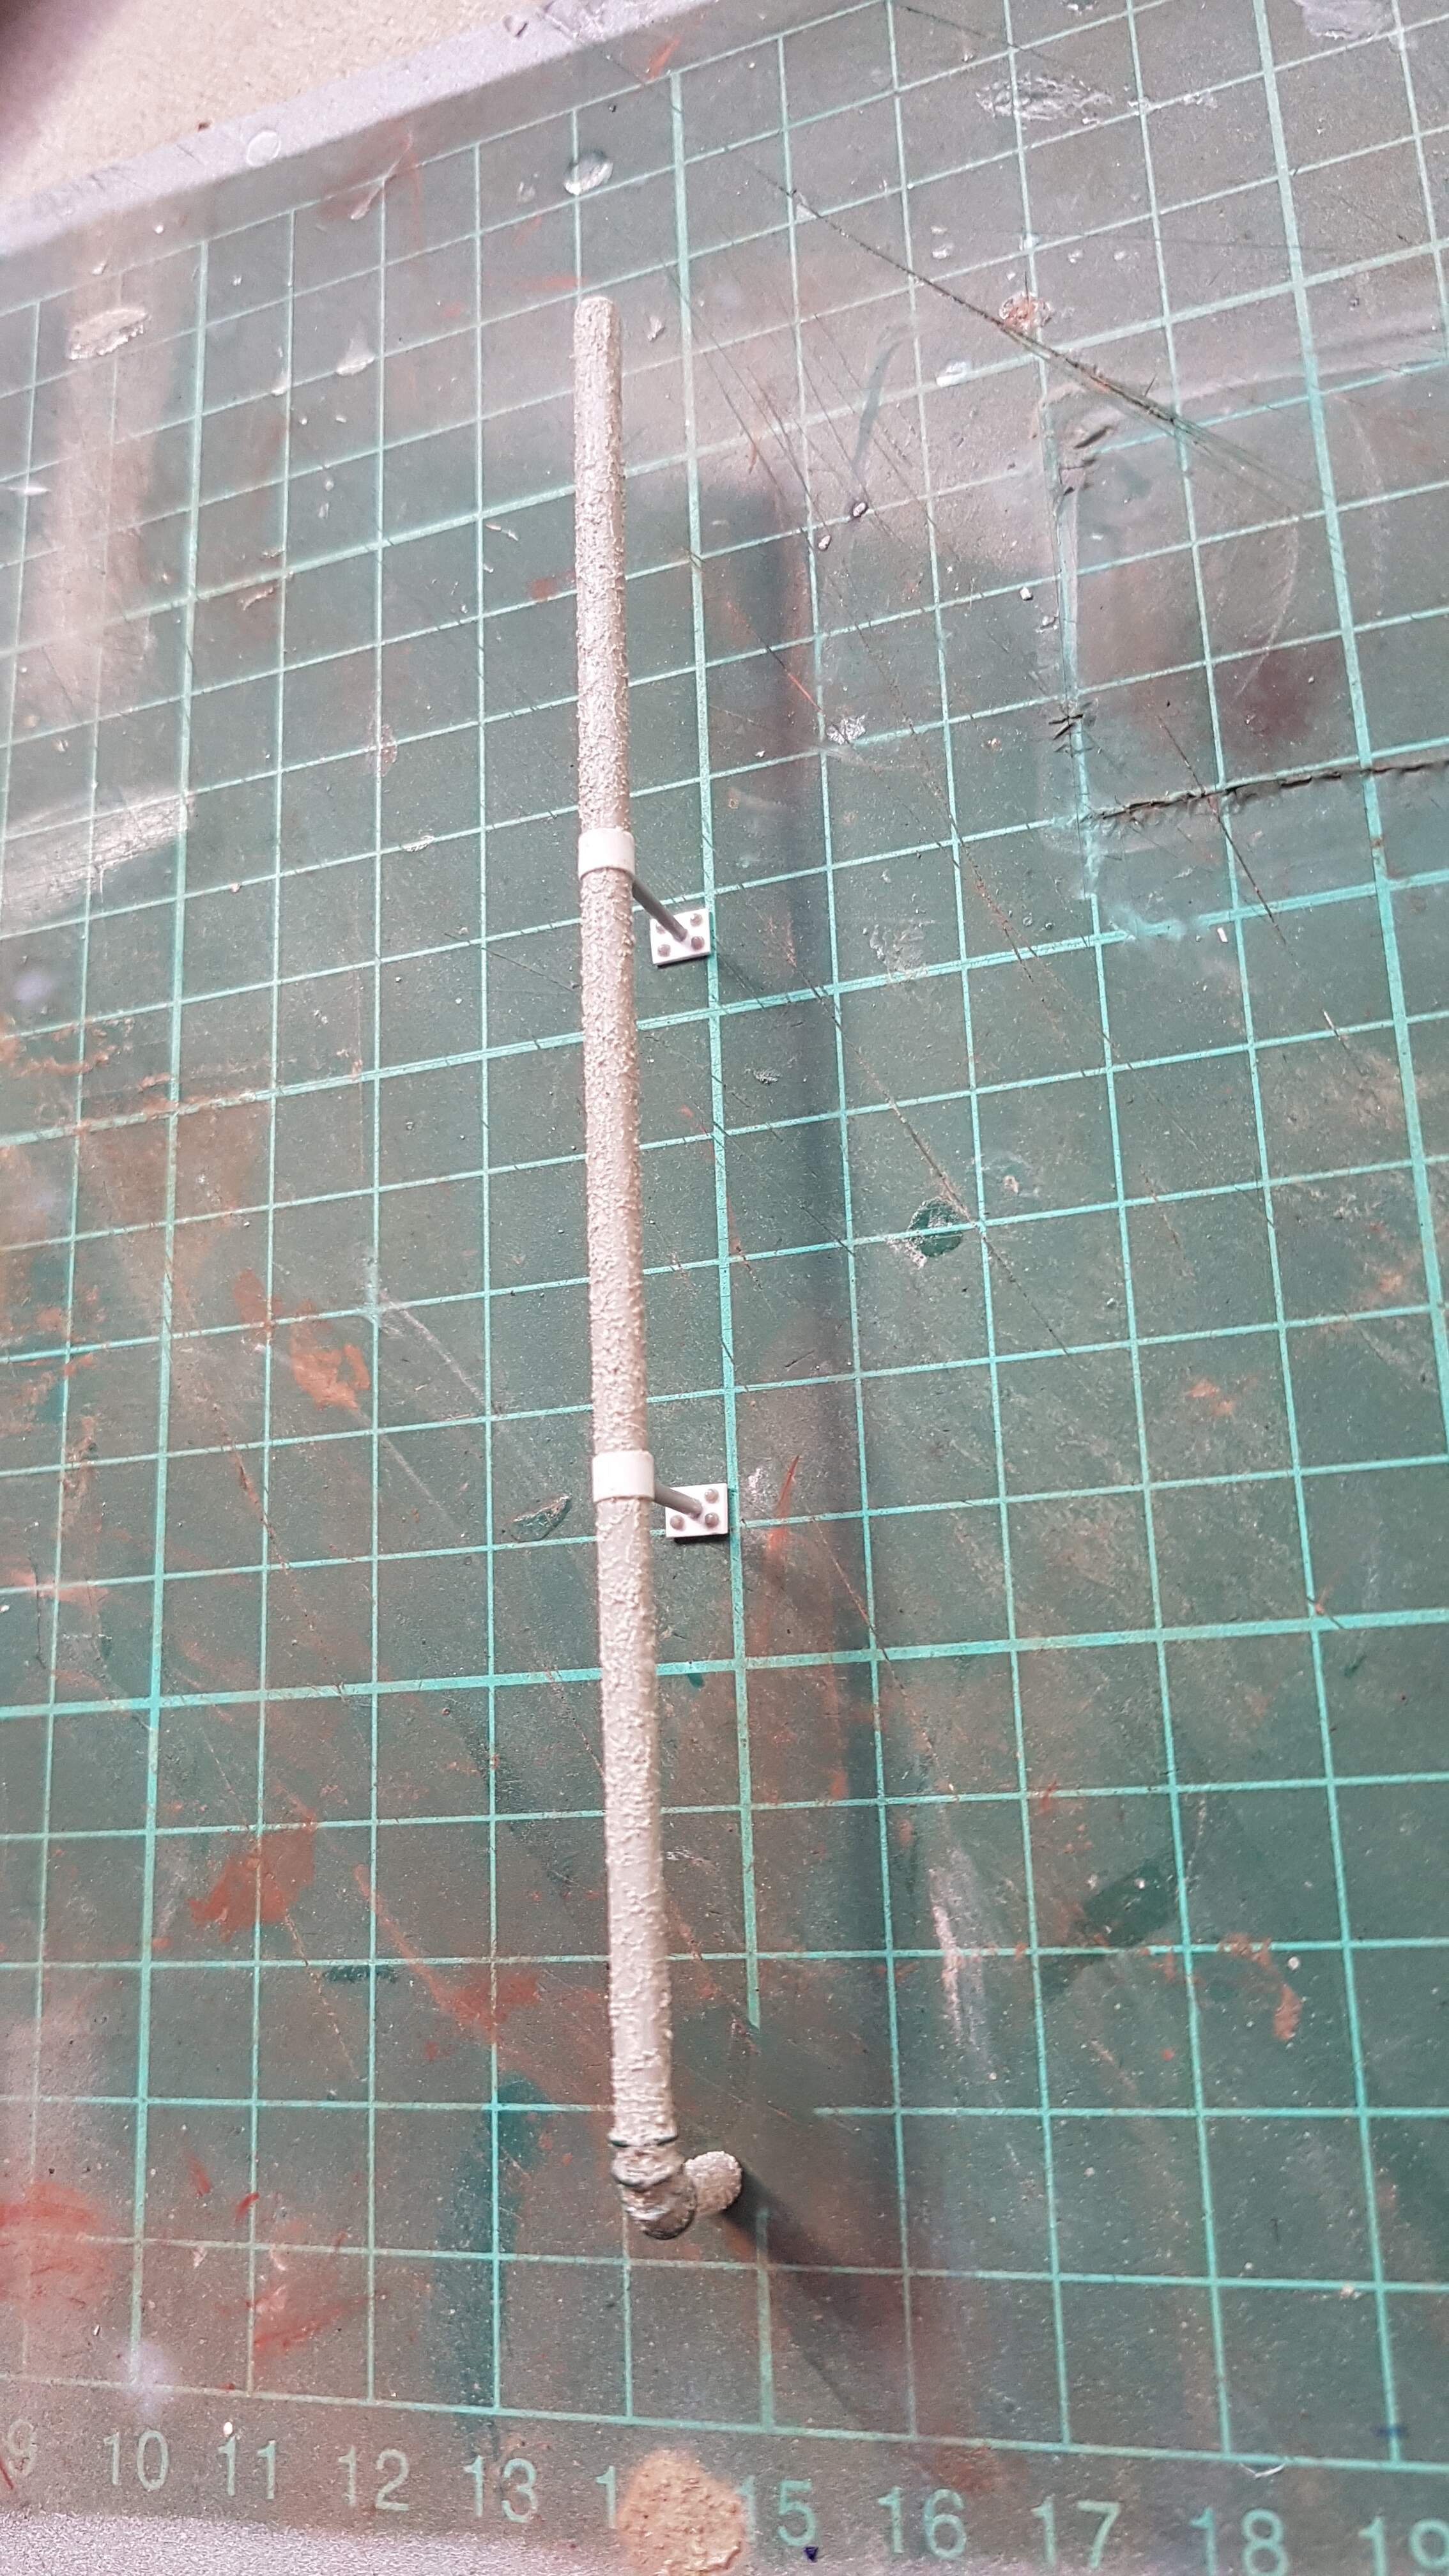
While I’ve been working on the roof section and waiting for it to dry, I’ve made up the exterior part of the chimney. I found the correct thickness of sprue, drilled out the end and added the bend rings from florists wire. I added the supports made from .010 sheet styrene wrapped around the sprue and used some thin styrene rod from my spares for the support rod. I added the anchor plate from .020 sheet and added bolt heads from Meng. I then applied Vallejo Sandy Paste for the rusty effect. This will be enhanced with pigments etc.
3 Likes
Had a good day at the bench today. I managed to add some washes and pigments to the roof. It has blended the colour variances and the pigments have added a dirty look. I also painted the ceiling. It looks fresh and crisp still but will get some weathering.
I have also managed to glue the roof on to the building!! So happy with how this went. I added the interior trim to blend it with the building .
Next will be some moss onto the roof. A good day at the bench!!
6 Likes
Continuing with the fantastic work here Nick. Roof came out really well and the external chimney pipework has some really neat detailing. Indeed… A good day at the bench 
1 Like
Thanks @Johnnych01 . It has come together well so far. Was very happy with the chimney pipe, since the photo it has been primed white.
Will practice the moss effect before doing it on the roof. Keen to see how it turns out. I am following Night Shift’s method on youtube.
If anyone has any ideas or recommendations im open to other methods.
Coming together very nicely Nick. I like your use of sand paint on the chimney for rust - great idea. The purple on the inside is quite striking. Very fancy when offset by the rubble.
1 Like
Thanks Matthew, I have previously used the paste for anti slip surfaces and always thought it would be good for creating textual rust.
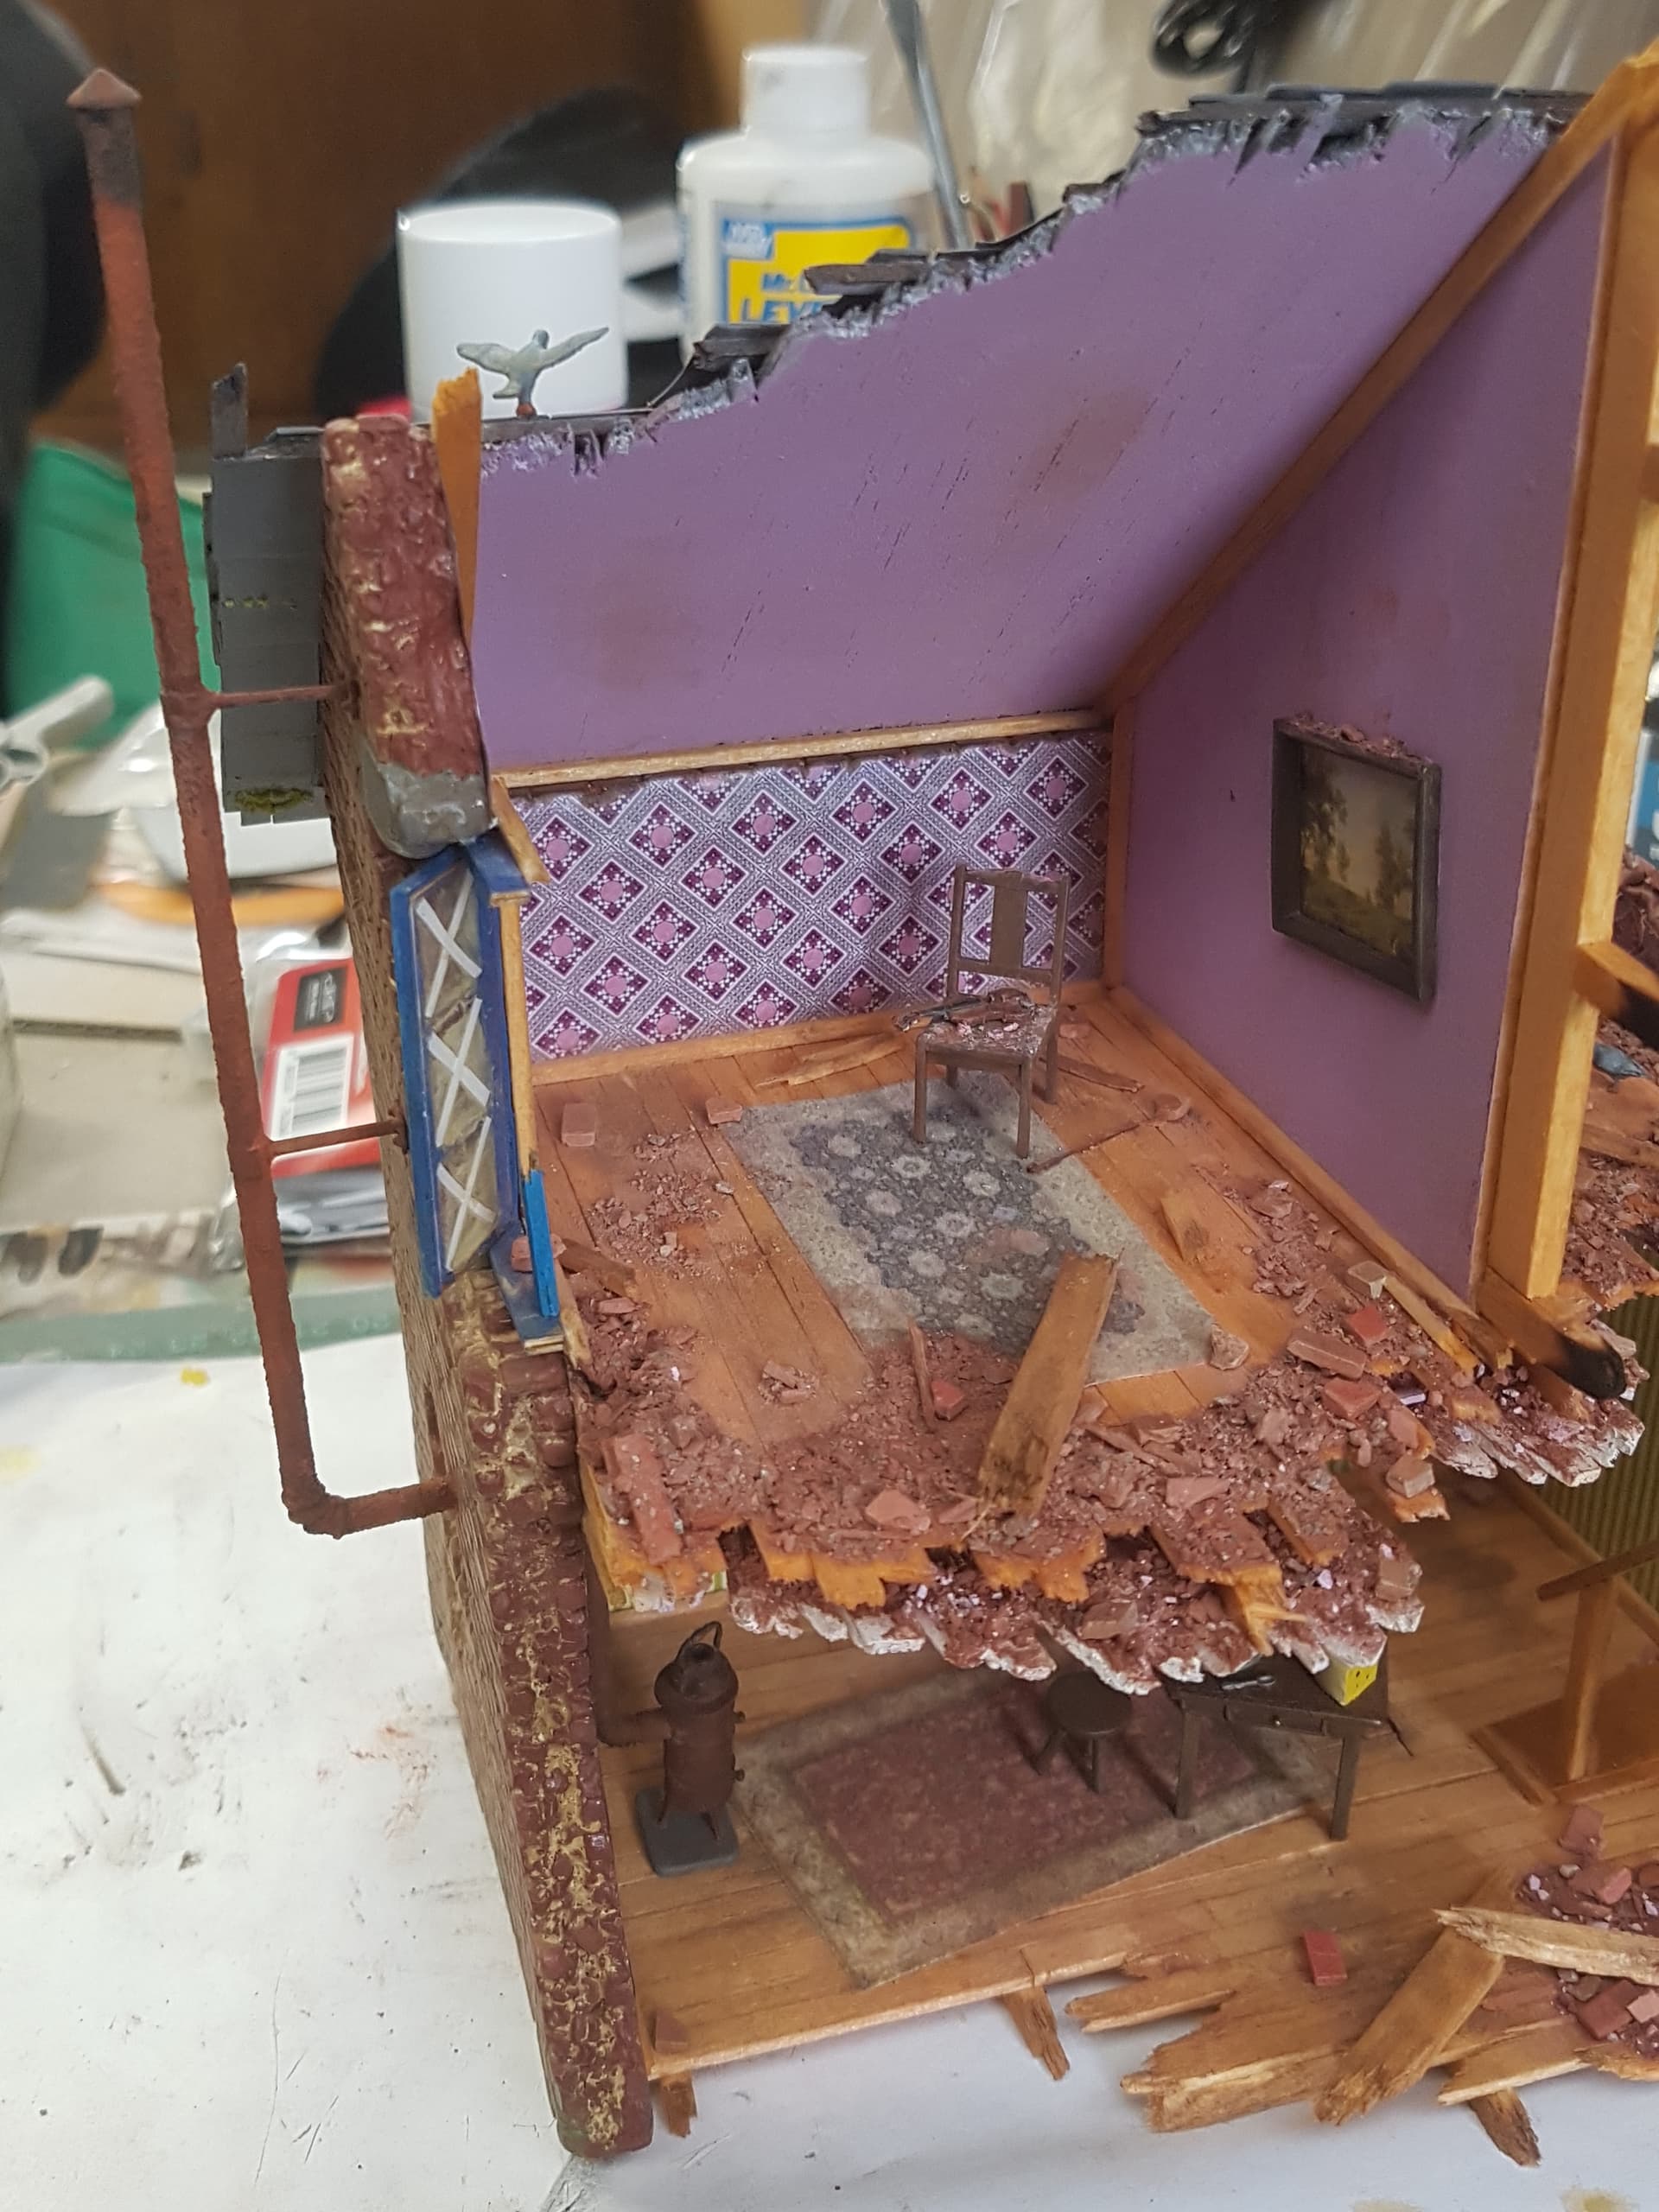
Haha the lilac colour does definitely look stronger and more perfect in the photo than in 1:1. Its going to recieve some weathering and damage. I thought a hint of colour would be a nice change from the greens and reds that will be on the outside of the building.
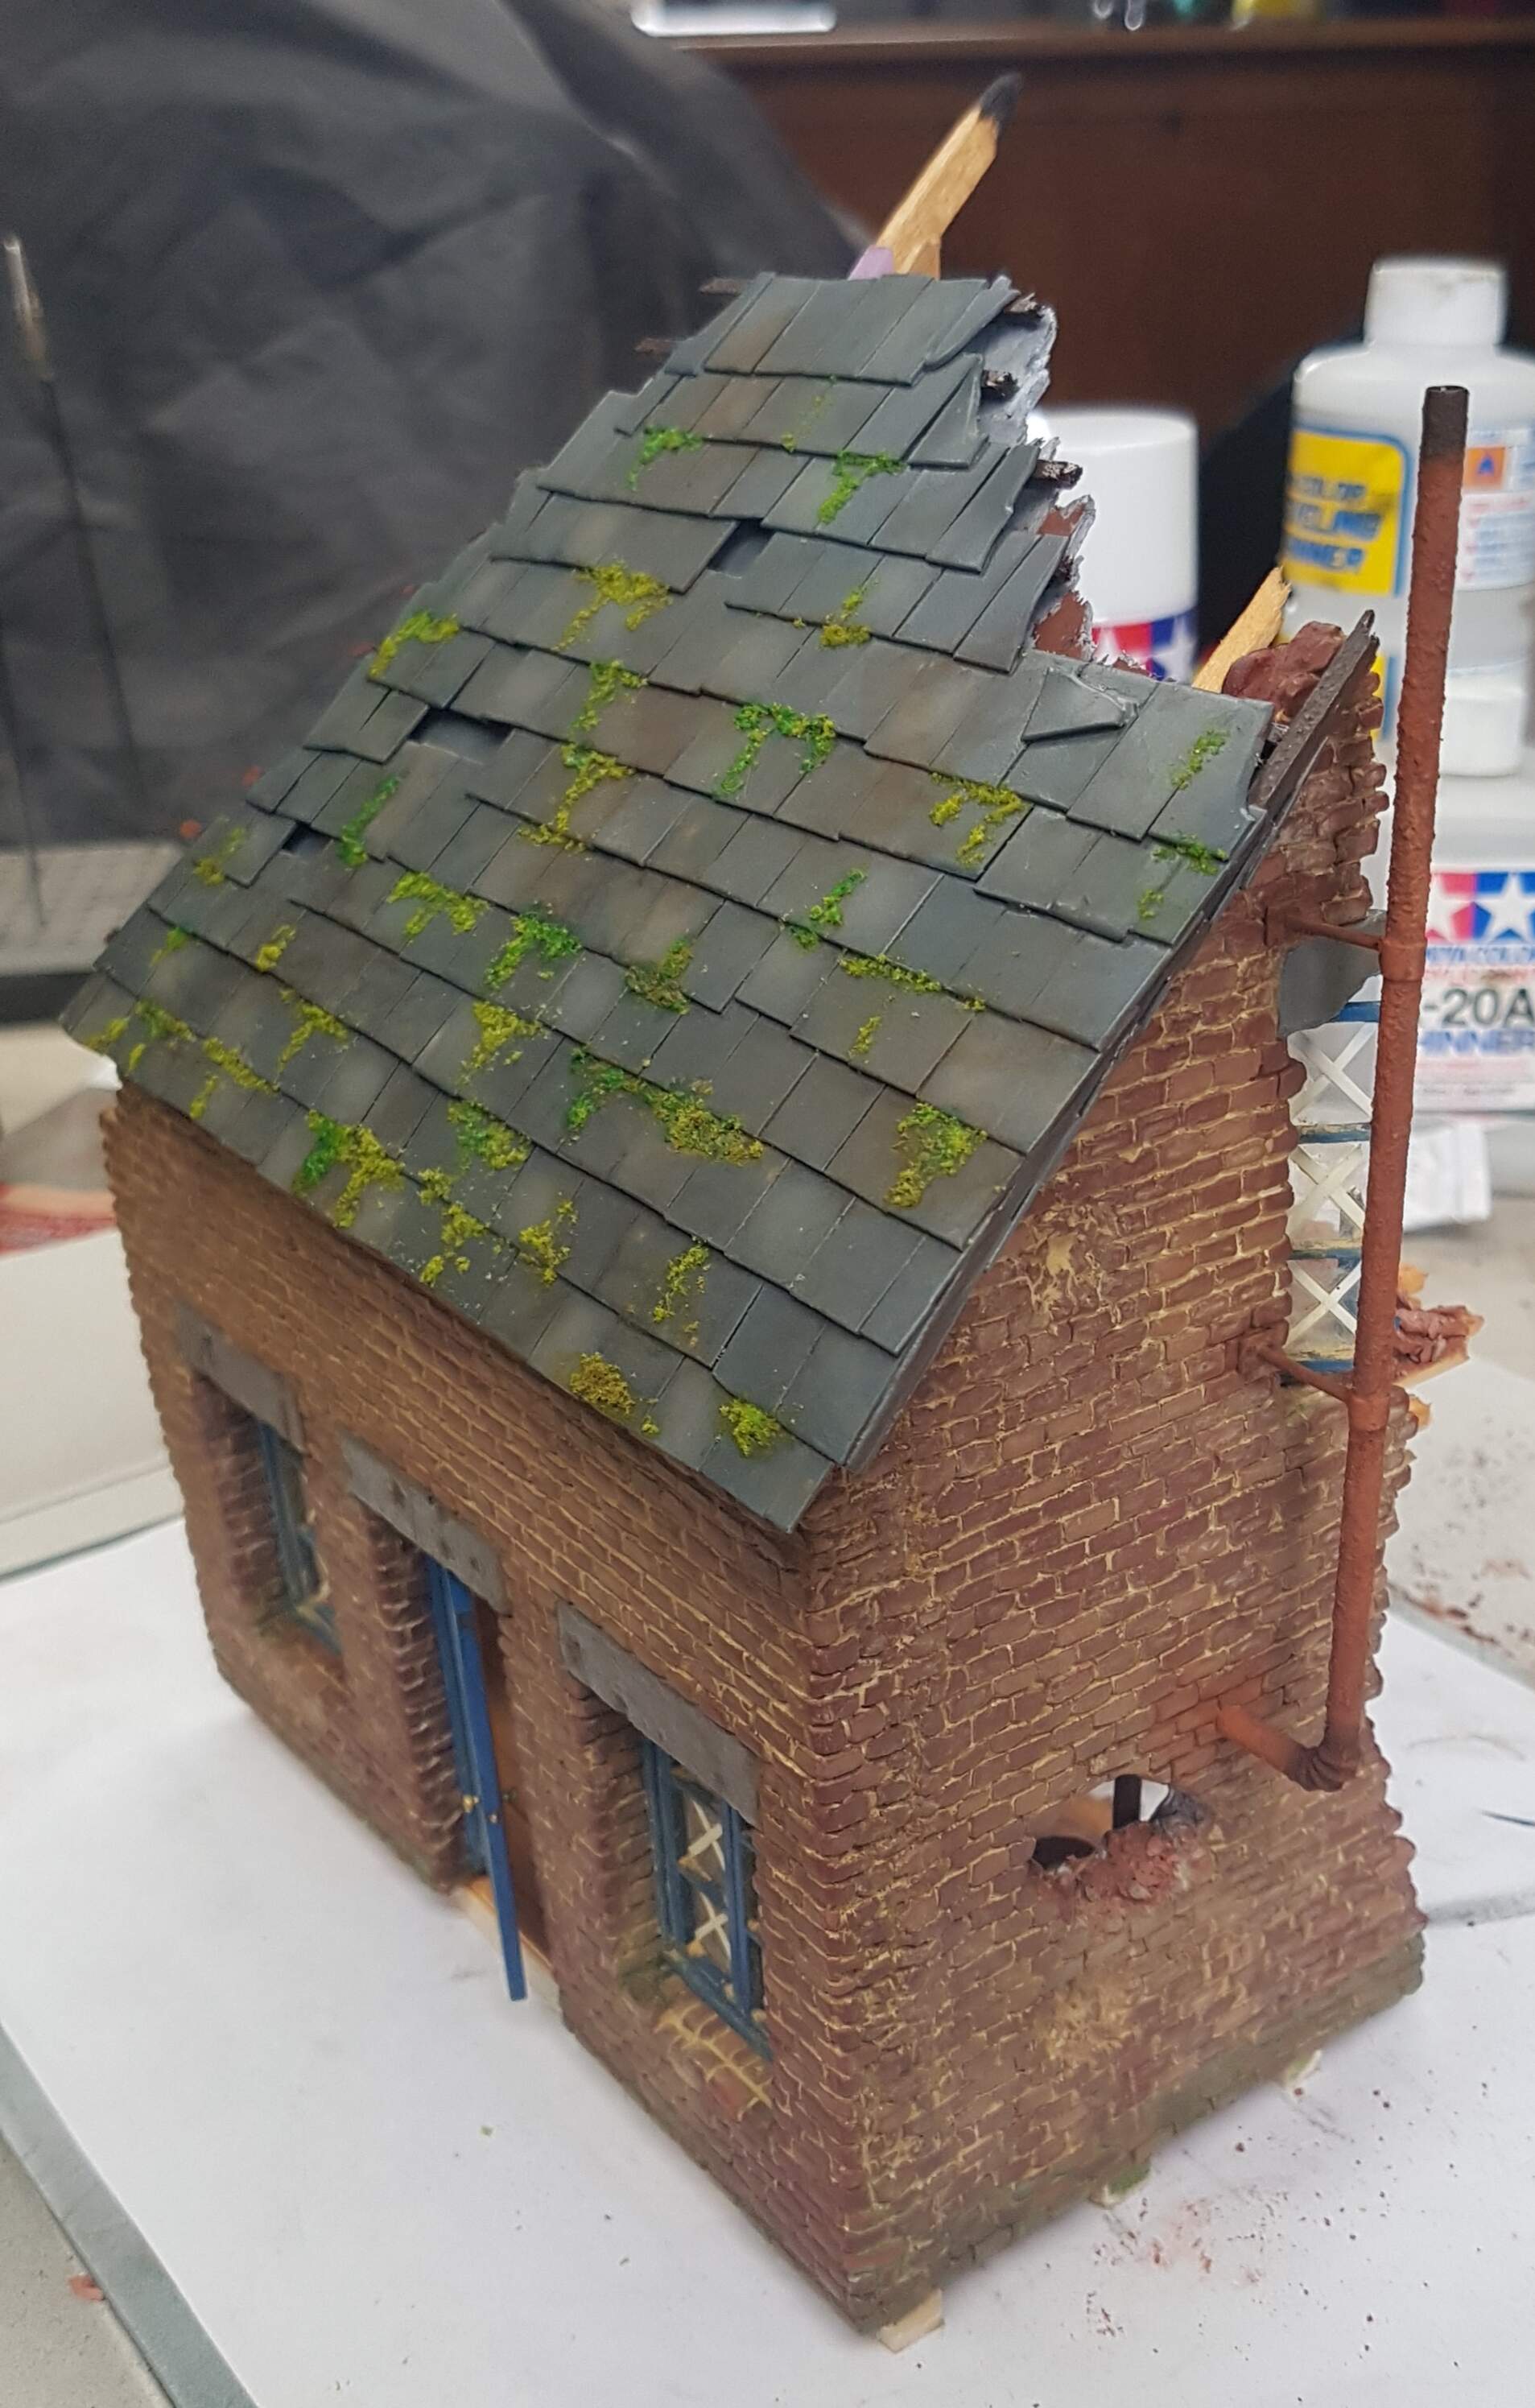
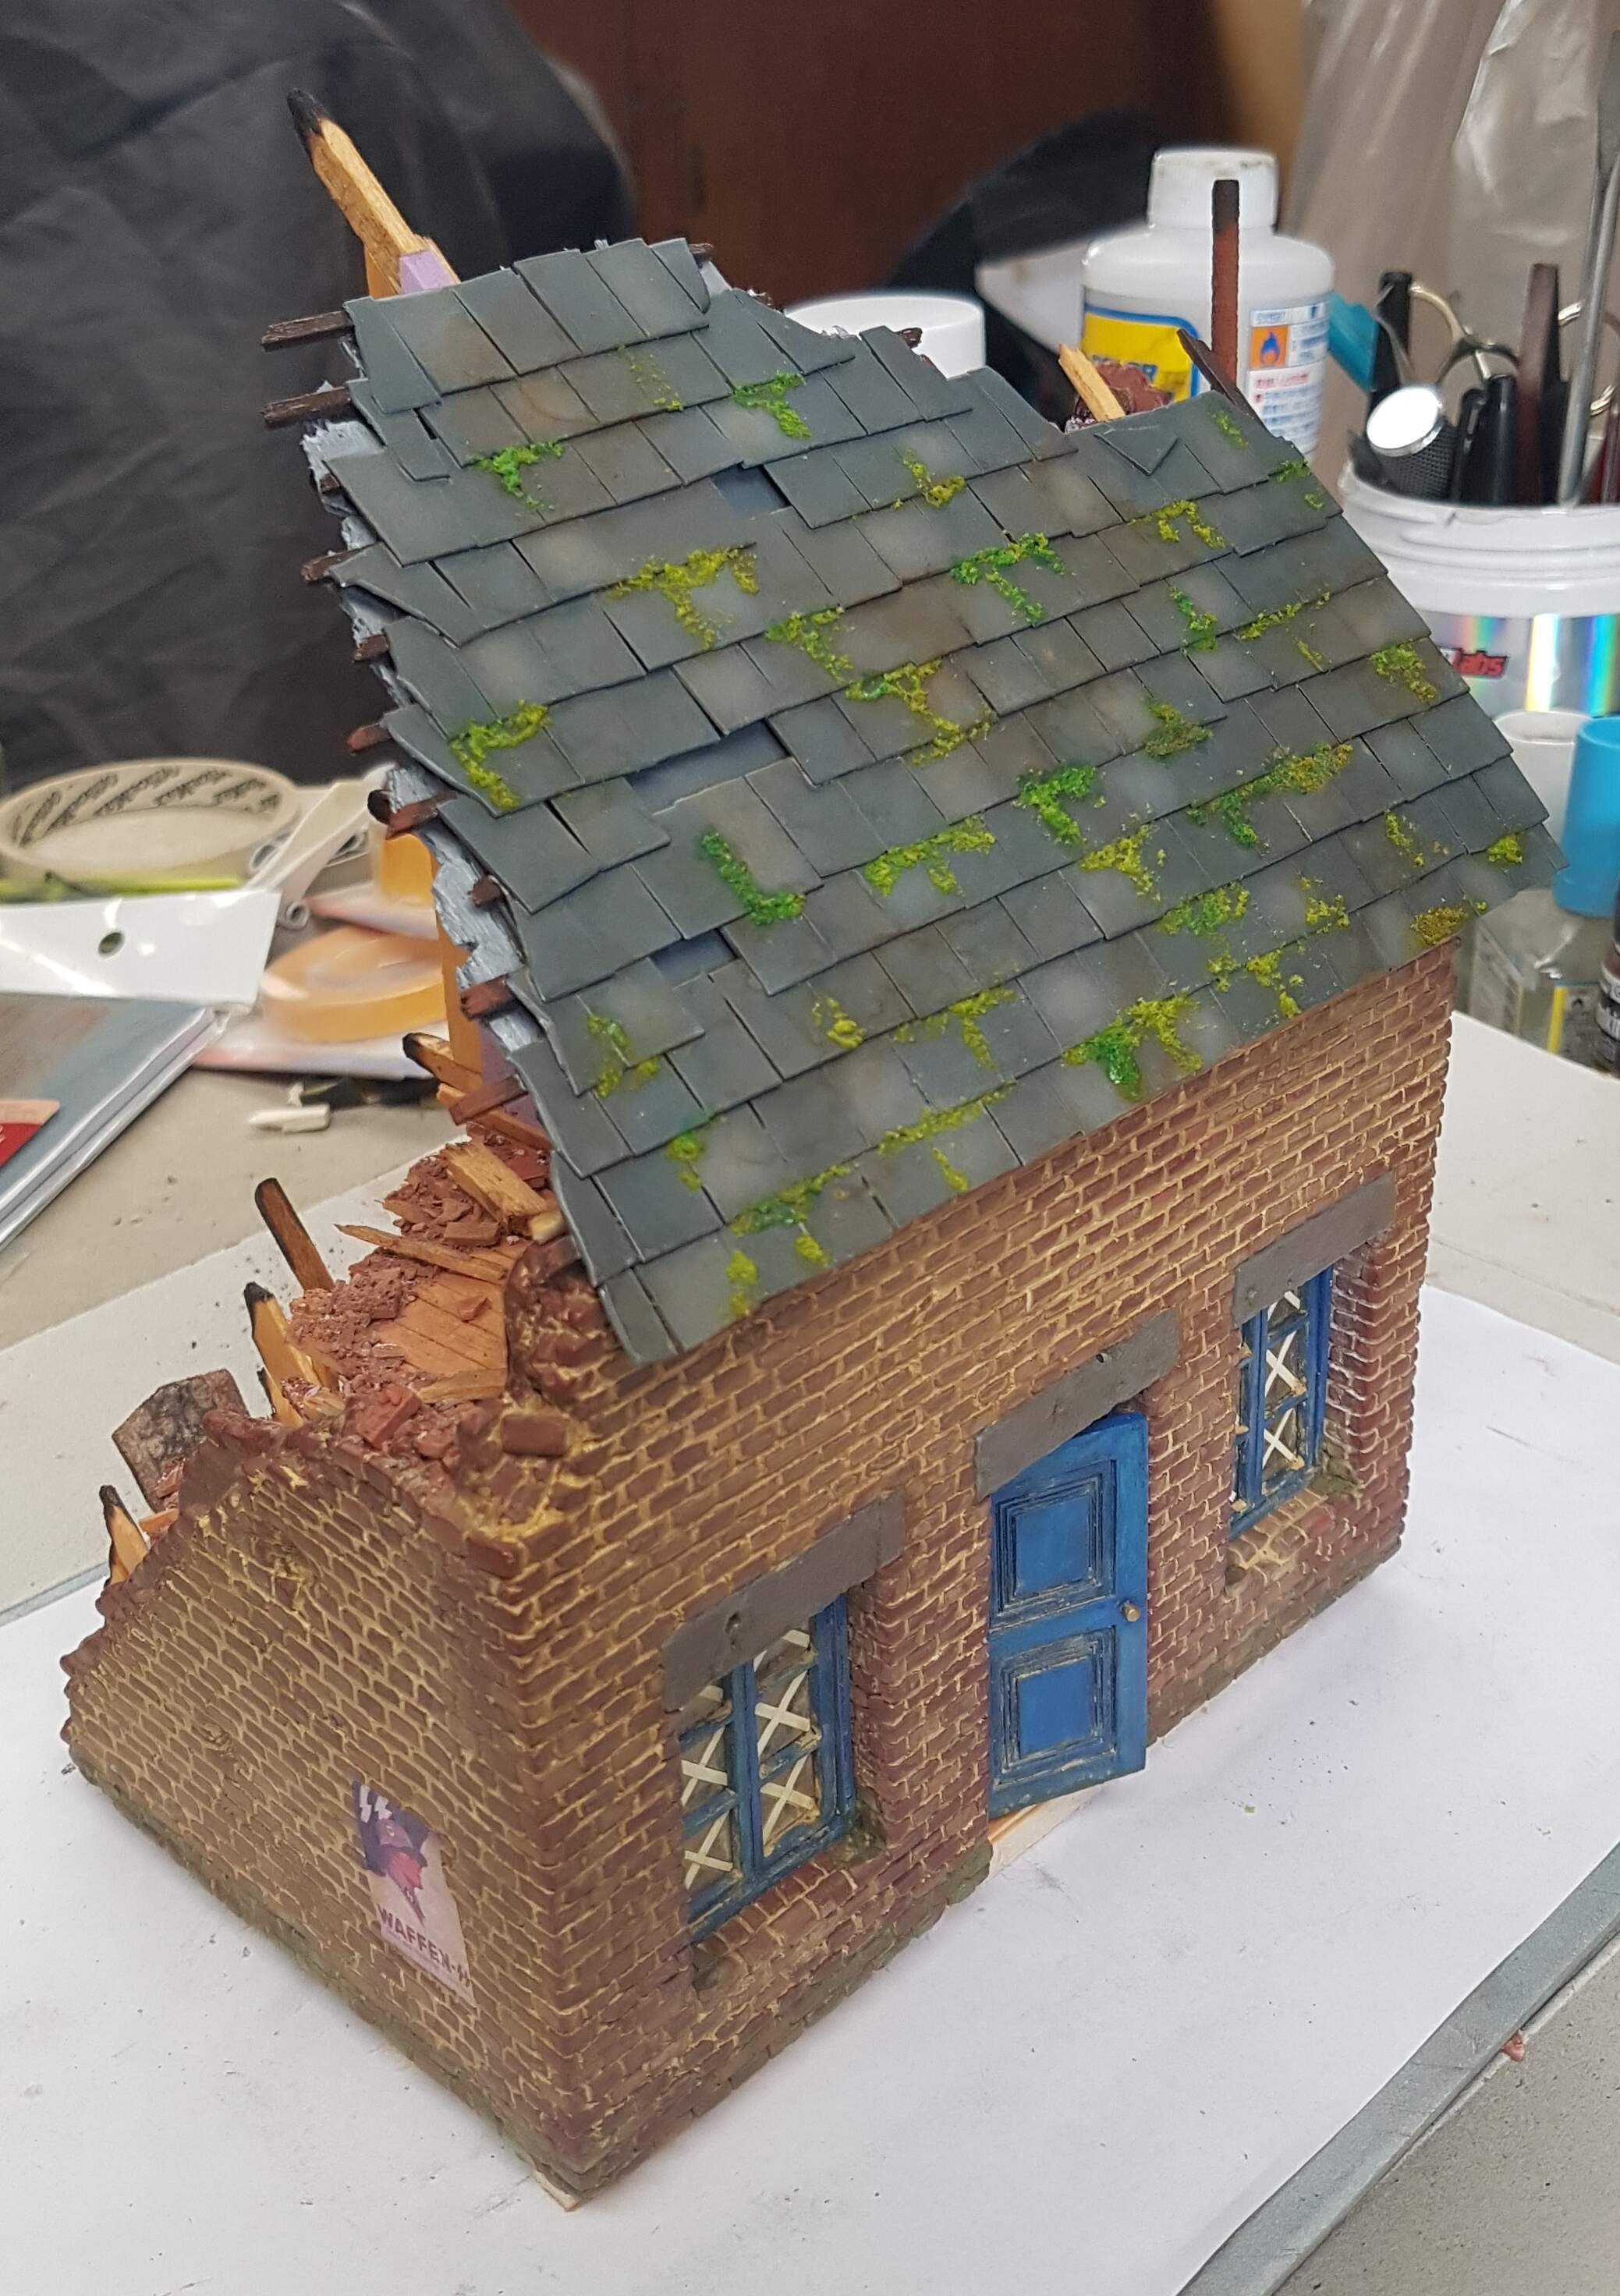
I applied the moss following a YouTube video I watched and am stoked with the result. It breaks up the slate grey roof with a bit of colour and texture.
I have managed to rust up the chimney pipe and install it. This was a pain as the anchor rods are so thin 1 snapped at the join and had to be re glued. But I got there, I have added soot pigments to the top of the chimney pipe and the elbow near the wall for the effect that its not a perfect seal.
All that’s left to do is add some framed pictures and a wardrobe upstairs in the larger room. Also will add some wine bottles and accessories to the table. (All on the way in the post)
1 Like
It’s coming along very nicely Nick, maybe some guttering too? I wouldn’t fancy knocking on that front door in a storm. Tiles look great, suggest maybe a few dark rain streaks & bird poo…I may have a few spare pigeons fit for purpose 
1 Like
Thanks @Dioramartin. I have used a lot of new methods and ideas in this build so far and they have fortunately all worked out.
I thought about guttering, and may still add it but this will be set in the Normandy countryside with a dirt road at the front. So there probably wouldnt be any kerbside gutters and I don’t fancy adding a rain water tank. I was planning on adding some shrubs to the front of the house so thats where the water off the roof may go. I will have a think about this though, definitely food for thought. Maybe just a table drain out the front?
I like the idea of the pigeons and the bird poo though! Wondering what the best way to represent the bird poo without looking too placed would be? I could sit a pigeon on the chimney or nesting in the upstairs room. I am planning on adding a cow to the dio but another animal would be welcomed. I thought about a rat, but pigeons are pretty much rats with wings lol.
1 Like
@Dioramartin do you or anyone else have any recommendations of a product I could use for rain streaking on the slate roof? This is something I have seen done very effectively but never done myself.
Whatever you do practice on something that doesn’t matter first. I think any kind of fluid will mess with what you’ve done, my own default’s always powder paints or powdered pastel chalk (any art supplies shop) applied as a powder with a soft brush. Gently sand the tiles with very fine sandpaper to give it some tooth & start small - if it doesn’t look right you can always wash it off with plain water. I’d suggest black, red & yellow to make an off-black dark brownish colour & check out some photo references for guidance.
PS by guttering I meant what hangs under the edge of the roof with down-pipes - although I get that maybe houses like this didn’t have them
1 Like
Nice work Nick .
Actually putting rain streaks on the roof might have been better served before the moss etc.
Although it can still be done now .
Try clear gesso applied with an artists fan brush , thin application , light passes to form streaks from peak to bottom . It will dry transparent with a slight sheen that will replicate that wet rain streak look .
Keep going man , looks good !!
1 Like
Thanks Glenn, after some googling I completely agree that I should have done it before the moss. Maybe an oversight from me or I was just too carried away to do the moss.
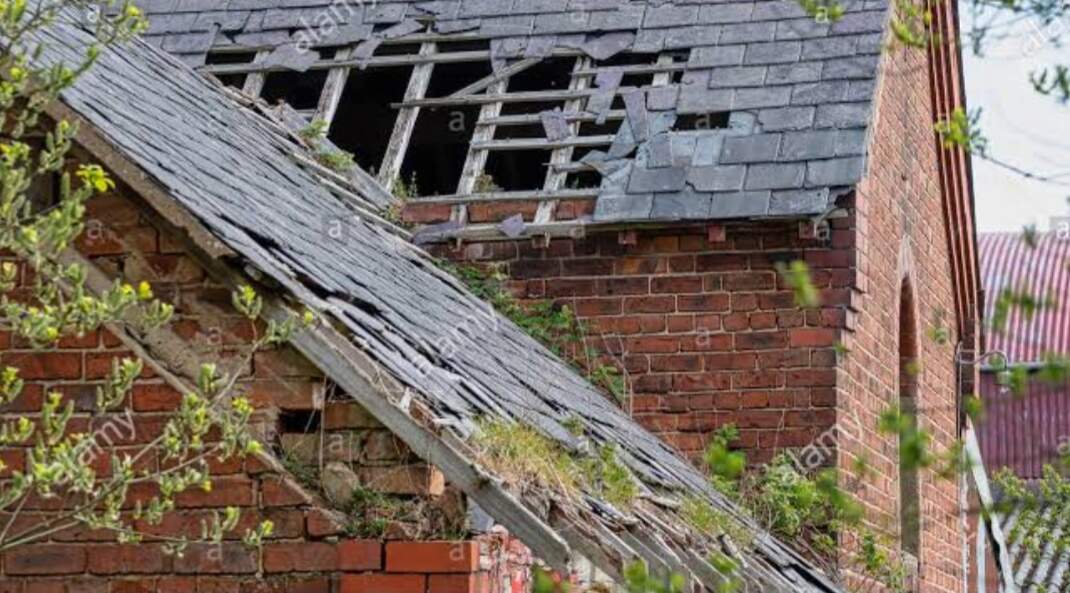
This was the main reference (among others) I used for the roof:
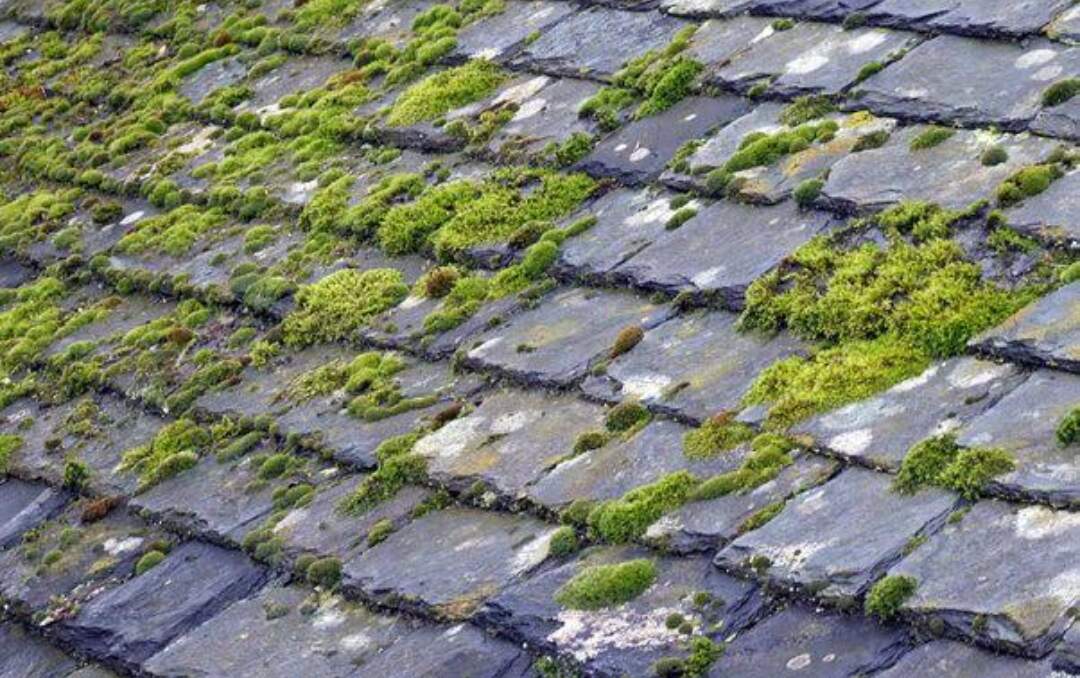
And this was the main reference (among others) I used for the colour and position of the moss. Also looks like bird poo on there:
2 Likes
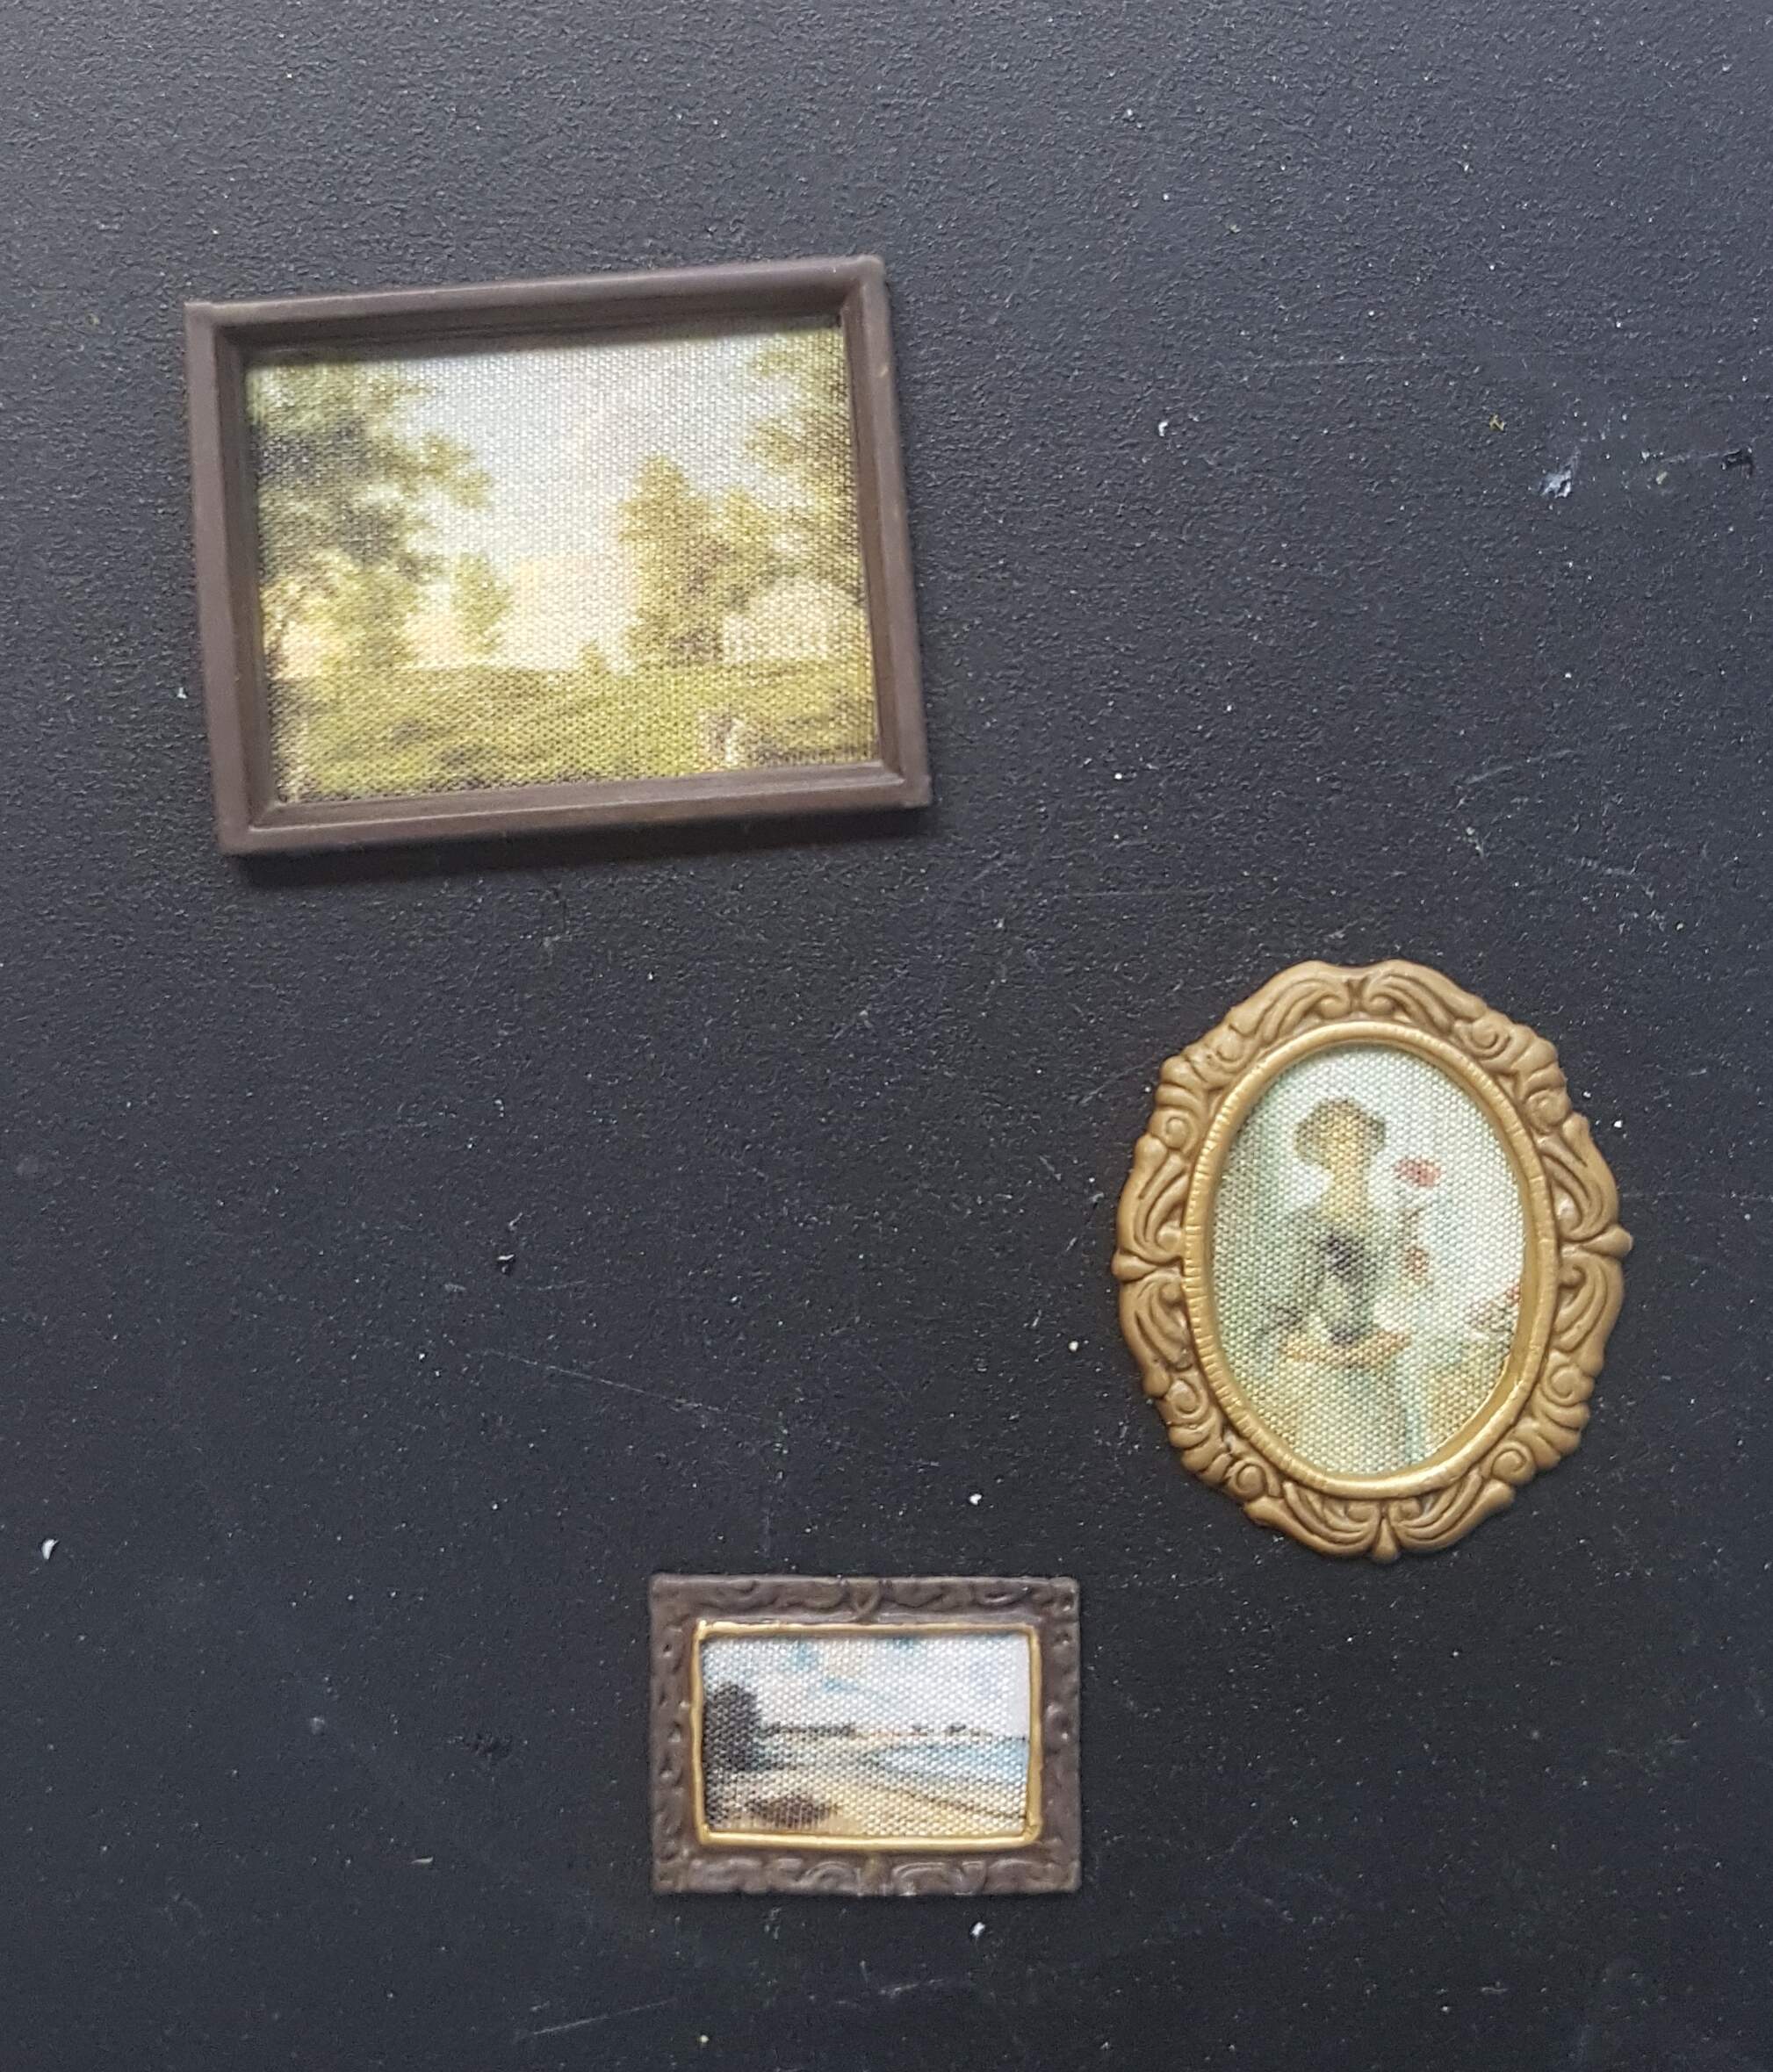
Got these in the latest delivery from the postman. They are printed on fine cloth material and the frames are resin. Great detail.
5 Likes
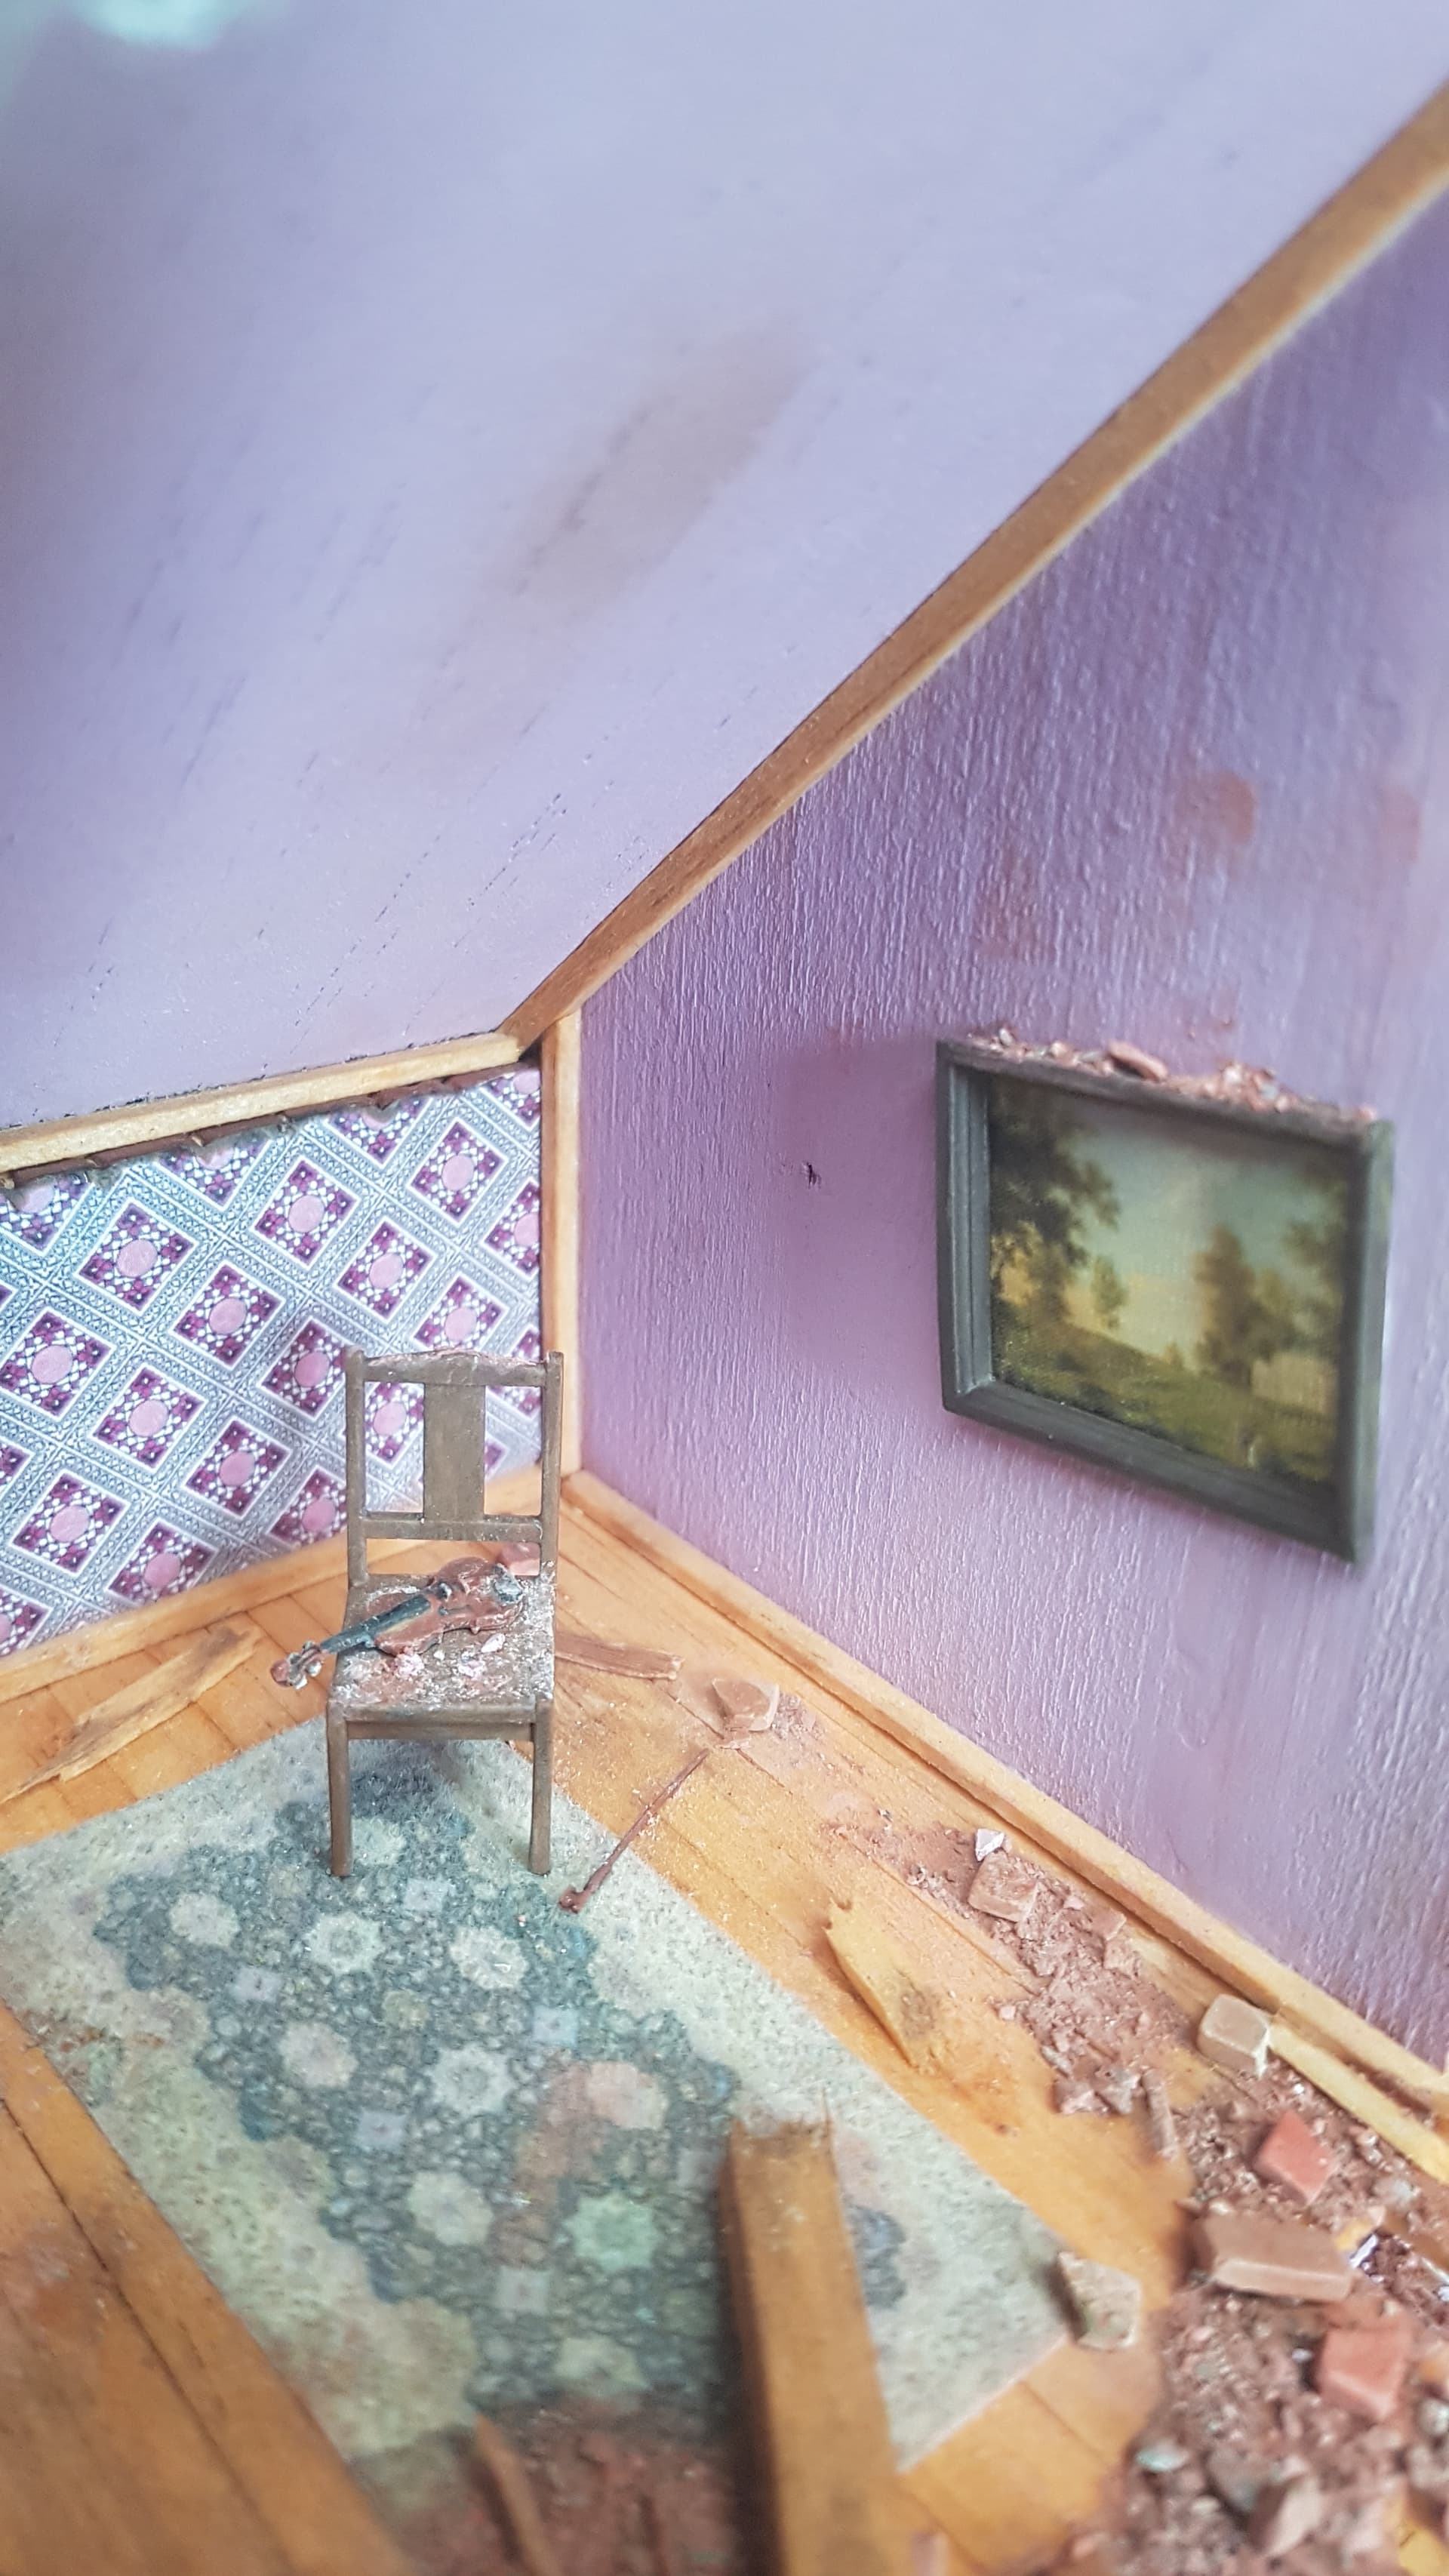
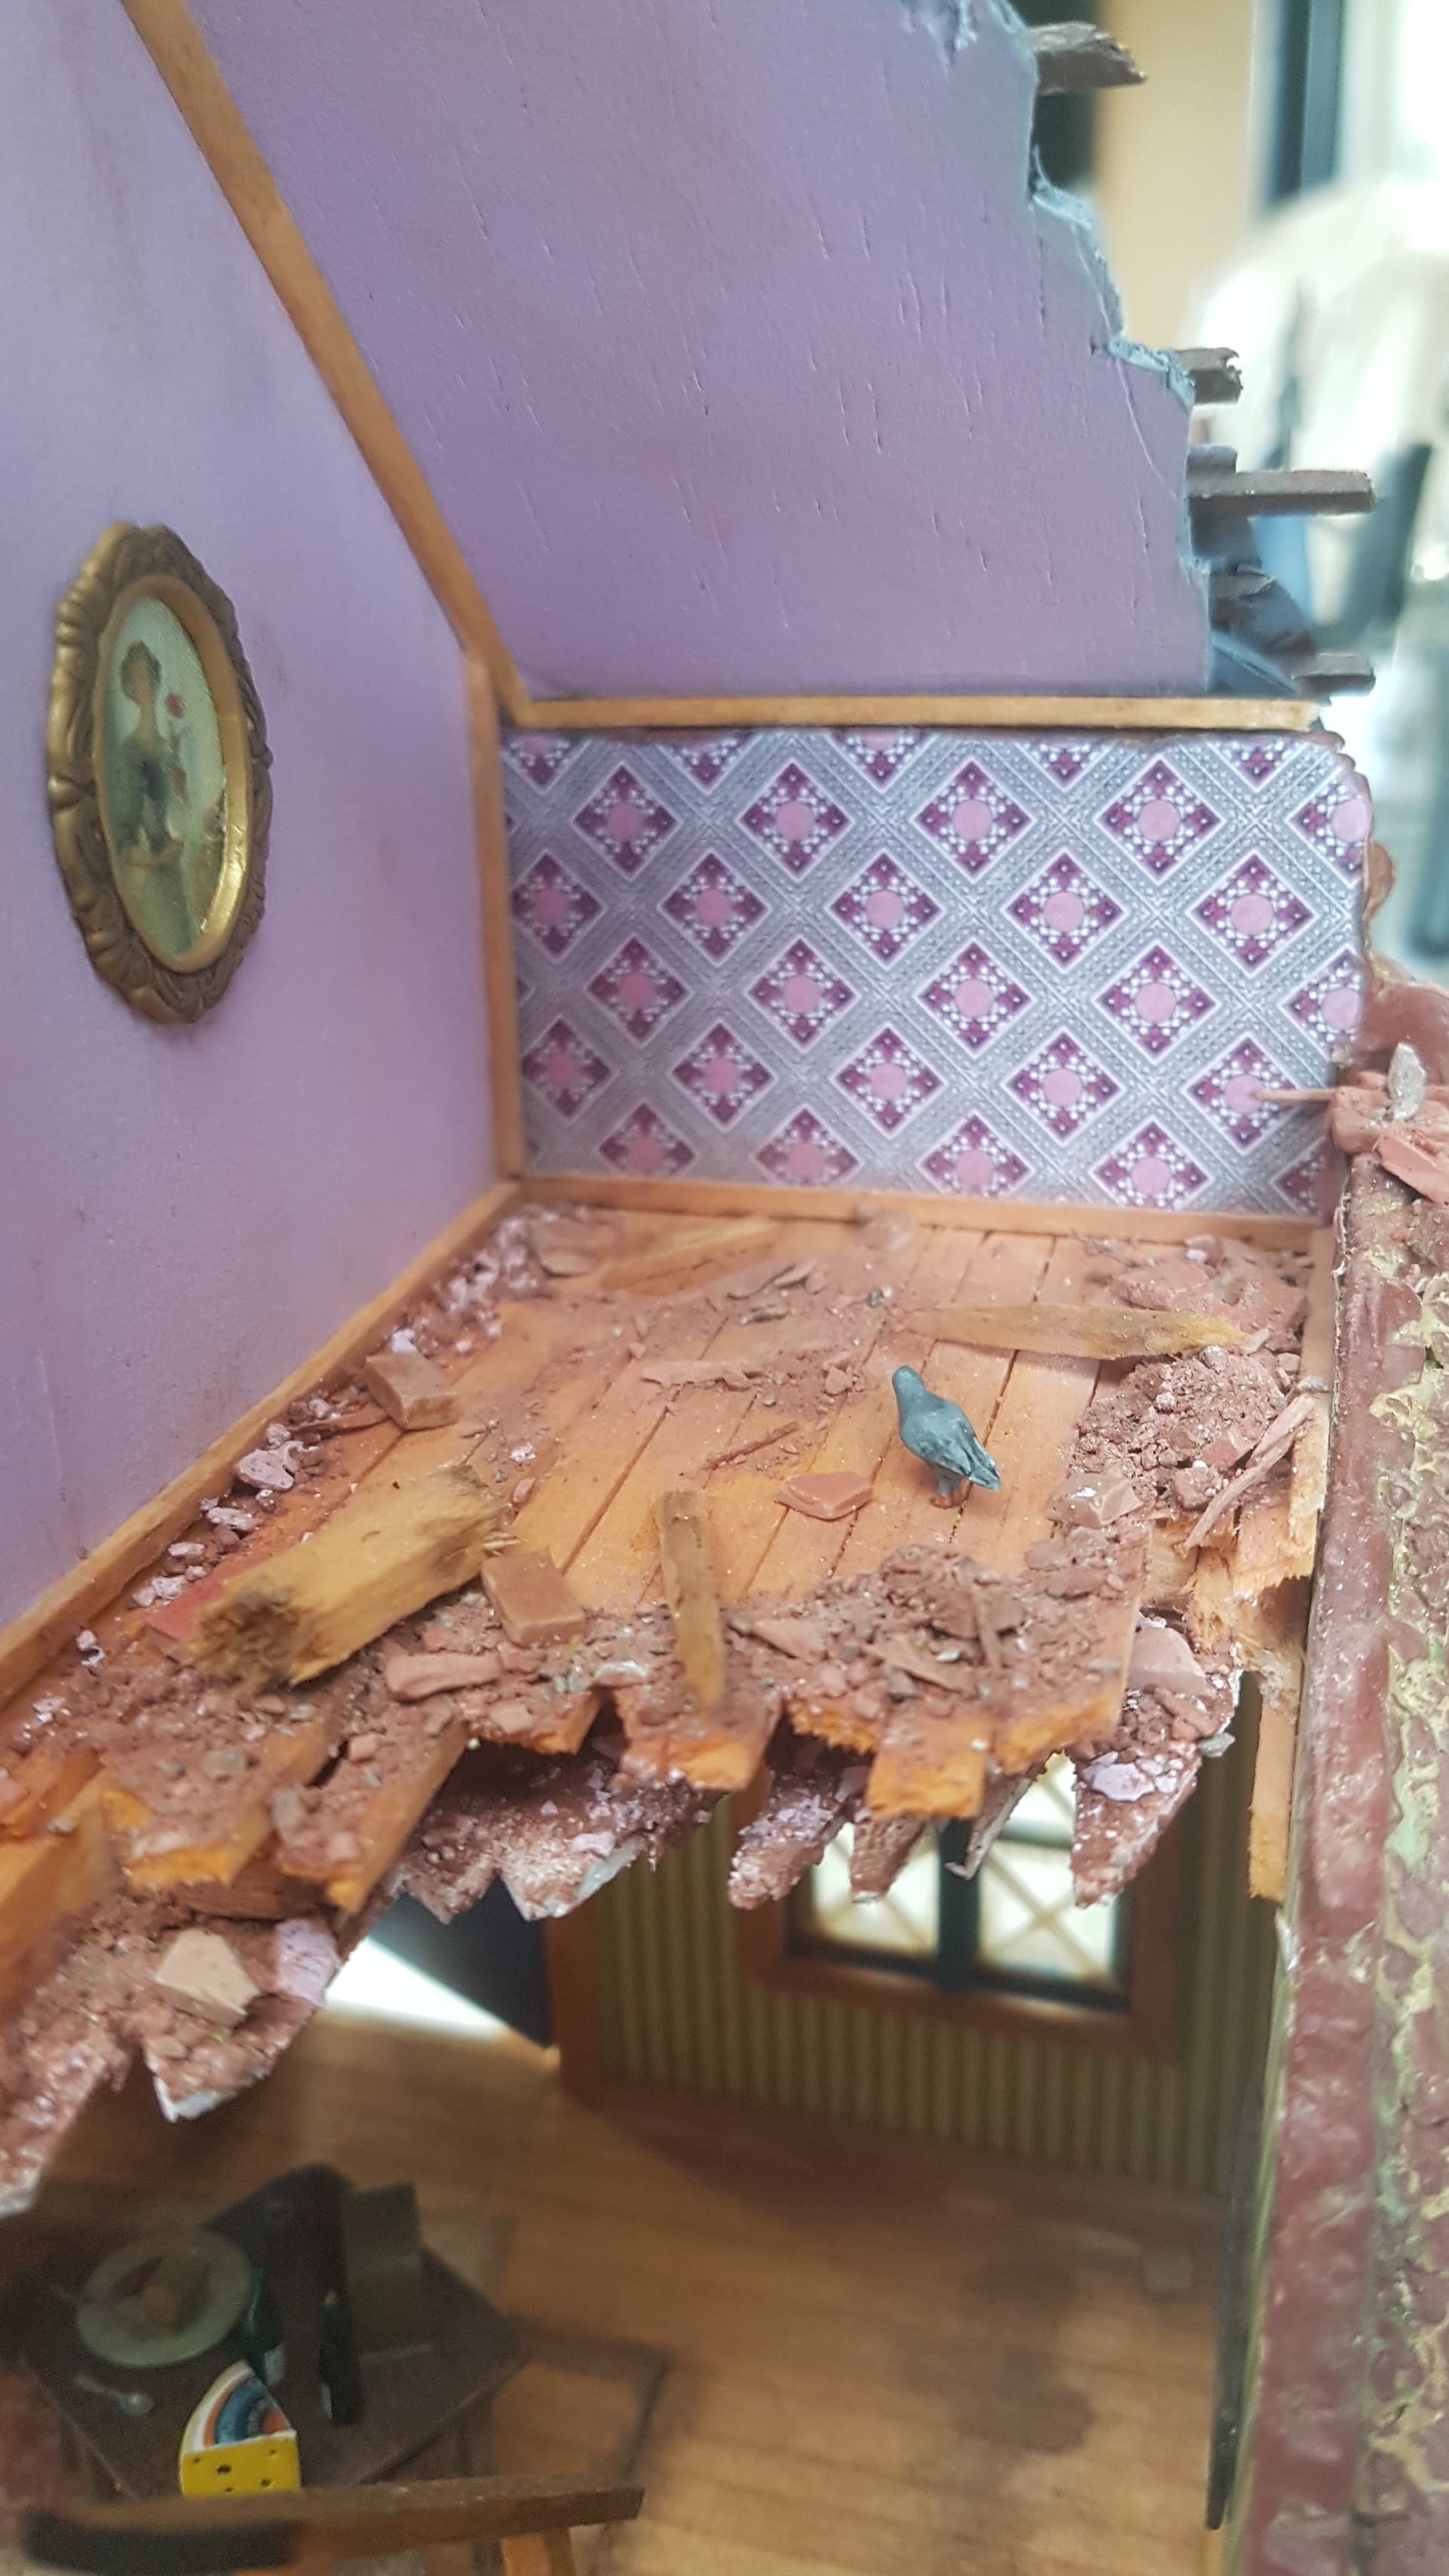
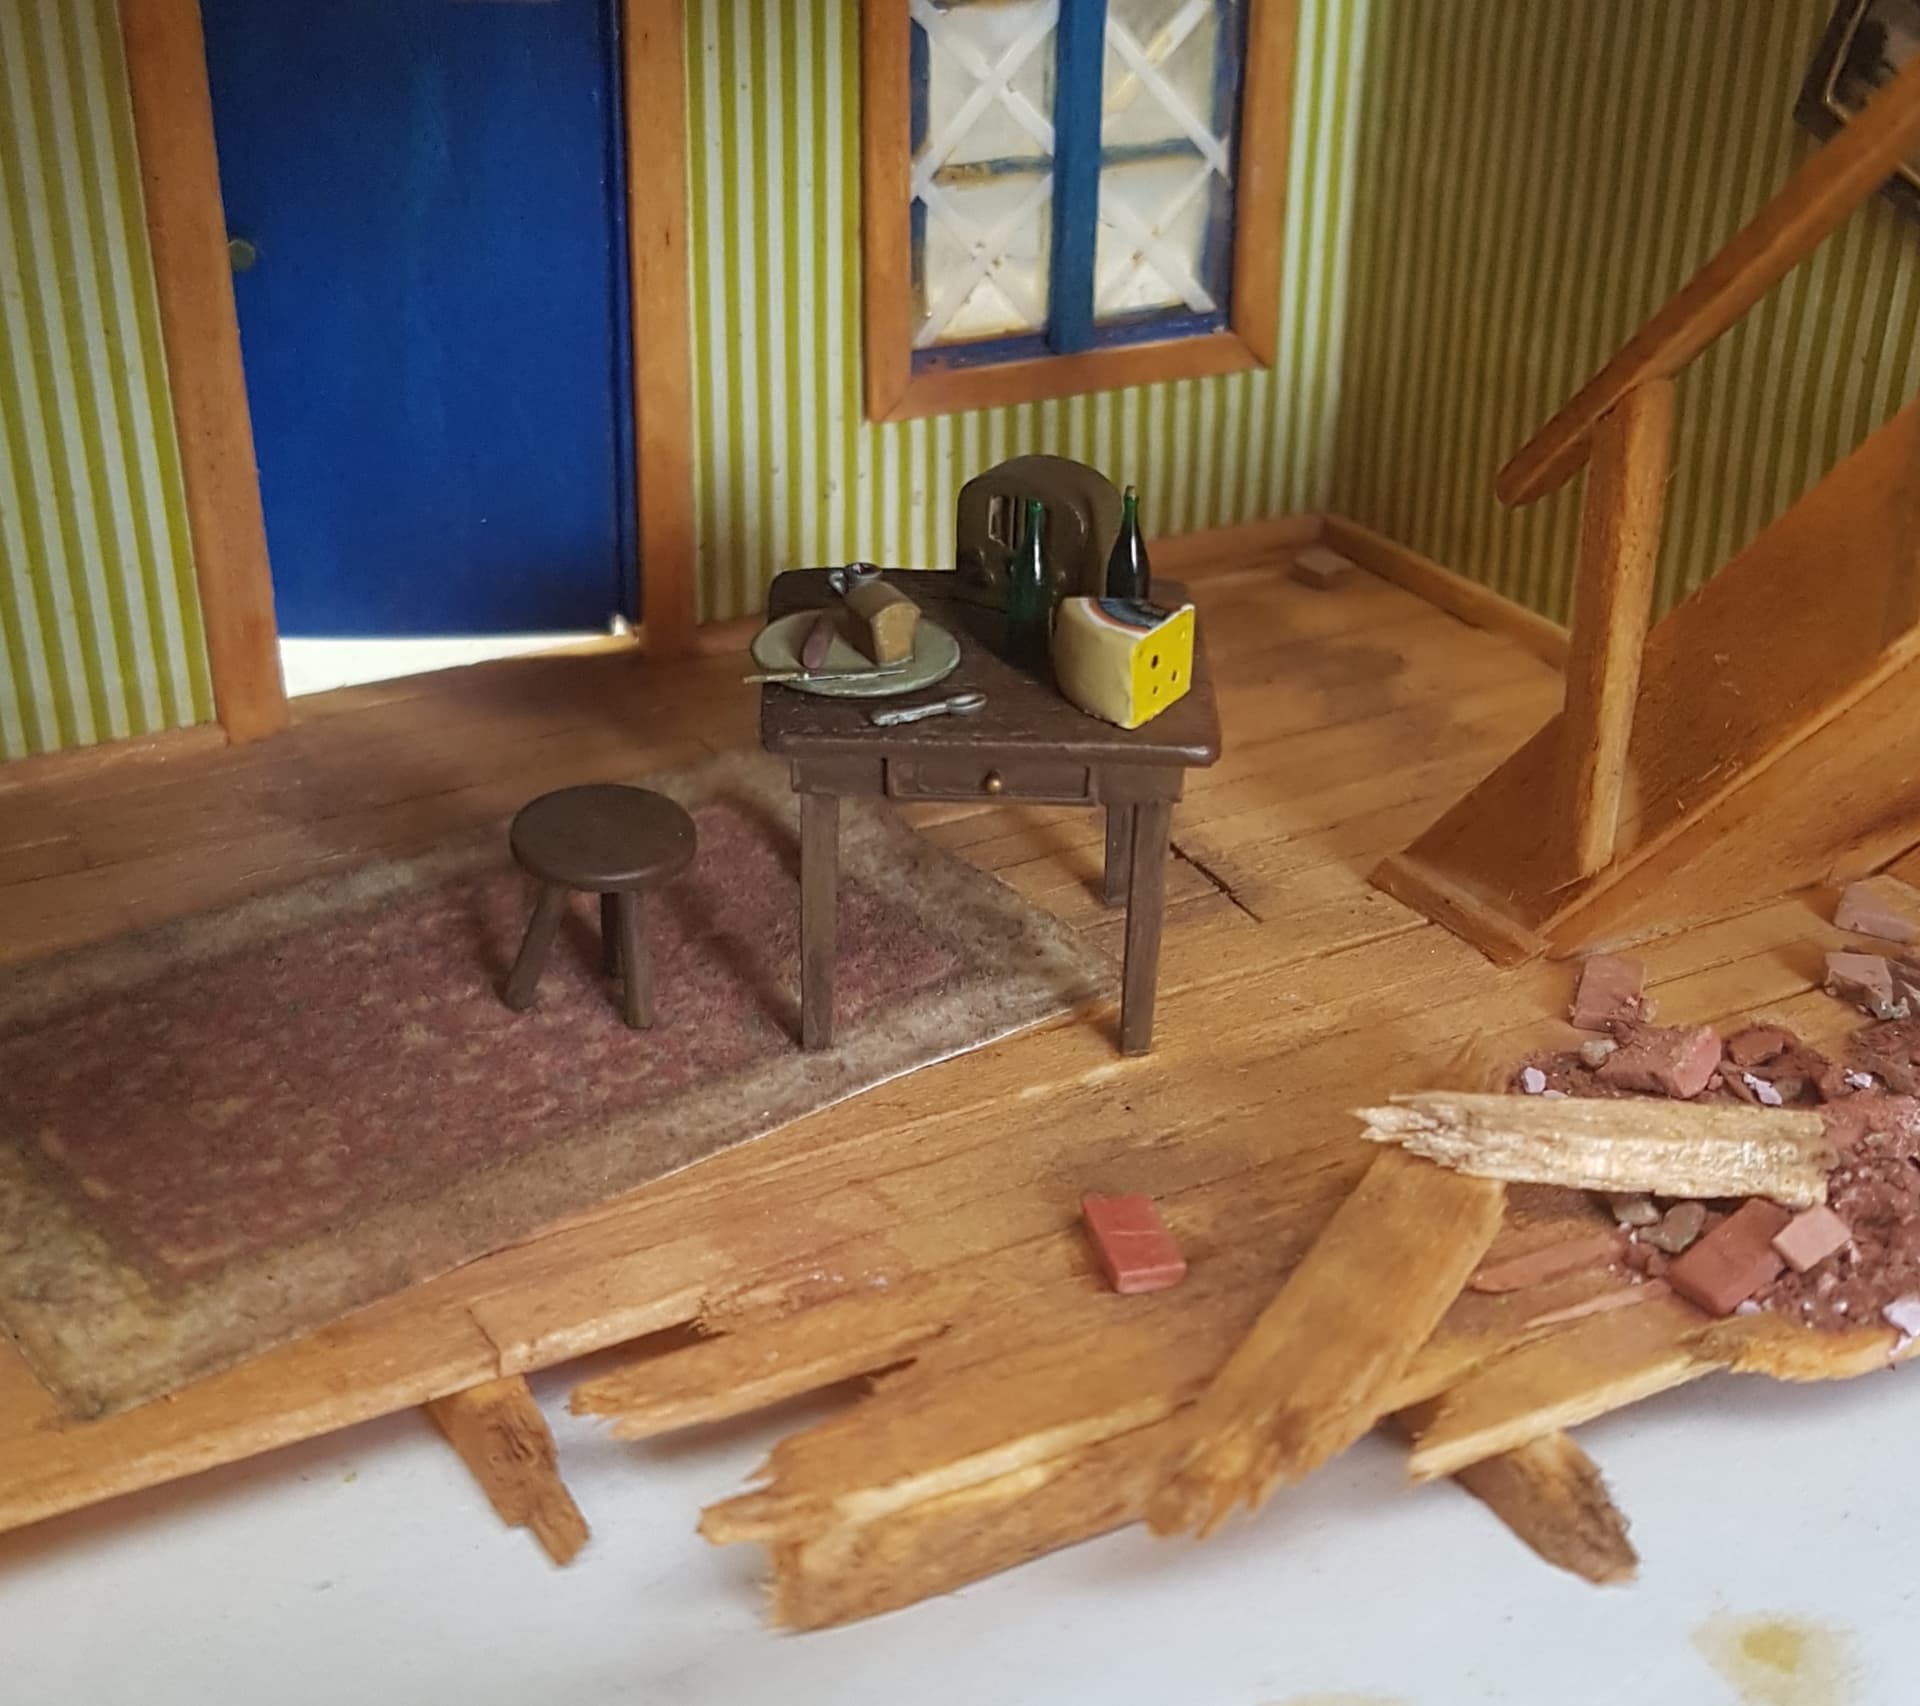
I have managed to make some small progress. I have stuck the pictures up on the walls, painted an added the wine bottles, plate, cup, knife, bread and spoon to the table. All that’s left to add is the cheese. Very stereotypical French I know, but it will all come together in the end (hopefully  ) .I have also added 2 pigeons (1 to the roof near chimney and the other on the 2nd floor). Hard to get photos with natural light as its been raining and miserable here lately.
I am currently painting a chair and am awaiting a resin violin to be delivered for upstairs.
The plan is to start the churchill 95mm cs tank tomorrow, I want to try to replace the mud plough spring with ones made from finely wound wire. Will make some practice ones before any detail is removed.
Dropped a bit of motivation lately but keen to keep going.
5 Likes
Those details are now making the inside jump out Nick, it looks amazing… The colours just give if live… Cracking work and it will be a showstopper !!
1 Like
Thanks @Johnnych01. It’s definitely been an enjoyable build with only a few details left to add. Then it will go into the display cabinet for protection from the dust until the display base is ready.
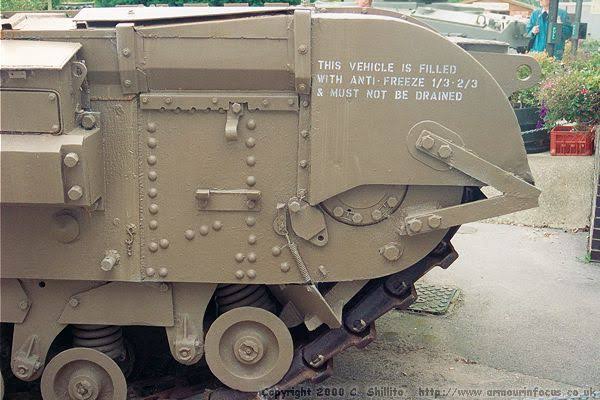
I have started the Churchill tank today, with the bolt heads in step 1. After some research (which took longer than gluing them on) the flat sided bolt heads have been glued on different angles than just horizontal, as seen in the photo below.

1 Like
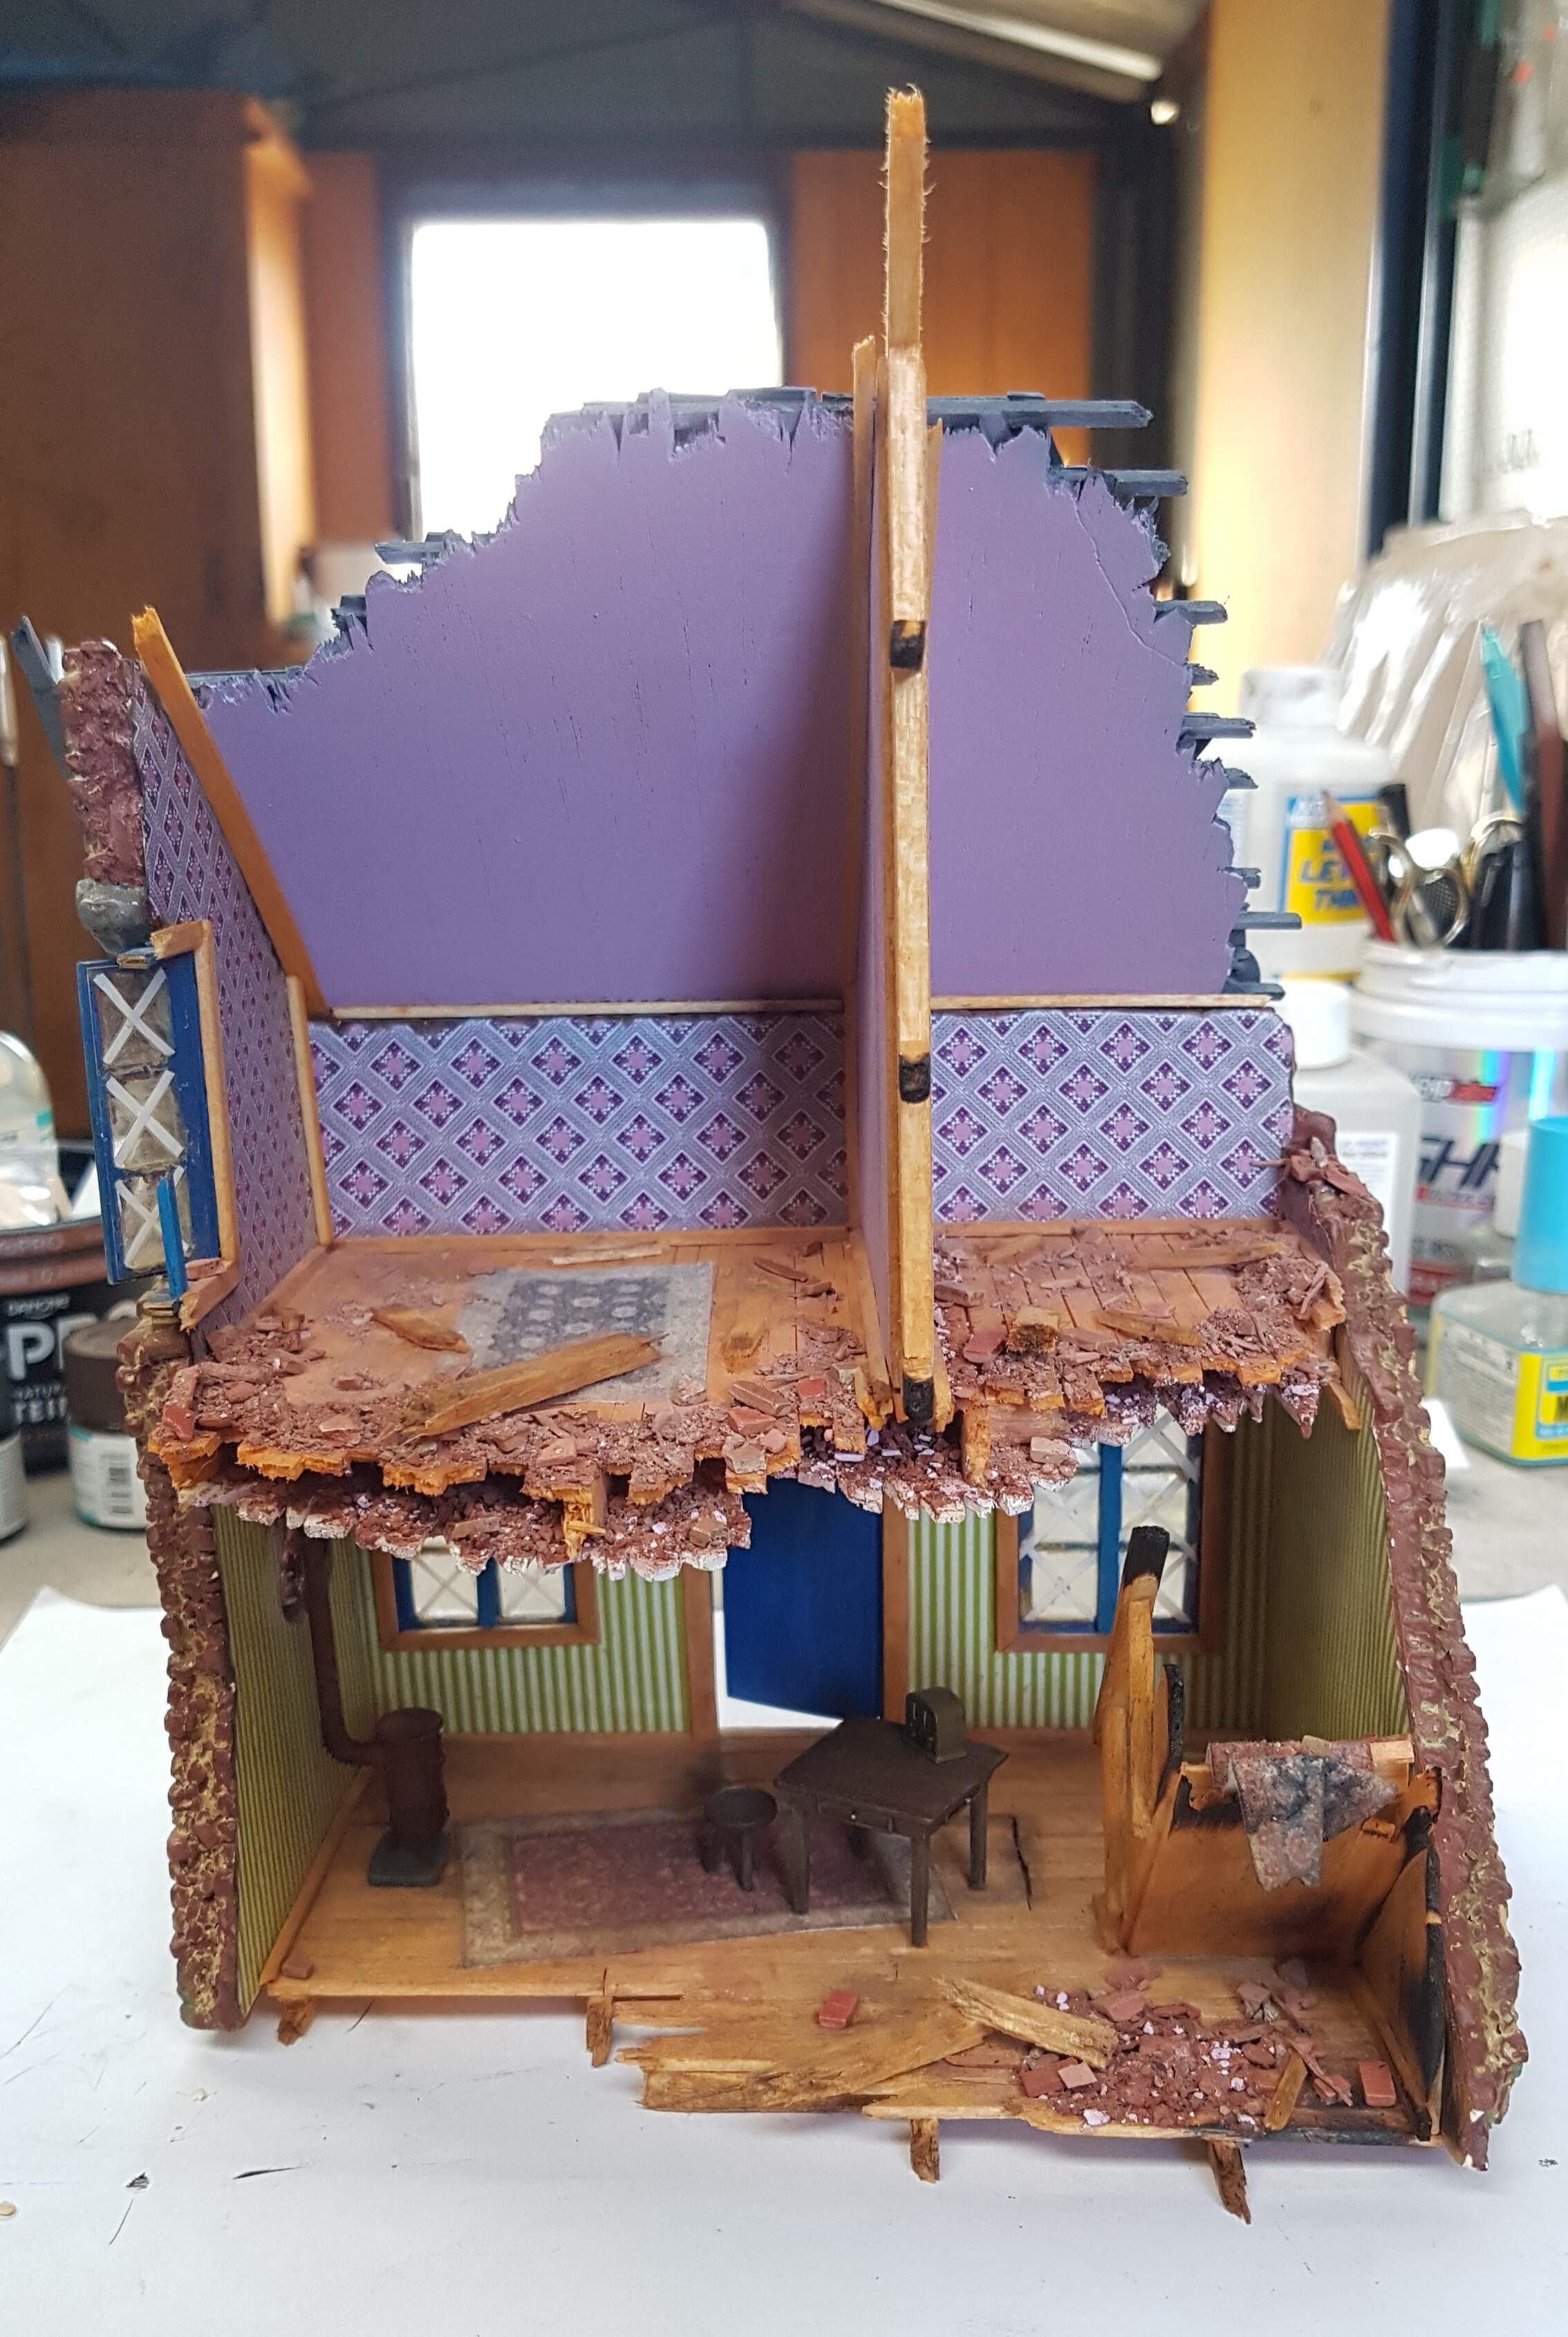
I managed to paint the violin and chair through the week. I have just added it to the house and added some damaged plaster ceiling to the upper floor. Im calling this one done until I mount it to the base.
3 Likes