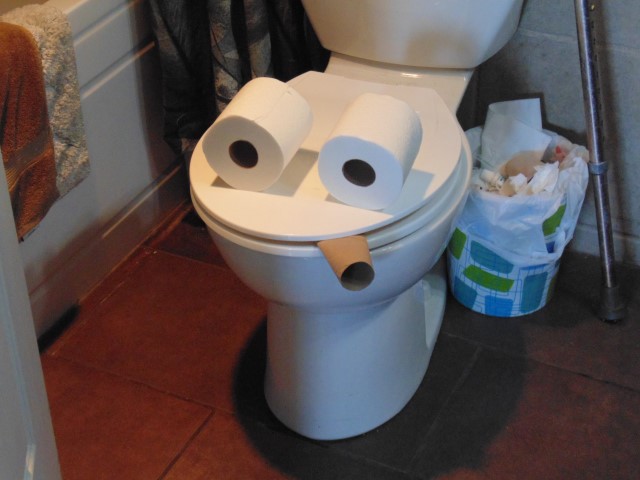
I had to share this… made me smile.
Thanks for following. Please leave a comment.
I had to share this… made me smile.
Thanks for following. Please leave a comment.
You have me grinning from ear to ear! ![]()
—mike
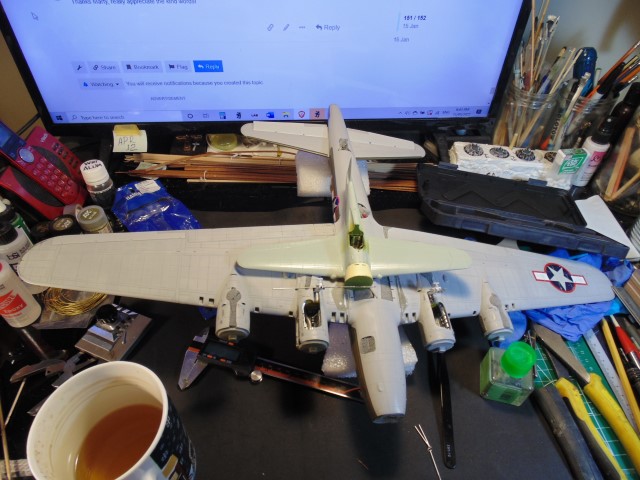
Allied “ what if “ Mistel ?
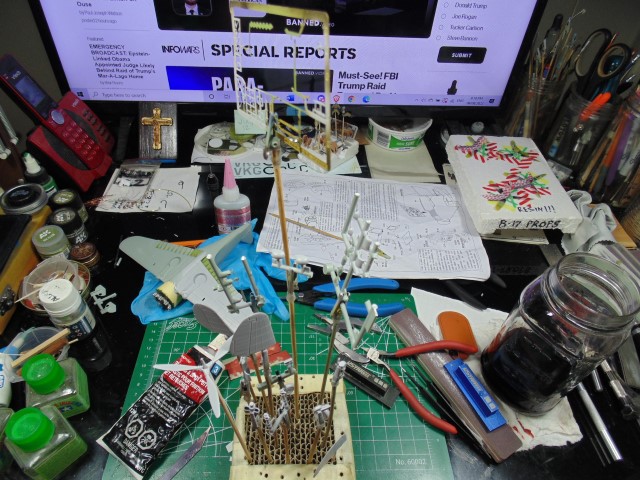
Size matters! The 17 looks huge by comparison.
PLEASE stand by… for some pretty detailed work.
OK… second try at this. Out of the blue it erased what I was posting.
Sooooo. Hi, here’s an update.
These barrels will be seen above the engine.
ALL the PE needs trimming.
Plastic needs shaving.
Note the difference.
End needs trimming too.
Trim slowly, little by little.
Chisel the plastic for the PE to sit right.
Now test fit the braces.
All these need to be trimmed.
Lots of shaving to get them to sit right.
Now for the next step.
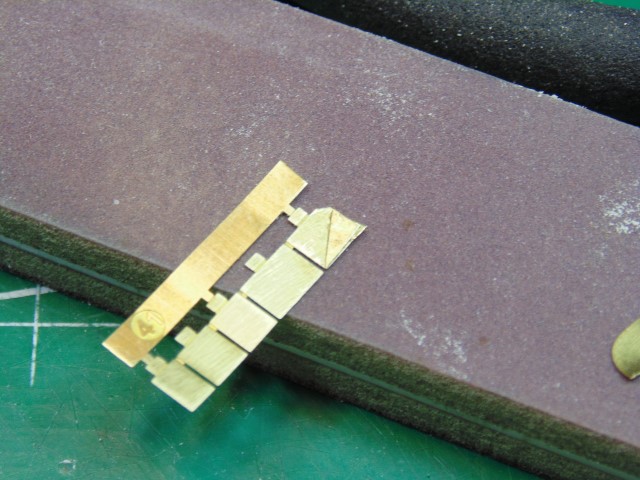
Used my David Union grinder to point the tips.
I’ll have to add material to match.
Here’s a better pic.

This inside flap part needs serious trimming.
It will look nice when painted.
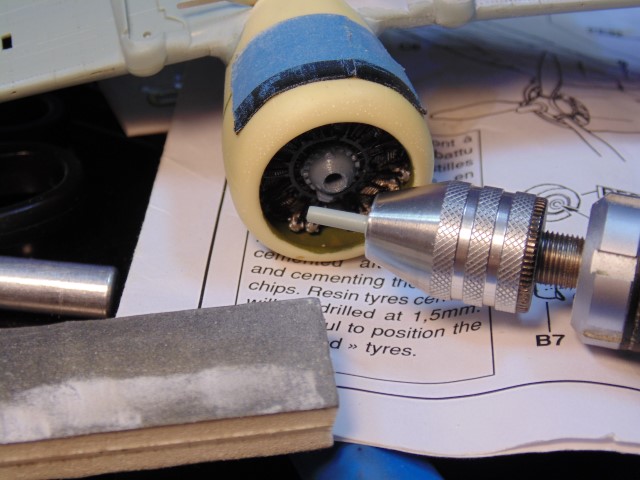
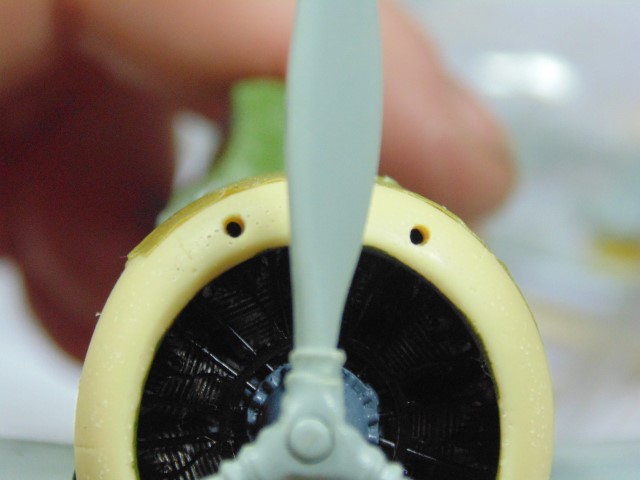
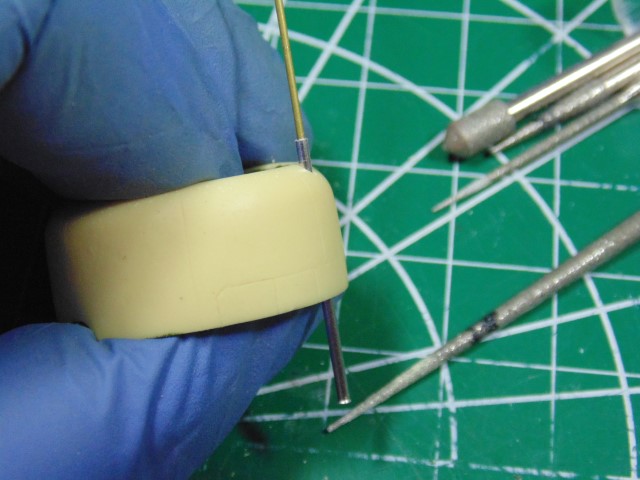
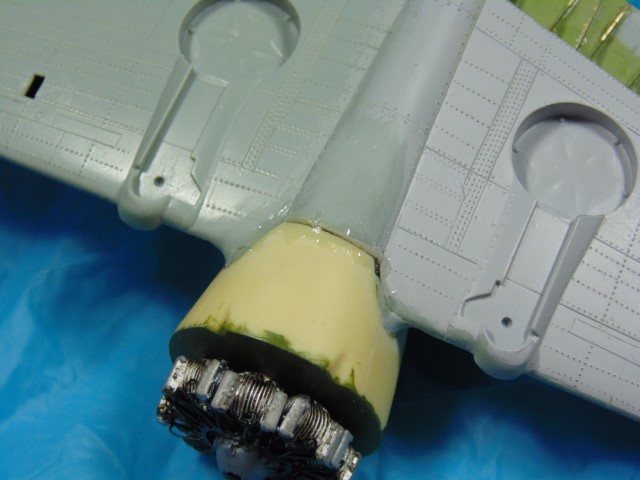
Now to center the engine on the correct resin cowl.
I held the engine while inserting a rod with black paint on the tip to get the exact point to drill.
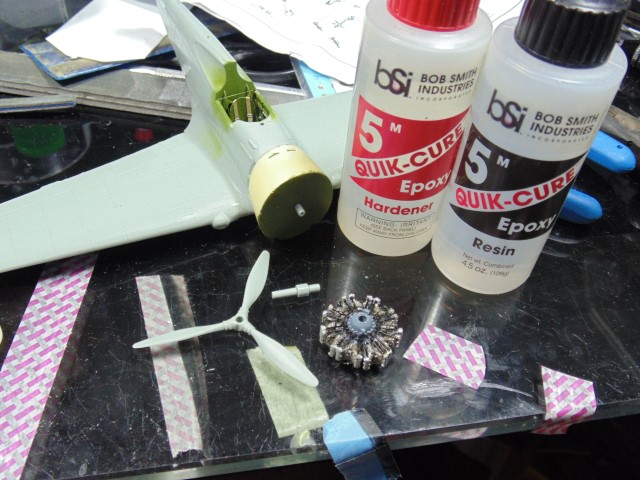
Epoxy will set the engine.

These areas obviously need to be fixed… and now are.
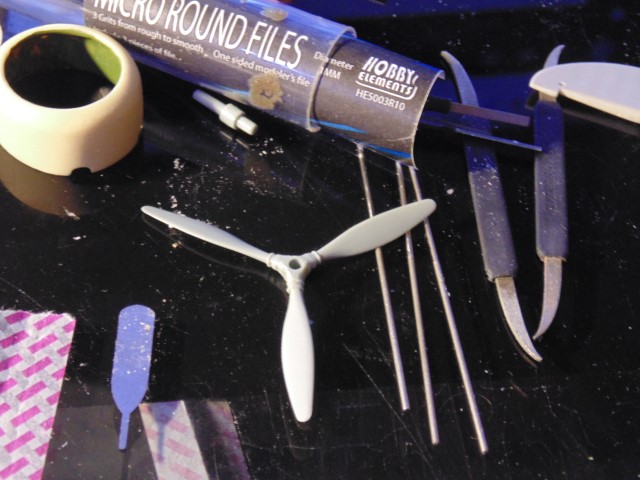
Used Hobby Elements micro files to get more detail. You’ll see this improvement later.

Getting there.
Just expressing my joy. Thanks and more next week. Best of health everyone.
Some very neat and precise PE work there. Great surgery and attention to the smallest details.
Quite a post, H.G.!
“Must Have” must have just commissioned a series of aftermarket parts – resin engine, resin cockpit, brass flaps, but with uncorrected front cowling, plus custom decals – without regard to whether what looked pretty in the box actually fit together!
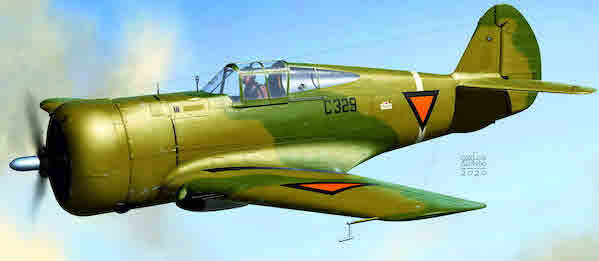
How lucky was I that Jean-Luc Formery kindly donated that extra, home-cast cowling, which you have further refined to get to the elusive goal of an accurate Curtiss H-75A-7 in 1/48!
And BTW, one gun in each wing.
What an effort! What a build! “Must Have” becomes “One Off!”
Thanks John!!!
Just another day at the office ![]() Yes the wing guns are those I mentioned, on the telephone, which were hollowed out. Too tiny, even for me, to drill out the diffusion effect, but some black over dry brushed gun metal will look good.
Yes the wing guns are those I mentioned, on the telephone, which were hollowed out. Too tiny, even for me, to drill out the diffusion effect, but some black over dry brushed gun metal will look good.
Fantastic work HG, keep the updates coming ![]()
Thank you Tim! Tune in next week. ![]()
More good stuff from one of my favorites !
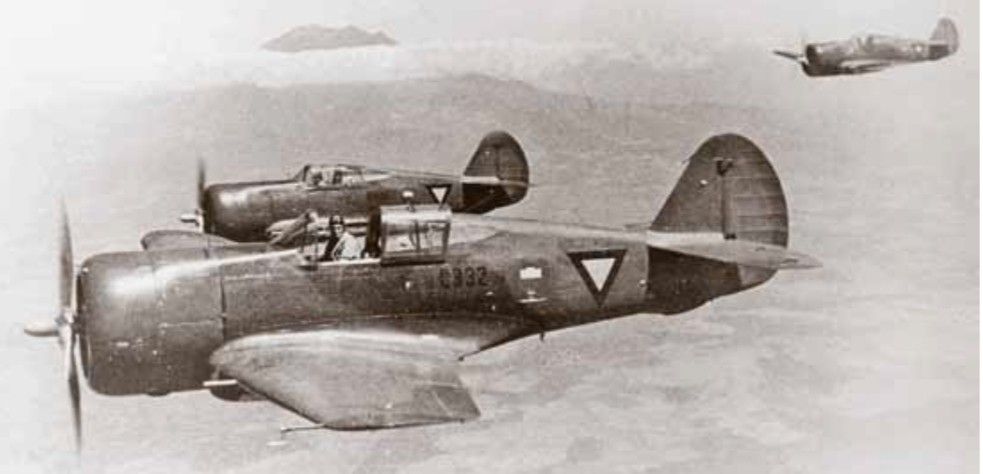
Love the Mohawk , love the potty character !
Keep at it .
Cheers- Richard.
Thanks again for the kind words Richard. i look forward to hearing the reaction when YOU pull that gag on your family ![]()
Good to see you back at it, HG! And what a great update, lots of fiddly work.
Thank you Sir. Yeah, I “must have” been drinkin’ when I agreed to this job HA HA… kidding.
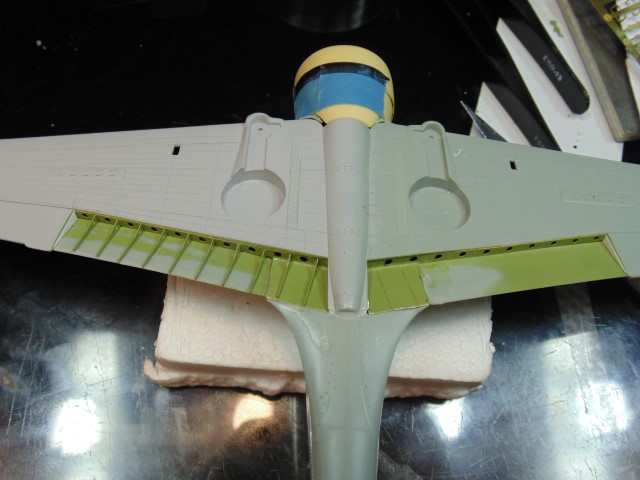
Monday Mohawk Mania!
A bunch of little details have to be done and certainly many more to come.
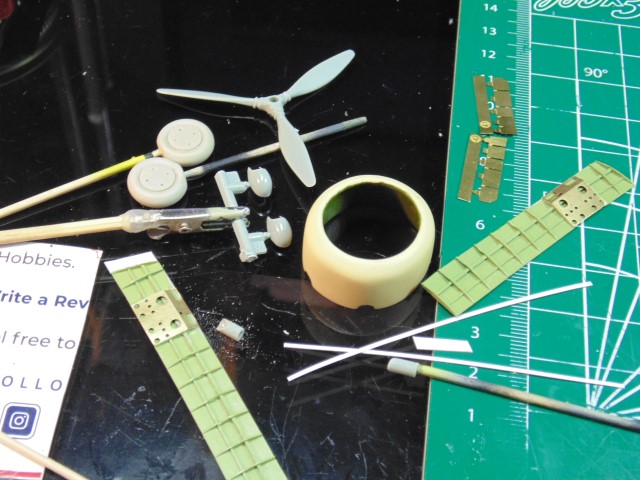
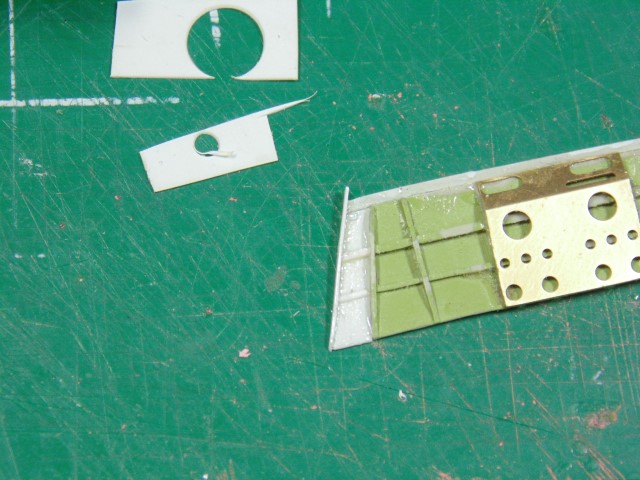
Here’s what’s on the short list.
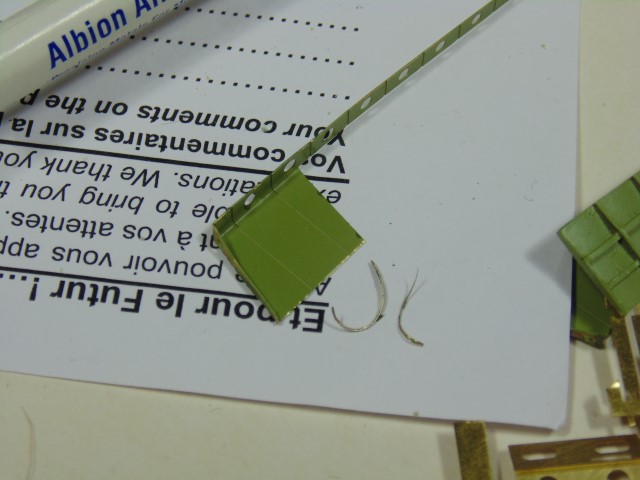
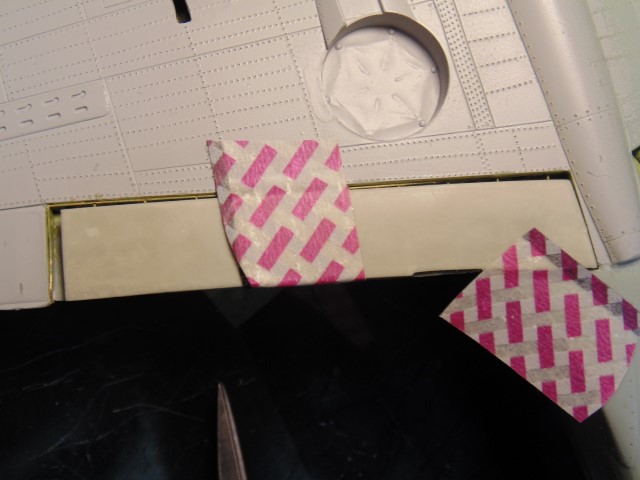
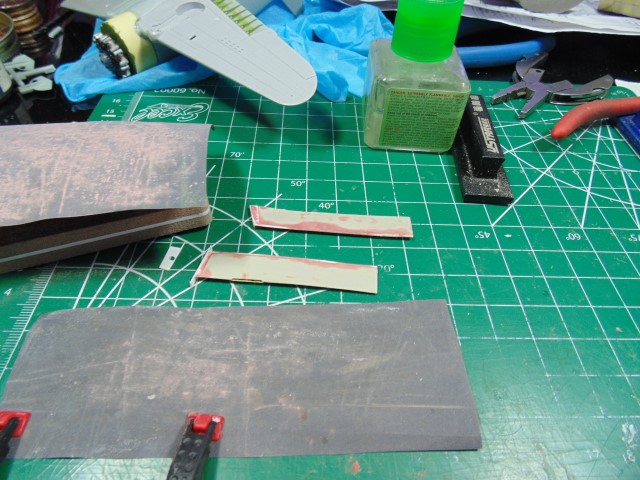
This is the flat card lengths, but rib and frame bits will go on too.
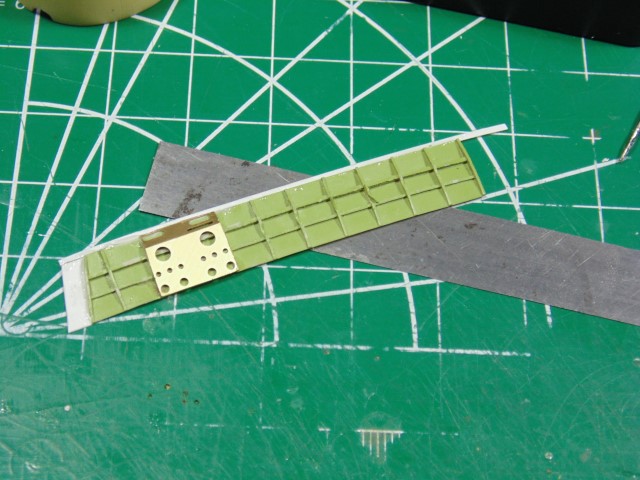
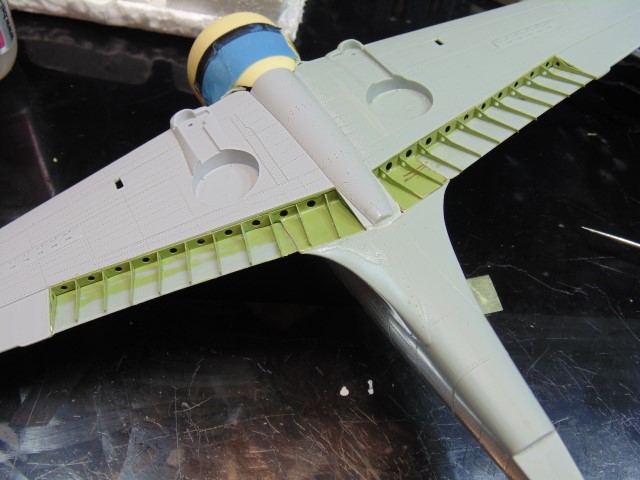
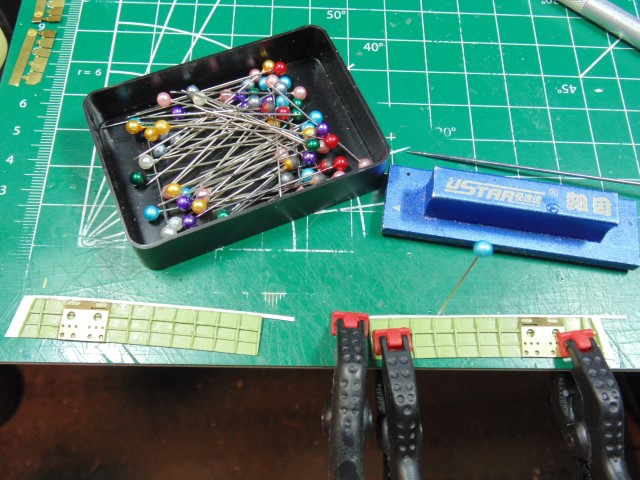
I’m using 5 minute epoxy which I can sand with less worry of it pinging off compared to CA glue. The metal is a UMM-USA flexible straight edge. Awesome tool for riveting and many other tasks. Visit John’s site for some super cool and useful items (I was not paid to mention this).
Simply slip it under and slide.

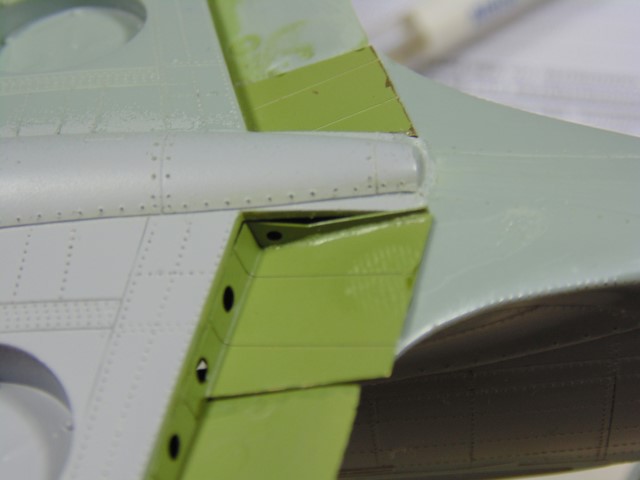
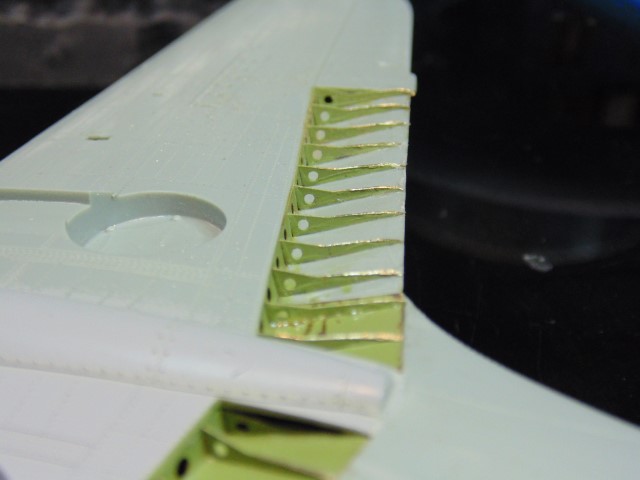
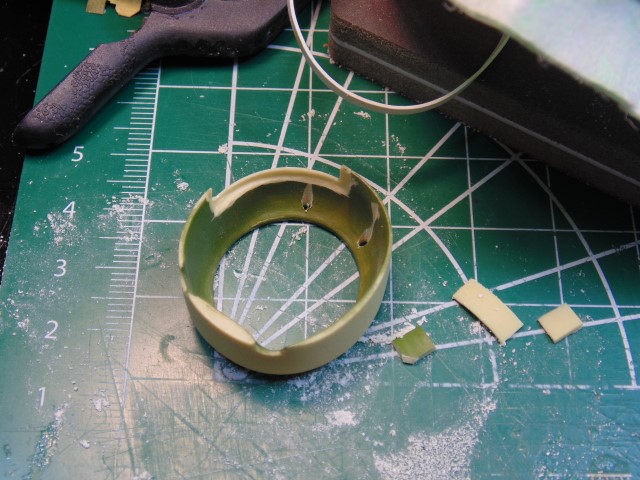
Next the cowl flaps, but something is… ummm… not… quite… right. UGH! More in a second on this.
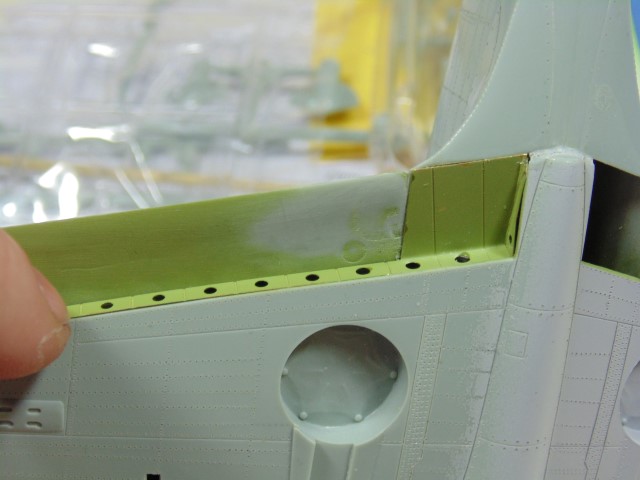
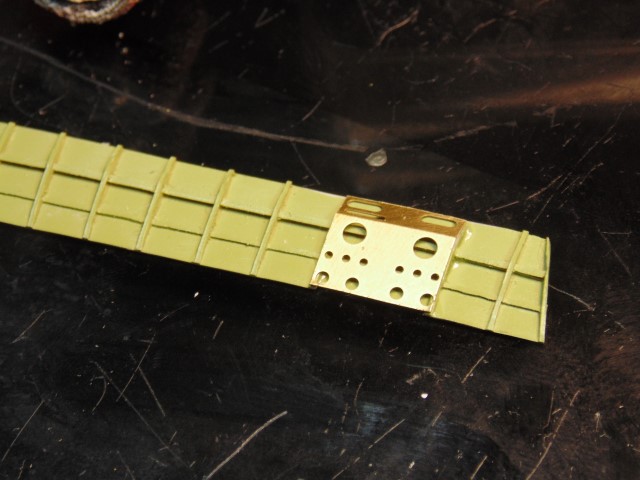
The nose guns will be brass, but I need a sheath to pass above the engine and connect to the firewall. The flaps will be open so these sheathes will be seen from the front and the flap area. Use a reaming tool.
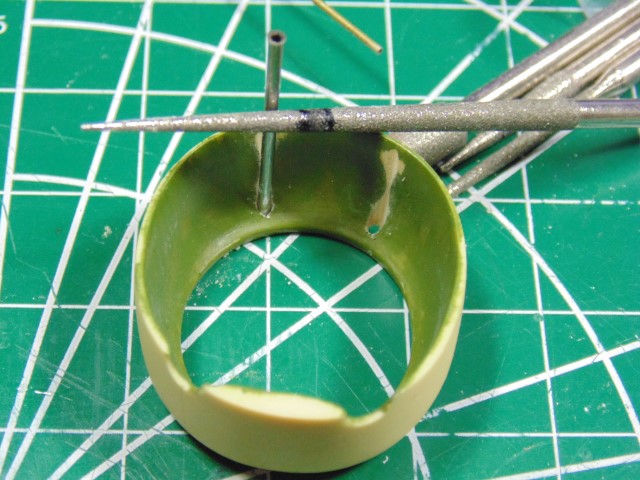
Obviously, everything will be painted, so adjust how much you remove to ensure the parallel look. Later these will be ground down flush and the brass gun barrels will protrude.
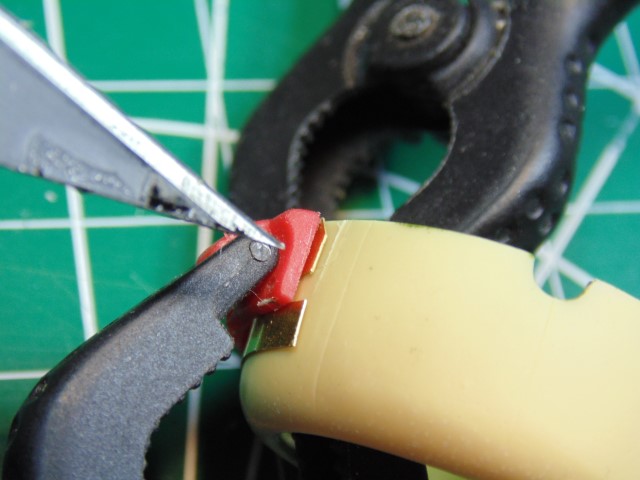
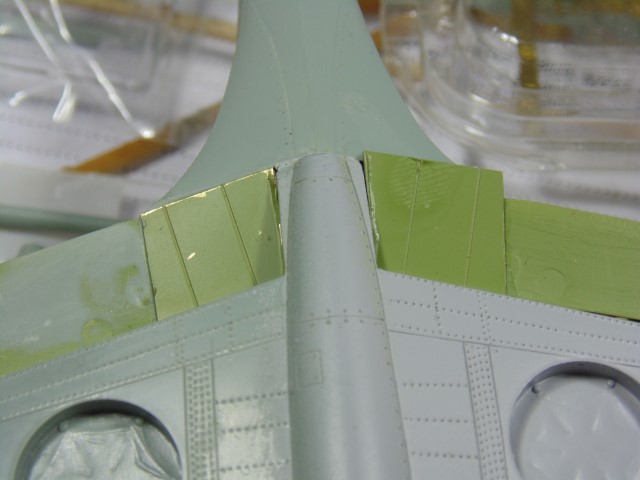
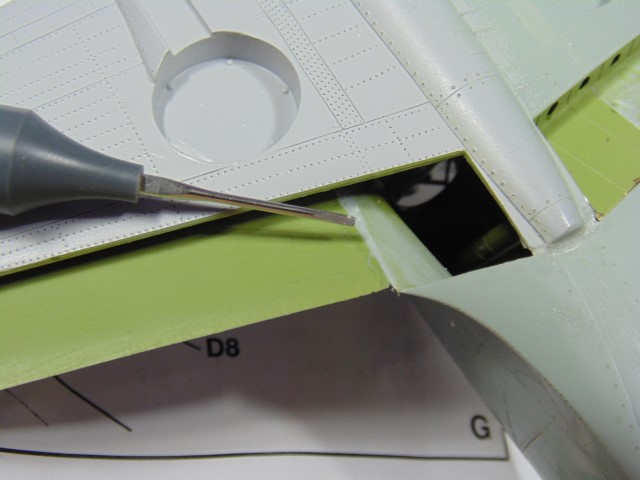
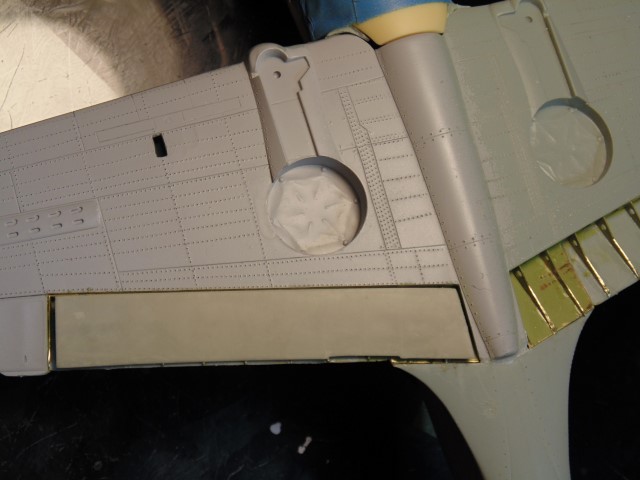
Back to the cowl flaps. Marking off the space to remove on the resin cowl.
Tamiya 0.9mm saw and a rotary tool to get the cowl thickness closer.

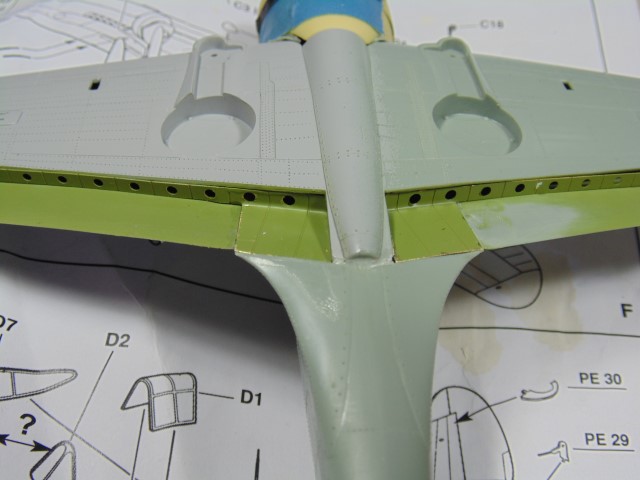
I’ve already cut a triangle filler and using a backing part to hold it. Won’t be perfect, yet close enough to act as a work-around. Later I’ll sand it flush.

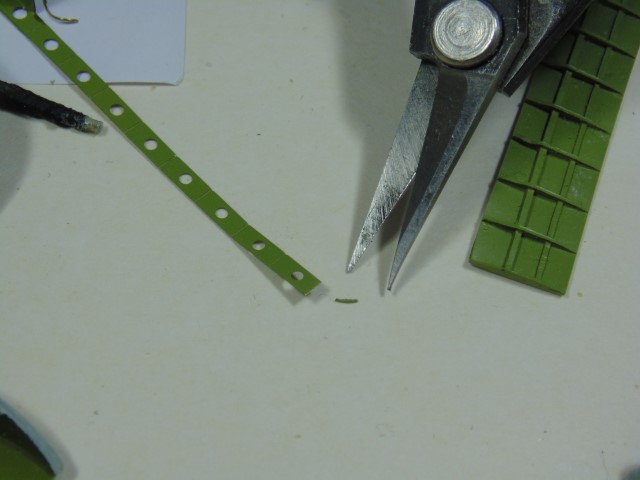
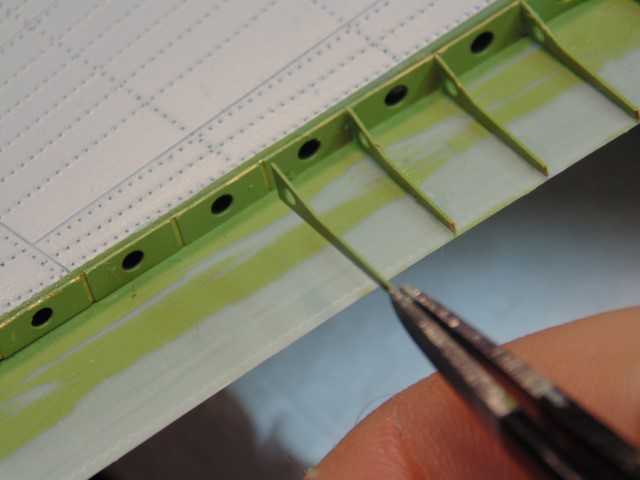
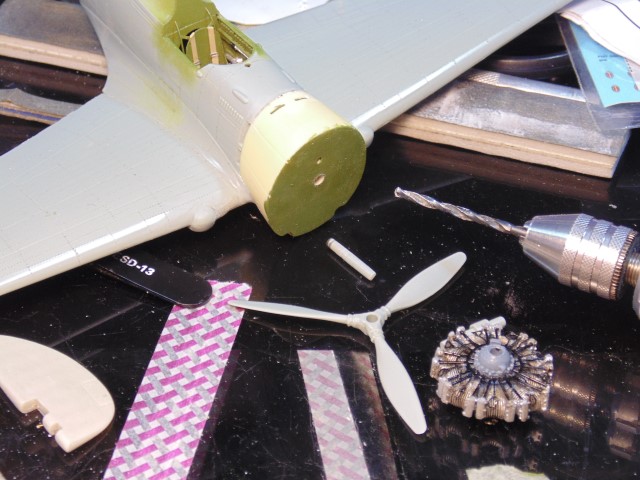
Here’s the first stage of making these exhausts super thin.
Much more to come. Please leave a comment if you have other methods to share.
Thanks guys.
![]() What’s not to like?
What’s not to like?
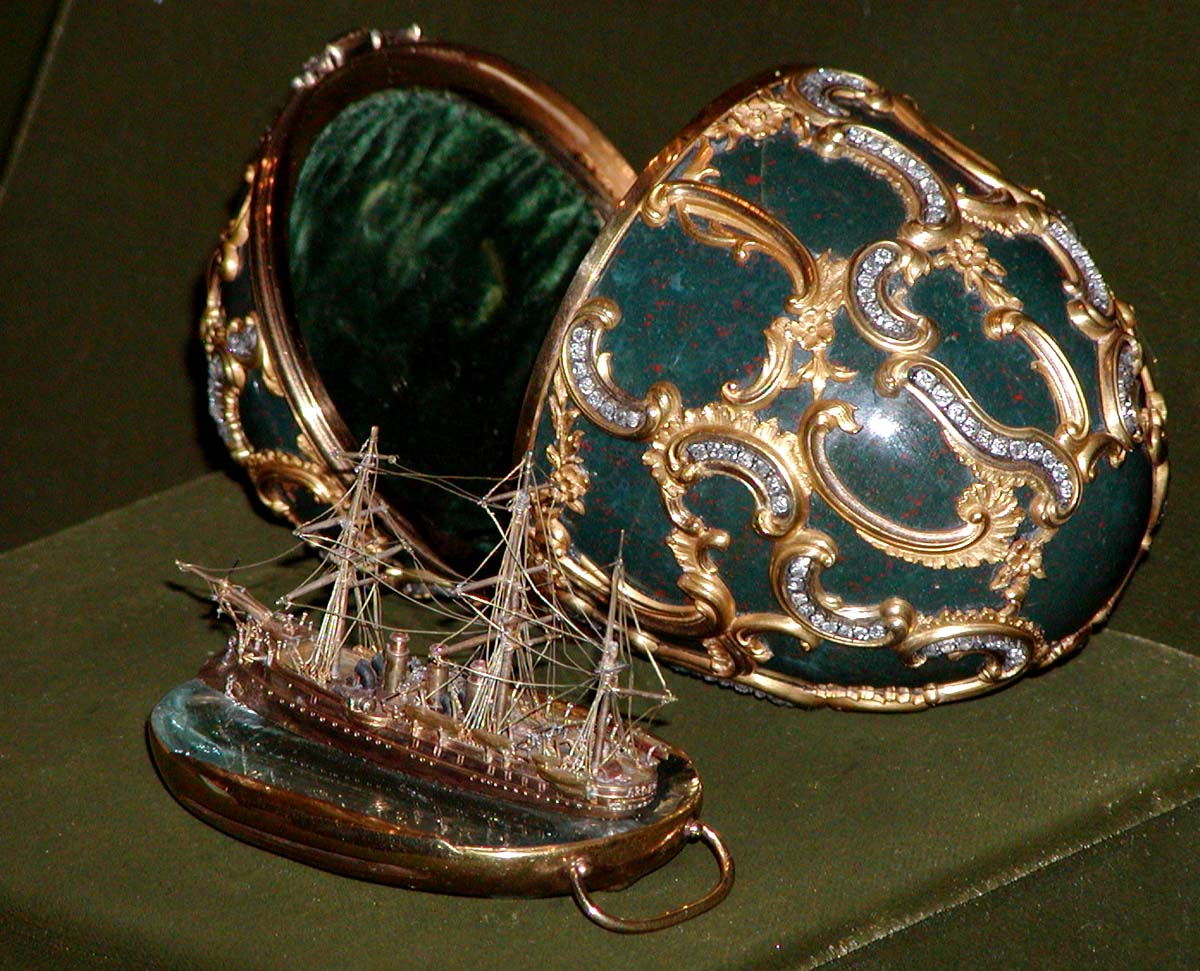
It’s going to be a real Objet de vertu
Rather like Memory of Azov (Fabergé egg)
Have to agree with everyone else.
This really is a brilliant project. All the hard work will be well worth all the effort.
Quick update.
Using some styrene filler for the huge gaps in the resin and plastic. Thank God for micro files/sanders.
Remaking the missing material of the flaps. Sanding this will be fun HA HA. More bits/ribs need to go on still.
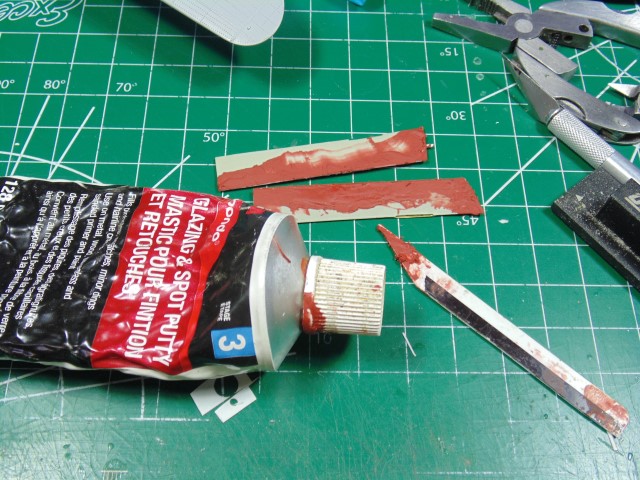
First pass with the lacquer filler.
While the filler is drying, it’s time to prime.
Flaps are ready for another coat of filler.
Be safe everyone. Please leave a comment.