A few years back Brian D. O’Neill aka Redhand asked if I could add this to a future build list. Welcome to the future Everyone.
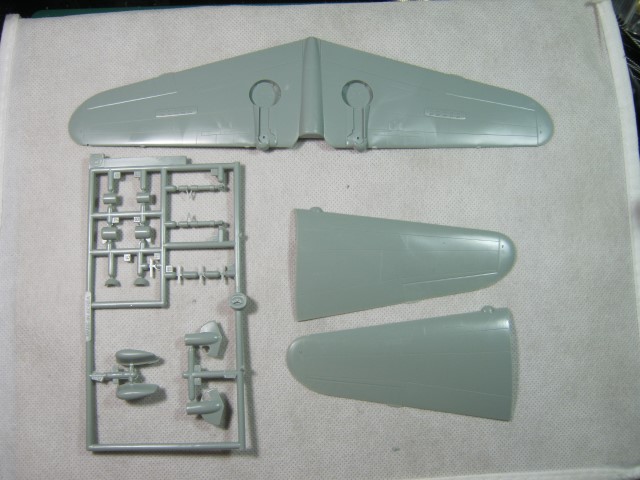
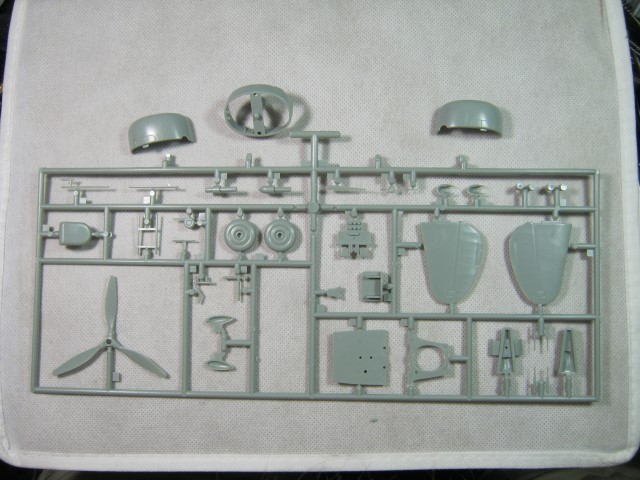
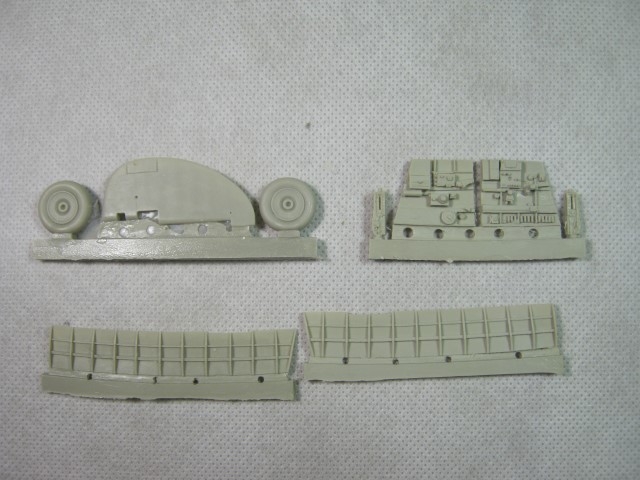
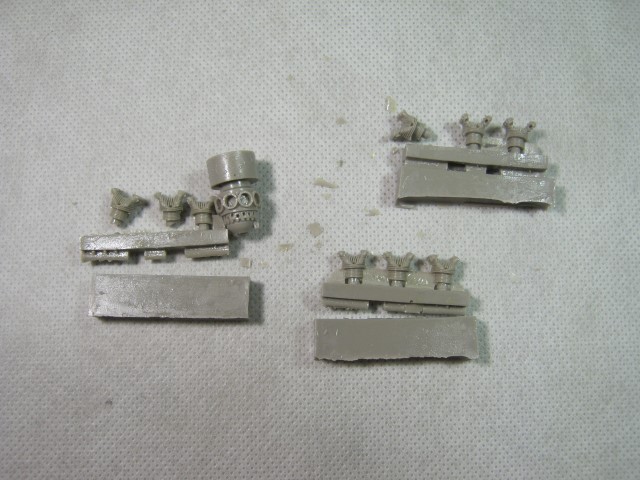
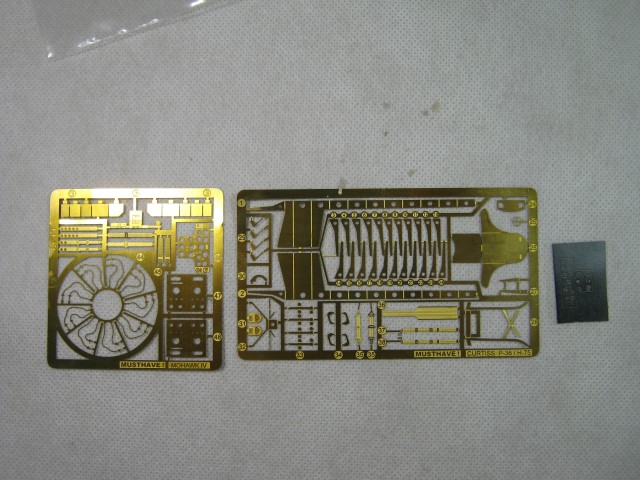
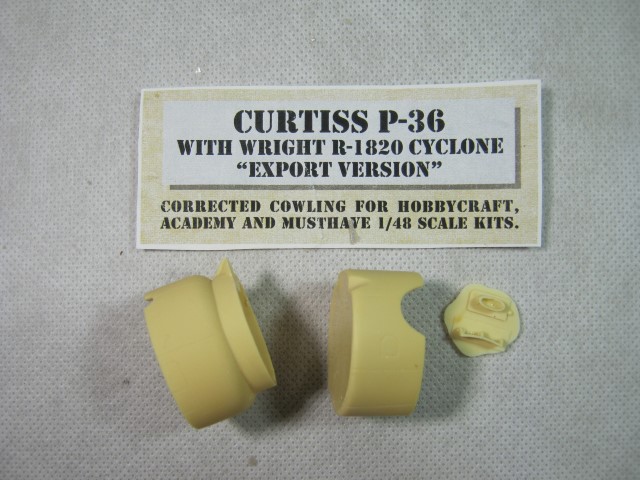
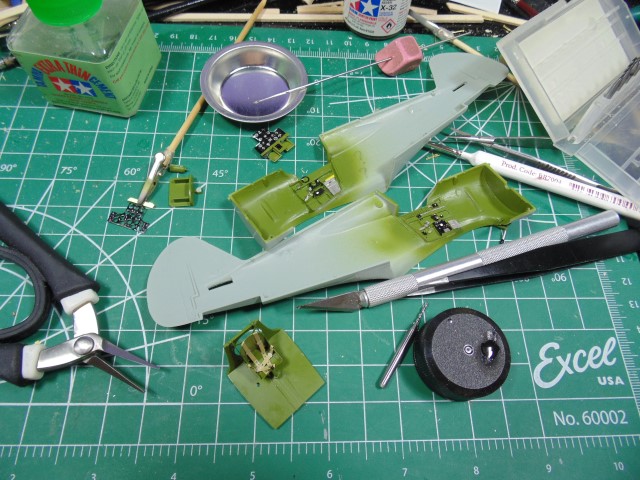
There won’t be anything special about this build, just a full rivet job, resin “export” cowl, PE including flaps and resin engine. Also, there will be resin interior and exterior bits.
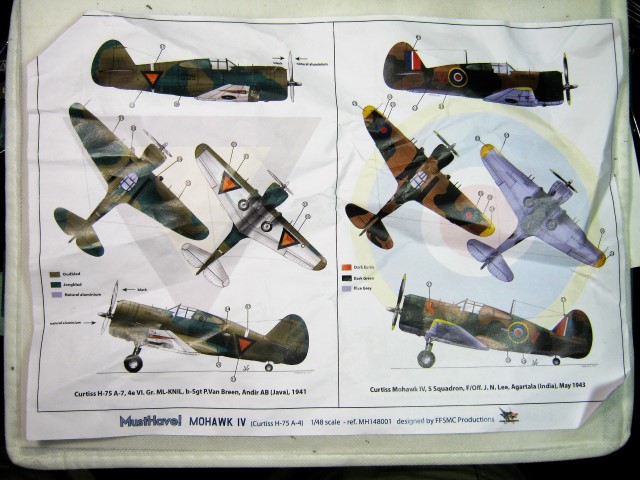
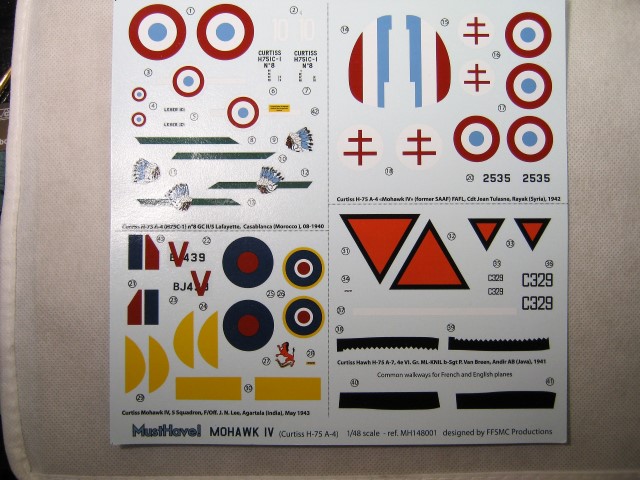
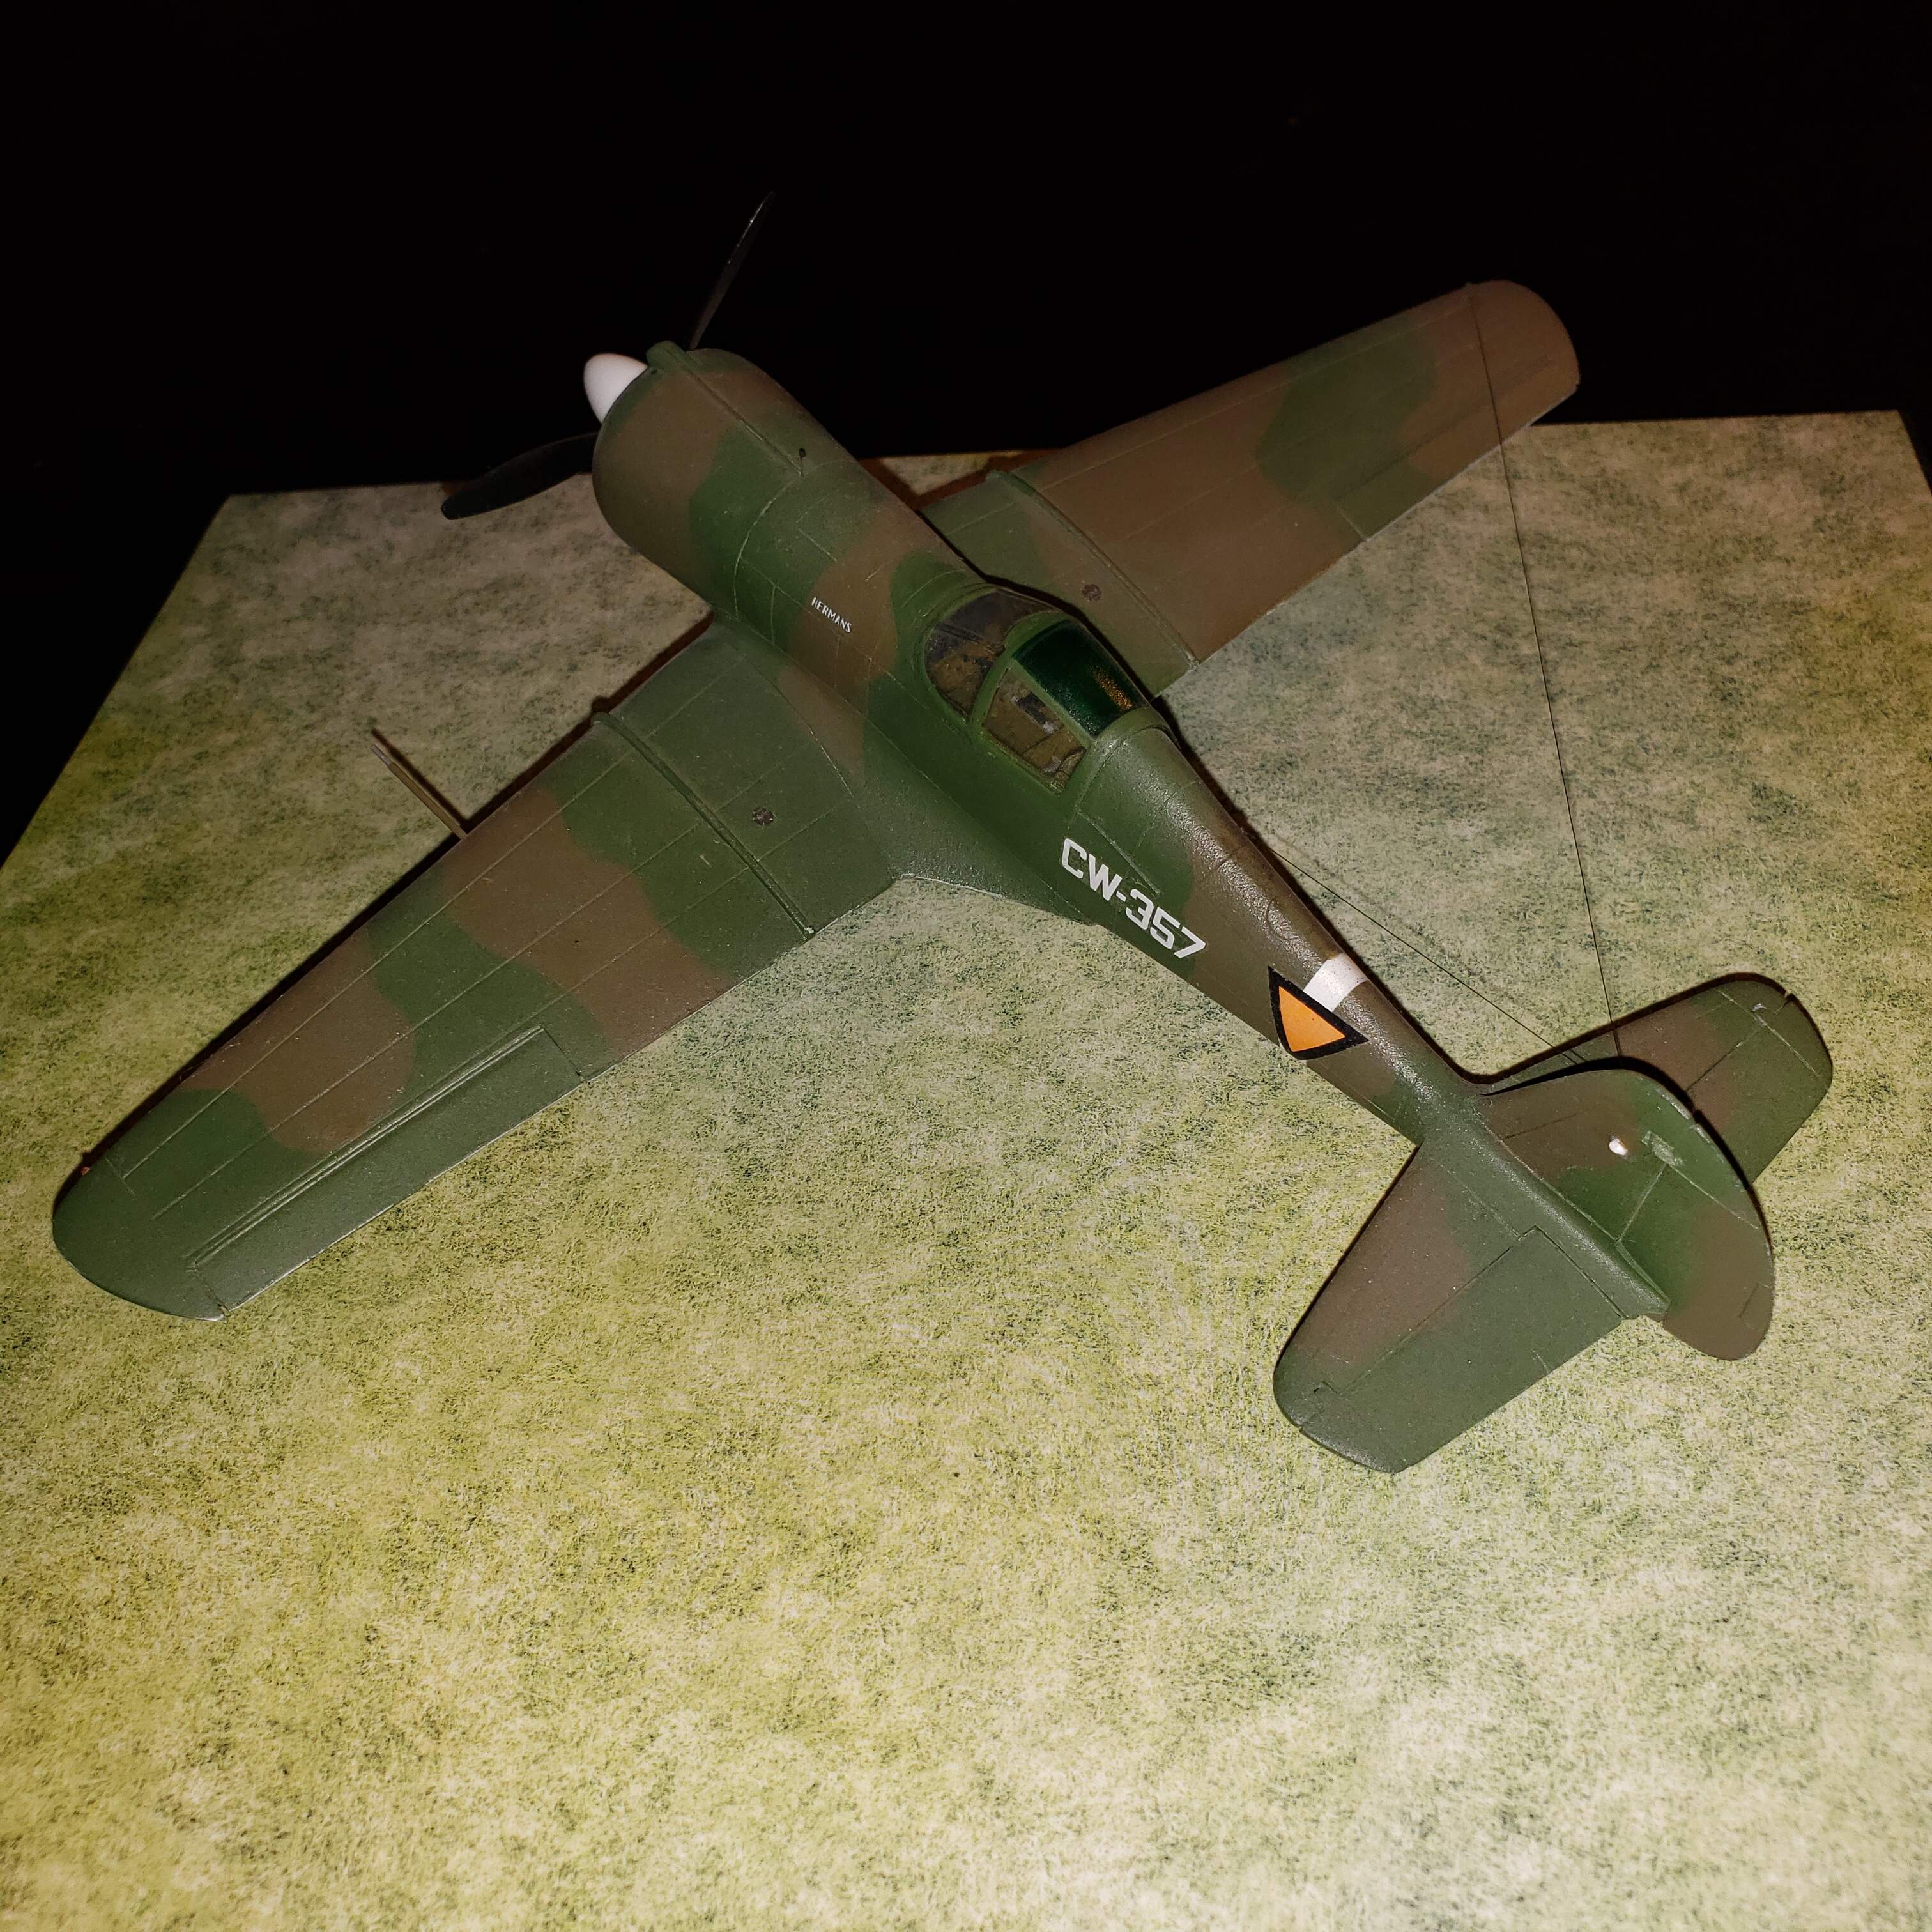
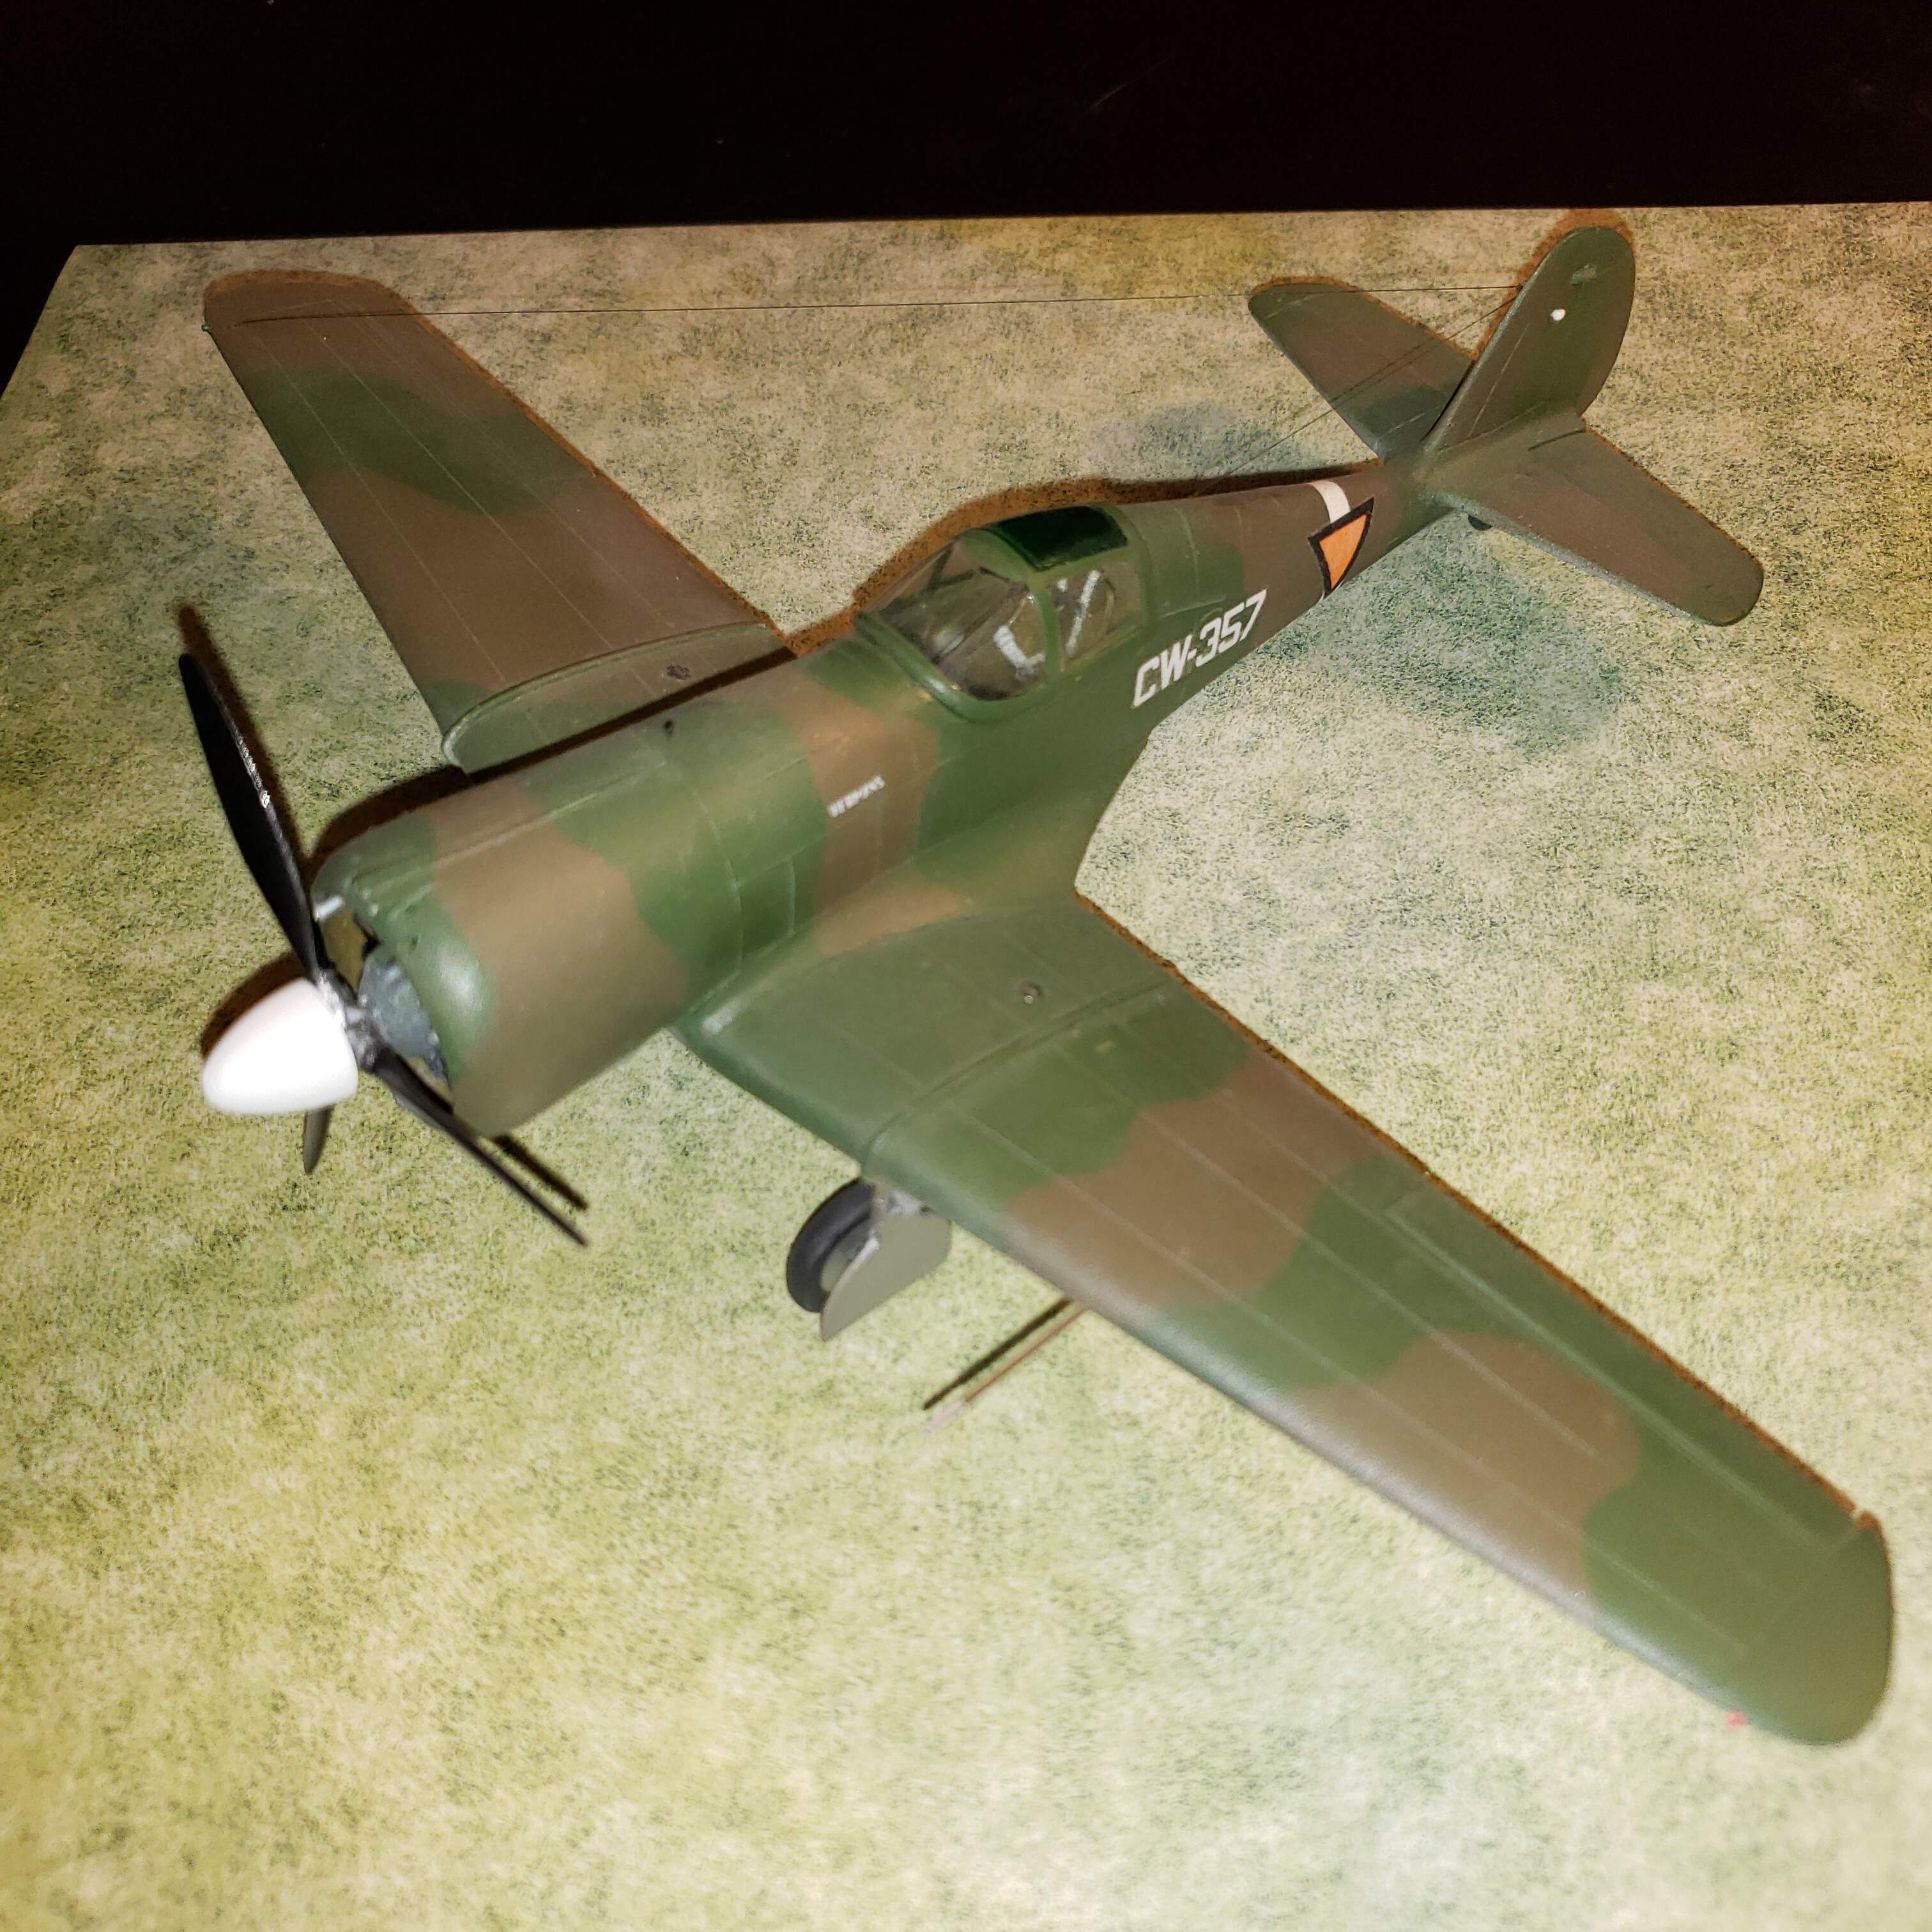
The key part of this build will be the KNIL Dutch markings and camouflage.
Yeah, we get the picture HG, this is nothing special for one of your builds!
Another great choice of subject matter, I haven’t seen this type built up more than a couple of time. I will be following along with much interest as always!
Yep. “Nothing special…”?? “Nothing special” for HG is like me climbing Mt. Everest.
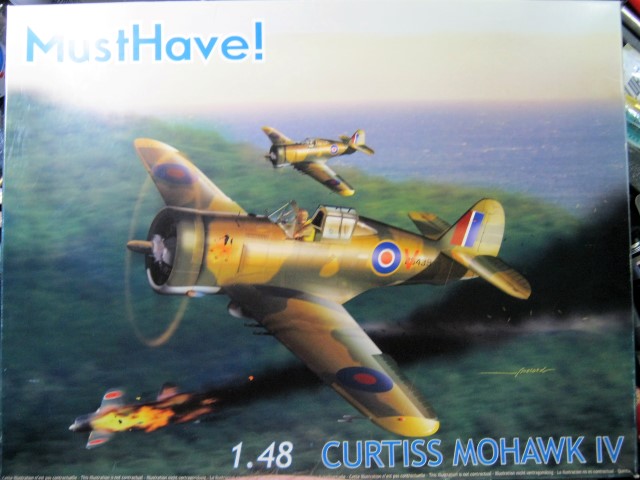
HG, you make it all look so easy. I can hardly glue two parts together anymore. I’ll be watching, esp. because it is a KNIL P-36. And I am not familiar with Must Have.
Just curious, why KNIL? Is there something in the Aeroscale water? Another member and I are drooling over news of a Curtiss Demon, and both have stated we plan to build it KNIL.
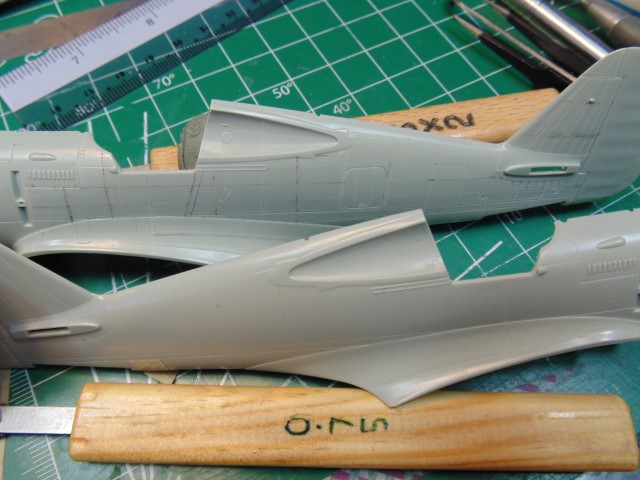
I always do rivet and panel line first. This way you get to know the parts and little about how they fit. Doing a full component, in this case the fuselage, you can match the work done on the other side right away. Does always pan out 100% but helps.
So, being there is enough film in the can, might as well add pictures to the words.
Don’t need many words here to see if the effort is worth it.
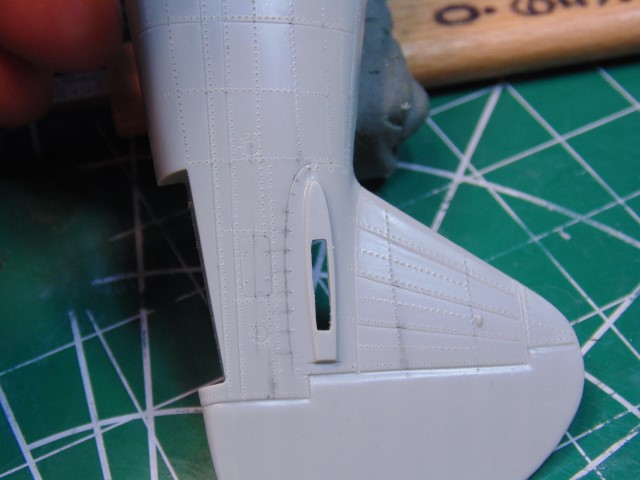
Used a double wheel in spots.
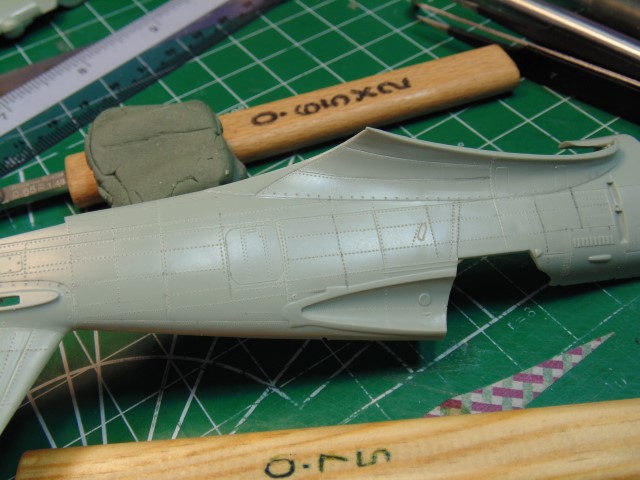
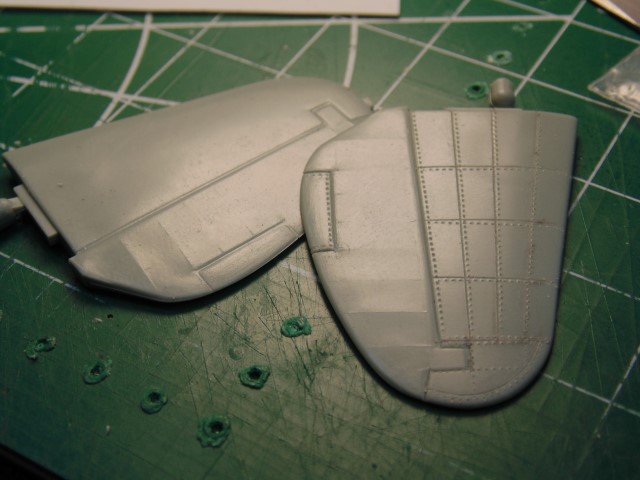
Rudder gets replaced with resin, but by leaving on the plastic you have a solid area when pressing down on the riveter or scriber.
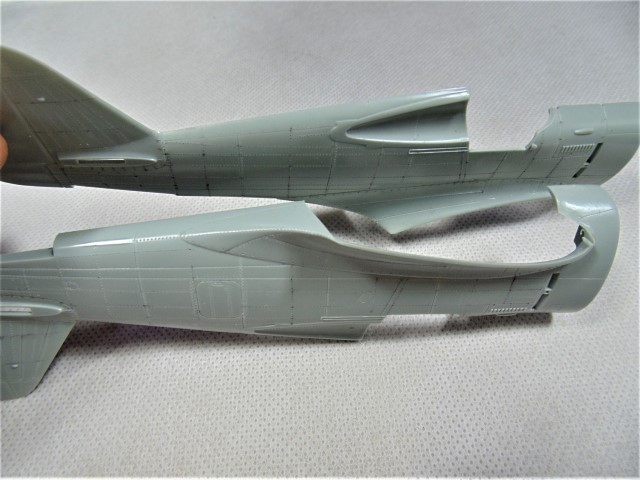
The nasty sink line is where the diagonal lines are… as per the rivet guide. Sure did a good job hiding it eh?
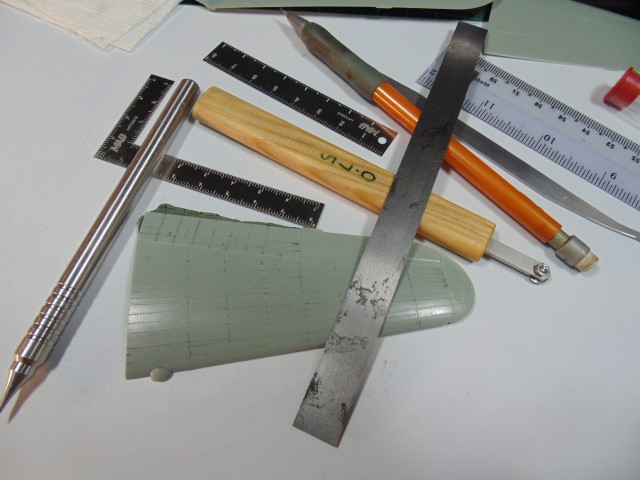
Found some more highly accurate tools to help. This should speed things up quite a bit.
Some tools are timeless though.
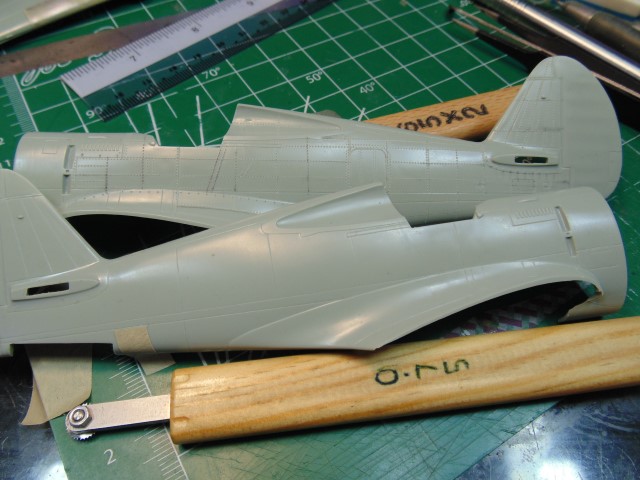
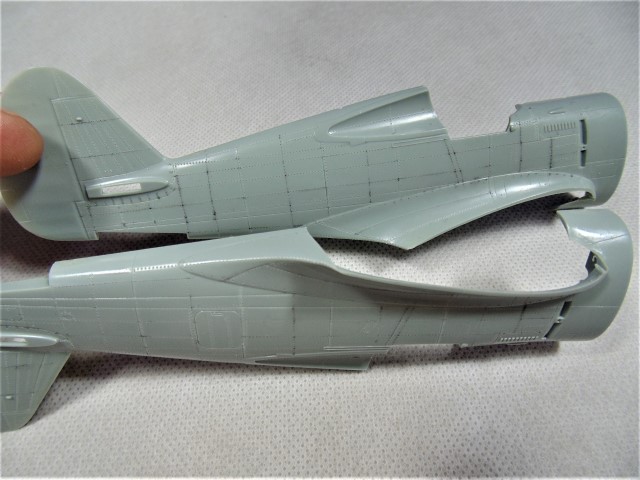
Both sides done and all that needs to be completed is connecting the dots, literally, on the top and bottom. That comes later after sanding.
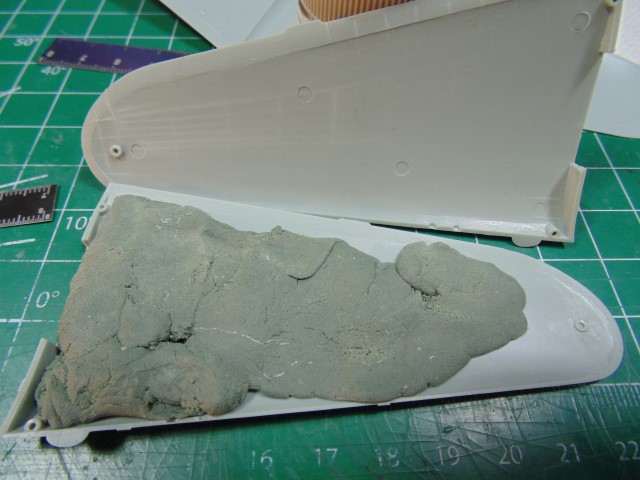
An old tire tube piece is sandwiching the resin lower flaps, which were seriously warped. They swam in scolding water for 3 minutes then flattened. Hopefully this bench vise will correct the remaining minor flaws.
Please leave a like if this helped and ask away if there’s something I misses.
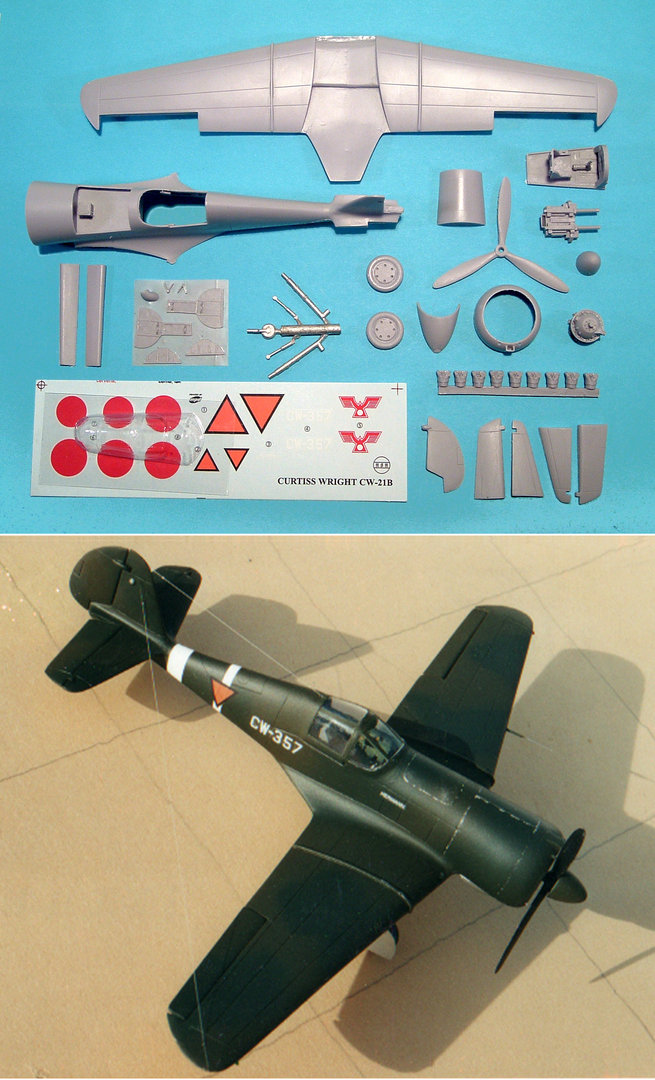
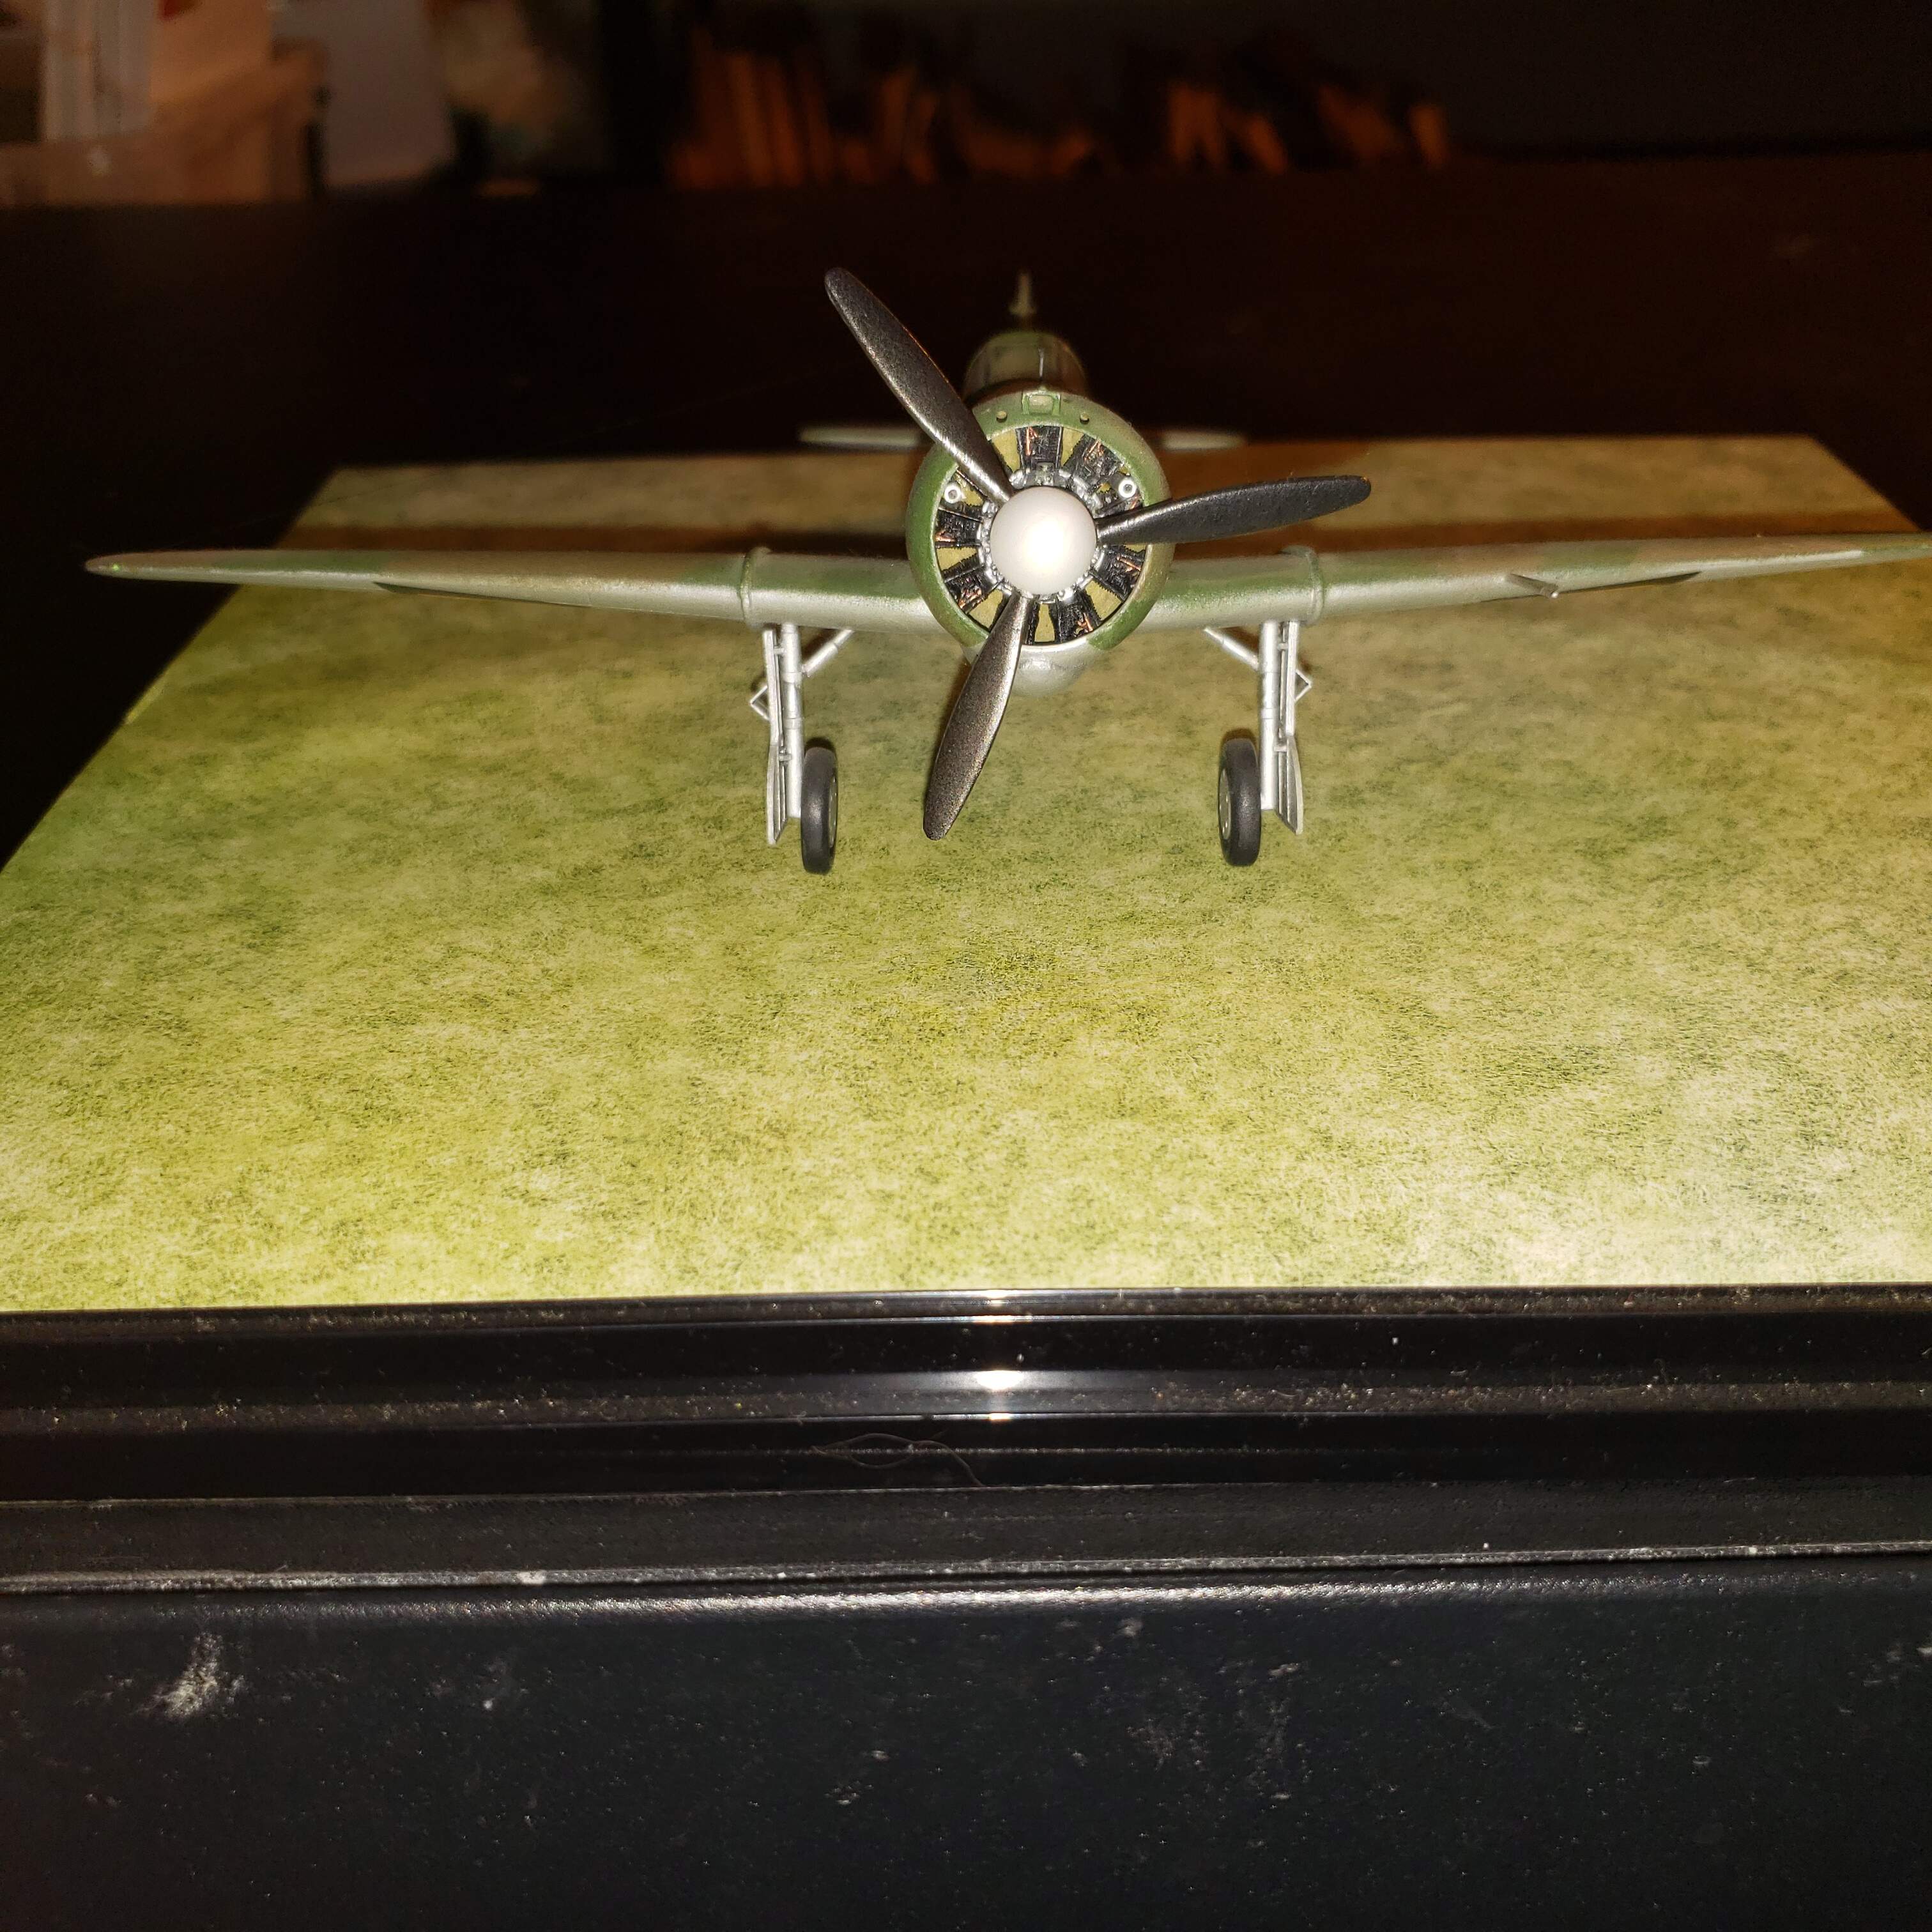
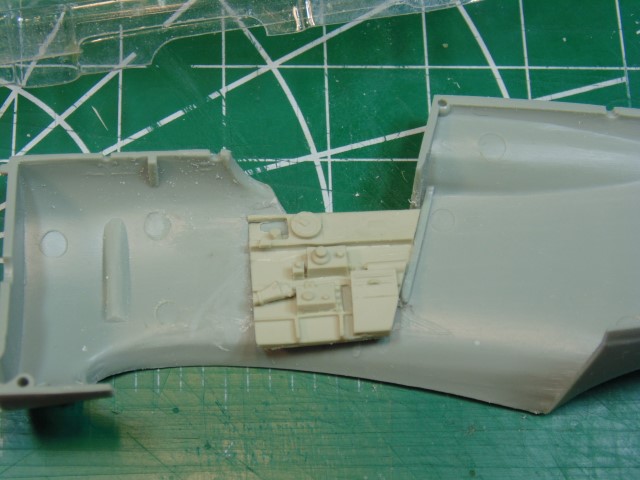
I have always had a soft spot for small air forces on the losing side, especially the Netherlands East Indies Air Force (NEIAF) which was actually a separate Dutch colonial air force, and not a branch of the KNIL back in The Netherlands. Jean Luc kindly gave me an extra hand-cast cowling he made for this Wright Cyclone powered H-75 A-7. If you look in the archives, you will see his build of the “Must Have” rebox with additions for the Hobby Craft mold, which they said had an accurate front cowling. Sadly, no! He was very kind to me as an ex Curtiss-Wright employee because this is one of the few aircraft C-W made that featured both airframe and engine (and propeller) manufactured by them.
Supposedly, Eduard is coming out with a P-36 series, so we may FINALLY see this aircraft with the correct cowling for a Cyclone engine from a mainstream manufacturer. Time will tell. “Must Have” only put out one other kit that I can recall, and it wasn’t a “must-have” for me.
Another reason for my wanting an expert hand to make this P-36/H-75 variant is because I already have a Buffalo in Dutch markings. D’oh, I actually made it decades ago.
The thing that makes it different from the WSW kit is that I got the styrene cockpit instrument panel and sidewalls from an old 1/48 Sierra Scale Models vacuform kit of the A/C and detailed them to make a fairly accurate cockpit. Unfortunately, you can’t see much of it because I had to build this with a closed canopy. Ultimately, I didn’t want to risk my one and only canopy at the very end of the build, but the cockpit’s all there folks.
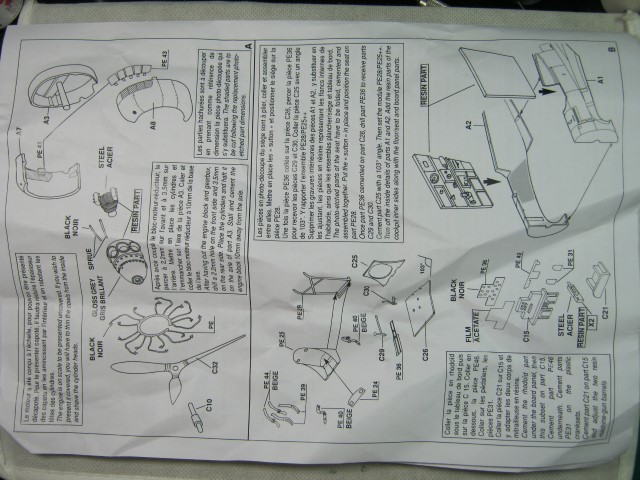
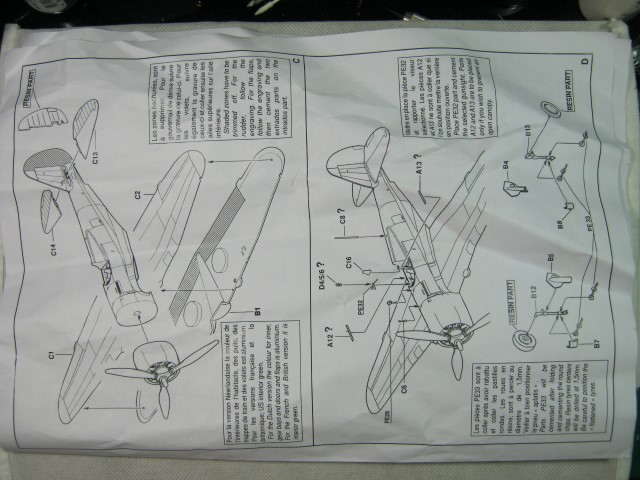
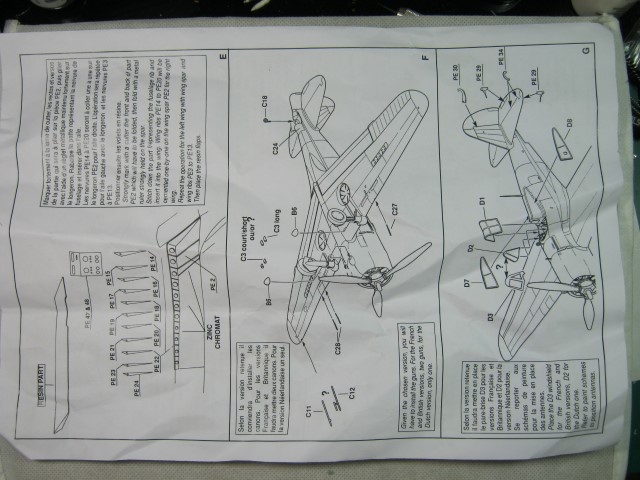
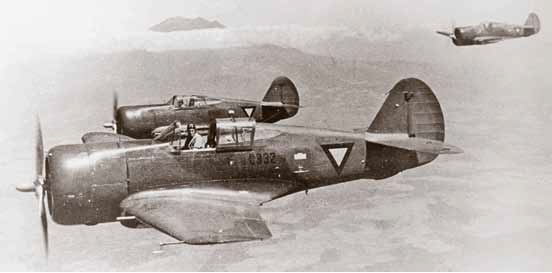
As you can see from H.G.'s pics of the Must Have kit, it’s multi-media with a vengeance and will require an expert touch. He’s the man to build this baby, and we all know what it will resemble in 1/48 when he’s done.
So, I will finally recognize my decades-old dream of having three 1/48 NEIAF fighters in which C-W had a hand, the B-339C with a Wright Cyclone; the CW-21B with a Wright Cyclone engine and Curtiss Aircraft (Columbus Ohio, Division, not Buffalo) airframe, and an H-75 A-7 also with a C-W engine and airframe.
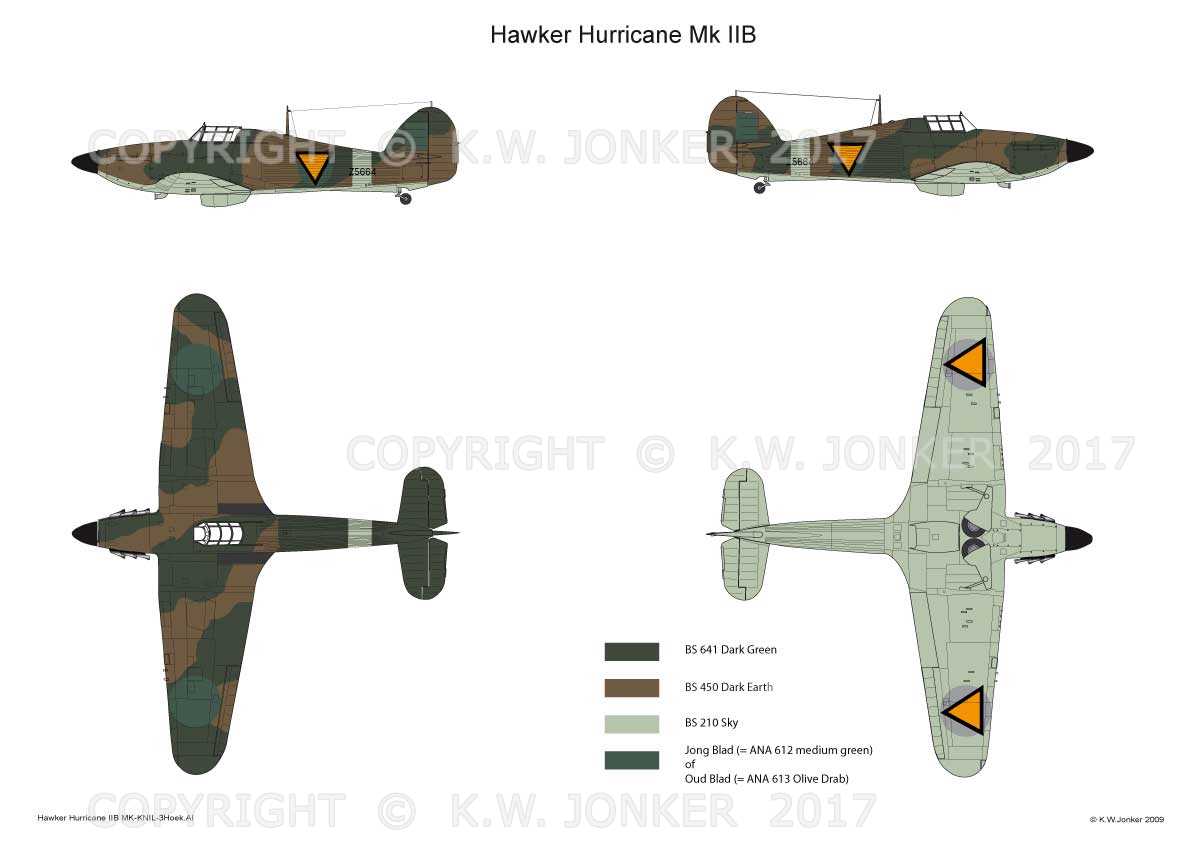
Fantastic and welcomed addition Brian, thank you. I will definitely look into getting those 1/48 decals and a new/well tooled Hurricane for a possible build next year.
Hi Brian,
KNIL = Koninglijke Nederlandse Indische Luchtmacht. I may be wrong but as far as I remember, the KNIL fought in the dutch colonies until they were run over by the japanese. Later the KNIL was re-organizised in Australia as NEIAF and kept on fighting side by side with the US, austrialian and british forces. This is what I remember, have to read over my informations again …
I’ll defer to you. Your acronym comes from the original Dutch and sounds right, though I’ve seen it referred to as NEIAF as well. (Sloppy English writing).
I am adding some details. I have a build thread on this forum. I also have a Brewster Buffalo and a Curtiss Demon that I am going to to build in Dutch colors
Before I begin, huge thanks to all those who drop by to have a look and special thanks to those who contribute. I love it!
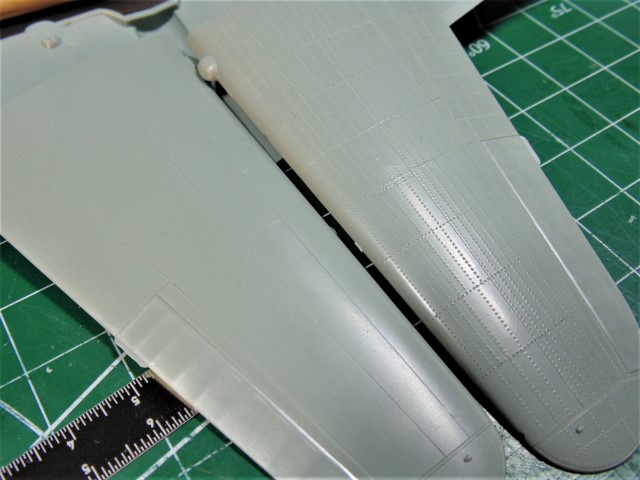
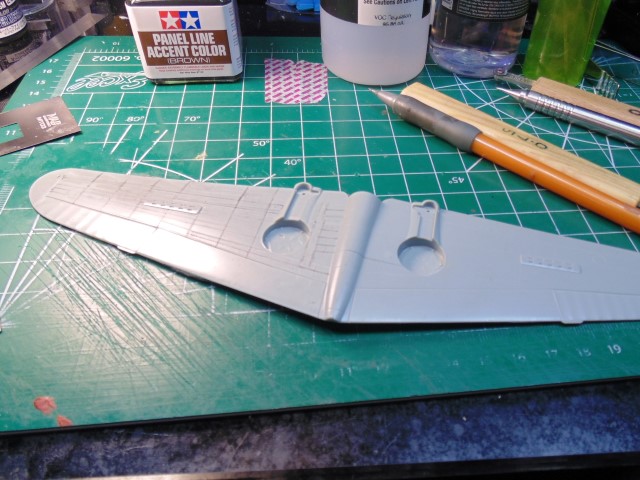
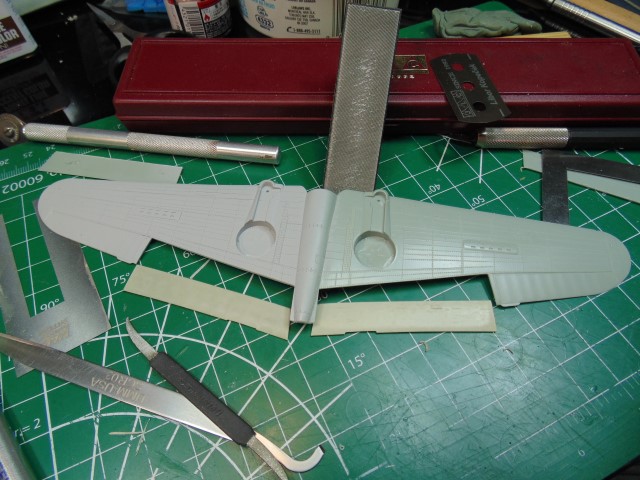
Time for the upper wings to get that plucked feather look HA HA.
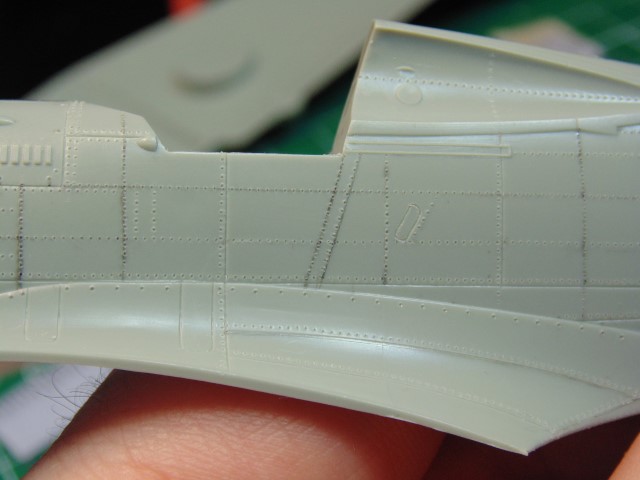
I feel it isn’t necessary to do every line of rivets. The entire wing would be covered and if I drop the spacing to say 0.5 or 0.6mm any wash would have a harder time clinging and wind up looking like a solid straight line from 5 feet away. That’s my artistic slant on the clinical methodology though.
These new small tools make the work super easy, and when it’s easy it’s enjoyable.
Some of the tools involved and more on the way. My roll of green tape couldn’t stick around for the photo shoot
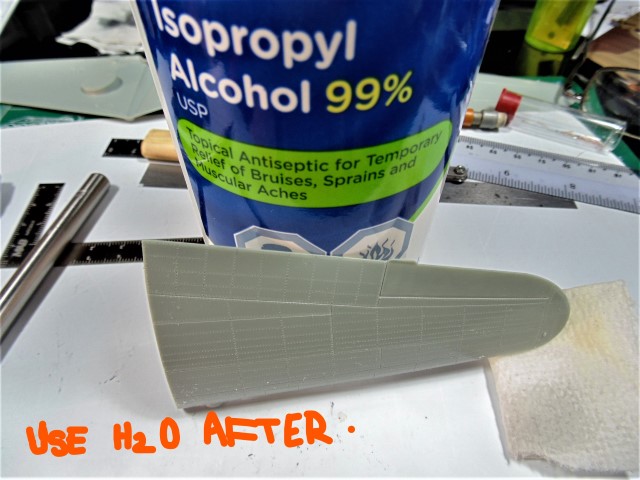
This IPA will remove most of the ugliness from the plastic, however, it leaves behind a film which primer does not like. Make sure you clean the part with fresh water and inspect that it’s good to go.
It’s super easy to run a few lines with a pencil, ruler and then rivet wheel. I like the appearance if for no other reason than I get to look like this super talented master modeler with a 180 IQ and a new rotary tool that goes “meep meep”, eh em sorry, went off on a…
It’s a good idea to back your parts, like these, with some blu-tac. You can see the pressure used on the completed half. Your parts will warp a little, but the tac reduces that greatly.
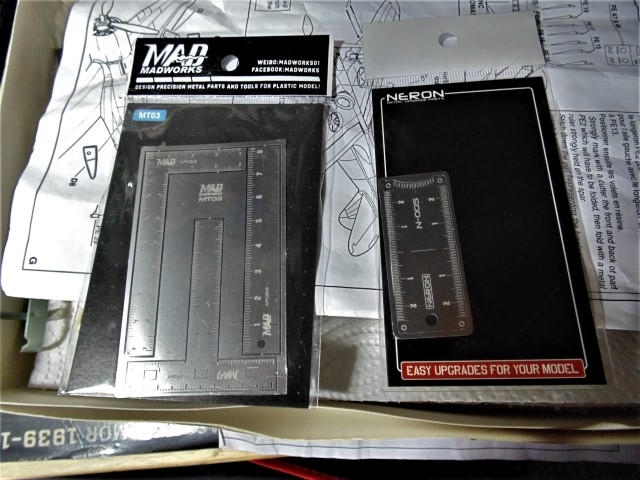
Friends I want to tell you about the awesome customer service I received from Light Bringer Enterprises with my recent purchase of MAD and NERON measuring tools. Not only was shipping super fast, in a protective bubble wrapped envelope, but Lloyd even sent me a picture of the envelope and the exact time of day it was going to be mailed out. That’s amazing considering the purchase was under $20 bucks Canadian!!! Please consider paying them a visit at https://www.lightbringer.net/ and if you buy something please tell them you read a post on KitMaker Network.
Thanks Everyone, more after work on the B-17F is done.
And away we go with another update. She hasn’t been forgotten, just swamped with other projects.
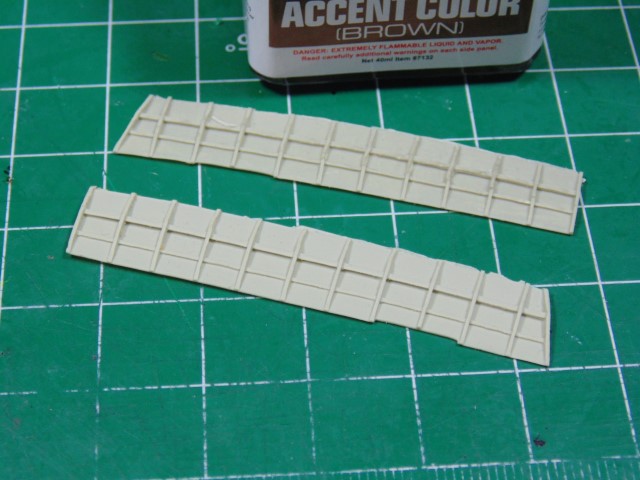
The bench vise experiment mostly worked on flattening out these guys. However, some braces got a bit mangled in the process. No big deal, I’ll fix before they’re installed.
Now to rivet the belly. Only one plate needed to be scribed on the inside of the wheel. Thank the Lord.
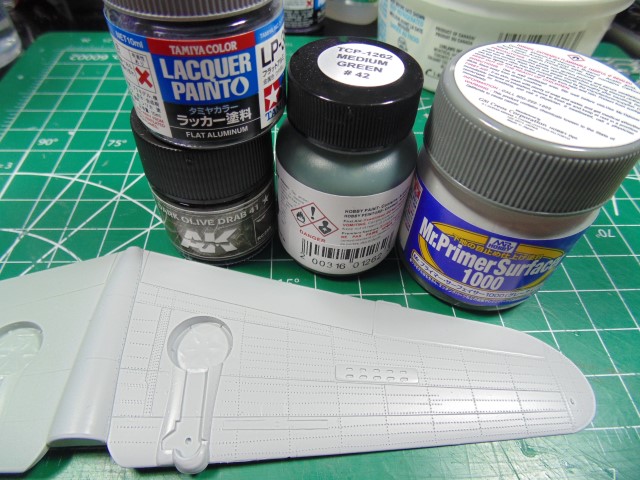
Fresh bottle of primer means pray to see where I missed rivets, and I did!!! Finally managed to afford the colors for this one. Tru-Color Paint, for those who don’t know, are a US company that have been making products for the model railroad hobby for ages. About 4 or 5 years ago they got serious about producing paint for the other 4 major genres of the hobby. It’s lacquer based and the colors are great. AK’s #42 is a bit on the dark side or what looks to me like a later version.
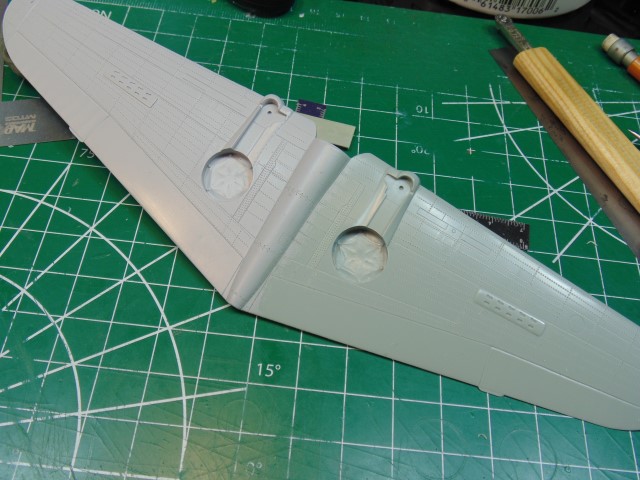
Bottom all riveted. Again, I don’t cut any plastic until all the rivet and panel line work is complete.
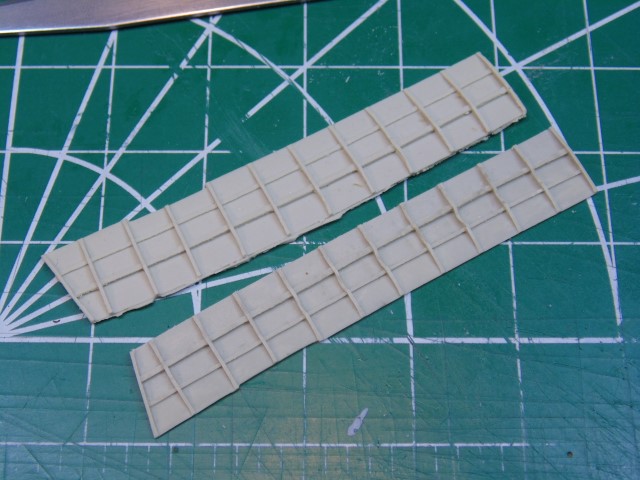
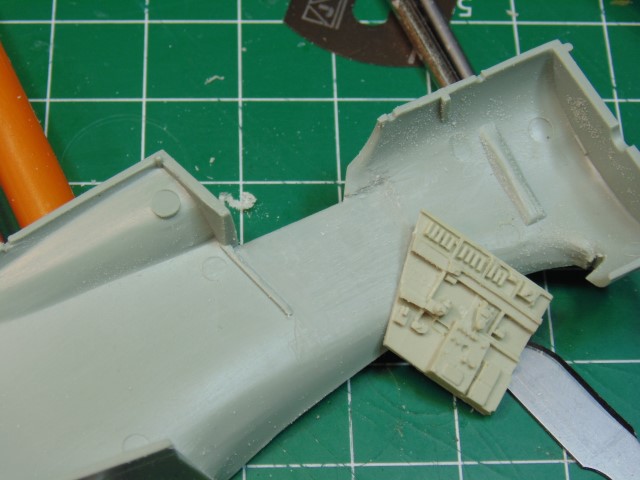
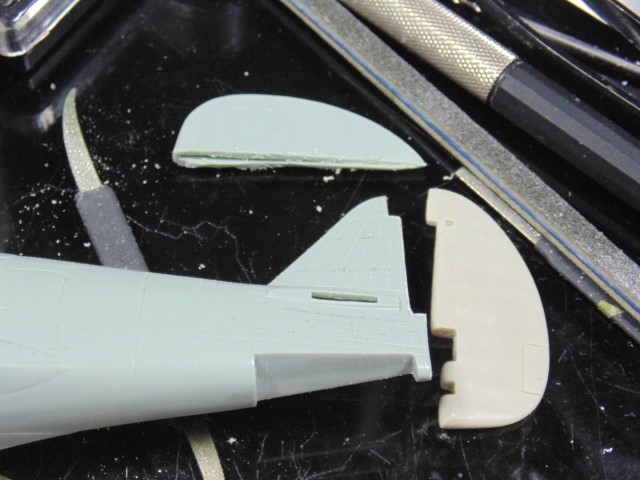
These need to be shaped for the cut parts, but it’s sort of both needing to be shaped to fit one another.
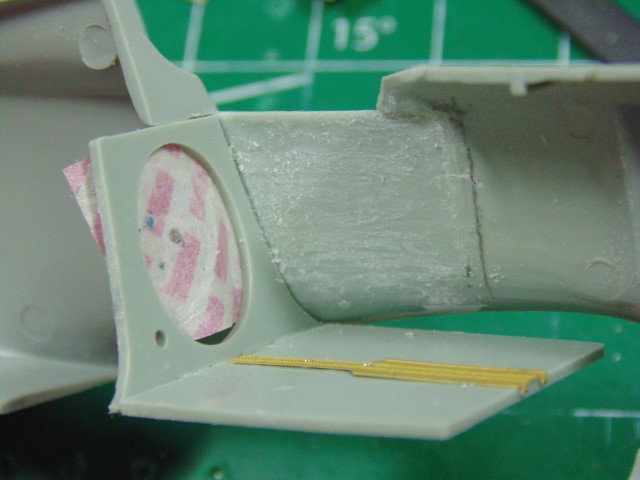
Now that this area is done work can get started on the fuselage.
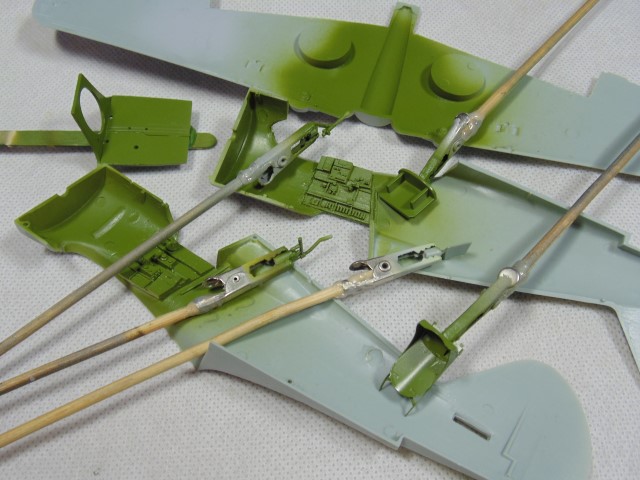
Waiting for cement to dry and spent a few hours on Brian’s H-75.
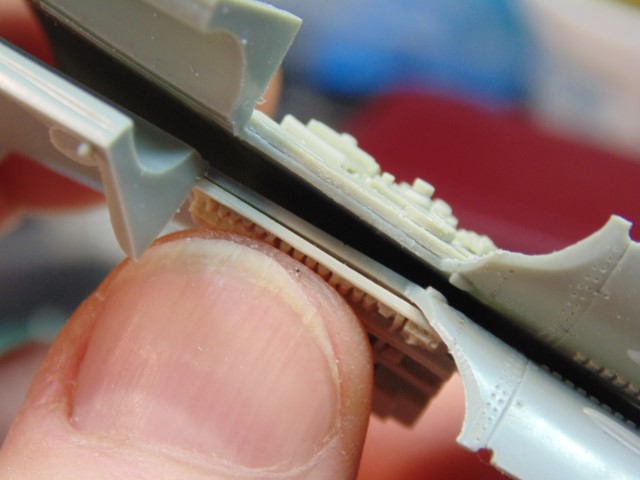
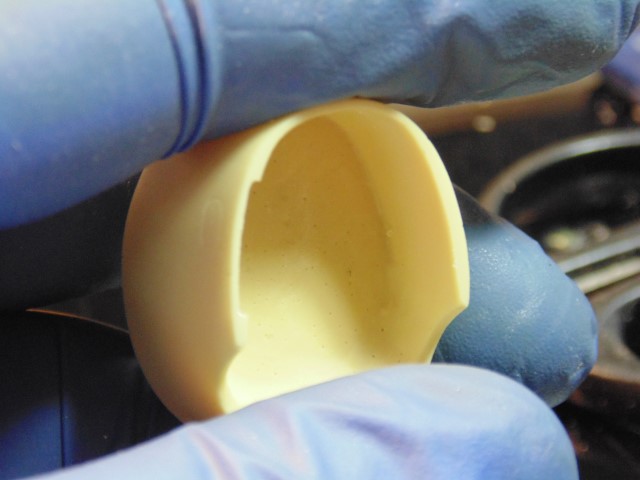
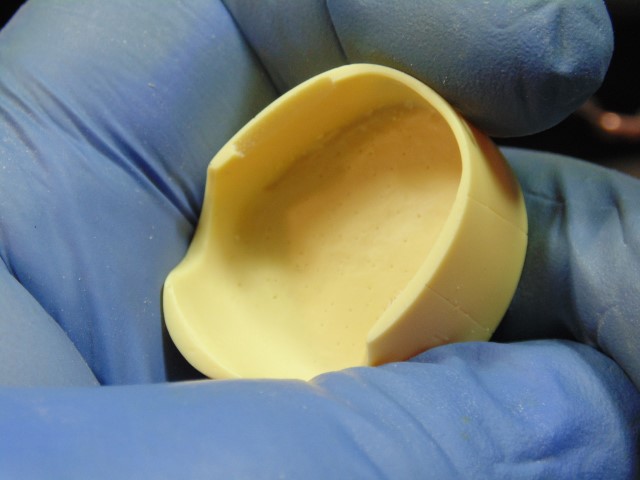
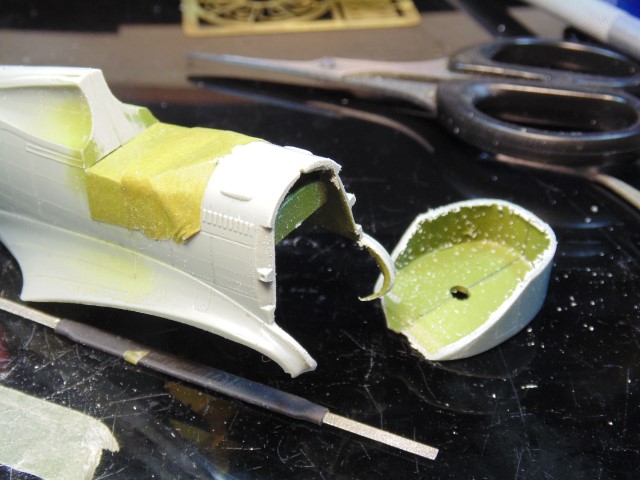
The plastic has detail, for those not wanting to do the resin, however there’s a very noticeable difference in detail and well worth the time to remove the plastic and seat the resin properly.
You really can get a nice fit.
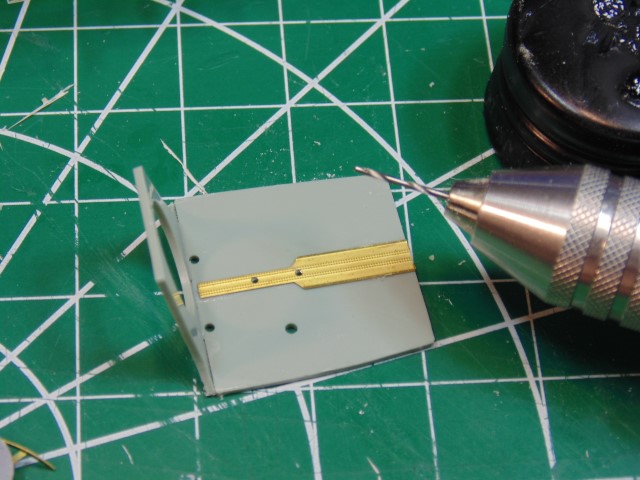
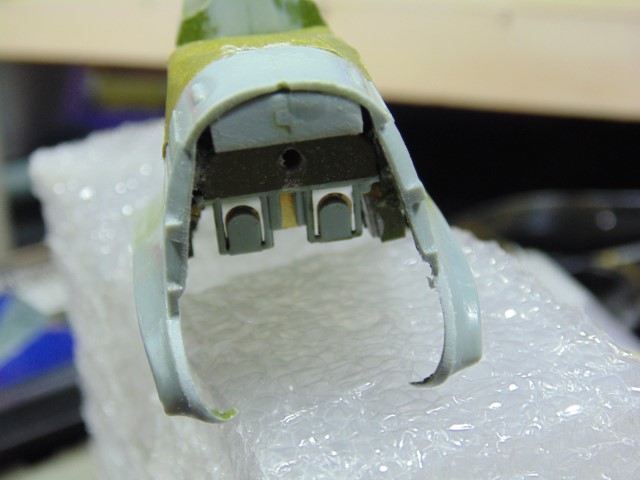
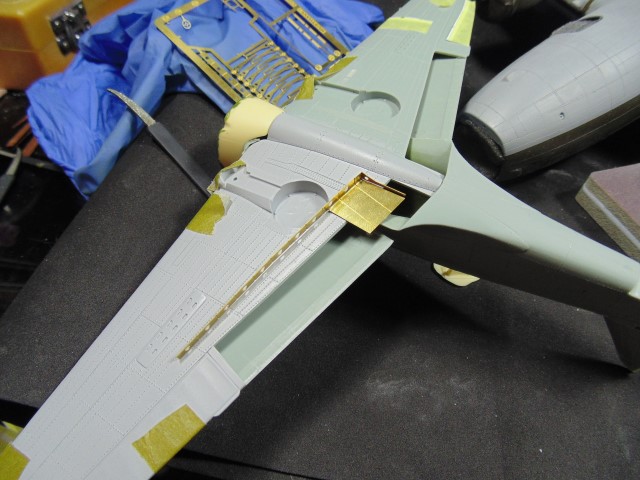
I used a grinder, blades and a saw to cut the relief from the control panel area and side walls.
The new David Union rotary tool is a treat to have on hand. These holes were not premade in the PE.
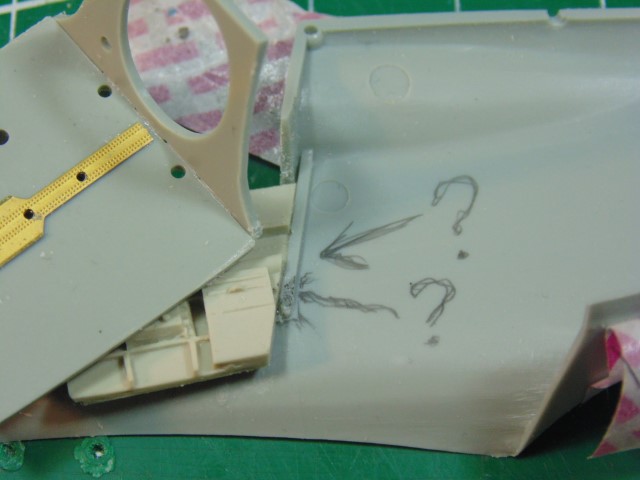
The instructions are, at best, ambiguous and, at worse, (insert expletive here) maddening. The resin was installed, yet had to be debonded.
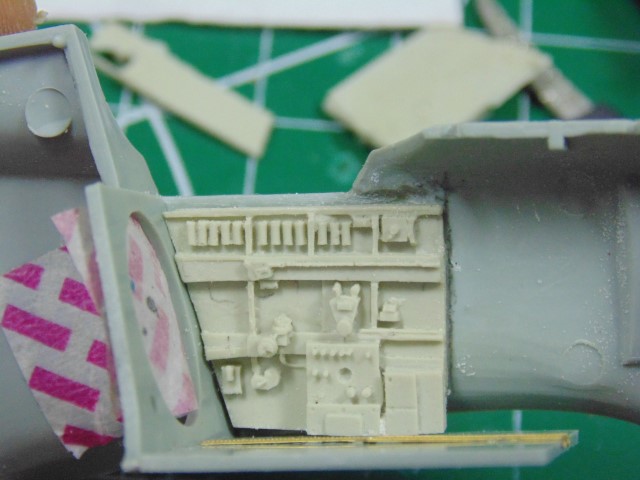
This is the proper location of the floor and back wall. Some tricky filling and sanding needs doing here after the majority has already been painted. Only then can the seat be installed.
Naturally, more forward plastic material had to be removed. But the test fit looks good and part adjustments will be made.
I may just paint this control panel and dry bush. The black gauges on the black film look… meh!
Thinning the exhaust tip walls. Hope this is correct. Please let me know in the comments.
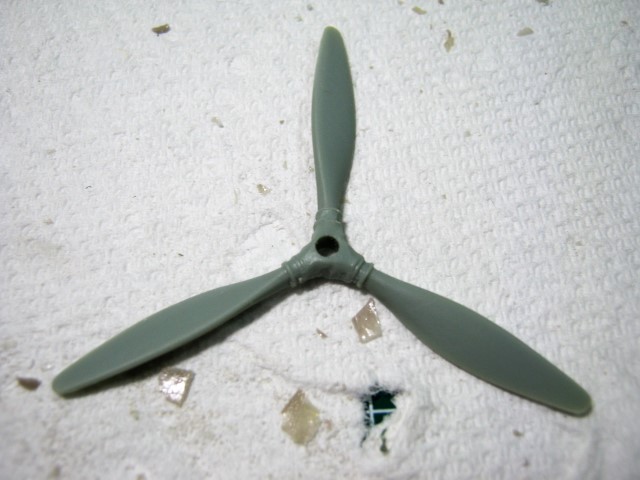
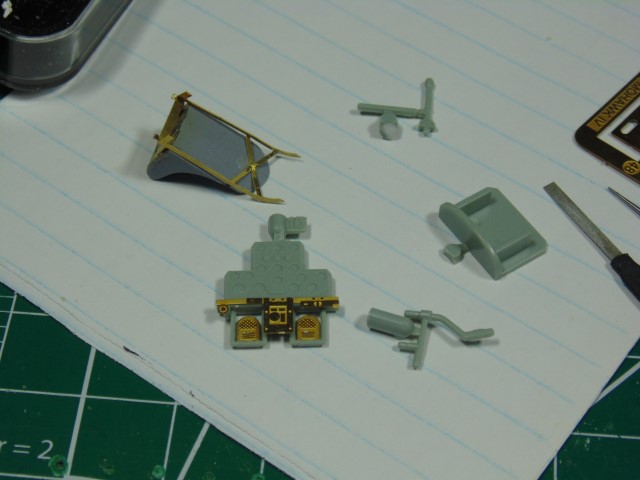
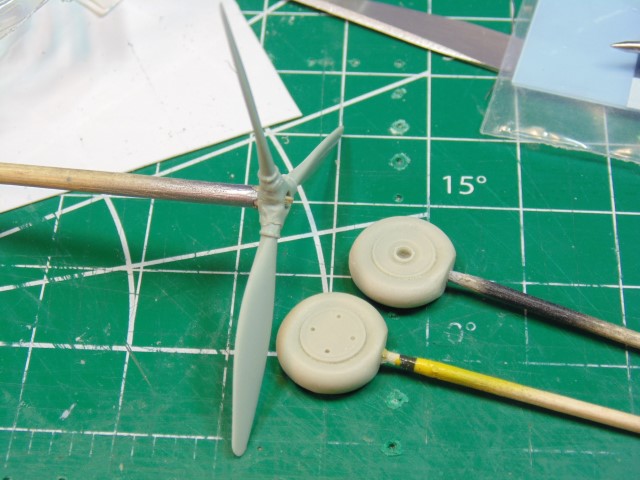
Prop and resin wheels prepped for priming.
And finally, for this post, getting some of the many tiny jobs done that need doing anyway.
Yes I need a new cutting mat and have no idea why this shot is so dark.
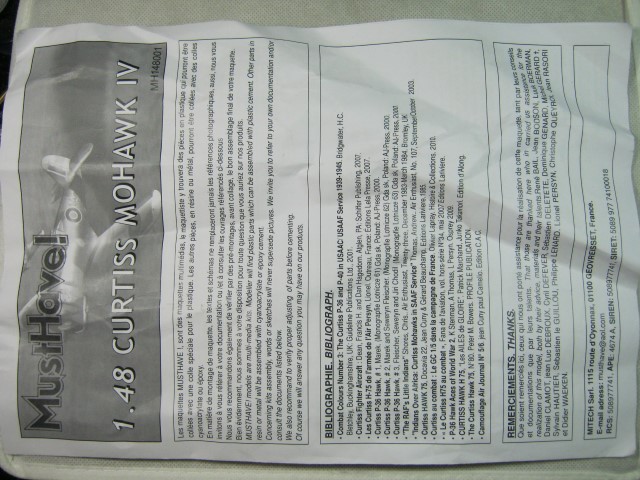
Must Have… You “must have” a lobotomy prior to beginning this kit.
Then you “must have” have a swift kick in the nutz to redirect the pain from one head to another… UGH!
Thinning down the vent slits.
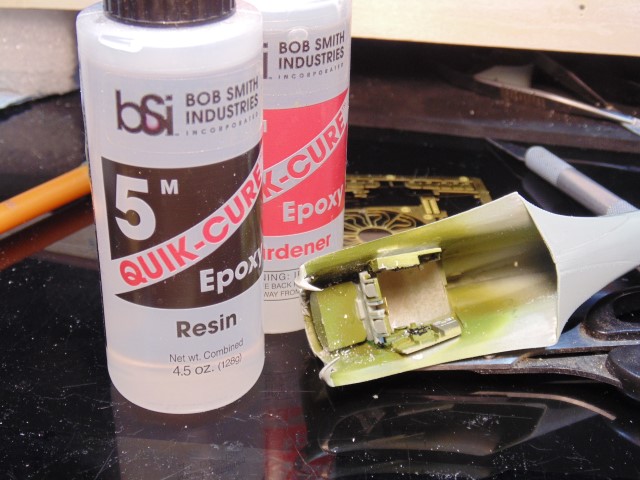
The PE prevents the plastic from making a decent connection, thus the epoxy and some careful positioning.
Cut to fit the after market corrected length resin part I just thinned. Sanded the backrest too.
Added a plastic piece and drilled a hole for a large pin. This is to have a good join with the resin, plastic and epoxy.
More surgery. I’ll be pinning this with epoxy as well.
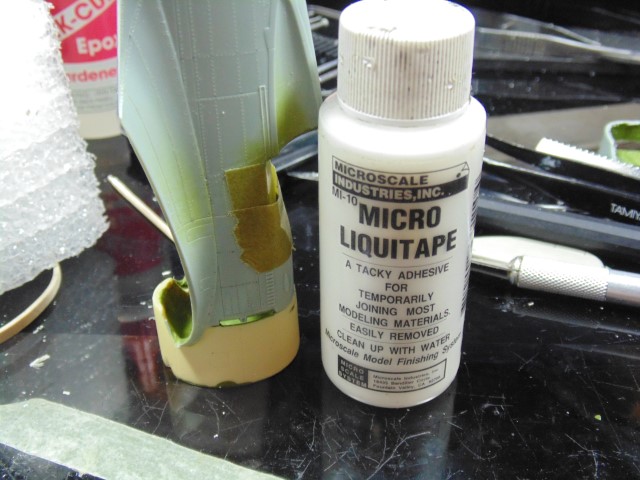
Temporary glue to help hold the part while the epoxy sets up.
Getting this to fit correctly ,with minimal filler, demands an anchor point. I’ll line up the leading edge at the wing root. When it has dried I’ll work back at the upper wing root, but only on one side. Then a plastic support just behind the PE. This also means the entire inner wing has to be painted yellow chromate.
More on (moron HA HA) this gong show later. Thanks.