Quick update,
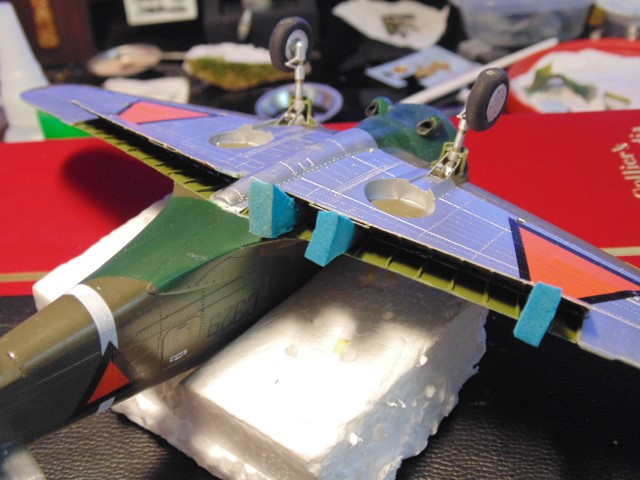
Left wing flap being prepared to fit.
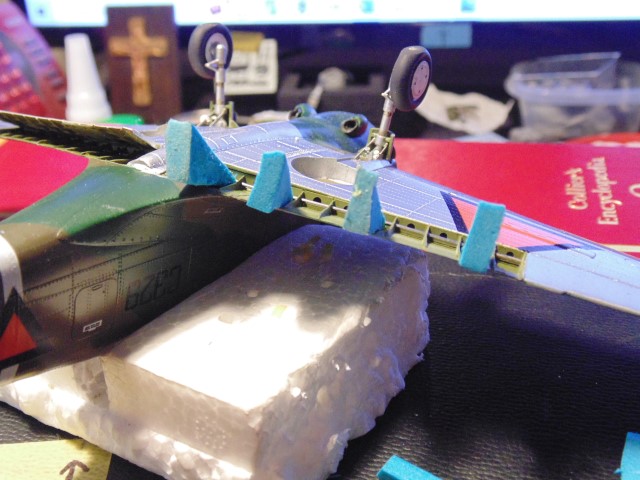
I removed the third sponge to have room for my fingers to hold it for 5 minutes until it set.
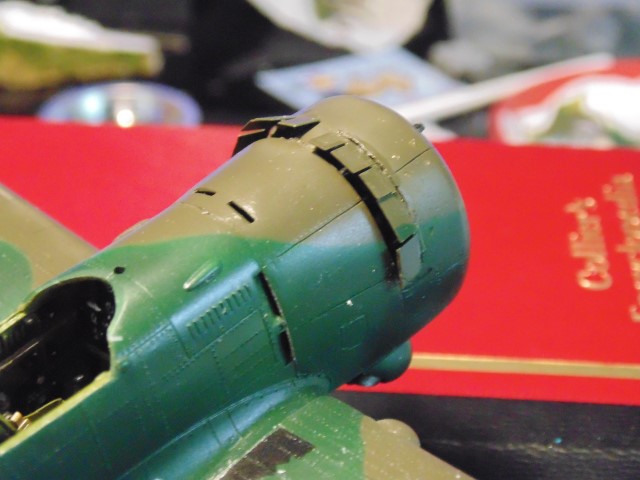
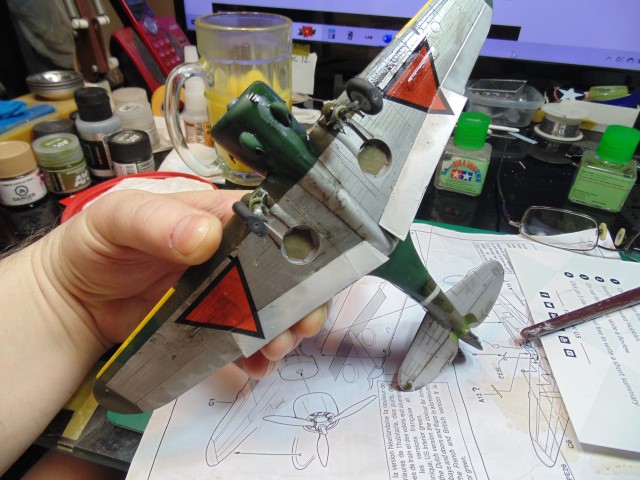
Now the engine cowls. These have to be splayed out, like spreading your fingers, after being curved.
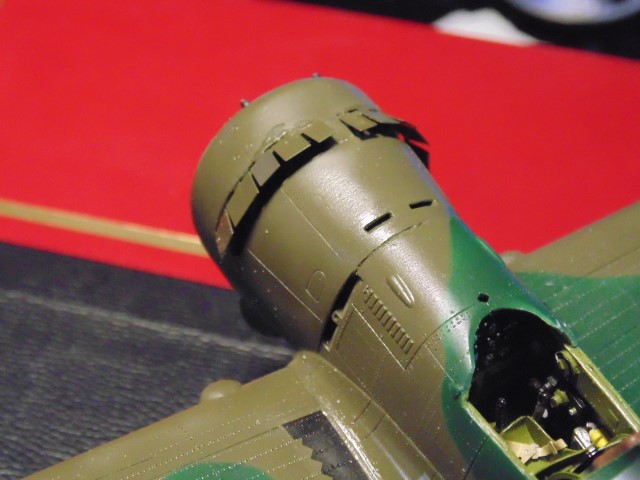
I’ll confirm with Redhand if they need to be all at the same angle. These were a challenge to fit!!!
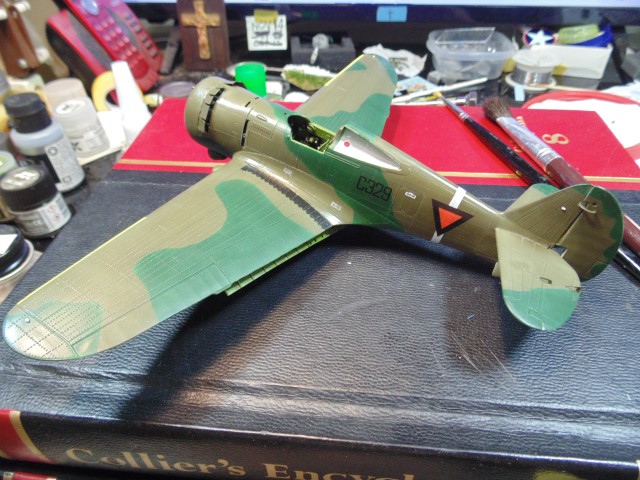
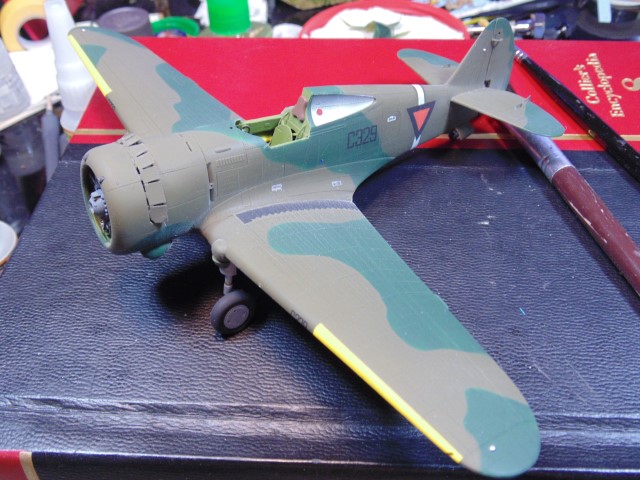
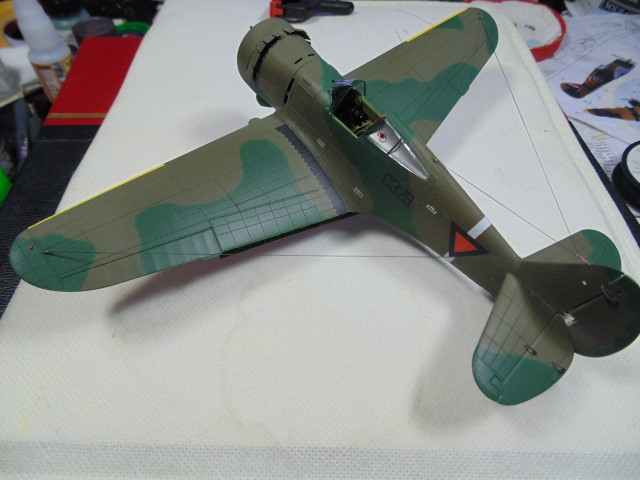
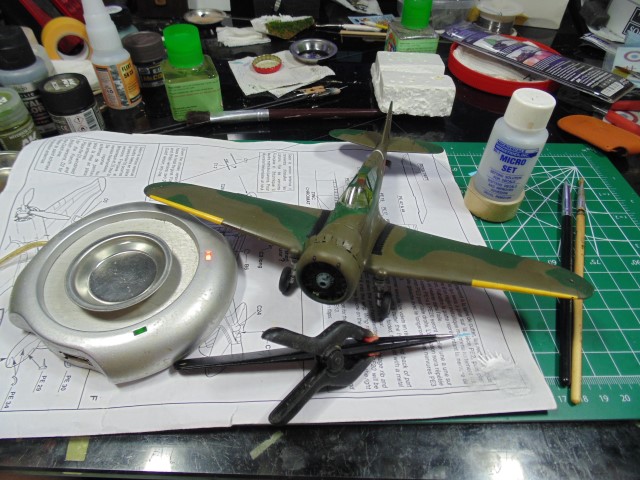
Masked, sprayed AK aluminum, added decals then sprayed clear coat.
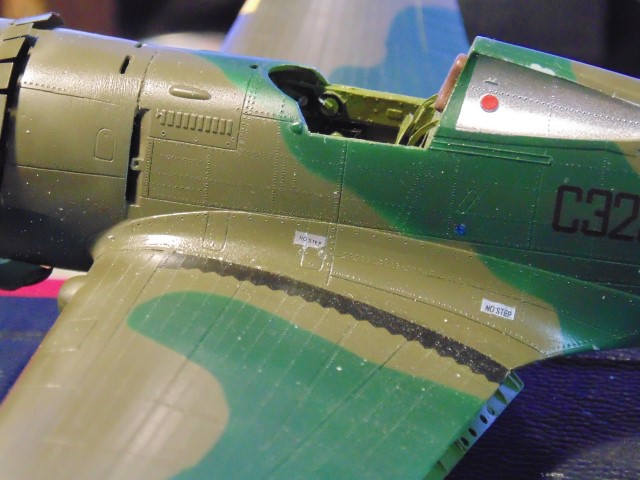
Nato black then clear green for the gun sight.

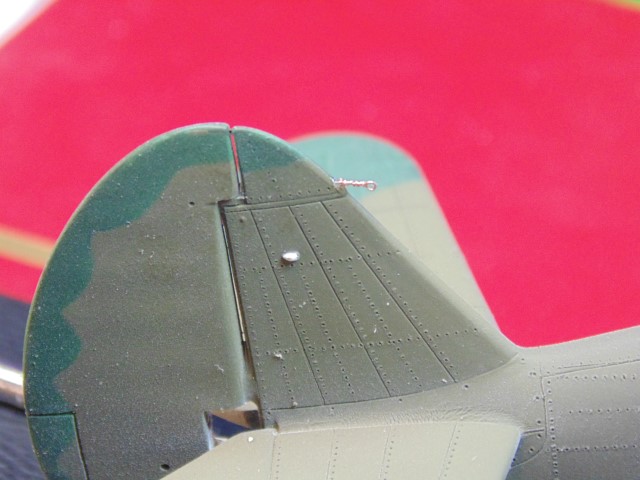
Now to figure out how to fold this part accurately.
Guys, please send Jim a thank you note for this forum.
Huge thanks to Sunward Hobbies for some of the products used.
More soon.
7 Likes
Great work as usual from you, HG! Well done on the improvements!
2 Likes
Thank you Mr. Rossmann! You are an inspiration to us all.
2 Likes
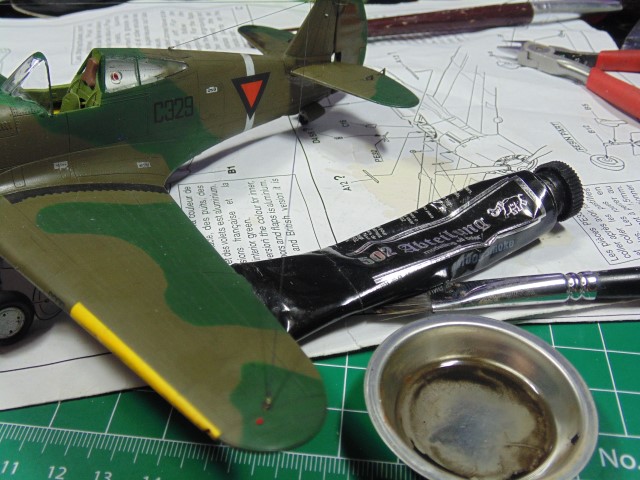
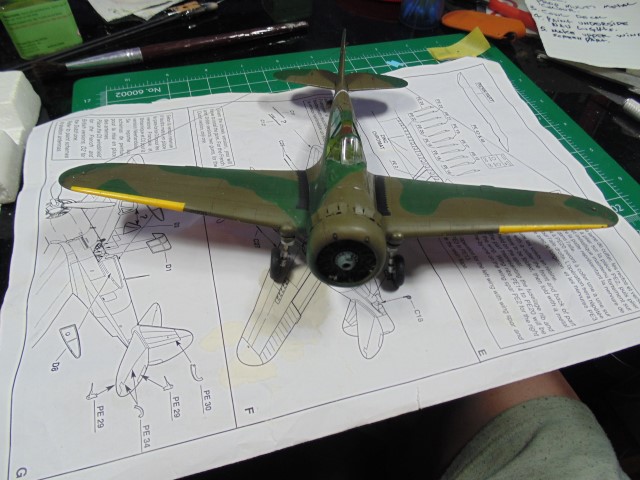
Another quick update from work done during the night.
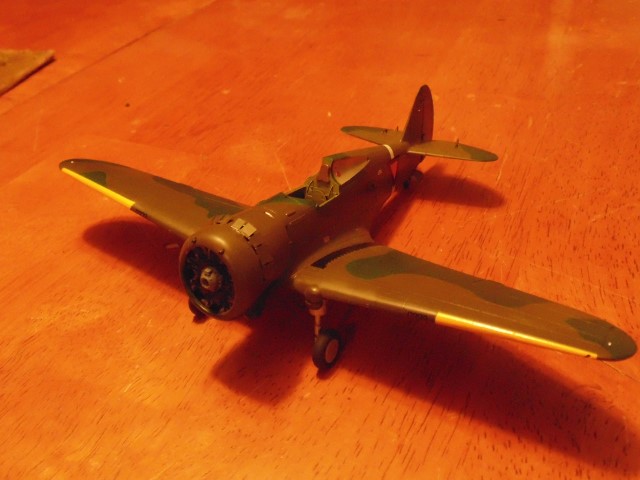
What the project looks like.
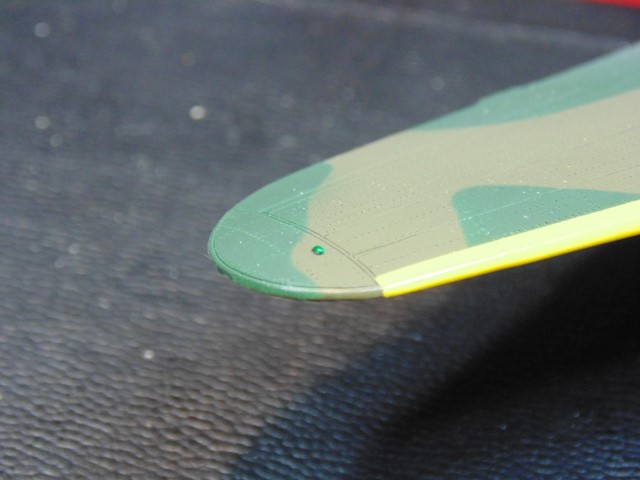
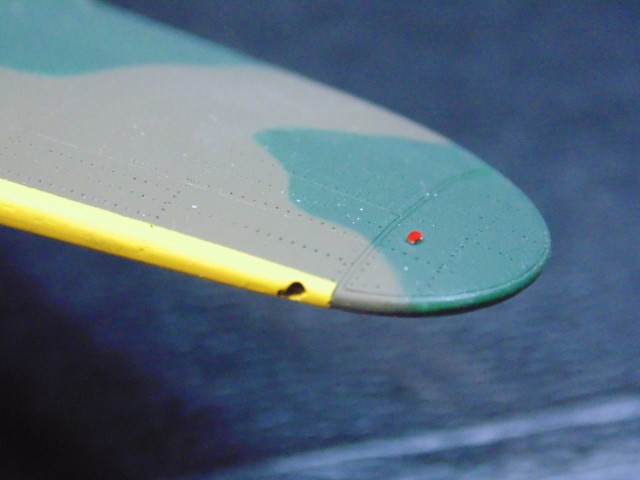
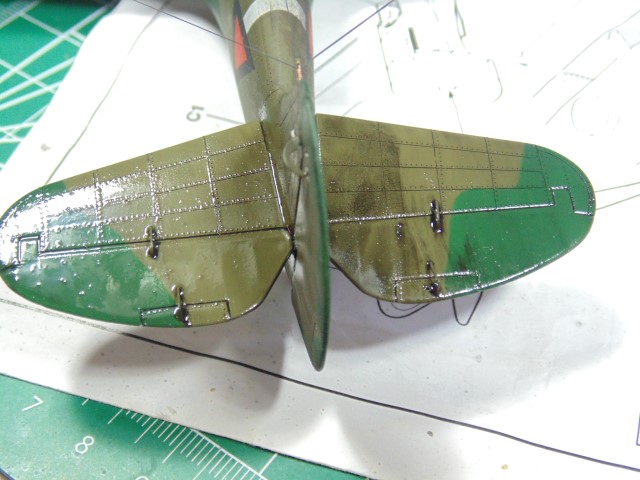
White base for the Nav lights.
Dull coat added.
Nav lights painted.
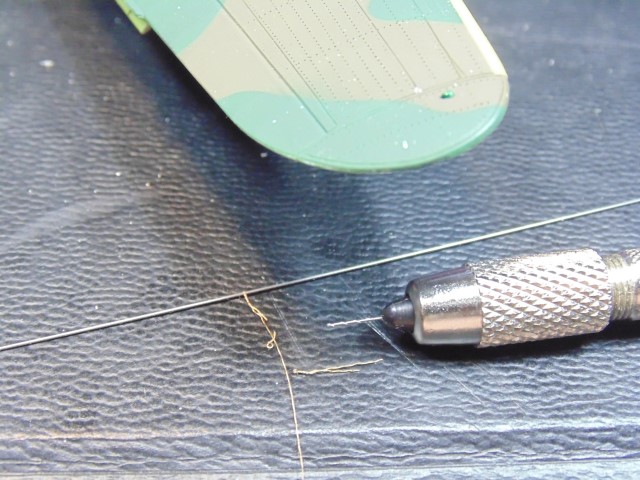
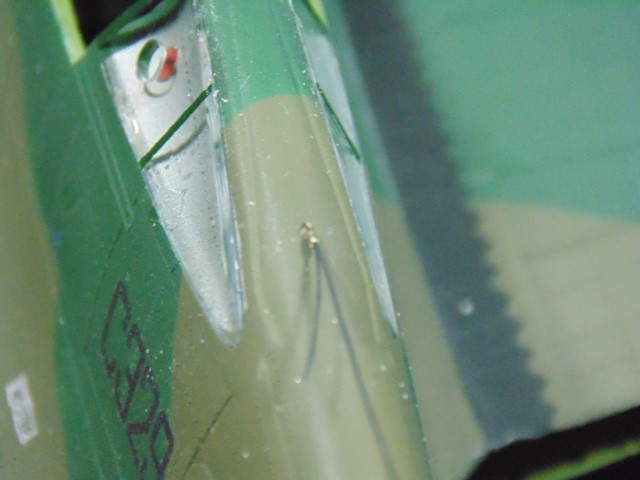
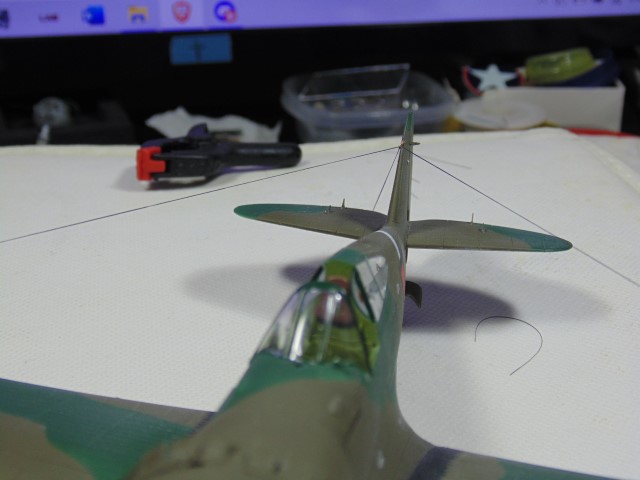
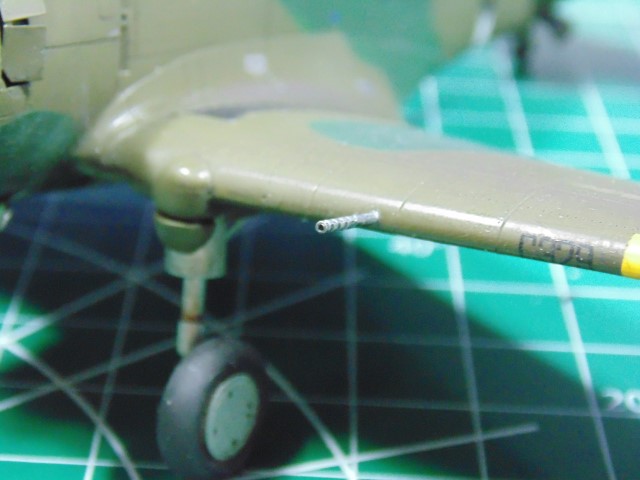
Time for some rigging. A 0.3mm hole drilled and used VMS PE CA glue to attach this spun copper wire. Later, I paint this a dark iron tone and use EZ-line for the cable.
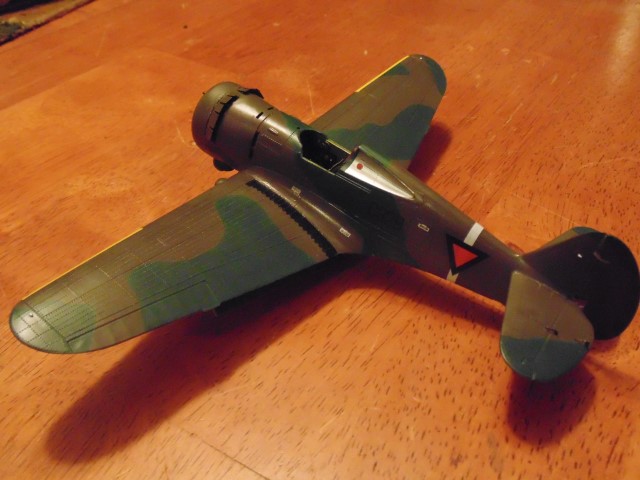
Here are the rings Brian wants at the wing-tips and radio section.
Plenty more to do with the weathering, but parts need to be added.
More very soon.
6 Likes
Never a dull moment in this build HG 

Great work on the really fine details here, love it!
Cheers, D
1 Like
Thank you Damian!!! It’s never a dull moment building it… MY EYES MY EYES, HA HA
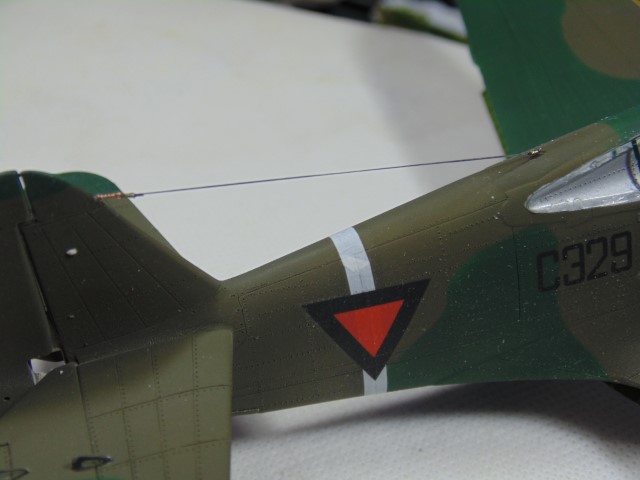
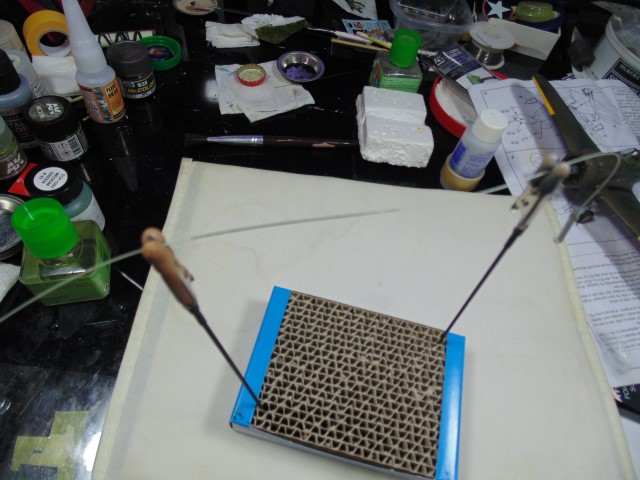
I’m plugging away at the rigging, still. Life’s regular stuff needs doing. Here’s the last ??? hours of work.
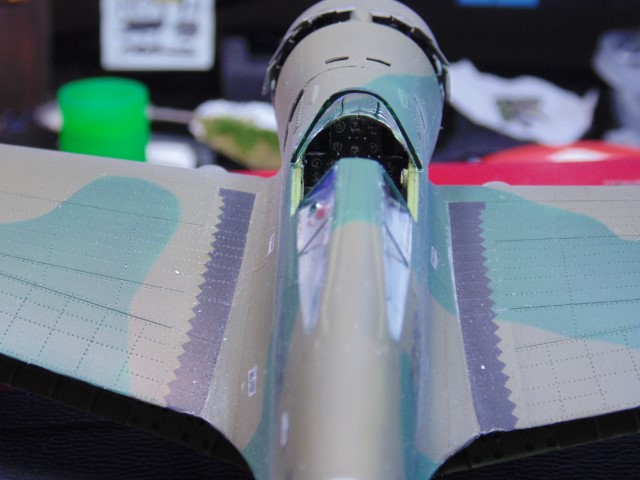
Clear parts installed and edges painted.
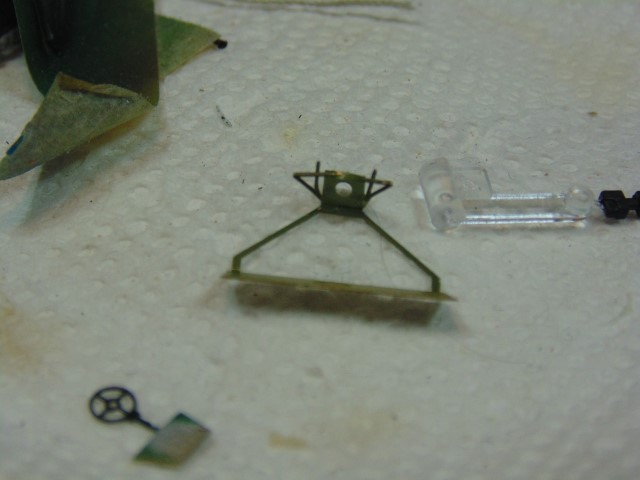
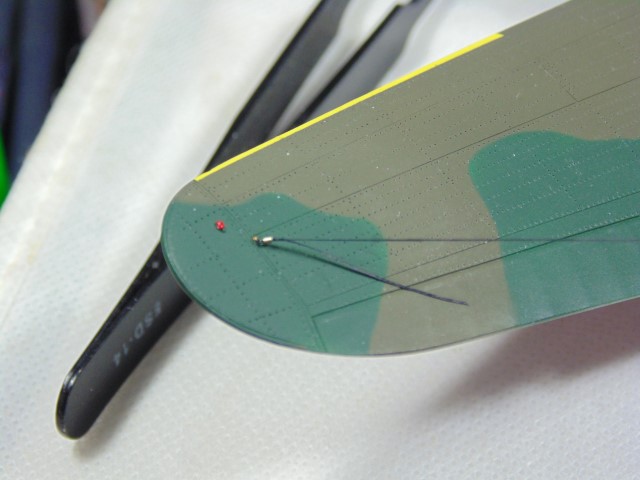
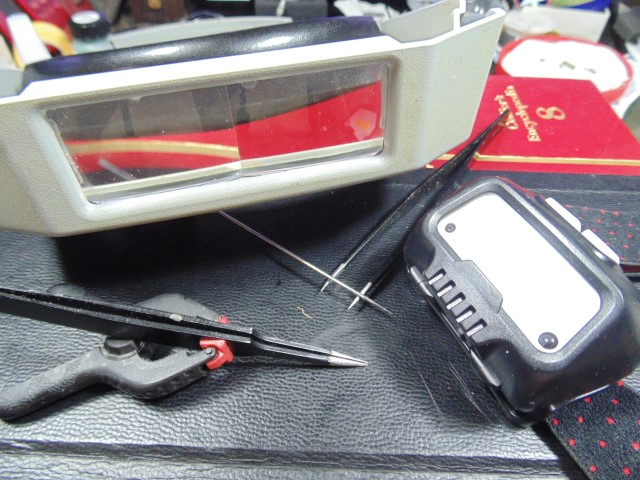
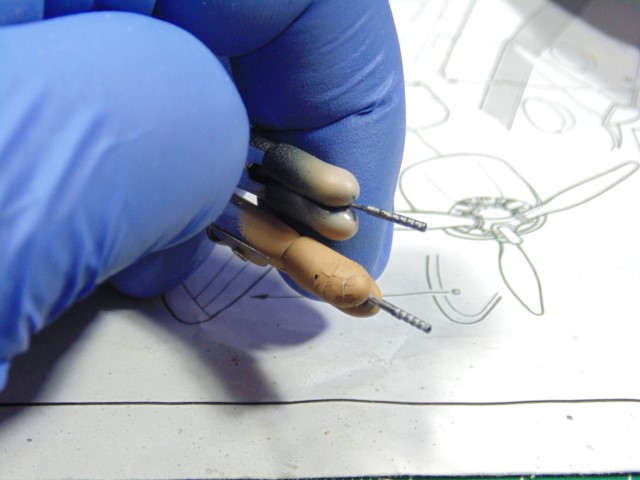
Eye hooks for the rigging made. Super tiny work here.
These needs painting, of course, but you can see the 0.2mm inner diameter tube bit as a terminator.
Using my technique of a hair follicle threaded into the tube then slipping the elastic line in the loop to pull it through. VMS XT THIN CA works great for this to keep it put and sets super quick. (Not paid for that promotion)

And the result look nice, even close up.
Repeating the same for the wing tips as Redhand wanted. Sadly there will be some wasted material and the angle has to been adjusted already. Now for the starboard side.
I’m not going to bore you with paint touch-up pictures, you’ll see them in the finally.
More later.
Thanks everyone.
7 Likes
Hi fellow modelers.
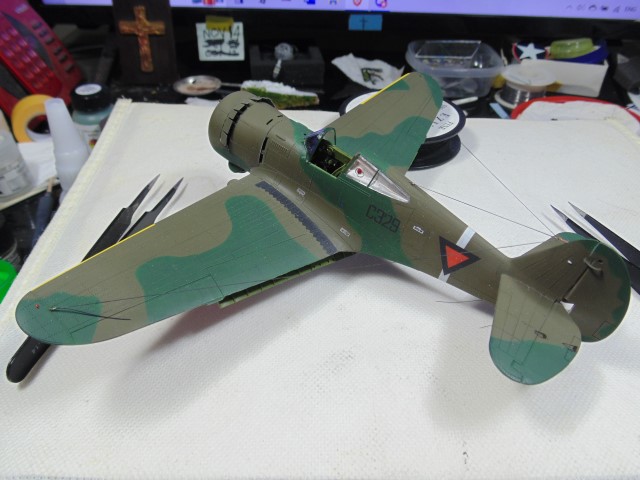
Rigging is done!
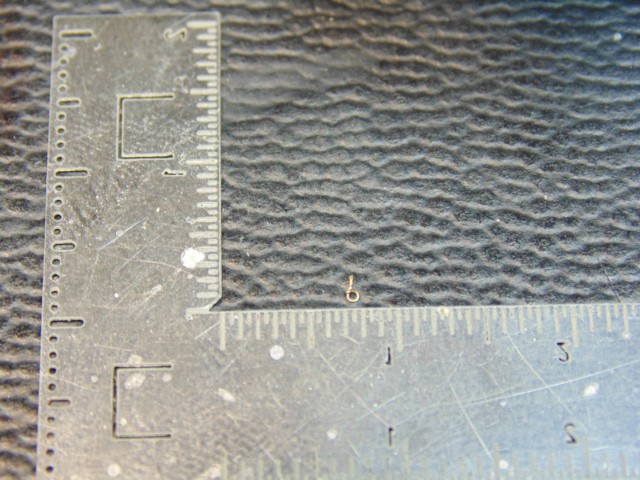
I filed a set tweezers at the tips to specifically hold tiny round metal parts. Even after carefully slicing these 1mm bits the tubes need to be finely sanded at the ends. Then I core the ends with an old airbrush needle. Use a magnifier and have proper light to make the task easier.
Don’t fret if there’s a short amount left after snipping. There’s always a bit left to help with holding the connection.
Be prepared to spend some time, but the look (I feel) is unique.

There’s still plenty of fine painting to do, but you get the idea.
Thanks for stopping by.
8 Likes
An extraordinary rigging job, to be sure. The attachment points on the wings are incredibly cool!
1 Like
Great! Glad you like them and hopefully will make a nice addition to your shelf.
1 Like
Hi Everyone.
Time to put some lipstick on the lady.
The gunsight hole needed to be filled along with a 0.3mm hole for the sighting pin.
Then the entire model got an enamel and black oil wash to pull out the panel lines. When this dries I can clean up the darker and filthier spots. Enamel stinks worse than lacquer so it’s in the extractor for the evening.
More in about 8 hours.
Cheers.
6 Likes
Well maybe less than 8 hours.
Thank the good Lord for giving me the brains to build my own extractor! The pigment/enamel mixture dried quicker then expected. Time now for the long process of cleaning it up. I could have used a water based panel line enhancer, but Brian wanted only a slightly worn look.
He correctly pointed out that these aircraft didn’t last long after being delivered. Using a water based panel line product would have looked too stark. That’s why I’m using oil pigments to give me more control of the contrast. Yes, it looks ugly now but with time and patience the ugly will be removed and the expected appearance will show through.
While my head settles down from inhaling the fumes I got the machine guns painted and re-cored the barrels.
Doing panel line detailing takes a lot of time, as you all know, so bear with me. More soon.
5 Likes
So good to wake up to tips from a master! Thank you for sharing. Following closely in Kentucky
3 Likes
Looking at that tail surface, if it were me doing it, I’d have a “Mah God, what have I dun?!” reaction to its appearance. I also just flip out at the idea of a “pigment enamel mixture.” All I can think of is the thinner ruining the underlying paint job.
Obviously, HG knows his materials!
PS I also like the gun details.
3 Likes
Thank you Sir for the kind words of support. Also, that you help out KitMaker with funding our artwork as a Patron.
2 Likes
I hear you Brian on the messy look. That will be gone soon. It’s all about a gentle feathering of the brush strokes, something that’s tough to teach anyone. Apply the thinner then softly use the same brush to remove the excess.
3 Likes
Some more updates.
Let’s face it, removing any excess panel line accents could be a life long task, as you all know. I’m getting there and will continue tweak it.
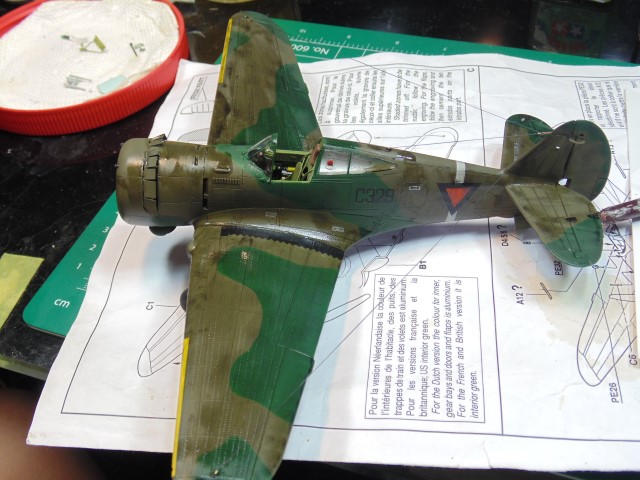
The recent task is to put some small “inspection” decals on the cowl. Just a tiny rectangle cut in some de-tacked tape.
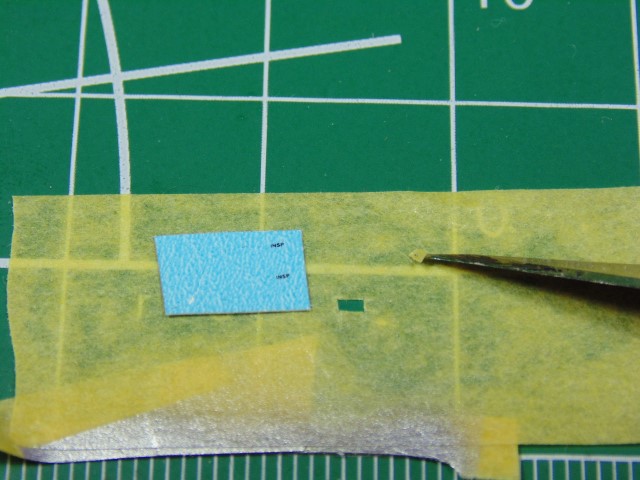
I placed the minute decal in the tweezers then clamped it so the darn thing would stay put. A coffee cut cup warmer works great to keep the water at the best temperature.
AK rubber brushes work great to grab and position little decals. Both sides are done and will continue with the other minor details that Brian wants. The resin bubbles are almost impossible to see with the naked eye.
Best of health everyone.

More updates when time permits.
6 Likes
A few more details being worked on.
Stretched sprue as thin as possible, work in progress.
Guns attached and looking good.
Painted the rod for the canopy frame detail. The length is long because I’m expecting a couple of mishaps or test-runs.
All the best.
6 Likes
Some stunning updates. The rigging and the end connecting loops are going down to the atomic level in size but give it a huge wow factor for intricate detailing. I really like the engine cowl flaps, thats a very unique look it has now. What dull coat did you use as it really brings the colour down… beautiful work HG
1 Like