What a beautiful job! It will be unique, too!
Hi Distant Friends,
What a week! Finished an other novel with well over 119,000 words and 375 pages, got some major work done on the Bluenose II, spent a few days on the B-17 AND put in a few (well more than a few LOL) hours on the Hawk, plus a few hours on the Fiat G-50.
Enjoy and please leave a like and a comment.
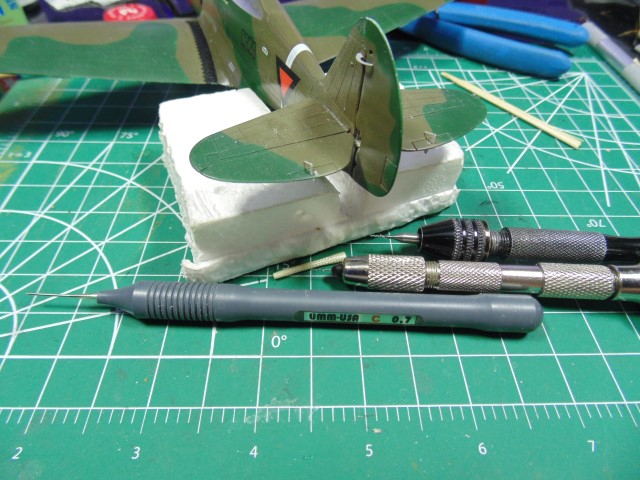
Stabs are on after some sanding and filing. The fit on this kit is NOT a “must have” ha ha.
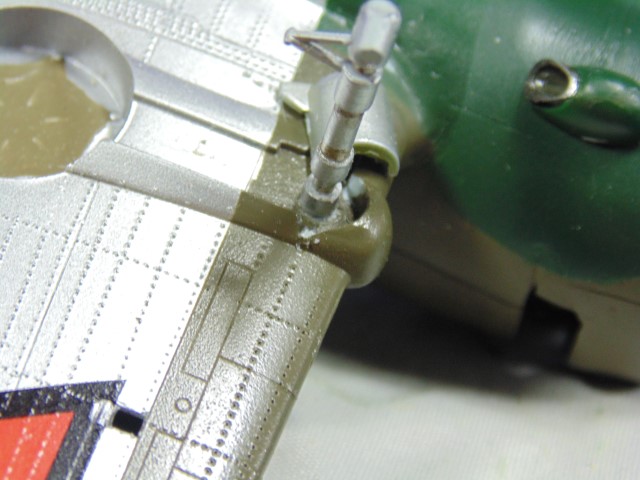
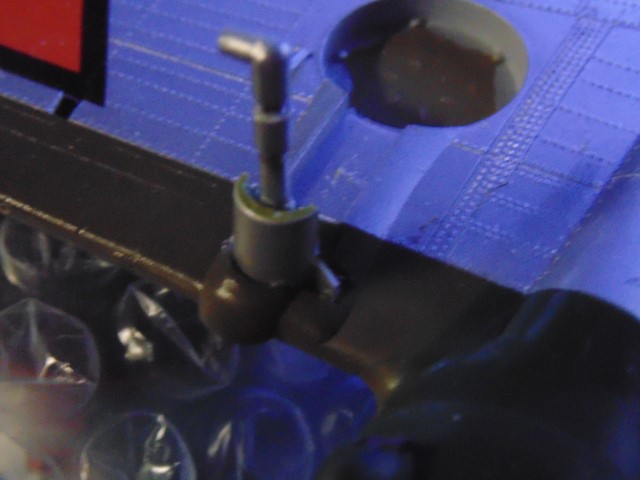
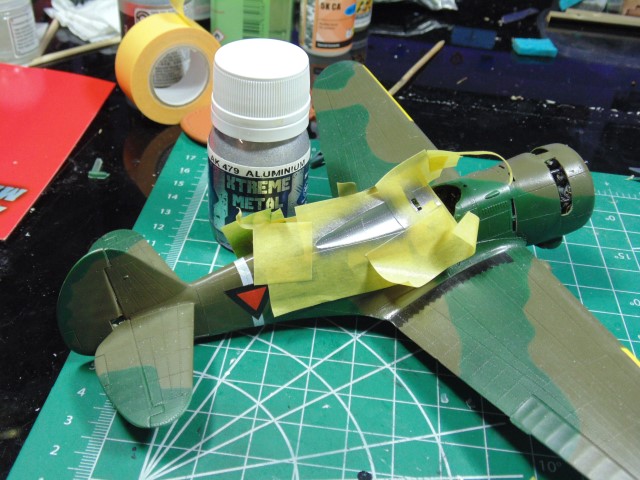
Repaired and resprayed the antenna plug.
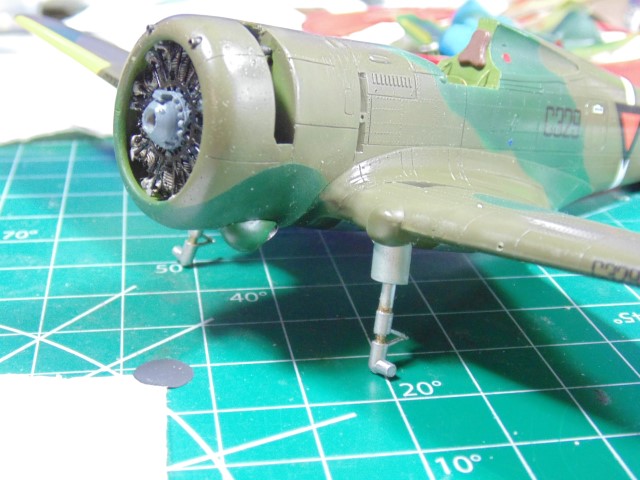
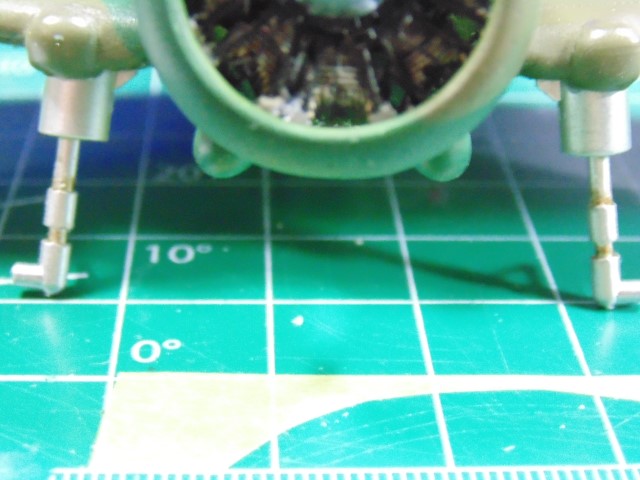
Moving on to the landing gear.
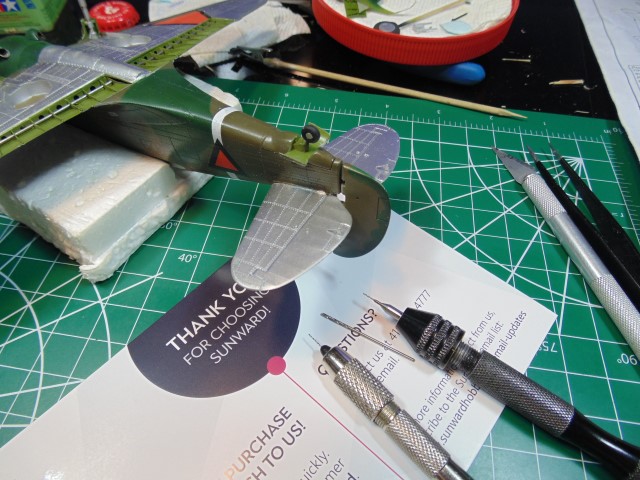
The fit is ok here though.
Note the sliced areas for the covers to slip into the bulge on the wing.
And now fits fine after the mods.
Things look great after massaging the parts.
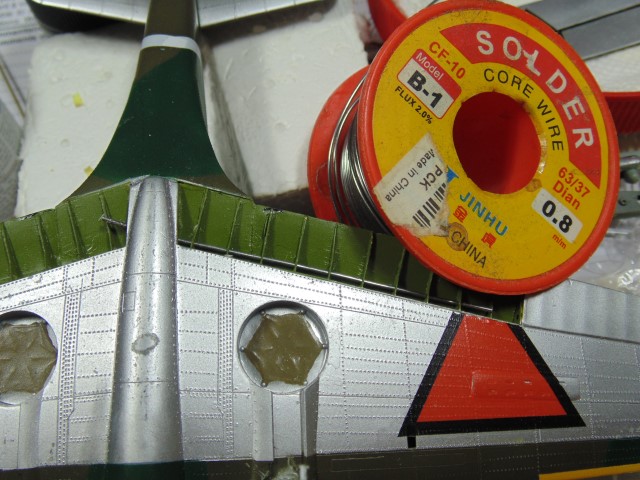
Having worked with many other PE flap sets for American AC, there should be a shaft running through the holes in the PE.
So I replicated it… hee hee!
The 0.8mm solder wire slips in perfectly and is flexible enough to thread through the holes without looking too warped. I’ll rest the look in Brian’s hands, meaning paint or bare metal for contrast. Regardless, it looks so much better than before.
Thanks Everyone, God Bless.
6 Likes
Nice update HG, and its building really well. You are really doing it justice and lifting it to yet another high level.
1 Like
Thanks Johnny that means the world to me, coming from you!
2 Likes
That’s what I also often think about the kits in my stash, no matter old or new … ![]()
Great progress, HG!
1 Like
A Coupula Details
HG and I briefly debated the placement and number of radio antenna wires on the Dutch Hawks. For awhile, I thought there might be just two–one from the upper vertical stabilizer to the aft fuselage near the radio compartment, as in the below Special Hobby 1/32 build
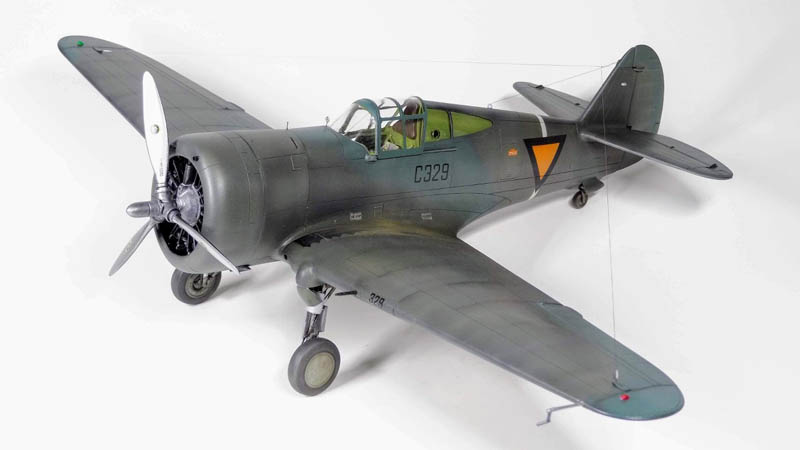
and the other running from the upper vertical stabilizer (or going from the first wire, see above) to the left wing edge near the pitot tube.
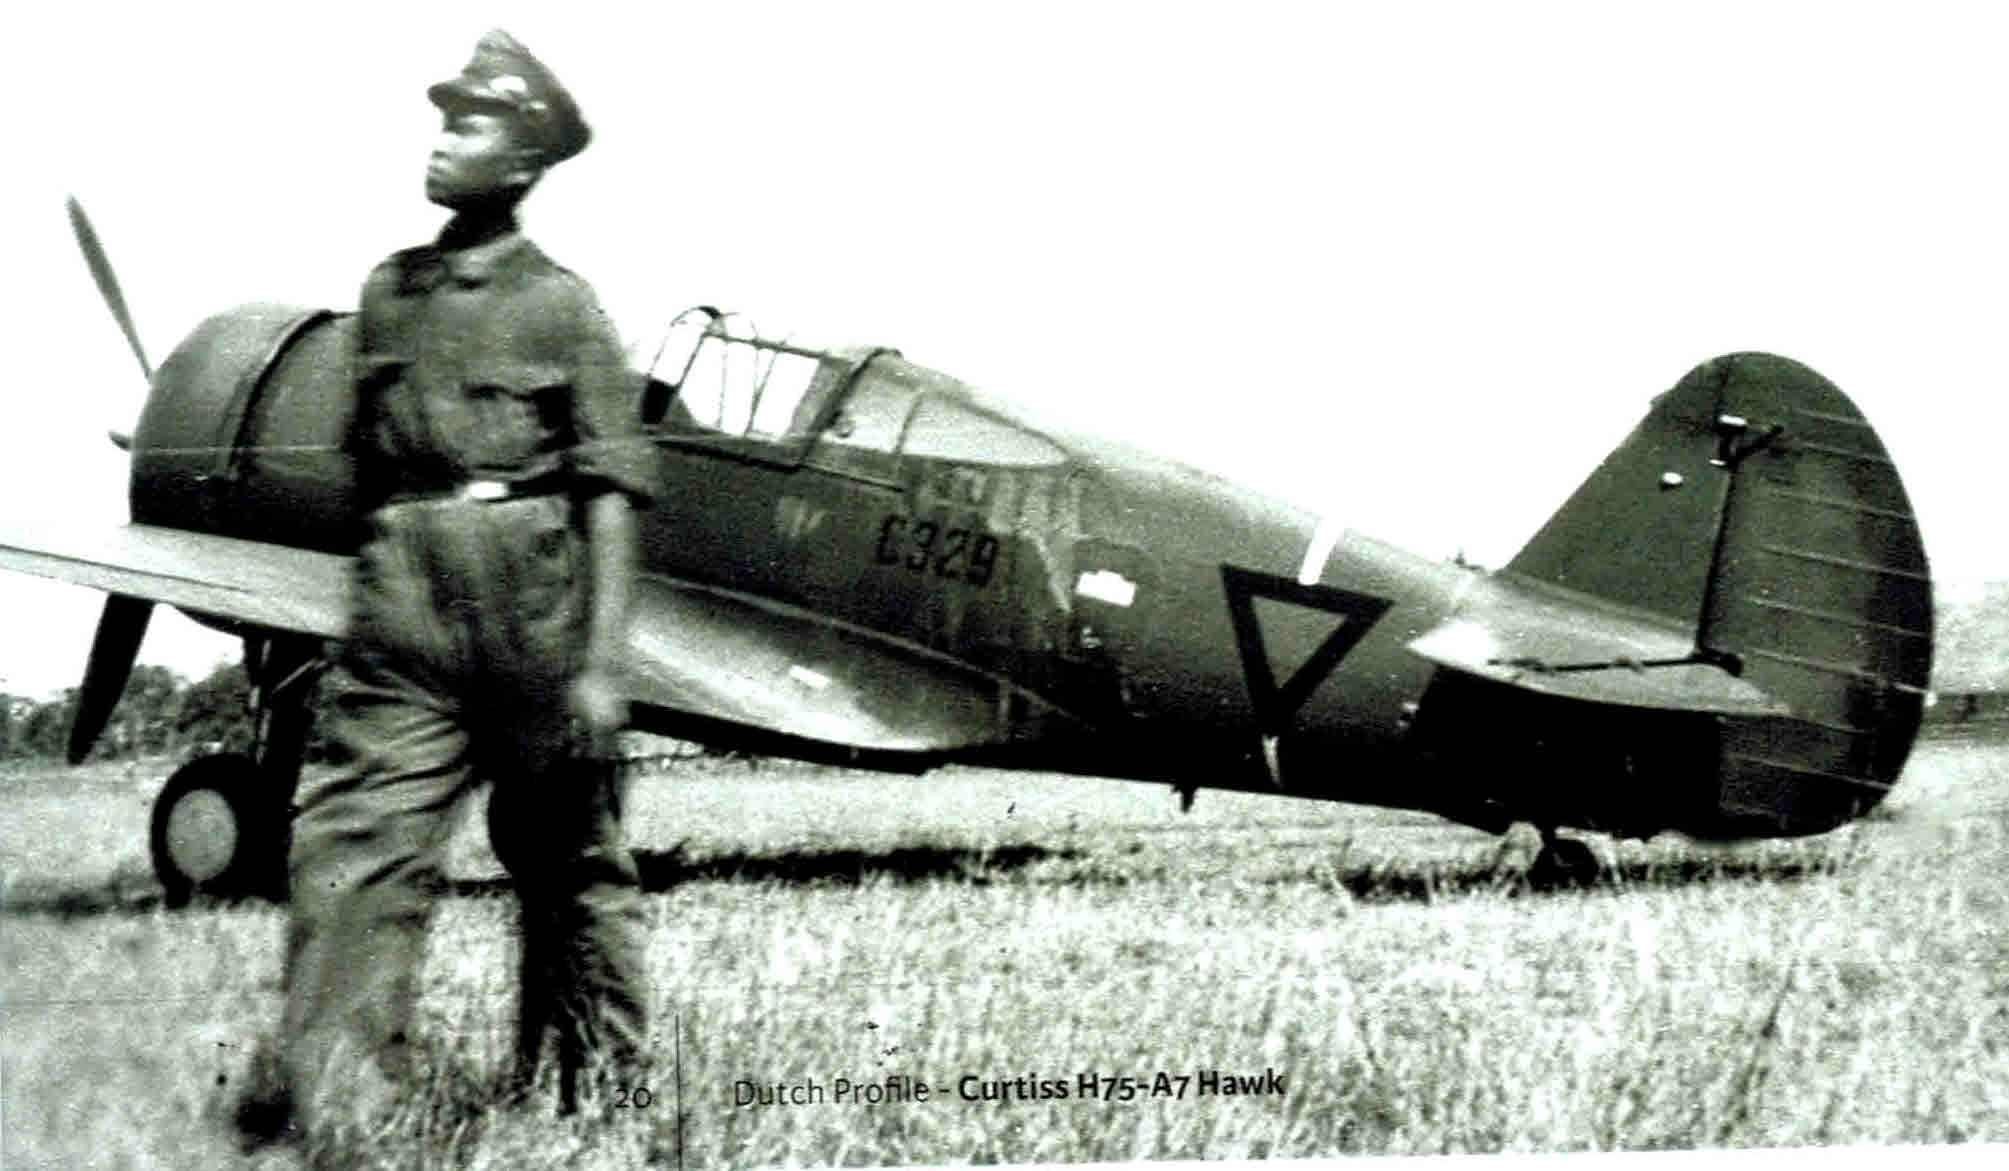
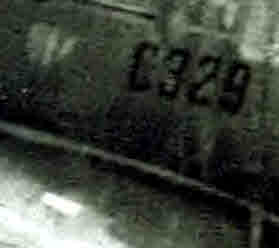
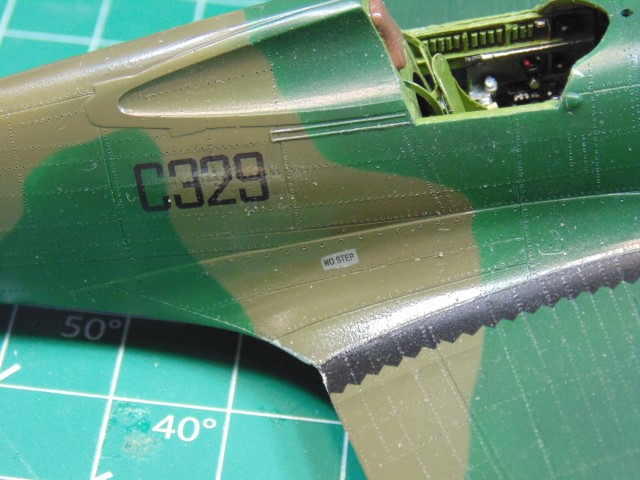
One can certainly see that second wire in the below picture of our subject, C329.
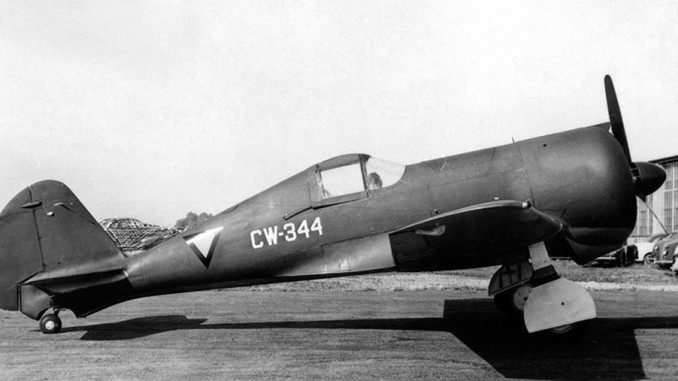
I believed that there might be just two on the Dutch Hawks because the CW-21Bs in Dutch service only had the center wire and one running to the stbd.wing edge from the stbd. side of the vertical stabilizer. See CW-344 below.
Plus, I have yet to see photographic evidence of the wire running to the stbd wing on a Dutch H-75.
But, I’m going to go with the majority view and have one run to each wing edge.
However, I want to point out another detail in the above photo of C329 explained in the Dutch Profile book about it.
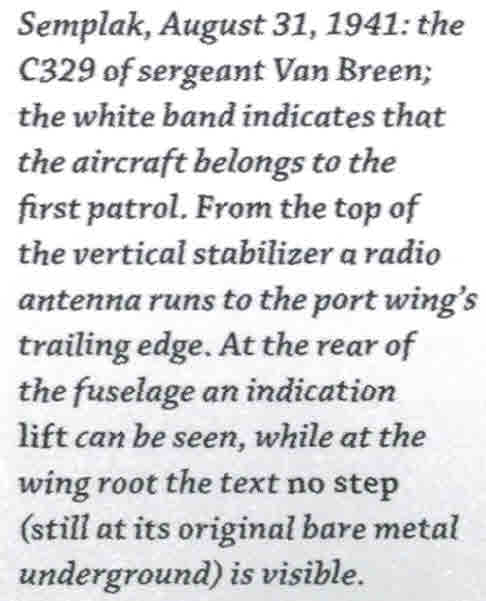
That little aluminum rectangle on the fuselage with a “No Step” stencil is a nice catch!
3 Likes
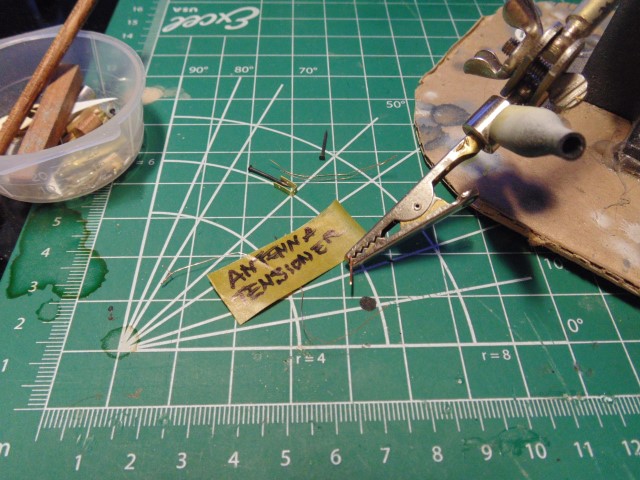
To me, it looks like you could toss a coin for 3 or 2 antenna lines. My silver coin flipped violently in an arch, only to come to a rest on its edge, the third side of the coin. This gives ME the choice.
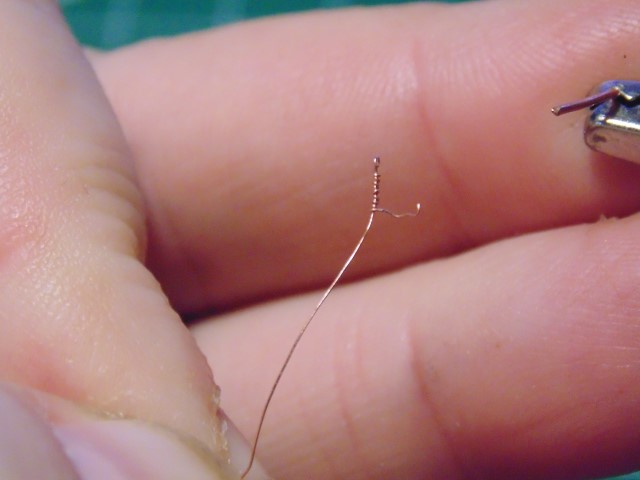
There will be three lines.
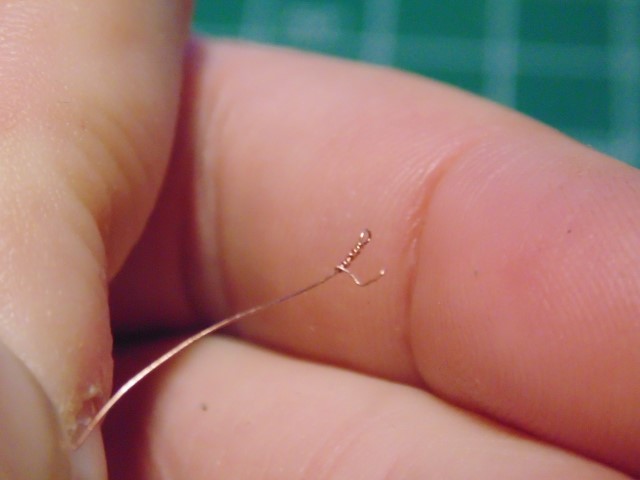
And the antenna tensioner. Work in progress.
More later today… maybe, cuz it’s my birthday.
God bless Y’all.
6 Likes
Happy Birthday HG - may you have many more!
2 Likes
Thank you Brother!
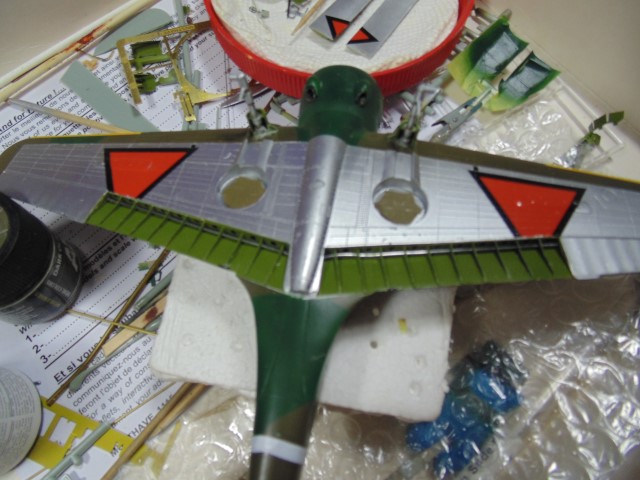
Quick update,
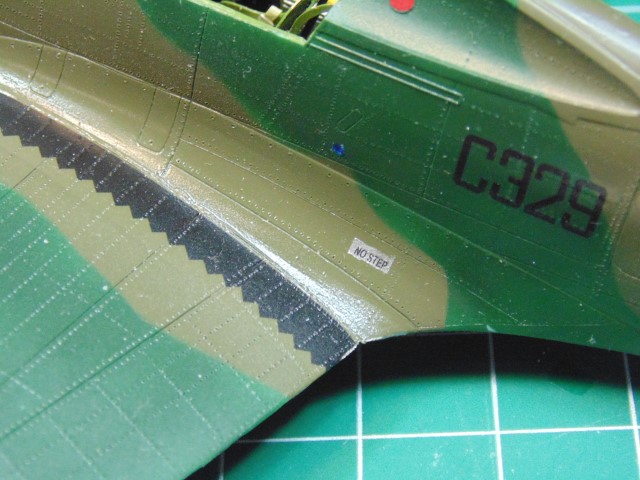
Specked out the location and made the size just a bit larger to display the stencil.
Going to let this Vallejo dry for a day before adding BOTH the “NO STEP” decals.

I’m off to edit another of my novels that will be published early next year. So that means at least 2 books by H.G. Barnes will hit the land of Kindle in 2023. ![]()
More soon.
5 Likes
Happy (belated) birthday, HG! ![]()
1 Like
Thanks Torsten!!!
1 Like
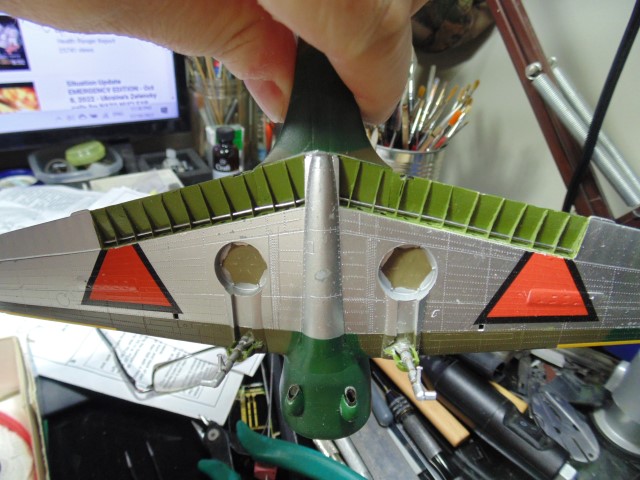
Hello Everyone,
Super quick update before getting back to Brian’s B-17.
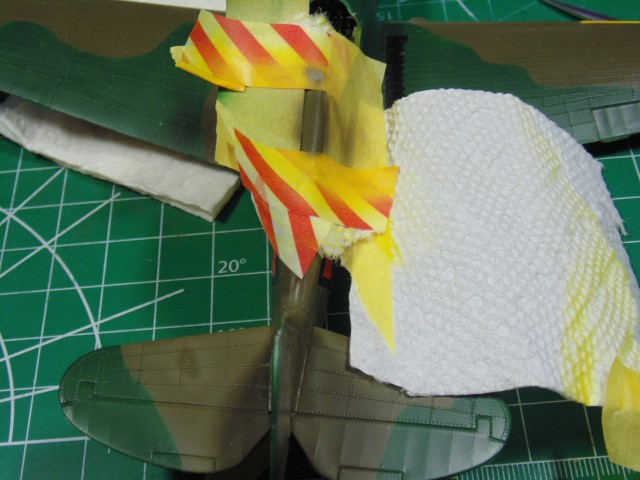
I masked and sprayed the bare patches then added the decals
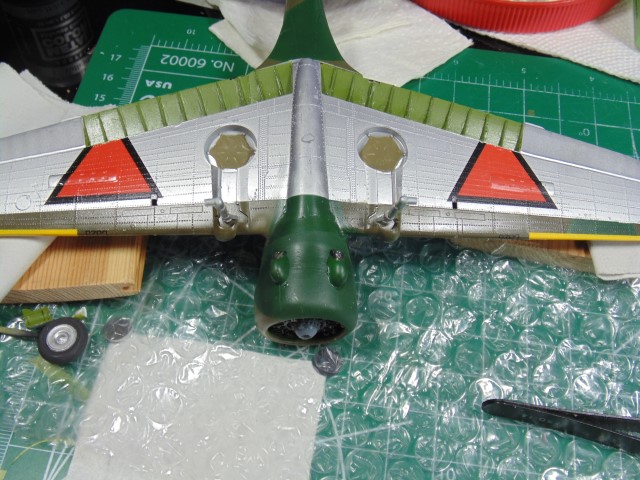
Still waiting on word if the metal behind the back windows should be interior green or if this A/C was one which had the camo in those spots.
I love these AK silicone tipped brushes for painting and weathering, but they work great with positioning decals too!
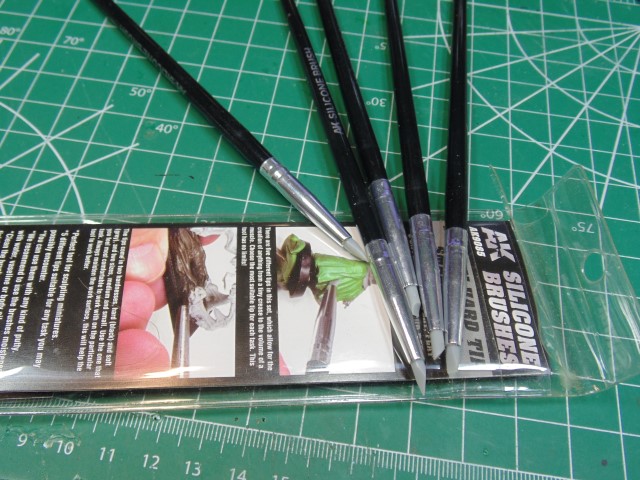
Huge thanks to Sunward Hobbies for sending them quickly so I could try them out.
God bless.
6 Likes
Nice updates with some very dedicated and detailed work. Inspiring stuff indeed ![]()
1 Like
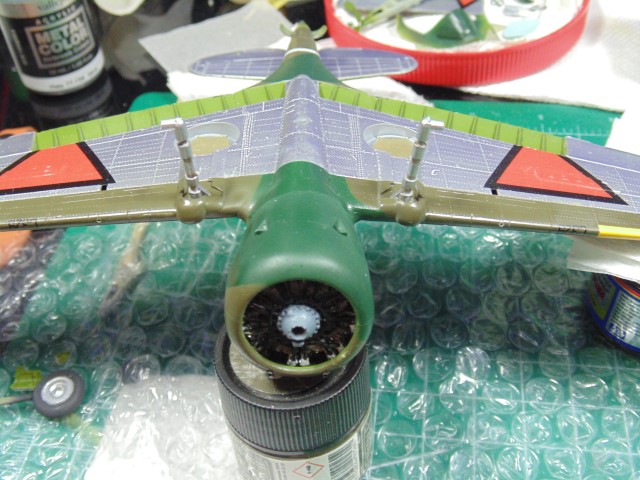
H.G. and I discussed this and the answer is interior green aluminuim.. All should check out the side view of this very aircraft in my post, A Coupula Details and the profile in my post Answering Some of HG’s Questions, and some “Final Details.” I was going to say “interior green” but then realized that these A/C were delivered in an all natural metal finish, including the rear window interiors.
So I think the profile art in Answering Some of HG’s Questions, and some “Final Details” gets it right.
2 Likes
Thanks Johnny!
1 Like
Hi All,
Lots of clients hoping for results at this time of the year, so it’s marathon time. Here’s an update on the past 16 hours of work on this kit.
Masked and sprayed the back of the windows.
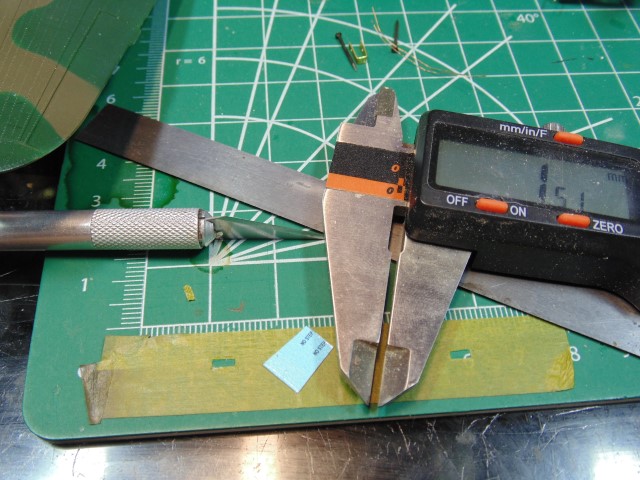
The PE connection points of these bits are different. I started with a 0.3 drill bit then moved up and finally used a 0.7mm chisel to ream out the hole.
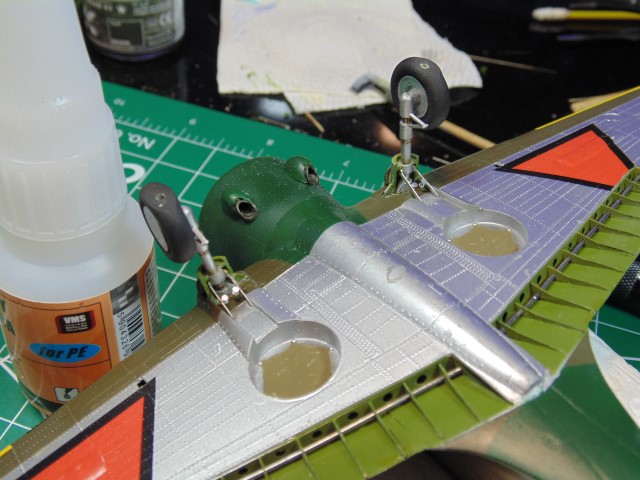
Time to add some detail parts. The tail wheel does not fit out of box. Finally used a 0.95mm drill bit to core out the right width.
The gunsight frame has to be bent then connected. I used VMS CA to give me time to adjust the shape.

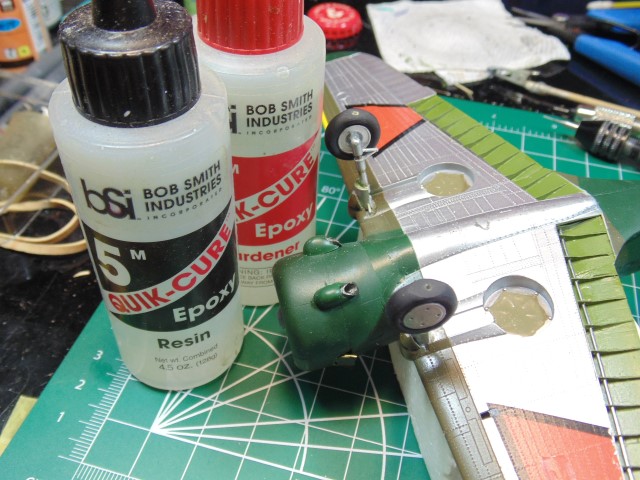
Now the wheels. Use epoxy so you have plenty of time to adjust the shape before it dries.
These PE parts should have been labeled better because they are different, but a decent modeler will figure it out. Scratch off the paint before bending and gluing.

Angle the parts when attaching them and don’t forget to add a micro dab of CA to both ends.
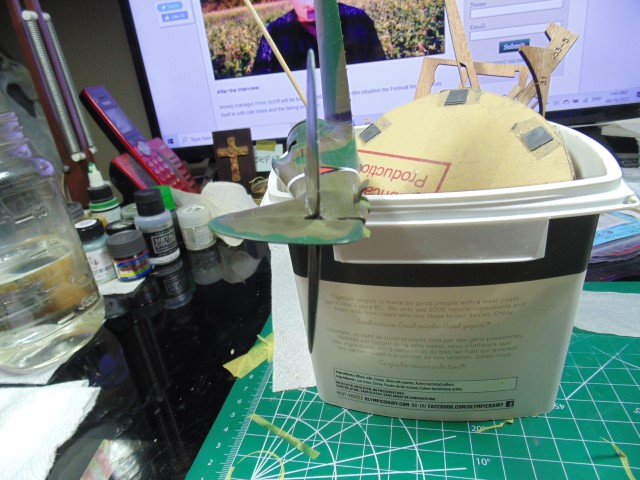
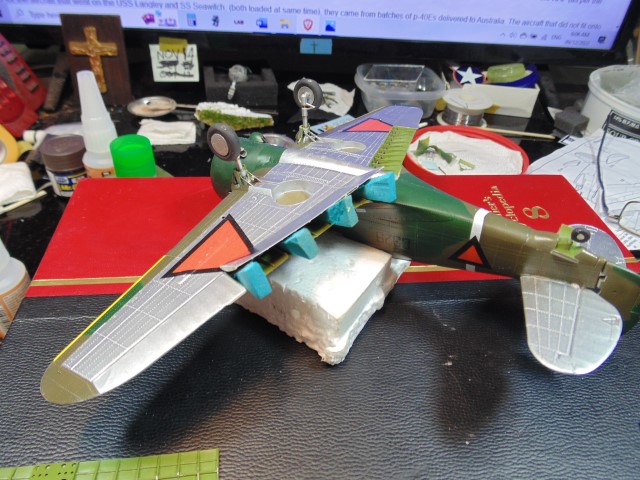
After hours of hot water warping this flap sprung back to a curve, it happens with crappy resin. I used resin CA to fix it, but it must be touched up.

Finding tech pictures for the flaps is really tough, so I went by the Warhawk diagrams I have for the retraction rods. Any help would be welcome.
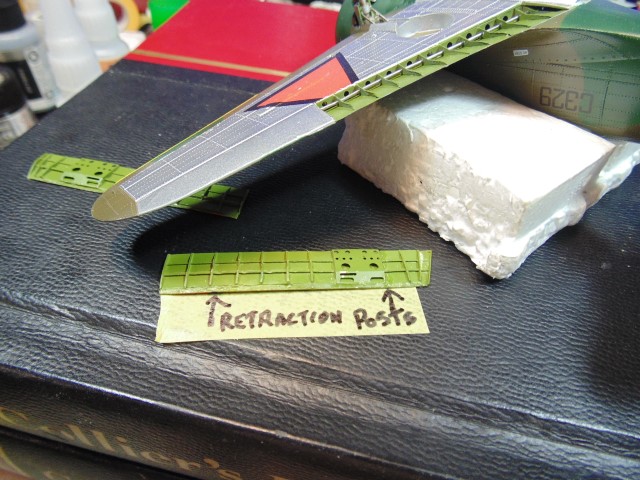
Securing the flaps at the angle in the photos I’ve seen needed some cut out foam bits. It looks crude, yet will allow me to attach this warped resin part little by little. More soon.
Merry Christmas everyone.
4 Likes
An amazing update, HG. I owe you some bombs and decals for the prop (among other things!). To be mailed tomorrow.
1 Like
Thanks Brian,
If the mail system works smoothly I hope to get this to you by Christmas. The good Lord willing. In the meal while, enjoy this problem solving gong show HA HA.
It’s hard to grasp what a horror show those flaps have been still are.
Also, what is that elaborate structure to the left of the gunsight ring in the fourth picture?
1 Like