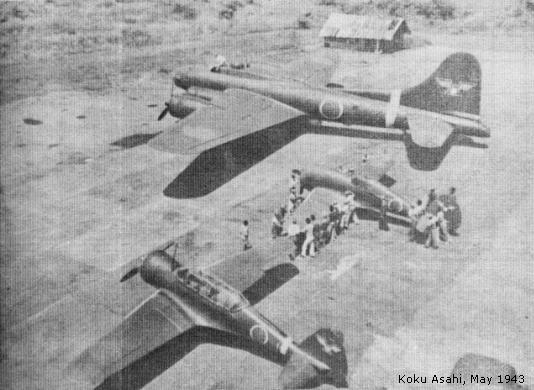
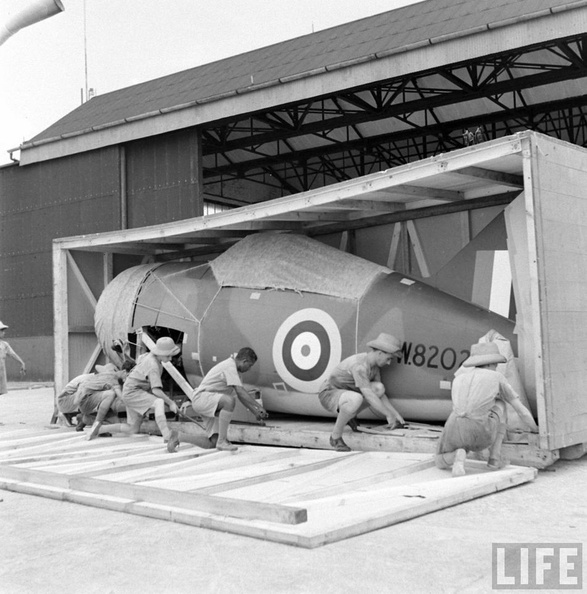
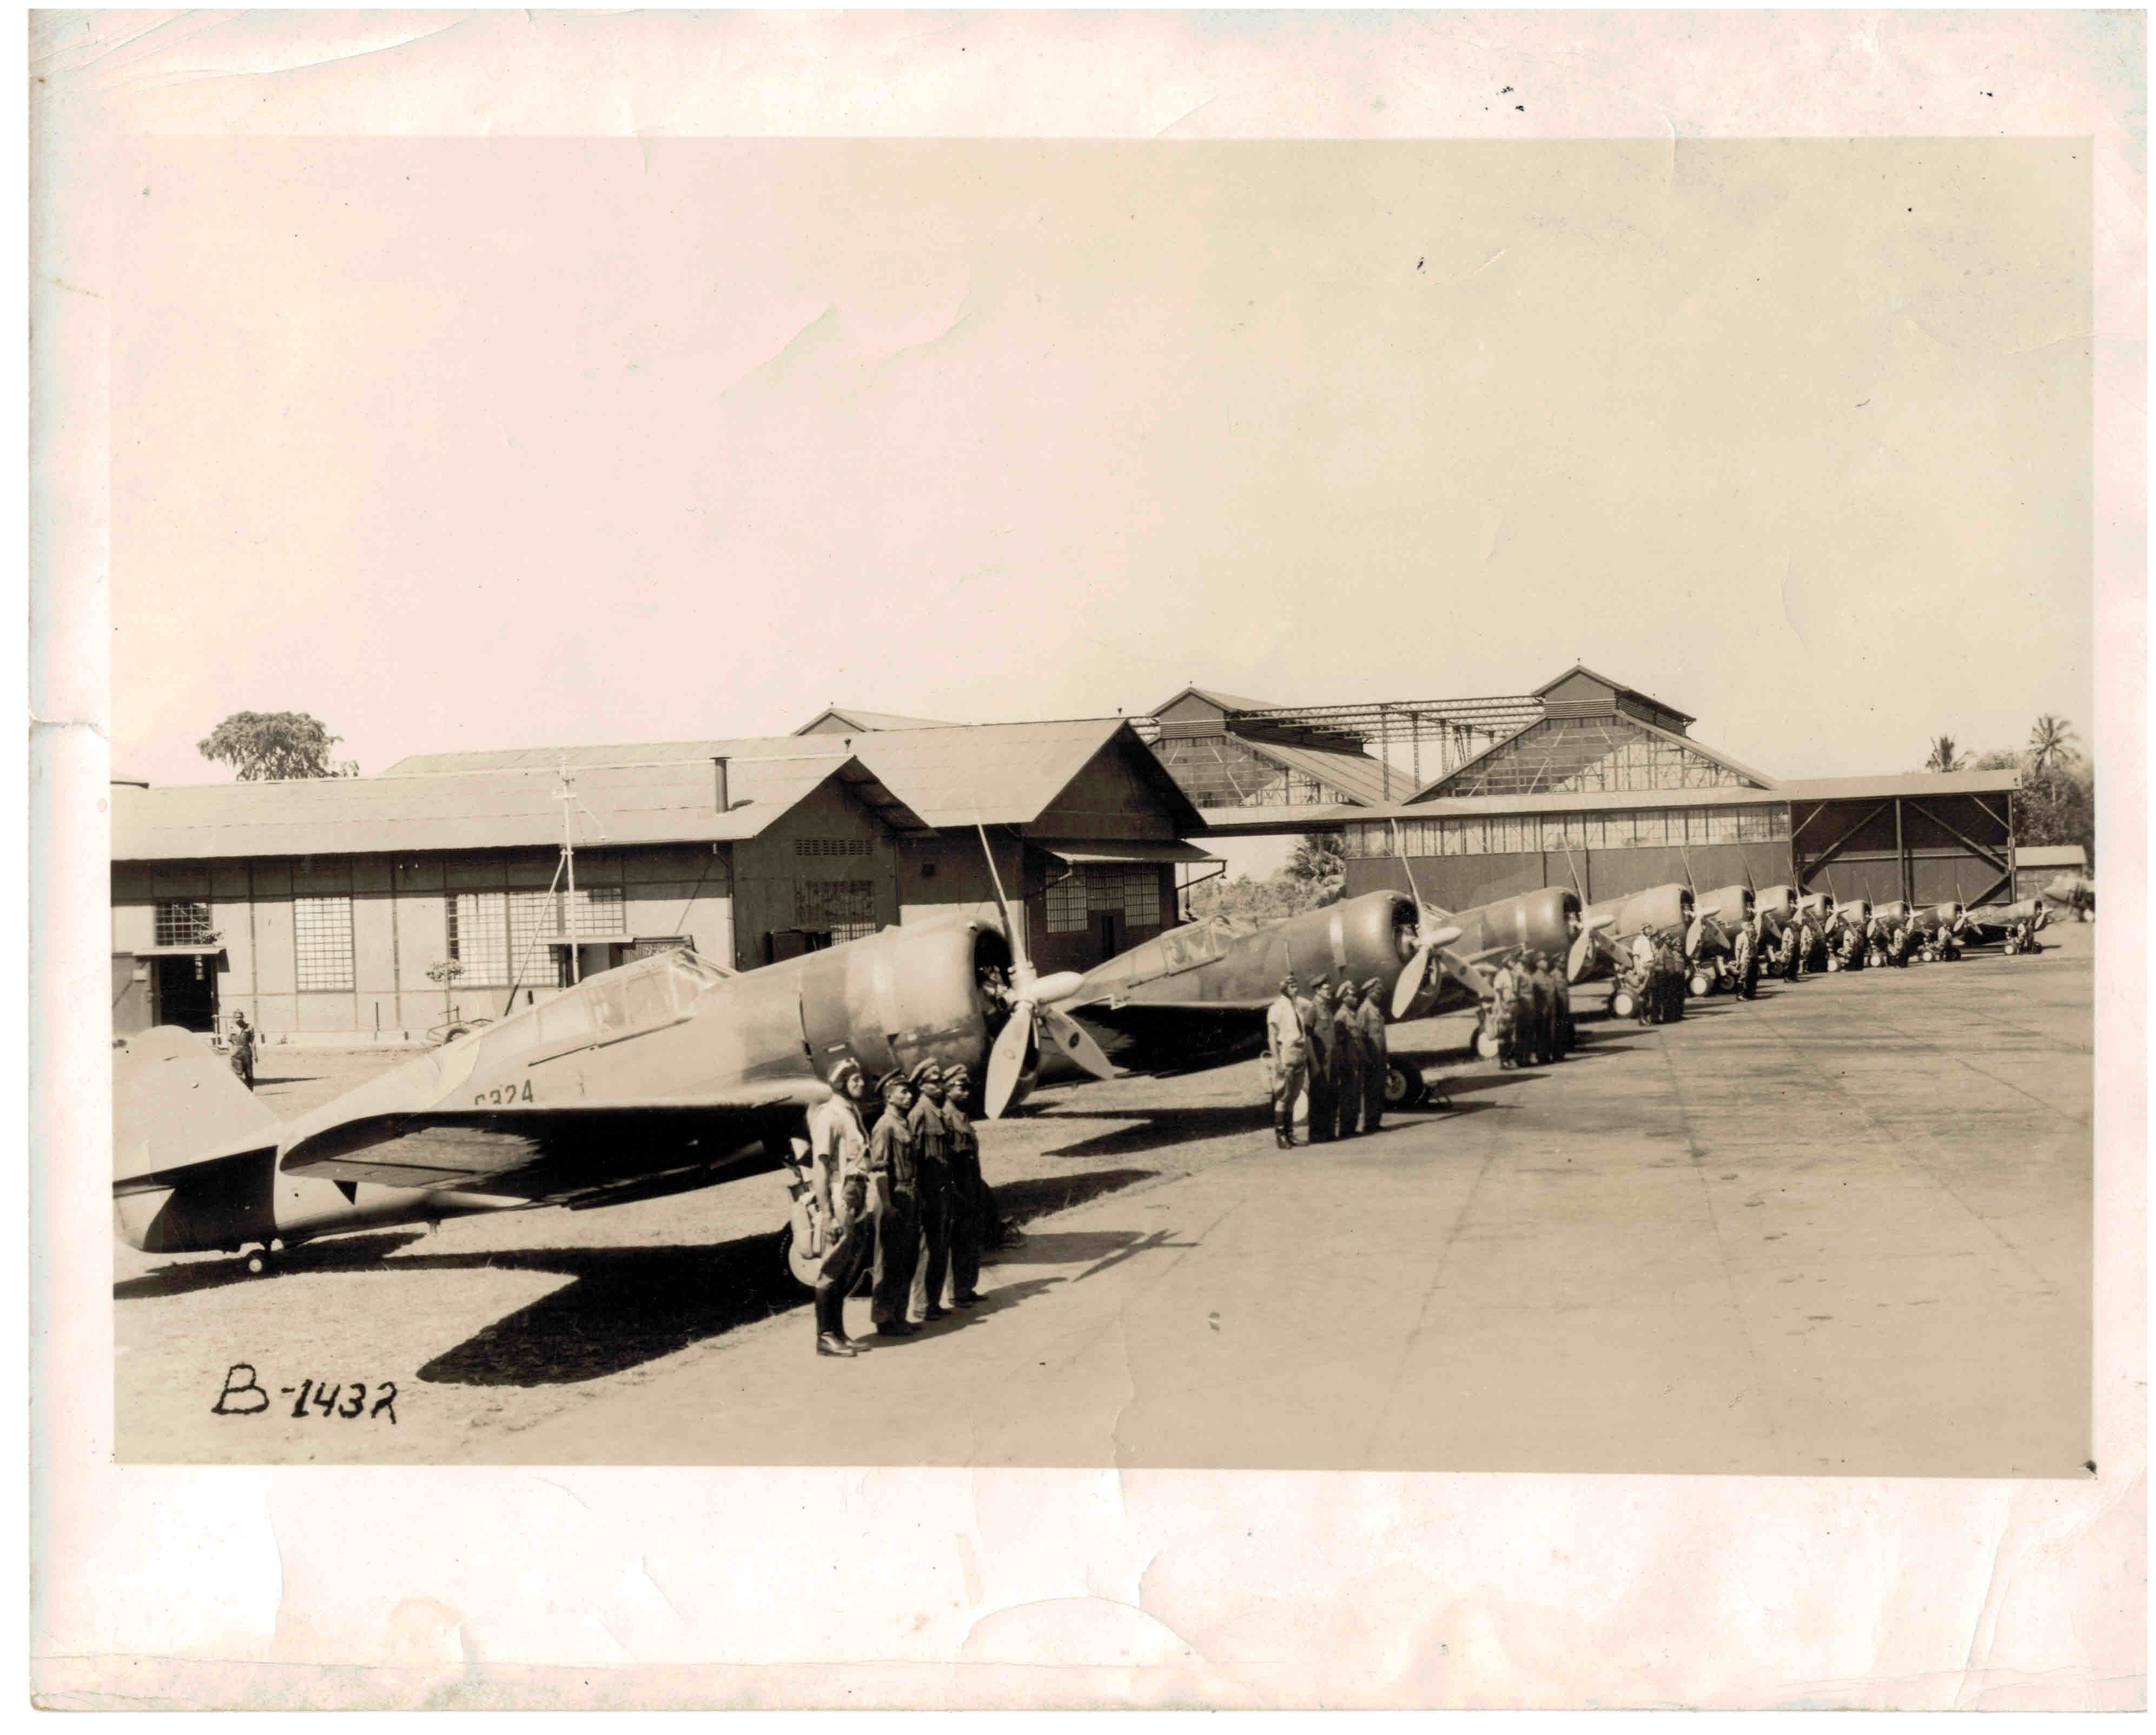
CURTISS MOHAWK IV in 1/48 by "Must Have" in KNIL Leaf

Hi Friends,
It’s time to rub some quality on the belly. Bombs need doing, smoke needs feathering and oil should be added.

DSC04621 (Small)

These little gems get added now.

DSC04092 (Small)

The Curtiss prop decals look great!

DSC04584 (Small)

It will take you some fine masking to get the yellow tips right.

More very soon on this project. I’m waiting on word from Mr. O’Neill about regarding if there will be a diorama base.

Thanks Everyone.

6 Likes

Hi Fellow Flyers,

With the bombs installed and a few extra details added the project was complete, yet there was something missing. Have you ever looked at a project and thought it needs a little OOMPH? After all there’s a resin engine, cowl, photo-etch and very specific paint.

DSC04621 (Small)

Brian likes his replicas to have a clean look, yet this bird has to have some life. Some mild dark weathering was added to the panel lines. I feel it adds to the countless hours of riveting work.

DSC04622 (Small)

He sent over, after approving the base idea, an excellent picture from back in the day of Mohawks all lined up. I’m sure he’ll share this with you. Let’s get started on that look. I need to have a defined concrete and grass area. The thick plastic card with some thinner stock under should look in scale

DSC04623 (Small)

The vertical lines will be removed. The area was rough sanded.

DSC04624 (Small)

Now for the concrete slabs. Just a measured off 3cm lengths. More then that the picture I was sent but it looks more interesting and seen on many taxi ways during WWII from all countries.

DSC04625 (Small)

I’m not paid nor get any free items from UMM-USA (I buy my stuff). I give them credit because the tools are super high quality. Here are the results of the demarcation lines in the concrete.

DSC04626 (Small)

This was washed down with IPA and now ready primer and paint.

Thanks Everyone.

4 Likes

Here’s that photo.

Now, you may have seen this before, but the first time I saw it was back in 1981, when a Curtiss-Wright coworker who knew I was interested in the Company’s history, took me to an obscure storage area in the lower level of the Wood-Ridge, New Jersey aircraft engine plant that also served as the corporate headquarters. (In WWII it built B-29 R-3350 engines.)

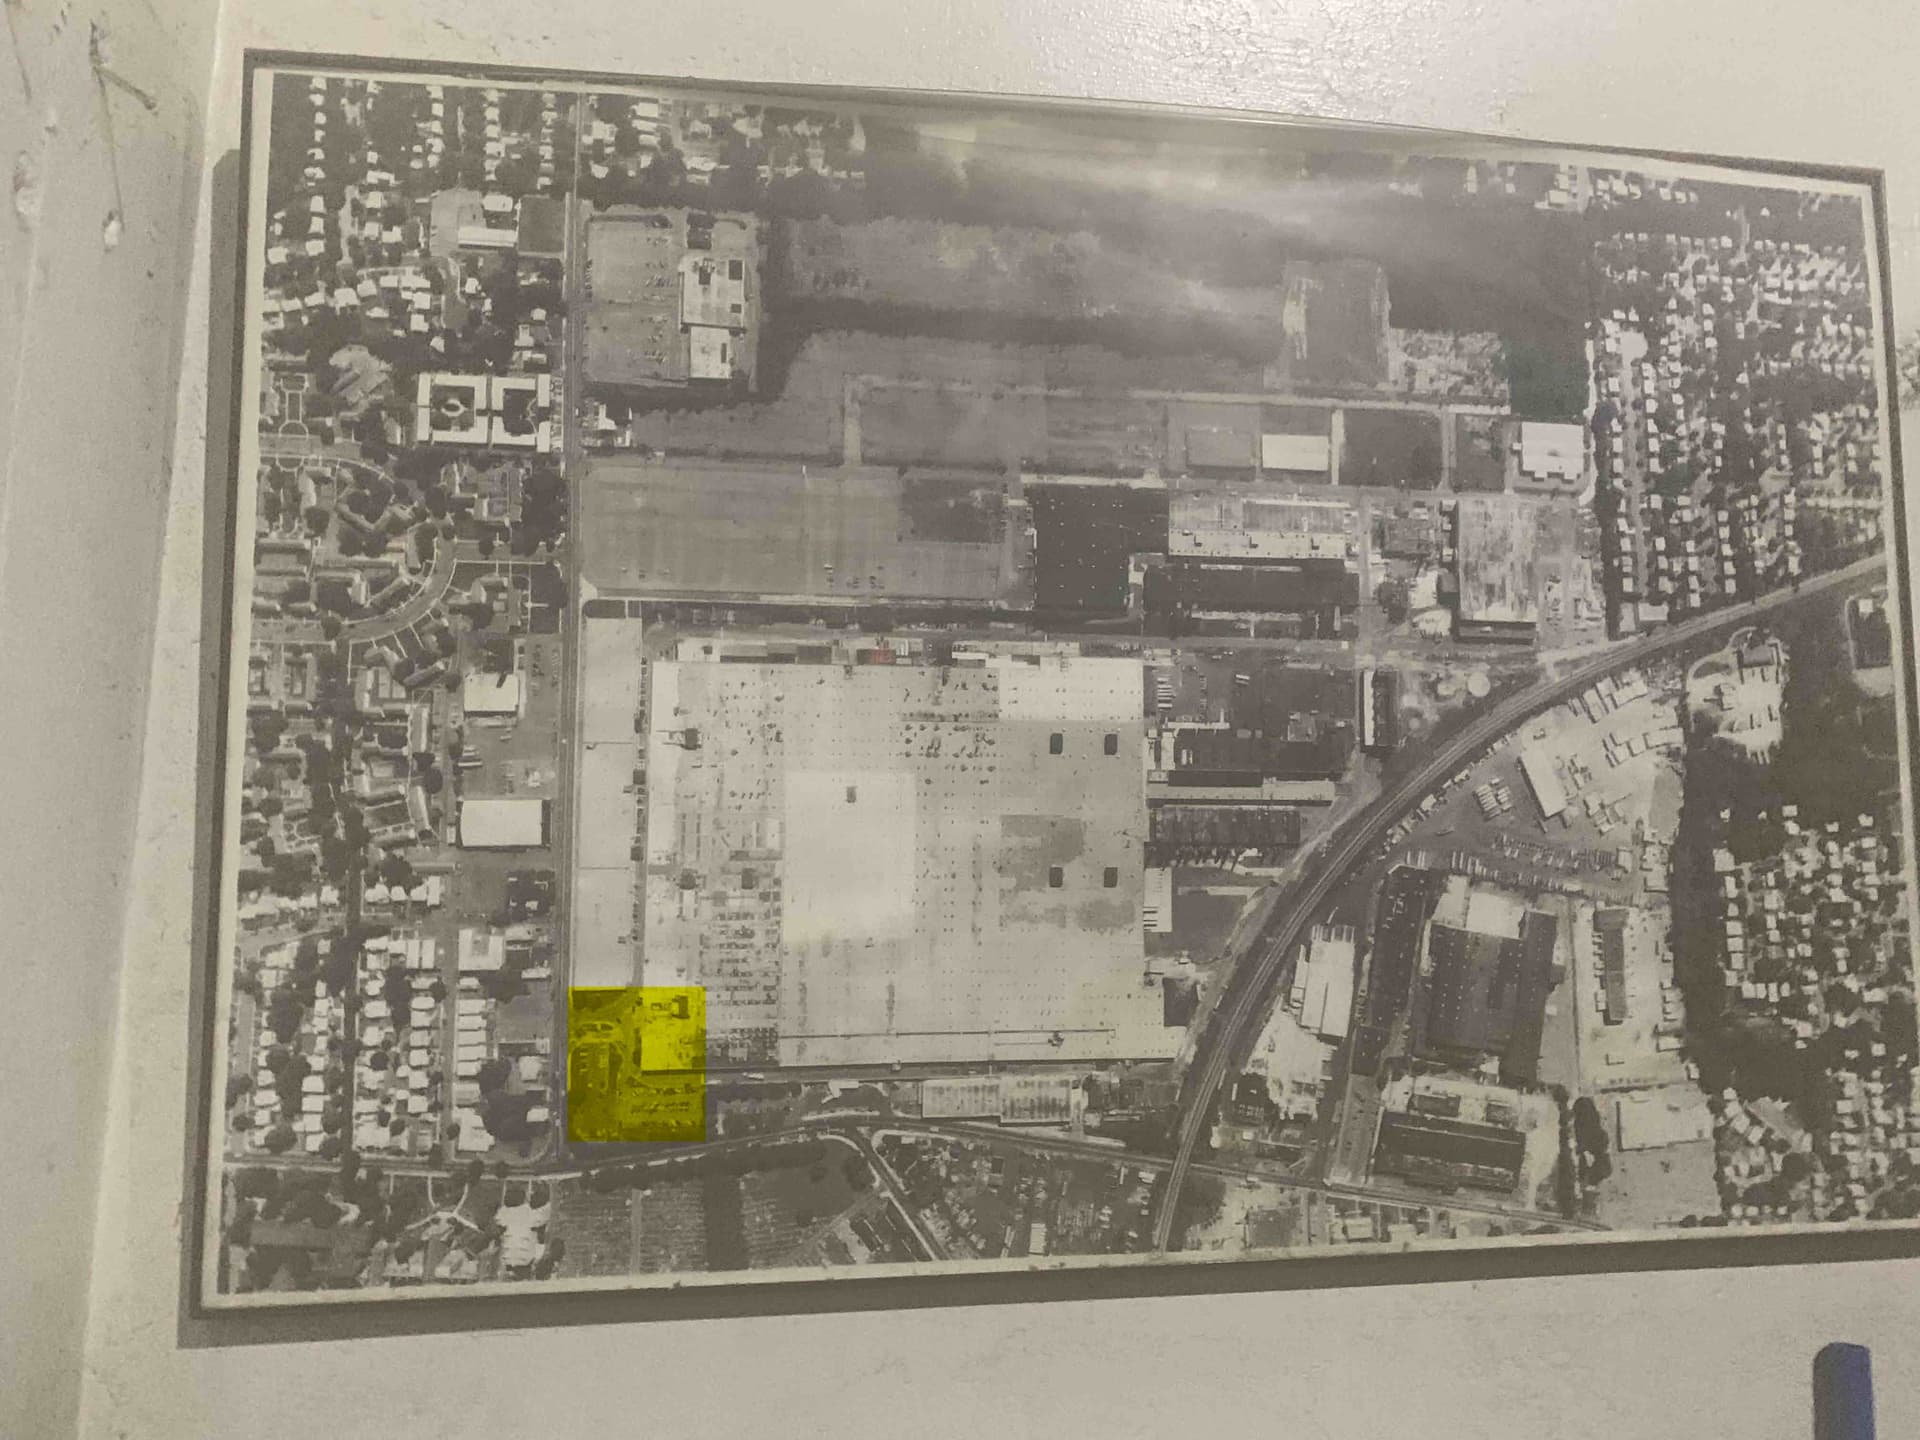
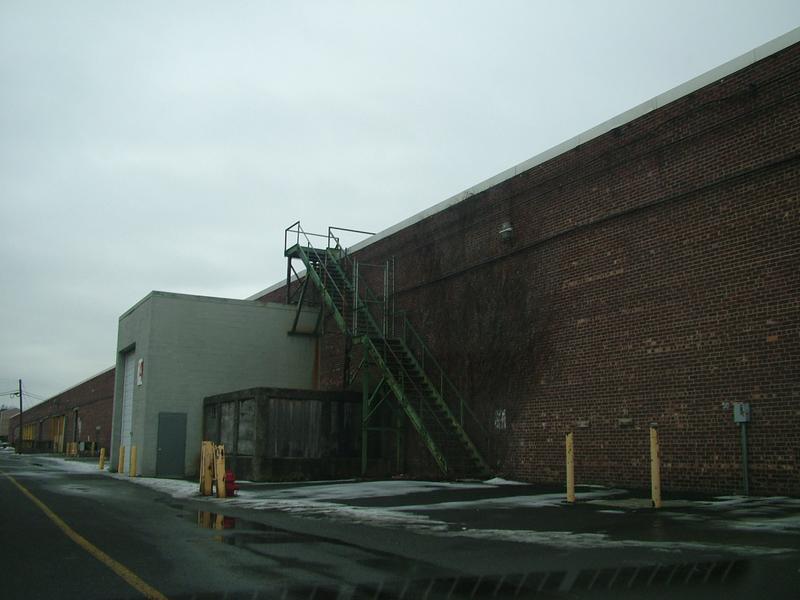
The plant executive entrance is highlighted in yellow, with a parking lot at the bottom. You can get a sense of the size of the place from this exterior view,

And yes, I actually climbed those stairs while working there.

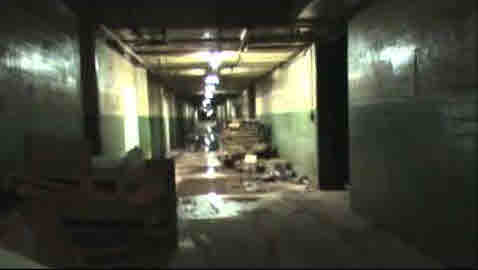
The interior could be pretty spooky, even when (slightly) better maintained than this.

hqdefault

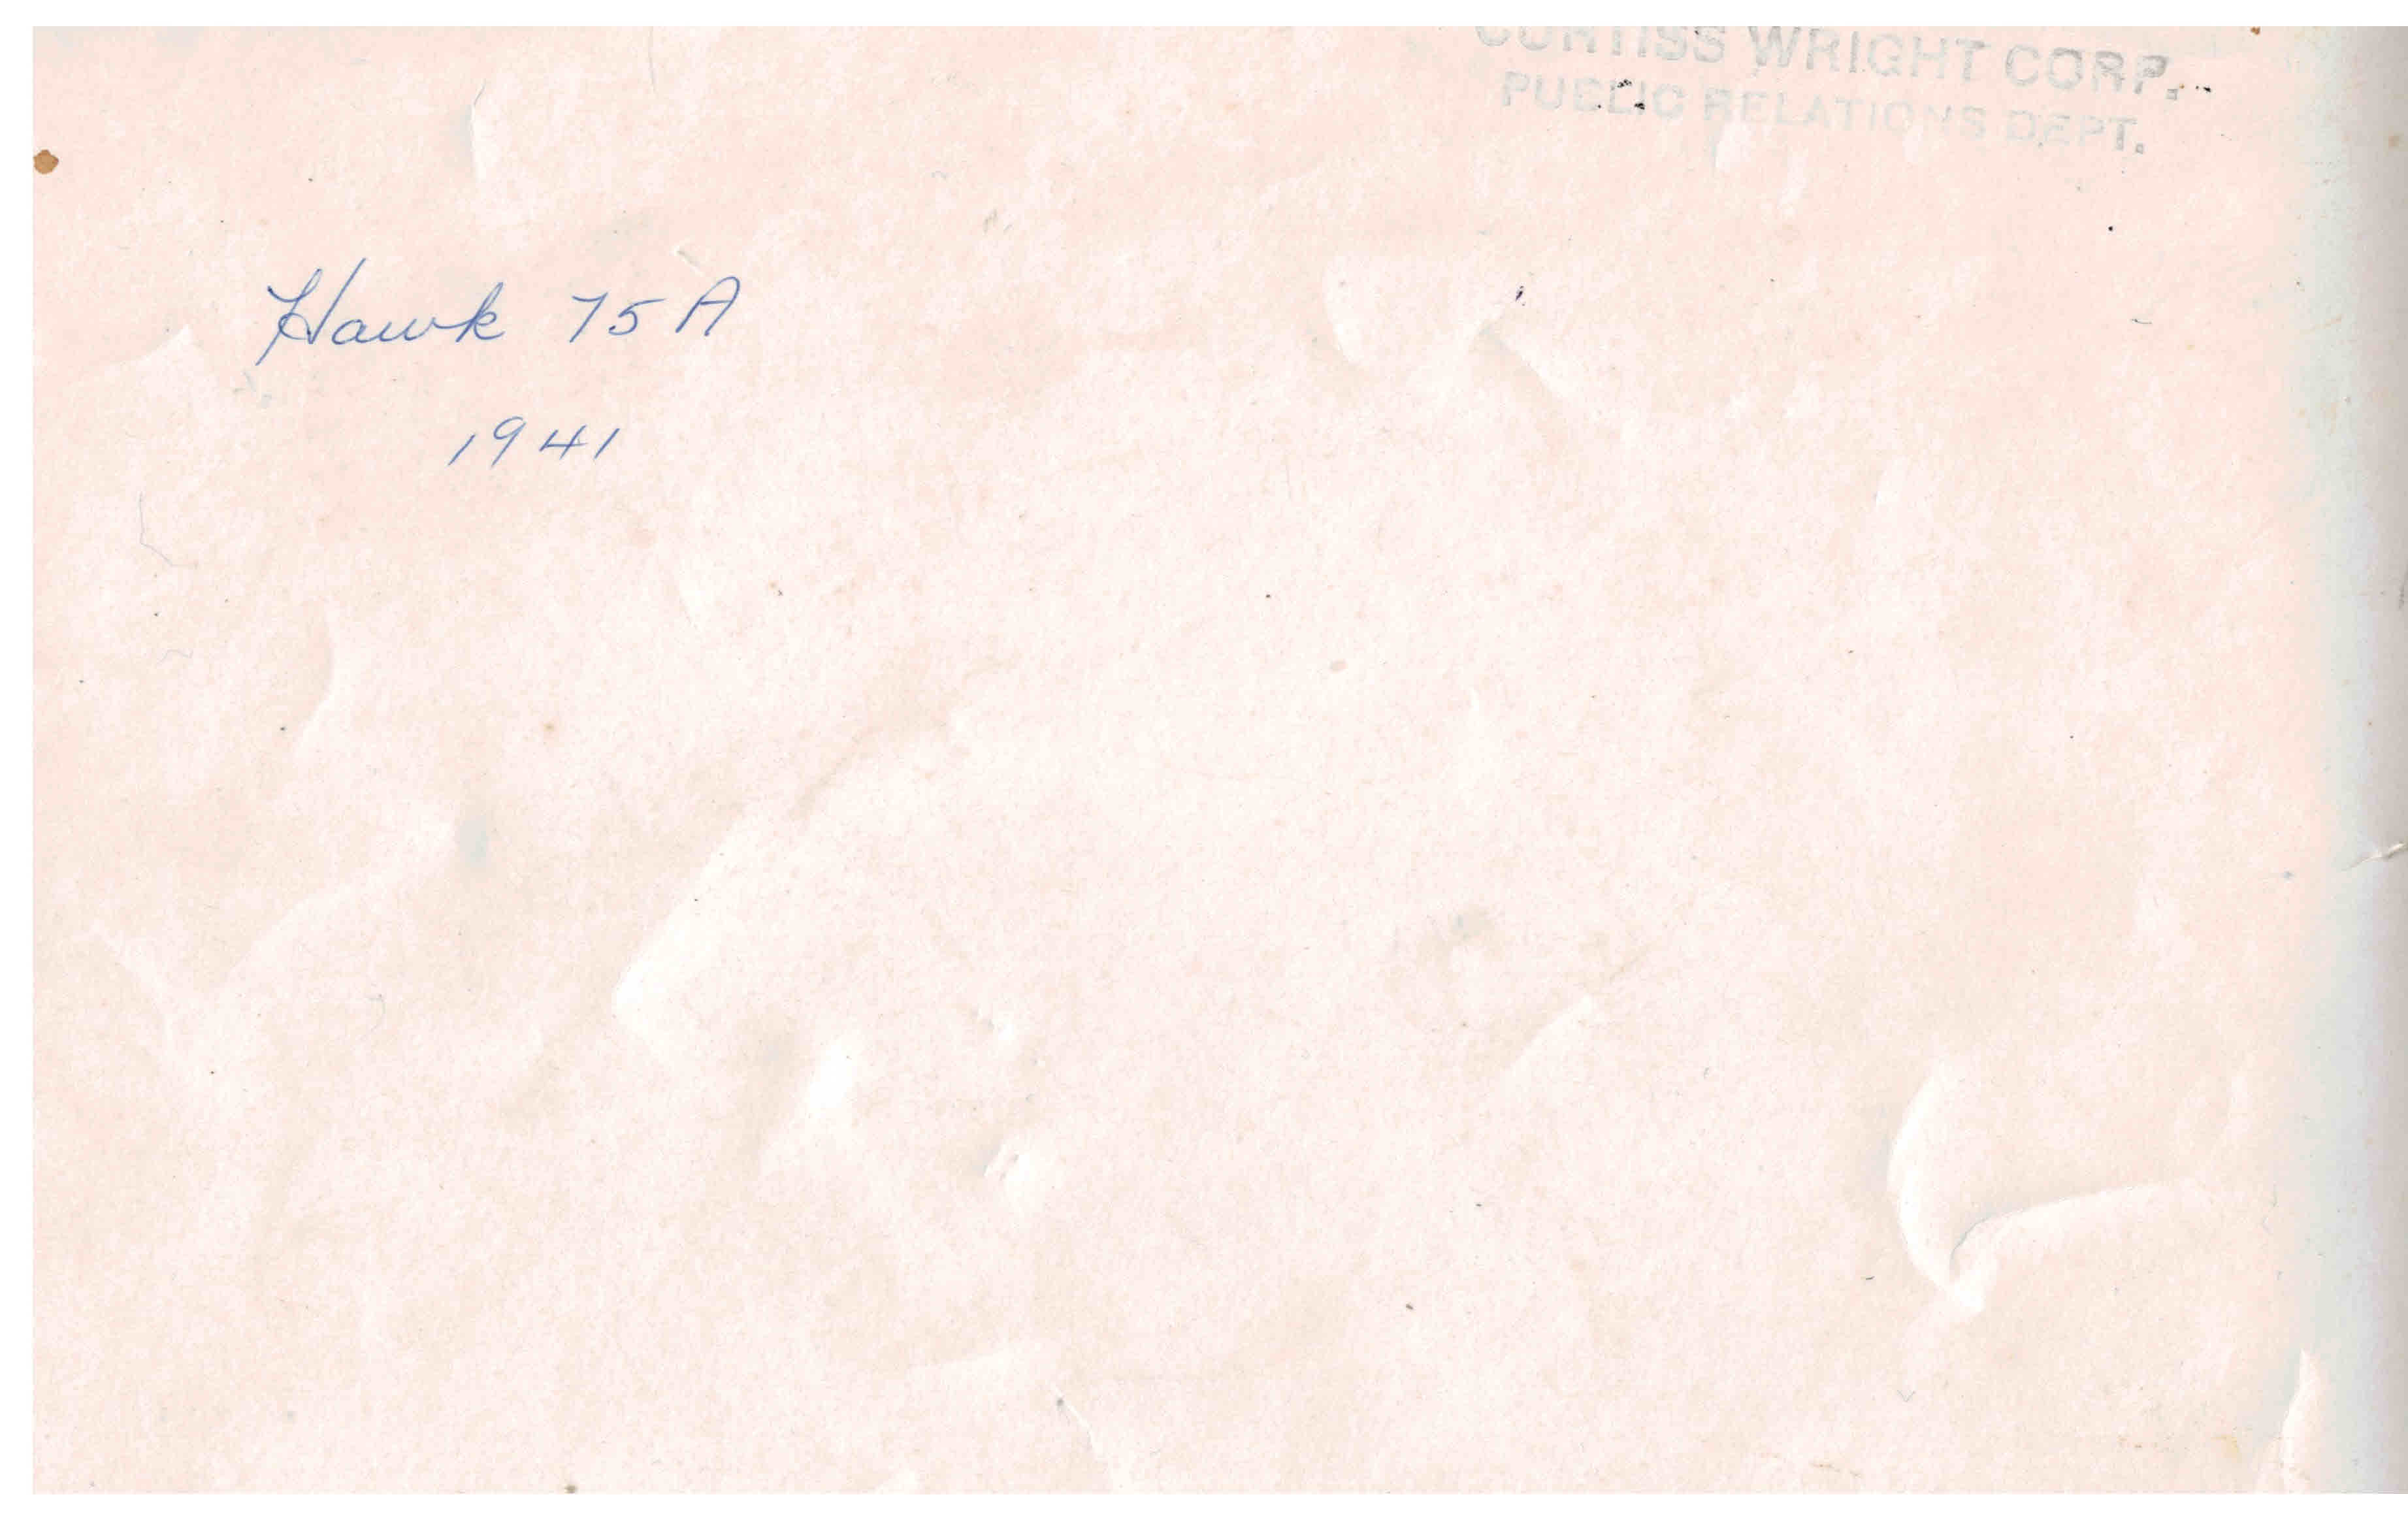
But I digress. The coworker showed me a filing cabinet with photos in it, and that’s where I discovered the above gem, the back of which identifies it as a gen-u-ine C-W public relations photo. See upper right!

Anyway, I was stunned because, until that moment, I did not know C-W supplied Hawk fighters to the Netherlands East Indies.

I don’t have the full press release language that accompanied the photo, but I can tell you it was taken sometime mid-year 1941 and was titled, “On Guard.”

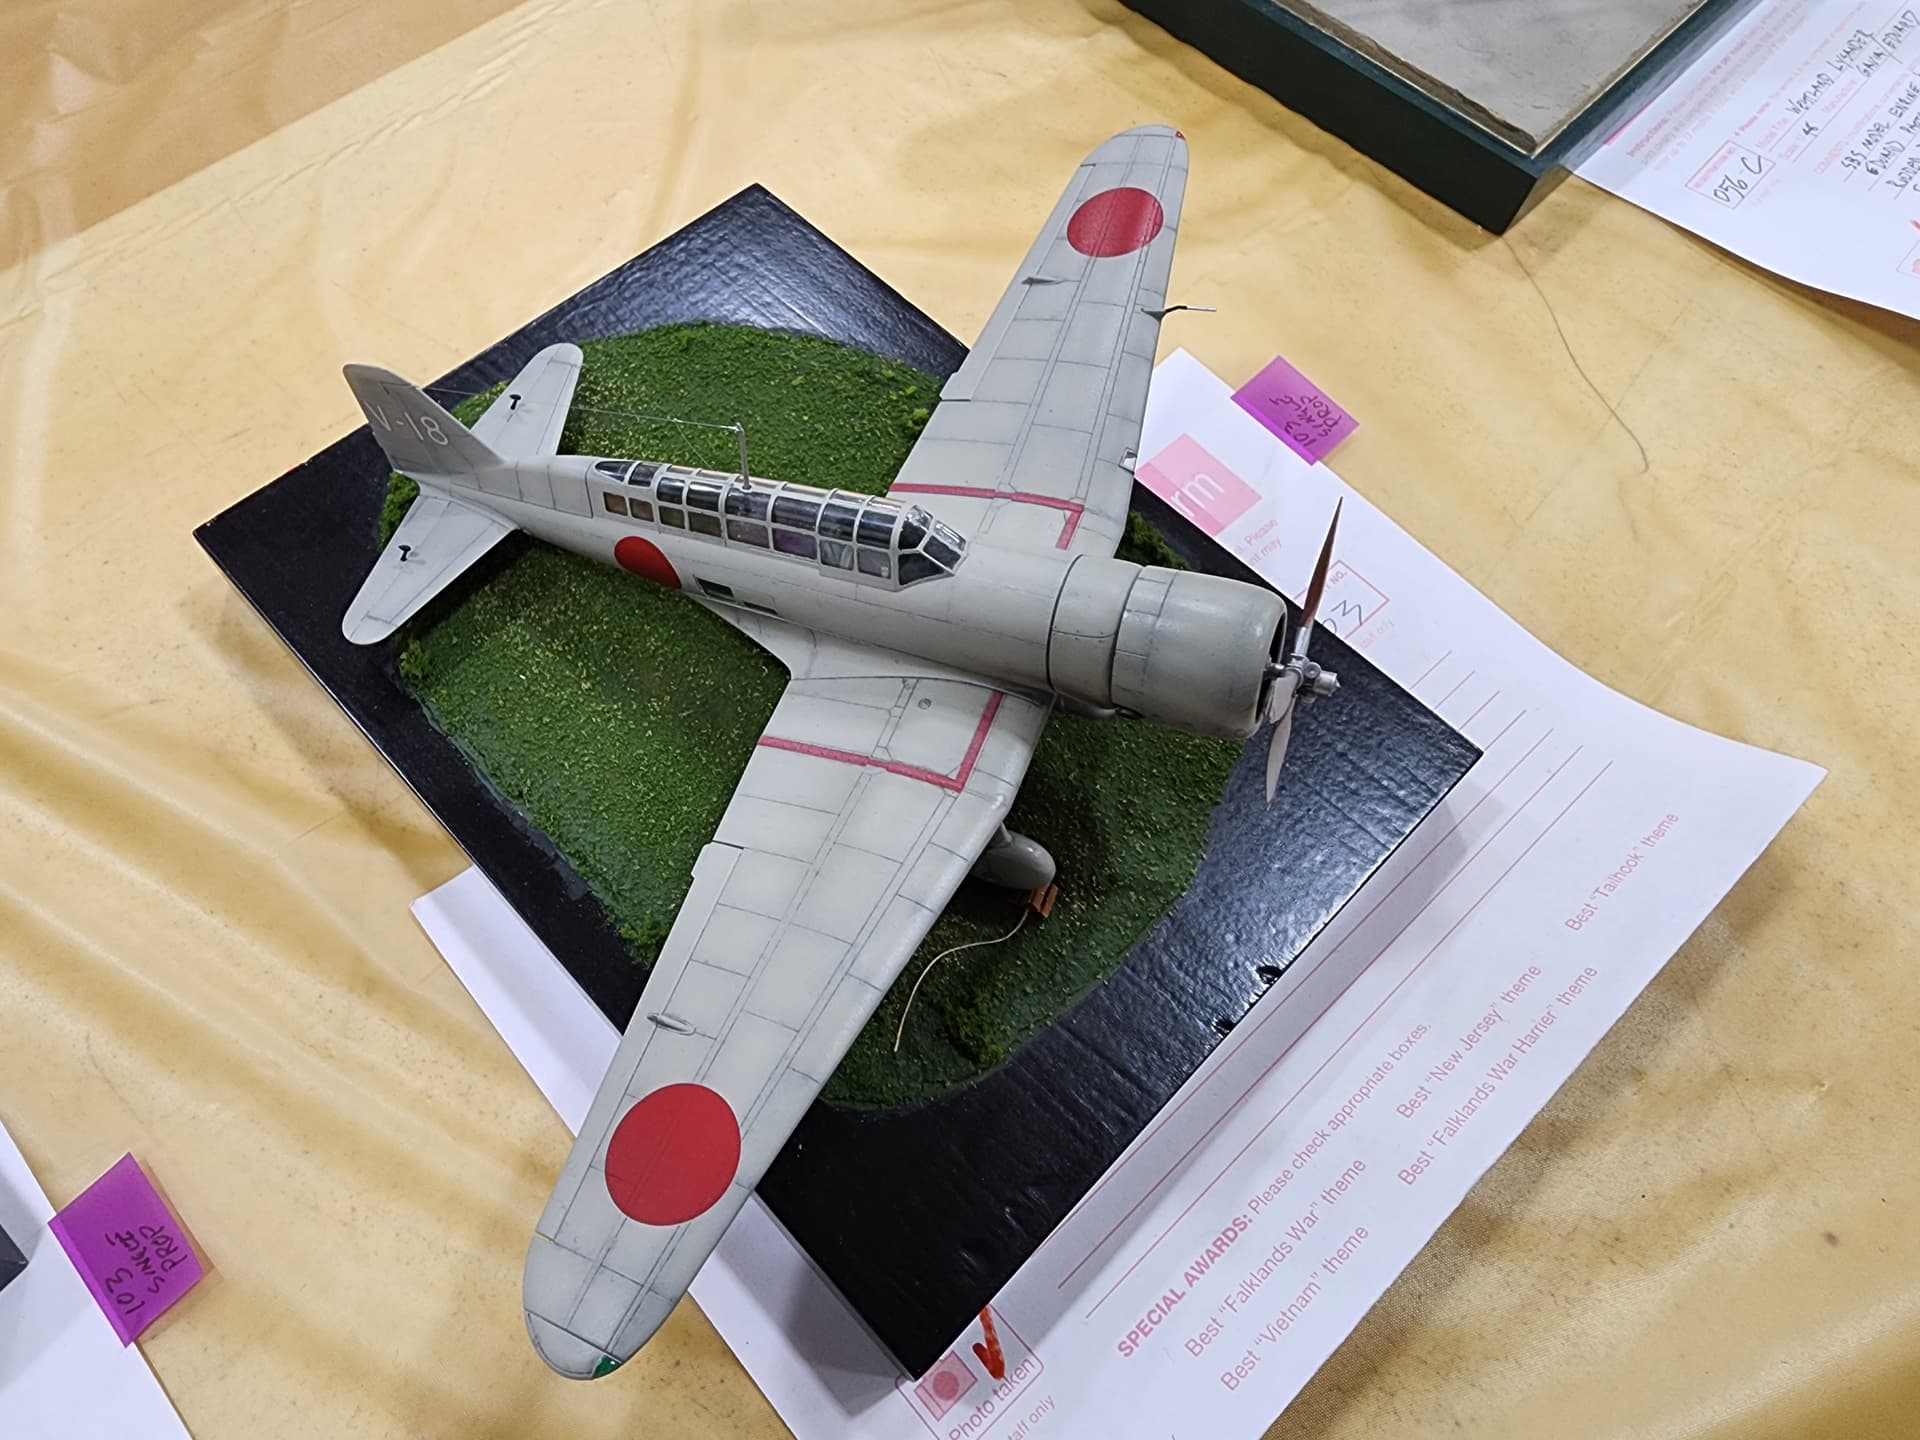
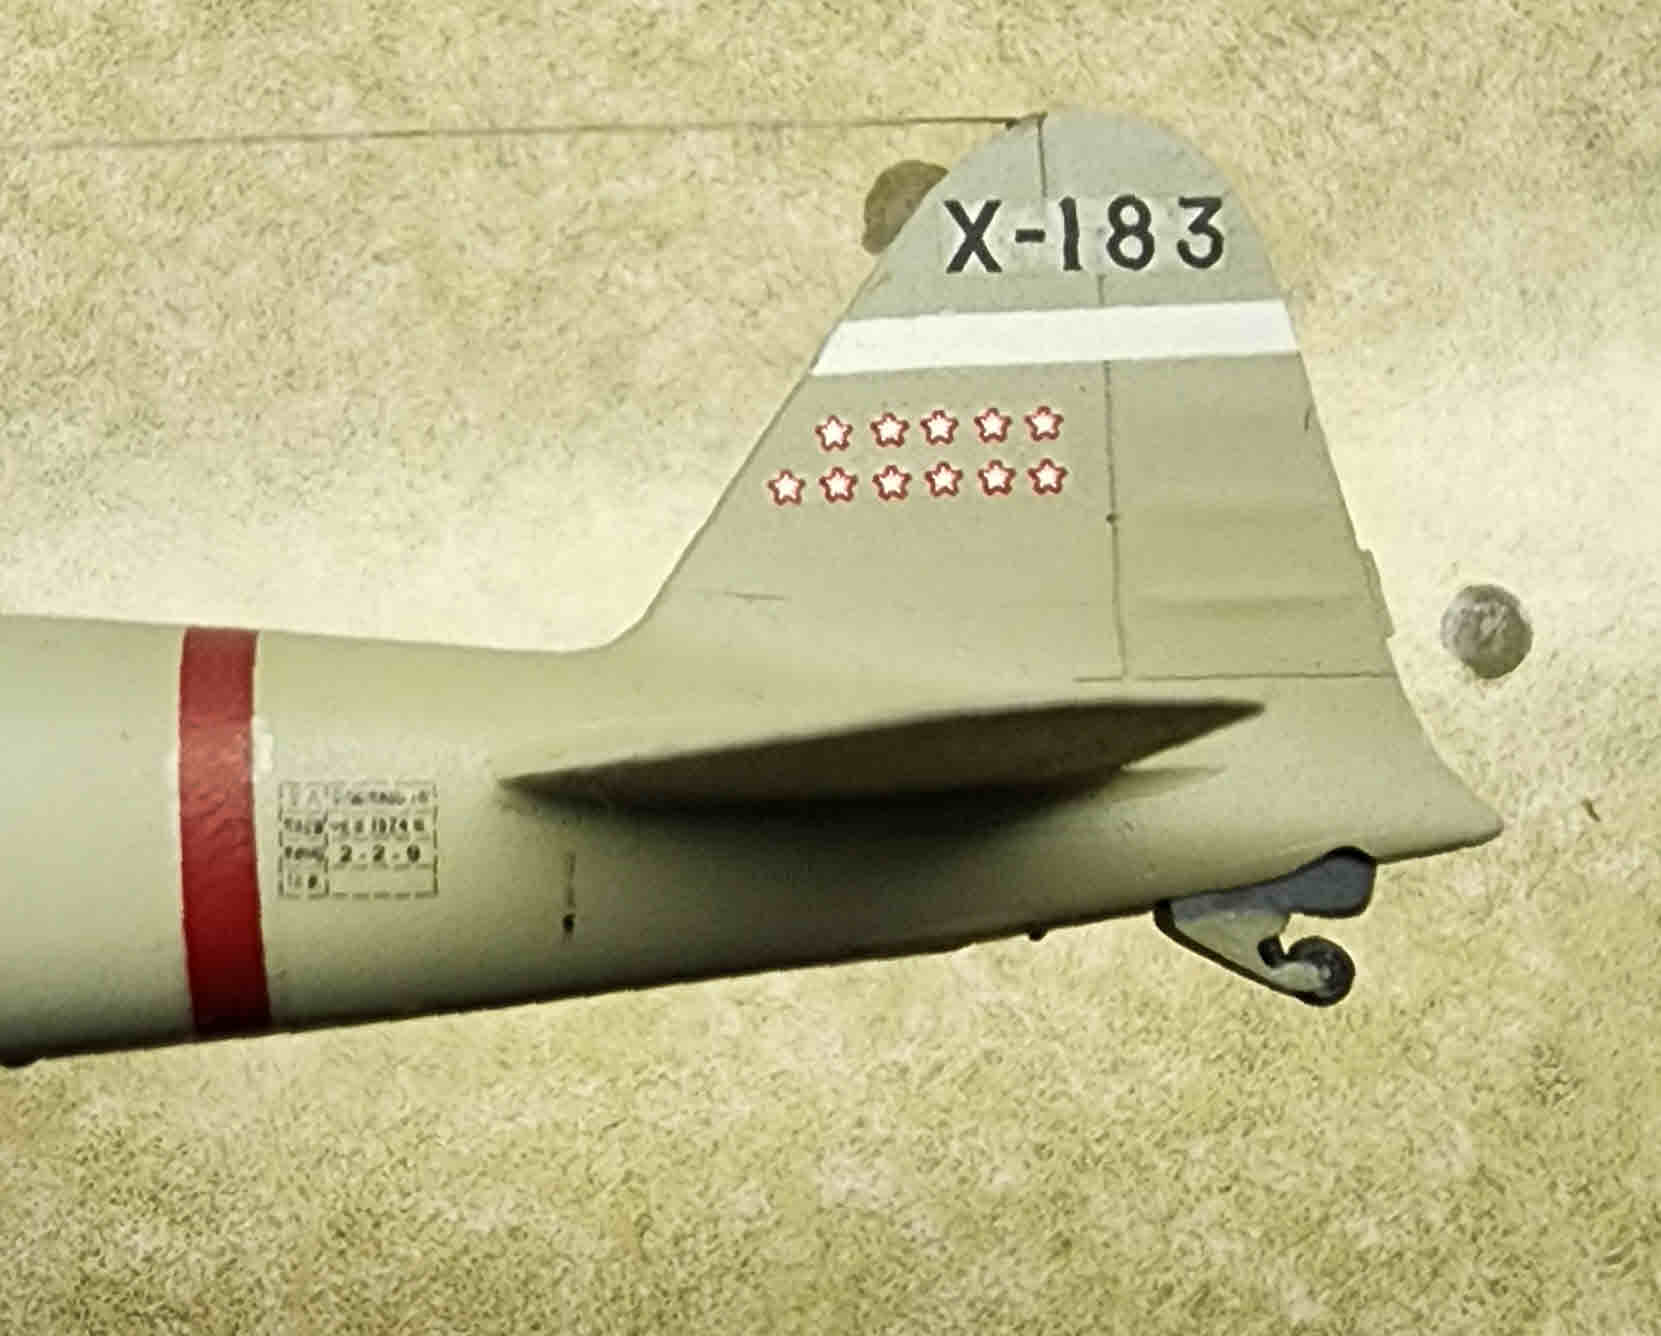
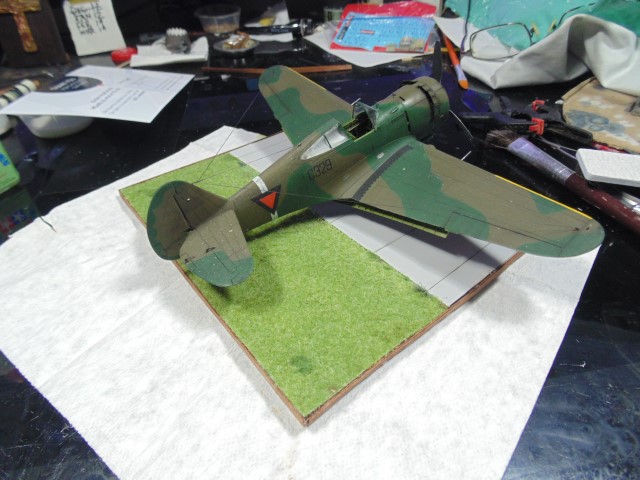
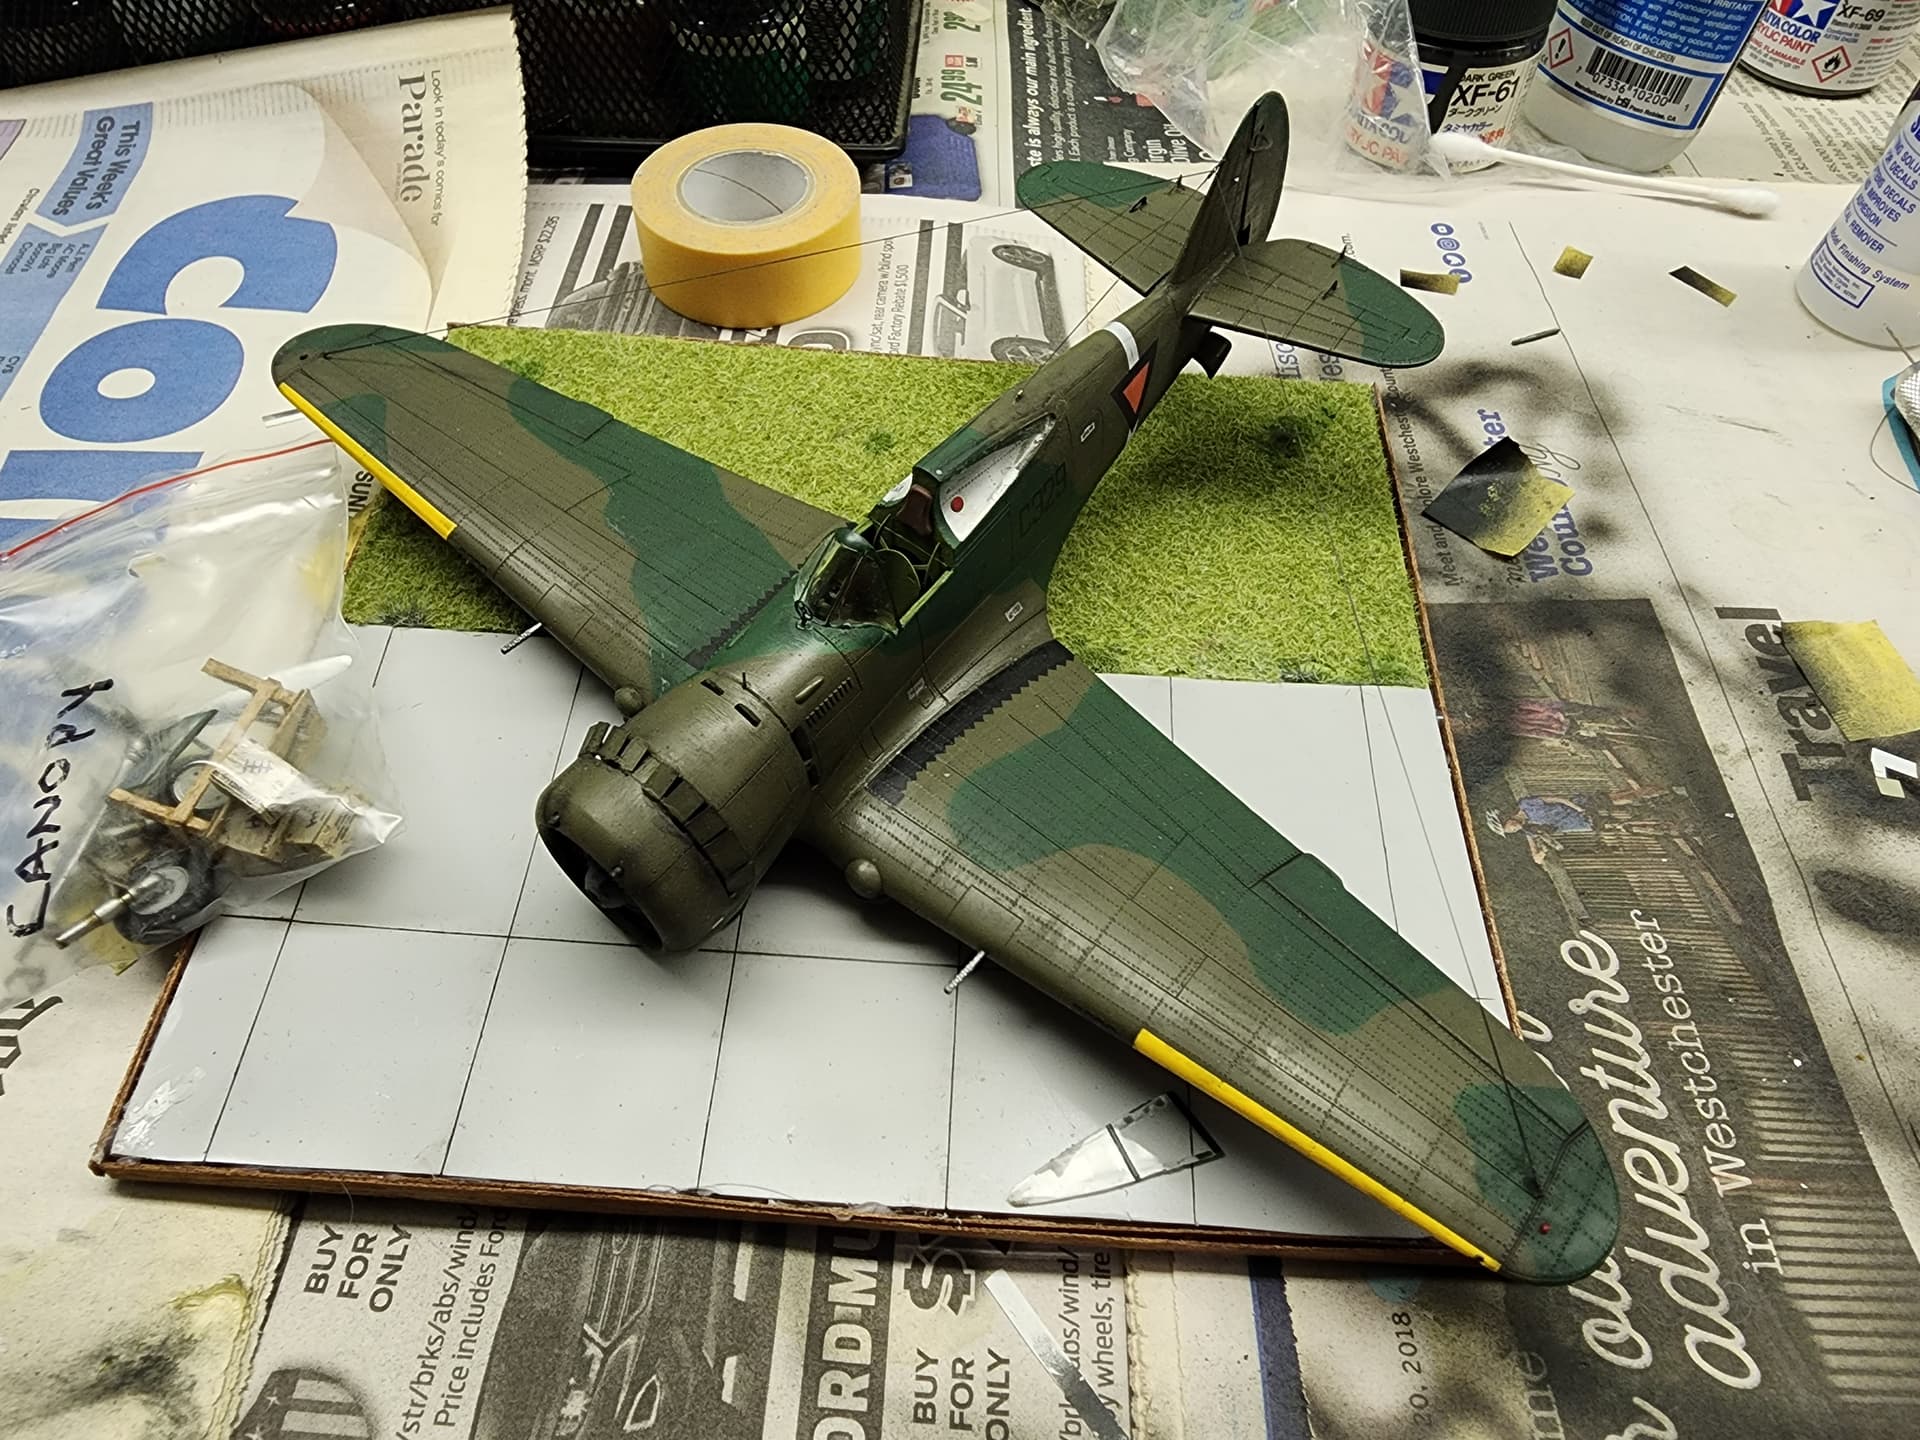
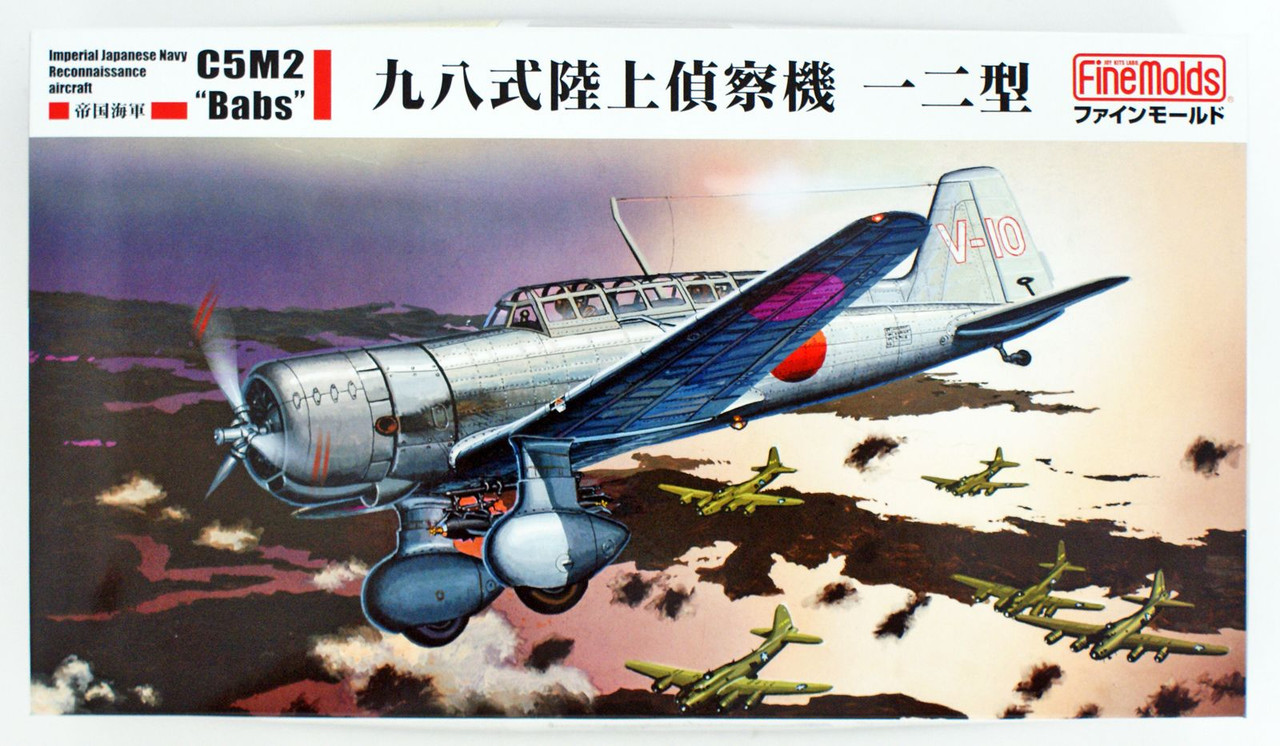
So, I discovered the picture forty years after it was taken, and forty years after that, H.G is realizing my dream of having an accurate model of one of these birds.

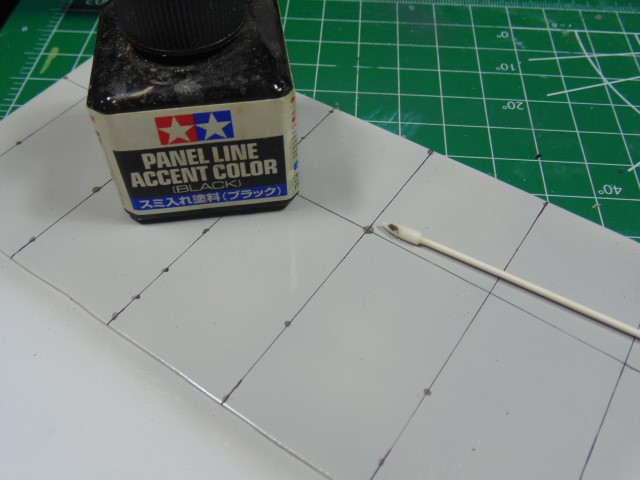
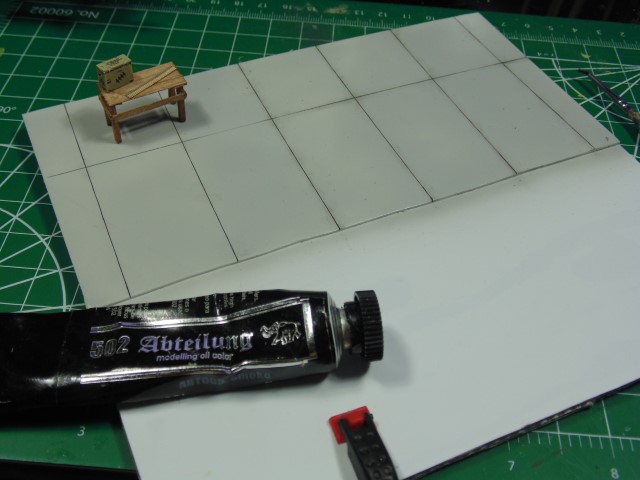
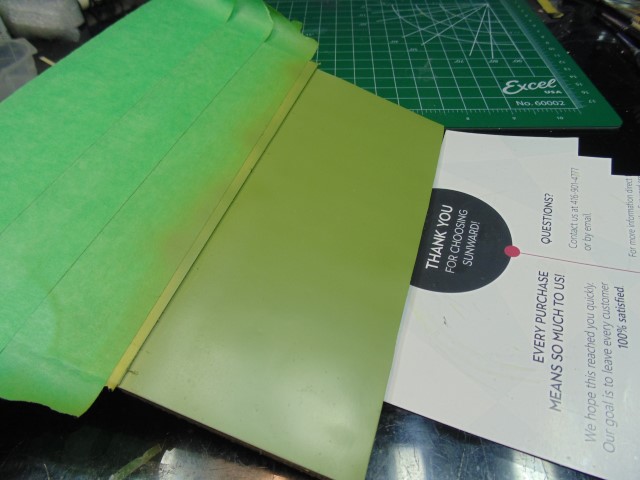
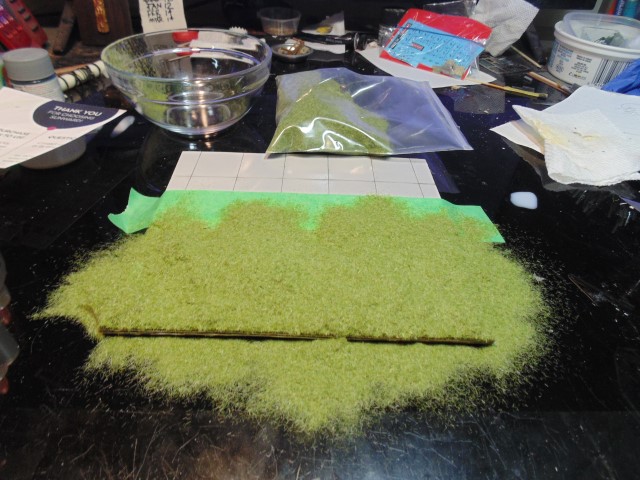
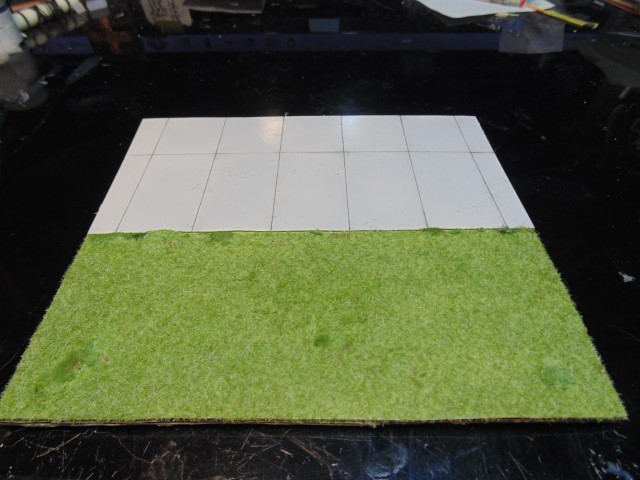
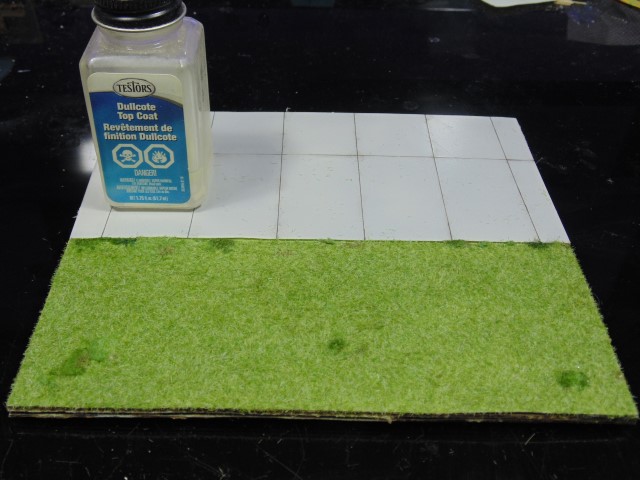
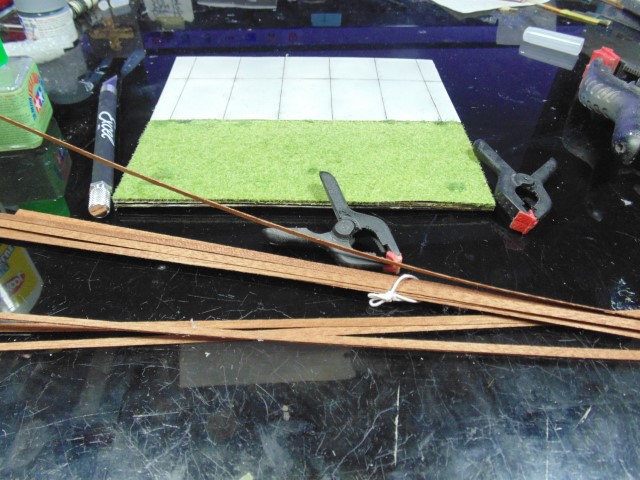
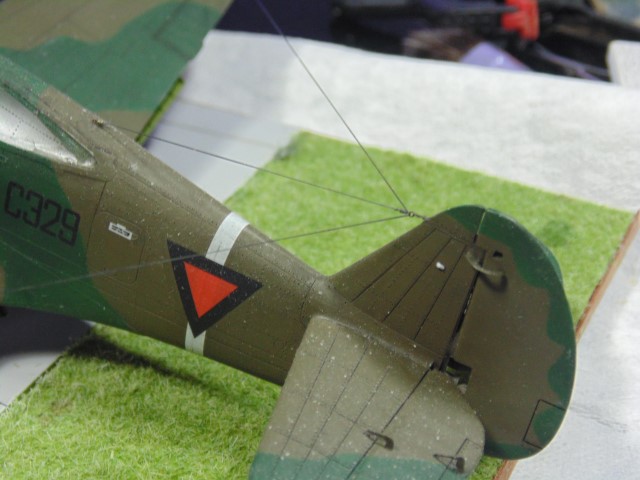
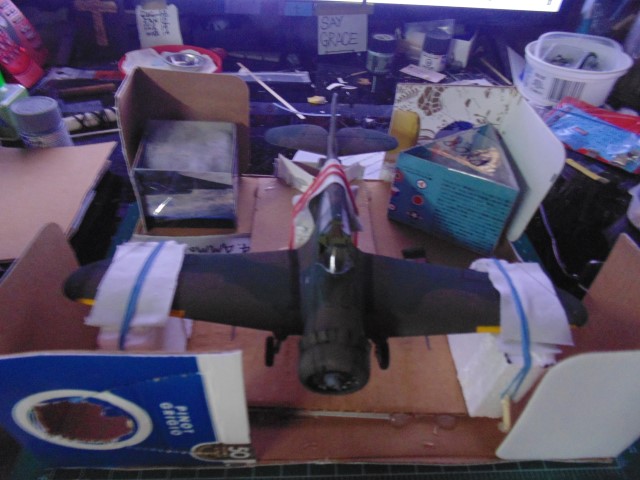
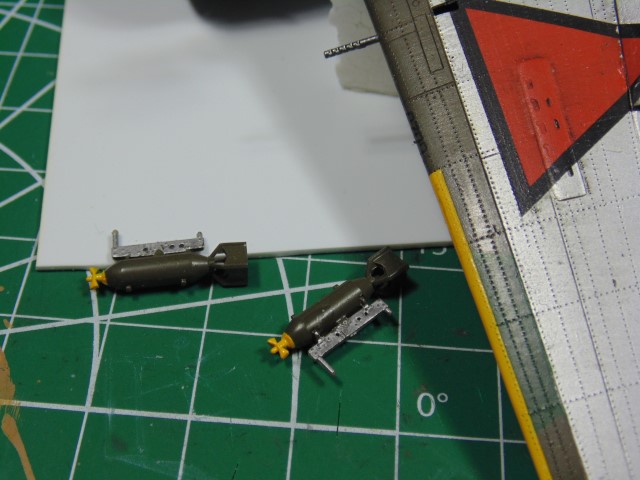
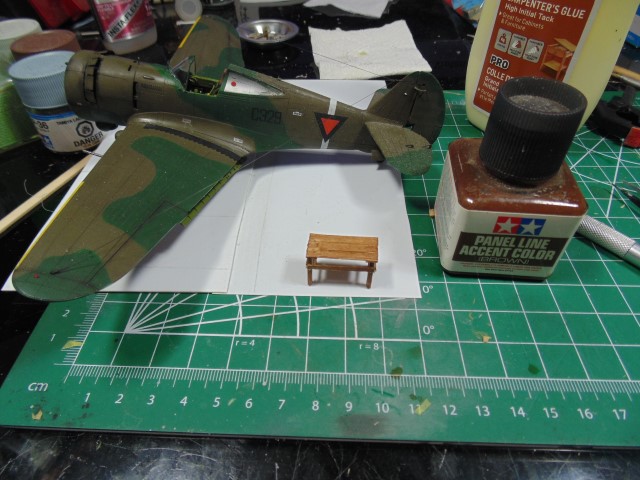
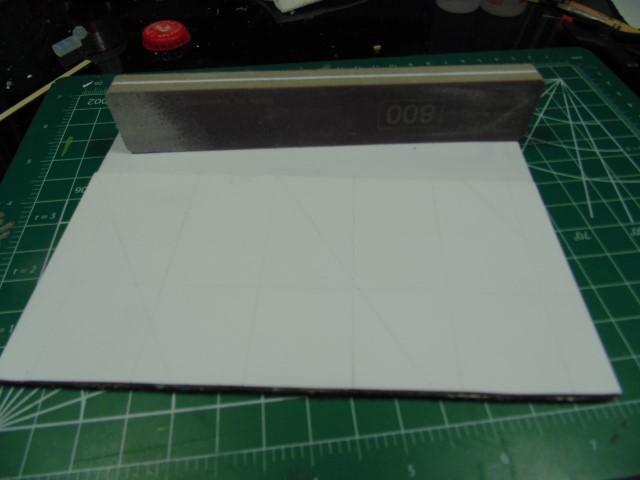
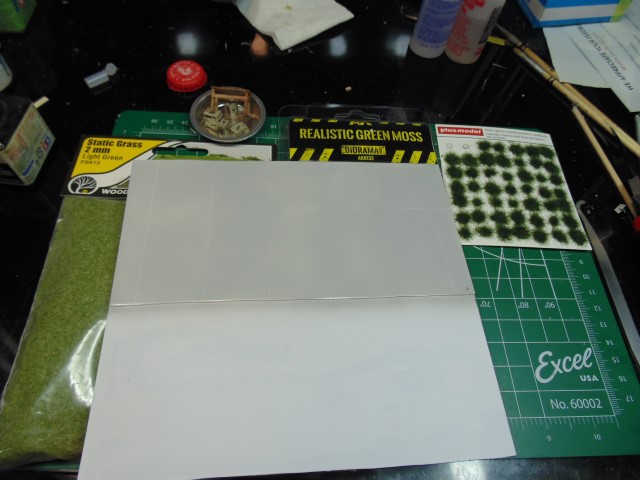
Seeing the photo, you will understand why H,G. is making a base as accurate as the model itself – a combination of grass and tarmac.

It will look pretty cool displaying the model with this photo framed in the background!

6 Likes

I love your pictures Sir and the effort put in to find them. Thank you!!!

4 Likes

Hi Guys and Gals,

Still adding more zest to Brian’s Mohawk.

DSC04695 (Small)

A small scratched built work bench will have some tools on it. This is real wood that’s been washed.

DSC04680 (Small)

Plenty of tiny decals. The carrier film needs some help.

DSC04691 (Small)

As you all know, I heat my water.

DSC04692 (Small)

A clamp helps pinch the decal in the tweezers.

DSC04696 (Small)

A couple of days well spent to make someone smile. Plenty hours left to go, but they are worth it to make this look cool.

Many thanks to Plusmodel https://plusmodel.cz/ and Sunward Hobbies https://www.sunwardhobbies.ca/ and to YOU having a look.

4 Likes

And straight back into another great build … its like a conveyor built !!! great work and love the idea for the display base as well.

2 Likes

Quick update,

The plastic card needs a thicker base. This gets trimmed and filed smooth for the boarder.

DSC04697 (Small)

The plastic needs to be fully sanded for the glue and primer to adhere.

DSC04698 (Small)

I’m gonna use 2mm light grass, yet there will be half a dozen other minute tones to break up the solid look.

DSC04699 (Small)

Naturally the concrete will have the dividing points highlighted plus have the odd crack here and there.

Thanks Everyone.

4 Likes

I will confirm the obvious that this exceeds my expectations. I suppose a bird as rare as this deserves a proper nest!

Thank you, H.G.!

On Saturday, I got a look at one of this Dutch Hawk’s enemies.

This box art is pretty damn good, as it depicts a Japanese Babs flying above a formation of B-17s during the invasion of the Netherlands East Indies. And yes, Flying Fortresses took part in that campaign.

otj_banner_bombers\

Read all about it here.

See also,

b-17_japmks

Anyway, my sighting is below.

A magnificent build by our own Richard Tool,

7551_2

who reminded me that the local New Jersey model contest “Mosquitocon,” was taking place this past Saturday. He suggested I attend and got me out of my rut. We have met there before, and it was good to go see him again! I promised that at the next one, I will bring a certain B-17 to sit at the table reserved “for display only.”

This is a small reminder that I, too, actually build these things. Here’s another participant in this campaign as proof.

It’s an old build, which shows, but this weekend I also cleaned off my modeling table in the basement and have started to putter around again.

5 Likes

Sir Brian, you can highjack my builds for your comments anytime. Wonderful information and an incredible amount of time spent to add zeal. Not just for me, for all KitMaker followers.

To add some depth to the concrete pad I’ll use Tamiya panel line black. Make sure you shake the jar very well and check the bottom to see if the pigment is mixed with the enamel thinner. After a few points have been touched I replace the cap and shake again.

This accent color takes several hours to fully dry. A common enamel thinner, with a quality cotton swab, will remove the excess, but whip it gently on an angle.

DSC04701 (Small)

The awesome picture Brian send shows a fairly clean concrete surface, but some slight dark feathering will make a huge difference. I hope you agree. The Plusmodel resin accents add a nice look on the bench. It will be placed permanently later.

DSC04702 (Small)

My worry is going too crazy with the base which will pull attention from the aircraft.

3 Likes

Hi Friends,

Loads of masking and getting “Stuff” prepared.

DSC04706 (Small)

I am NOT a terrain builder, gosh knows you can their work here on KitMaker. Those people are artists. When my wife was alive she adored this sort of thing. I’m just a moron with a reply of “HUH?”.

DSC04707 (Small)

I used six different tones to mildly add some contrast to the model. It took a day but I hope it won’t distract from the subject.

DSC04708 (Small)

I’ll dull coat this slab.

DSC04709 (Small)

Yes I know it’s a juvenile looking base but @Redhand will do his magic and gussey it up. I do have to darken the edges if he wants.

Massive thanks to plusmodels and Sunward Hobbies. Those guys moved super fast with my material and purchases. God bless you all!

7 Likes

Hi Friends,

Some progress.

DSC04710 (Small)

Using darker wood to edge the base.

DSC04711 (Small)

This is just a mockup. The mask fluid has to be removed, but I’ll wait until the box is made for shipping.

DSC04712 (Small)

I added tiny bit of greenery to the plain surface. I’ve mowed a lot lawns (even with a scythe in Newfoundland) thus some differentiations will help the look.

DSC04713 (Small)

Plenty of dust to clear off, yet the overall look is open for critique.

DSC04714 (Small)

The wiring turned out ok.

DSC04715 (Small)

Again, I have to remove the dust.

Thanks Everyone and a massive thanks to Jim Starkweather for his work for all of us. Please send him some monetary appreciation. KitMaker is expensive to keep going and why I send funds to him.

5 Likes

Looks very good to me… My only critique : the dust! :stuck_out_tongue_winking_eye:

No, really . No critique from my side …

2 Likes

THAT kidding around made smile me Erwin… I seriously needed those words of fun. God bless.

3 Likes

Truly extraordinary. The only final detail I see to add are prop blade stencils inboard of the logos. I believe you’ll see some on the decals I sent.

Copy of 01c0002cce5425c6eca97ca8abd70c815c6c9560

It will be wonderful to see it with the dust blown off and ready to ship.

Need I add that I can’t thank you enough?! Wow!

2 Likes

This wraps up another project.

DSC04731 (Small)

Props completed.

DSC04726 (Small)

Brain will have to be very cautious removing the bands. Additional parts are in separate boxes and protected with poly-fil. I used soft eyeglass cleaning cloth to protect the finish. Lots of glue gun sticks used. The cradle is totally custom made.

DSC04727 (Small)

The outer walls are mostly clear tape to make it easy for him to know where to cut and not damage the replica. Same thing with the base. Then the entire cradle gets surrounded with cushioning poly-fil.

Thanks for following along Everyone. God bless.

5 Likes

Another one done and what a joy it was to watch.
I’m sure Brian will be thrilled.
Thanks for sharing and well done HG .
Can’t wait to see Luscious Lady wrapped up.
Cheers- Richard

2 Likes

Perfection down to the last detail. That prop is a beauty! I’ll do an “unboxing” series of photos when it arrives. Plus a shot trying to blend the base and model into the photo backdrop,

Thank you, again, H.G.

2 Likes

Wonderful result HG, it’s been a pleasure following along here and valuable lessons learned from both modelling and historical viewpoints.

Cheers, D

2 Likes

Thanks @AussieReg Damion. It was an old bad kit to begin with and then they tried to put lipstick on a pig, if you know what I mean. Talk about losing mojo, but I’m happy it looks ok. Lusciously Lady and the Bismarck are next.

3 Likes

Unboxed: post-delivery assembly by the Customer

Upon delivery to the customer during this era, there was an inevitable “unboxing” and re-assembly of all or part of the airframe. And sometimes, small aircraft components went missing.

And so it is here, on my (somewhat) cleaned-up worktable,

I have just a few things to do before I put her on display:

  1. One of the side windows aft of the cockpit disappeared into the ether. I have spares for both windows and will install new ones.

  2. The pitot tube is also MIA. Here too I have a spare to paint and fit.

  3. One of the bombs fell off and will be re-glued.

  4. I must drill holes for pins in the separate, lower landing gear legs and their mating shafts under the wings. No big deal. She should stand firmly on her own (three) feet.

Finally, there is an improved part on a prominent part of the A/C that I didn’t realize I had, but whose substitution will be a distinct improvement on perfection. It won’t be too hard to do and WILL make a difference.

Look at the pictures of the build and at the many photos of the real thing in the blog. Hint, it’s a Curtiss component, but not one manufactured at the Curtiss Aircraft plant in Buffalo.

When I get these small items done, you’ll see a nice diorama using H.G.'s base with the photo backdrop, with an extra, H.G.-built item that’s also a surprise. I will also make some “family photos” of the three models I now have of the “front line” Dutch fighters “On Guard” when the Japanese launched WWII in the Pacific.

I can’t thank H.G. enough for his efforts in turning a sow’s ear into a silk purse. (See above quote). I couldna done it.

4 Likes