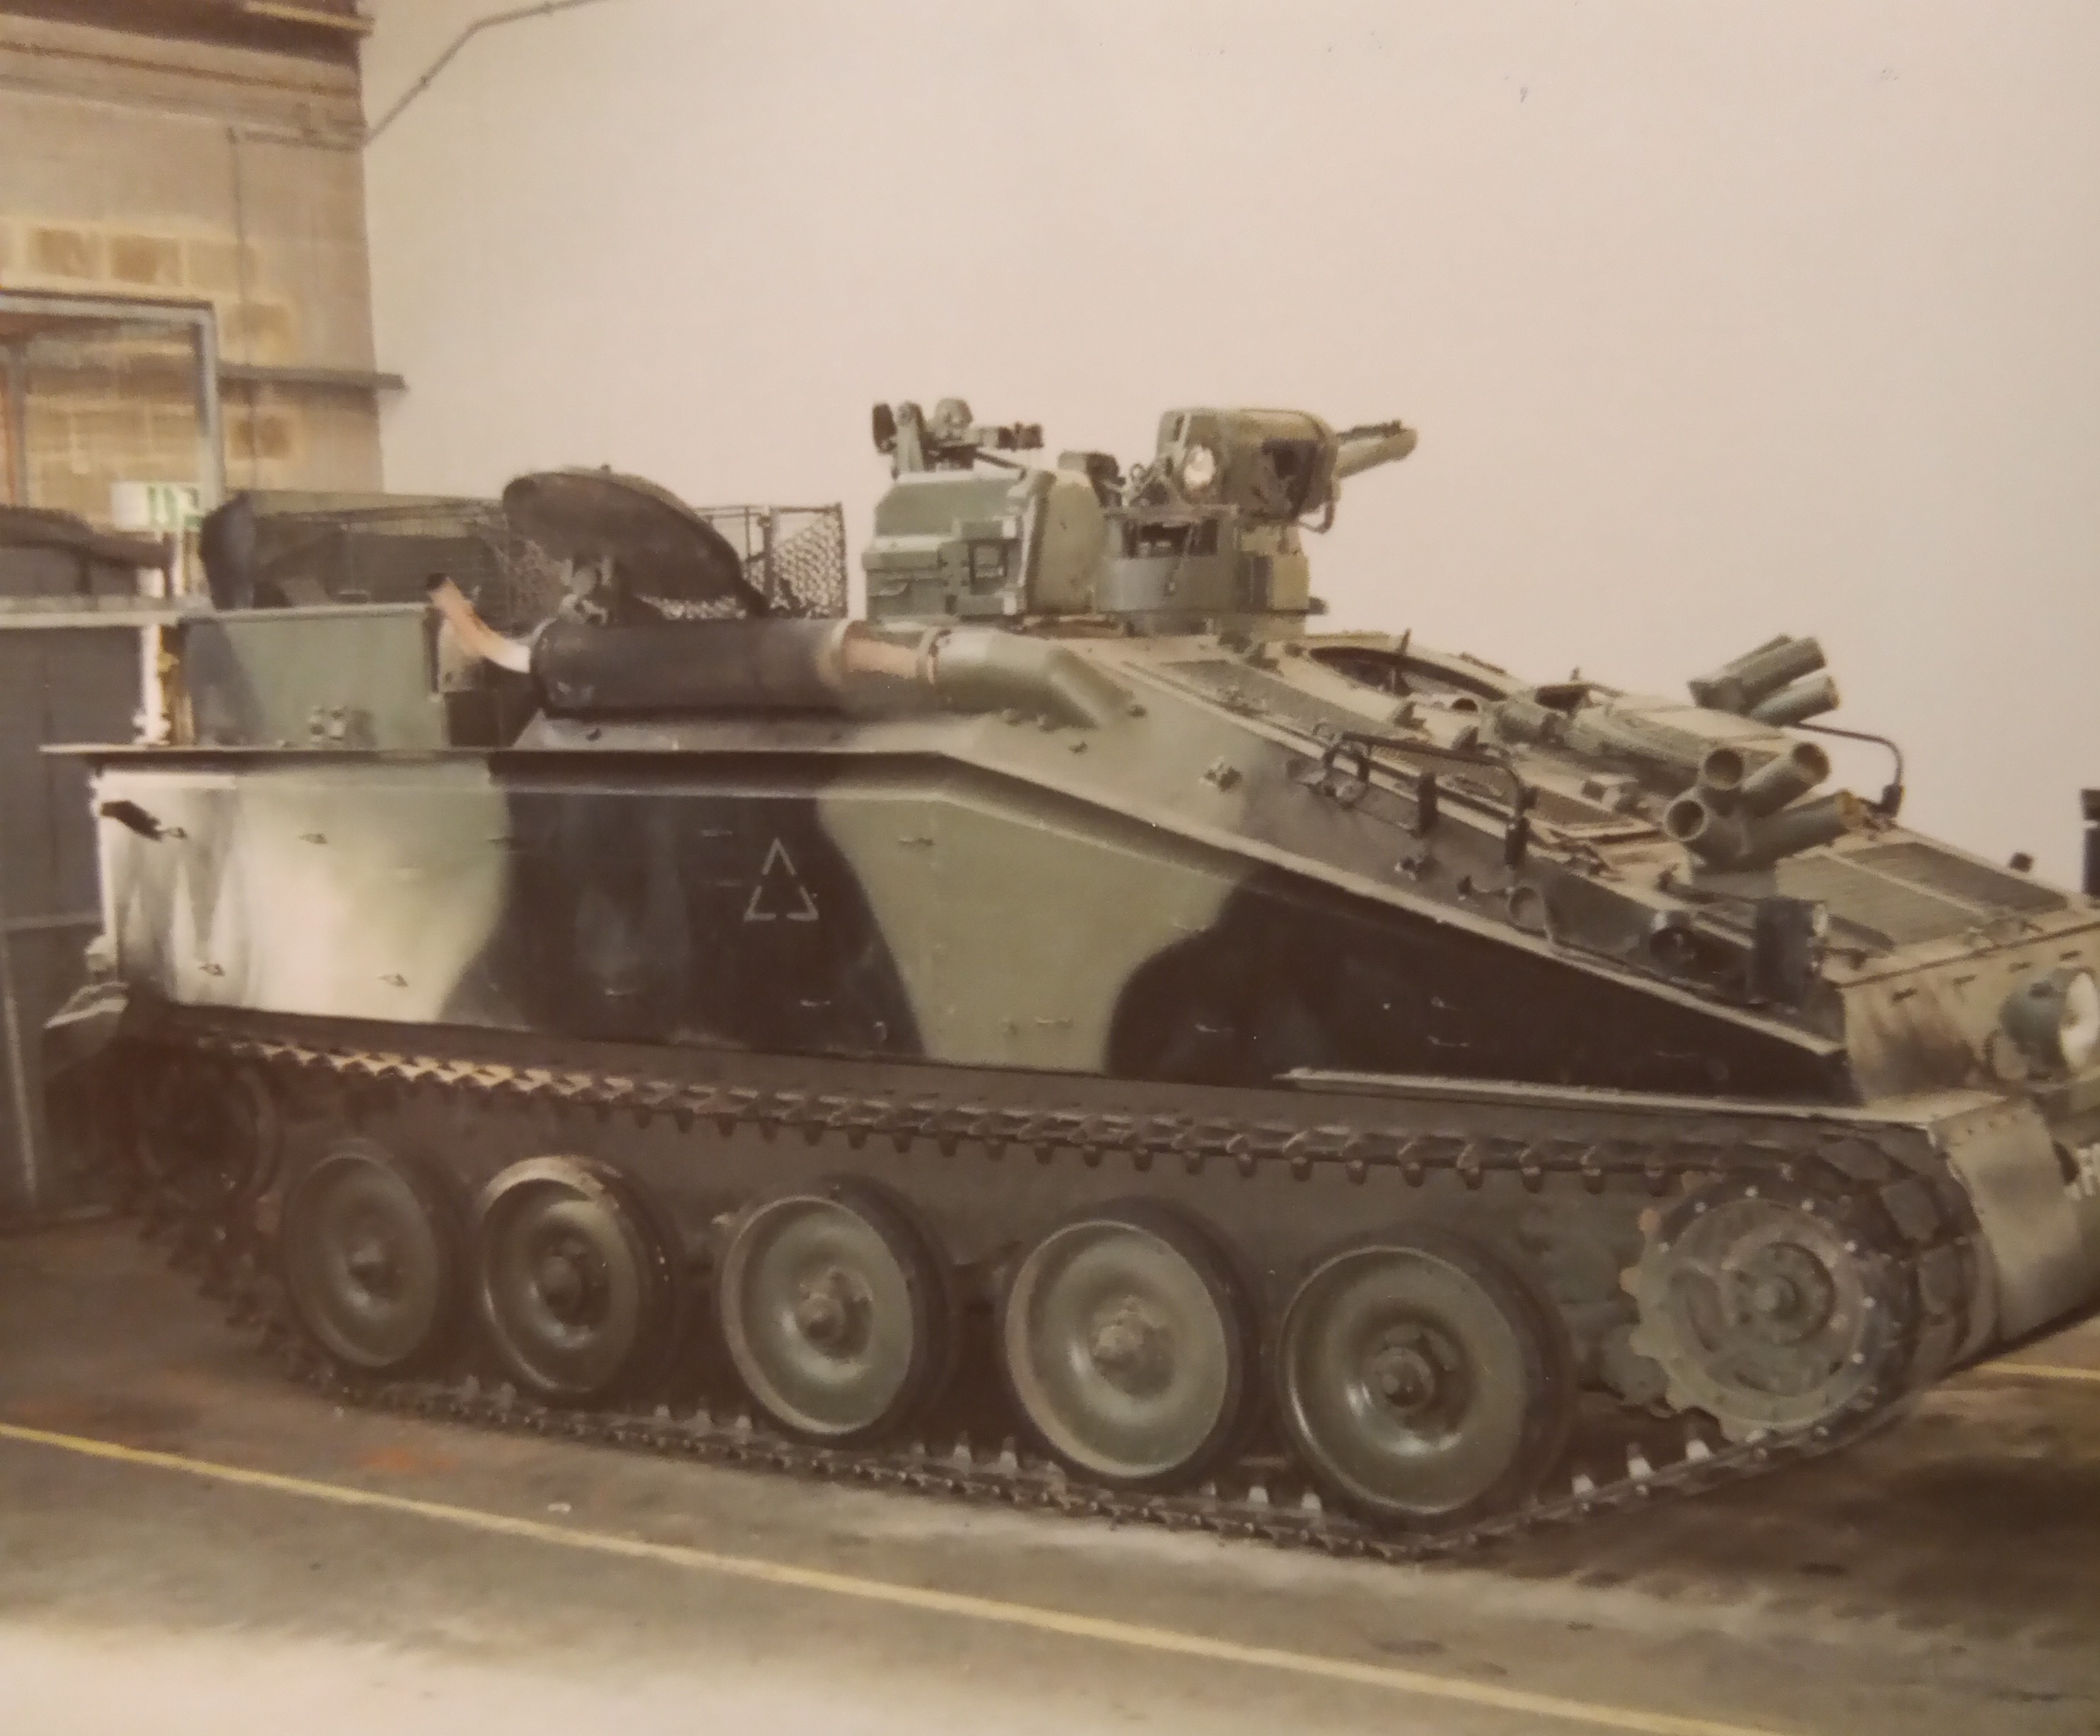
So, this is going to be a build covering my old Striker, C/S 34B, from when I was its Commander for about 7 years.
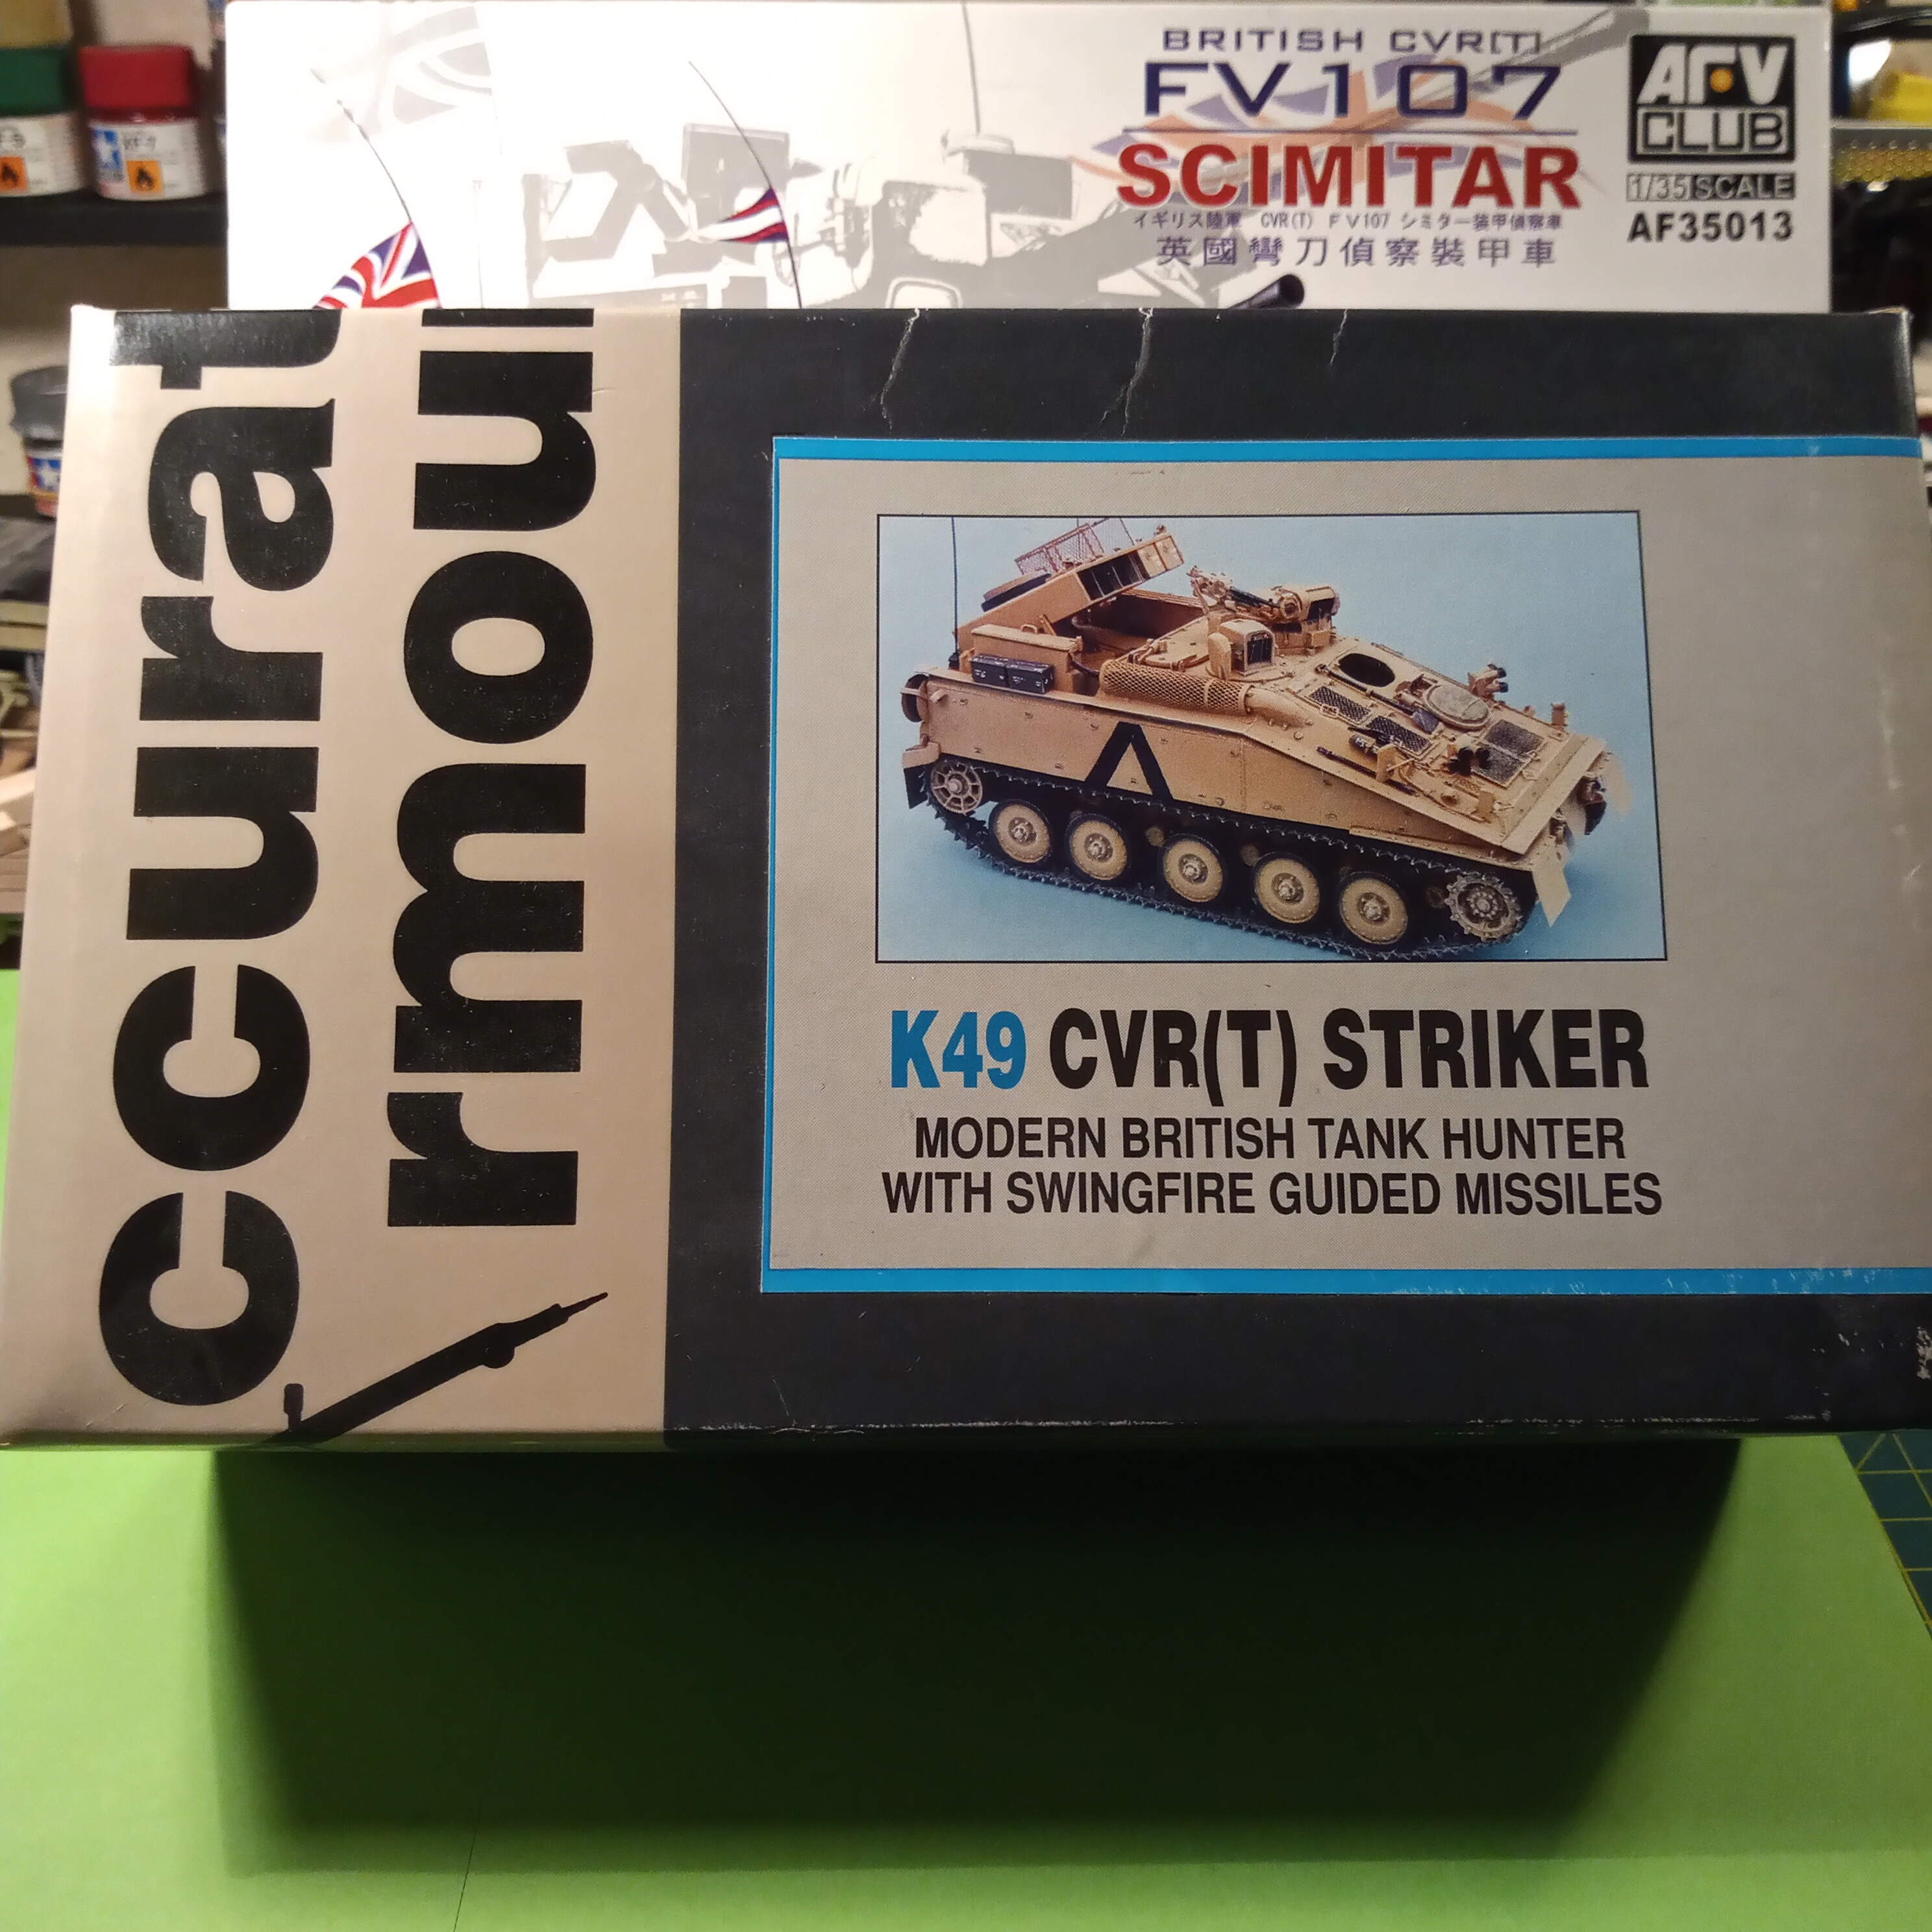
I was lucky enough to come into possession of the Accurate Armour kit from Andreas @AKirchhoff so a big thank you to him.
The build will not be a quick one, I can see it being a minimum of 8 months, but more likely 12. I intend to take my time with it so I can do it justice and get it as close to mine as possible.
I will be also be using a donor AFV Club Scimitar for a few parts to replace or instead of the AA bits with the resin kit. There will be some minor scratch building to bring it up to spec, and also some P.E, probably the Tow ropes & Fire Ext’s from Accurate Armour. And yes there will be a cam net @BootsDMS lol.
I am still deciding as to the paint job, either the normal NATO Black and Green as a UK wagon or in its IFOR livery from Bosnia, or an outside possibility of a desert scheme for when we went to Egypt on Ex Bright Star.
Thanks to the new forum, there will be now be plenty of WIP pics as it progresses as although the AA resin kit is good, the version I will be doing will require some cutting/sanding and filling. this will be my first resin kit, so any advice and tips will be greatly welcomed. I will post some images later, sadly some will be a bit grainy as they are pics of pics that are on an old laptop, the others will be of the kits as they are now. More to follow. Happy modelling !!
Thanks Mario for tagging along. I was going to build it for my Golden Memories campaign but knew Id run out of time, so decided to do it this way. I know @petbat is also moving along with an AA Striker (which looks pretty good so far) so hopefully he will tag along as well.
First thing that comes to mind . . . how many freakin kits are you working on right now? Darn man how do you eat, sleep, mow the lawn, fix stuff around the house. I’ve got one kit on the table and it’s a chore, I almost got drawn into adding in some detail this morning but I caught myself and shook it off, I’m GONNA build this one oob period! I’ve been following your different builds last couple of weeks and man, you’re all over the place.
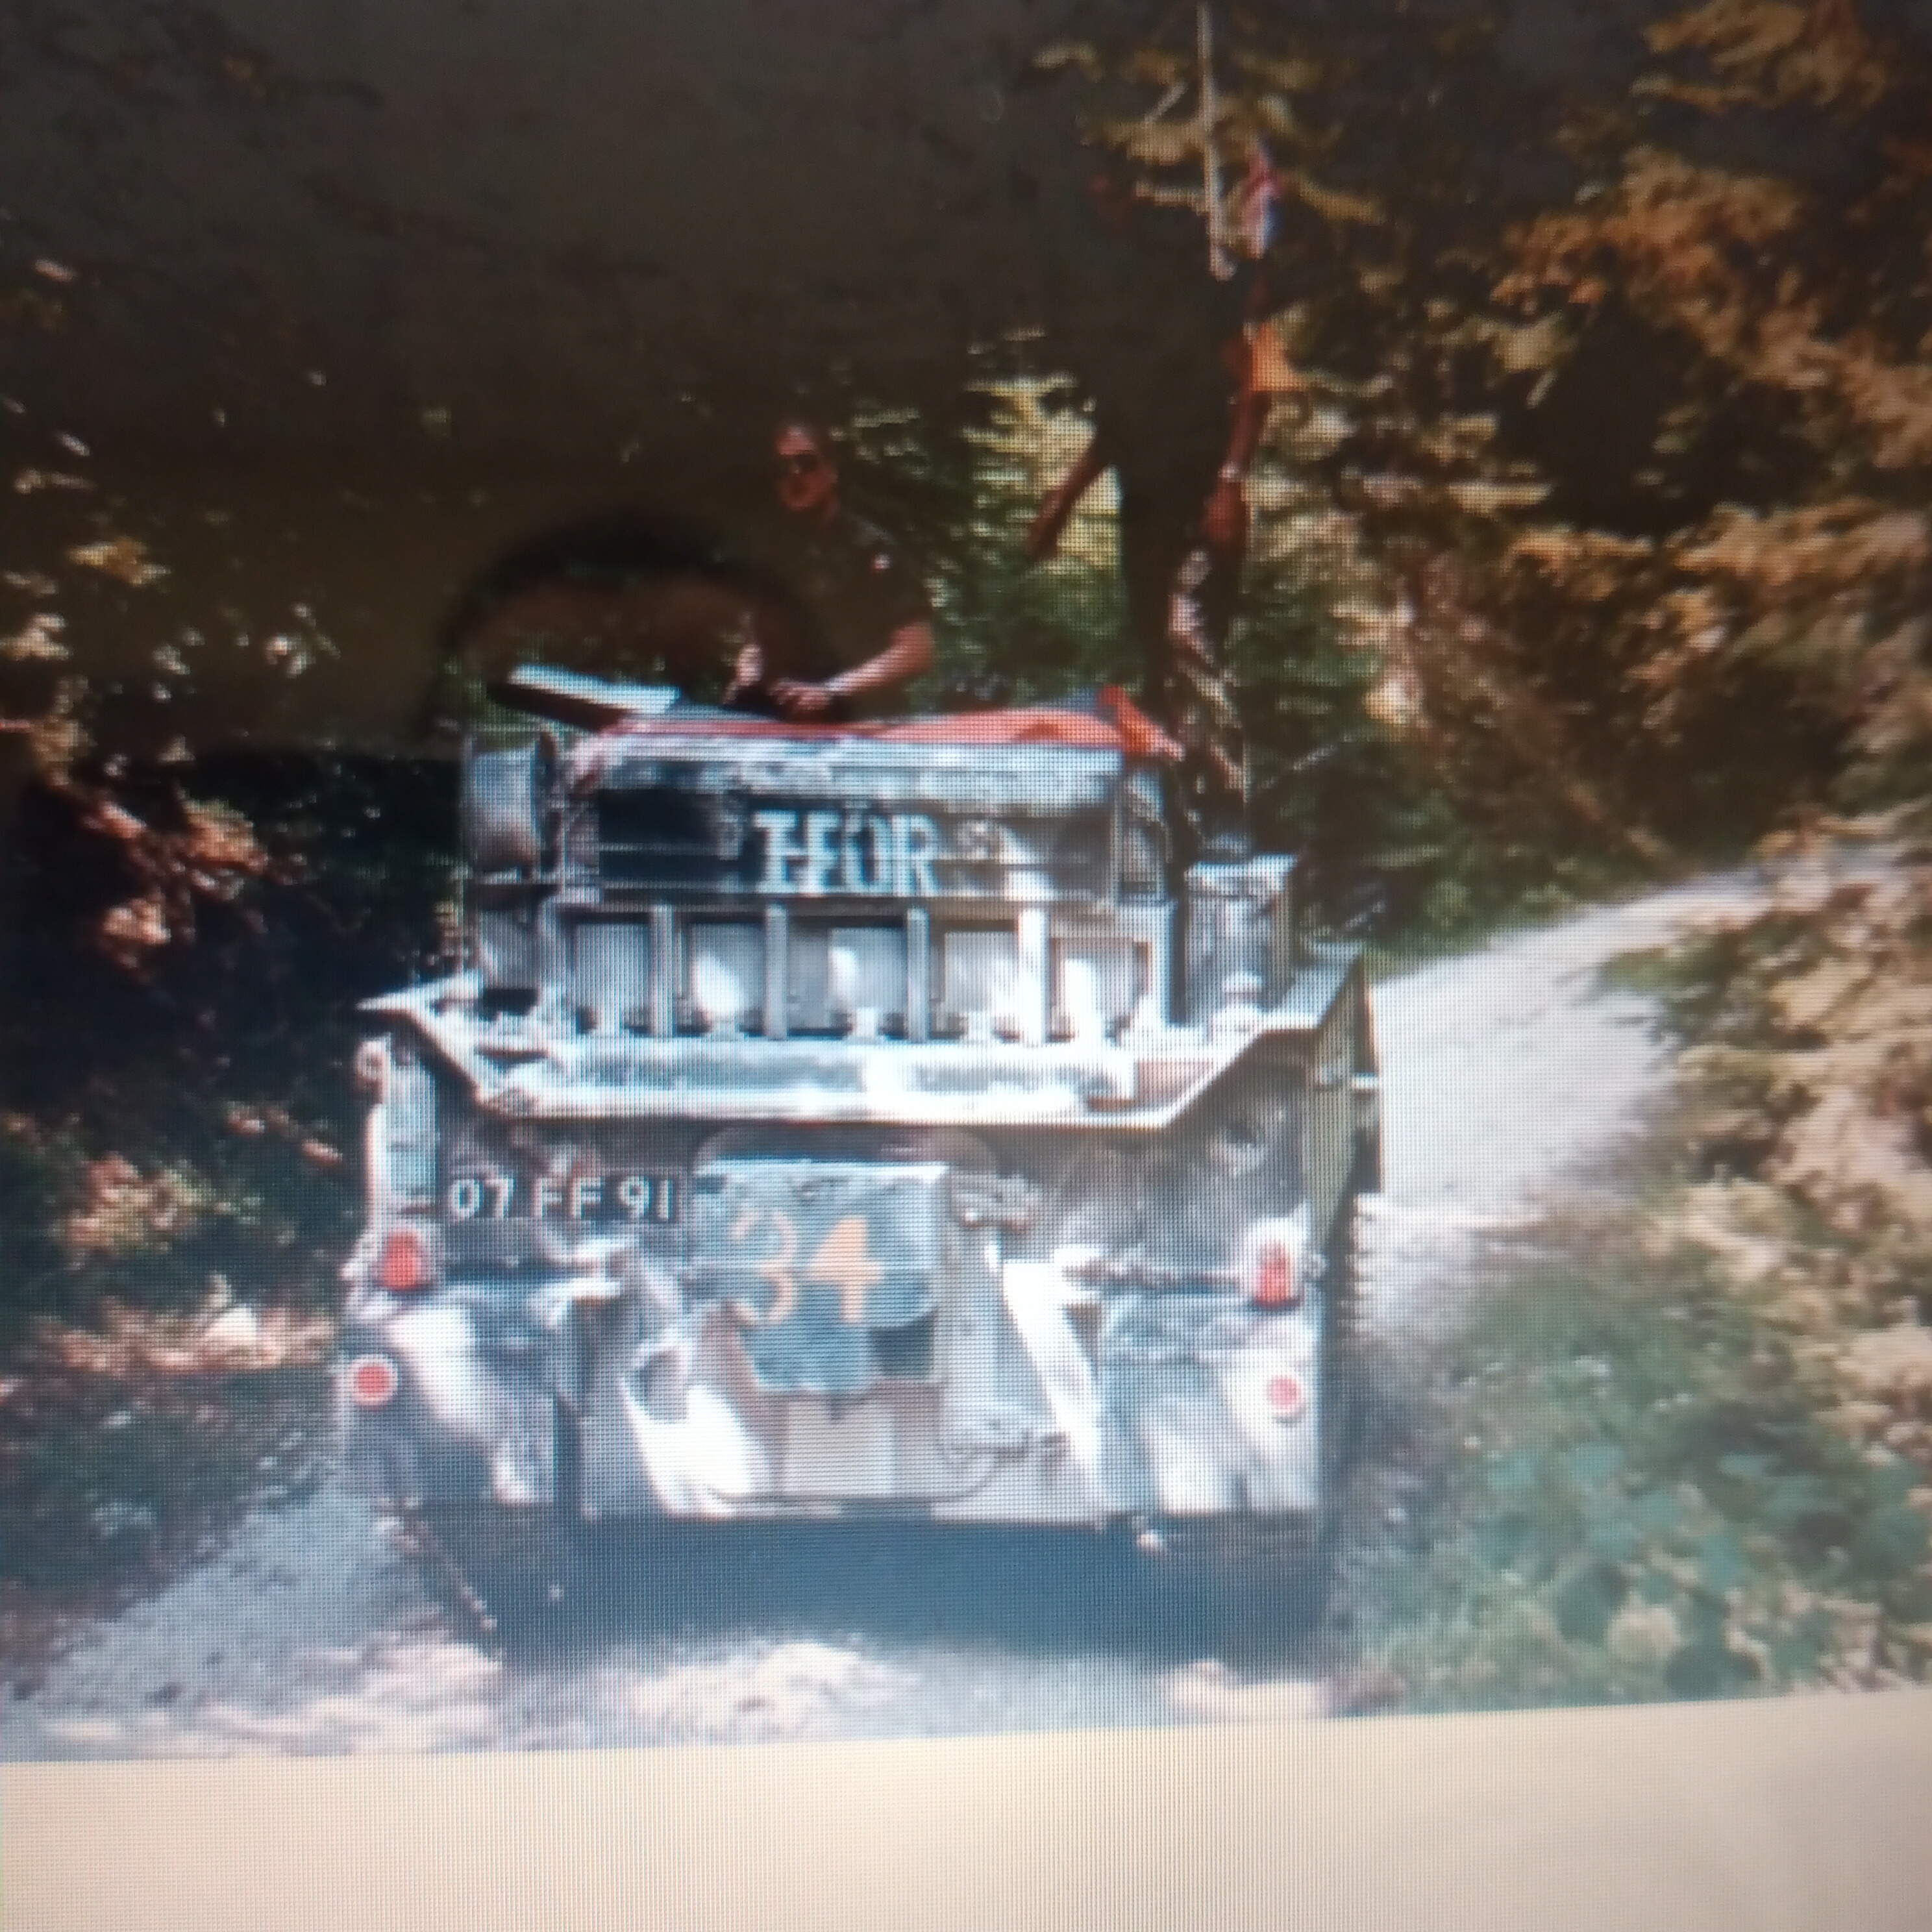
Other thing is . . . who’s that big dude in the photos above? LOL! I’m guessing that’s you, judgeing from the size of the CVR you don’t have much elbow room. Well, keep chuggin’ brother, you’re an inspiration!
LOL … thanks Terry, and yes, the dude is moi, although a younger and thinner version ! Elbow room was never an issue as the Striker is pretty roomy inside the Comd’s station- Now a Scimitar, thats tight lol.
I only have 2 ongoing at the mo, the Phantom for that campaign (which is very nearly done) and I’ve started the Opel Maultier for the Miniart campaign. This one will be a slow burn so I get the details right for C/S.
I am going to be very strict on the kits and Group builds I go in for from now. Main reason is I lose focus if there are more than 2 on the go and nothing seems to get done. At one point in the start of the year I had I think 6 on the go. It was a very chaotic work bench.
Hope you pop in from time to time to see this builds up.
Cheers @Armorsmith , it was my fav wagon after my Chally 1 (also built for the Golden Memories Campaign), I had a great crew and that was a big part of it. I think if you have worked in them, it means a bit more to then build them …not that the wife gets that lol. For a little bit of boring background, I was a Driving and Maint Instructor for Chieftain, Chally 1 and CVRT, teaching the vehicle from tracks up and all internal engine bits and pieces and then actually to drive it. A 30mm Instructor and a Swingfire ATGM (Striker) Instructor -24 missiles fired- (I only mention that as I love thinking of the £95K per missile i threw down range lol)
As to tips on building resin kits - Valium… lots of it
First thing is a face mask. Don’t breath in the dust when you cut or sand the resin.
Second is patience and planning. Don’t be tempted to go at pour plugs like a ‘Bull at a Gate’. Take your time removing them and check your cuts often. It is so easy to cut into a part if you are not careful.
I find Gel type cyano is best for attaching parts as it gives you slightly more time for aligning parts.
How is the quality of your kit’s moulding? You have seen the quality of mine. I hope yours is better. For the viewers… My wheels were offset and lots of air bubbles in thin parts. The launcher unit was a banana viewed head on… and it is a solid lump so it needs a lot of work on the underside if you are depicting it raised - I should have just replaced it. Upper and lower hull fit issues as well as a pour flaw on the front lower hull.
I may have to join you in finishing mine next year. I have 2 builds ready for paint and one in the final throws of scratch built corrections, but finishing the Striker by the cut off for ‘Unfinished Business 2020’ as planned is unlikely now.
Hey Peter, glad you’re here and thanks for the tips, I will be following those, many thanks. Thankfully, mine is pretty good compared with the issues you had. I will do some shots of the kit shortly. I definitely had a lucky break getting this one from Andreas.
I’m looking forward to seeing yours finished. There are nice little kits, and I think quite rare nowadays now being OOP by Accurate Armour.
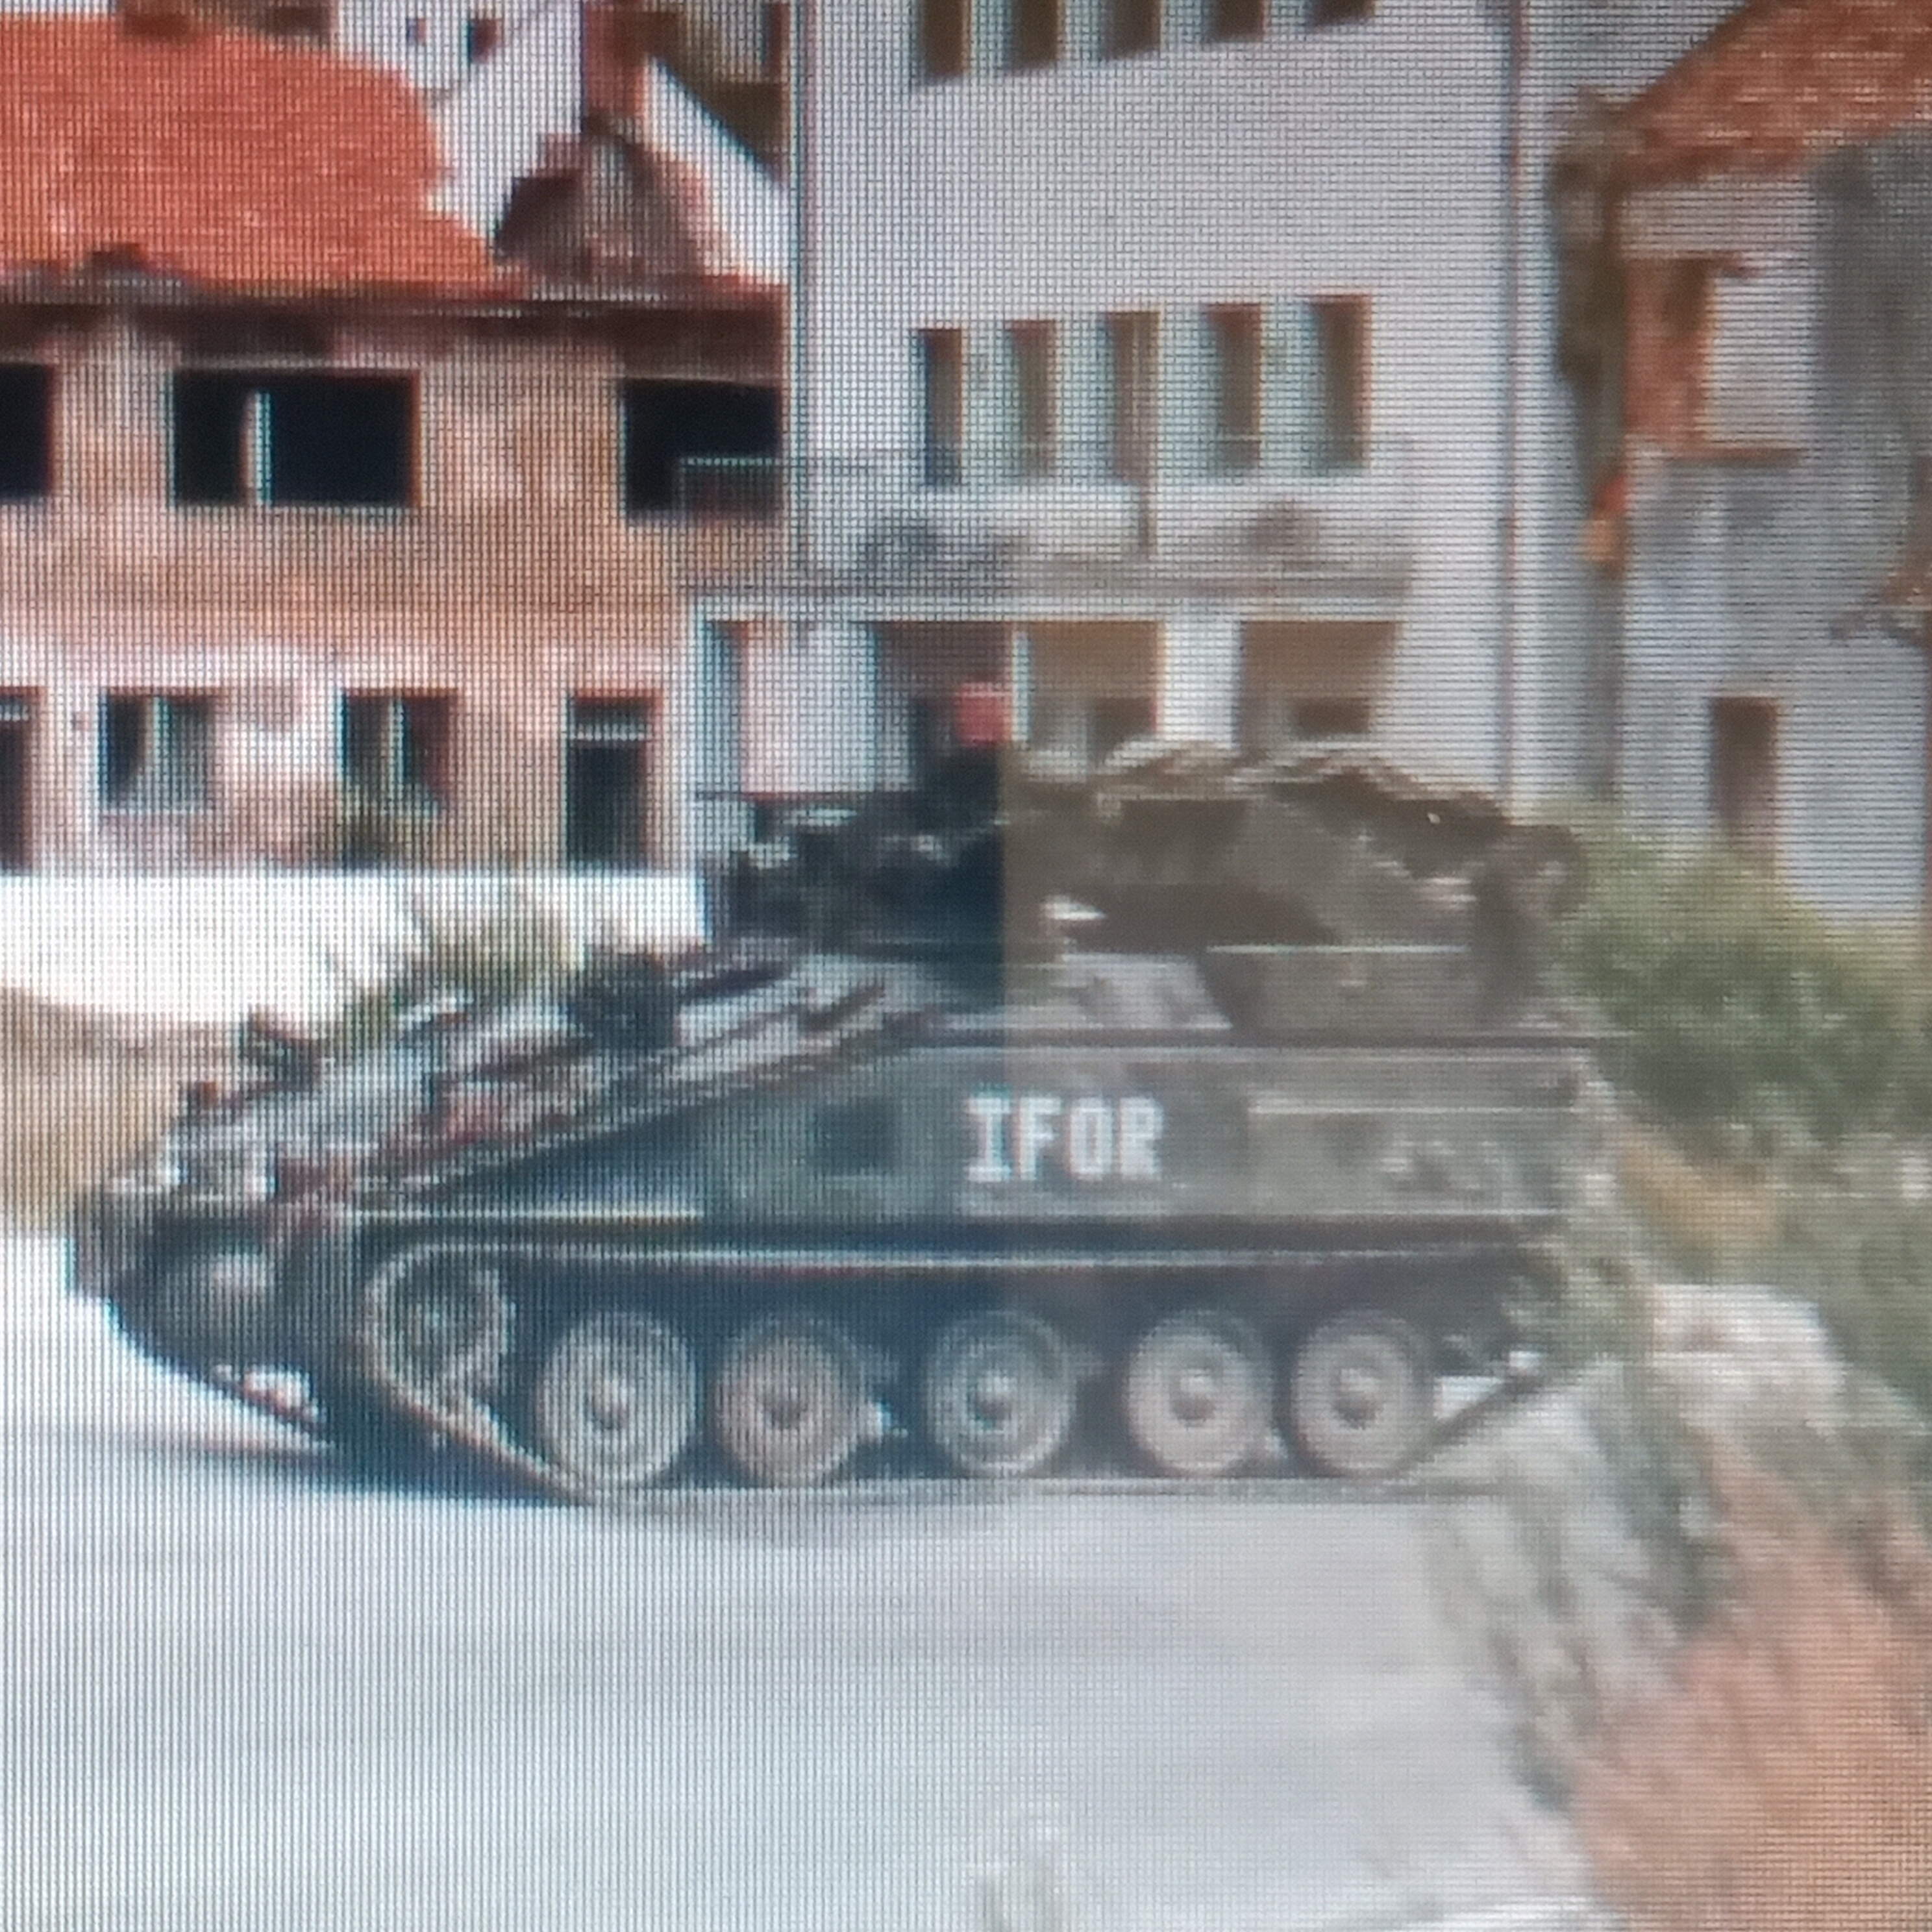
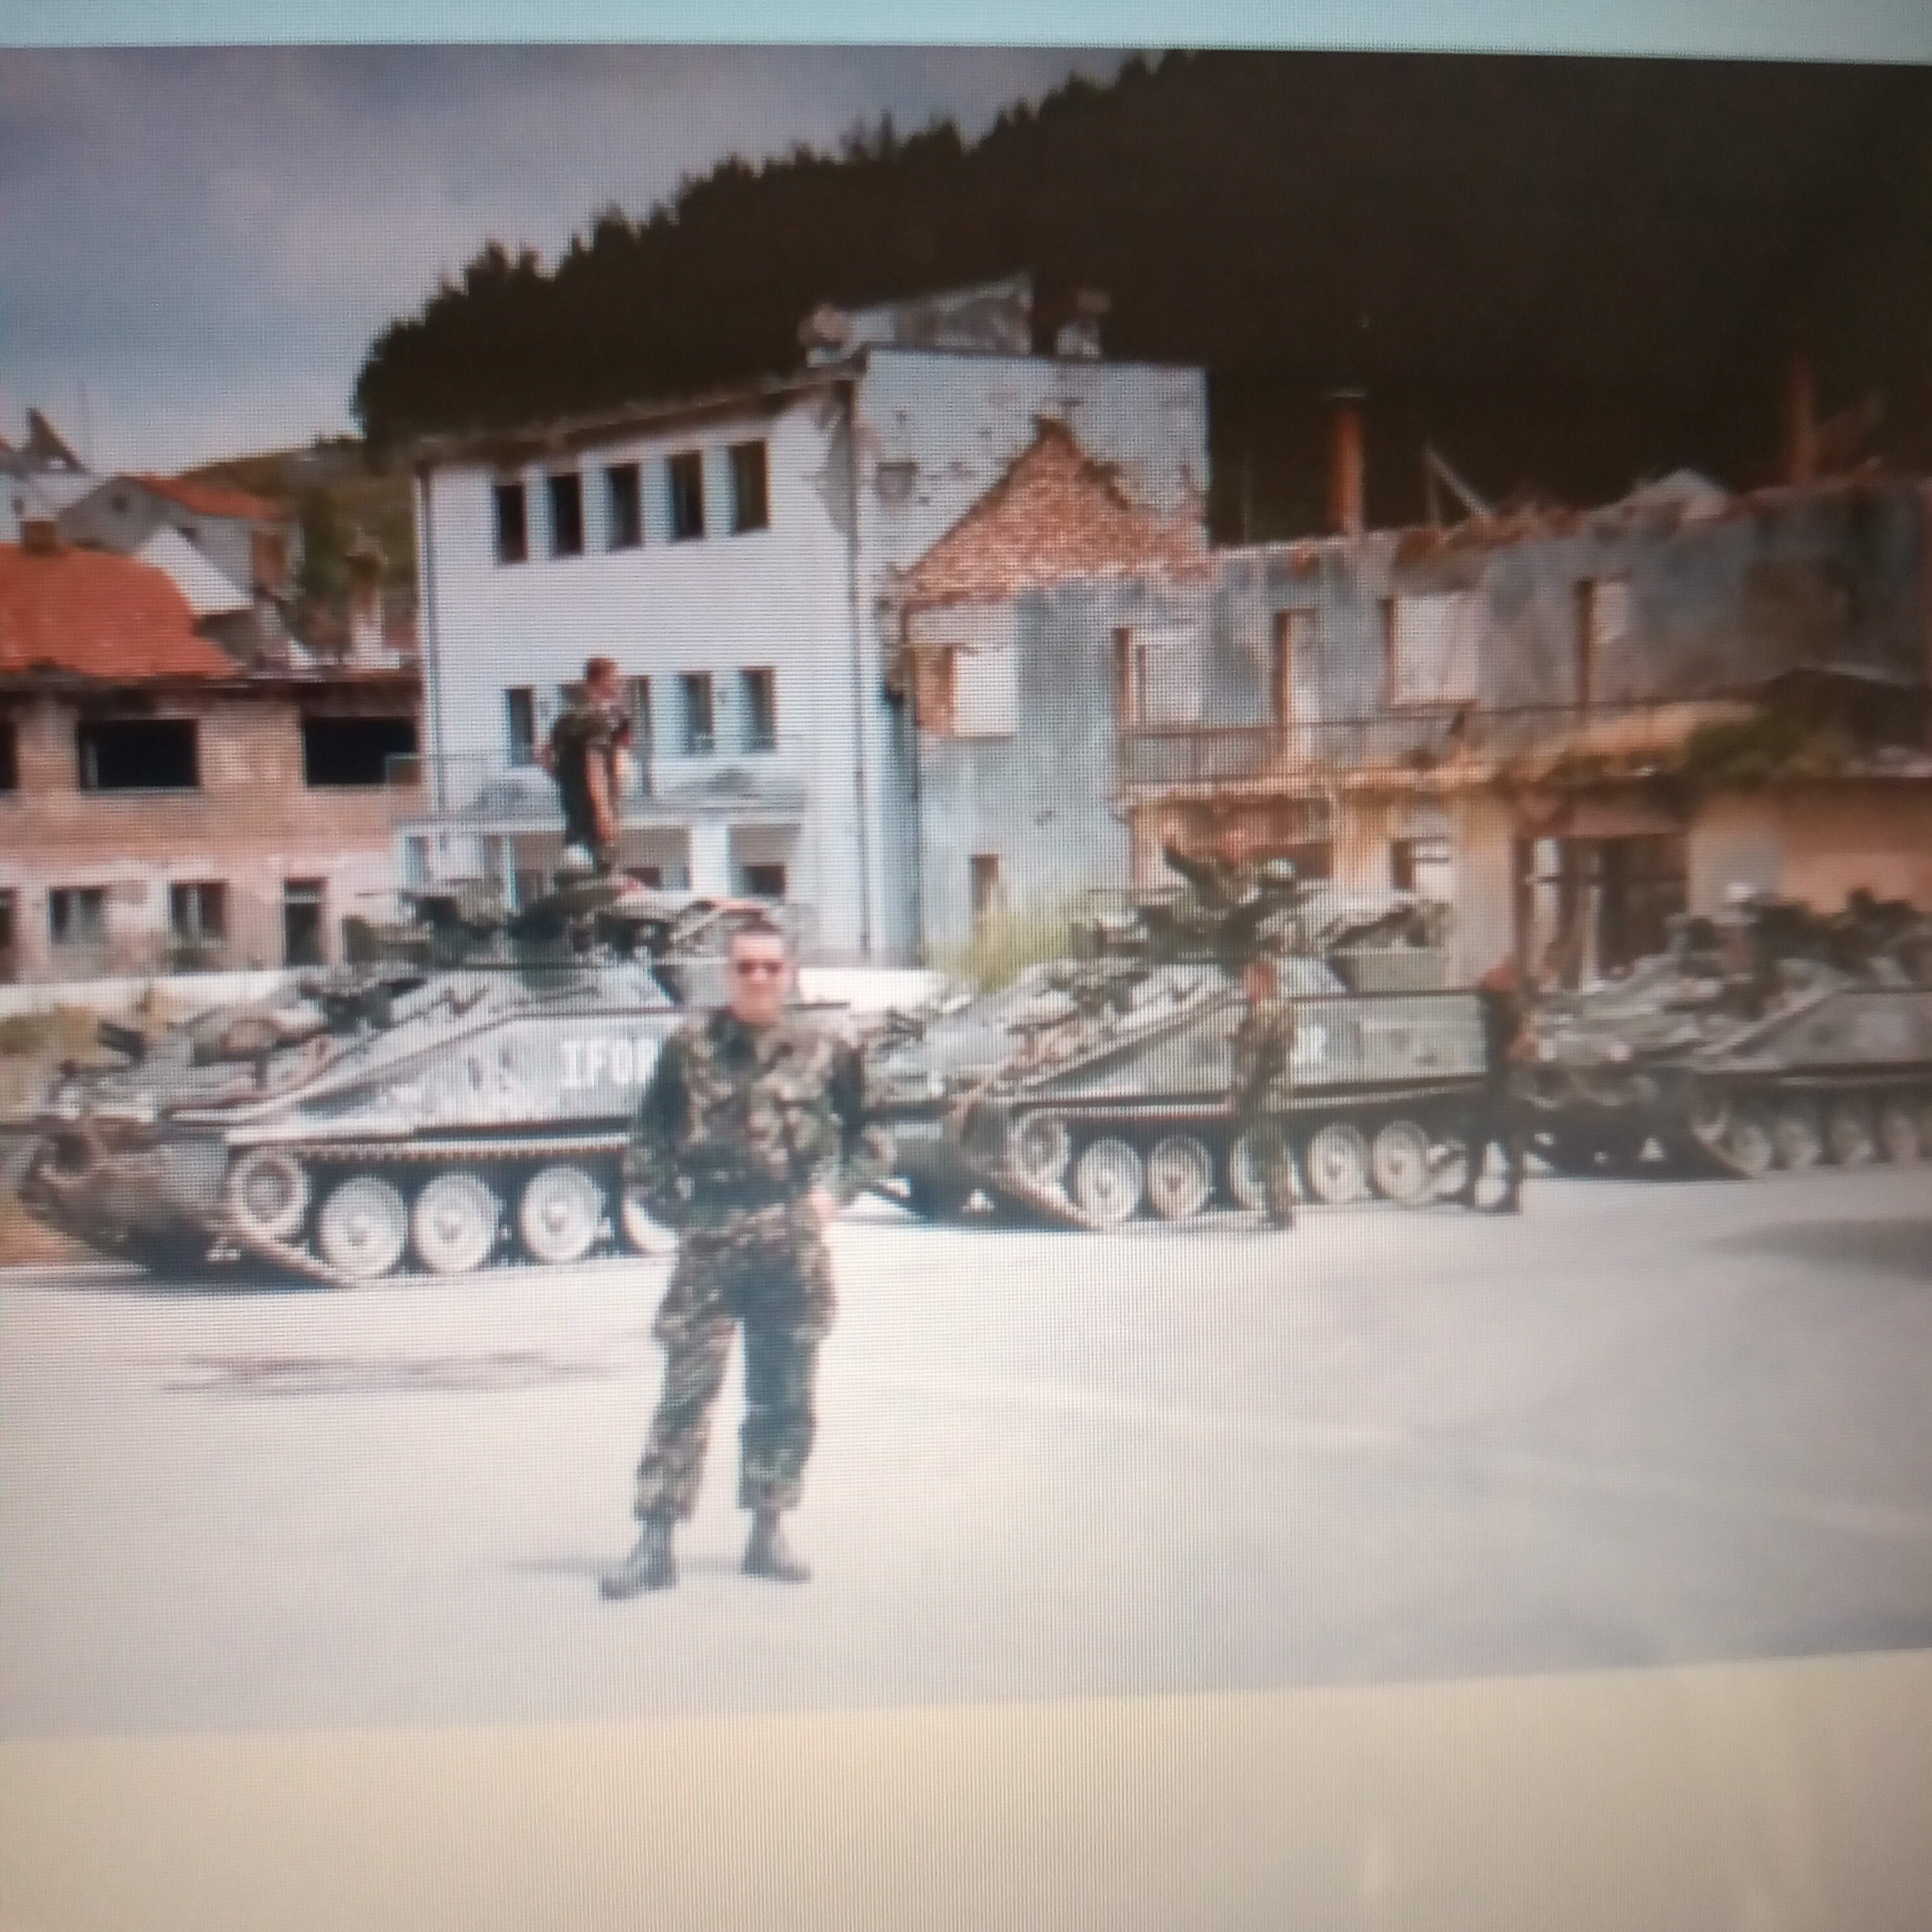
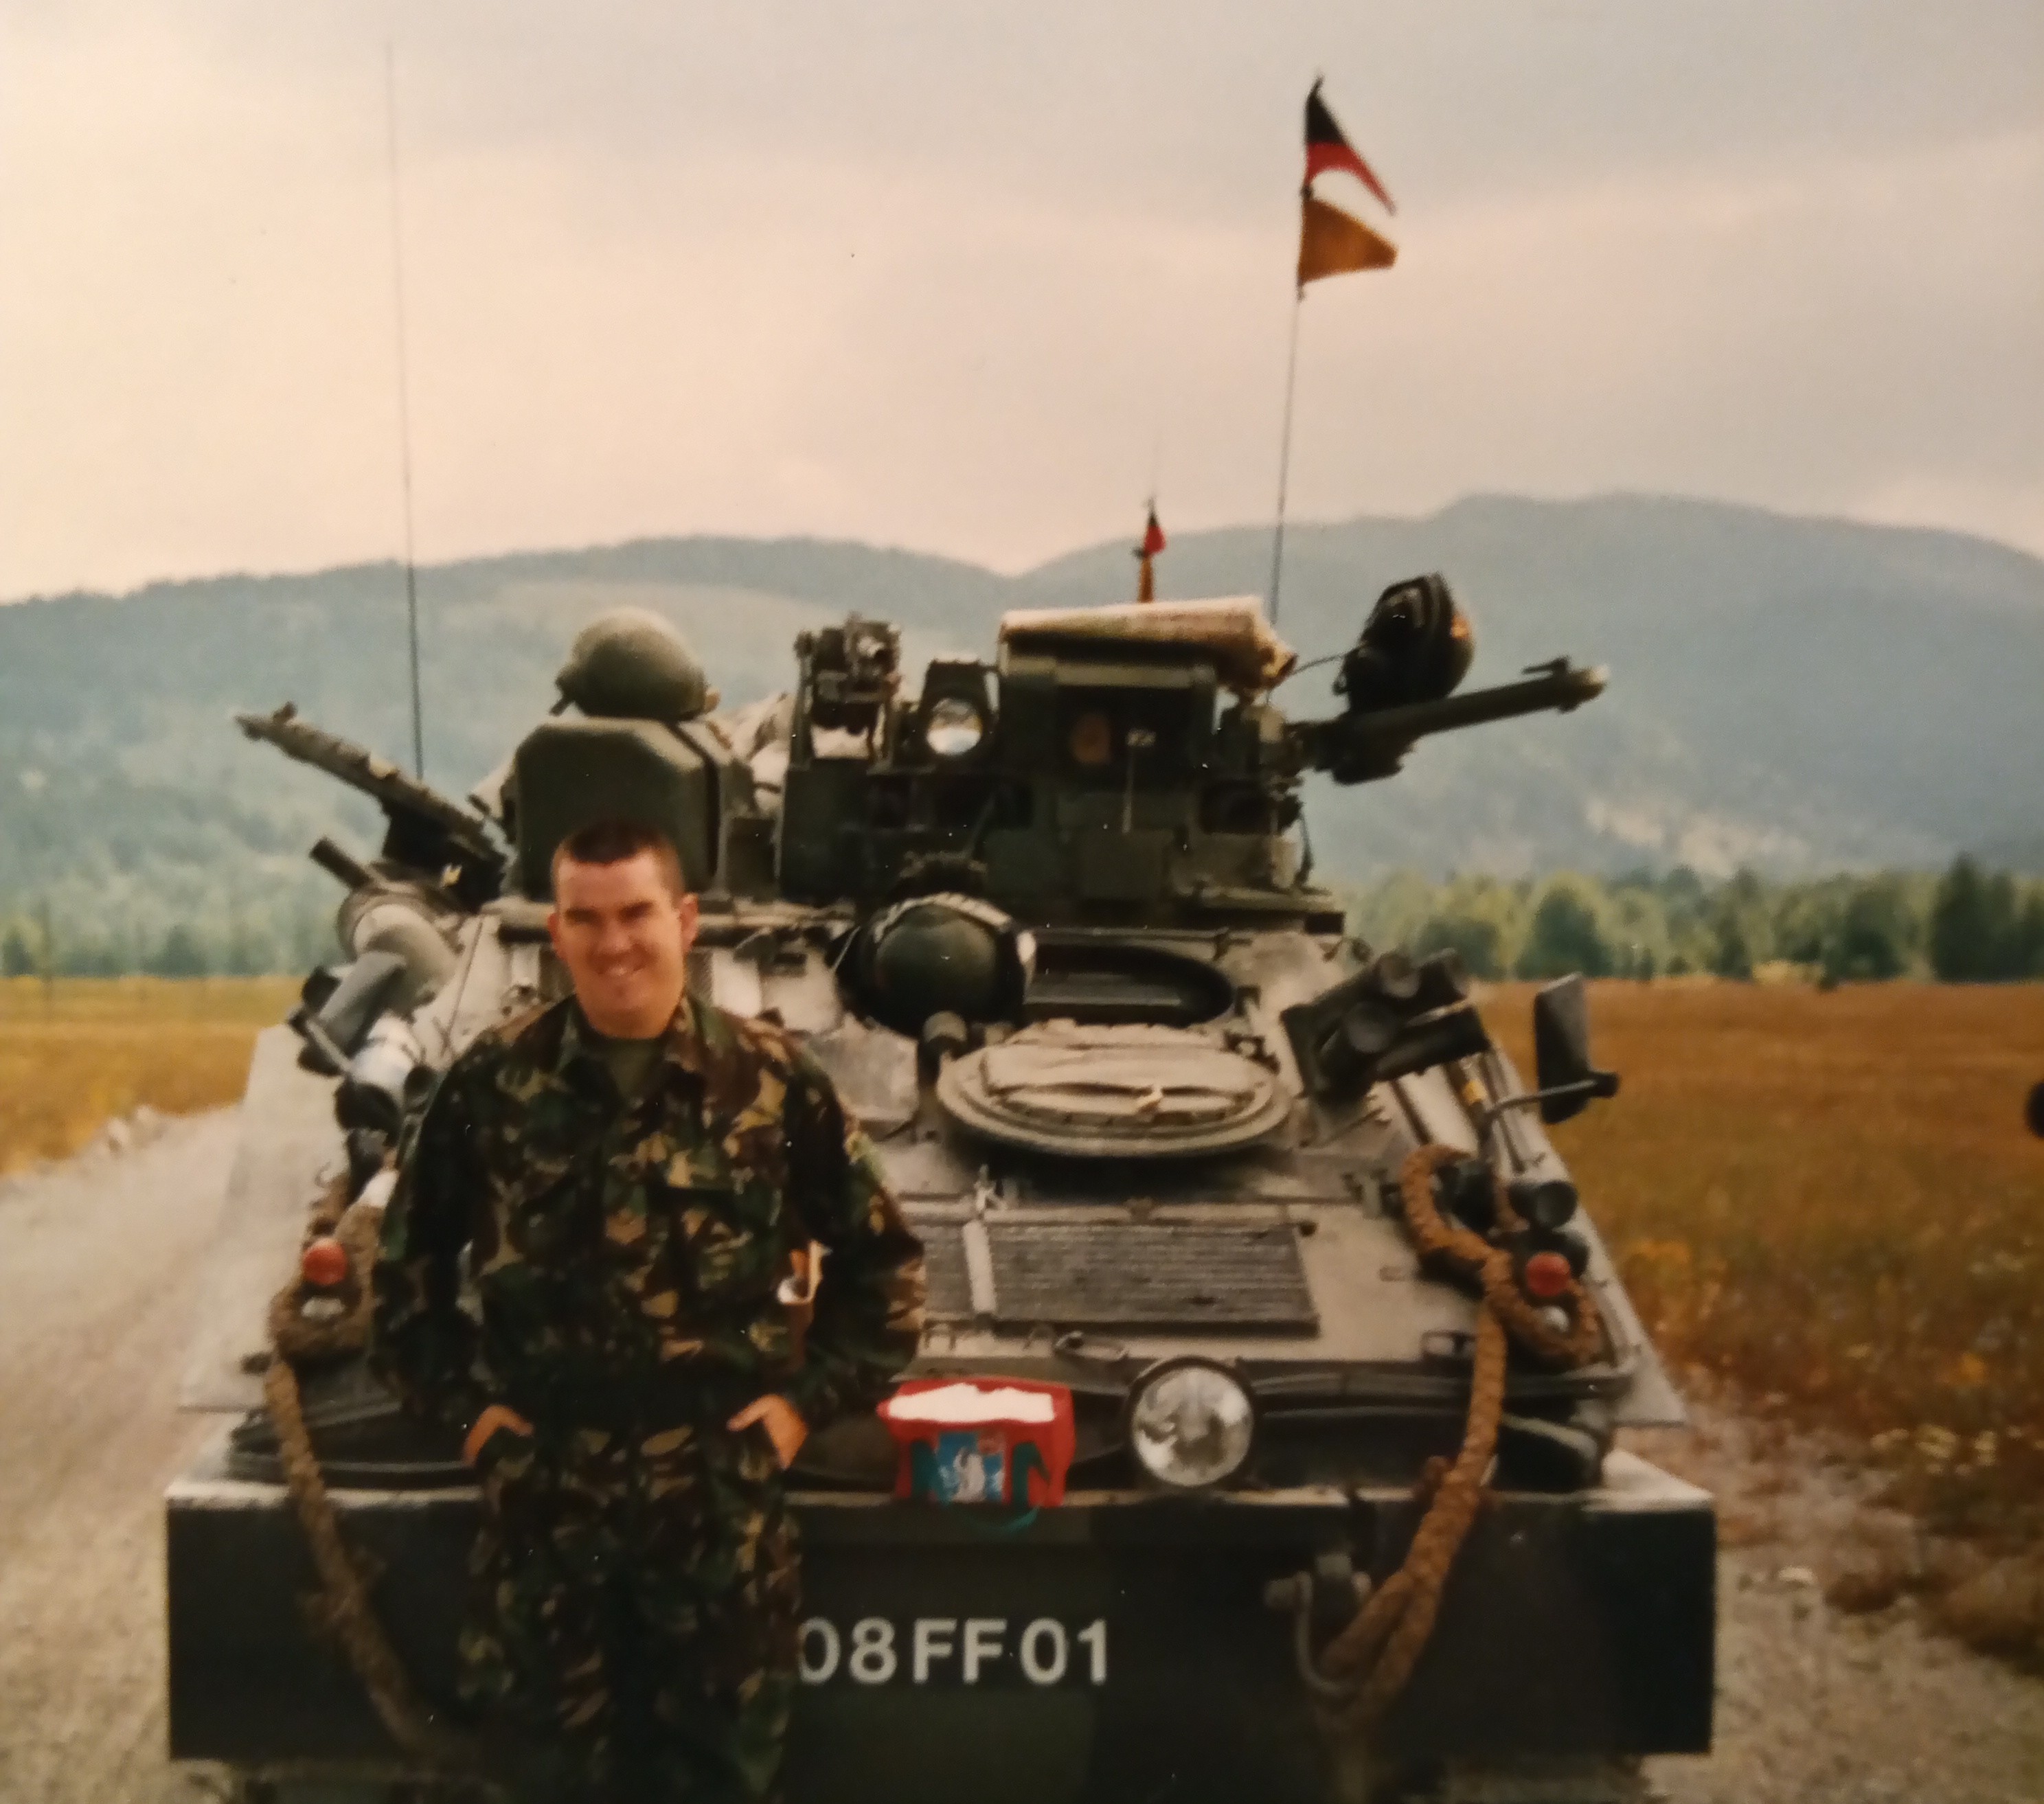
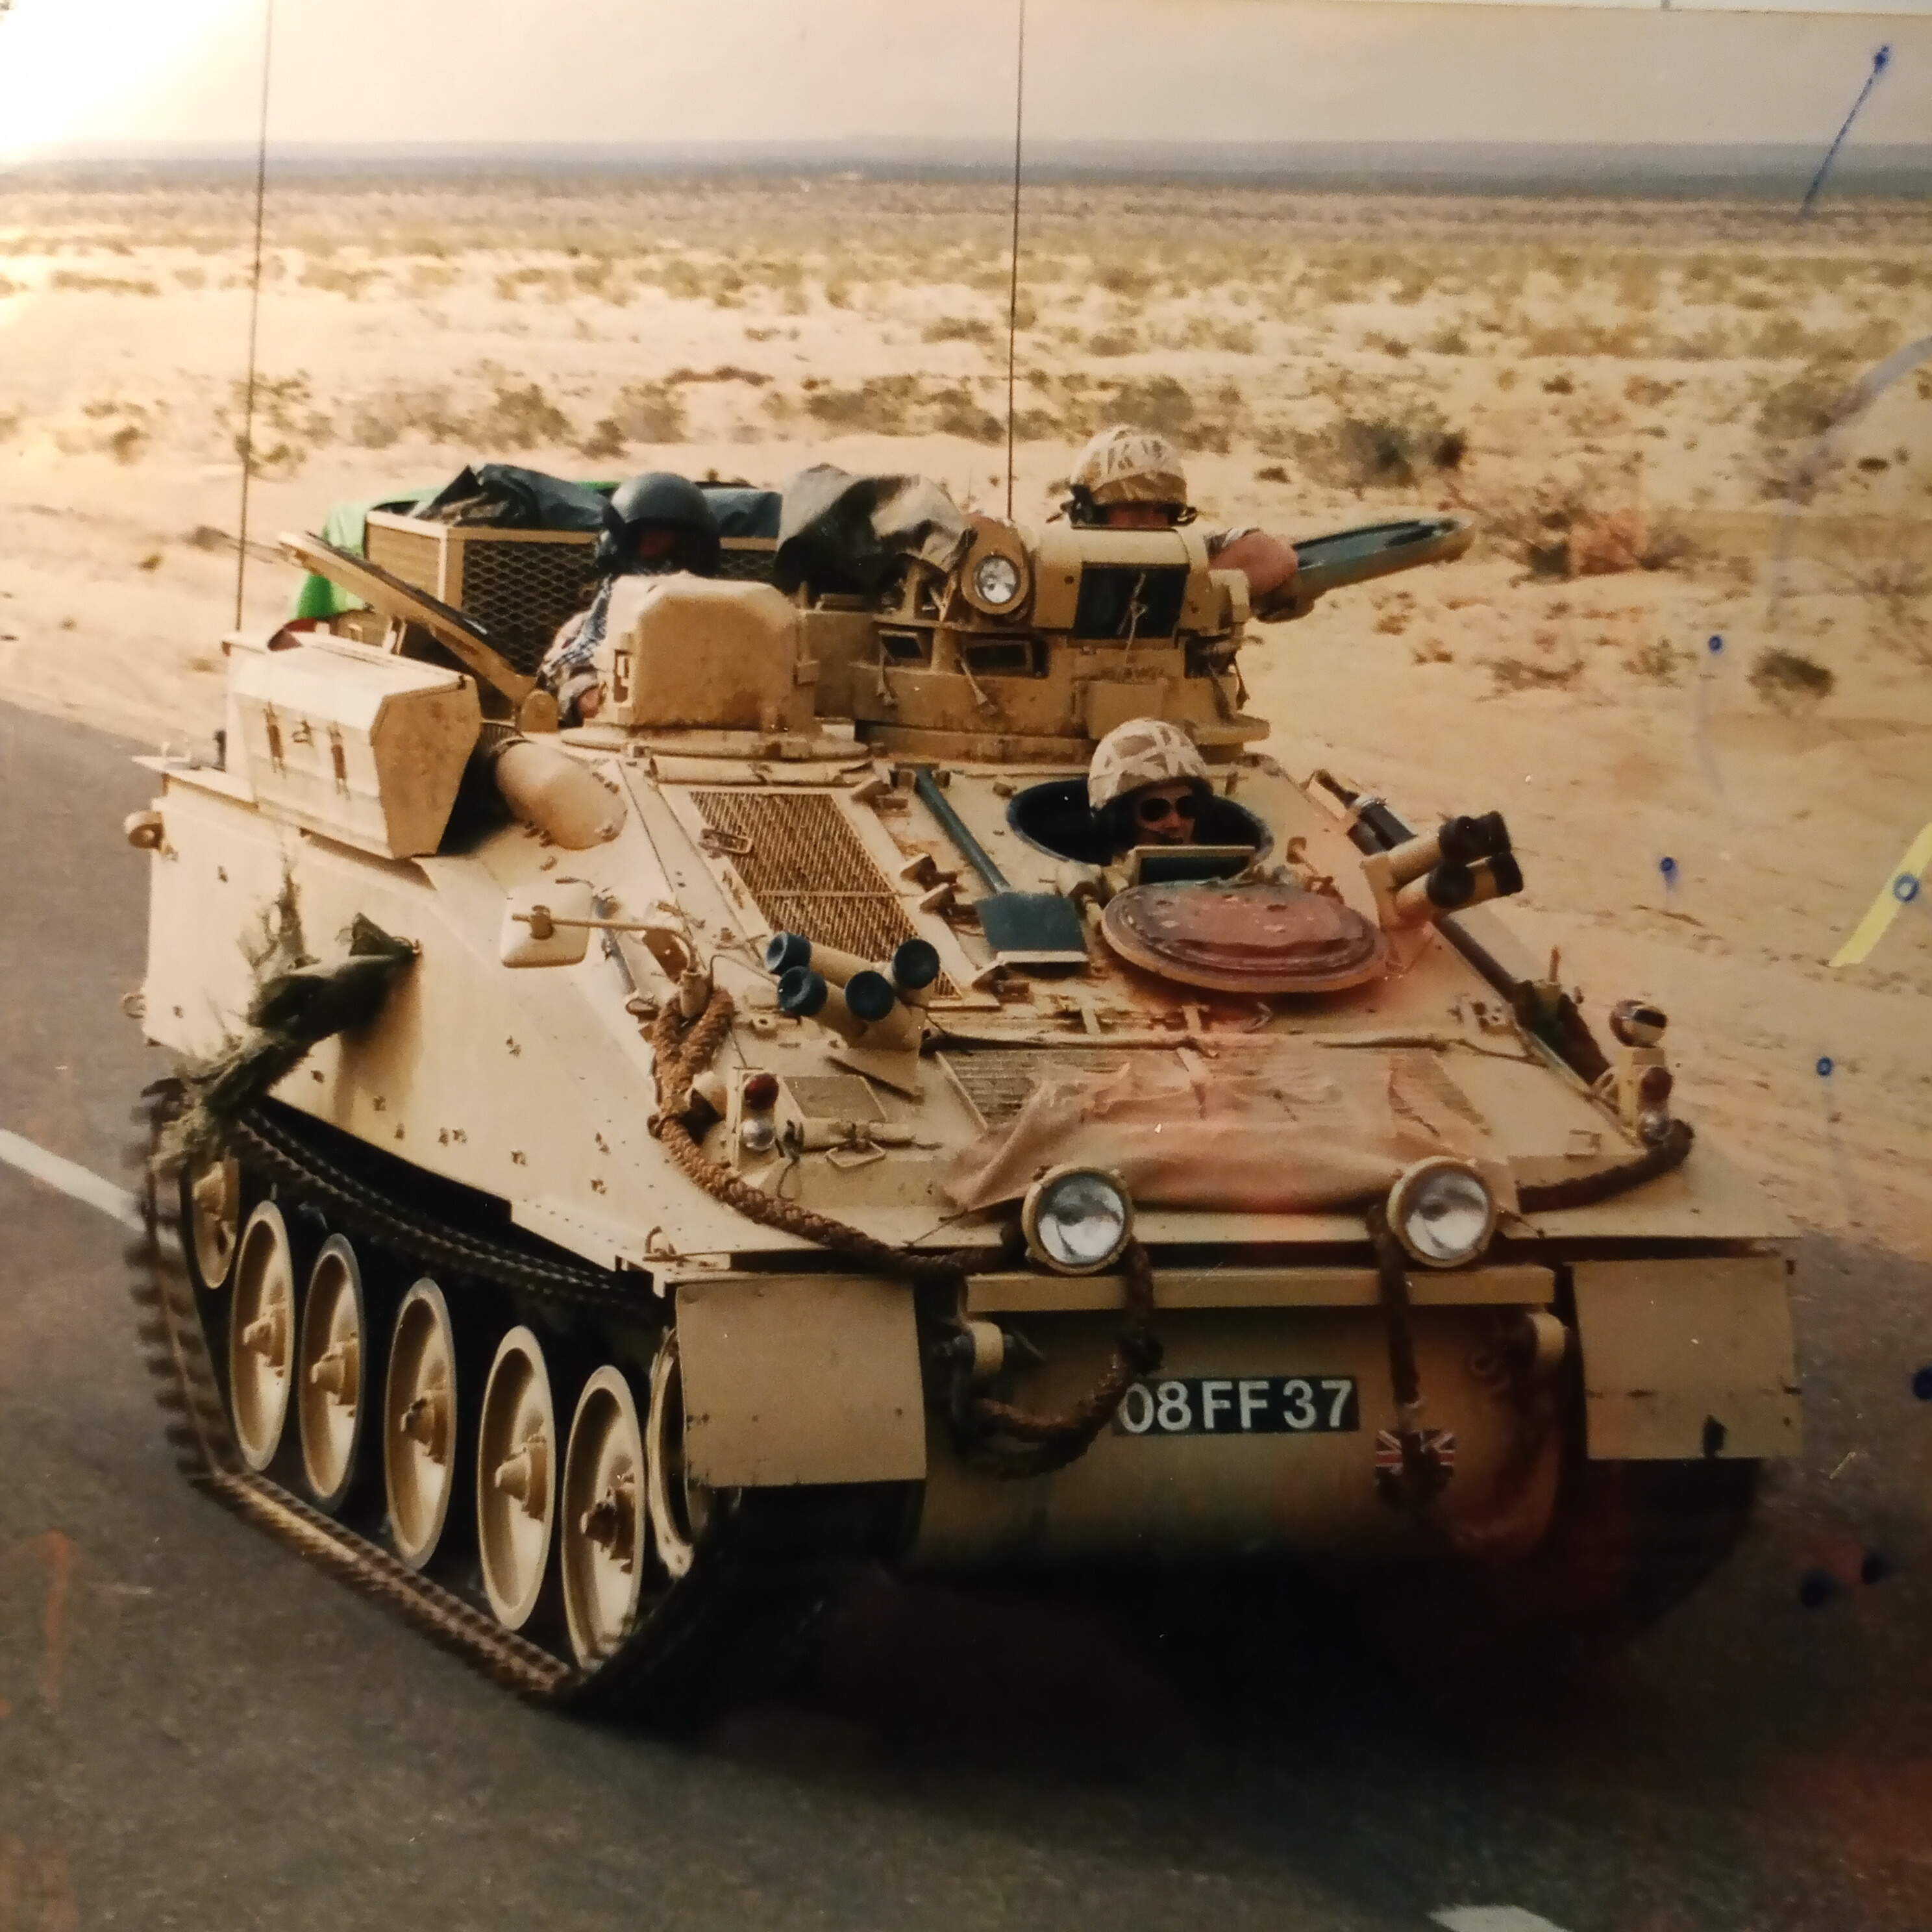
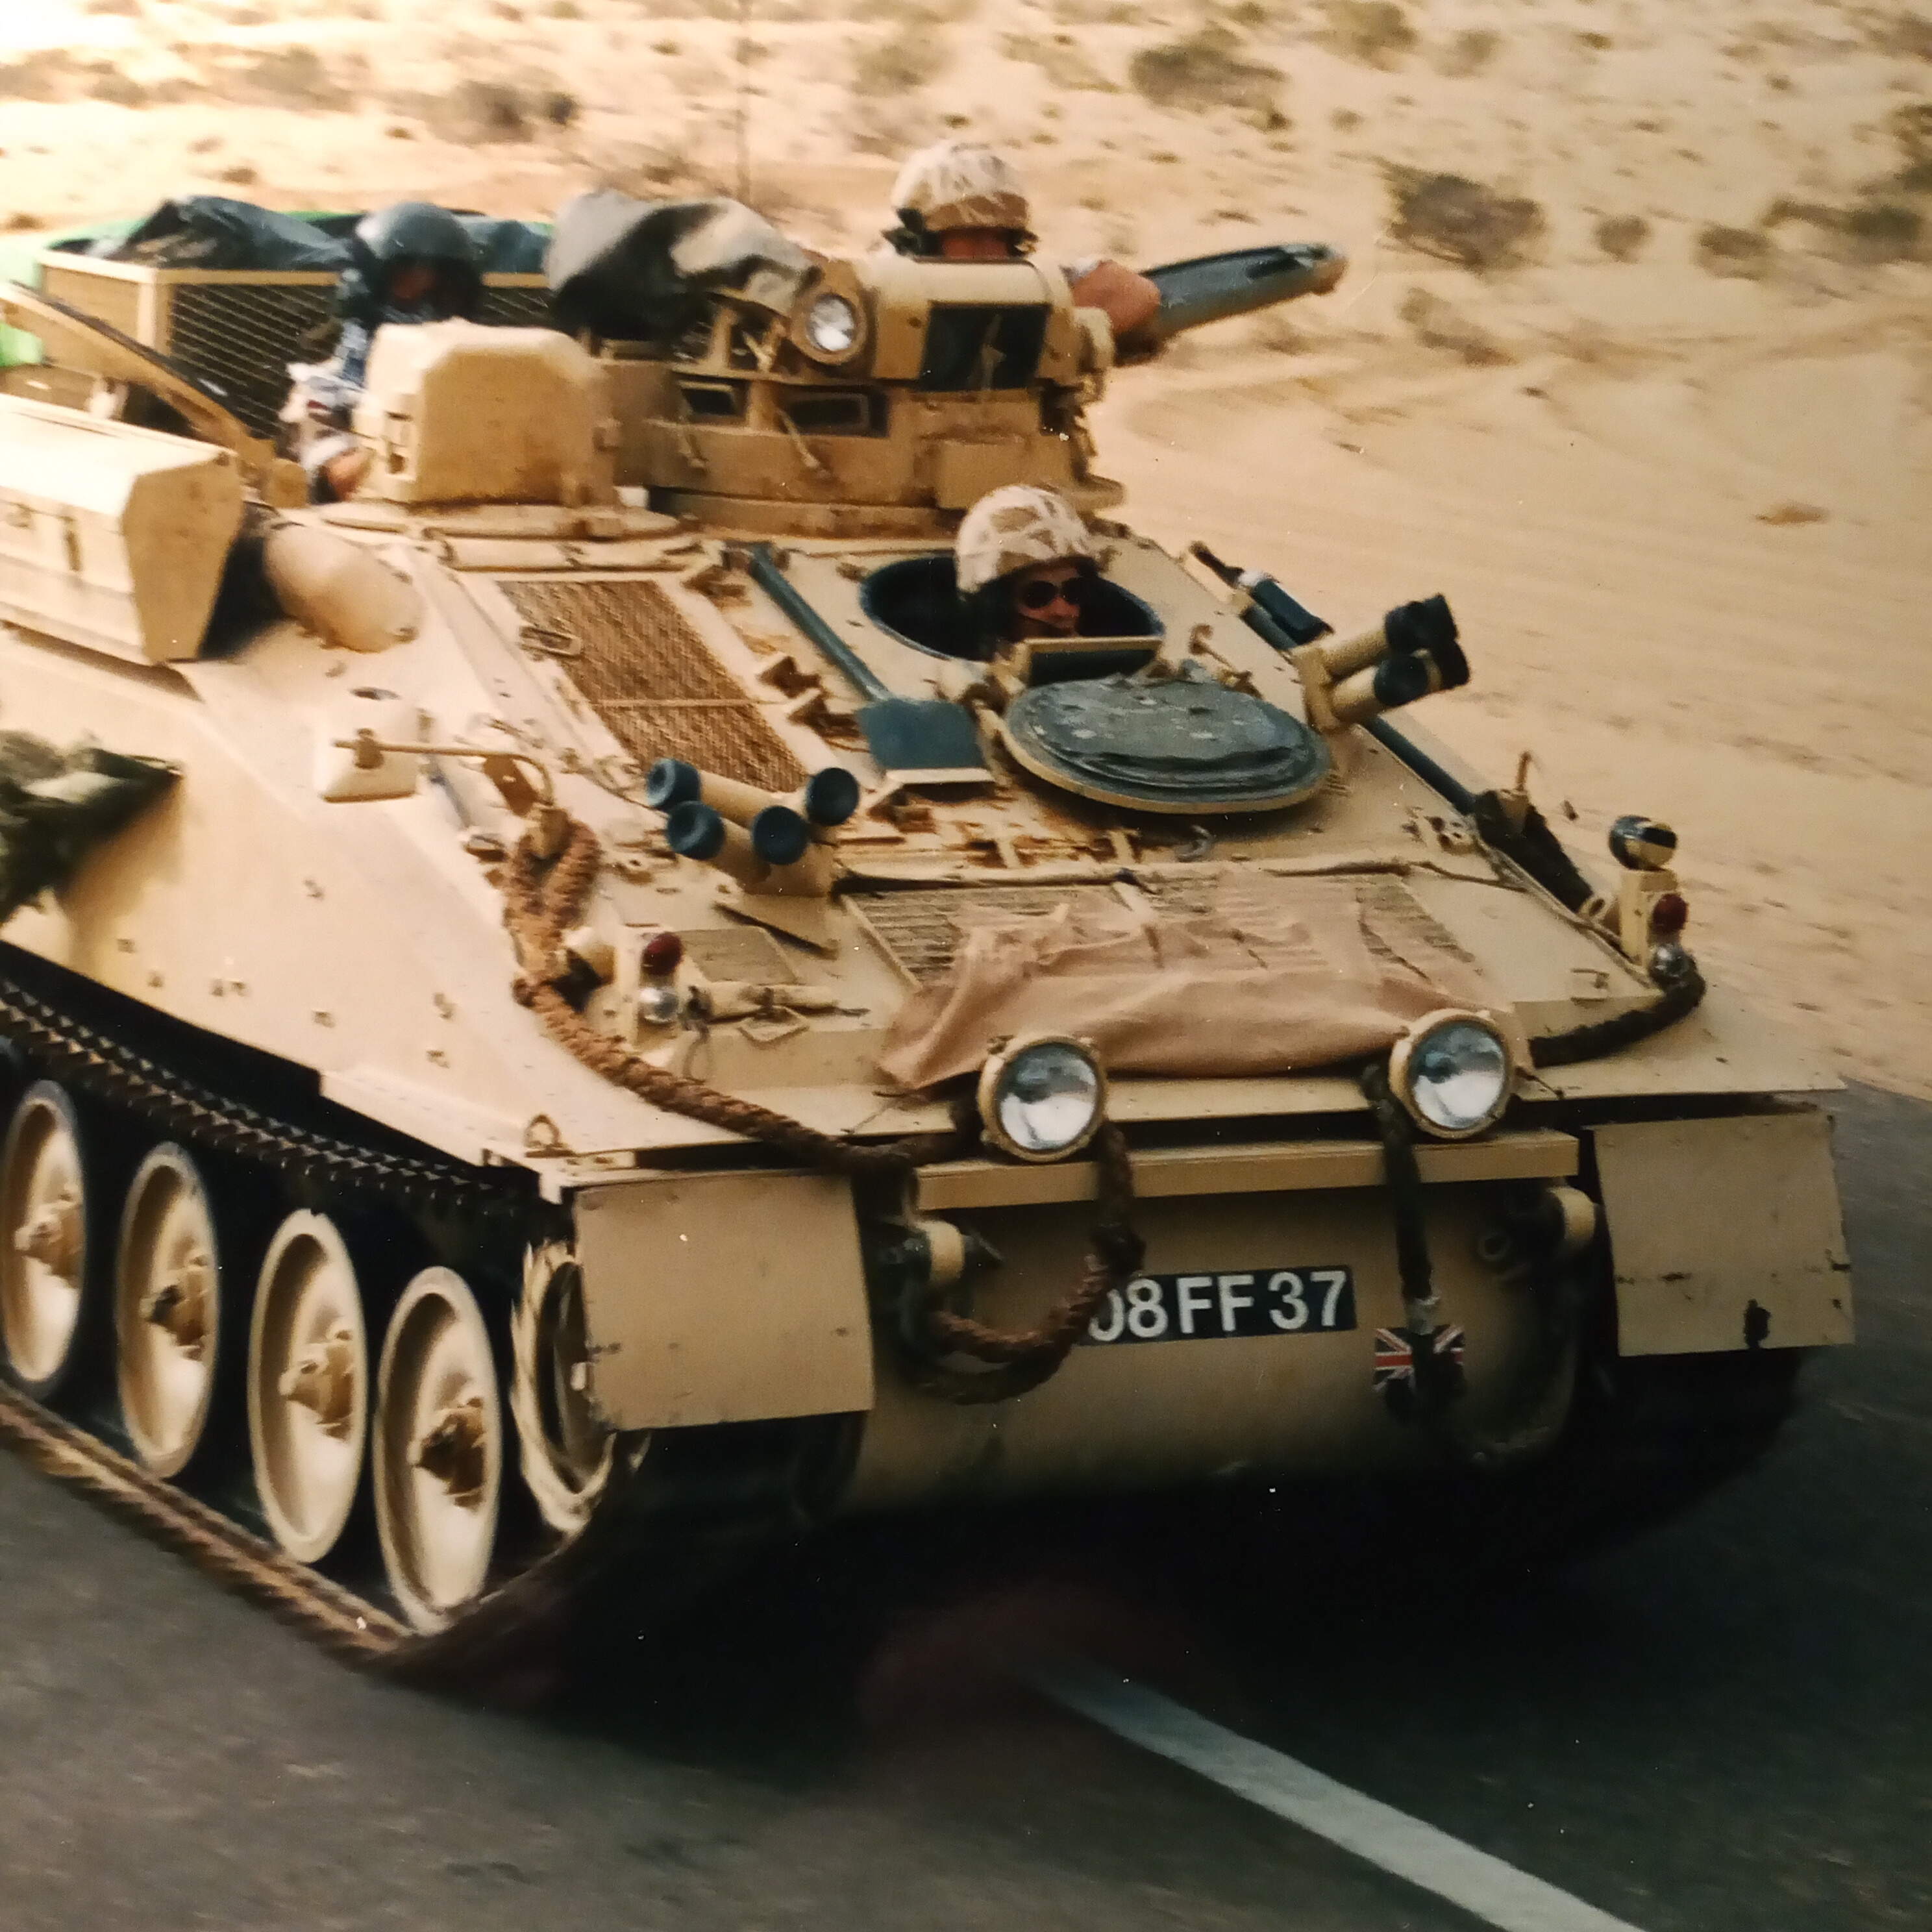
I did manage to find a few images of my Striker in Egypt and also a few pics from a SLR camera of my Striker pre and during Bosnia.
The Bosnia Striker as you will see was actually an A Sqn wagon which I had to have, as mine developed an unfixable firing system fault just prior to deployment , that’s Striker FF01 below.
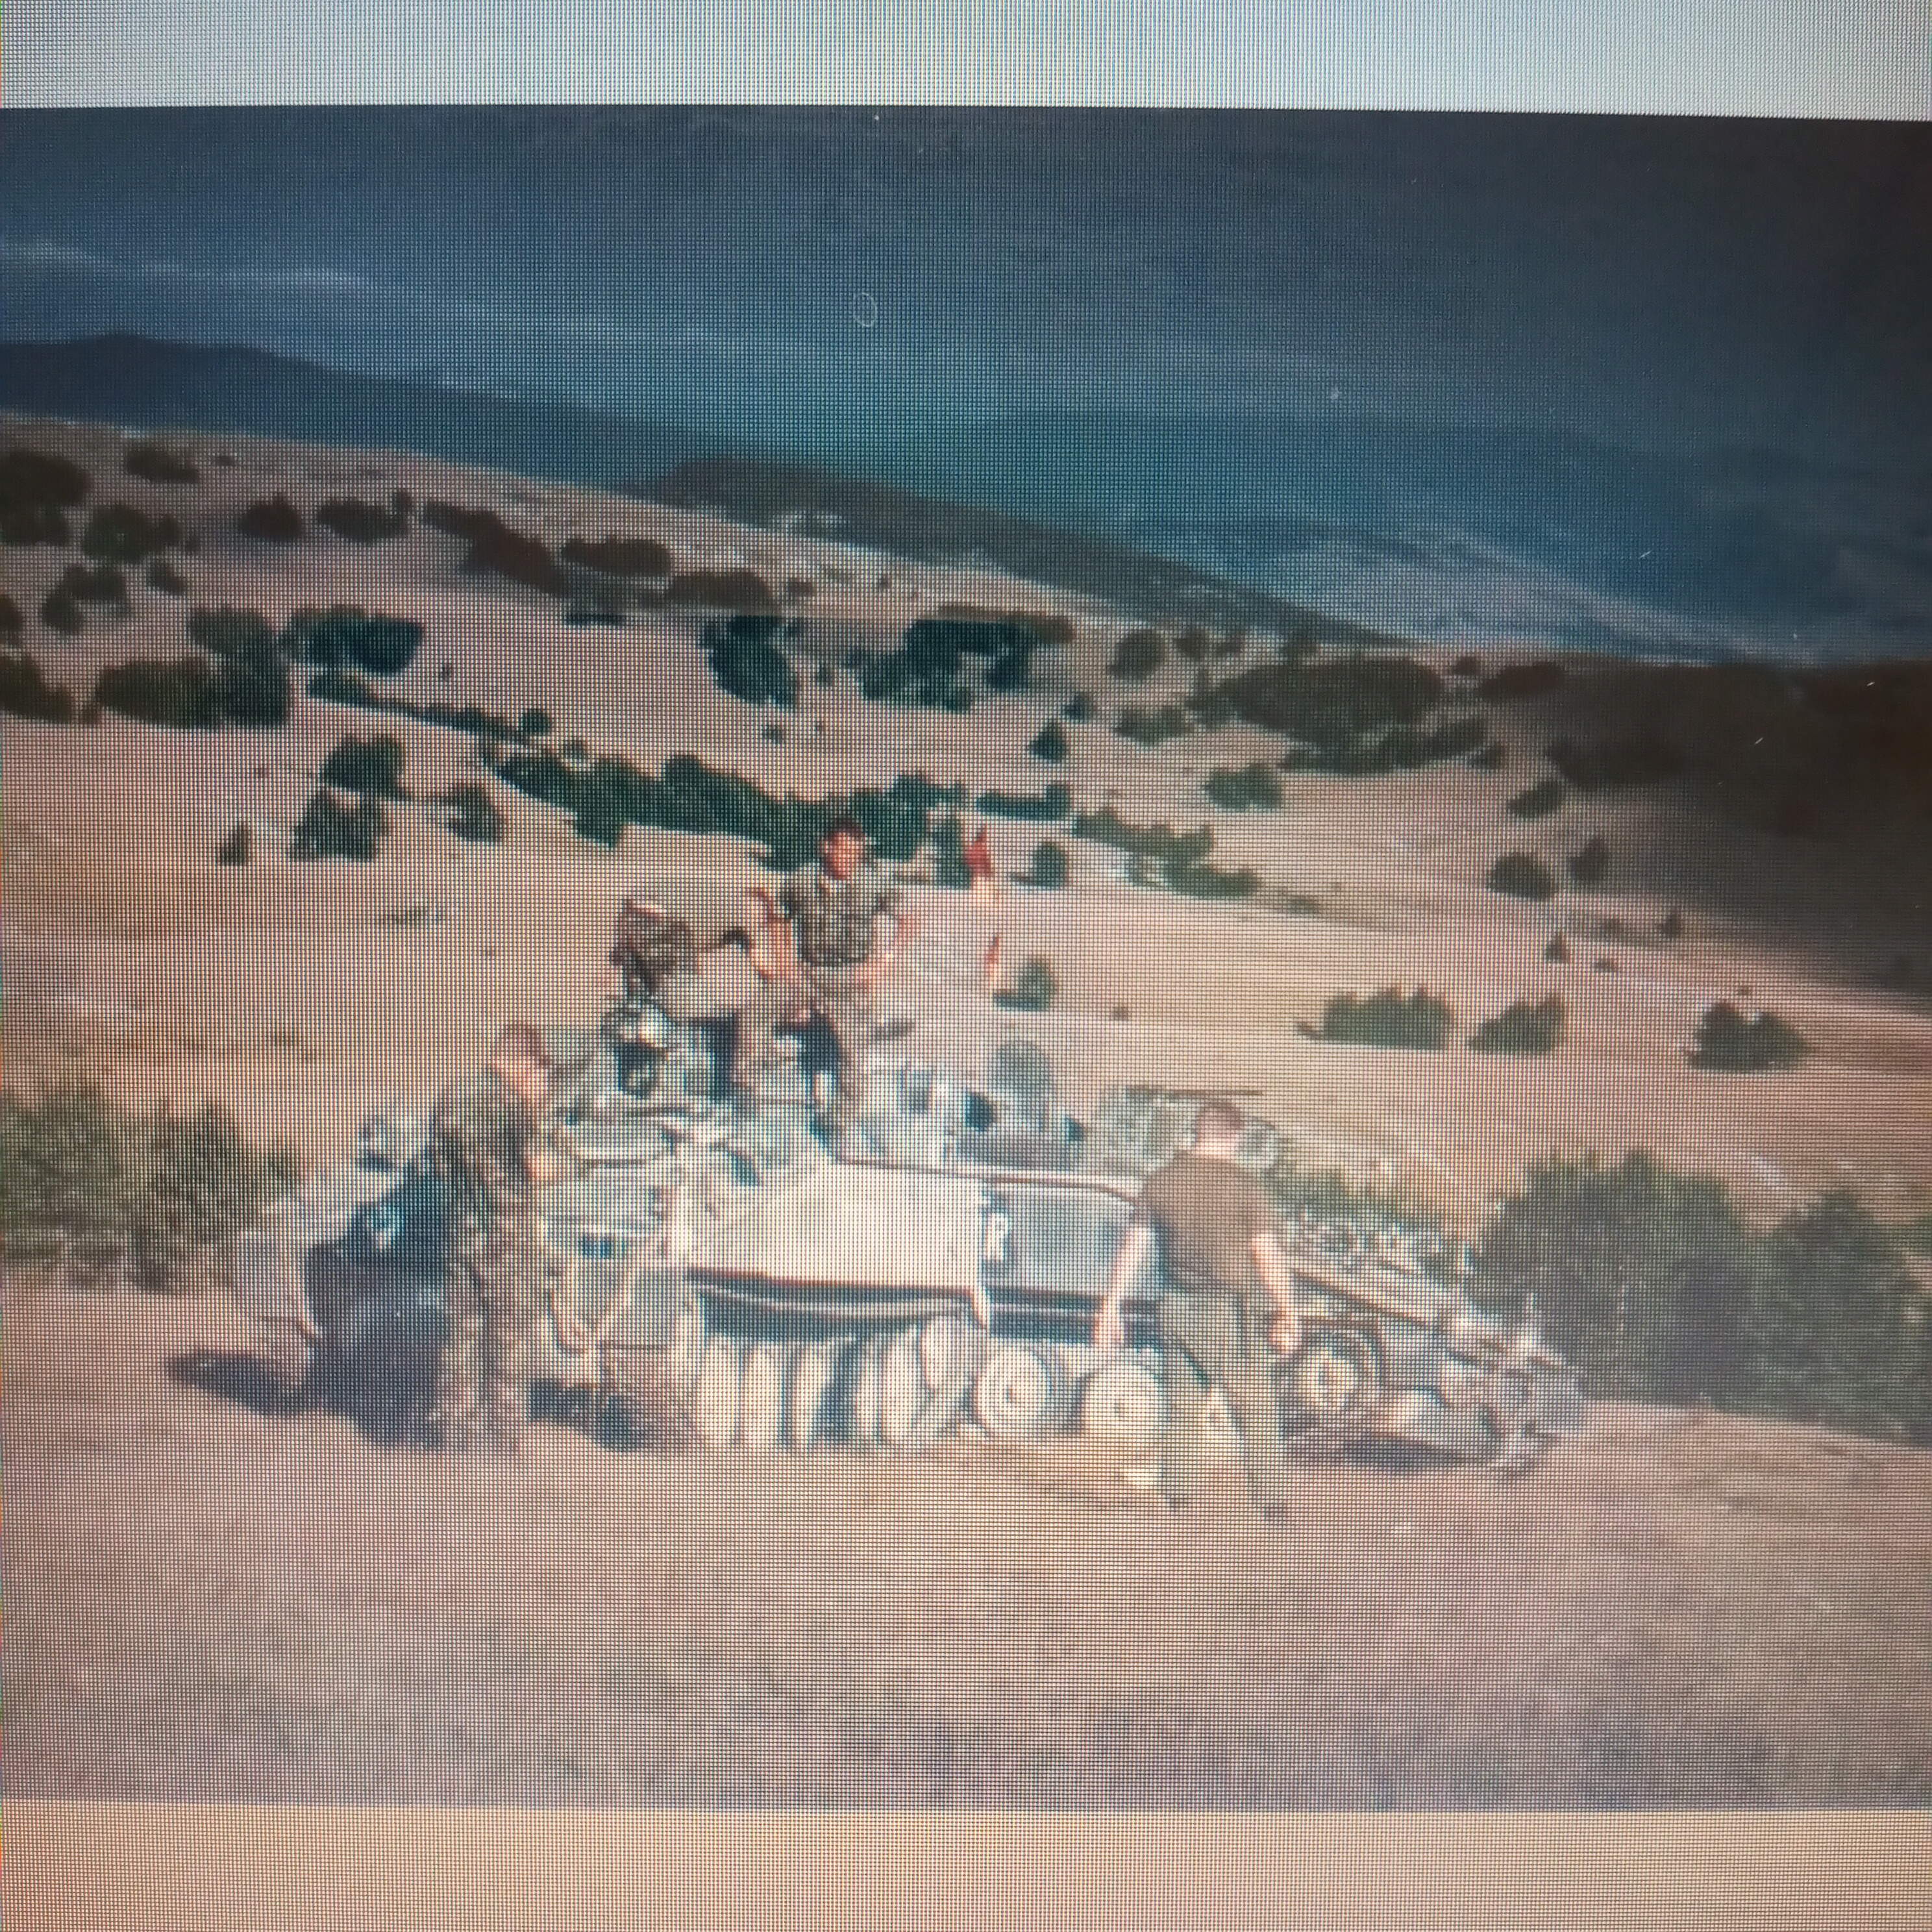
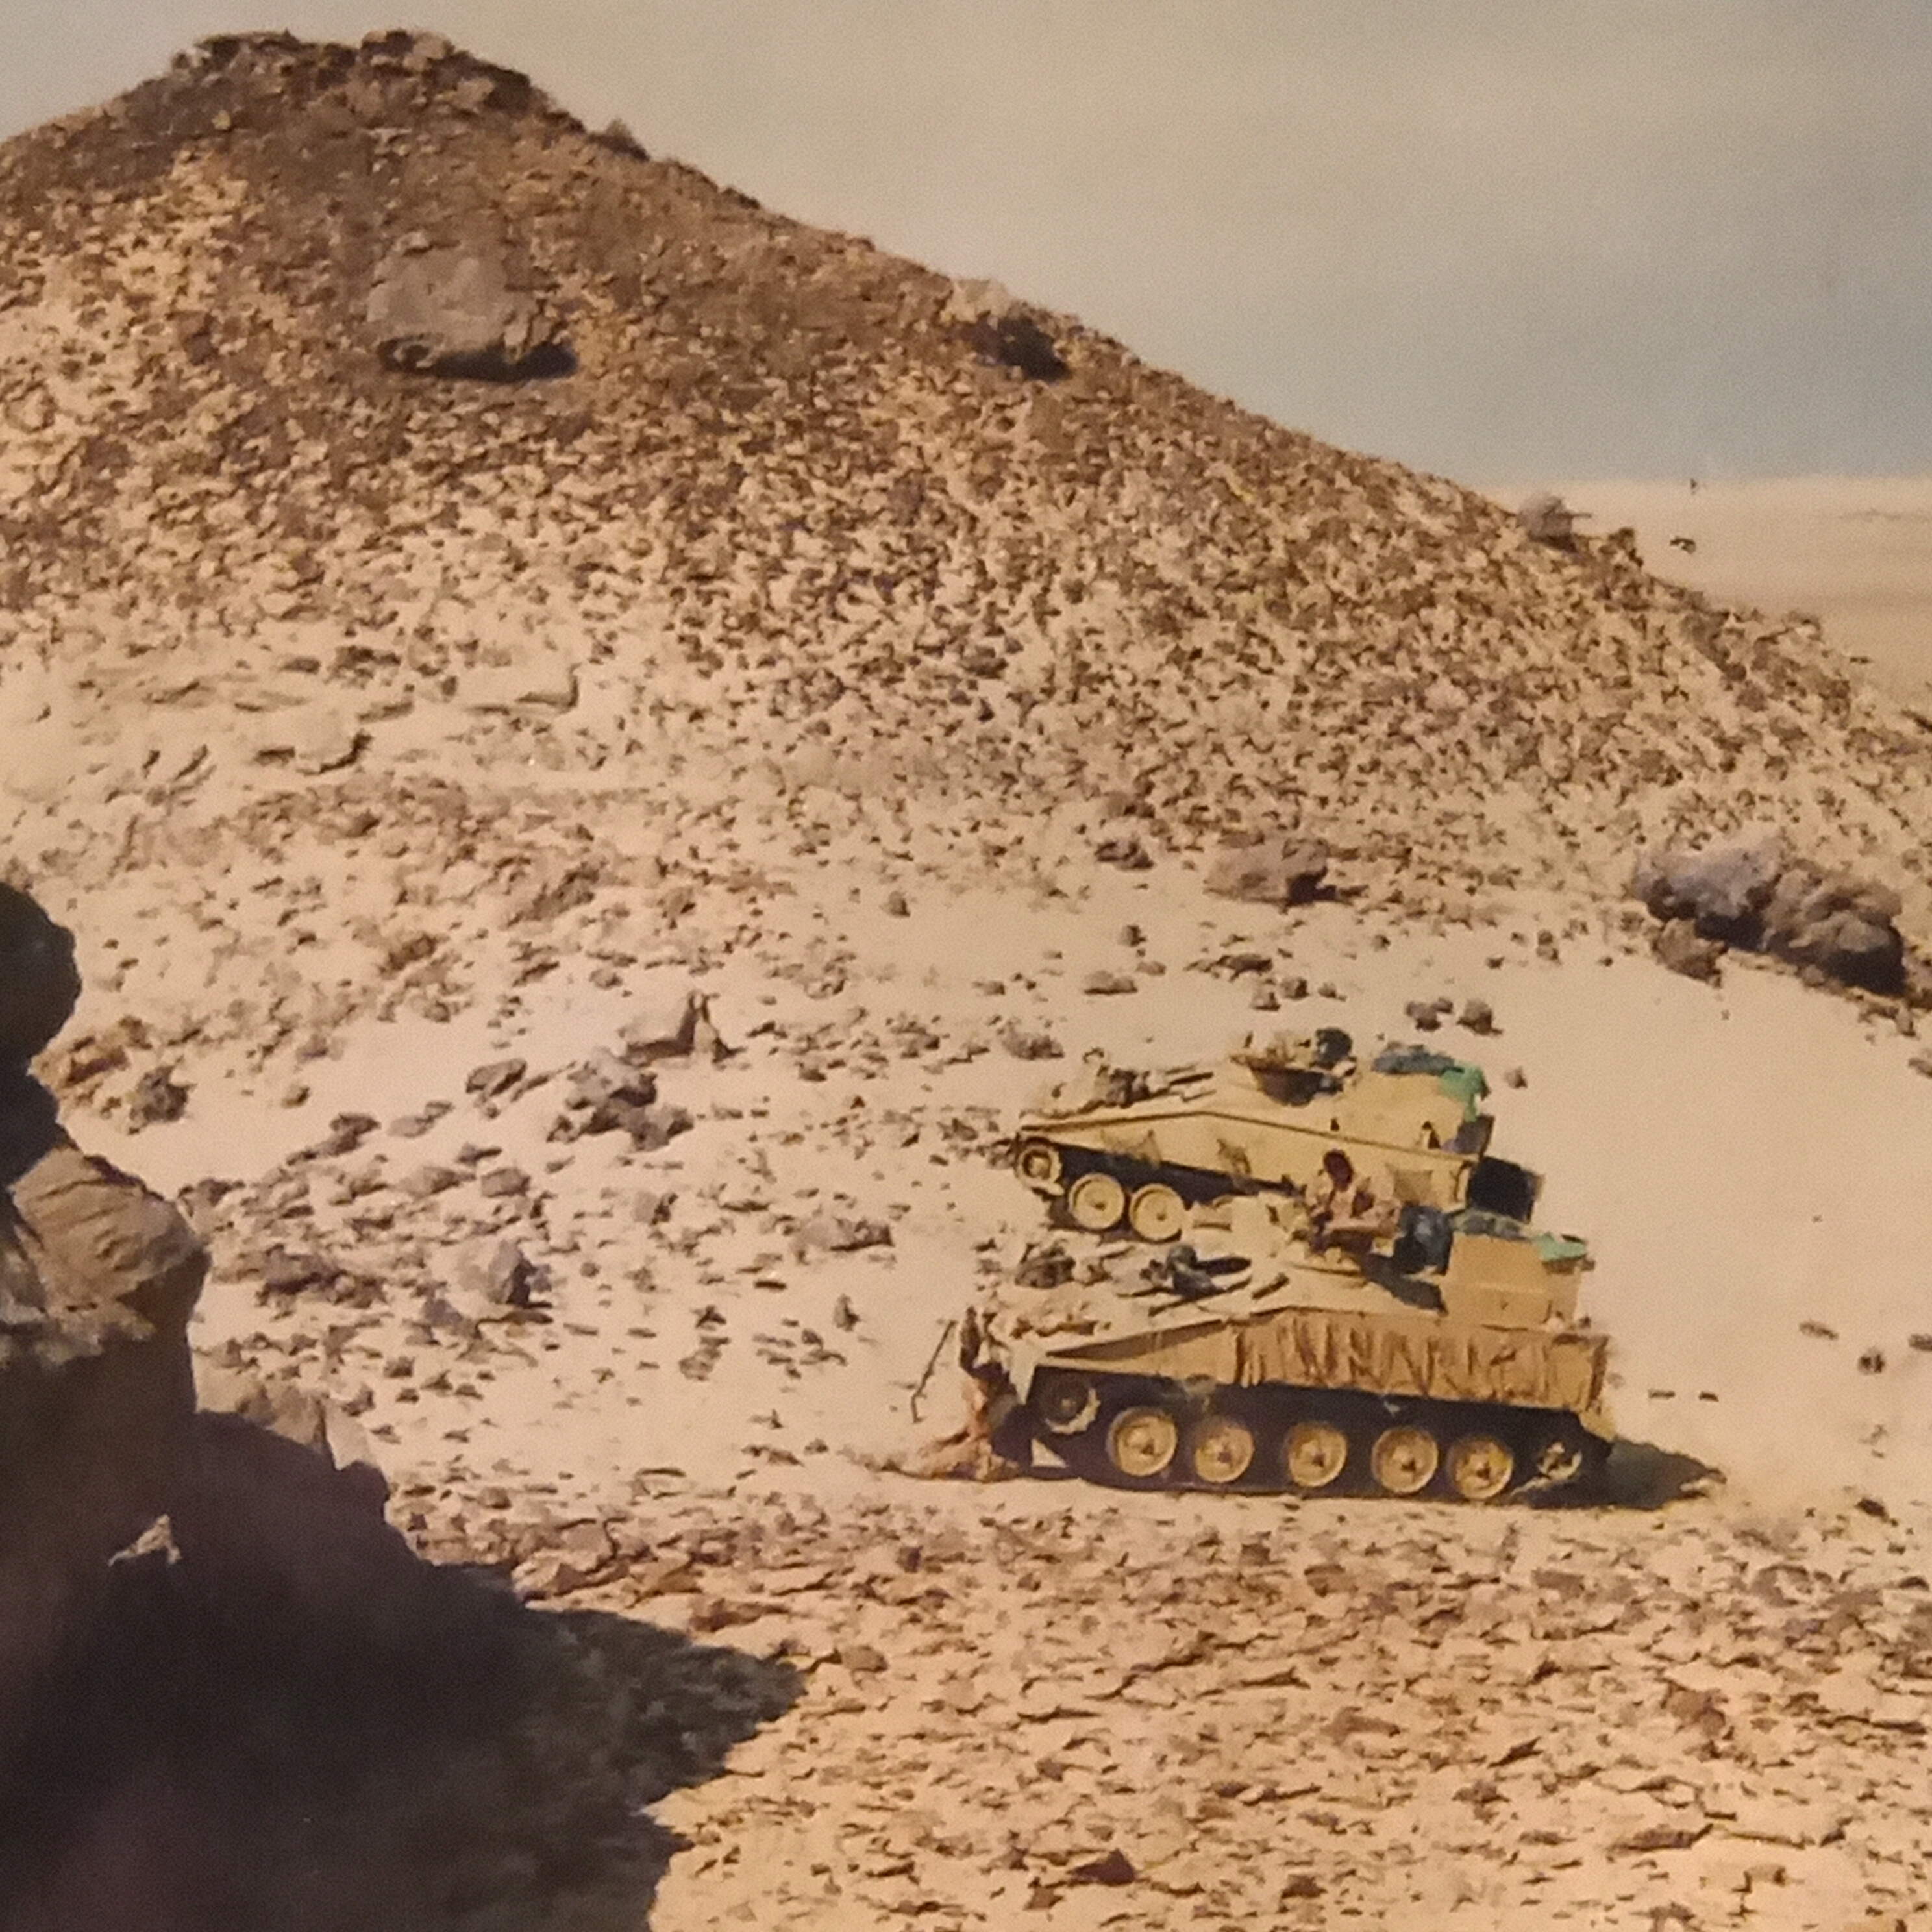
The image directly below for those interested is me with 34B and 34C in an OP position. And as squaddies do, me and my mate who commanded the other wagon were “exploring” (or looking for scorpions ) and when we got to the top of the large rock outcrop , we found by chance that this had also been used as a MG site in WW2 by the allies. On further digging around, we found marks for where the tripod had been dug in, and we stopped counting when we got to 500+ spent 303 cases, so we figured it must of been a Vickers ? from the top, you could see about 25 - 30km in a panoramic view - S was down into the sahara and the way our wagons are facing… Great look out spot.
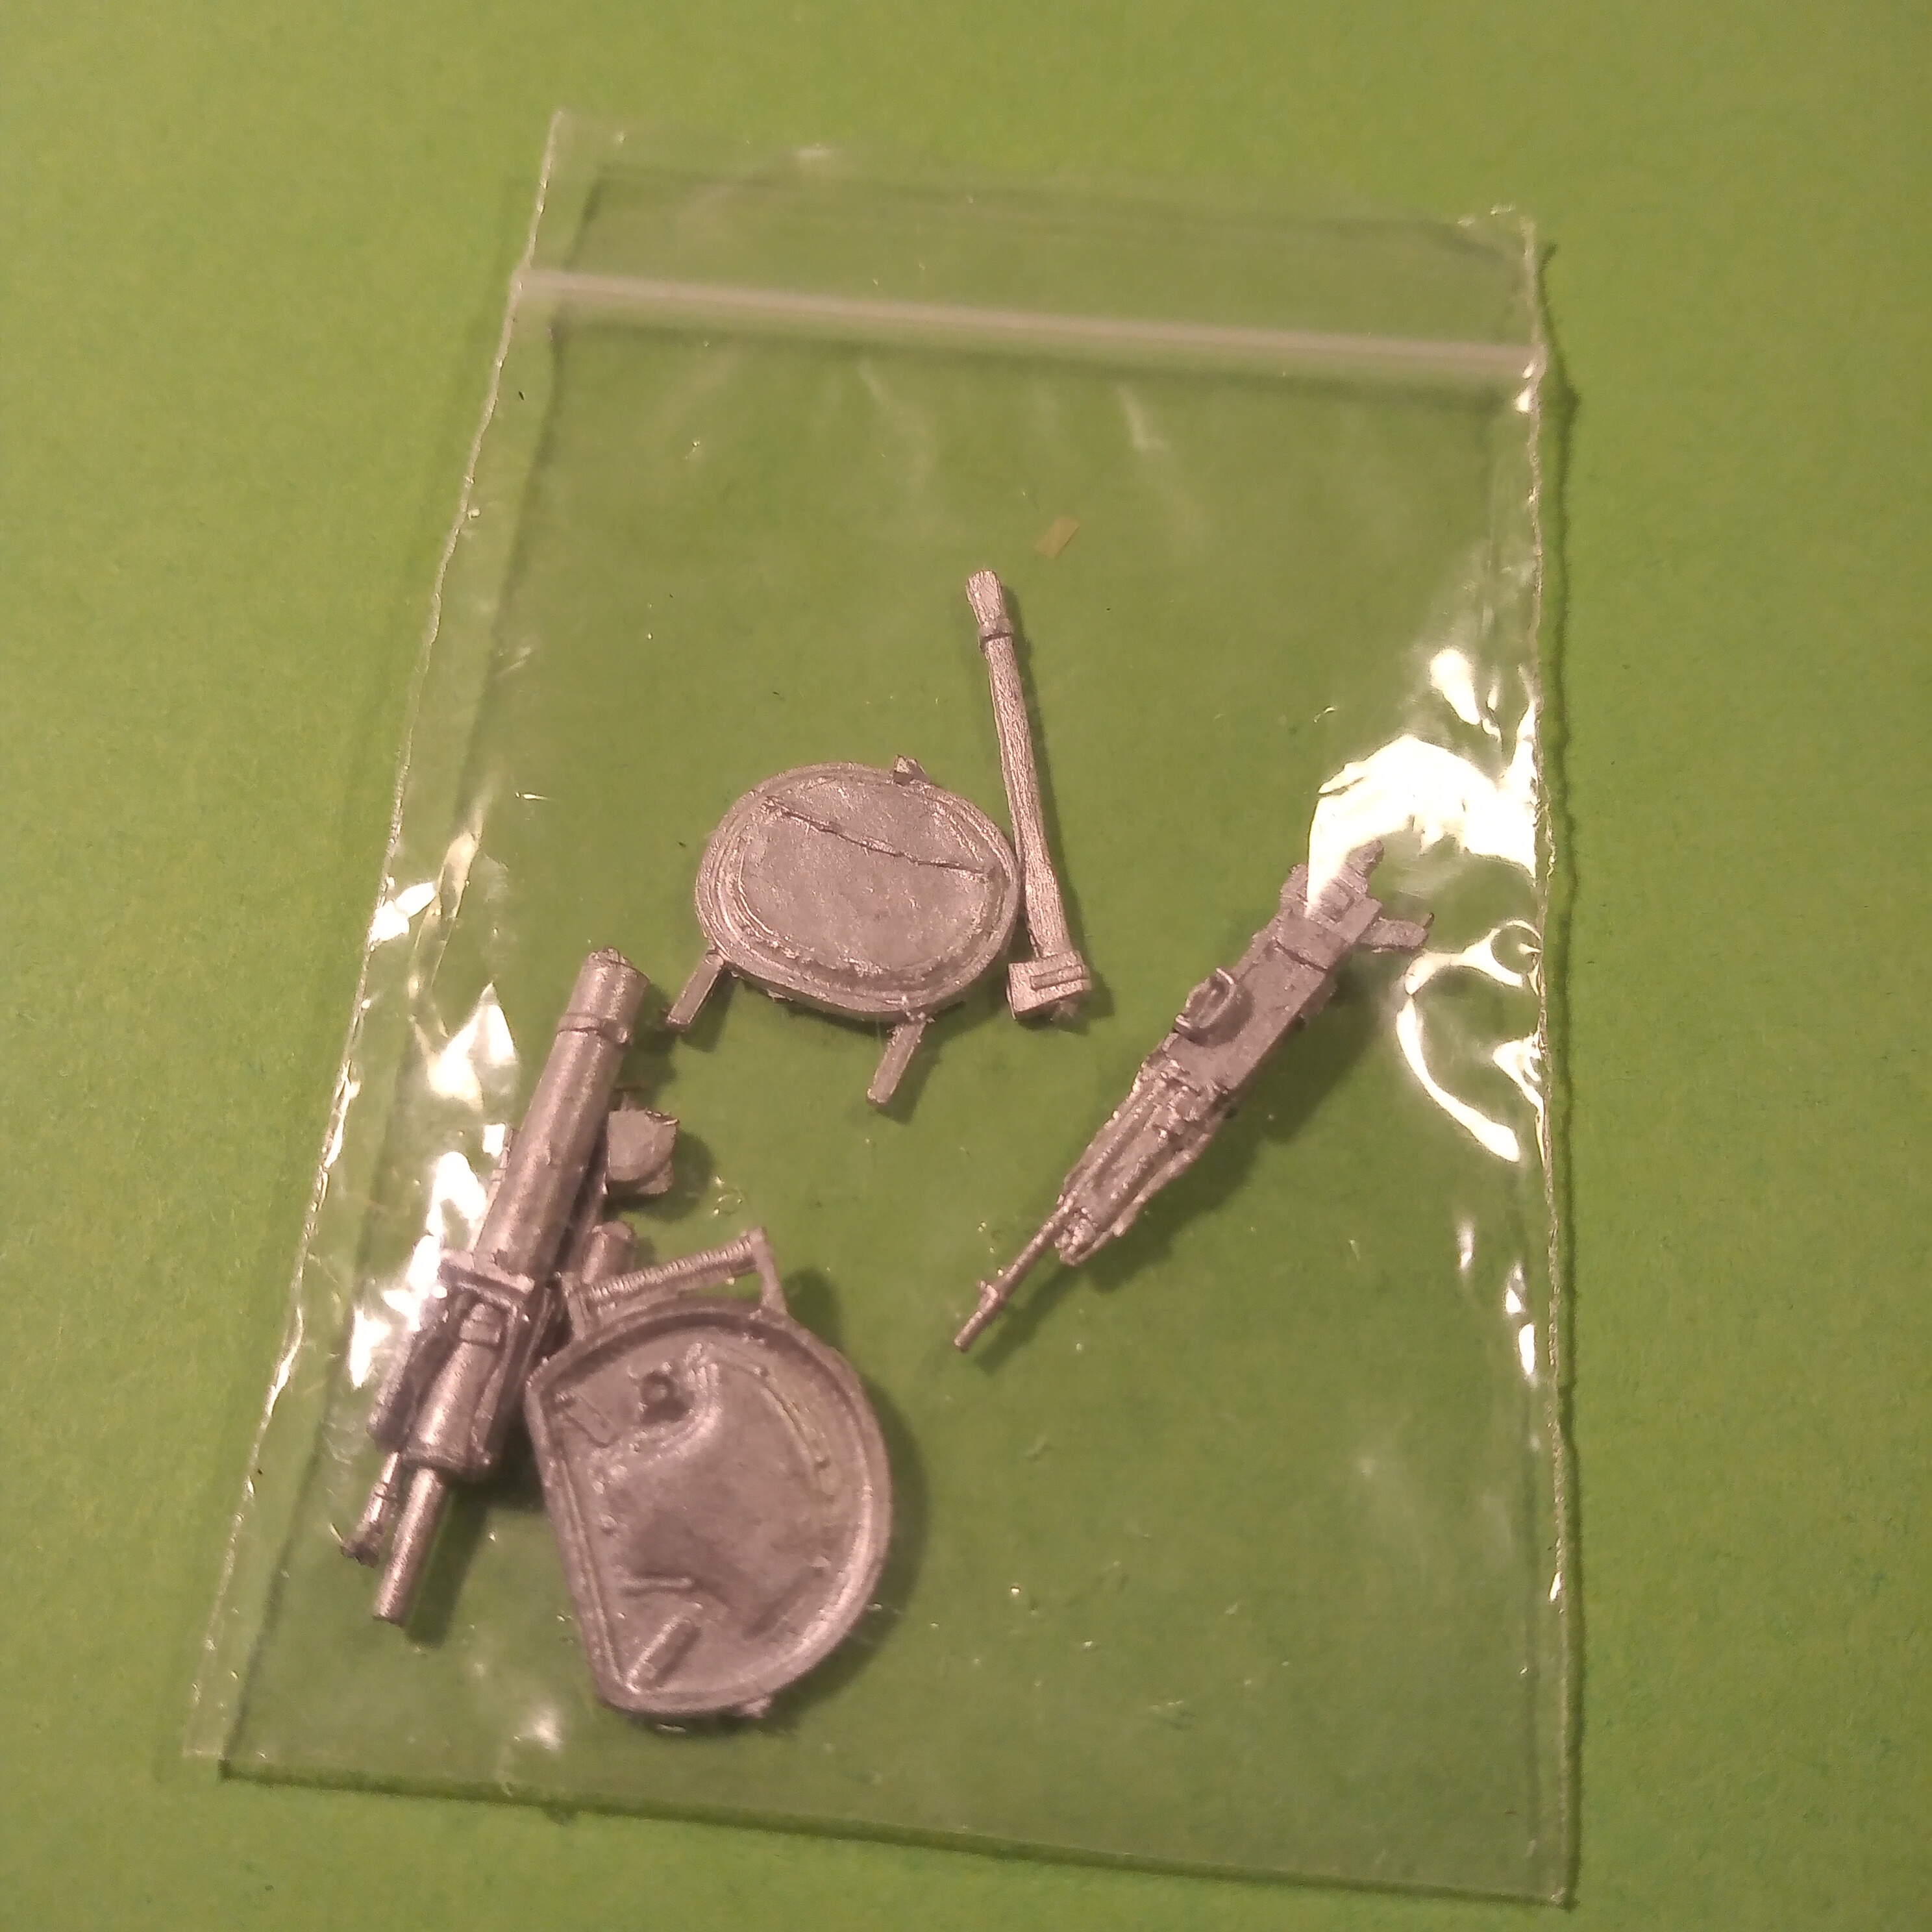
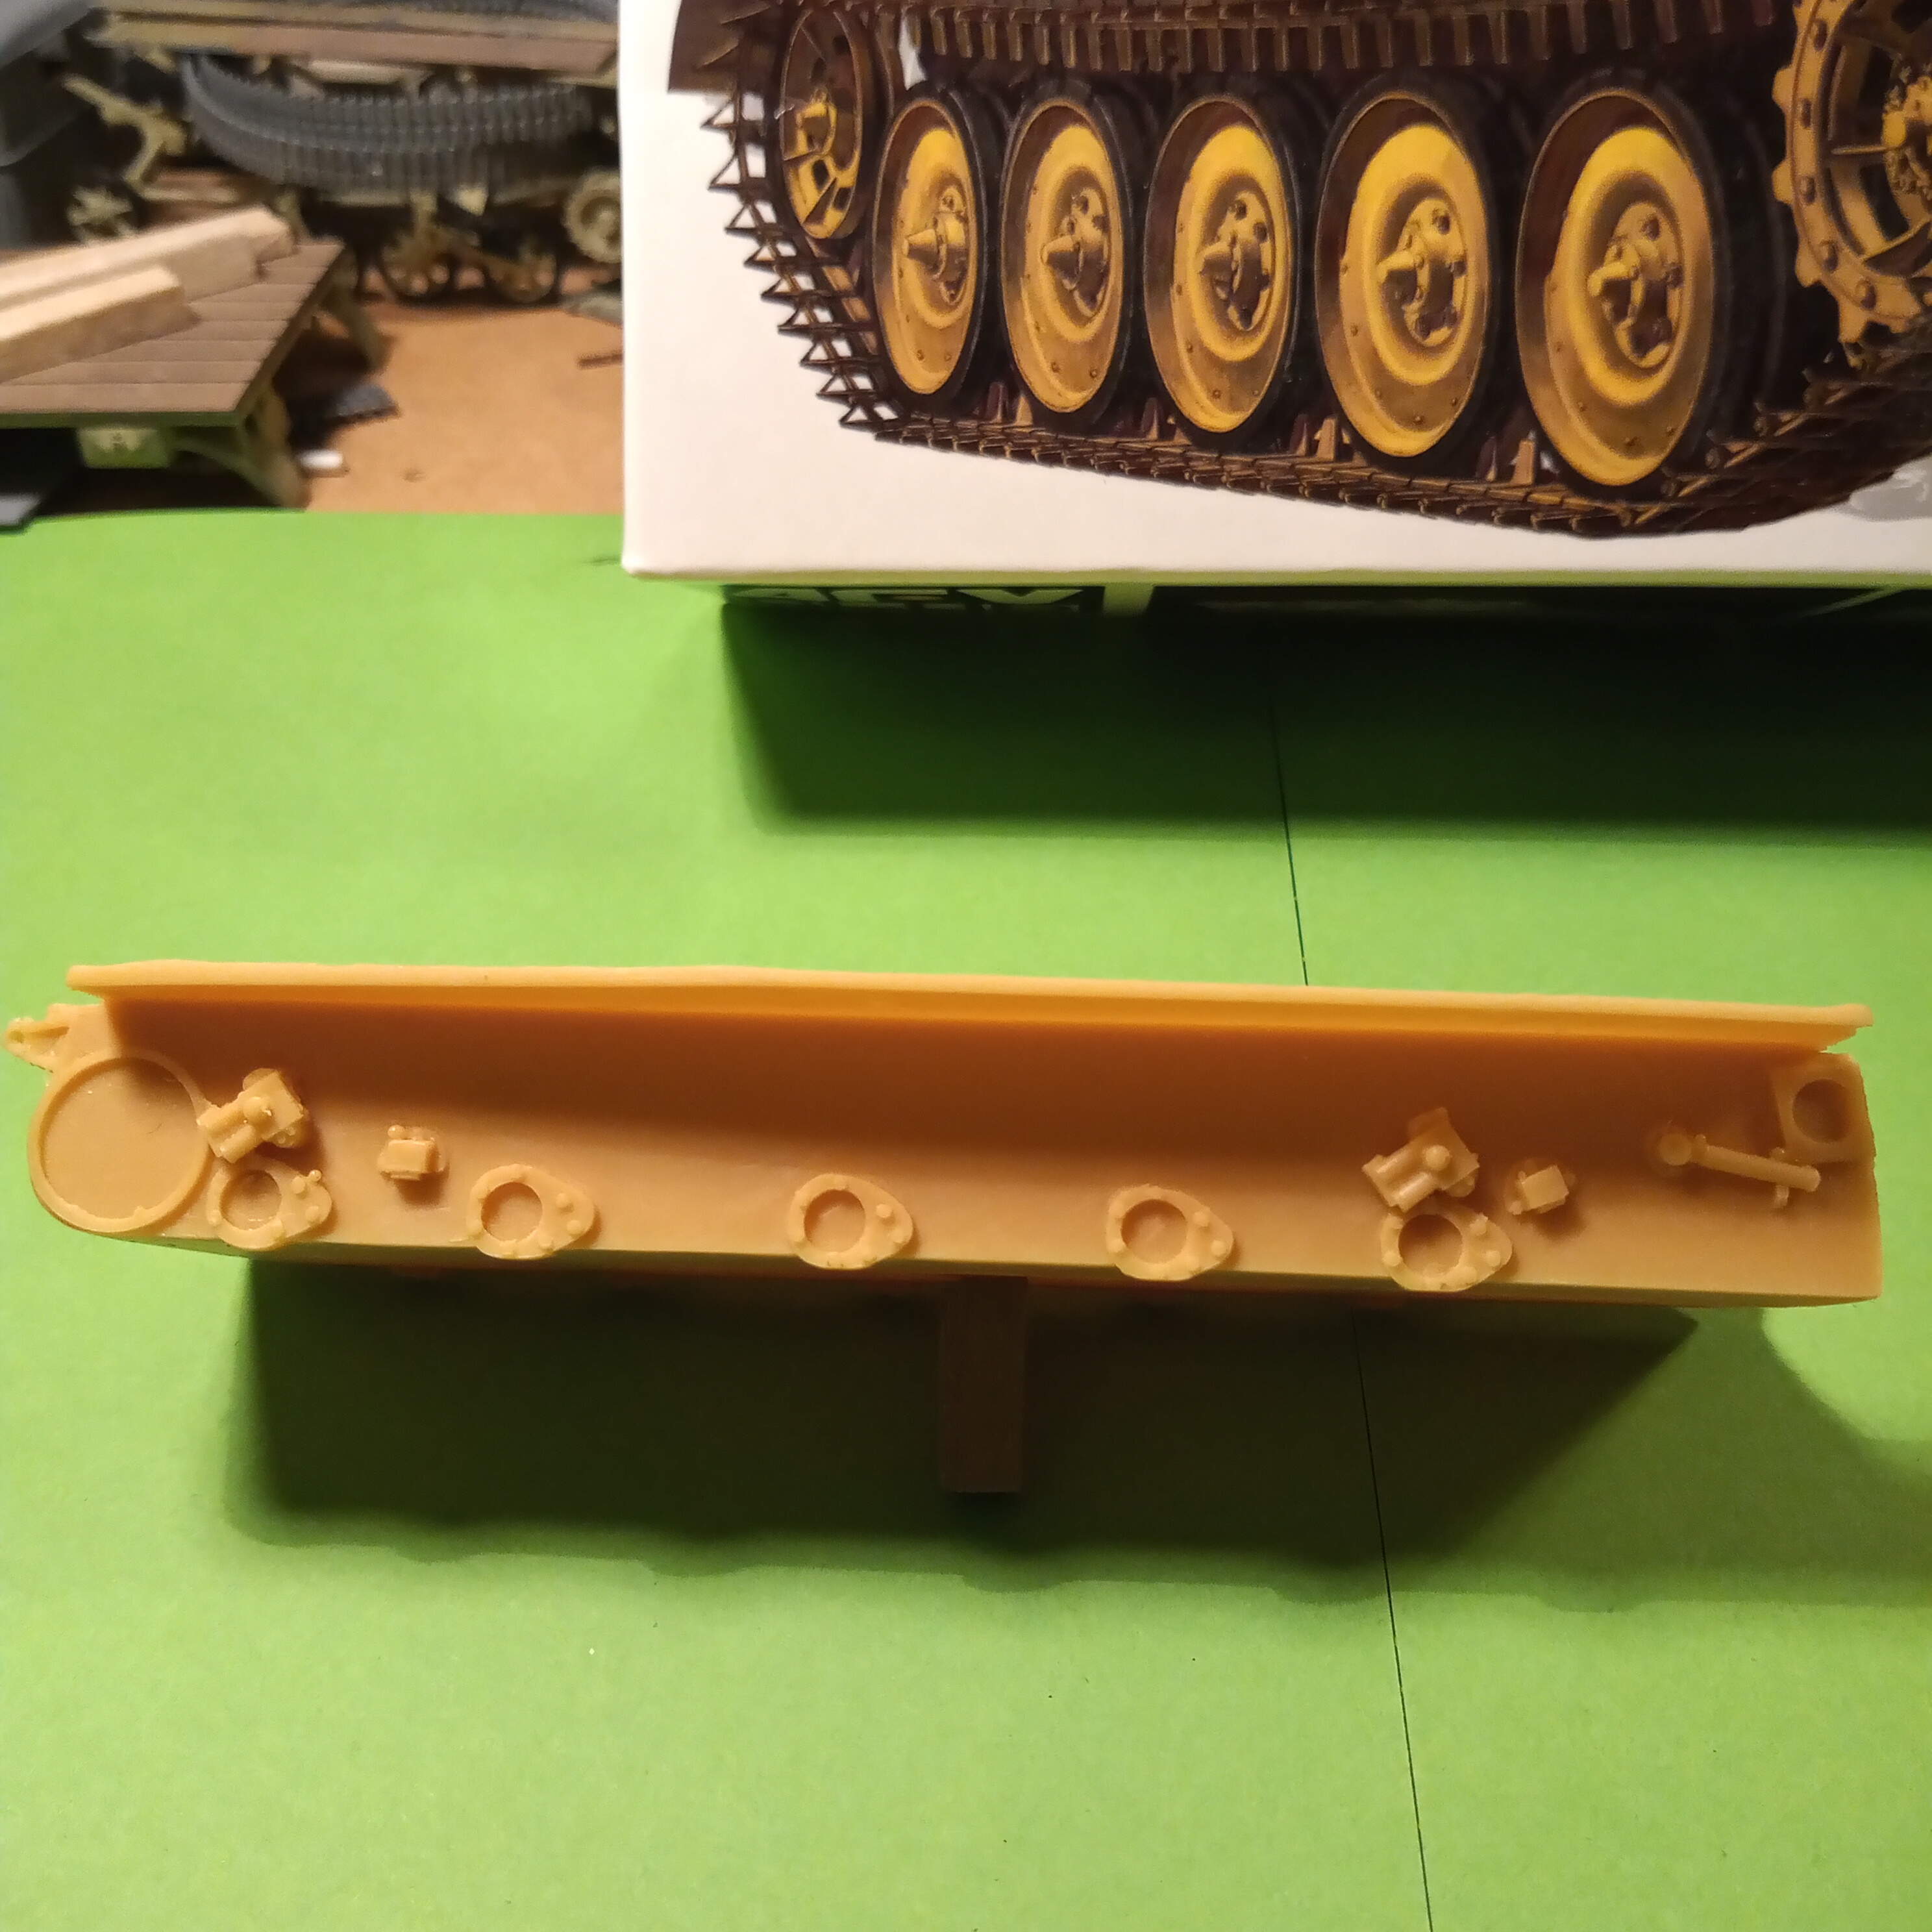
As promised, the kit.
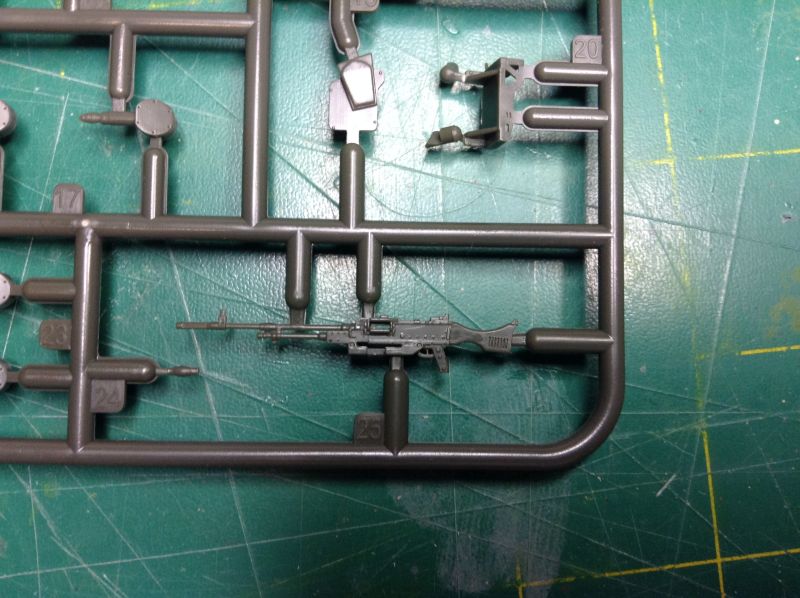
1st is the donor AFV club Scimitar. There will be a few bits being used from it, namely tracks although I may get the AFV indi links further down the road. I have been warned off the Striker resin tracks as being a bit troublesome.
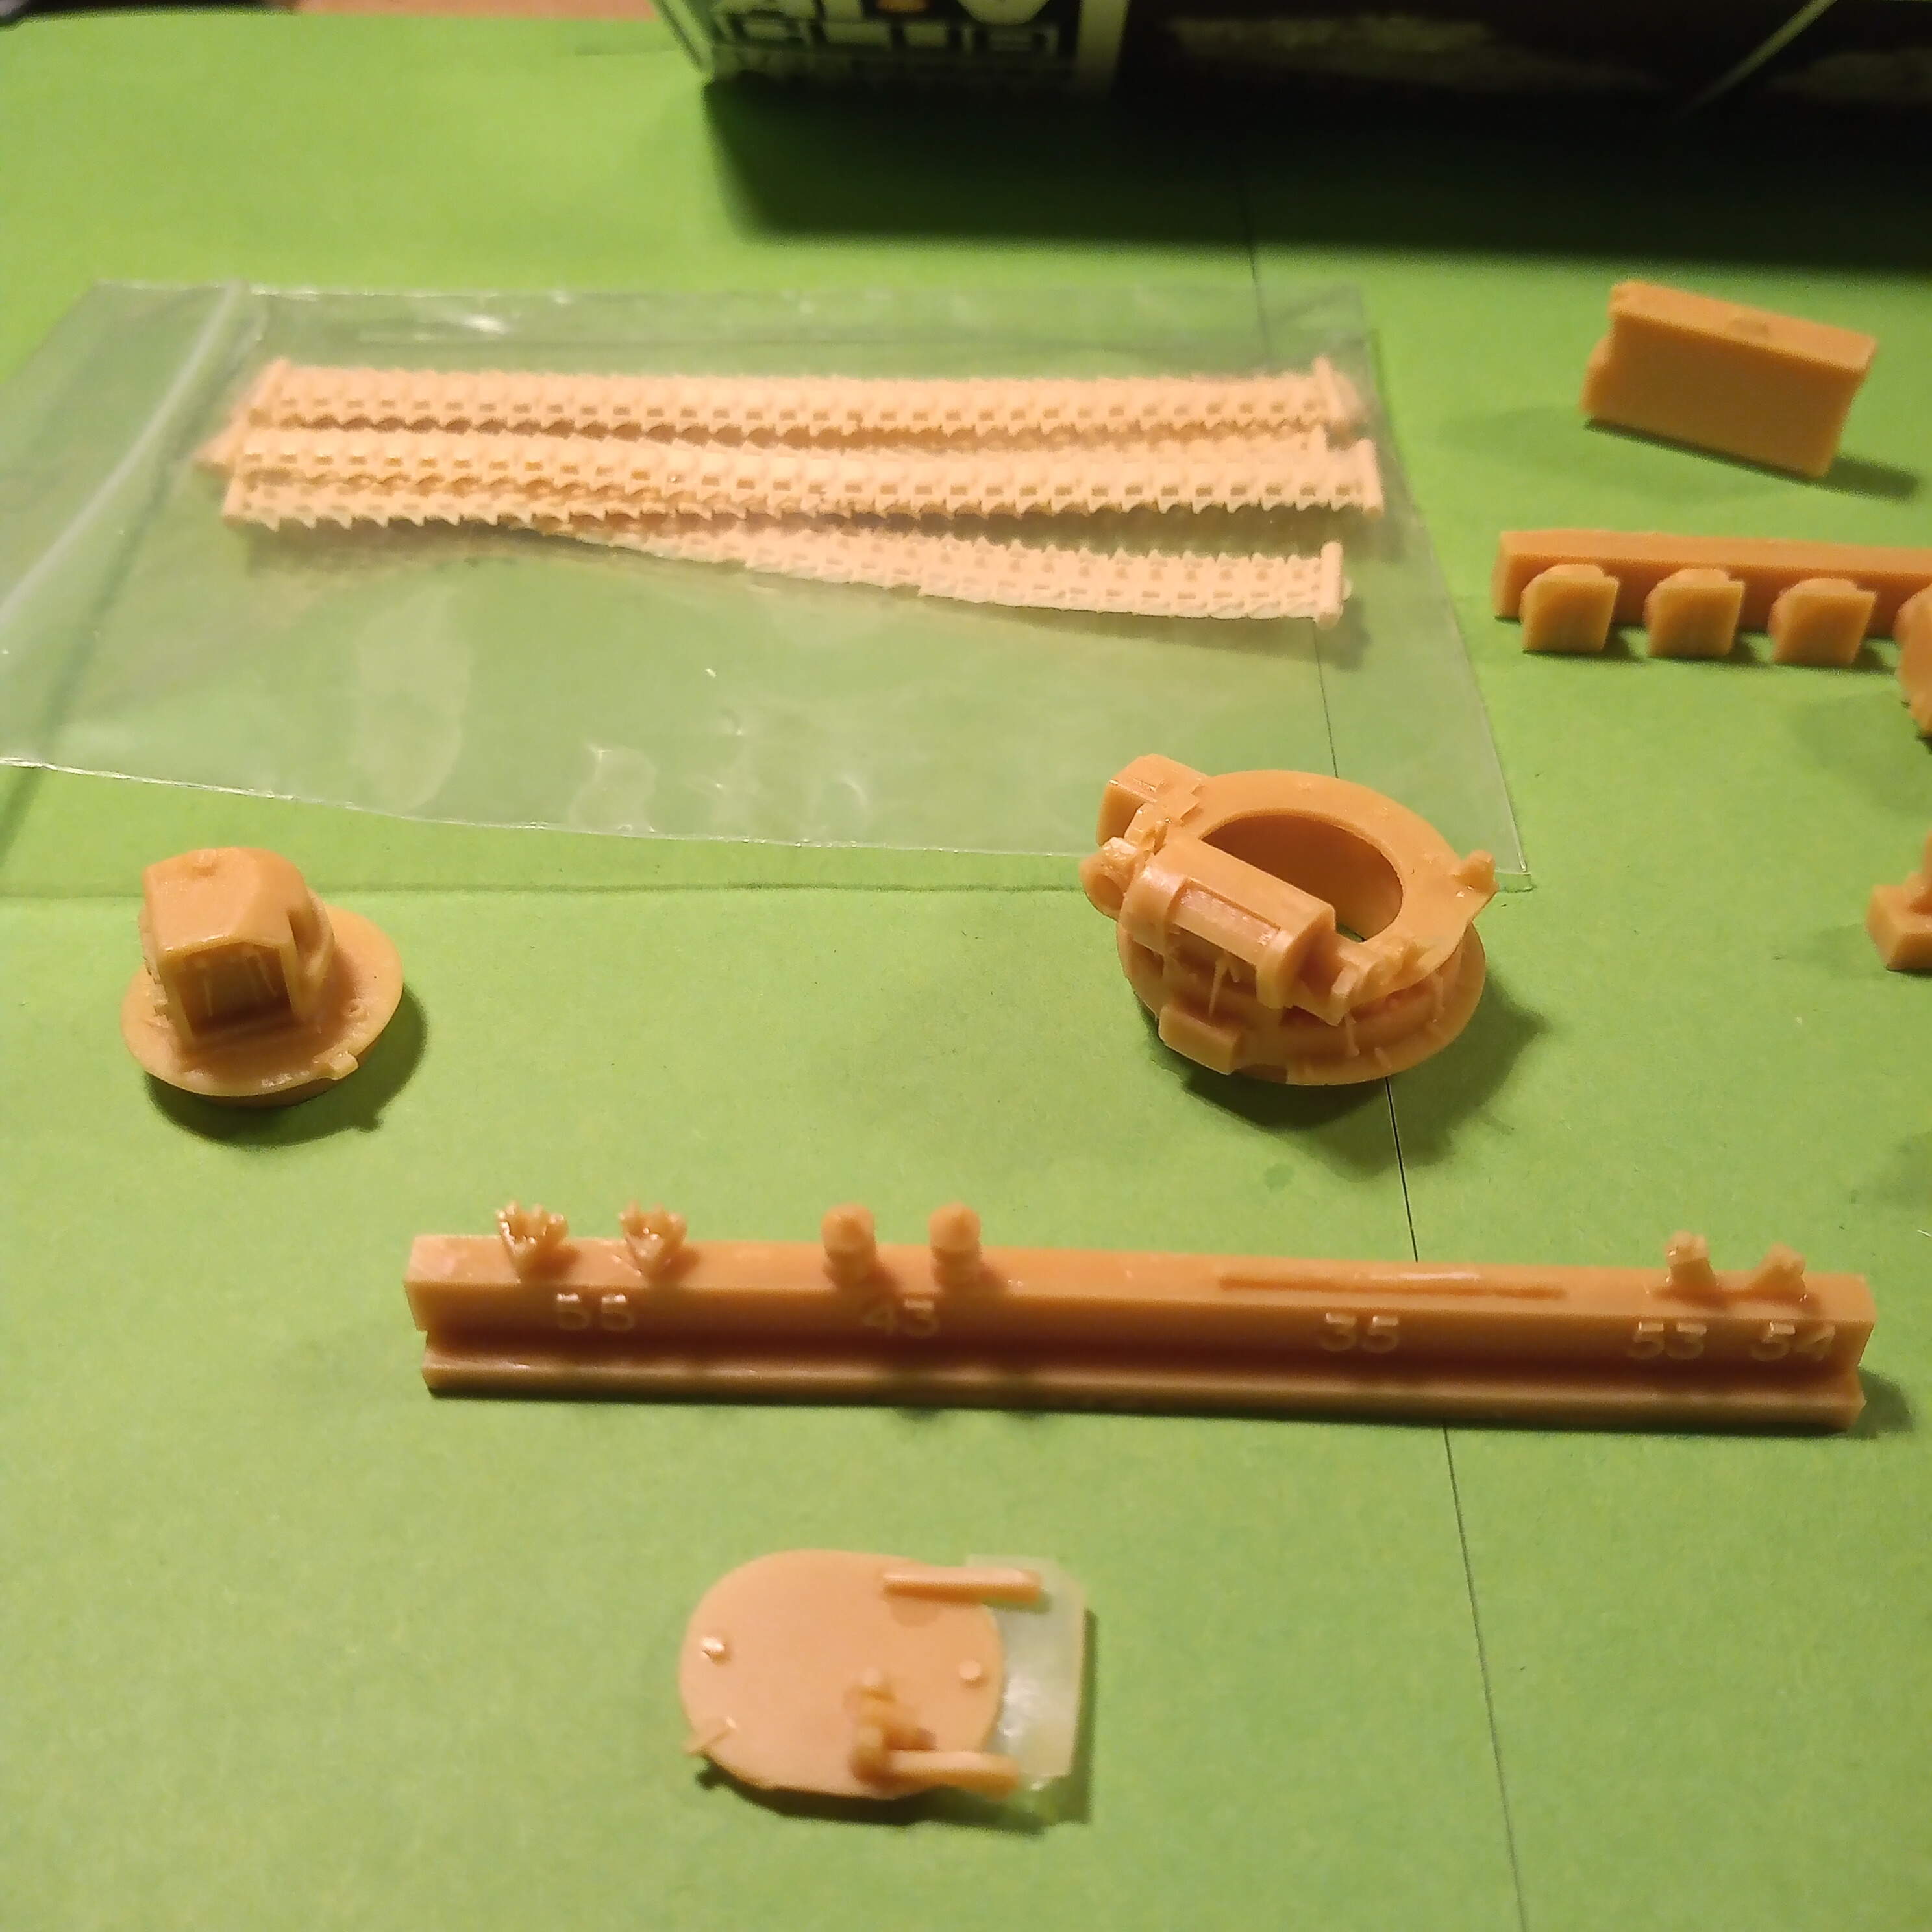
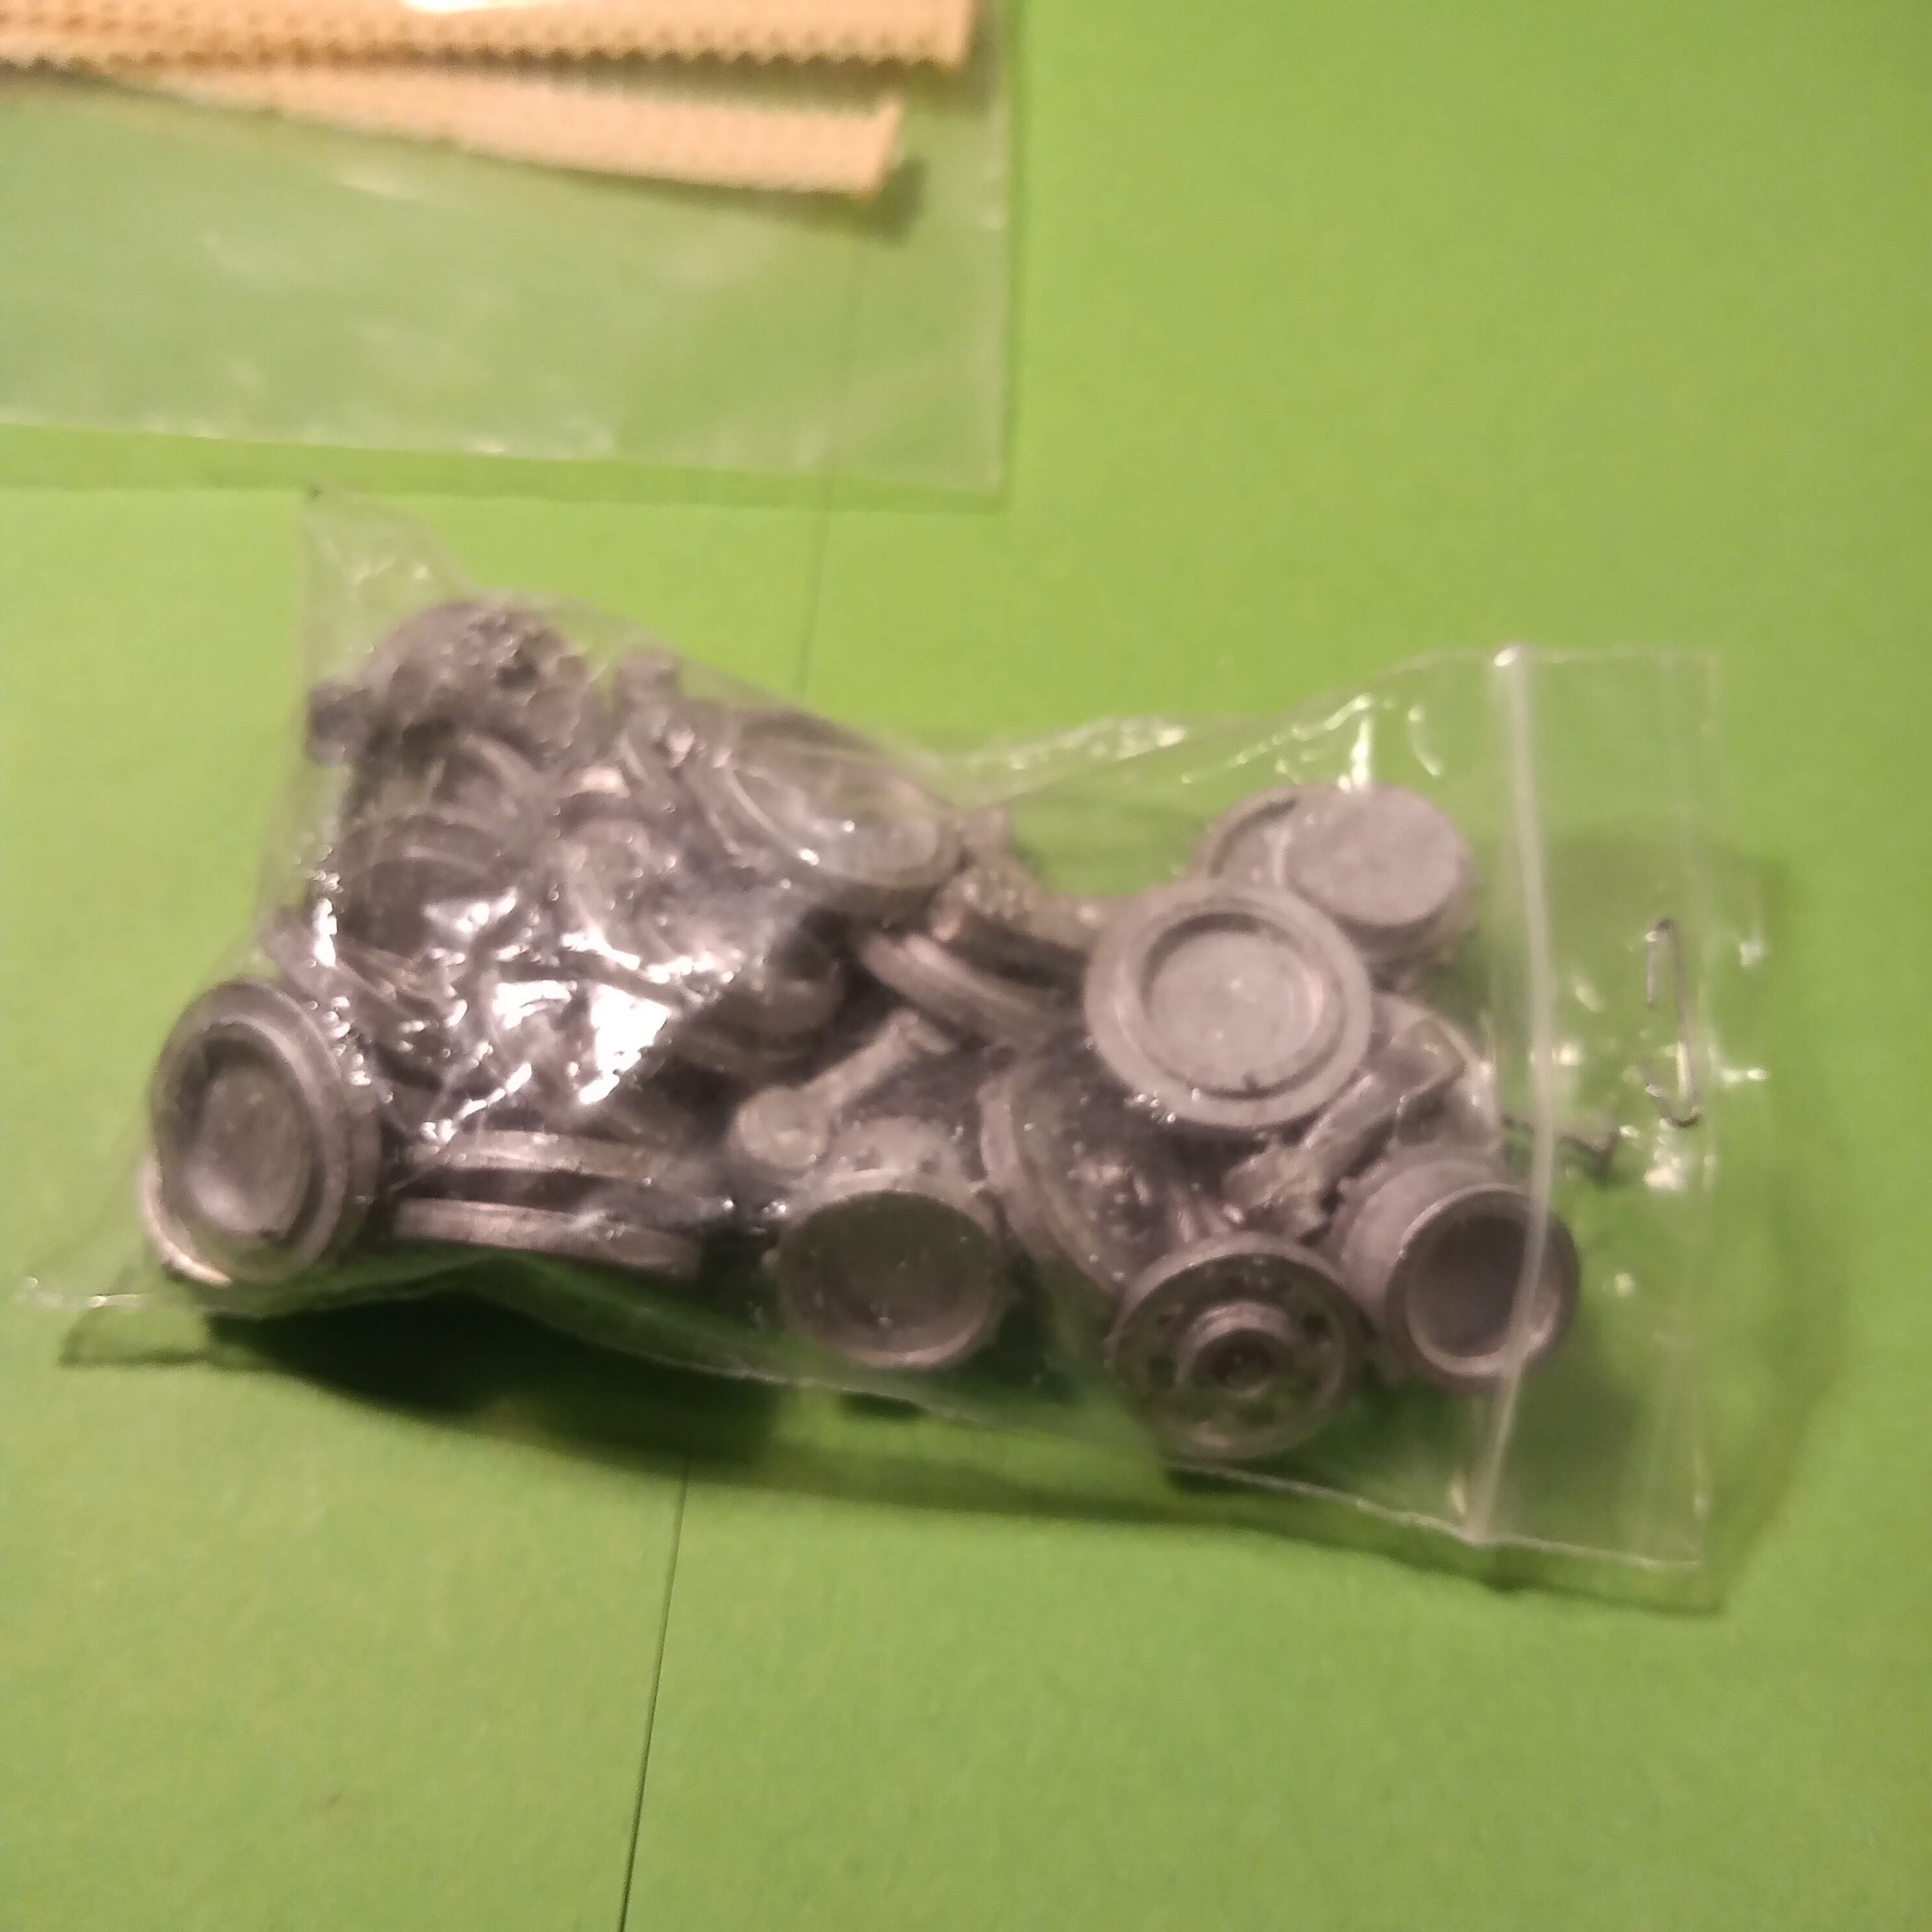
There are a few issues with these bits which I will have to address for the build. The GPMG is pretty lumpy and I can’t use it, so I’m going to try and source the one by buying the Tamiya Chally 1 kit as that’s very nice, I don’t think anyone does them on their own ?? Also the wheels are very soft on detail, so I am going to have to try and Frankenstein the AFV wheels and sprockets to the metal drop arms…could be tricky…
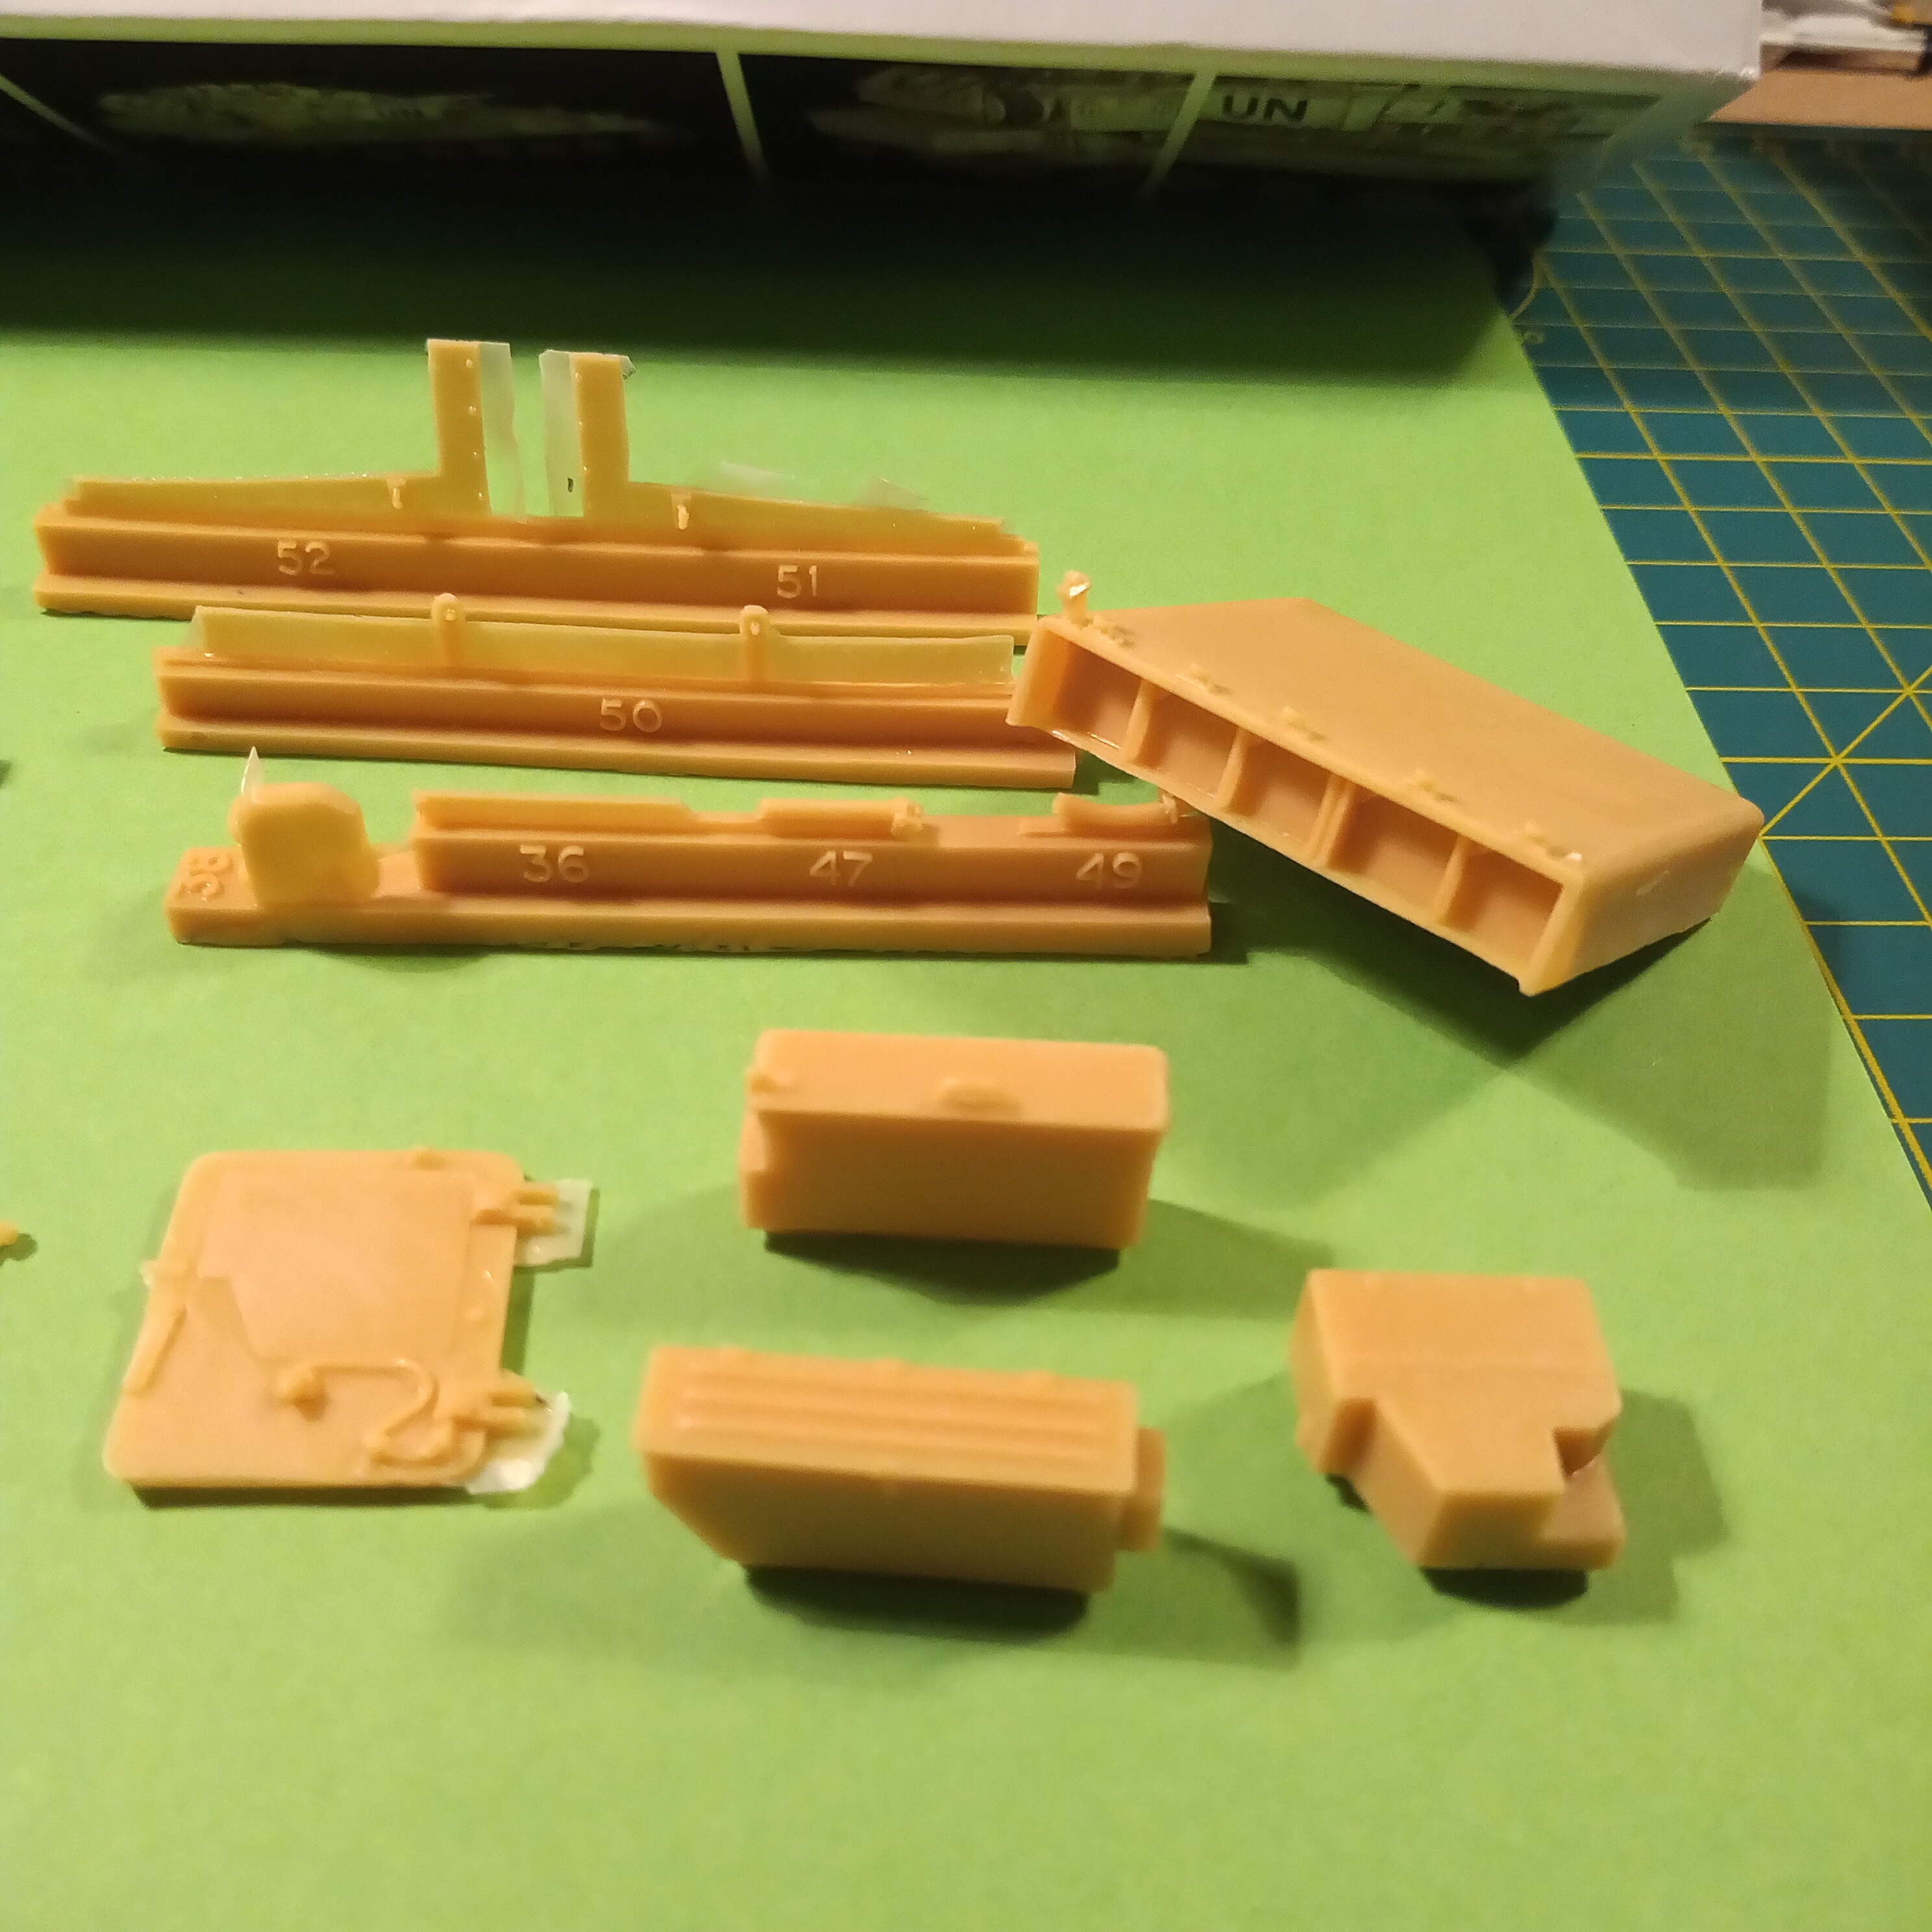
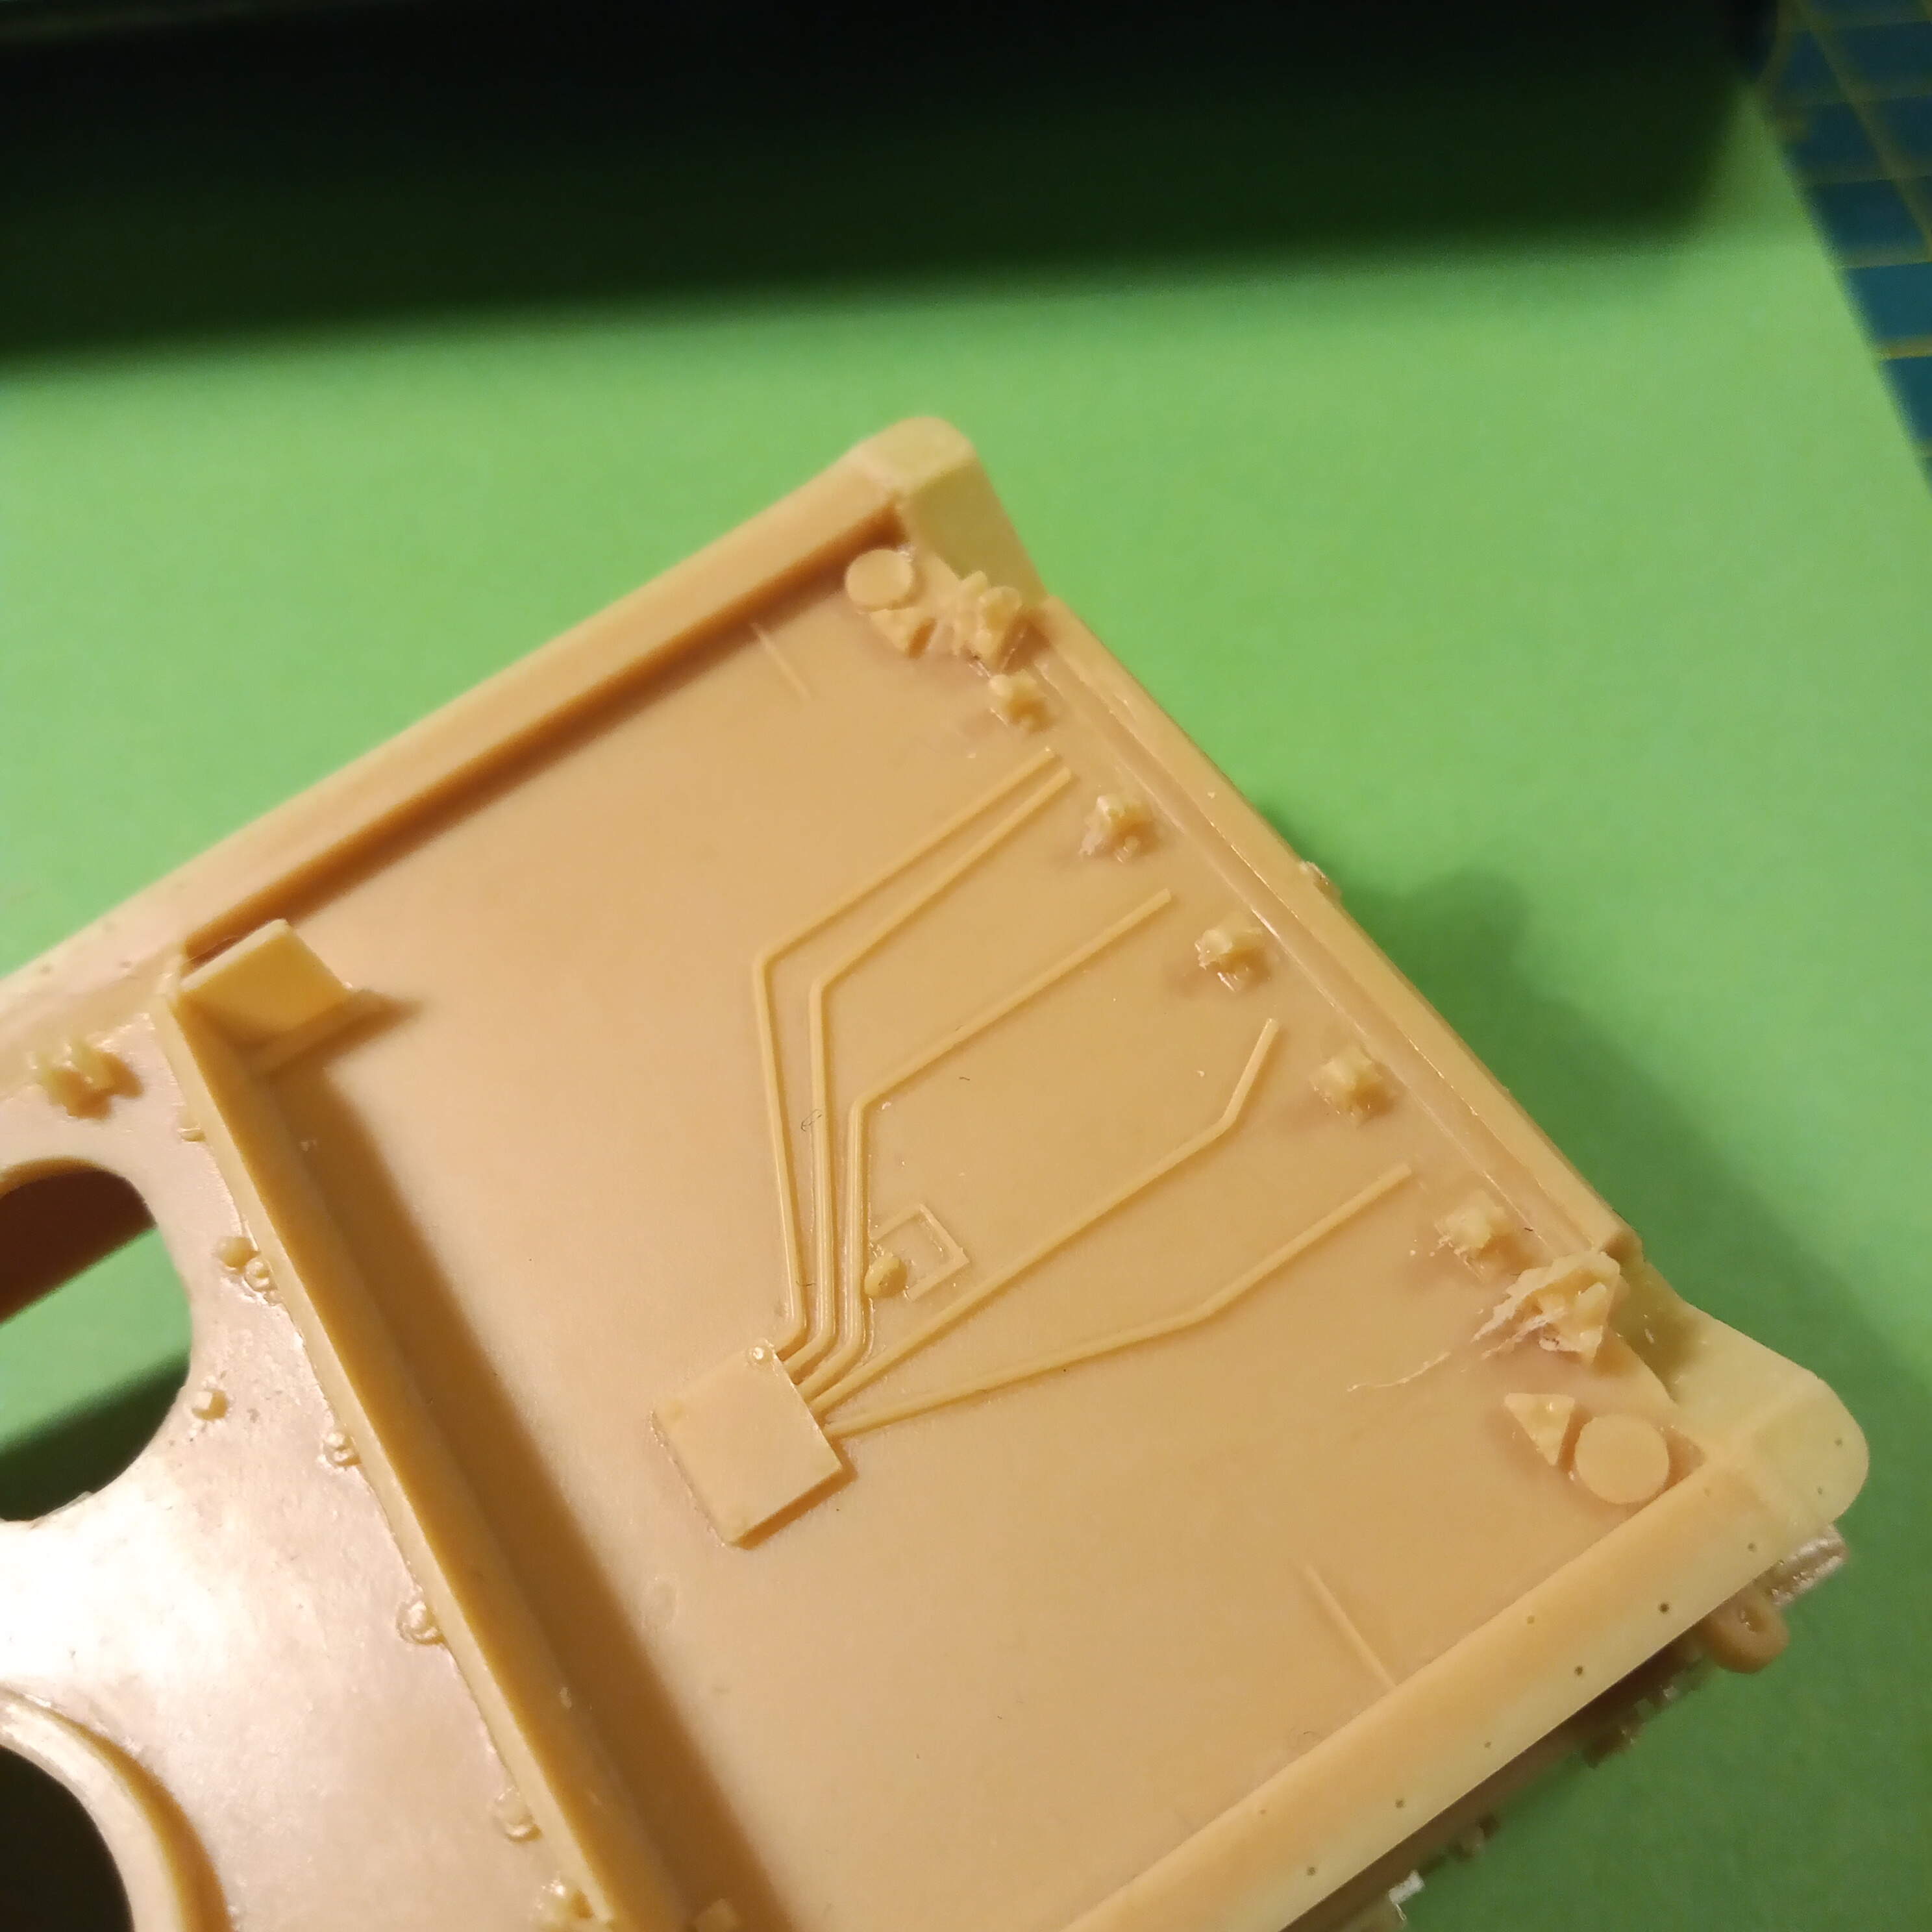
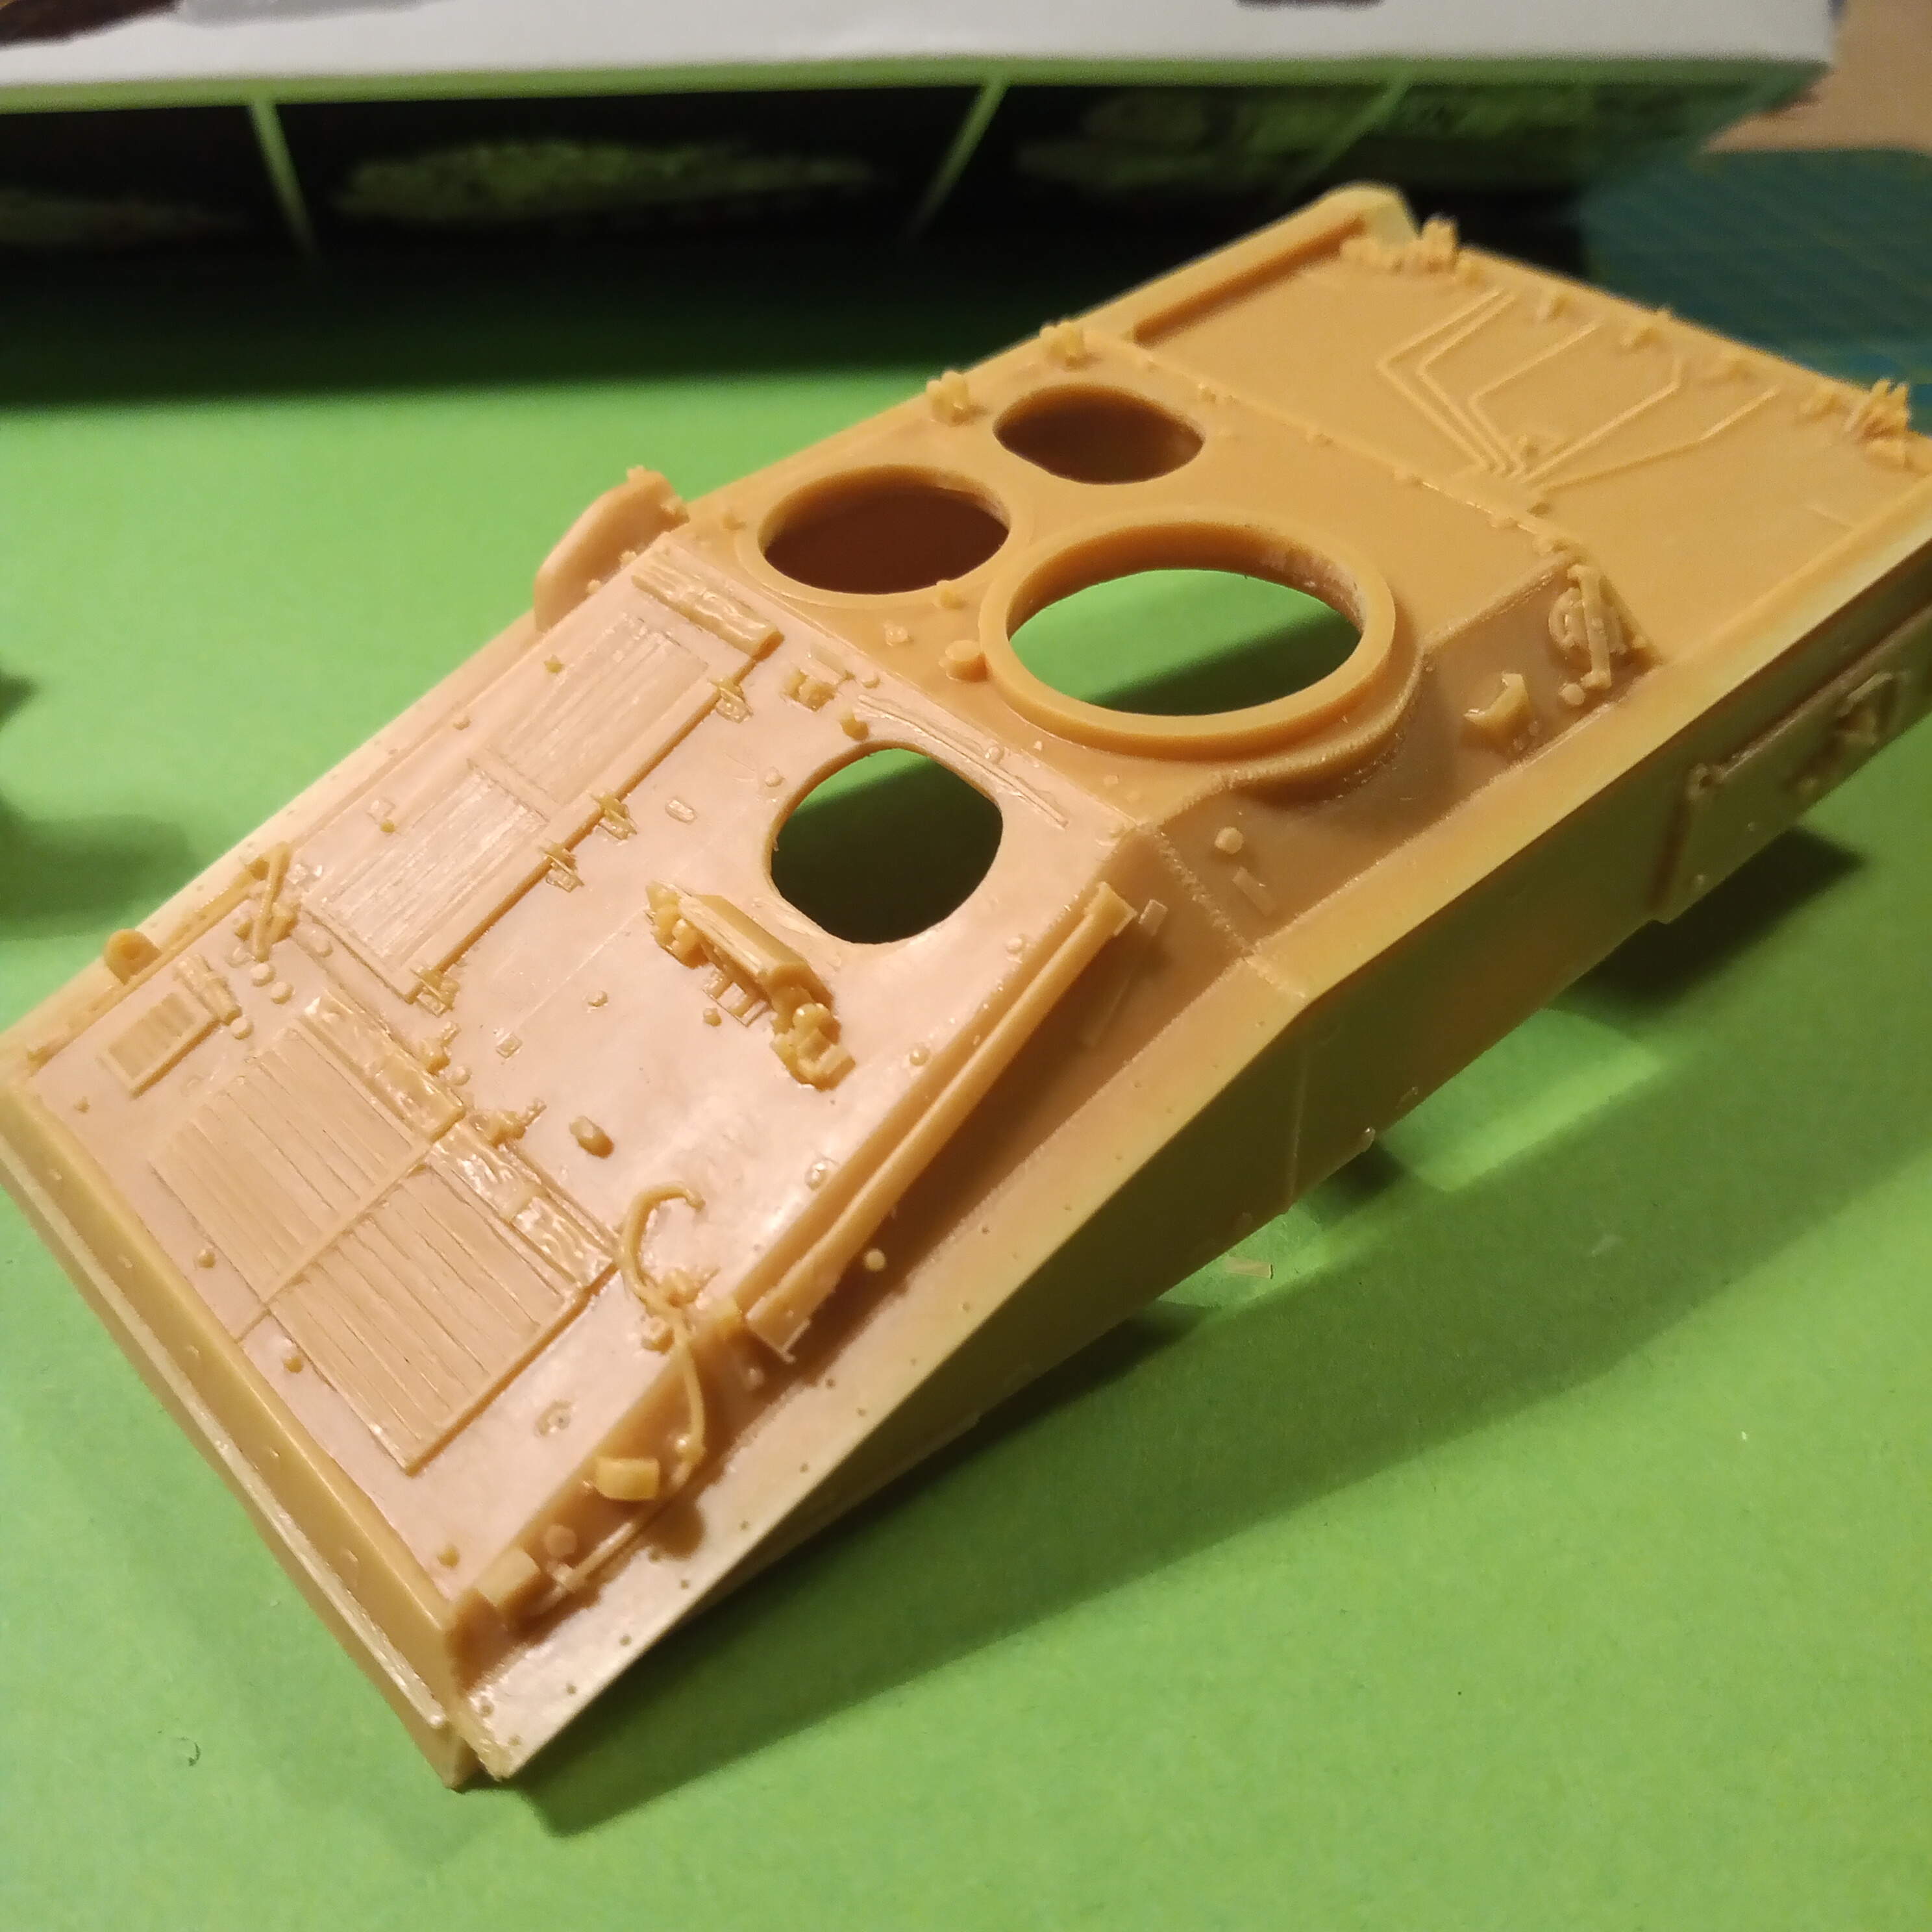
There is some nice crisp detail here in the hull, I like the firing lines to the launch bins, and upper hull is nicely detailed.
So as it stands, I’m very happy with how it is although there will be some tricky adjustment’s that I will have to deal with.
With the ability and ease to upload pics here there will be plenty of WIP shots and lots of scope to see the various cross over parts from the AFV club to the resin base kit due to the different colours…
Stay safe. And will continue with more soon fingers crossed.
I never understood why AA can cast such gorgeous pieces in resin and so bad white metal ones.
Enjoy your build. This should be a pleasant one to follow for us.
Yes, I totally get what you mean Olivier, the resin casting and finish in general is superb on mine. I know Peter had a few issues, but for mine, no complaints at all. Some of the detail is very well done, for example the Sight Alignment mount on the Launch bin is minuscule, but its there, likewise all the fine electrical cables on the hull, and the Commanders cupola etc, all really well done, then the metal parts let it down a bit to be honest. Thanks for looking in as well.
Thanks Mario, and agreed they do look nice and crisp with some clean detailing. Only problem is, they would still need to have the Butt removed to make them into an L37 for a cupola mount. Would be good to have them in the stash though …
I think your kit is much older than mine, as there are no white metal components in mine, but clearly the same moulds were used for my resin version. Yours being older would account for the crisper better moulding too.
The Gimpi is a shocker though! Although my resin version has a far better barrel end, I have the FN MAG that came with the Meng Panzerhaubitz 2000 - it is for the Dutch version - and I’ll look at that a bit closer for a replacement.
Maybe an option for you if you know anyone with the kit that is prepared to give it to you…
As to the AA kit, when attaching the swing arms, may I suggest you drill into the hull and the rear of the swing arm and glue in a steel pin in the hull. That way you press the arm on that and you can move them all into the right position then just drop cyano between the hull and arm to set them at the correct placement. A lot easier than trying to get them right by glueing direct to the hull with the shallow depression the kit has.
Whilst the measurement of the road wheels outside to outside are roughly the same between AFV Club and AA, AFV’s wheels are thinner allowing for a wider gap for the guidehorn. You will also find that AFV’s Drive sprockets are much larger and wide when assembled than AA’s, so the resin tracks are no good to you.
Thanks for all that @petbat , The bits about the wheels and drop arms will be good to know; I had thought along the same lines as a possible option, so its good to know great minds think alike lol !!!
As to the resin tracks, I wasn’t going to use them anyway. Andreas already told me they are a nightmare and I was going to be using the AFV ones for the Scimitar as I know I can get the correct track sag with those as per the Scimitar I did. and with those, the AFV sprockets and running gear will be nice and snug. I may still opt for the AFV indi link set … but will decide on that later.
Ref the GPMG, if you use that one, or any L8 style one, you will need to remove the Butt and make a suitable type of recoil buffer to show it as an L37, that in itself is pretty easy to be honest. yours also looks like it comes with part of a mounting system fitted to the underside … that will need to be removed as well. On a side note, it isnt really critical that you have a GPMG fitted, as we never had them in all the time, however, they do look good lol.
I think mine from Andreas was a very old one as I remember him saying he had it for possibly decades if I remember correctly. On my instruction sheet, it mentions him as an adviser to the kit - Kudos @AKirchhoff