I think Accurate Armor got some also.
https://accurate-armour.com/aa-products/135th-accessories/a024
1 Like
Thanks everyone, but I think I have sorted the tow rope issue 
Added a GPMG front mounting pin chain, it is probably a little over scale but it should get away with it if you’re not to eagle eyed 

And with the GMPG fitted.
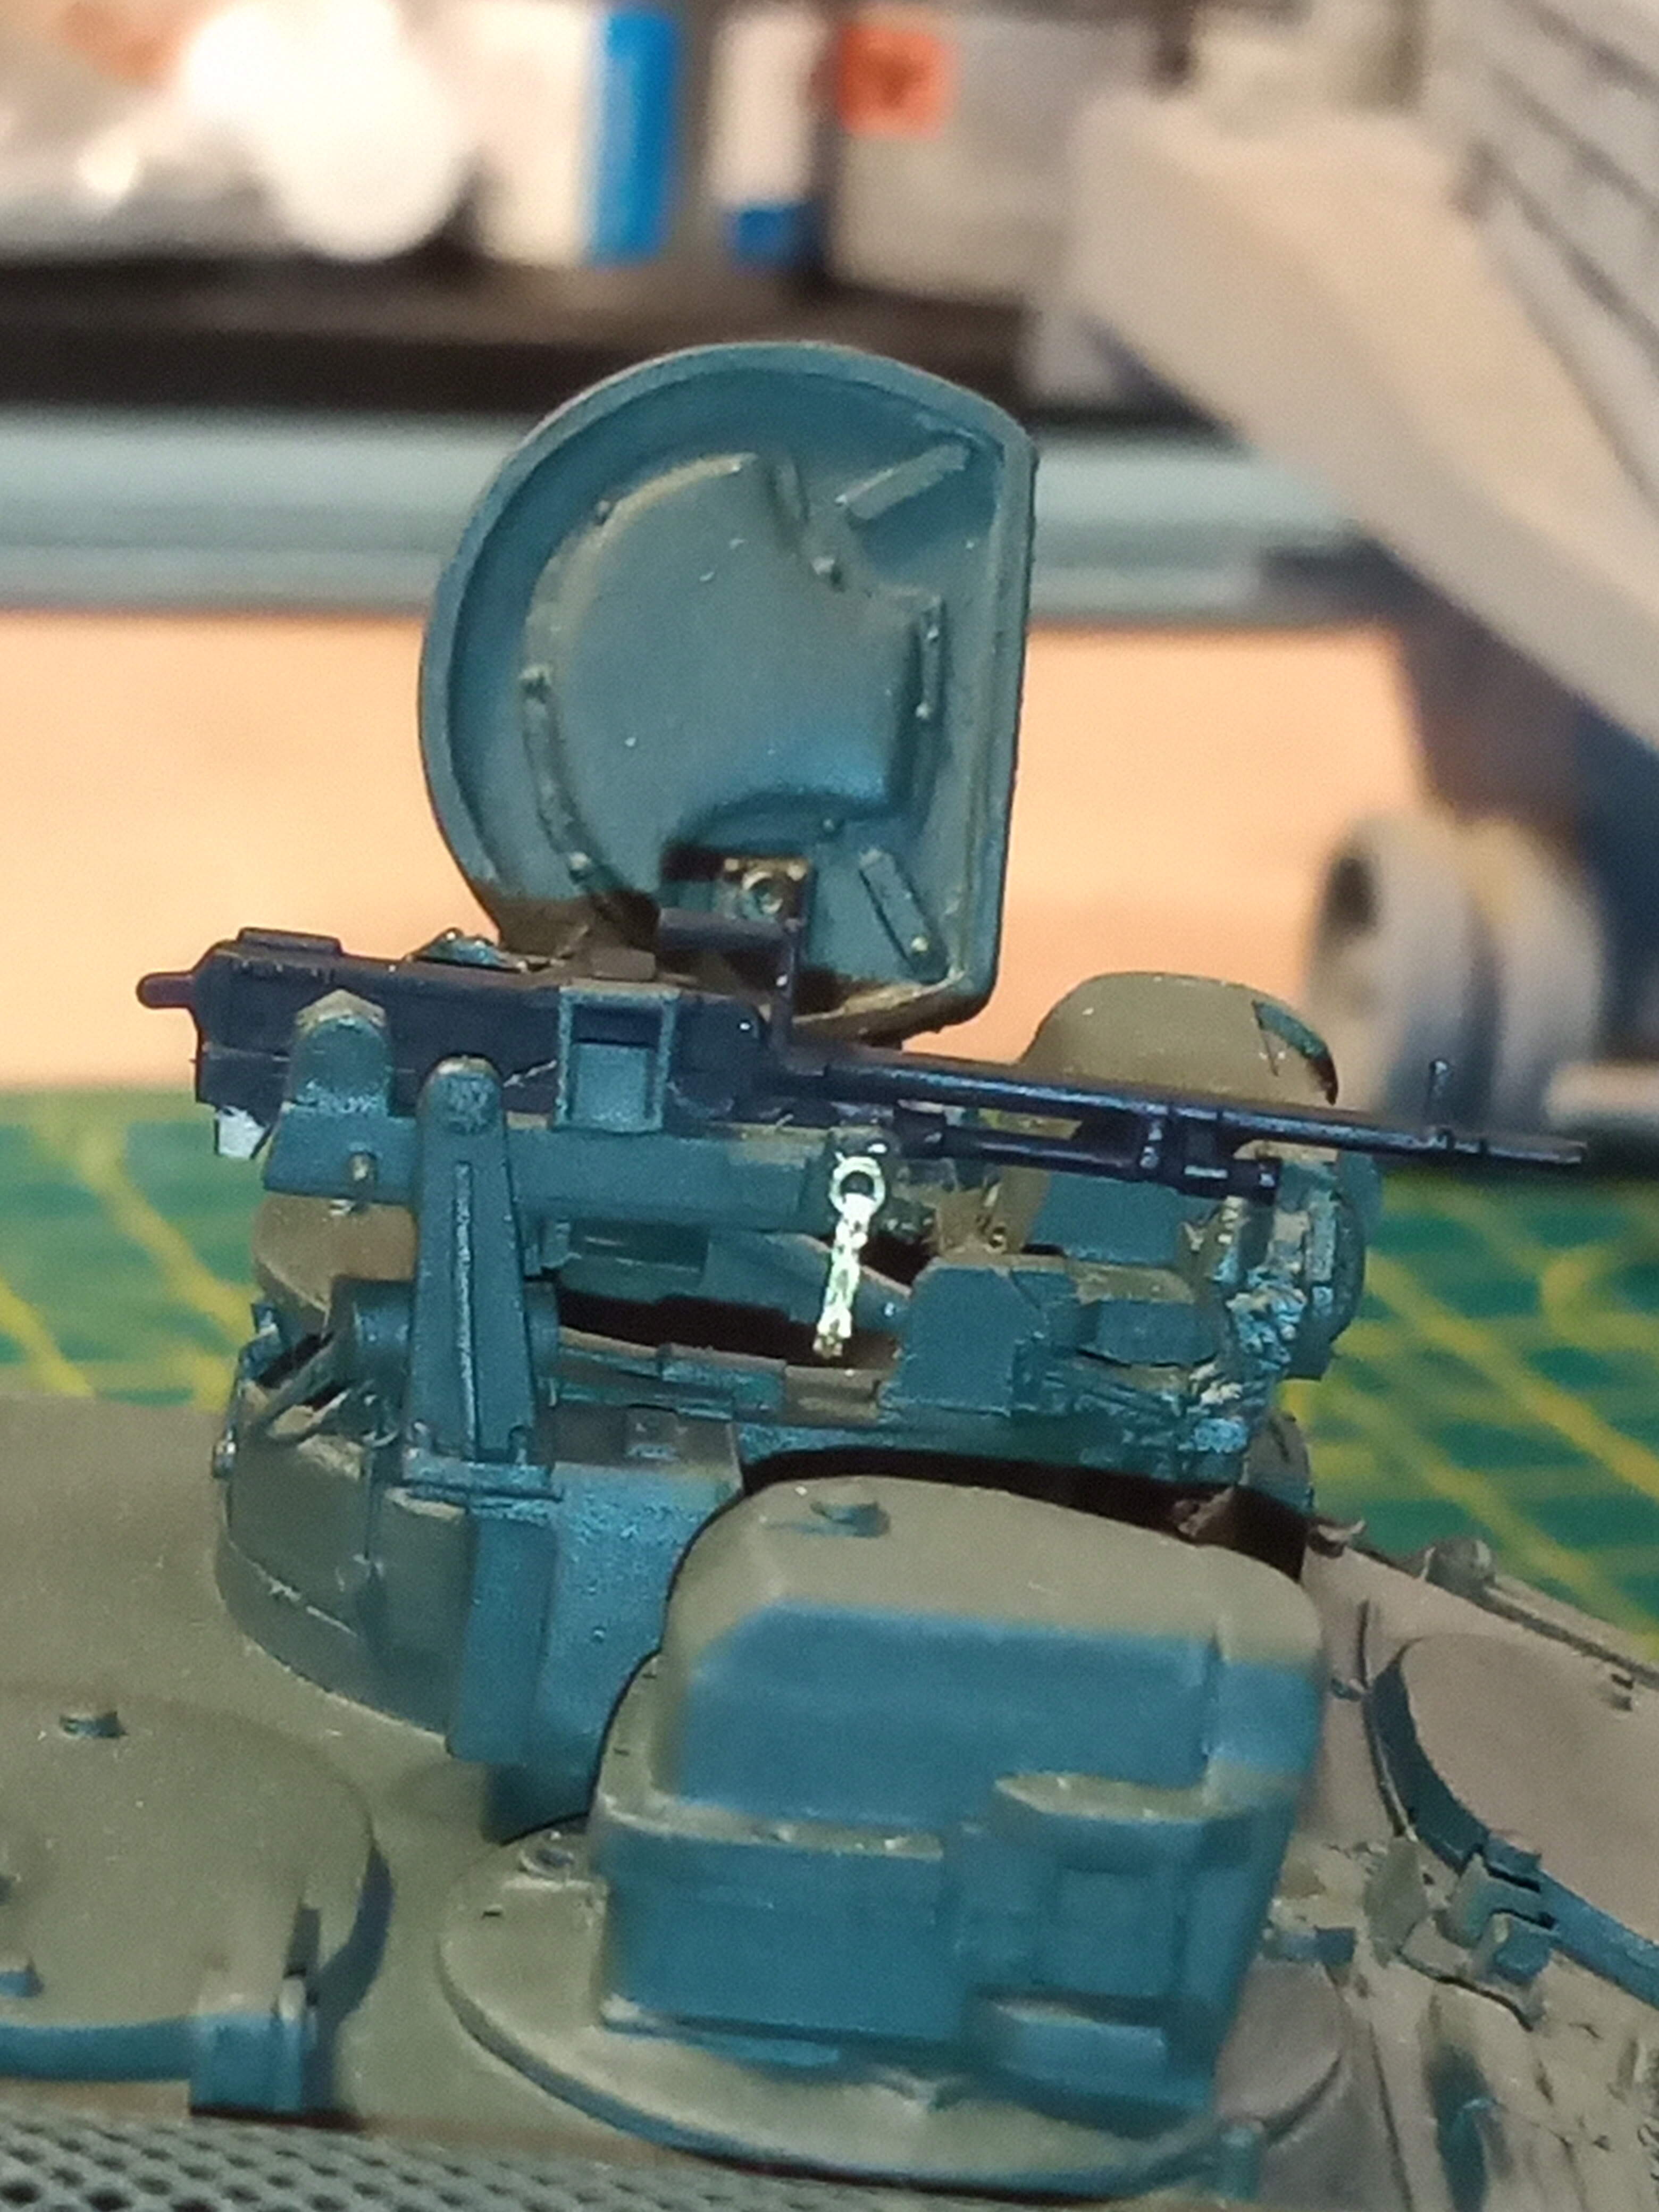
I decided I wasn’t going to try and change the barrel as my wagon usually covered the ground sentry when we layed out so the ground mounted barrel was usually on.
7 Likes
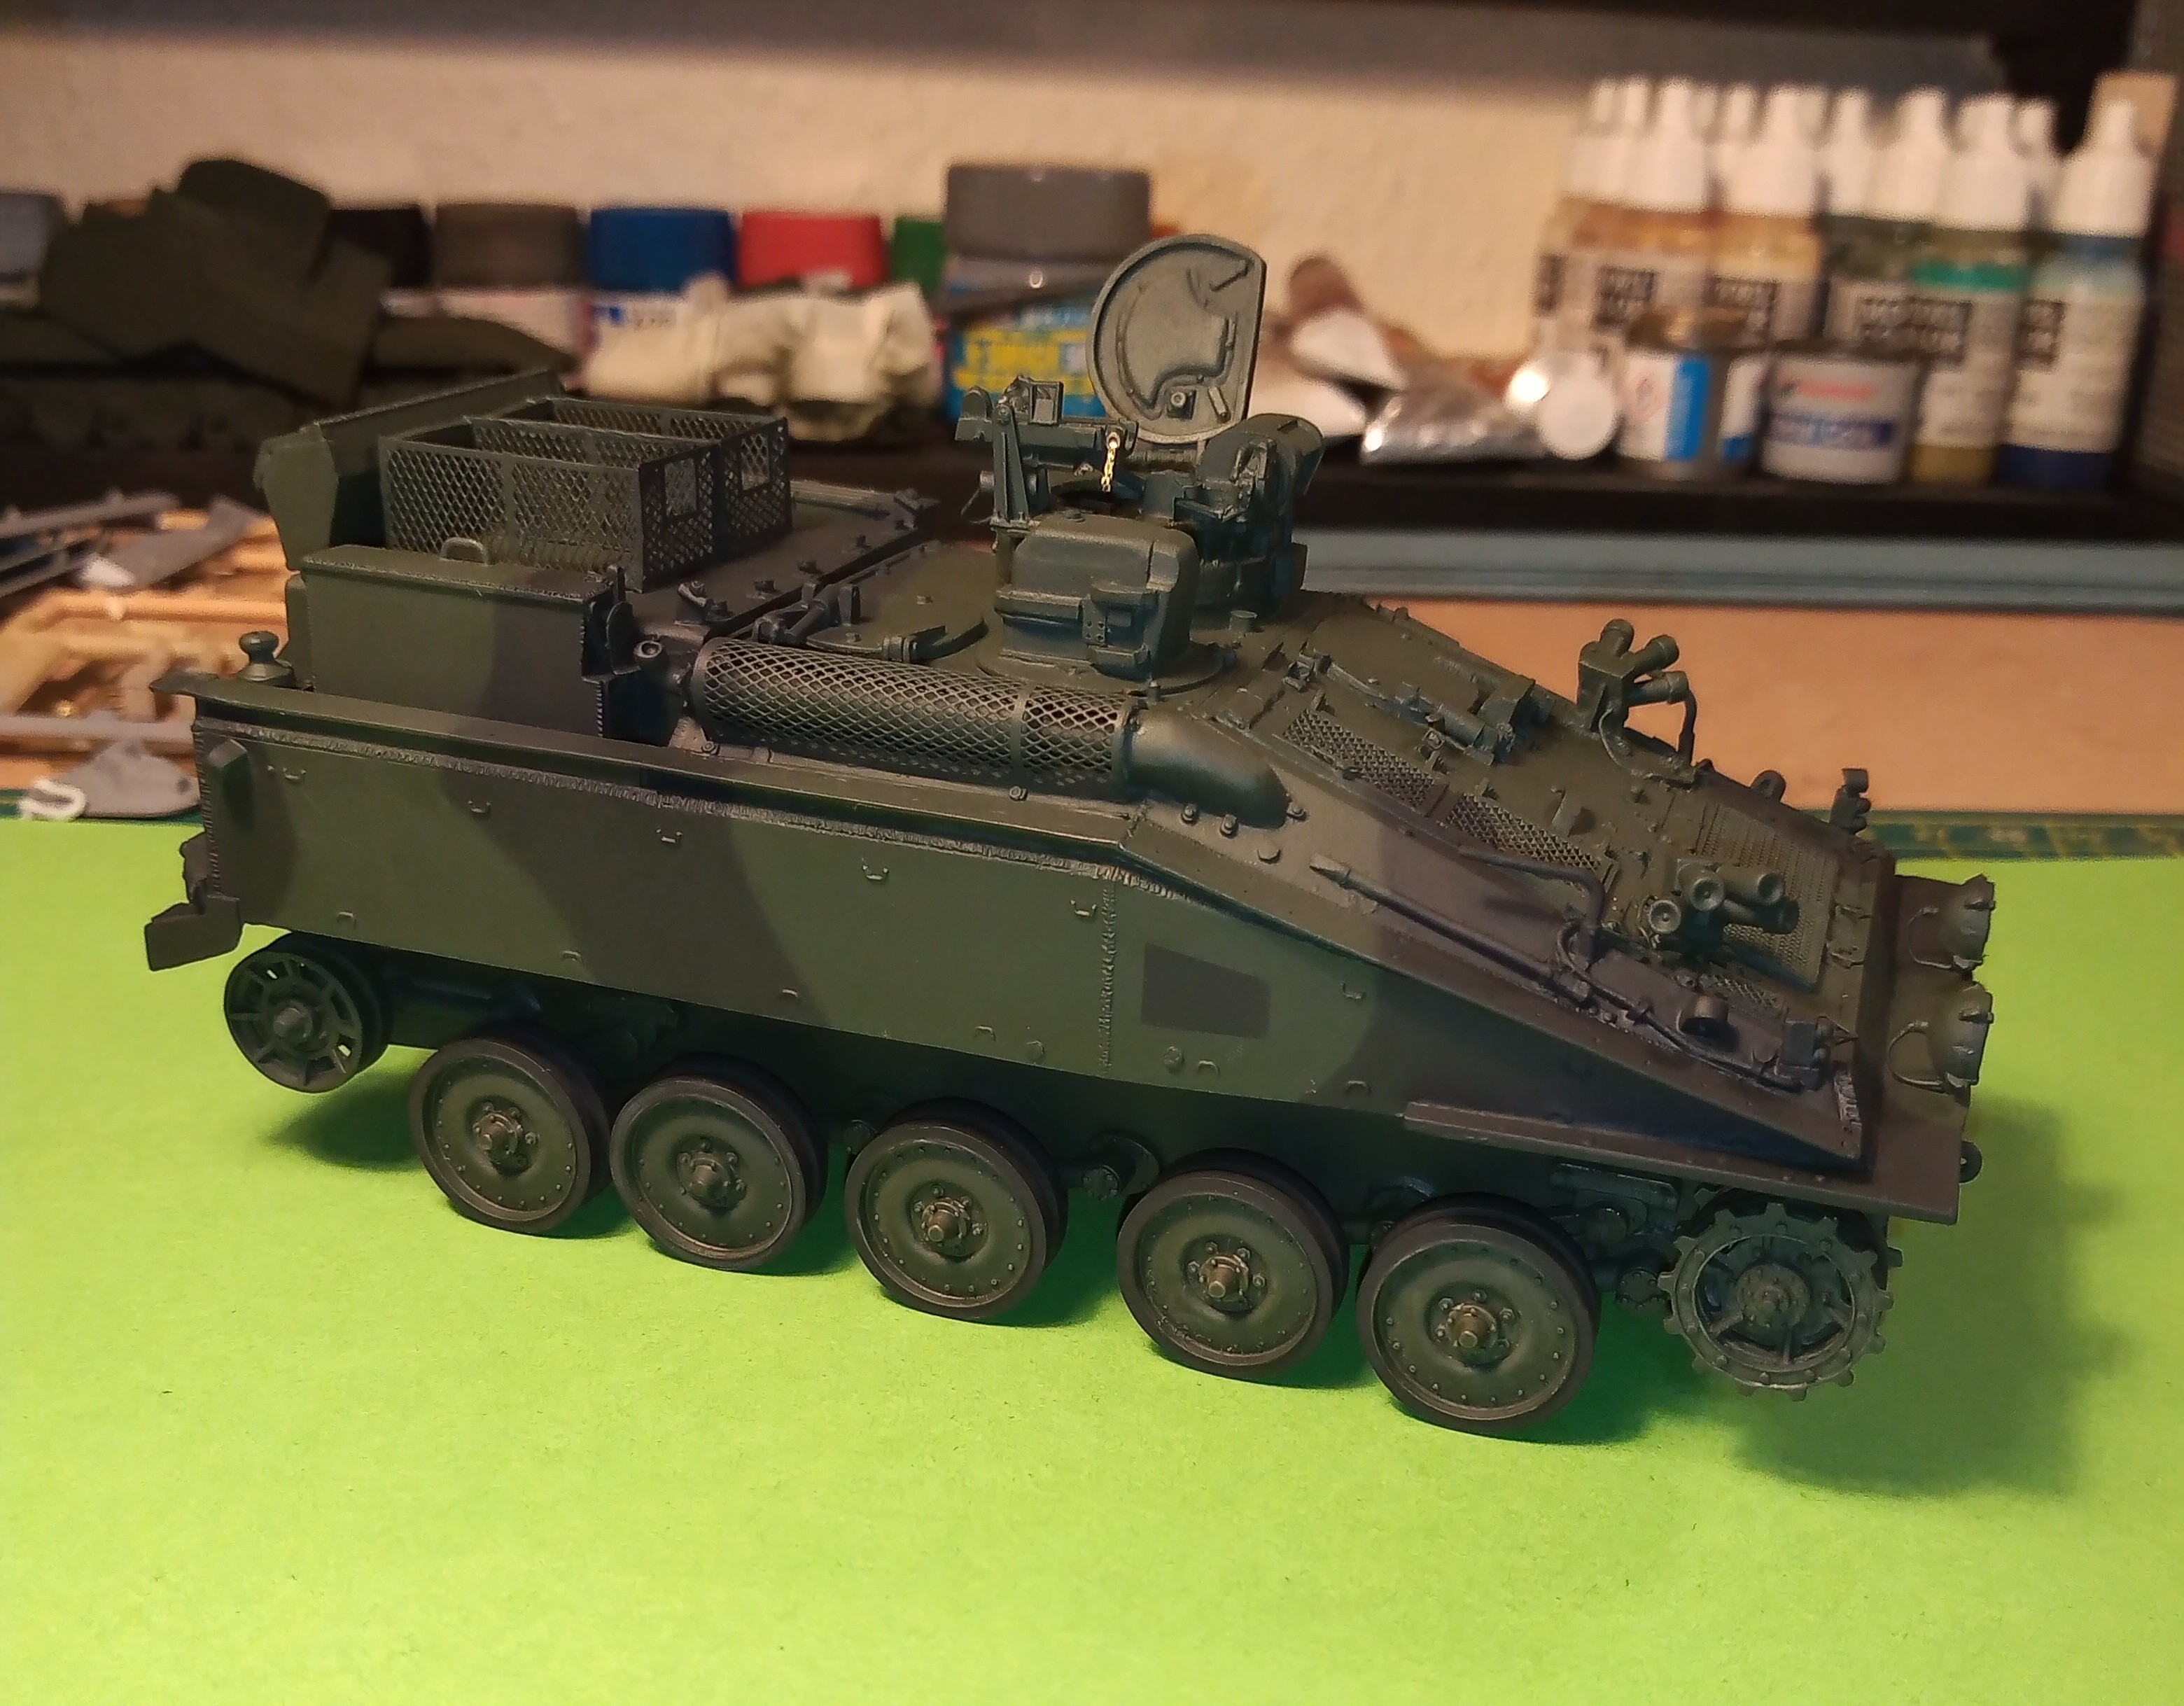
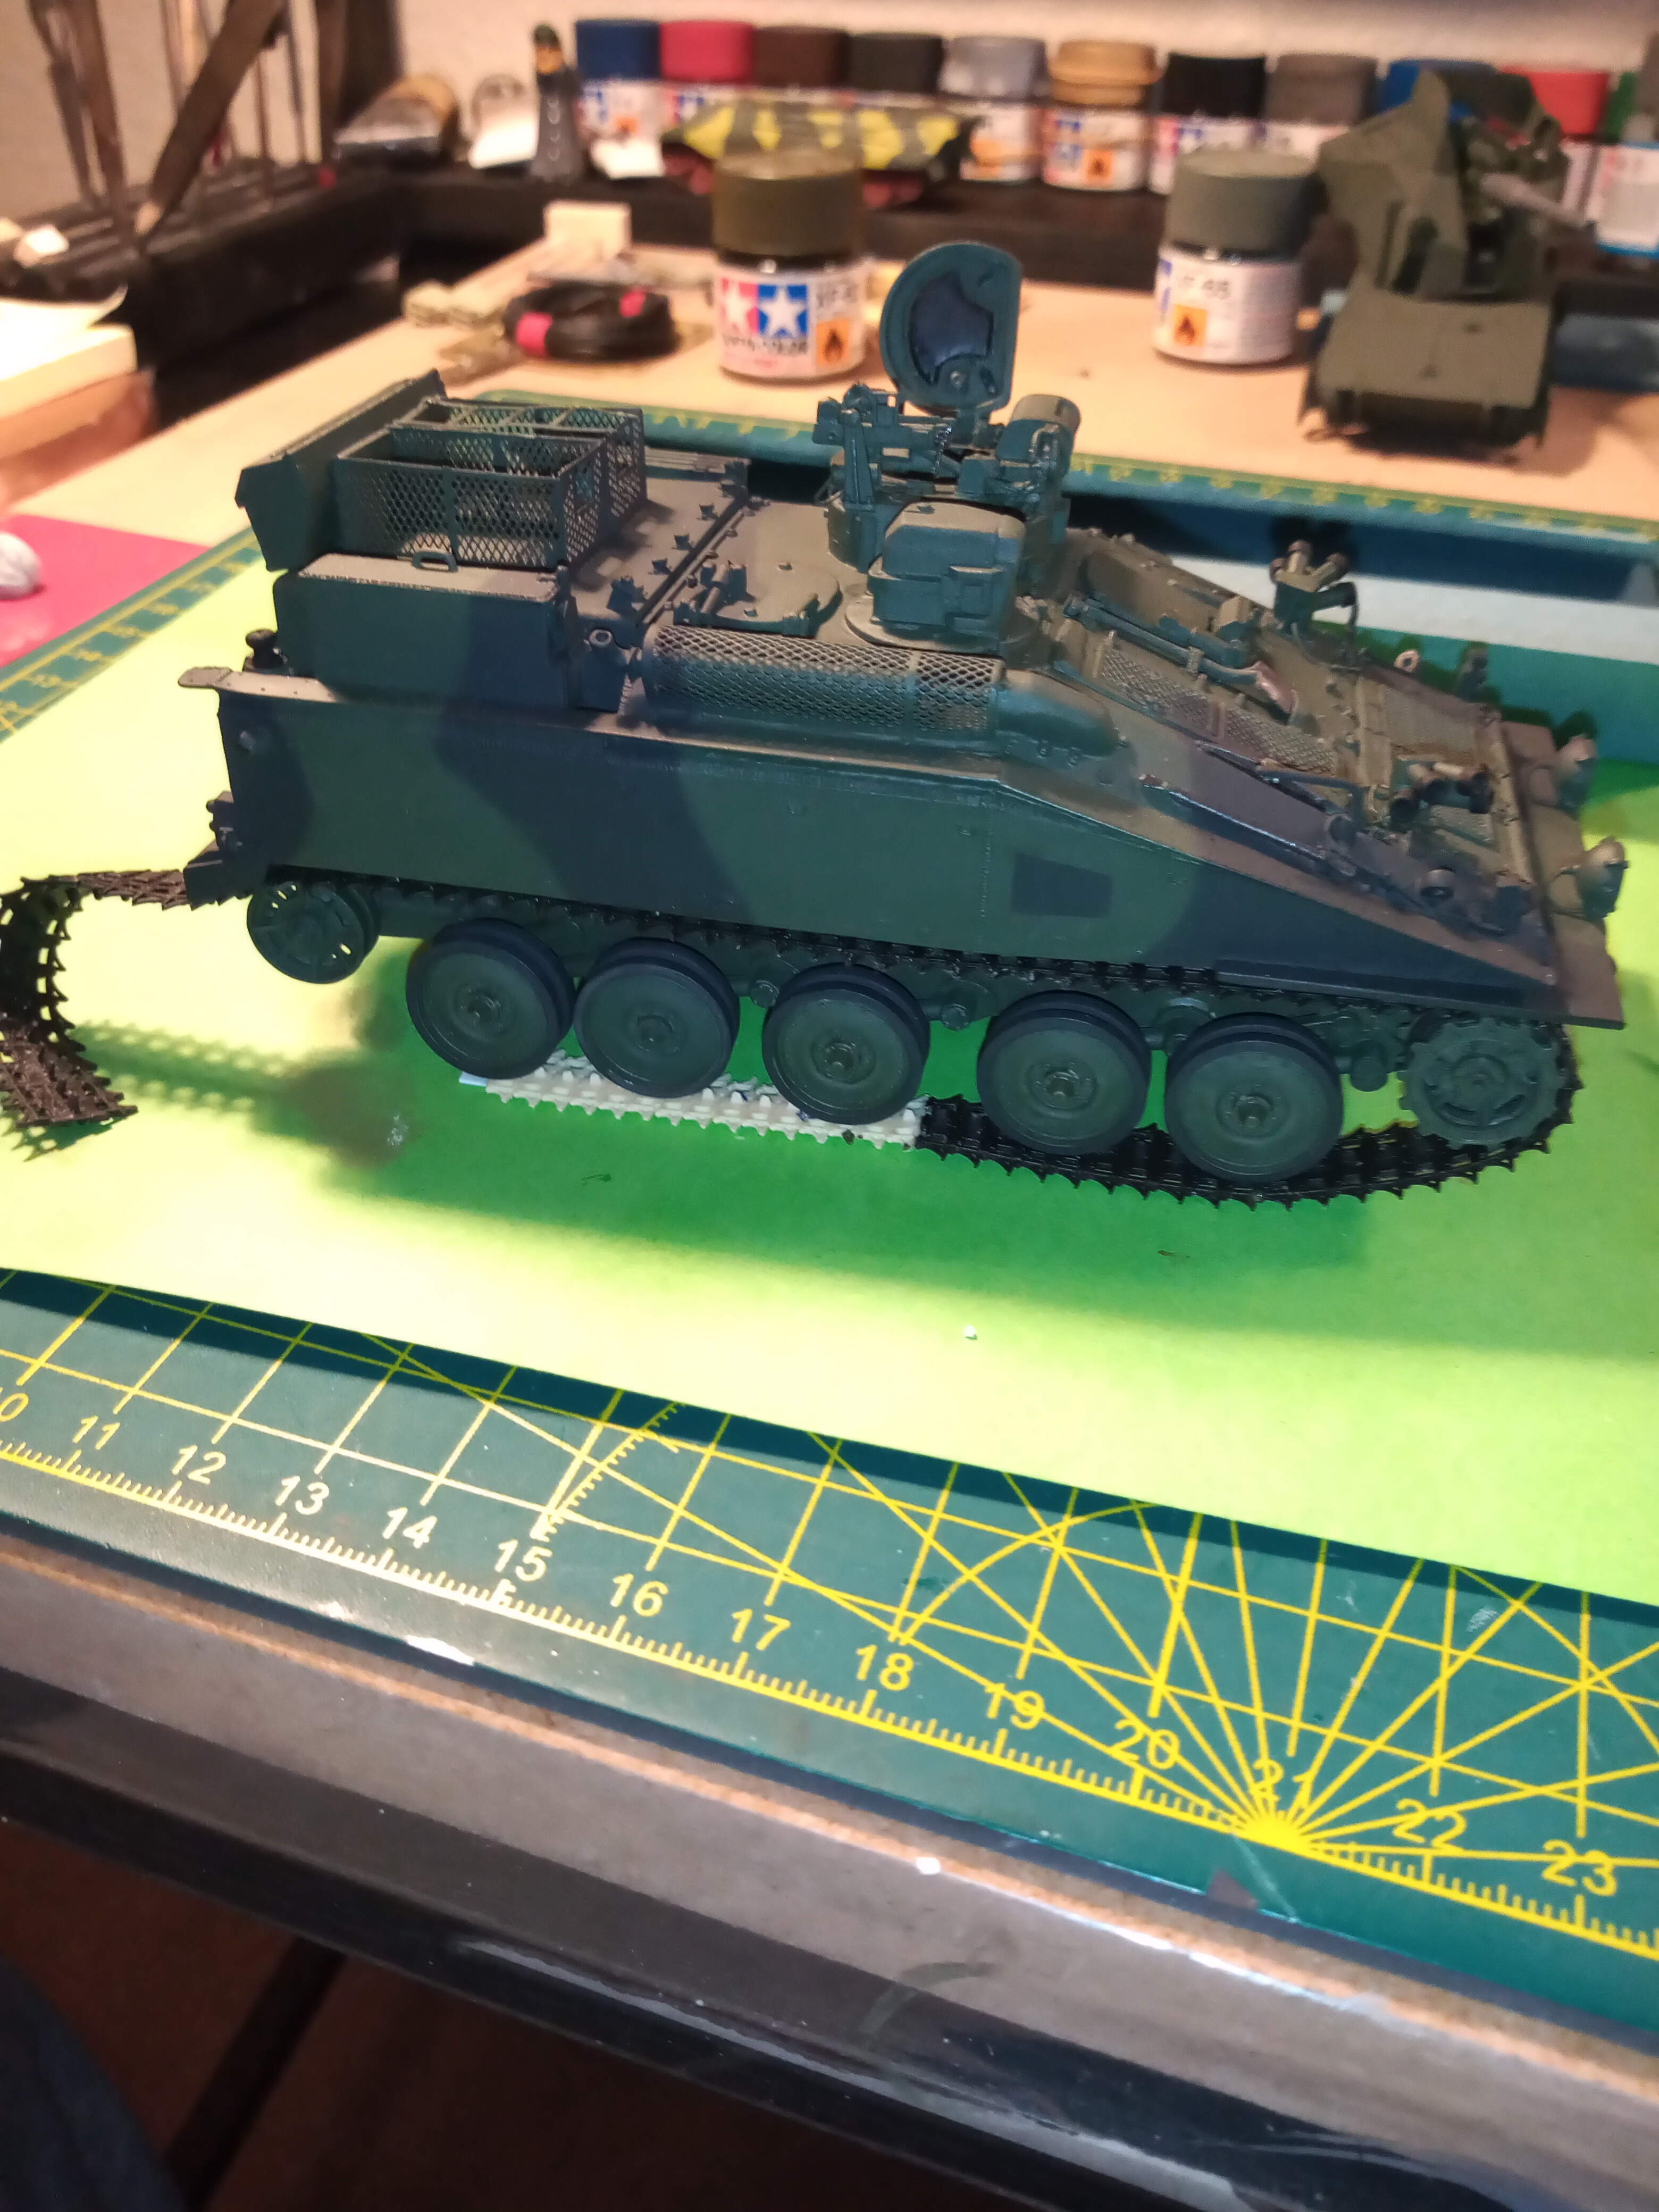
After putting if off… I bit the bullet and got the NATO black down.
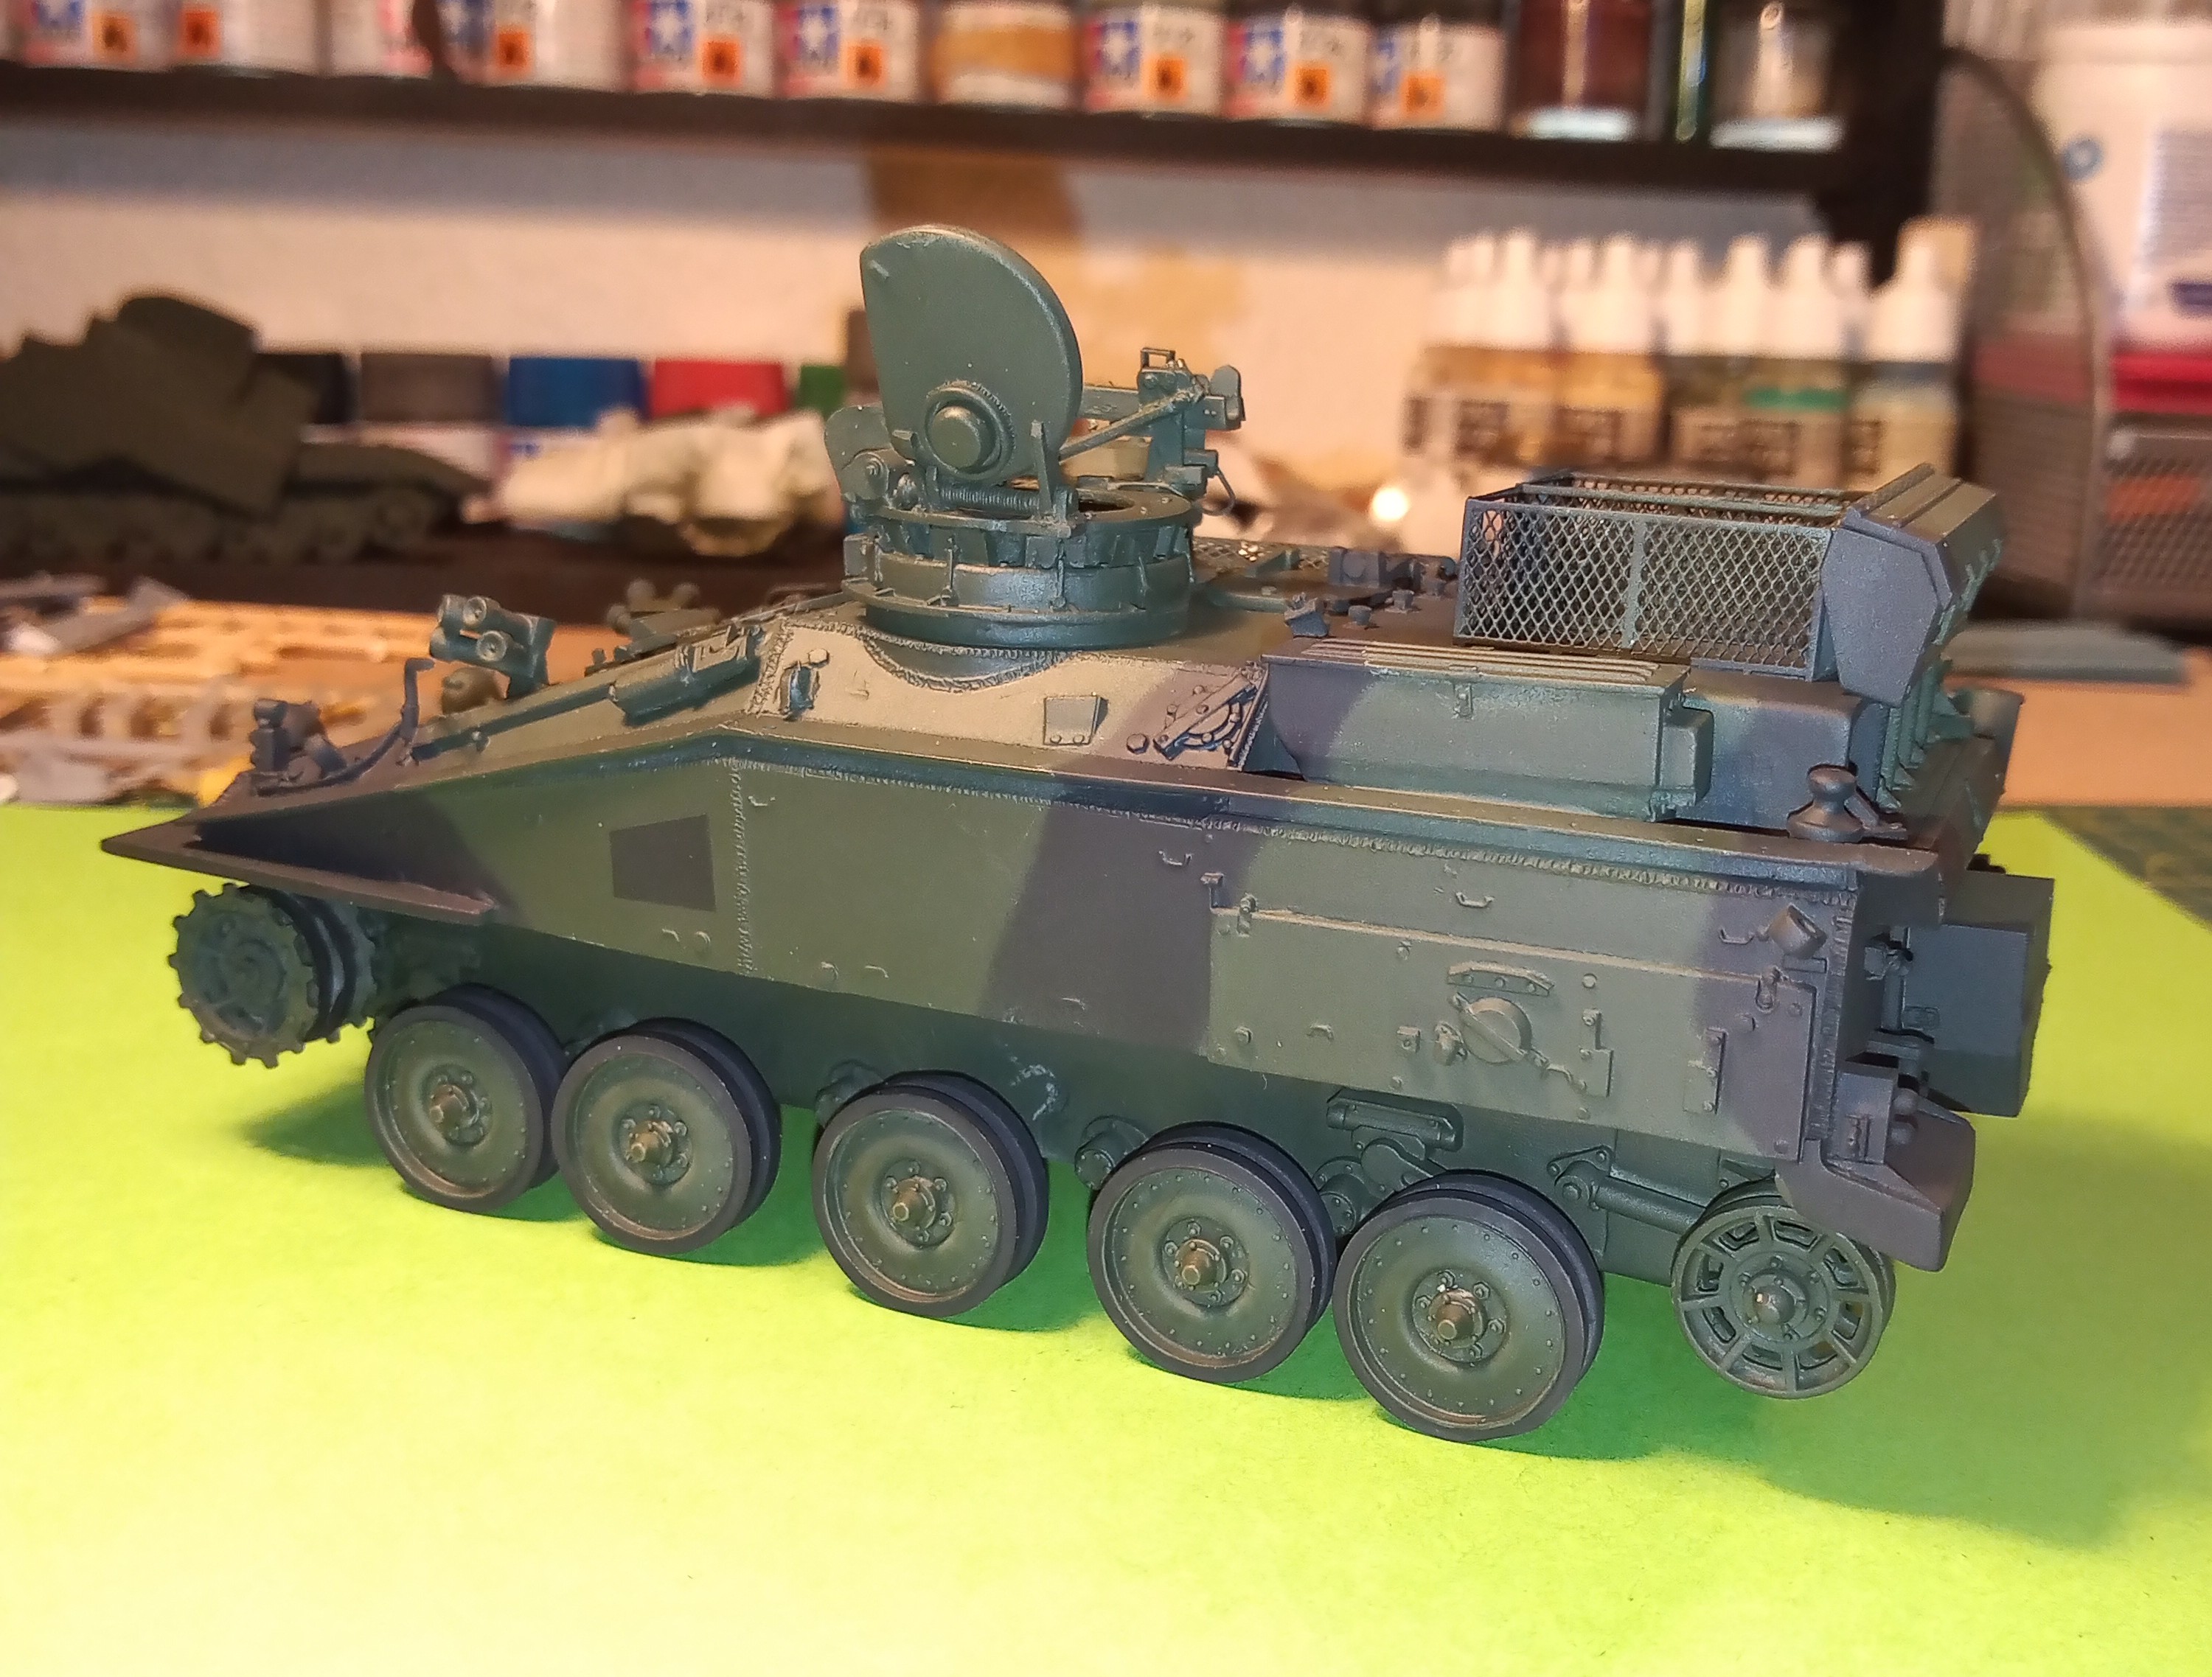
I have gone as close as I can to the wagon I had in Bosnia.


Will have a look at marrying up s small section of the Accurate Armour resin track for part of the bottom run with the AFV club Scimitar track. I have an idea how to introduce the correct sag but will try it before I tell in case it goes wrong . Then it will be onto the detail painting like convoy plate, hatch details, heat shields lights etc.
11 Likes
Hi John,
The ‘pin chain’ is a nice detail, and the whole vehicle looks great with the paint job coming together…excellent workmanship,  .
.
Cheers,  ,
,
G
Really looks impressive overall John, excellent finishing and fantastic detailing. For your first scratchbuilding you really nailed this one with the details.
2 Likes
Thanks Matt, I am on the final stages of this little bad boy … will be sad when its done though …
1 Like
Yeah, I know this feeling…
Superb work, John!
Cheers,
Angel
1 Like
Super build and the finish is coming together very well … makes me want to get my Spartan out …as much as you are not looking forward to the finish I’m looking forward to seeing how it turns out mate
1 Like
Thanks @ayovtshev & @barny . Great that you are enjoying the progress Terry. I hope the finished result is as pleasing as the build. … you must feel like this every time Angel … your scratch building adds so much to each kit you do mate… they are all superb
You can be proud of the job done on your own track. Be sure your scratchbuilding skills are excellent and now you can go the hard way: a full scratchbuilt vehicle
Olivier
1 Like
What Oliver said. 
1 Like
Yeah John, like the others say.
As I said before, you have the scratch build bug and now there is no going back. You will never look at a kit as an OOB build again.
1 Like
Thanks Olivier, Peter and Ryan… It’s nice to get feedback like that from you guys. I think I could maybe scratch build a wheelbarrow…(garden variety lol)
What do really enjoy is adding the little details that I know are there, simple things like the heatshield, mounting pin chain, scratching the slave lead etc… And others like the plow lifting straps on the M1A1 that Gino told me about and giving that some extra detailing…
1 Like
Seeing light at the end of the tunnel.
Really anxious to see this one finished up. I really enjoy when vets build the stuff they worked with. Much more authentic in my view.
1 Like
Thanks DV for your support here and on other builds… If you like the tracks served on theme, I will be doing my old Chieftain Stillbrew next… I did the Chally 1 last year…
A bit more progress. I did mention I was going to try and use the AFV club Scimitar tracks mated up with a section of the AA resin tracks. I know I can easily get a set of indi links from AFV but I just wanted to try this and see if it’s an option… Nothing ventured nothing gained…

That’s what they look like joined together and underneath I simply added a small section of plastic strip to give it some added support and strengthen the join.
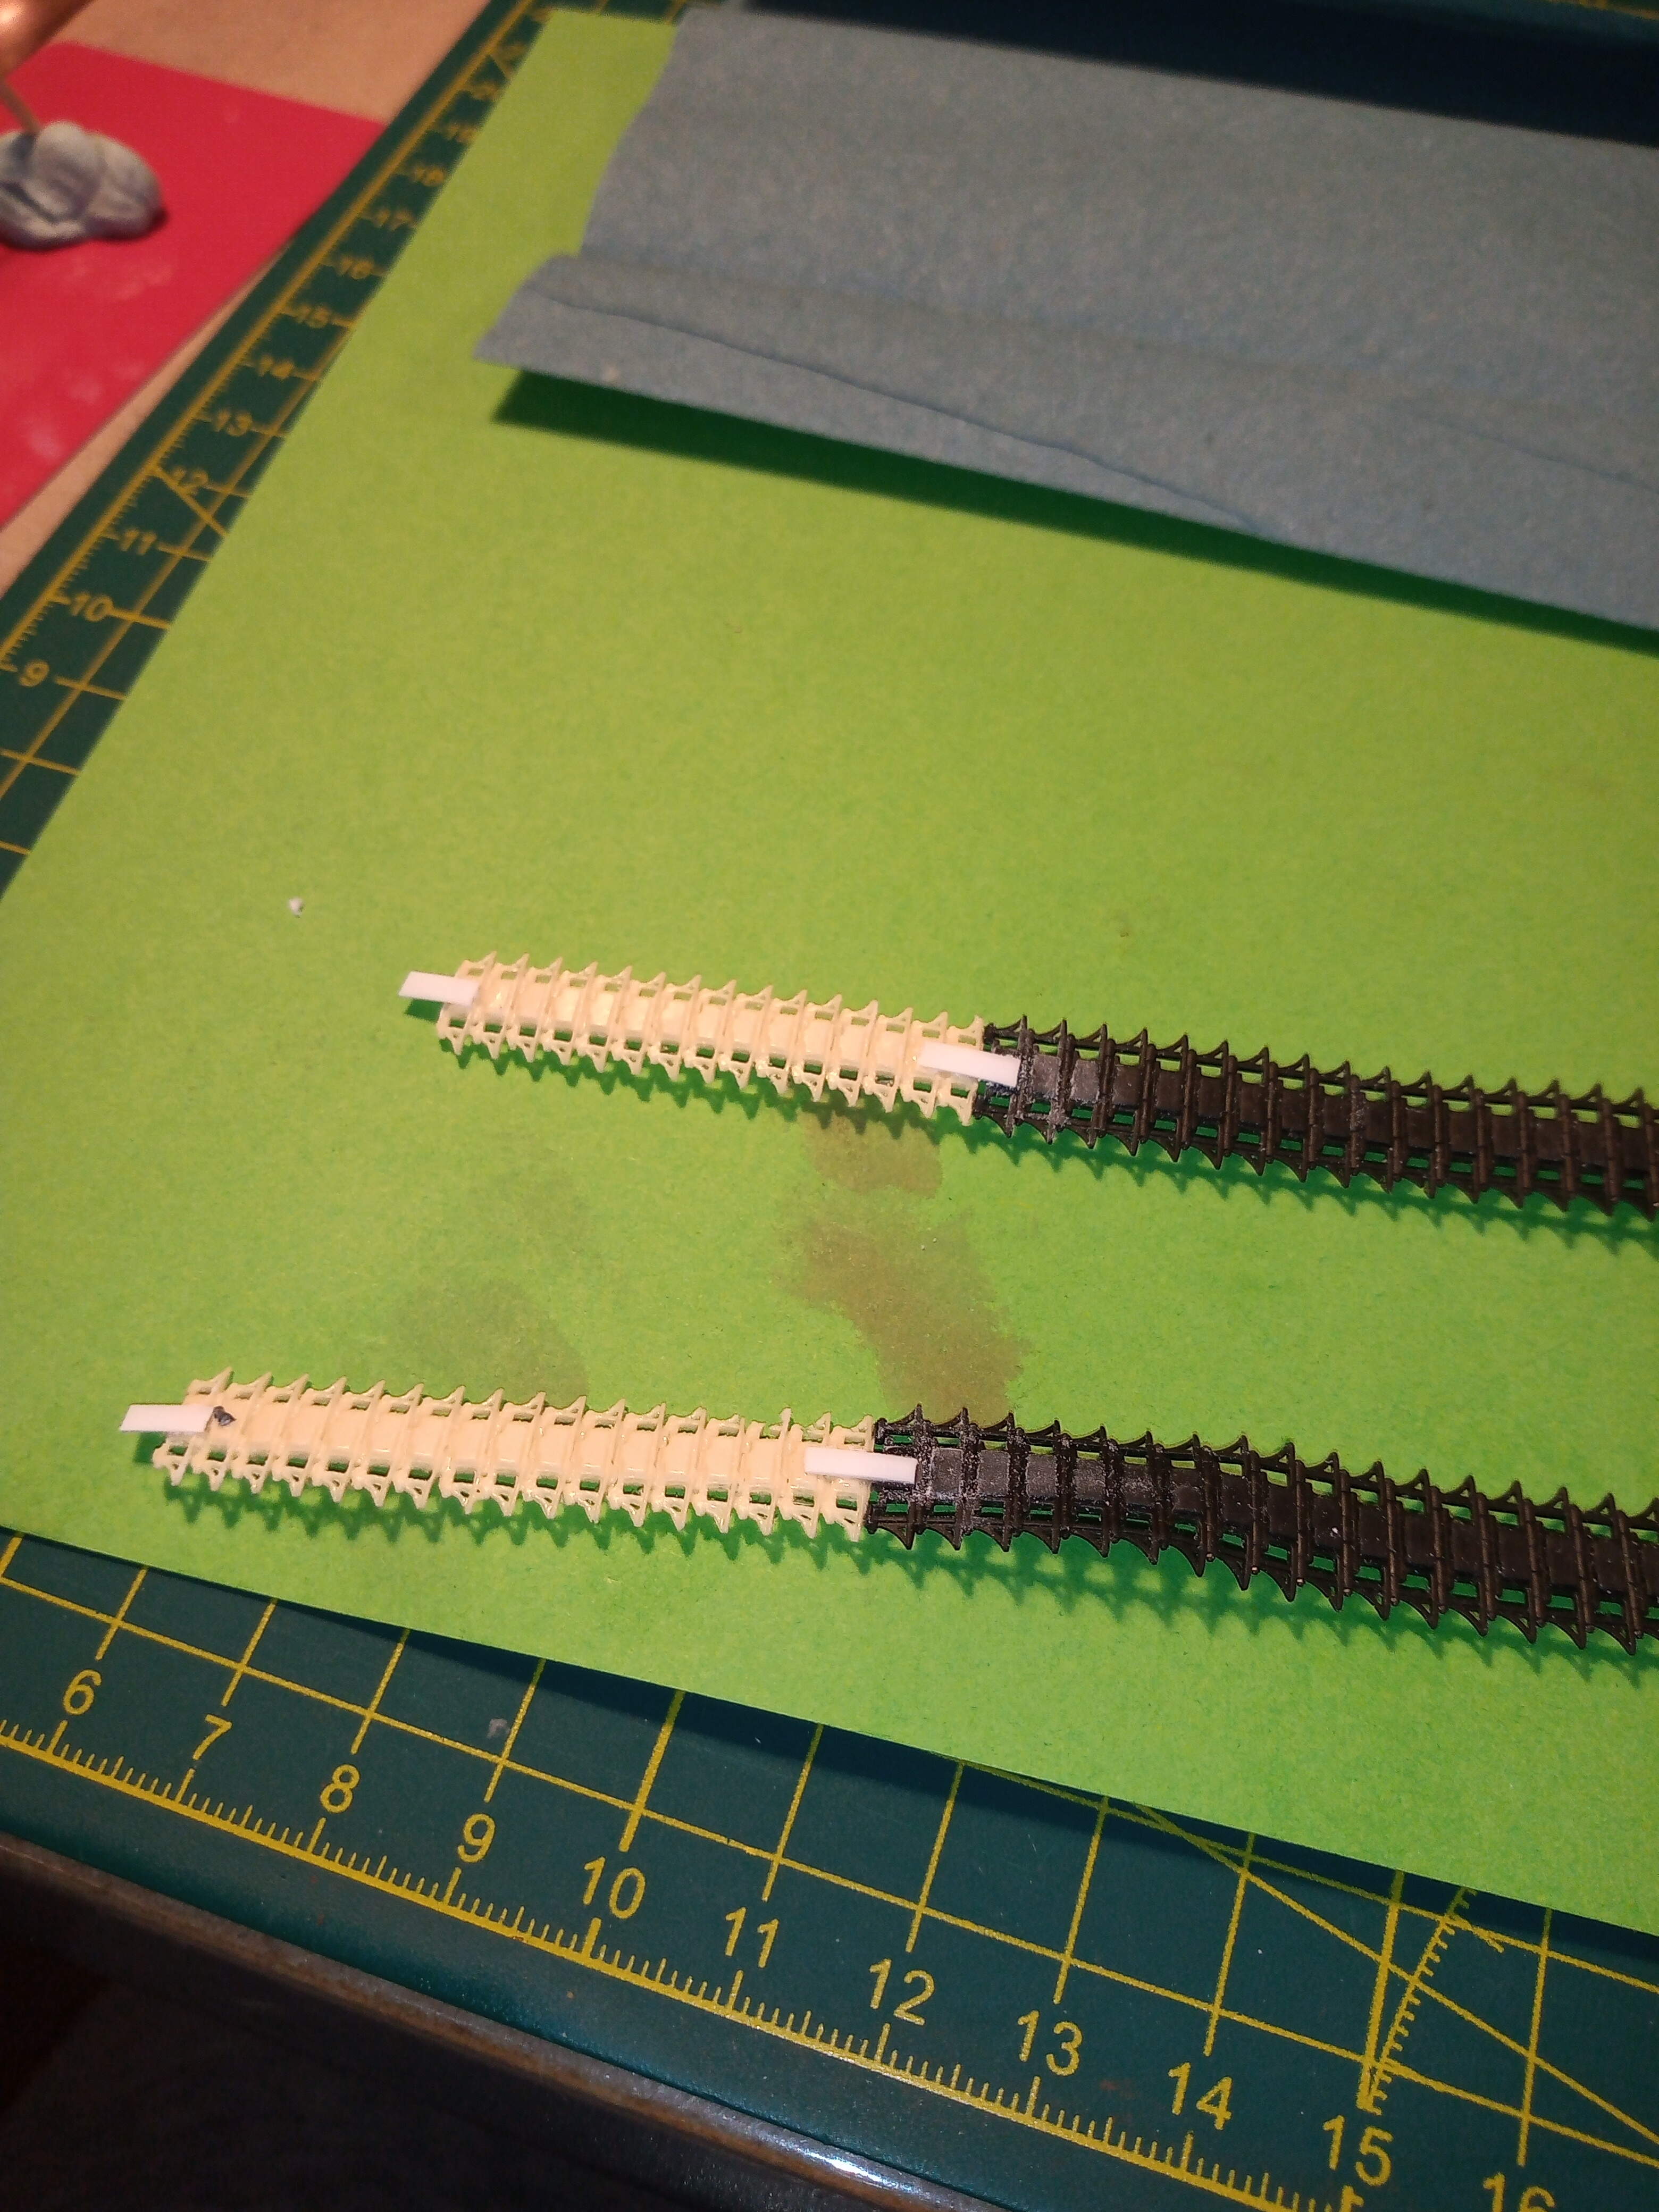
The strips have been sanded back and the resin section will be under the 3rd to 5th wheel station and if this does work
no joins should be visible as the Striker will be going on a small base with grass which will cushion the bottom track run.
There is a slight size discrepancy between the AFV and AA tracks, the AA resin ones are about 2mm narrower but again, as they wil be on the bottom, you shouldn’t notice.
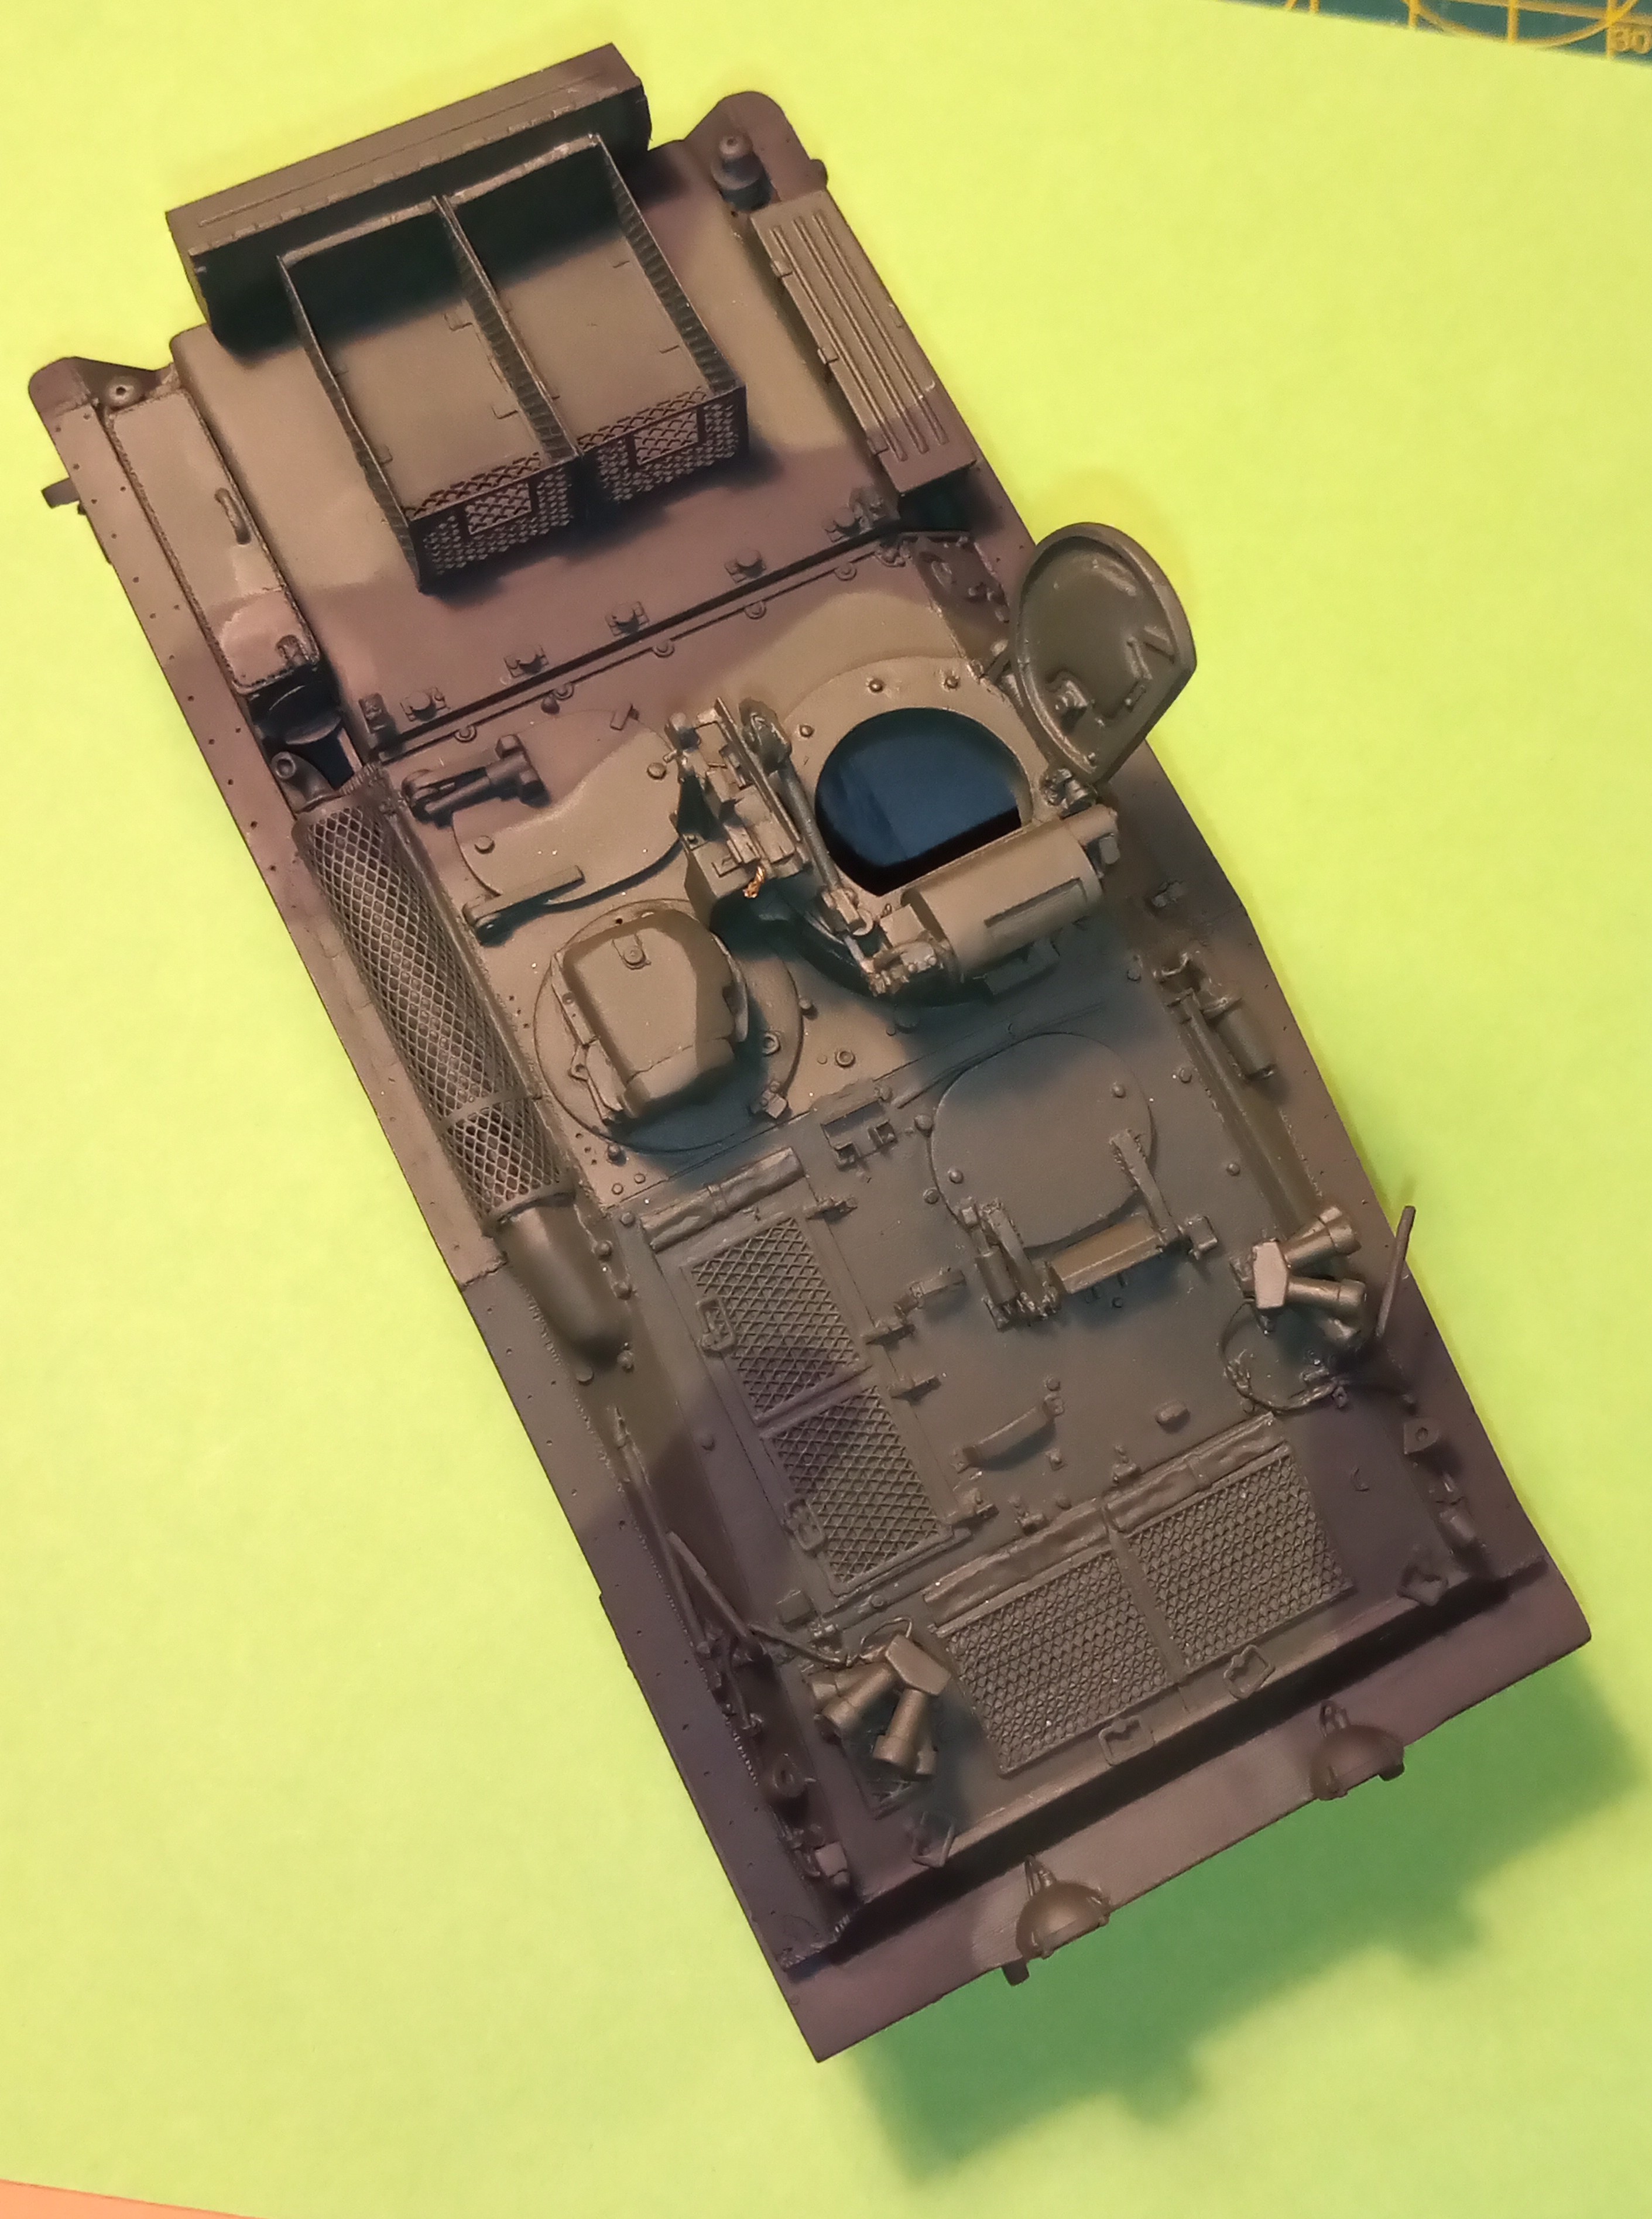
I have also started a bit of detail painting, Comd hatch pad and handles, the heat shield on the air bottle bin, the MBSGD covers and the engine deck covers, shovel and pick head.
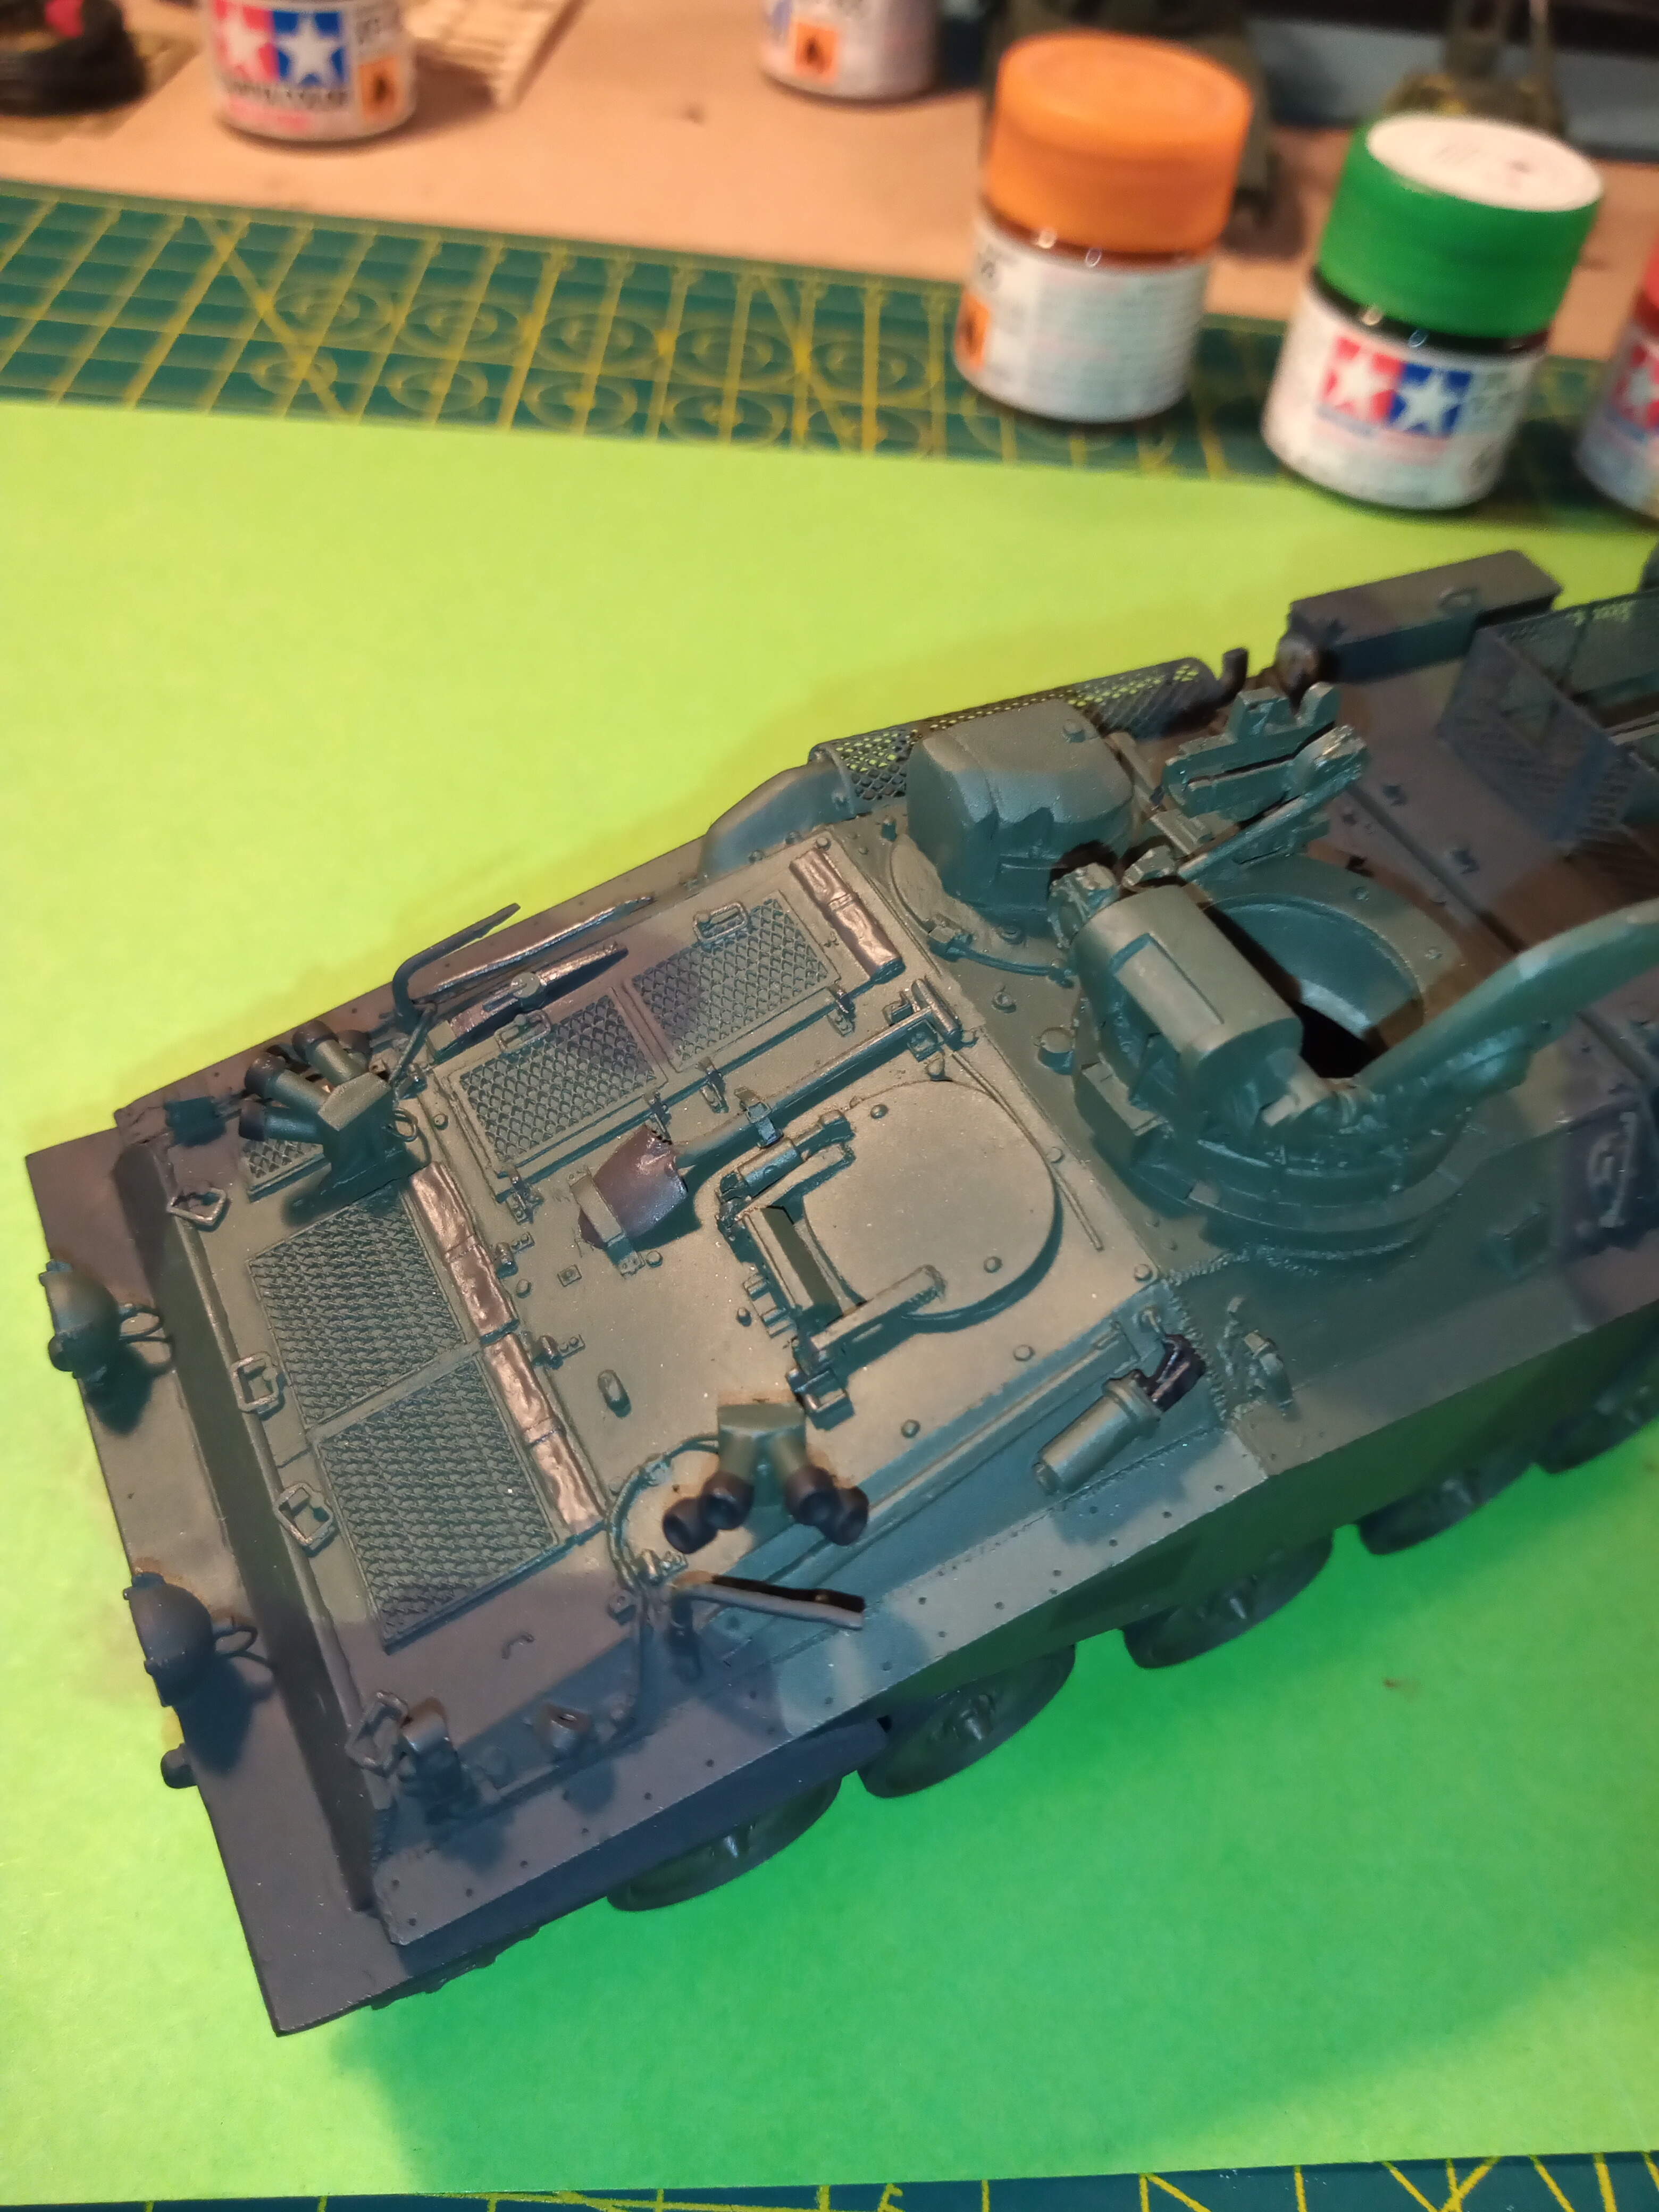

Will start painting the side and tail lights next along with the vision blocks on the cupola and Dvrs sight.
6 Likes
Looking good Johnny
Mal
Really looking sharp there John.
Those tracks look like they will work out just right and none the wiser. They really look excellent. A very impressive build.
Looking good , can see the light at the end of the tunnel.