It does look good.
With the modified positions of the swing arms and of the idler will the tracks be long enough?
Olivier
It does look good.
With the modified positions of the swing arms and of the idler will the tracks be long enough?
Olivier
Probably not, I had considered this early on, but not overly worried as I have the AFV club tracks from the Scimitar, and I may yet get a the indi link AFV set, or use a section of the AA resin tracks and mate the two together, with the AA resin section making up the bottom run under 2 wheel stations. Good valid point though Olivier, and well spotted by a non CVRT user 

So, on leave for a bit before I’m back on duty over Xmas  and have done a bit on the 88mm, so time to get back on 34b.
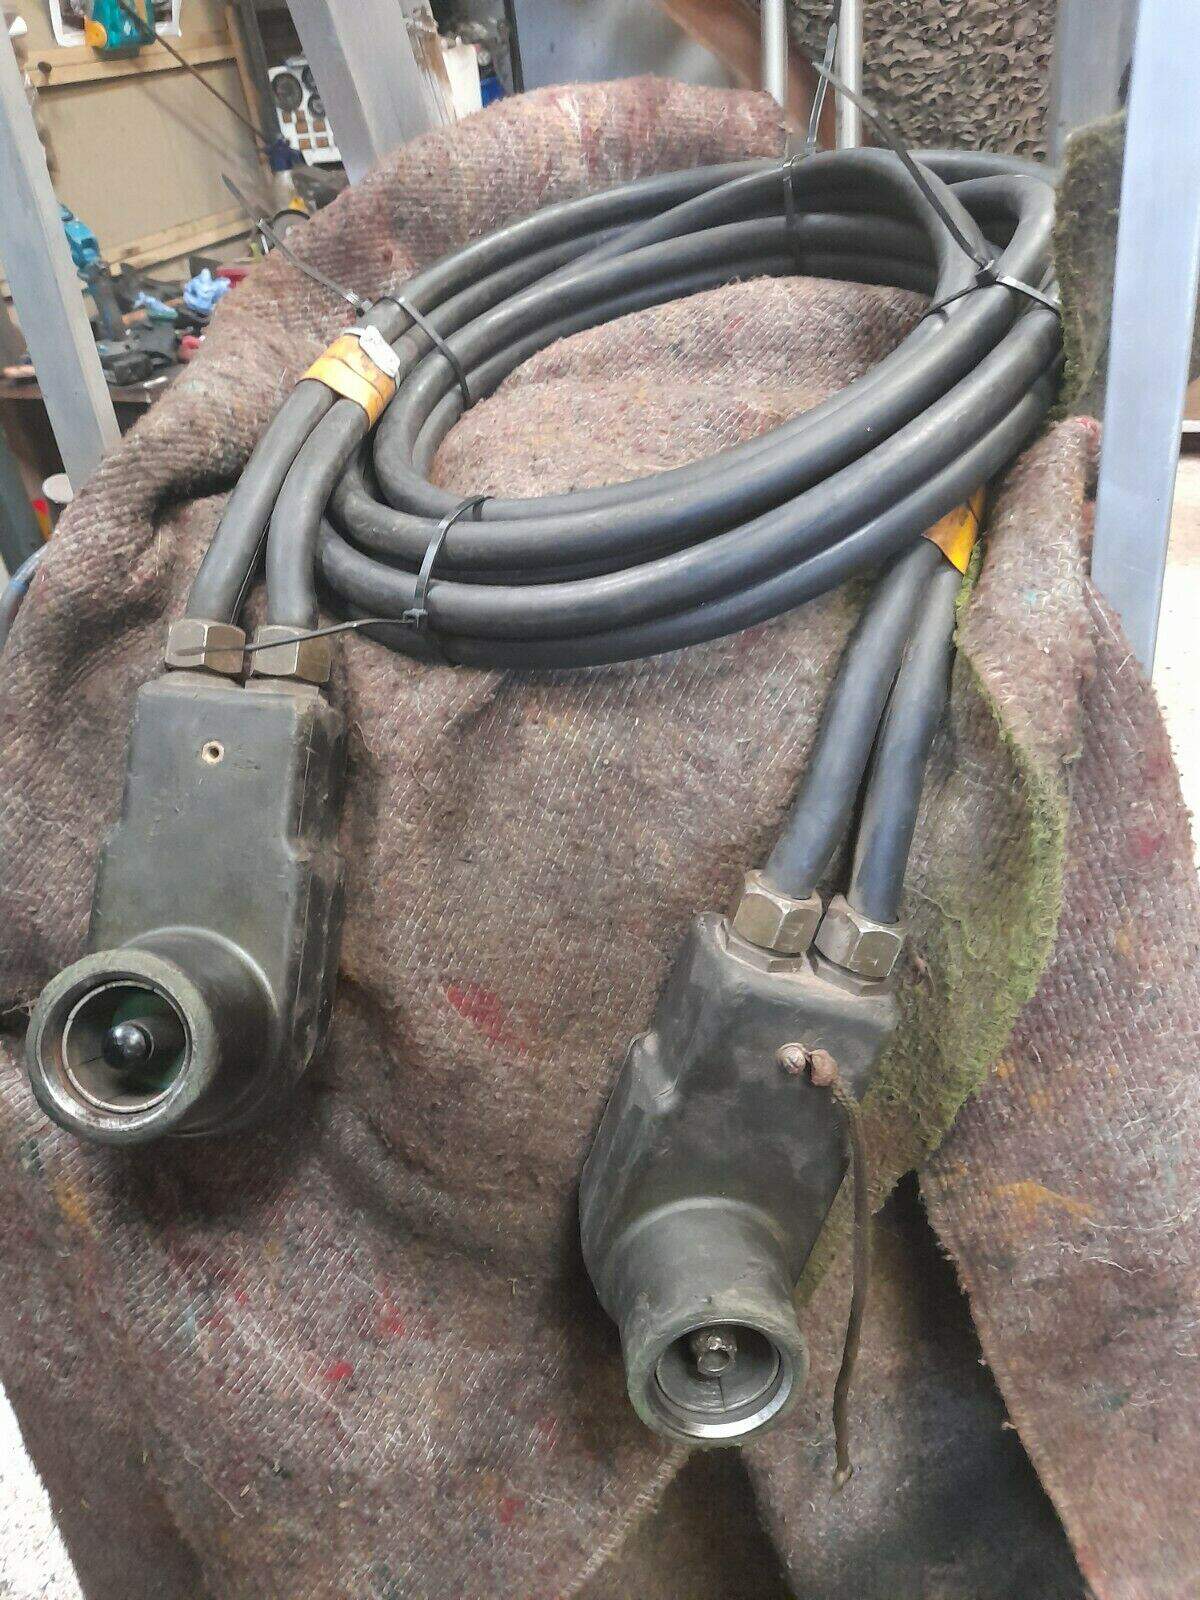
I will be trying to turn this;
Into this;
The good old slave lead. I know I could get a very nice one from Accurate Armour, but I thought, why not give it a go yourself…
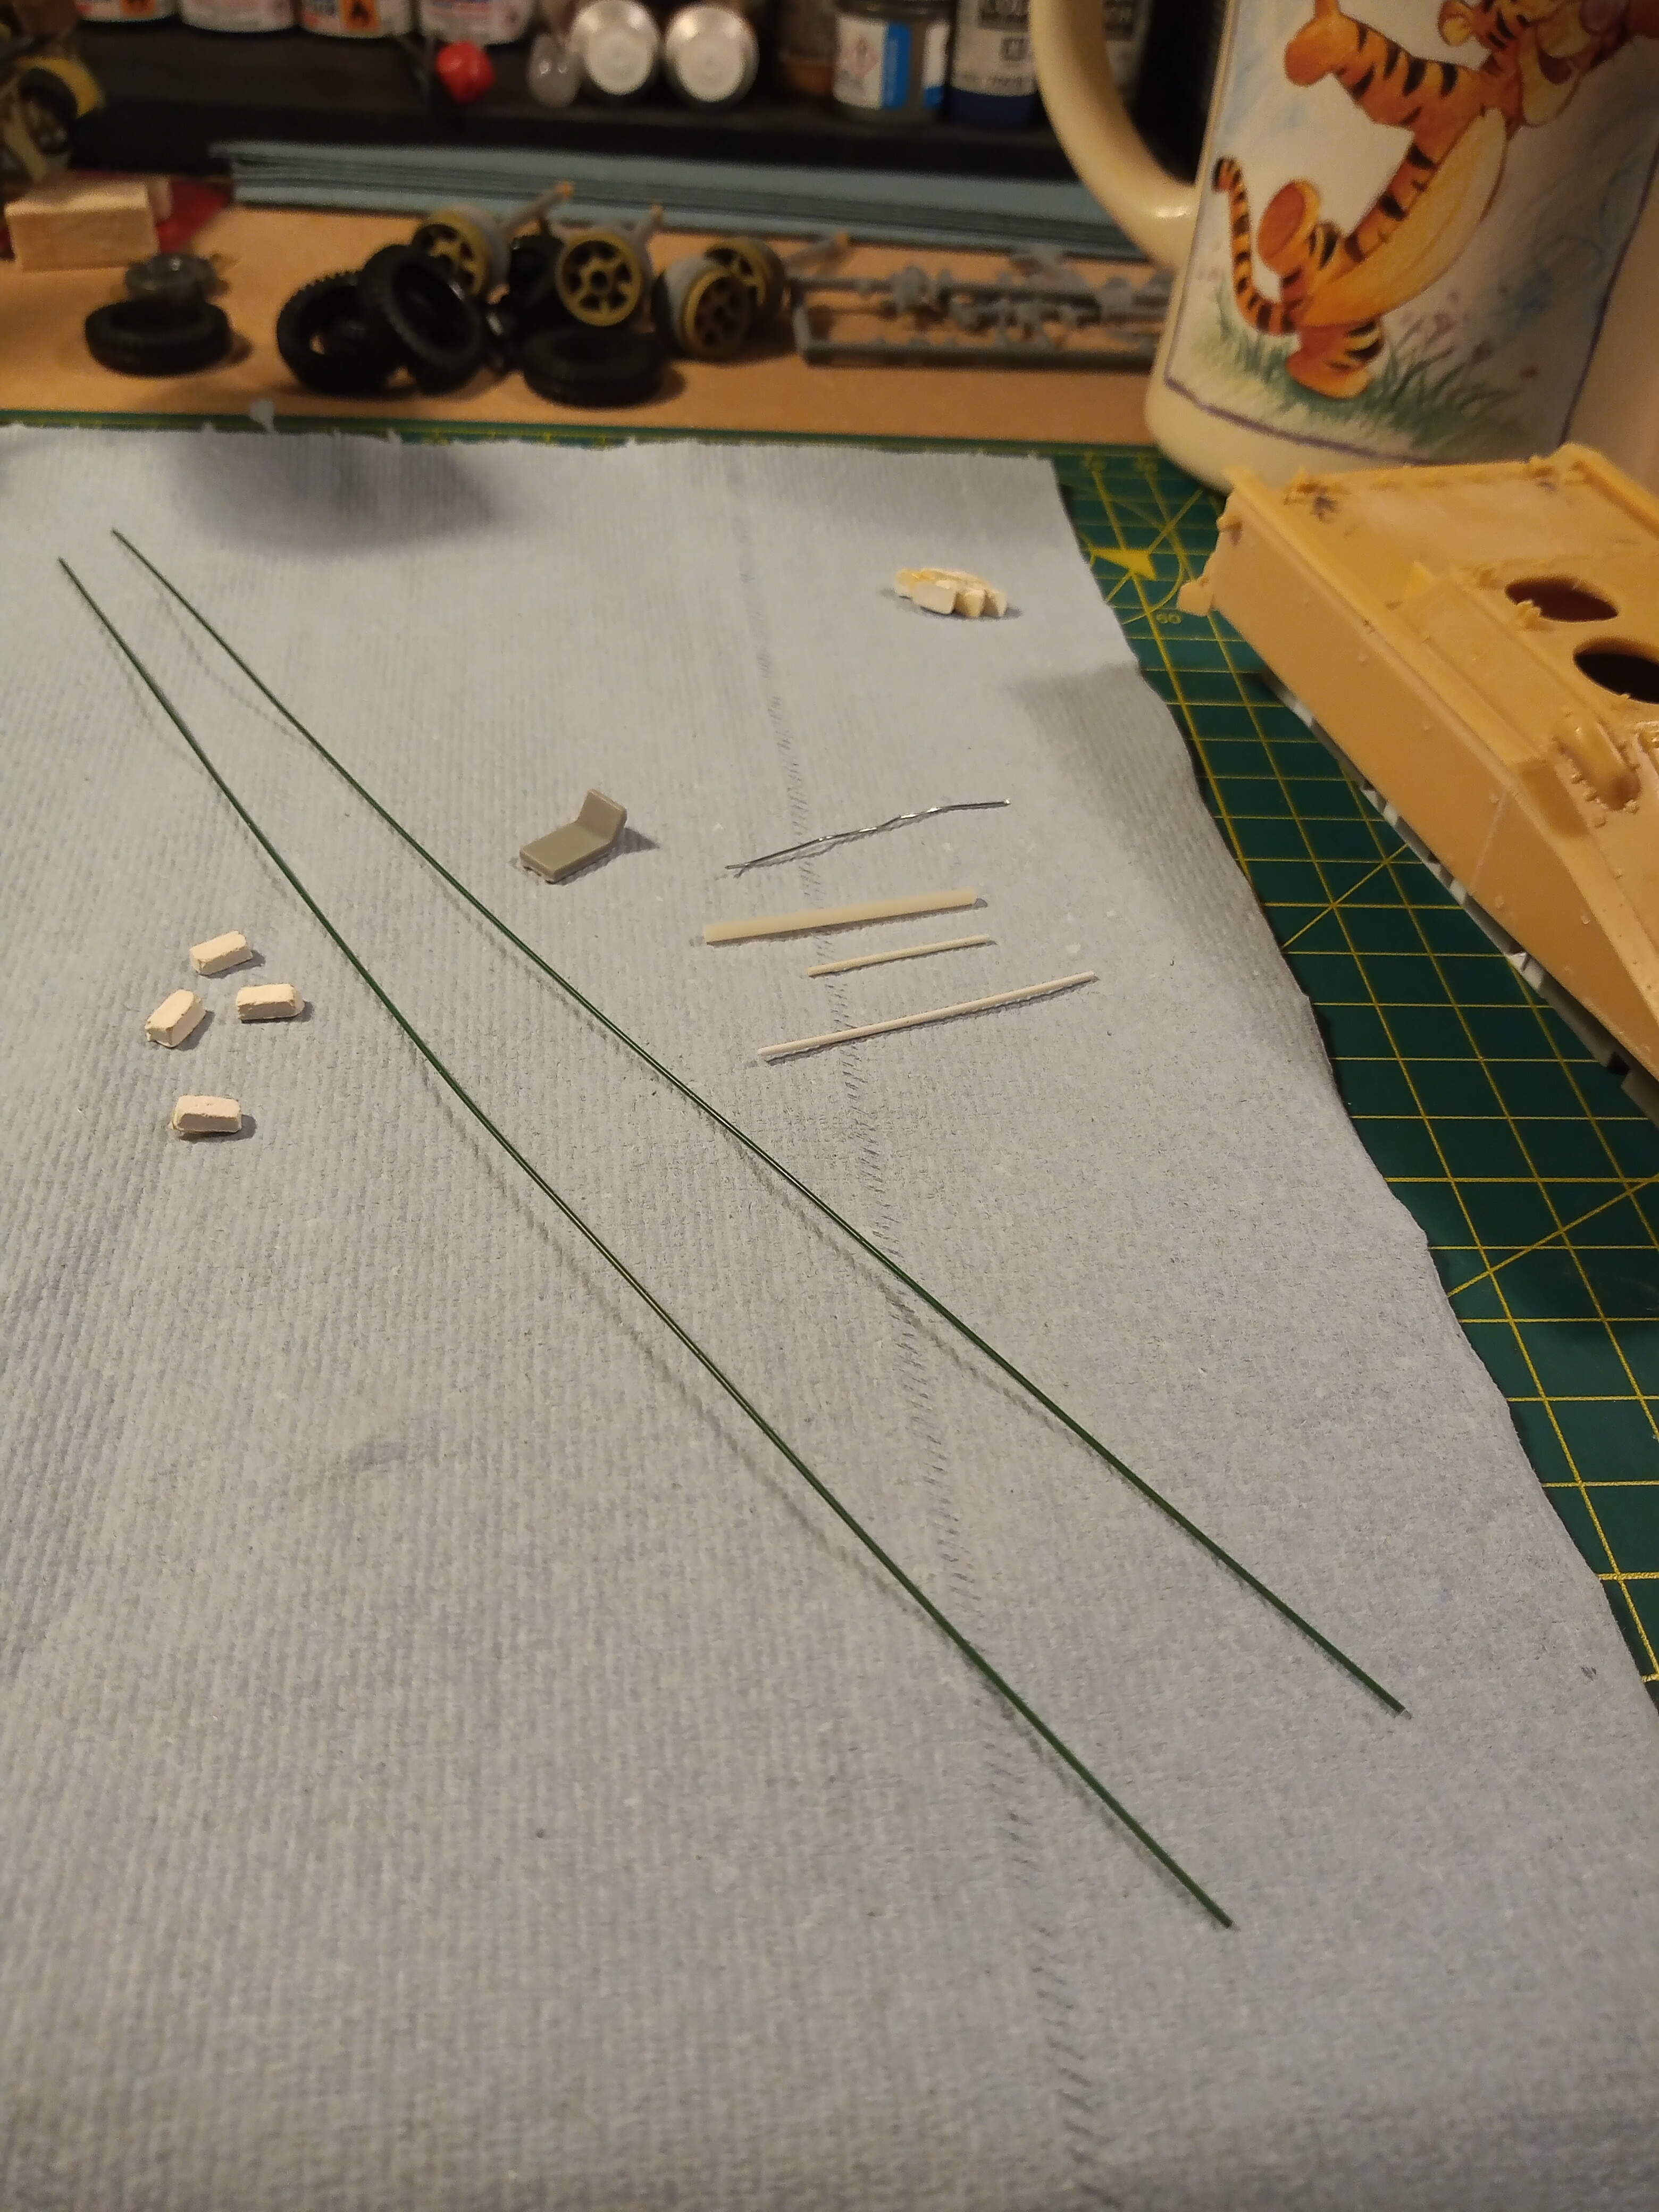
So the parts I will be trying to build one with are …
X2 lengths of green flower arranging wire.
The rear bin lid from a Panther.
Various diameter cut offs of plastic rod.
And verlinden bricks !!
It may all go horribly wrong, but unless you try …
Just a thought John, if the florist’s wire turns out to be too difficult to bend (and I don’t know the properties of florists’ wire as I’ve never used it) why not give lead wire a go? You can get it from angling shops as I believe it’s used in the making of flies; it comes in several thicknesses - I’m not too sure what the slave cables look like in real life thickness - or consider solder, which I’ve used before as searchlight cables on my models.
Anyway, as I say, just a thought.
Those two wires look as if they stay pretty close to each other …
Have you considered using a paired insulated copper wire? Cabling for doll houses and similar?
Strip off two of the leads from a electronics/computer flat cable?
In answering both points from @BootsDMS & @Uncle-Heavy. Those are options I have just literally been pondering. The green wire after a closer look and think may be a tad to thick. I have soldering wire here in amongst the chaos so may look at that.
Robin, the actual cables on a real one are initially bonded together, so if getting whatever I use to stay together proves problematic, I will probably go down that route. Over time and use, the cables do sometimes come apart and they come with securing cables/ties usually already fitted and the yellow bands as per the last pic.
I’m all about DIY accessories but experience has taught me that florist’s wire is too rigid to fool with for cables,as @Robin_Nilsson suggested electronics wireing from old remotes, telephones, radios etc. is a good option and as @BootsDMS reccomended lead wire is probably the wisest choice, it’s much more manageable, holds your bend and is less frustrating all round. Good luck buddy which ever you use.
Cajun
Trying to get individual wires to stay side-by-side is like herding cats … 
You might have more luck with it than I do 
I usually have to tape them together after wrestleing with it for awhile and lots of grown-up words, co-incidently I’ll be ordering lead wire later today, hobby supply dealers need to keep an eye on this site, this would be a good item to carry and promote.
My solution to this problem is: I bend both wires(copper or solder) together until they fit where they should go, then apply thin CA between them (capillary action takes care of even CA distribution) and spray some CA accelerator to bond the wires immediately.
HTH,

Now a bit of a WIP with the slave lead and a fair bit of trial and error.
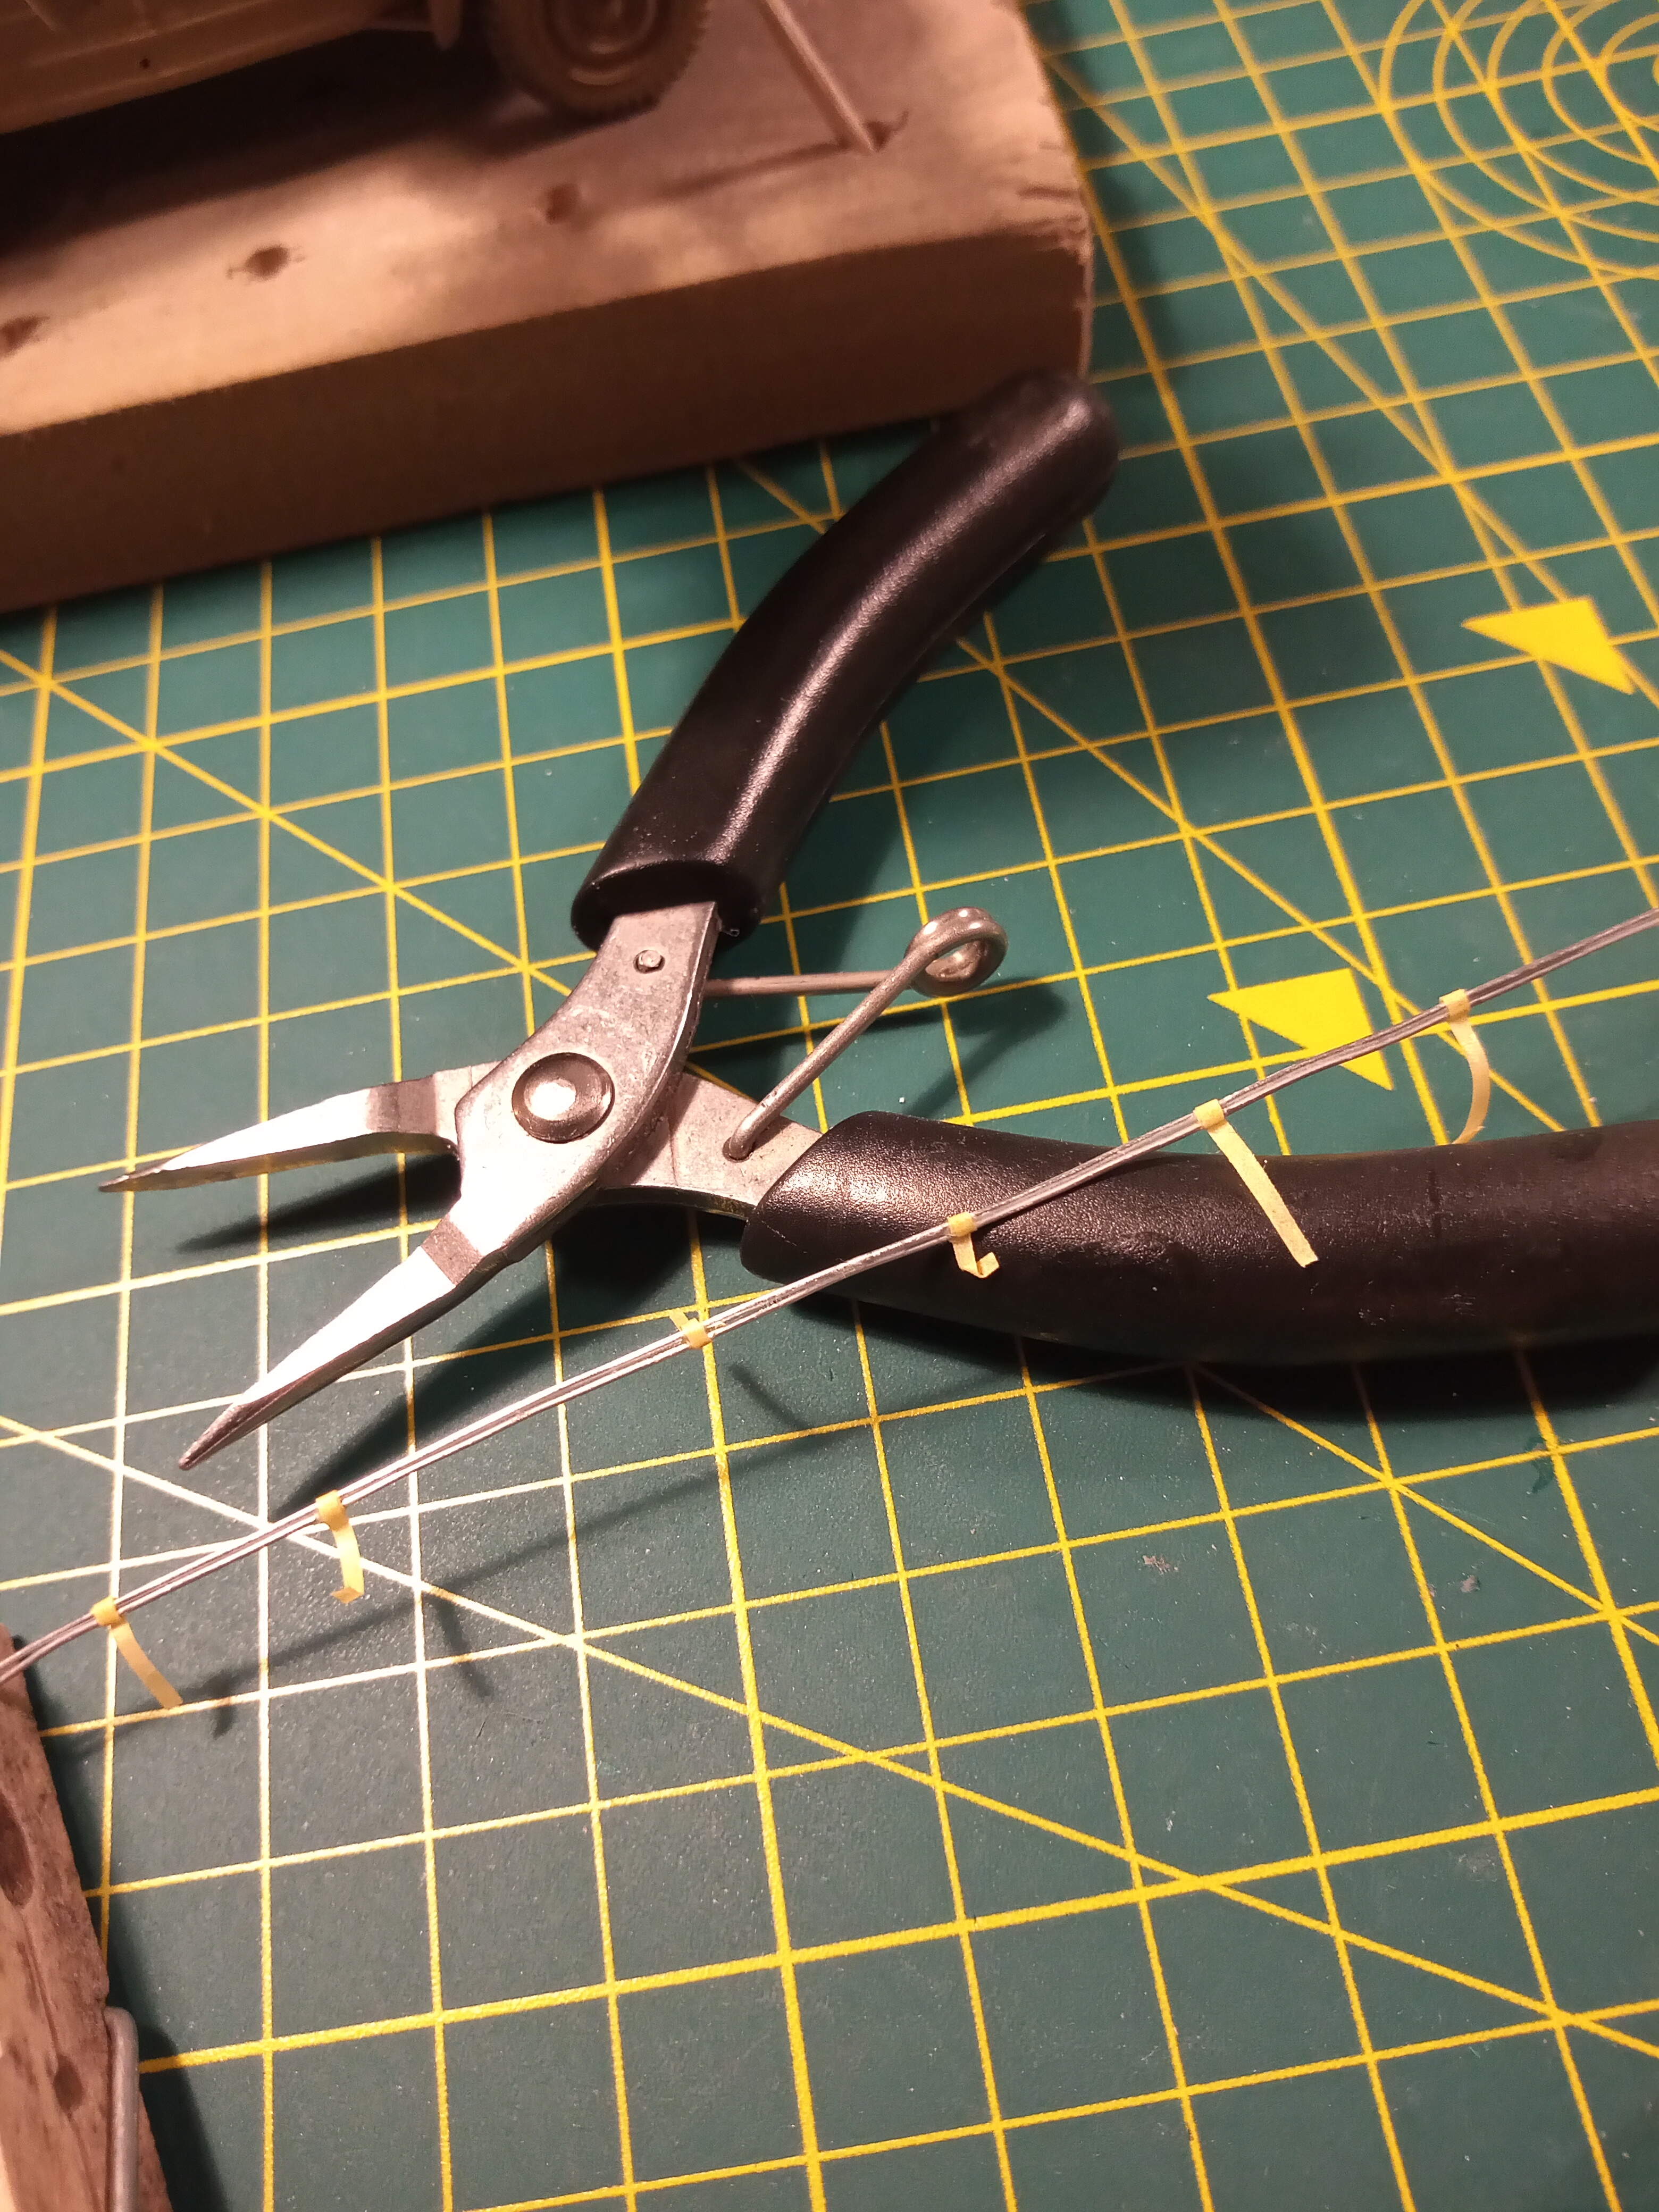
First is the actual cable. I binned the florist wire as it was to thick. As was the soldering wire (I don’t solder as I’m rubbish at it, it’s purely a wire I use as a tool)  luckily, I had some thinner florist wire on a spool which is just the right size in my eye.
And this is 2 lengths straightened and then with very thin cut tamiya masking tape to bind it together.
I then followed @ayovtshev advice and used super glue which acted in its capillary action to flow along the length between bits of tape.
Will let that fully cure then may add another little dab to strengthen it in the morning.
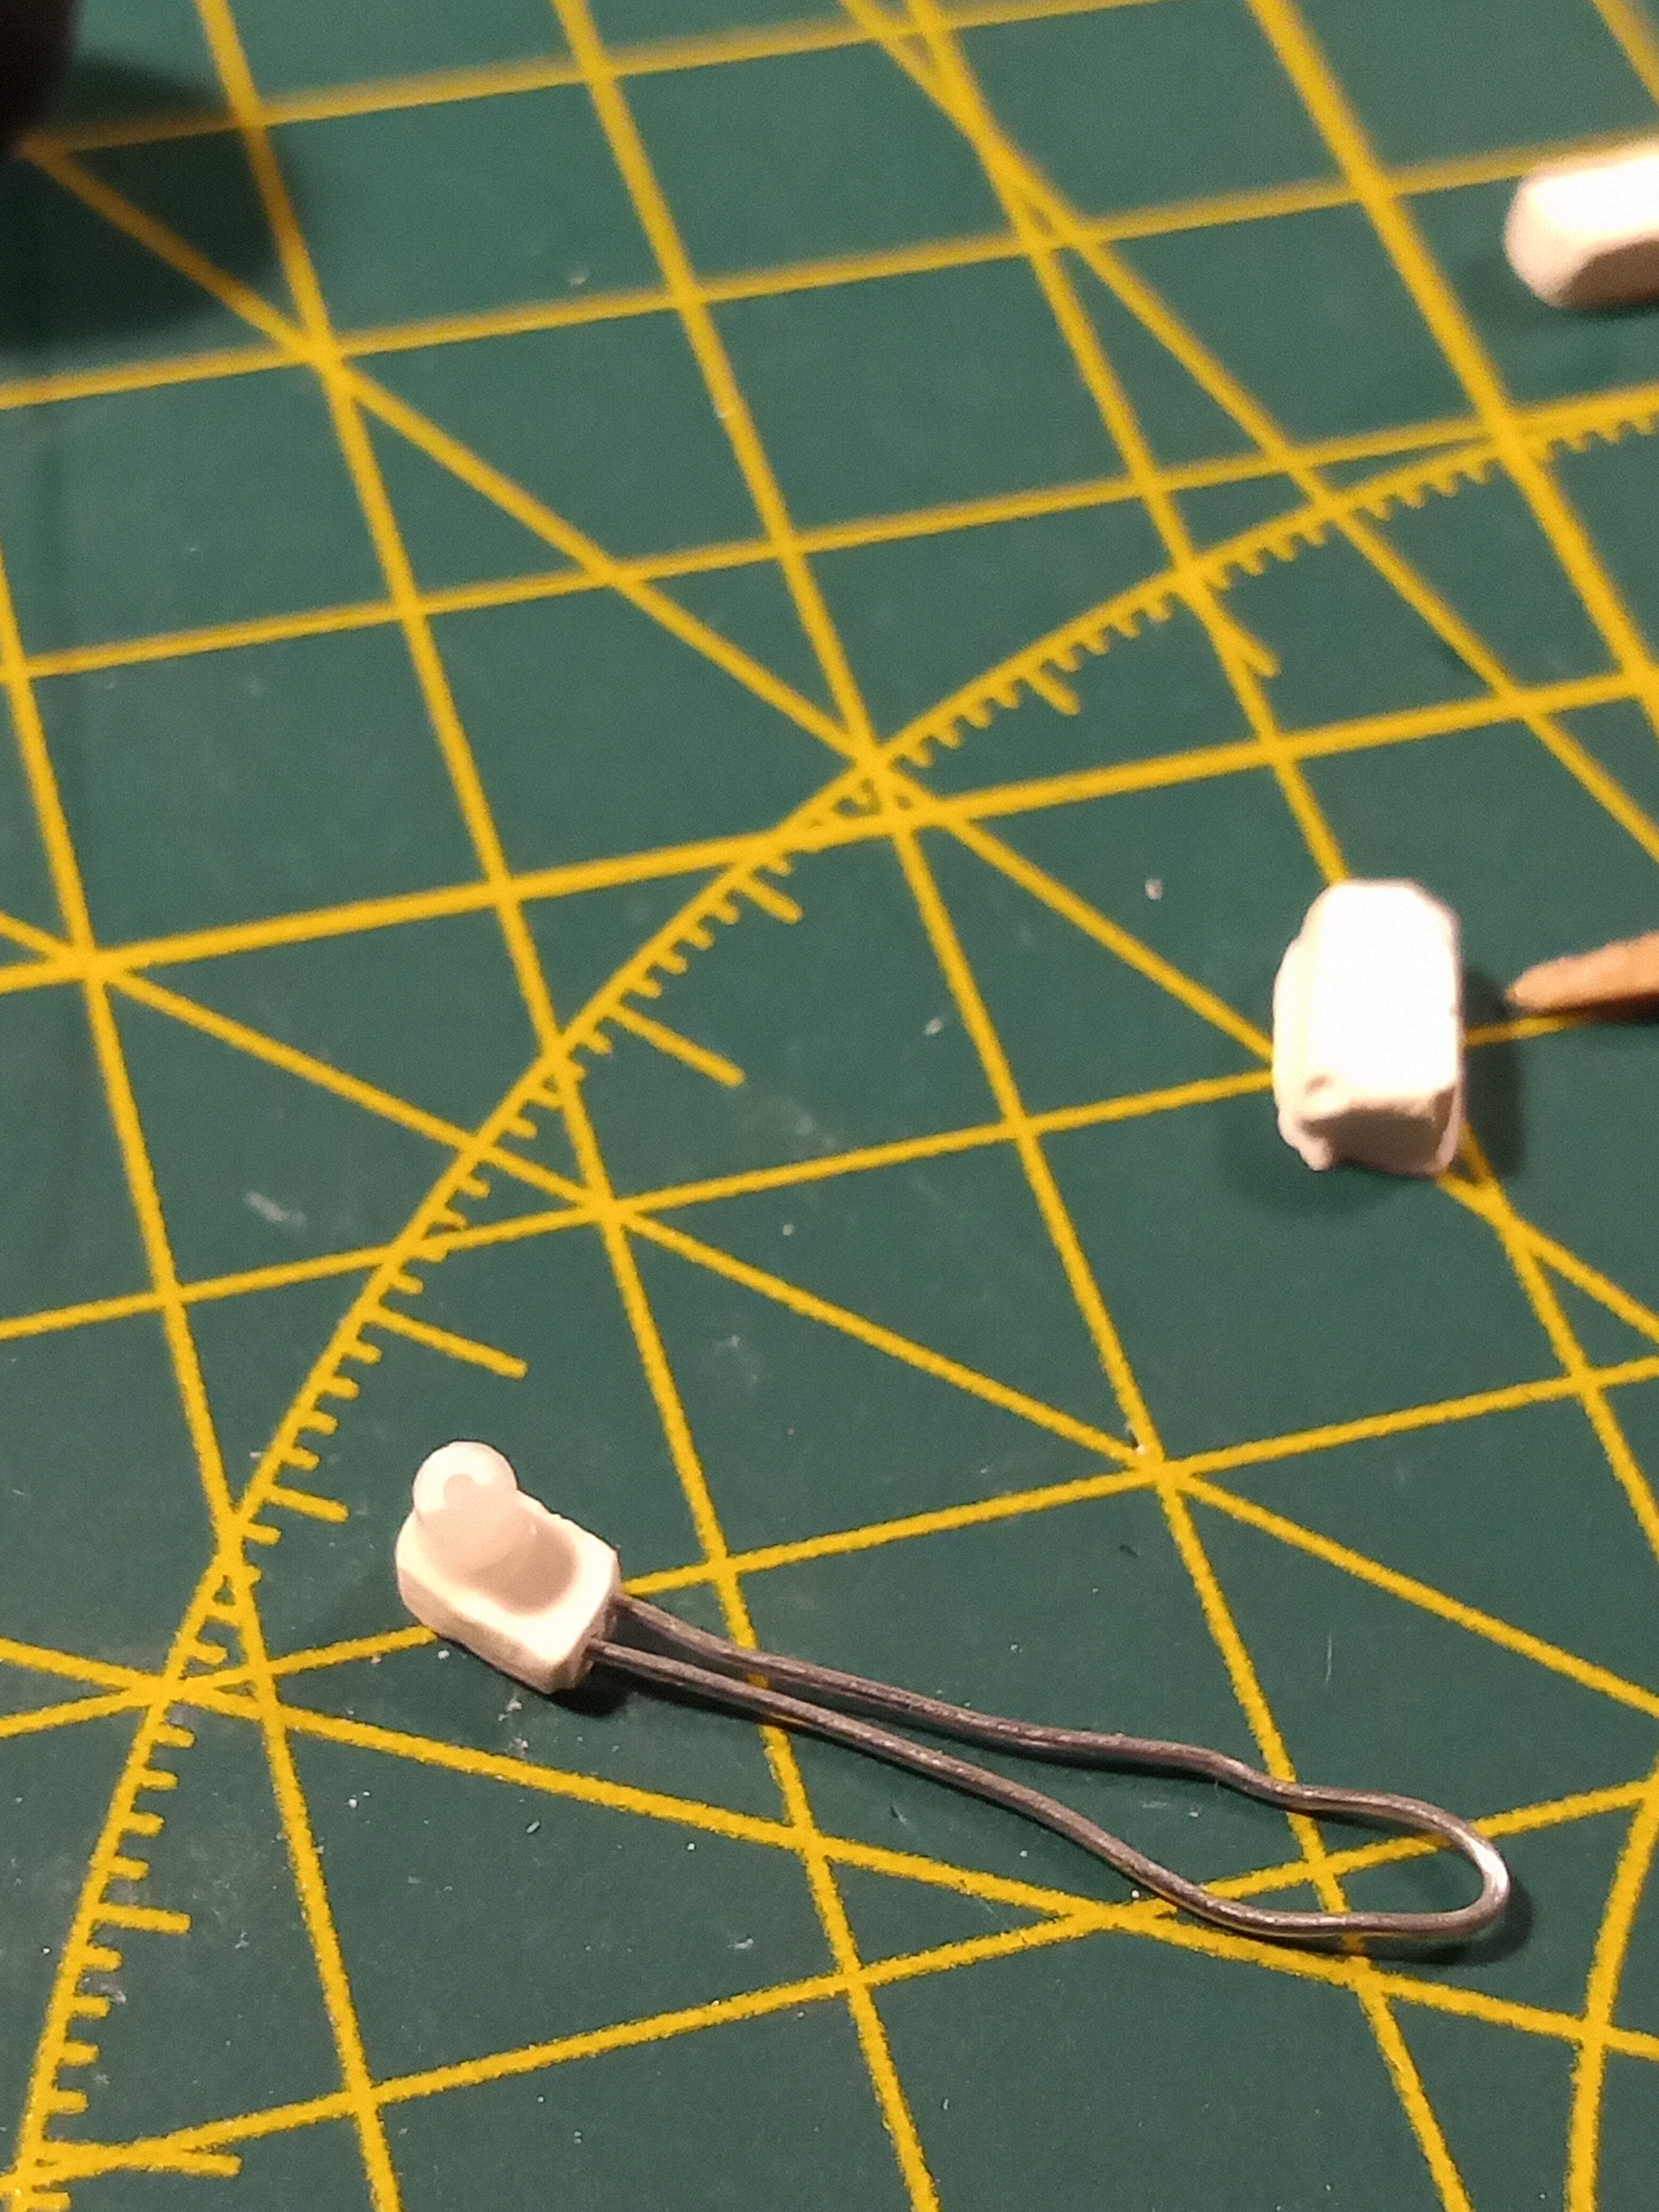
Next was the connection end. I used an old verlinden plaster of Paris brick. This was sanded to about the correct size. A comparison brick is next to it. I then cut down a small length of rod to act as the actual connector.
Then carefully drilled out 2 small holes that the cables will go into and also a hole in the connection end.
Final pic is how the cable will go in and then do another for the other end.
As I say, it’s a WIP so things may change (or break lol) , but at the moment, I’m quite happy how it’s coming along.
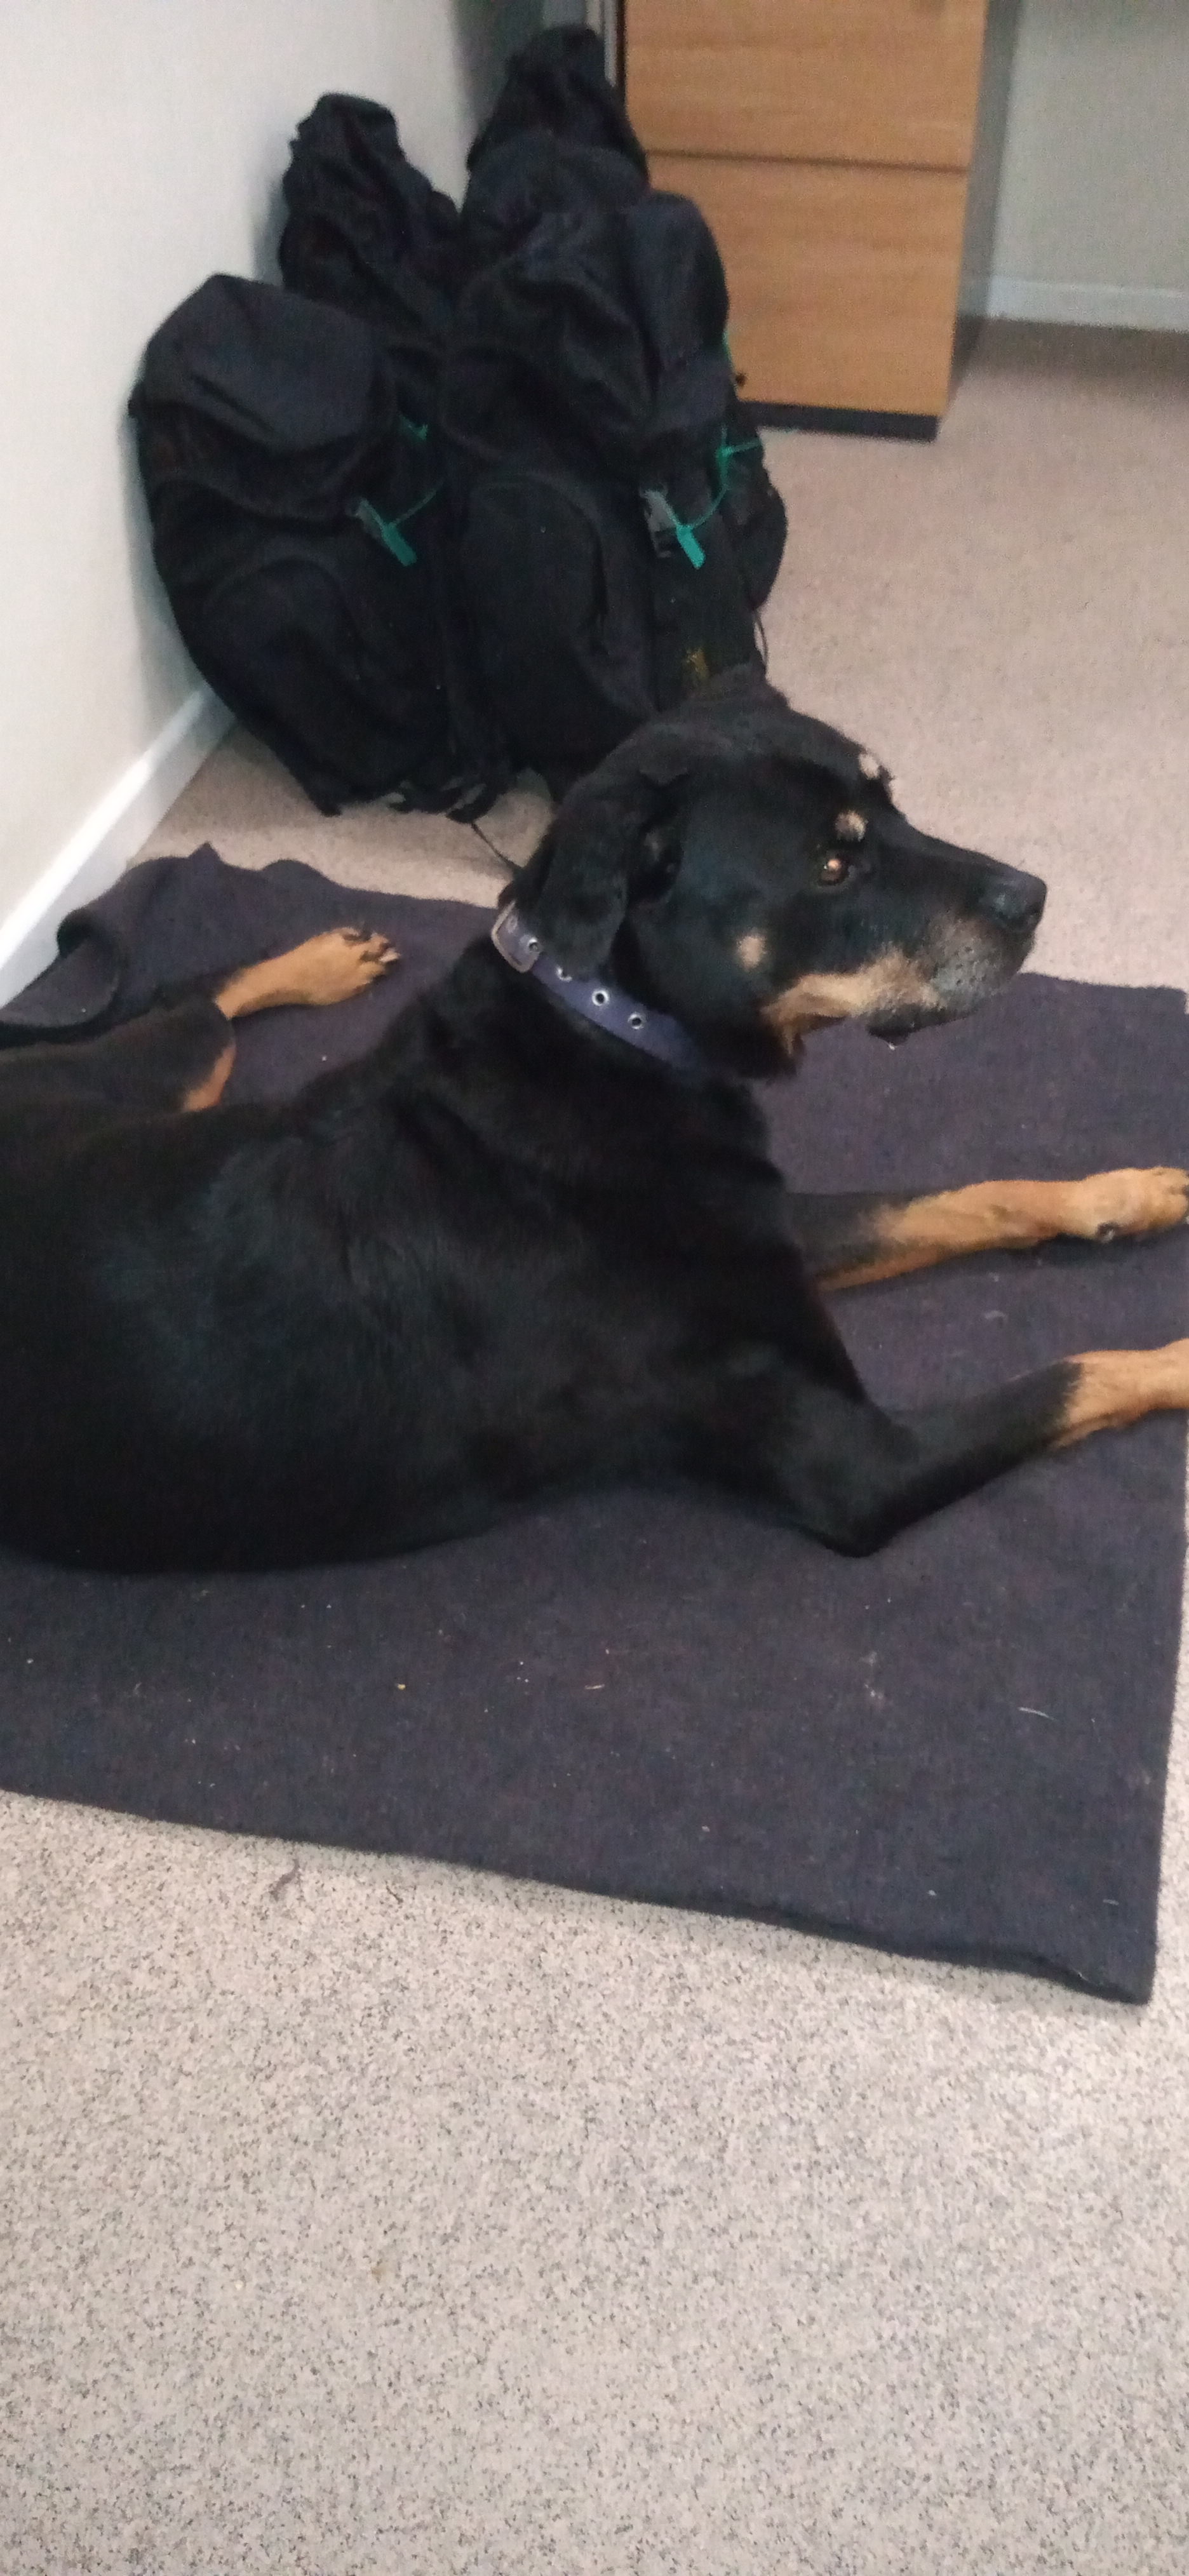
Is that yours or a random pic?
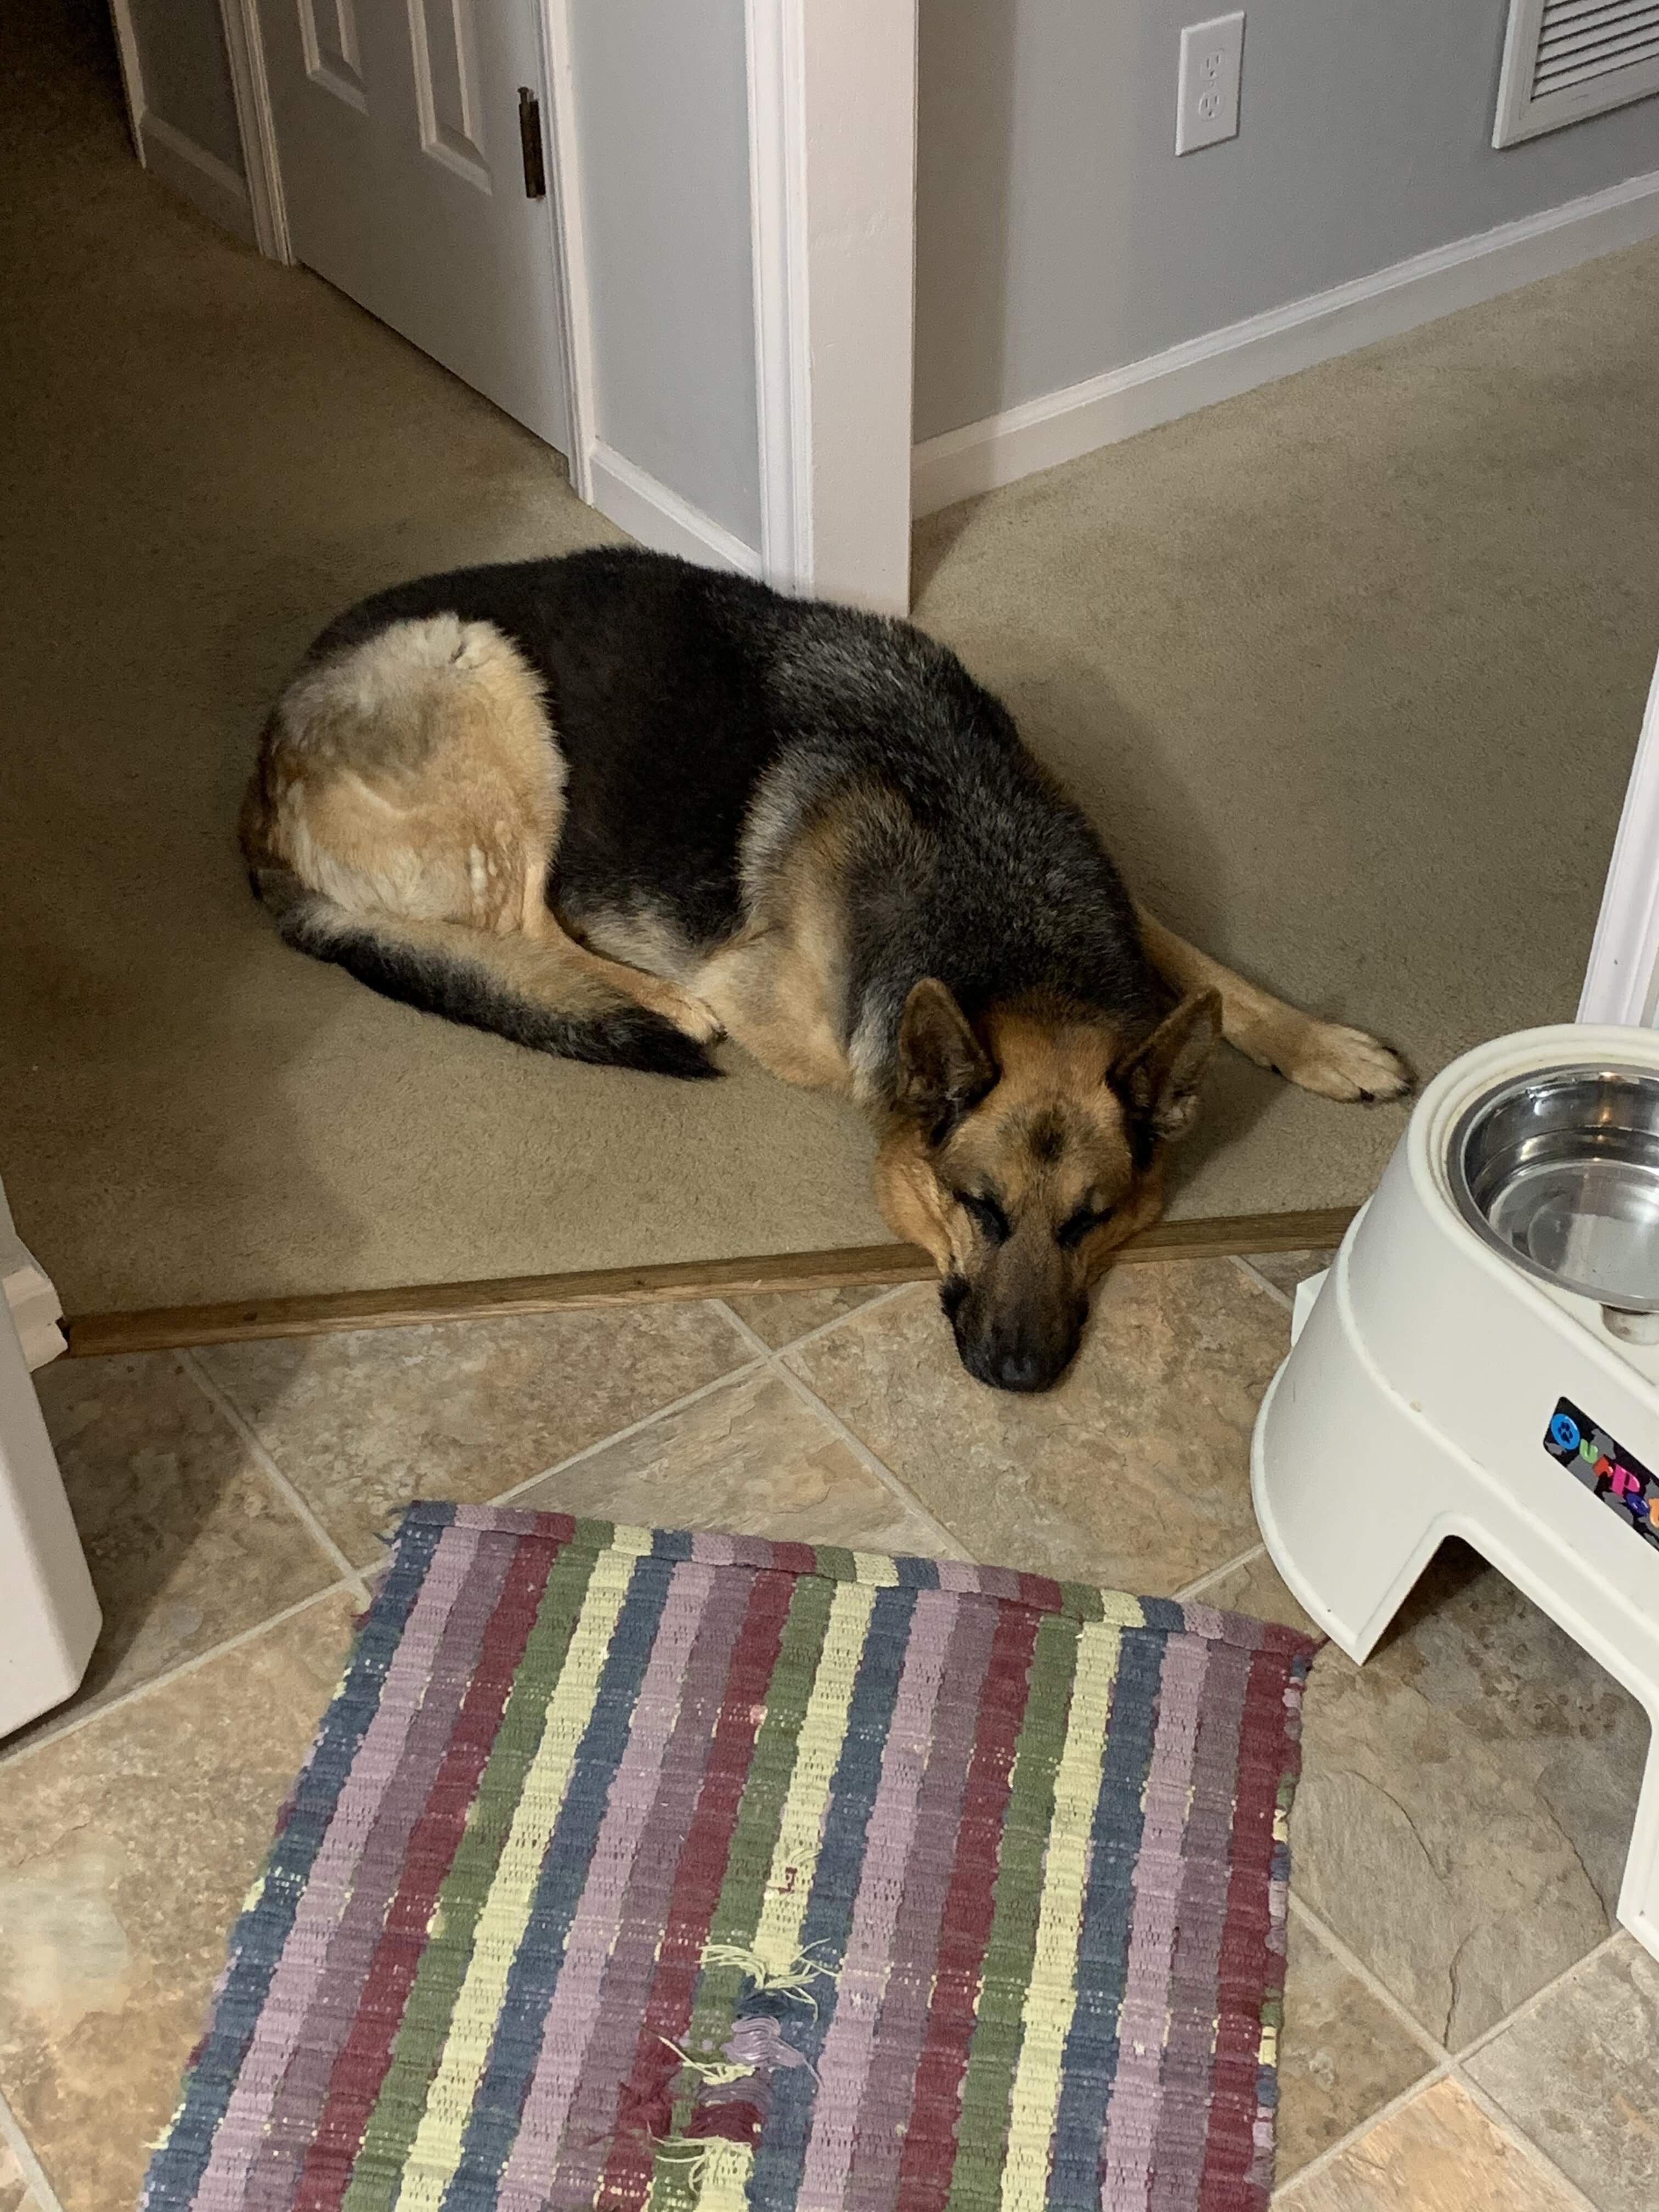
All mine Ryan… A Labrador/Doberman cross. He comes into work sometimes with me. That was him in the Guardroom when I was on duty last.
Nice, had to put my 11 yr old German Shepherd down in March.
We have been fostering cats and dogs since then because she would not have allowed it before. My daughter wants a forever dog and she will probably wear me down early next year, wife and I are just not ready. I keep the hobby/work office door closed so no cats spend long in the room.I do love GSDs, very loyal dogs. It’s always bad when you loose one…ours is a firm member of the family. We only ever go on holidays that accept dogs as we said we will never put him in kennels.
I think she was in the kennel maybe once. We either didn’t go on holiday, I stayed behind or we had a house sitter. Just how we choose to do things. She disliked vehicle rides but always wanted to go on a trash run with me. ![]()
When I was still active duty Army, a friend of mine discovered what happens if you have keys in your hand when you plug that slave cable into a charged truck. He got tossed about 3 yards and the keys melted a pattern in the palm of his hand (ala Raiders of the Lost Ark) before they melted altogether.
Slave cable looking really excellent John. These are the little details that really make a model.
Thanks Matt, I thought it was worth the effort as it is my old wagon.
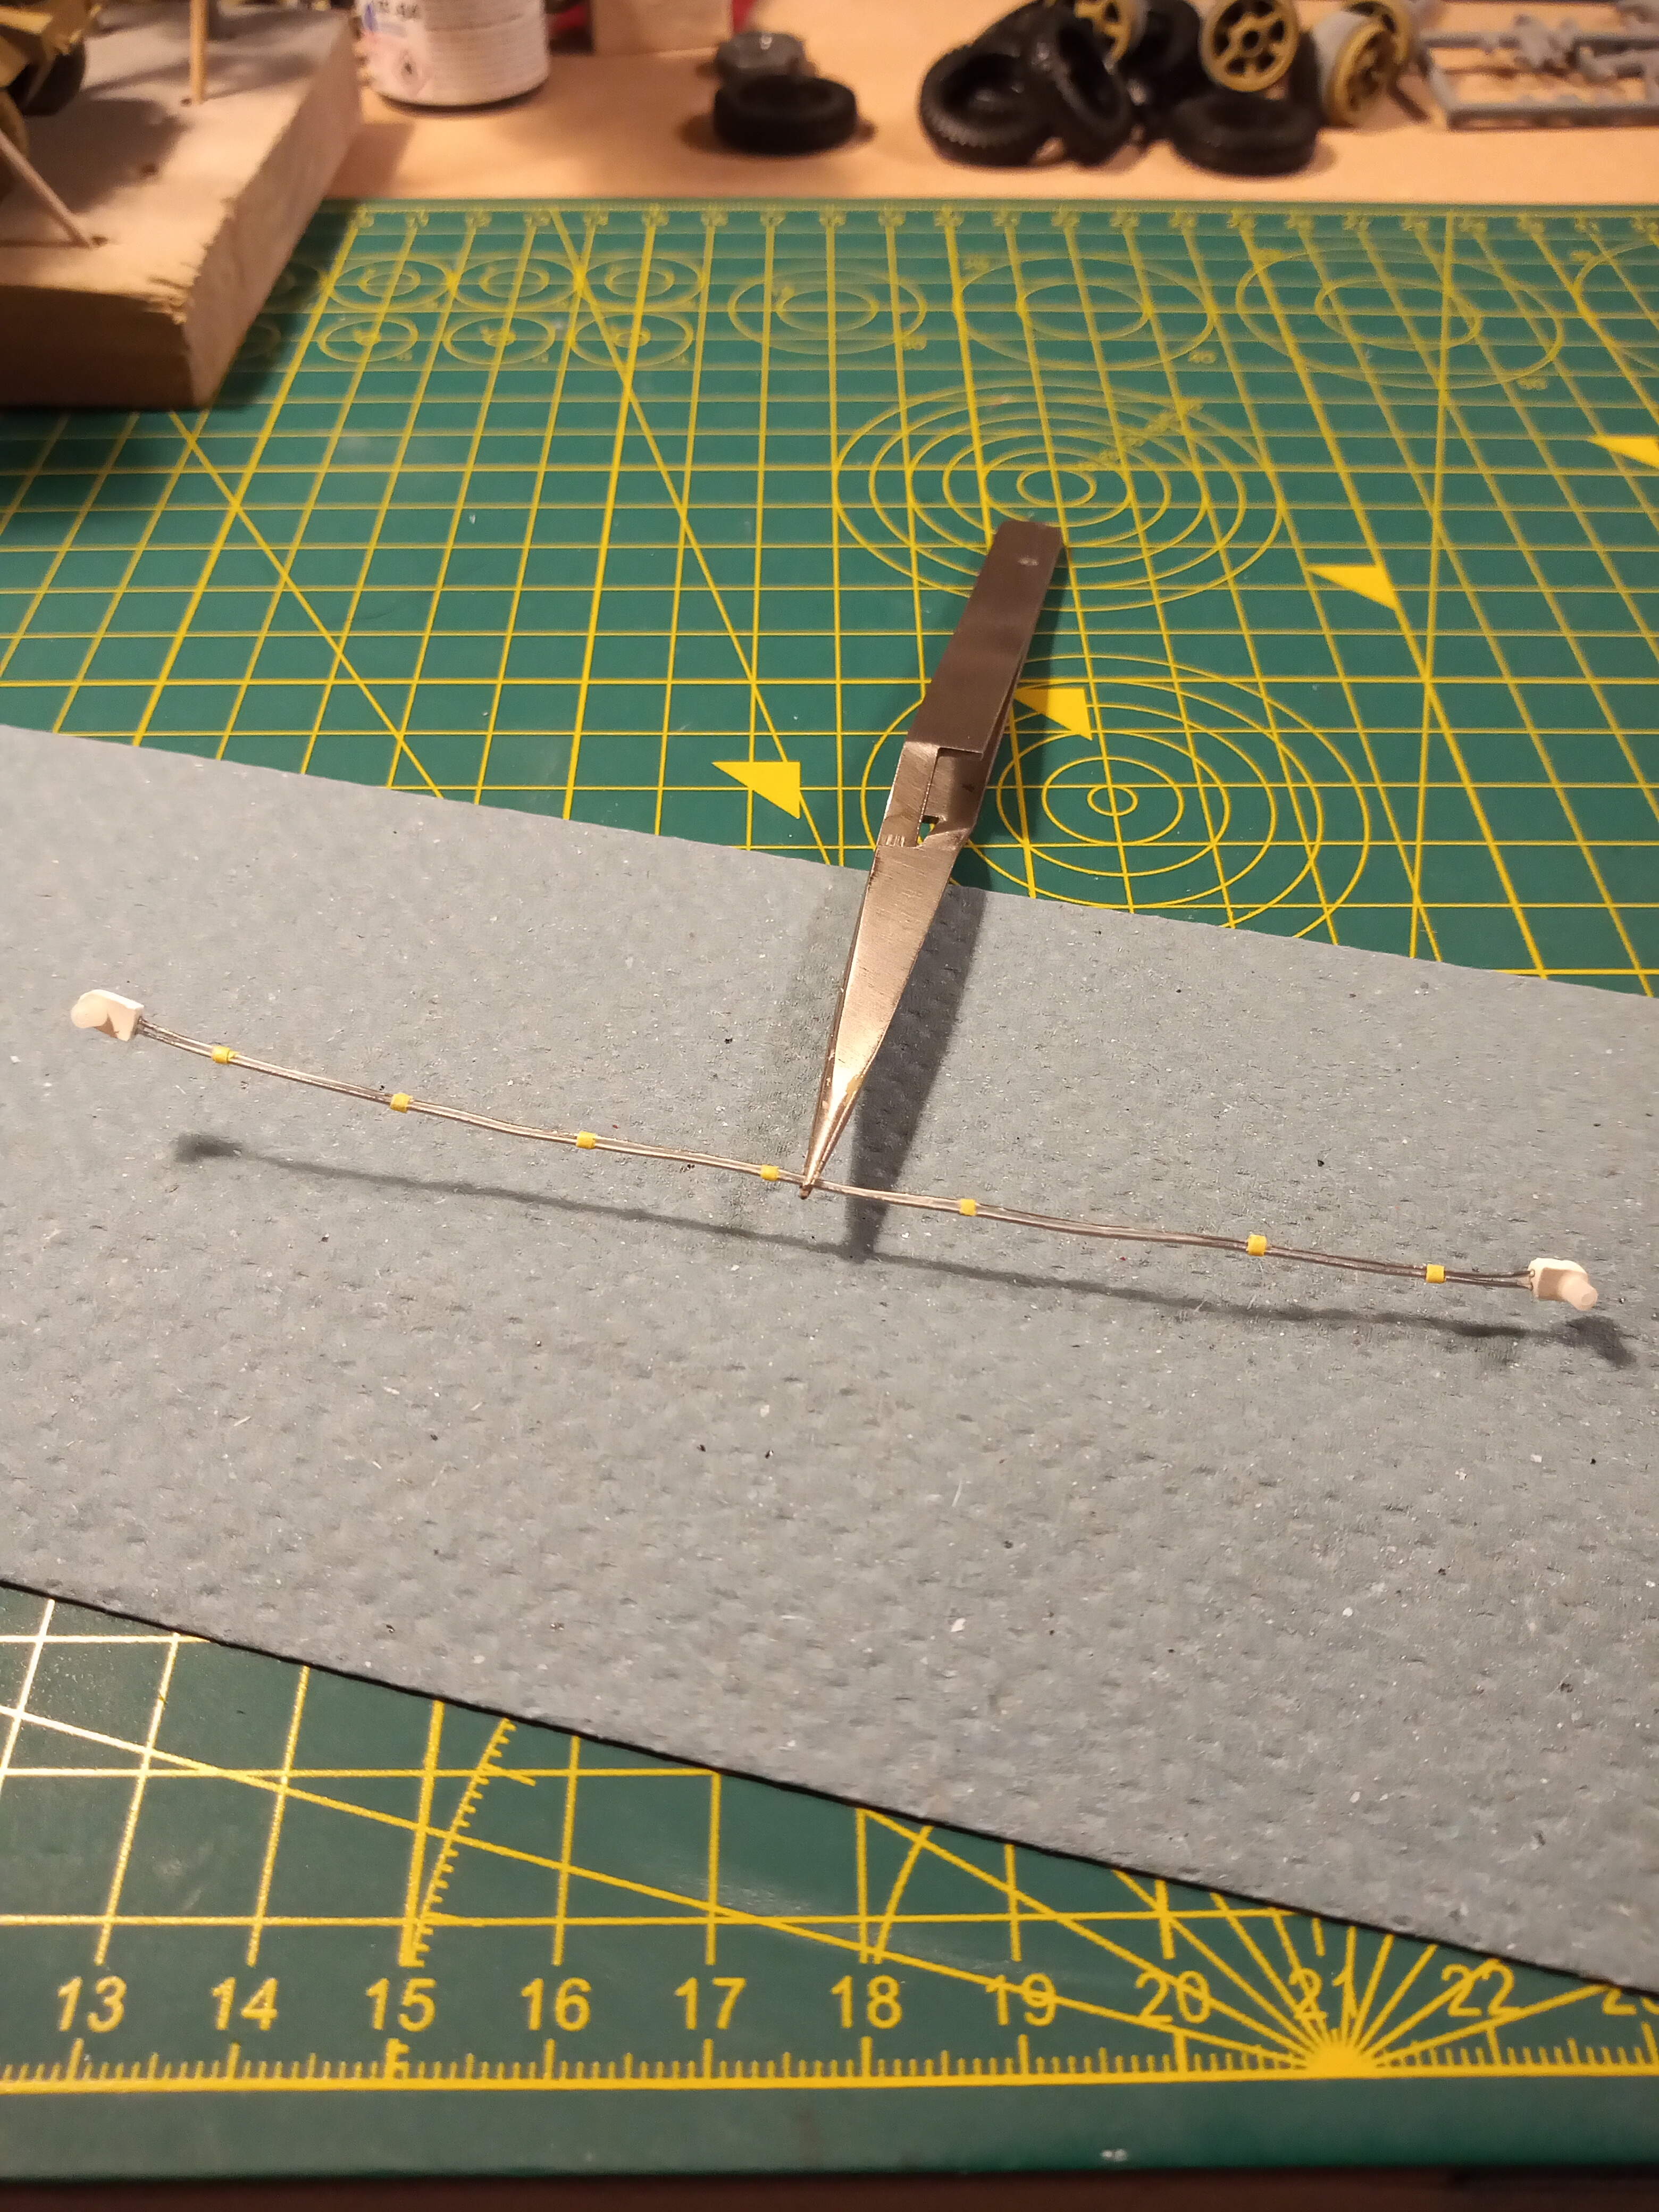
So after a bit more work and making the other connector end I have finished the scratch built slave lead.
Not painted but glued and letting it all cure overnight. It wasn’t as hard as I imagined if I’m honest. Biggest pain was wrapping the slithers of masking tape around the 2 lengths of wire.
As Angel said, the capillary action of the glue went along each section nicely, and soaked into the tape adding to it’s strength.
It’s not perfect, like the connectors are probably not exactly 100% accurate for dimensions but close enough for me.
I did drill out the connection lugs on each bit of plastic rod to give it a bit more realism. All in all, happy with how it turned out, and will put it to one side and paint it later.