Yeah, once I have trimmed and fitted the 14mm inserts it should all tie in nicely. I will try and get all the little bits of scratch building done first before I start putting this all together so I know everything is in place. I have sussed out the best way to ensure snug and level fits for the torsion bars which I will go through in a while.
On a slightly annoying note, I have just found a new hurdle…
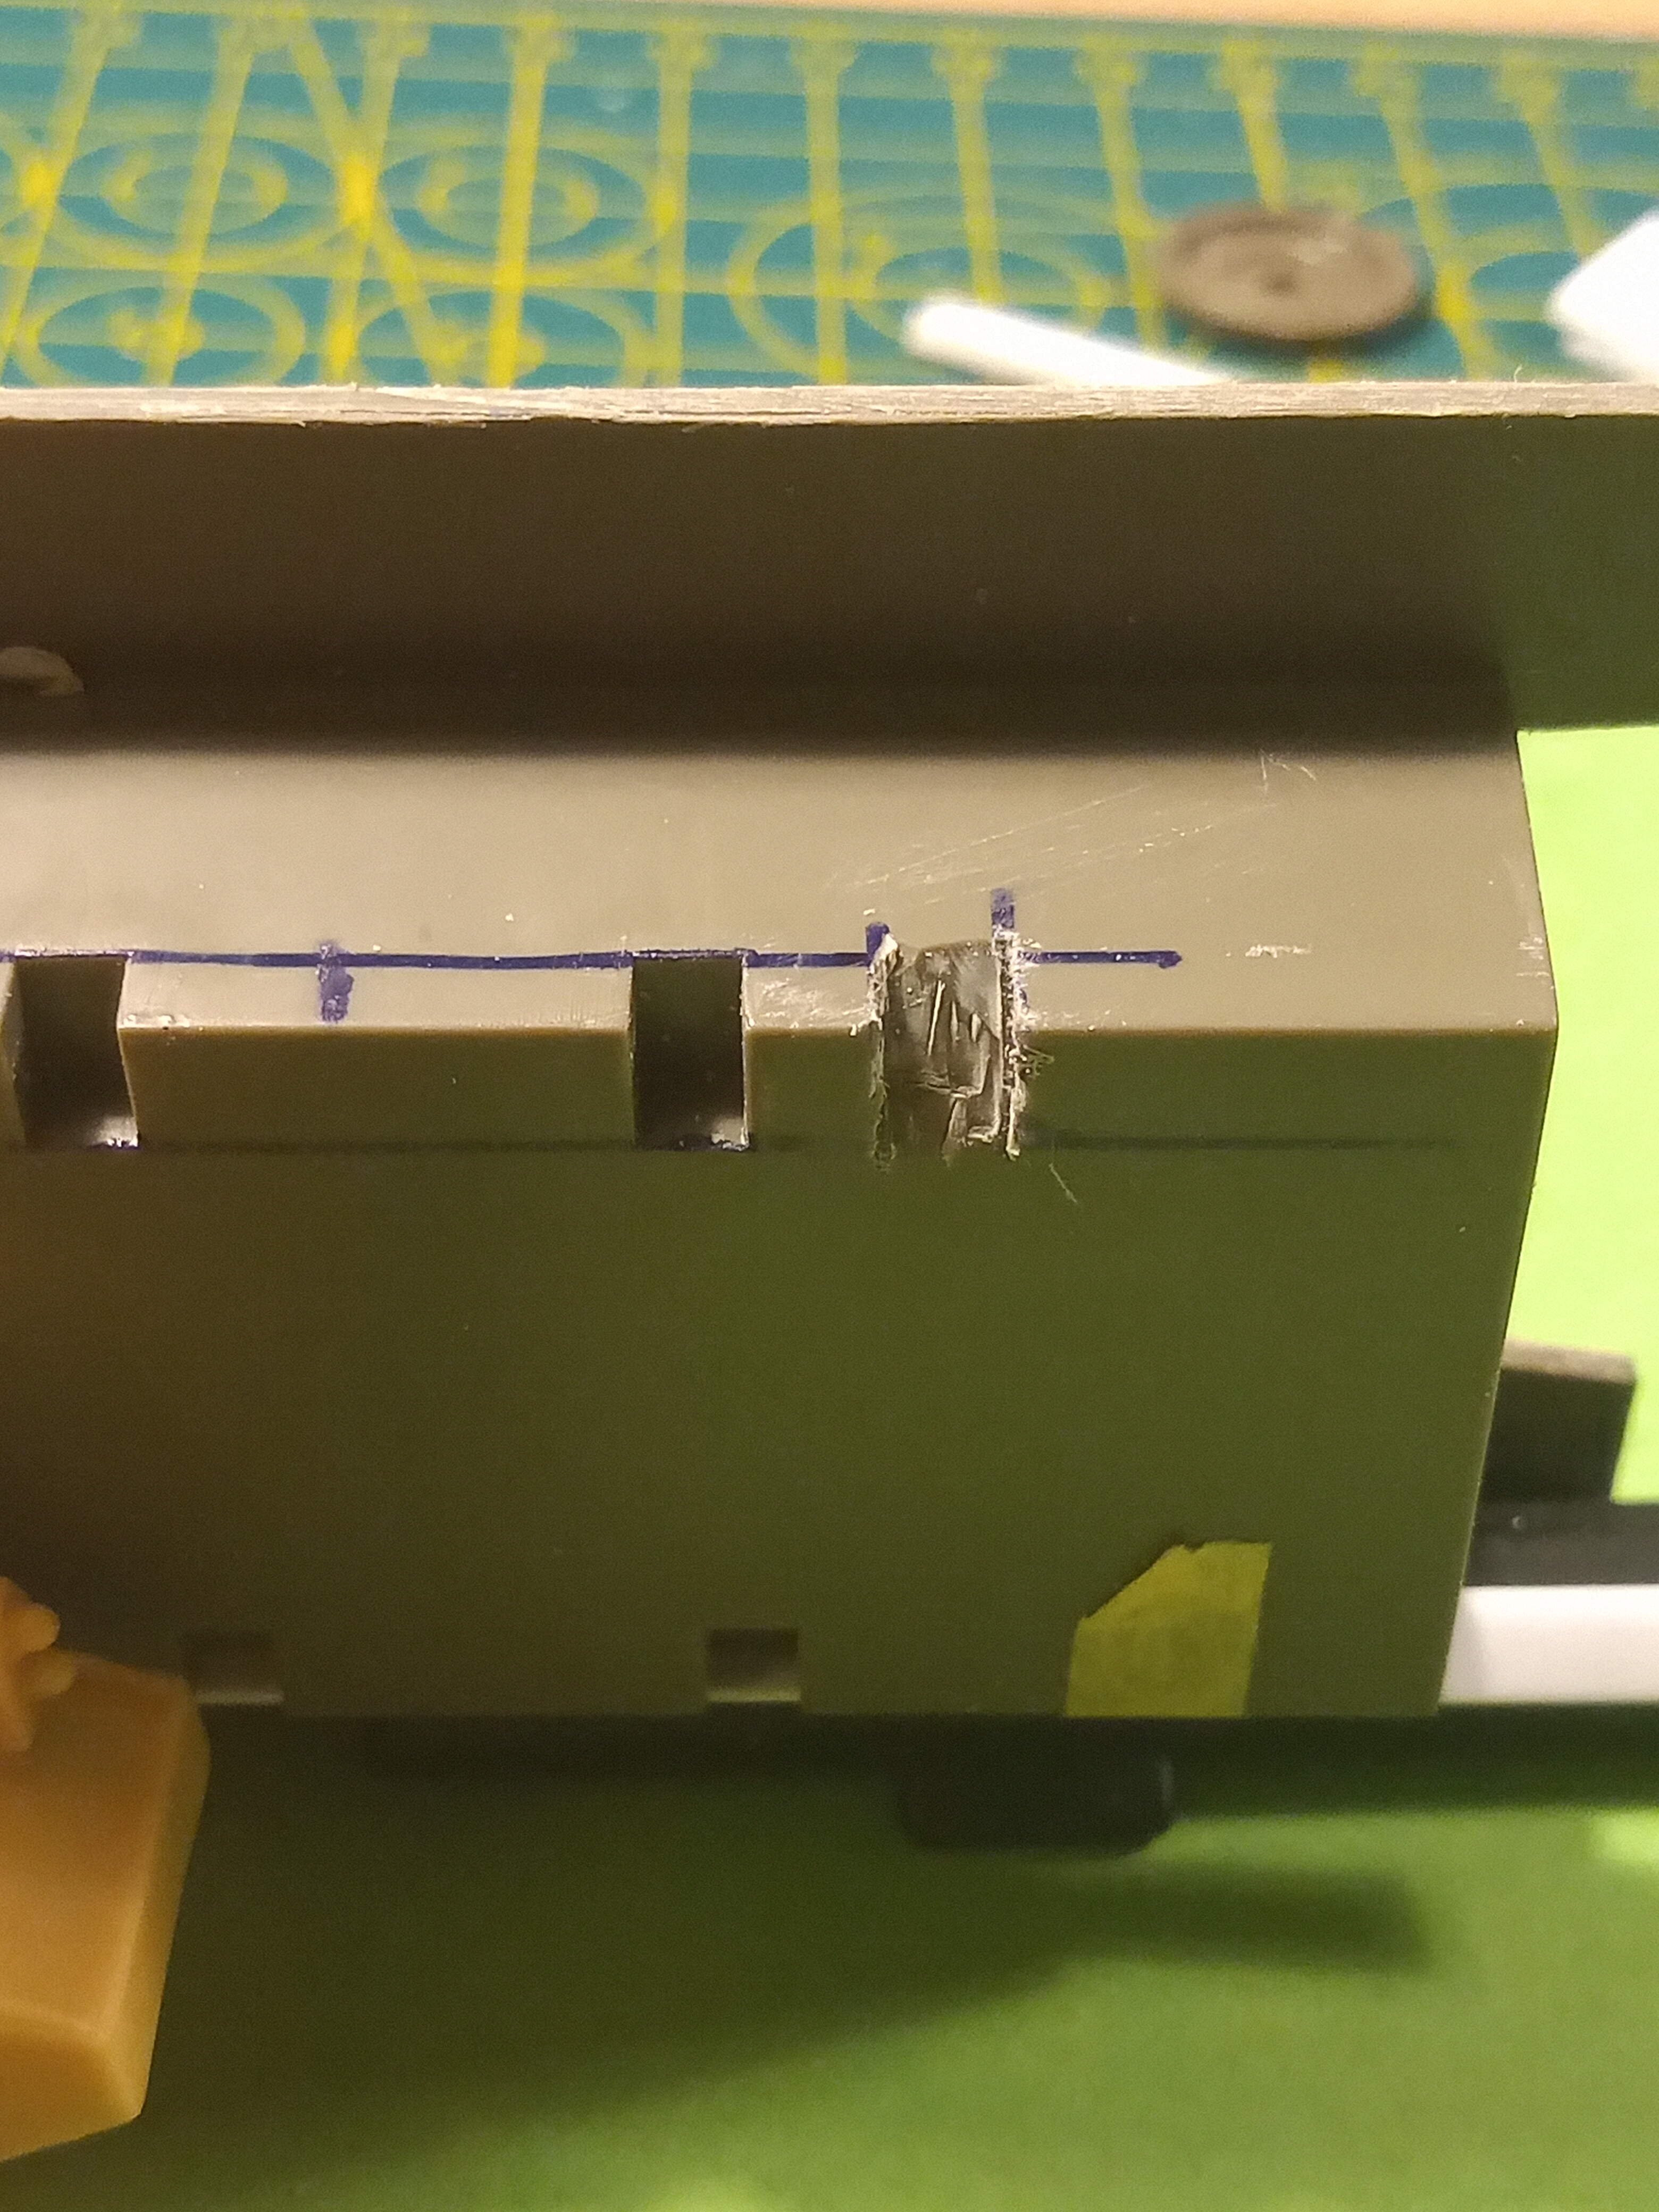
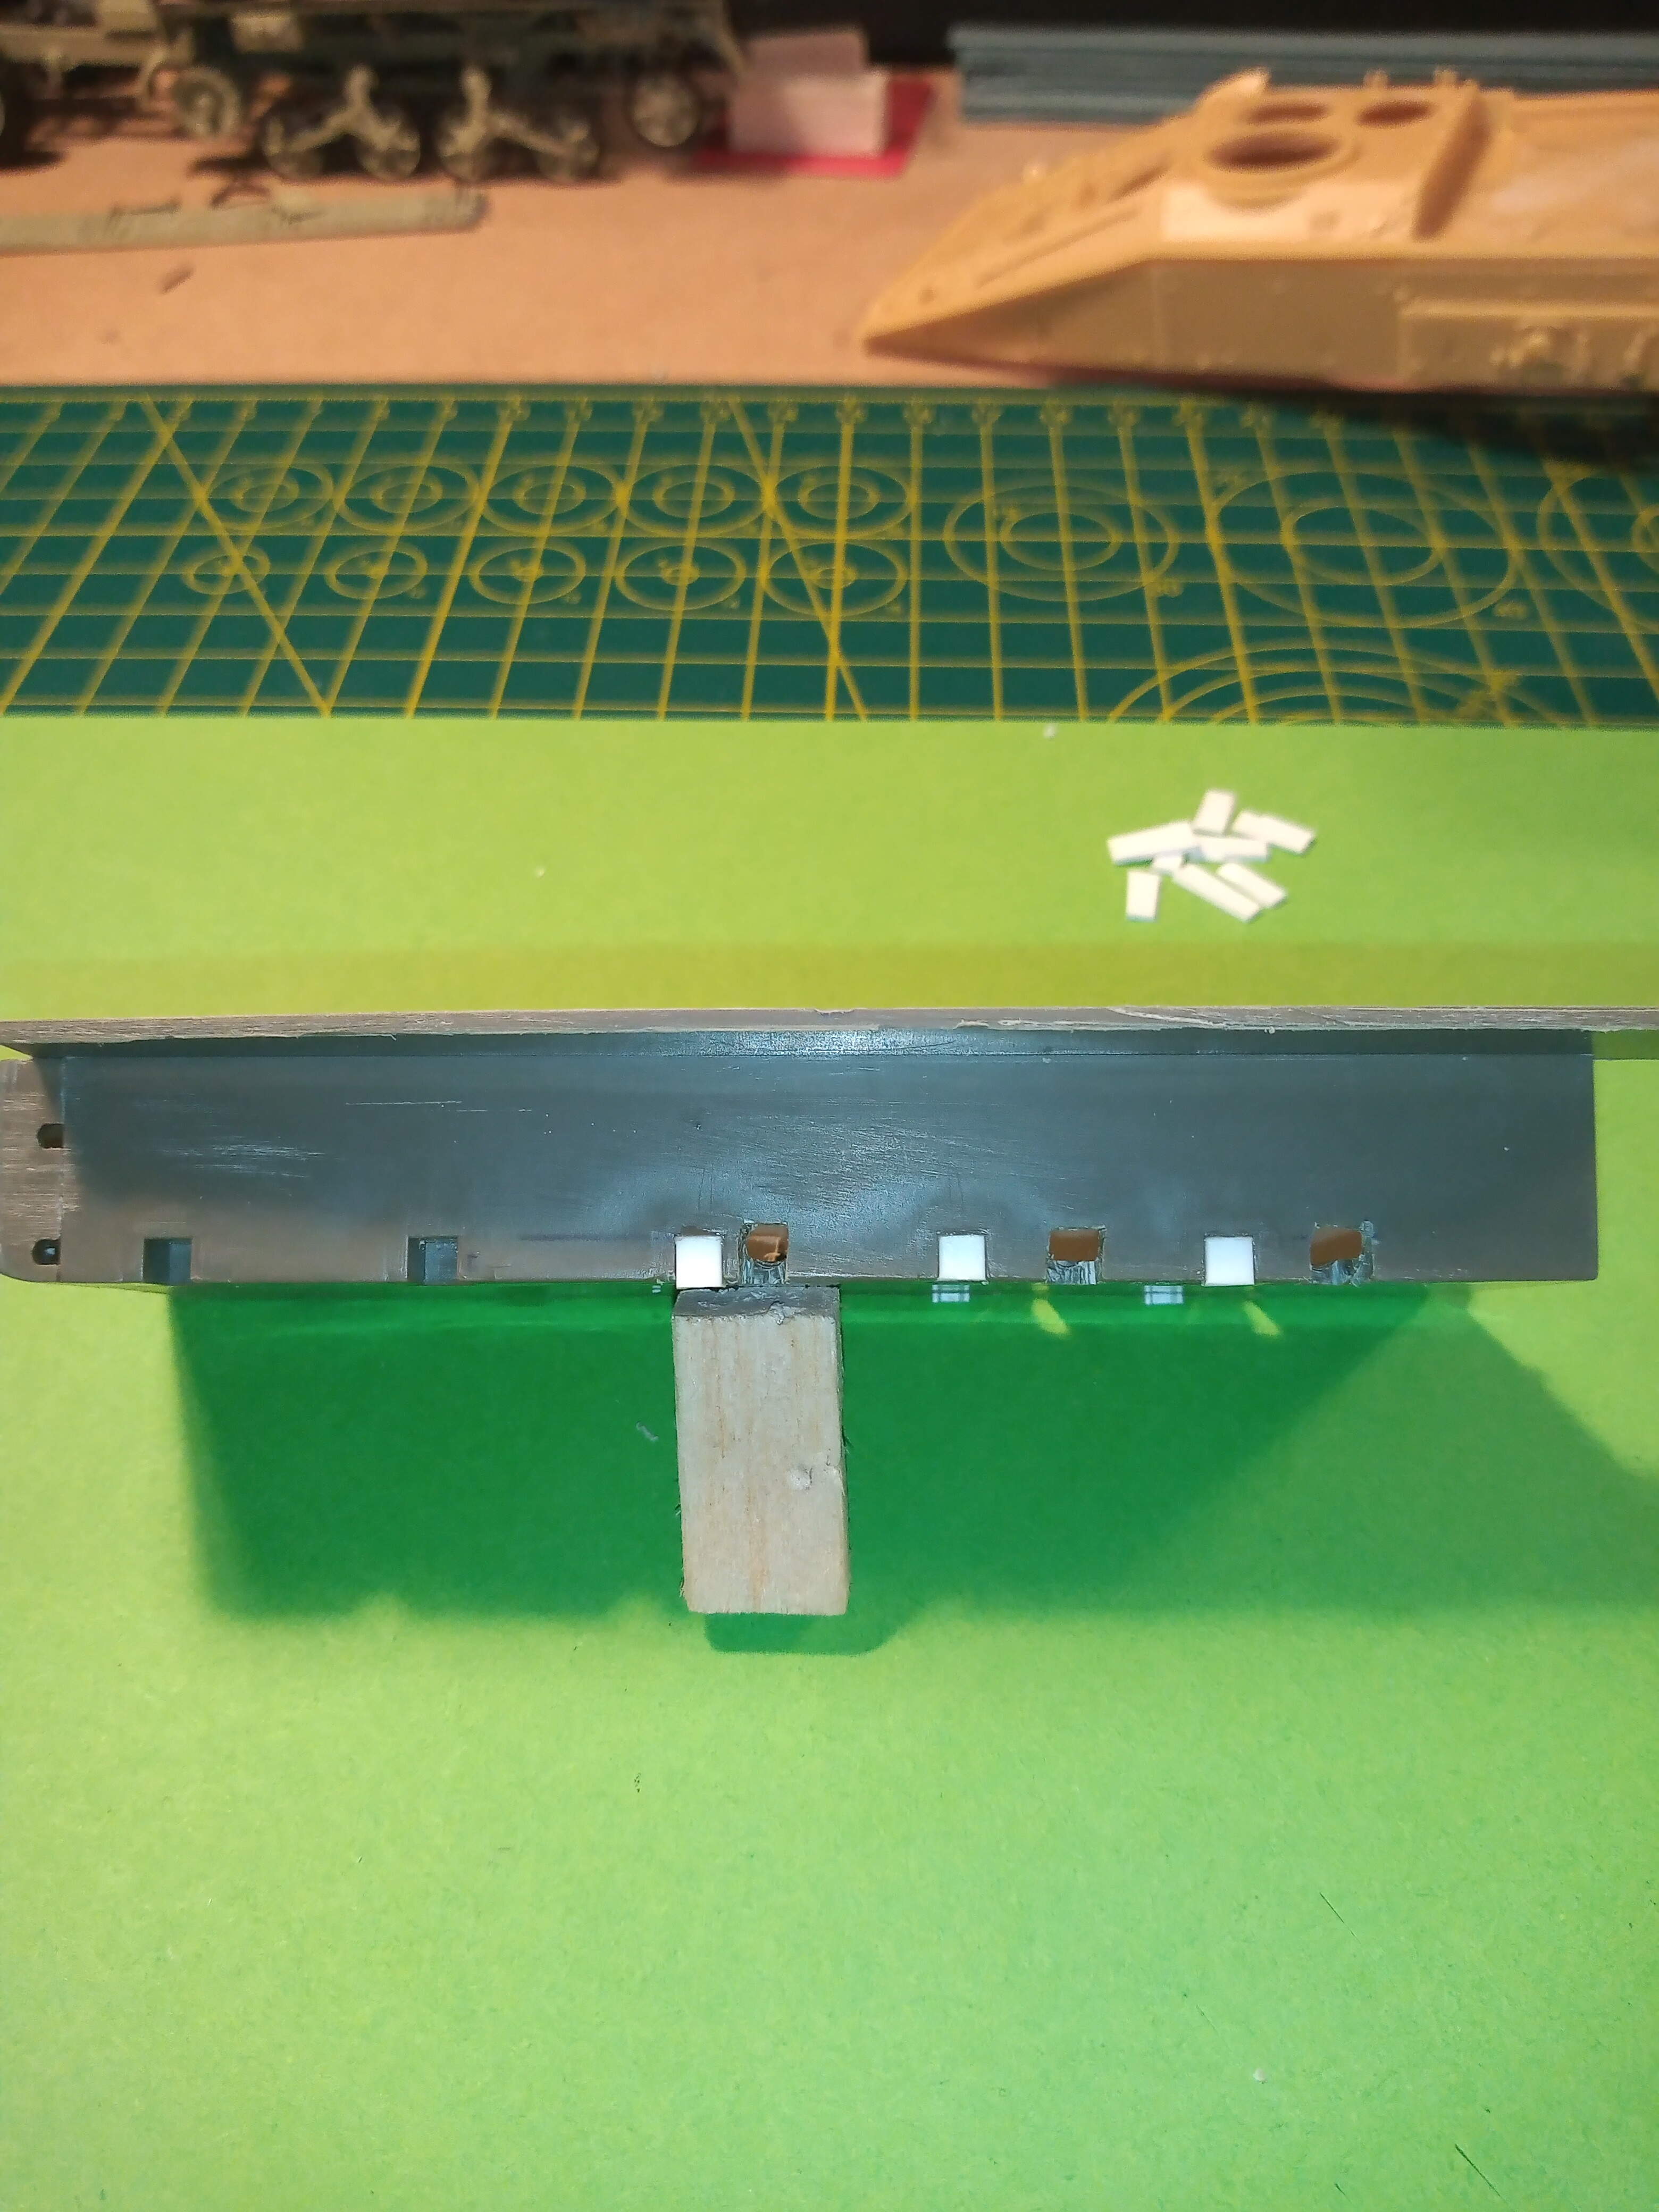
I started making the cuts for the repositioned No5 torsion mount…
The problem is on the AFV hull, the location slots have been press moulded. I thought I would be able to cut through a nice little square into the inner of the hull and the cuts would go all the way through. Sadly, I have just found out that is not the case…  the cuts only go in at a certain angle and not all the way through, and I cannot see any easy way to carve out the square shape as there just isn’t enough room. Hmmmm !
Torsion mounts 1 & 2 are ok but for 3, 4 and 5 I’m thinking of looking for some 1.5mm diameter metal rod and drilling through the new location marks on both sides and joining the L & R mounting plates via the rod to give some stability. The other option is to cut off the locating stub on the rear of the mounts, and super glue the mount direct to the hull…
1 Like
Couldn’t you drill that out and square off the hole?
I would go for the second option, cut the stubs and glue to hull side.
Using a rod from side to side doesn’t add any stability but it does add complexity and the danger of getting things misaligned when you have to work both sides at the same time.
The location points are staggered on the AFV-Club kit so a transverse rod would not be at a straight angle from side to side …
1 Like
@SSGToms I did think about that but I wouldn’t be able to get the inside part square or neat enough.
I think it is going to be option 2, cut the stubs off and bring out Mr Gorilla super glue gel…
I can use the set torsion mounts on No 1 and 2 to make sure the rest are level Nd if needed, I can add a hidden support behind roadwheel No4 for strength.
After a troubled night’s sleep thinking about Striker torsion bars… I woke up thinking more about what Matt @SSGToms said about drilling.
Now initially I was thinking mini vice drill which would of been long and tedious.
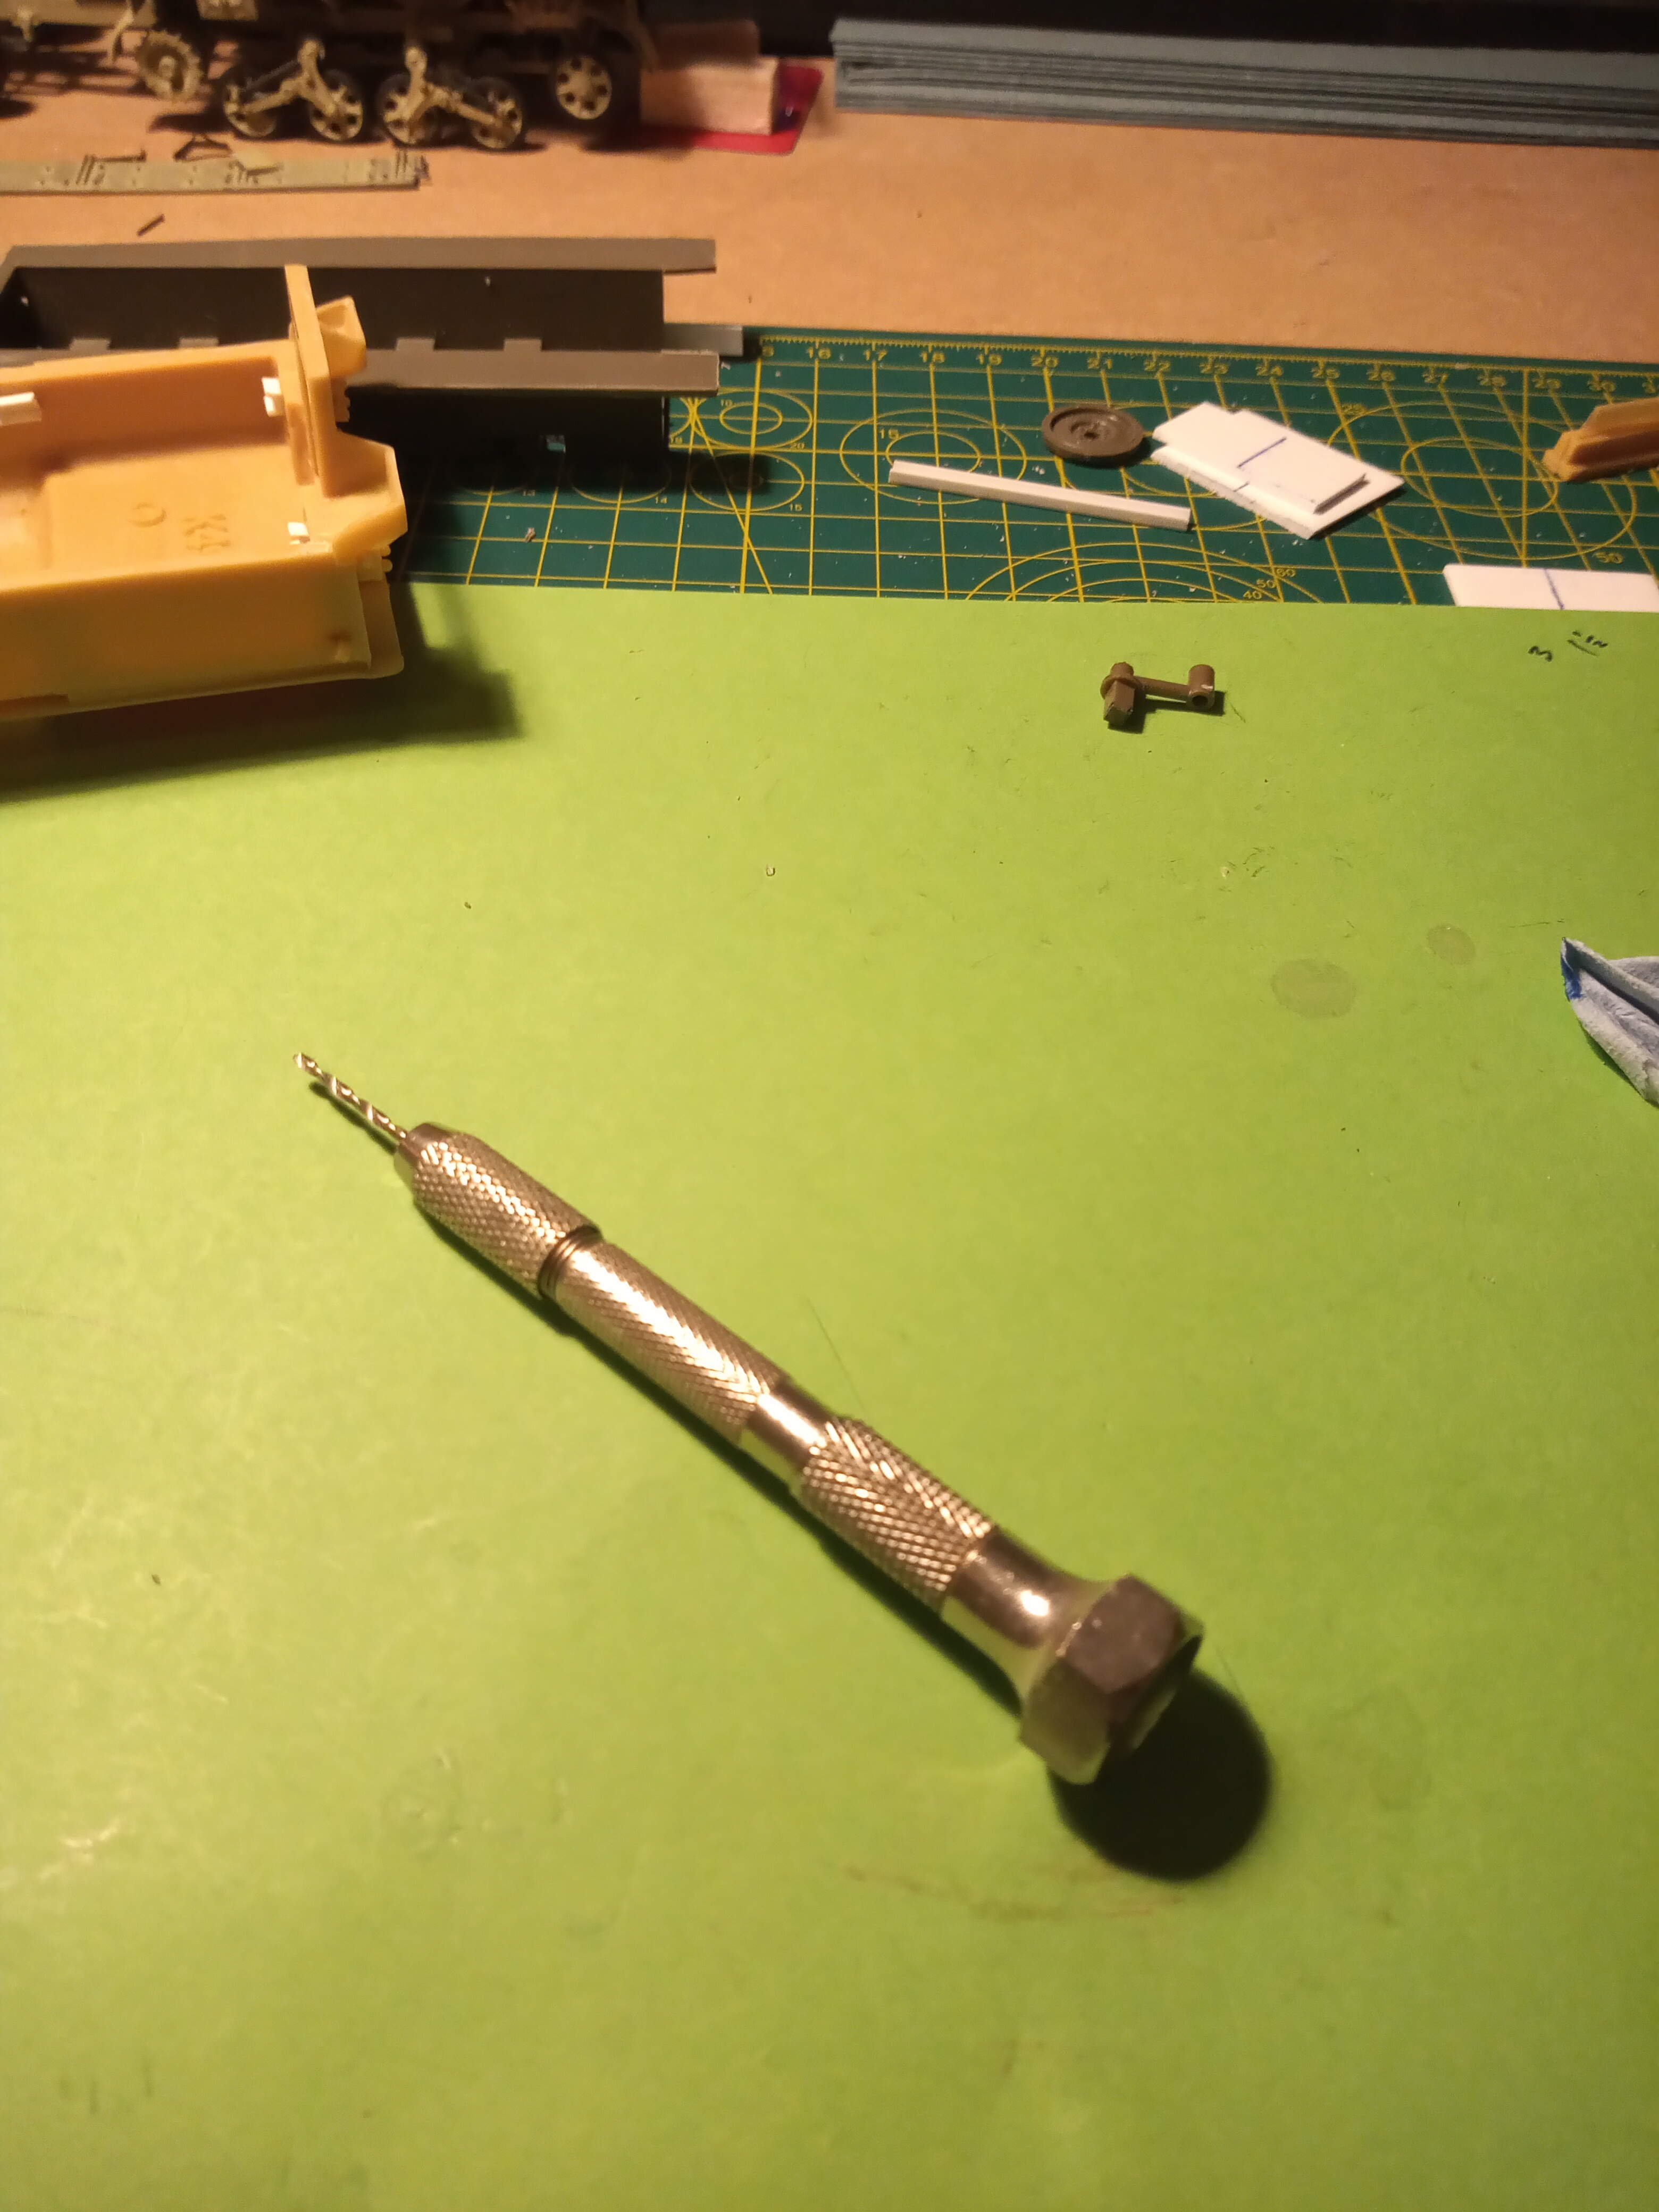
Then I thought, what about the big guns…

And it worked a treat, a guide hole with the mini drill, then 3mm with the Makita.
And a final trim with a new acto blade.
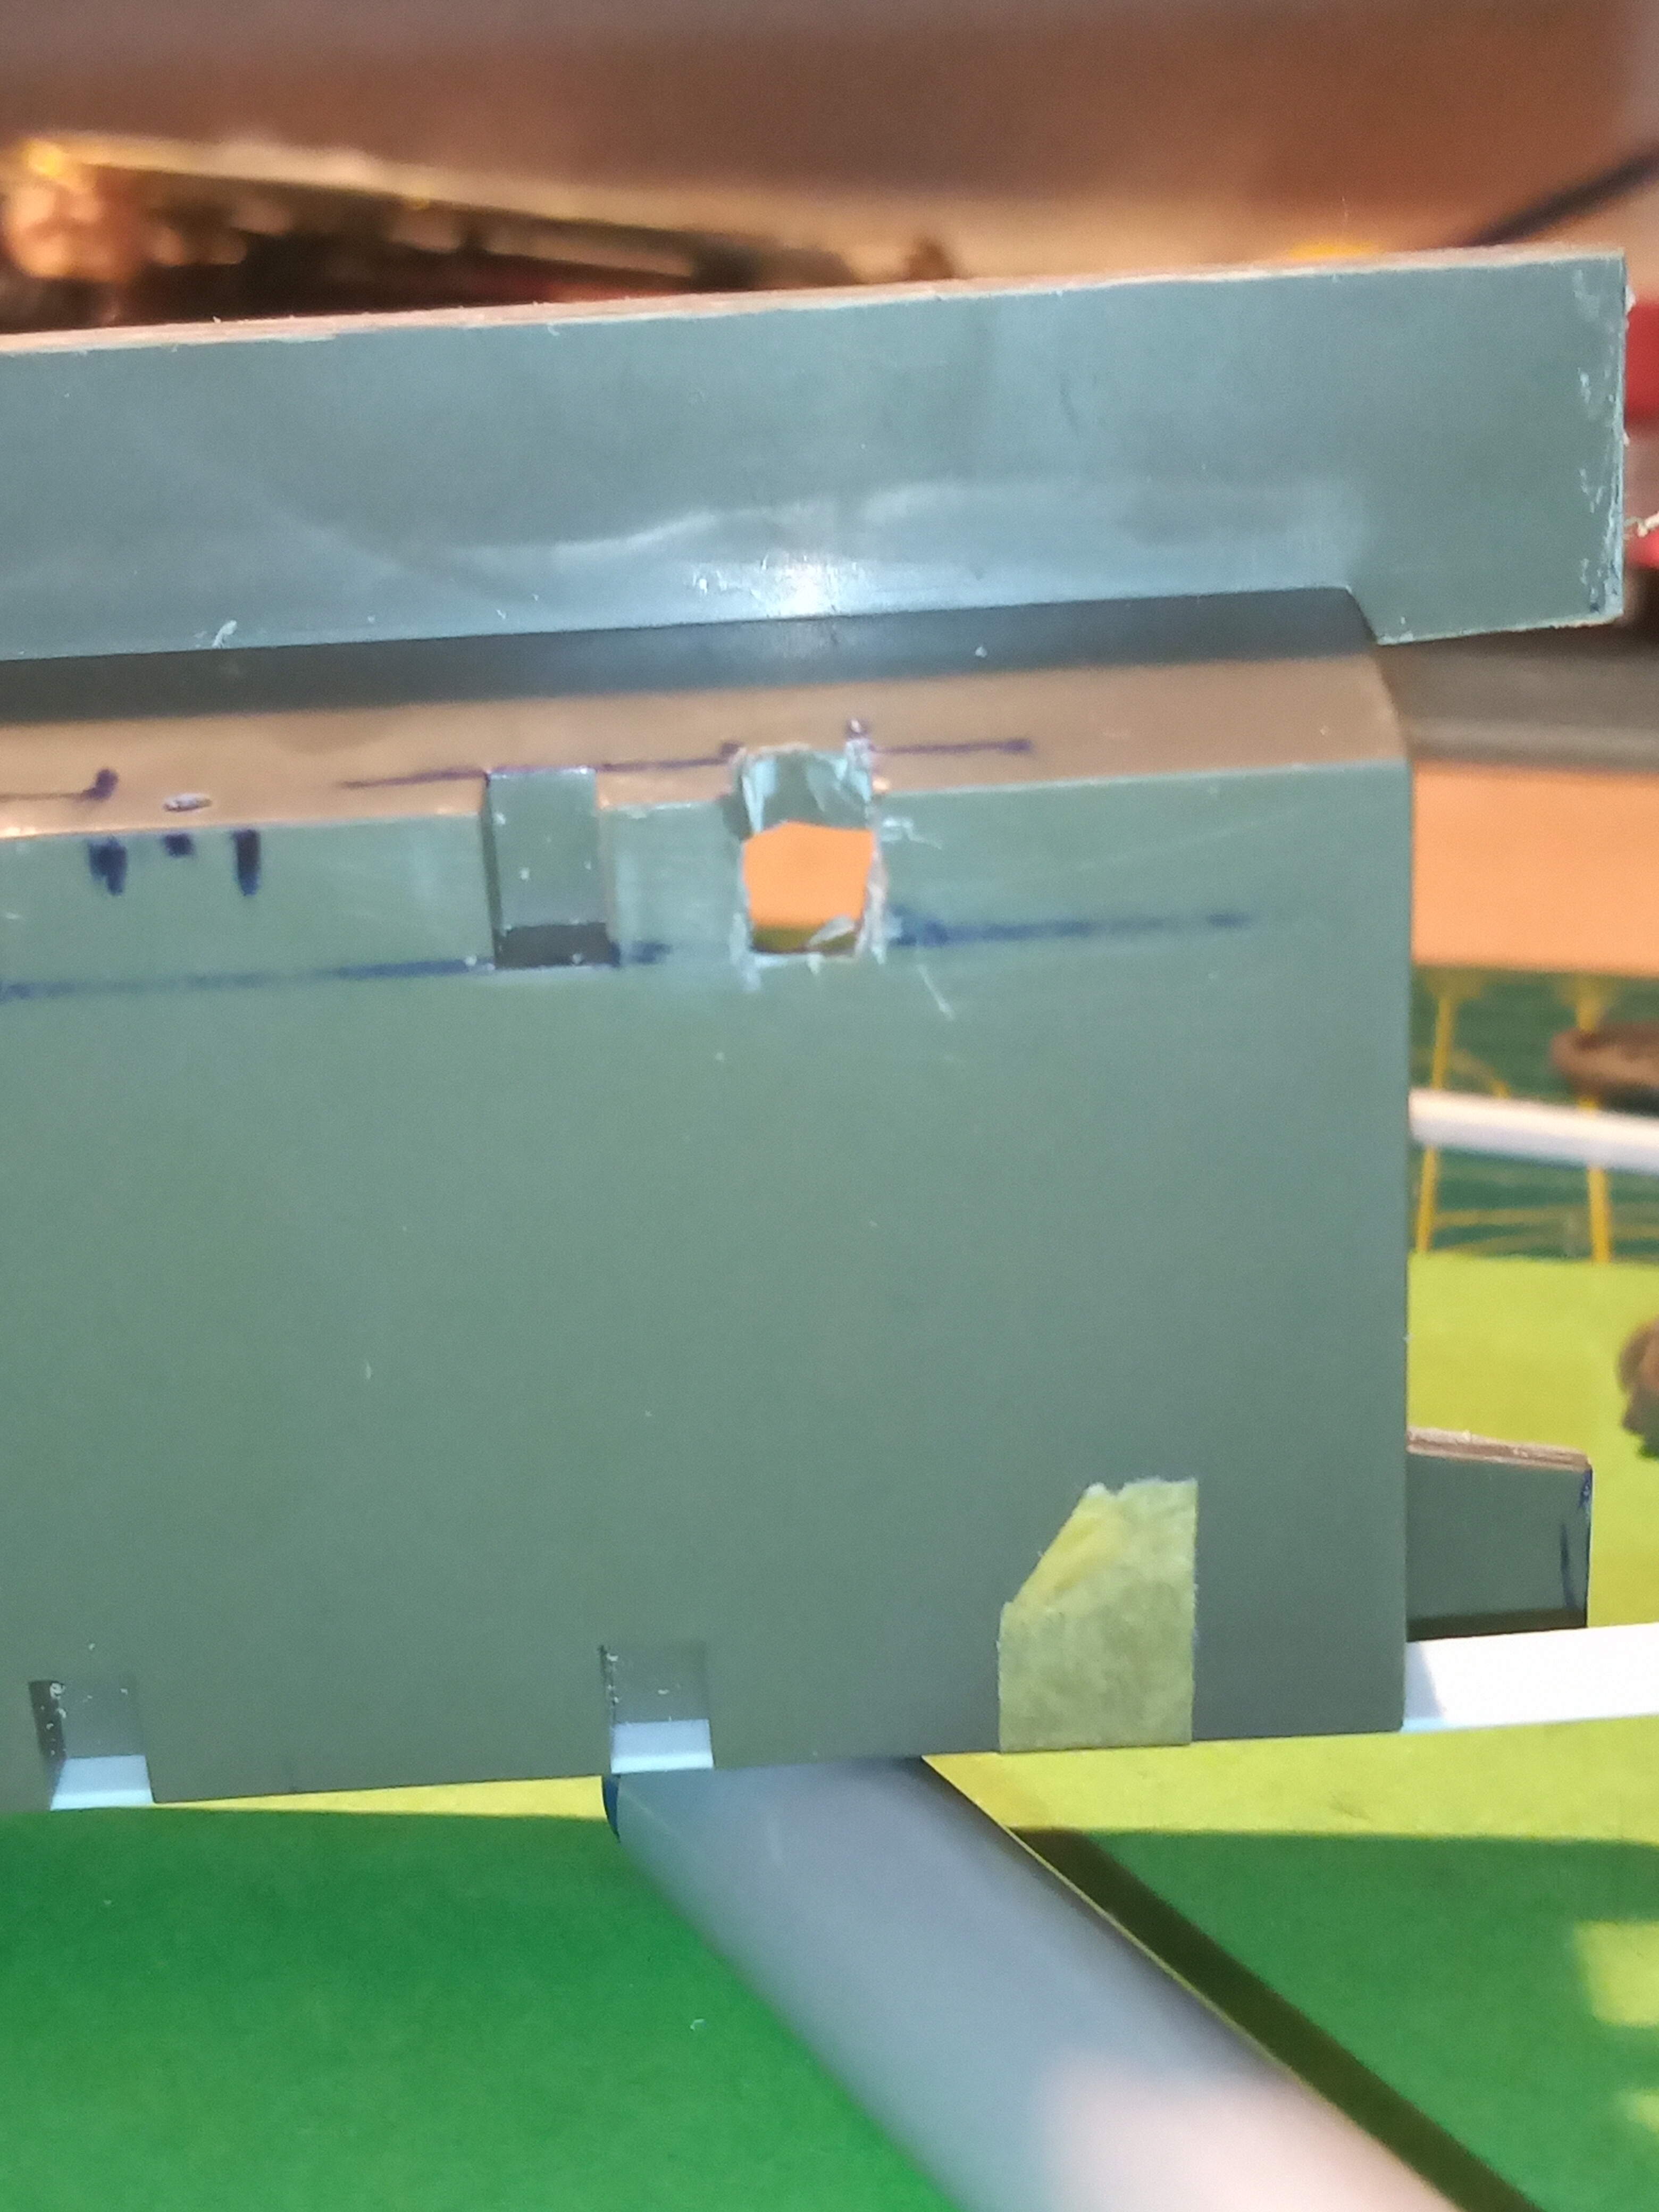
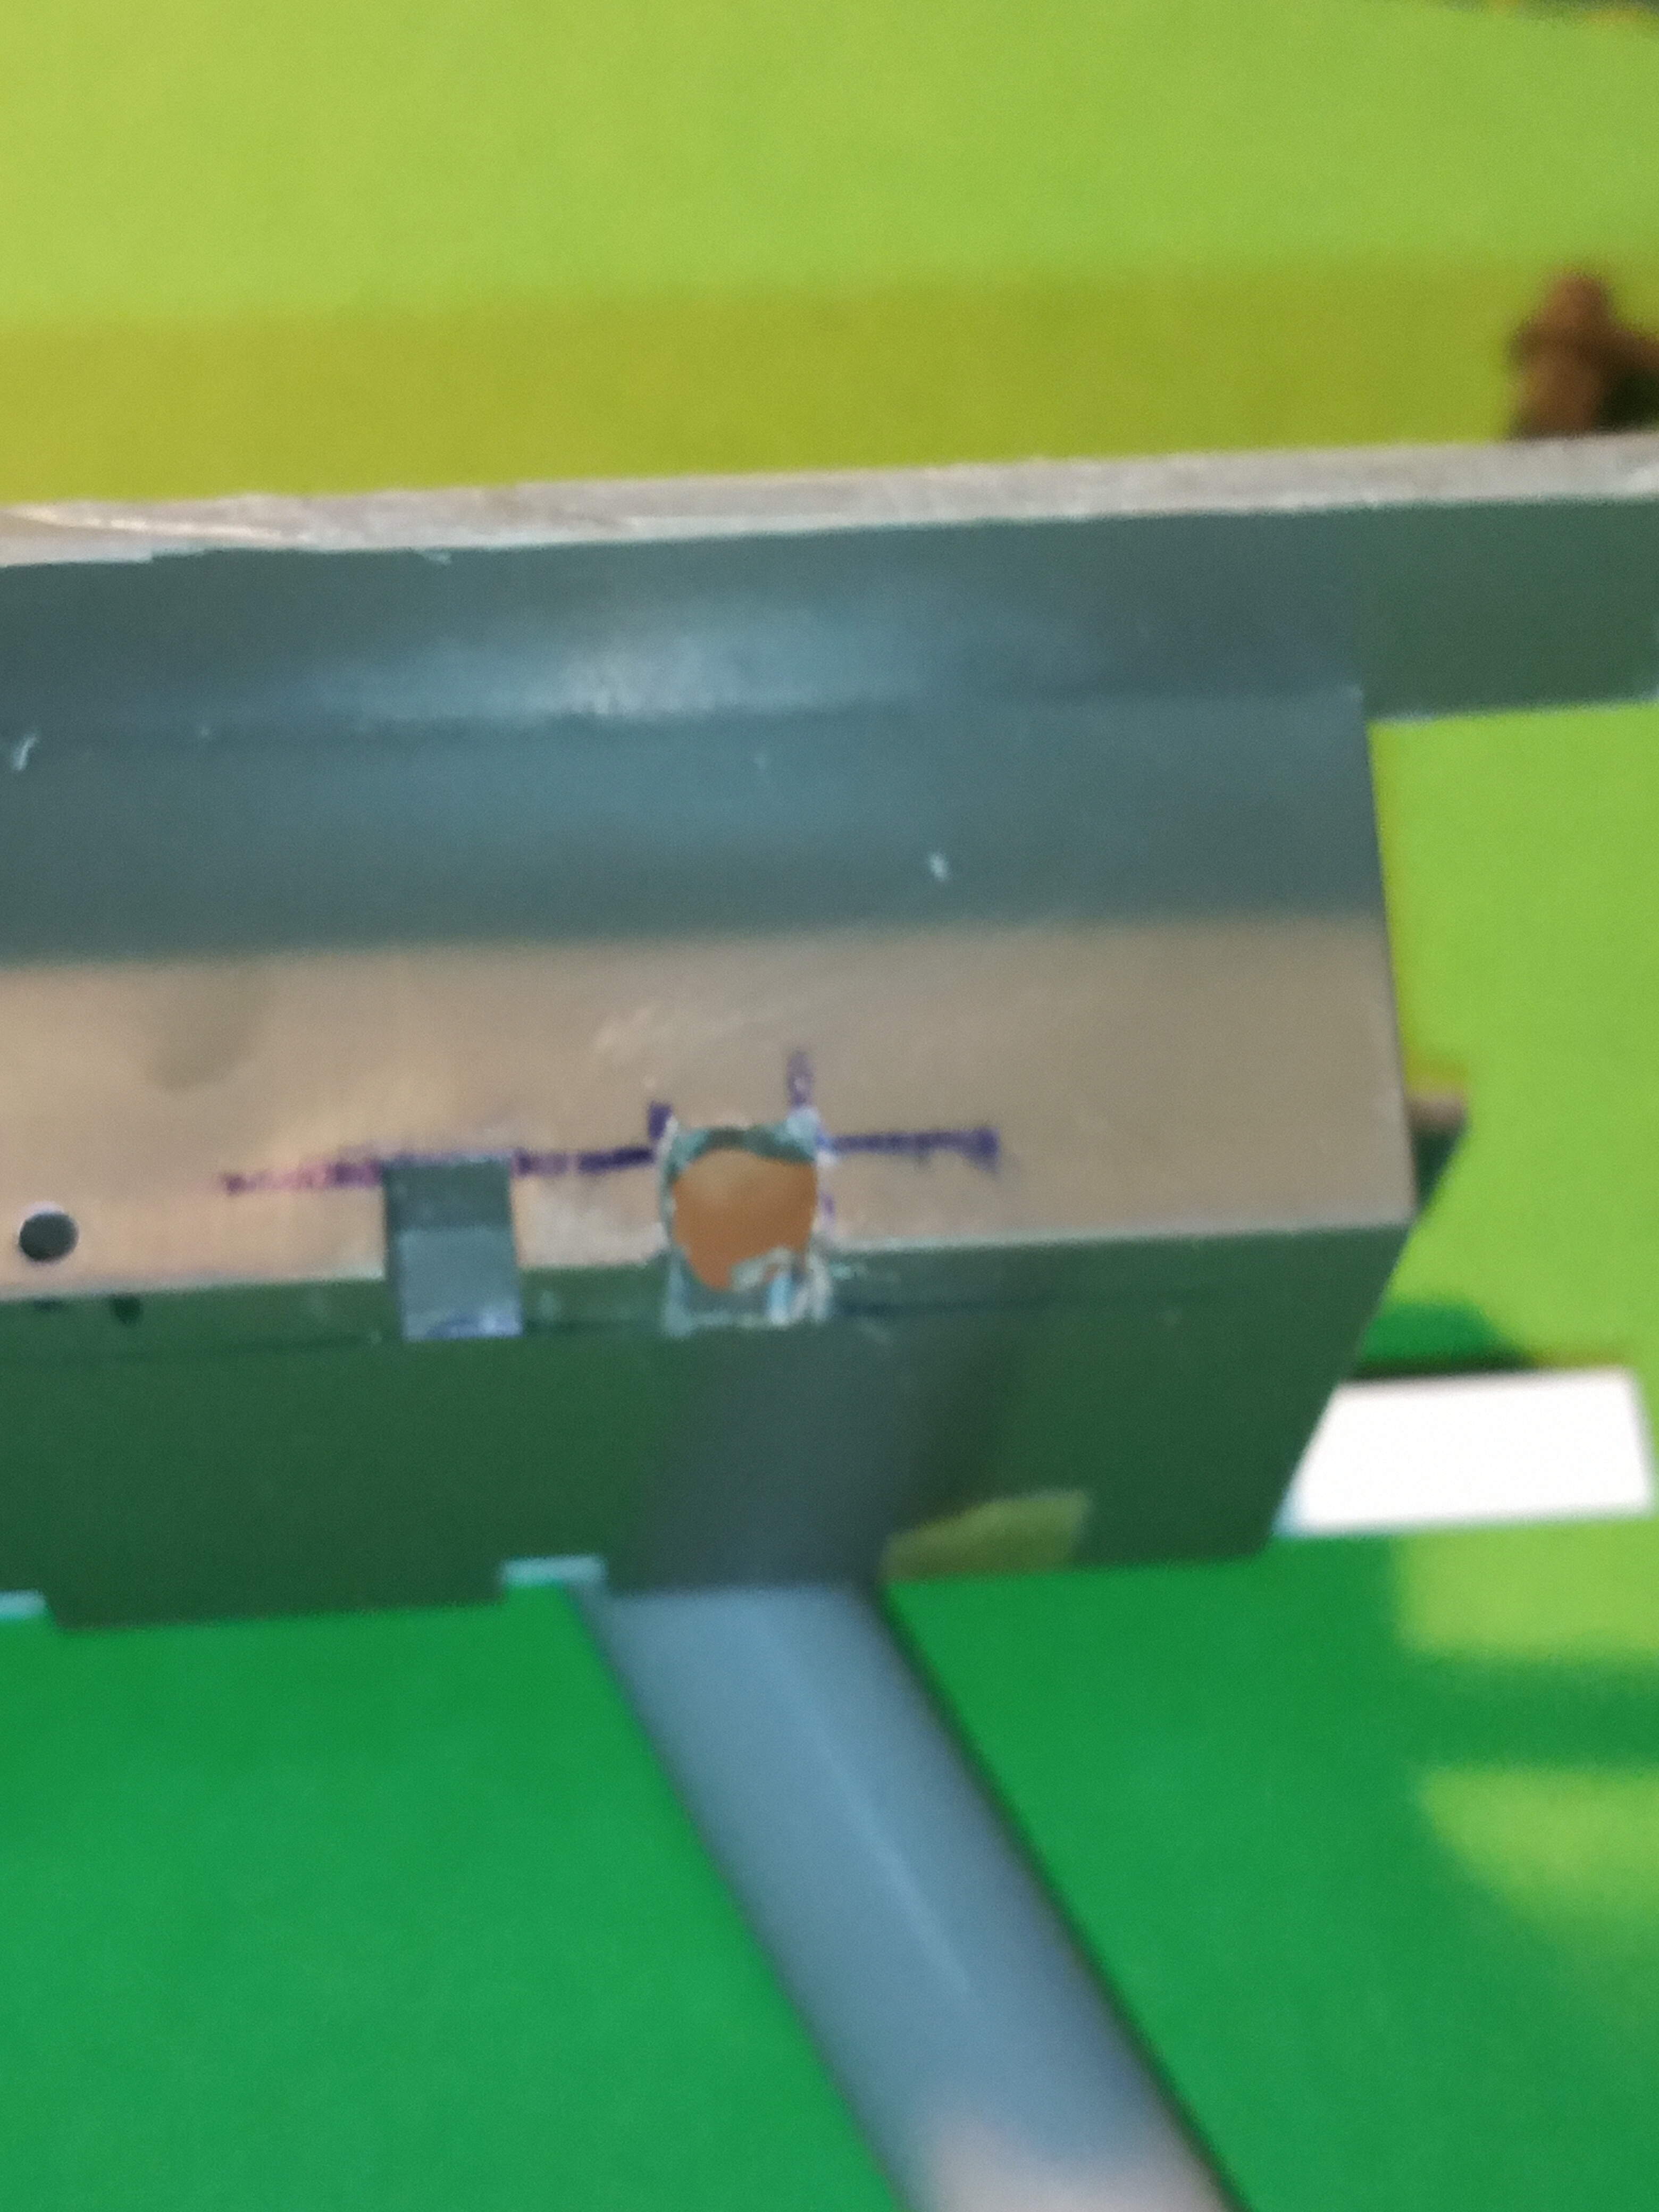
Took about 5 min or under to do No5 station and have it trimmed… 
5 Likes
Now DAT’S what I’m talkin’ bout man! Exactly what I pictured in my head! Great going John. 
1 Like
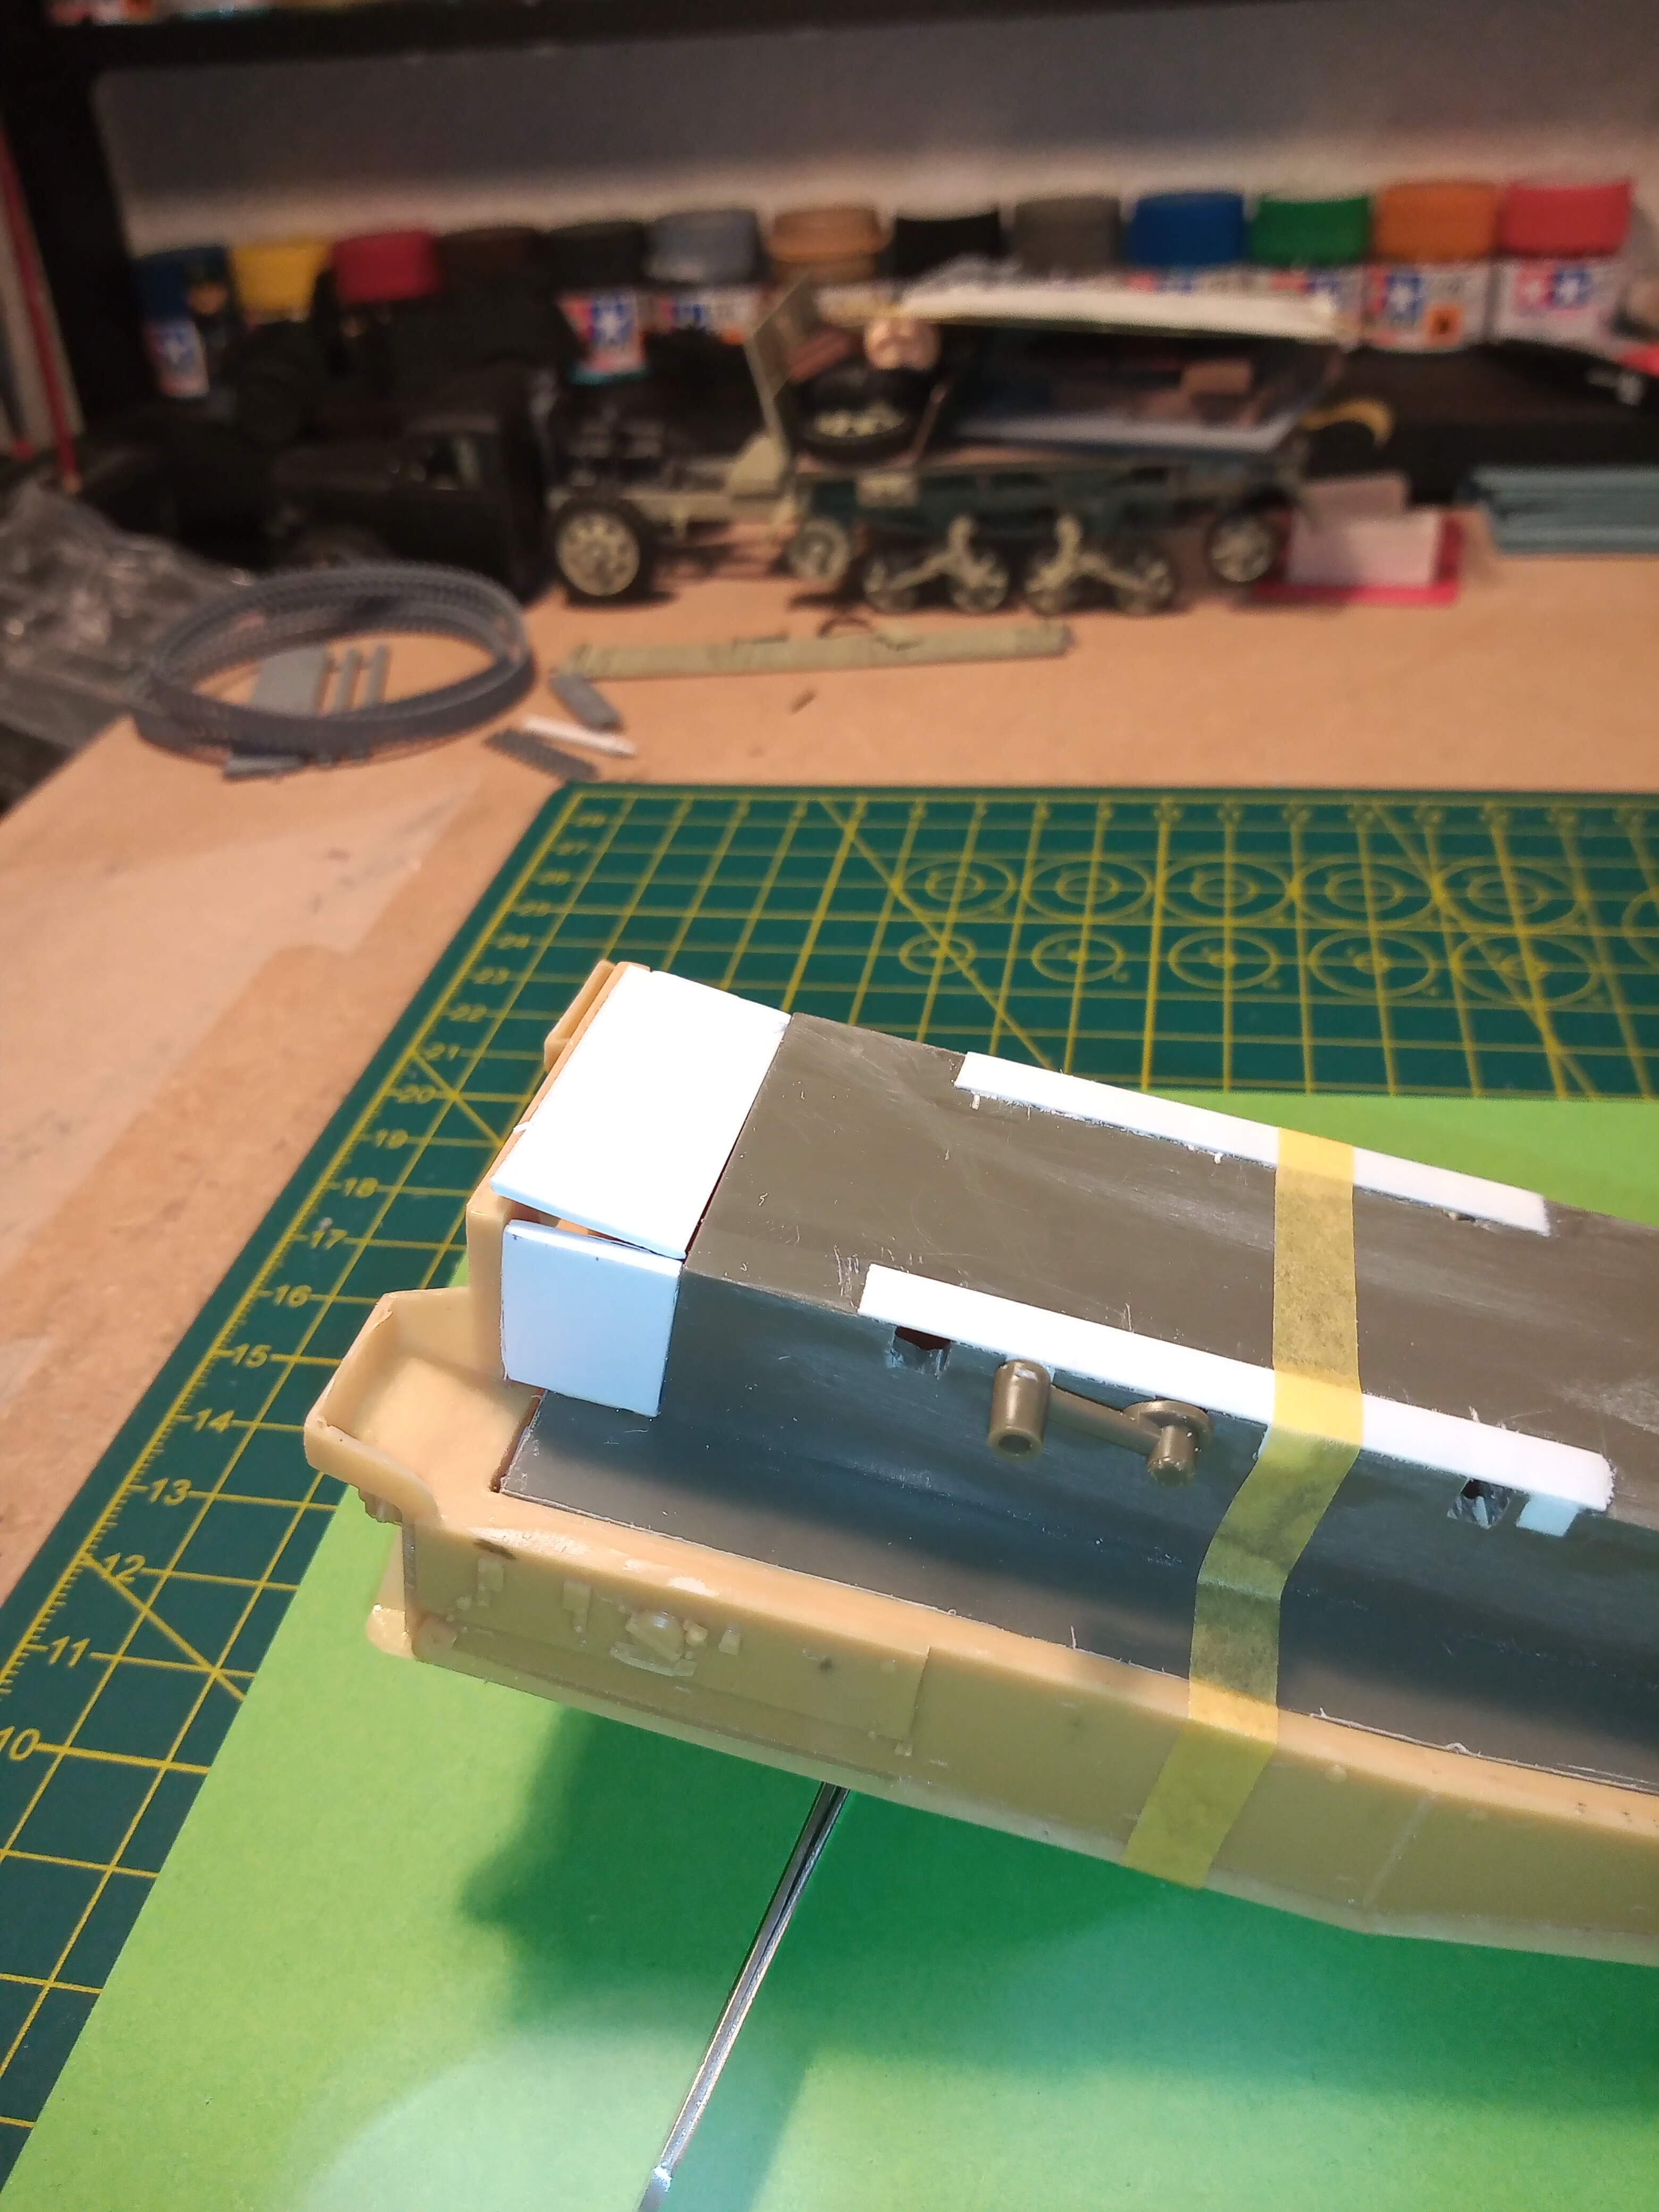
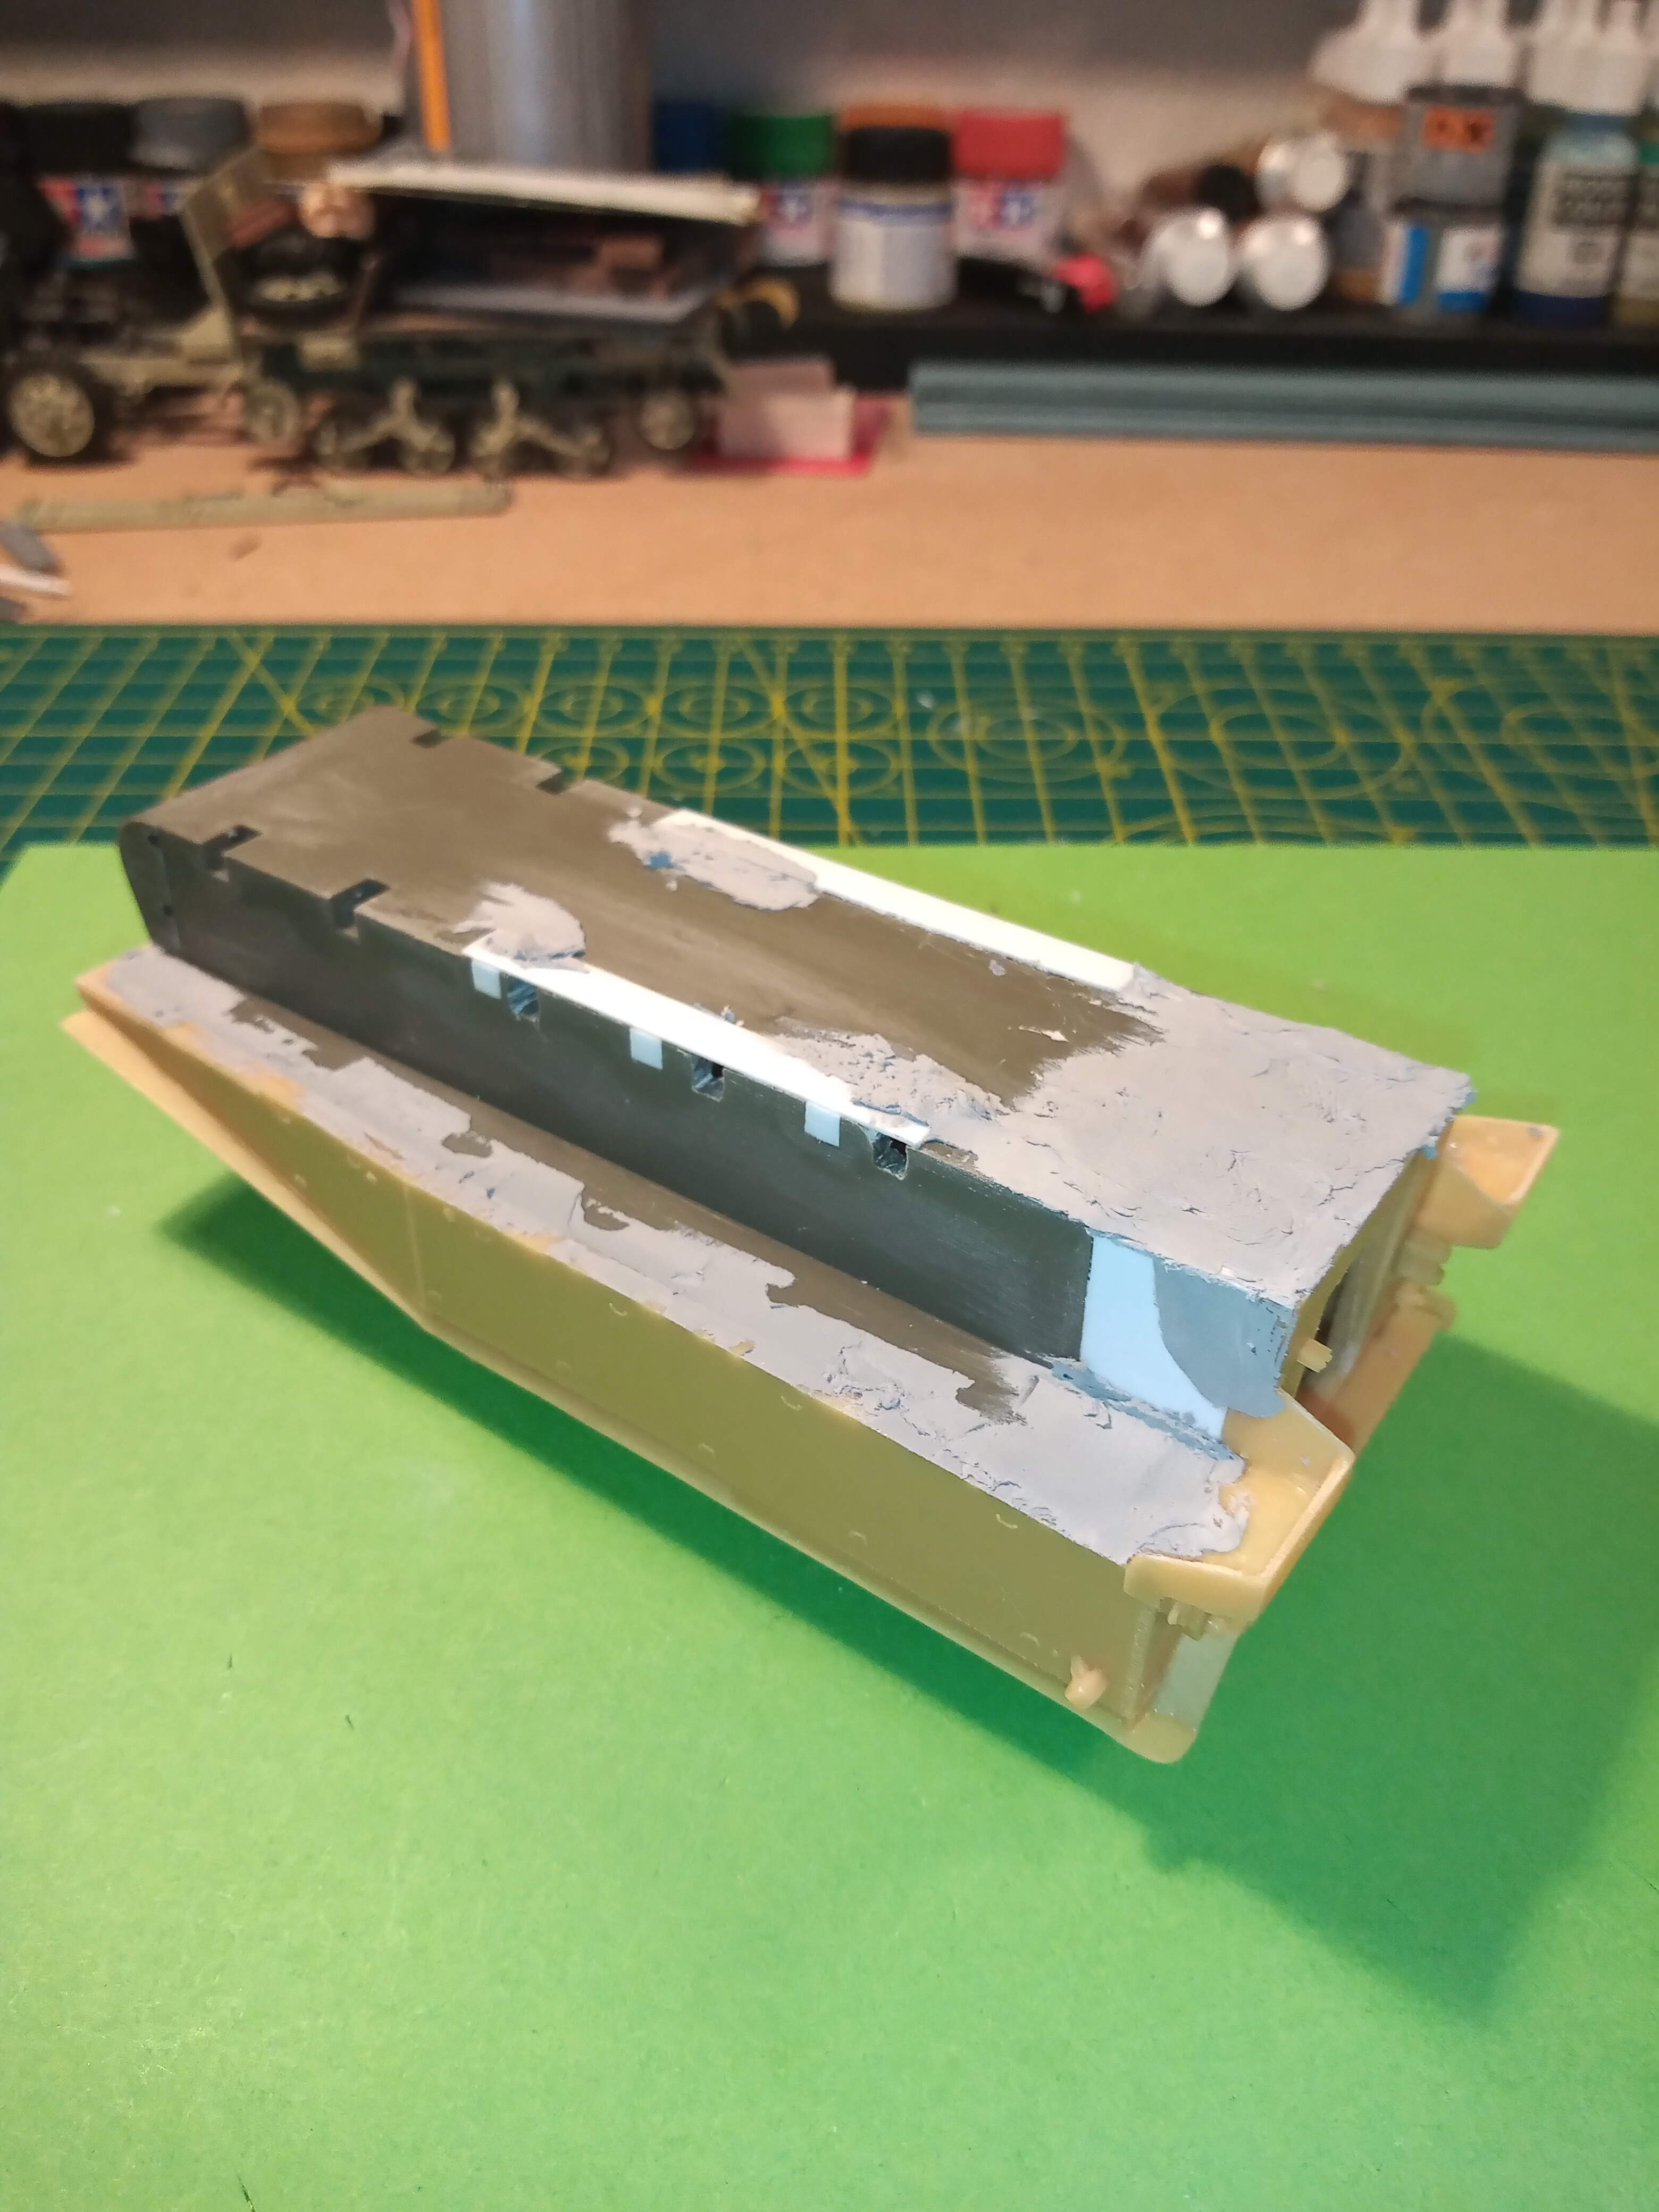
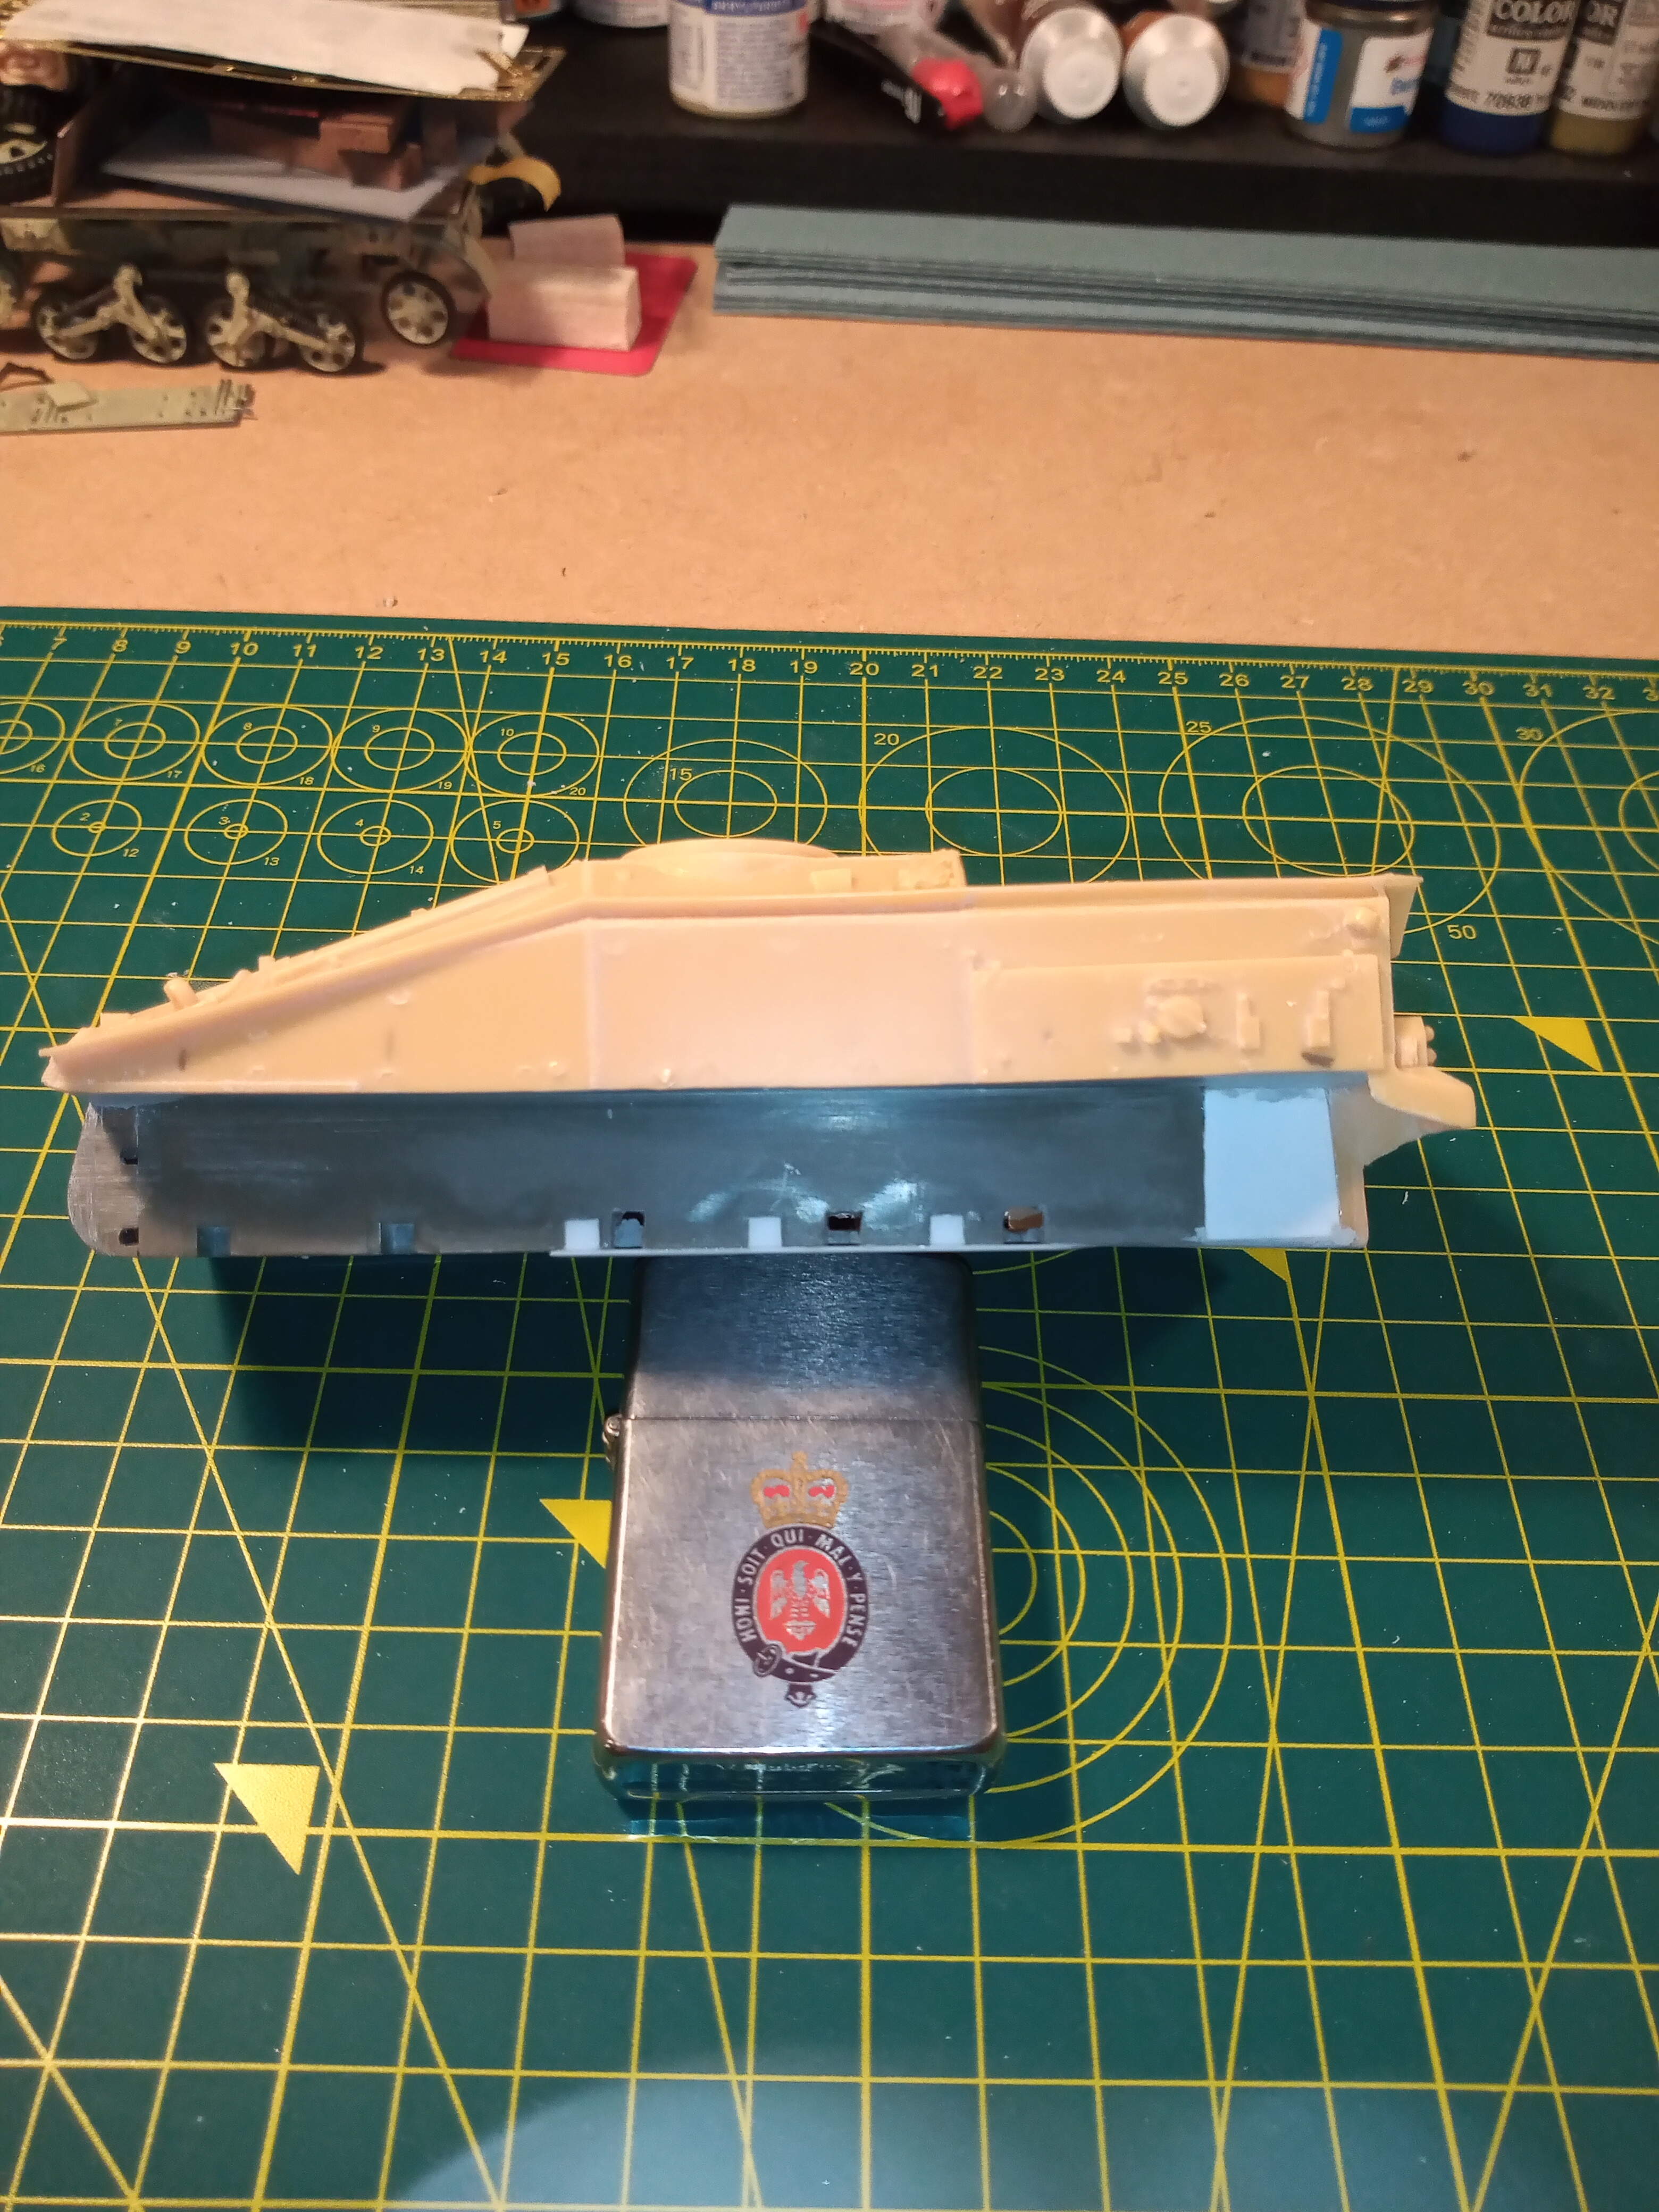
Bit more work done.
I levelled off under where the launch bin will go - nice and easy with a chisel knife blade.

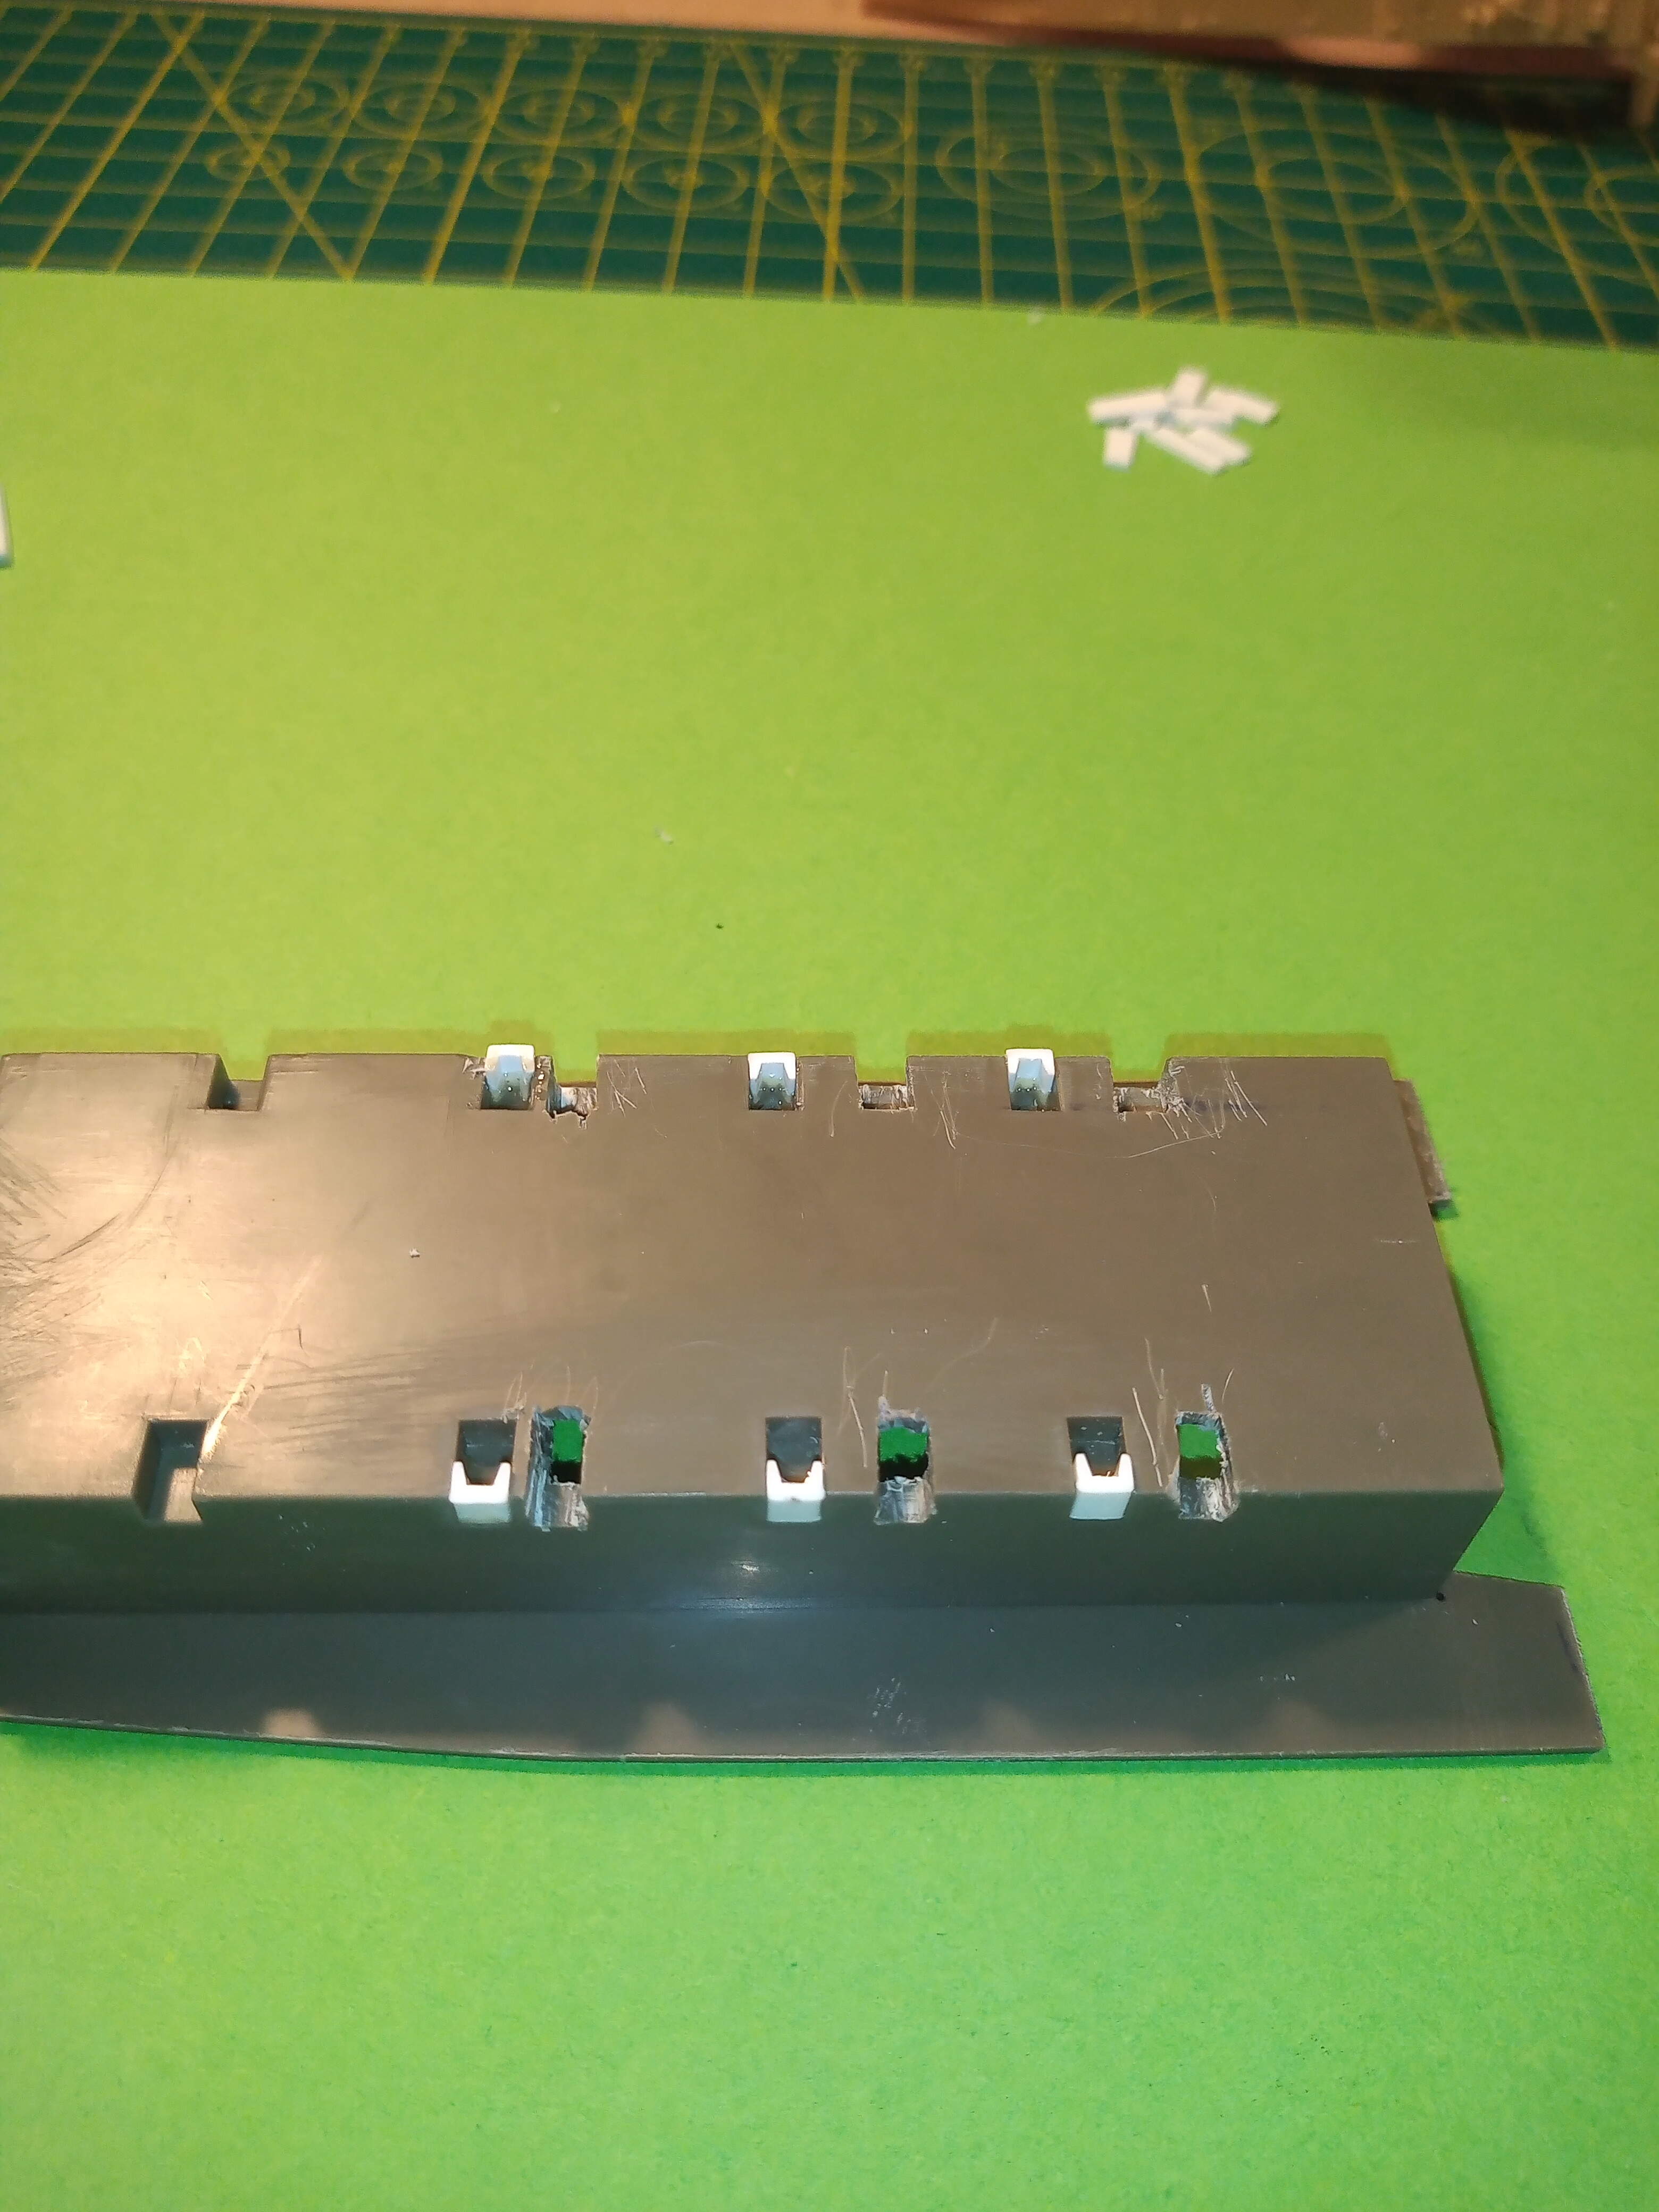
Next got all the new torsion bar mounts drilled out and old ones have begun to get filled.
Once they are set I will sand them down flat to the hull.
Last 2 are what it looks like now and the last one is a very thin section of plastic strip which will cover the new mounting location and also the old one, to tidy the underside up.
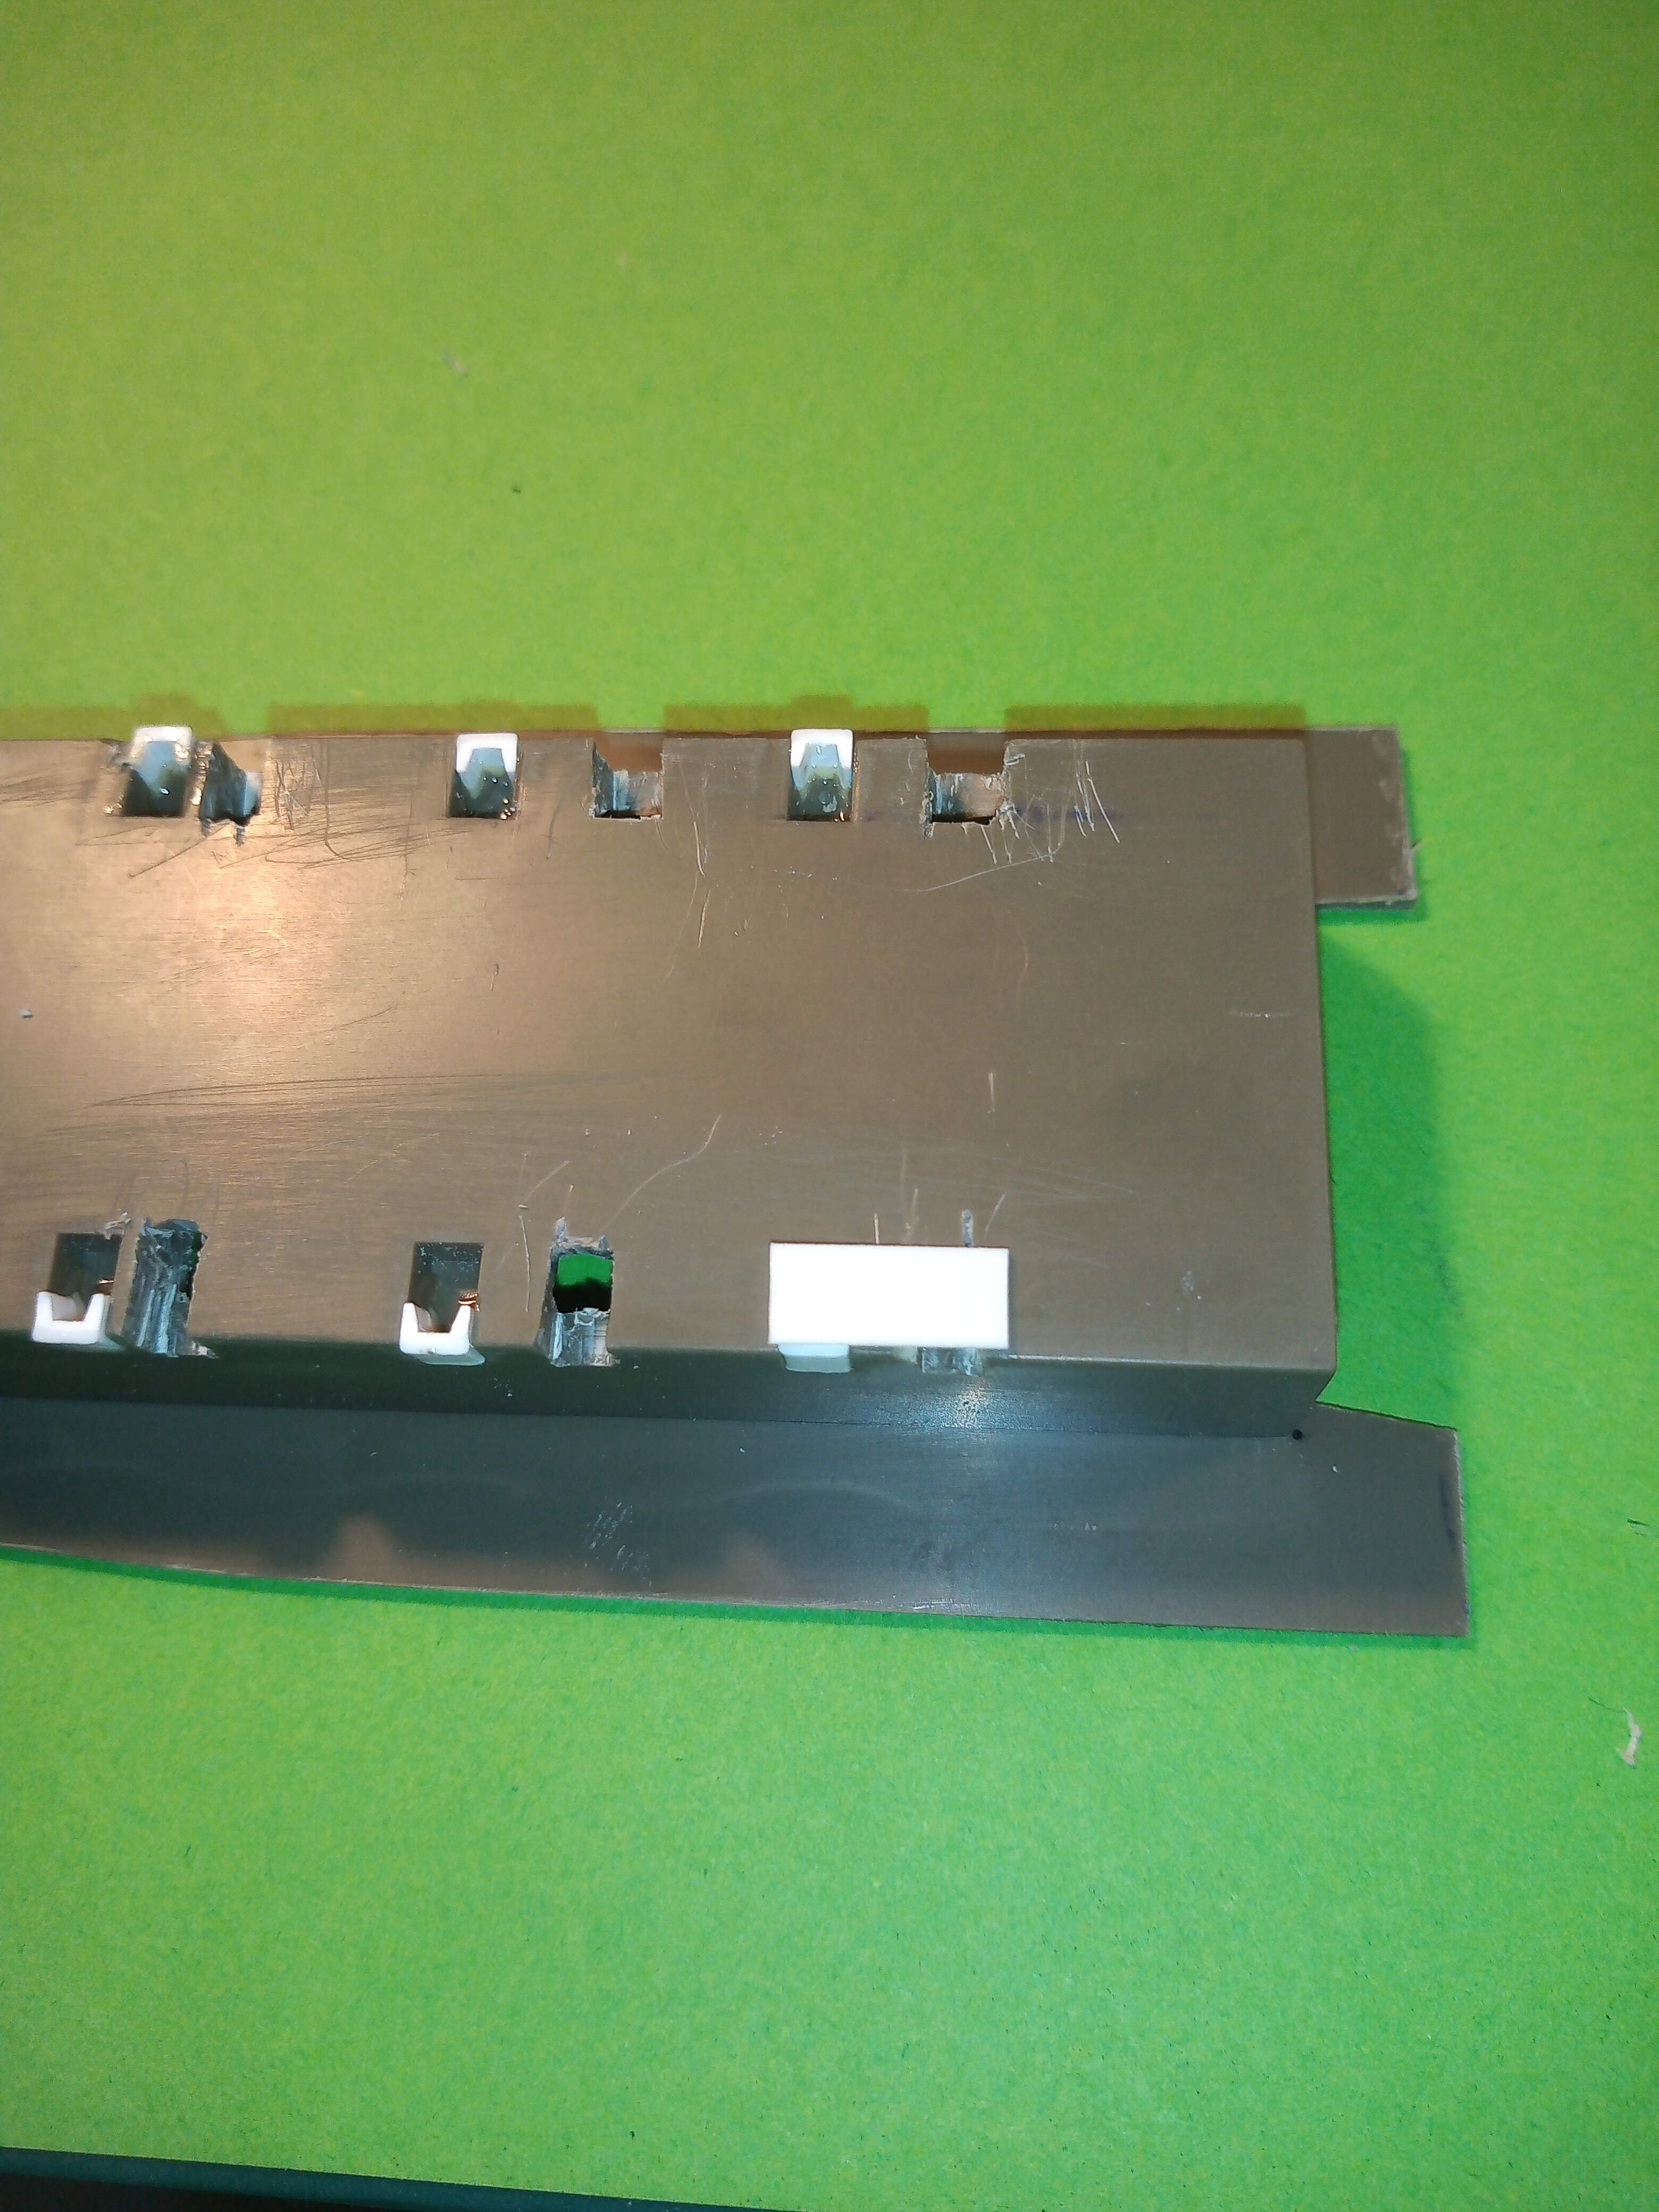
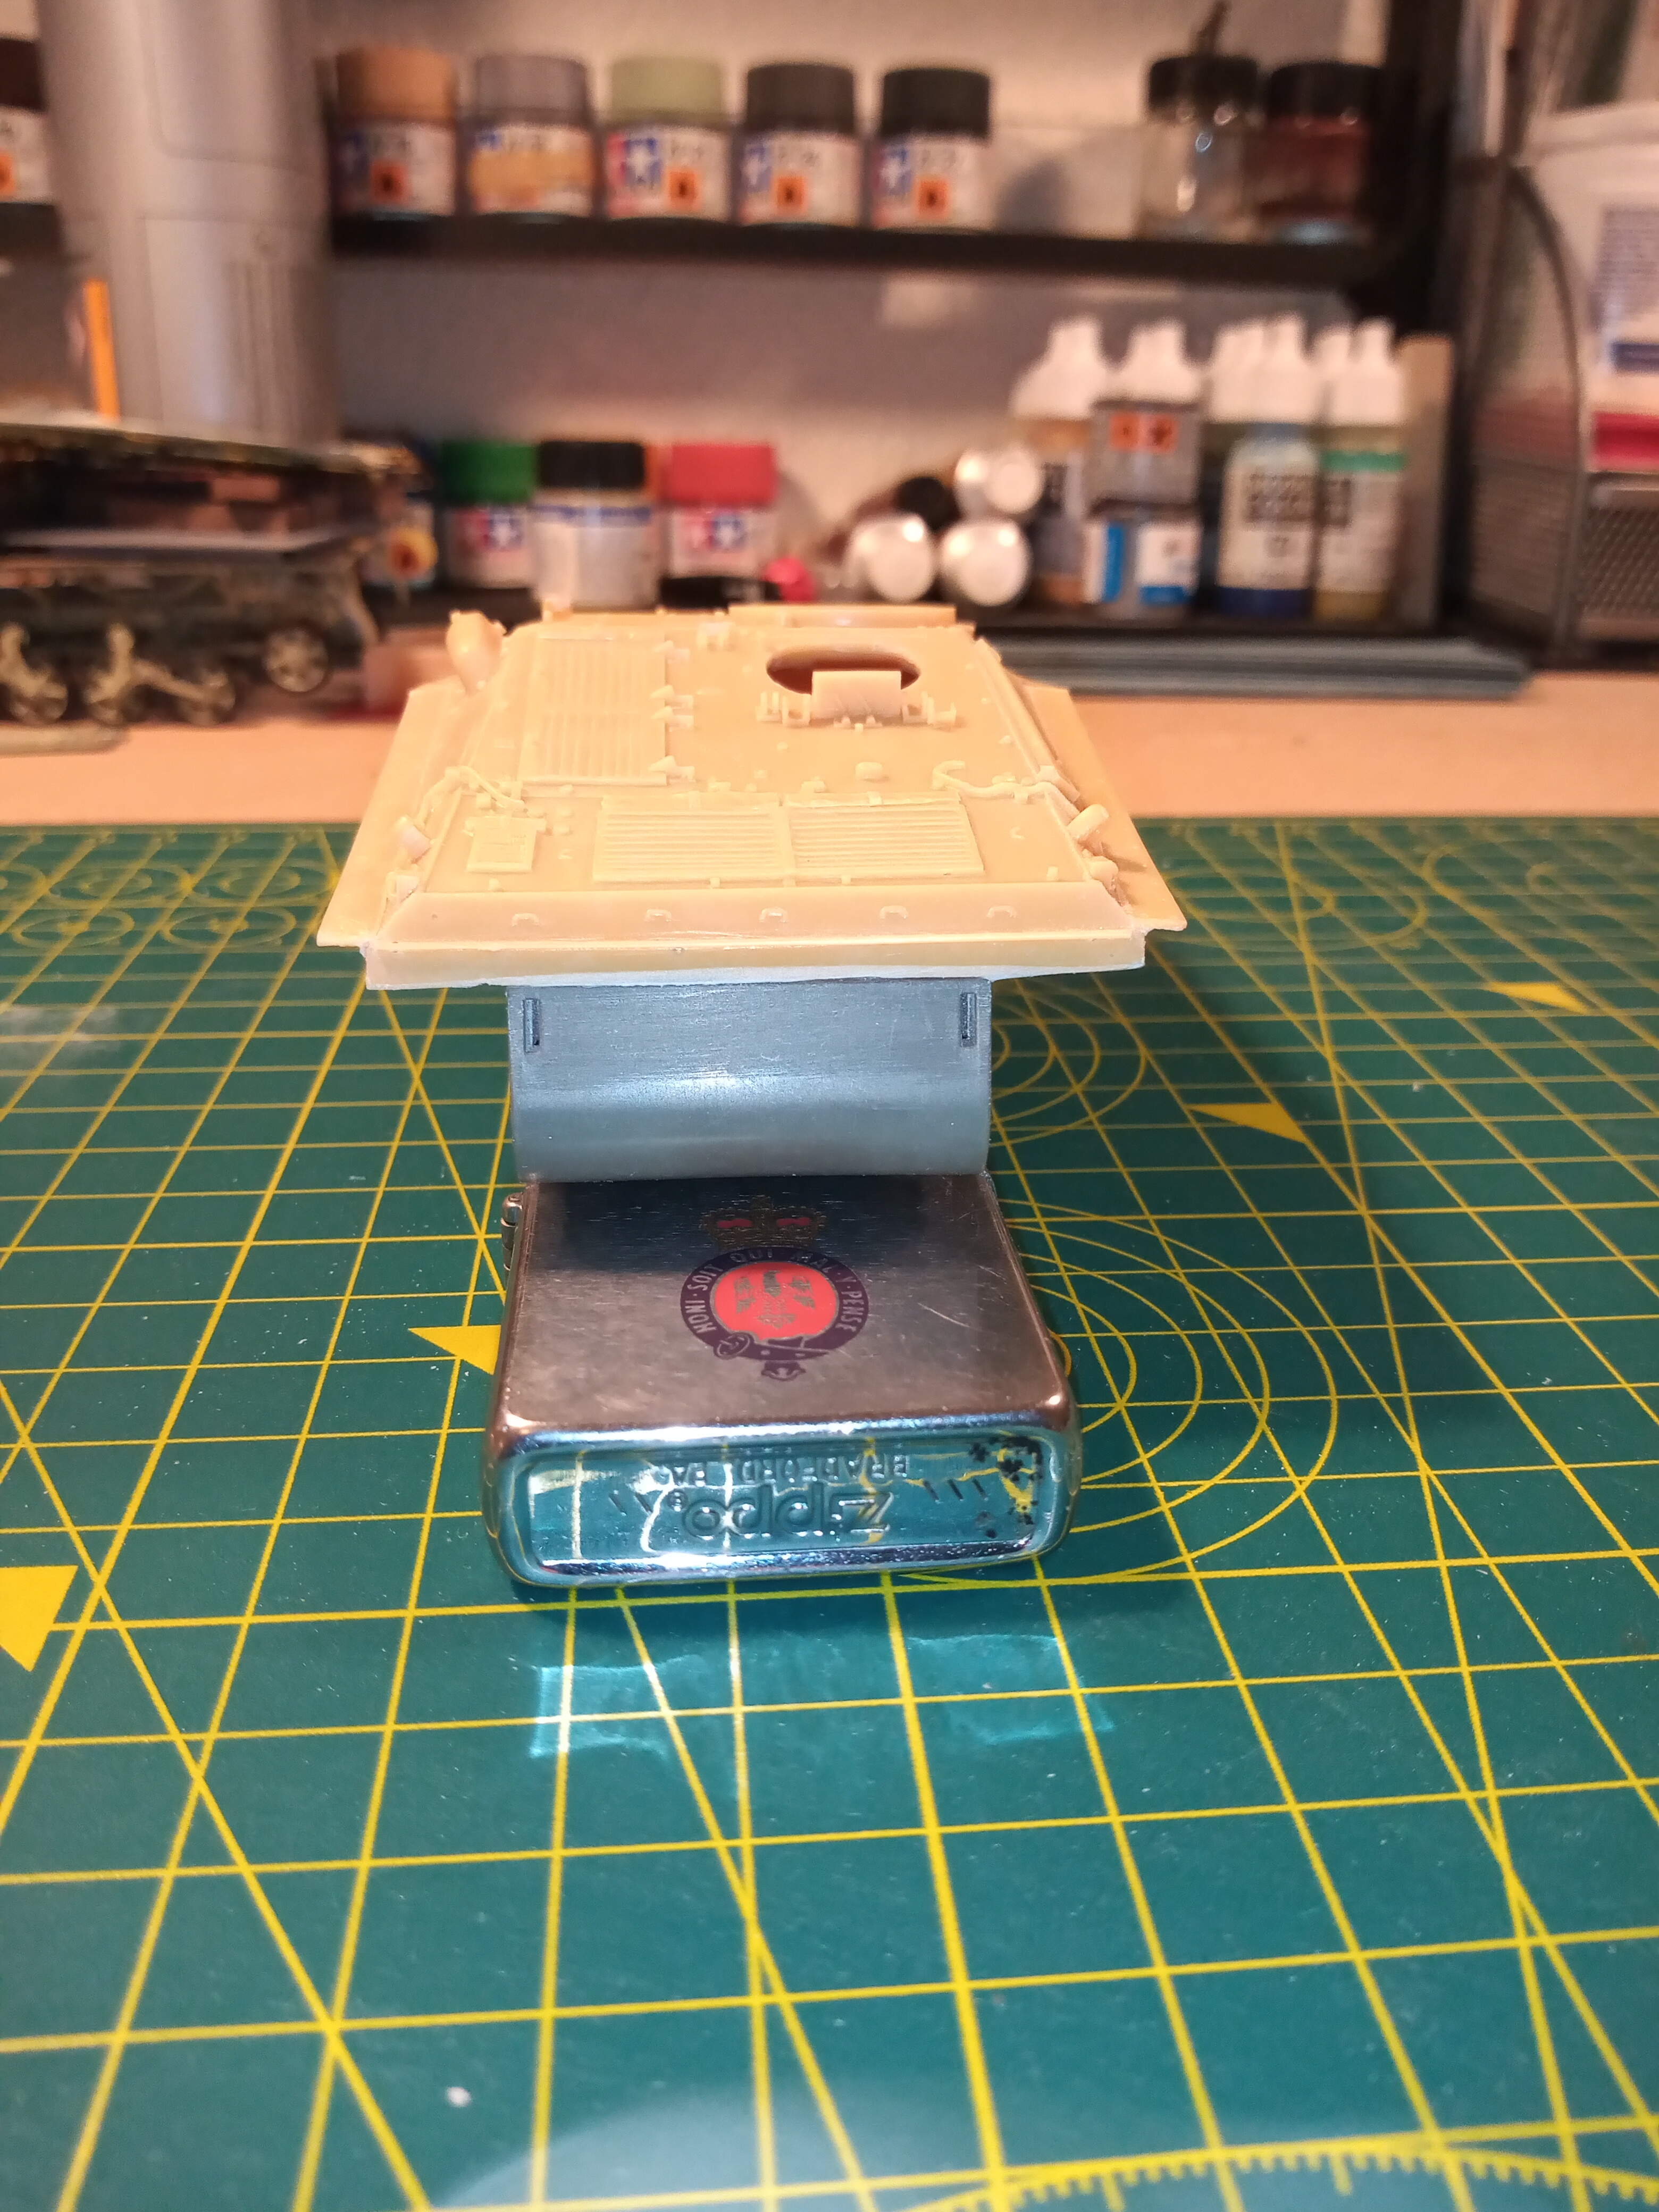
Everything will then get a sand down to flatten it as much as possible. Have also cut and prepped the sections which will make up the missing lower hull rear.
The right piece is just balanced in place to give you an idea.
That will get a strengthening section of plastic strut on the inside prior to the idler holes being made. 
3 Likes
Nice work. John.
Something to think about if you get the bug to do more mods like this - I have a Dremel hand drill and many bits for it. Some are designed to cut sideways. They have a flat top and cutting edges on the side, like this :
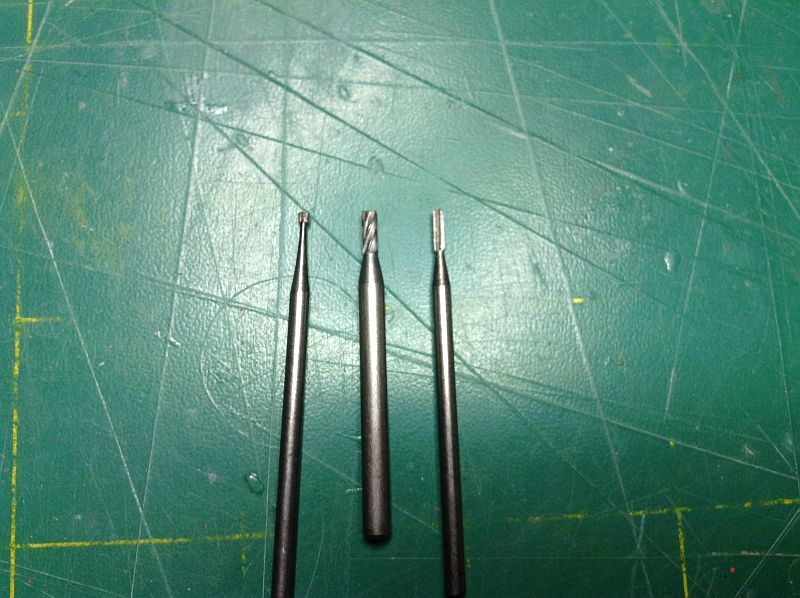
Perfect for cutting square recesses through the lower hull and up the sides. Will go through like a hot knife in butter and make short work of this type of situation. It will get square in corners too.
They are great for grinding off details as the flat tip help guide the cutter along without cutting down into the panel (as long as you don’t hold it an an angle or in one place to long and melt the plastic.
2 Likes
Thanks Peter, I have wondered about those, so may be making an investment in one now. I know they can be put to alot of uses.
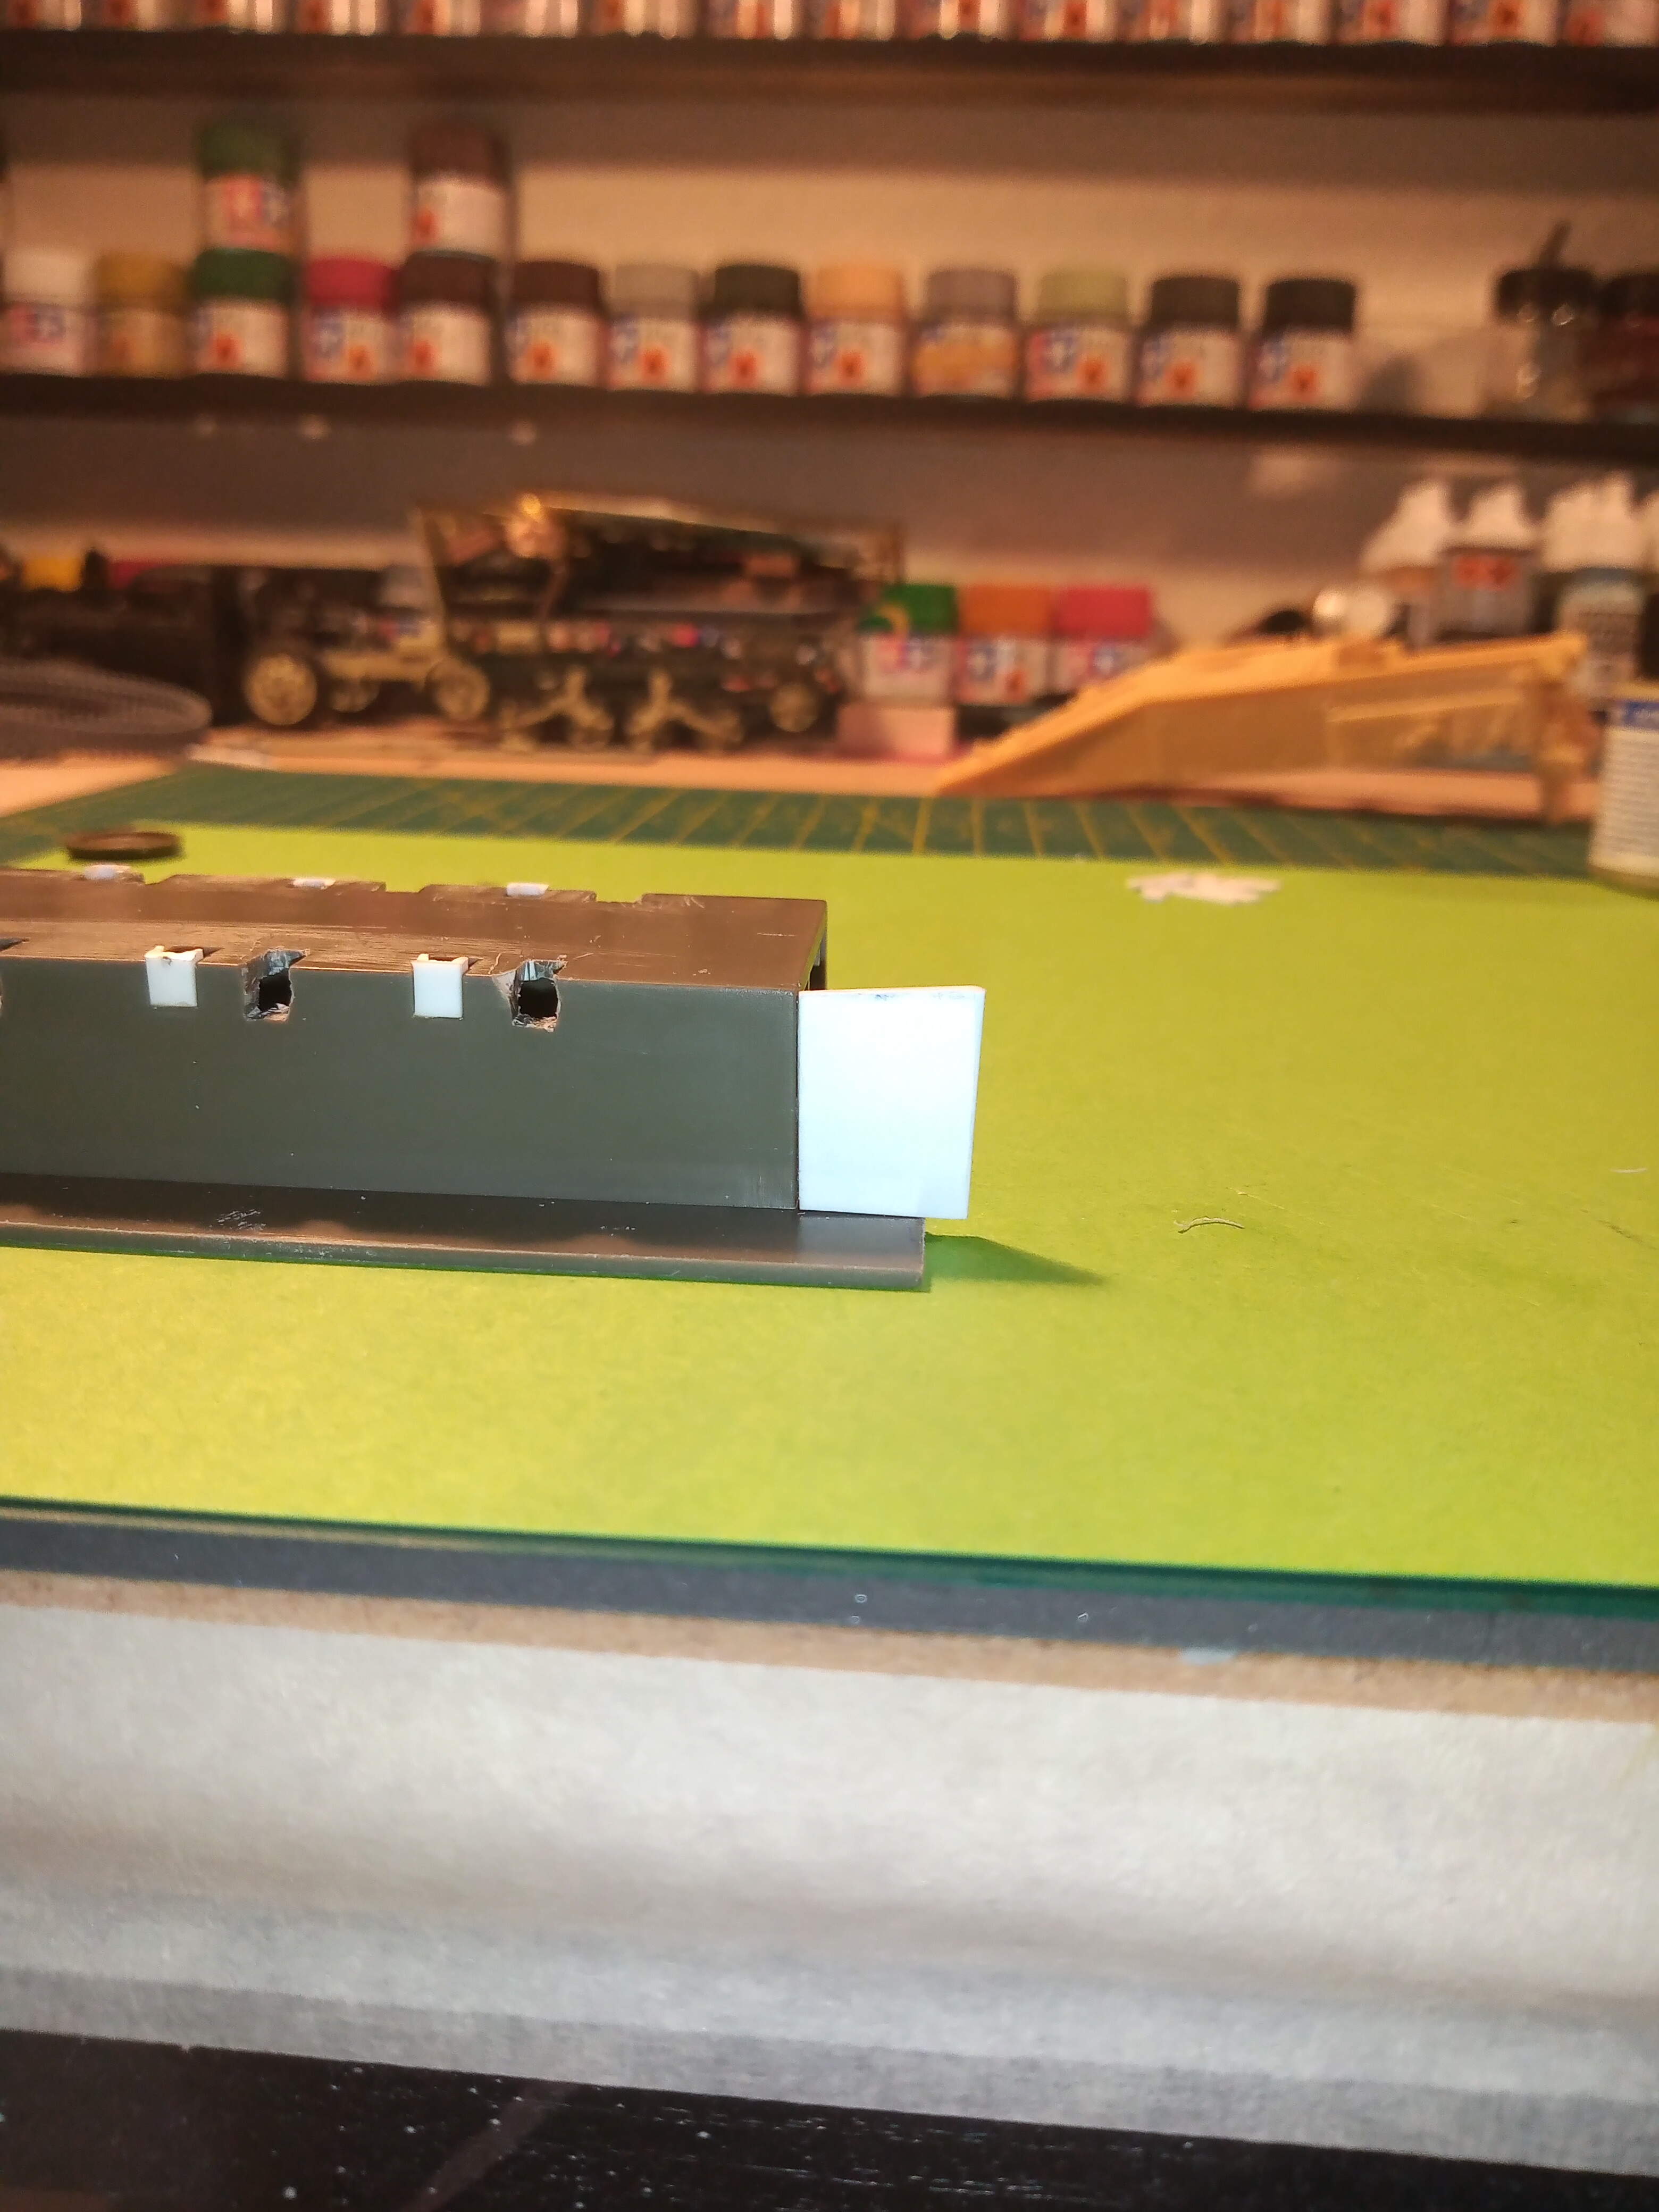
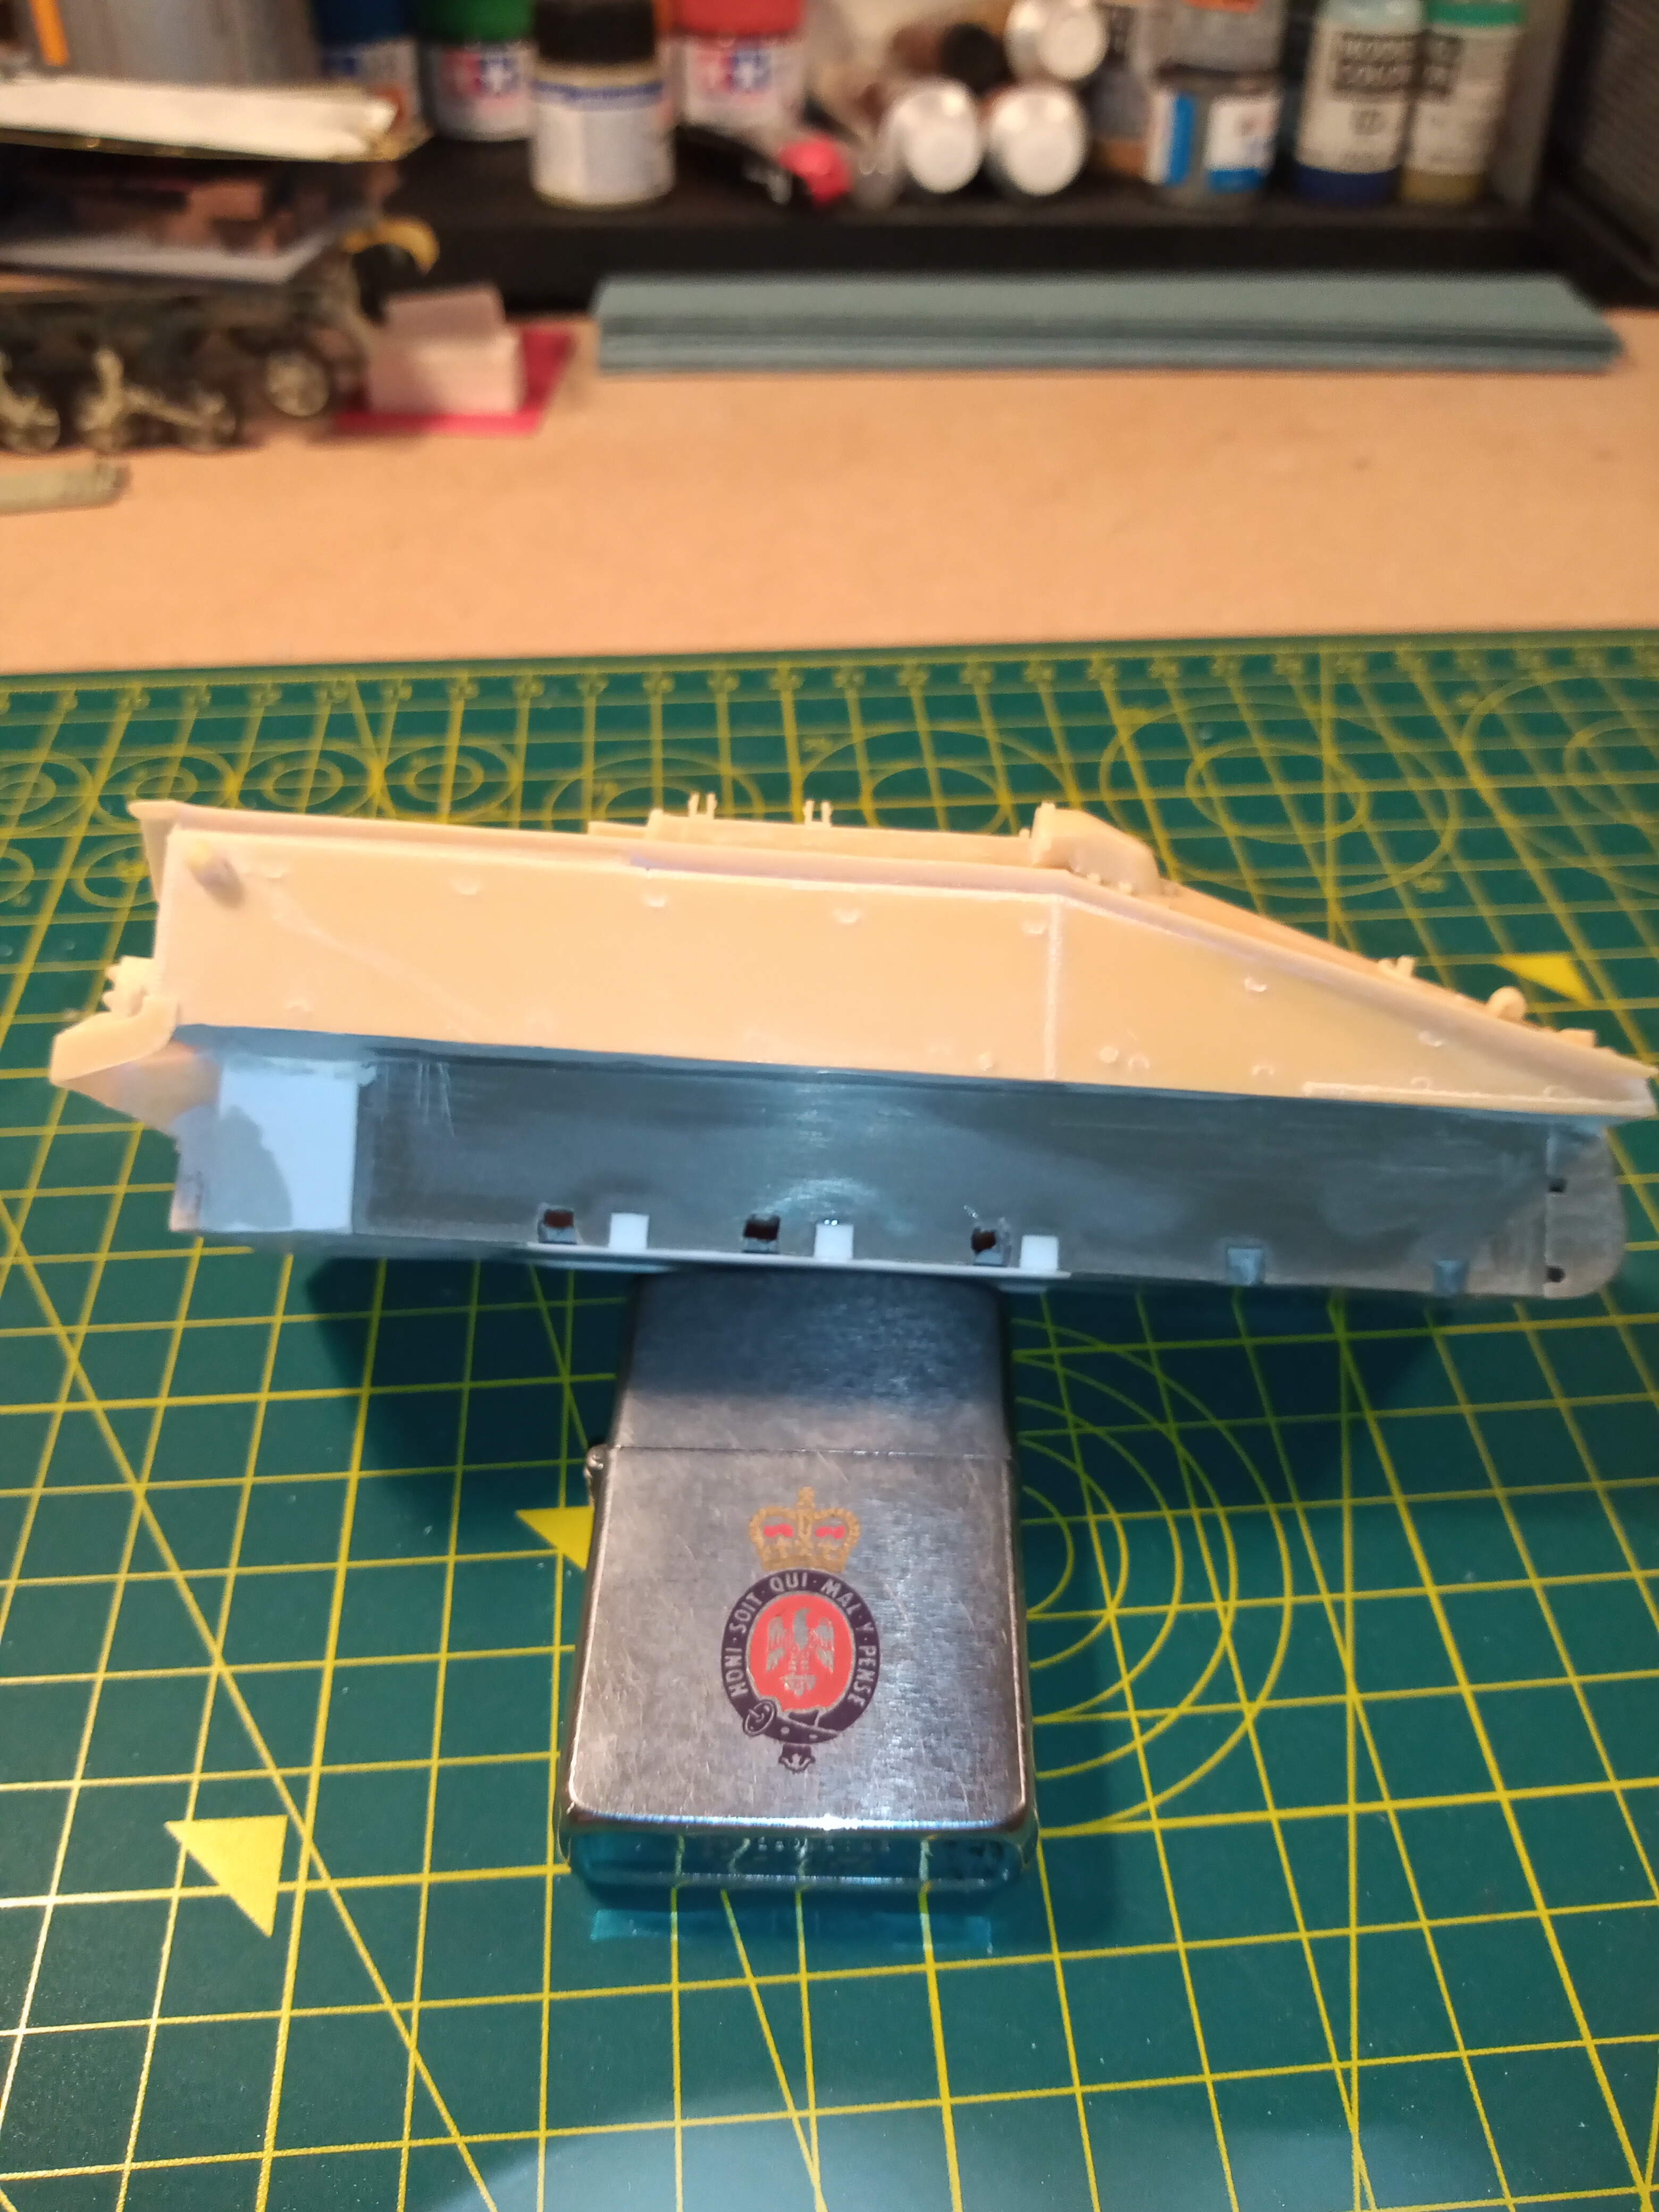
Little bit more done on the hull extension.
Have glued both sides now and will let them fully set overnight. next will be adding a support to either side where extension meets the hull, will then sand down the external sides and then mark the locating holes for the idlers.
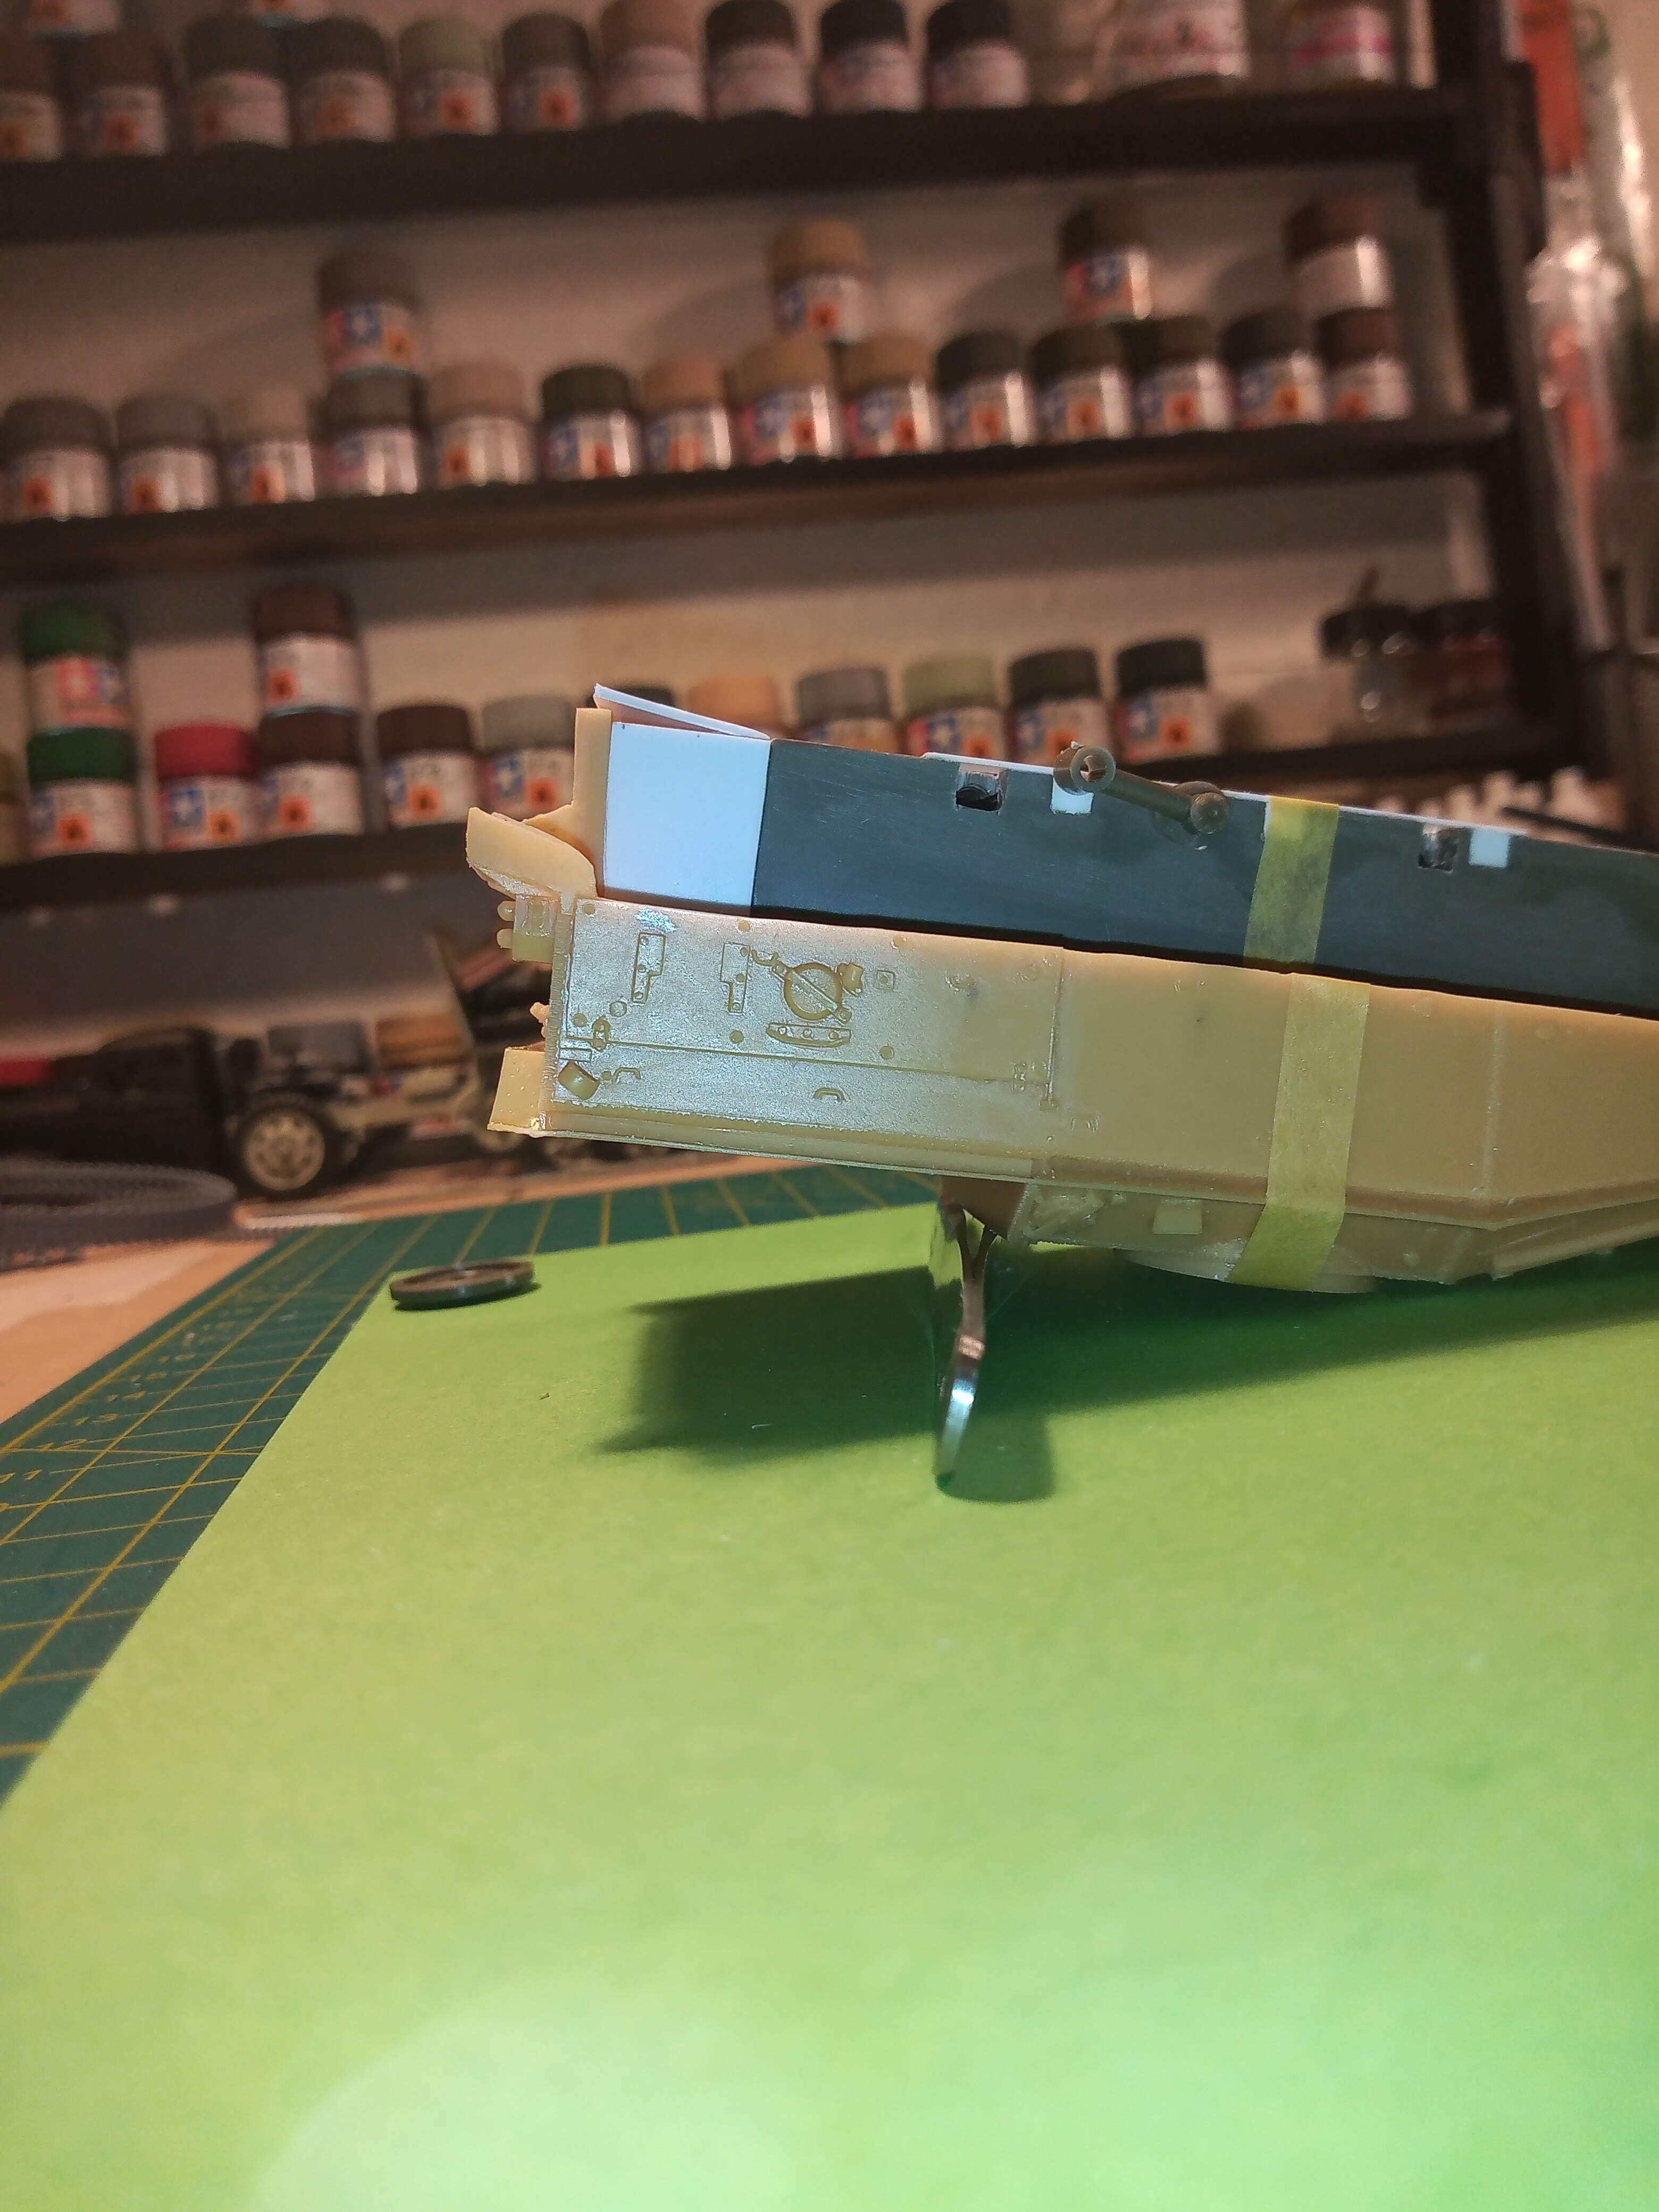
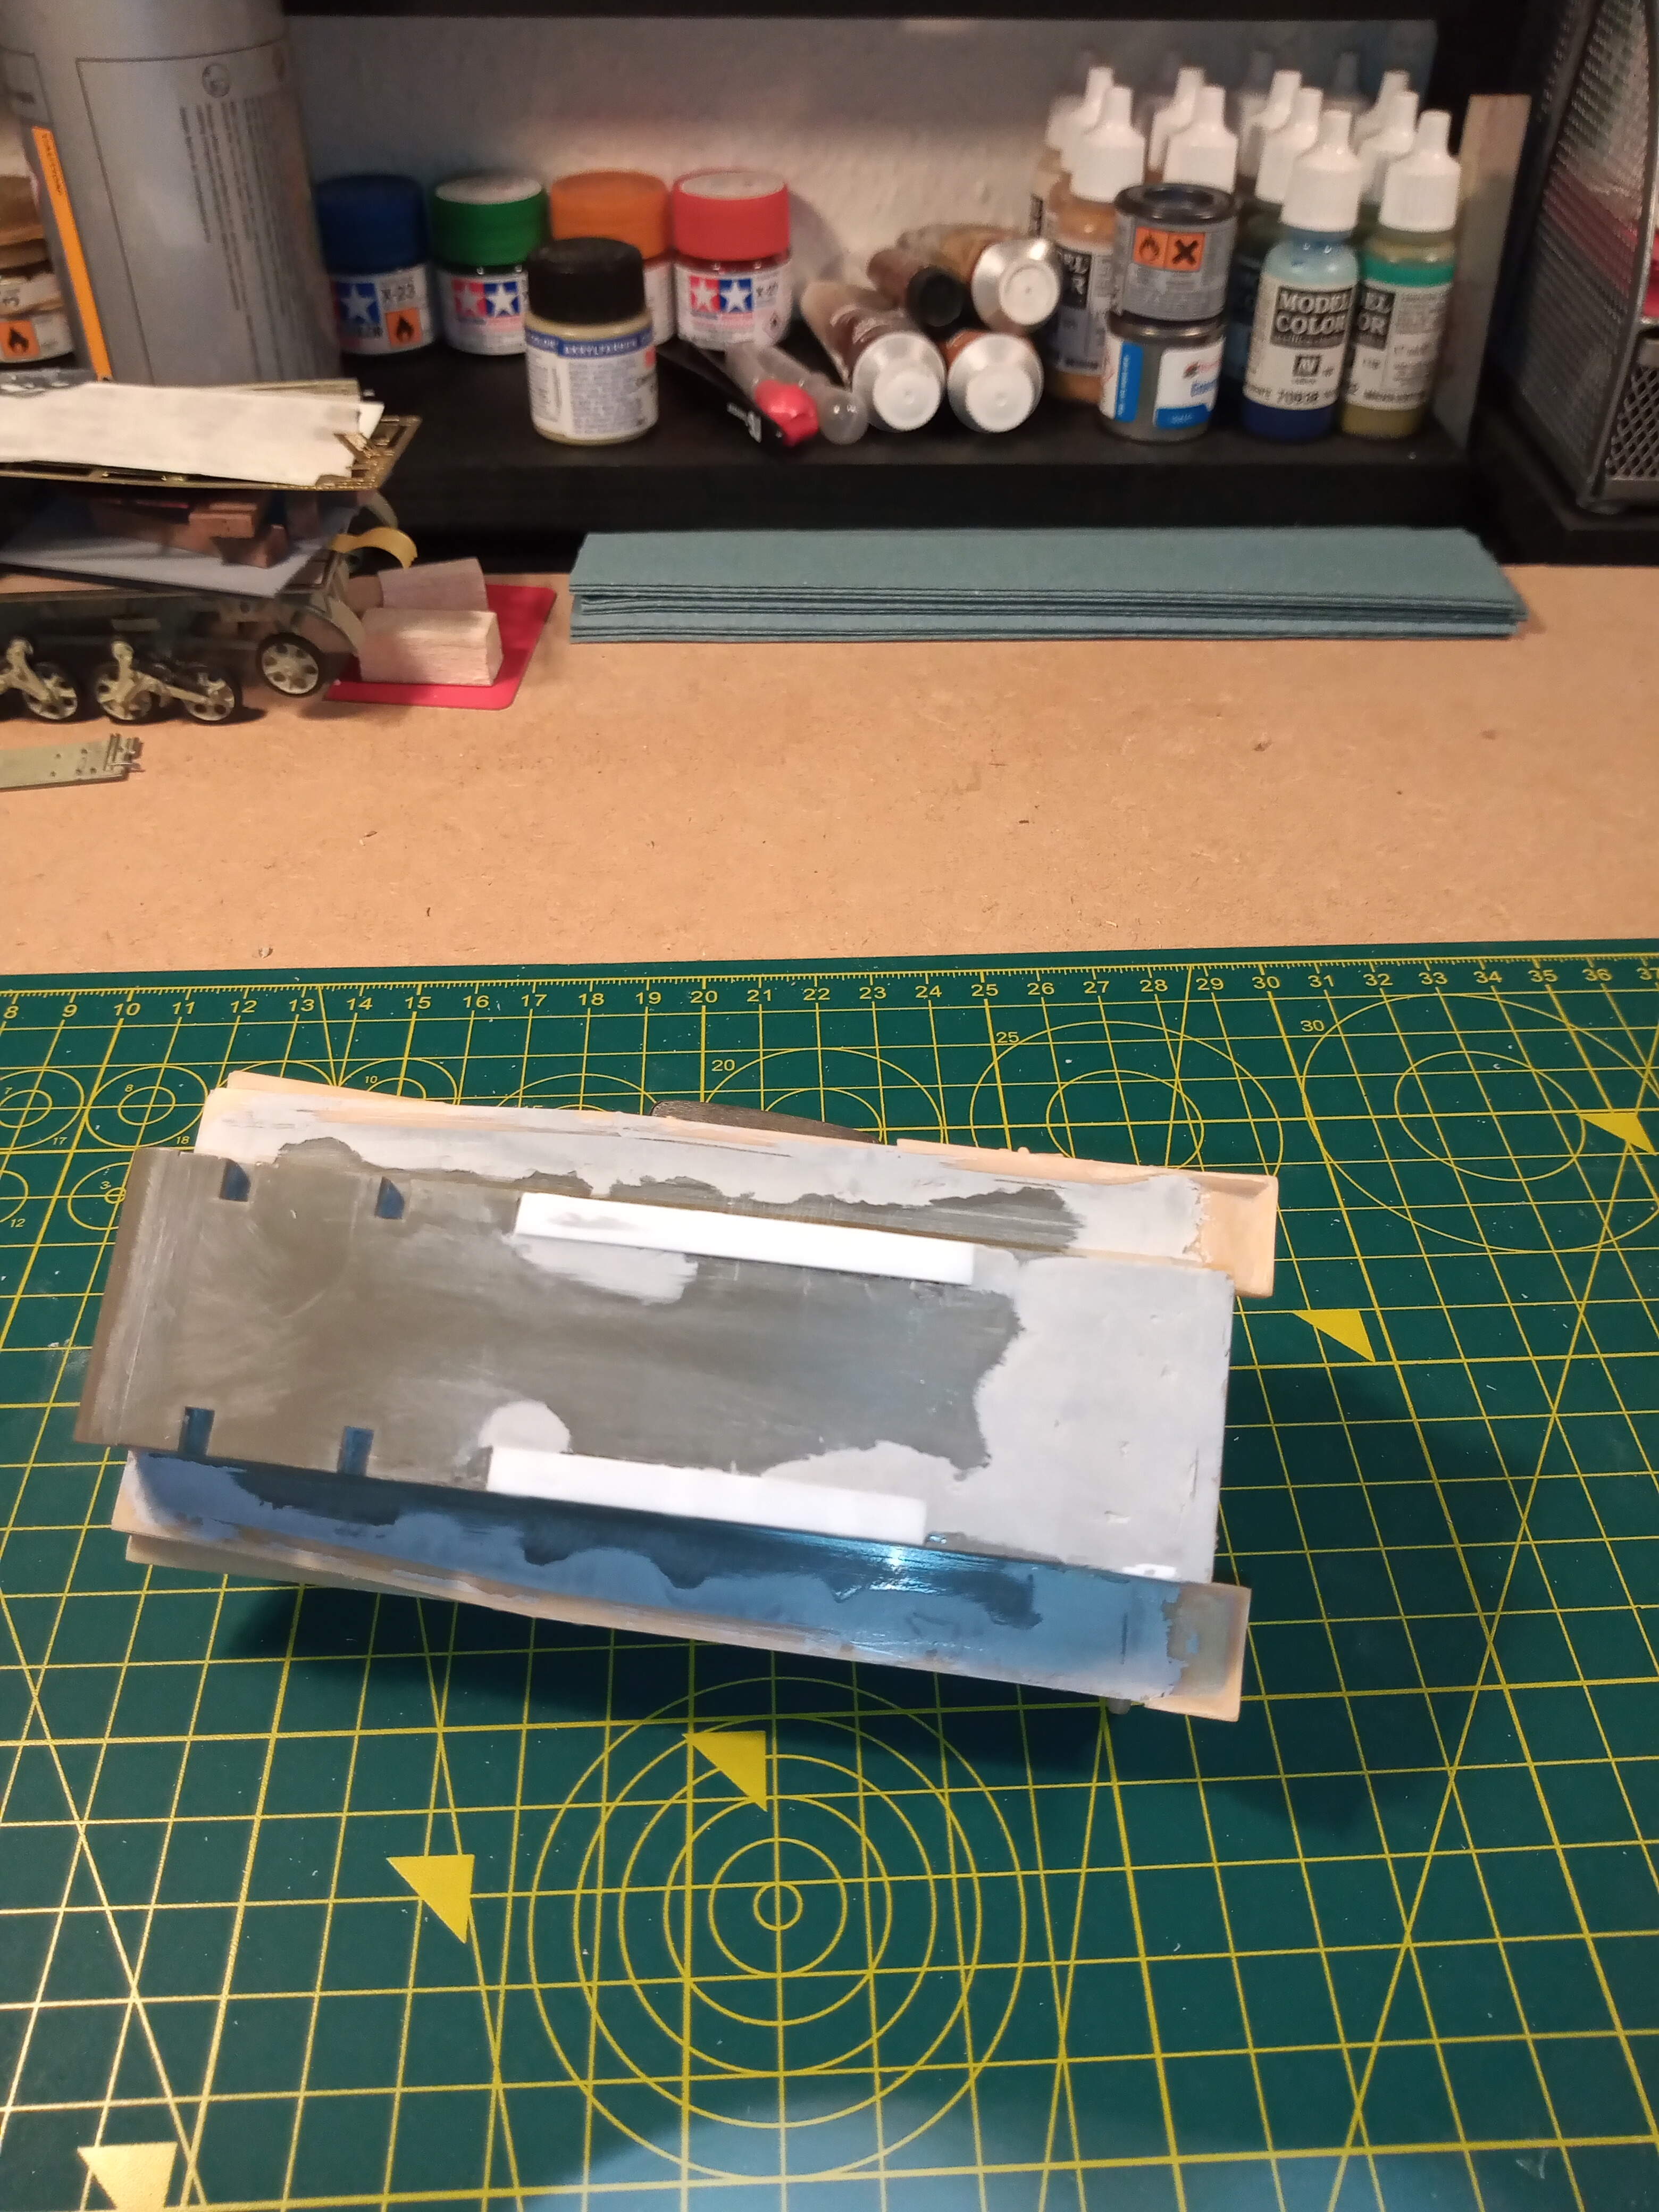
Last pic is just the underside with the yet to be trimmed and secured bottom extension.
3 Likes
Looking very good John! You’ll get to her bum soon!
1 Like
@SSGToms I think that is the first time I’ve ever heard an American cite a derrière as a bum… 
2 Likes
@petbat Well I know John is from Cornwall and I dated a girl from Somerset that had a very nice one…
1 Like
And I so so hope your SWMBO never reads this Matt  … Or you could be spending a long time in your model room lol
Sometimes sacrifices must be made … ![]()
2 Likes
Lol… That was Matt’s cunning plan all along… Banished to the workbench …
So, the hull extensions are now all in place and the lower AFV hull is now joined to the AA upper.
I will let the filler set overnight and all tomorrow, then sand it all neat.
I won’t make the location holes for the idlers until everything is sanded down as I want that area to be at maximum strength before I start that.
I am very happy how this part is done. It’s the first time I have ever done major surgery like this to any kit before, and I can now admit I was dreading it. Taking your time, measuring lots and dry fitting before you do anything major is a must. (As is listening to all the sound advice you guys have given me
)
5 Likes
The girl’s name was Sandra Palmer…
Just kidding John, excellent work and well done! Great to see this in one piece with everything where it’s supposed to be.
So, a bit more WIP.
Let the putty cure and have given it a first rub down.
There are a couple of small areas that may need a refill and further sand but I will do that in a few days. Overall I’m happy how that fill went and it’s a nice firm base to work with now.
Will be off this for a few days as I am starting the Antique Antics group build tomorrow after work and want to get a bit of that on the go. Stay tuned

5 Likes
Very impressed at you first effort at a conversion. Personally, I don’t want to ever have to deal with that much resin.