That is an option but I think you would still have some issues at the rivet. Using a decal softening solution would have helped conform the decal to rivet.
Another solution would be to cut the decal around the rivet and paint rivet portion white to match.
@Tank_1812 I always use Vallejo Decal Softener but in this specific situation, because the rivet lay almost exactly in the middle of a narrow decal, it caused the decal to curve into an arc as is melted down over the rivet. It was only after this happened that I realized, in this specific situation, decal softener was not enough. Cutting the decal in half would have allowed it to conform to either side of the rivet, then, as you wrote, painting the rivet would complete the job.
A contributing factor is that Vallejo Decal Softener is very weak. I did some research and there is a good reason for this. The chemical normally used for decal softeners also attacks acrylic paints. Vallejo Decal Softener does work, but more slowly than other softeners, so as not to attack the underlying paint. As such, it sometimes needs some help, such as in this case.
@BattleScaleCollectic Ha Ha! Yeah. Dunno. Maybe I should just post pictures, make glib comments, and keep the real analysis to myself.
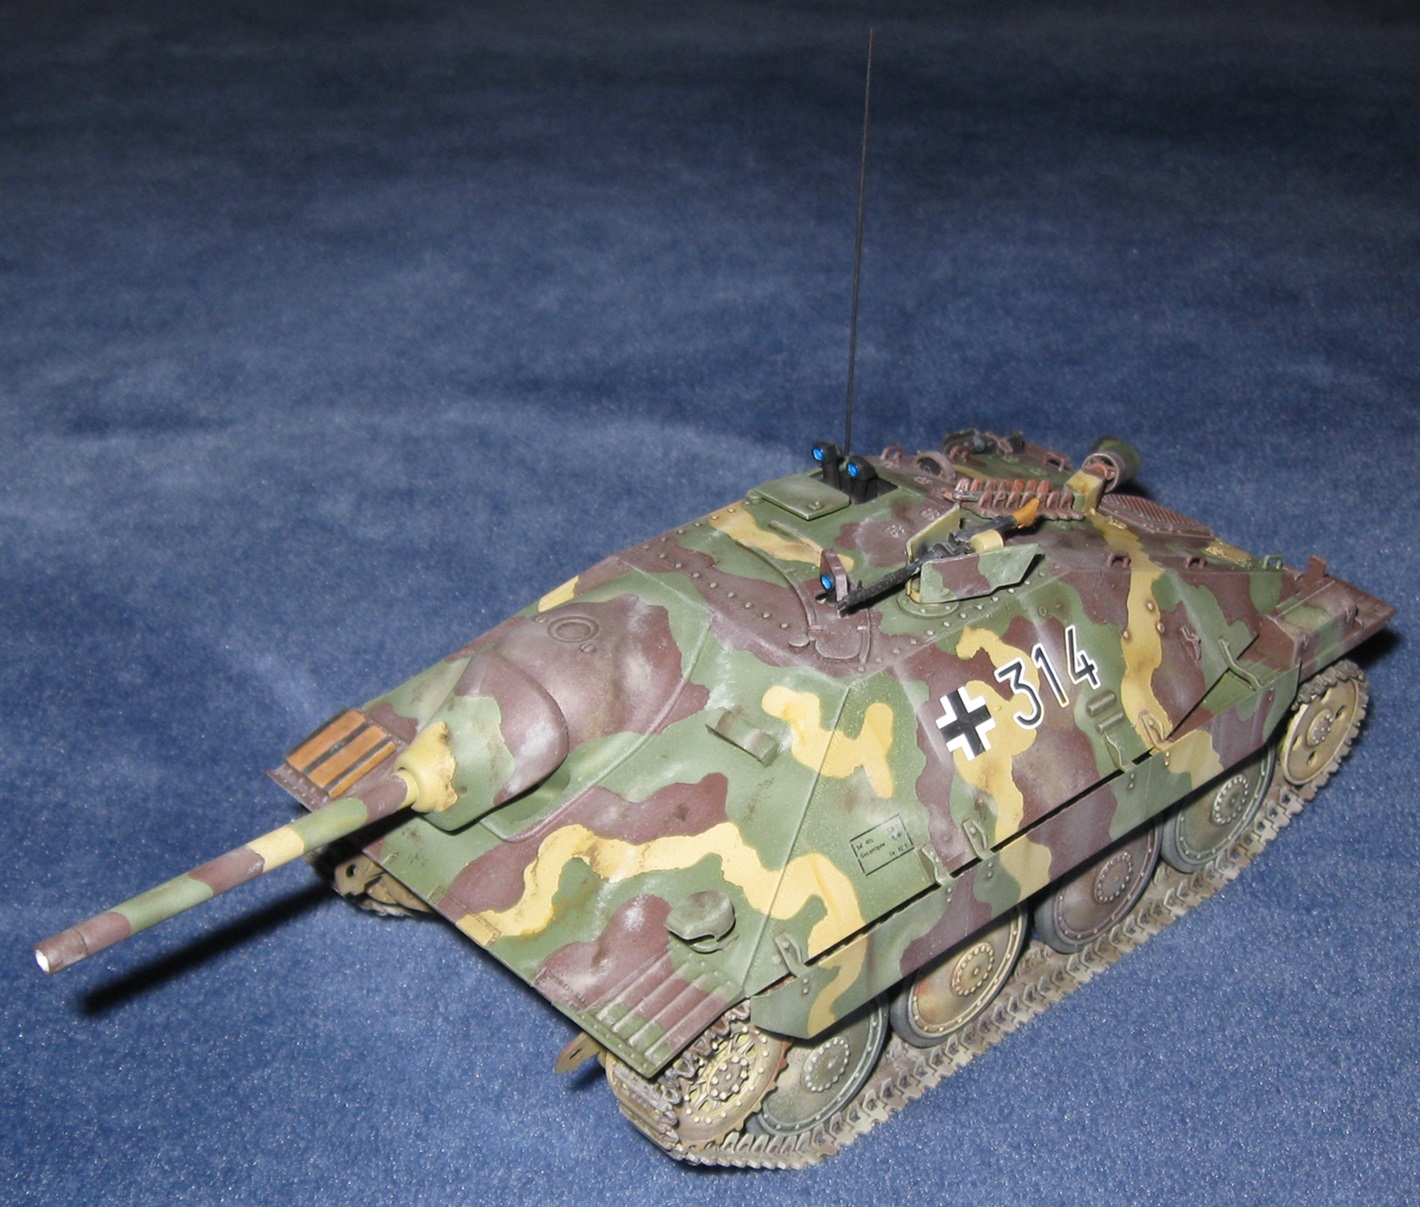
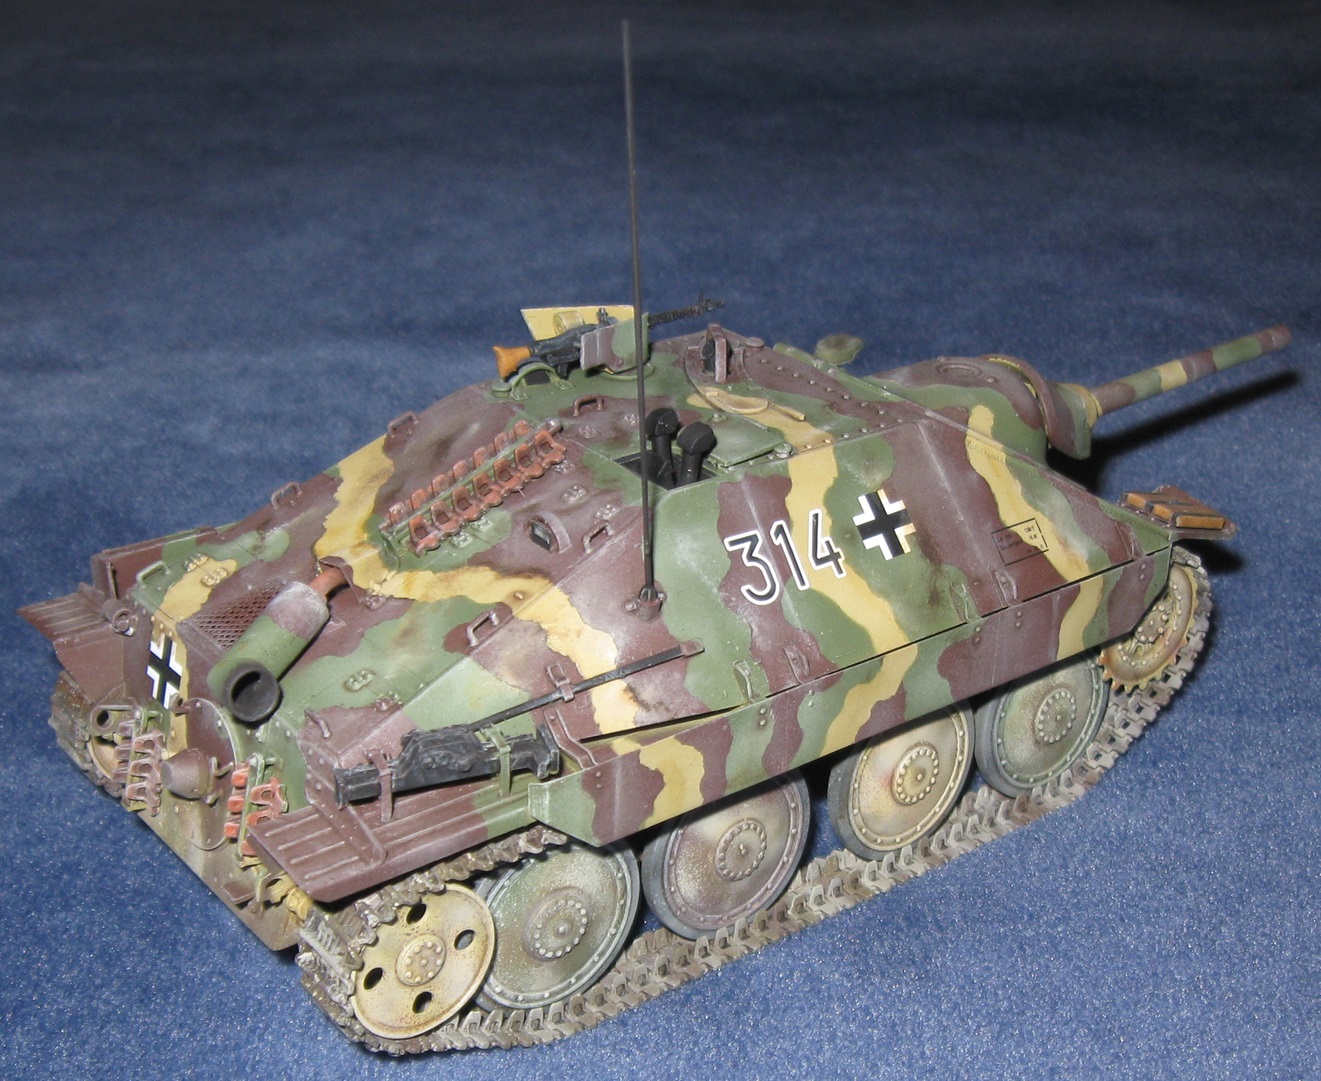
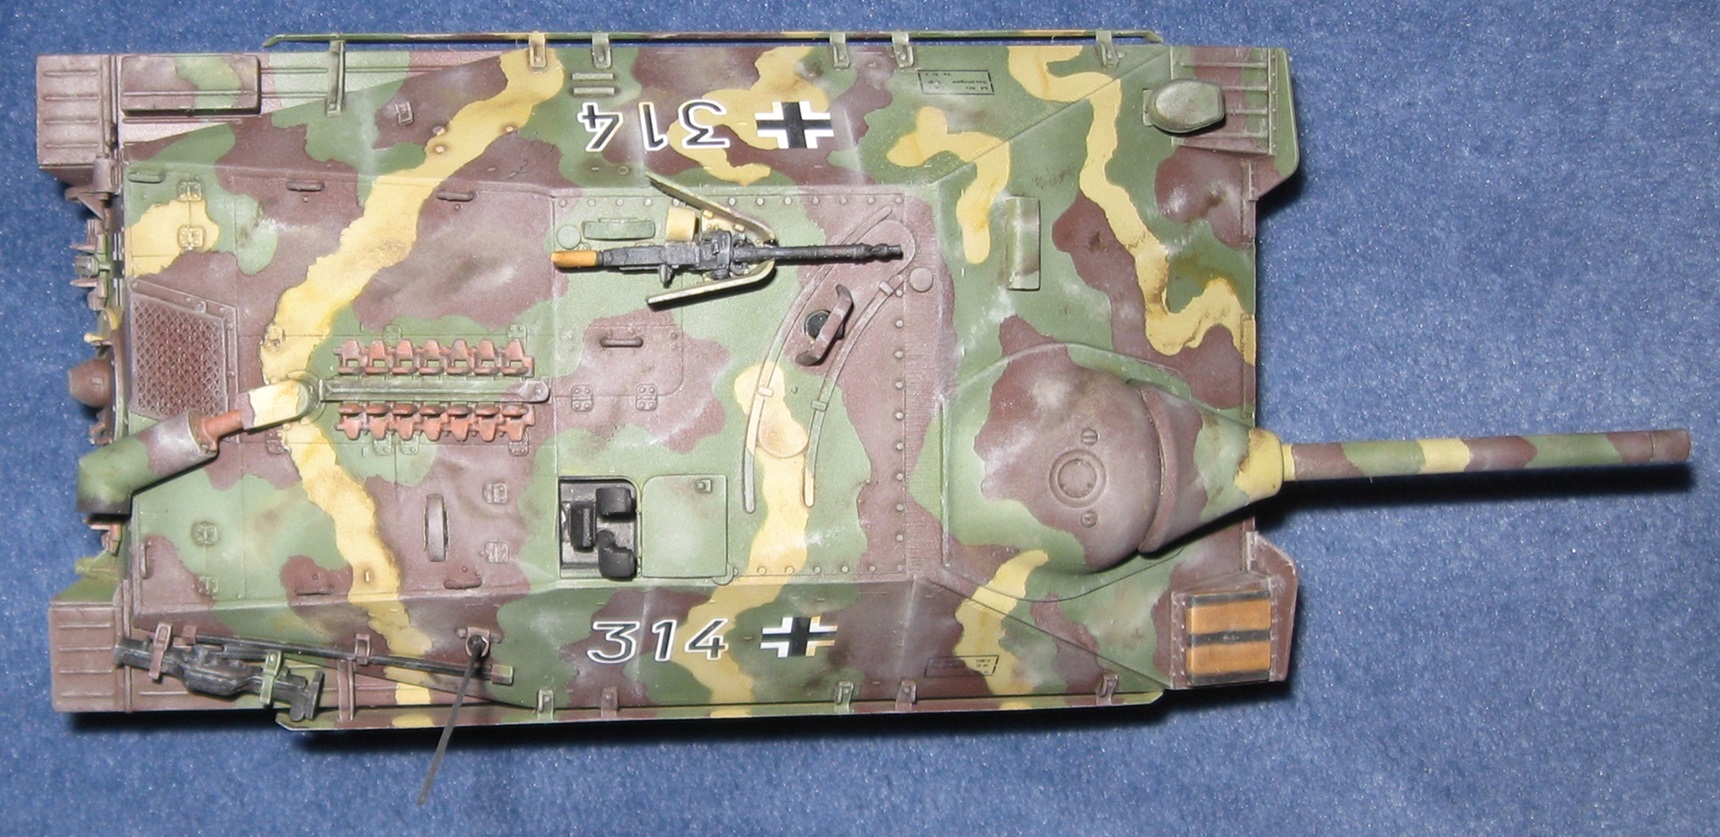
I am really on the fence with regards the camouflage on Jagdpanther 113. On the one hand, it is a fairly good match to the Marder III used as a color reference. On the other hand, it looks ugly as all get out.
Odie was coming along really good until I borked the stupid decal. Now I need to cheat and cover the mistake with mud or a bullet hit or something.
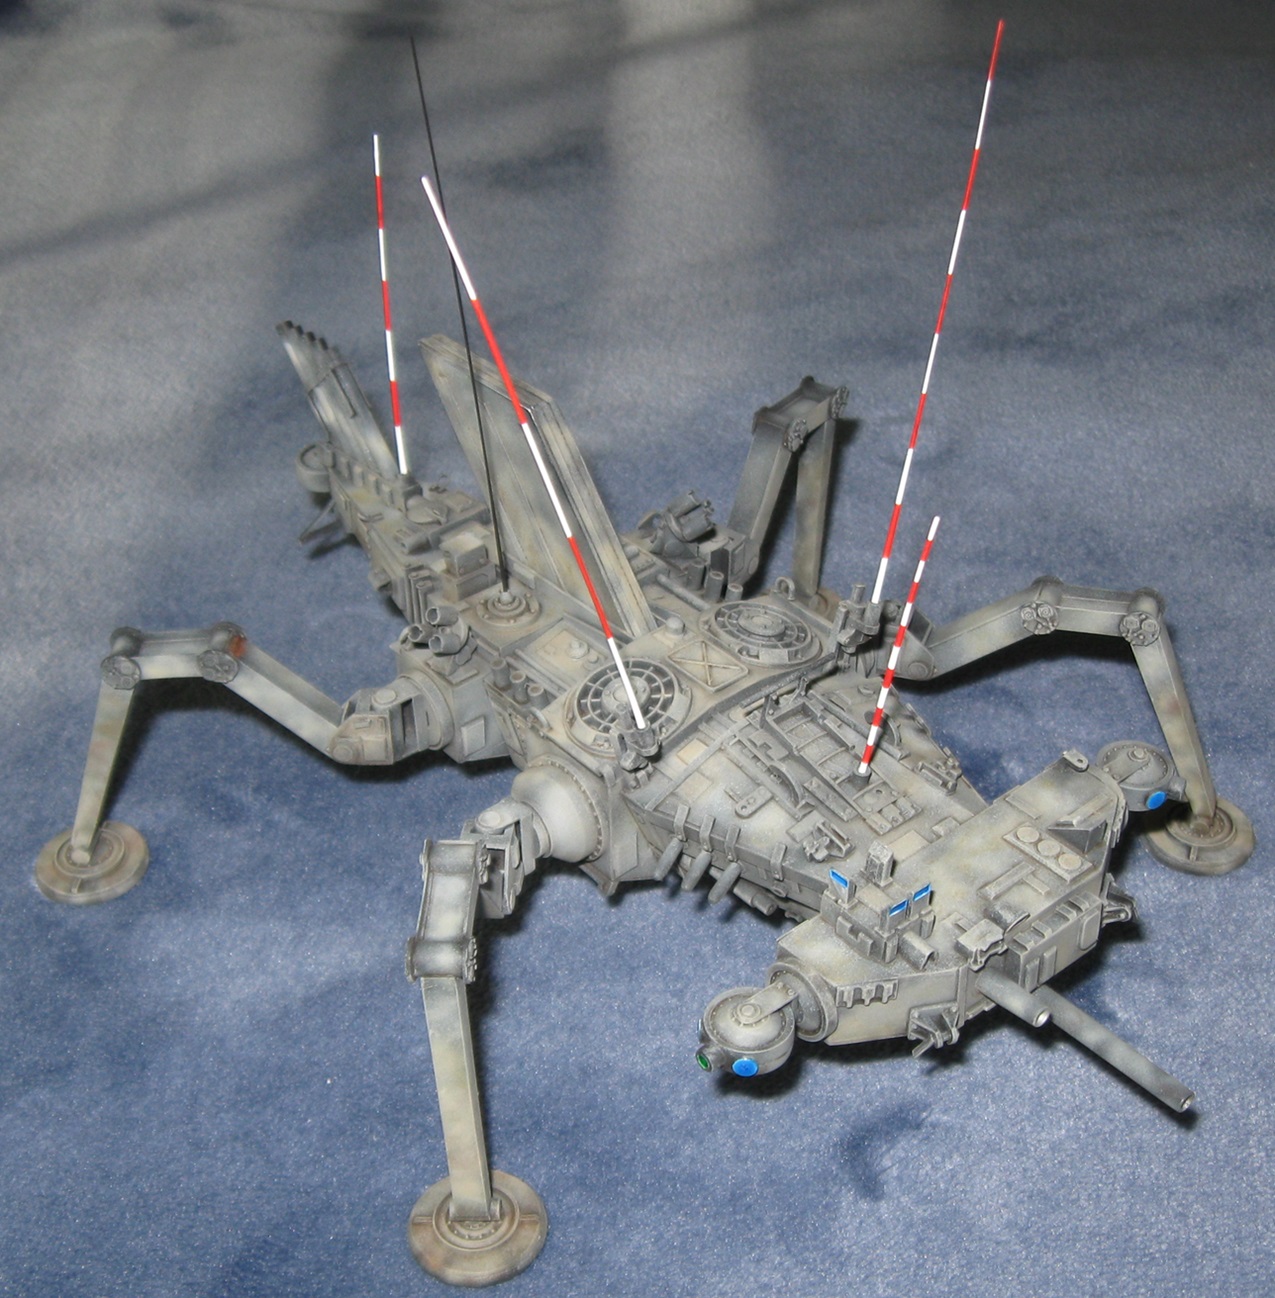
My 8.5 month losing streak is finally broken. LASER SHARK is my second completed plastic scratch building project (of perhaps 10 started). While the model has some serious problems and did not turn out as hoped, I did learn a lot building and painting it.
Some lessons learned:
It is very easy to completely ruin a black paint scheme through excessive use of airbrushed post shading.
Spraying Vallejo White is utterly hopeless.
Vallejo White has excellent brush painting coverage.
A lens created with paint tricks is no substitute for a lens created with clear plastic.
Leg components must have very strong attachment points to one another with large contact surfaces. Weak legs are like aircraft landing gear struts–they break with frightening ease.
Complex camouflage schemes painted over a forest of little parts is near impossible. When building something super complex, plan for a simple paint scheme. The more complex the paint scheme, the more things that will break.
Executing complex paint effects on a complex surface is hellish.
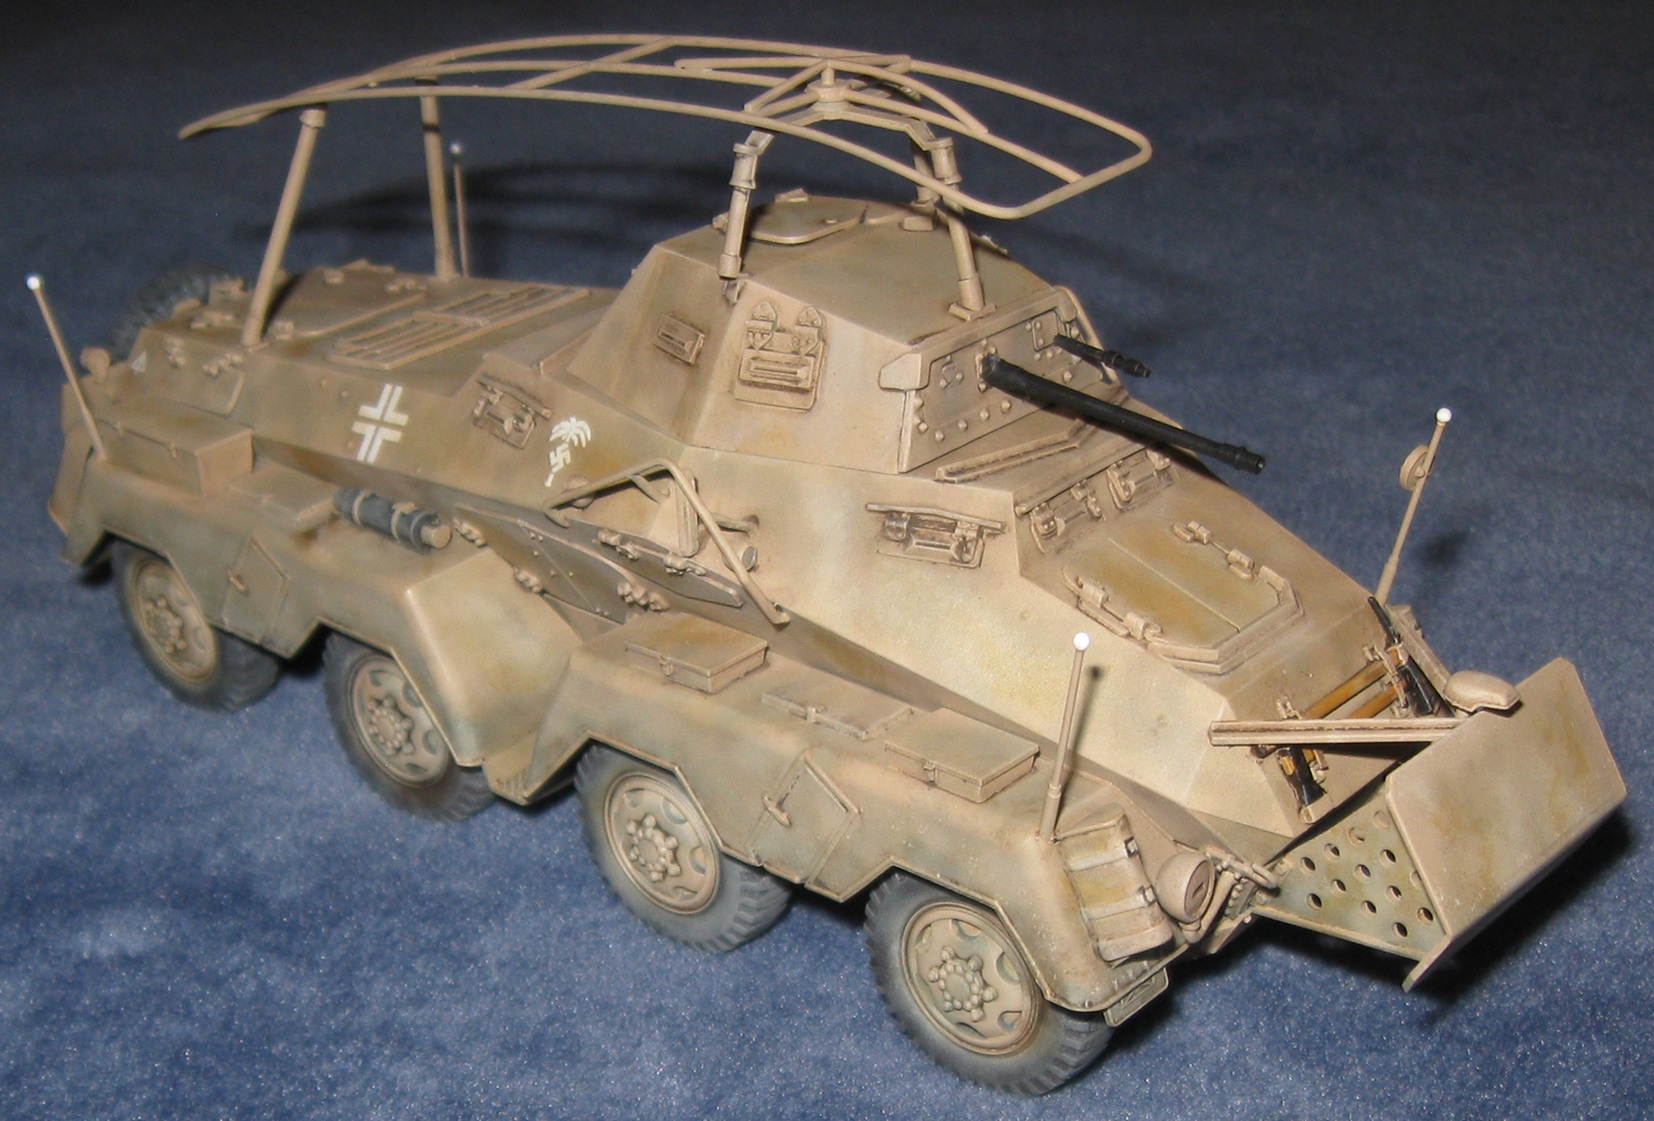
Many hours of work later…the Gecko tracks are on the Dragon Firefly.
About a quarter of all end connectors came with broken pins. A few more broke during construction. I had to steal end connectors from a second set of Gecko tracks to complete one set.
These tracks are very weak so I flooded them with glue, hoping to turn each run into a solid block with pad edges glued together. There is zero chance the weak track pins will hold on their own.
While installing the tracks, another Dragon drive sprocket fell apart. Just like the tracks, they are very weak.
I have now purchased three sets of after market tracks for this model and remain unsure of success. In my opinion, they are all of low quality.
In order to meet the campaign deadline, this model received about one fourth of the normal effects painting. After sliding into home base, I pulled the model back into the shop and applied some critical updates–a new antenna with base, a final clear coat, and touch ups to the most egregious painting errors.
Lessons Learned:
Blu-Tac, while great stuff, has limits. This model went beyond those limits. The next project will use AK black masking putty. (Edit: Change of plans! No black masking putty for me!)
Good effects painting requires inspiration and time. Even lacking both, this result is okay. It looks pretty from 12 inches.
I can now build a decent model in 90 days. That is a massive improvement.
Doug you’ve learned a very valuable lesson. No matter what advice you get, no matter how many videos you watch, the only way to get better is to build and paint more.
This one is a beauty. Your models are getting demonstratively better.
Be very careful with the AK masking putty. It is not the perfect product they make it out to be. IT CREEPS, even on horizontal surfaces it will spread if left on too long and it creeps down vertical surfaces. Put it on, and you’ve got about a half hour to paint and get it off before it starts to move on you. Also, if left on overnight, it will consume PE parts. All the brands black “Panzer Putty” is the same stuff, so that doesn’t matter. Be careful to avoid another disaster.
Oh goodness gracious. No, no, no. Your description of the black putty sounds horrible. It usually takes me multiple sessions over days to mask, then more days to paint. Sometimes months.
Okay. I…am going to skip that. I will try a combination of Blu-Tac and Tamiya Tape next and see how that goes.
@Armor_Buff Thanks. You are being very kind. Like, very kind.
That is a beautiful thing. I’m not being obsequious but I reckon that’s as good a Hetzer camo as I’ve seen. Really nicely done. The cold weathering too looks the business mate, hell of a job.
Damn, that’s lovely as well. How did you do the mottling effect? Is it drybrushed as well? What with? It looks nice from a distance but when you bring up the picture and look closer it is really, really crisp. I Love that finish. Would really appreciate you sharing a little about the workflow here.