John, sorry I meant to say the p.e. grills come with the kit. Along with some tie down hooks which I used and replacement tool clasps, which I didn’t use. And the barrel is moulded in one piece, which always makes things easier!
1 Like
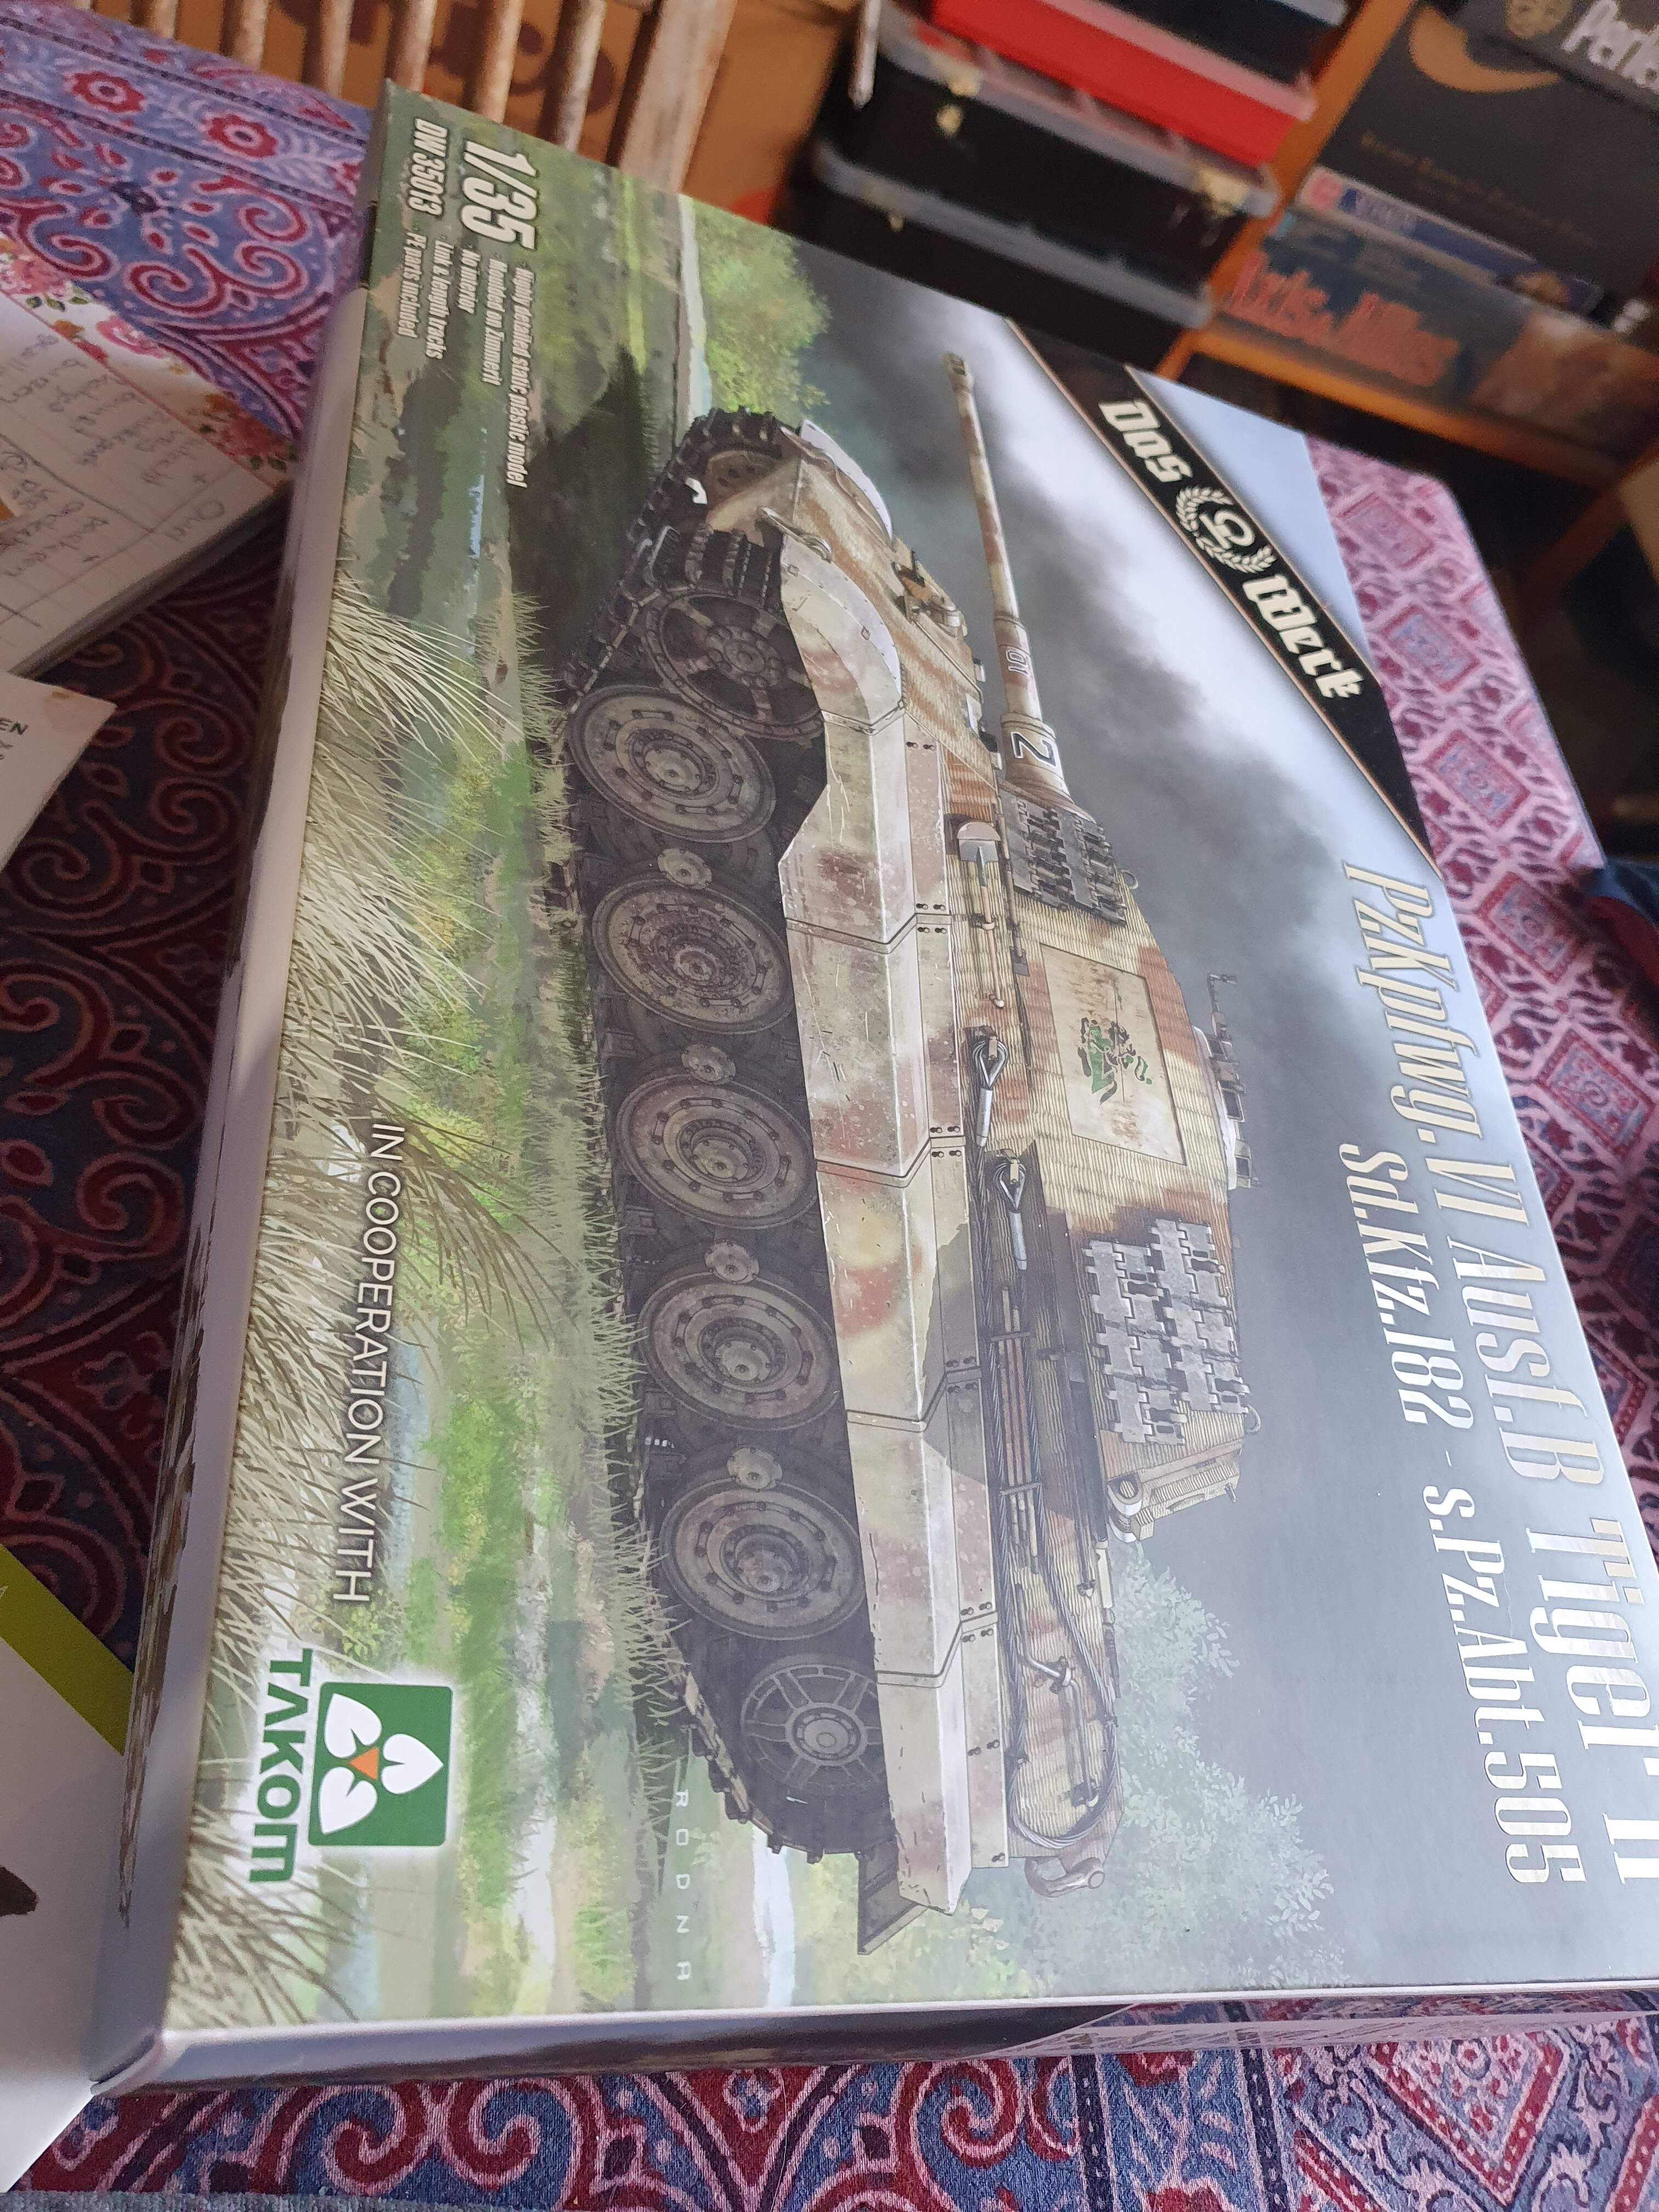
Good to know, I was looking at the DW kits and I think your KT and Stug seem the best value for money… The Panthers have no Zimm and come in at about £32 but then the cunning DW additional Zimm packs come in at £20… So that would bump it right up… I think I am going to get that KT though, it does look nice .
No worries mate, it does build into a nice piece. If you do use AMS paints and supplies tell them I sent you their way, they are good to their repeat customers. I have no affiliation with them by the way, I just like that they set up for the love of the hobby!
Thanks, J.
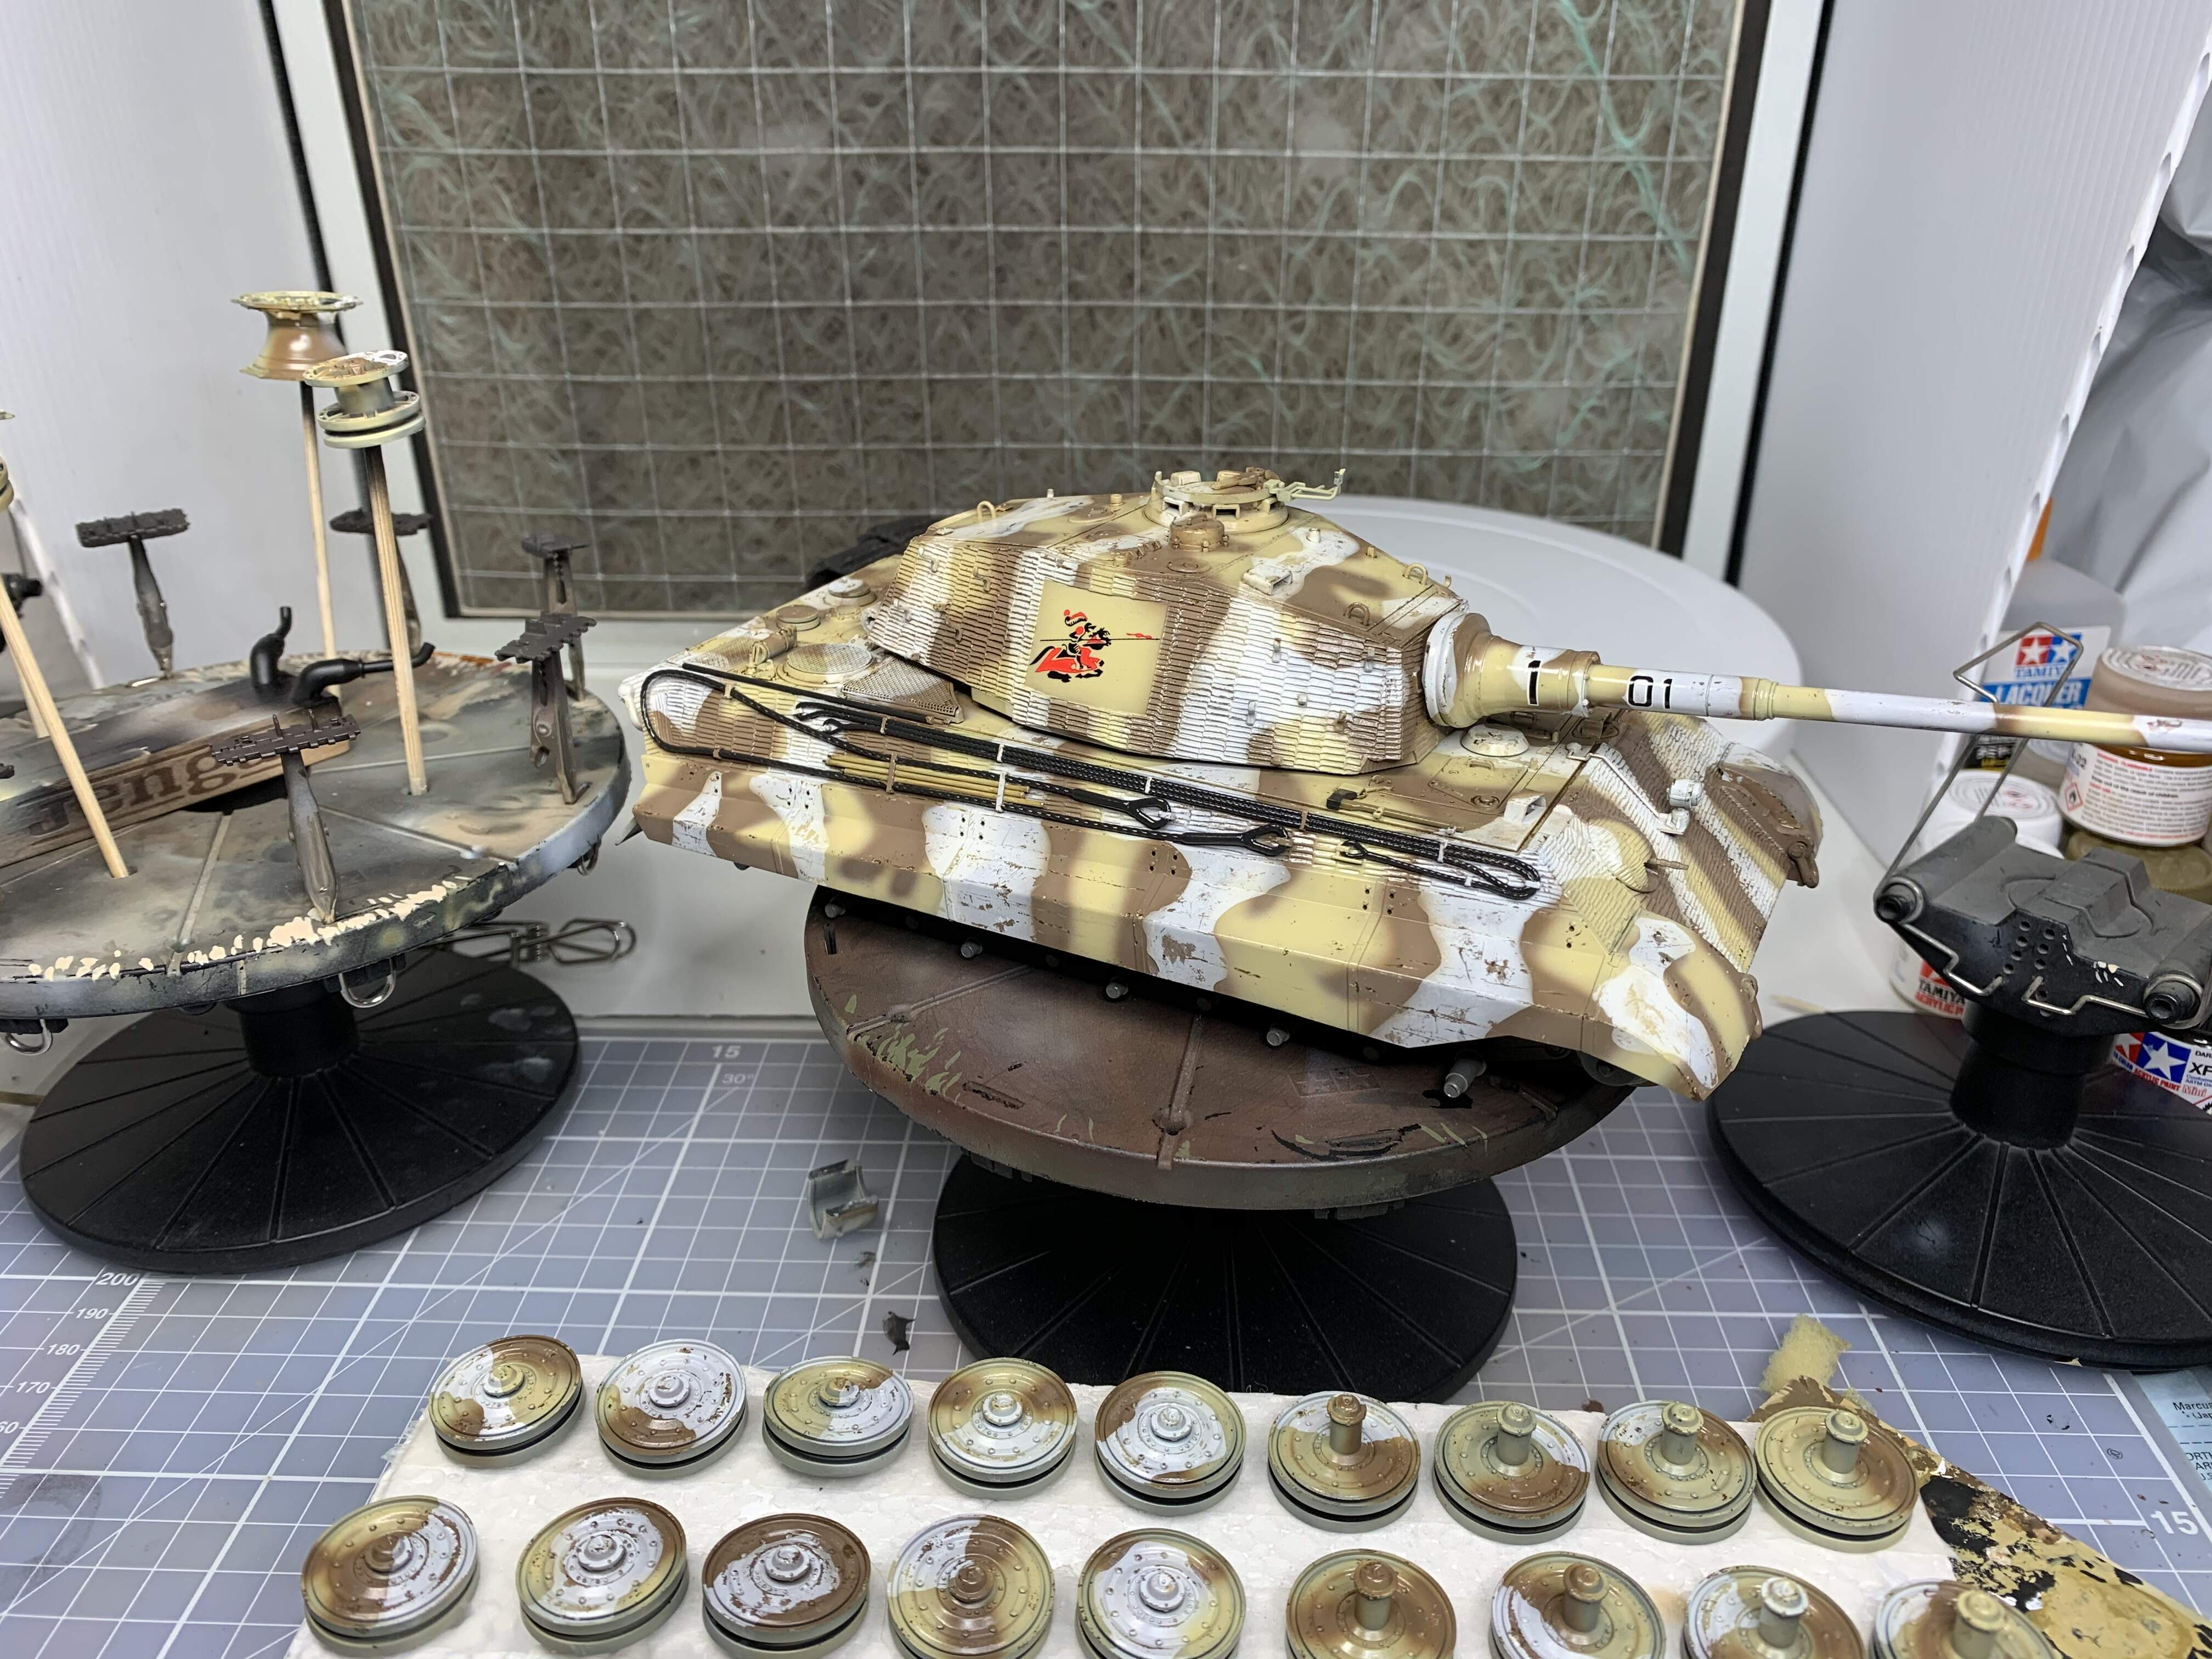
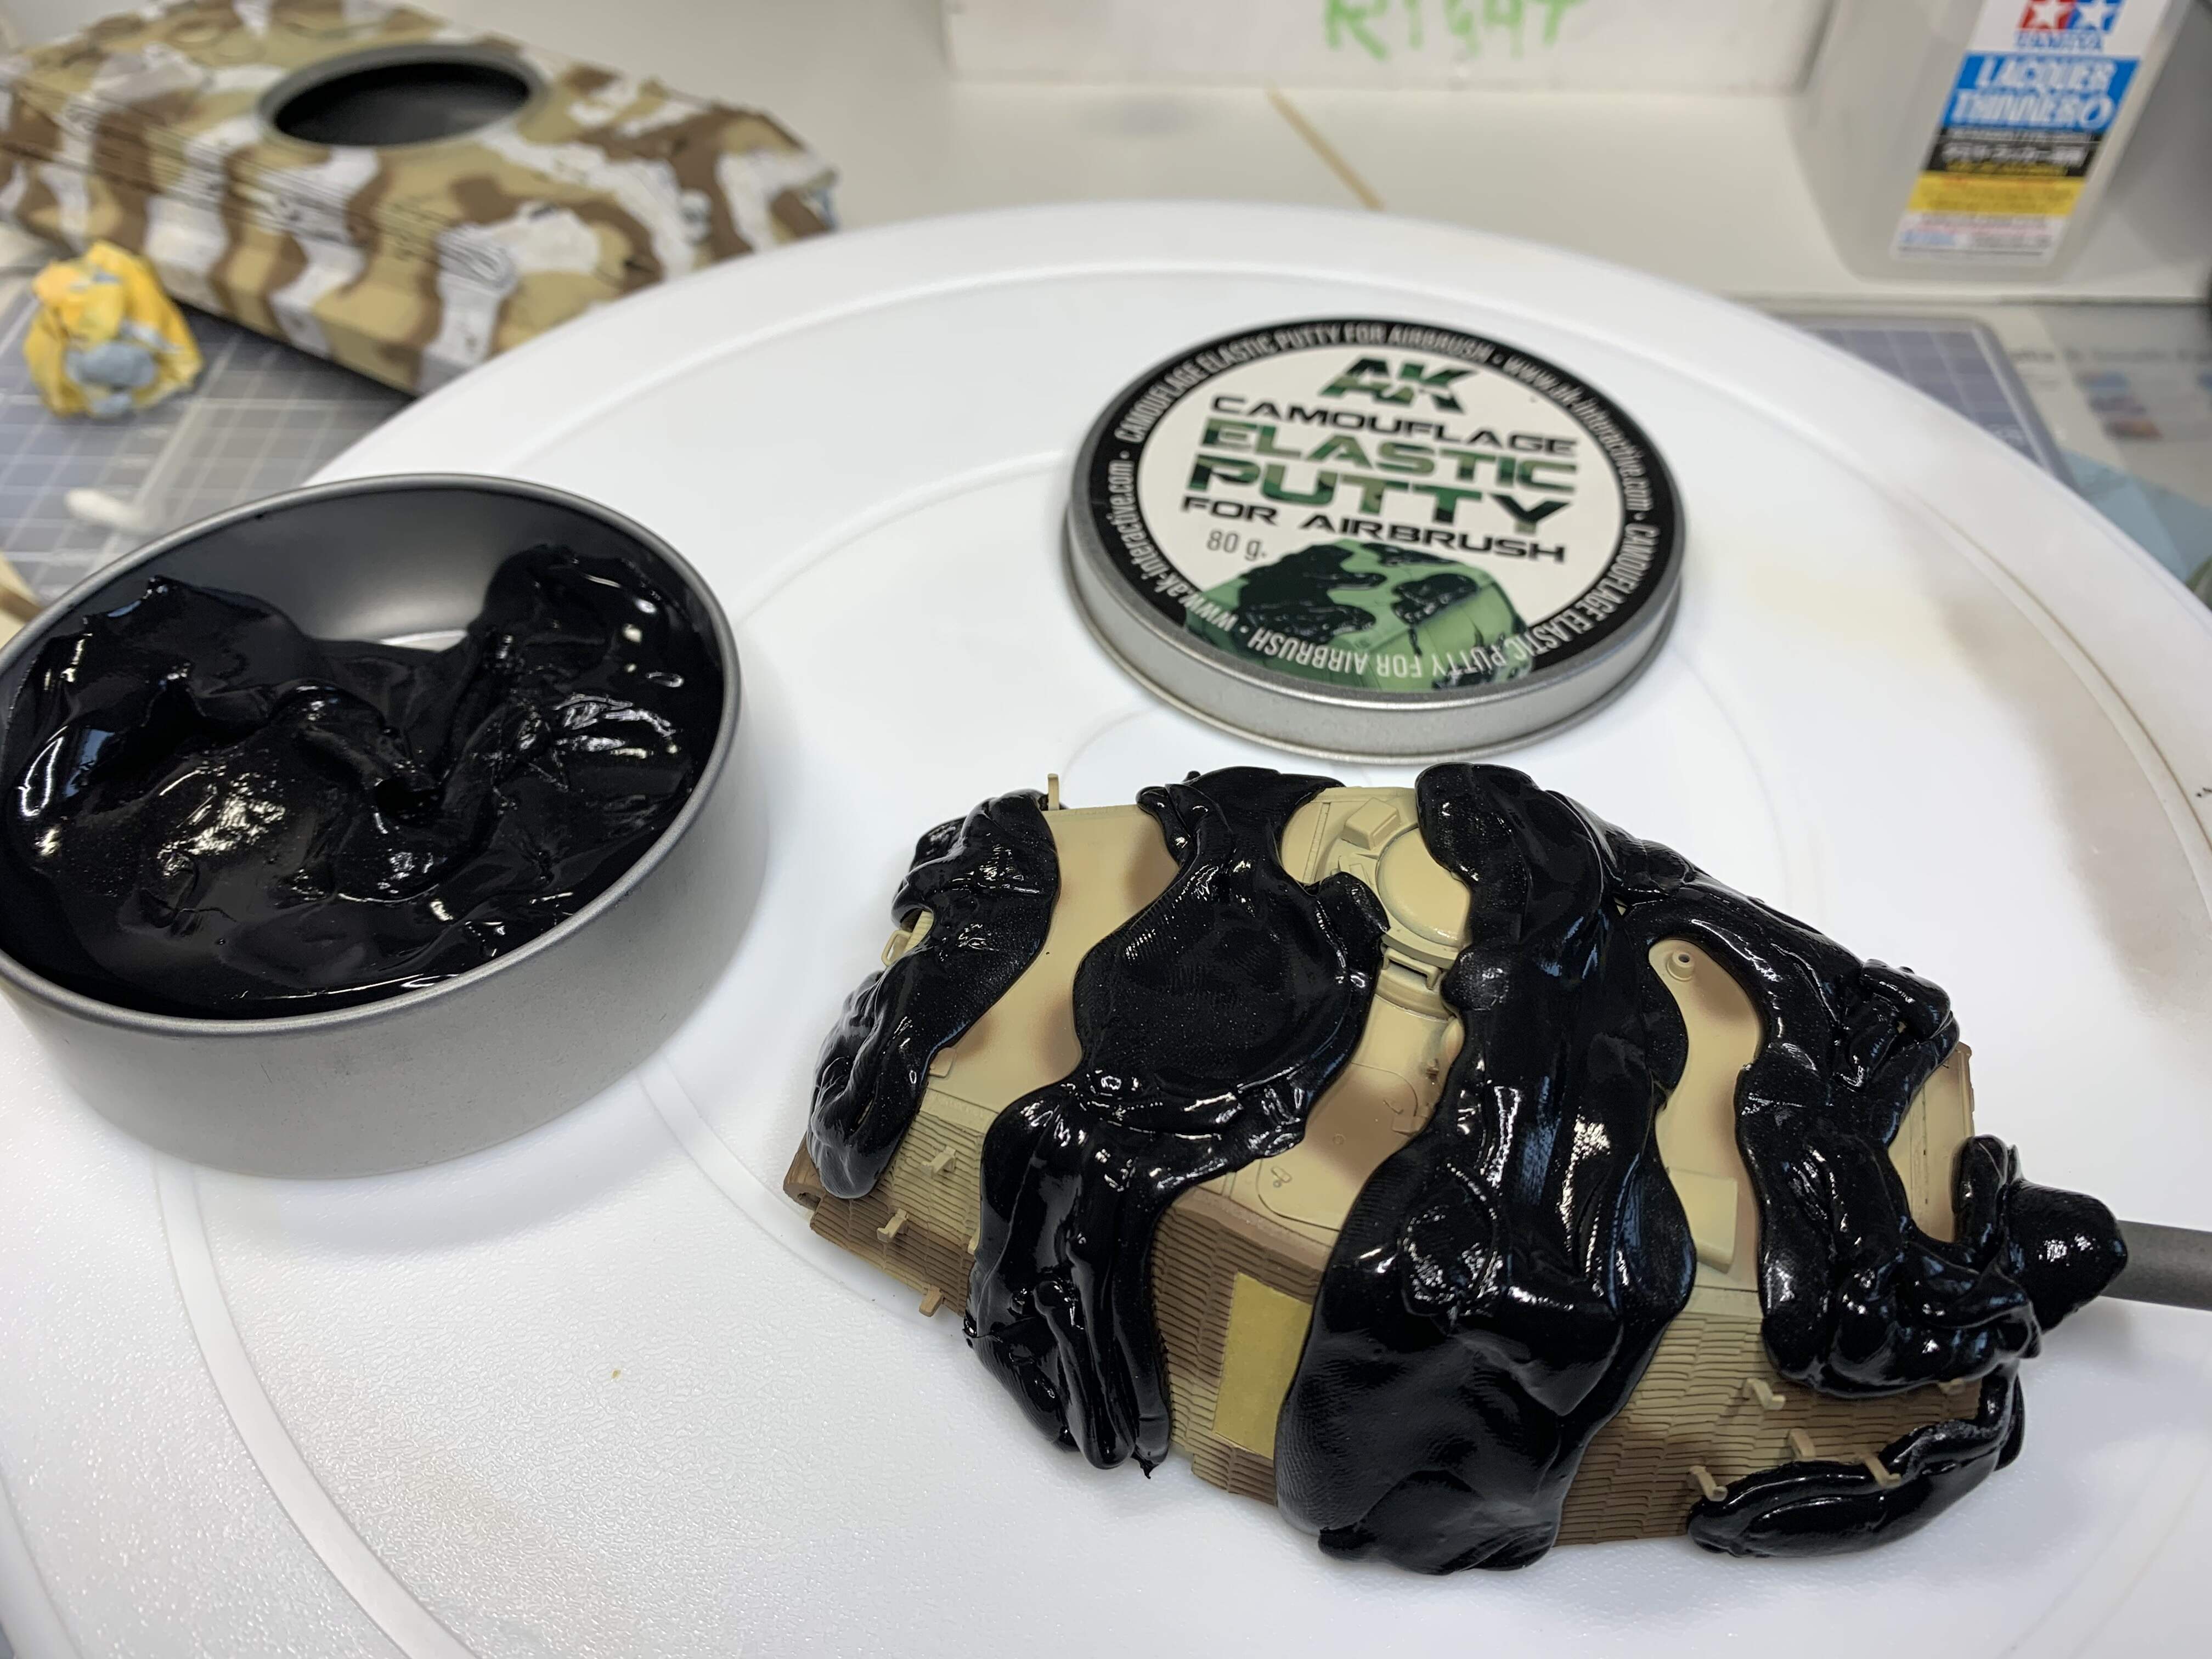
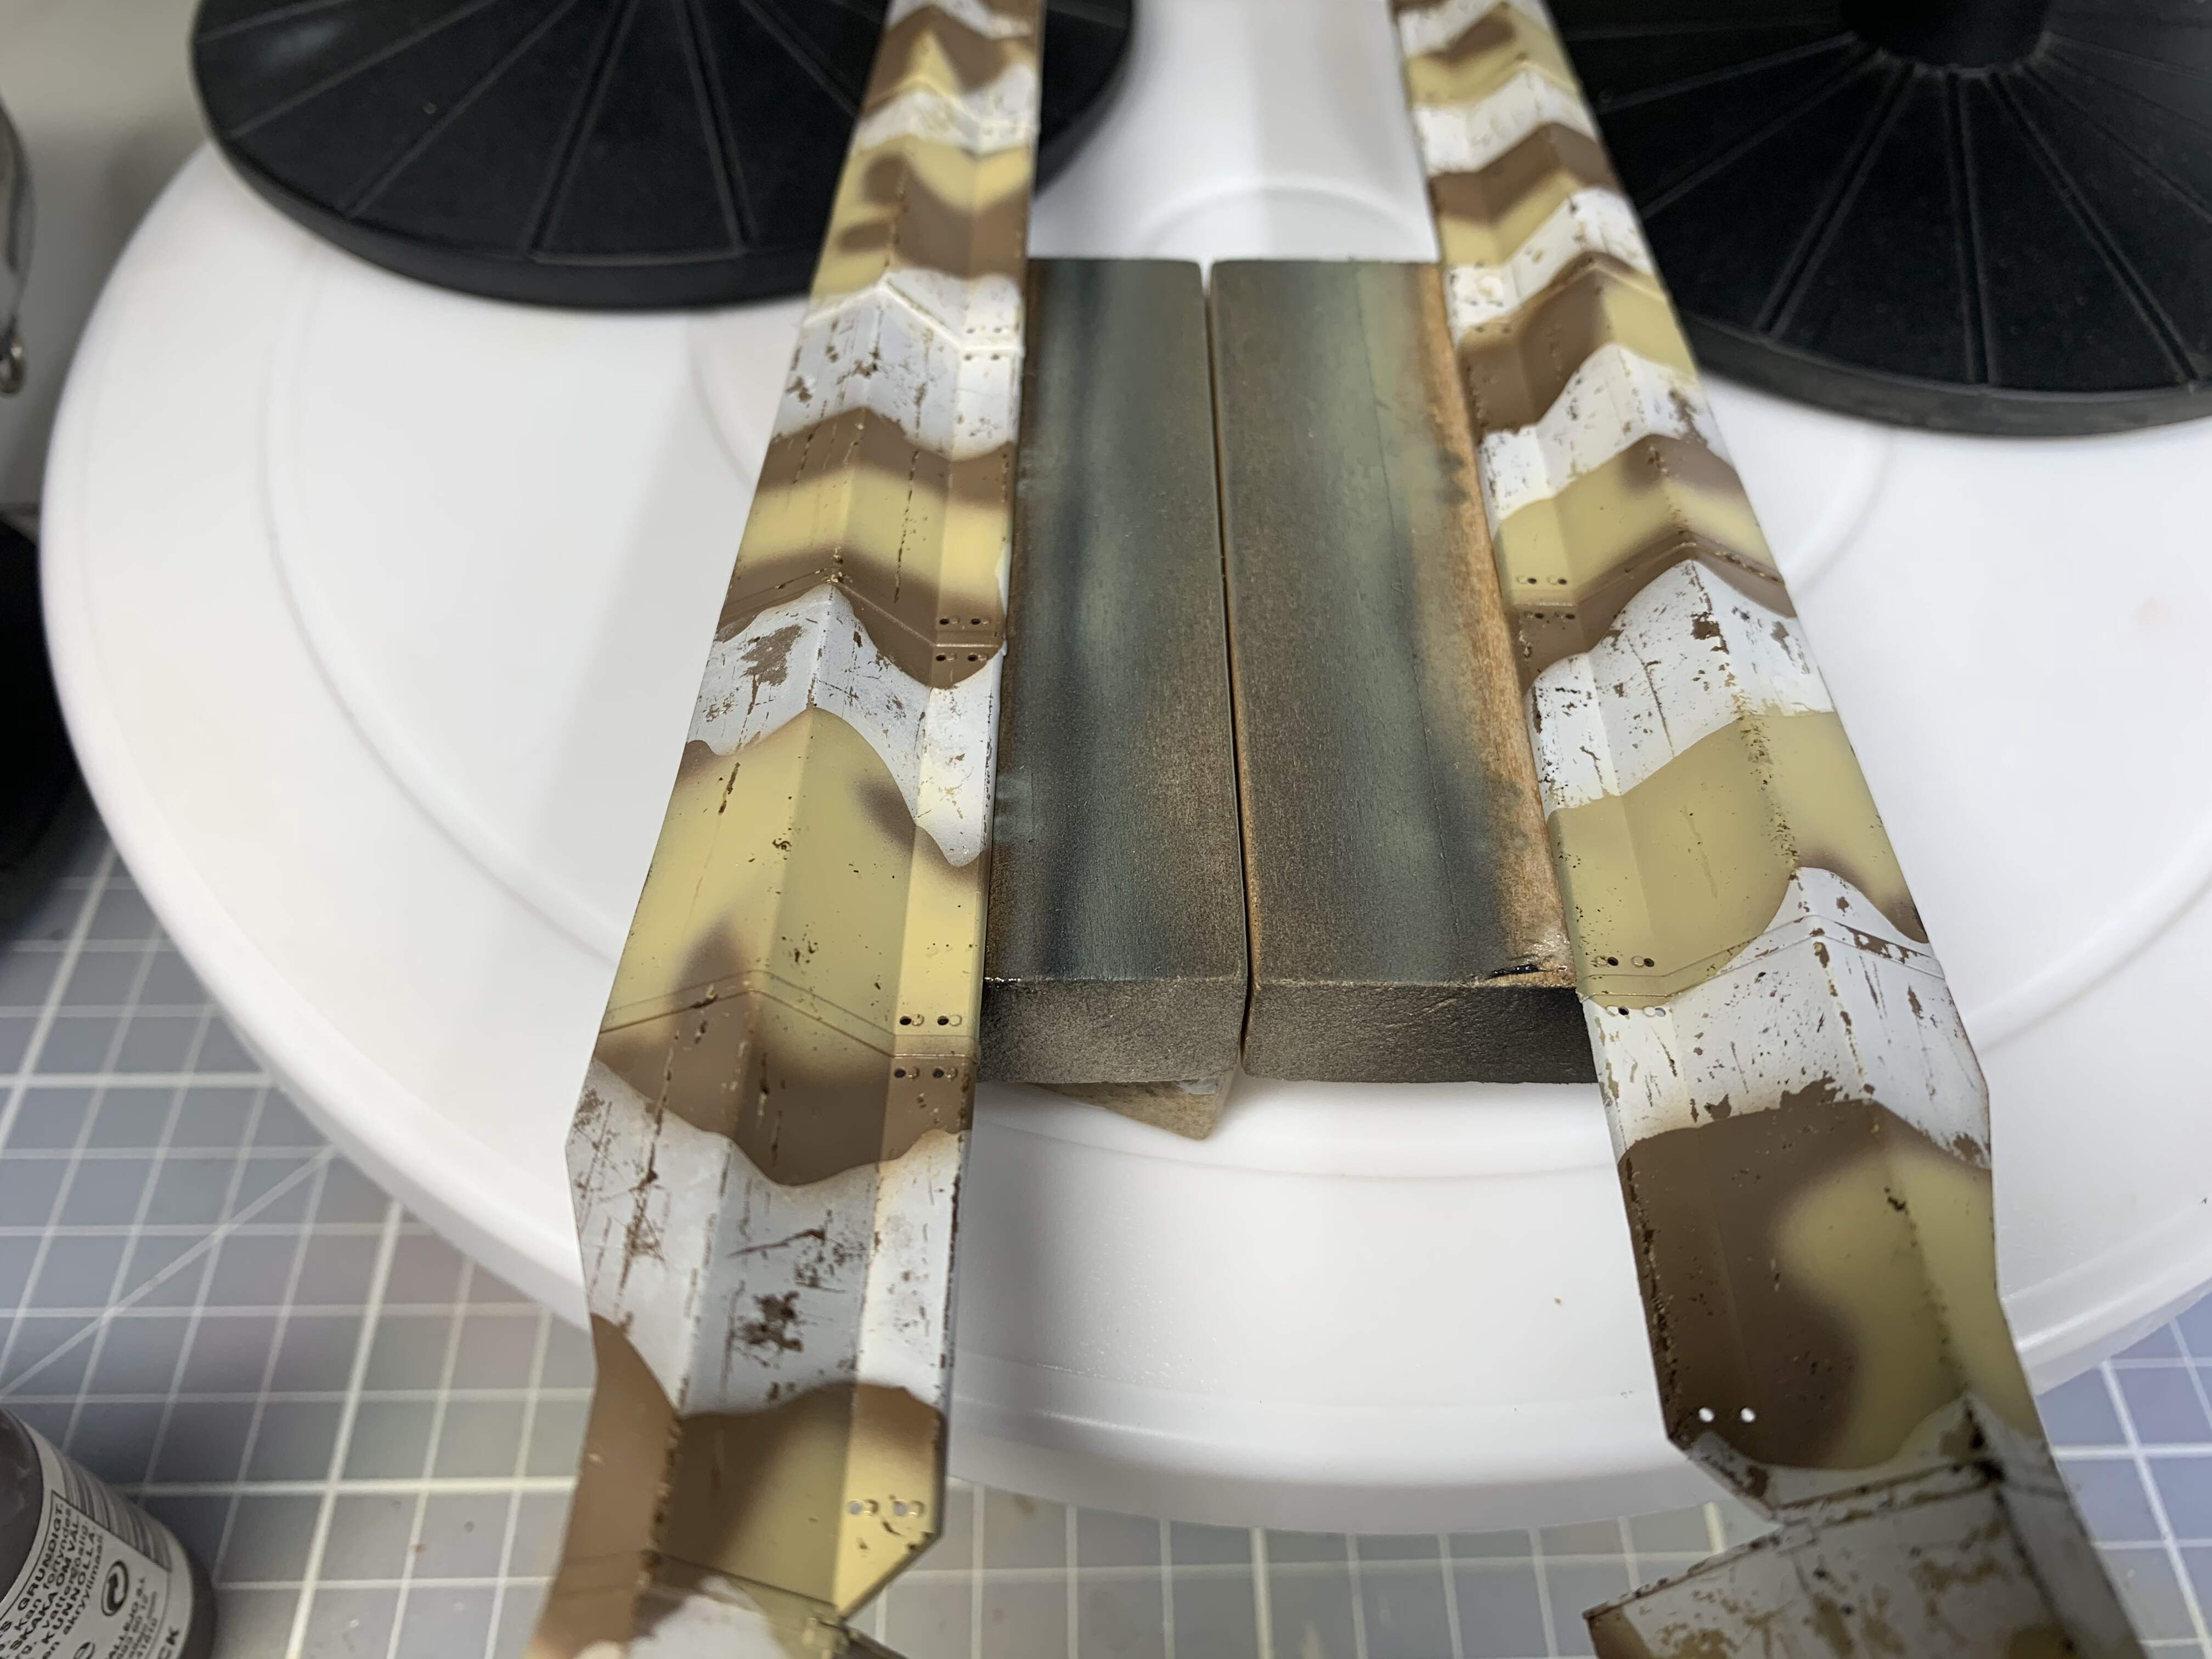
I thought i would share this masking material I have been using for the first time on this build. AK camouflage plastic putty. It is like blutac but is easier to remove. It settles into nooks and crannies if left for a while and is very easy to use. I have reused the same bits several times now and it has been great.
One note of caution, don’t let it near photo etch grills, it flows, very very slowly, through the holes. It reminds me of that black stuff in that Spider-Man movie!
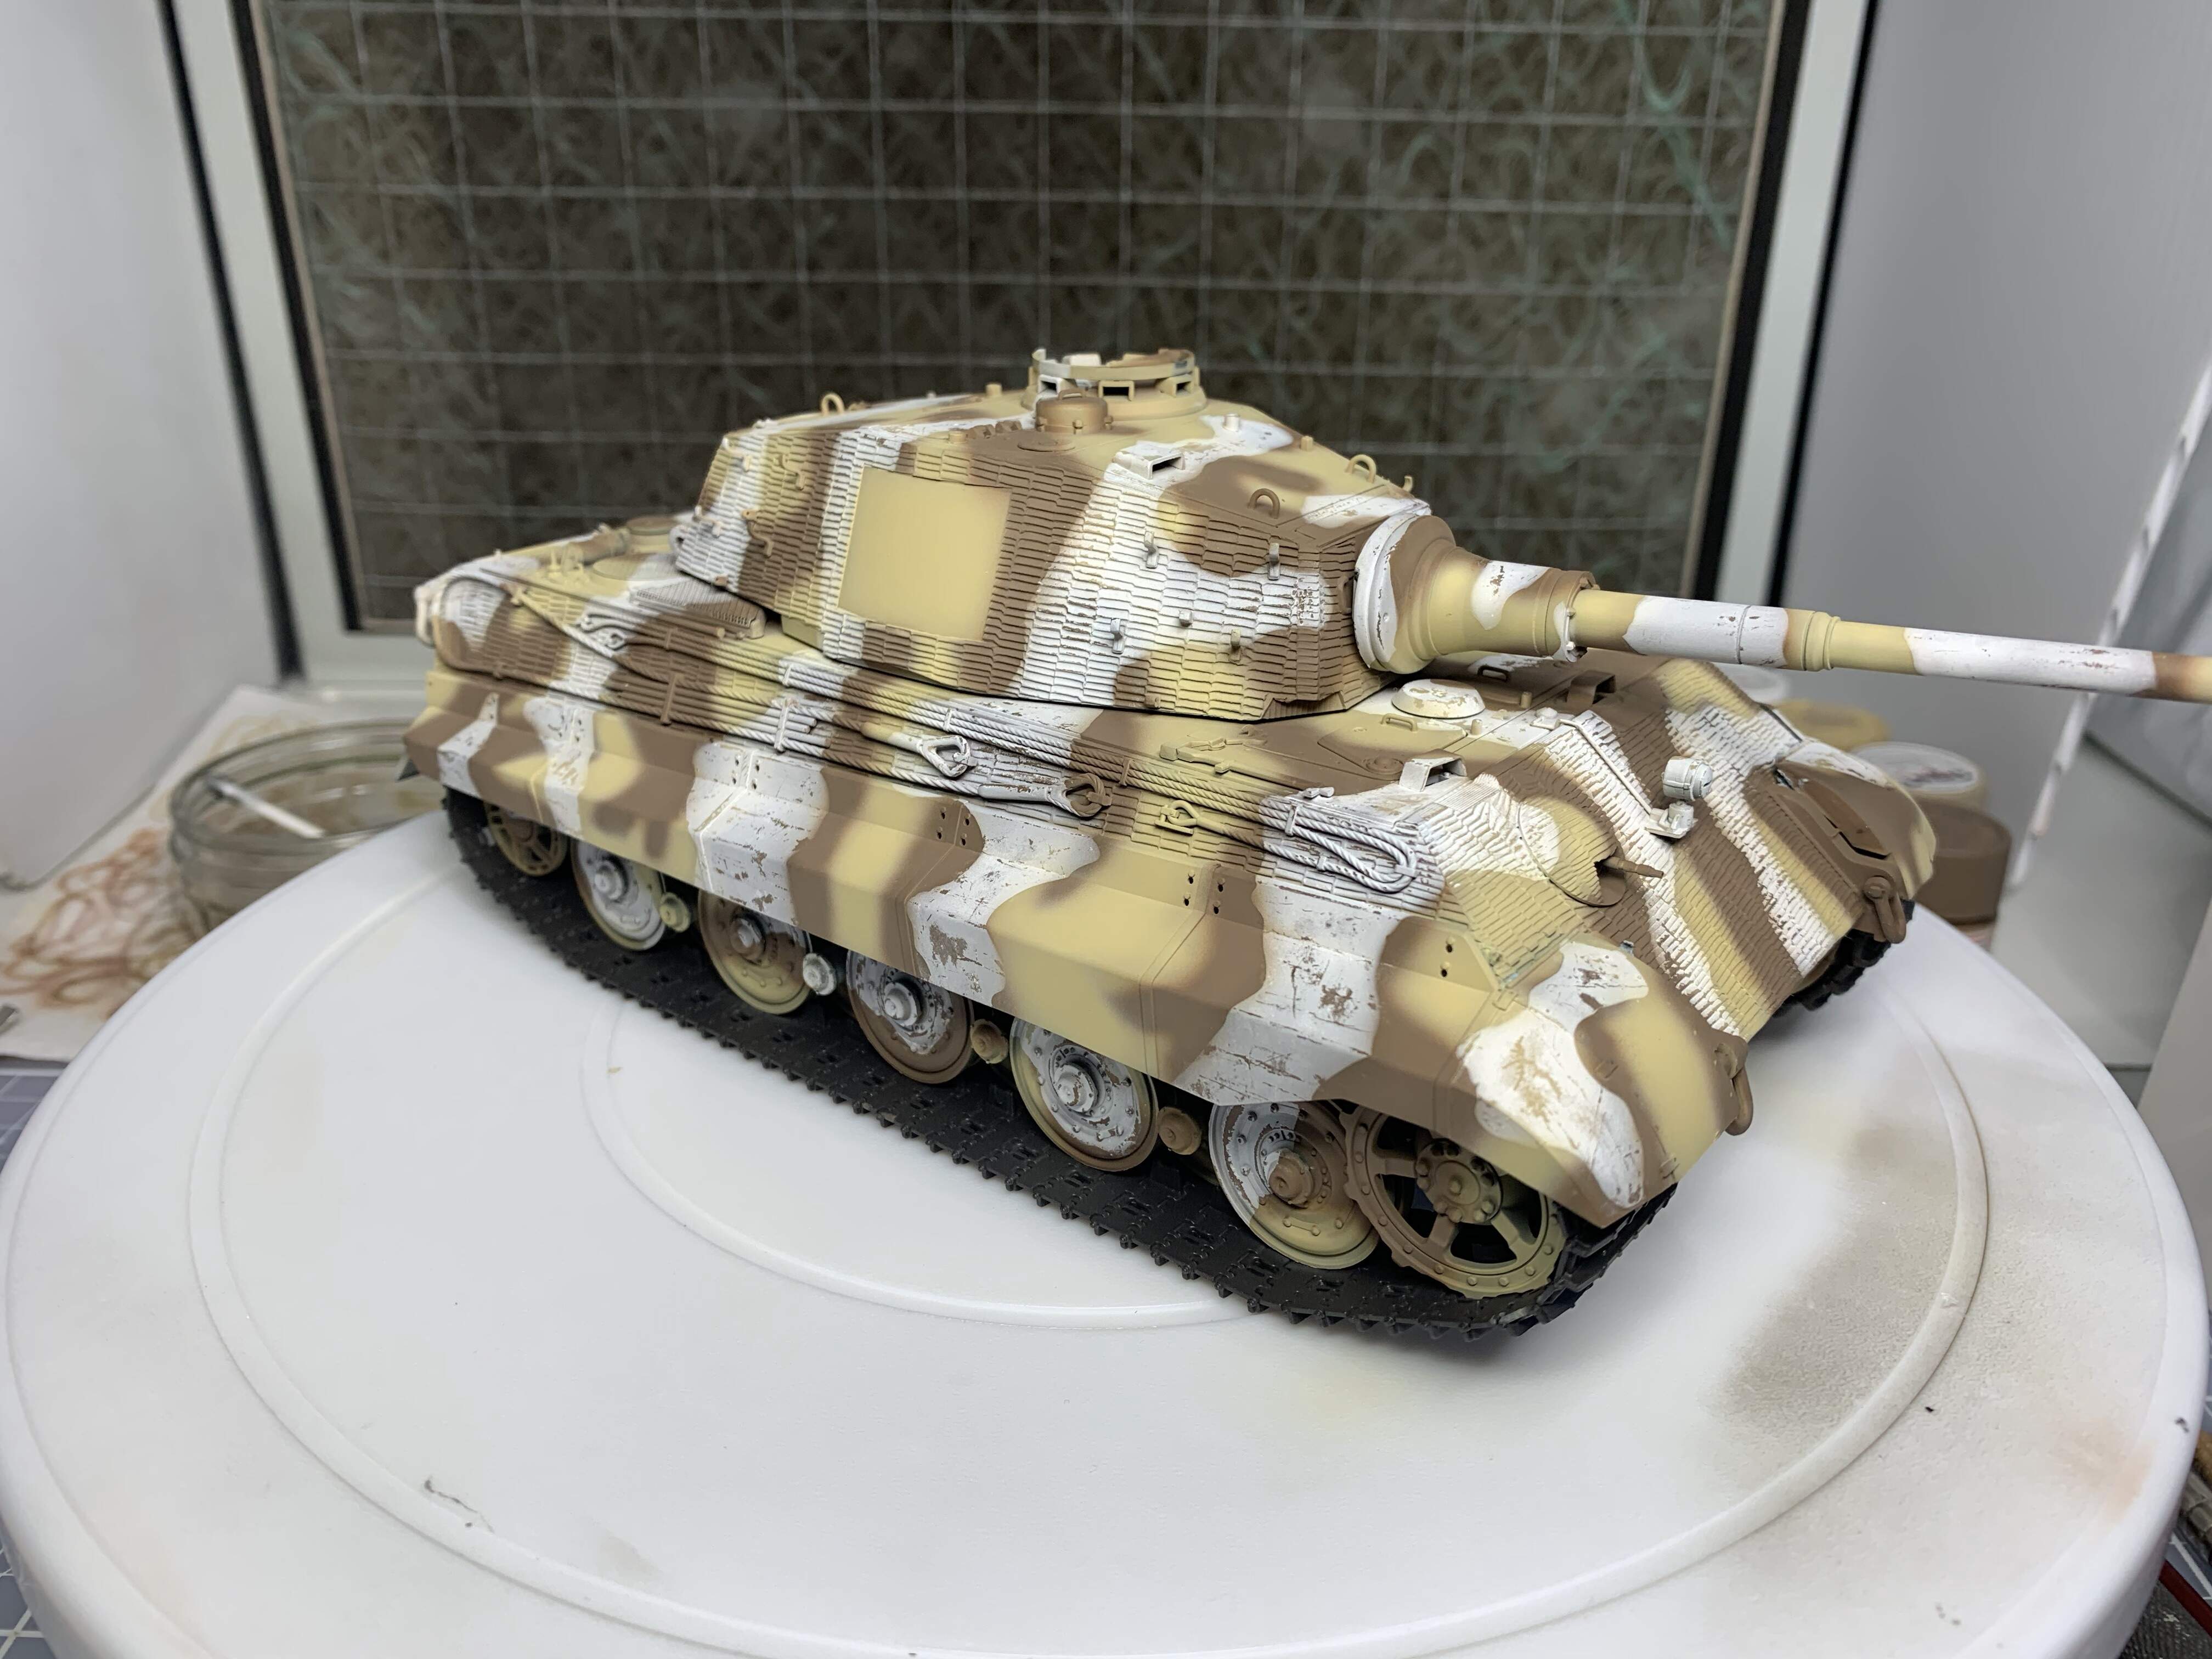
The brown was freehand airbrushed, only used the putty on the white.
Cheers,J.

5 Likes
Damn, it seems my shopping list is forever in edit mode lol … that looks very good stuff. I usually go with the blutac method, but sometimes find it leaves a residue on certain colours. Did you get it from the same place you mentioned about the washes ? As I still have that link so I may add that to my order Im adding to all the time
1 Like
Yeah, it’s interesting stuff. When it’s been in its container for a while it settles completely flat. Same place for the washes, King Tiger, and putty.
Cheers, J.
1 Like
I have a tin of that stuff. The only time I ever used it, it interacted with the base coat (Tamiya acrylic) so that anywhere it touched the paint it turned slightly darker. A little reluctant to try it again.

1 Like
That’s strange, it certainly doesn’t seem to have affected the Tamiya acrylic on this. Maybe because I used lacquer thinner. Also maybe as I use some clear to make the paint more satin. I find straight tamiya is so Matt it’s almost like there is a dusting on the surface, maybe the putty removed that which would probably have the effect of darkening the colour, like a clear satin or gloss would. Speculation but I will bear it in mind for future use.
Thanks for the info, would be interesting to know if anyone else has had such issues.
Cheers, Jim.
Just as a side note, as far as I can guess this stuff is basically nothing else than detoxicated extra heavy crude oil: heavy crude oil - YouTube
Don´t mistake me, what I mean is that it literally IS that stuff, not just LIKE it…
1 Like
Be careful with this stuff, the Mig stuff, and the original Panzer Putty by MXpression. You only have about a 15 minute window before it starts to crawl. This stuff doesn’t just droop, it will migrate across your model if you leave it until it hits your workbench. Make sure you put it on, shoot your paint, and take it off. It also has a tendency to envelop and remove PE and small parts. And yes, it will stain and darken raw paint colors. You must have a clear coat over your paint to avoid this. This putty is really a therapeutic putty used for hand physical therapy. There are 5 different grades. This black one is the thickest. It’s great stuff to use, but with these caveats.
3 Likes
Yeah. It does slowly creep. I like it for the job I am doing but it wouldn’t be any use for soft edge camo, due to the flattening out. As my modelling area is quite cold I think I get longer out of it before it moves too much. Still no issues with staining though. And it is therapeutic to play with!
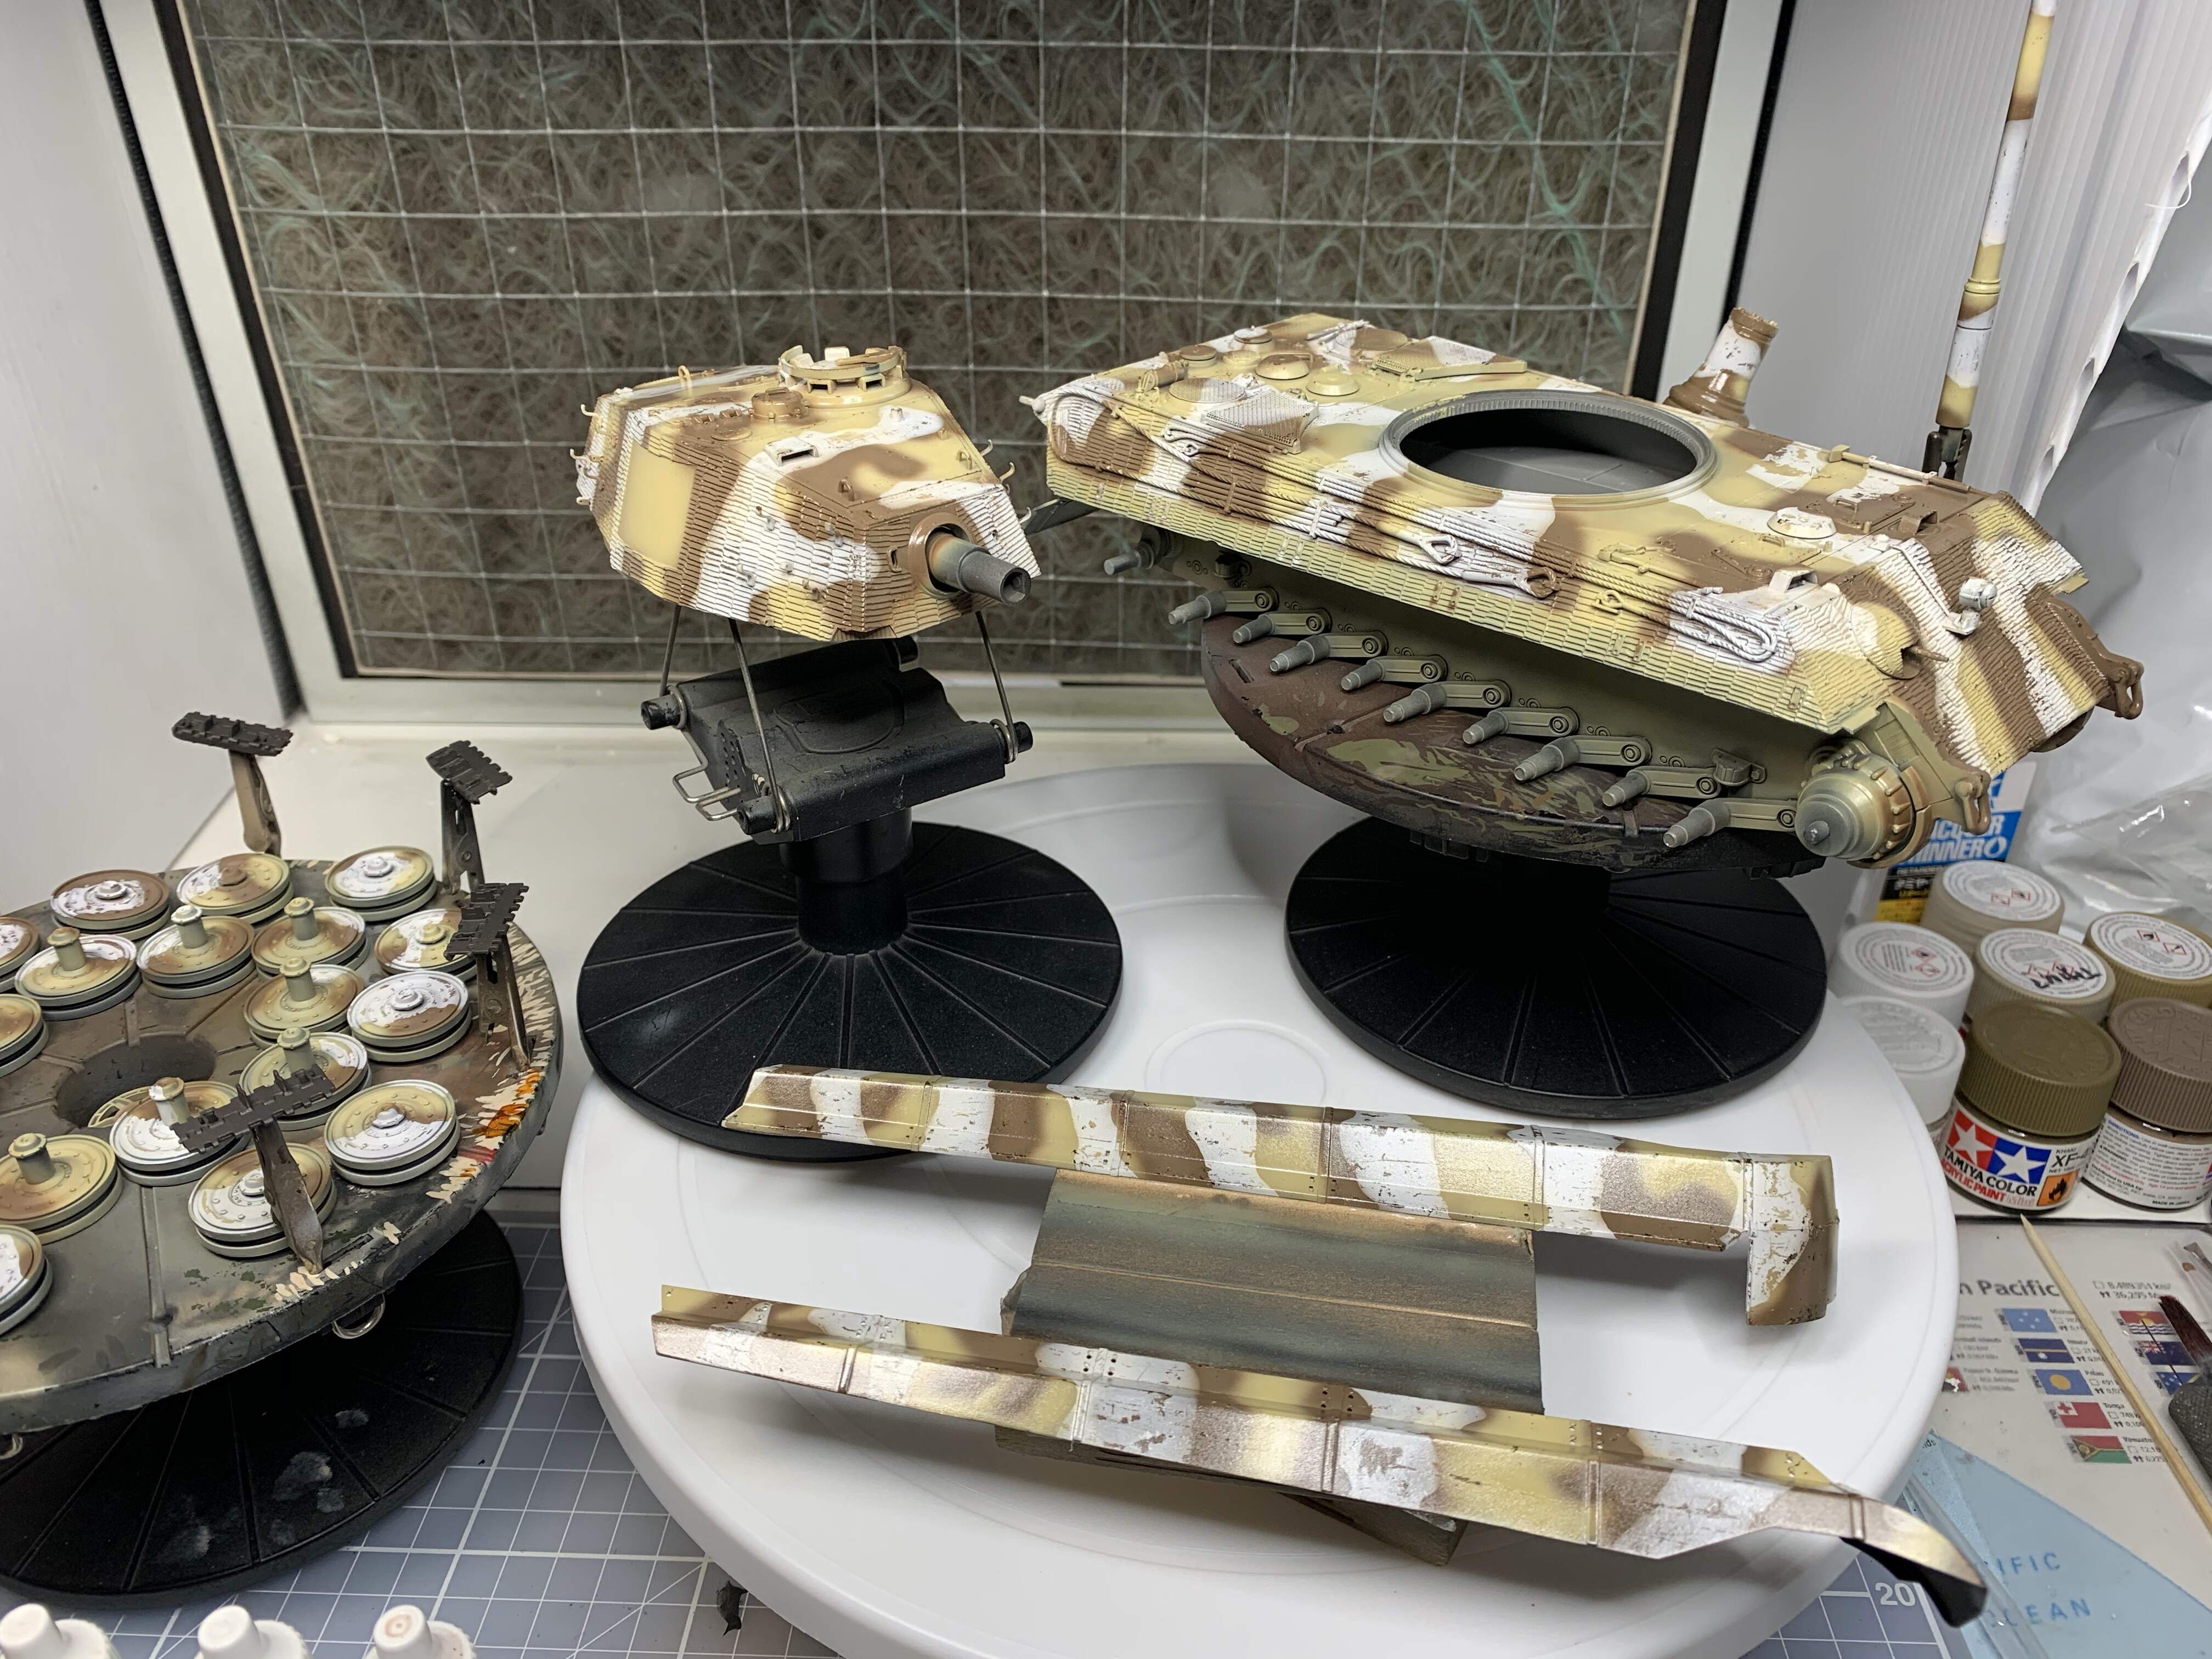
Onto the wheels and gun now and that will be the masking over and done with!
Thanks, J.
Its coming out really nice. Thats one of my favorite paint schemes for the King Tiger.
1 Like
Ditto! Its really looking great!
1 Like
Thanks guys. I had kind of lost my mojo on this one so your kind words really help.
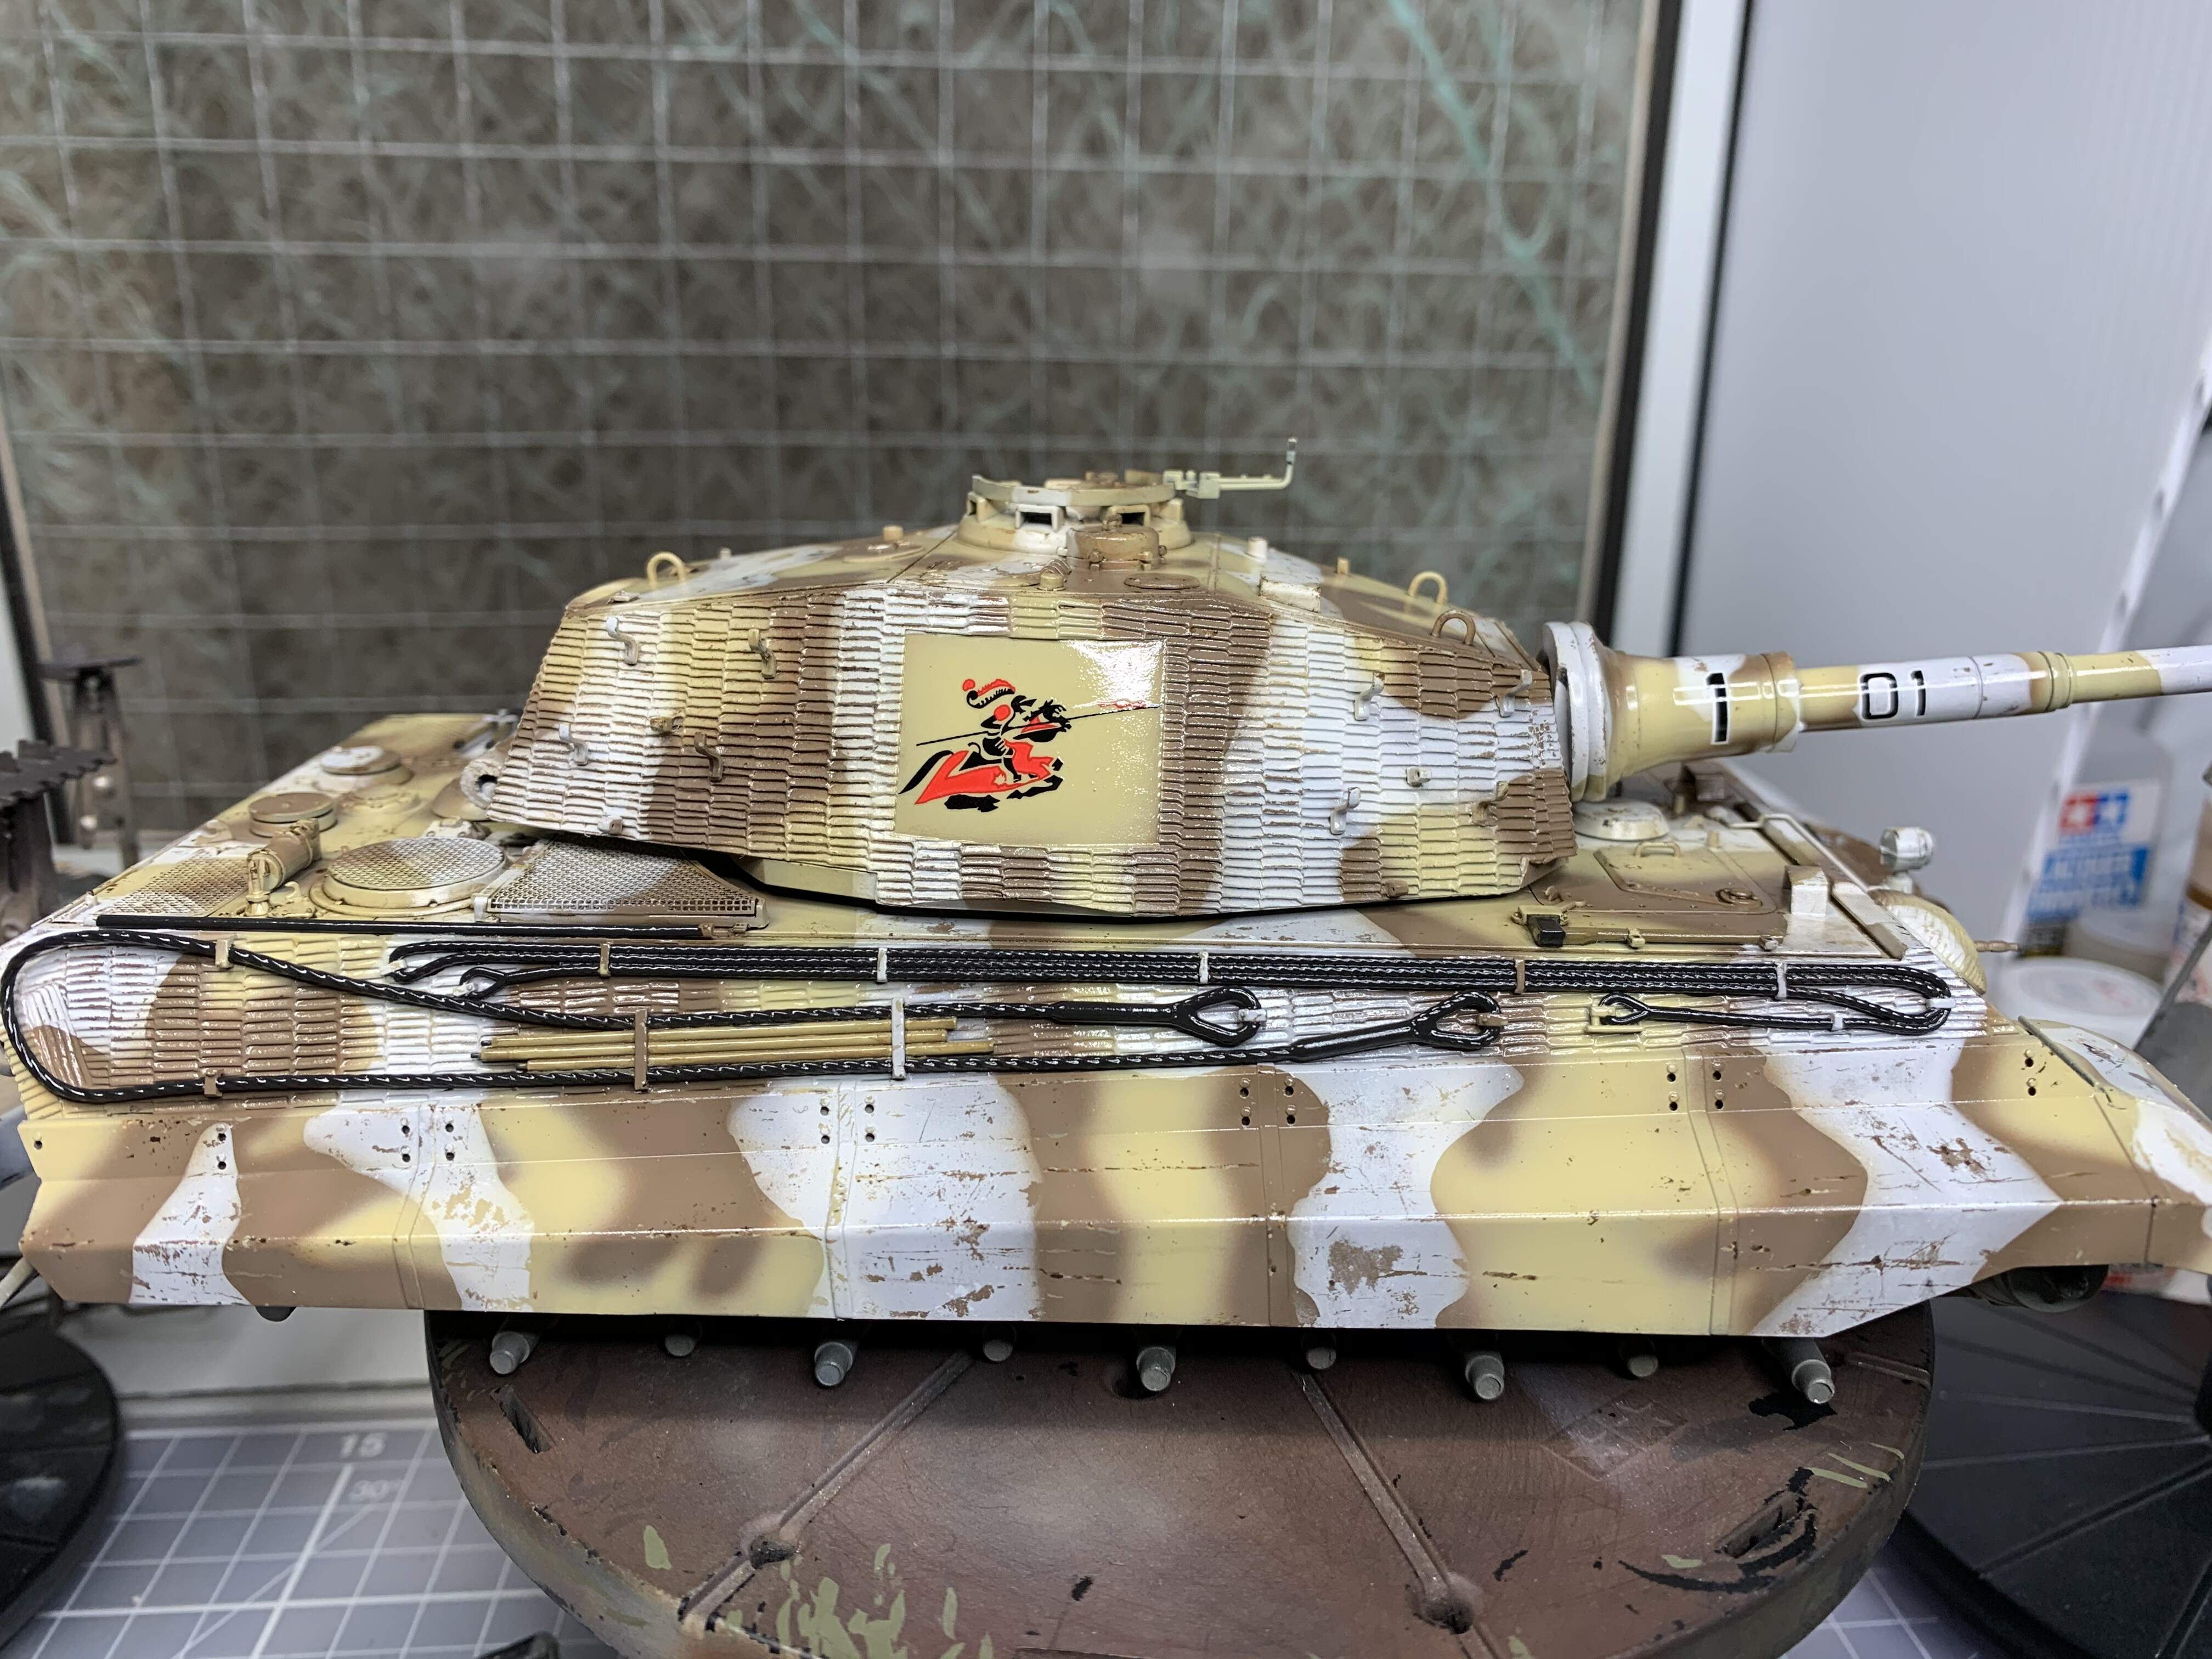
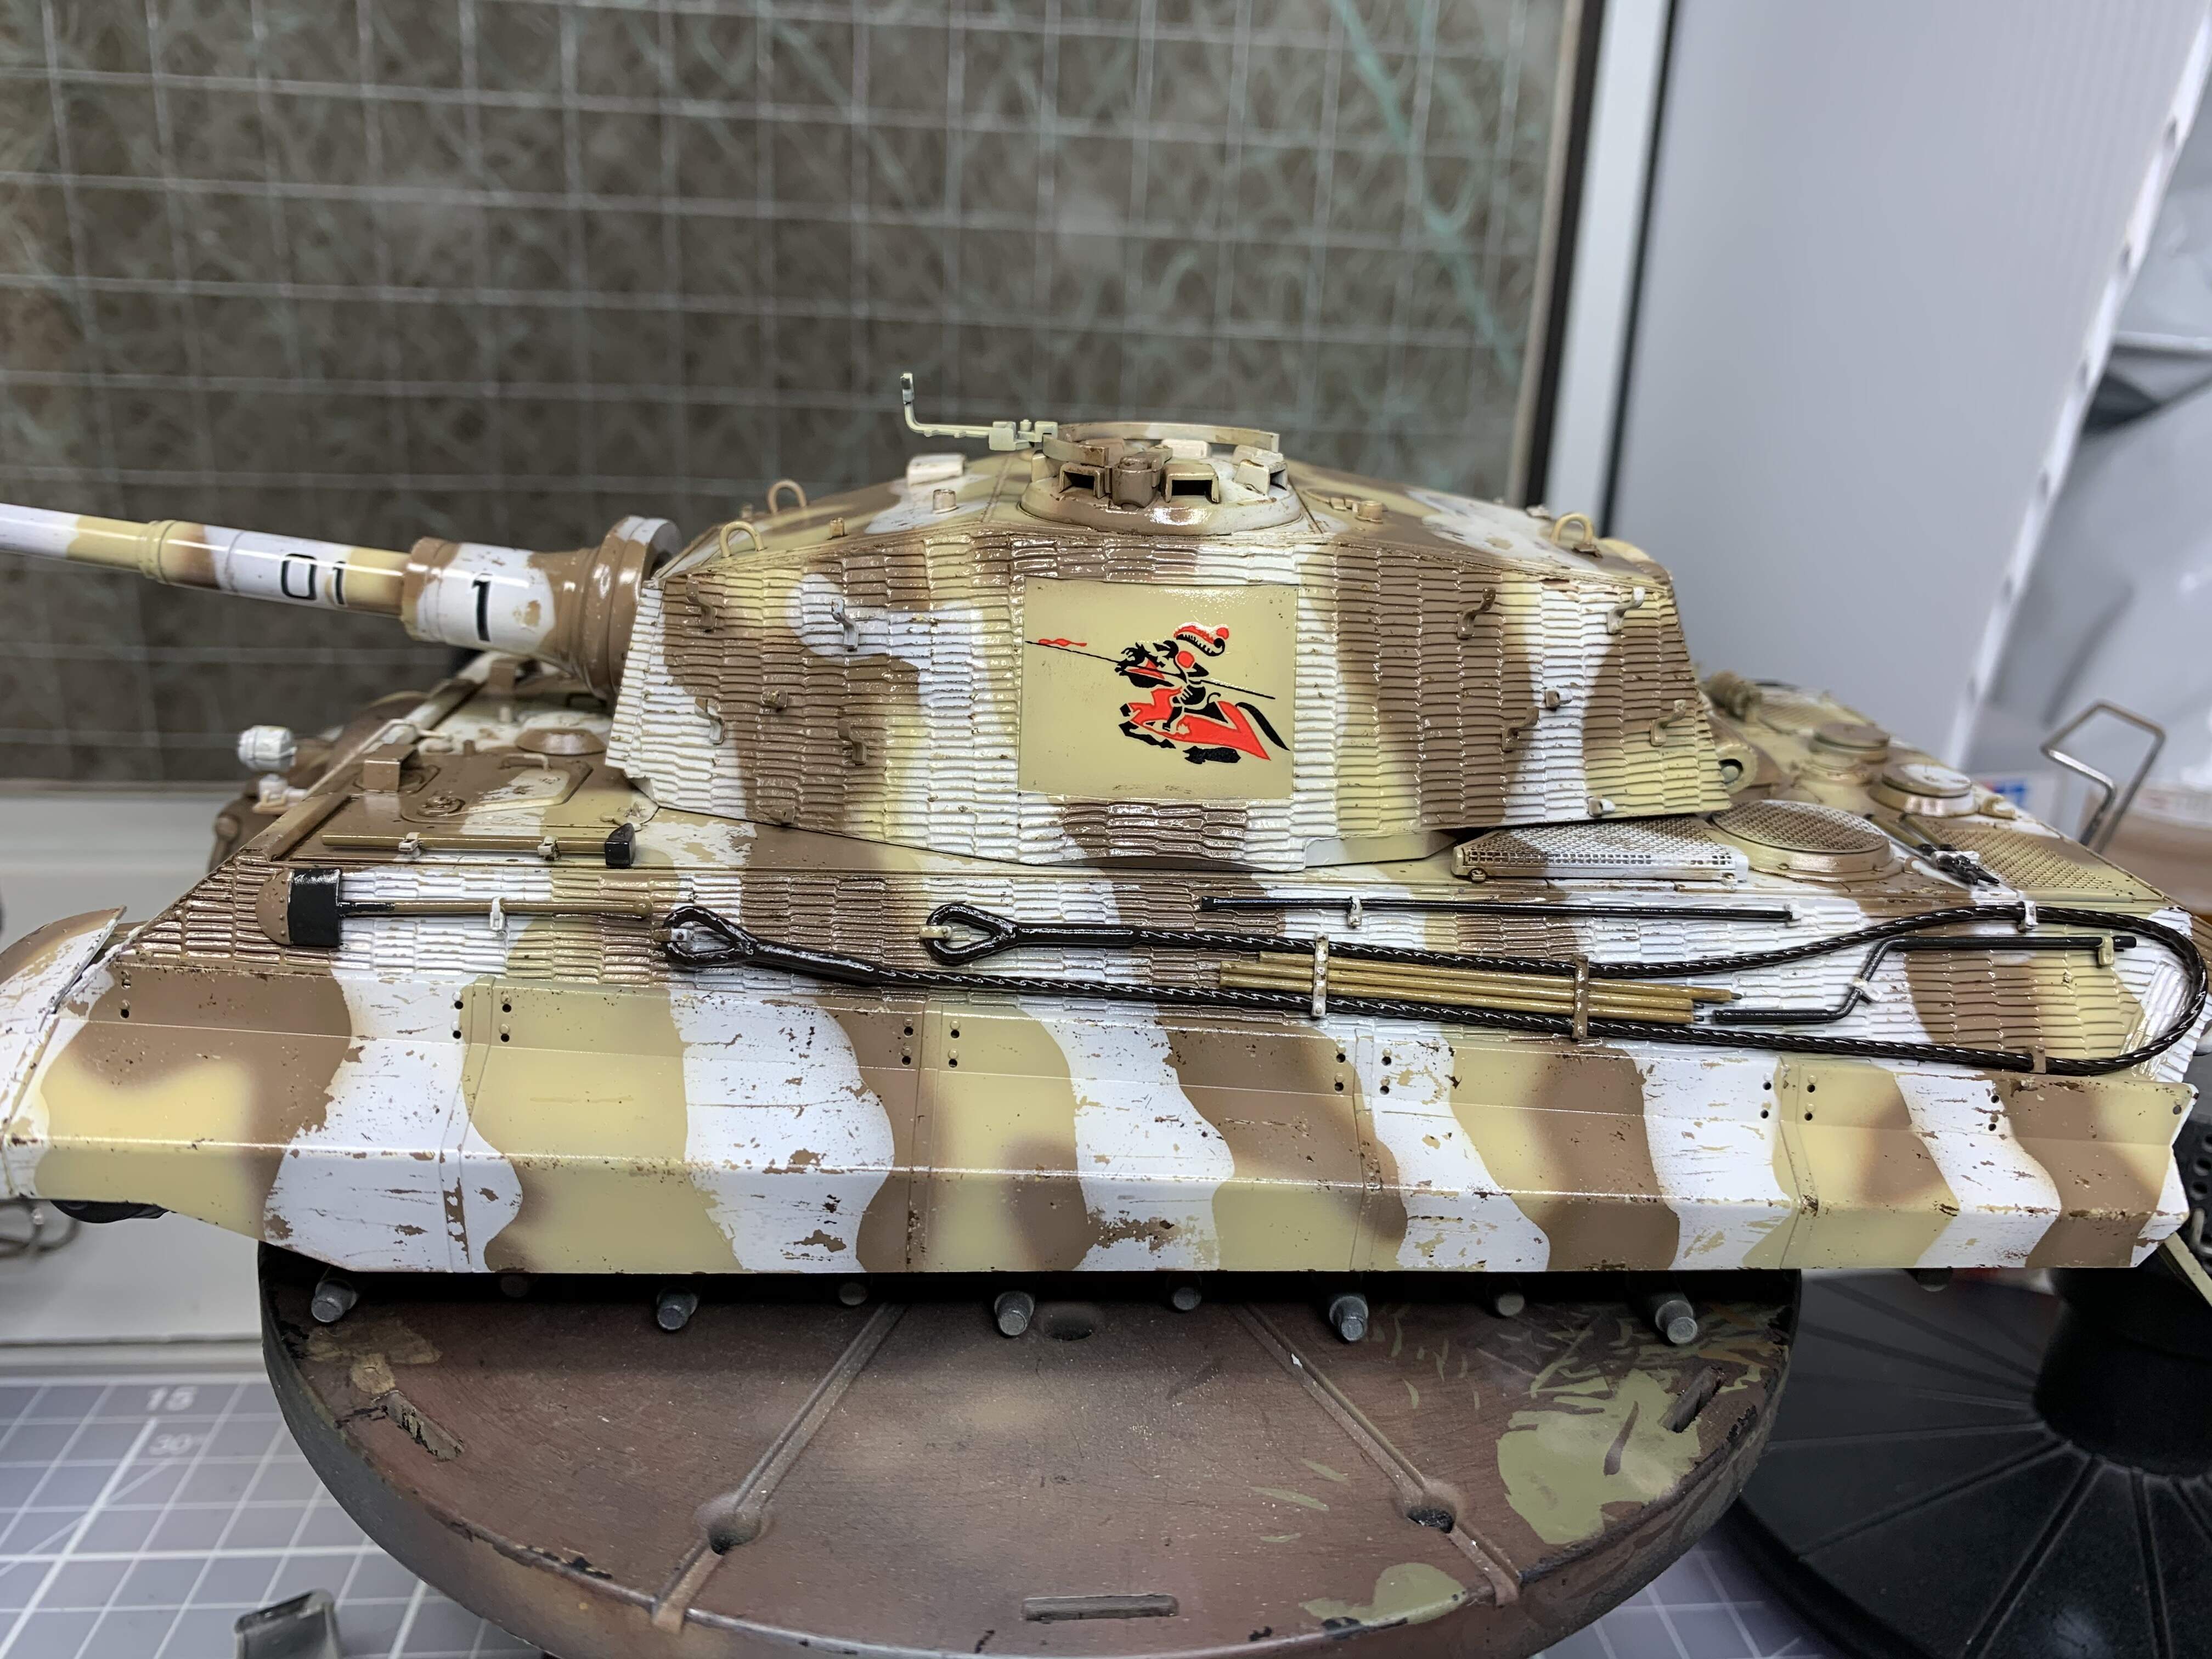
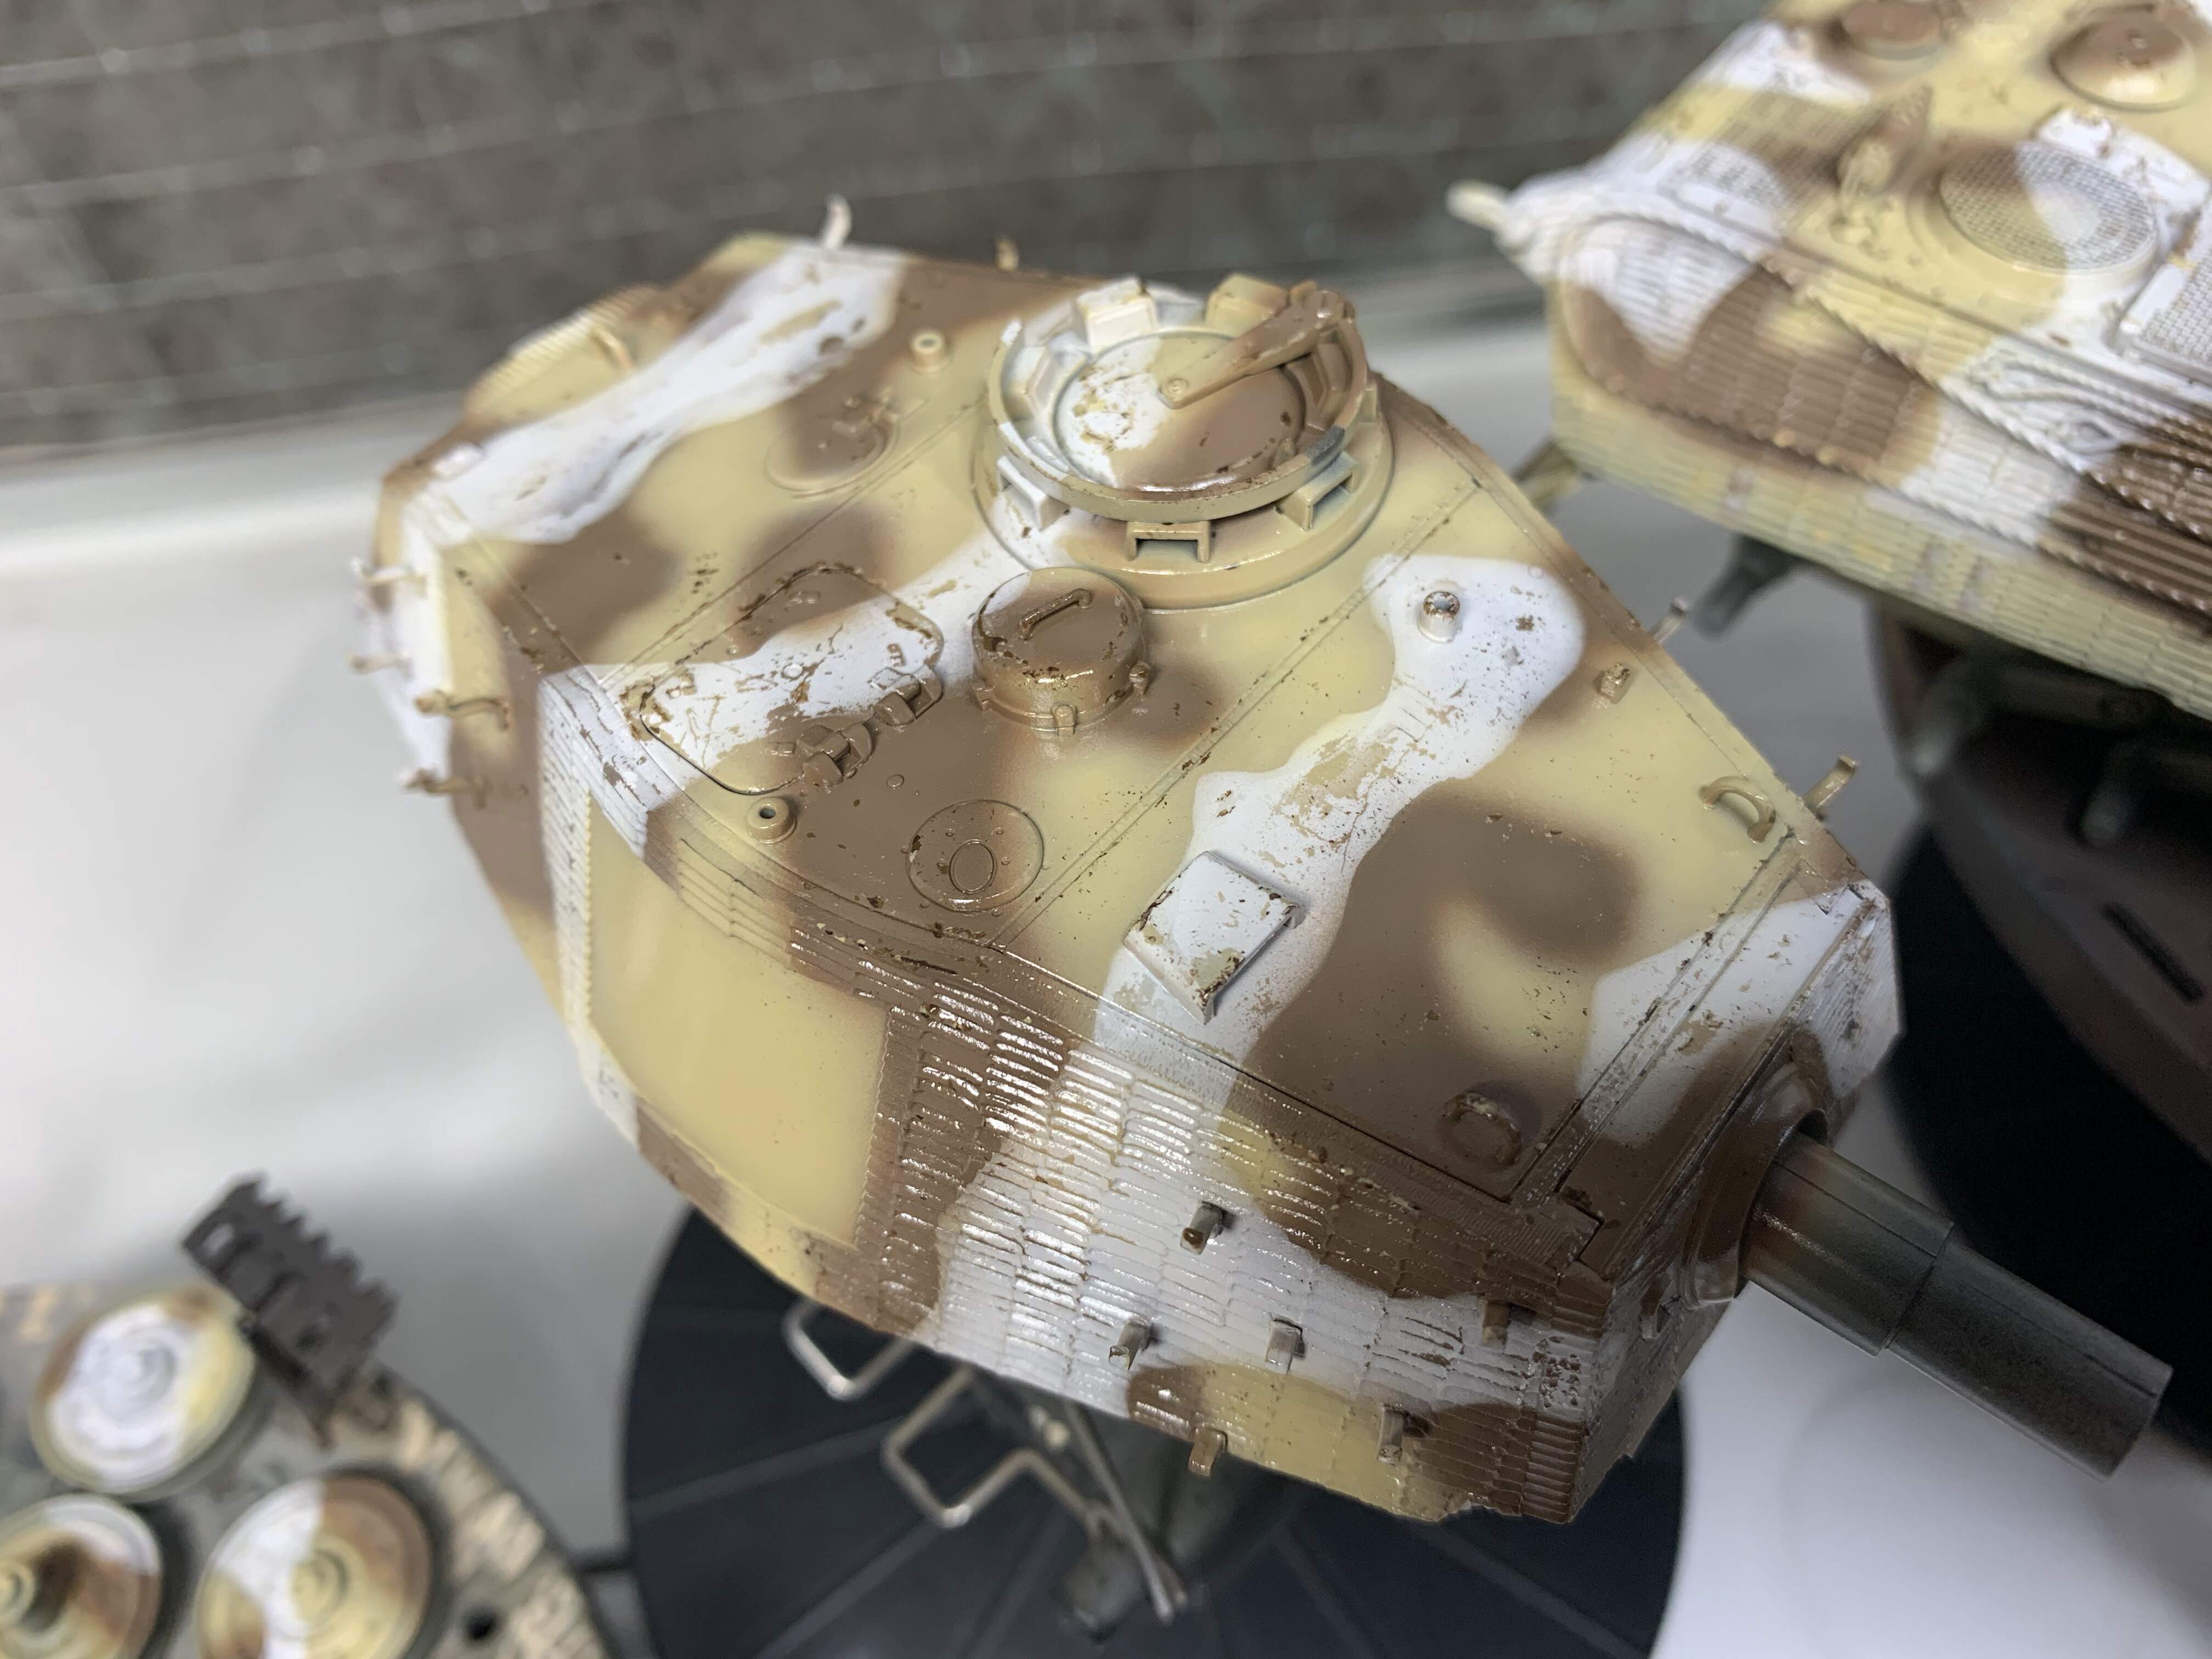
I decided to practice my chipping some more, I know it’s not strictly accurate, but if I use the build as an exercise in weathering I’m more likely to finish it. I used Vallejo with both sponge and brush. And I’ve glossed with future in preparation for decals and initial wash.
First pic shows dry fit before any chipping.
Cheers, J.
7 Likes
Bearing in mind these were combat tanks with breaks few and far between I think that’s a realistic amount of chipping Jim. They would of been bouncing around trees, walls, shrapnel pinging and gouging areas. The crew constantly climbing in and out and carrying out maint… Throw in that the whitewash would of been the first casualty in being rubbed off… Looks pretty good to me.
1 Like
I agree, It looks very realistically chipped!
1 Like
Thank you! I’m looking forward to getting the decals on. Just the large knight on either side of the turret and numbers on the barrel but I think they will bring it to life.
Cheers, J.
Yeah, that was kind of what I was thinking as well.
![]()