This has to be one of the best-ever plane builds already, and that includes perfect photography. Do you fix broken wristwatches too? Superb Daniele!
4 Likes
Thank you John!
Ah Ah Tim. ![]() Are you saying I have a future in watchmaking? I’ll think about it
Are you saying I have a future in watchmaking? I’ll think about it ![]()
Btw thanks a lot for the kind appreciation
2 Likes
Hello everyone.
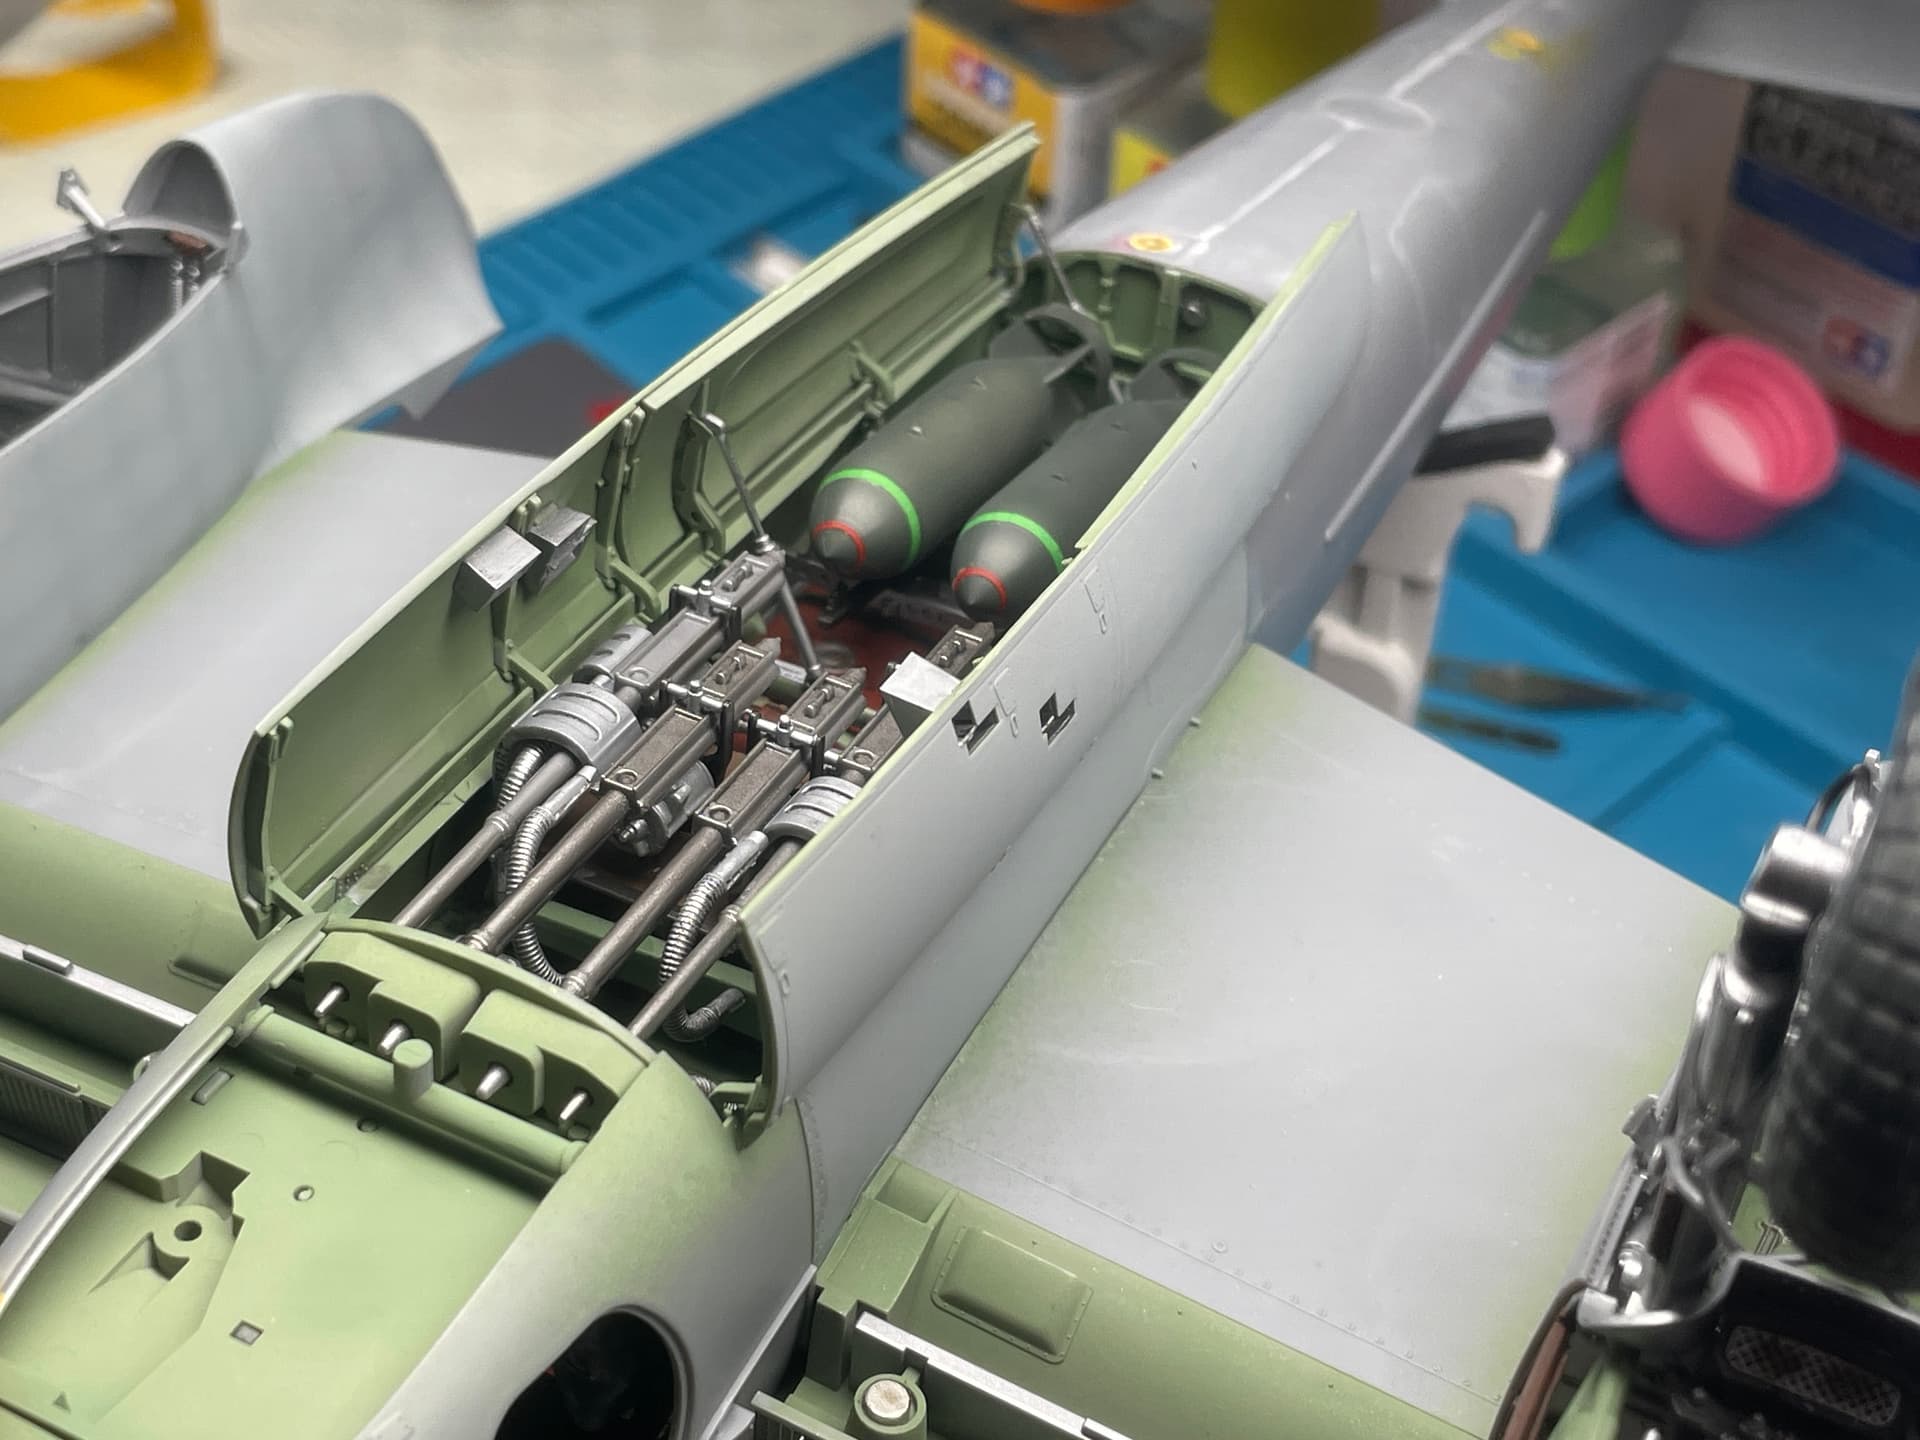
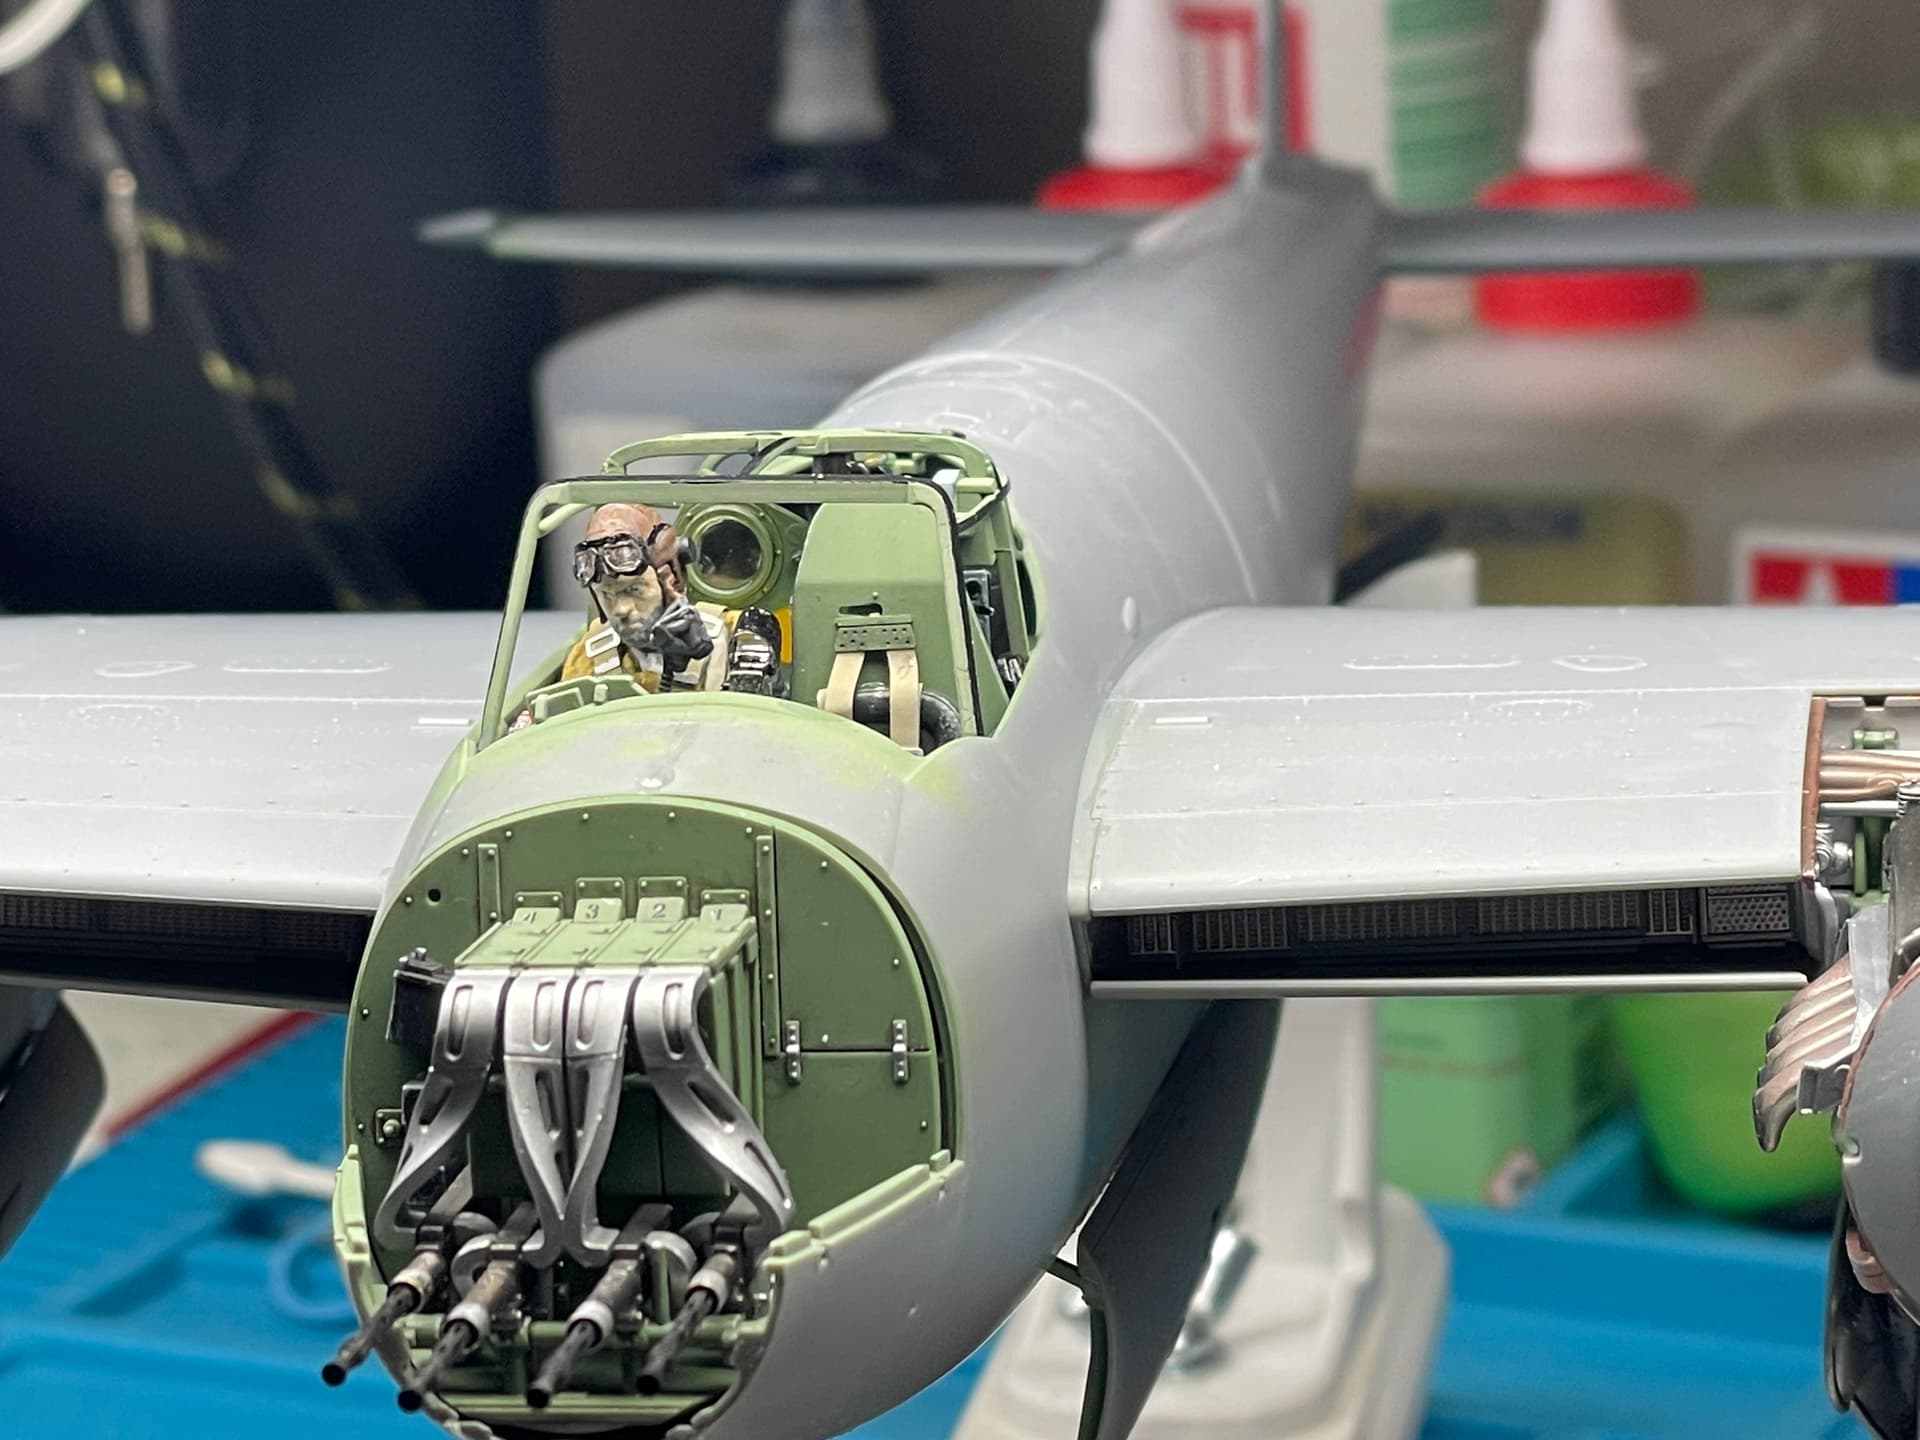
Today’s update isn’t that big in terms of the size of the update itself, but in terms of the amount of work that went into it, yes it was. A plethora of small details that deserved a lot of patience. Anyway, the build is underway and the final goal is now in sight.
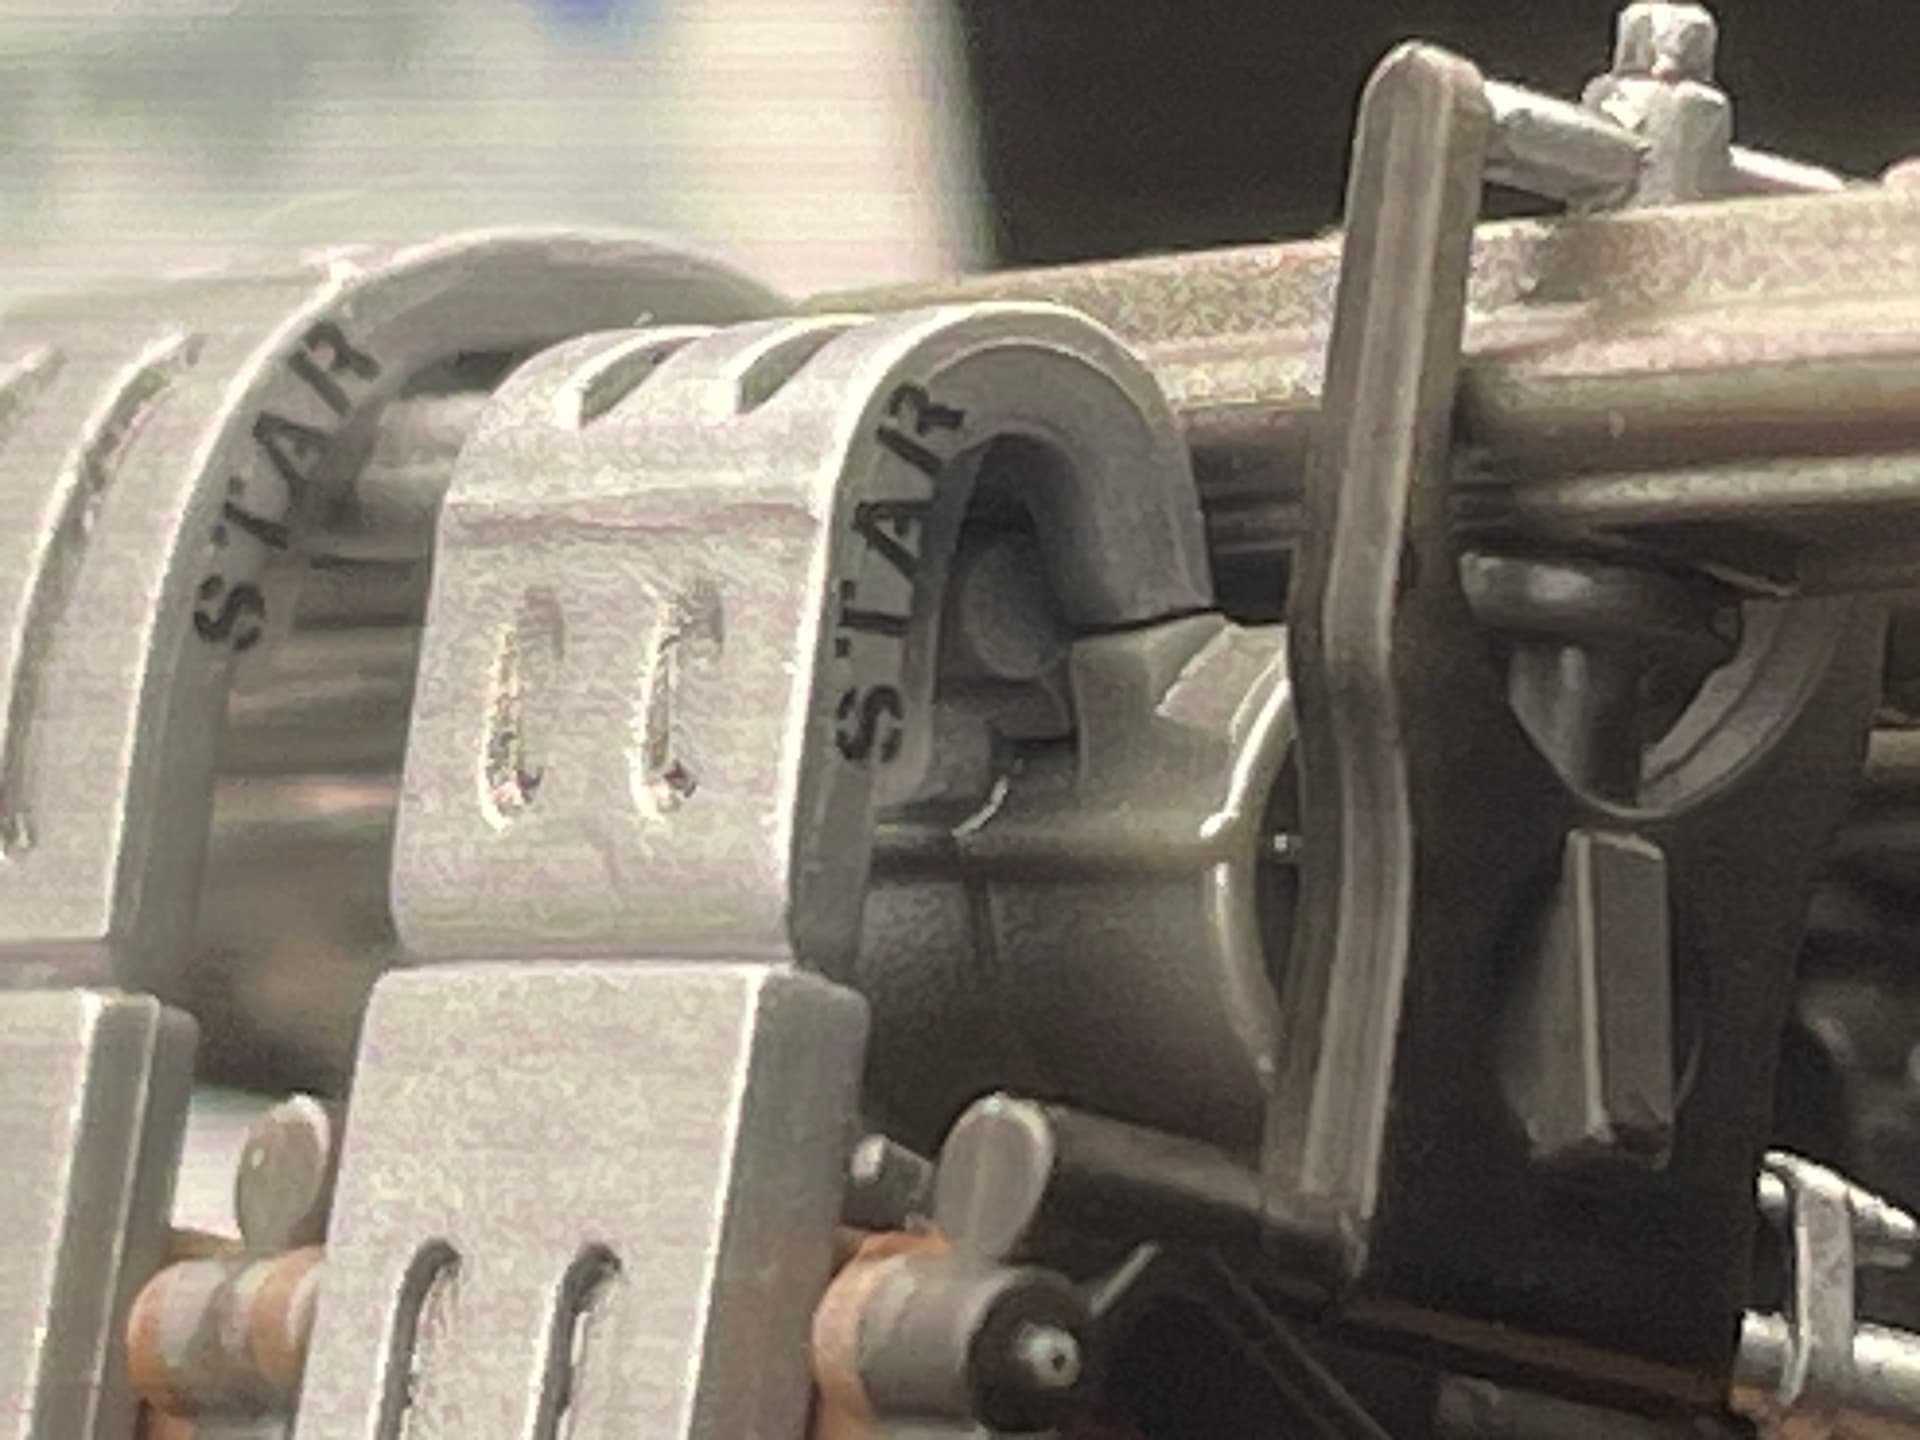
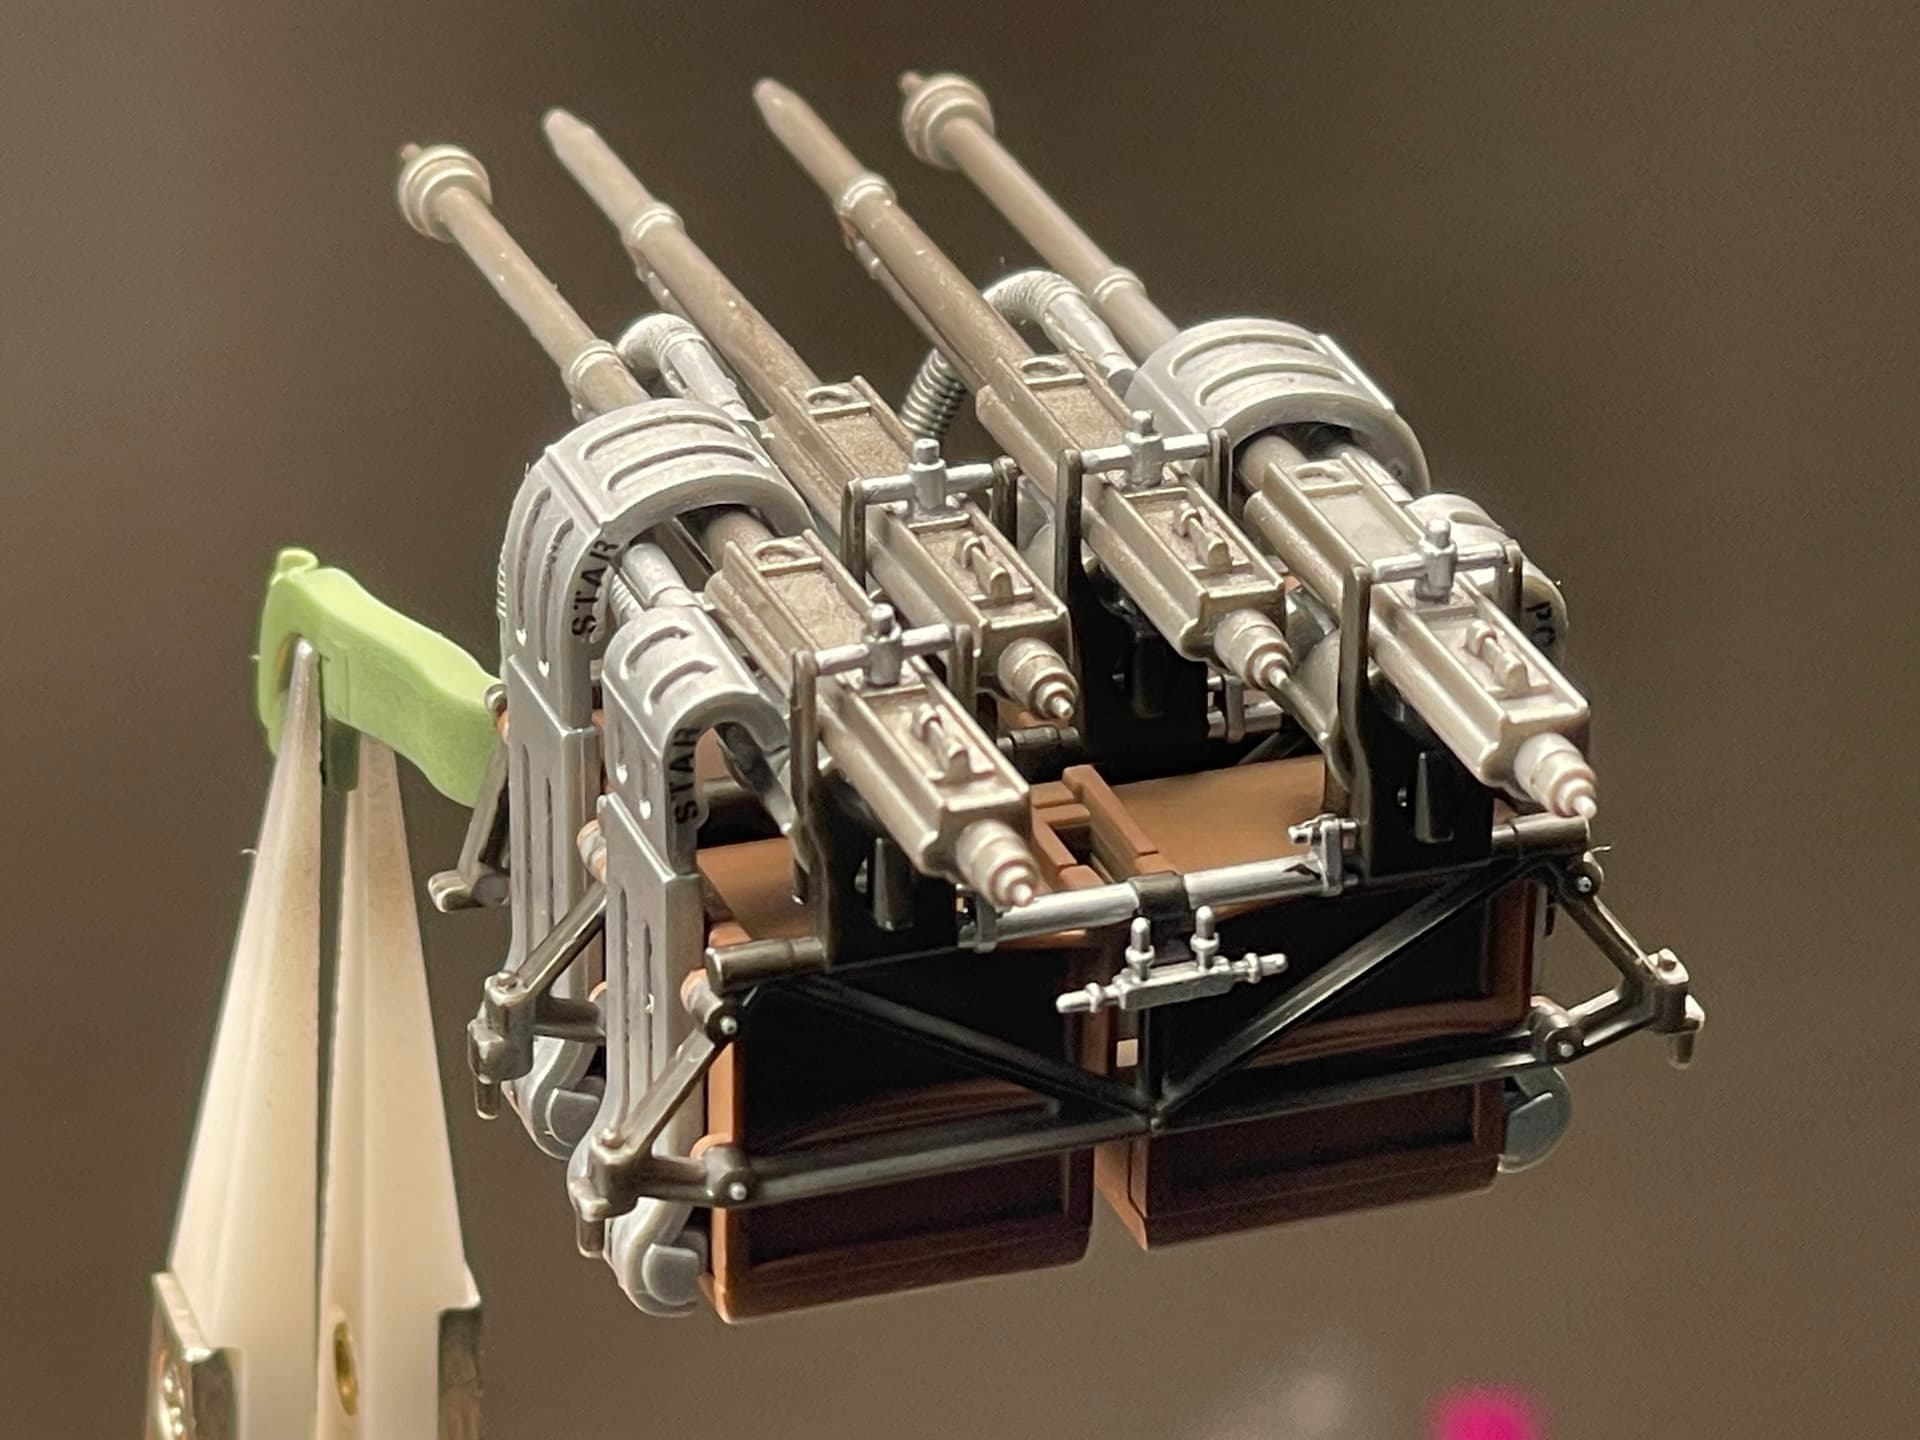
Let’s start with the Hispano ventral guns.


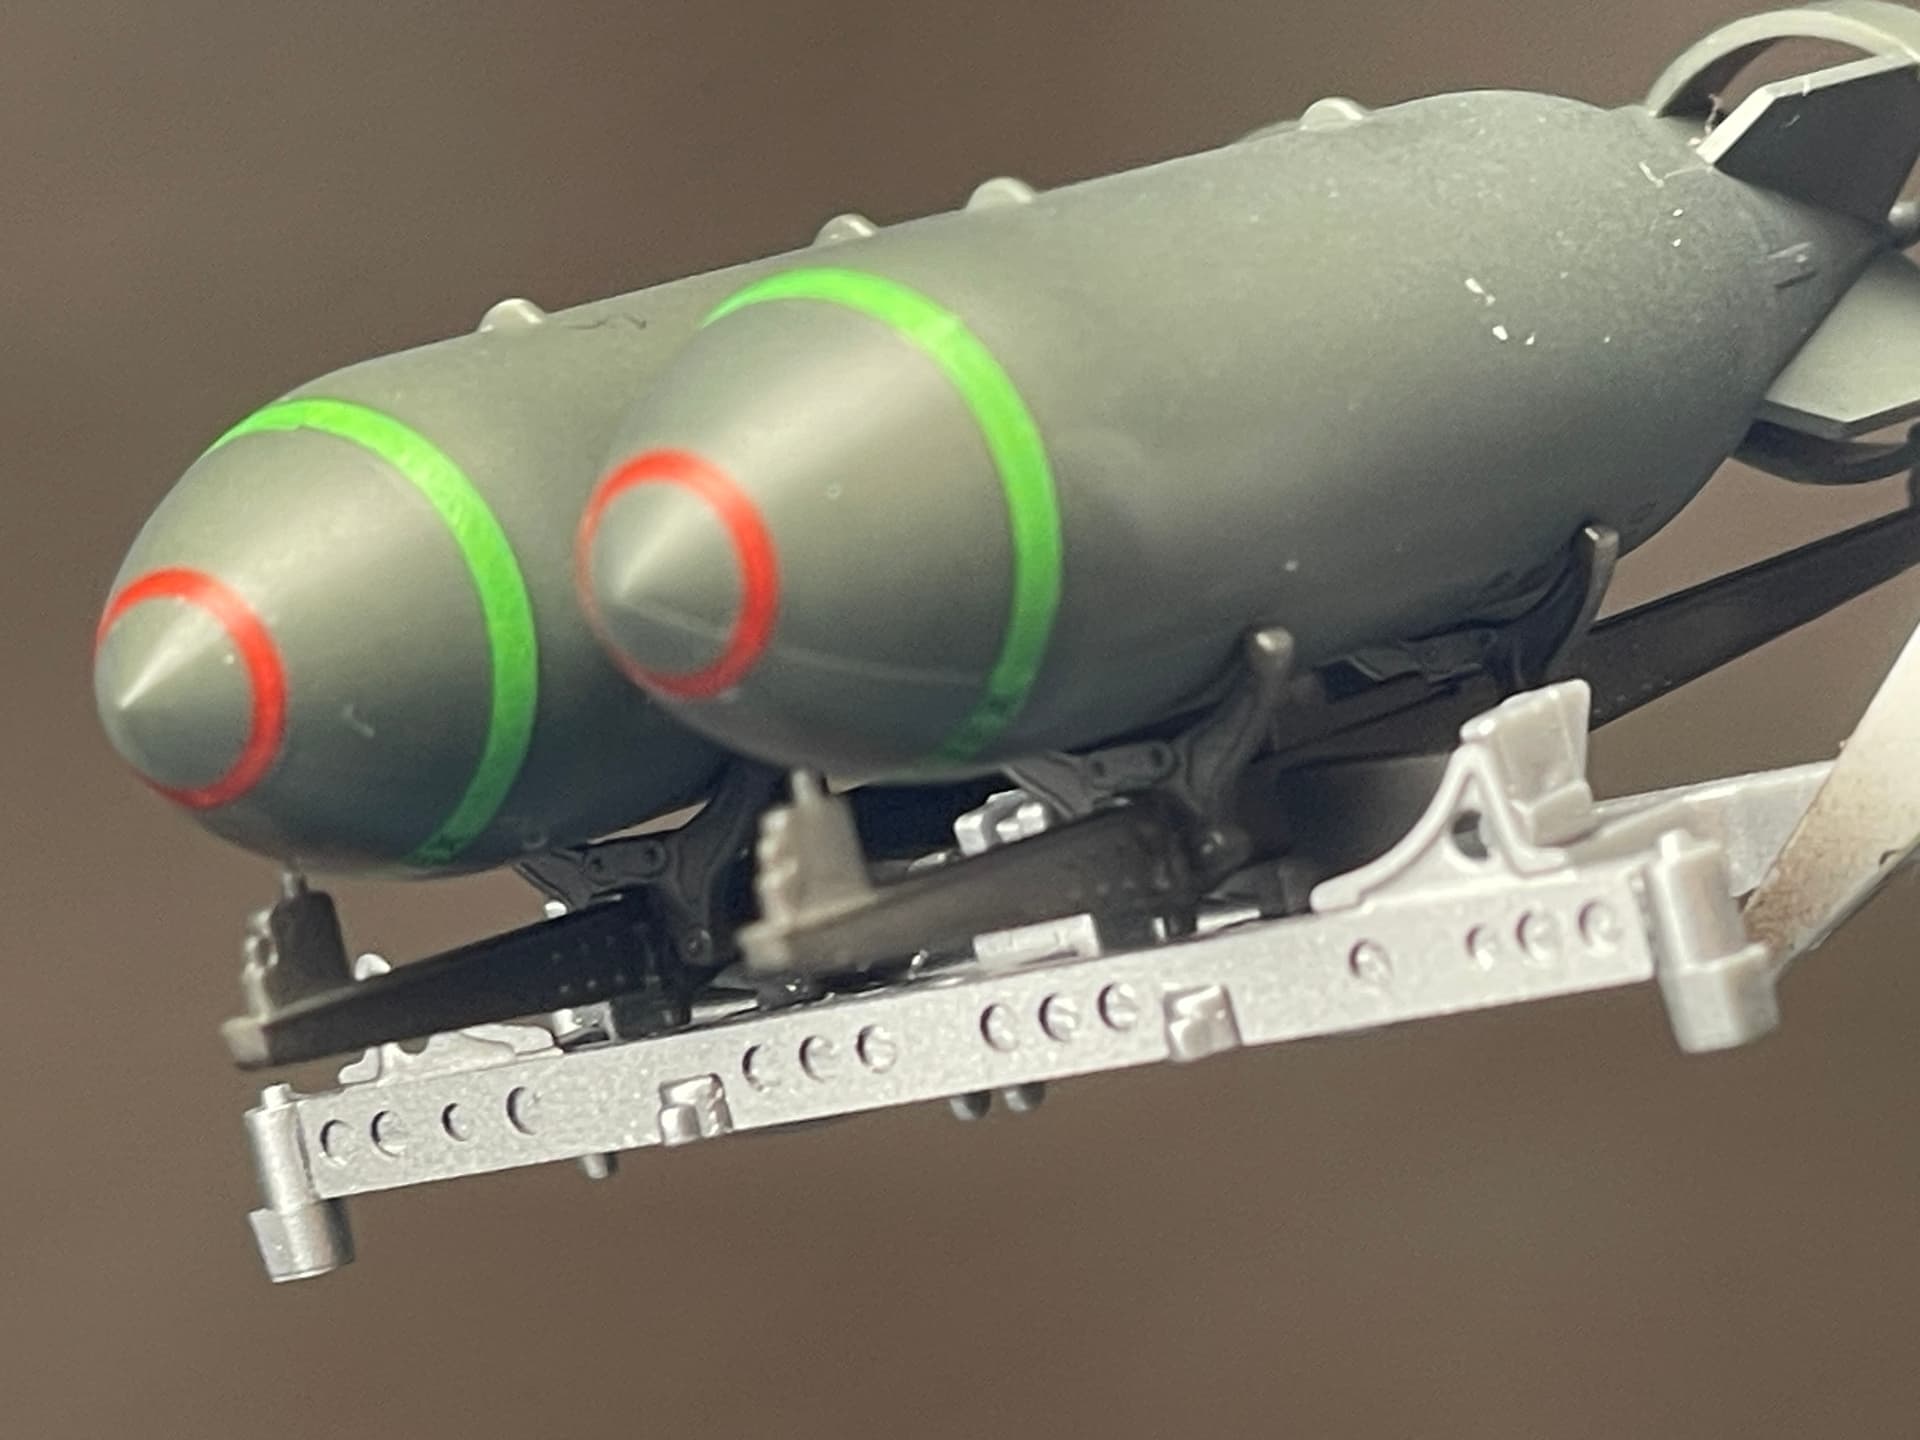
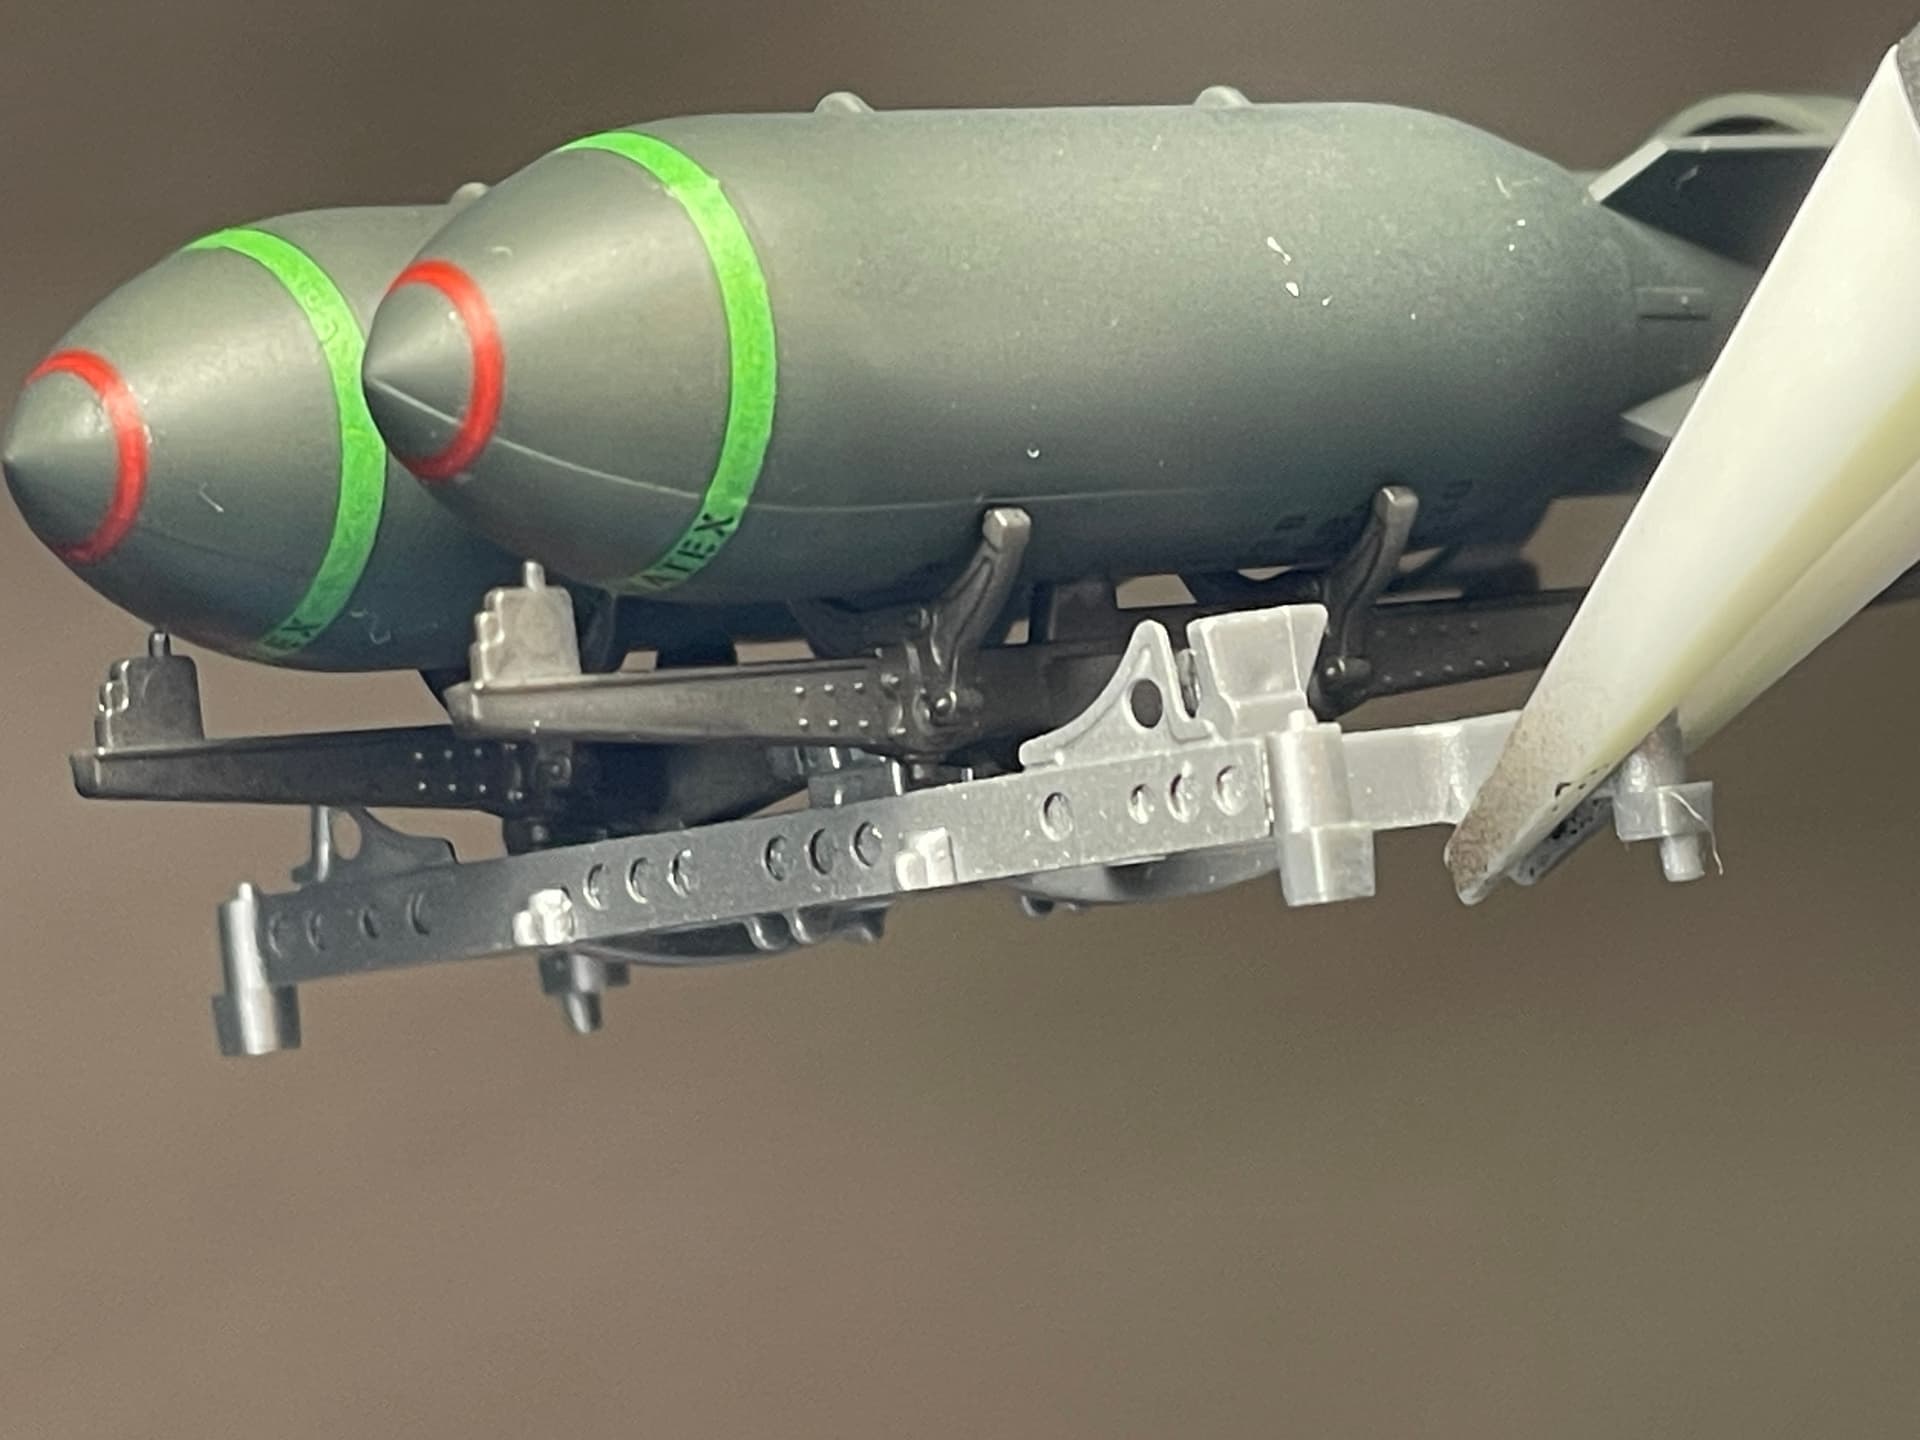
The bomb rack
[/grid]
One important note:
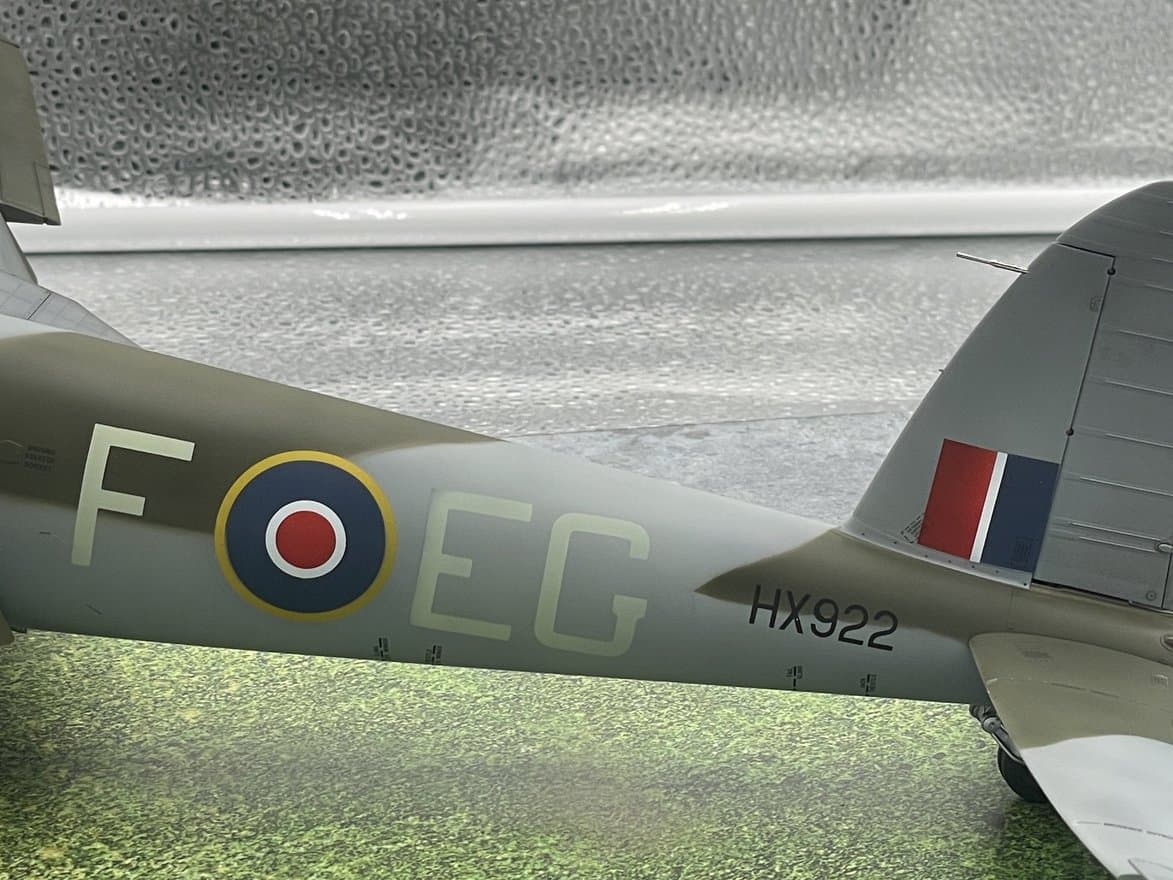
The quality of the Tamiya decals is not nearly as good as the quality of the kit, I knew it, I was warned and from some close-ups you can see it! And this despite a precise and correct application process (gloss-decal-glossier-flat). Let’s see what happens with the insignia and identification letters when I finish the kit, unfortunately I have not been able to find on the net a replacement sheet containing the necessary to reproduce the same aircraft.
Now a general view of the belly of the plane, before assembling panels


The next step: the side and ventral panels that I decided to paint inside and out before assembling them. With all those details in plain sight it would have been almost impossible to mask the parts to be saved from the paint

Side panels on

And then the finished work on this part.
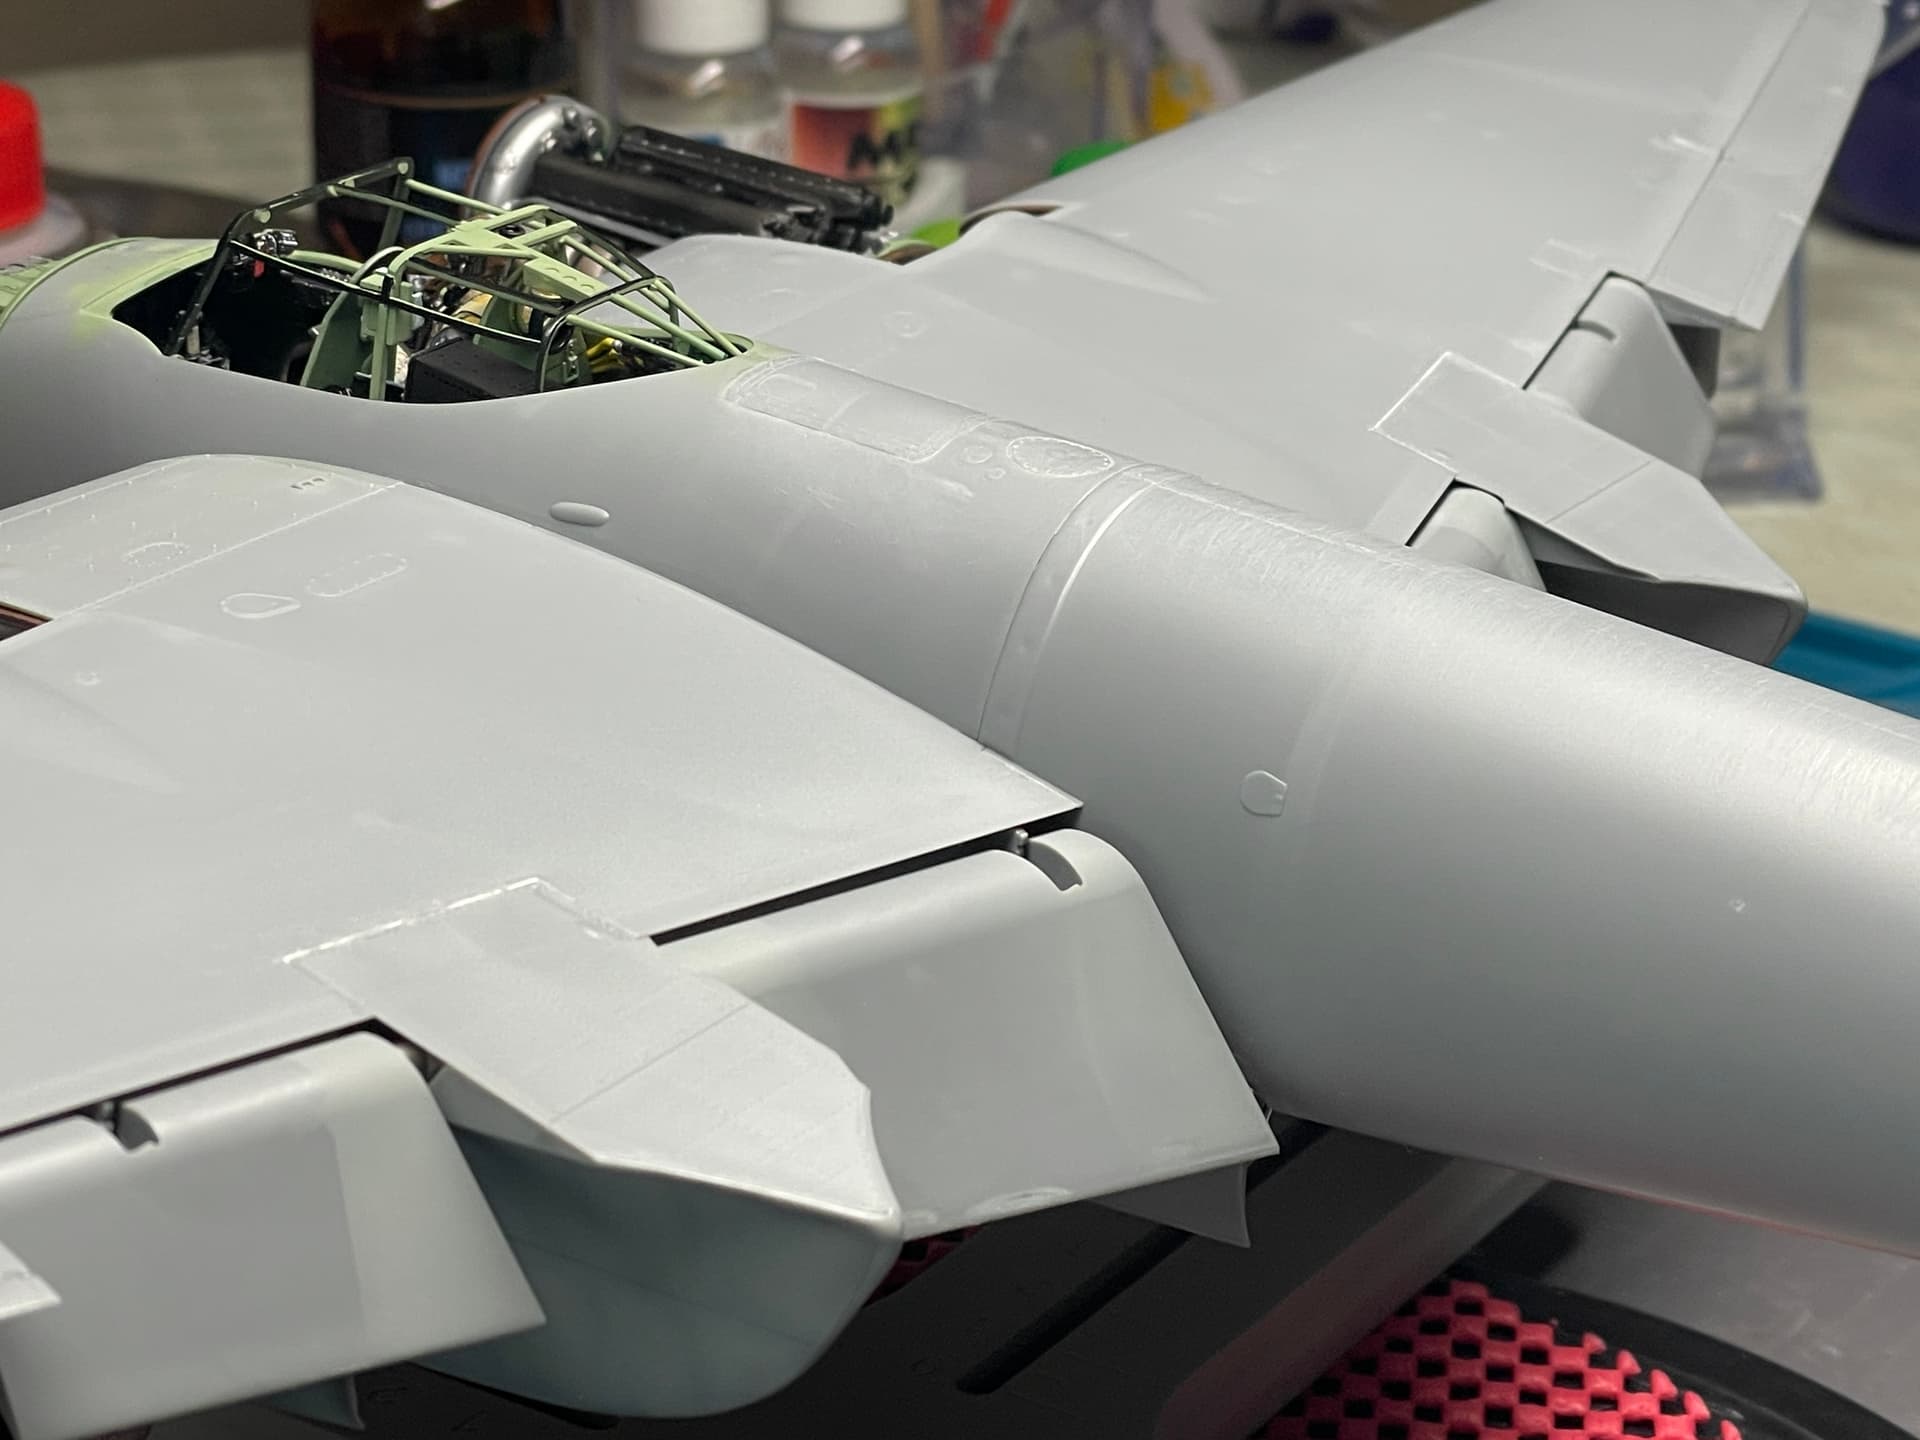
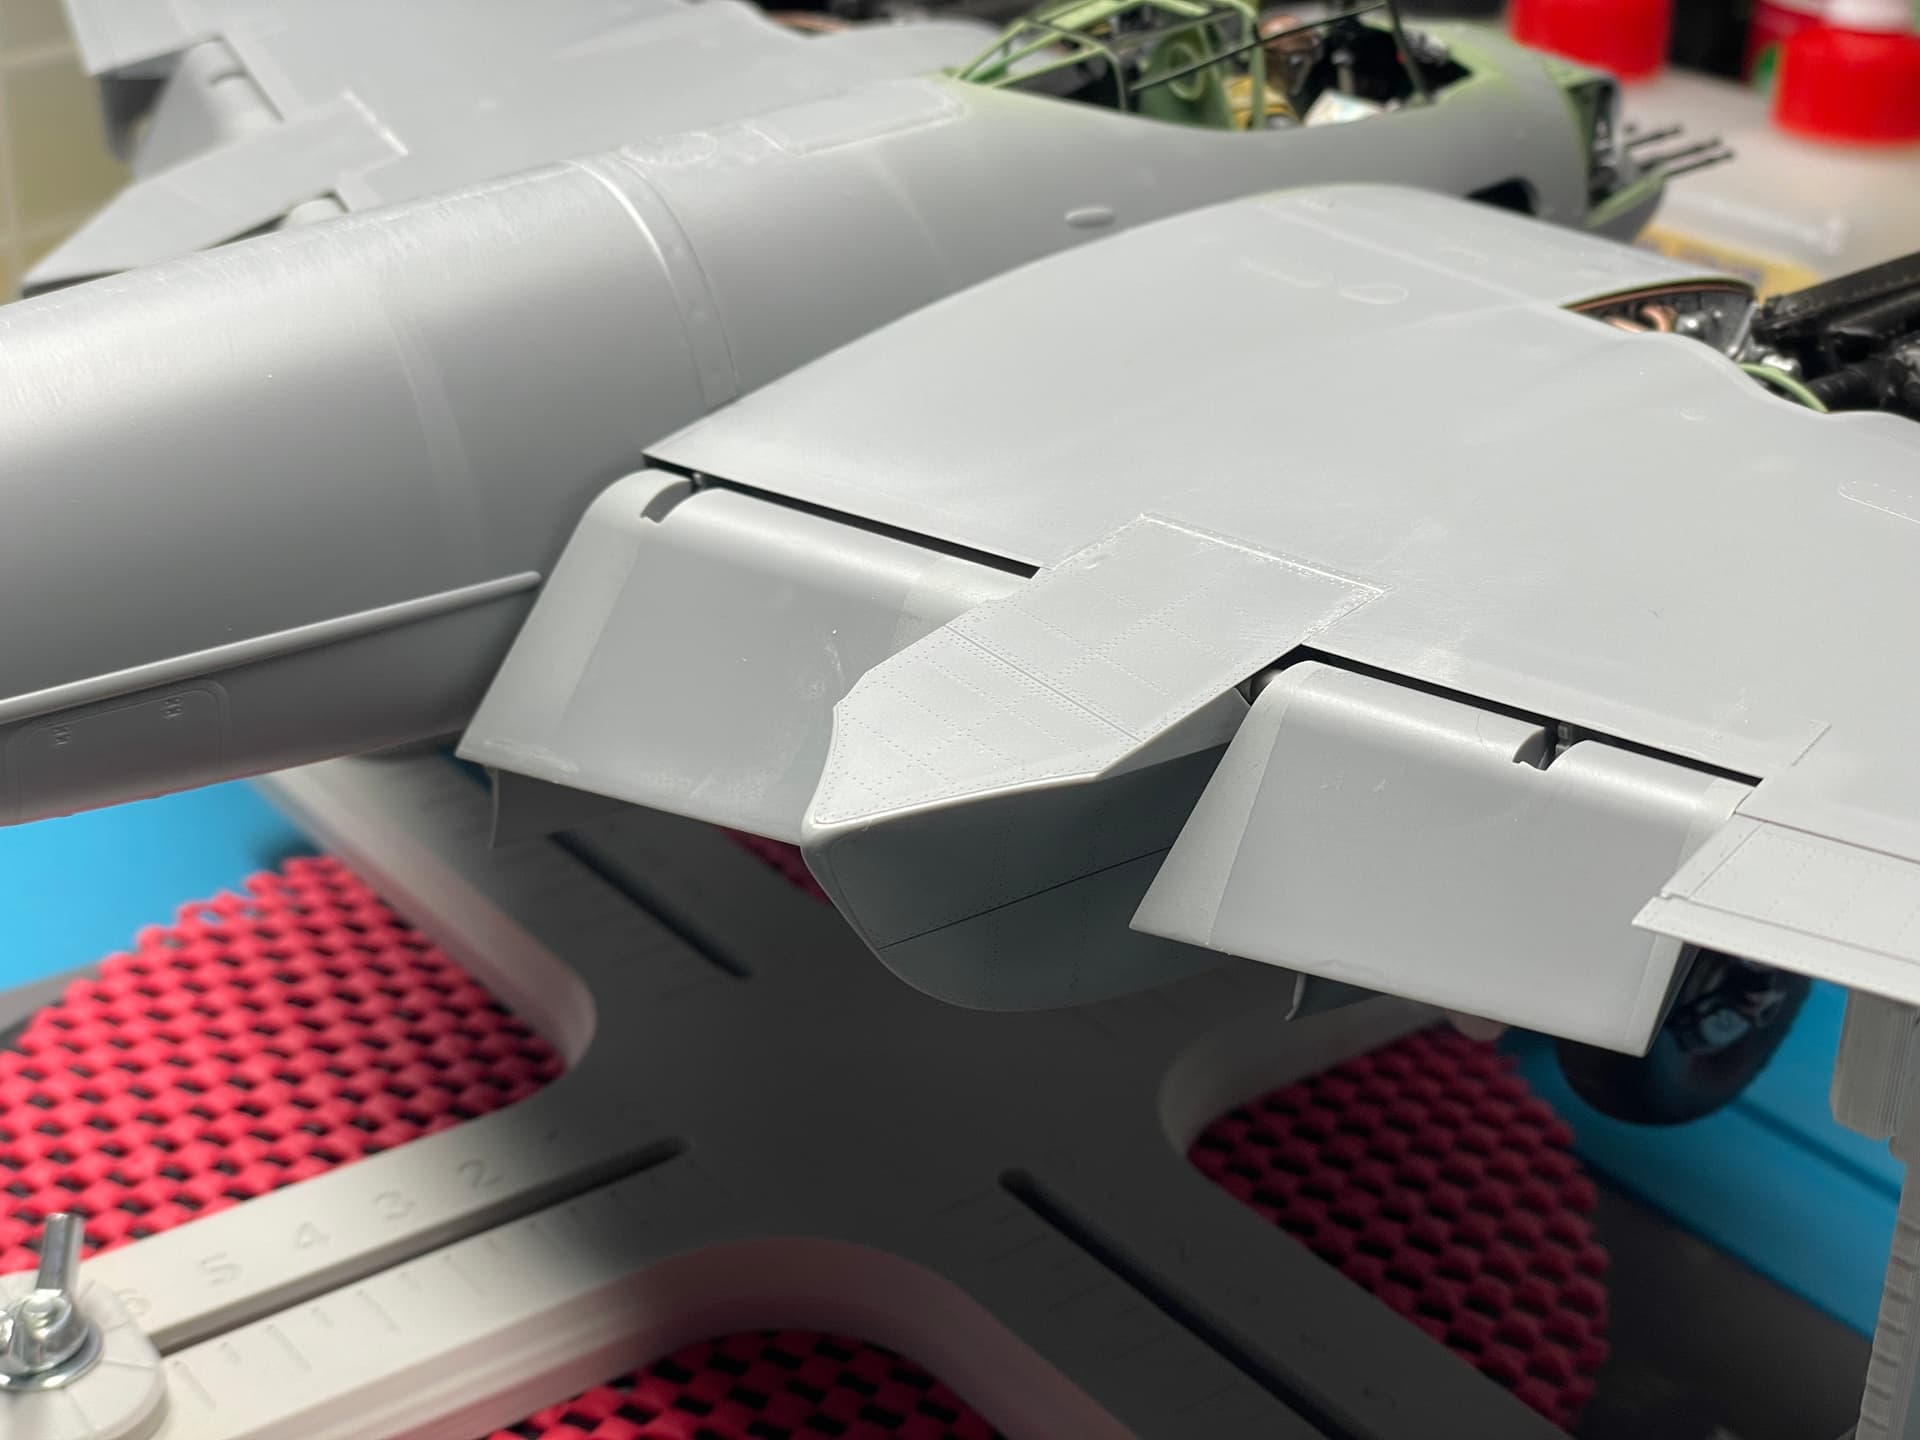
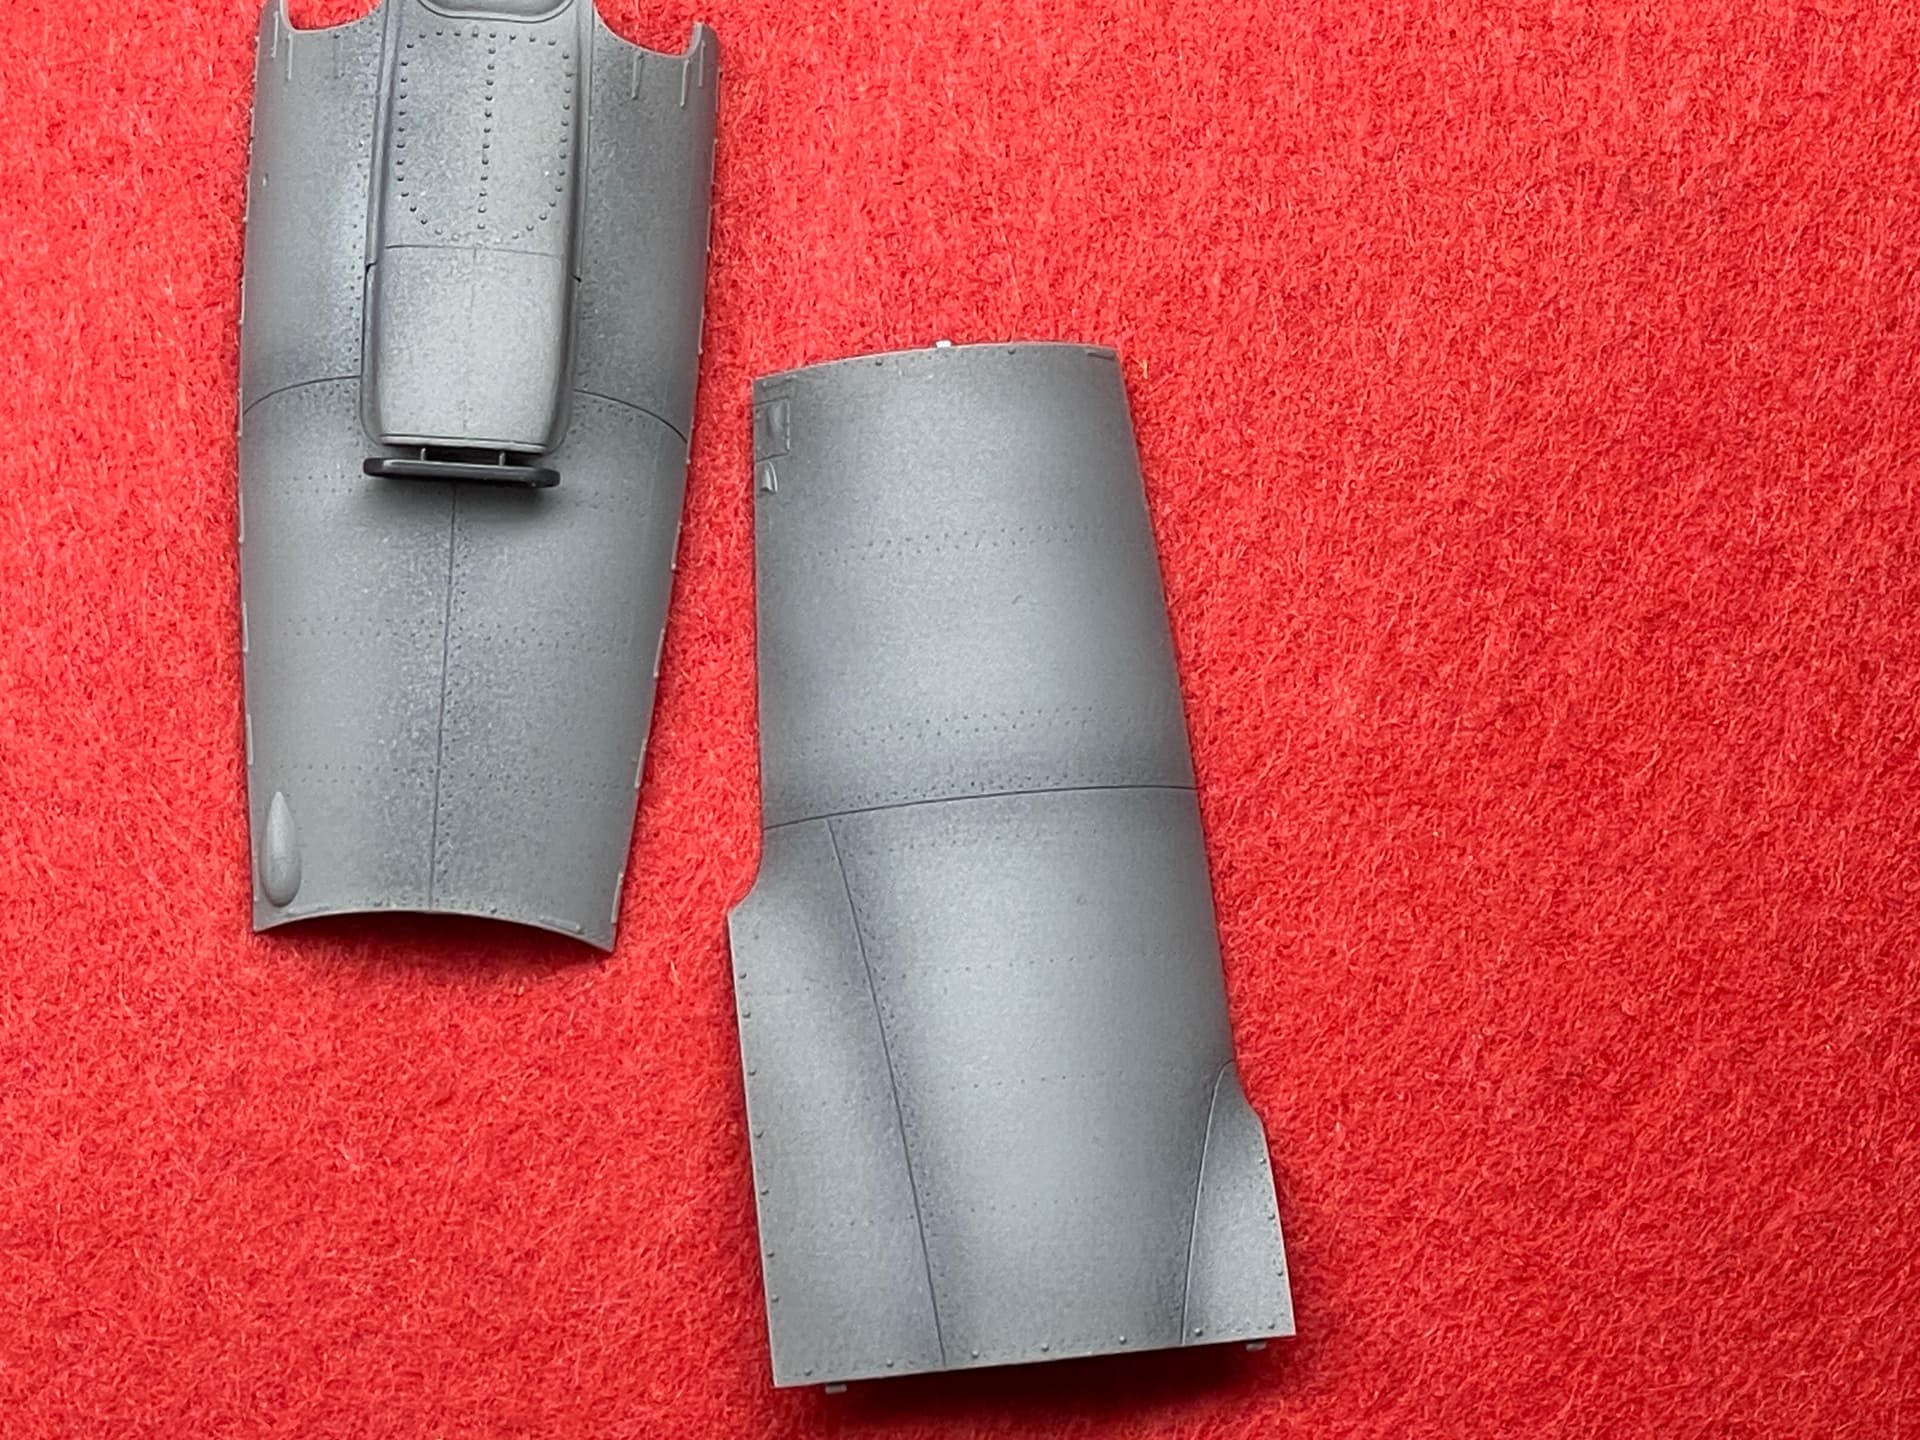
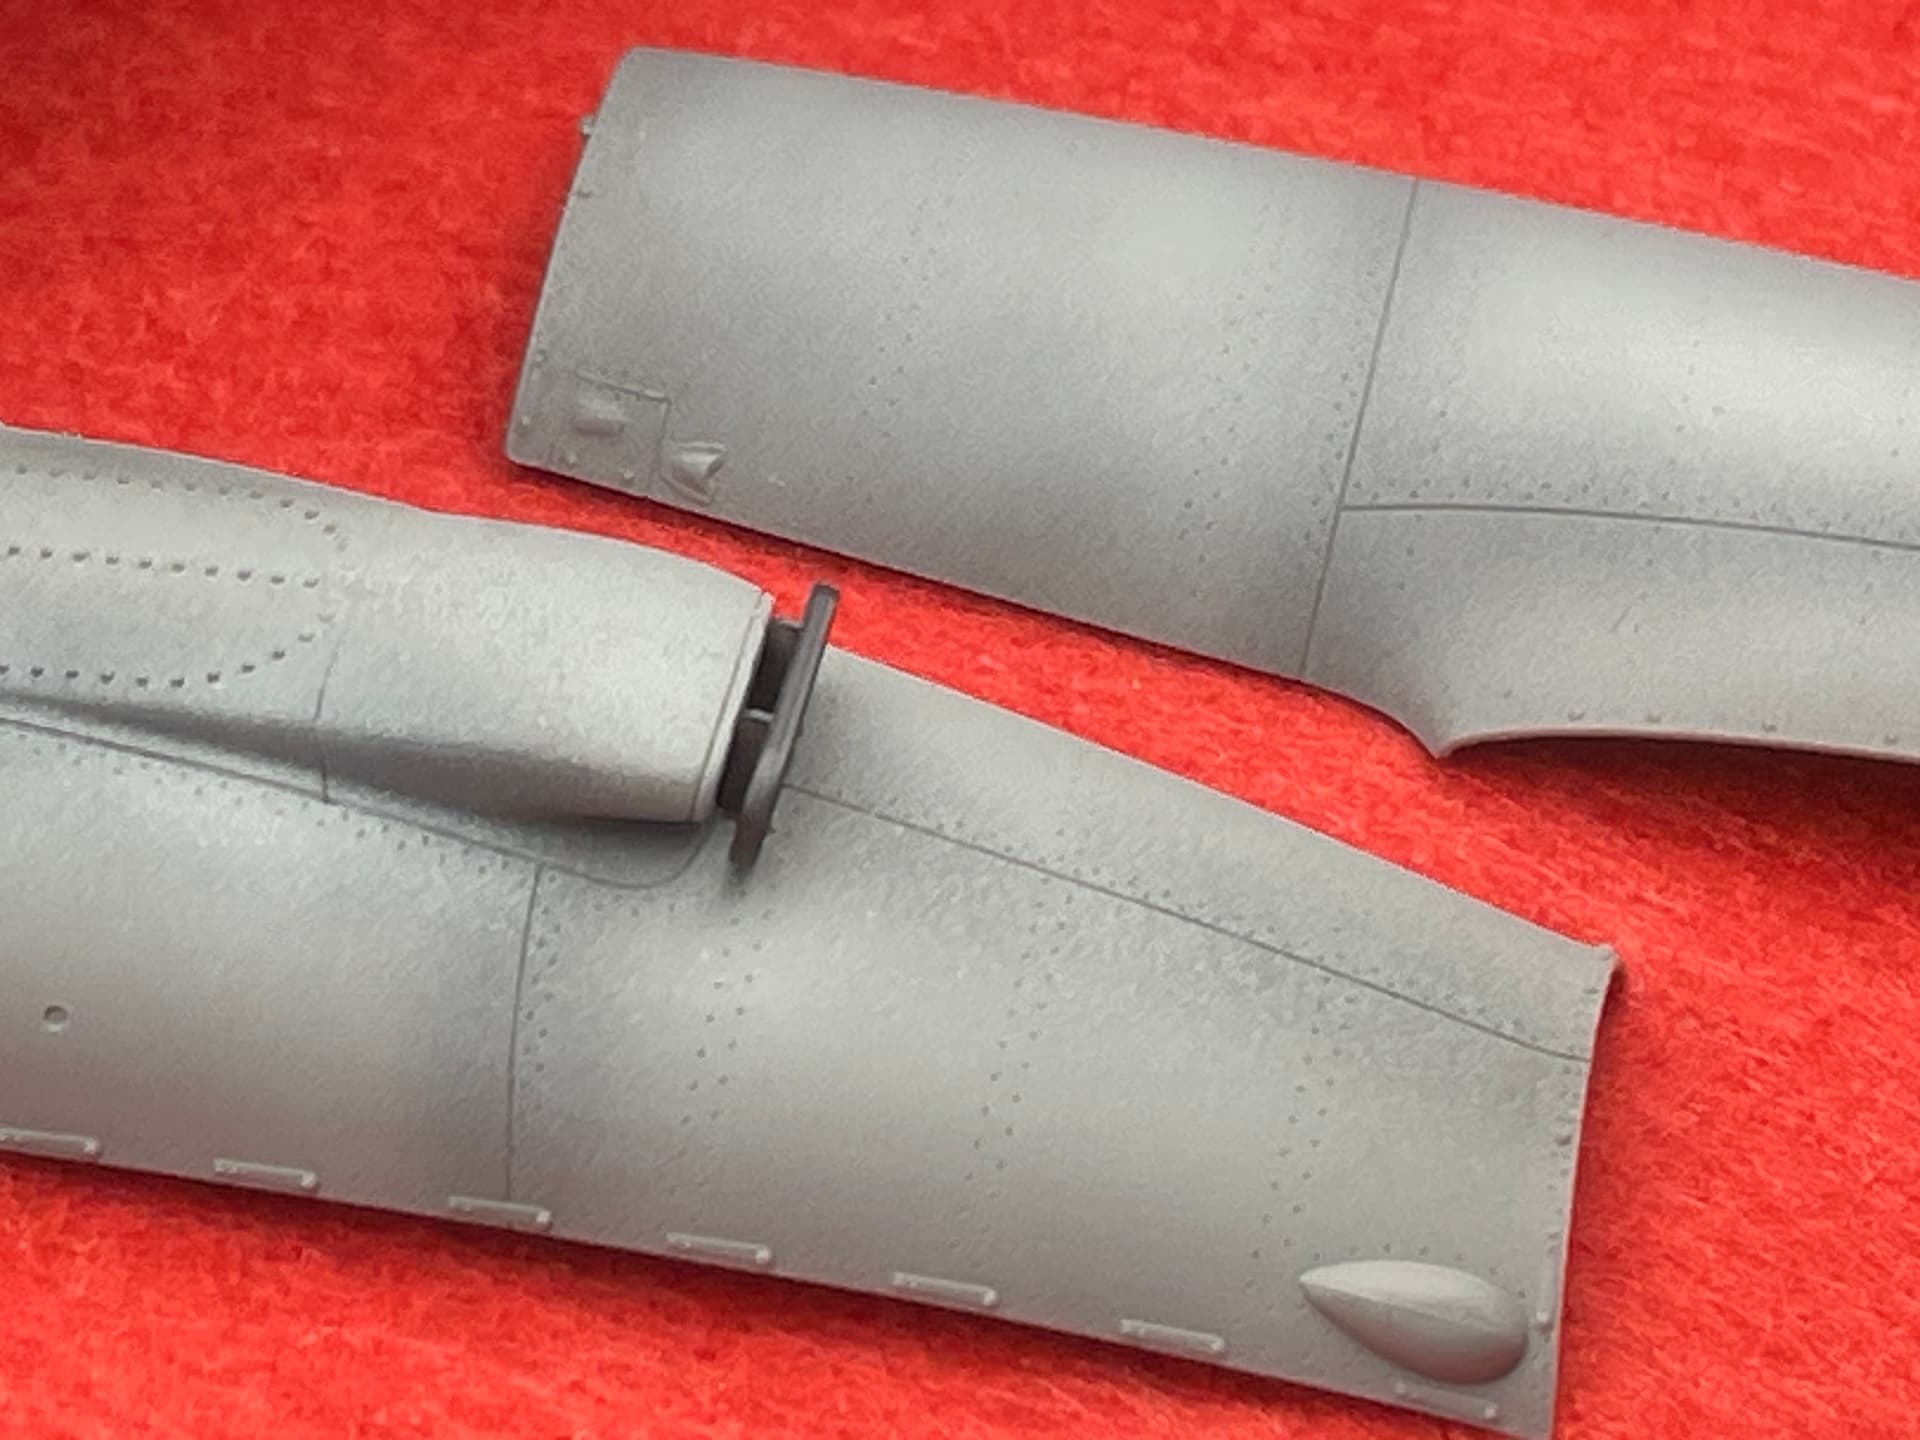
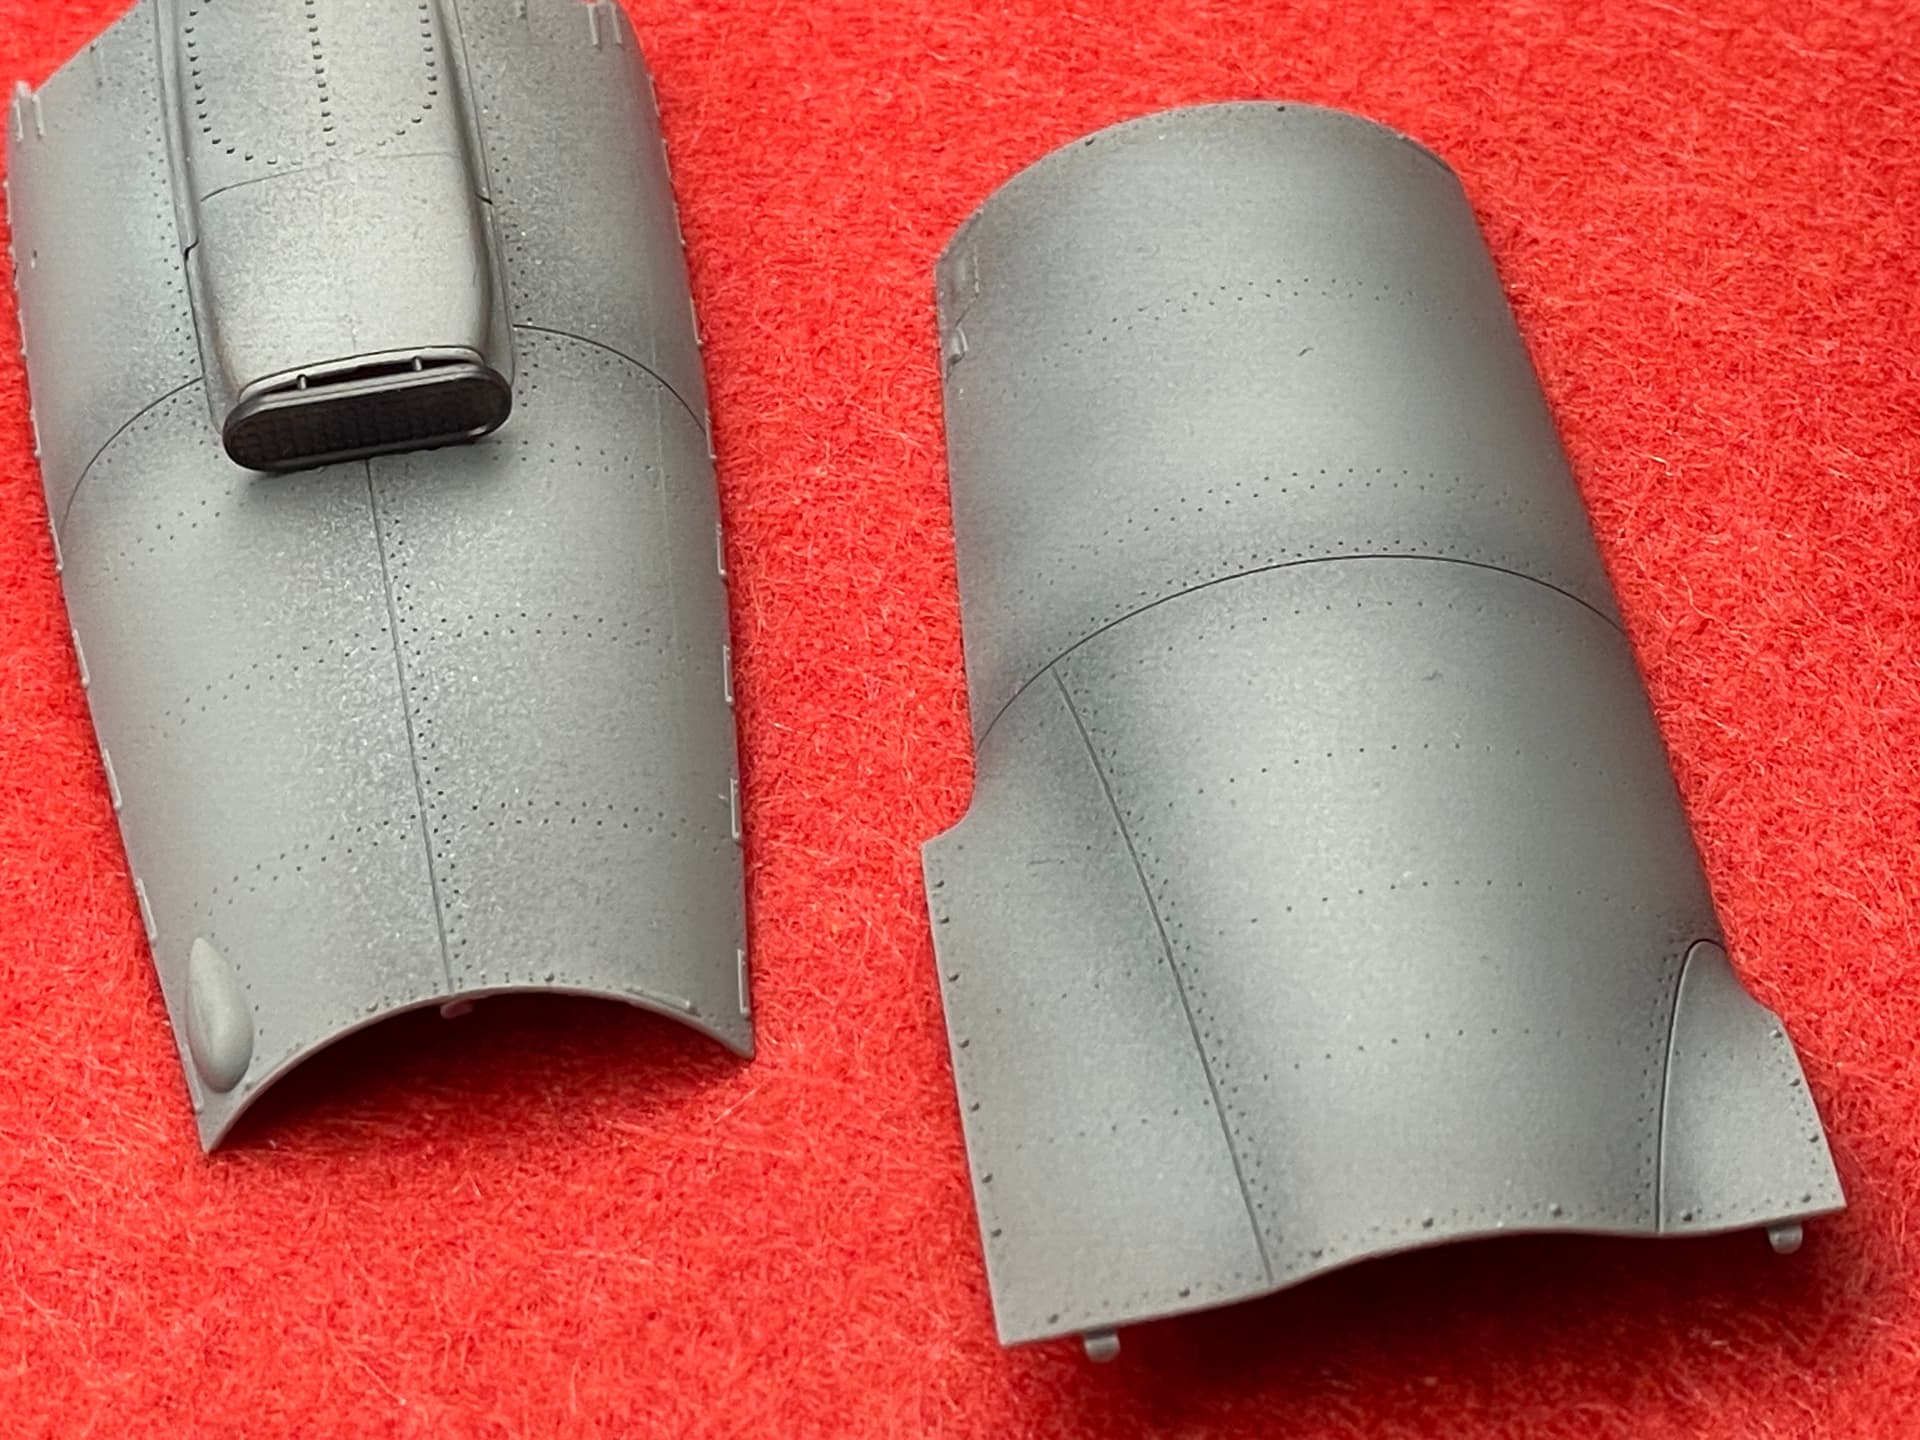
The next step was the flaps and their hinges (I mounted them lowered) and the large number of engine cowlings (lower, side and upper parts).

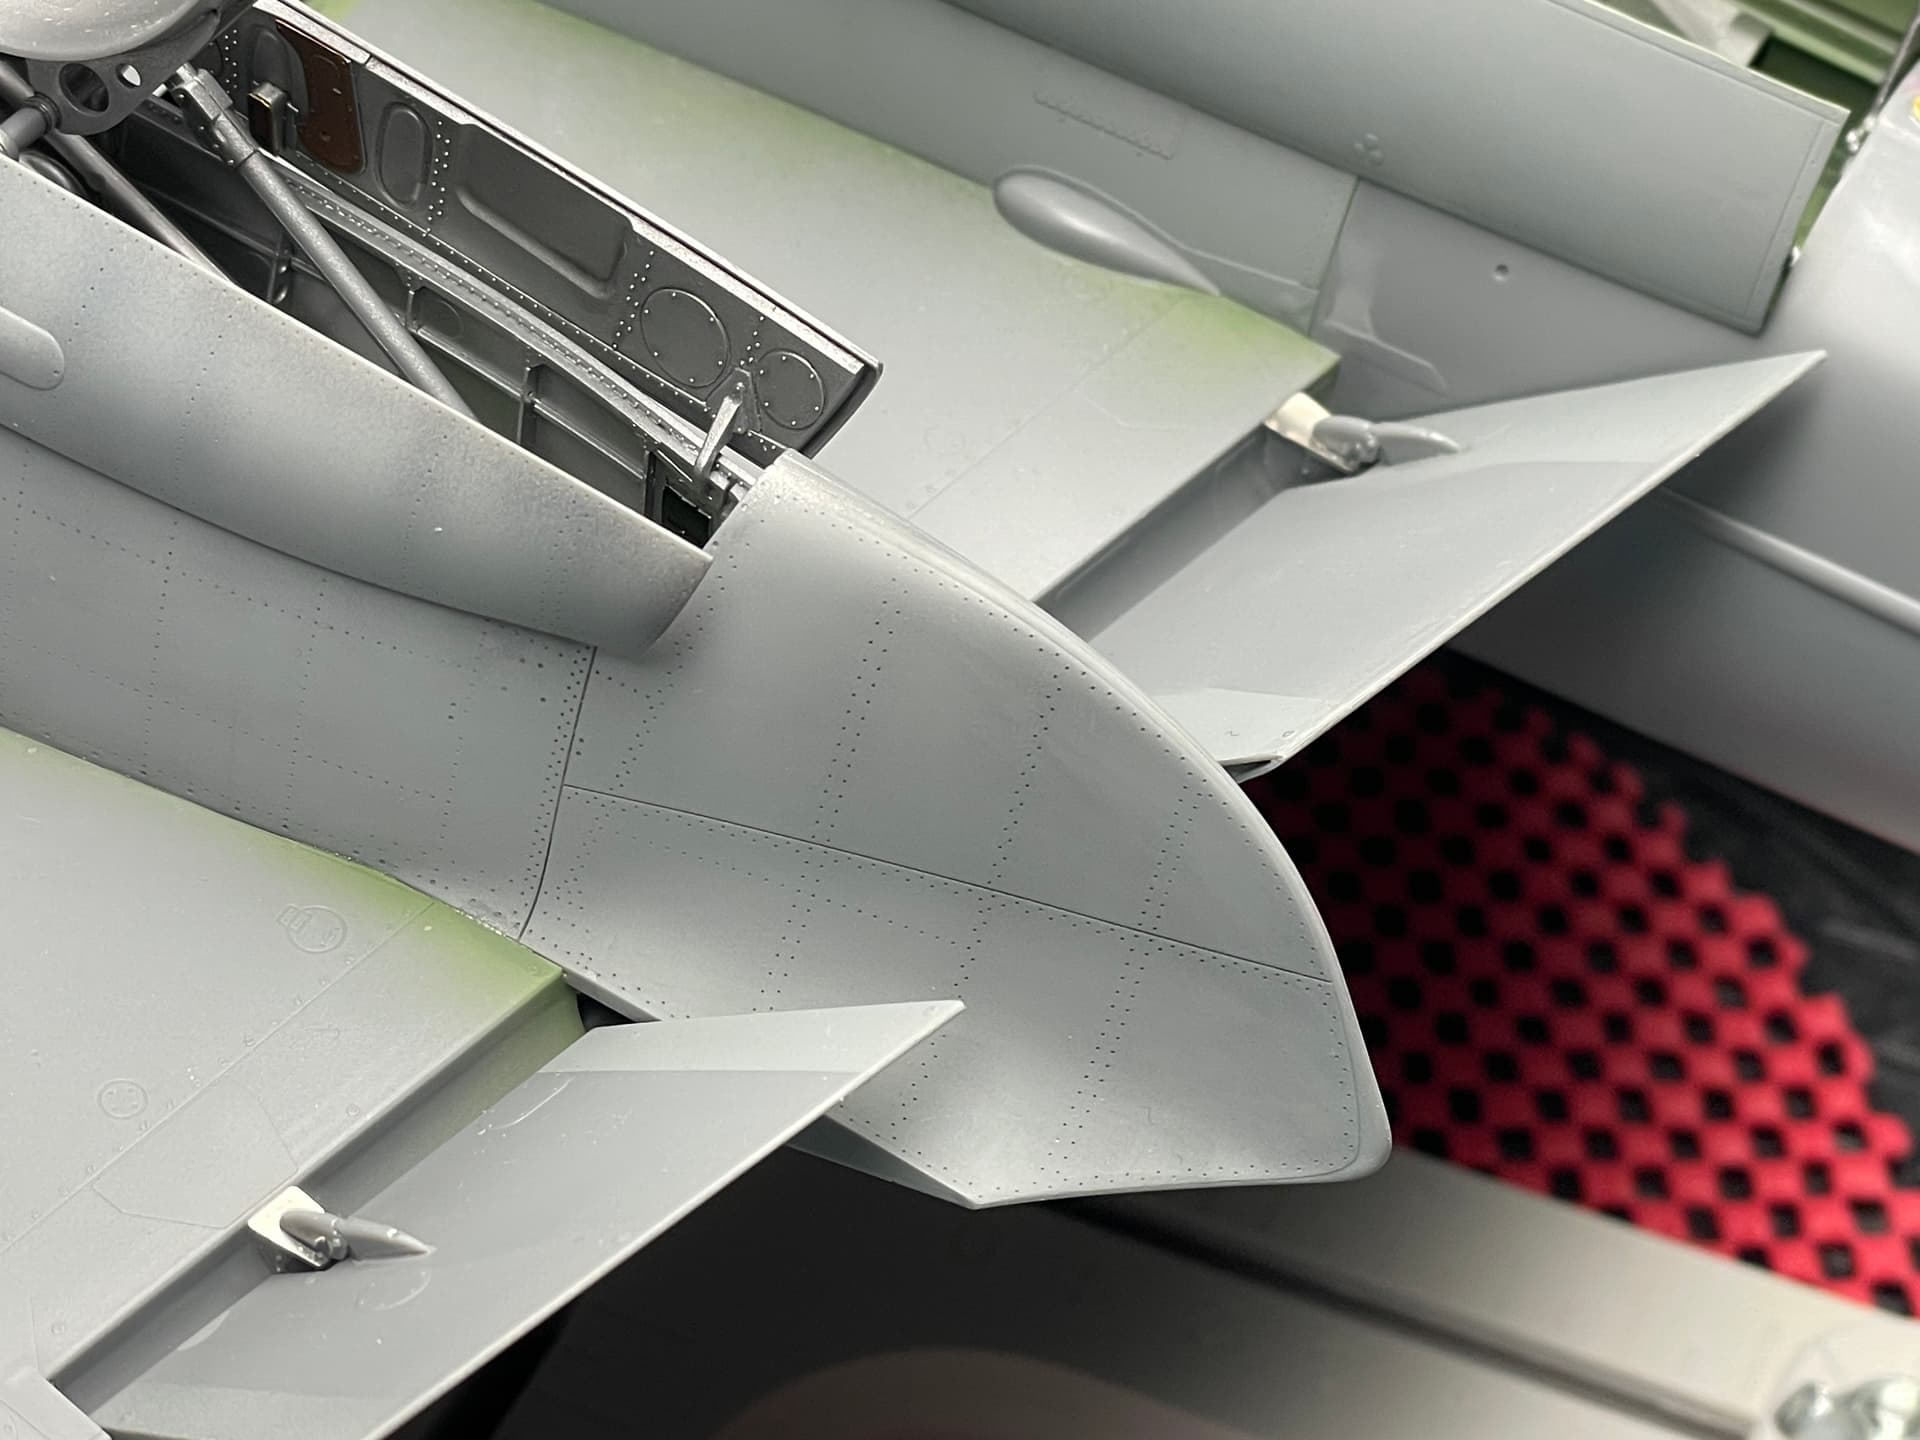
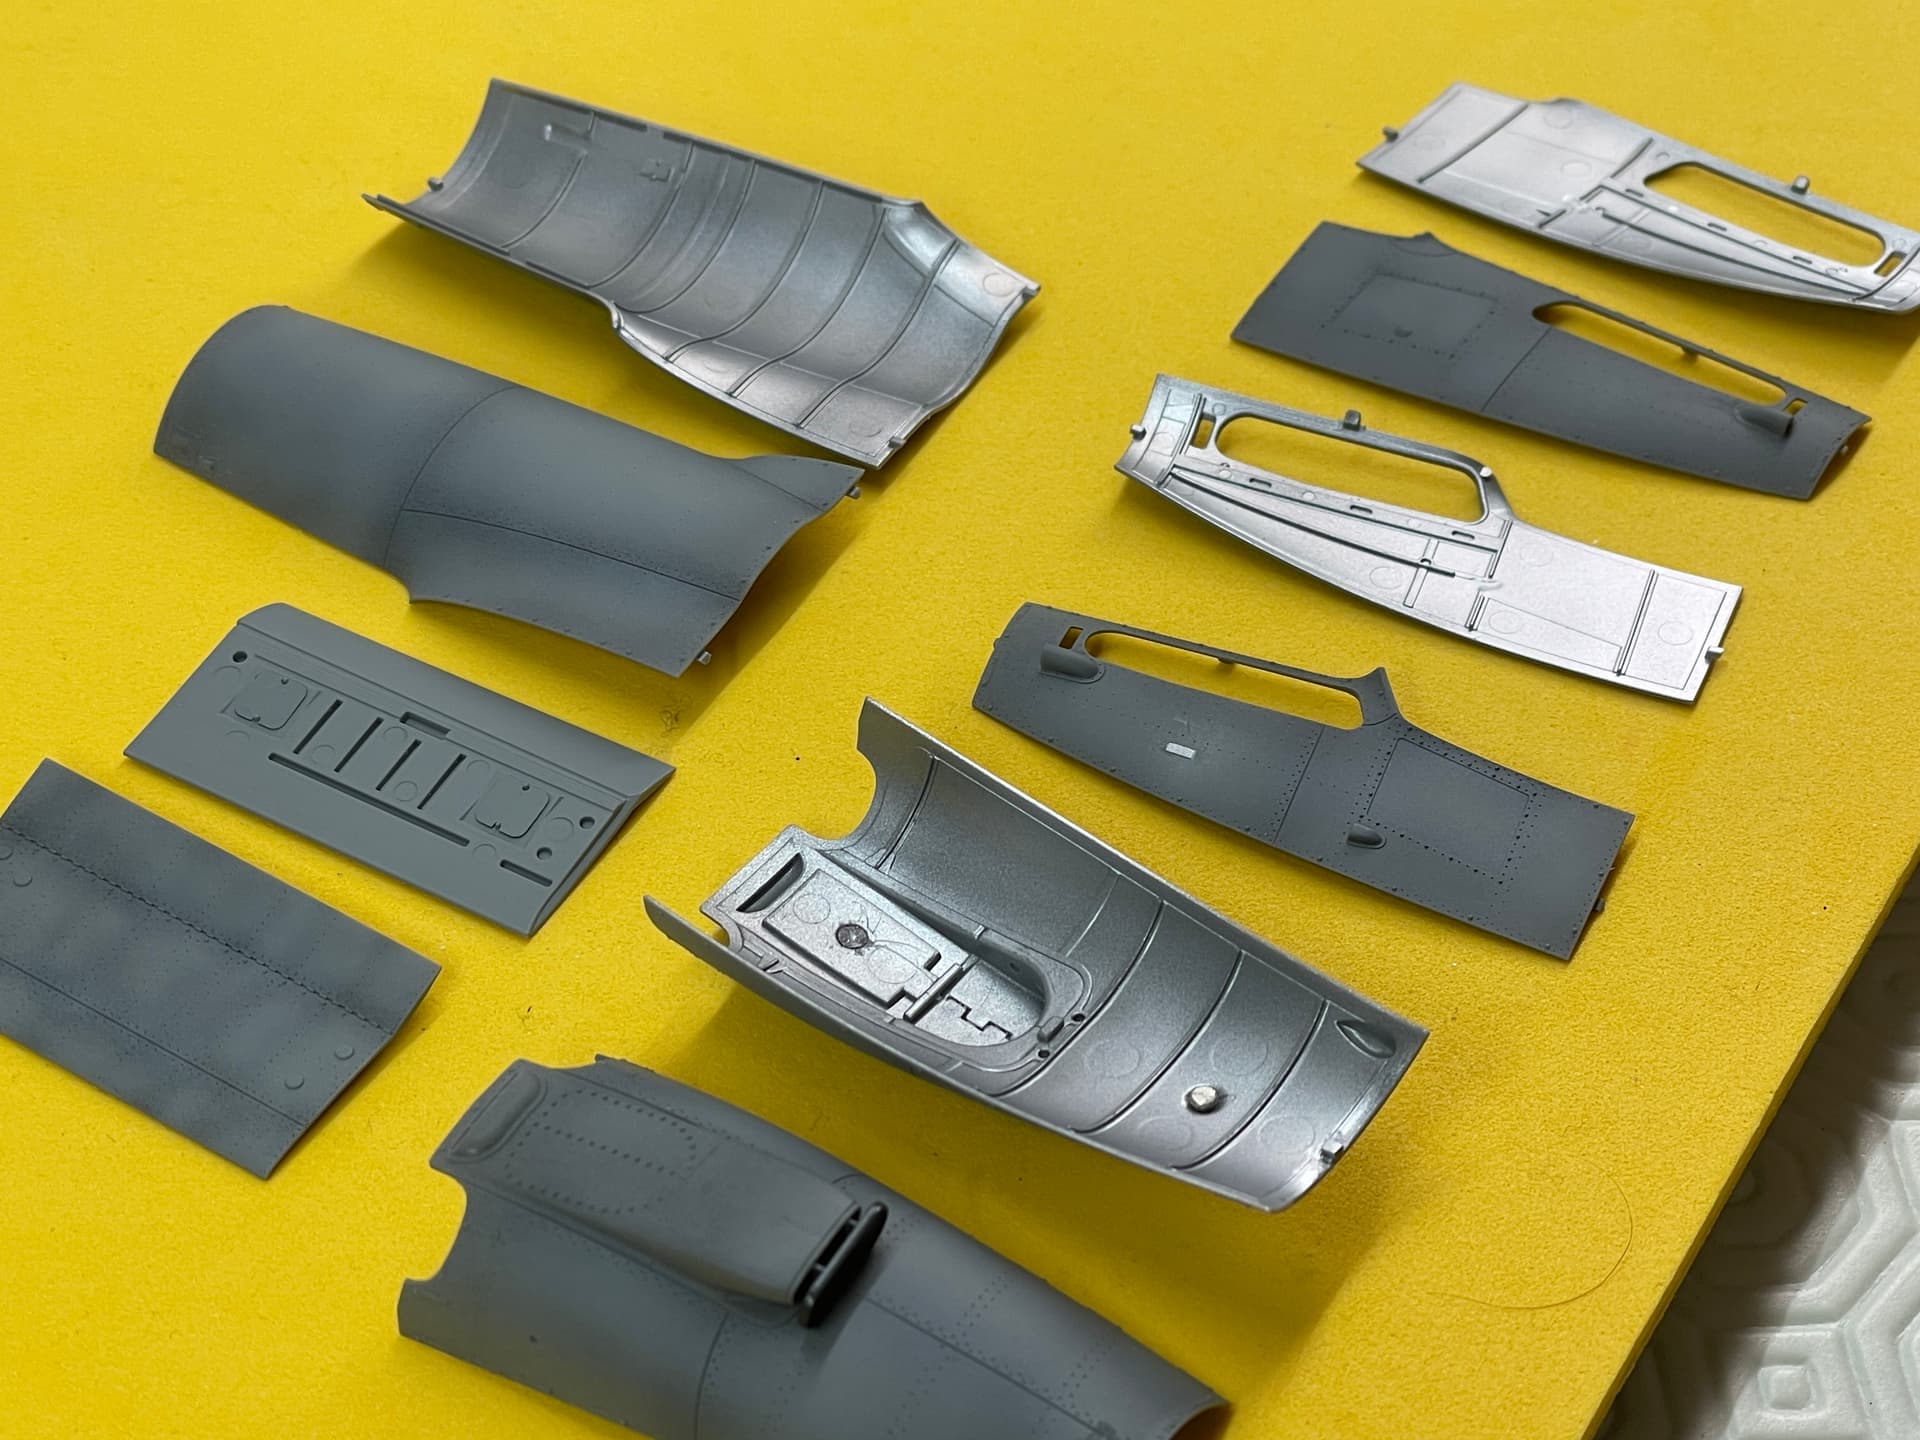
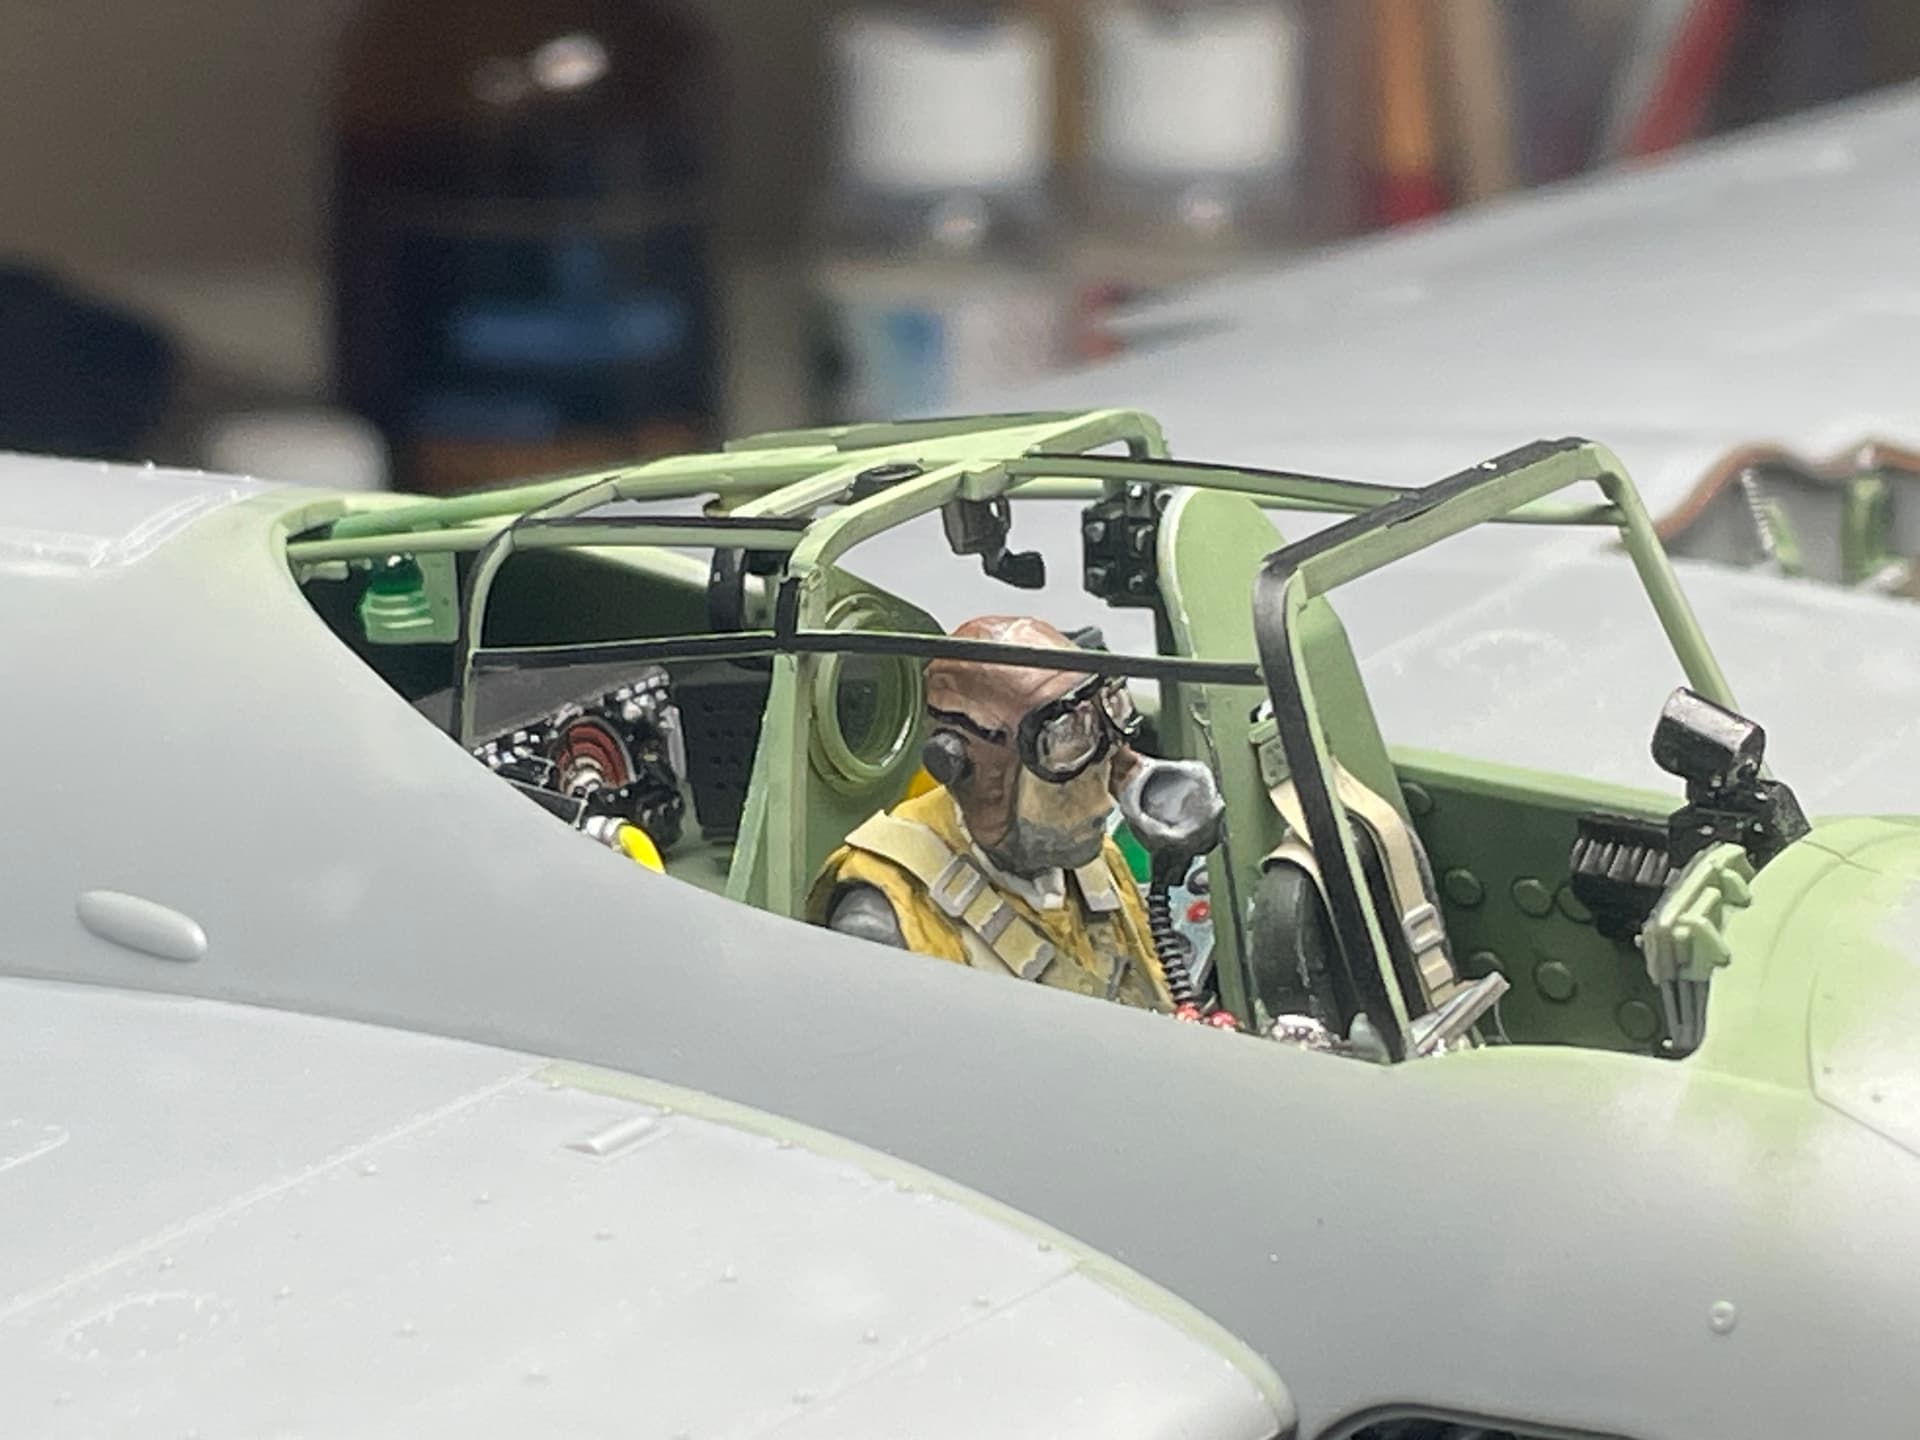
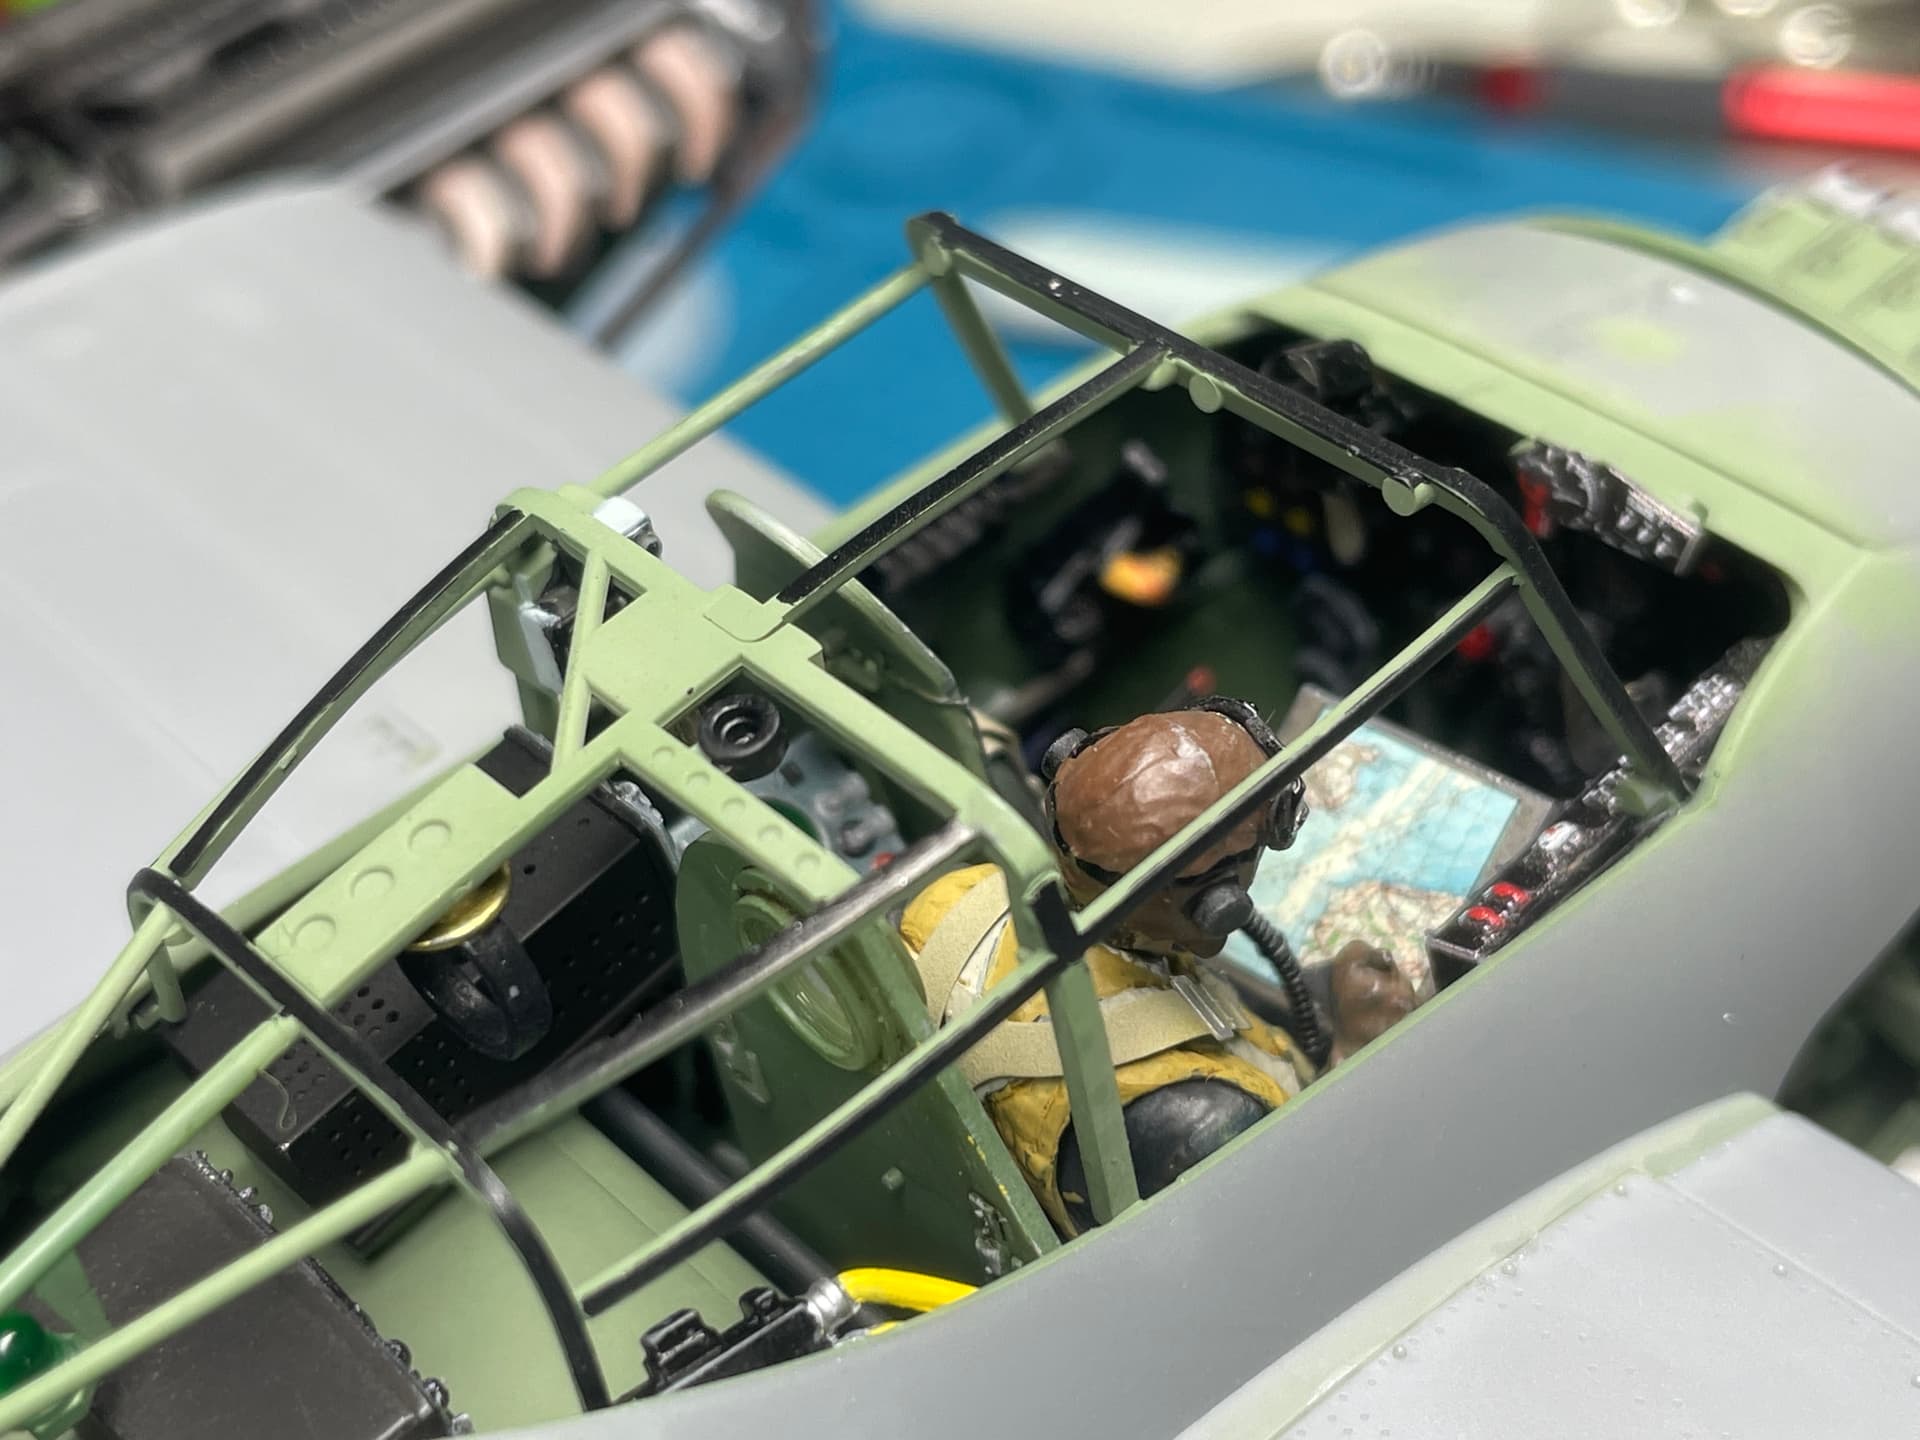
Note that among these last photos you can see the internal frame of the cab. It was only dry-mounted, without gluing it, so I will talk about it in the next episode. I will just say that I had never found a detail like this in any of my built kits.
Dan
15 Likes
Simply superb
2 Likes
Hi John, thanks as always!
1 Like
Fantastic looking details, how much will remain visible once finished?
2 Likes
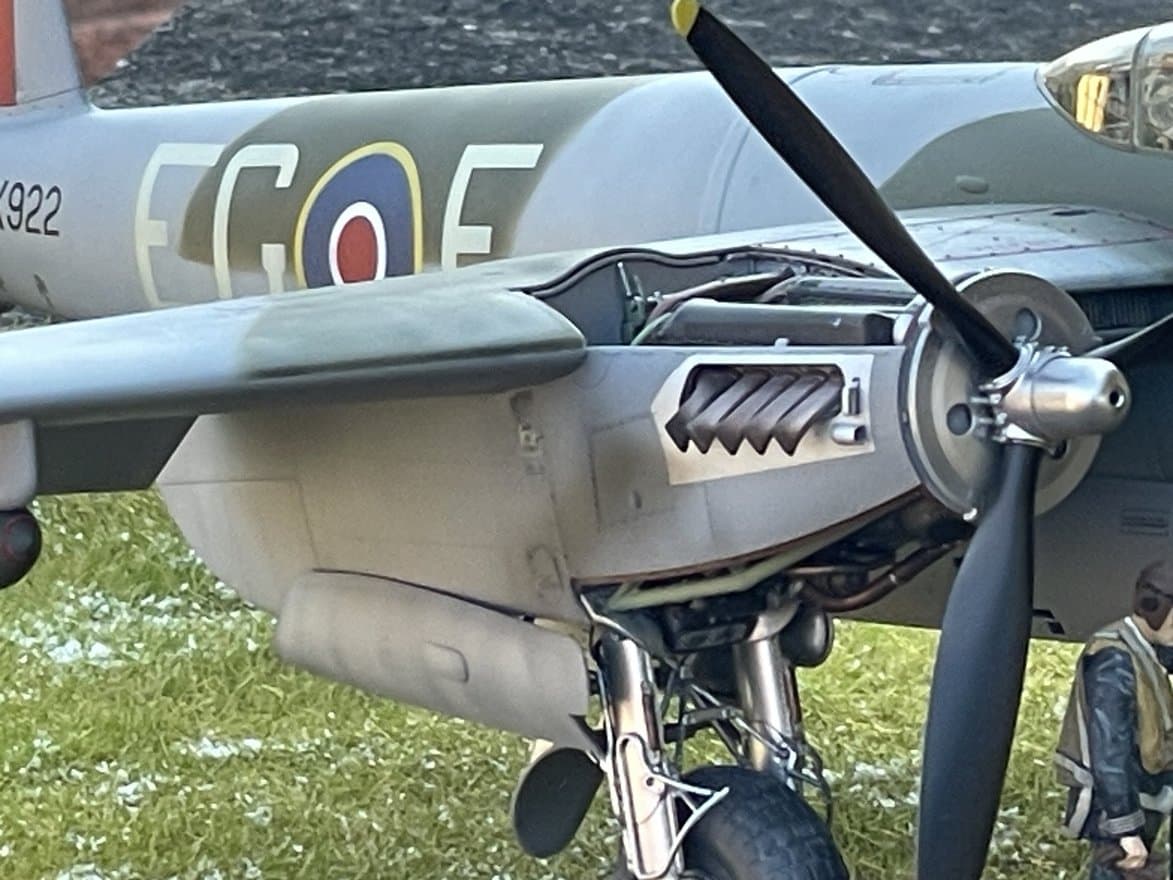
Actually, a lot! The engine cowlings (4 each: lower, 2 side, upper) are removable. The lower and upper parts are held in place by magnetic force - small magnets and metal plates installed on the parts - , the sides with a somewhat complicated attachment system but still detachable.
For the belly of the plane the possibilities were: 1) all closed, 2) half open (bomb bay open and gun bay closed) and 3) all open. I chose this last configuration so that everything will be visible.
Thanks for appreciation.
4 Likes
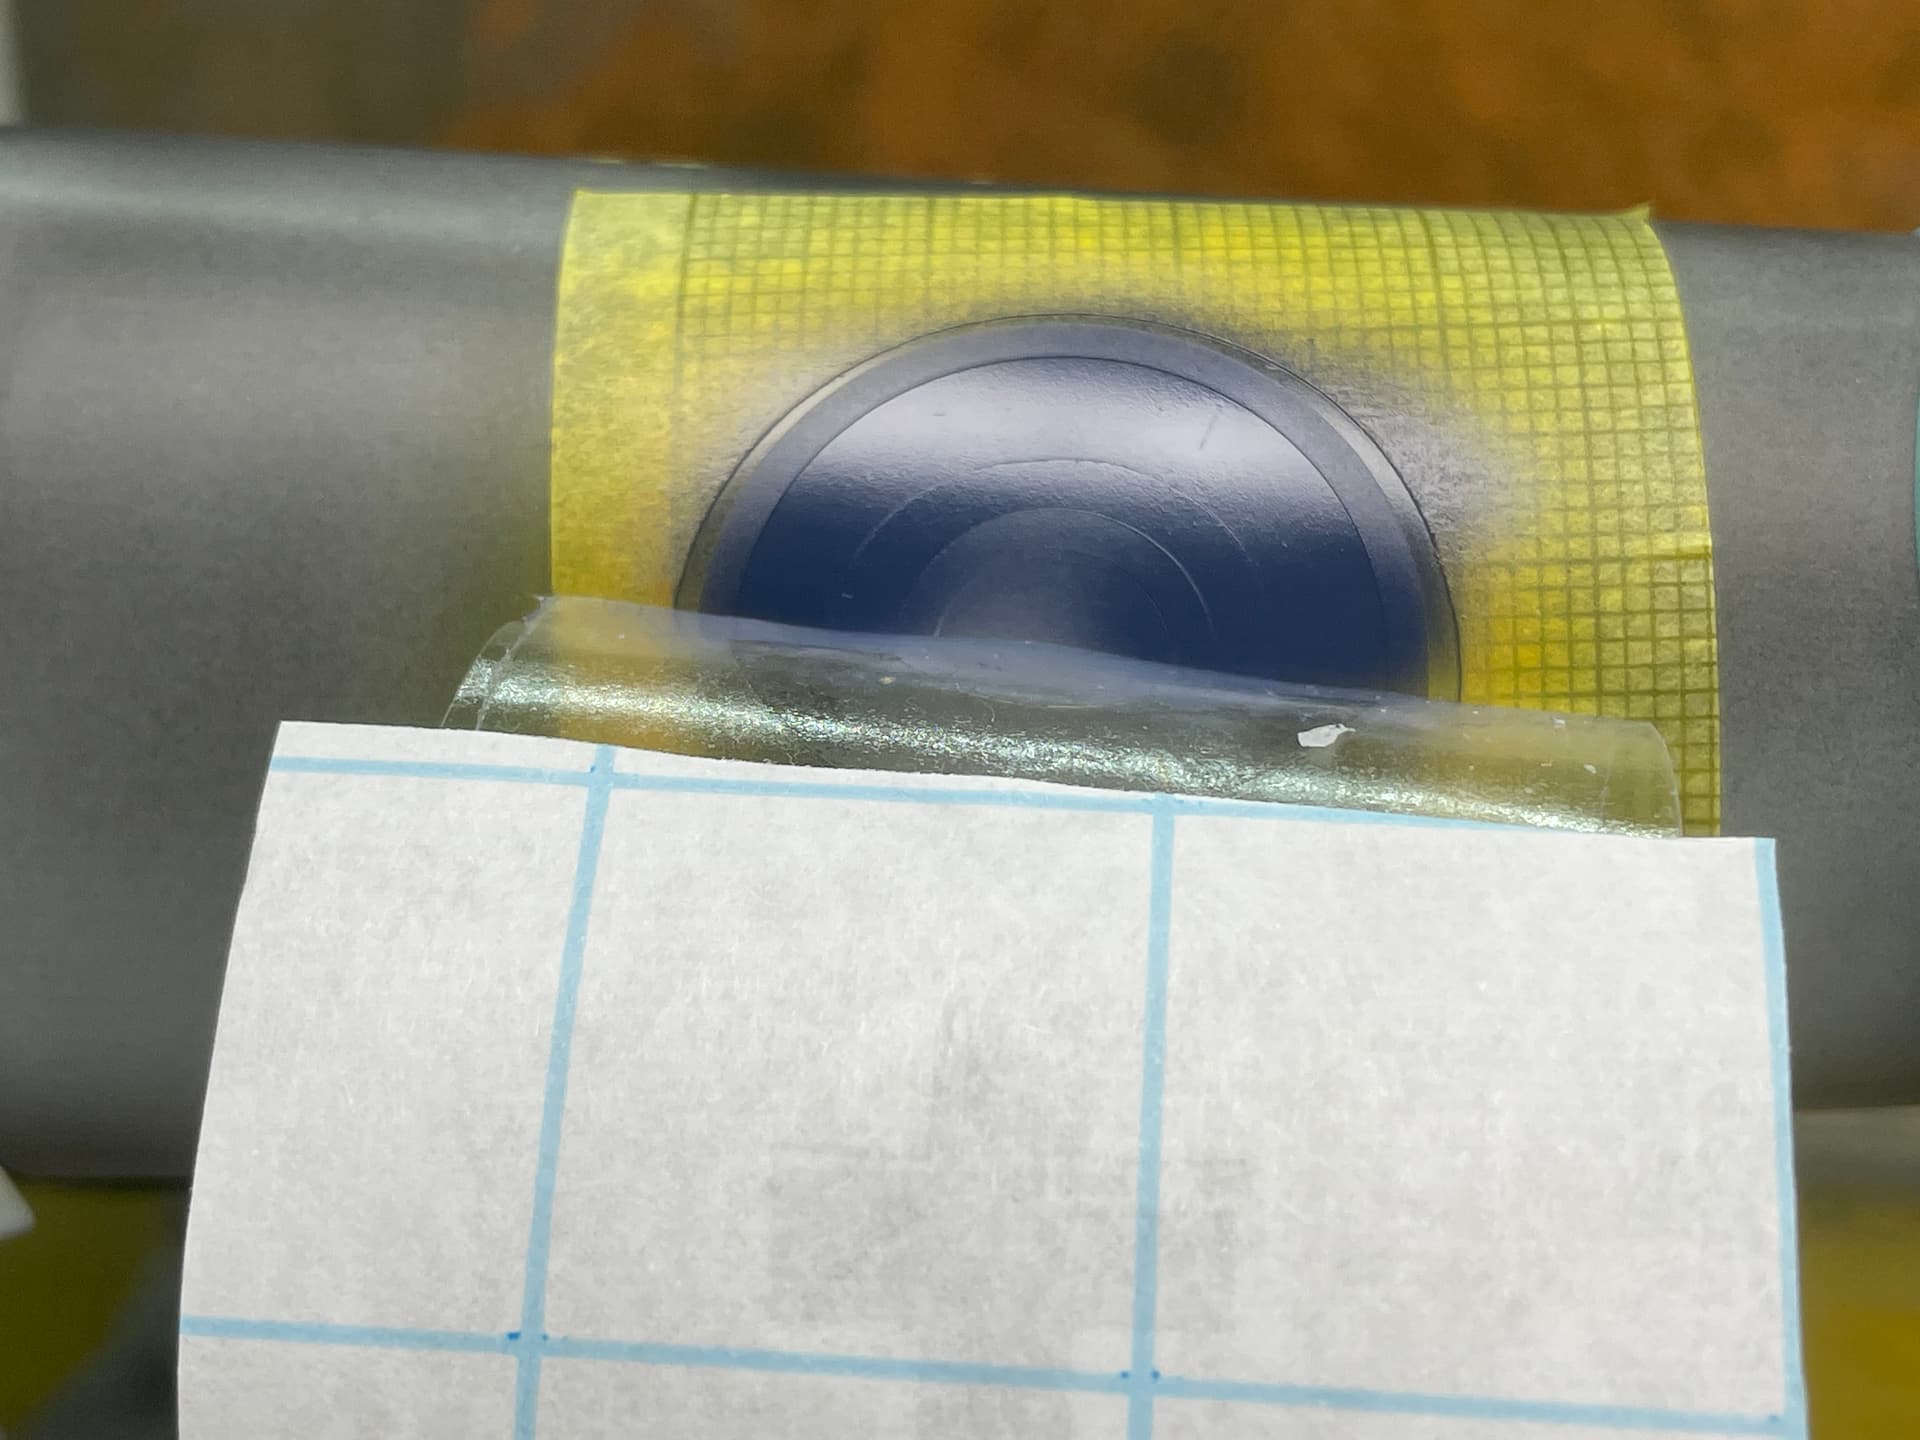
Hi guys.
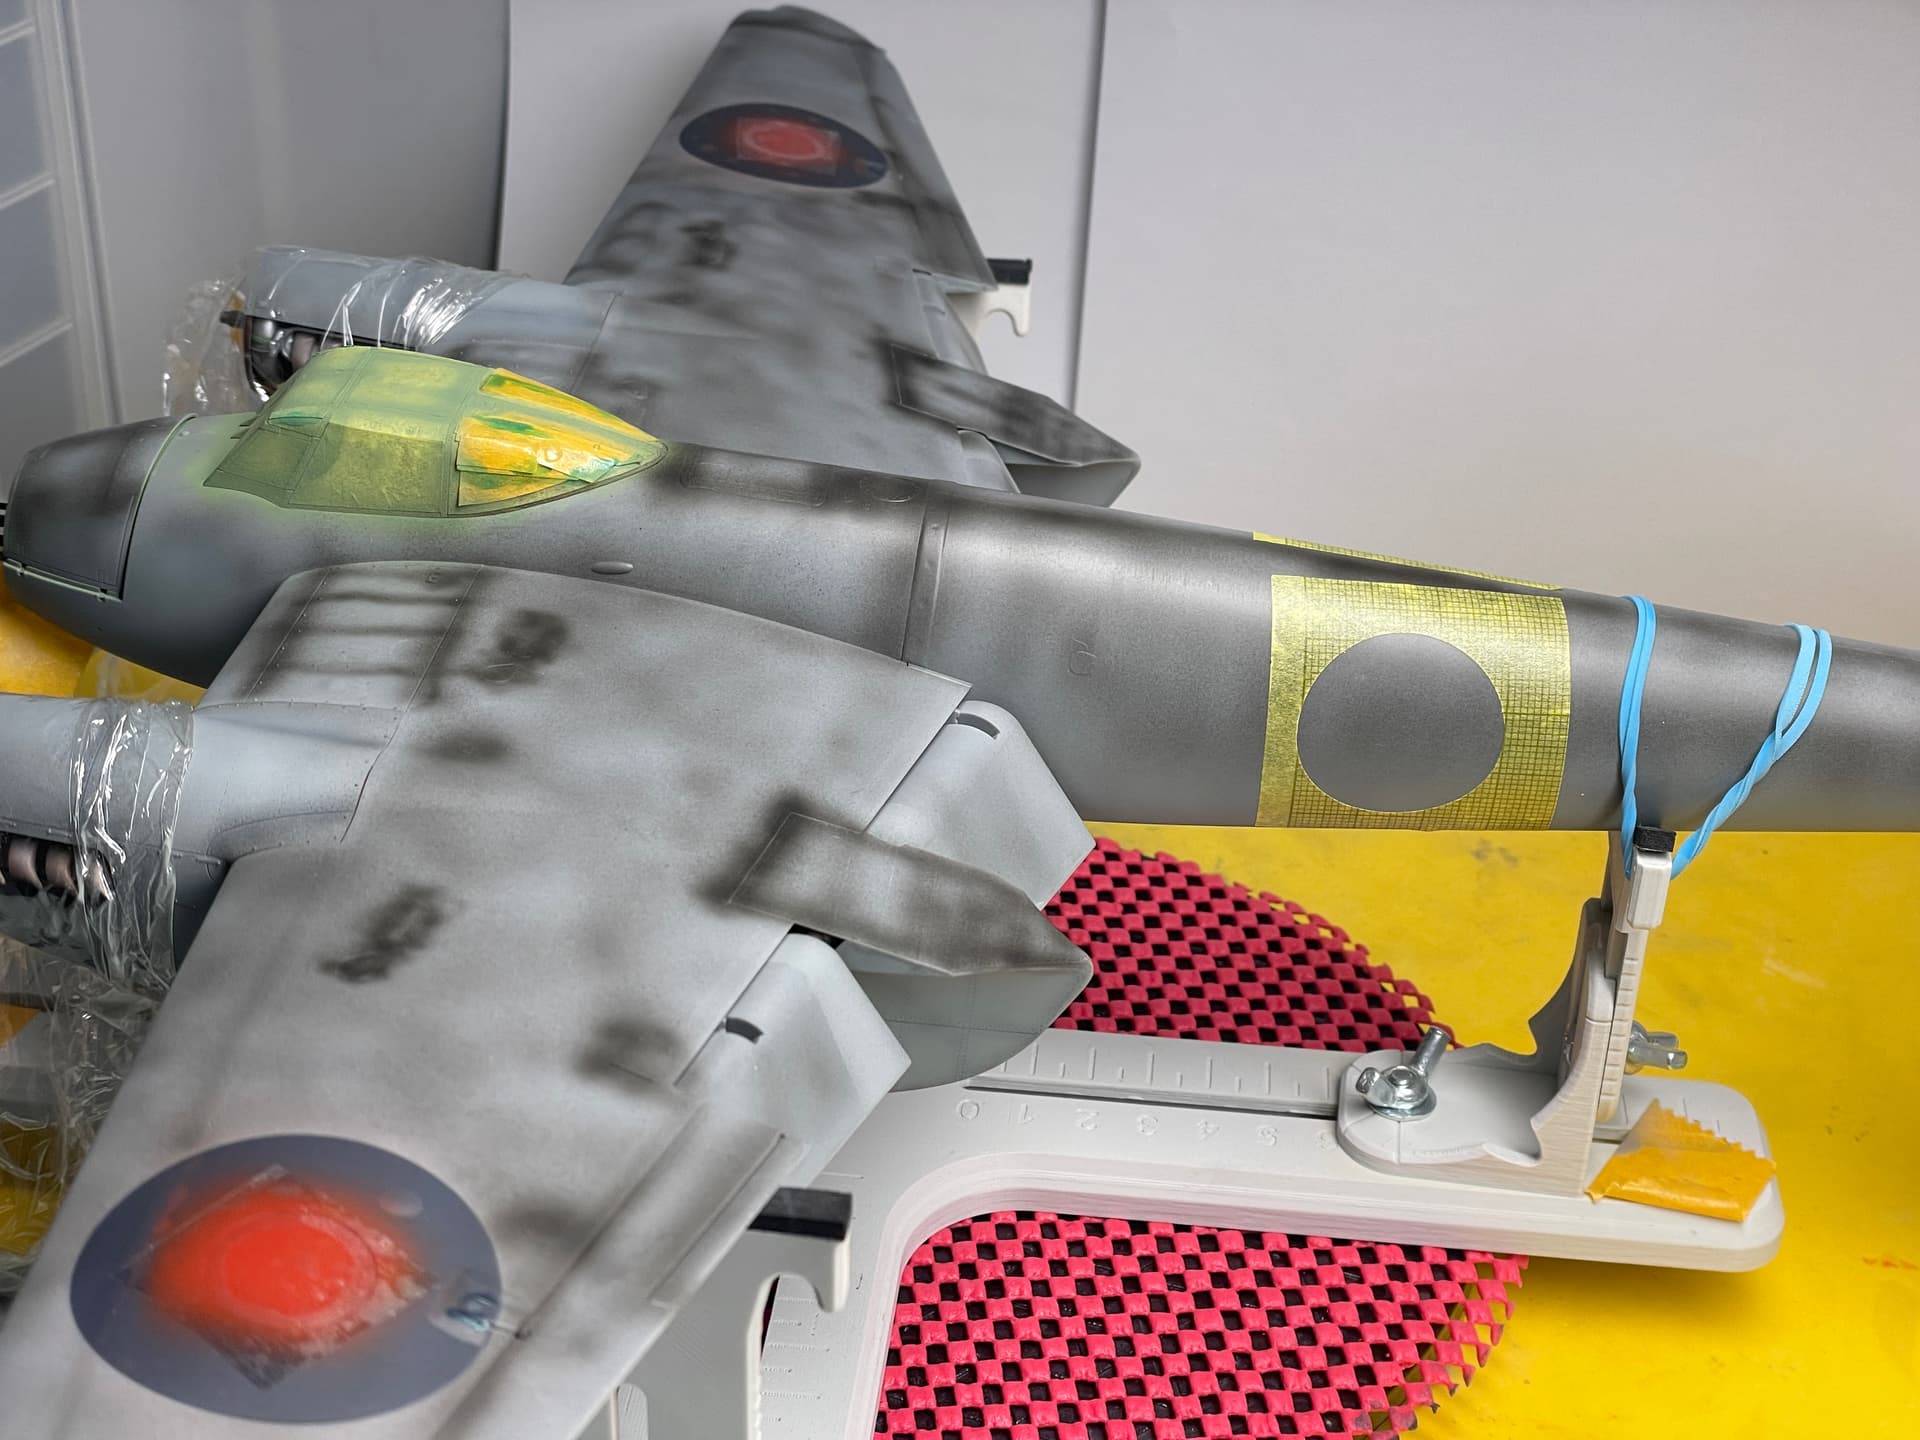
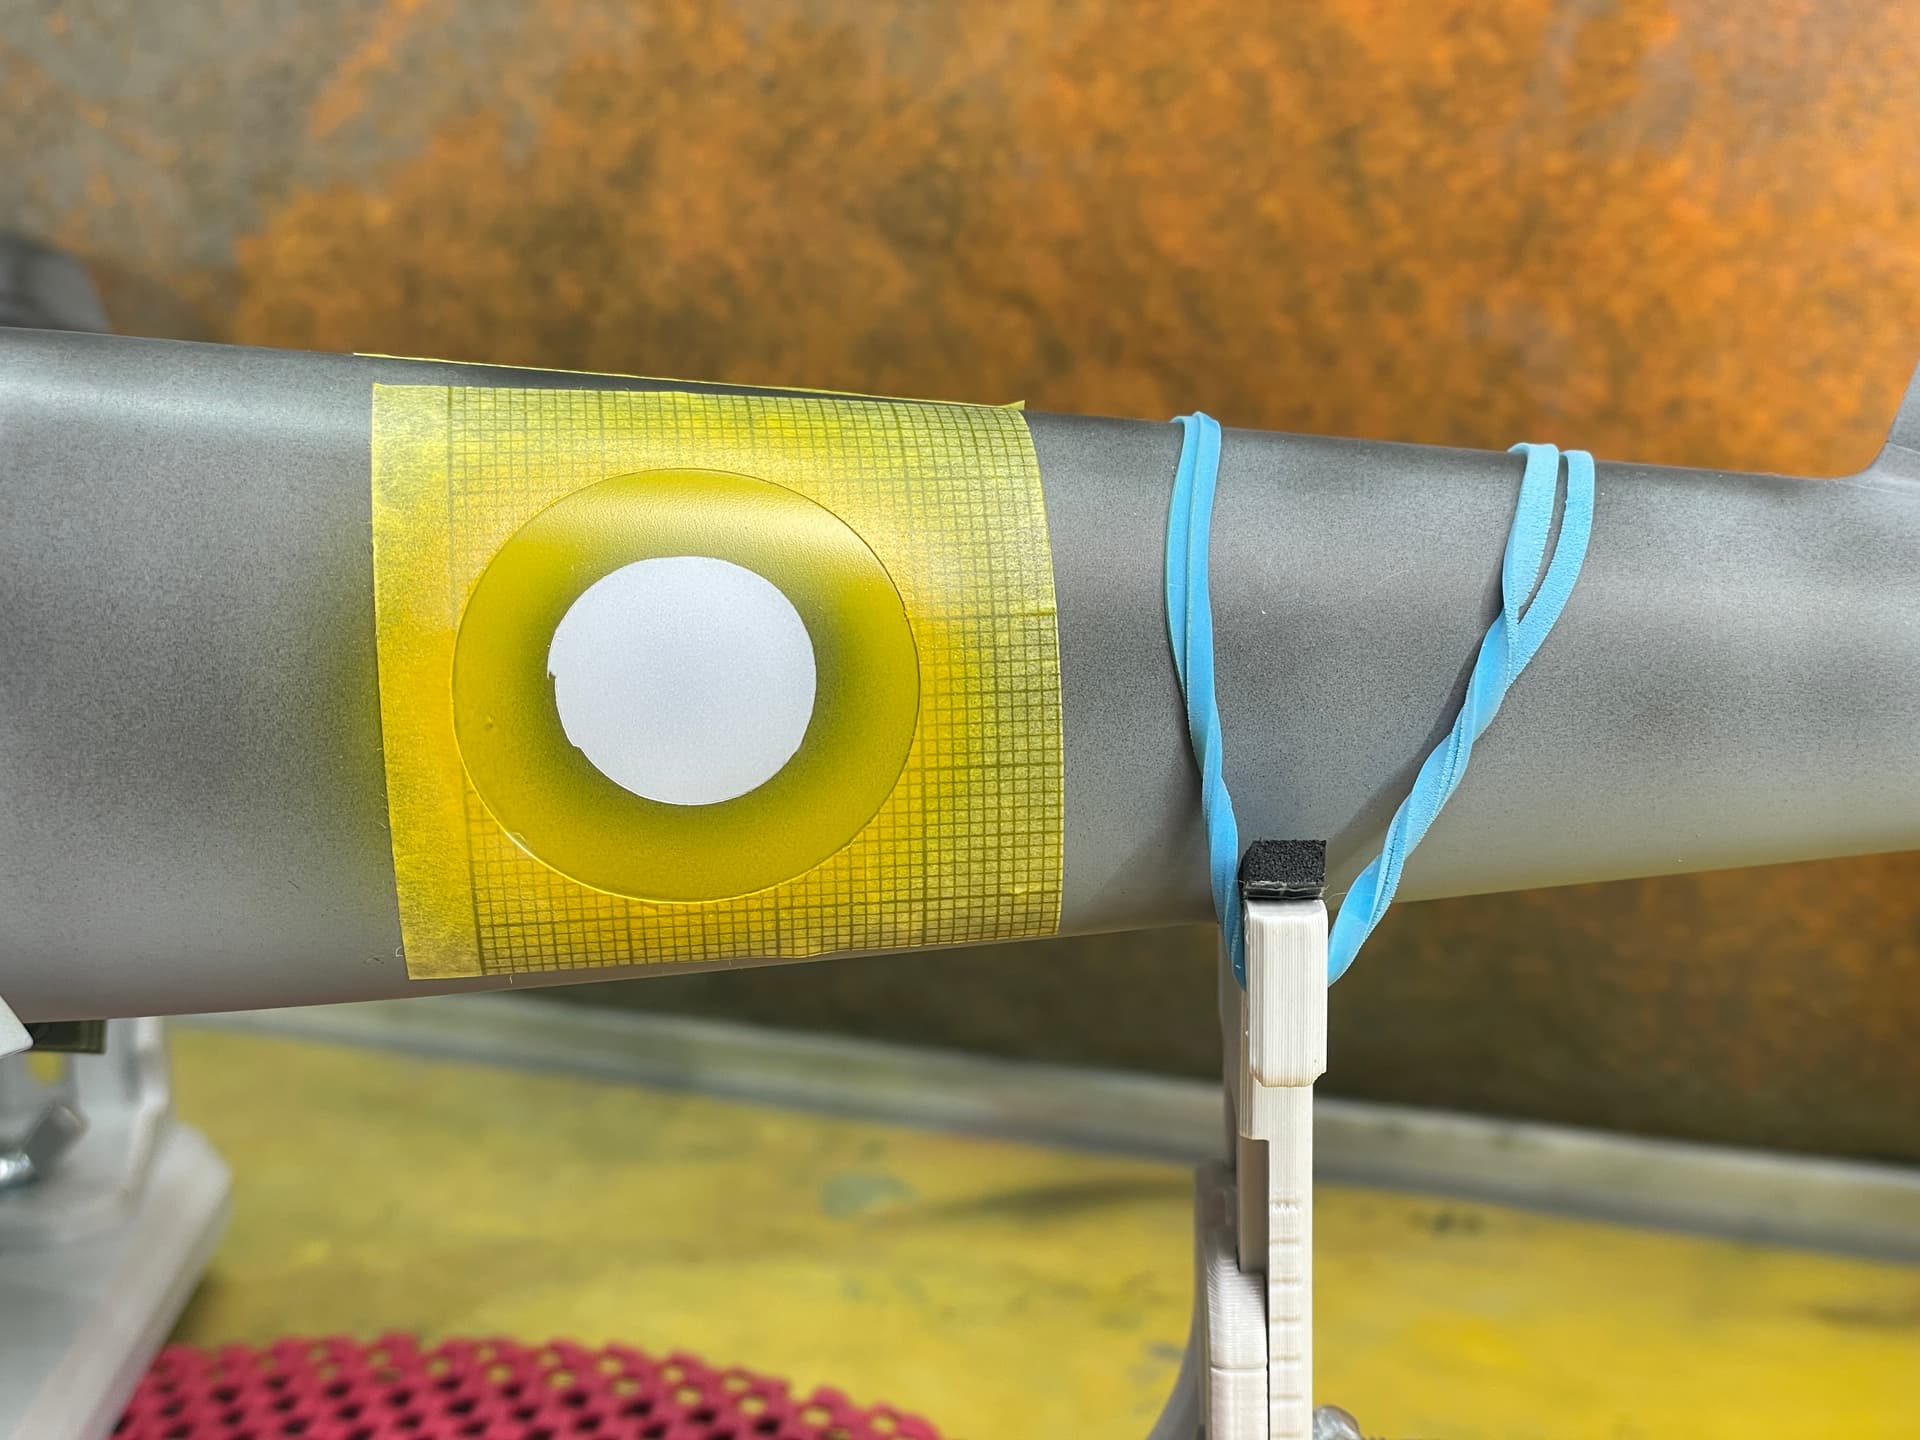
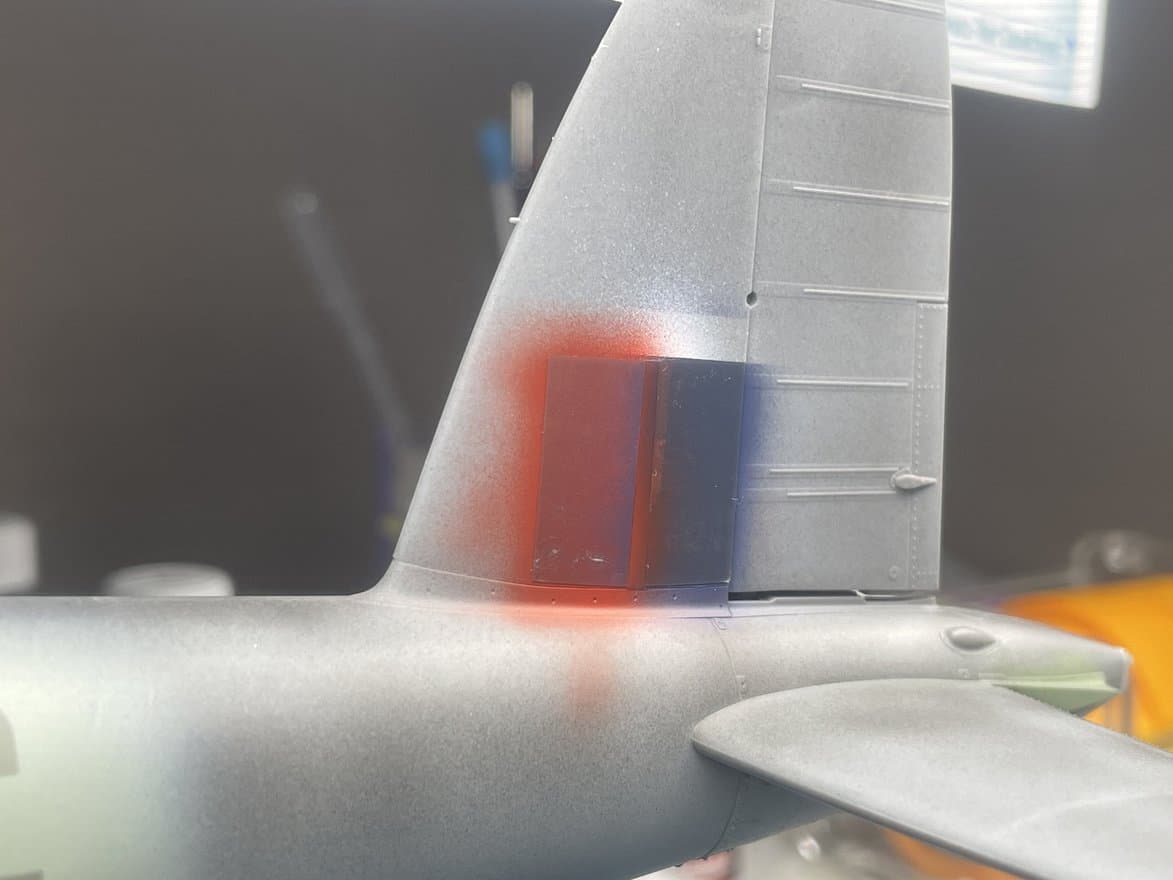
Today’s update is about the start of the general painting work. I’ll say right away that after a long “meeting room” I decided to paint by myself as much as possible. So national insignia, identification letters and serial numbers will be painted using special masks from the Omask company. Examining these masks I found a problem that I immediately reported to the factory. In short, the identification letters on the left side should be longer to “accommodate” the rib on the right side of the plane (the left side is perfectly smooth instead): The kind owner immediately recognized the problem, redesigned the masks in production to overcome the problem itself and sent me a revised and corrected set as a gift. Now that’s called professionalism!! Kudos to them!
Back to us, this is my first experience with this type of masks (normally I only use them for canopies, wheels and other details), I’ve never tried them before and I hope to get a good result anyway.
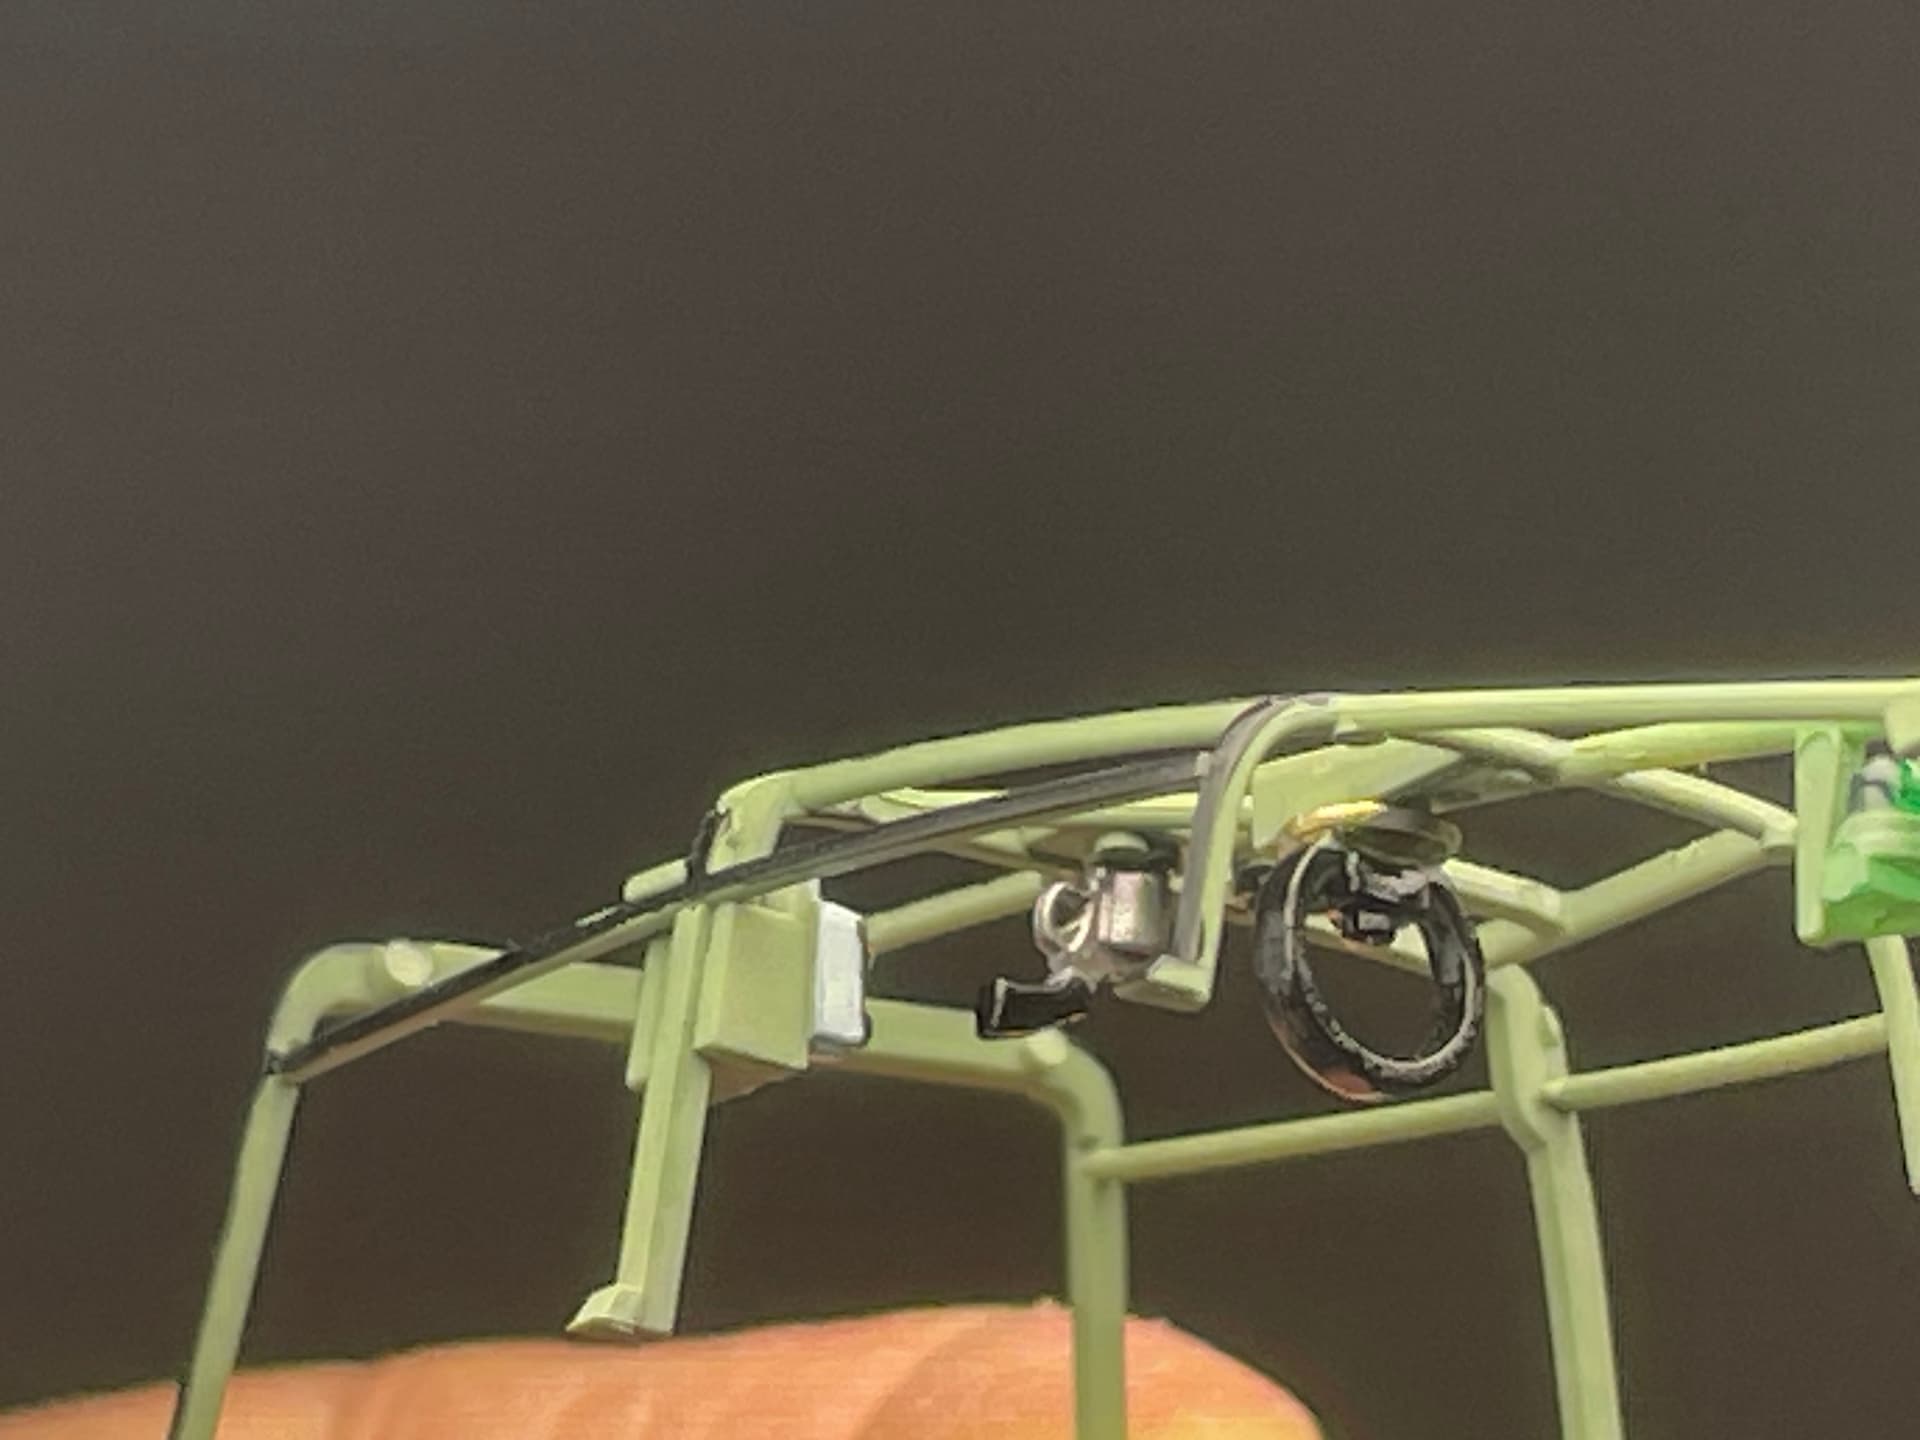
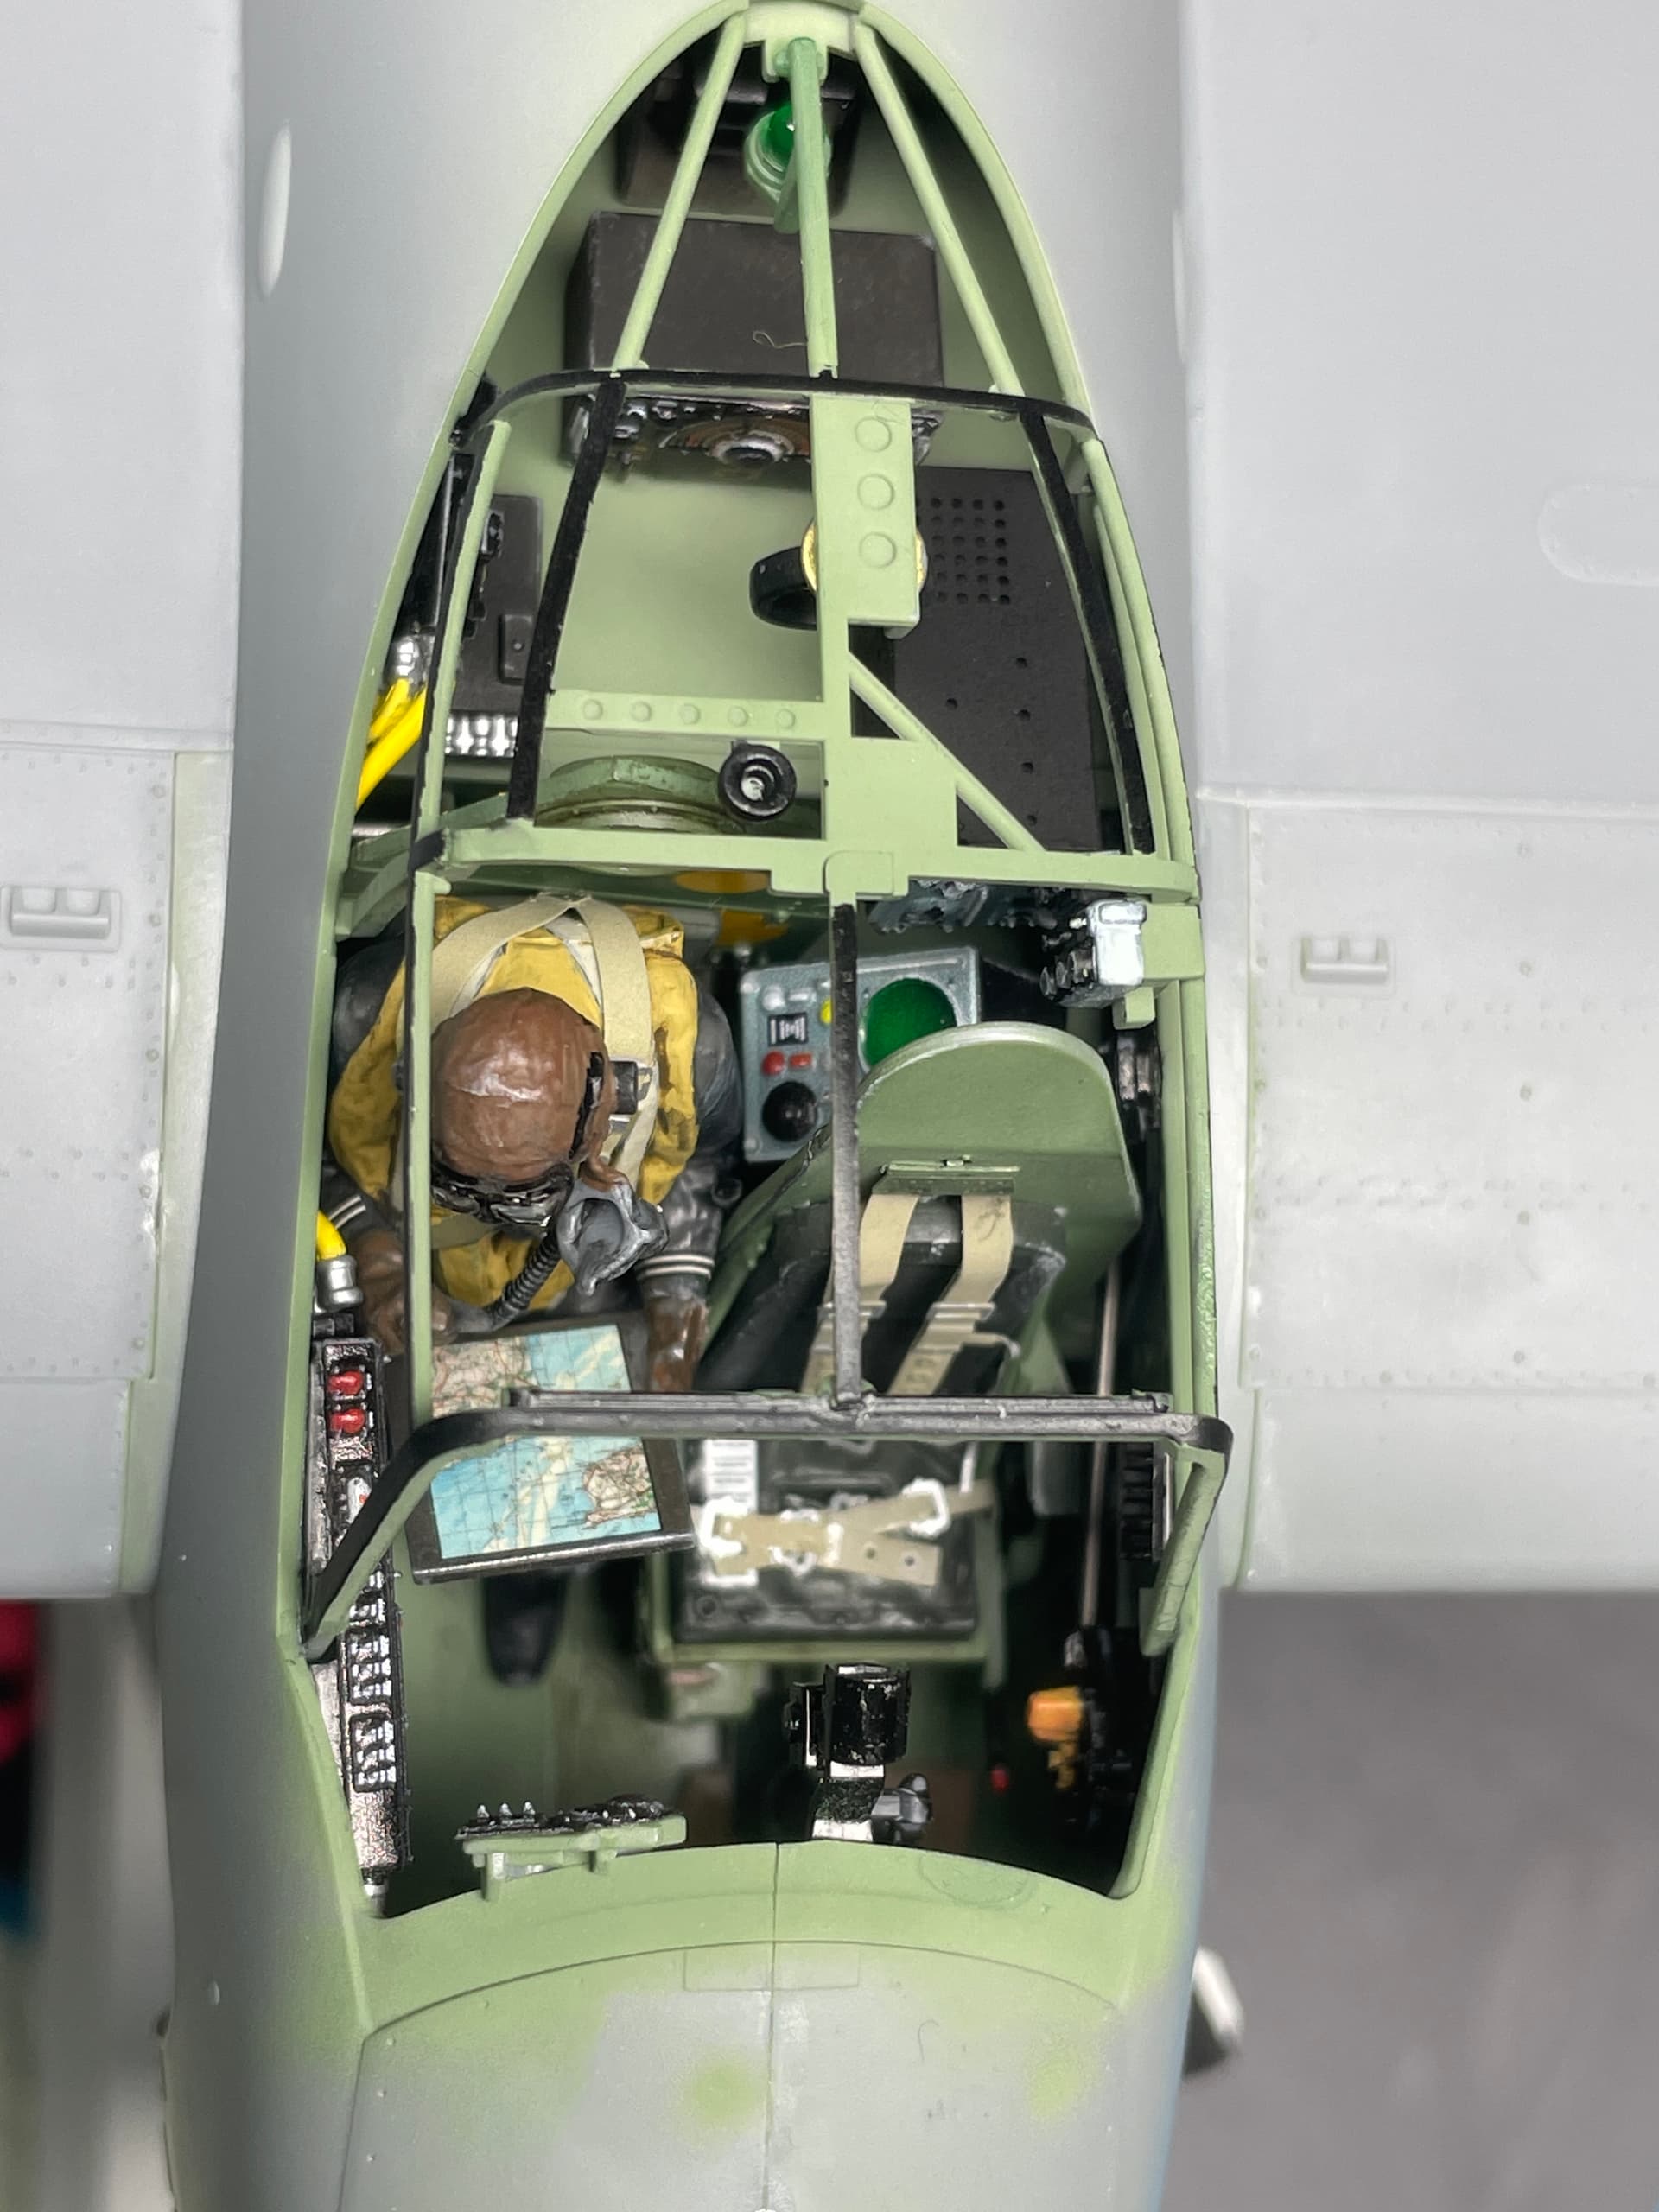
But first a few words about the cabin frame. As I said at the end of my last post, I had never encountered this construction solution in any of my previous builds. The structure, once assembled (it is composed of several pieces) and painted, easily adapts to the cockpit resulting, with the canopy, a realistic representation of the real thing.
So let’s start with this last one…


Attention! Signage under renovation. Drive with caution ![]()
![]()


We’re almost there, folks! I have to start thinking about the setting for this bad bird!
Dan
15 Likes
What a fantastic model! I’m so glad you elected not to weather the engines, bombay or any interior areas, the plane looks nice and clean (because of your superior painting skills I’m sure) just like factory fresh.
Cajun ![]()
1 Like
Hi Terry,
Thanks for your kind words. Yes, I confess: I don’t like heavy weathering on my models. Maybe because I’m not that able at it. I usually prefer light weathering and this model is no different from my way of working. If you are pleased to take a look to my other works here on this forum, you’ll see what I’ mean. You will definitely notice some shadowing (for example on the engine cowlings, but the main structure will follow this path if you see the light preshading I applied) ) and some oil washing in the interiors.
Could it be that I was too light-handed to make you say that the plane will come out as “factory fresh”? ![]()
Dan
2 Likes
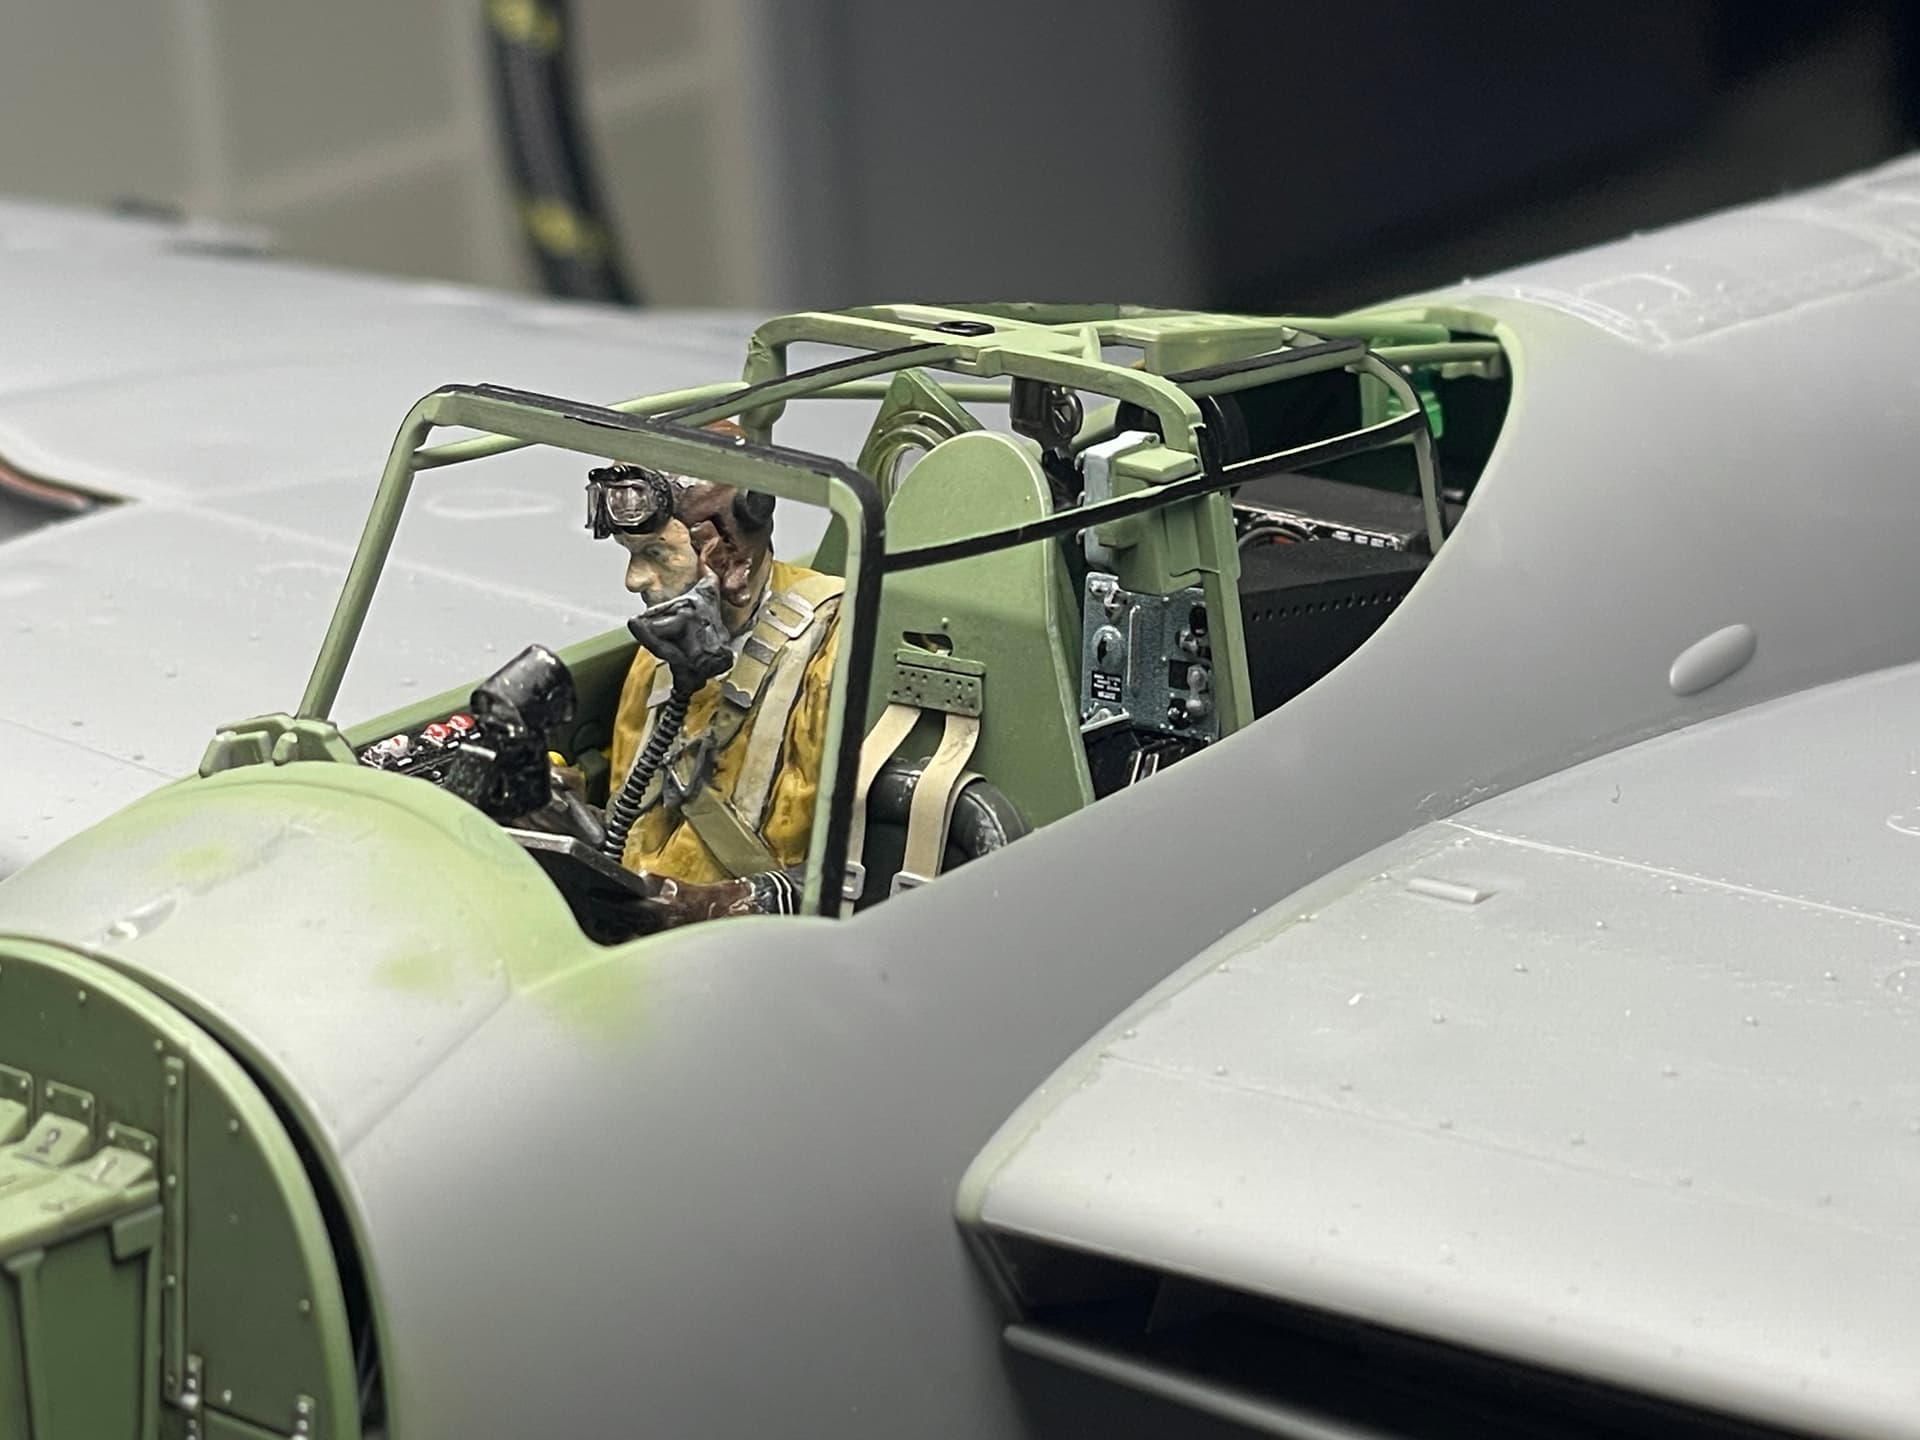
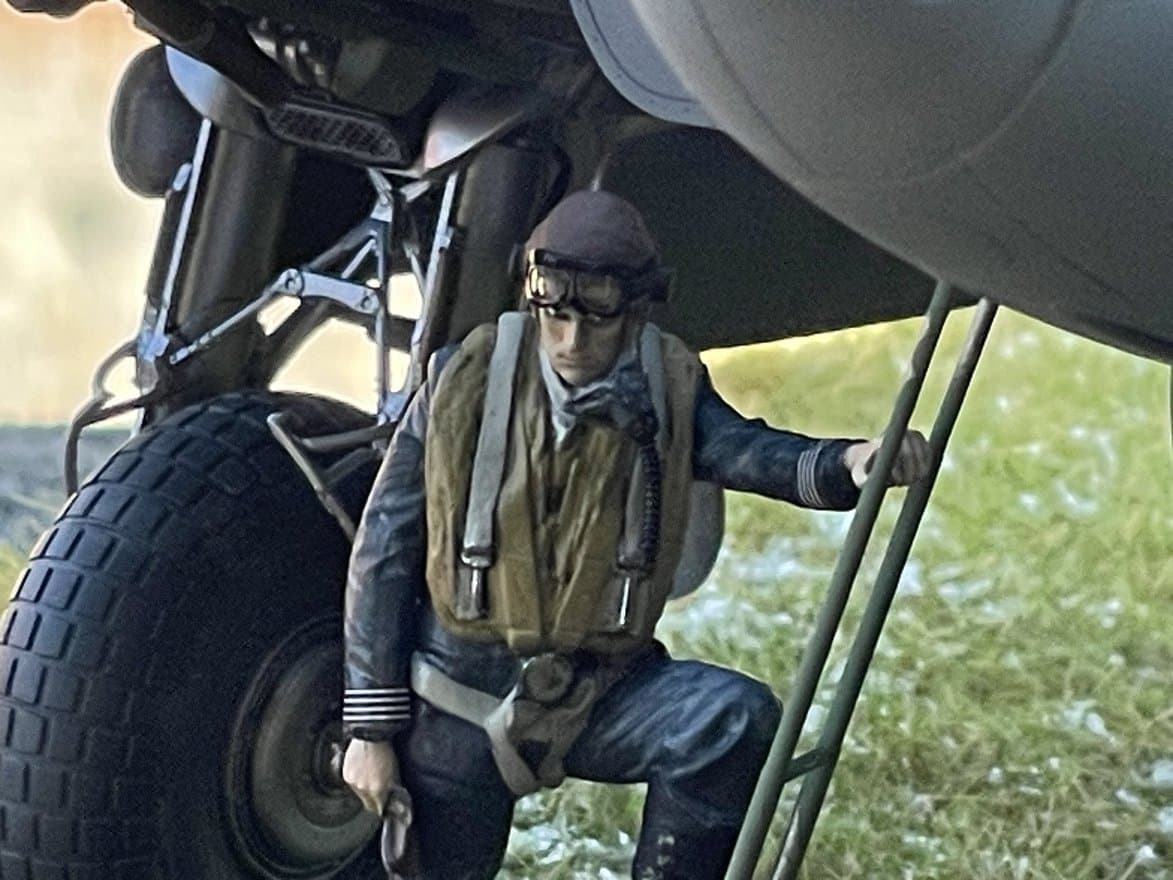
Your Mosquito is a perfect example of “less is more”! The only criticism I could come up with is the navigator’s glossy helmet and I’m reluctant to even mention it ![]() .
.
Cajun ![]()
1 Like
Oh, at least one kind criticism. You are right, it looks quite shiny, but the shine you see is largely due to the reflection of the extra bright light I used to take the photos with my phone. The color called for in the Tamiya instructions is their XF-64, a matte shade. When I hand paint acrylics with a brush, I use a specific thinner that, admittedly, leaves a virtually satin finish even with matte colors. However, my fault, apparently I was distracted and didn’t remember to restore a fully matte shade before closing the canopy.
Thanks for your kind point…
Dan
1 Like
Continues to look brilliant. Superb painting as well.
2 Likes
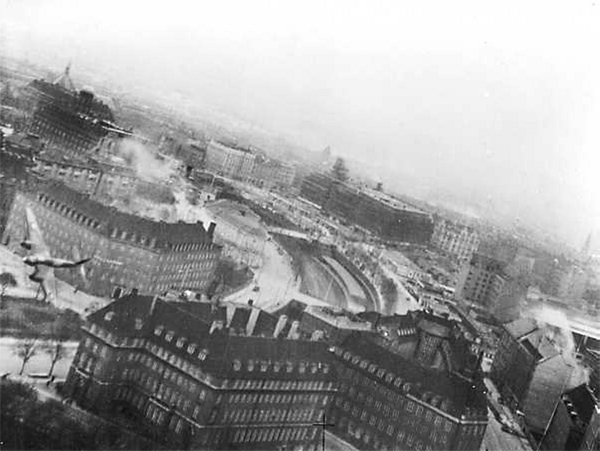
It looks like a good kit anyway, however you have brought it up to a whole new level. Always had a thing for Mosquitos having read about their missions during the war, Operation Jericho and Operation Carthage being the most notable in my mind. Check out the pic below for low level precision flying. It’s said some aircraft had telephone wires wrapped around their tails on their return.
2 Likes
Thanks a lot Maximus. Coming from an Englishman, your words fill me with even more satisfaction.
I actually have a soft spot for this plane too, for various reasons, starting with its “ancient but innovative” structure and its exceptional performance for the time. Not to mention the fascinating shapes
In any case I am actually building one of the planes used in the Jericho operation, as I wrote at the very beginning of this discussion. Unfortunately this plane never returned to base from that mission, first of all failing to save the lives of the crew, but also without being able to leave us modelers at least a more extensive photographic documentation to refer to.
Dan
1 Like
I’m not so sure I understood your comment well…
Surely because I’m not a native English speaker
1 Like
If you’re going to recreate something from one of those operations, you’d do better to give him a street map of the city, “Four more blocks, then make a left, and then the second right.”
1 Like
Hi guys
Unfortunately I couldn’t find a micro map for dummies of Amiens in February 1944, as some friends had kindly suggested. That’s why I took my Mosquito and, in a fit of rage, threw it in the bin!
![]()
Then I remembered that the Jericho mission had been well prepared using a large model of the site, built on a desk at Hunsdon airfield, with the help of photos taken by British photo reconnaissance planes and with detailed instructions from the French Resistance. The Mosquito pilots therefore knew exactly where the target was and what it would look like, from the planned attack altitude, once over Amiens. So I went to the bin and took my Mosquito back. ![]()
Of course I’m joking and the dummies map joke made me smile!
Jokes aside, my build is finished.
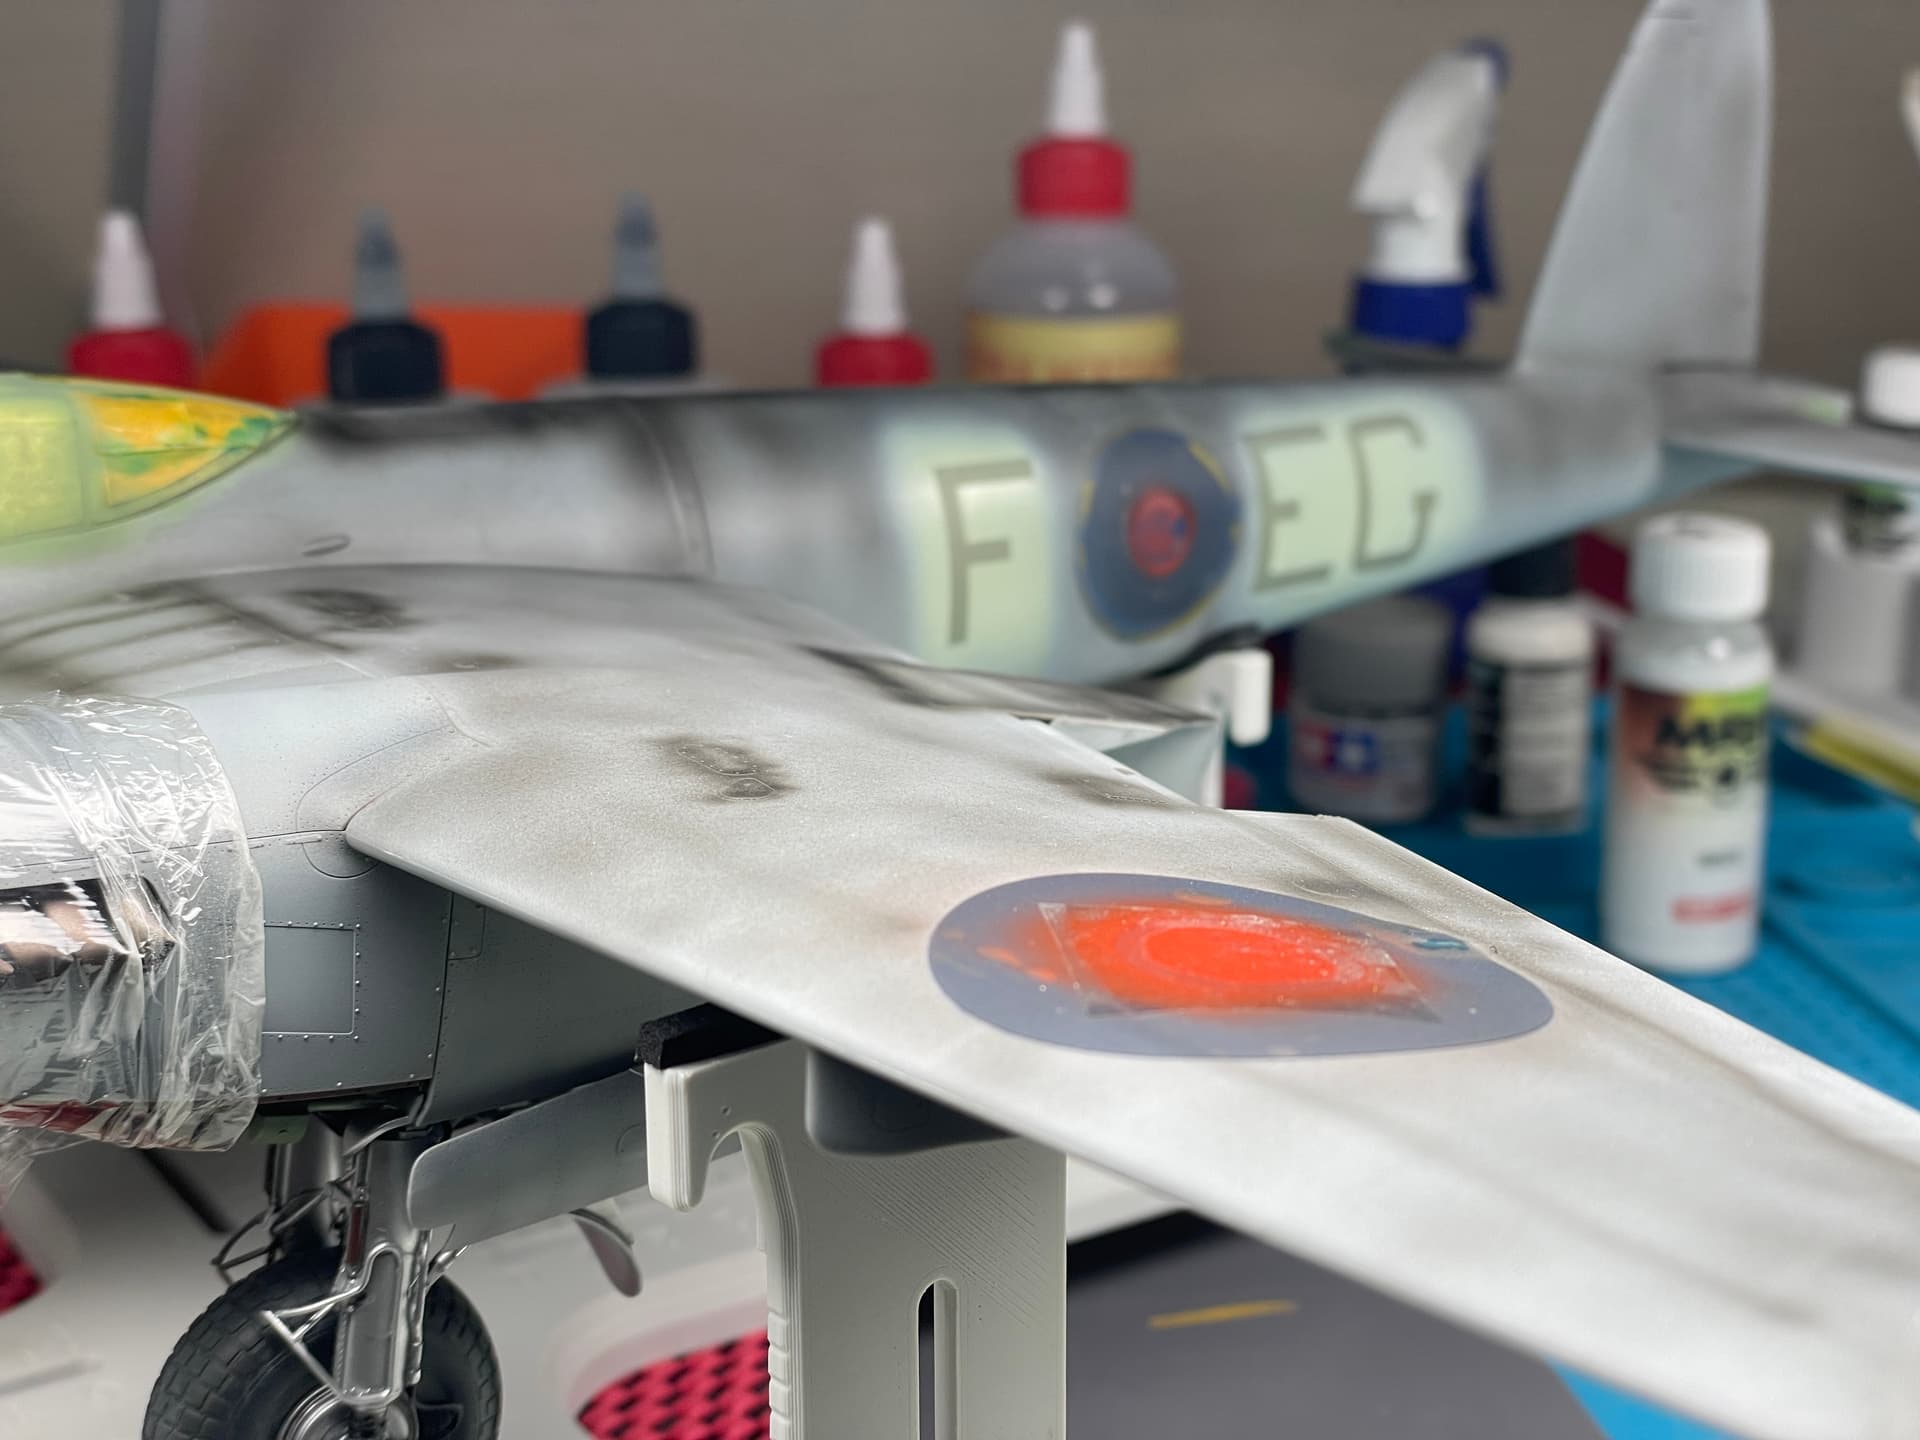
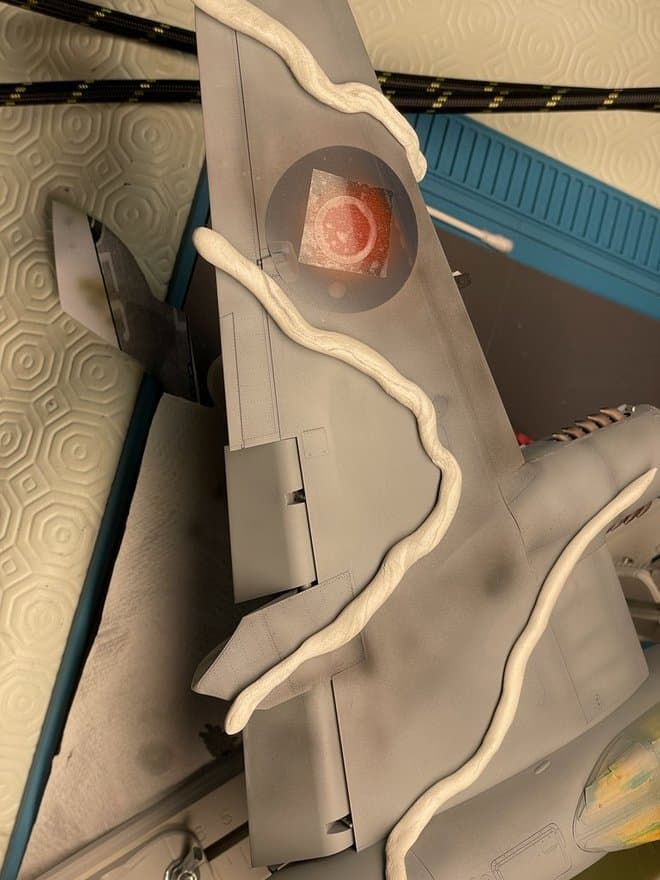
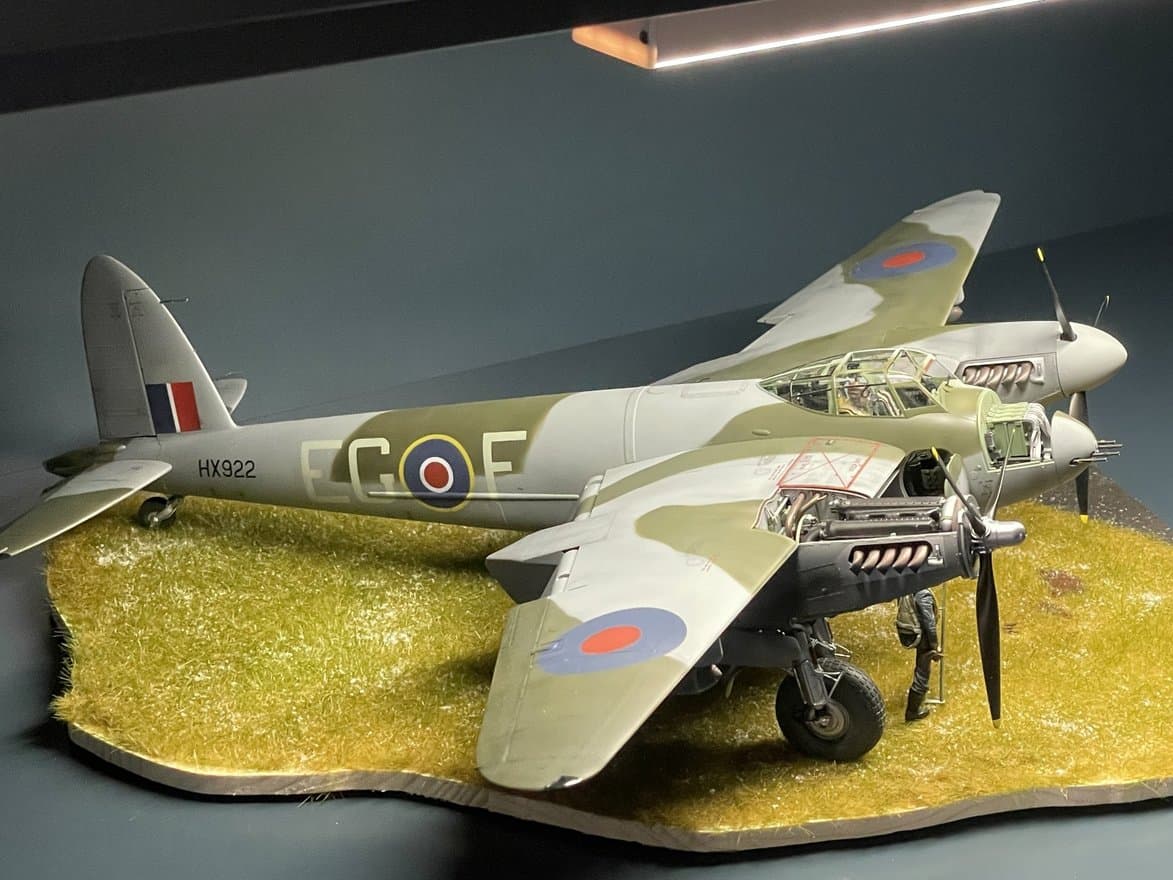
All national insignia, identification and registration letters are self-painted with the help of masks. The same goes for the red “Keep-Off” rectangles on the leading edges of the wings. Only the infinite number of stencils are taken from the kit’s decal supply. But, I repeat my personal opinion, the quality of the decal sheet is not up to the standard of the kit. Too much support film and too tick. Depending on the light, a residual silvering effect can still be seen.
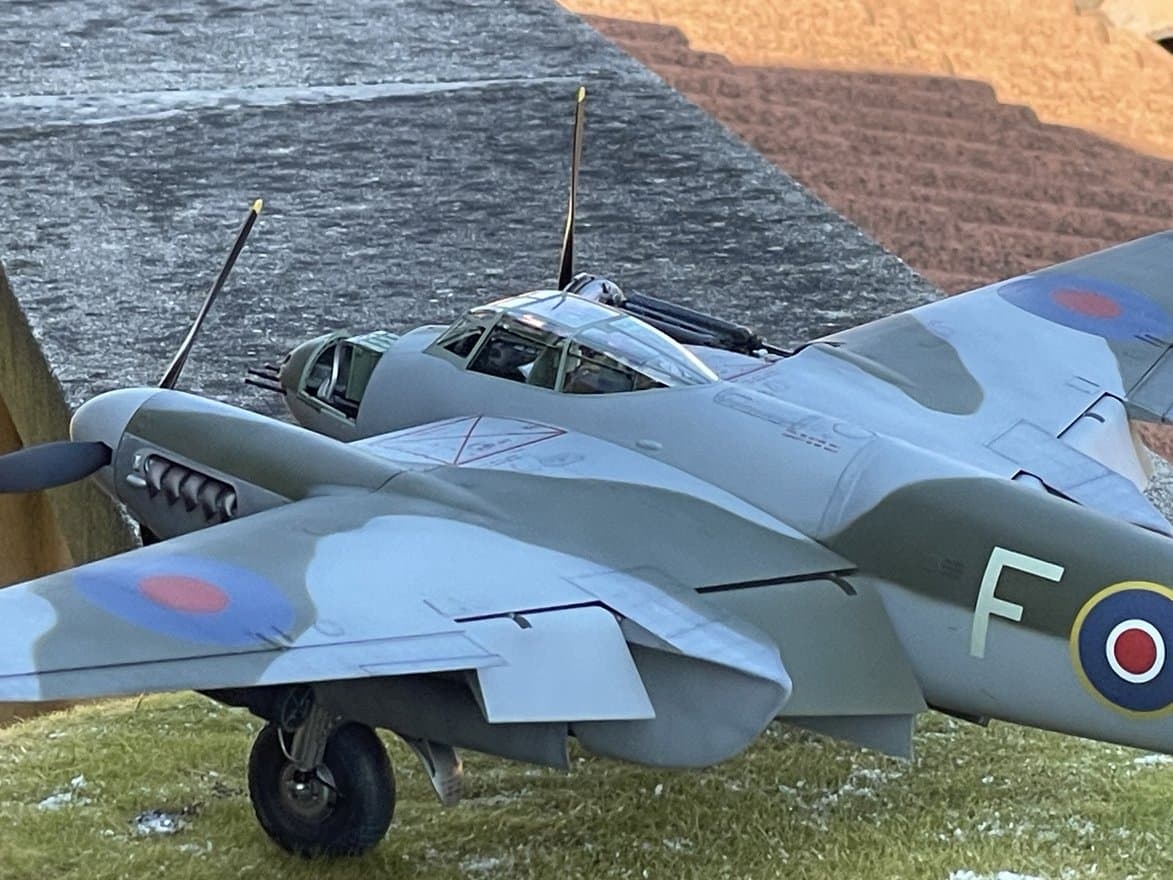
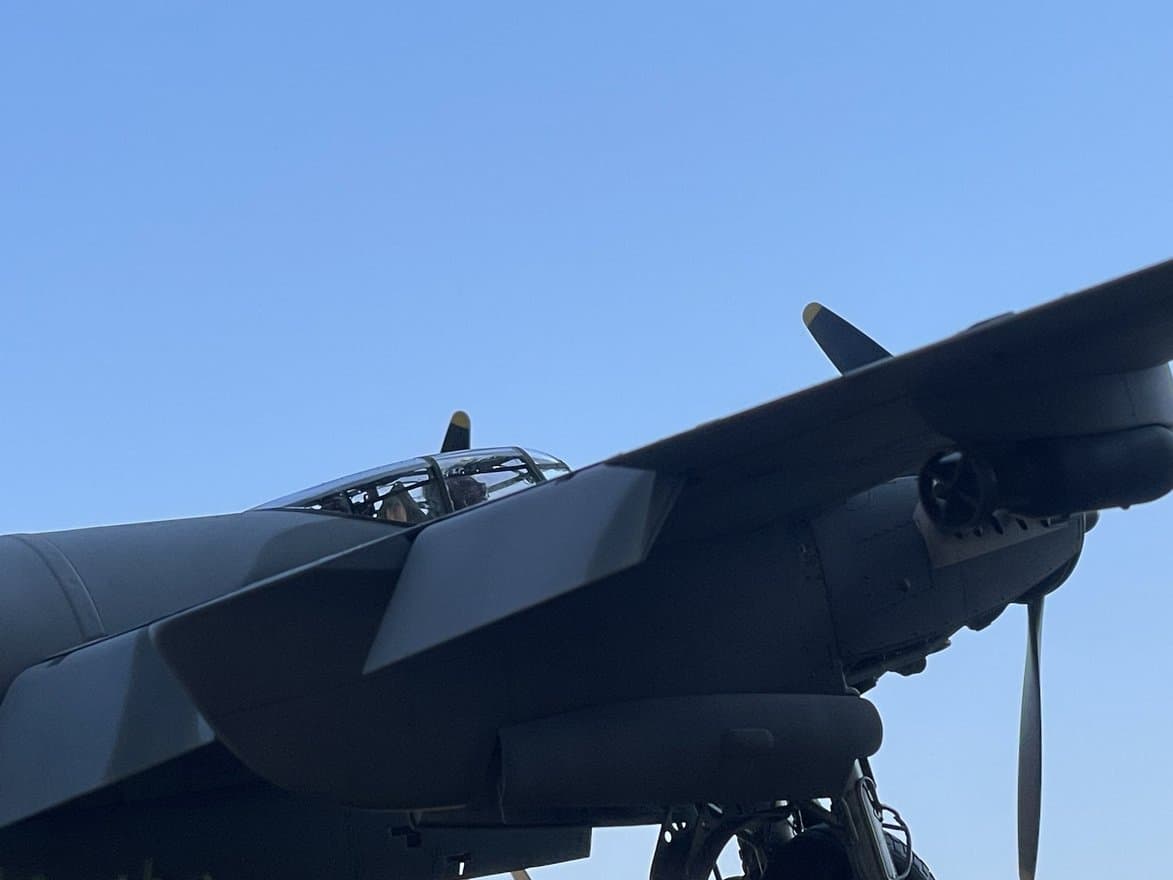
I resume the photos where I left them last time, i.e. in the final stages of painting the model. The disruptive camouflage gave me some uncertainty in obtaining an acceptable soft demarcation between the green and the gray. In the end I am quite satisfied.
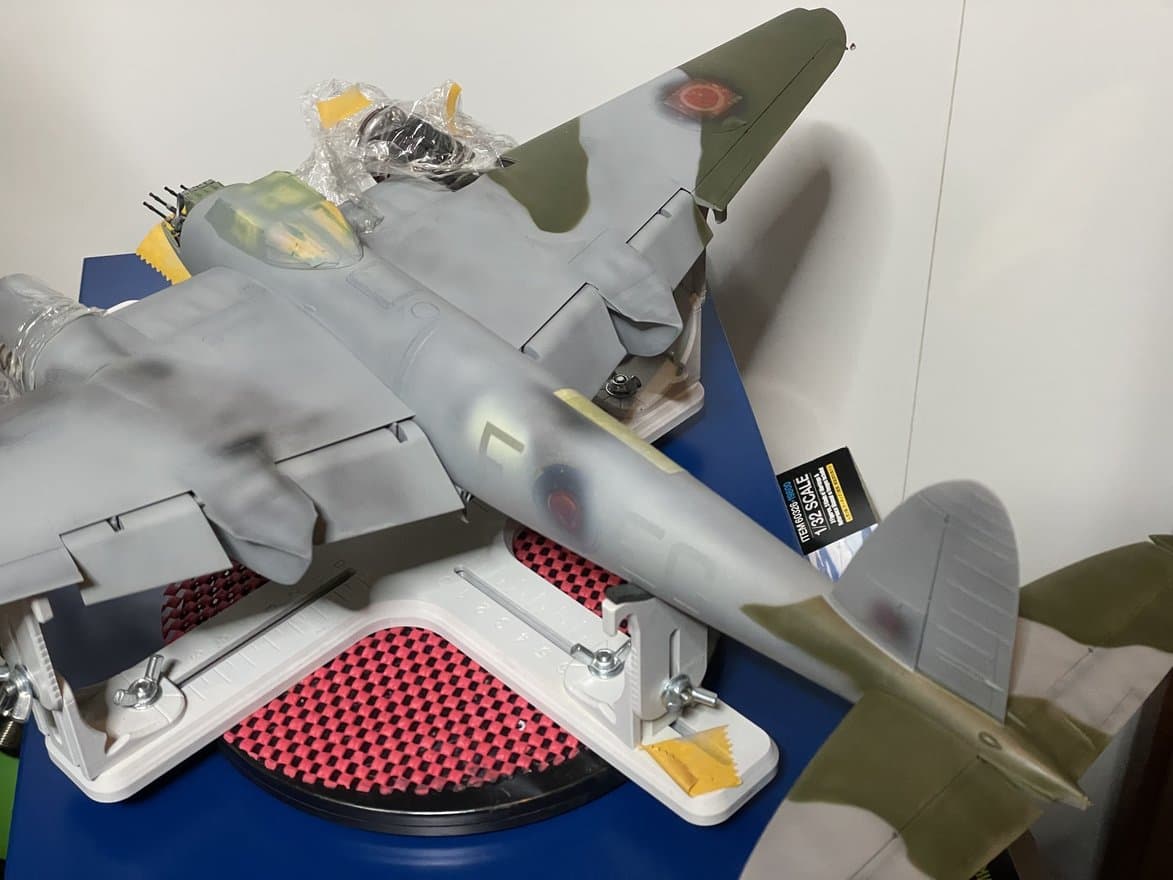
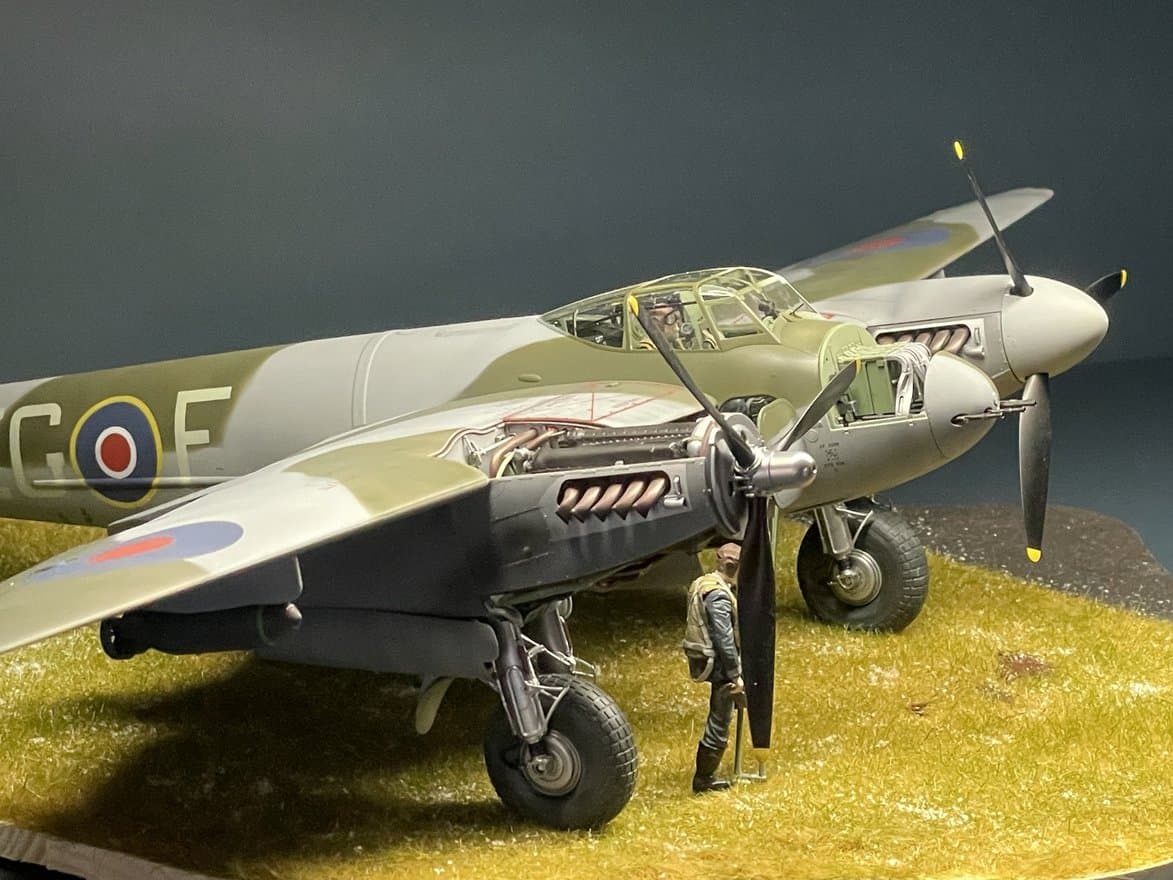
That’s the final result.
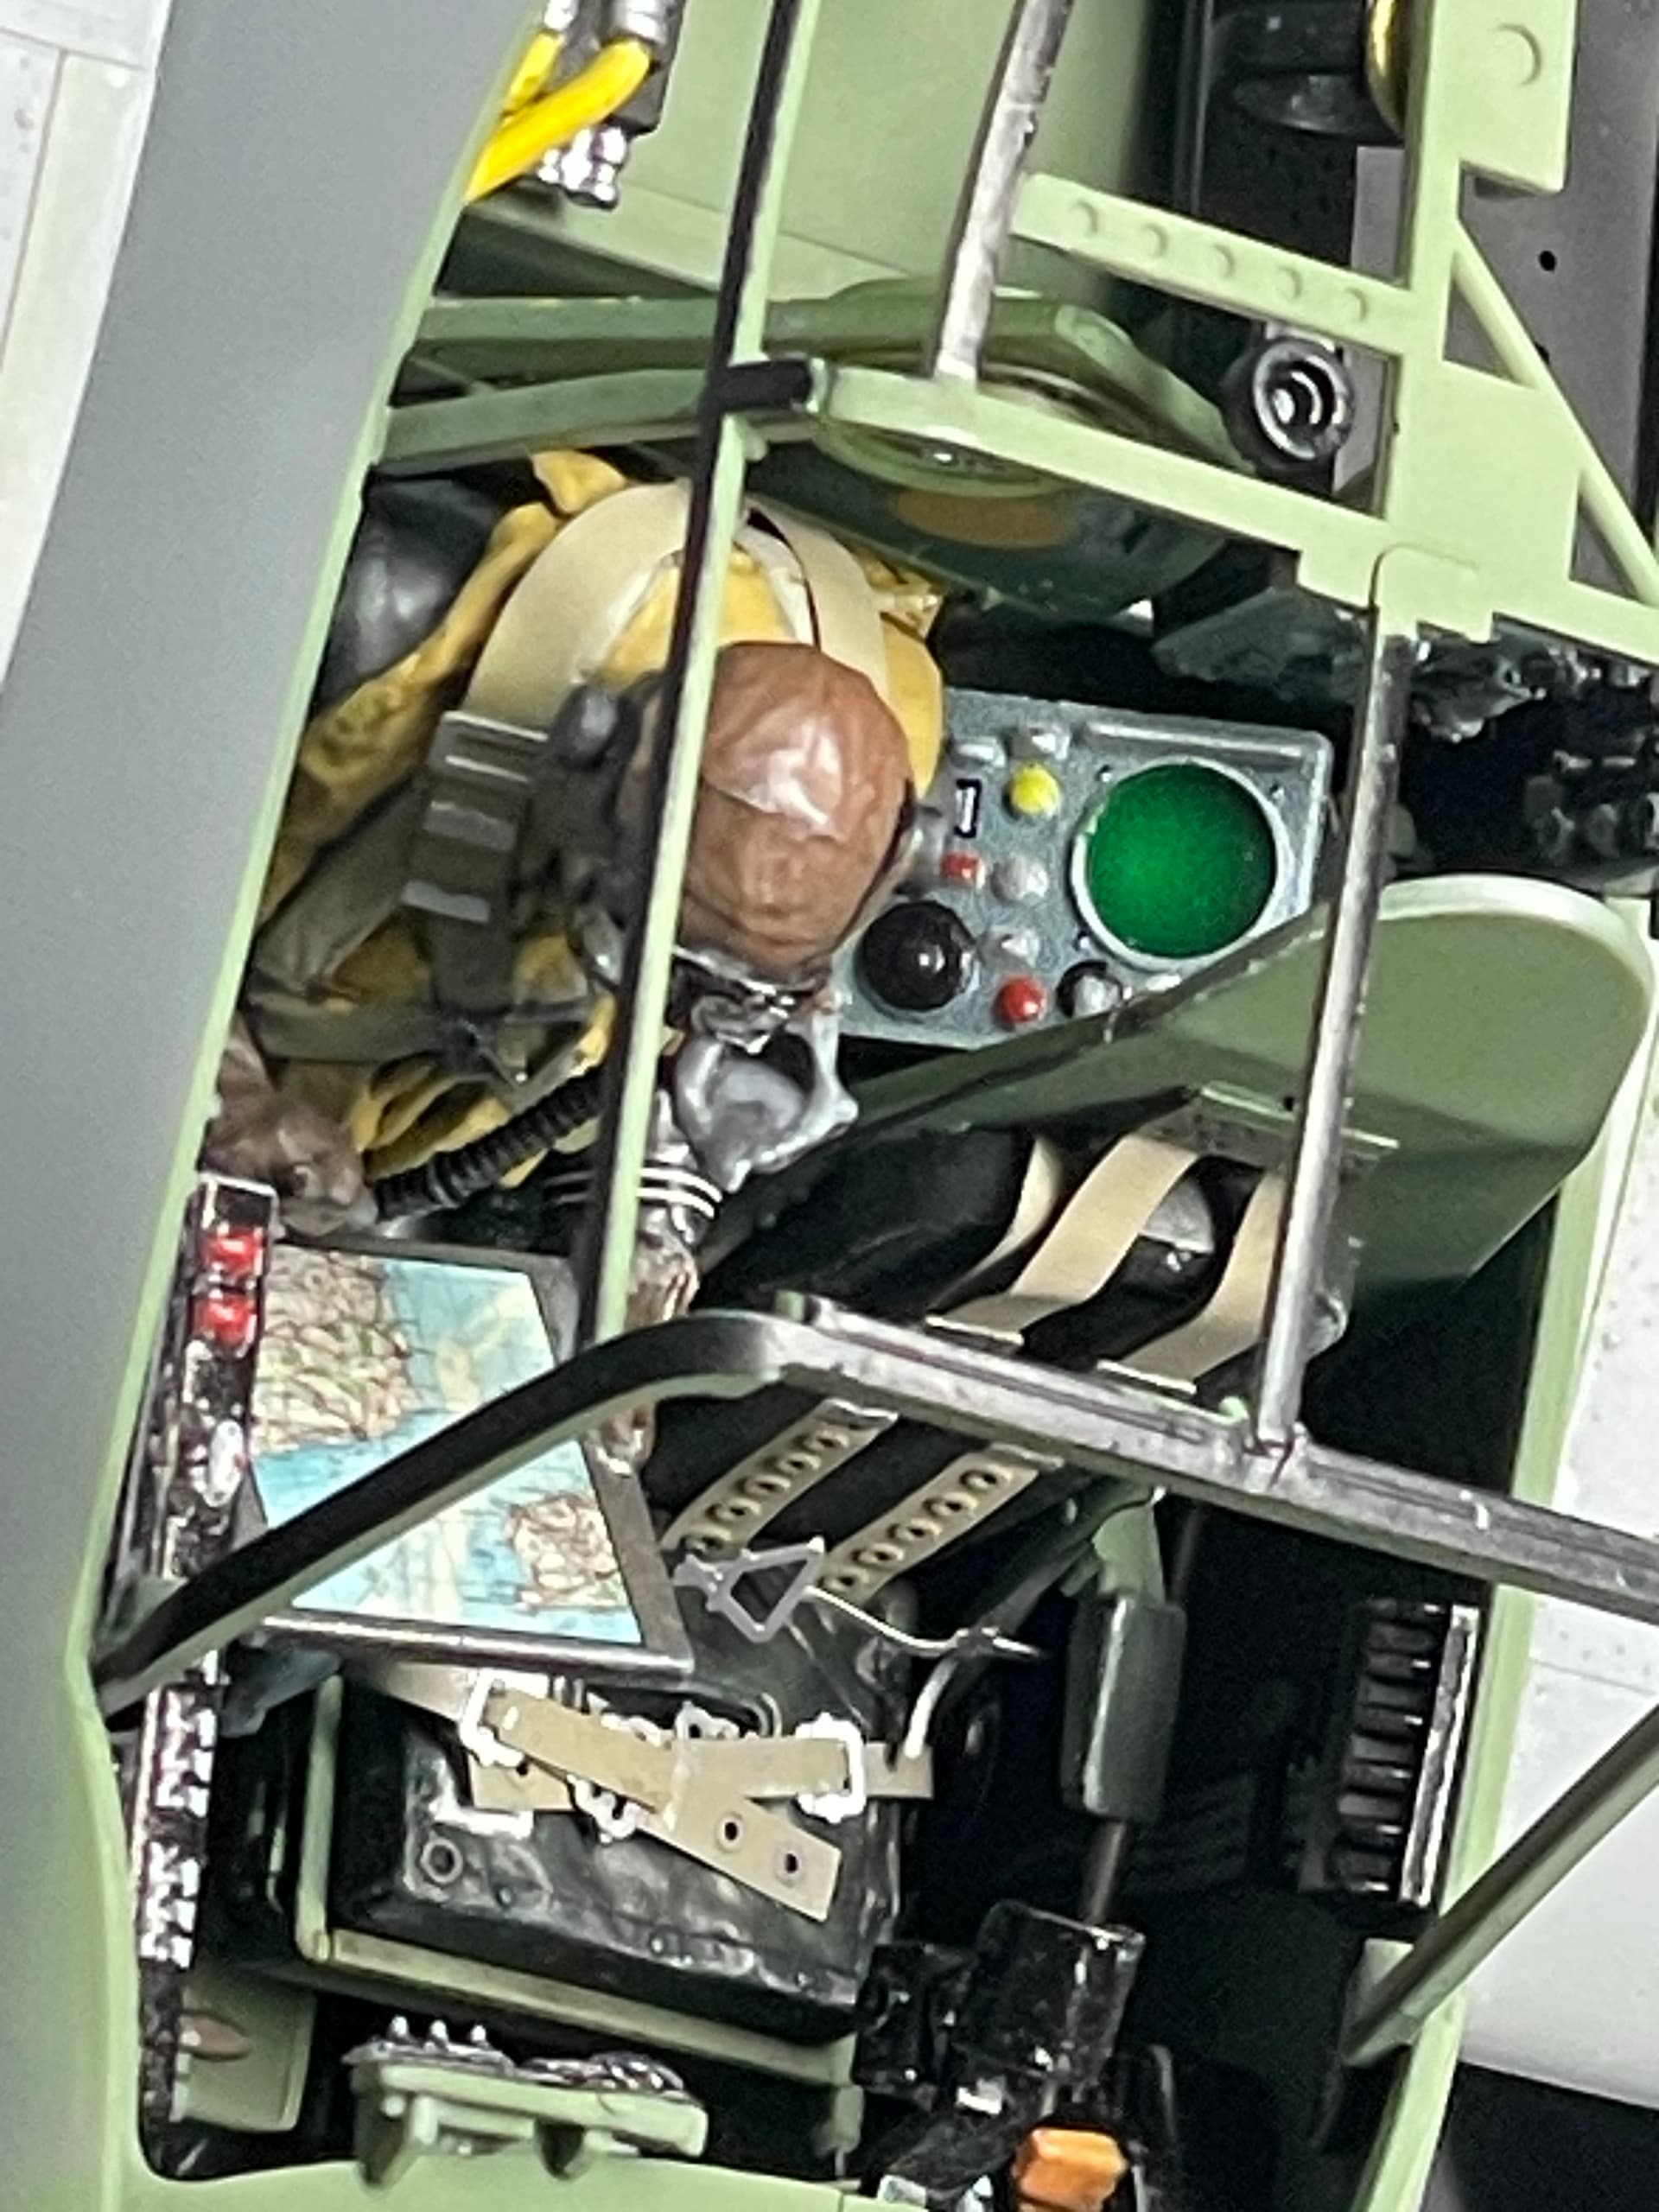
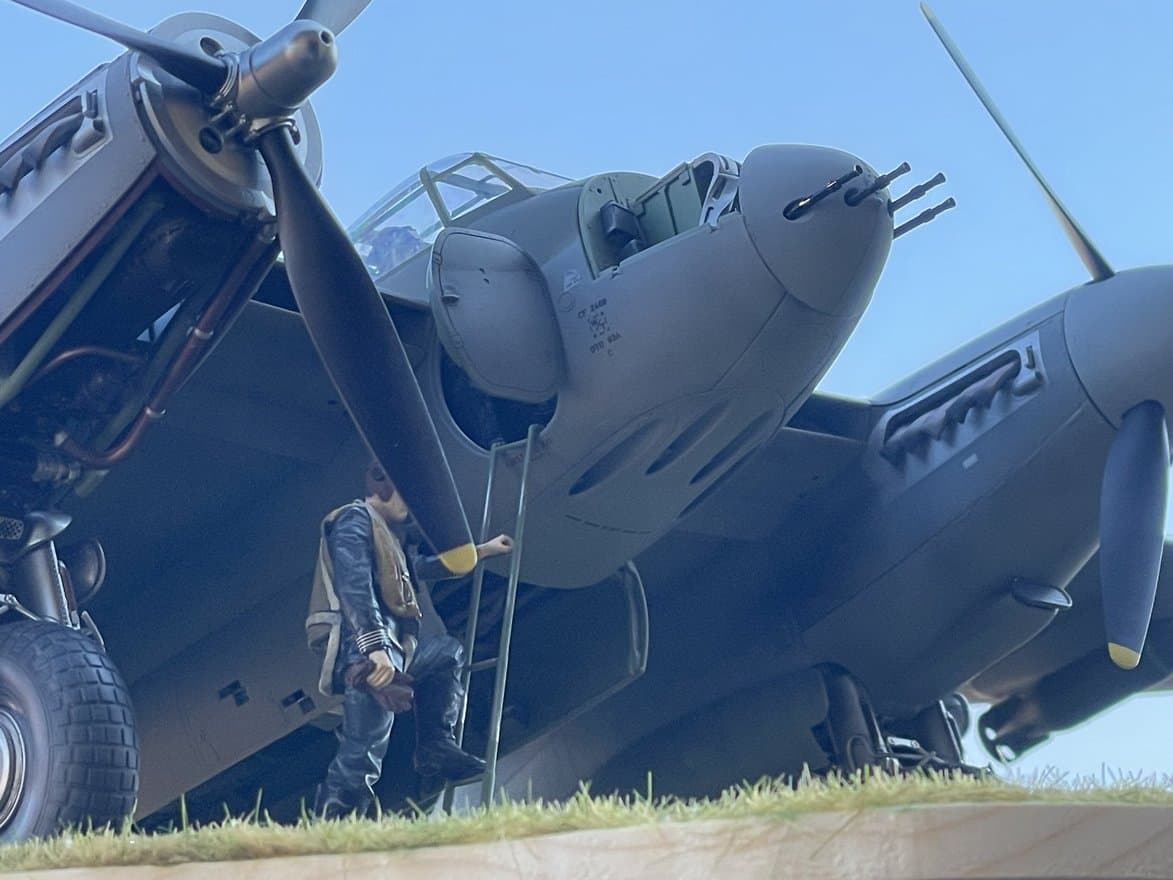
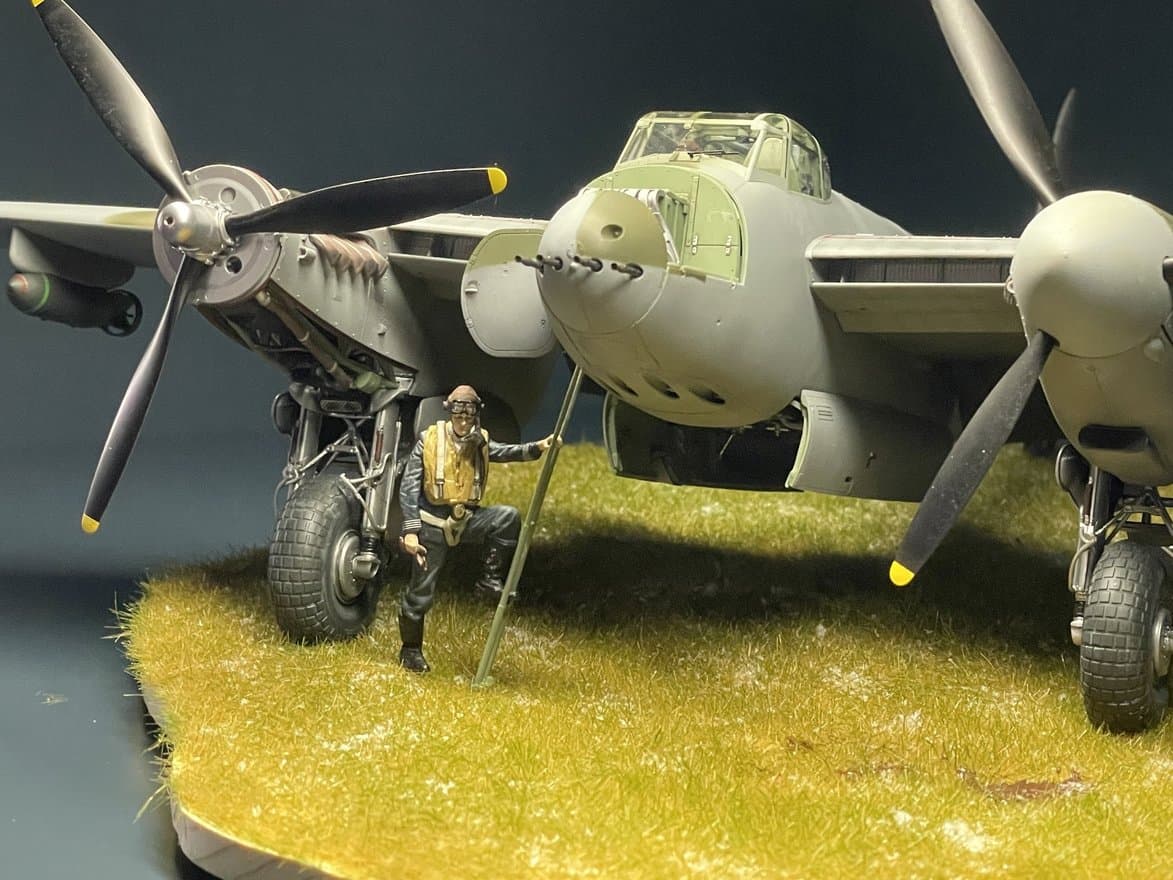
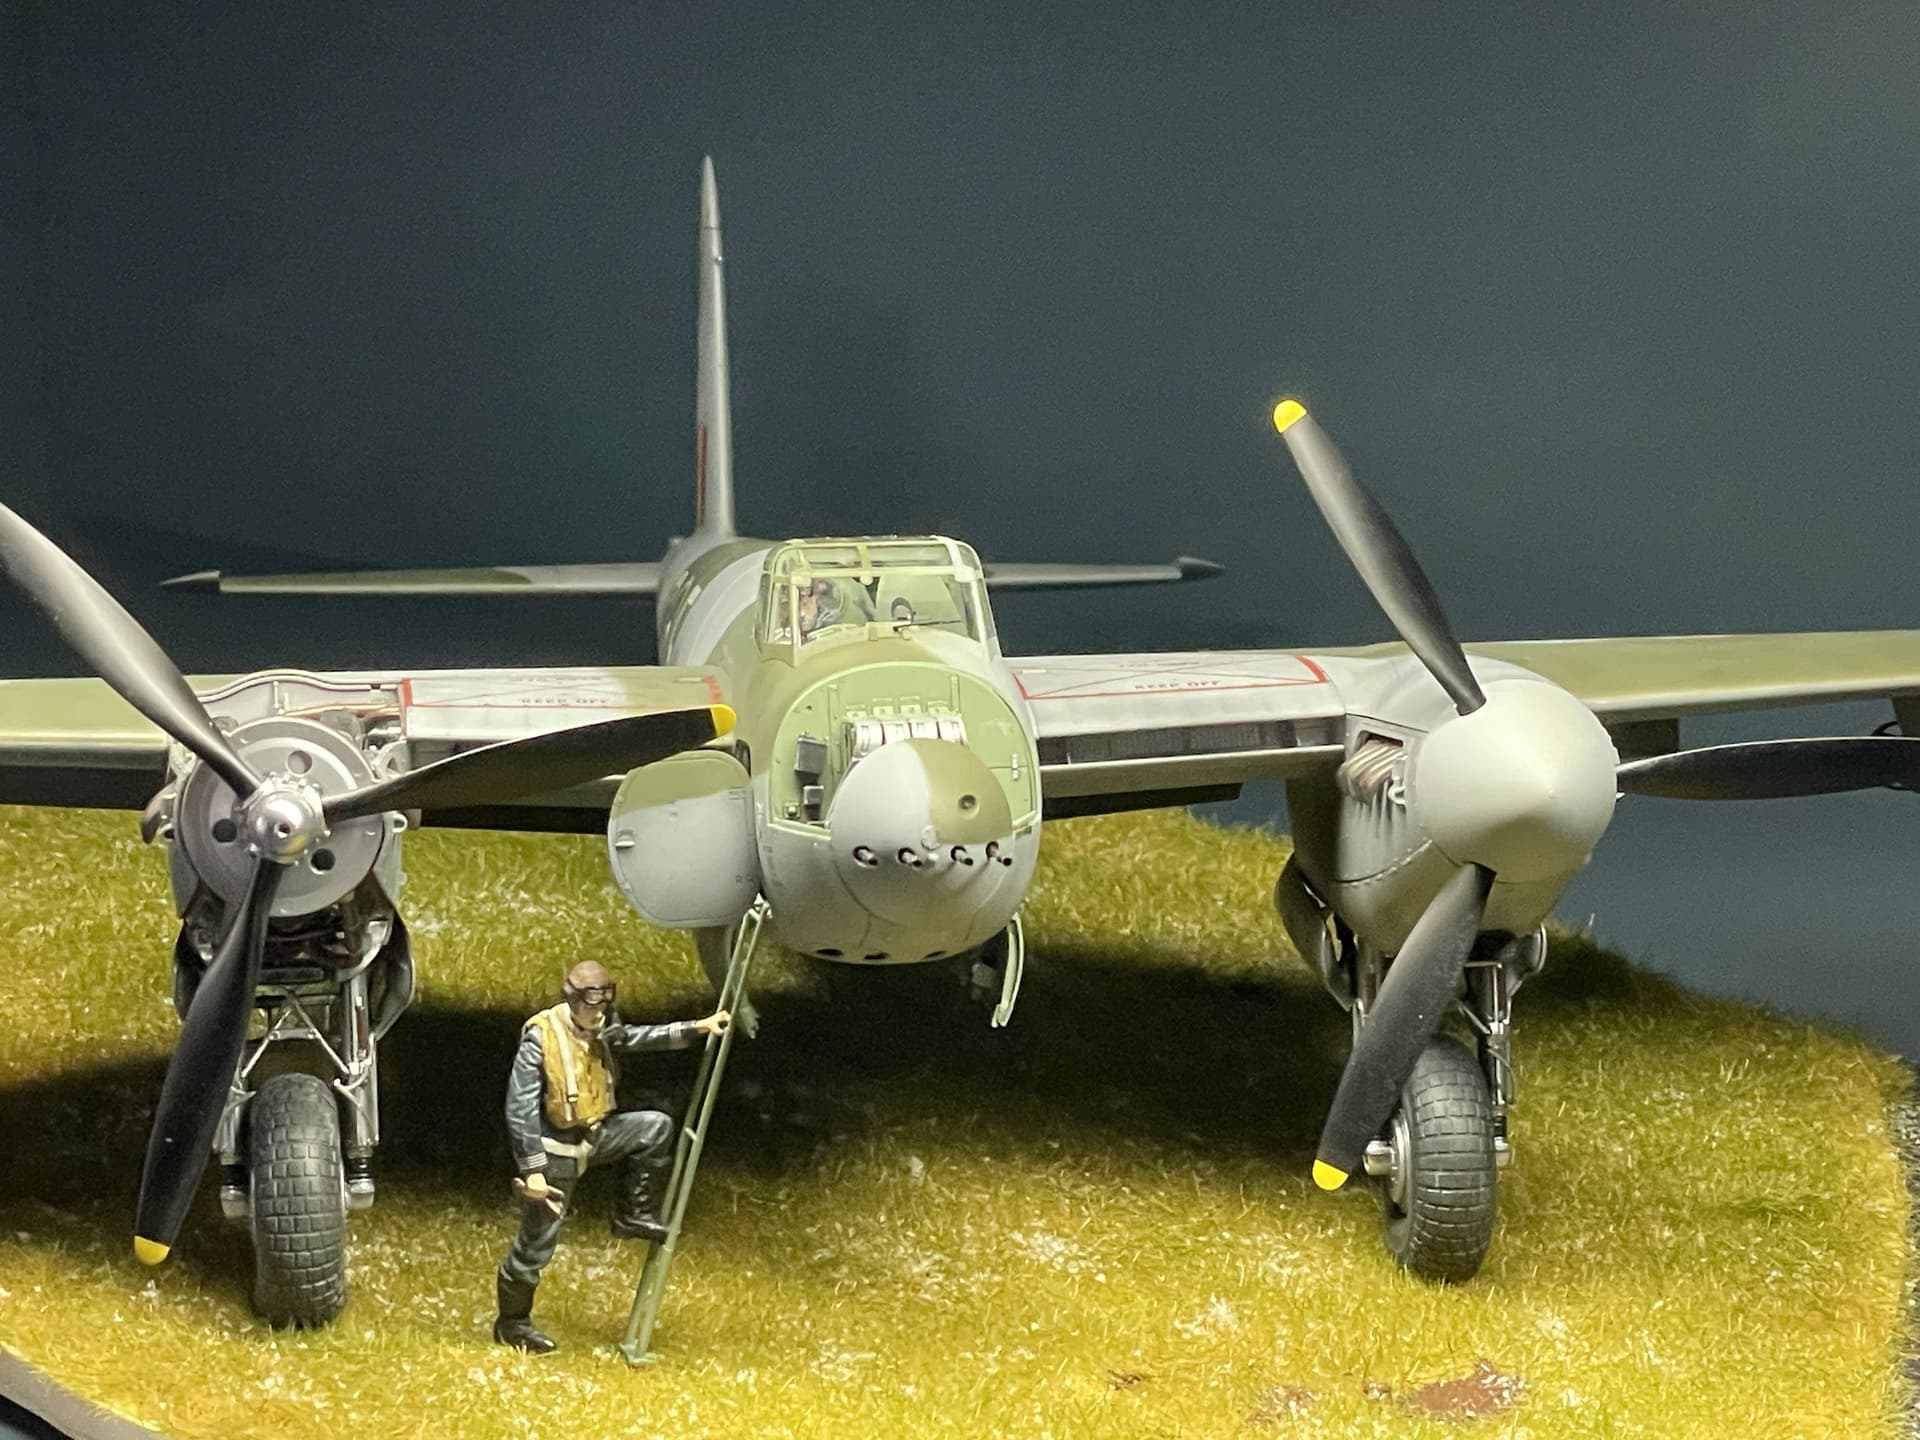
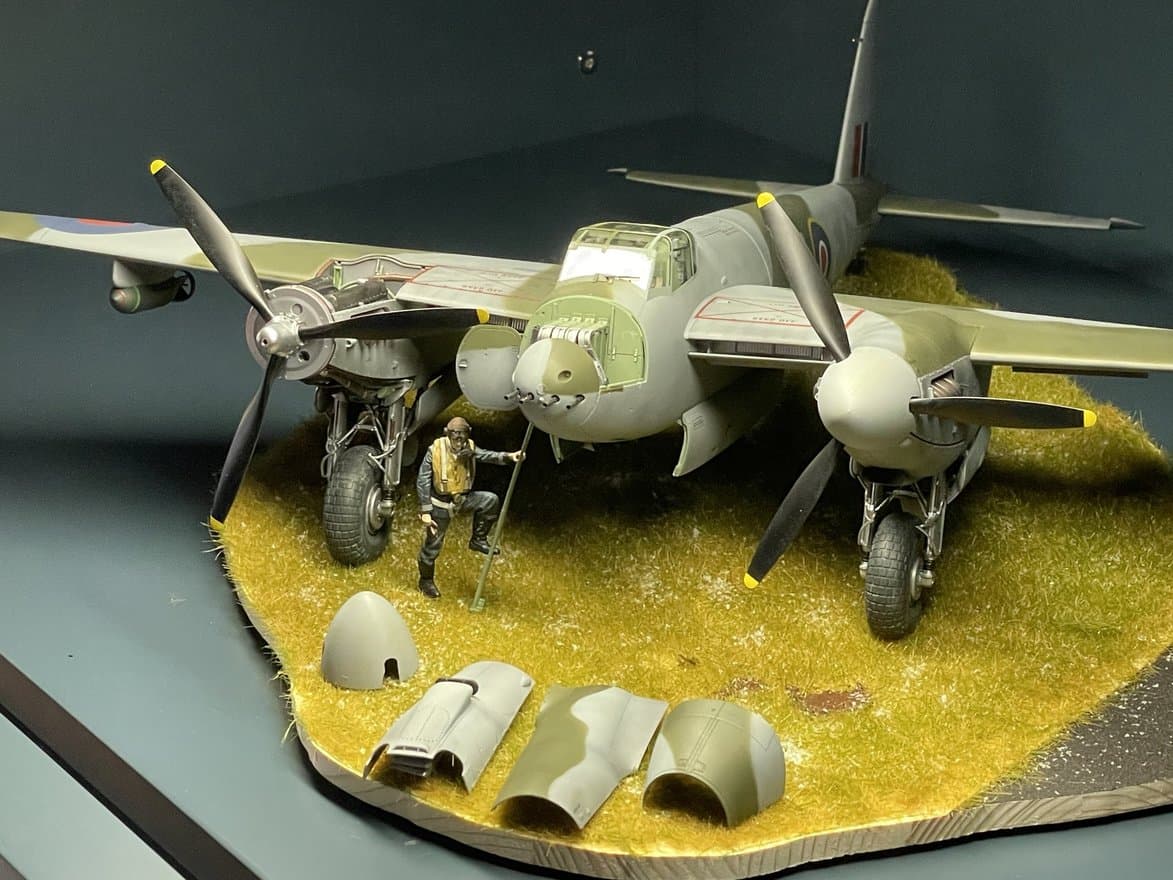
I decided to present it as you see it in these final photos with one engine completely enclosed in its 4 cowlings and the other visible from above and below. Likewise, one propeller with the spinner installed and the other without. The navigator studies the map of the English Channel and the pilot prepares to climb the ladder. A small, simple wooden base depicting the airfield on a cold, wet February morning in 1944, with snow beginning to dirty the grass.
Somewhere some mechanic and support aviator, prepares to assemble the pieces placed on the ground.


Thanks to everyone for the support and appreciation during the realization of the model.
Dan
P.S.
The elegant Macchi MC 202 is a serious candidate to end up on my workbench. But the waiting list is long and many are jostling for a place in the front row. What do you think guys? ![]()
21 Likes
Simply stunning build , wonderful finish and superb photos, the outdoor angled ones are very nicely done.
1 Like
John, As always, very kind of you. Thank you so much for Your support that was not lacking during the whole construction.
Dan
1 Like