With the holidays and life in general, bench time has been pretty limited as of late. I have started a new project though.
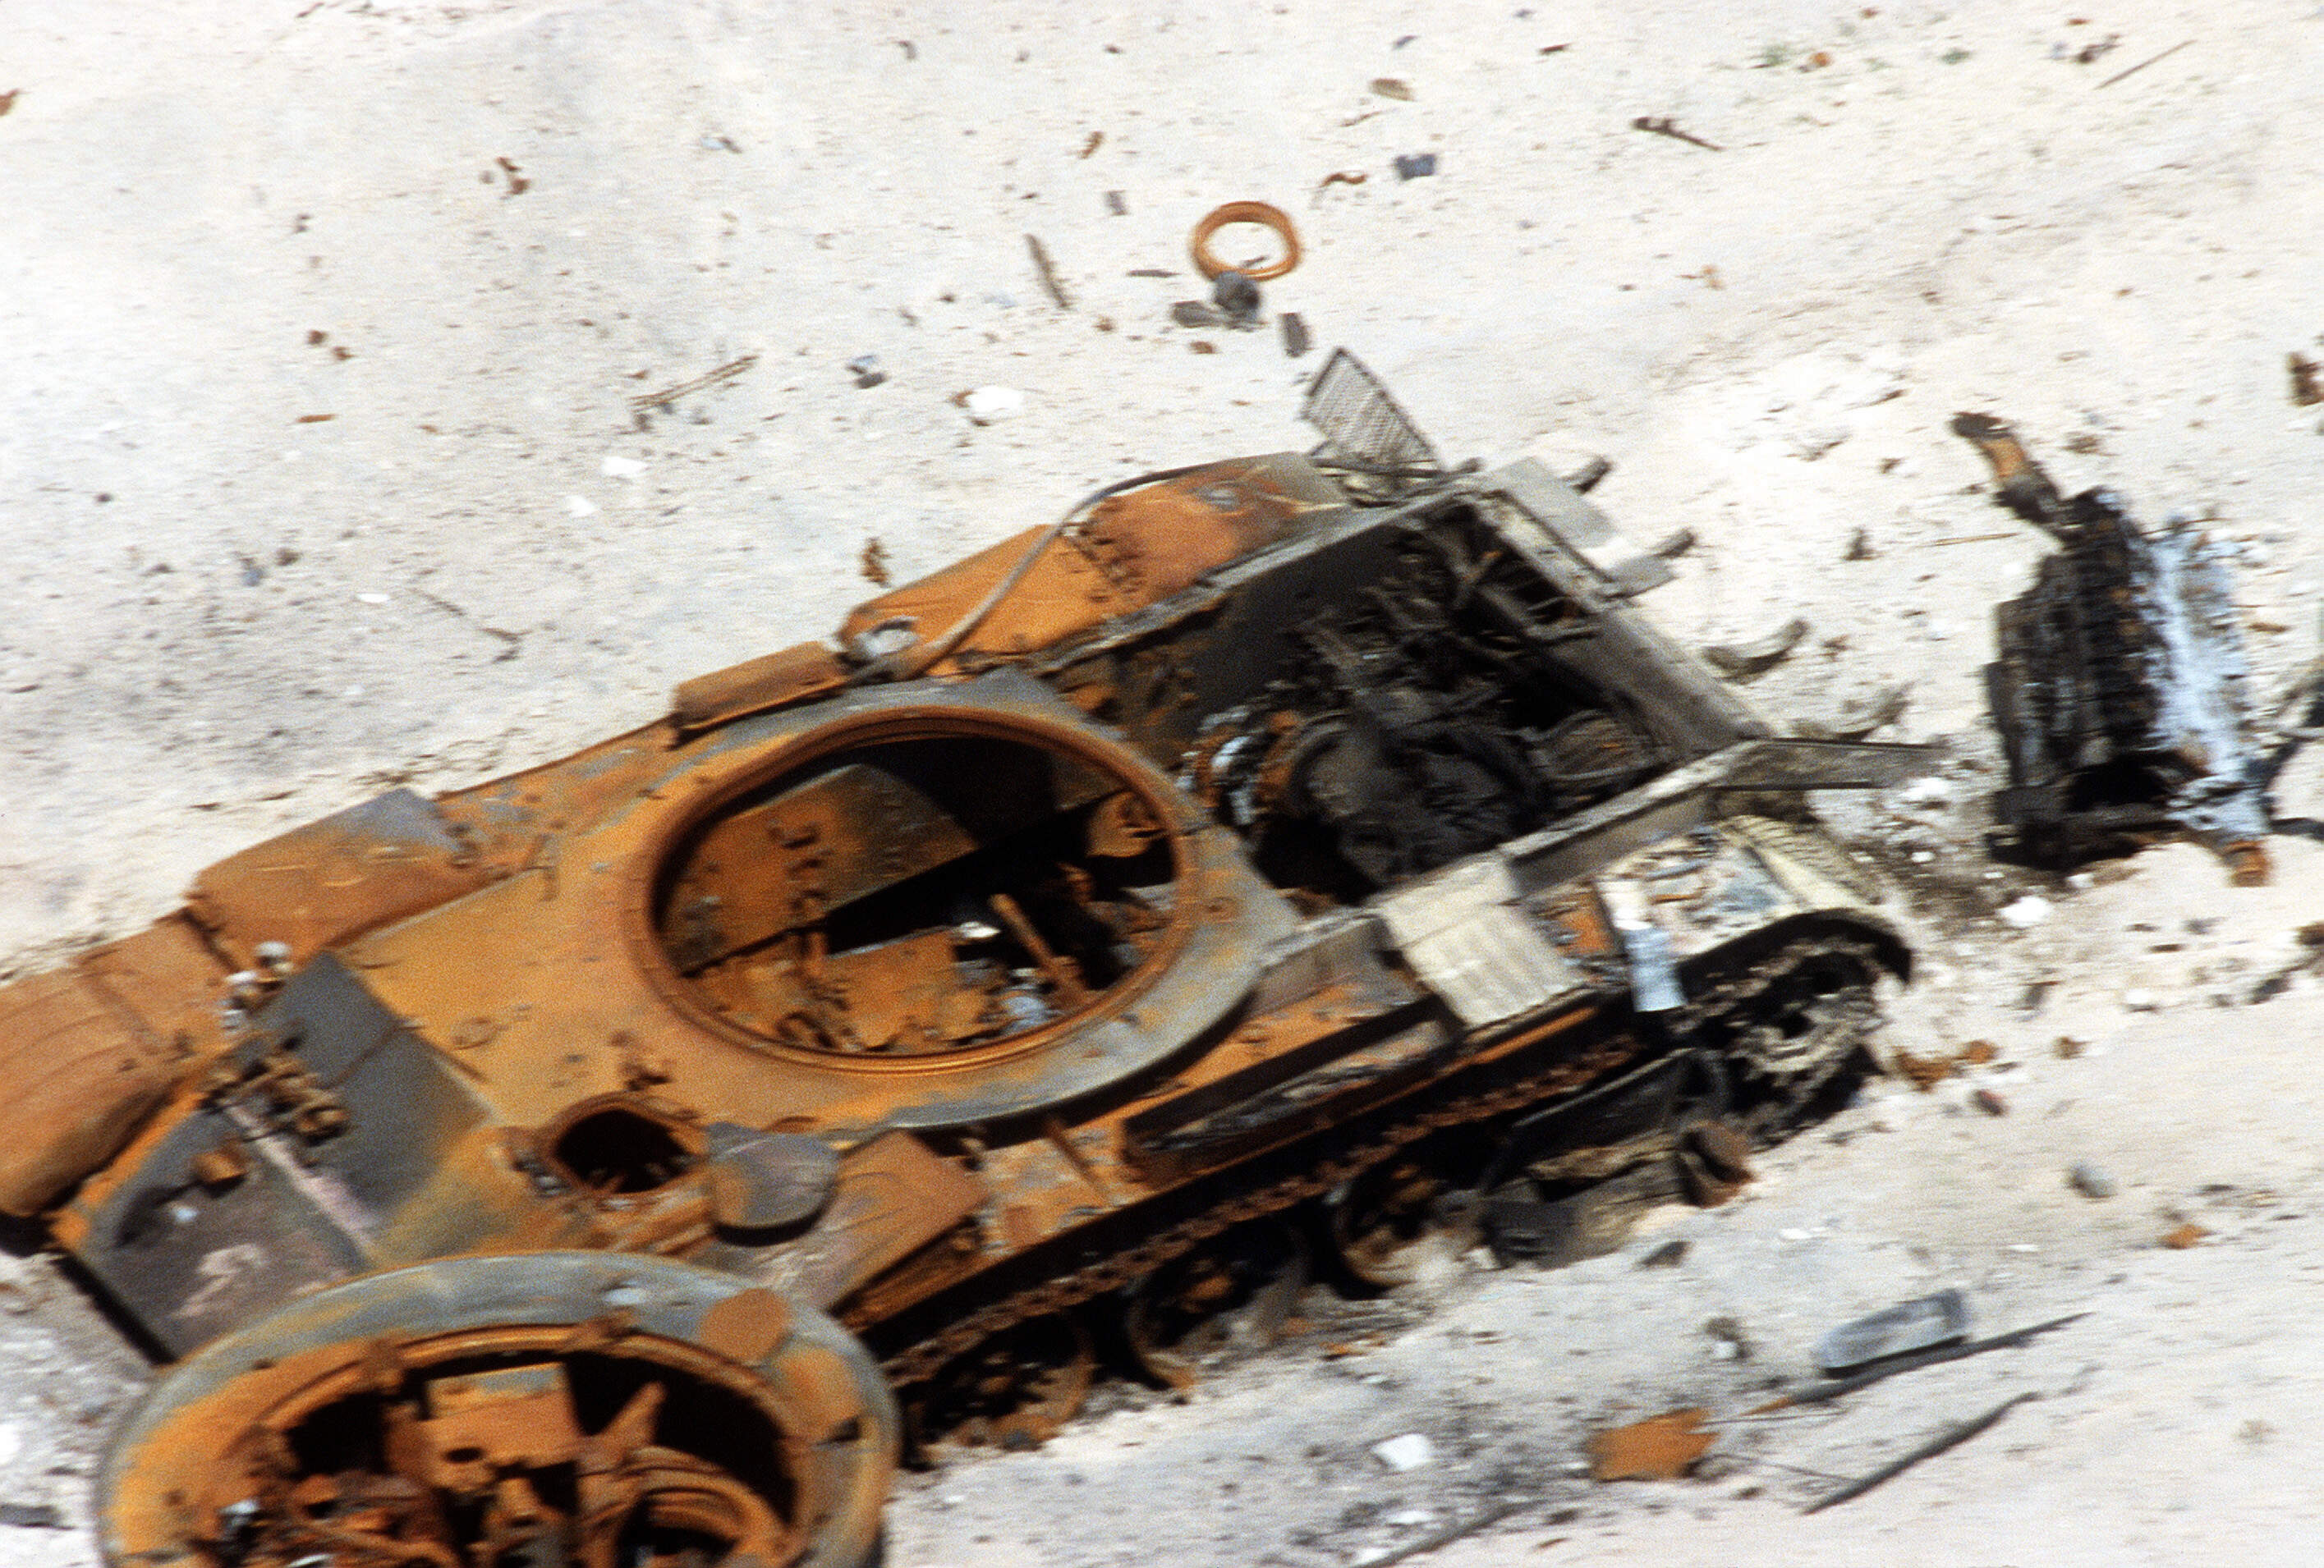
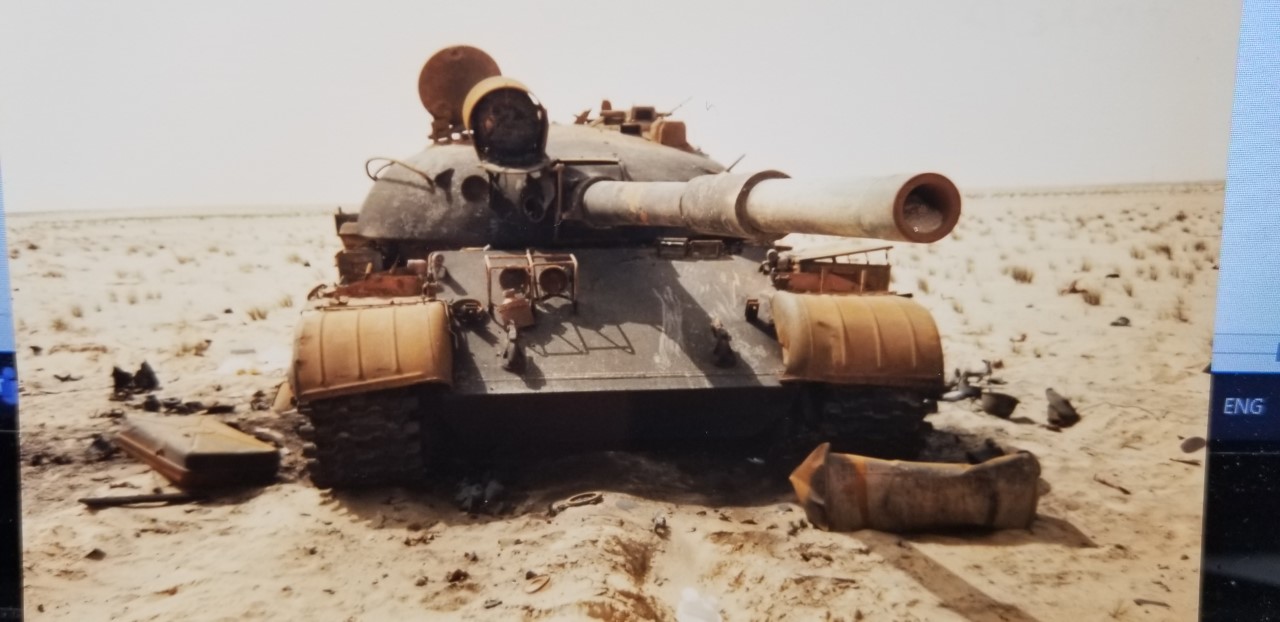
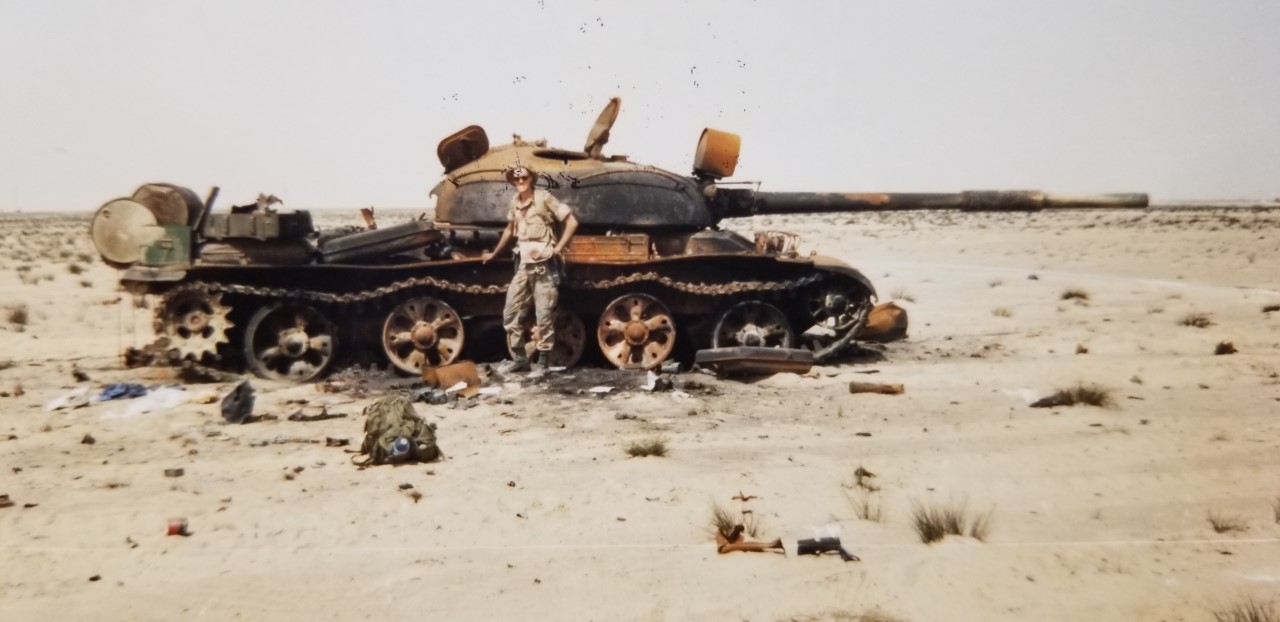
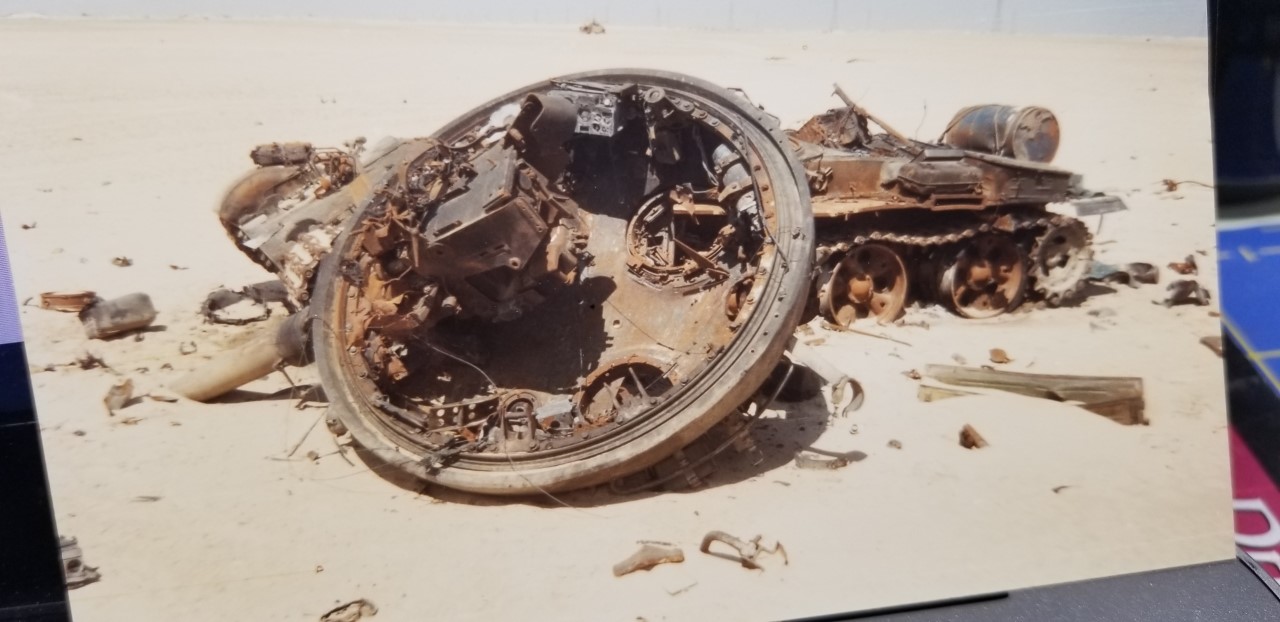
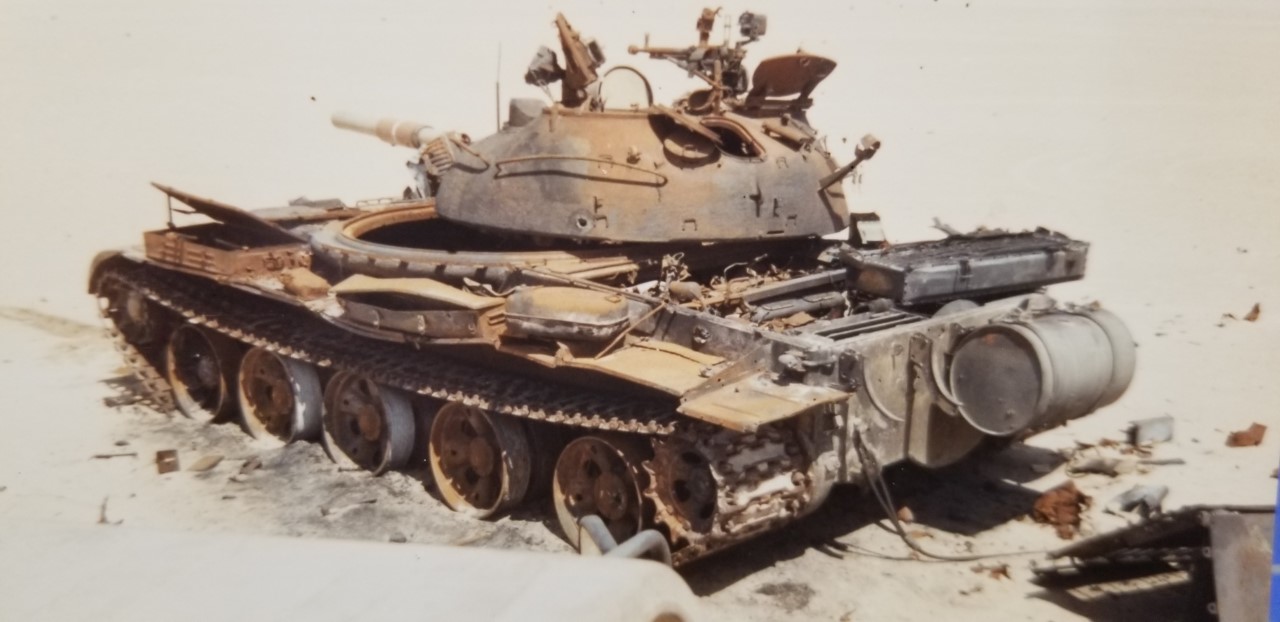
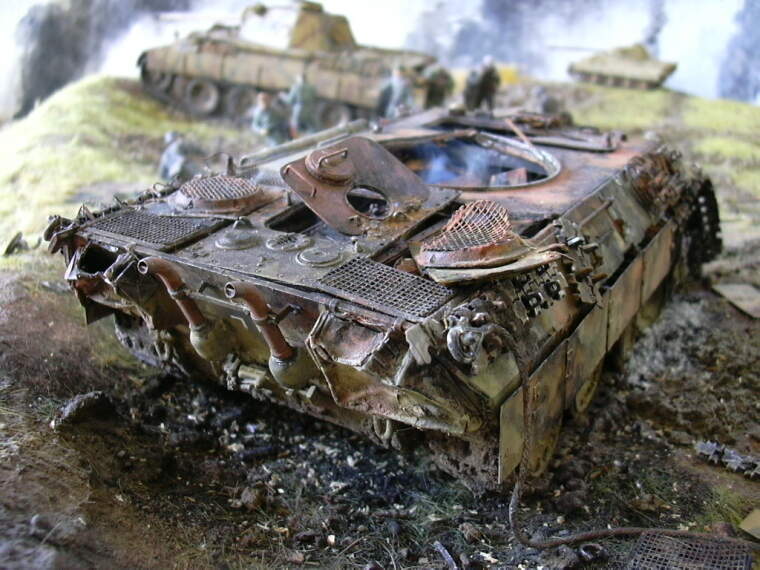
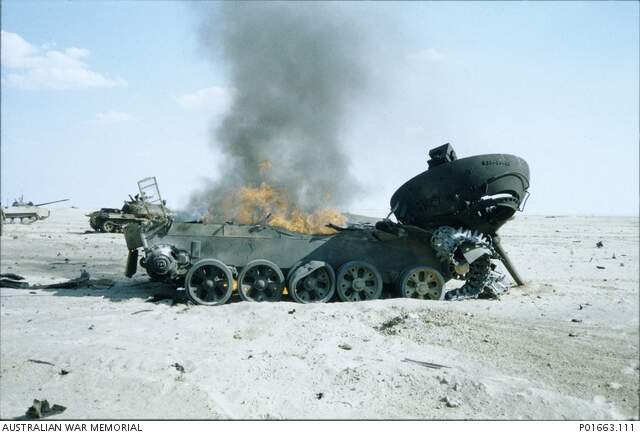
I am working on a destroyed T55 somewhere in the Middle East (Iraq maybe?). I intend it to look something like these; with the turret separated from the hull from a catastrophic ammo explosion.
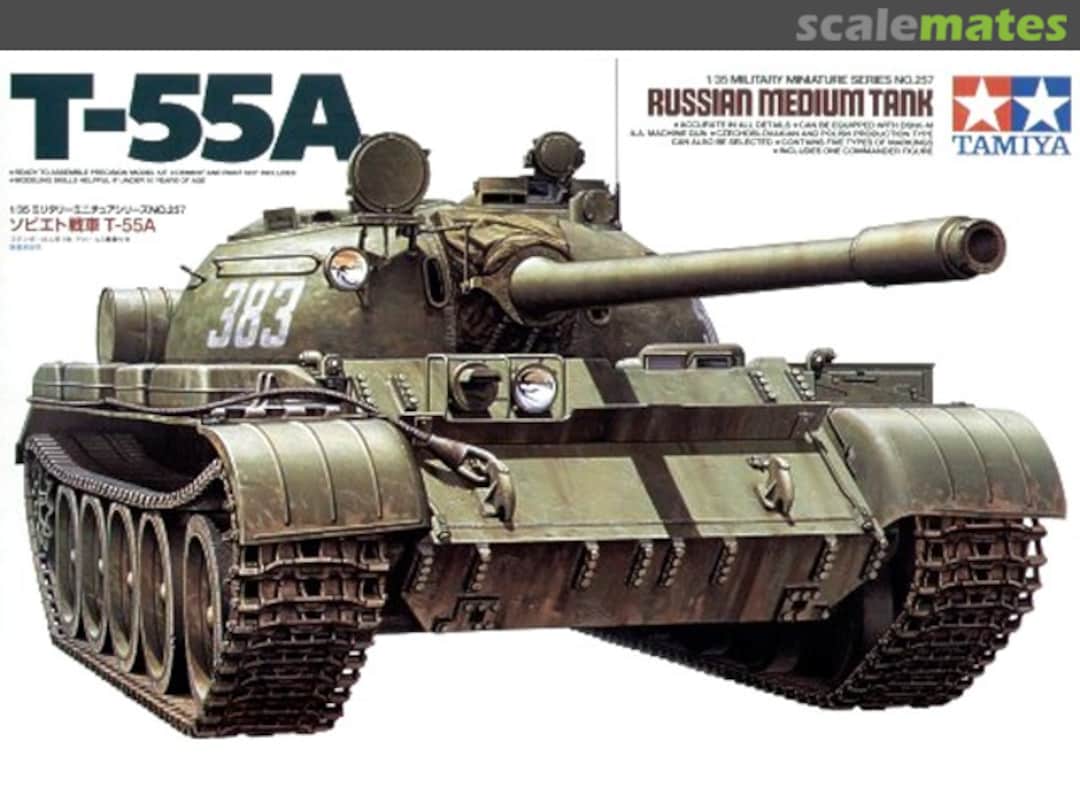
I am using Tamiya’s T55A kit.
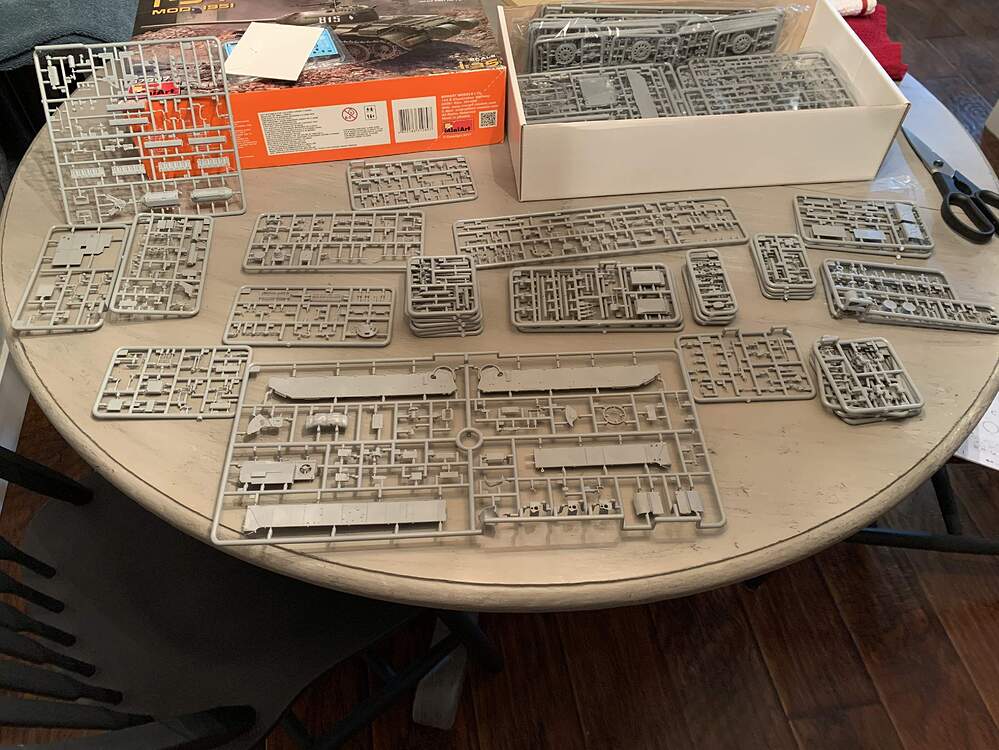
I am adding a whole bunch of left over parts from MiniArt T54/55 kits that I have built and acquired. These kits have a bunch of leftover sprues with lots of parts ion them since MiniArt mix-and-matches sprues to get the different versions. An example, just one kit.
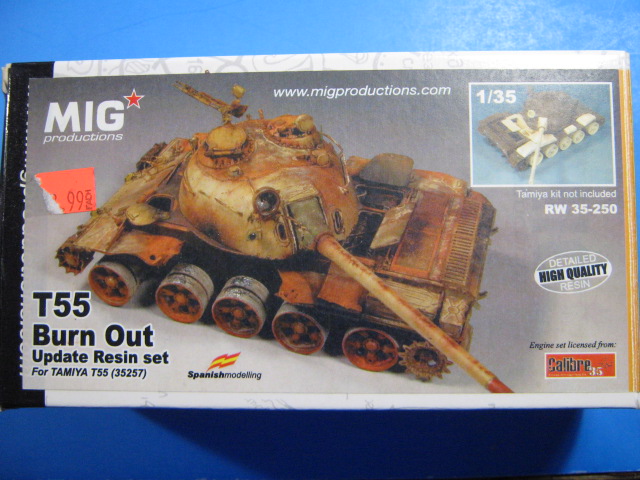
I am also using the Mig T55 Burn Out resin set.
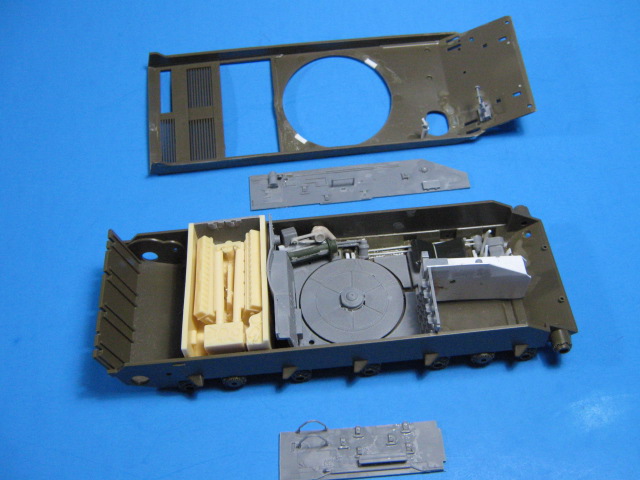
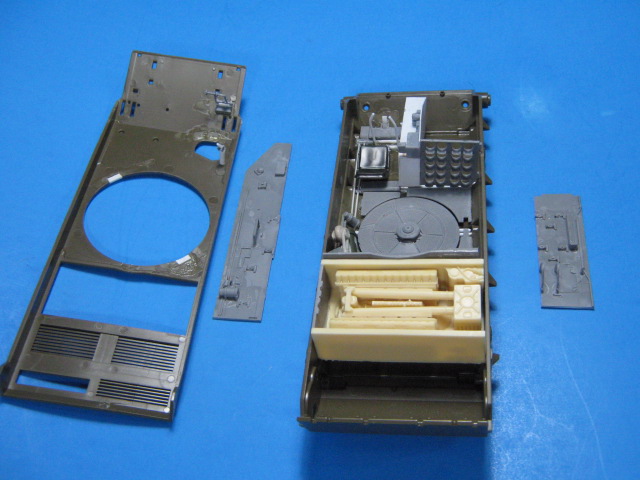
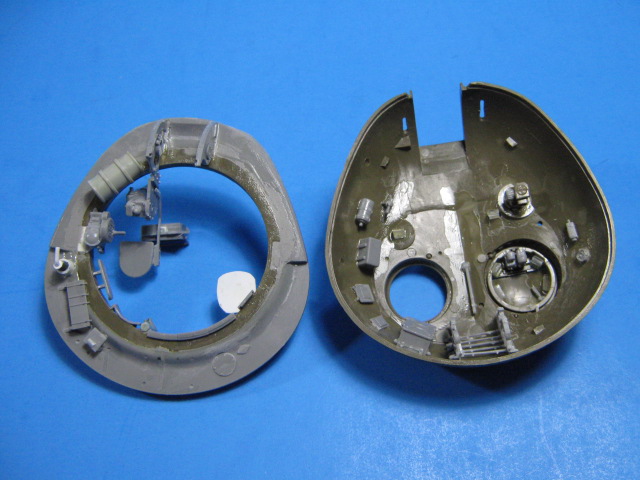
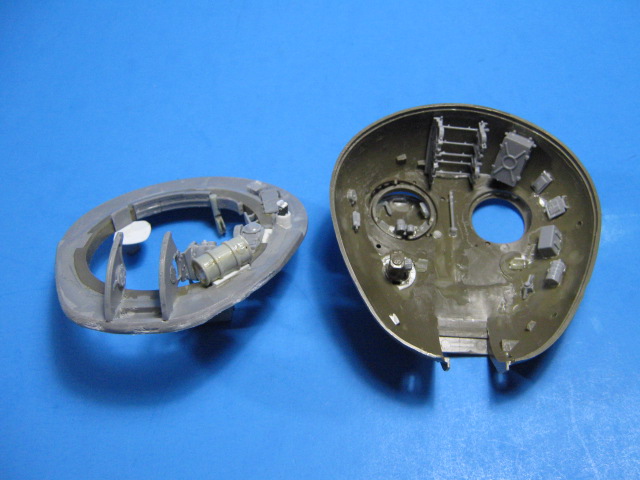
Here it is so far. Tamiya parts are dark green. MiniArt parts are gray. Mig’s parts are the cream resin ones. White is scratch parts by me.

Next up is some paint on the interior, then working on the exterior. I will be replacing the fenders over the tracks with pieces from MiniArt, as well as most of the fittings and fixtures on the exterior since they are superior to the Tamiya parts. Roadwheels will be a mix of the Mig burned out ones w/out rubber and some left over Verlinden ones with badly worn rubber. More to come soon.
19 Likes
Nice topic Gino and a great start. You look like you enough parts to do 3 or 4 lol.
Have you decided on a finish yet ? Total catastrophic explosion and fire throughout with the burnt and rusted look or fresh still with just an explosion and dislodged turret and fire around that area ? Will be watching this one . 
1 Like
Can’t wait to see this one
1 Like
Always enjoy your work. Been thinking of doing something similar so maybe this will inspire me to finally pull the trigger.
1 Like
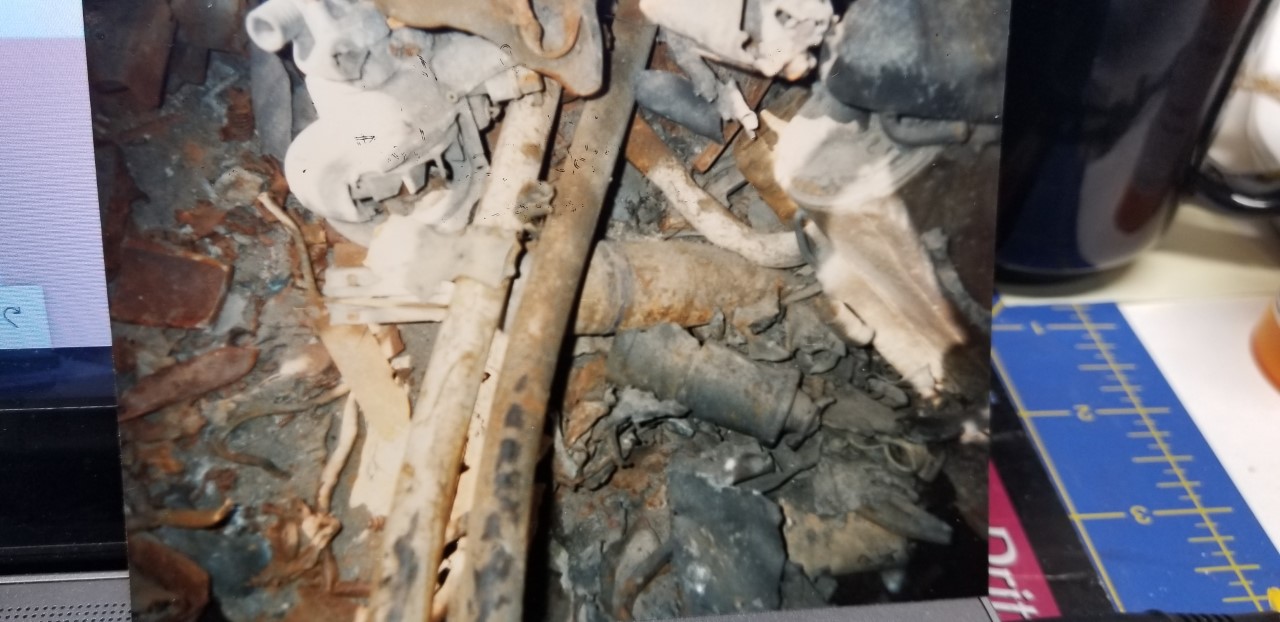
For most of the destroyed T-54,55, 59,62,69s I looked in that had a catastrophic loss I saw the fuel tank, ammo racks were non existant. most of the metal boxes on the walls were damaged/missing. The bullk head between the engine and crew compartment was smashed open. The rounds and the fuel tanks and other debrie were on the turret floor in pieces sized somewhere between a softball and football.
2 Likes
Top, I know, that is where I am getting hung up on this one. How destroyed do I want it to be? I would like the turret off so you can see some of the details inside the turret. I also want it pretty well brewed up to account for why the turret was blown off. However, usually, as you point out, when the turret does get blown off, the rest of the hull interior is pretty much obliterated. Hmm, decisions.
2 Likes
Something like this is a good halfway point… the turret fittings are still mostly in place, but the hull interior is a nice junkyard…
1 Like
This is going to be exciting! T-55’s always look good in flat orange.
2 Likes
Definitely along for the journey on this one. Looks great so far. Looking forward to more!
1 Like
I would leave the engine block in. Most I saw still had the engine. Your picture also has the hull floor seperated from the hull side. I saw where a report stated that many of the moving tanks that were engaged and destroyed had remains under the drivers glasious plate. I would say I saw no remains inside any tank that had catasttopic destruction. Victems nearby yes but not inside.
I built a T-62 many years ago that the turret was upright but slid over on the hull top. I used a Newsweek or Time photo as a guide. I copied all the details, textures and colors. You really need photo’s to work from because of the ways the heat discolored things were different than you would have thought.
4 Likes
Ooo this looks very interesting, plus your work is always great so Im defiantly following!
1 Like
This looks great so far! I too have that Tamiya kit and wanted to try to depict it burnt out so will be following this build with interest.
1 Like
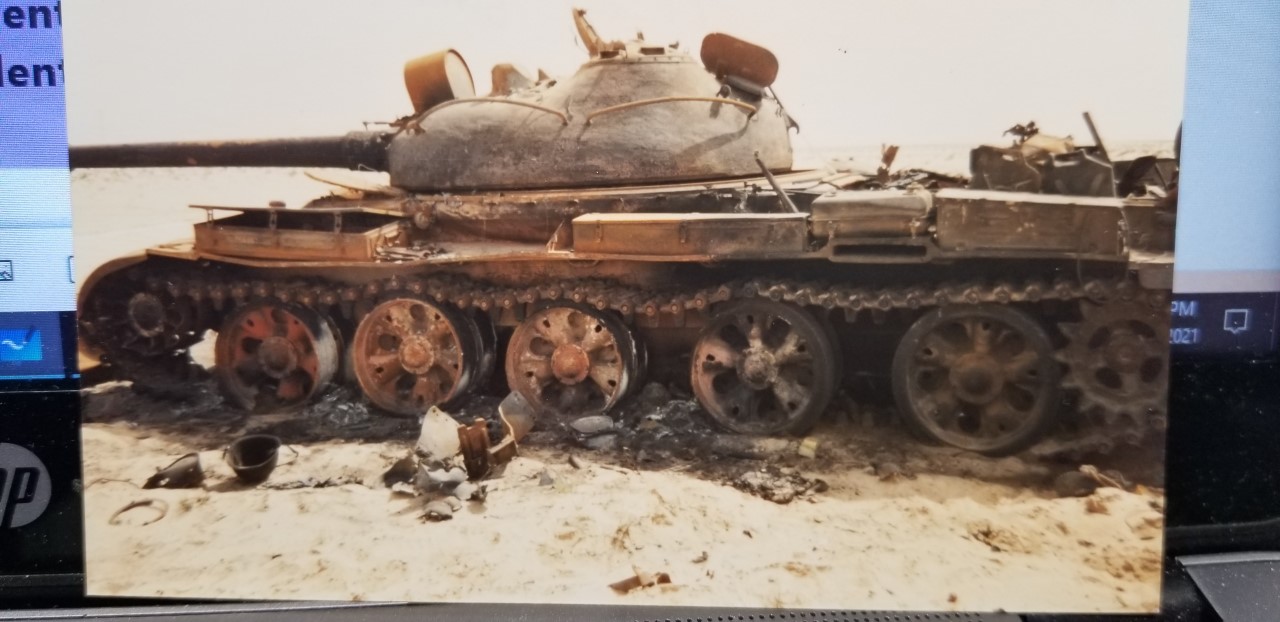
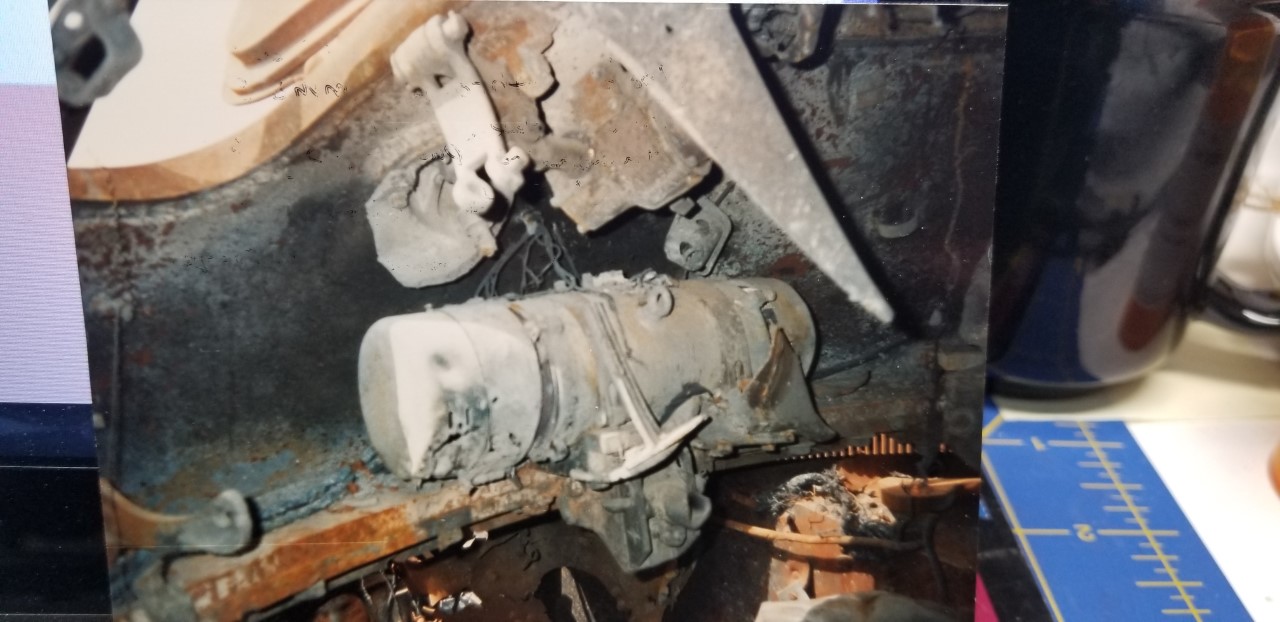
I will send some photos I have tonight.
Being a modeler I seldom take only one photo of a tank unless I just don’t have time.
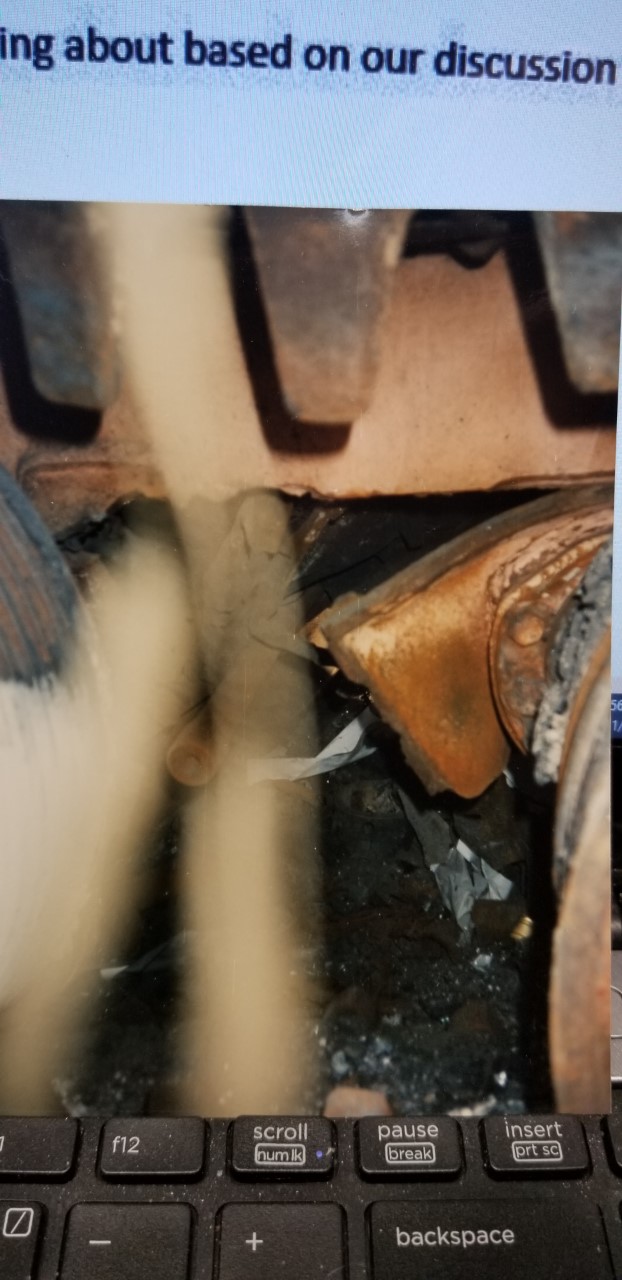
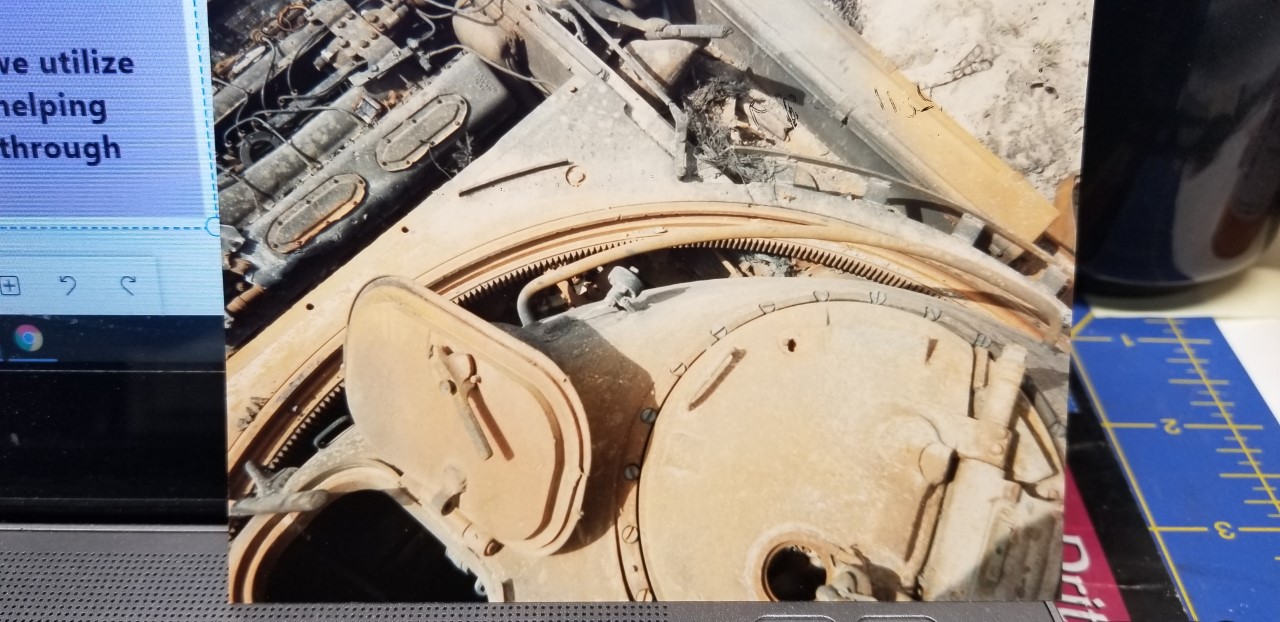
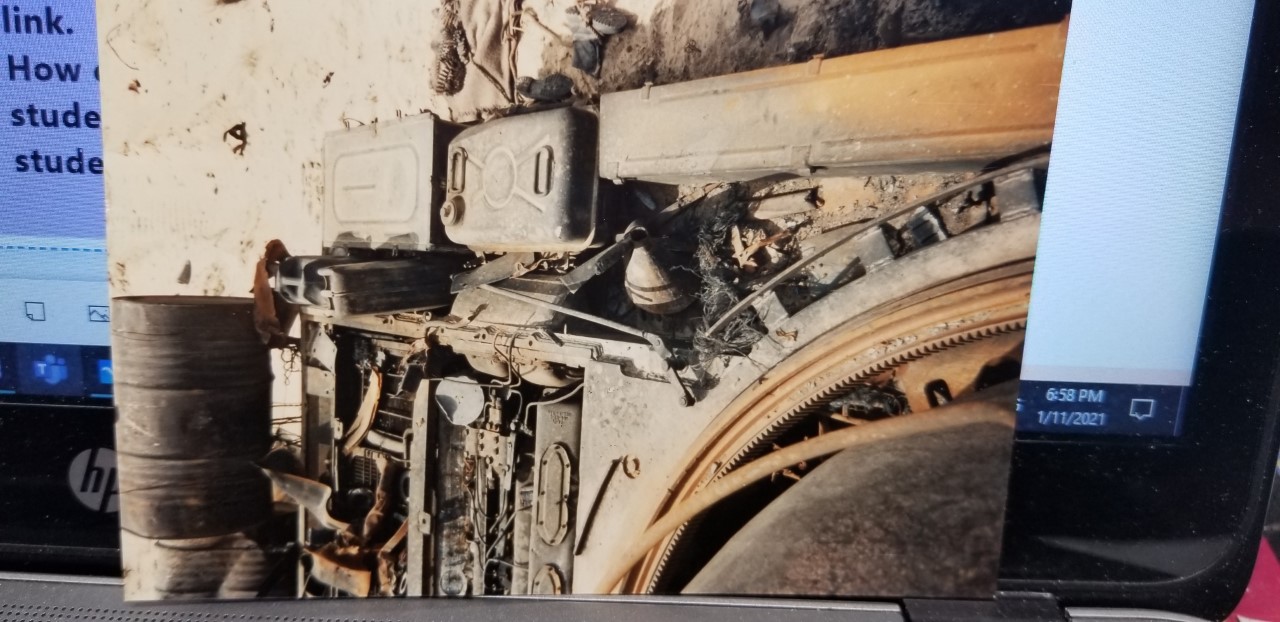
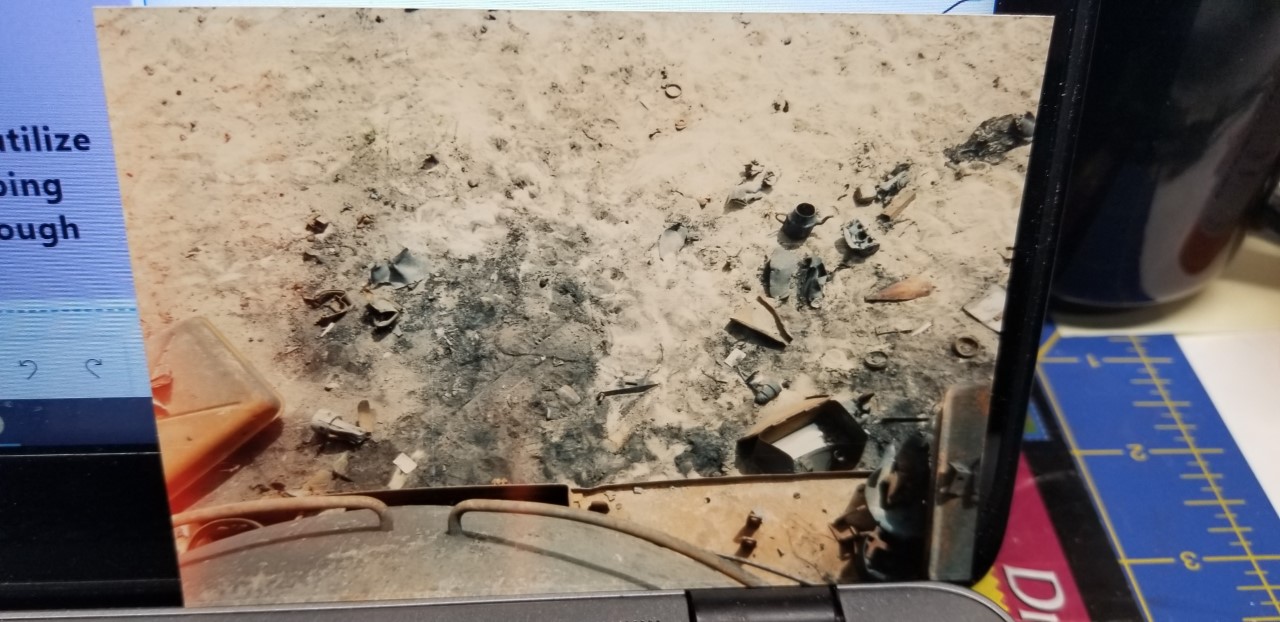
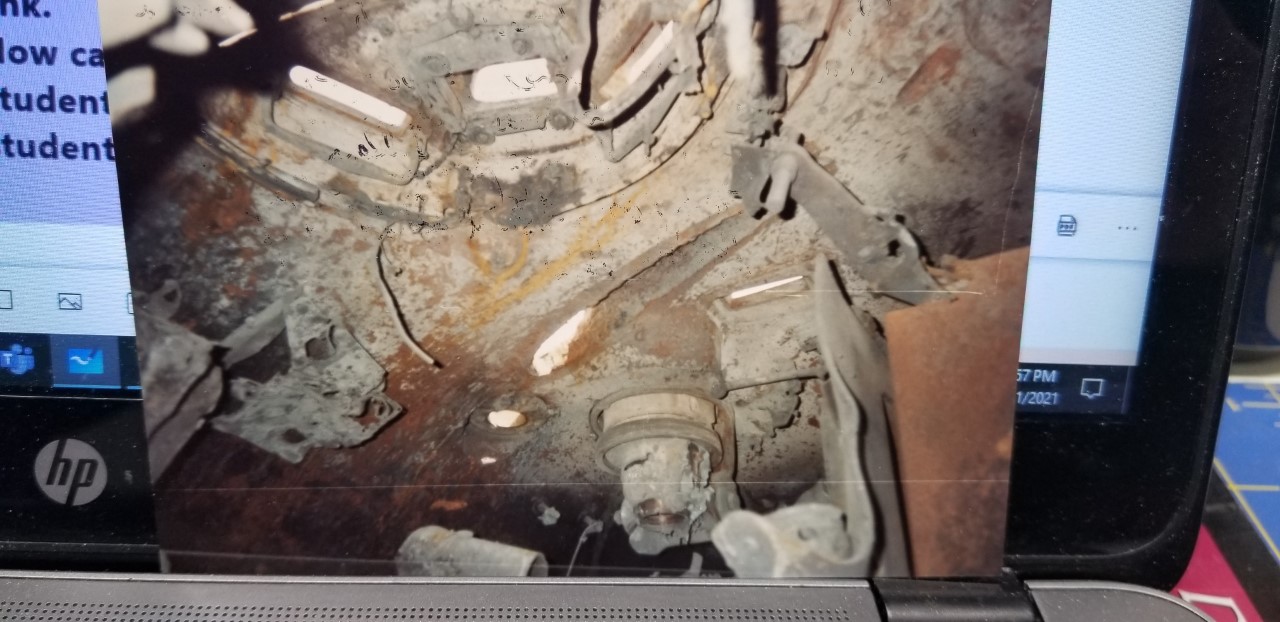
The following series of photos are of the same T-62. Maybe some will be helpful on your build. I apologise for the quality, the photos are from a Kodak Instamatic. The impact is on the turret and if you look at one of the hatch openings you can see where it nicked the edge as it exited out of the open turret hatch.
6 Likes
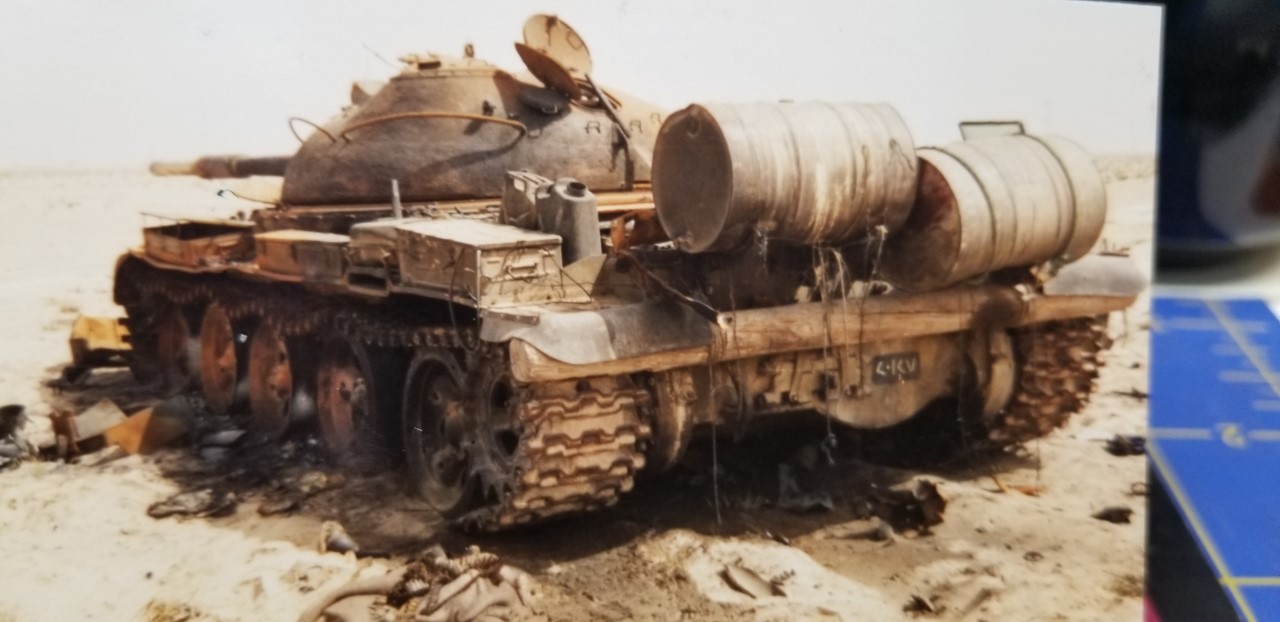
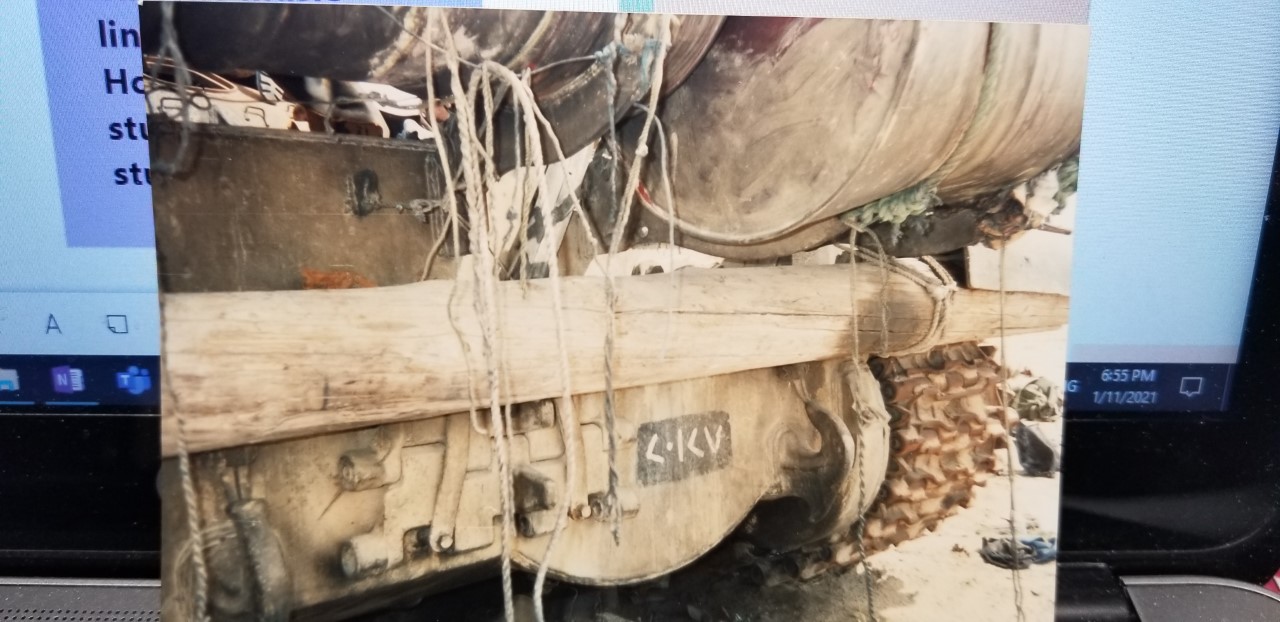
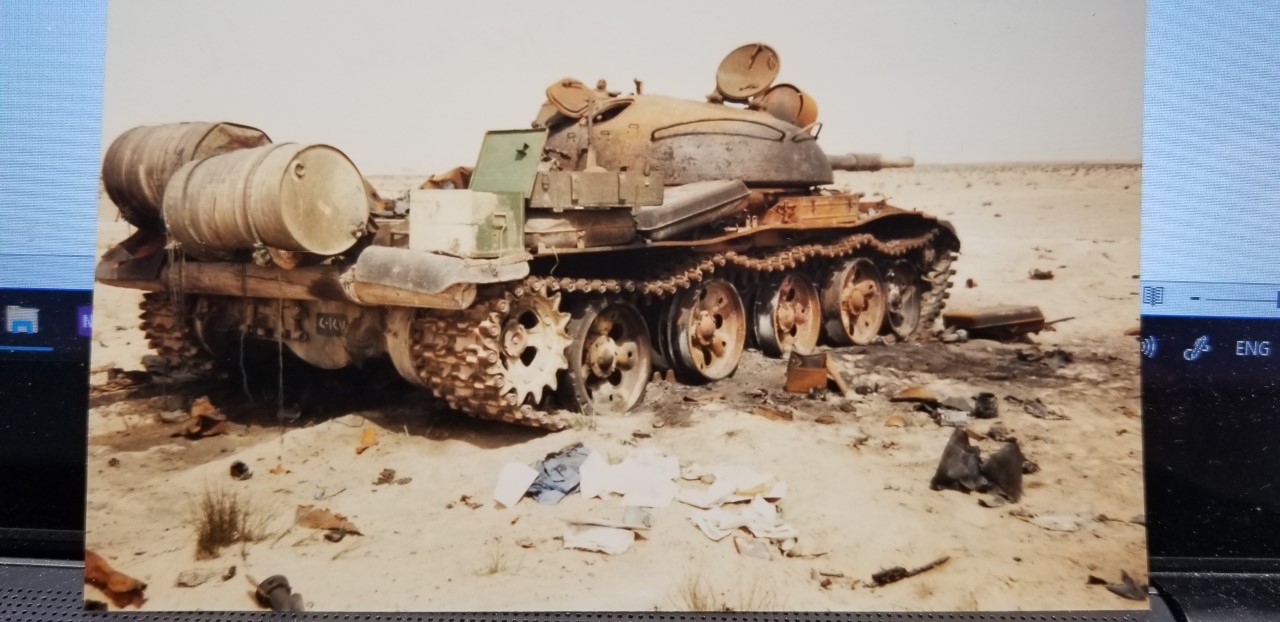
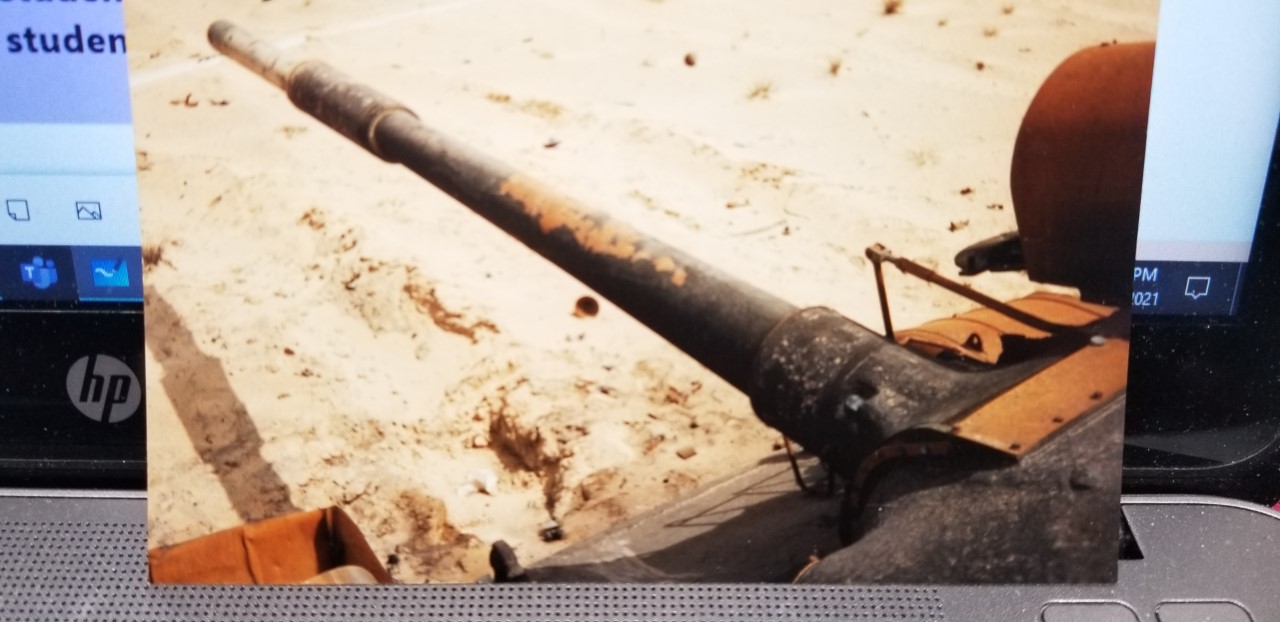
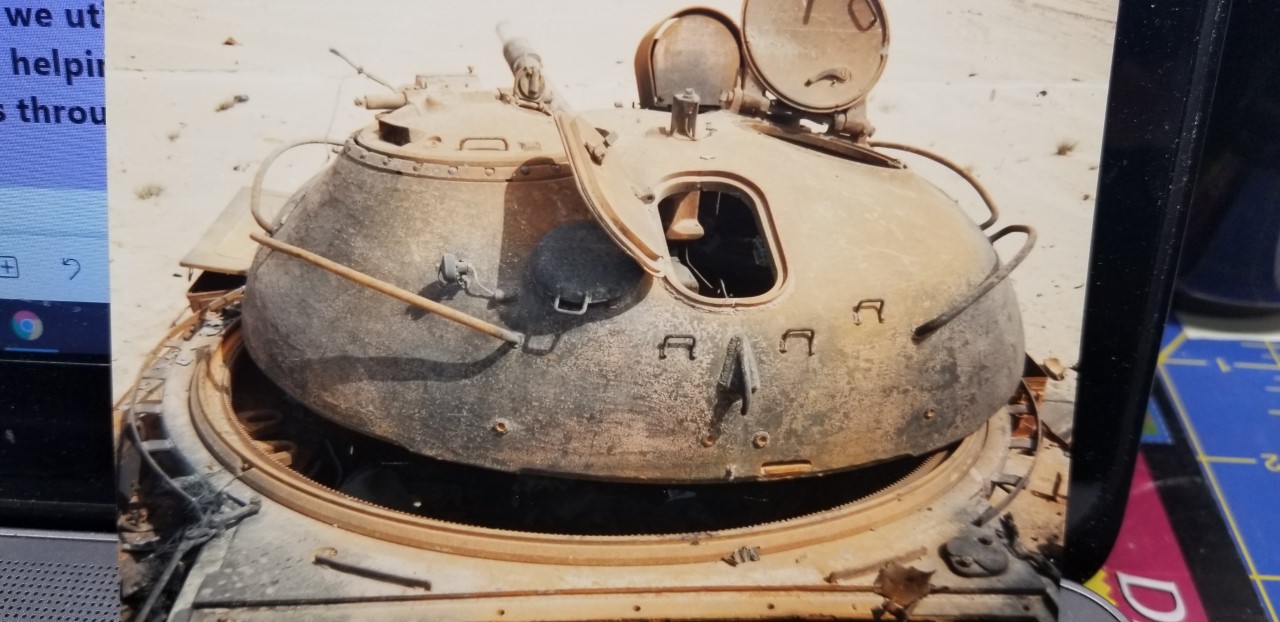
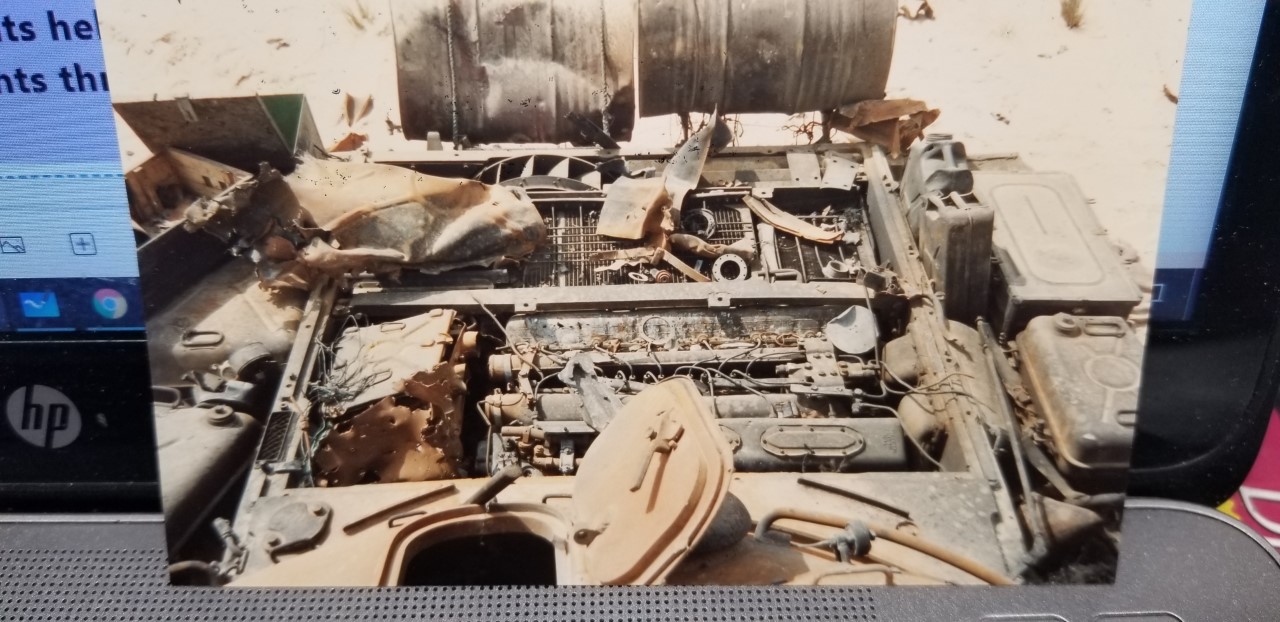
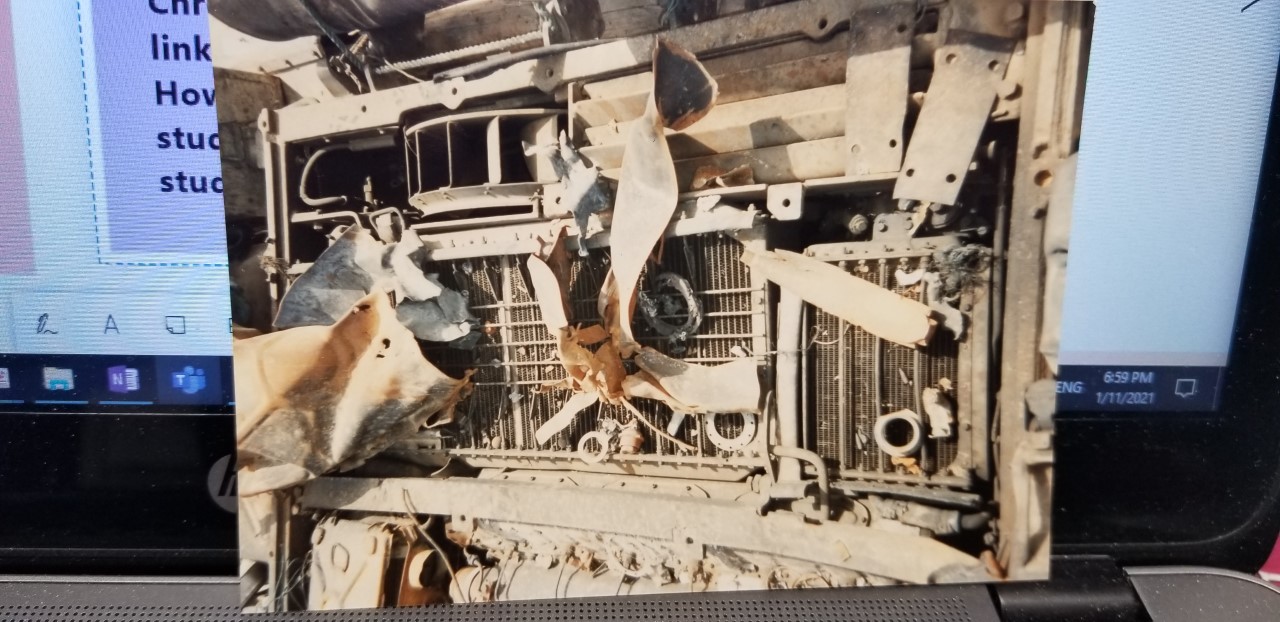
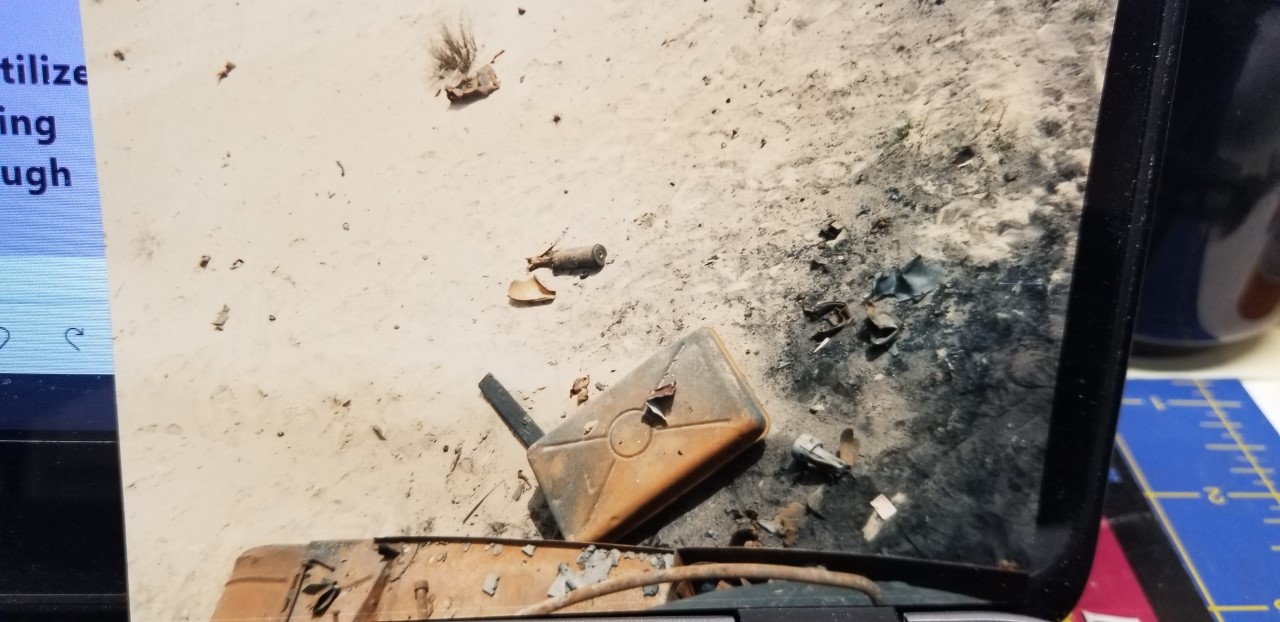
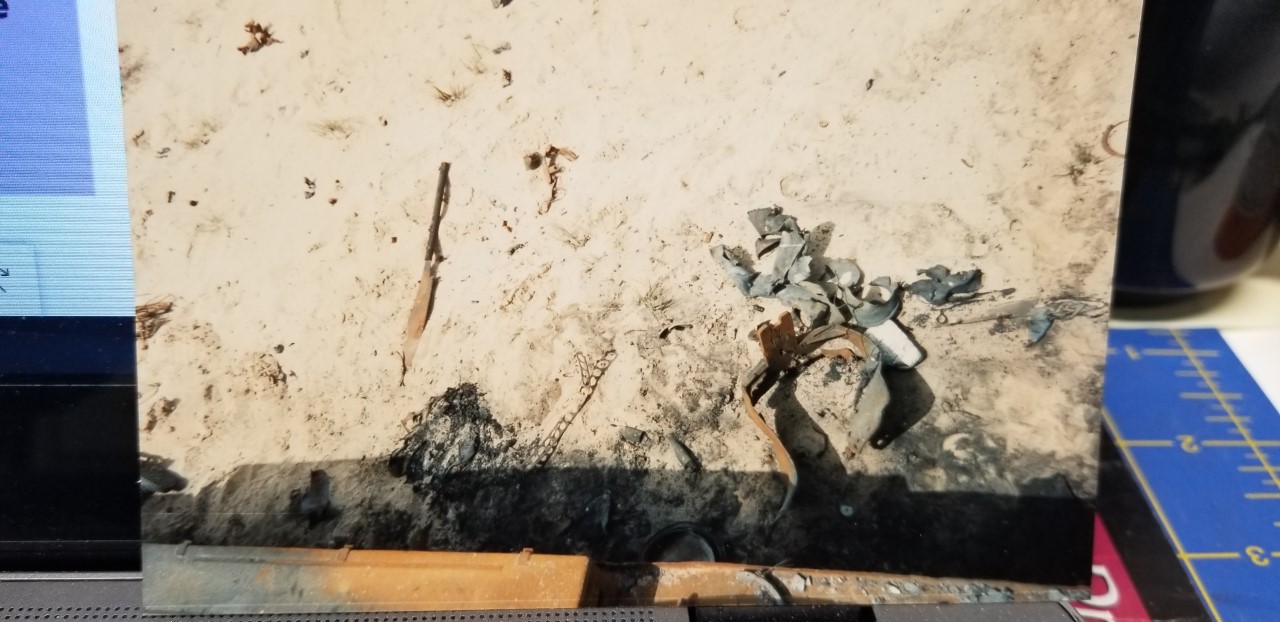
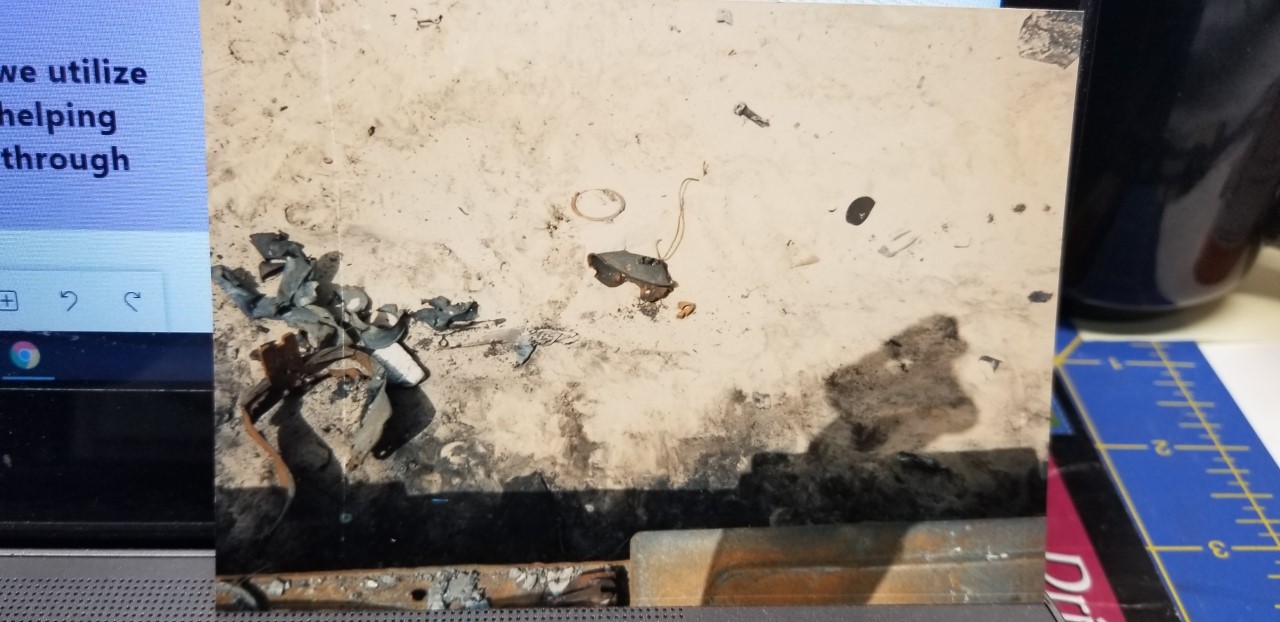
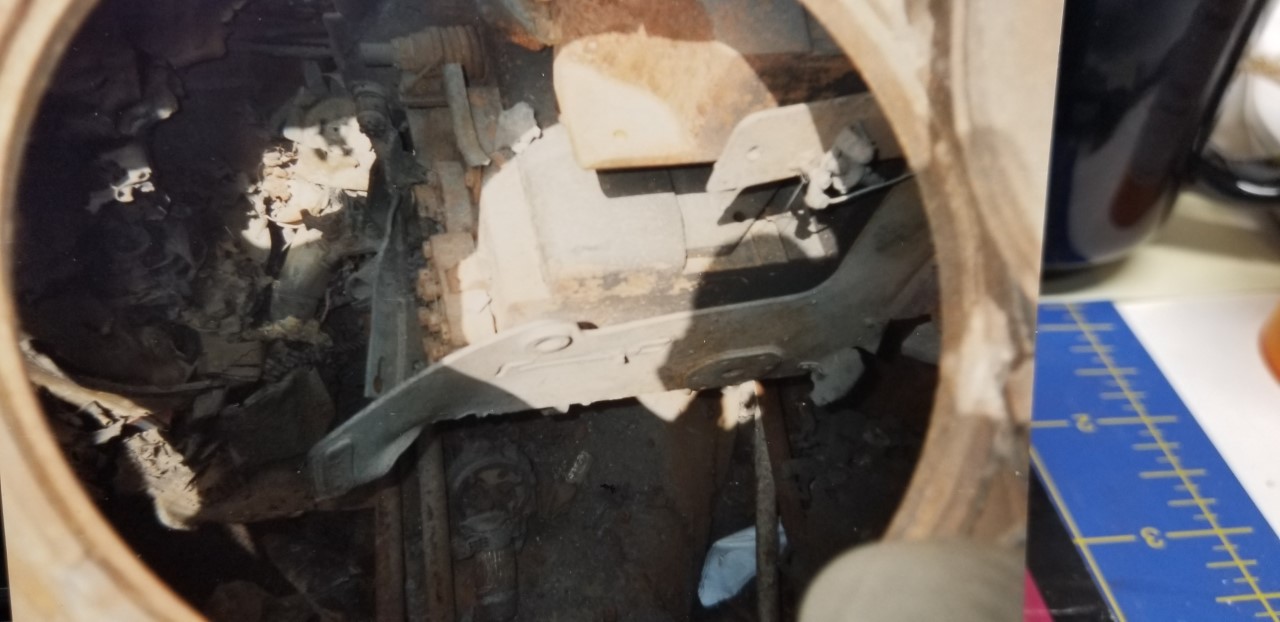
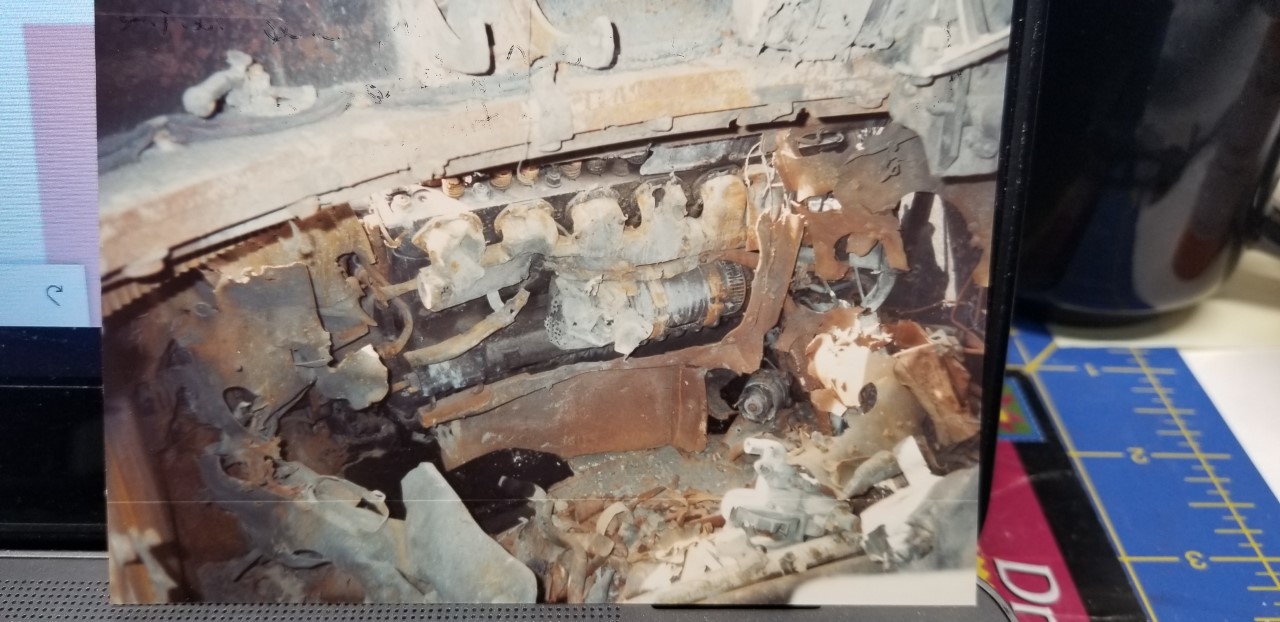
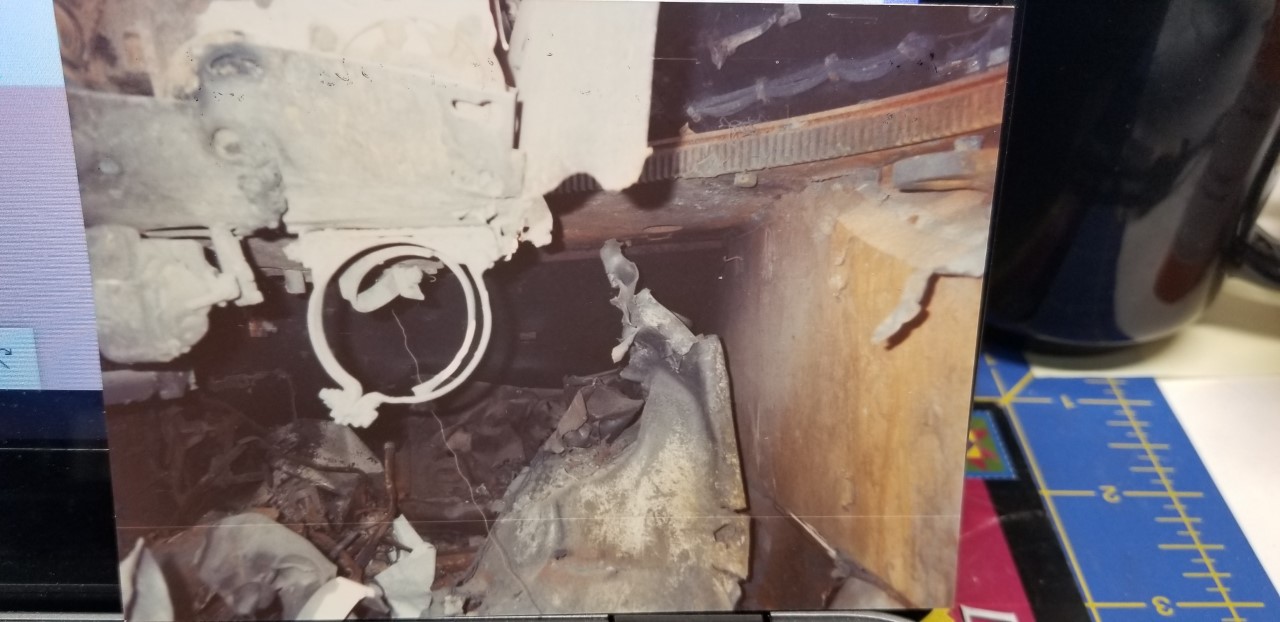
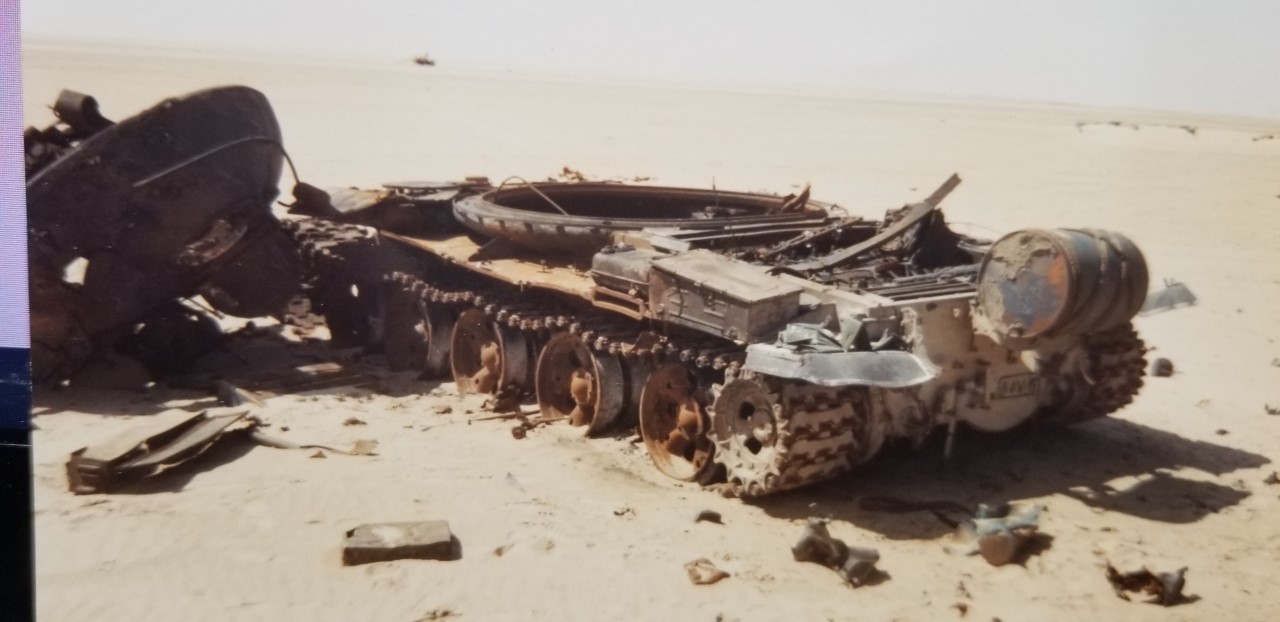
Here are a couple more that have increased damage.
11 Likes
Great images Greg. Excellent ref material as well
1 Like
I love the ones where the turret blows off and the barrel sticks in the ground, creating the giant lollipop effect…but that’s mostly a T - 72’s classic characteristic.
1 Like
Thanks for the pics. I’ll have to see where I go with this one.
1 Like
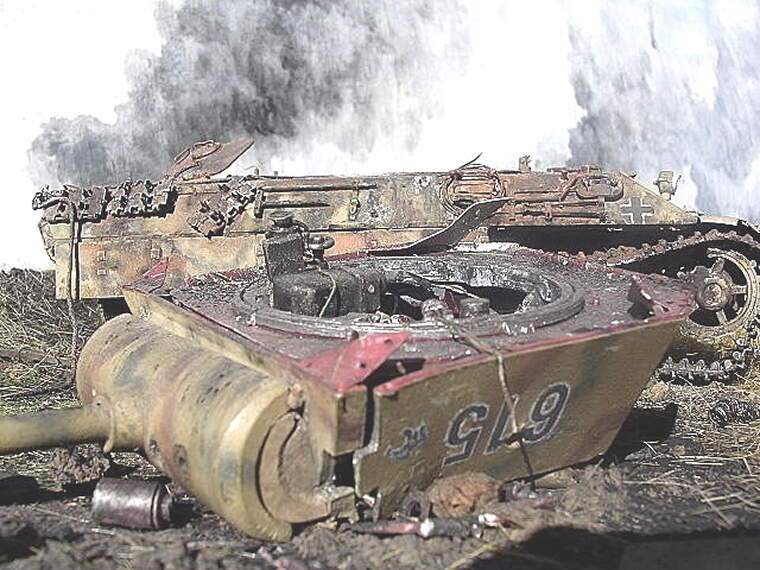
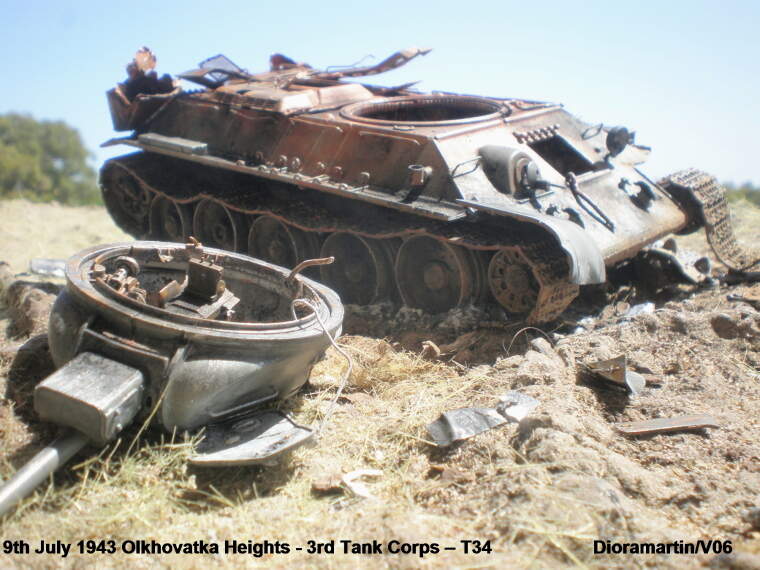
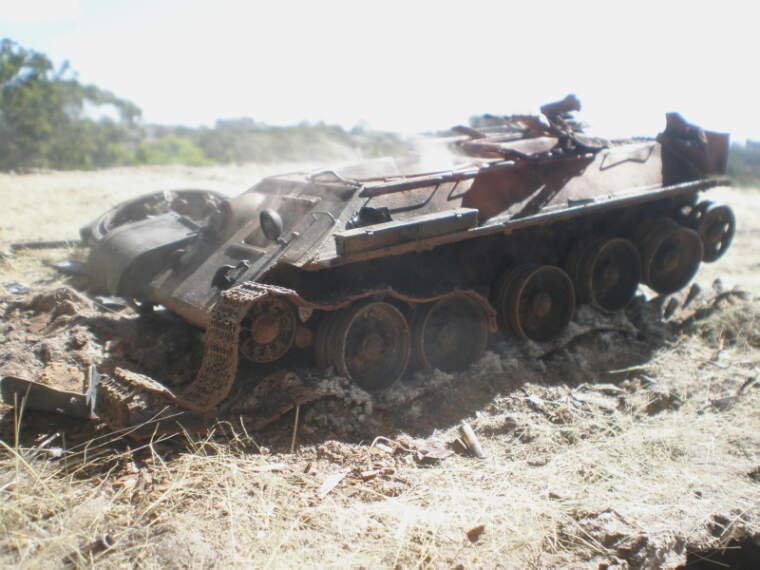
You can’t beat Greg’s superb photos, I wish I’d been able to see those several years ago! I’ve attempted two wrecks, a Panther D…
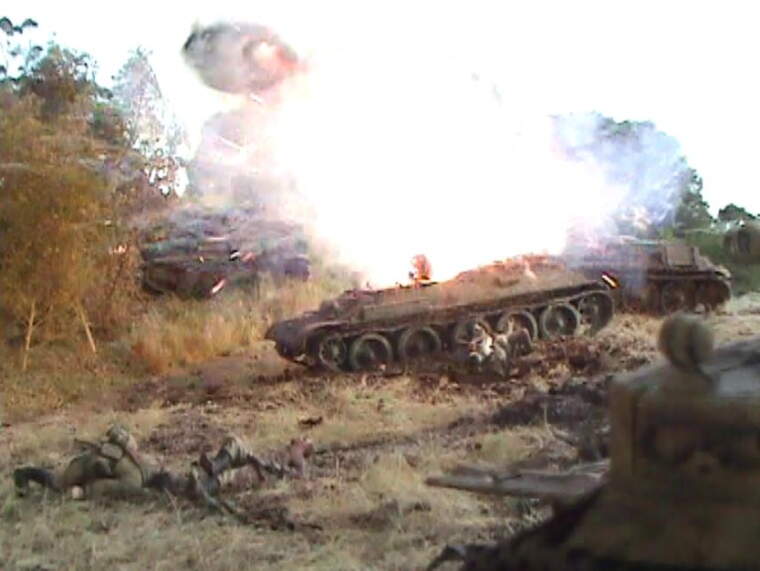
…and a T34…
As you can see I went for extra authenticity with the latter, over the top in so many ways. It can seem daunting to begin with & it took three times as long to “build” as a standard kit. In retrospect I only really needed engines, I made what was left of the fighting/driving compartments and turret interiors out of stuff in the spares box (plastic/brass/resin) that bore passing resemblance to photo-refs of the real thing, plenty of bent/crumpled kitchen foil or heavier-grade metal foil, and various grades of wire. Most of it ended up in the debris field. Painting’s probably the easiest provided you study photos like Greg’s, I used dry black & grey powder paints on a soft brush to add scorch marks, heaped up to make ash.
To add some narrative to a very static scene I arranged the T34 to show it was trying to reverse out of trouble with an unravelling track when it was fatally hit. I hope you have a go! 
6 Likes