And your fellow countrymen are champs at the sport. ![]()
![]()
5 Likes
I have been very busy so there is No real progress to show at all. I have spent time looking at more references online and I find more and more that I am not very happy with how I built it. Seanmcandrews pointed out that the burnt anti-radiation plates that are bolted on would have burned away and I am noticing that more and more with my references and I really wish I would have done that.
There are two references I found that I now wish I would have seen before I started my build and both of them are 3d scans of actual tanks.
1: T-90A - 3D model by Andrej Boleslavský (@AndrejBoleslavsky) [28ef179] - Sketchfab
2:Destroyed Russian tank T-72B in Vilnius - Download Free 3D model by Saulius.Zaura [fffbc30] - Sketchfab
I think they both do a great job of showing the damage and I only wish I could have found them sooner.
At this point I am considering going back to the turret and just taking the paint and the plates off and redoing the build basically but I think if I do that I would end up being burned out on the project.
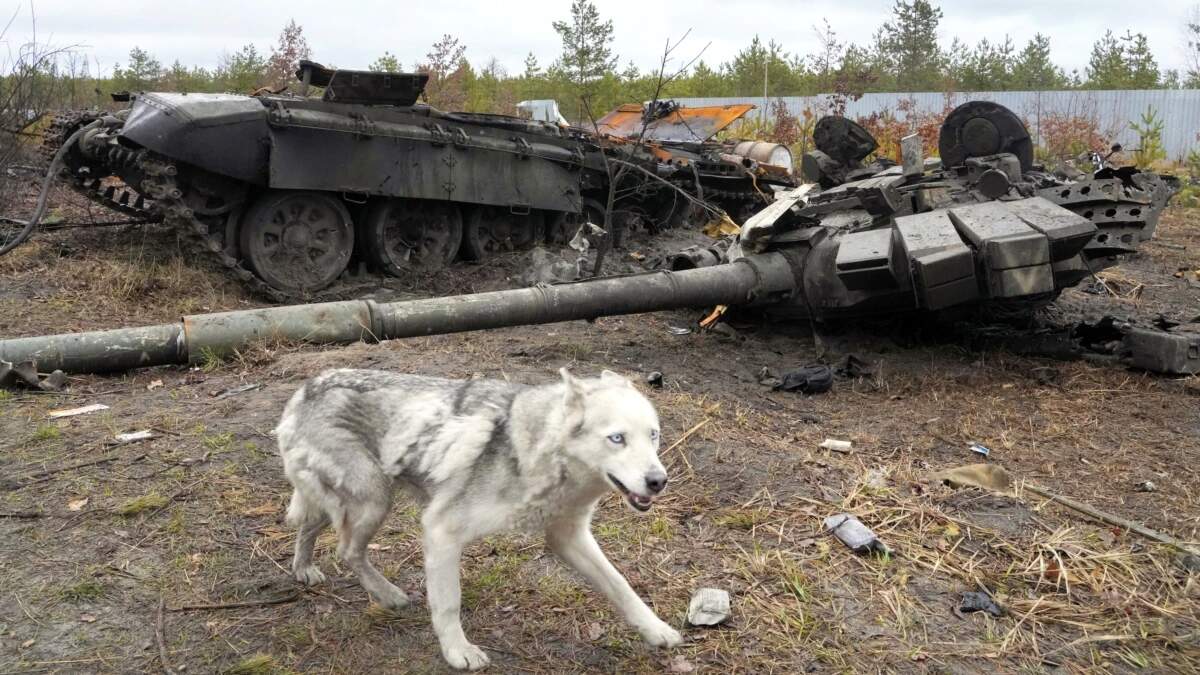
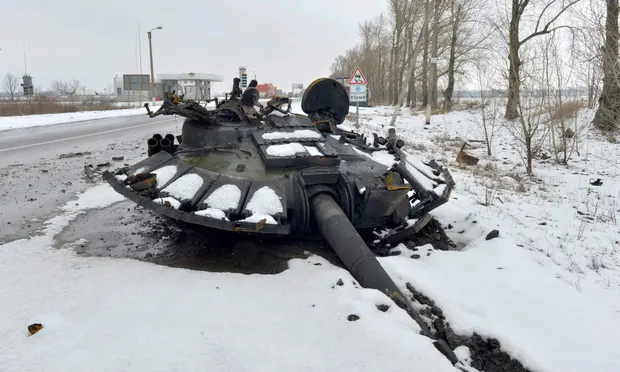
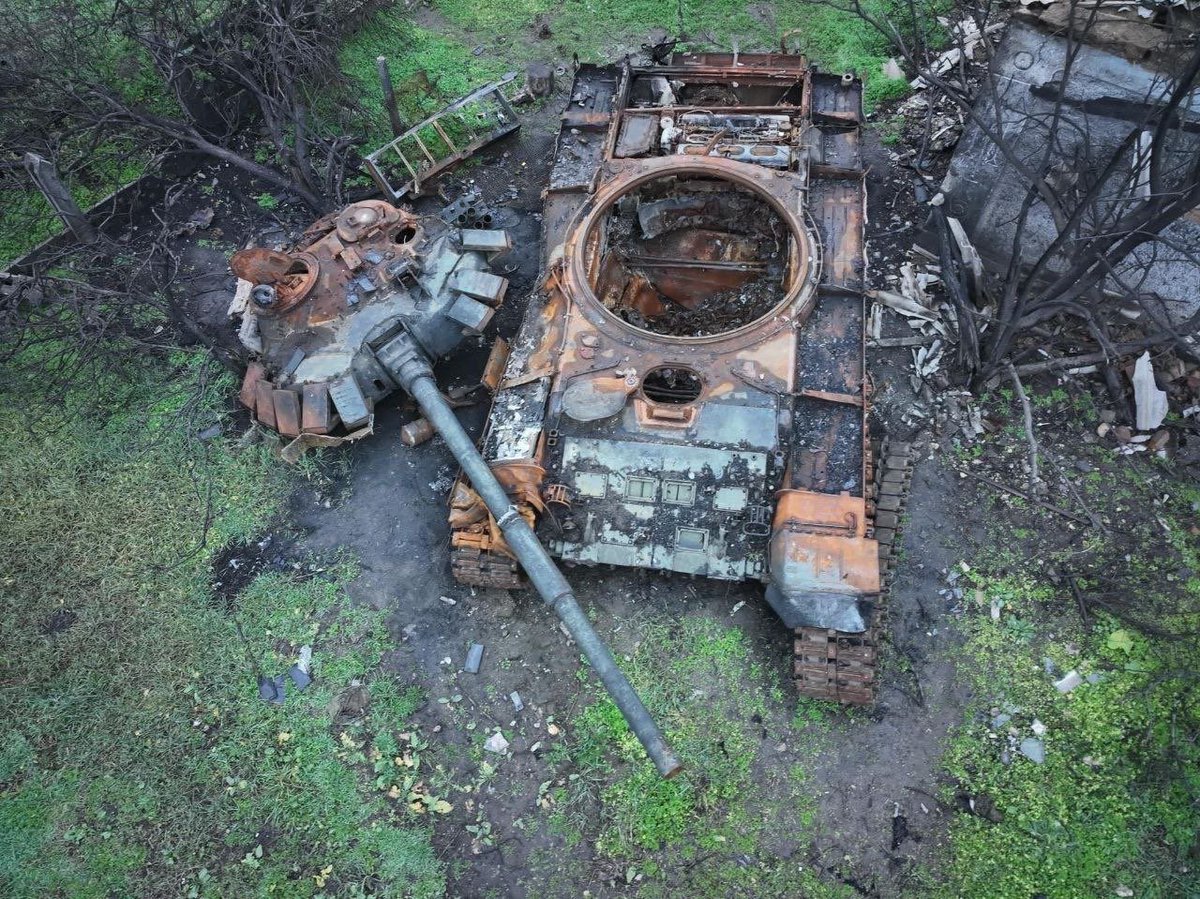
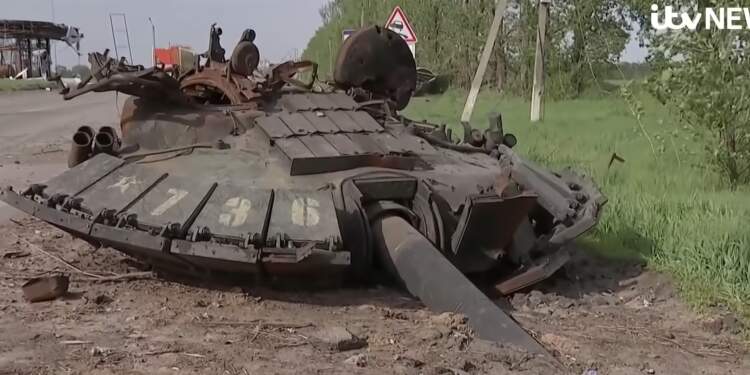
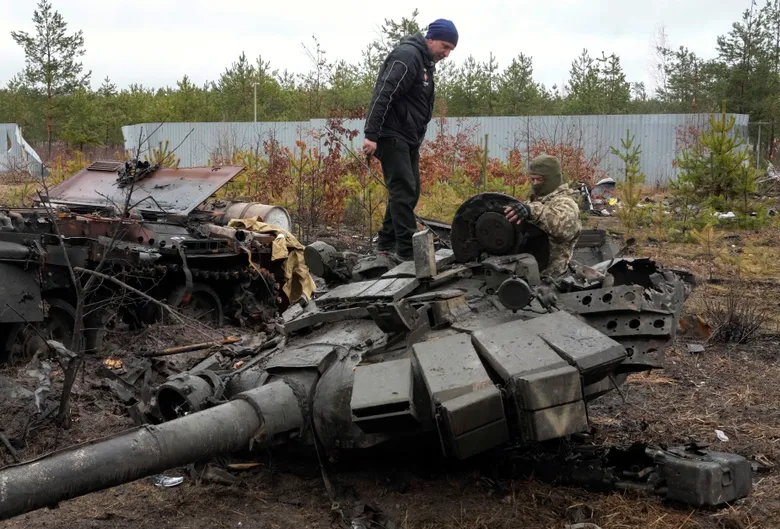
I could also just do minor burn damage to it as I have seen that as well and how a mostly intact turret like these:
What do you guys think?
2 Likes
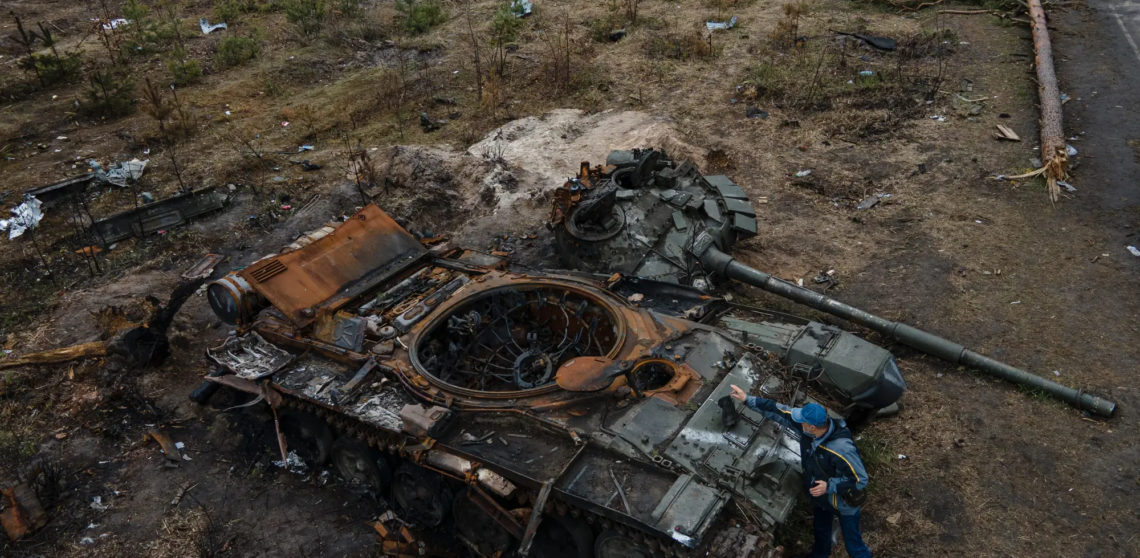
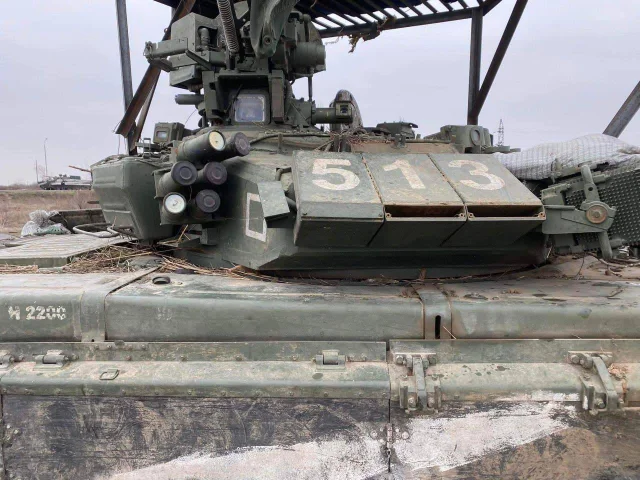
I think it looks just fine! As far as burn damage to the turret, it depends how quickly the turret blew off. The photos you posted run from basically no fire damage to the turret to fully burned out. But I think this pic is the most important:
It shows somw fire damage with the radiation shielding unburned, similar to what you have. Paint those areas black or camo color, the shielding would not rust, and you are good to go!
Ken
5 Likes
I’m with Ken. minimum fire damage and its good to go.
1 Like
If you want to degloss the glossy parts: I find that pigments are great at doing just that. Not only that: they are great for creating subtle color variations, specially if you use several colors.
1 Like
Thanks for the feedback on the fire damage guys, I often have a hard time making decisions like this when I already have a vision. Still, I can imagine the turret with minimal burn damage as I have seen real-life photos of that but I can’t find it now. I think I can definitely make it work!
The indecisiveness did make me put away the turret for the moment and work on other aspects of the scene for now. I have been very busy also so not had much time at all to work on things.
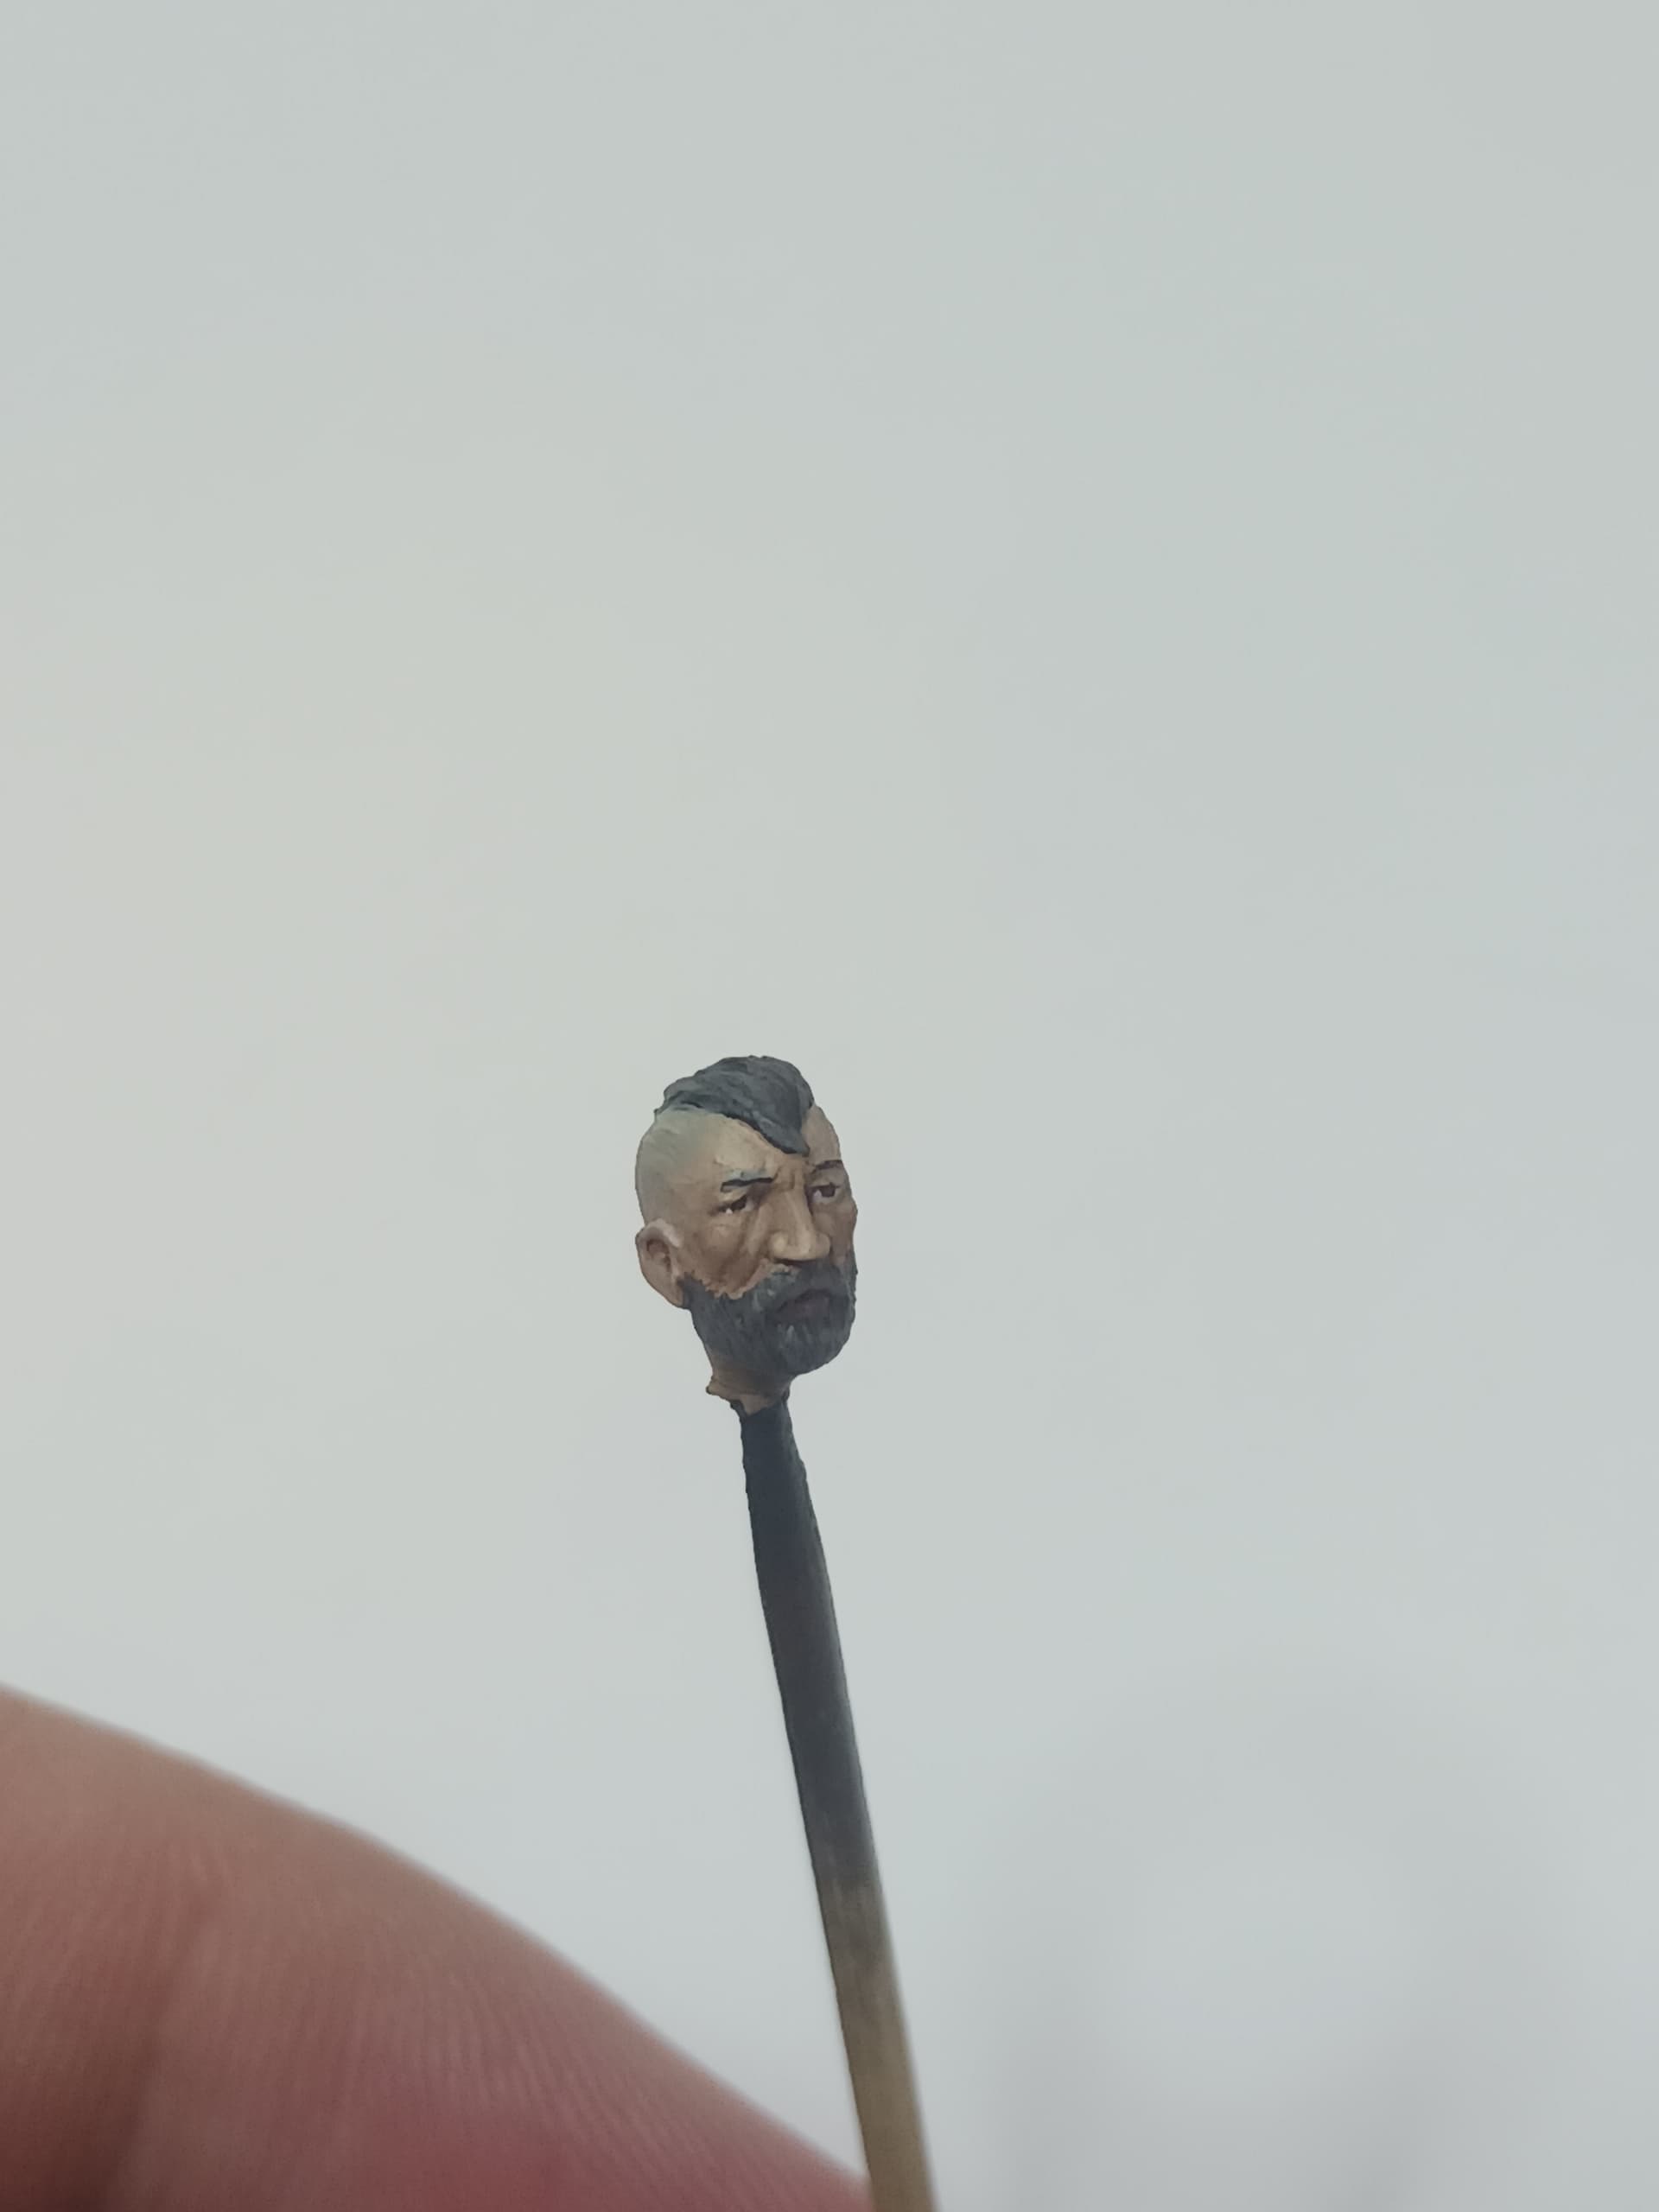
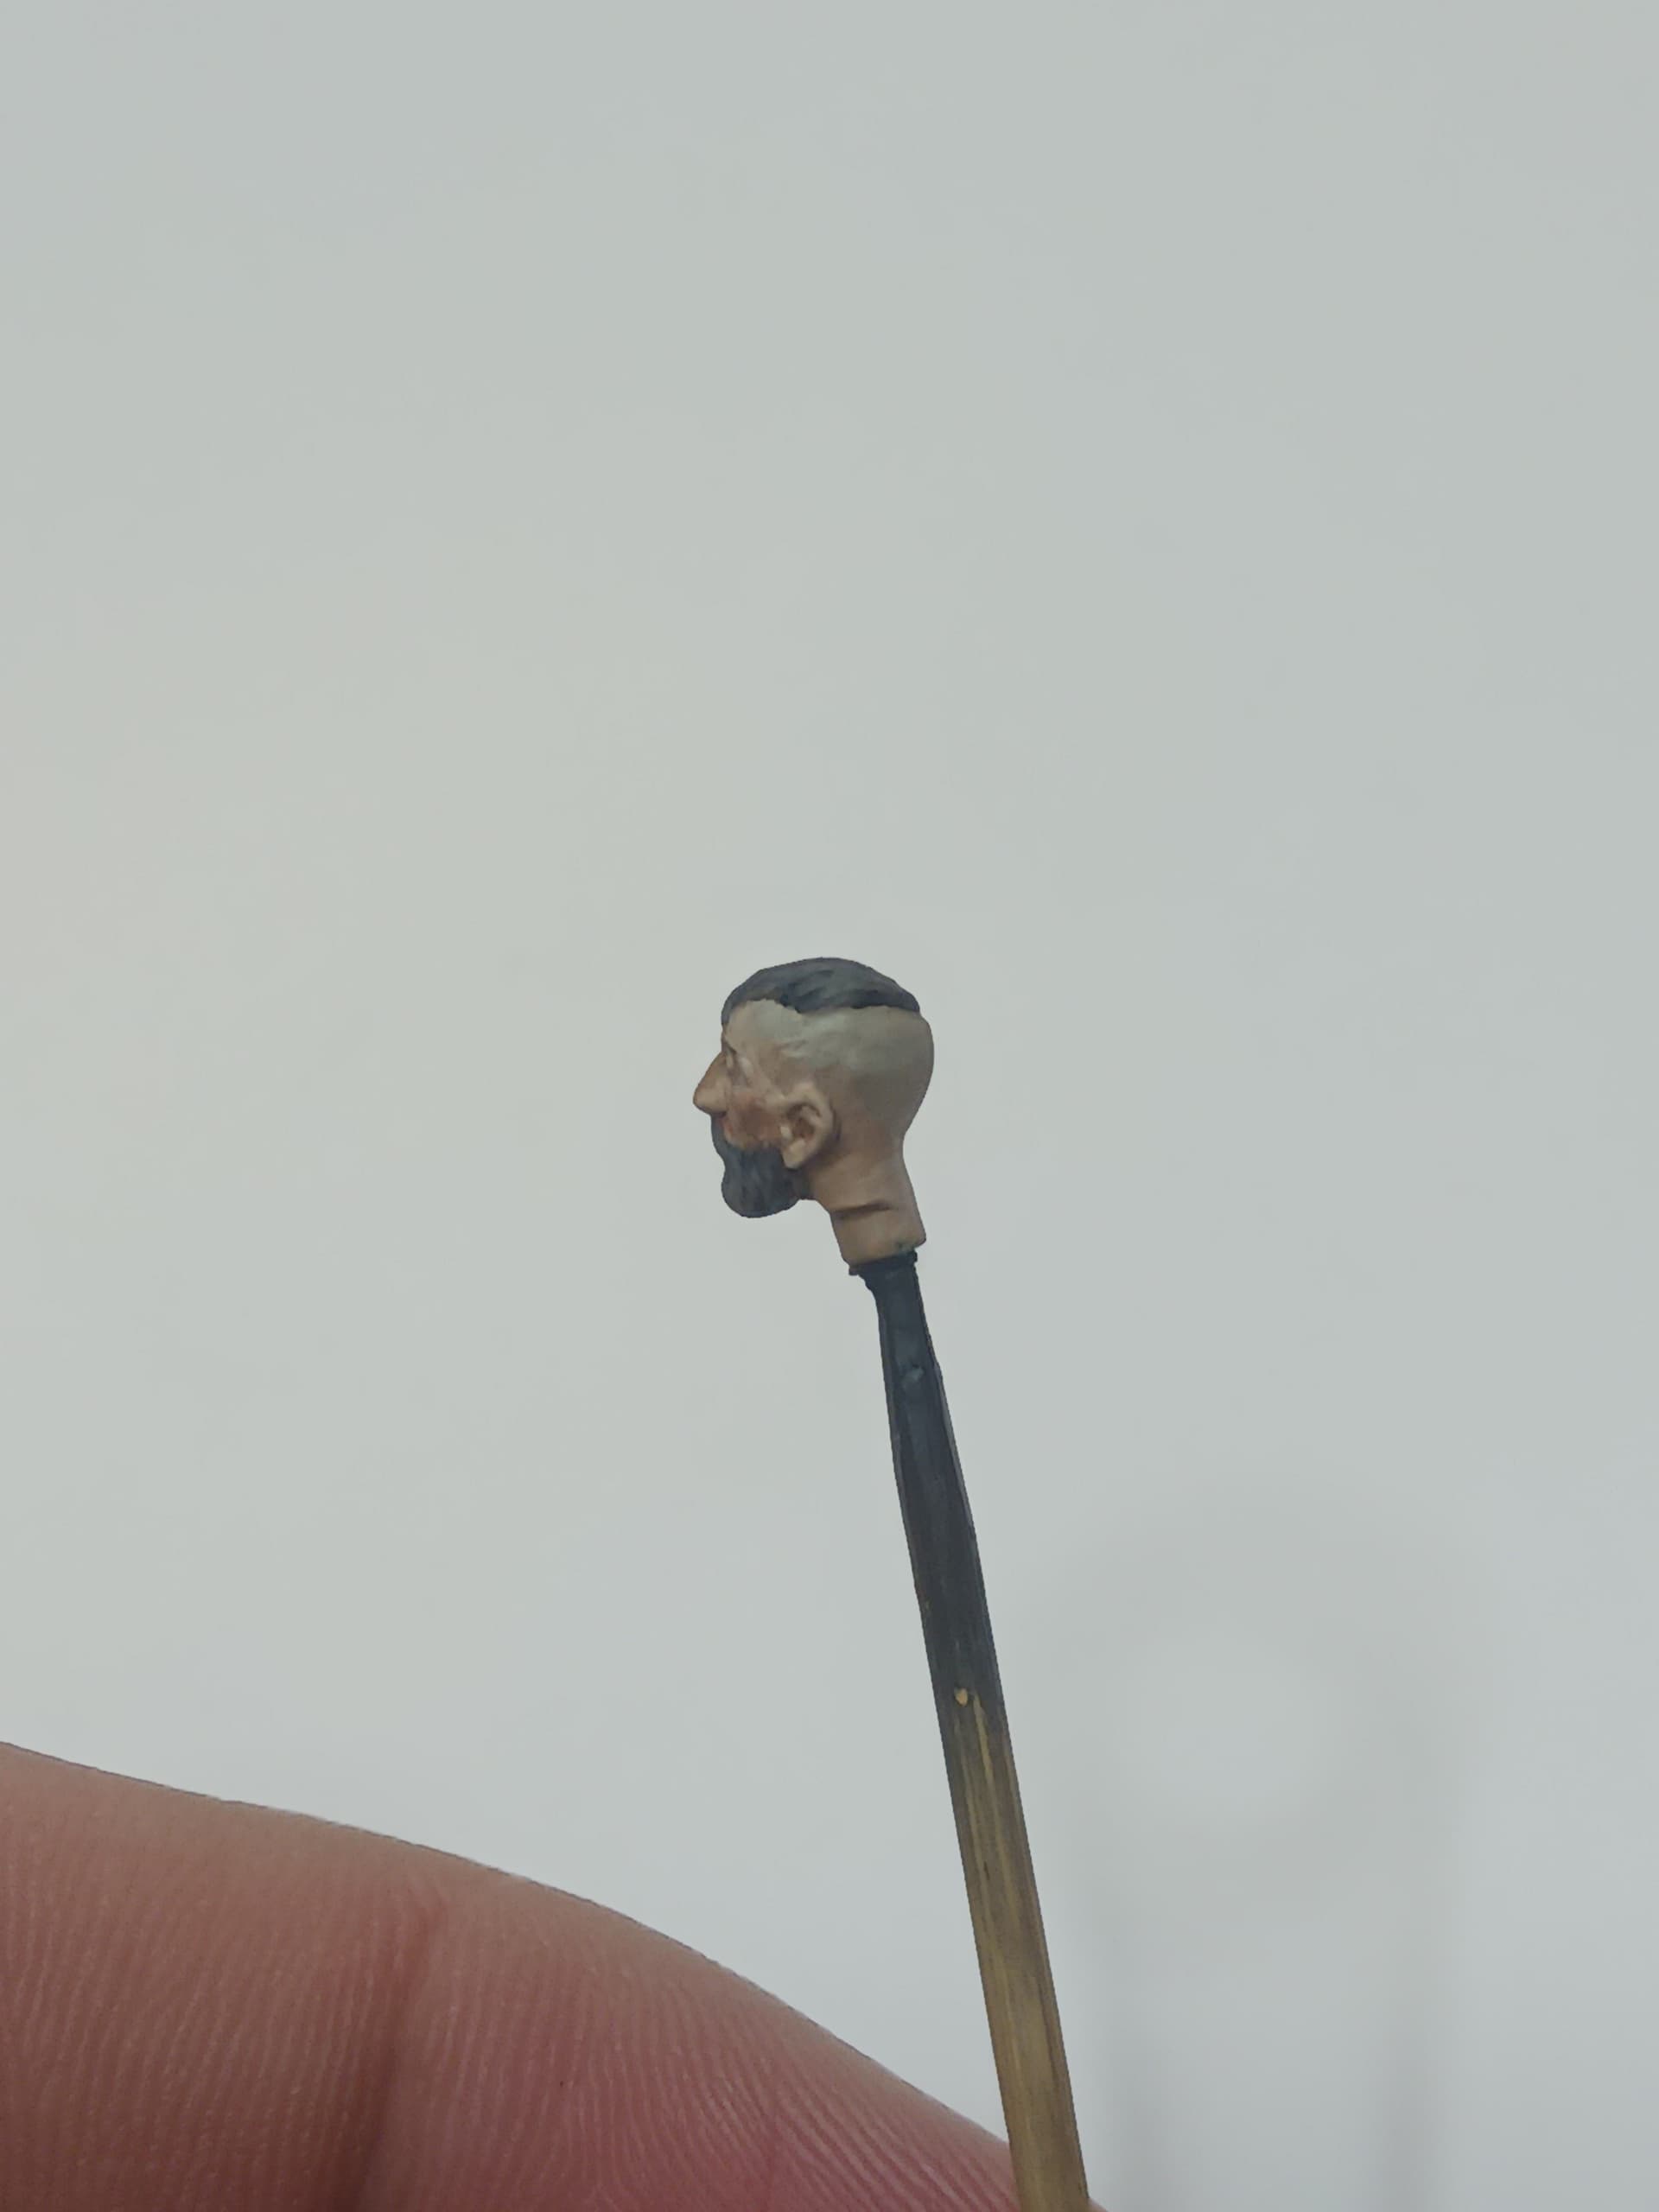
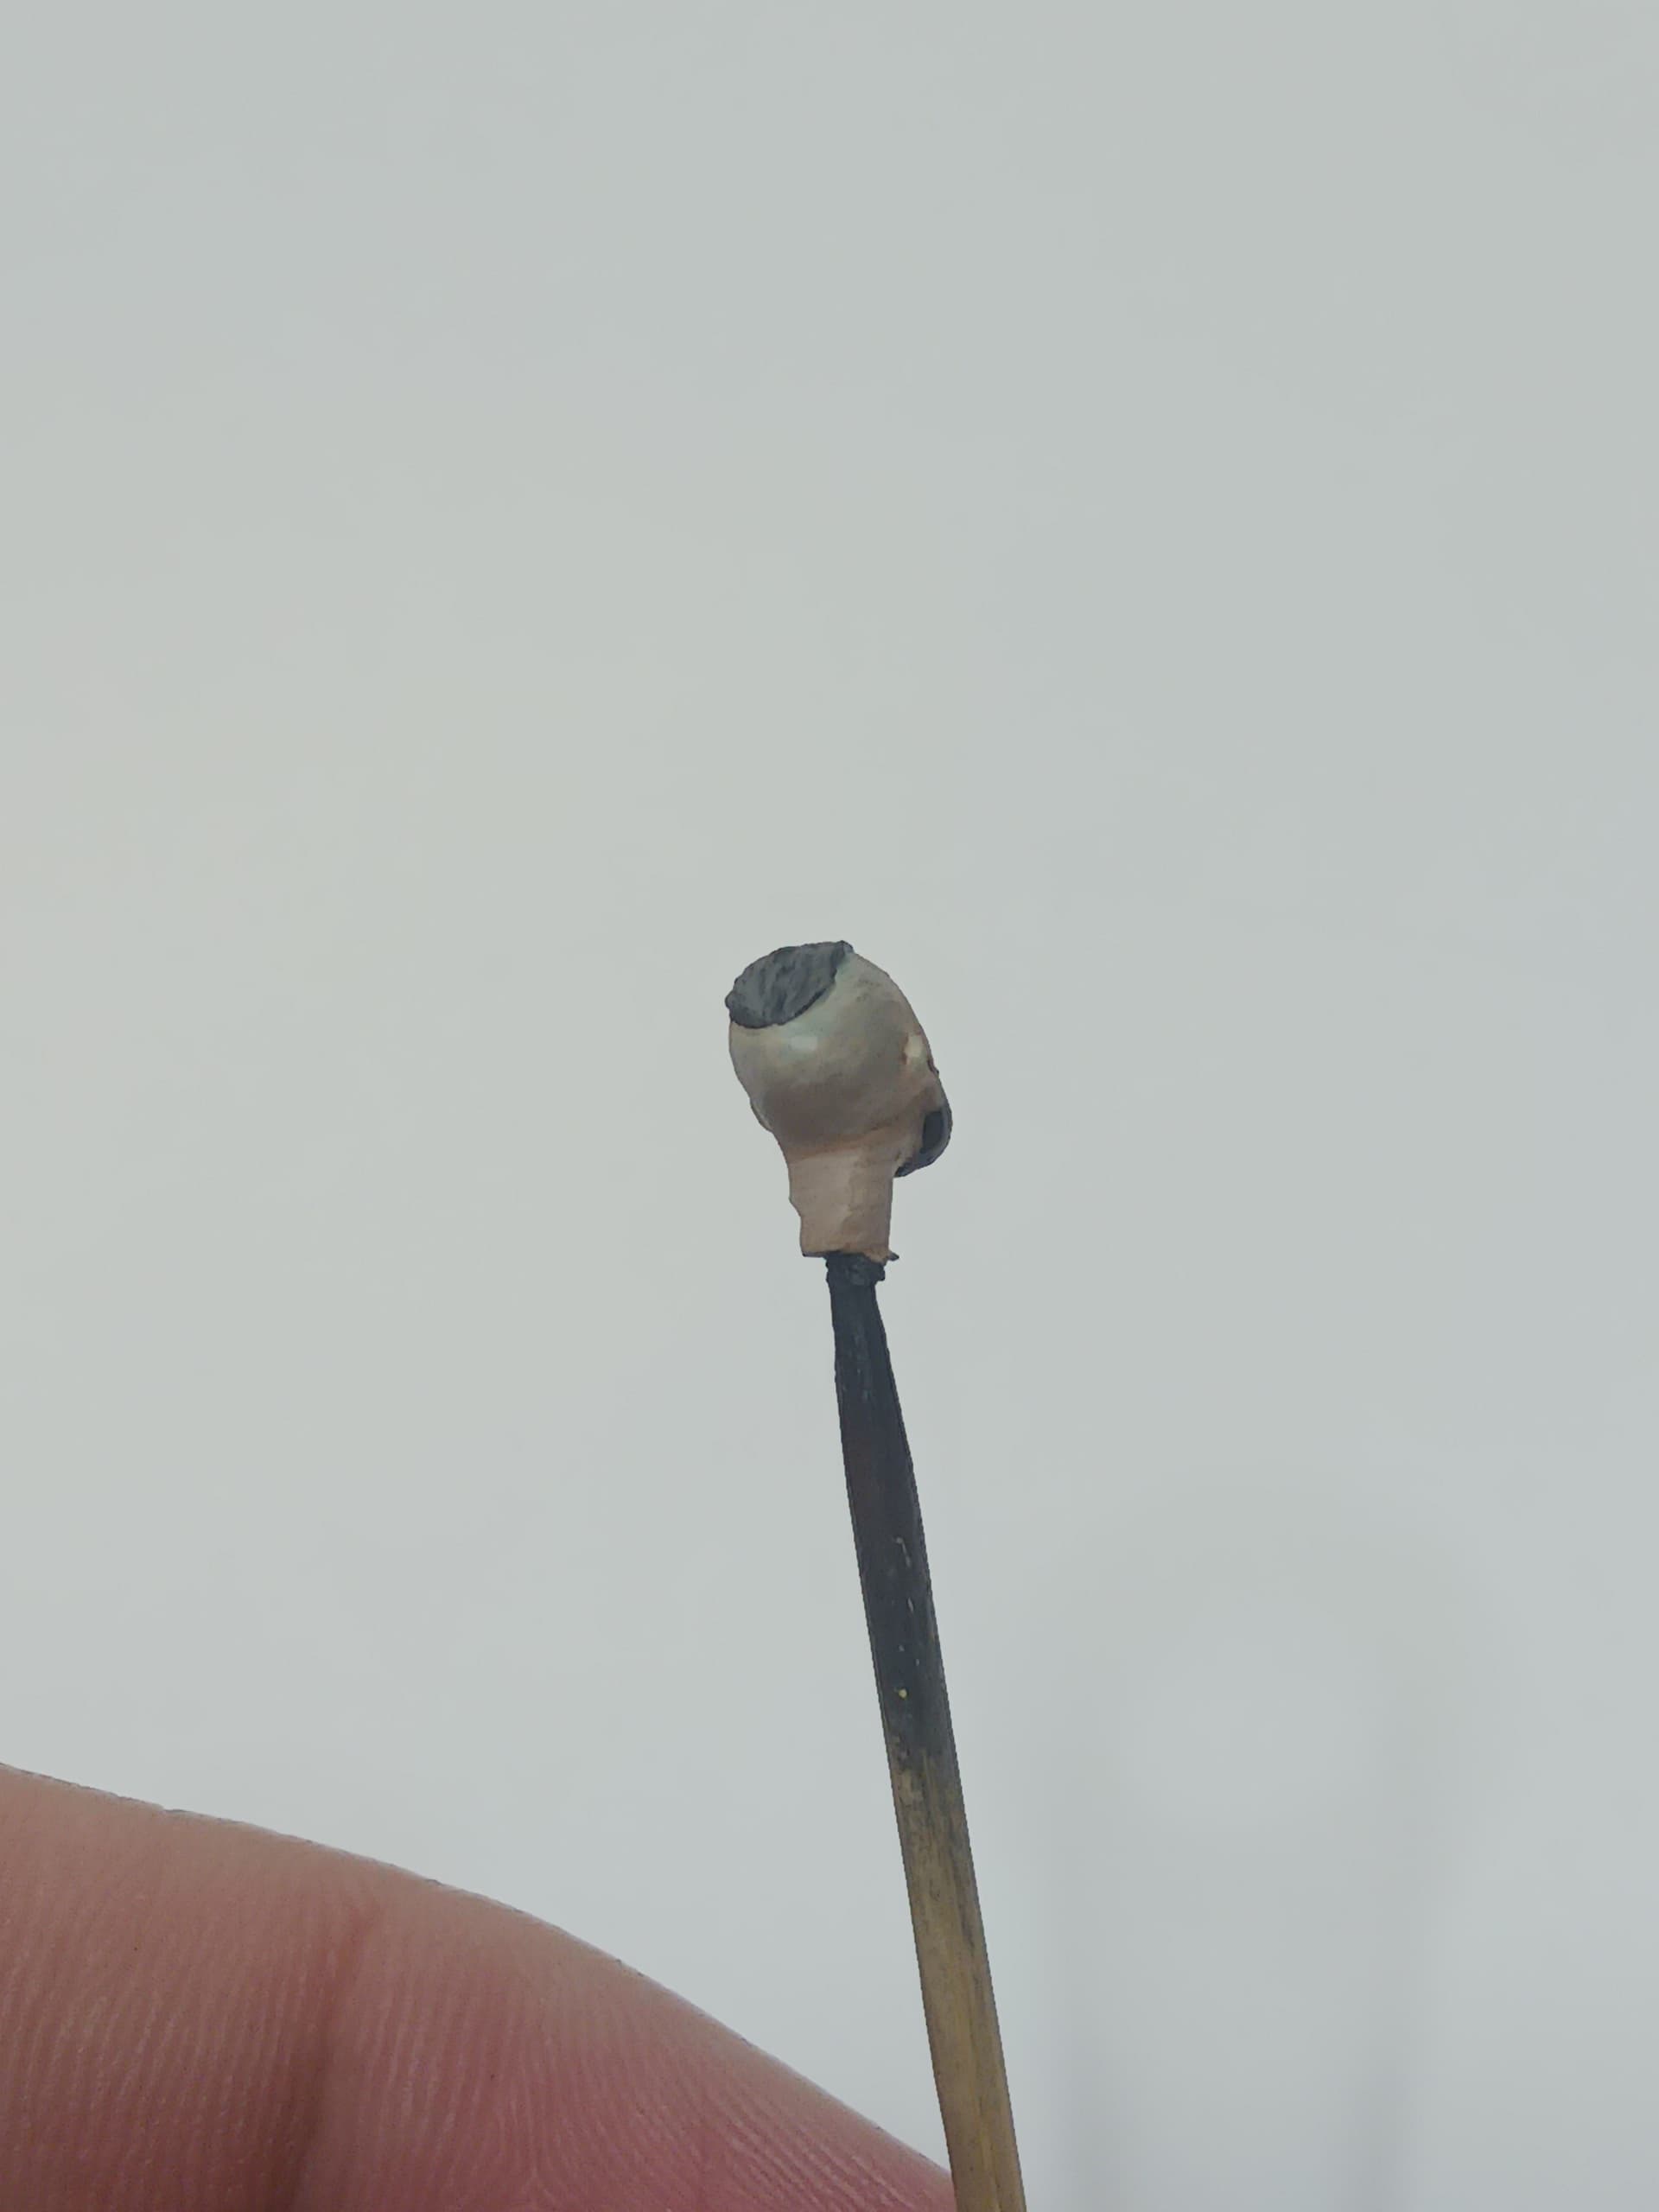
I worked on the figure for now. It is an older figure from sometime in 2019? not sure but the Ukrainian figure is from before the full russian escalation and therefore honestly not the greatest quality.
I have not drawn figures for a while now so forgive me for the painting skills, It also does not help that the model did not have the best molding.
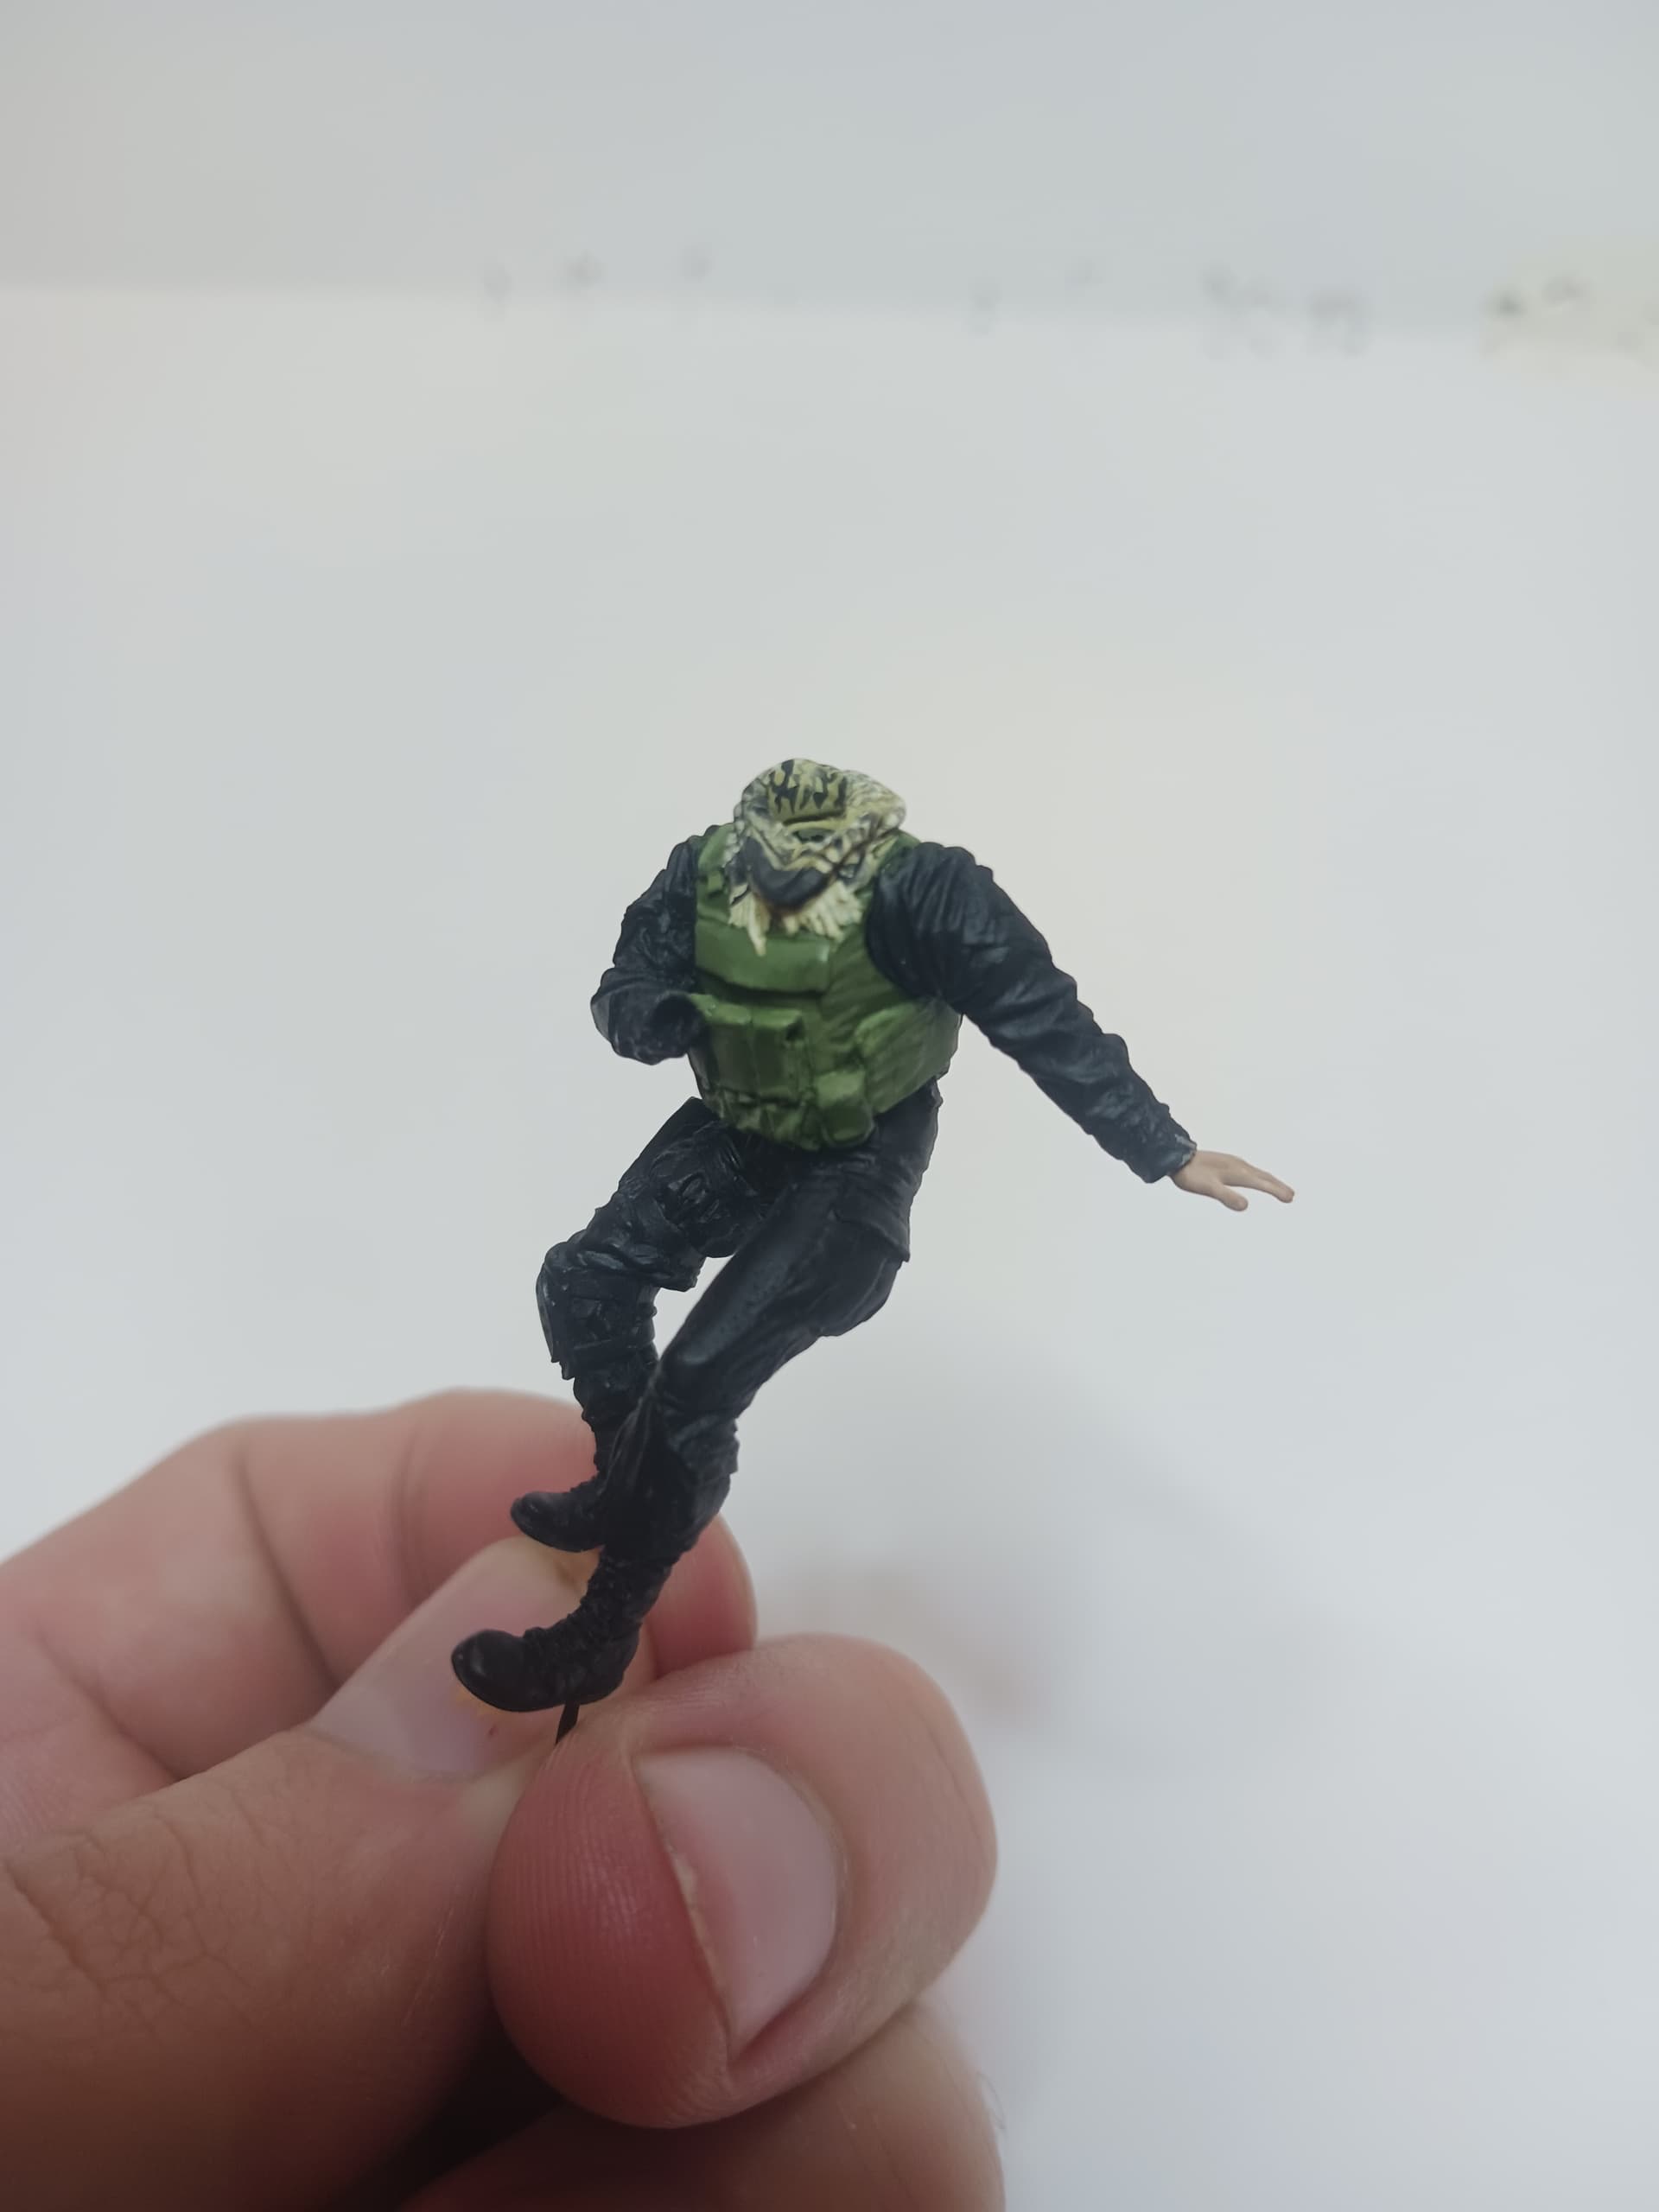

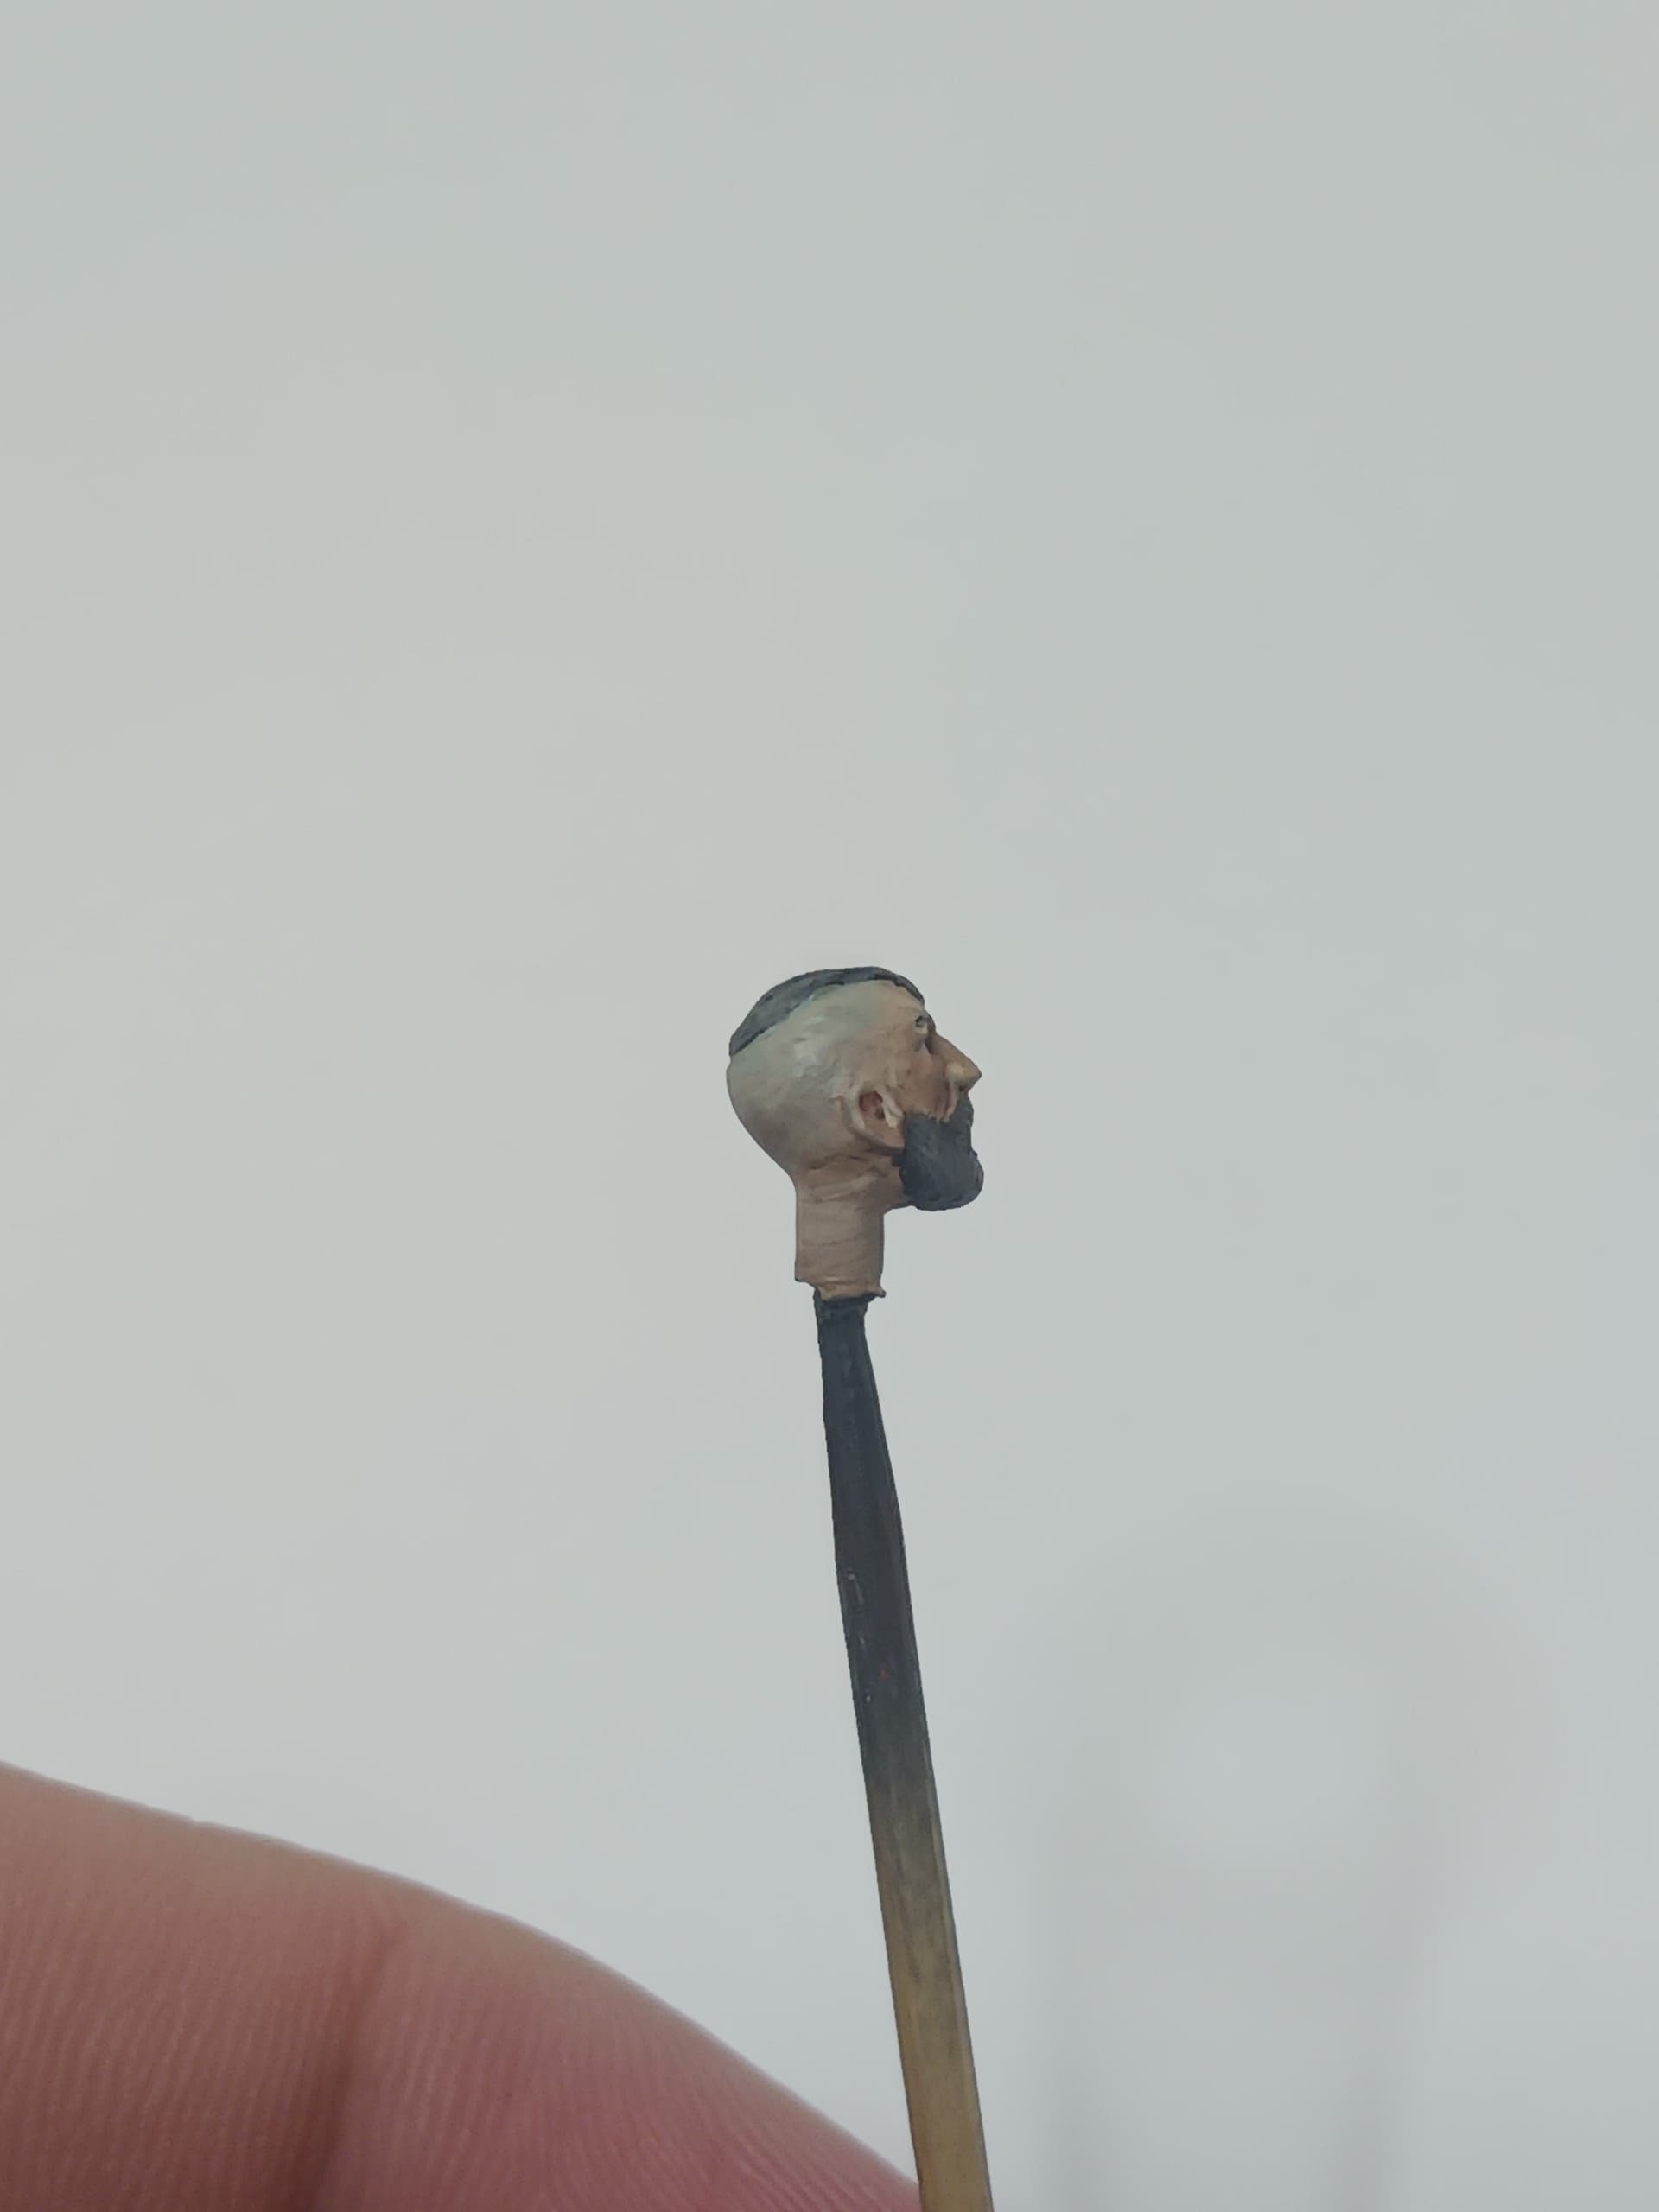
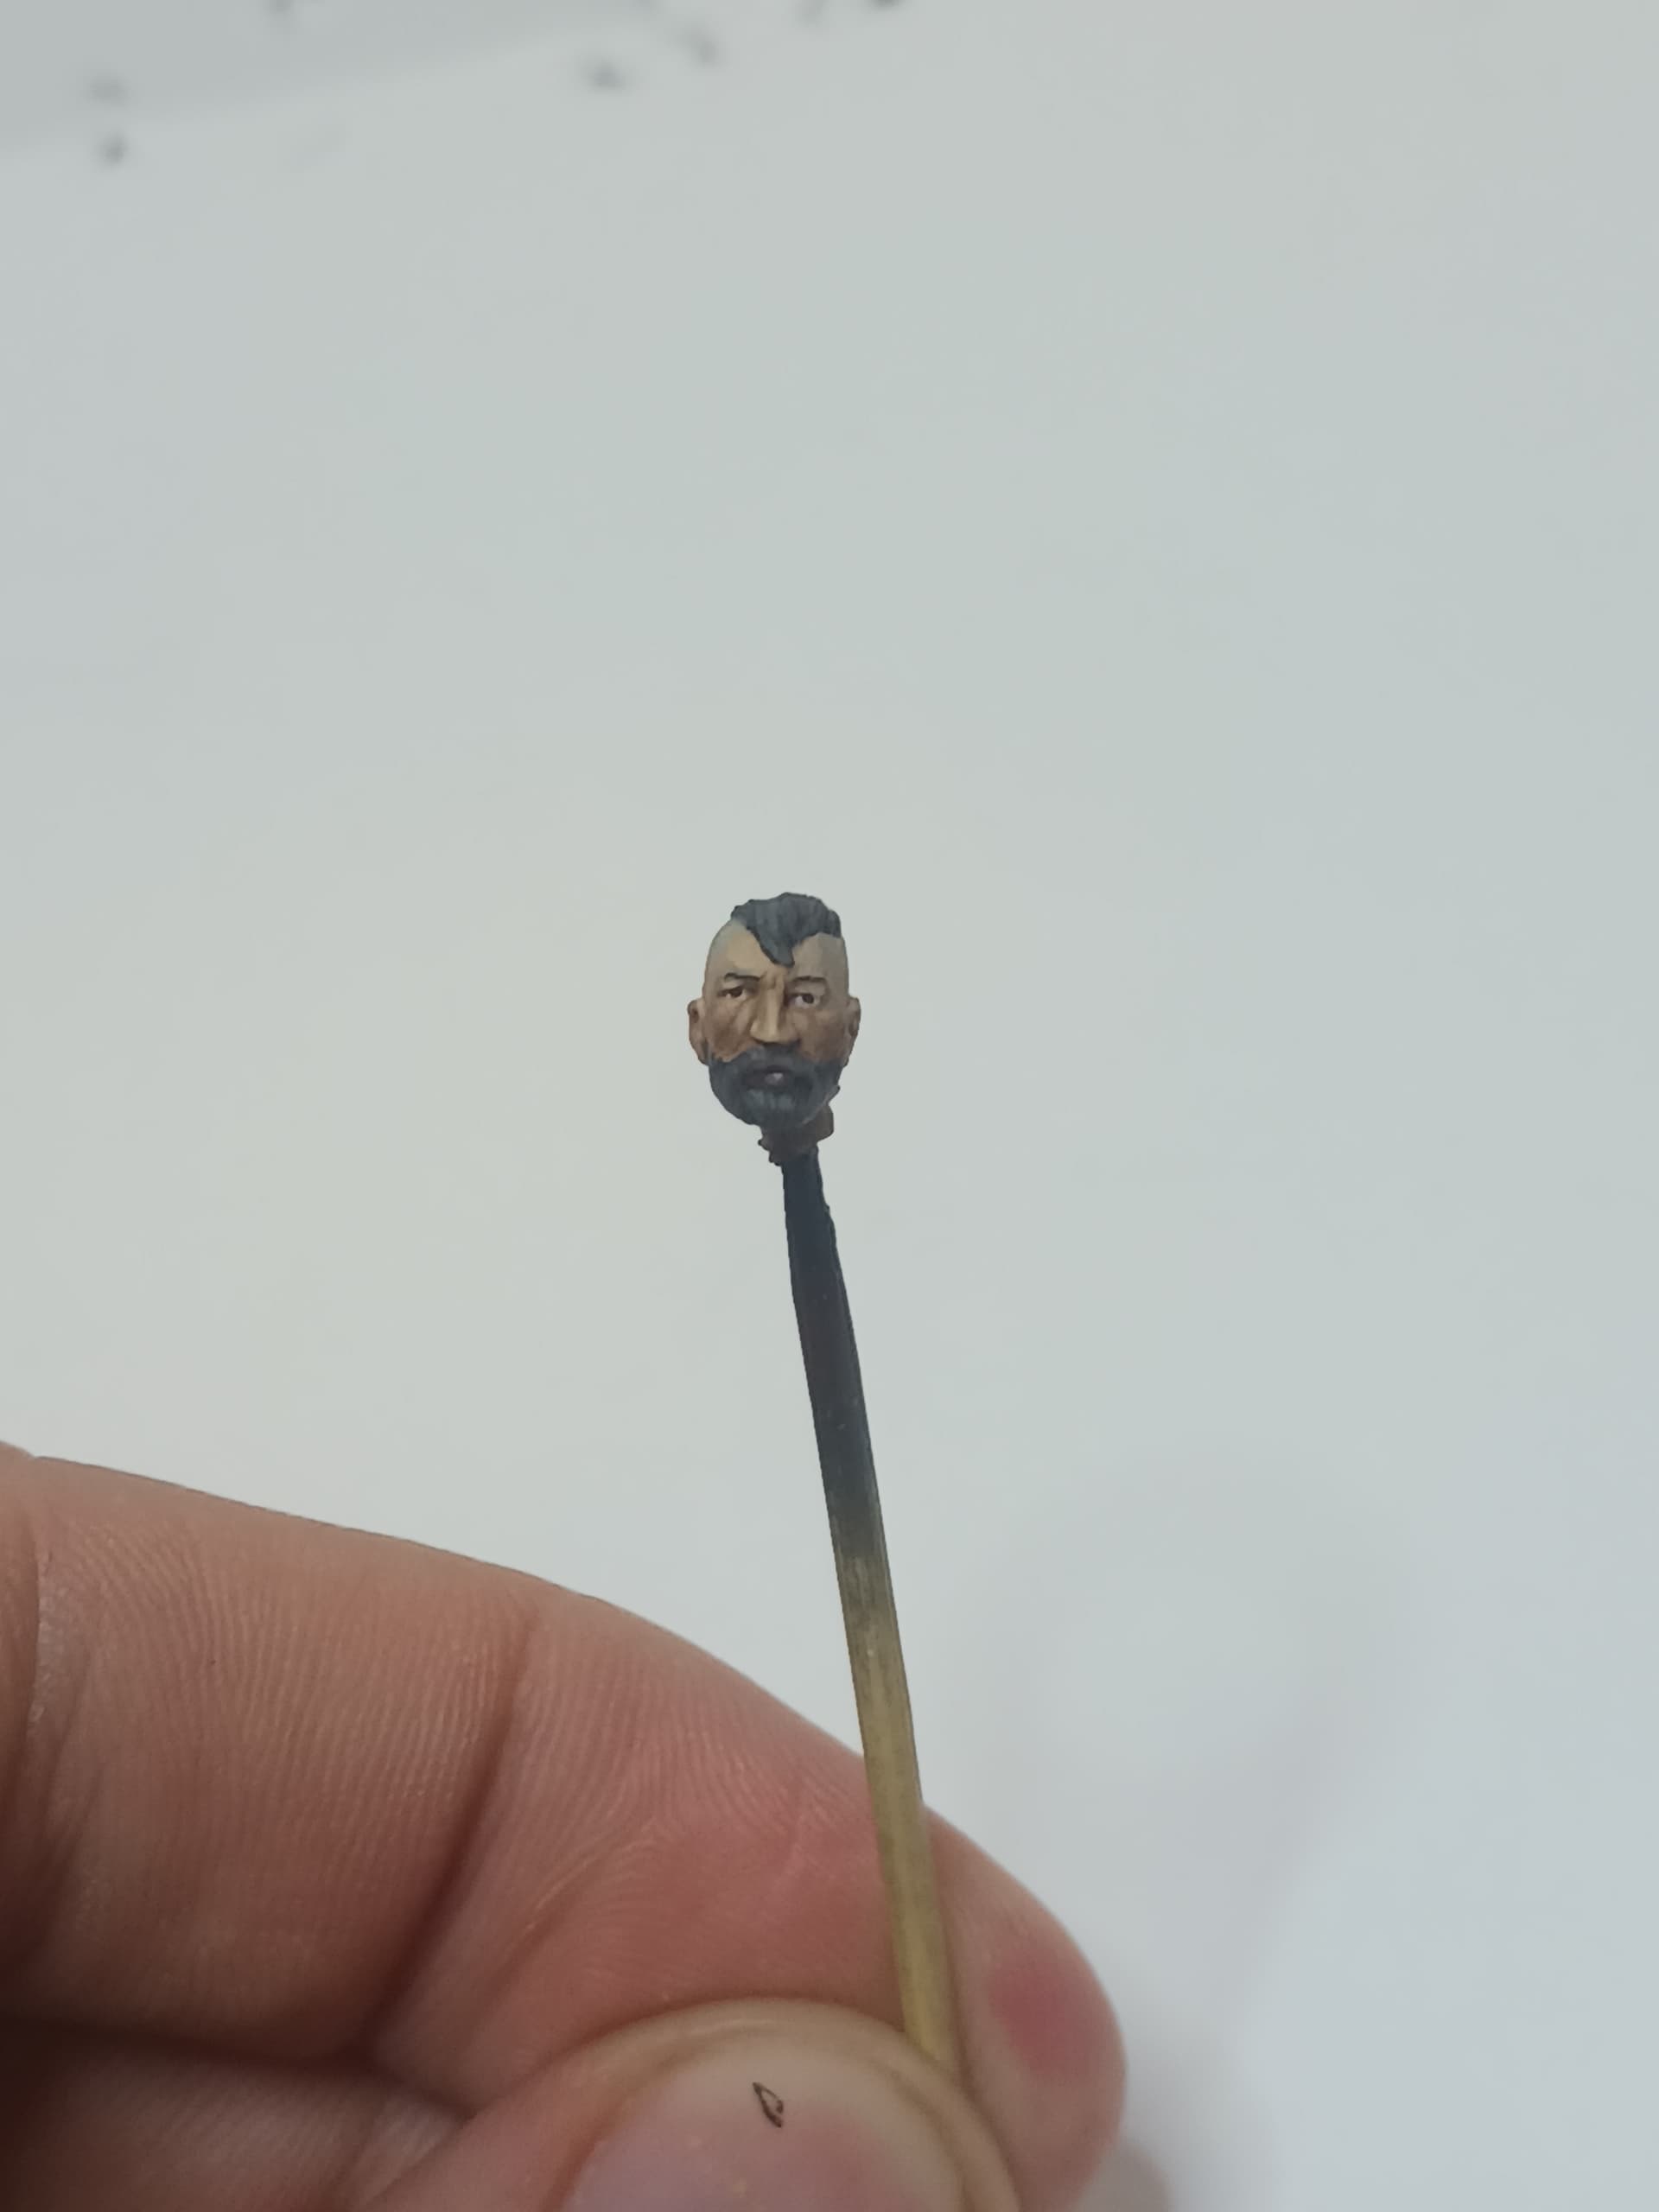
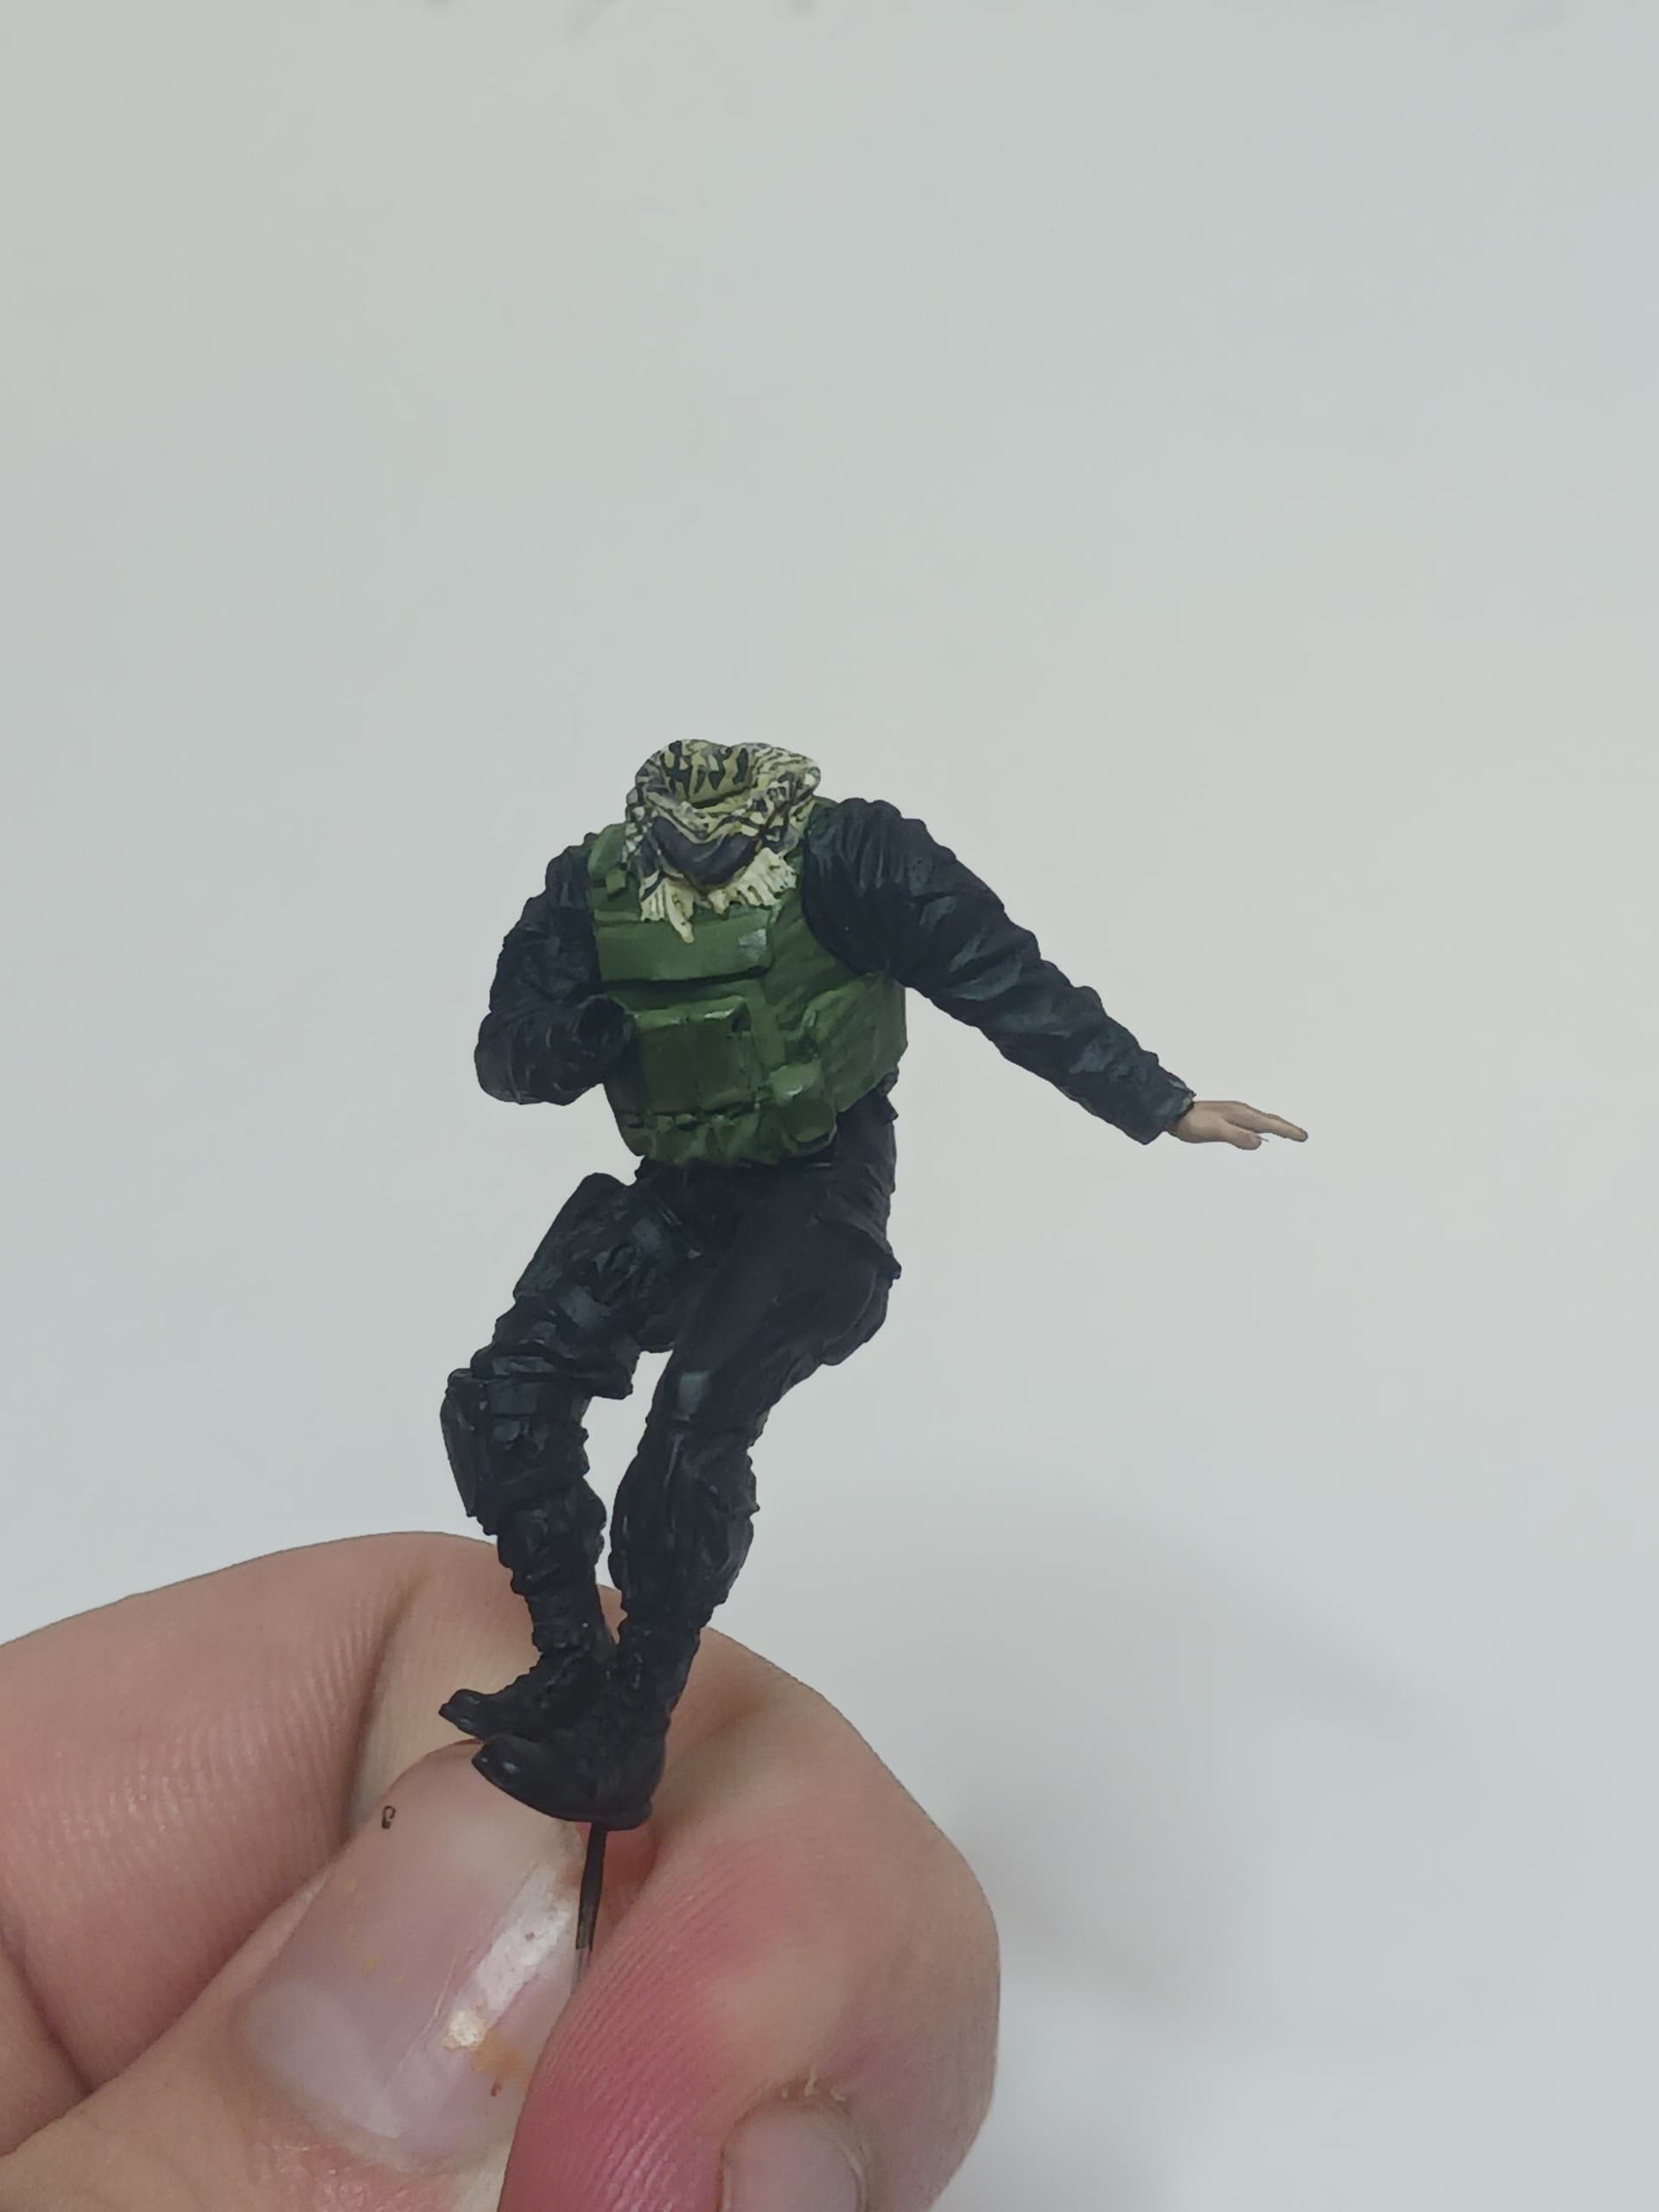
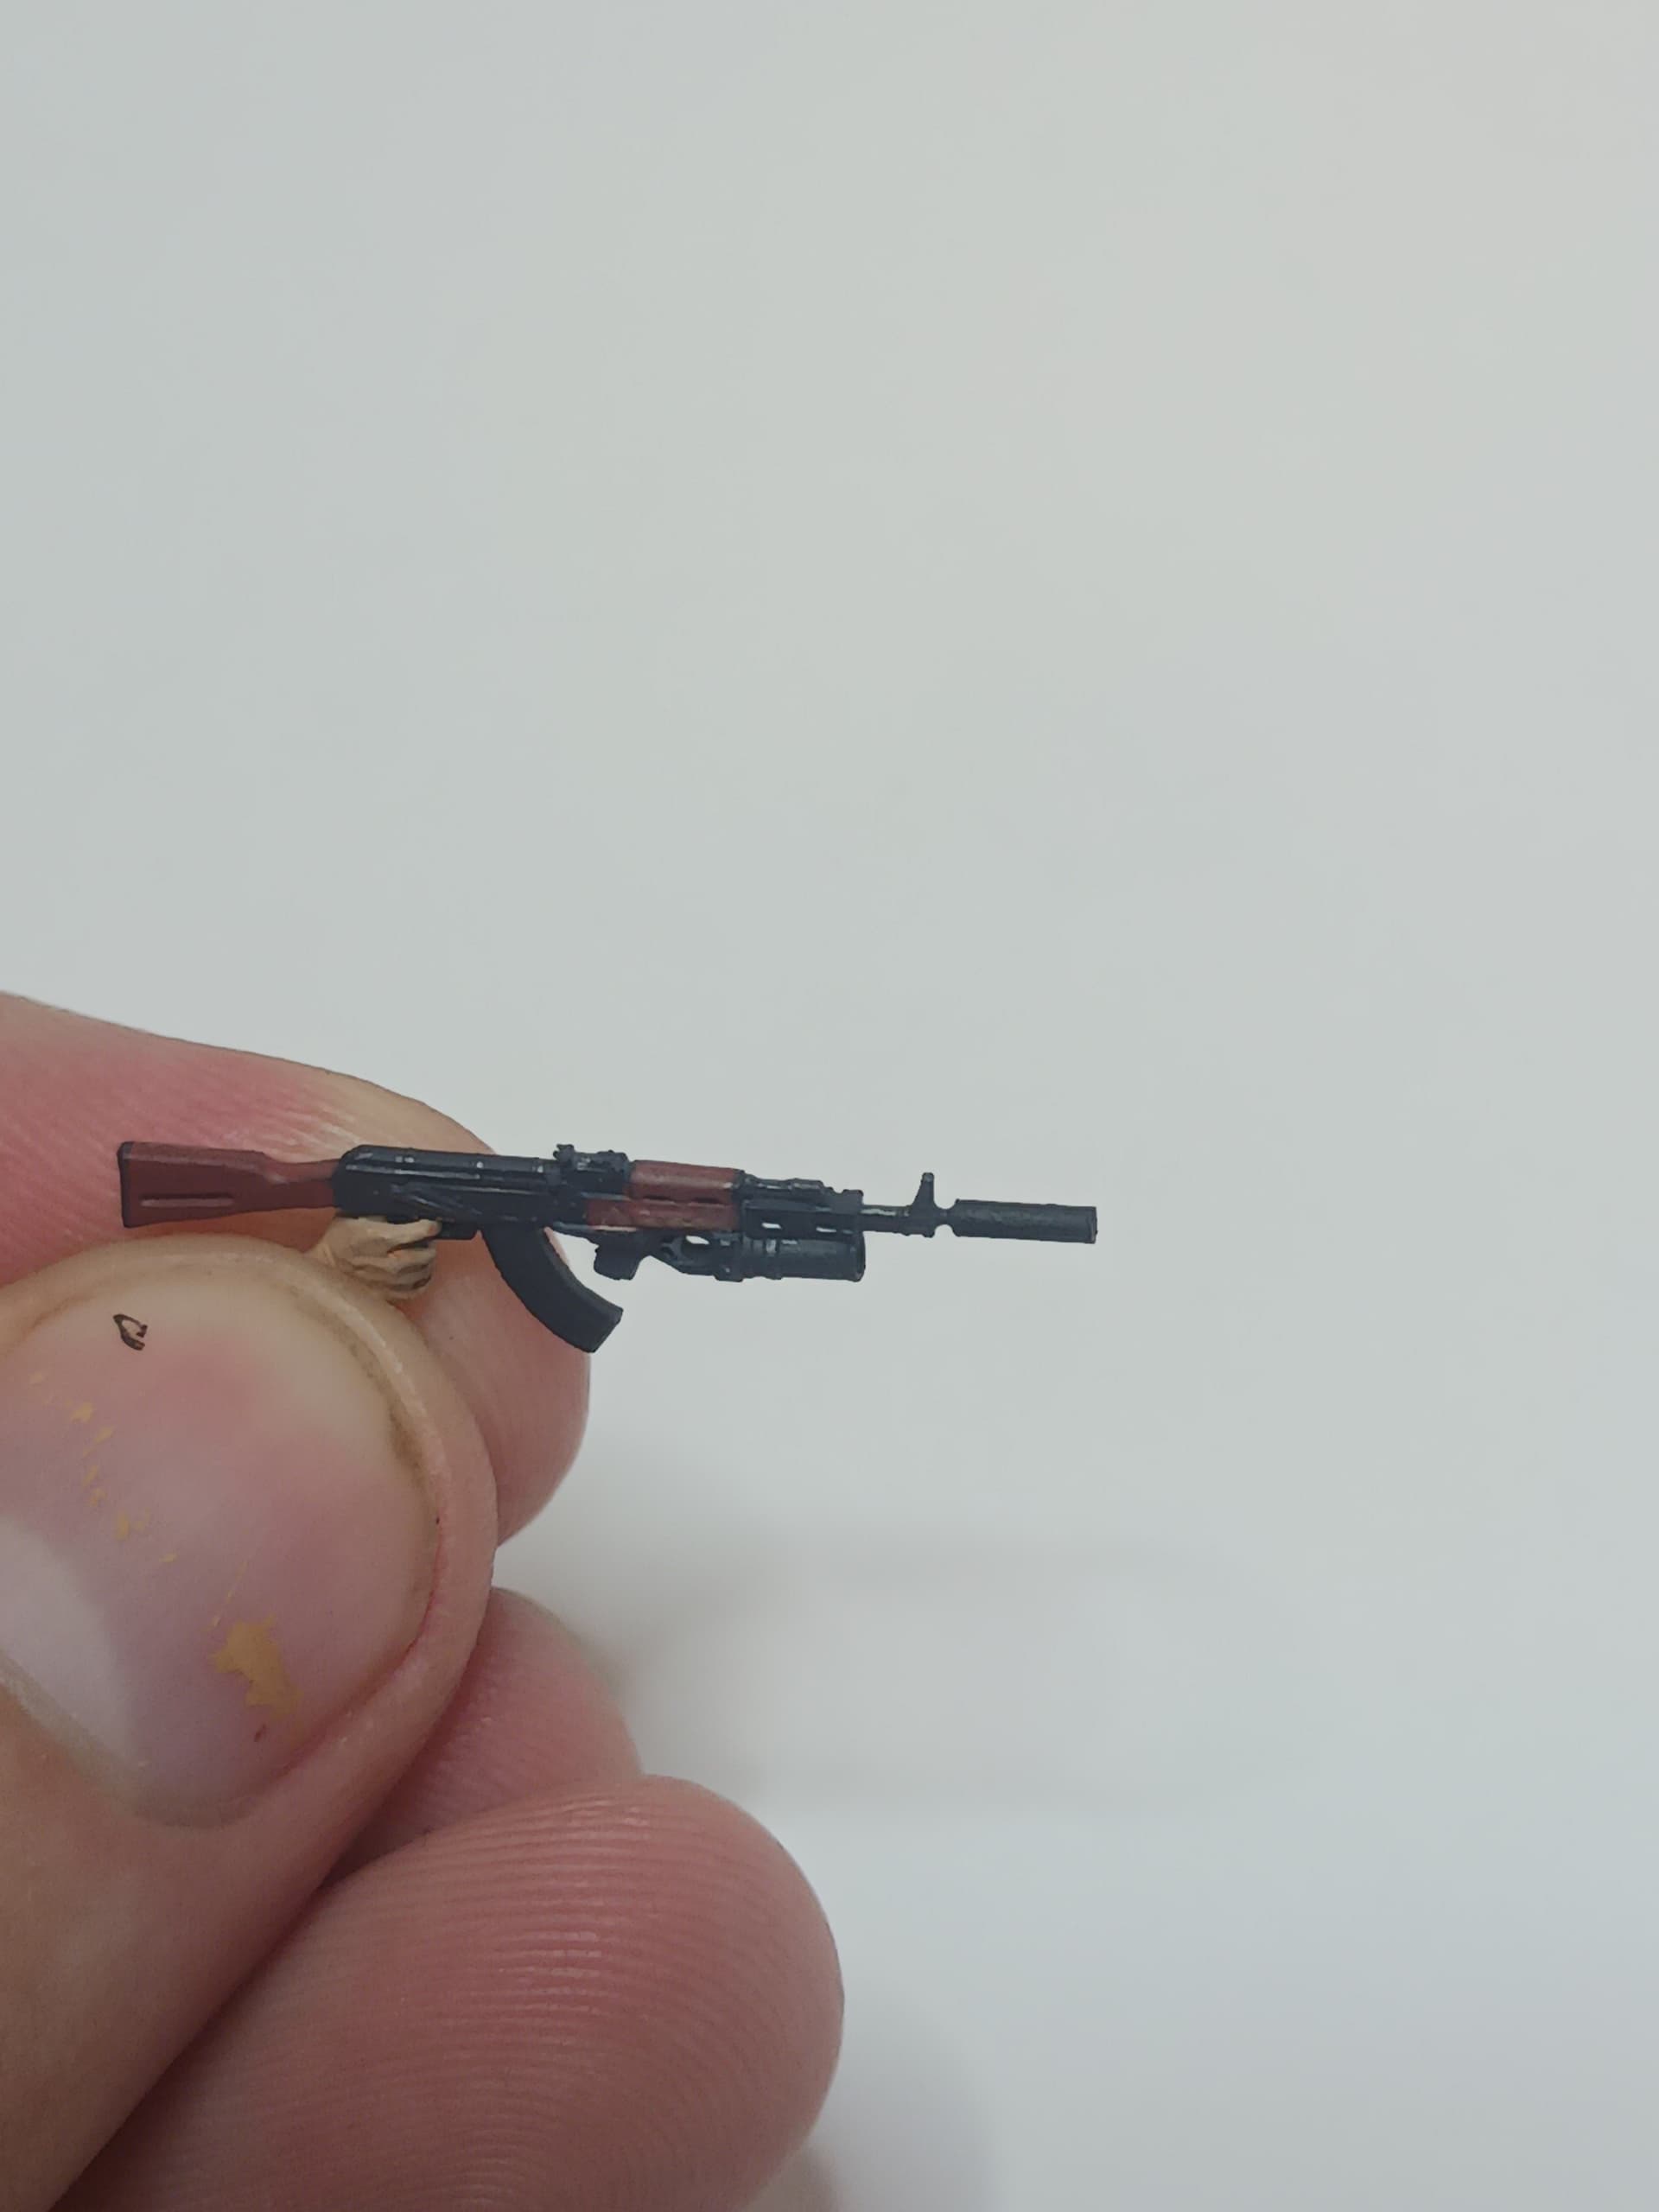

I have modified the kit. Unfortunately, my kat decided this will be his new toy and dropped the resin model from the table, breaking the hand on the model and the AK so both had to be replaced. The hand is my own 3D print and the AK is an aftermarket part.
I really want to work more on the AK and recreate the wood texture. I was also thinking of adding a sling to it. Another modification will be an M72 slung around his back.
Now you might ask… where is the camo? Well… I want to experiment so I bought the digital camo decals. If they don’t work then I will paint it but I think it might look great.


7 Likes
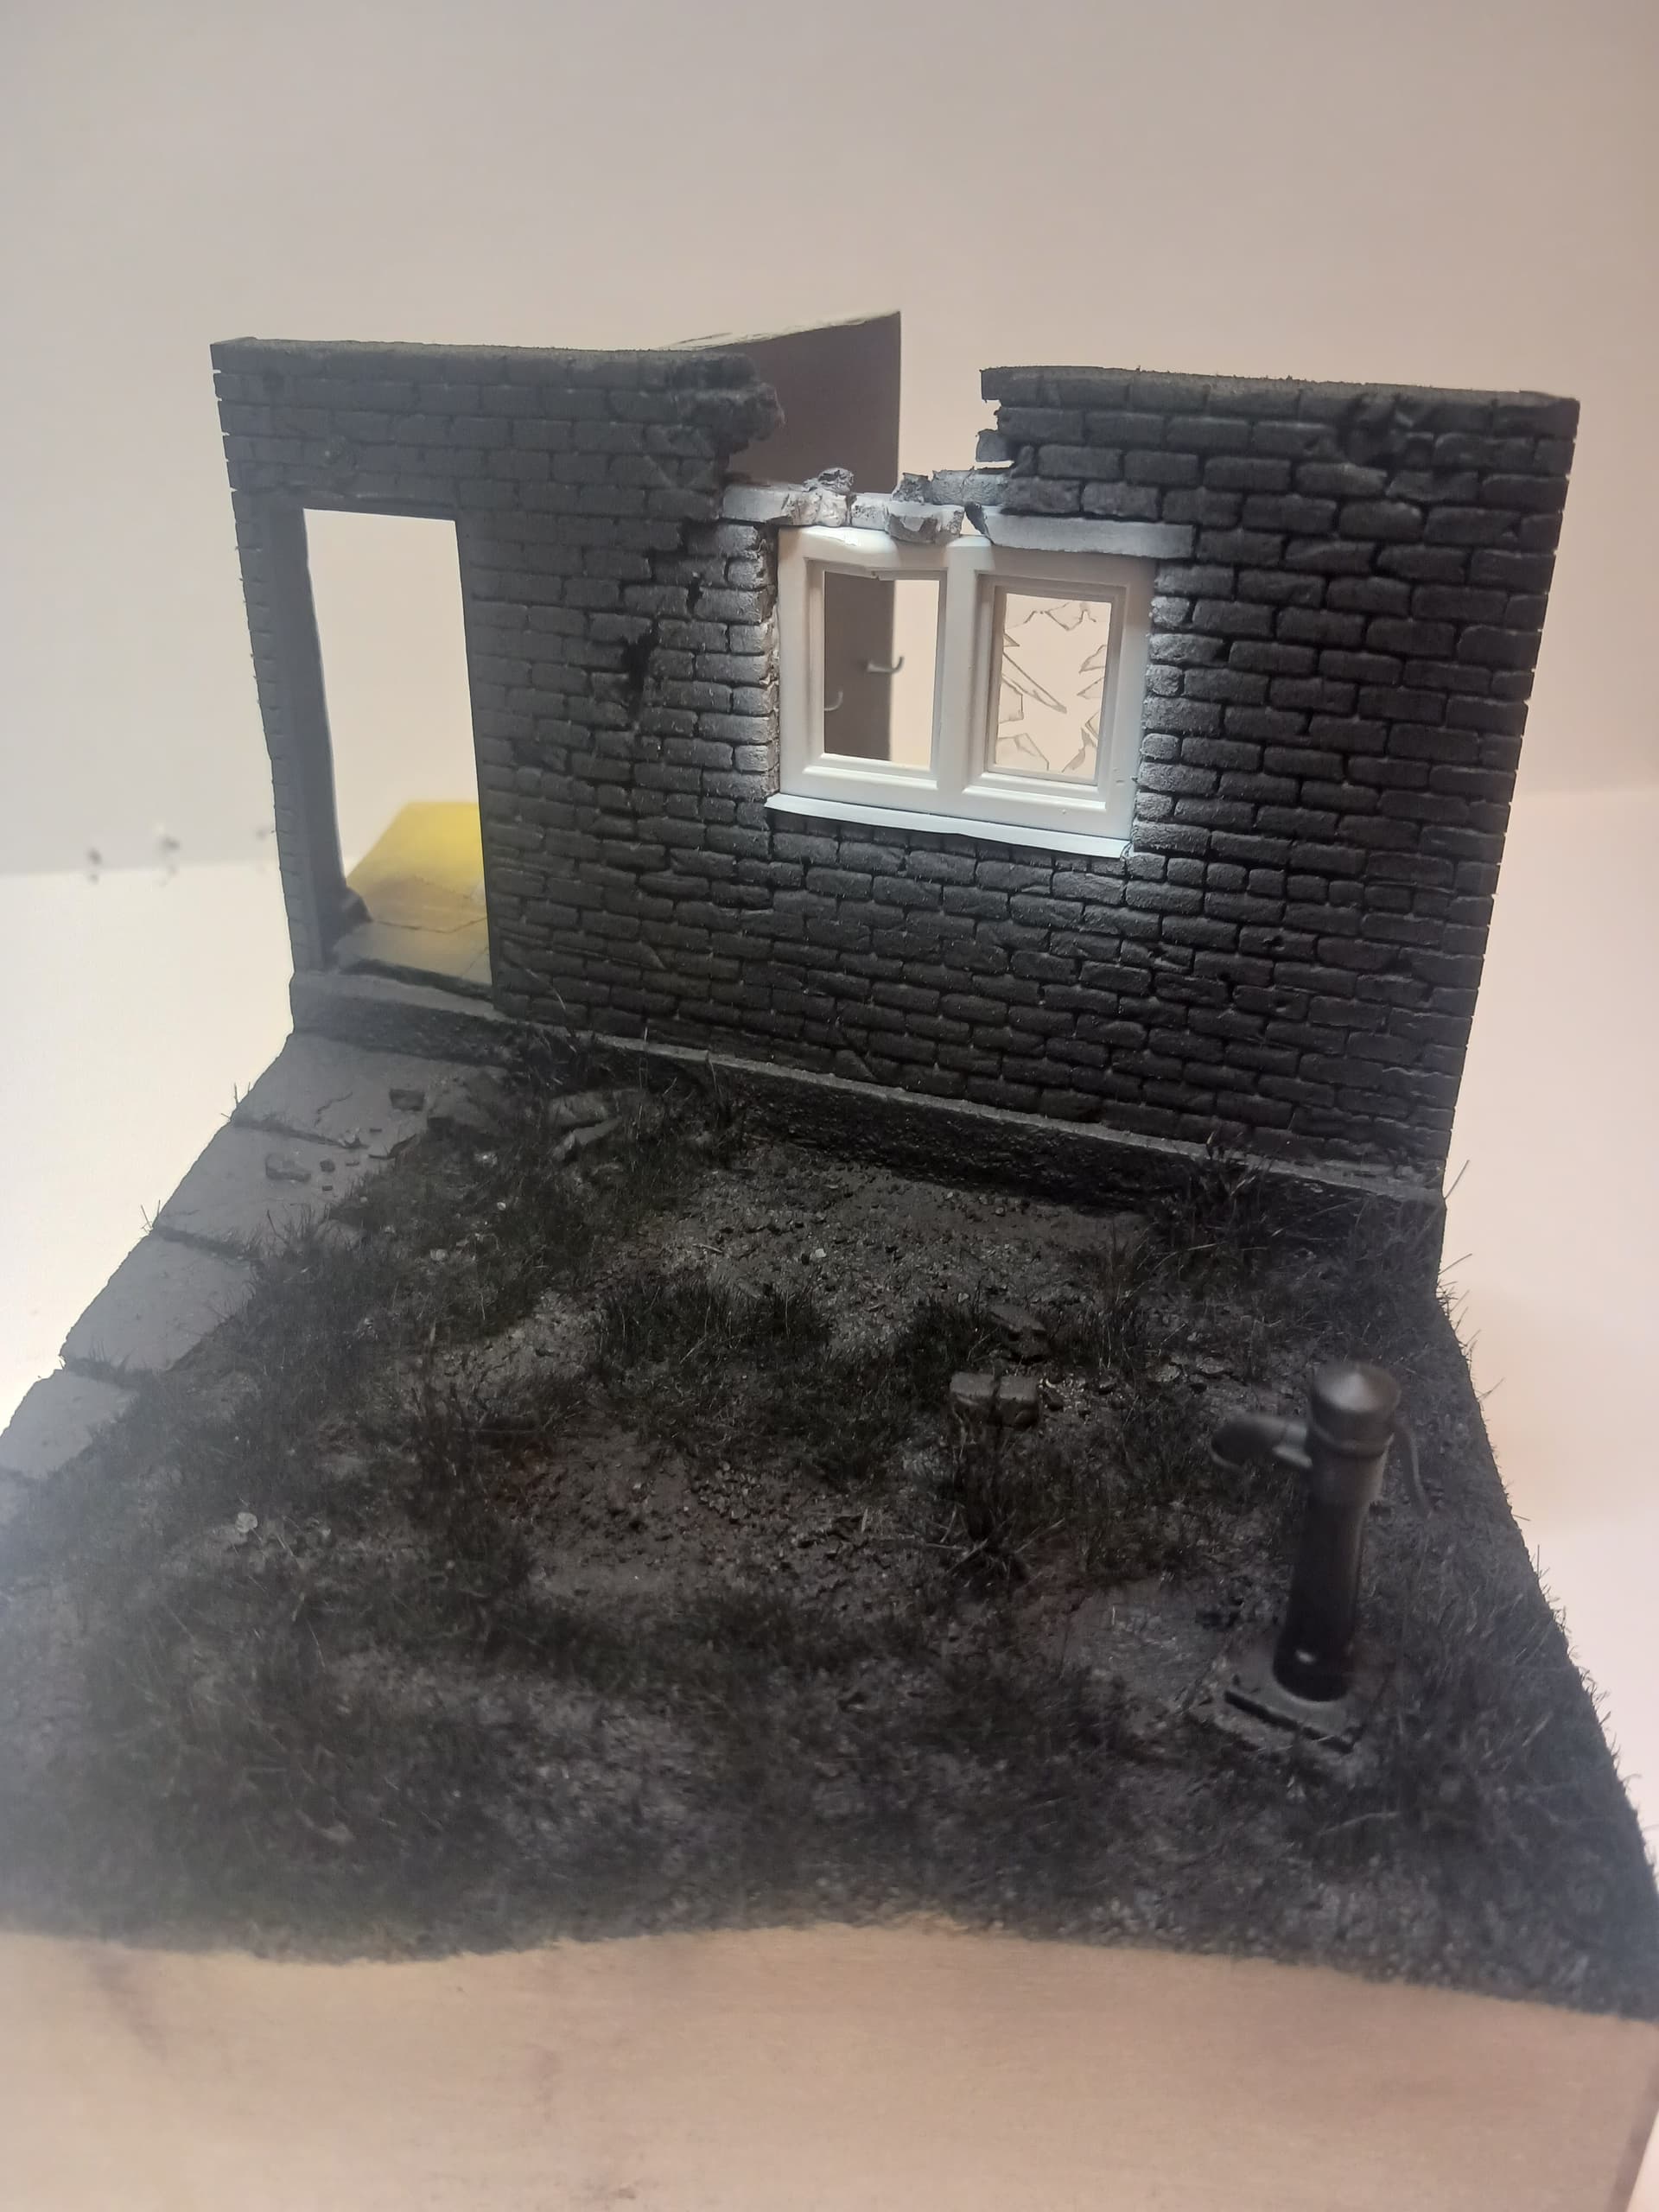
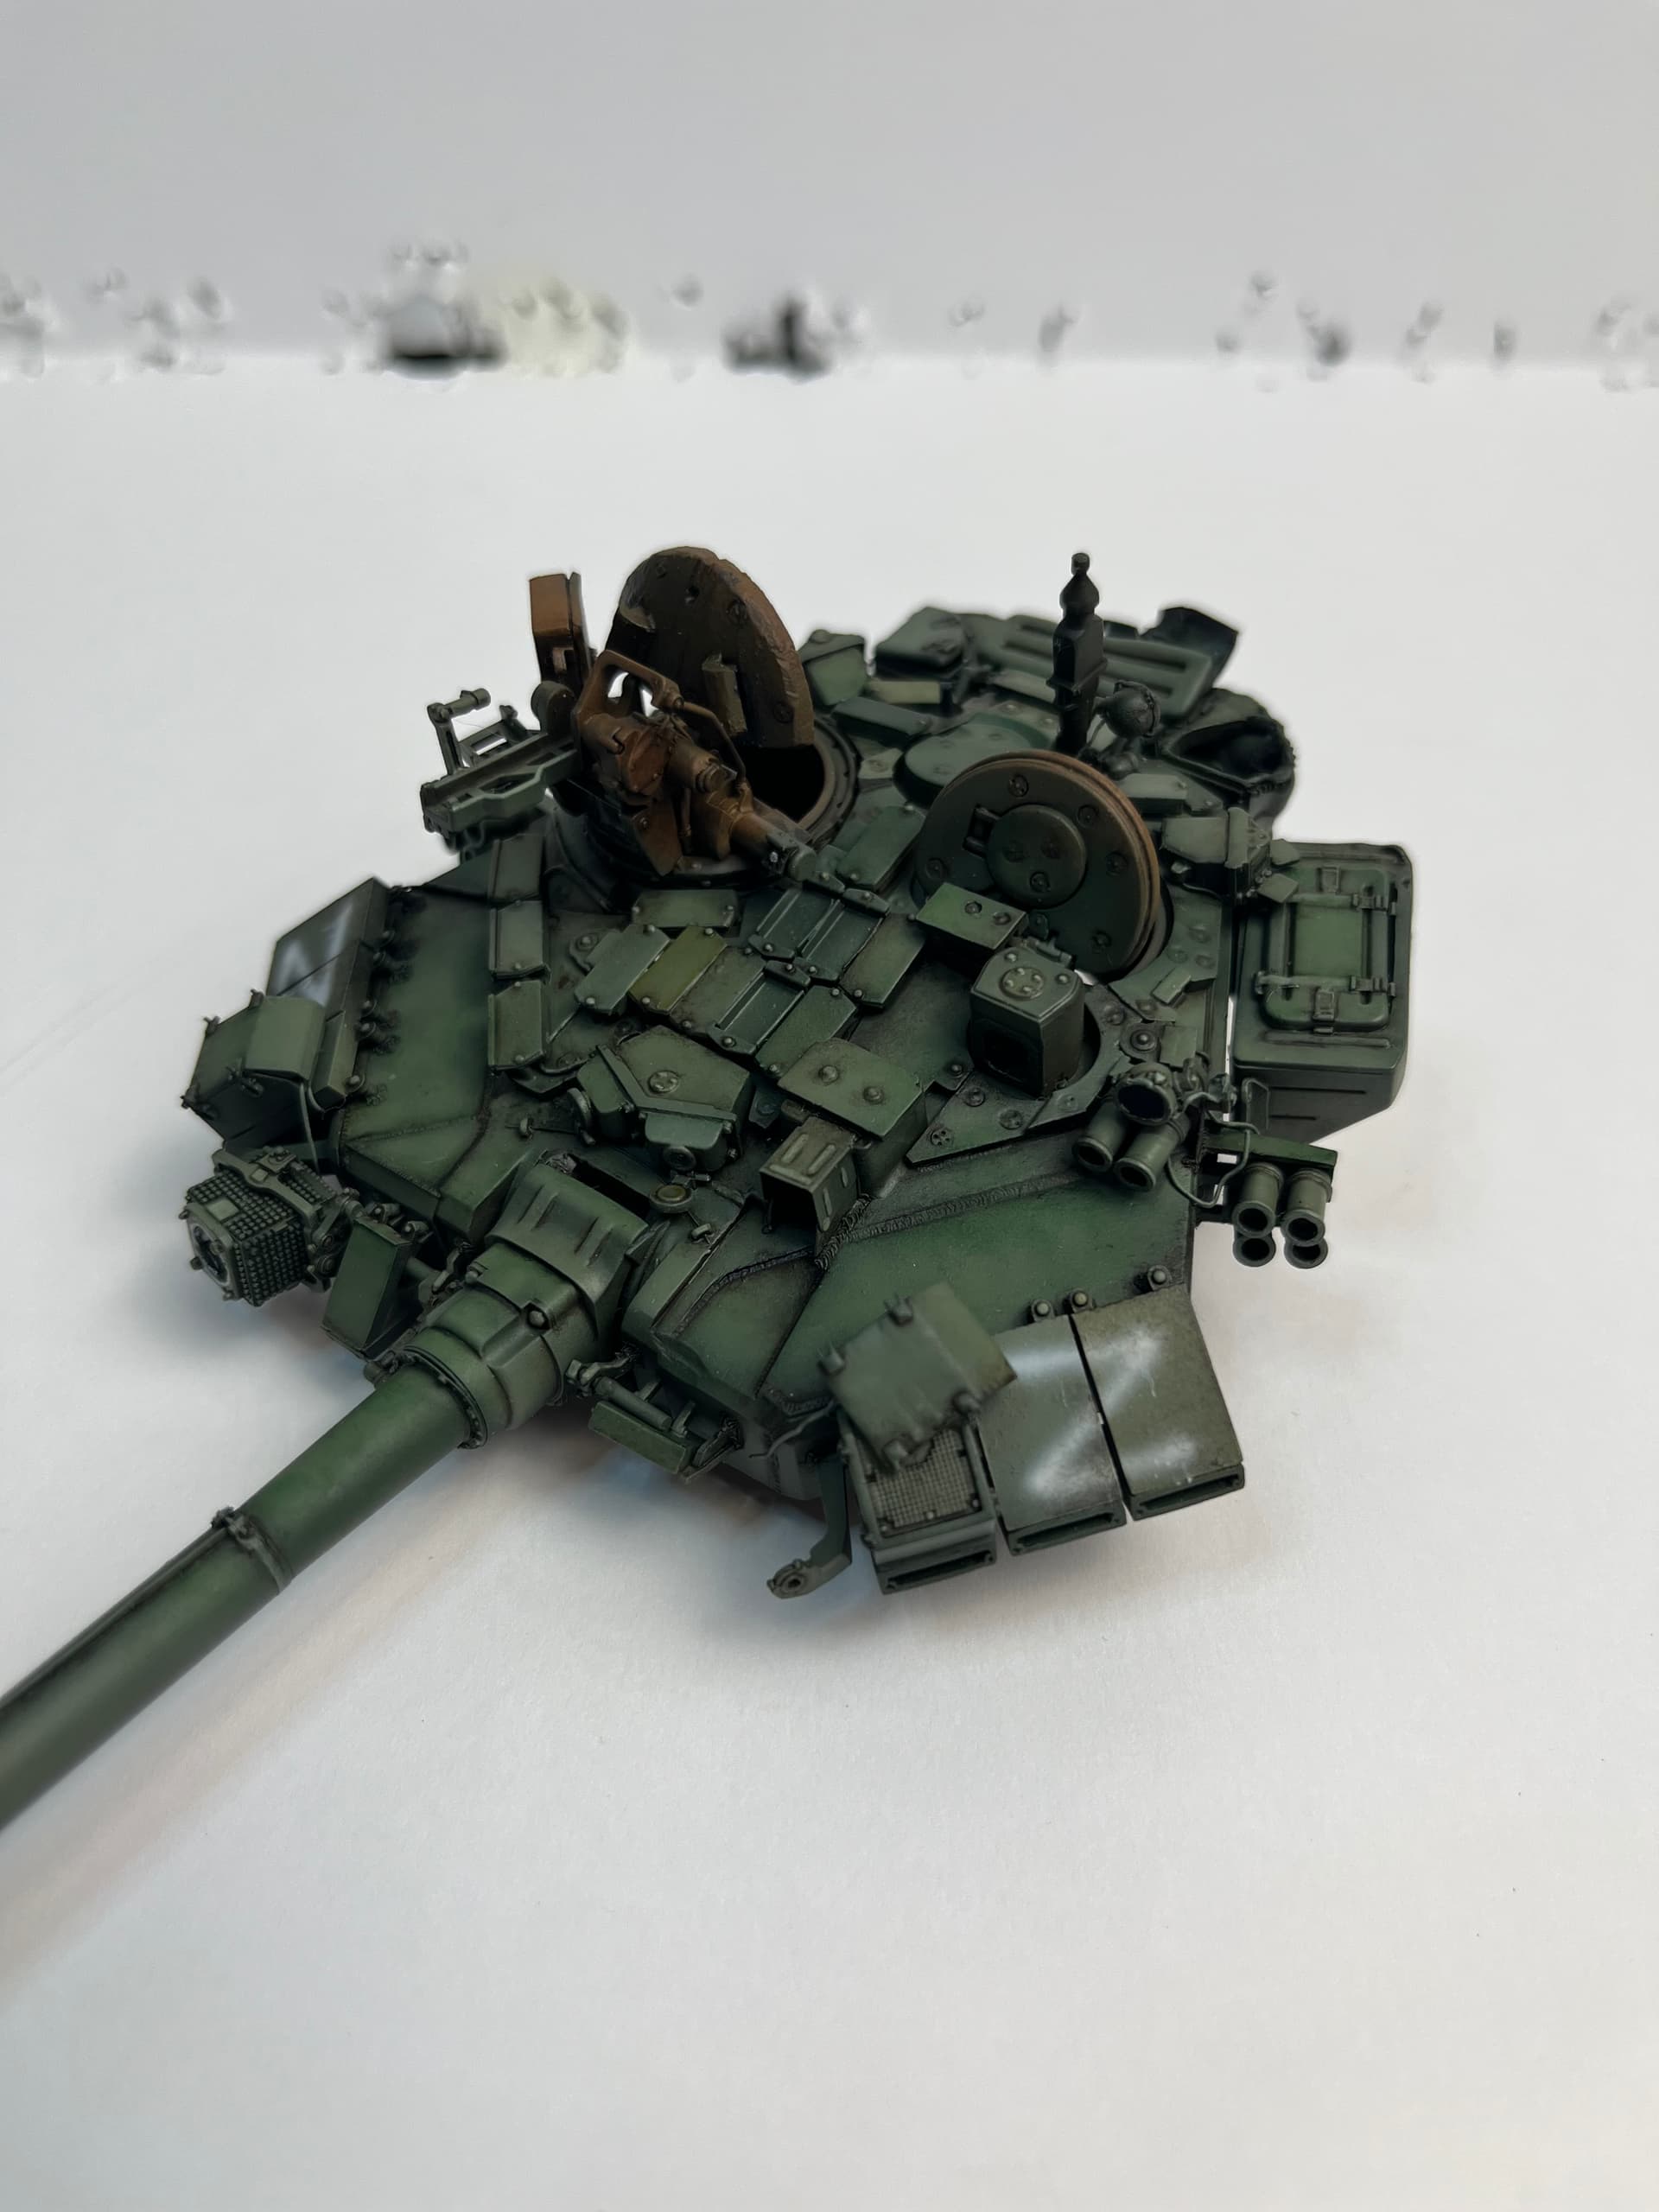
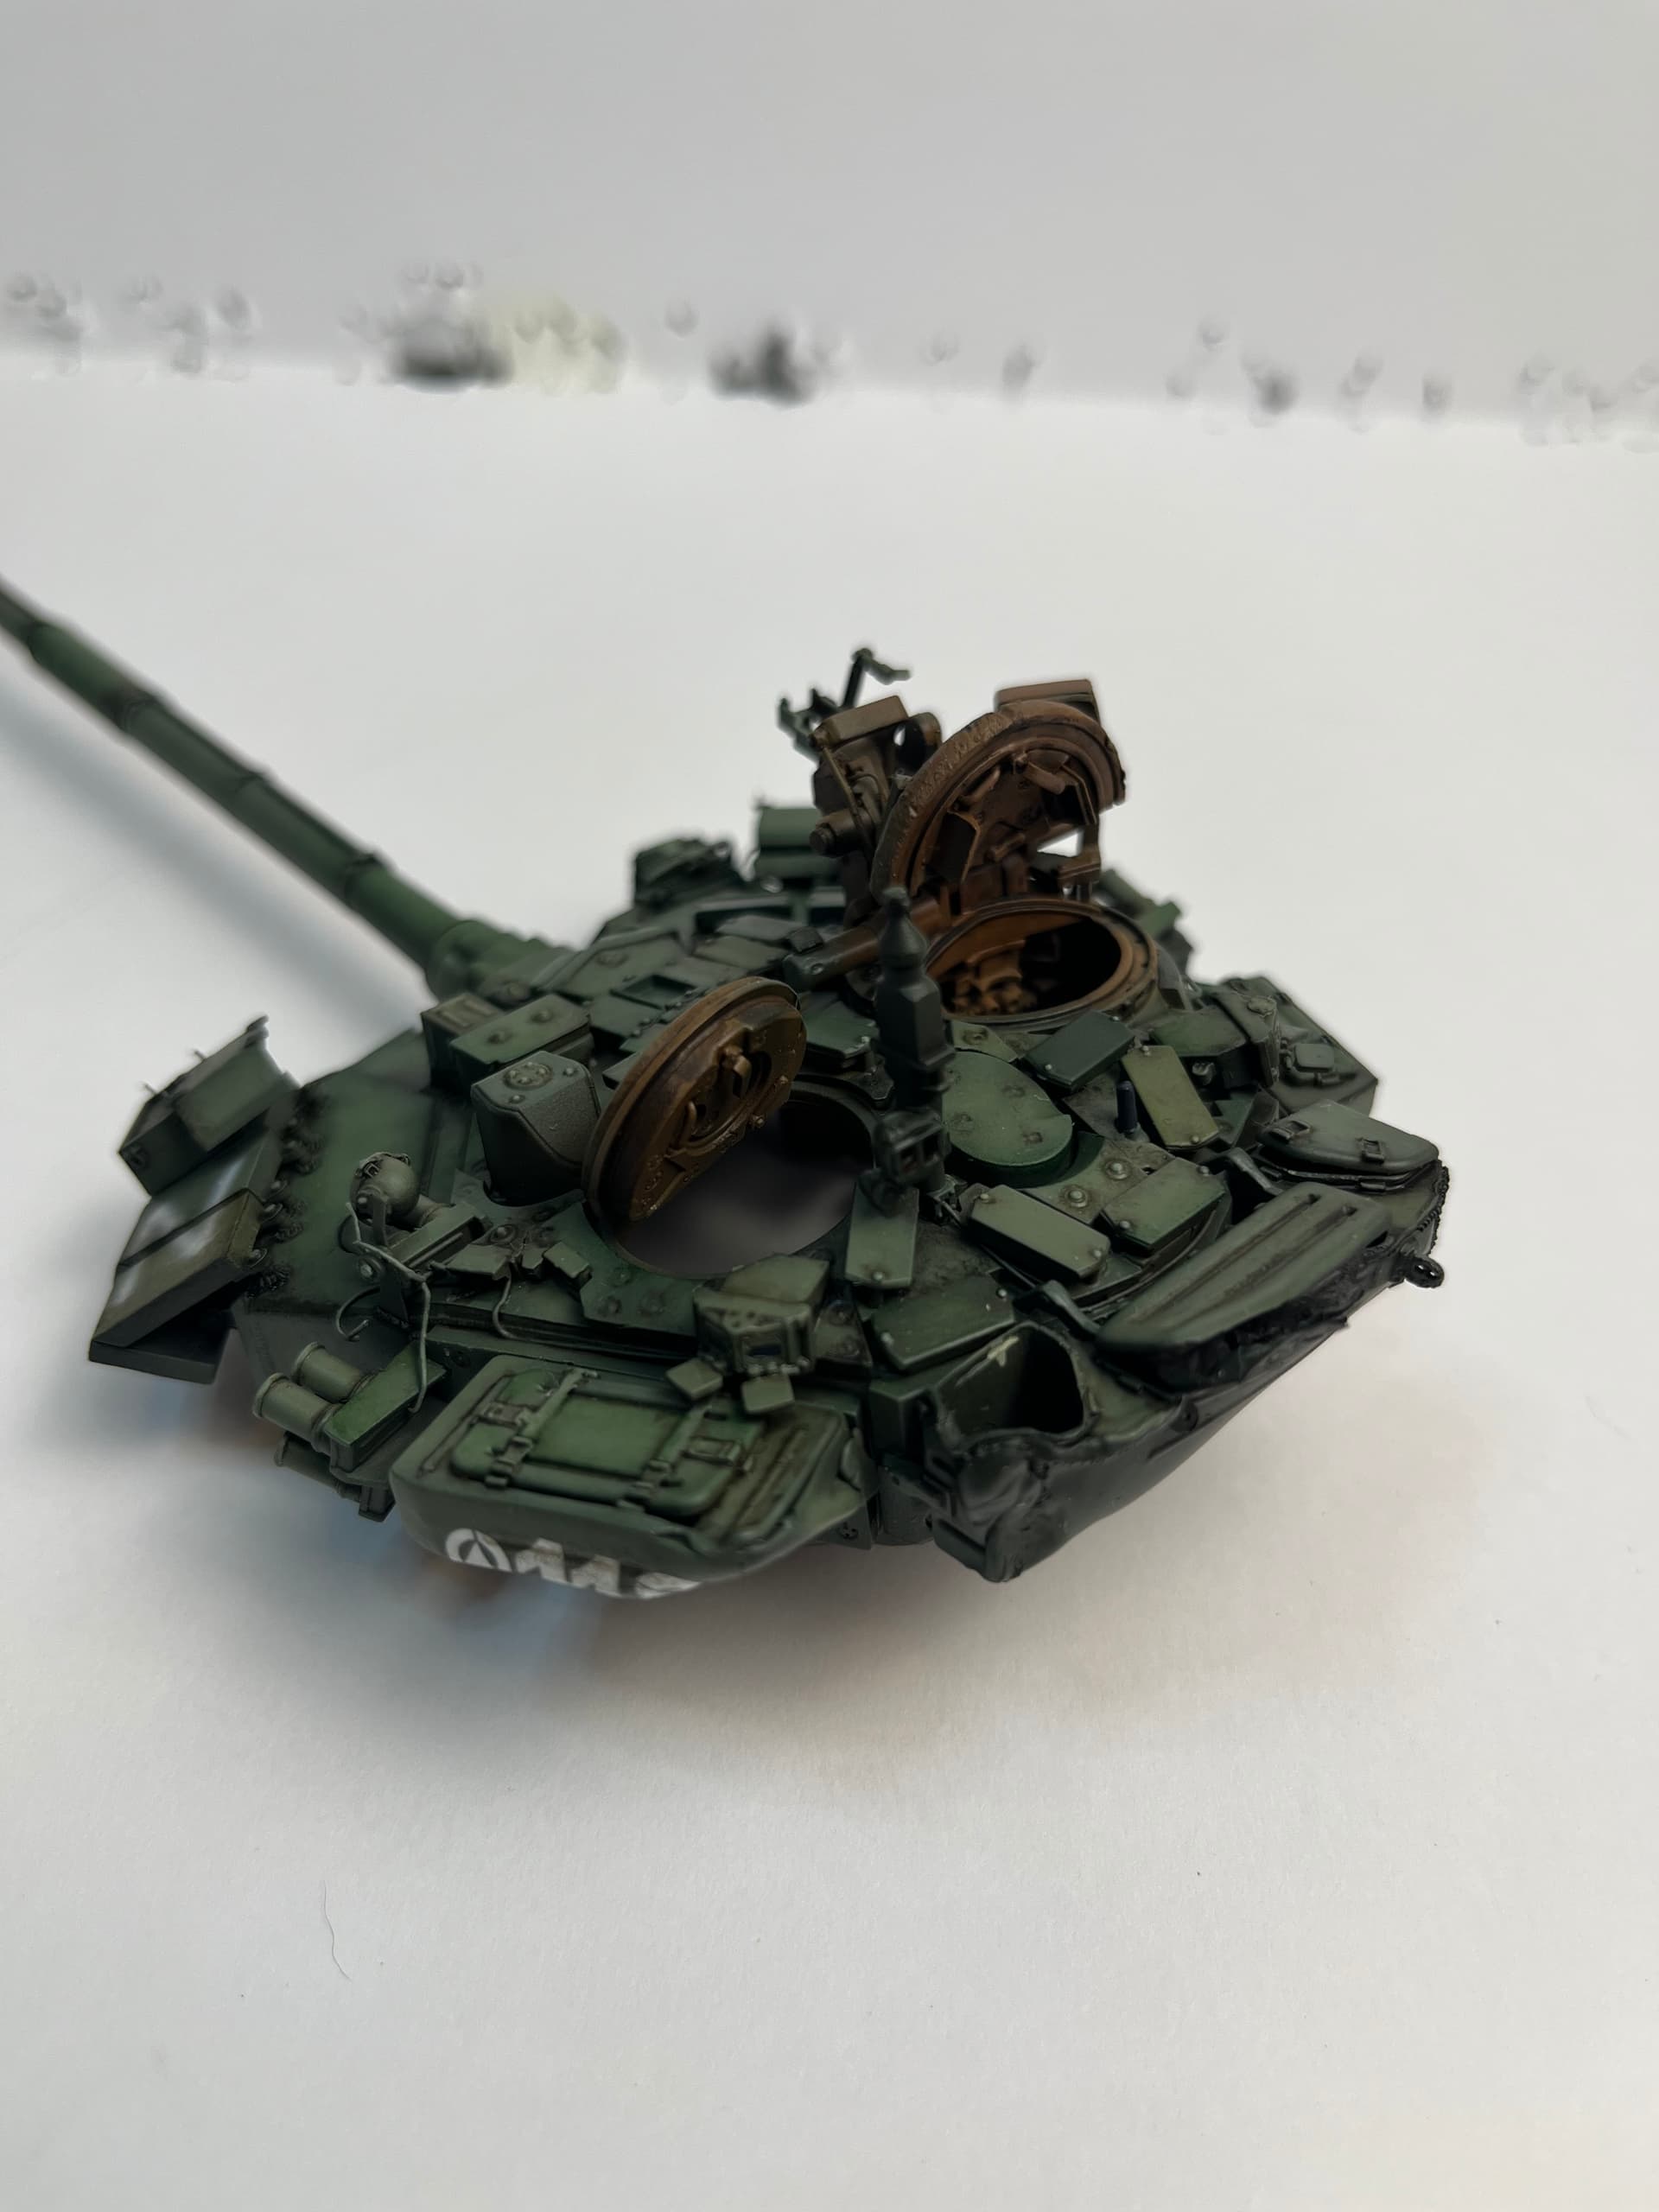
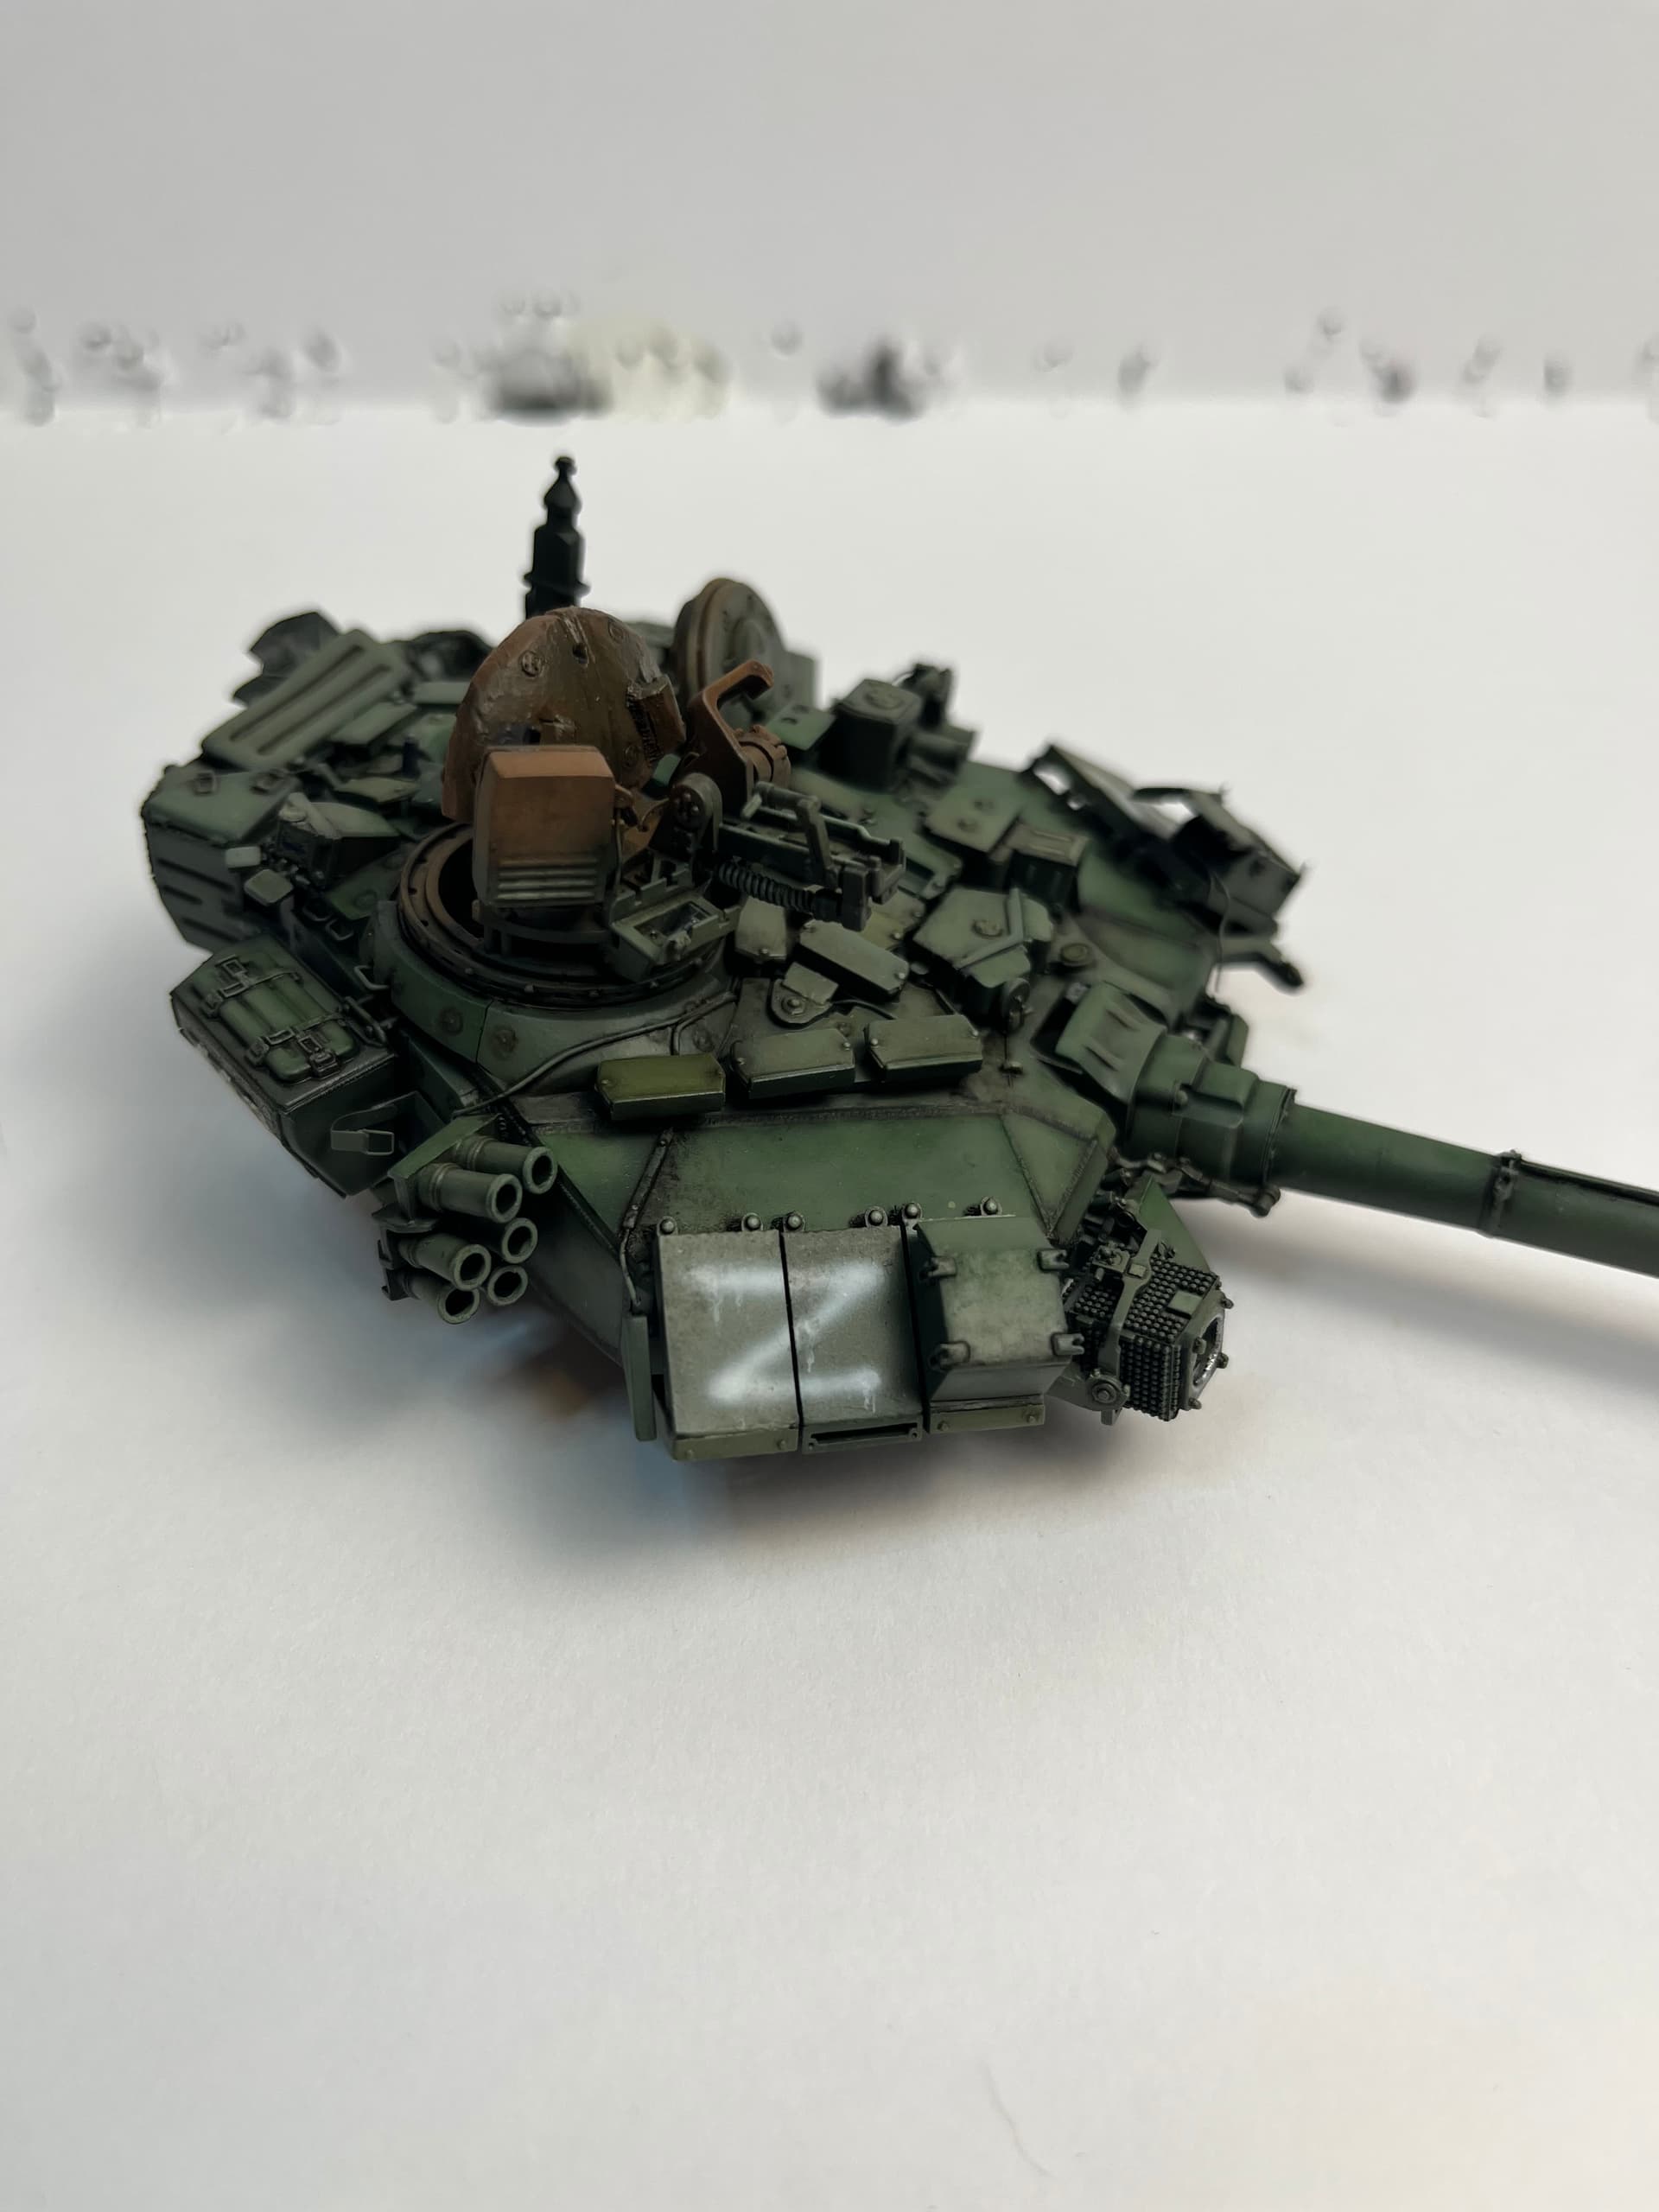
Back in Black! The terrain has been primed and the Turret base coated!
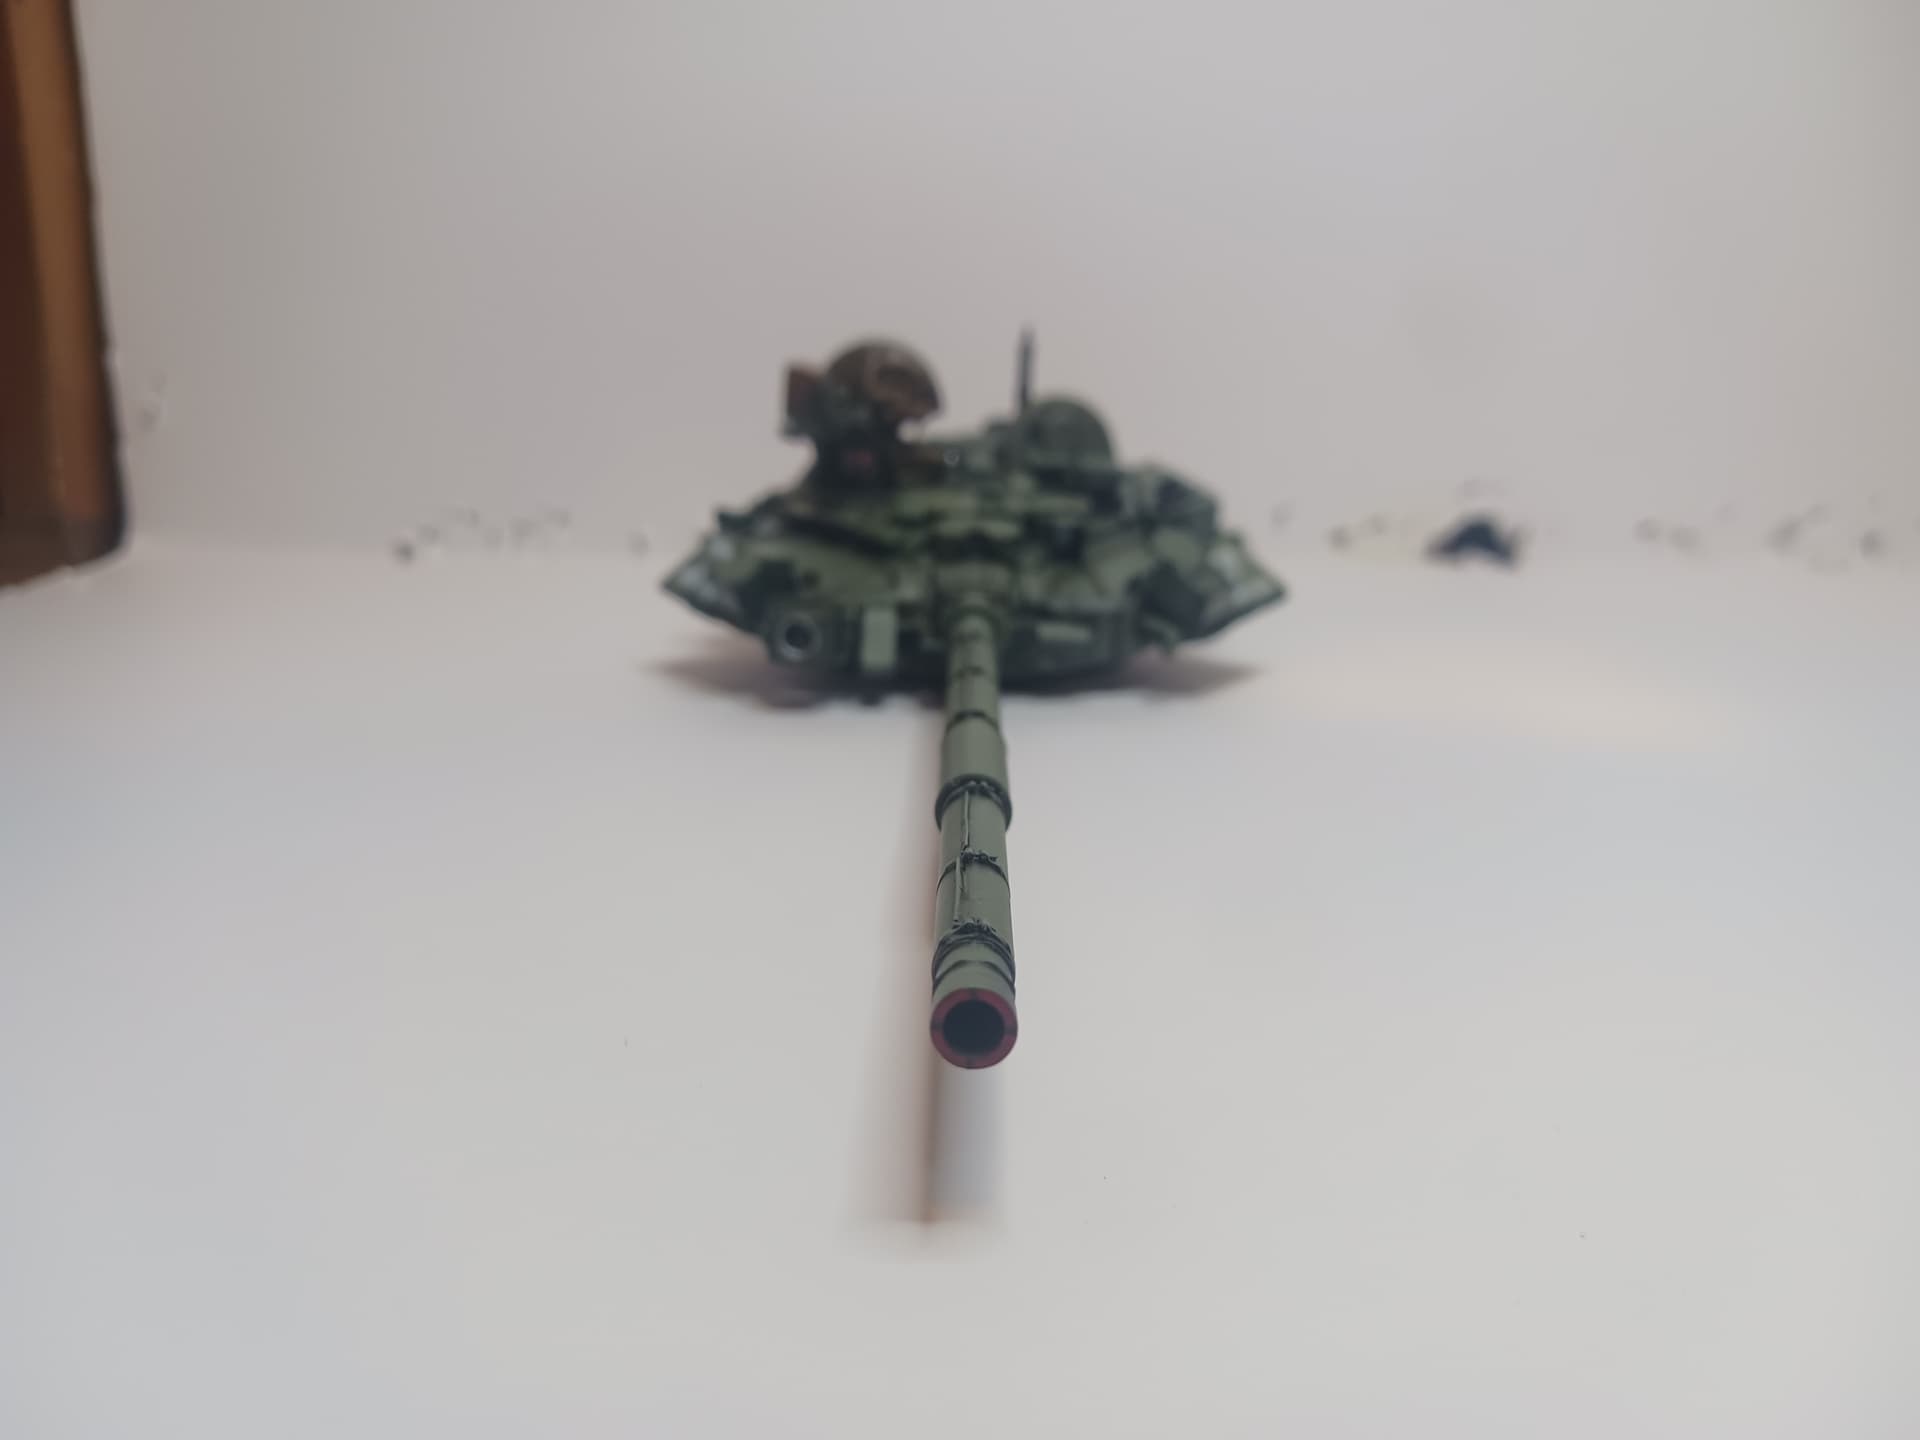
First thing first the turret: Now the pictures do not do a great job of showing the paint job but here it is.


Now this is definitely not the best paint job I have done because I tried some experimenting. I tried to make it look colder so the whole scene has a more depressive look but I won’t be able to tell until later. I also tried to make it less striking with the colour modulation and I wish I went back to what I have done previously with a sharper colour difference.
I preferred the matte look of the base paint but unfortunately, matte paint is not fun to work with so satin varnish it is.
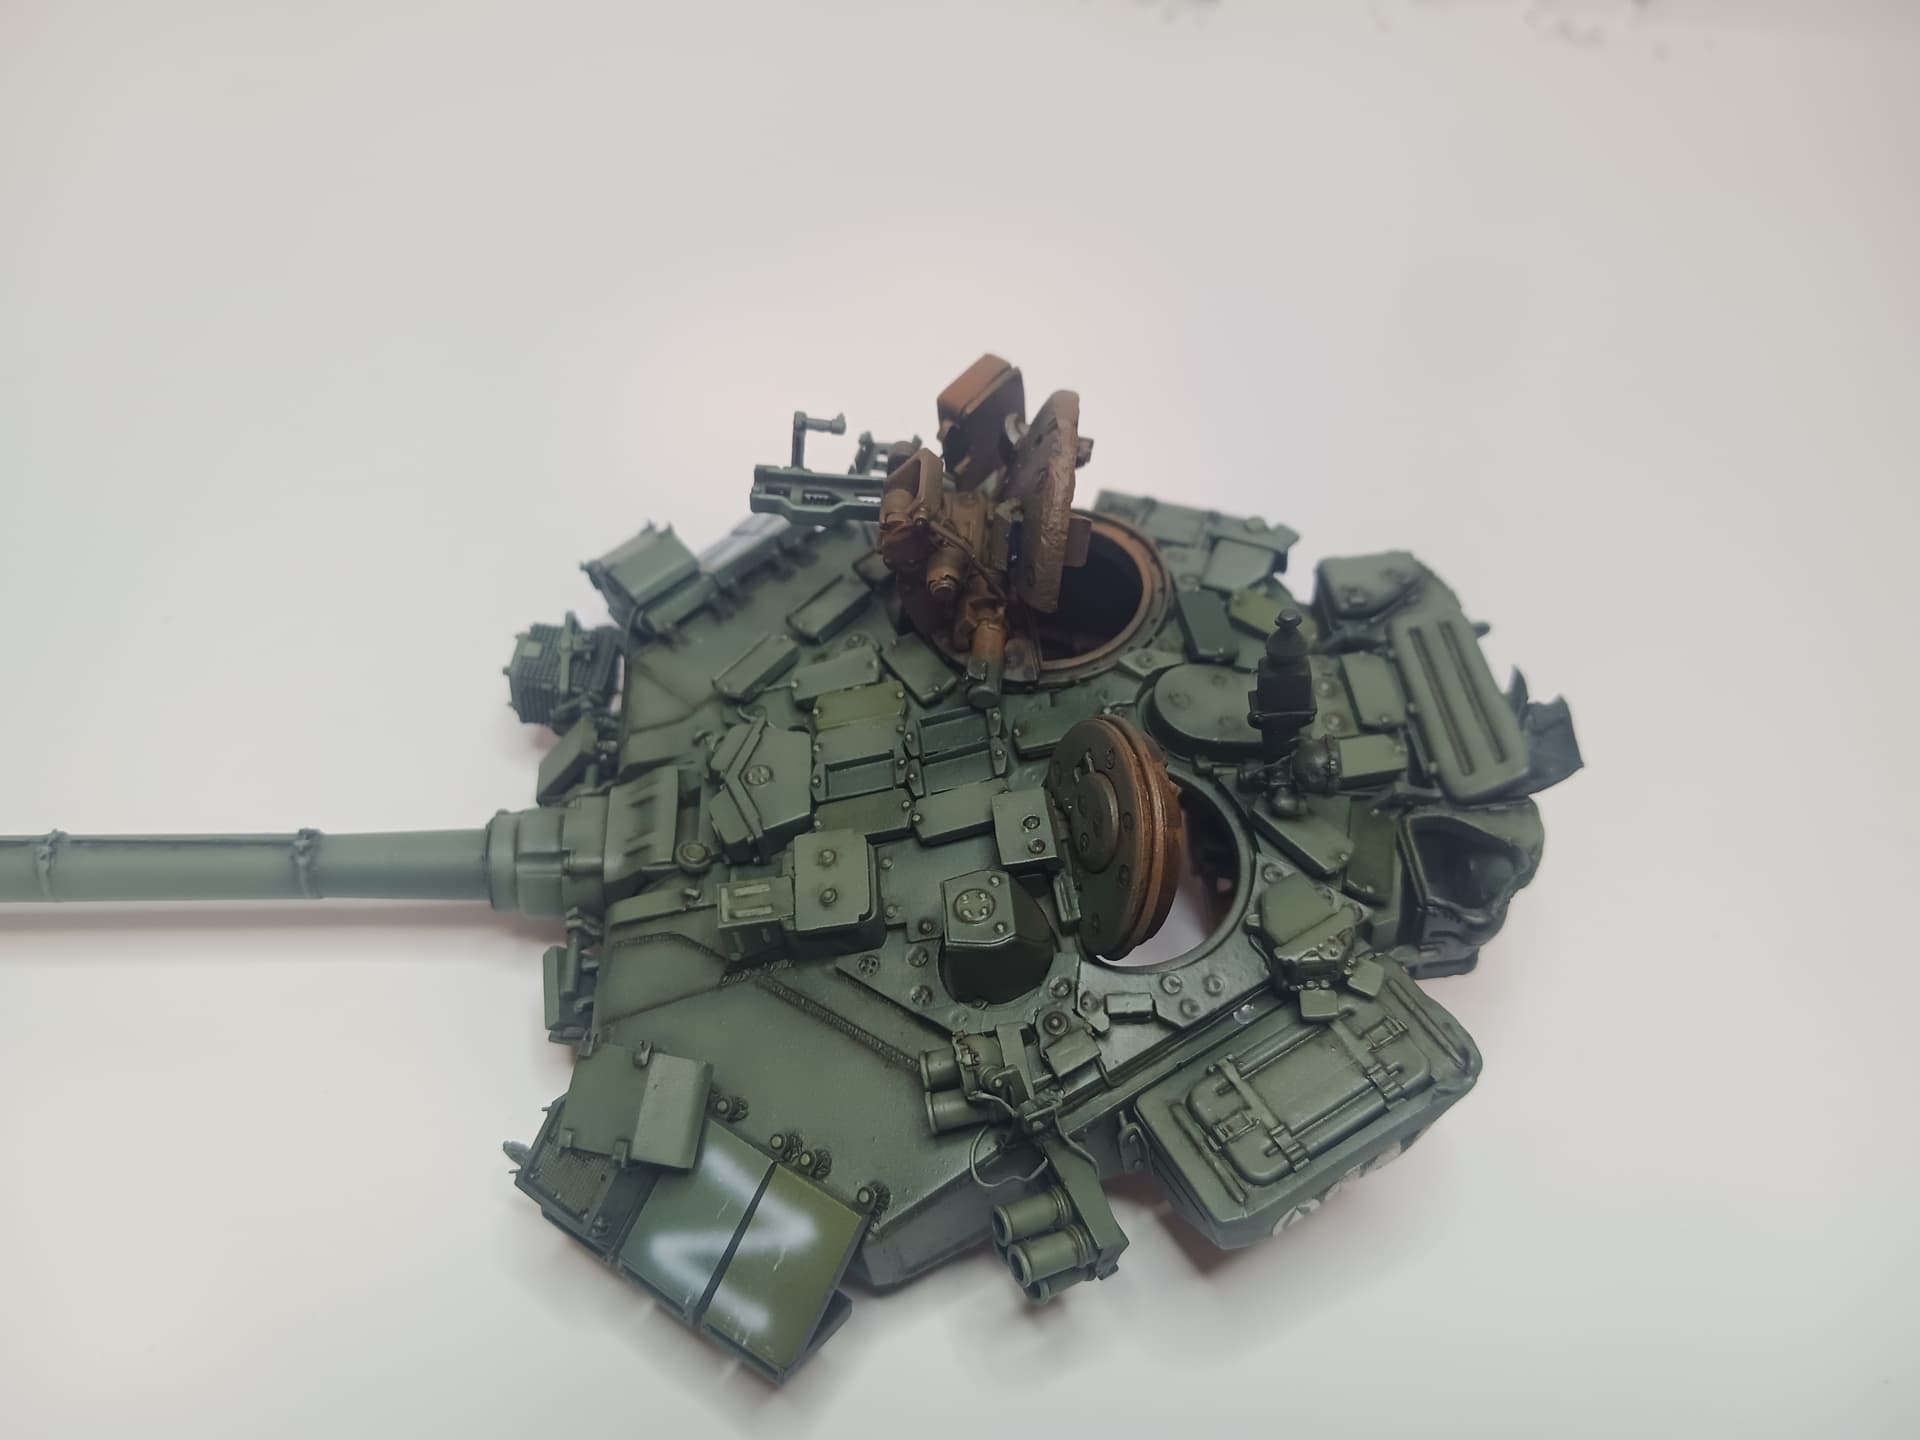
I also tried to make some of the ERA a different colour to create more interest. Next up is the detailed painting and Broken glass.
You can also see I left some of the old rust as a roadmap before I put in black burn marks everywhere like the commanders’ sight station which was aluminum so most of the inside will be black with some white residue.
What do you guys think so far? Any pointers for the next paint job?
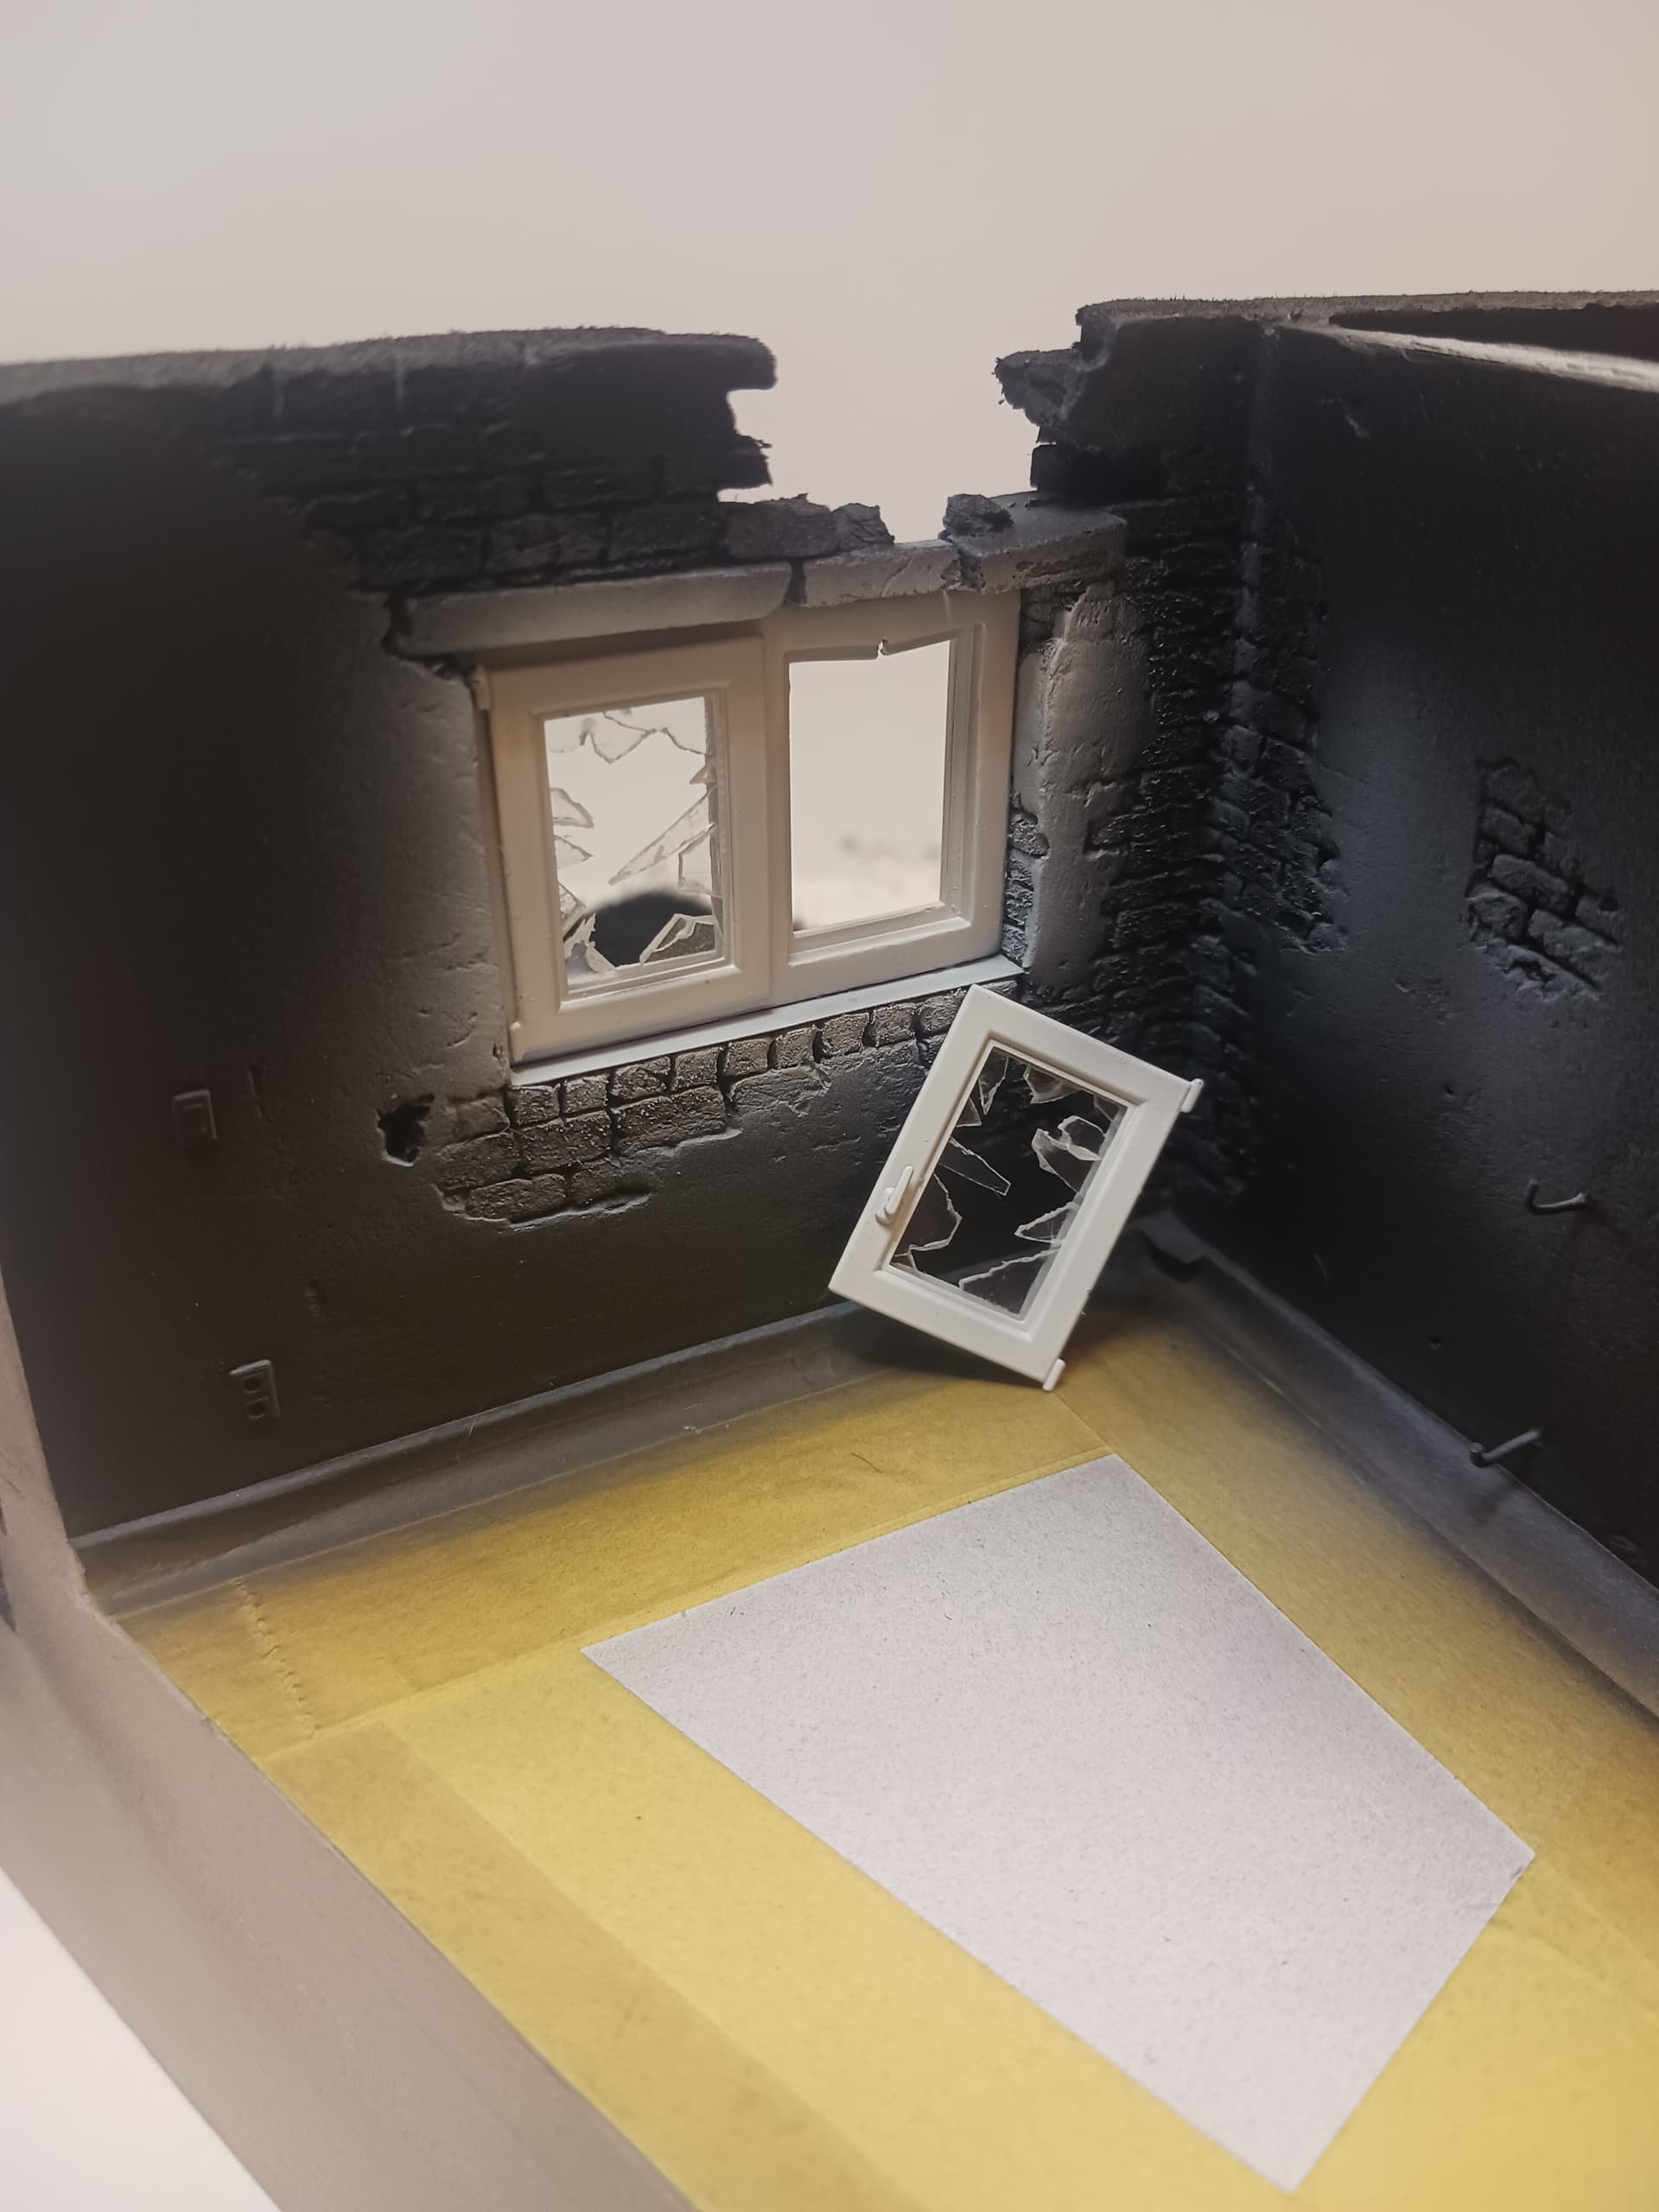
Also primed the base and painted the window and put in the broken glass, I hope it looks convincing. The window will have further aluminum chipping and the frames are just dry-fitted right now.
10 Likes
Interesting that you are trying to create a ‘depressive look’. I try and do this sometimes too- both with figures and vehicles- I think you’ve created quite a cold, almost stark finish. For me I tend to move on to oils after painting to accentuate things even further. I get that might not be what you want here- but if you are interested in creating dark, depressive tones then I would recommend experimenting with them, perhaps on a test kit- they are quite a forgiving medium but very effective to create all sorts of interesting tones.
3 Likes
Shaping up really nicely and I love the extra details like the light switch and wall socket inside the building…great idea ![]()
2 Likes
Hey guys, I will be posting some pictures of the turret later today but in the meantime, I am looking for some advice.
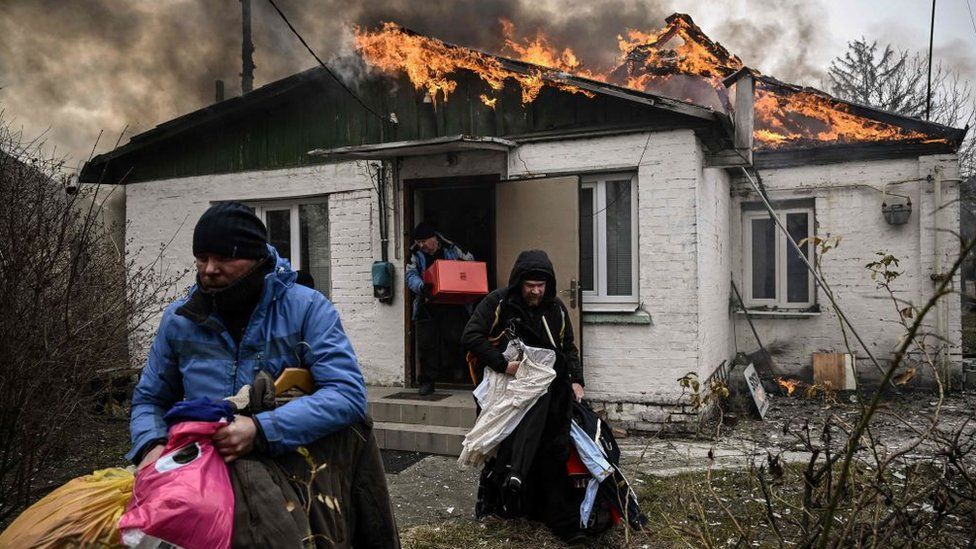
What colour should I paint the bricks? This seems like an easy question BUT… in Ukraine, especially with newer houses and some old ones, the bricks are a very light shade of grey like this.


Now this would be perfectly fine just go with the grey bricks right? Well… the type of roof that I made for this house is a grey roof like this:

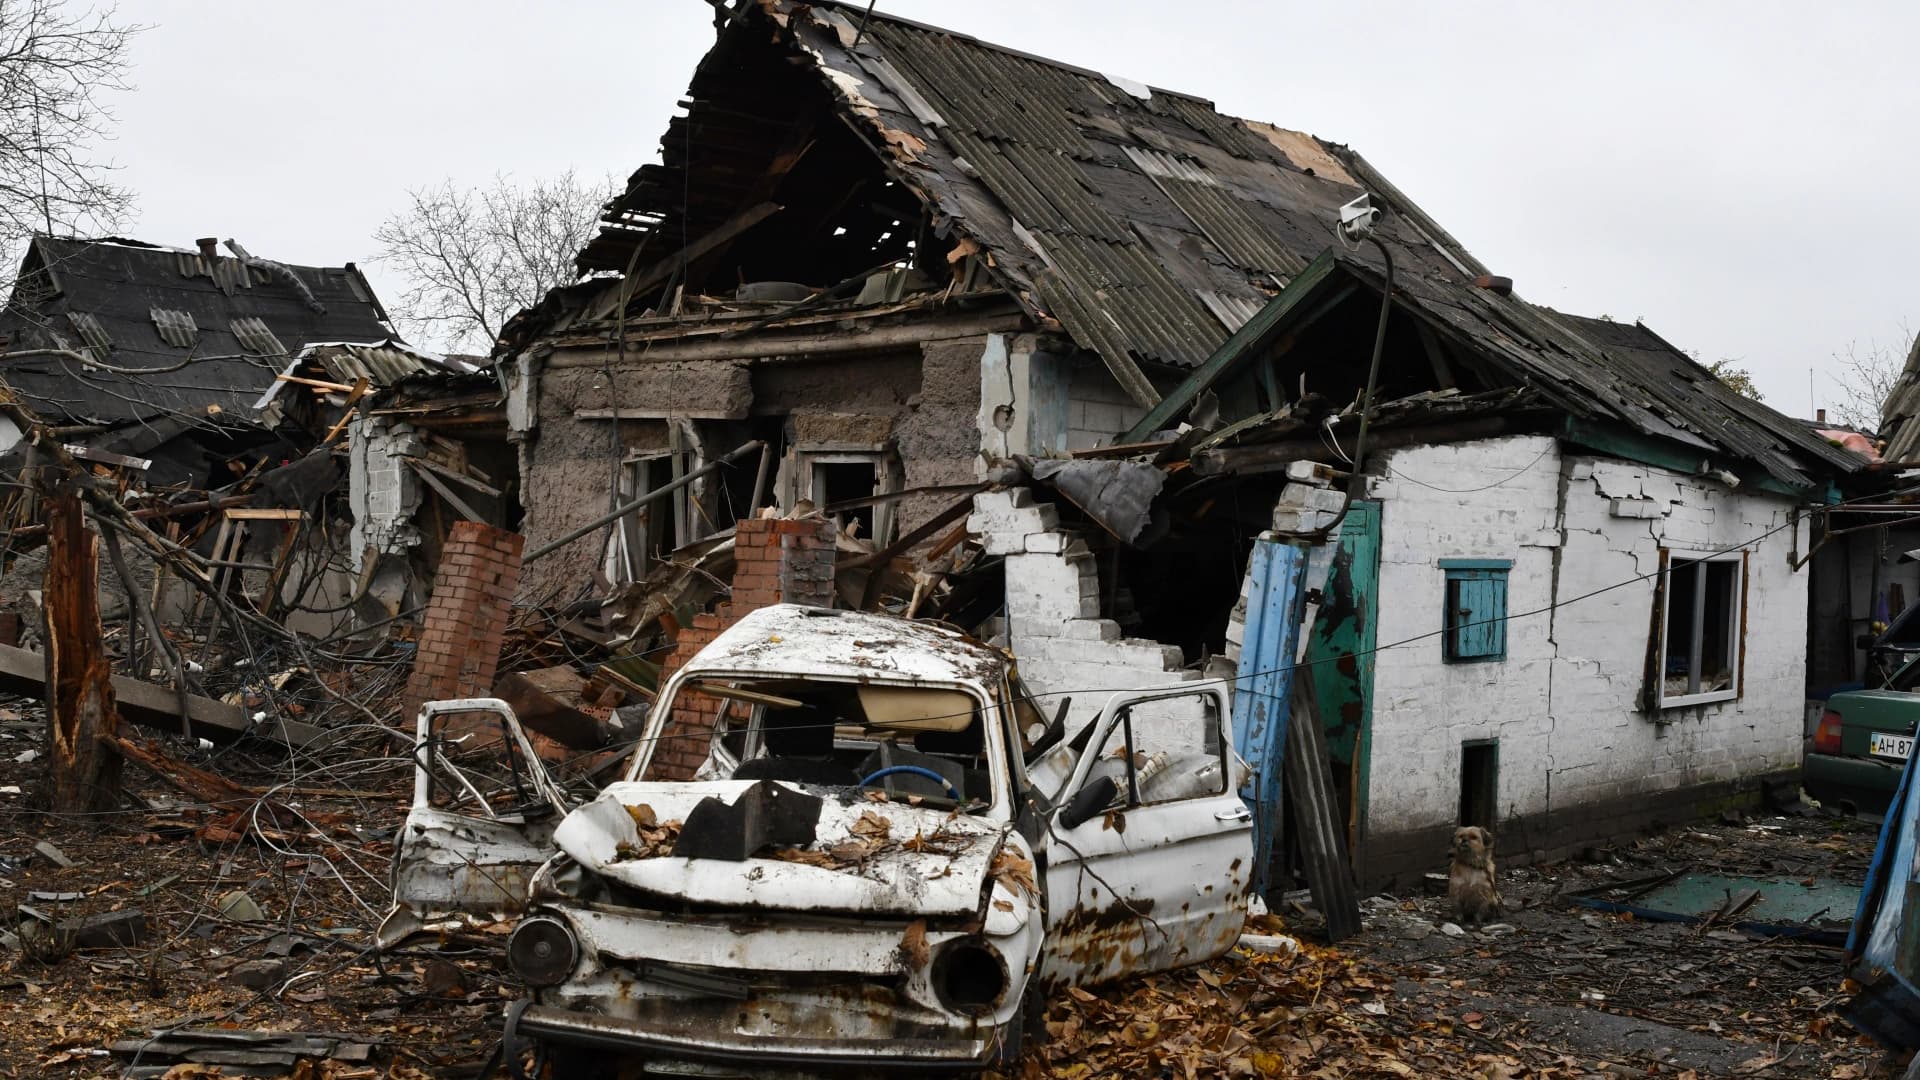
These roofs are dark grey with some green and yellow moss as they are basically concrete prefabs.
Now as I said before I want to possibly make this a gloomy “cold” scene in terms of colour.
Do you guys think that this will be too much white and grey house or should I go with standard brick
colour to have some more interesting colours?
Also,

the main door will be a nice blue so that might give it that splash of colour it needs
3 Likes
BEAUTIFUL!!!
Where did you get the corrugated roofing material?
1 Like
Thank you!
I designed and 3D printed it myself.
1 Like
I think the pale grey/white bricks are quite typical of Ukrainian houses like you’ve made. There’s plenty of scope for things like the dirt creeping up the bricks from the ground, for sooty fire/smoke damage or dirt streaking down from the roof or window sill.
The pale bricks will probably give the scene that cold, dank look you are going for. They should contrast well with the darker colors of the turret and a nice, bold coloured door like you have in mind should really grab the viewers attention.
2 Likes
I second Karl’s advice. And I like the pale blue accents in your reference images.
—mike
2 Likes
I completely forgot the Turret crashing through the house. Thank you this really helps!
1 Like
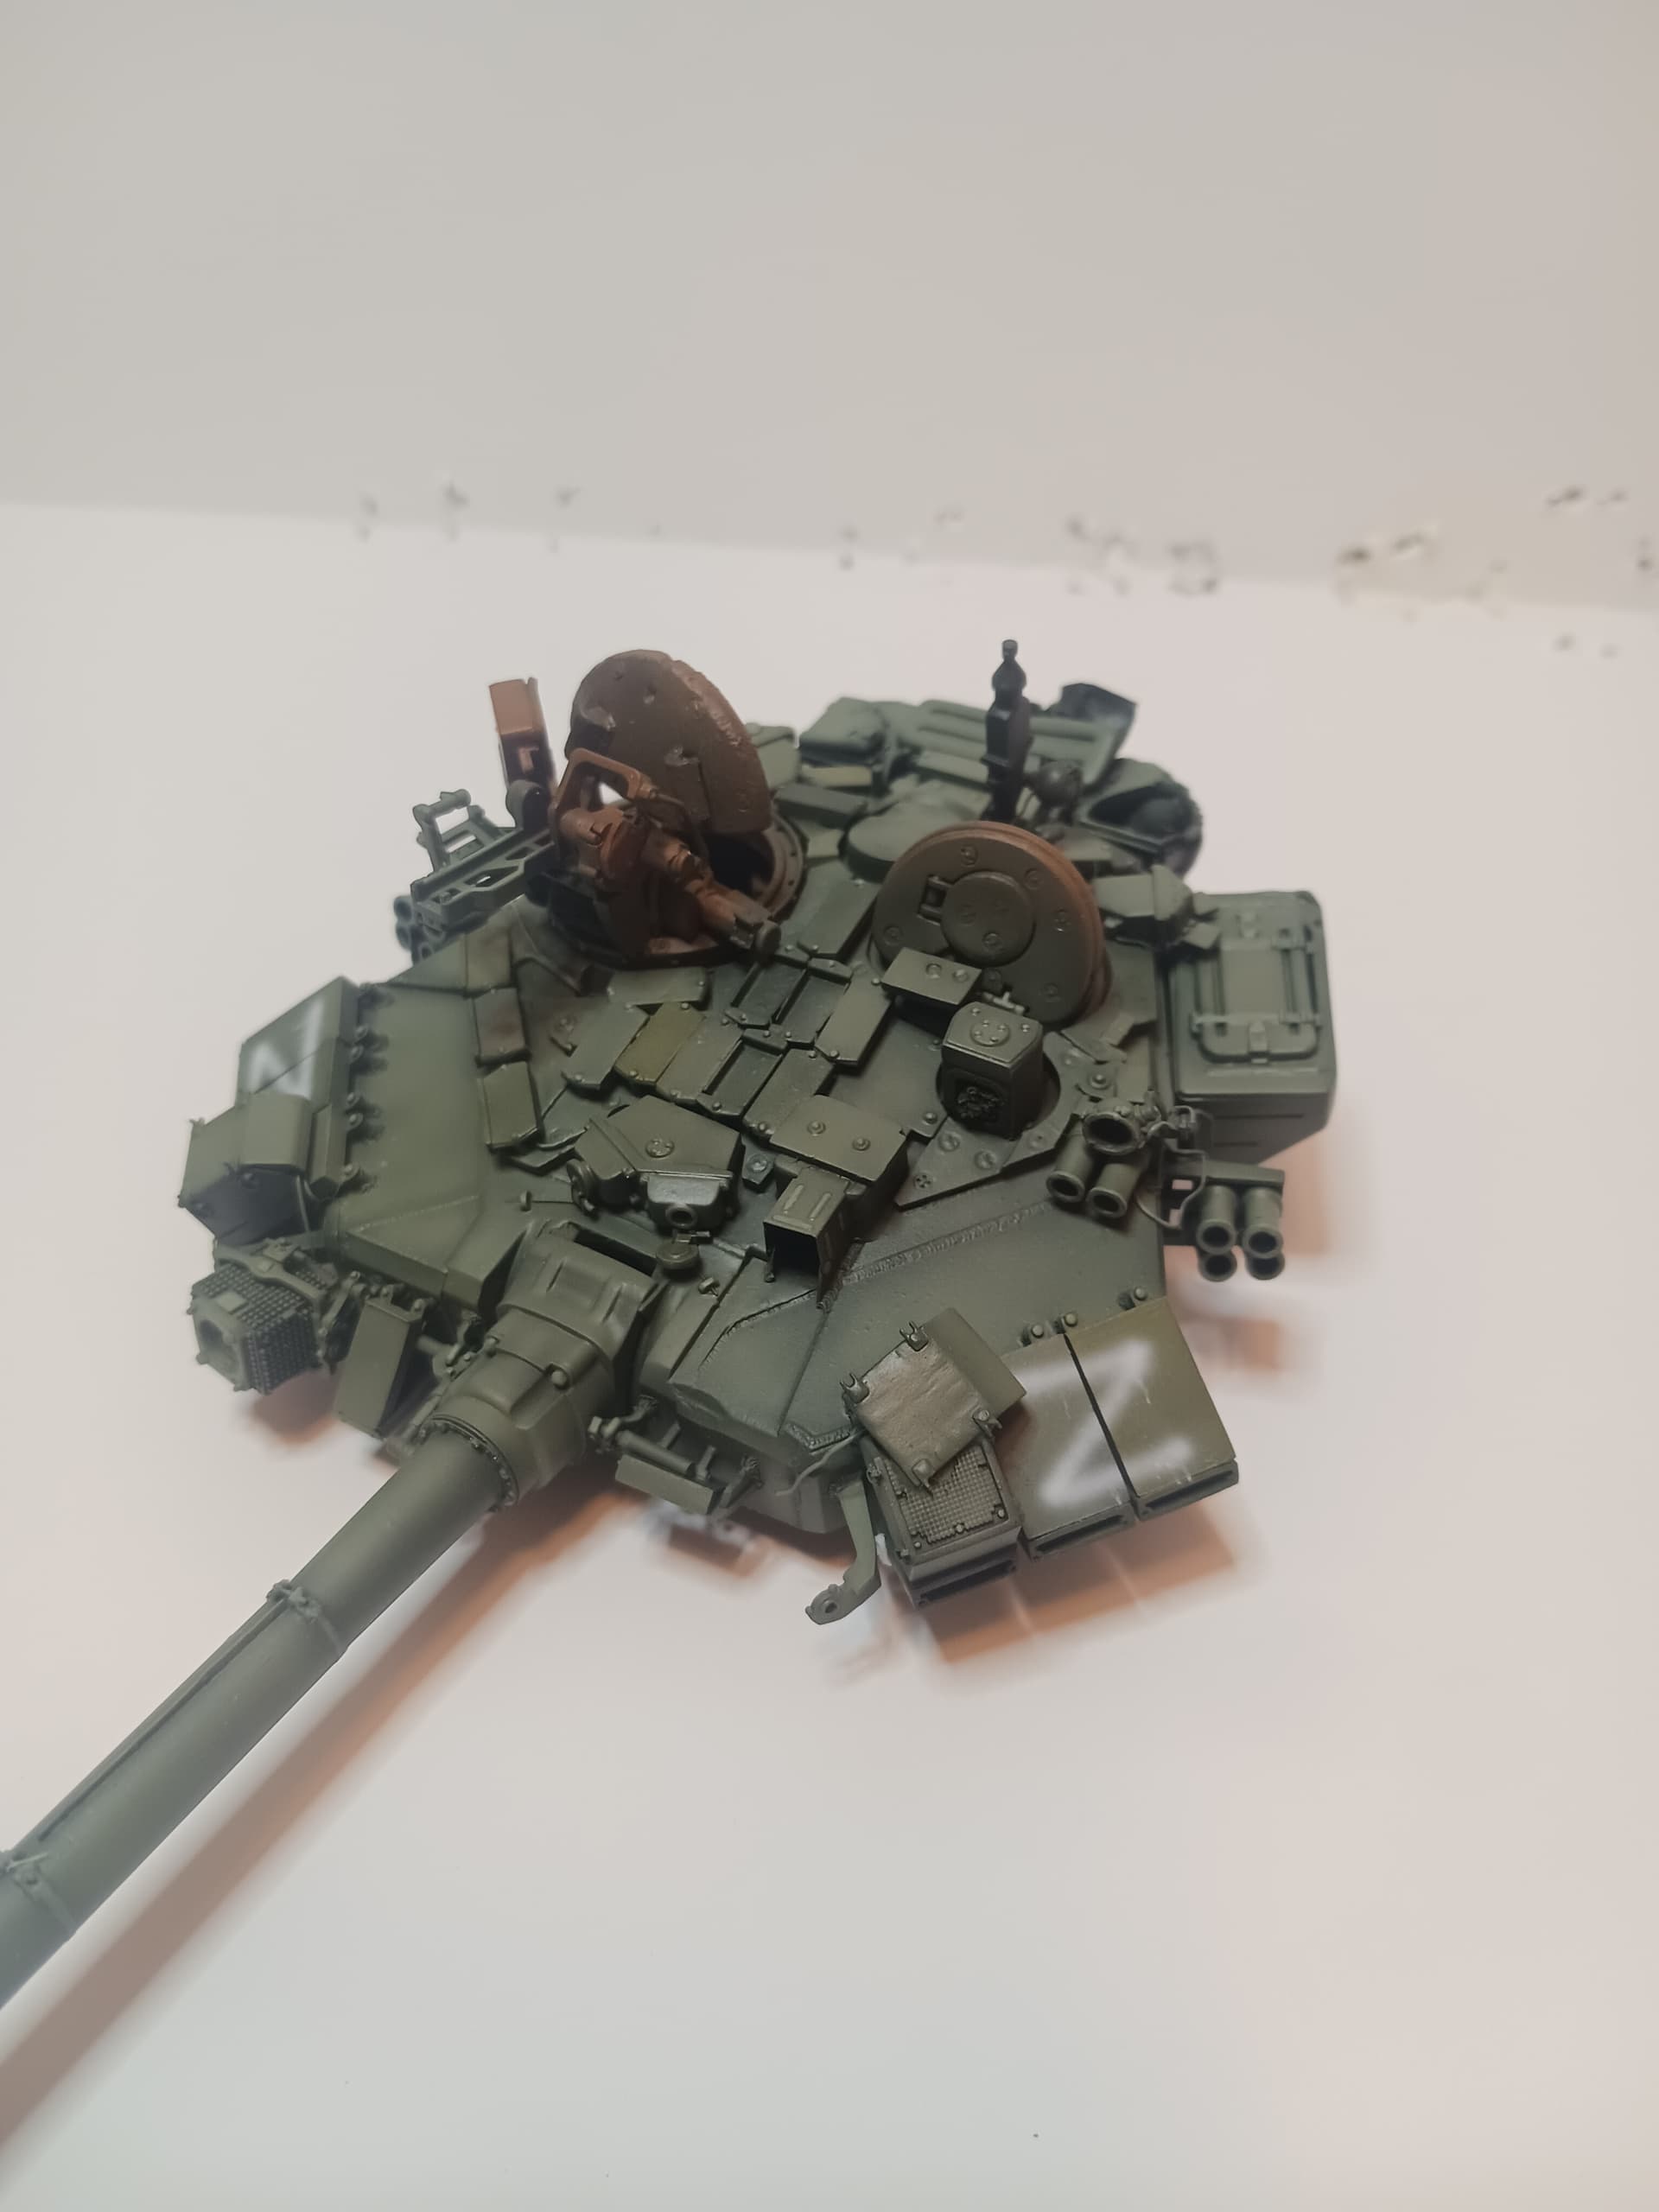
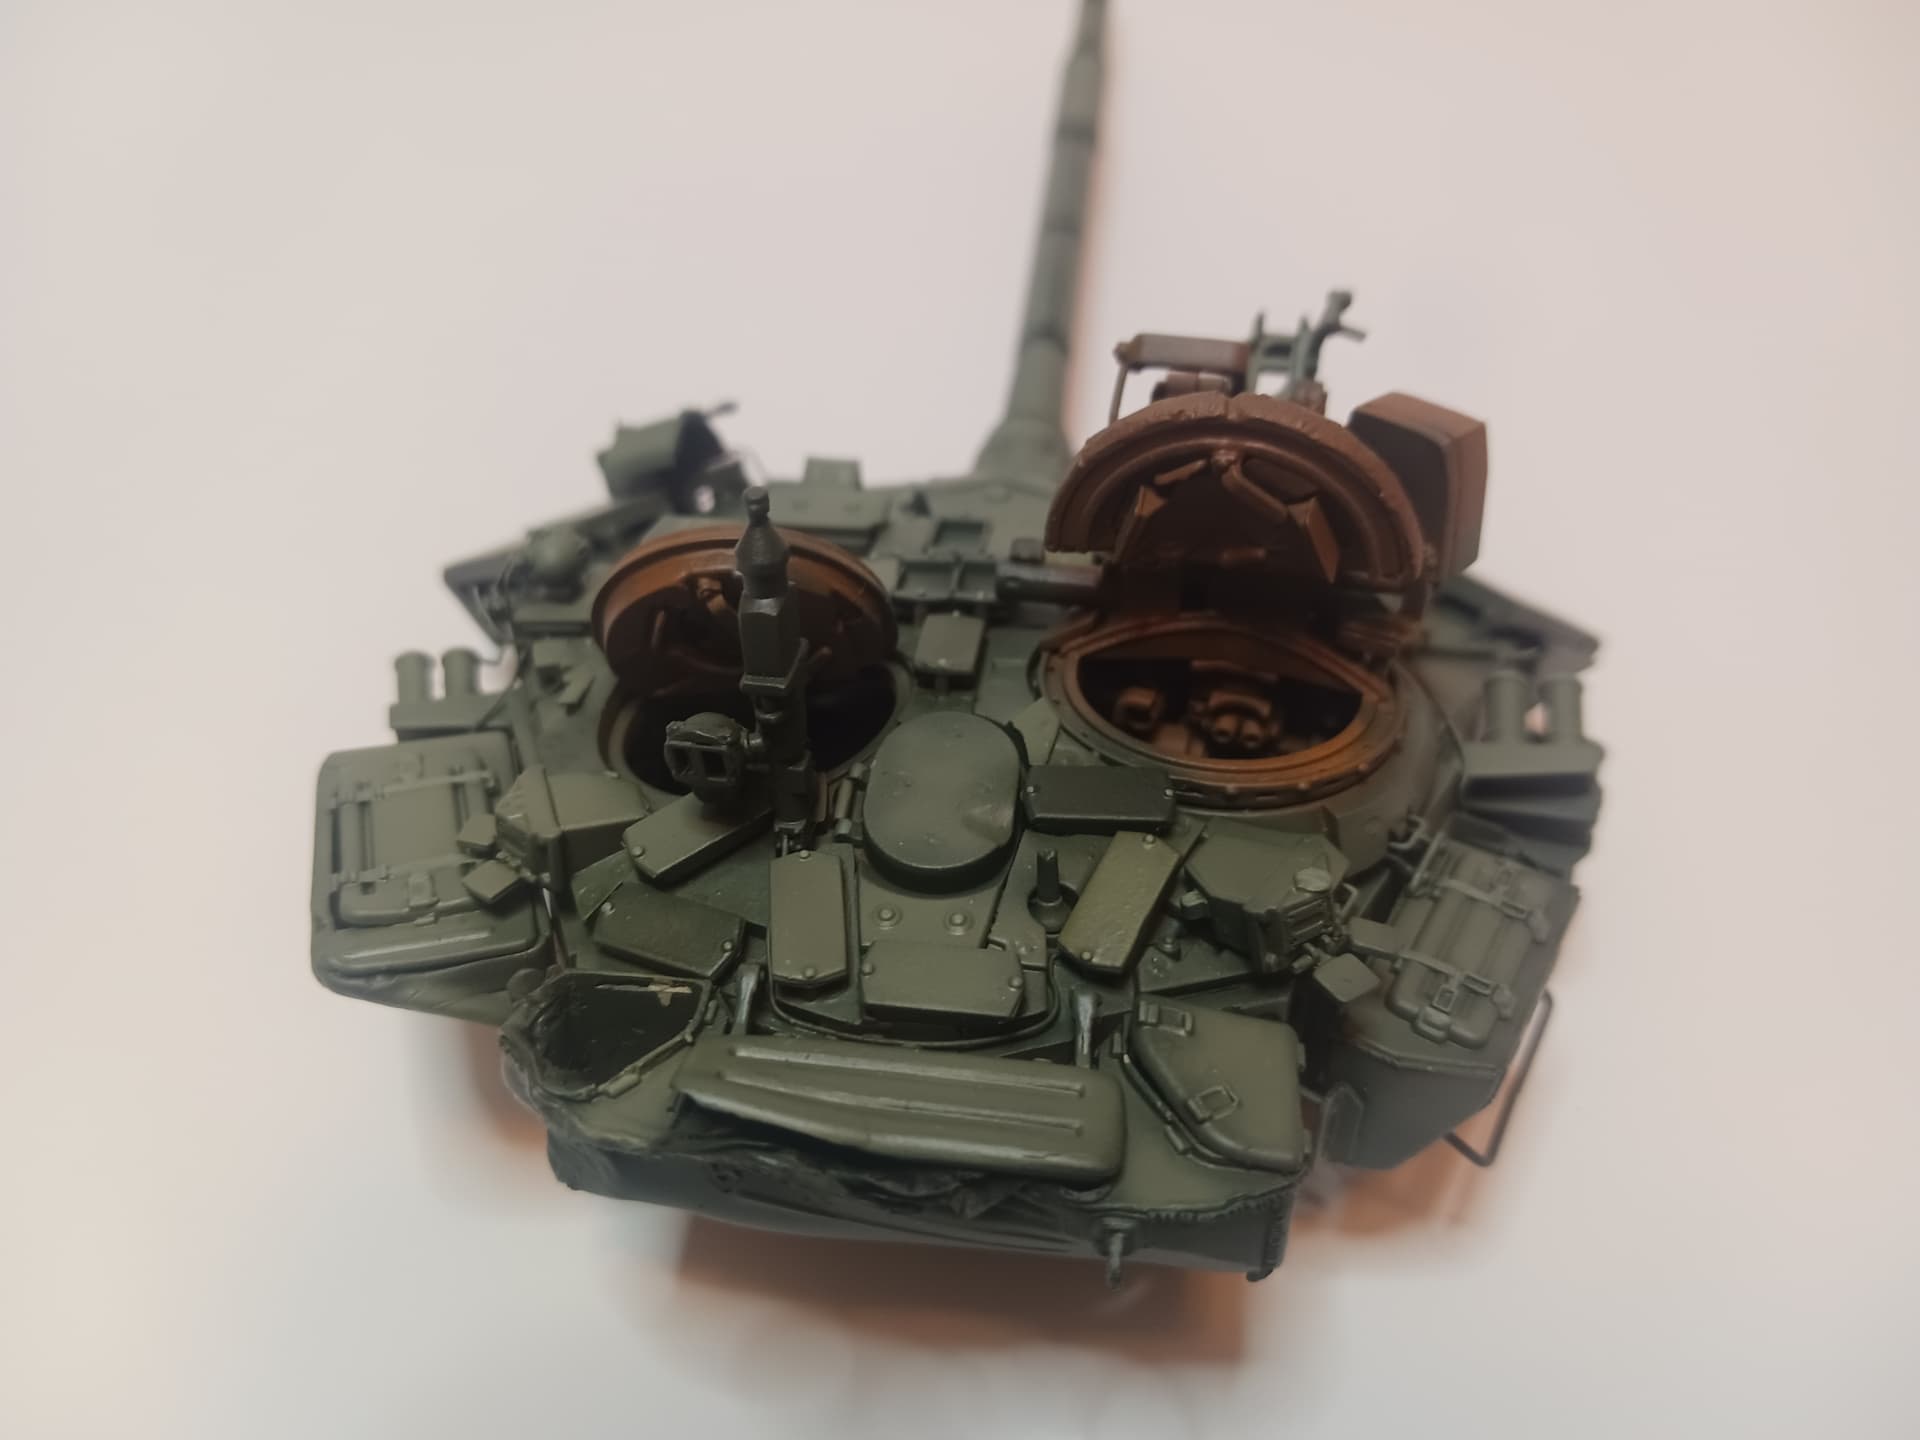
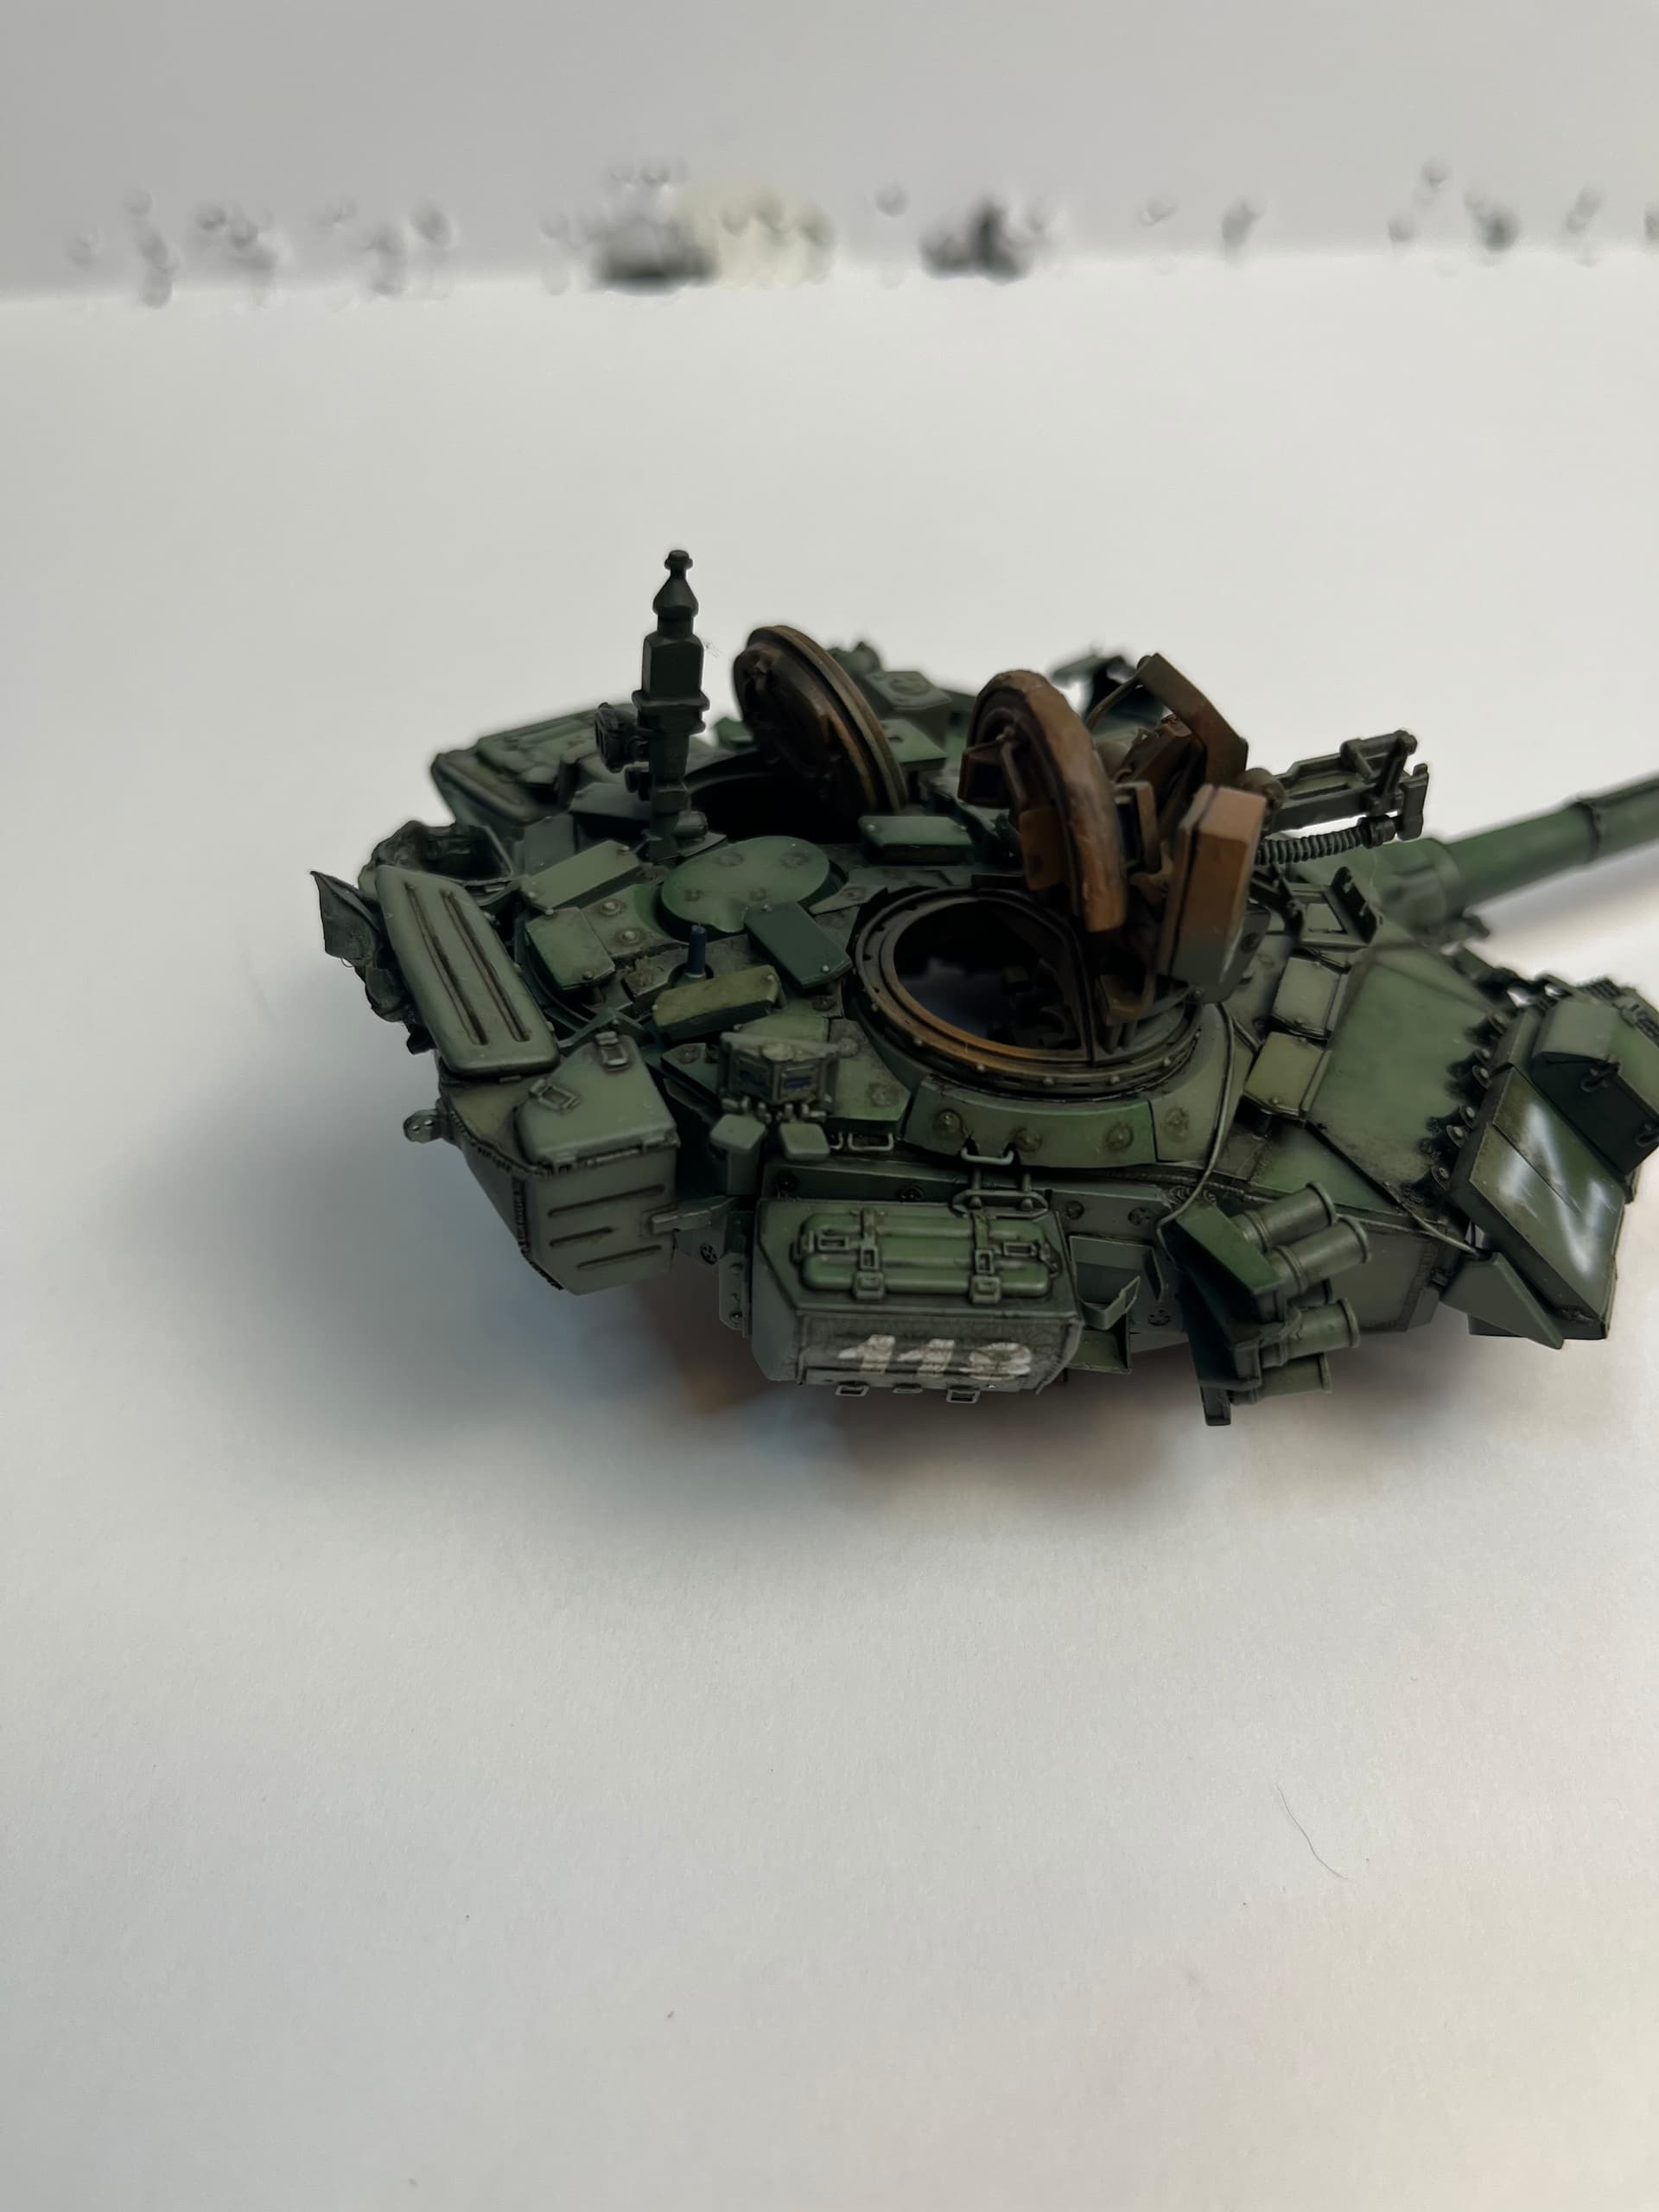
Before I broke out the oils I decided to take some pics of the turret after washes.
If you guys have any advice or critiques I would love to hear them!

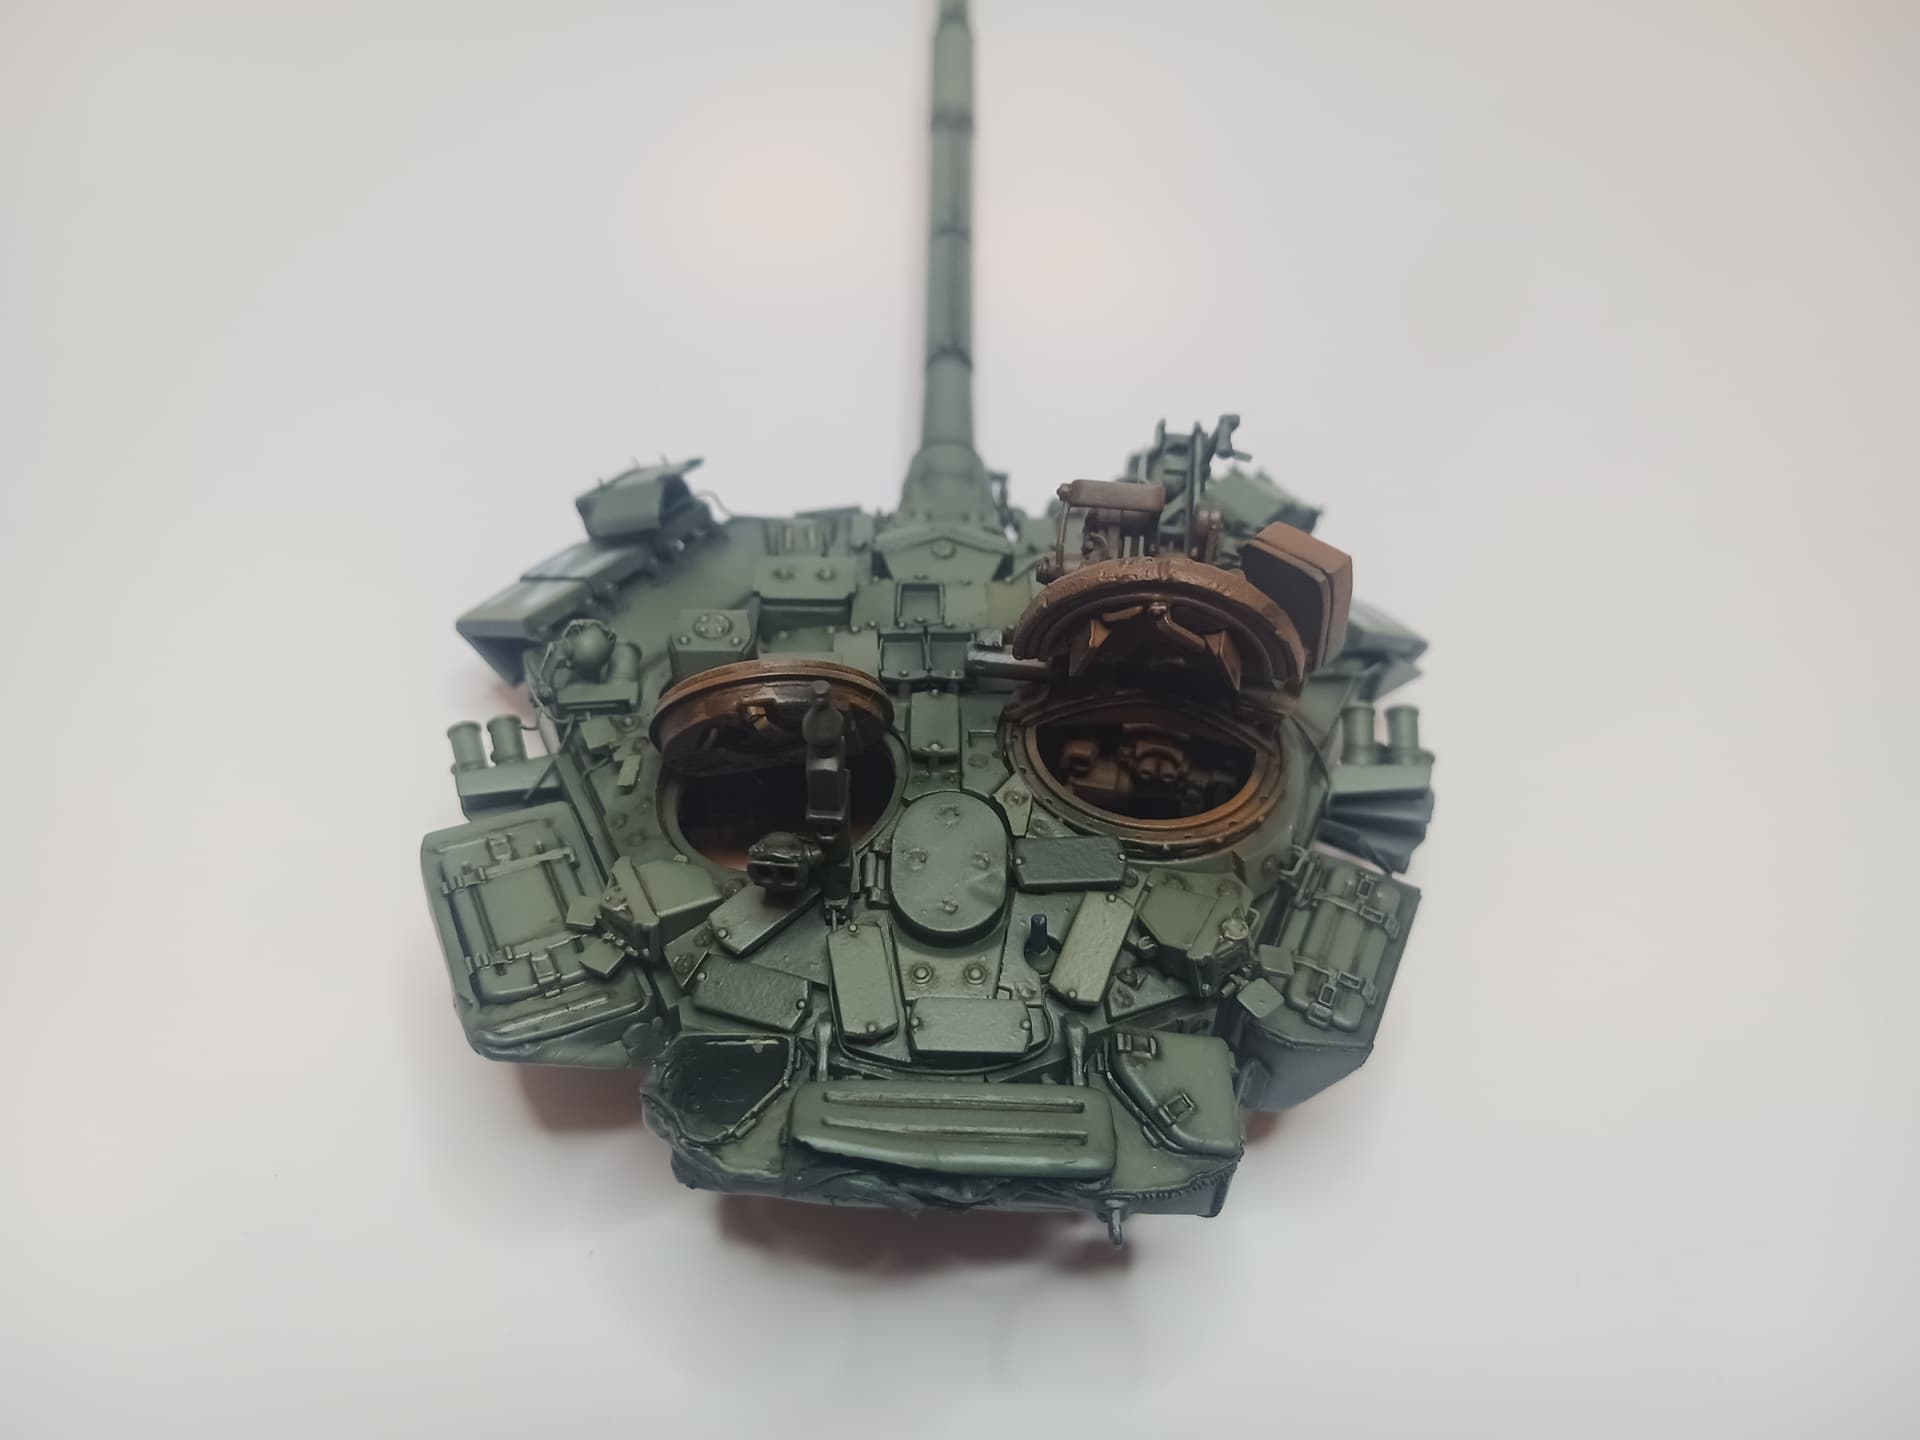


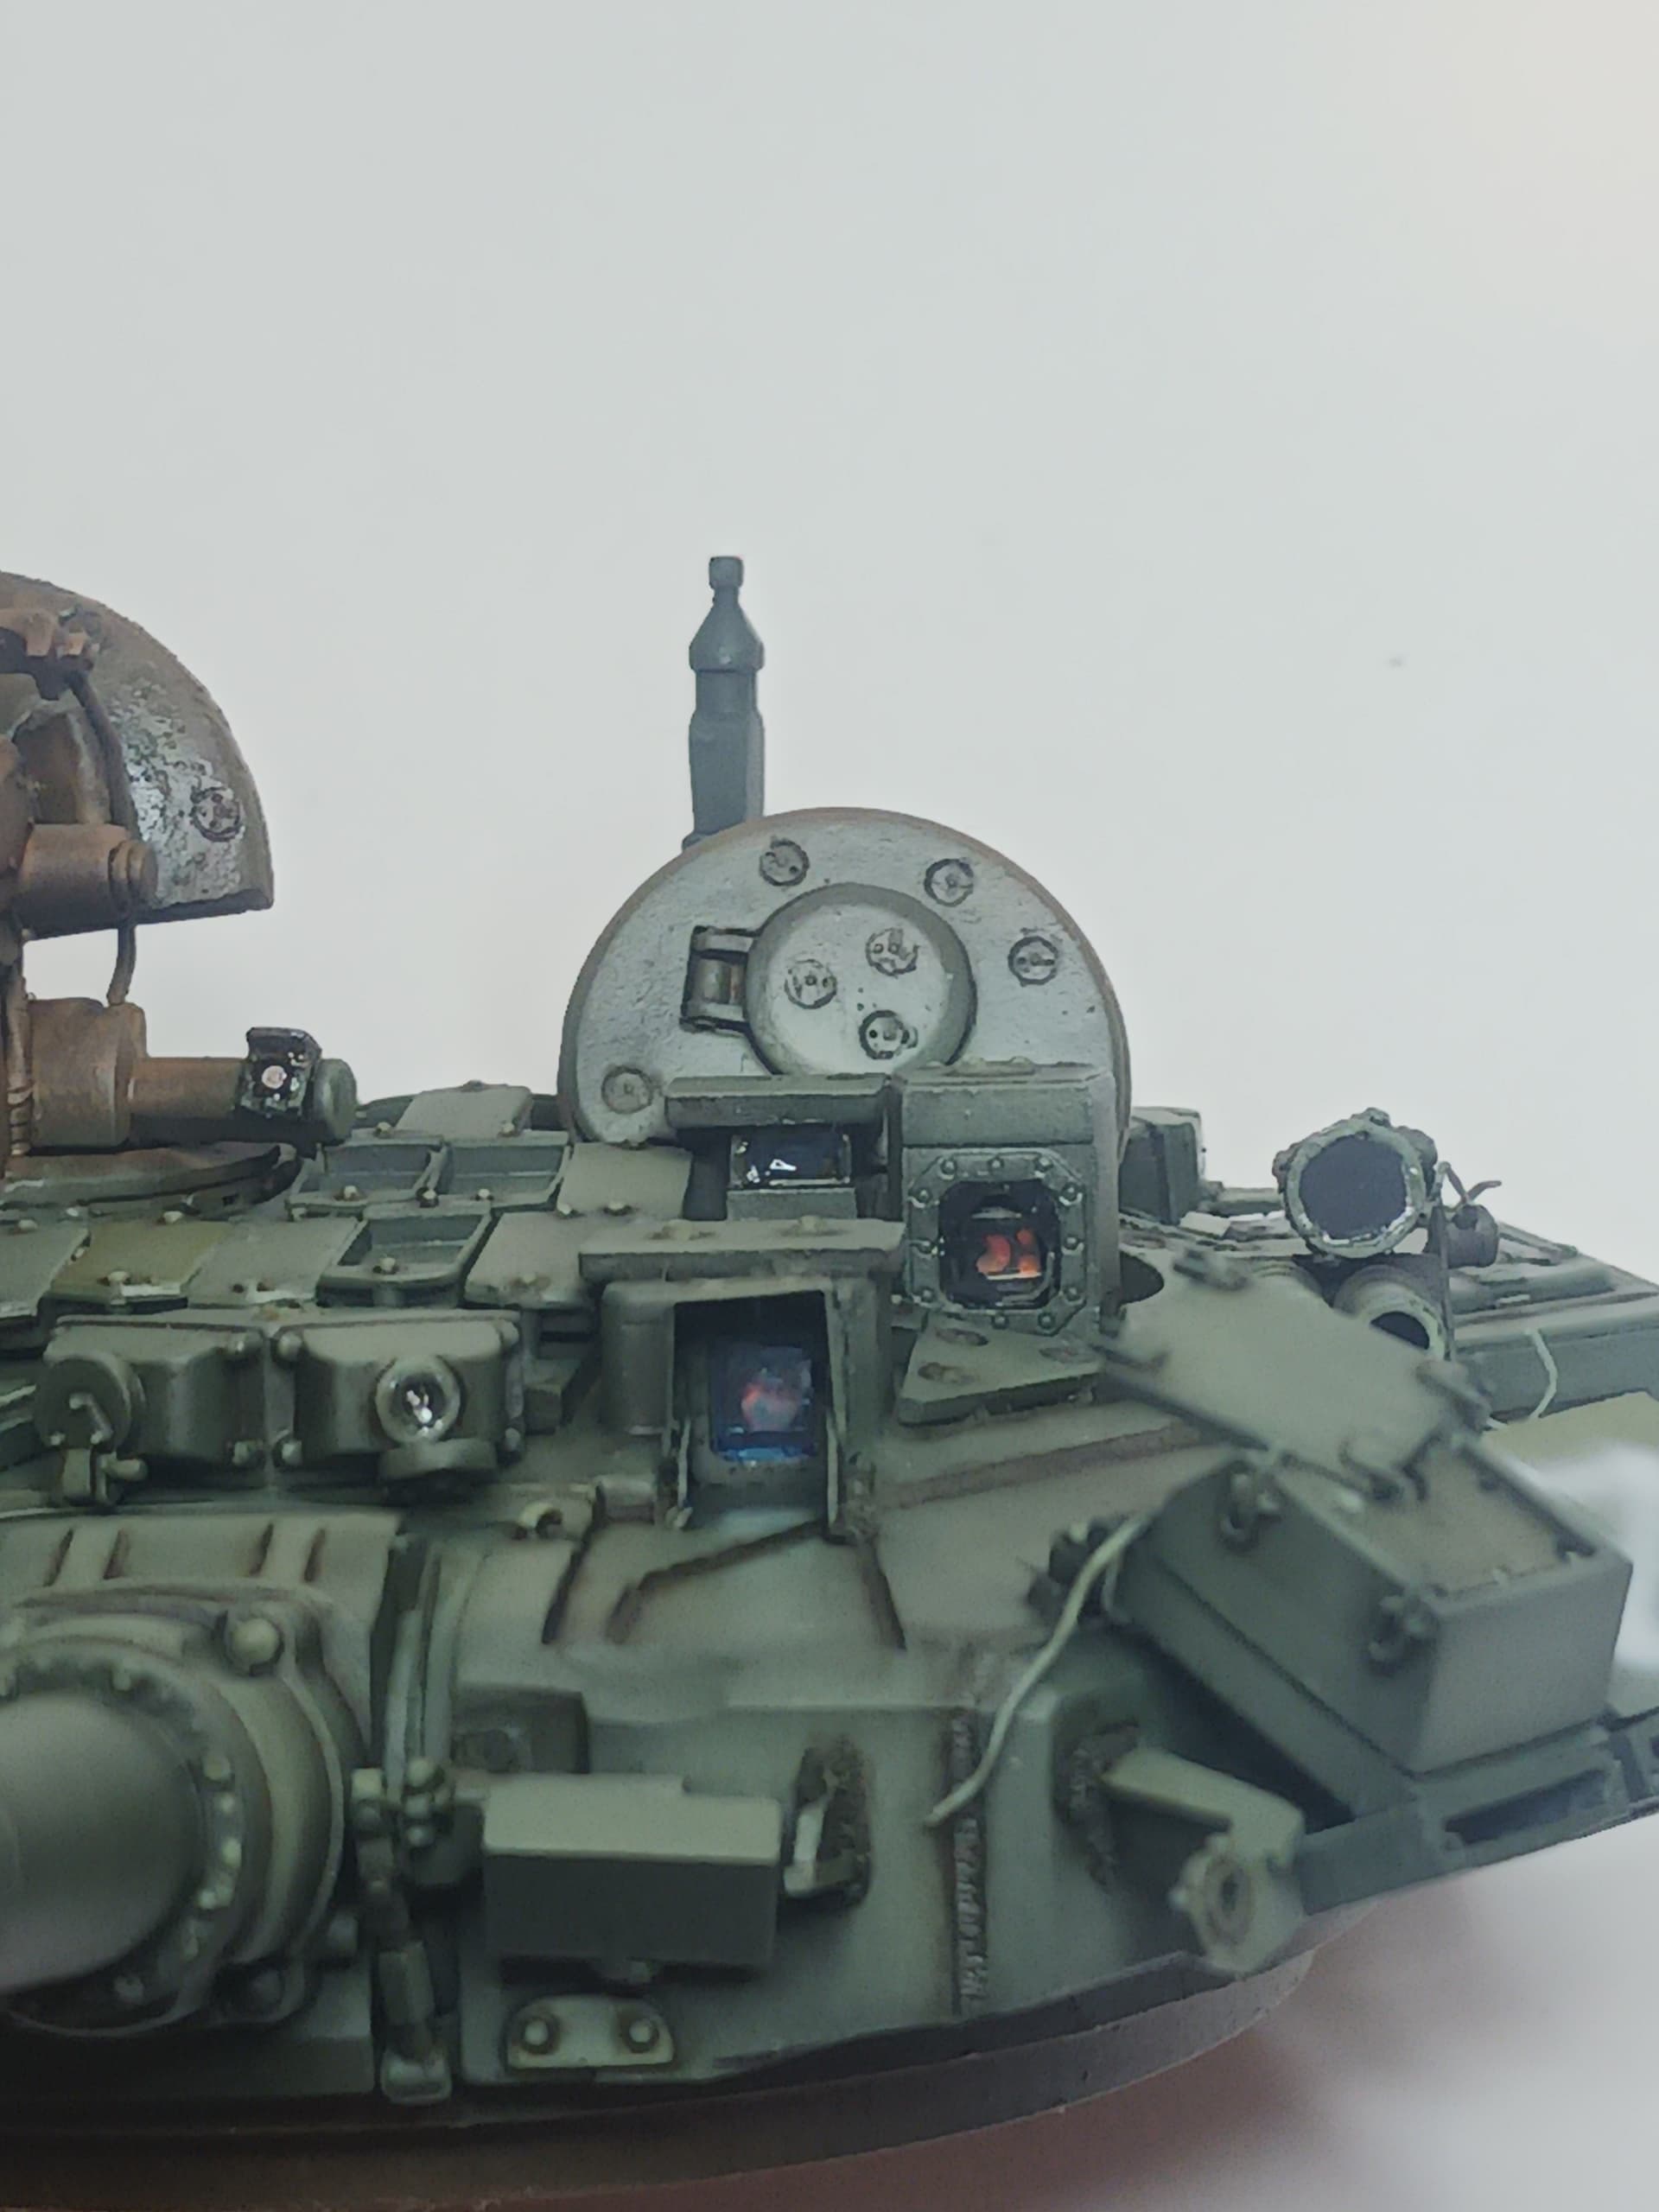
Really love the way the sights turned out and will definitely do this kind of thing in future modern armor.
8 Likes
That turret looks excellent
2 Likes
Hey guys I am here for more advice or just question in general.
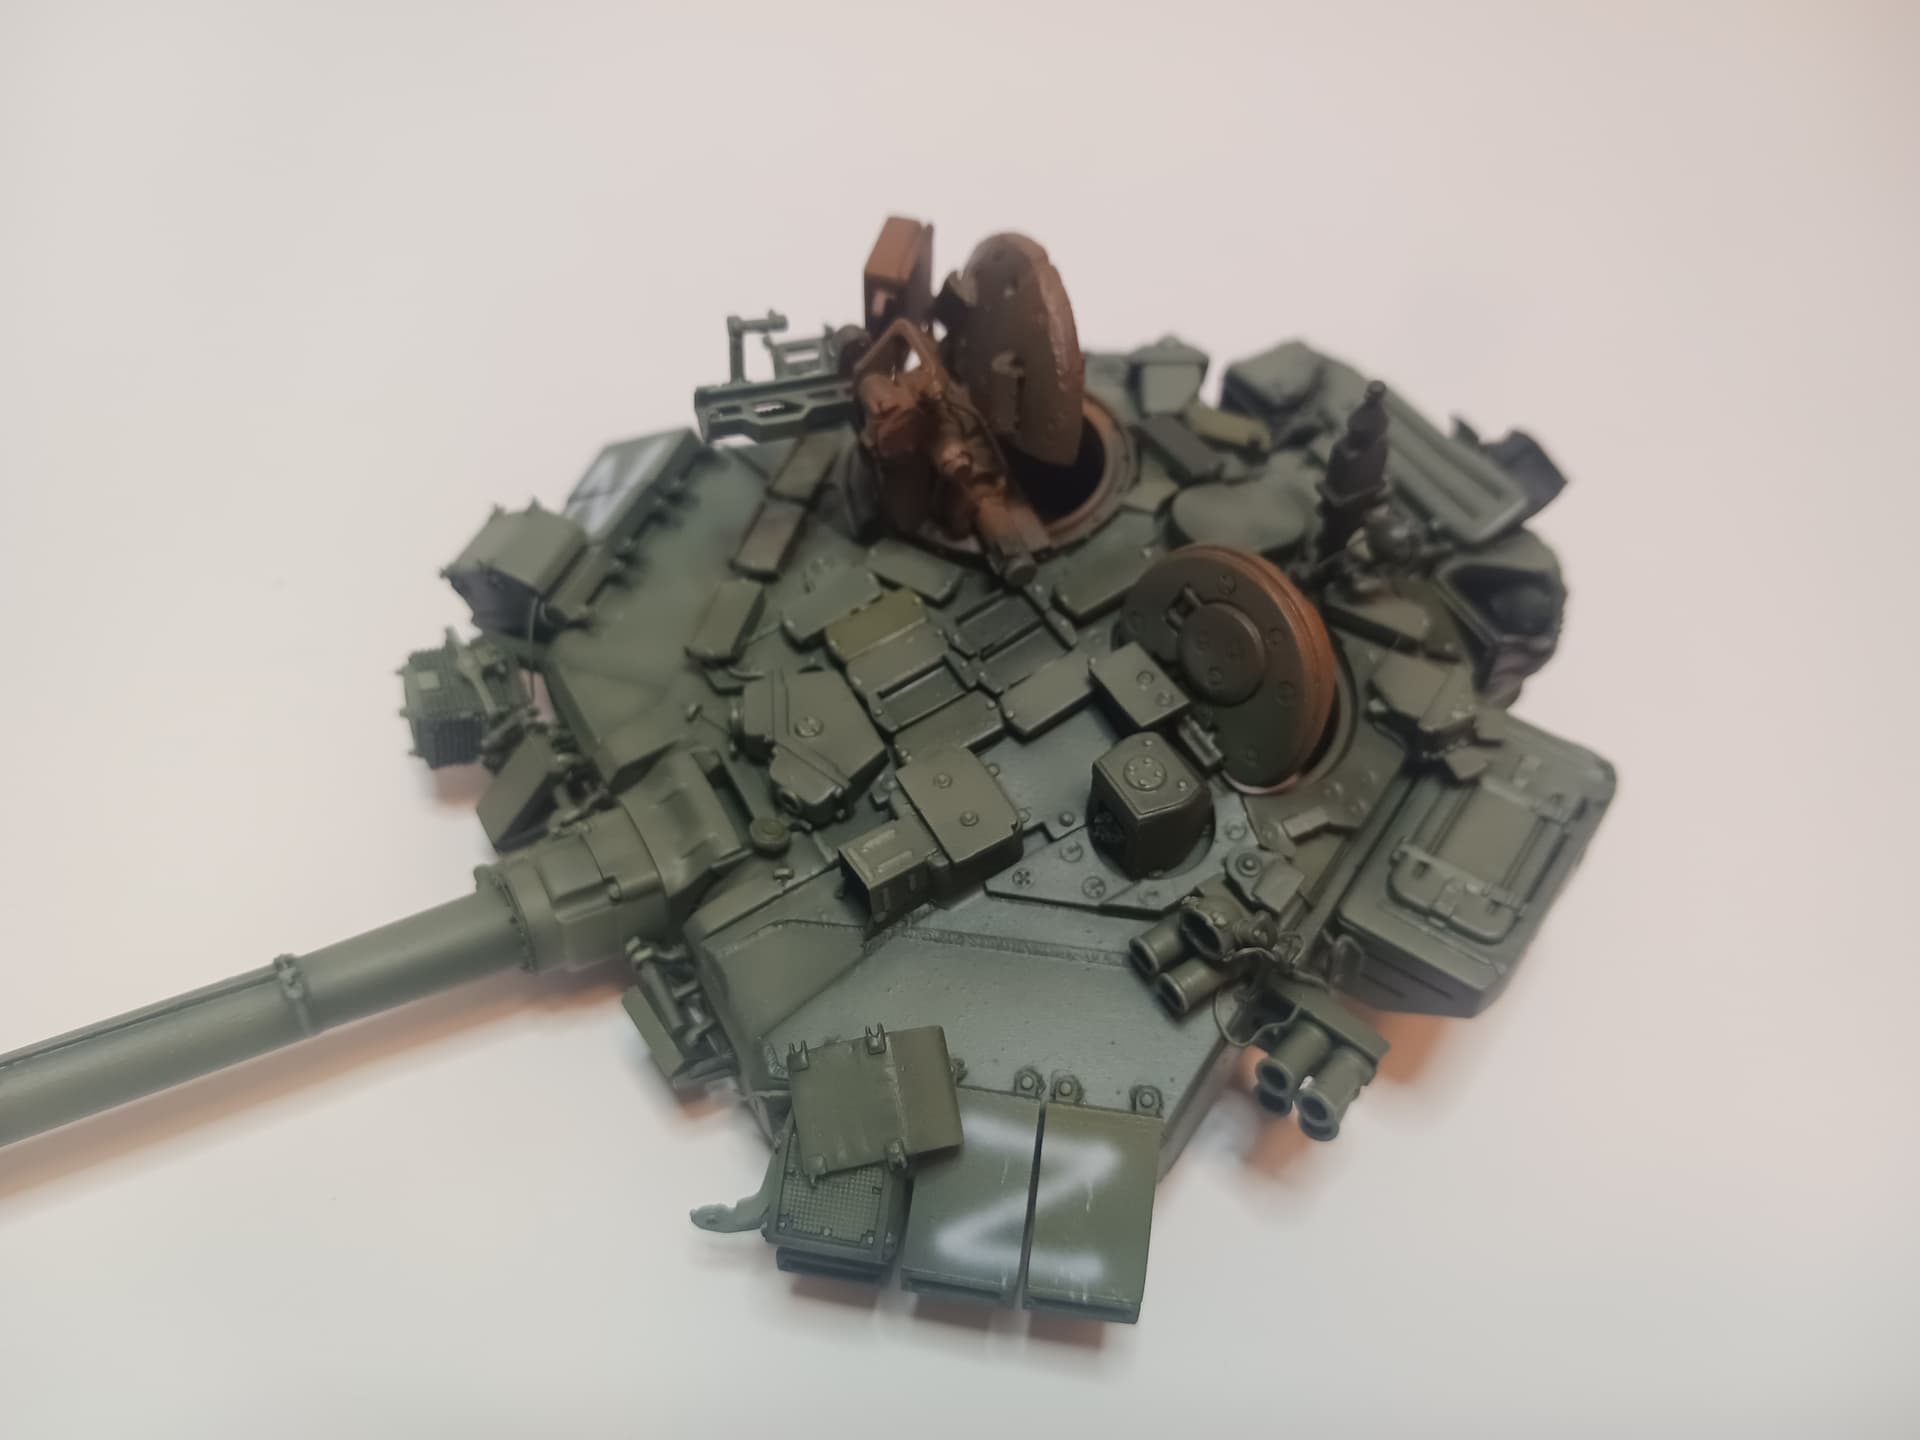
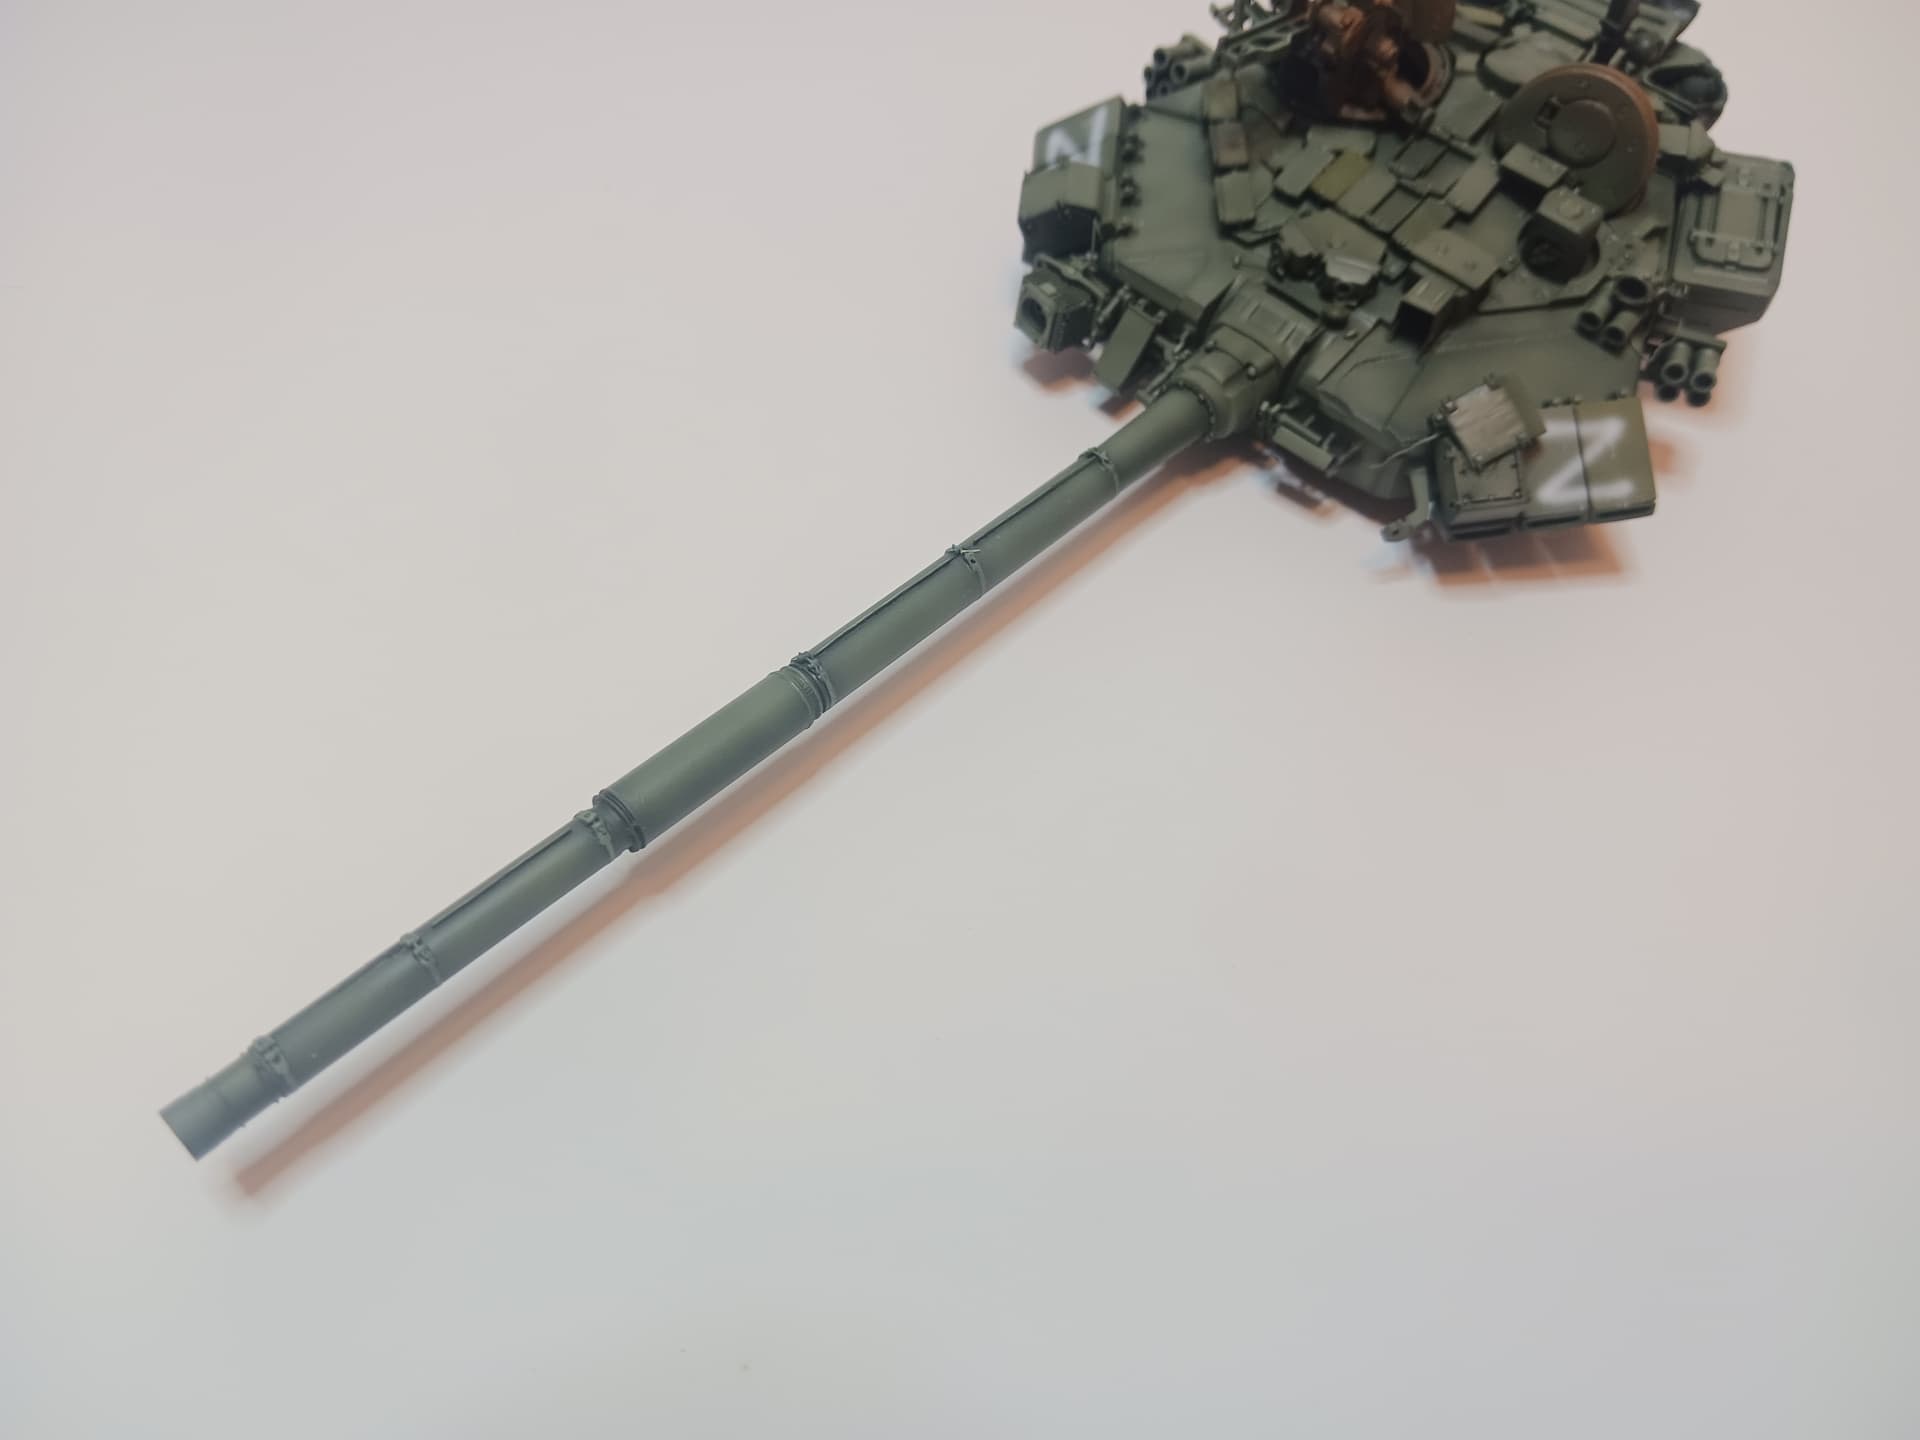
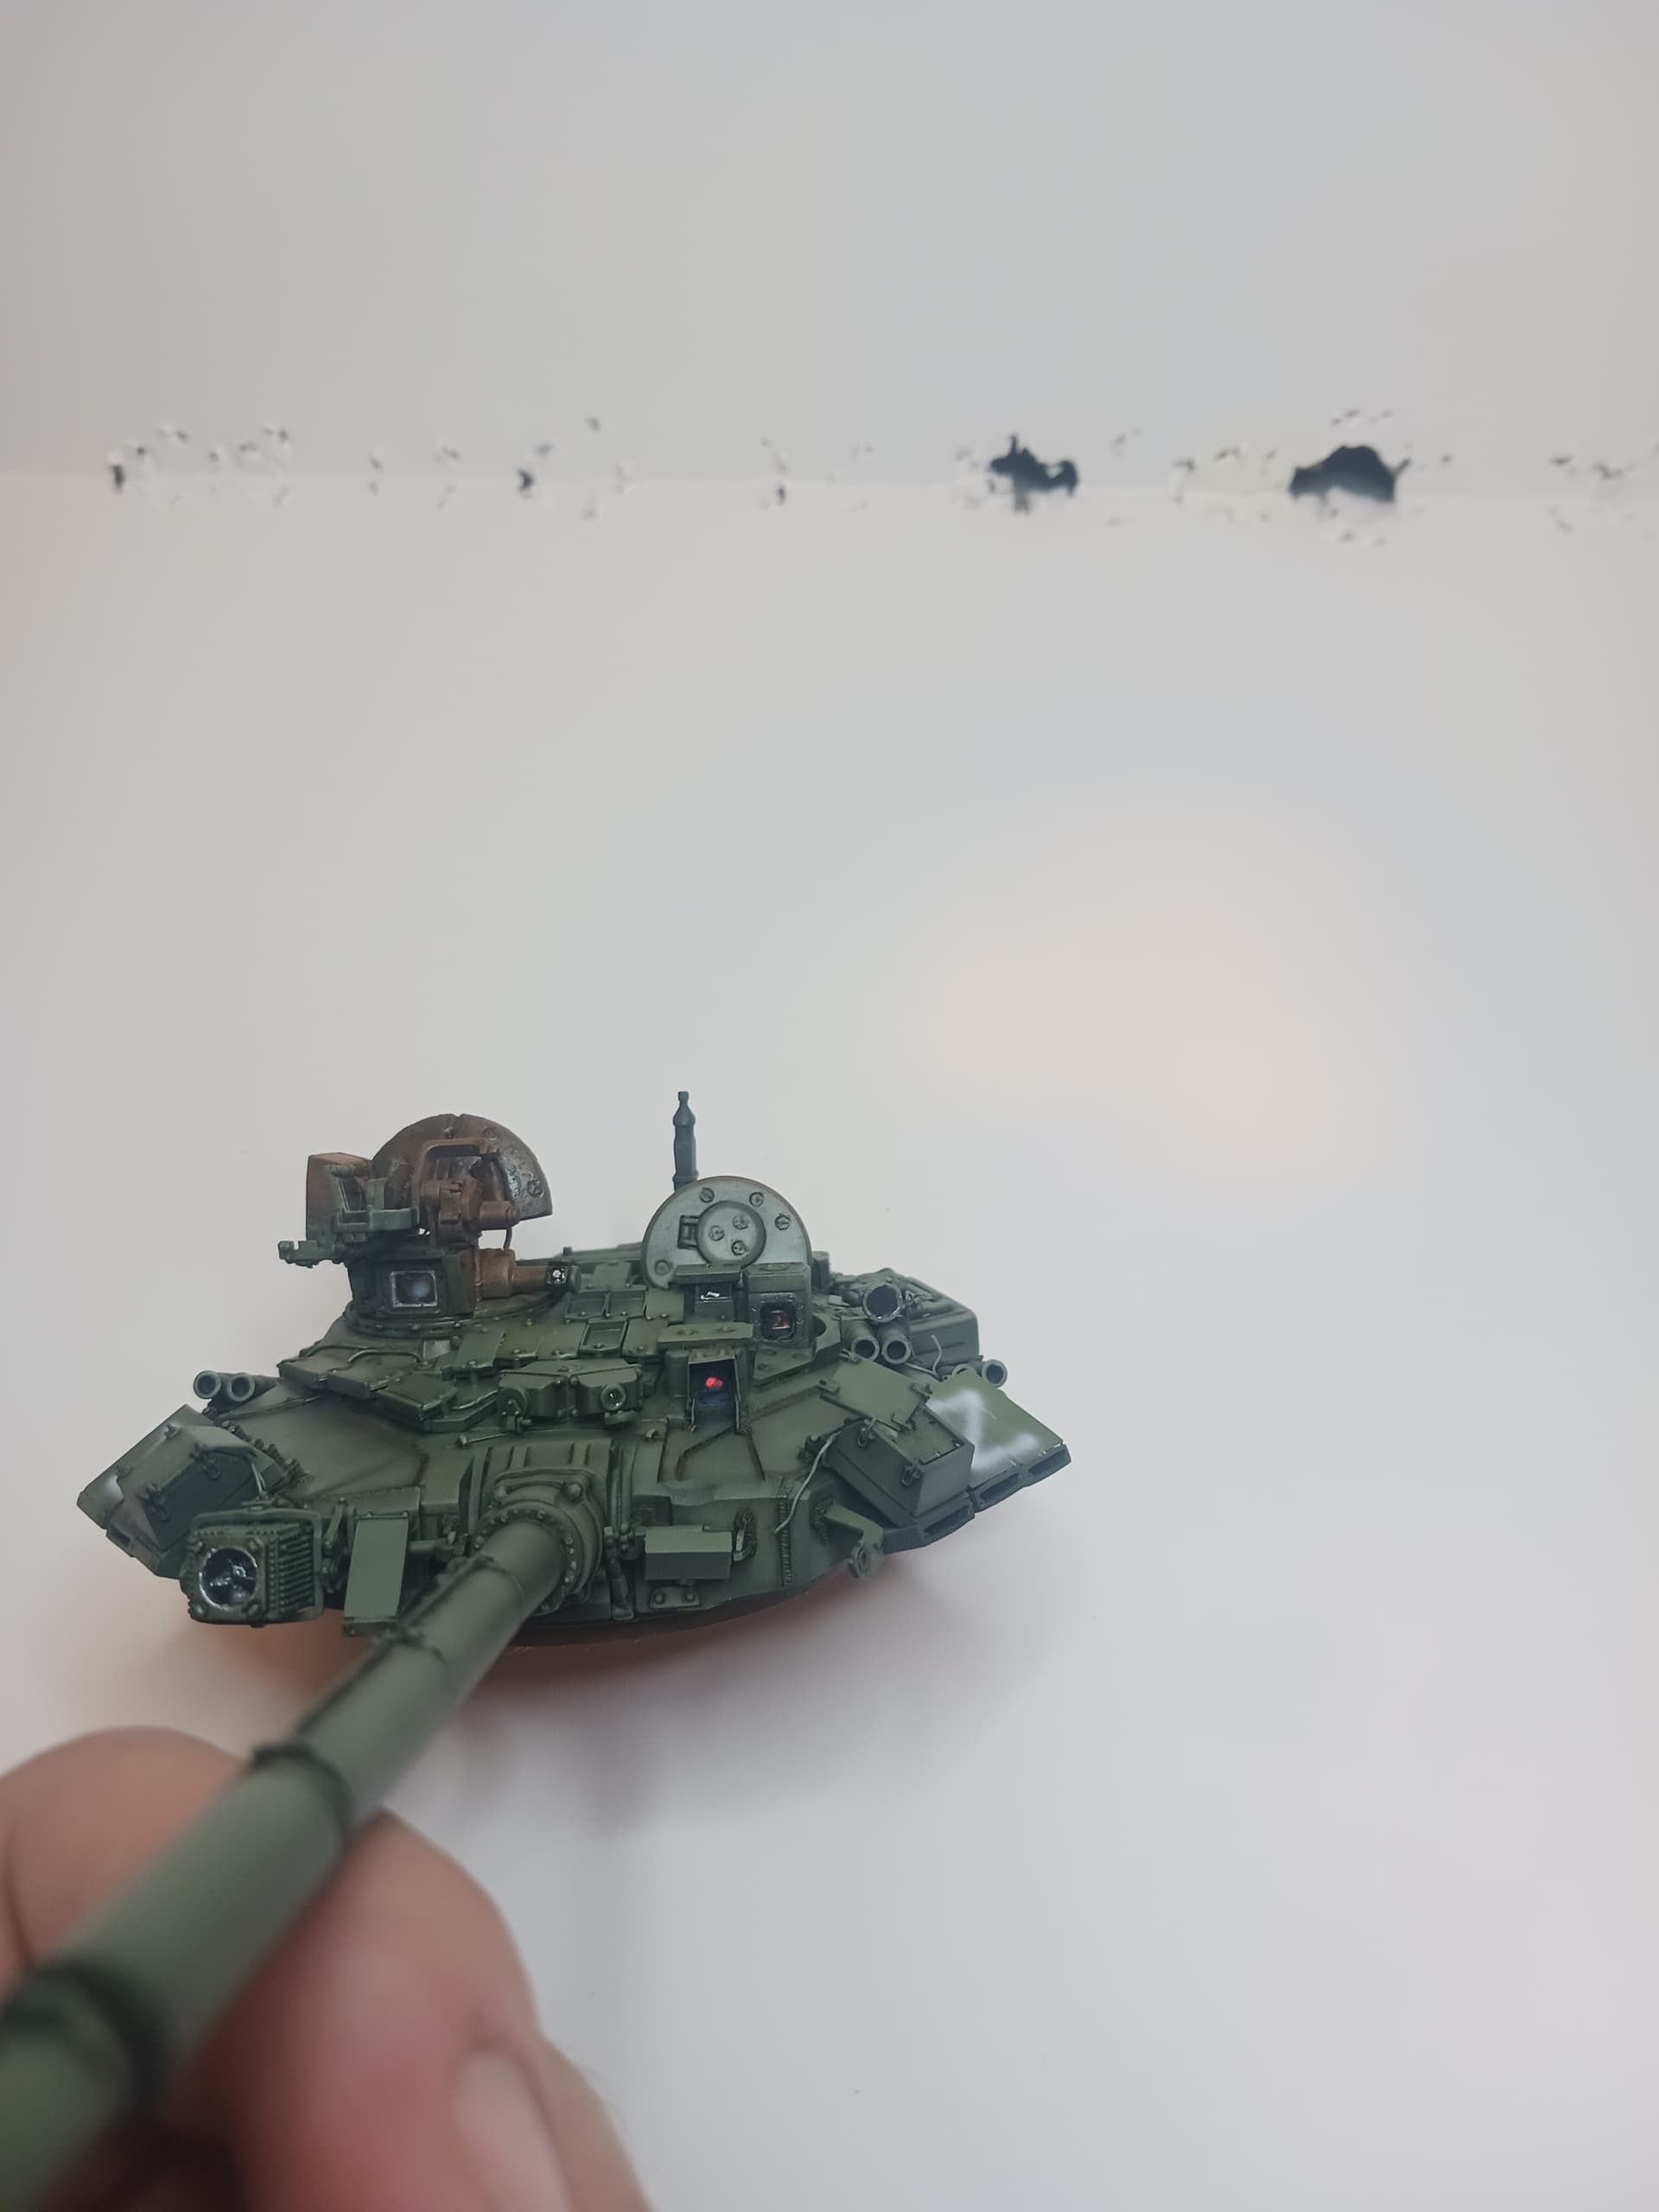
I did some work with oils and it honestly made me really excited to work on the turret as it brought some subtle but great life to the turret, and also took better pictures.

I always loved working with oils and this is the first time I am actually trying something good with them.
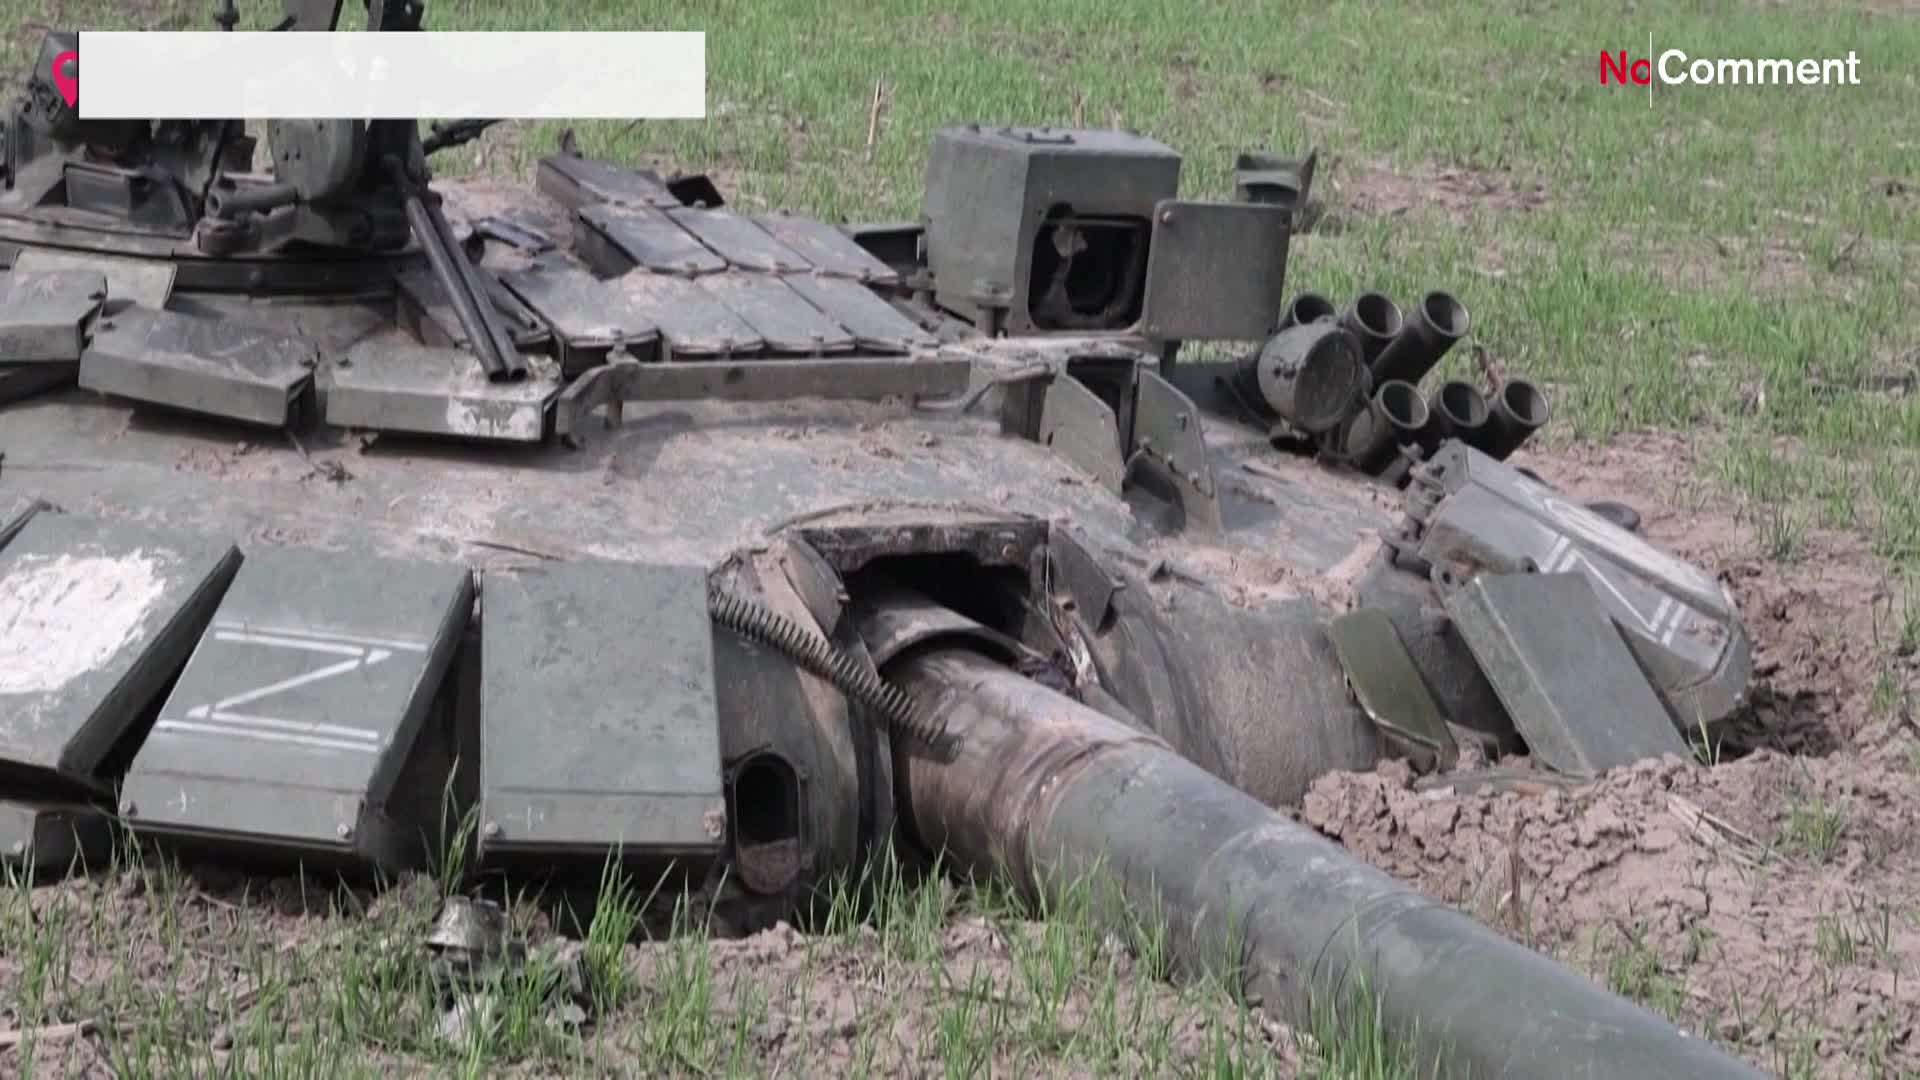
Here is the question I have, I keep seeing these dark splotches and "scratches on these Russian tanks and I can’t quite tell what they are:
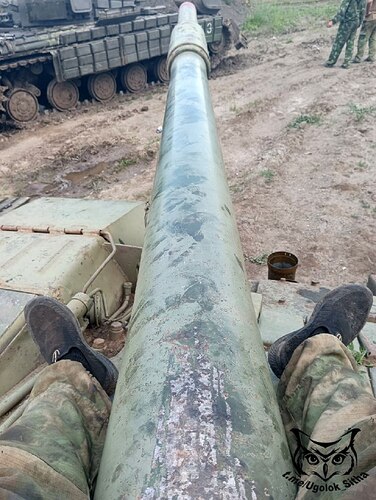

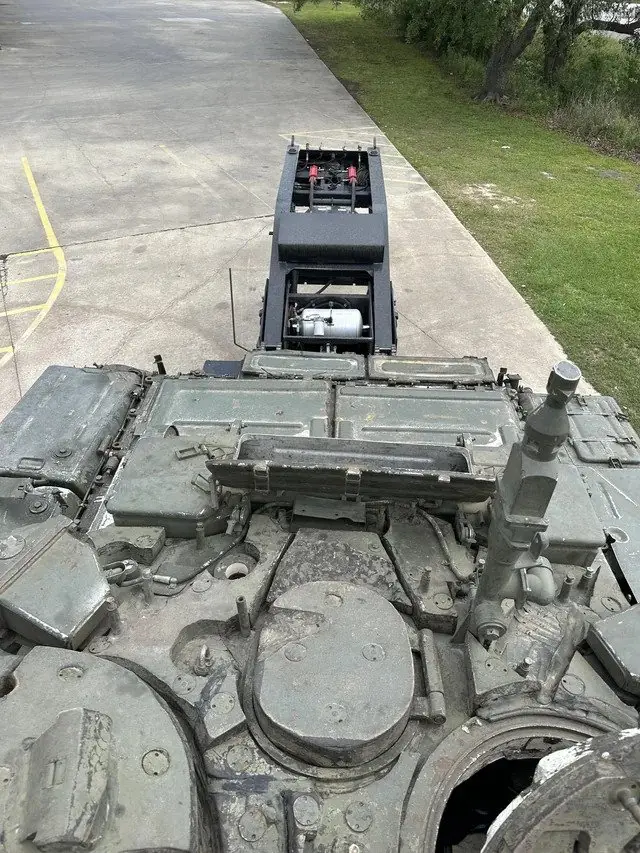
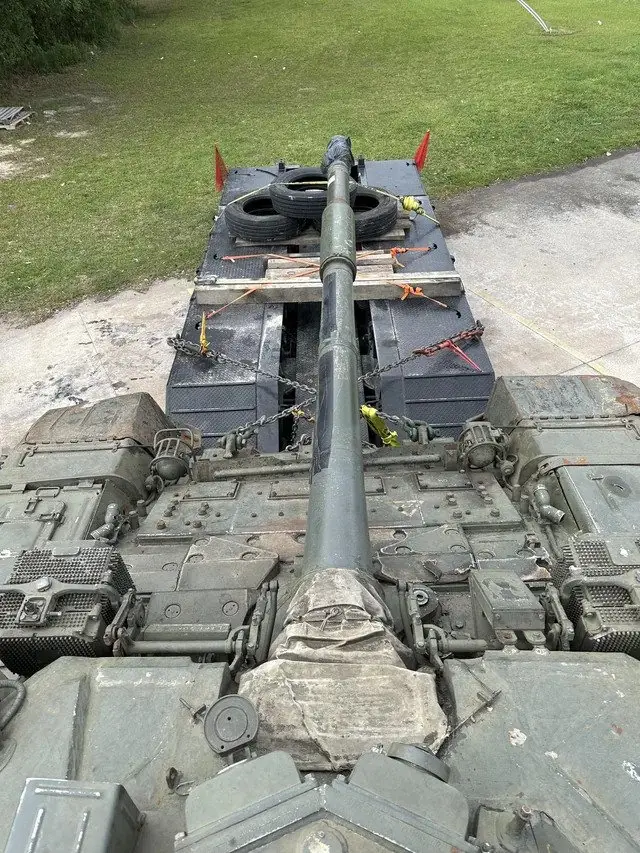
Some appear to be scratches and some splotches so I figured these could be polished paint maybe? kinda like when you walk on a painted surface a lot so it rubs darker and shinier but if anybody can explain what these are I would be able to replicate them better. Also, does anybody know what the thermal shroud around the cannon is made of? I keep seeing it with both rusty and very shiny chipping and scratches and it got me confused.
5 Likes
I will do the last question first. The outer cover of the thermal shroud is aluminum, with steel clamps. I am not sure what, if anything, is inside it.
As for the dark splotches and scratches, it’s everything. Oil spots, dirt, chipped paint, rubbed or wear-polished paint, you name it. In this photo it looks like a light layer of dust or oxidized paint with handprints in it:

A couple of those photos have dark, cloudy skies, there could be some raindrops on the surface.
Ken
4 Likes
Thank you!