That camo is outstanding!
2 Likes
Great looking result Al- you should be very happy with it.
2 Likes
After the turret set backs this has finished up as a great scheme, and was a very good demo for others to try. Very very good job ![]() And I am going along with DV and the light brown/earth dusty wash
And I am going along with DV and the light brown/earth dusty wash
1 Like
Dust colored it is then.
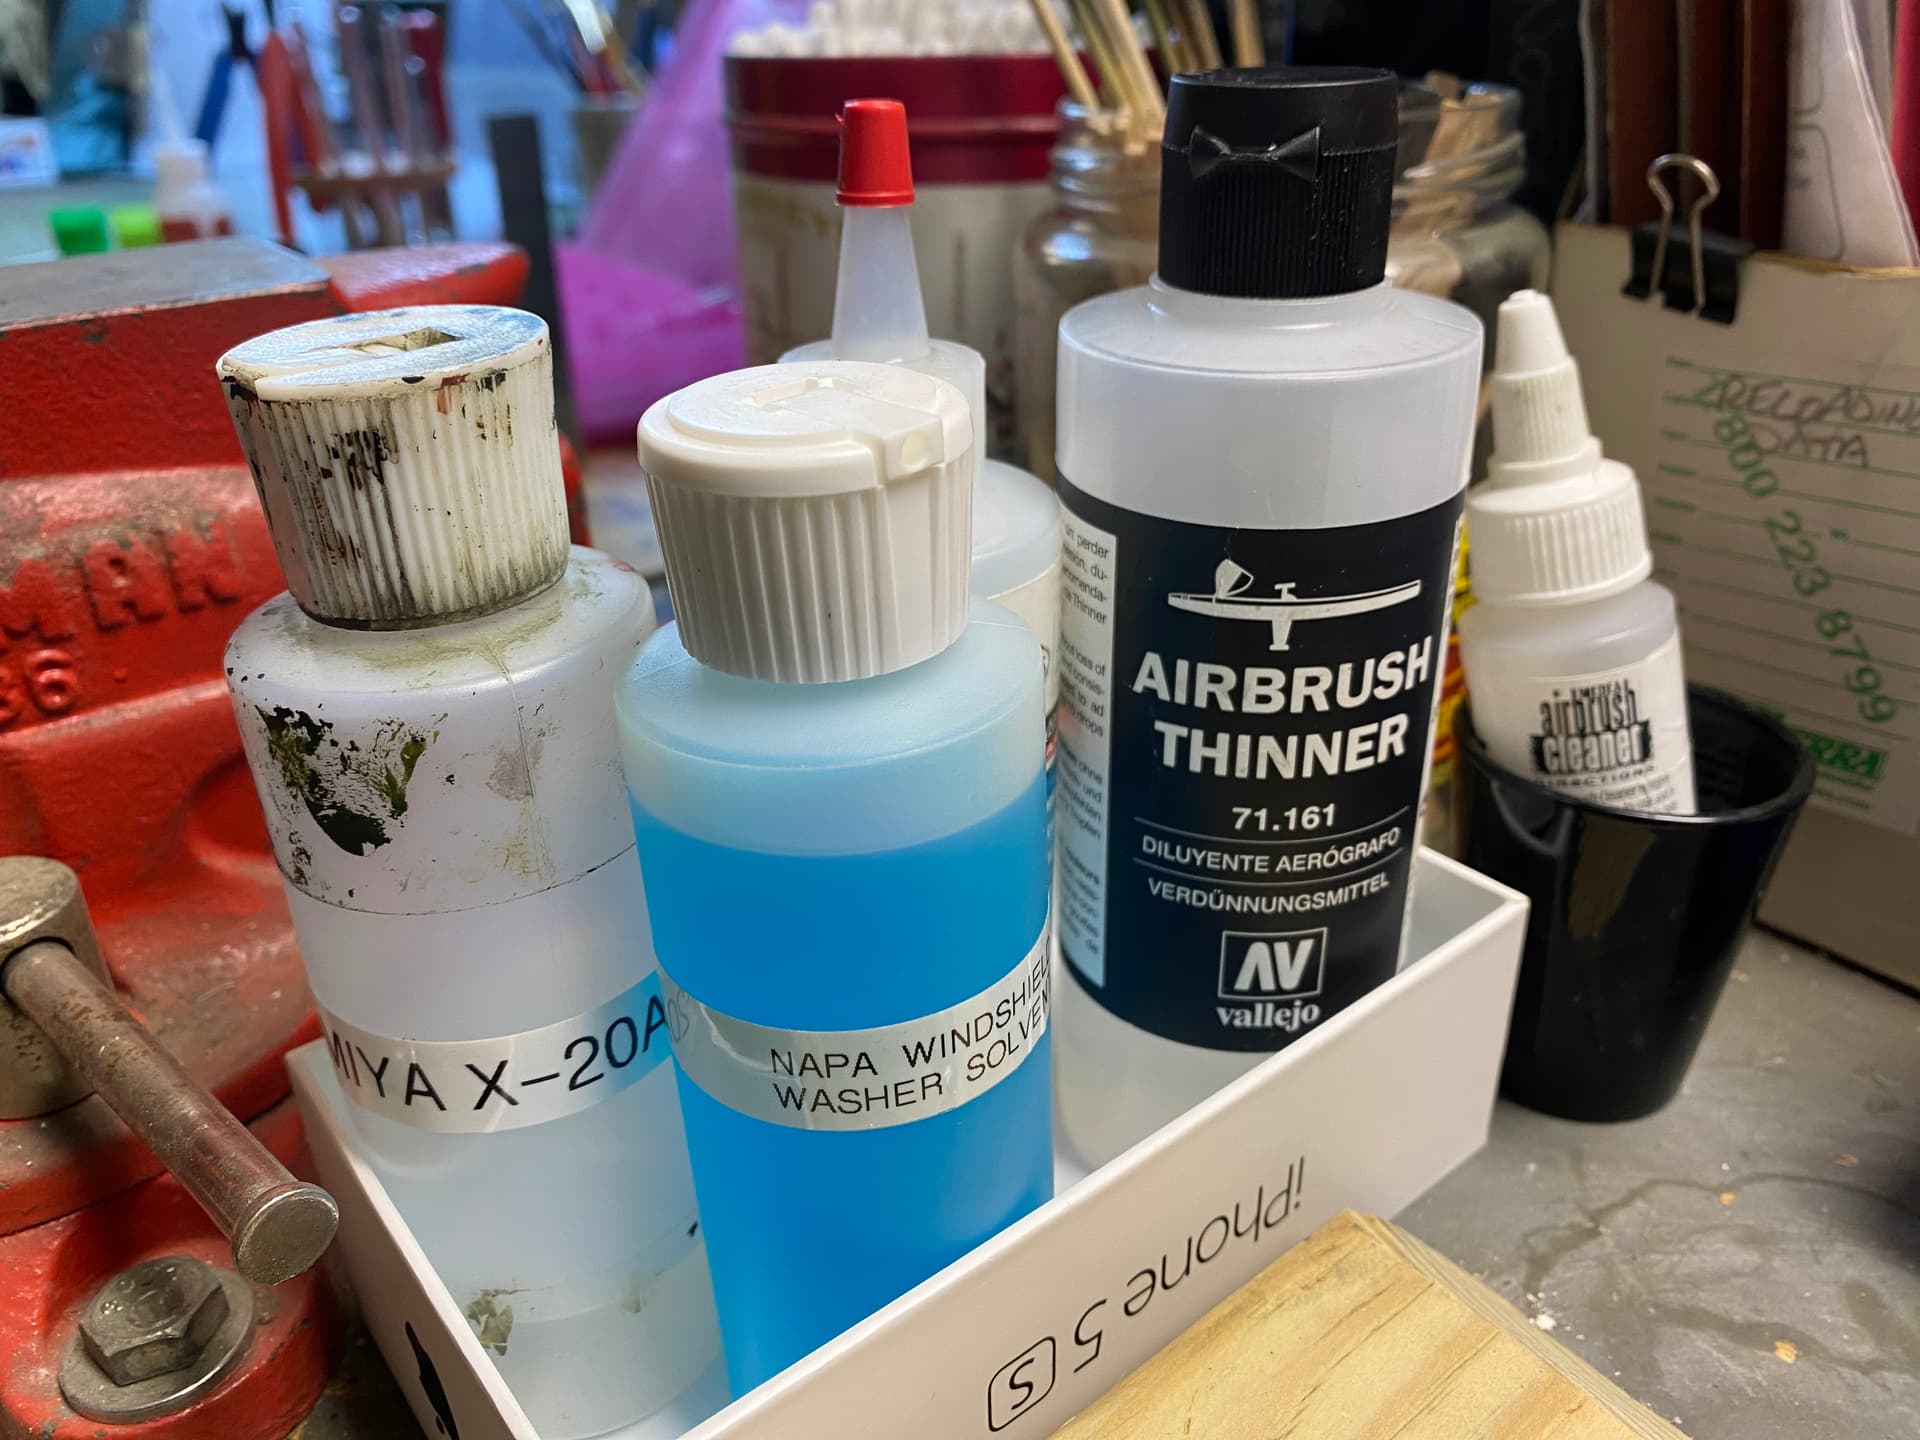
Did you notice the blue squeeze bottle of NAPA washer solvent in the last picture? ![]()
1 Like
What did you use on your build that I saw at the show? Was that a T-90?
And I hear there’s another thing at the Annandale VFW the first weekend of December? Will there be vendors to take my cash?
For the T90 at the NCMSS I used a dark brown wash. I suggested dust for yours as your green is fairly dark so a dark brown wash would darken it even further. A dust/light earth/tannish wash won’t darken the green nearly as much if at all and will show up well around bolt heads and other raised details. Good luck.
Was not aware of the show in at the Annandale VFW but no shows for me till Richmond in February 2023.
1 Like
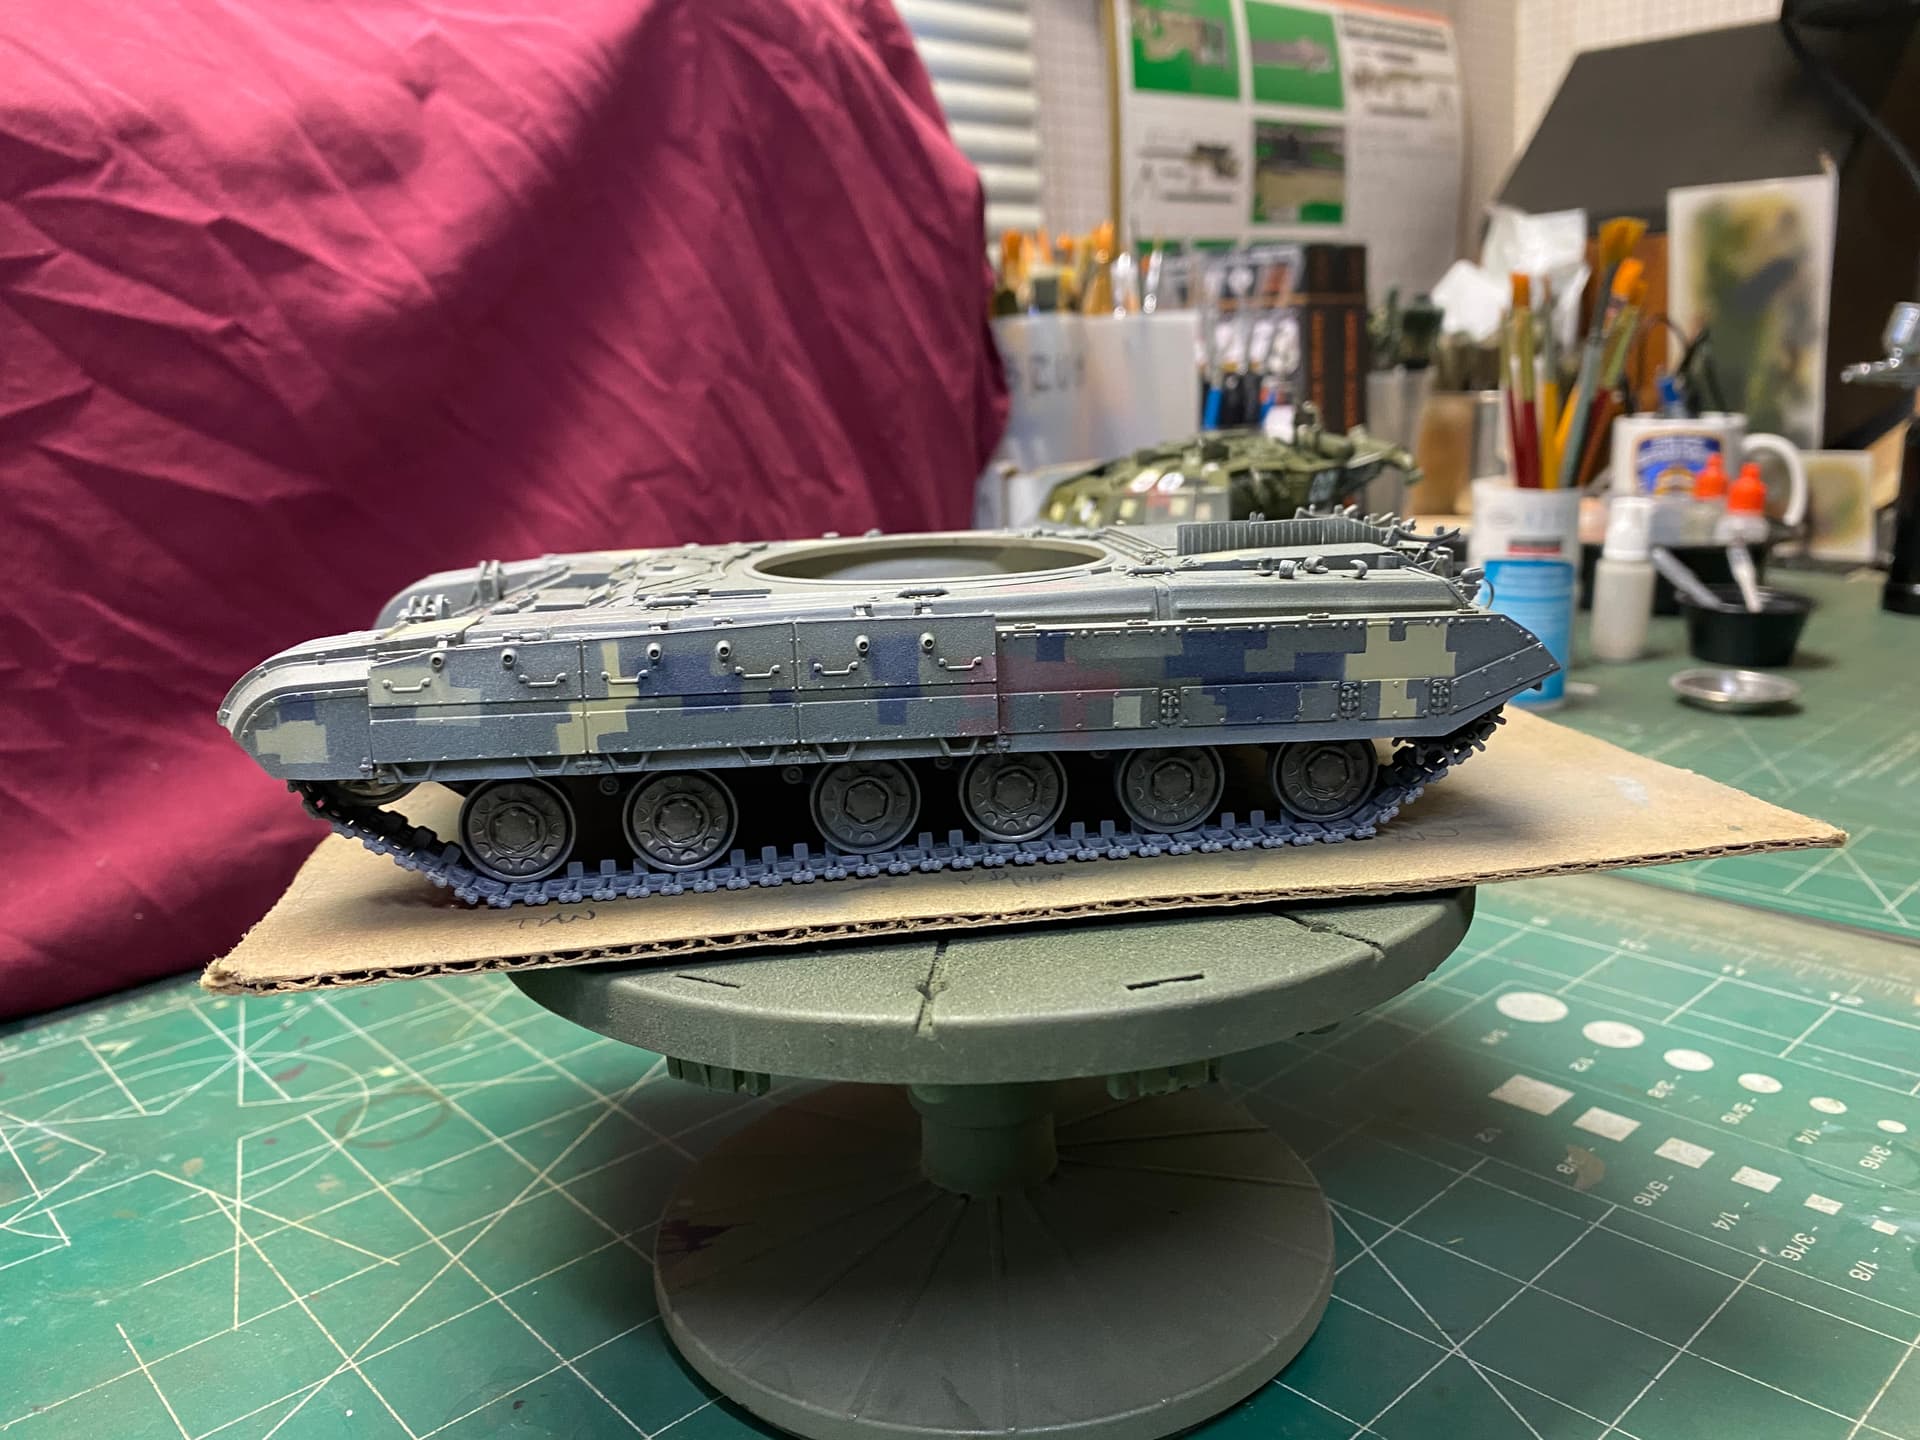
After waiting a few days for the finish to dry enough for me to sand out and refinish a couple of spots on the turret skirts where I got too anxious and removed the masks before the paint was dry and caused a run, I got back to work on this.
Did some minimal decals on the turret using the guide on the Star Decals Ukrainian T-64s decals. They’re still curing…

Usually I’m not into heavy weathering. I think filthy, muddy vehicles looks great on an appropriate base, but all my stuff ends up on wooden on glass shelves.
For many years I’ve been a subtle wash and dry brush guy, as evidenced by some of the pictures I’ve recently posted. Don’t get me wrong, I’m constantly knocked out by the craftsmanship I see on KitMaker. Also, on some level, I’m afraid of f-ing up a perfectly good build.
This is new ground for me, but I joined up here to learn how to take risks. I used a 50/50 mix of enamel thinner and AK dust effects. I figured dust travels up and back, so I flipped the hill over and used my new favorite electric air brush to spray from the bottom up….
And hit the front and back of the hull angling the air brush up and concentrating on where the glacis and fenders meet.
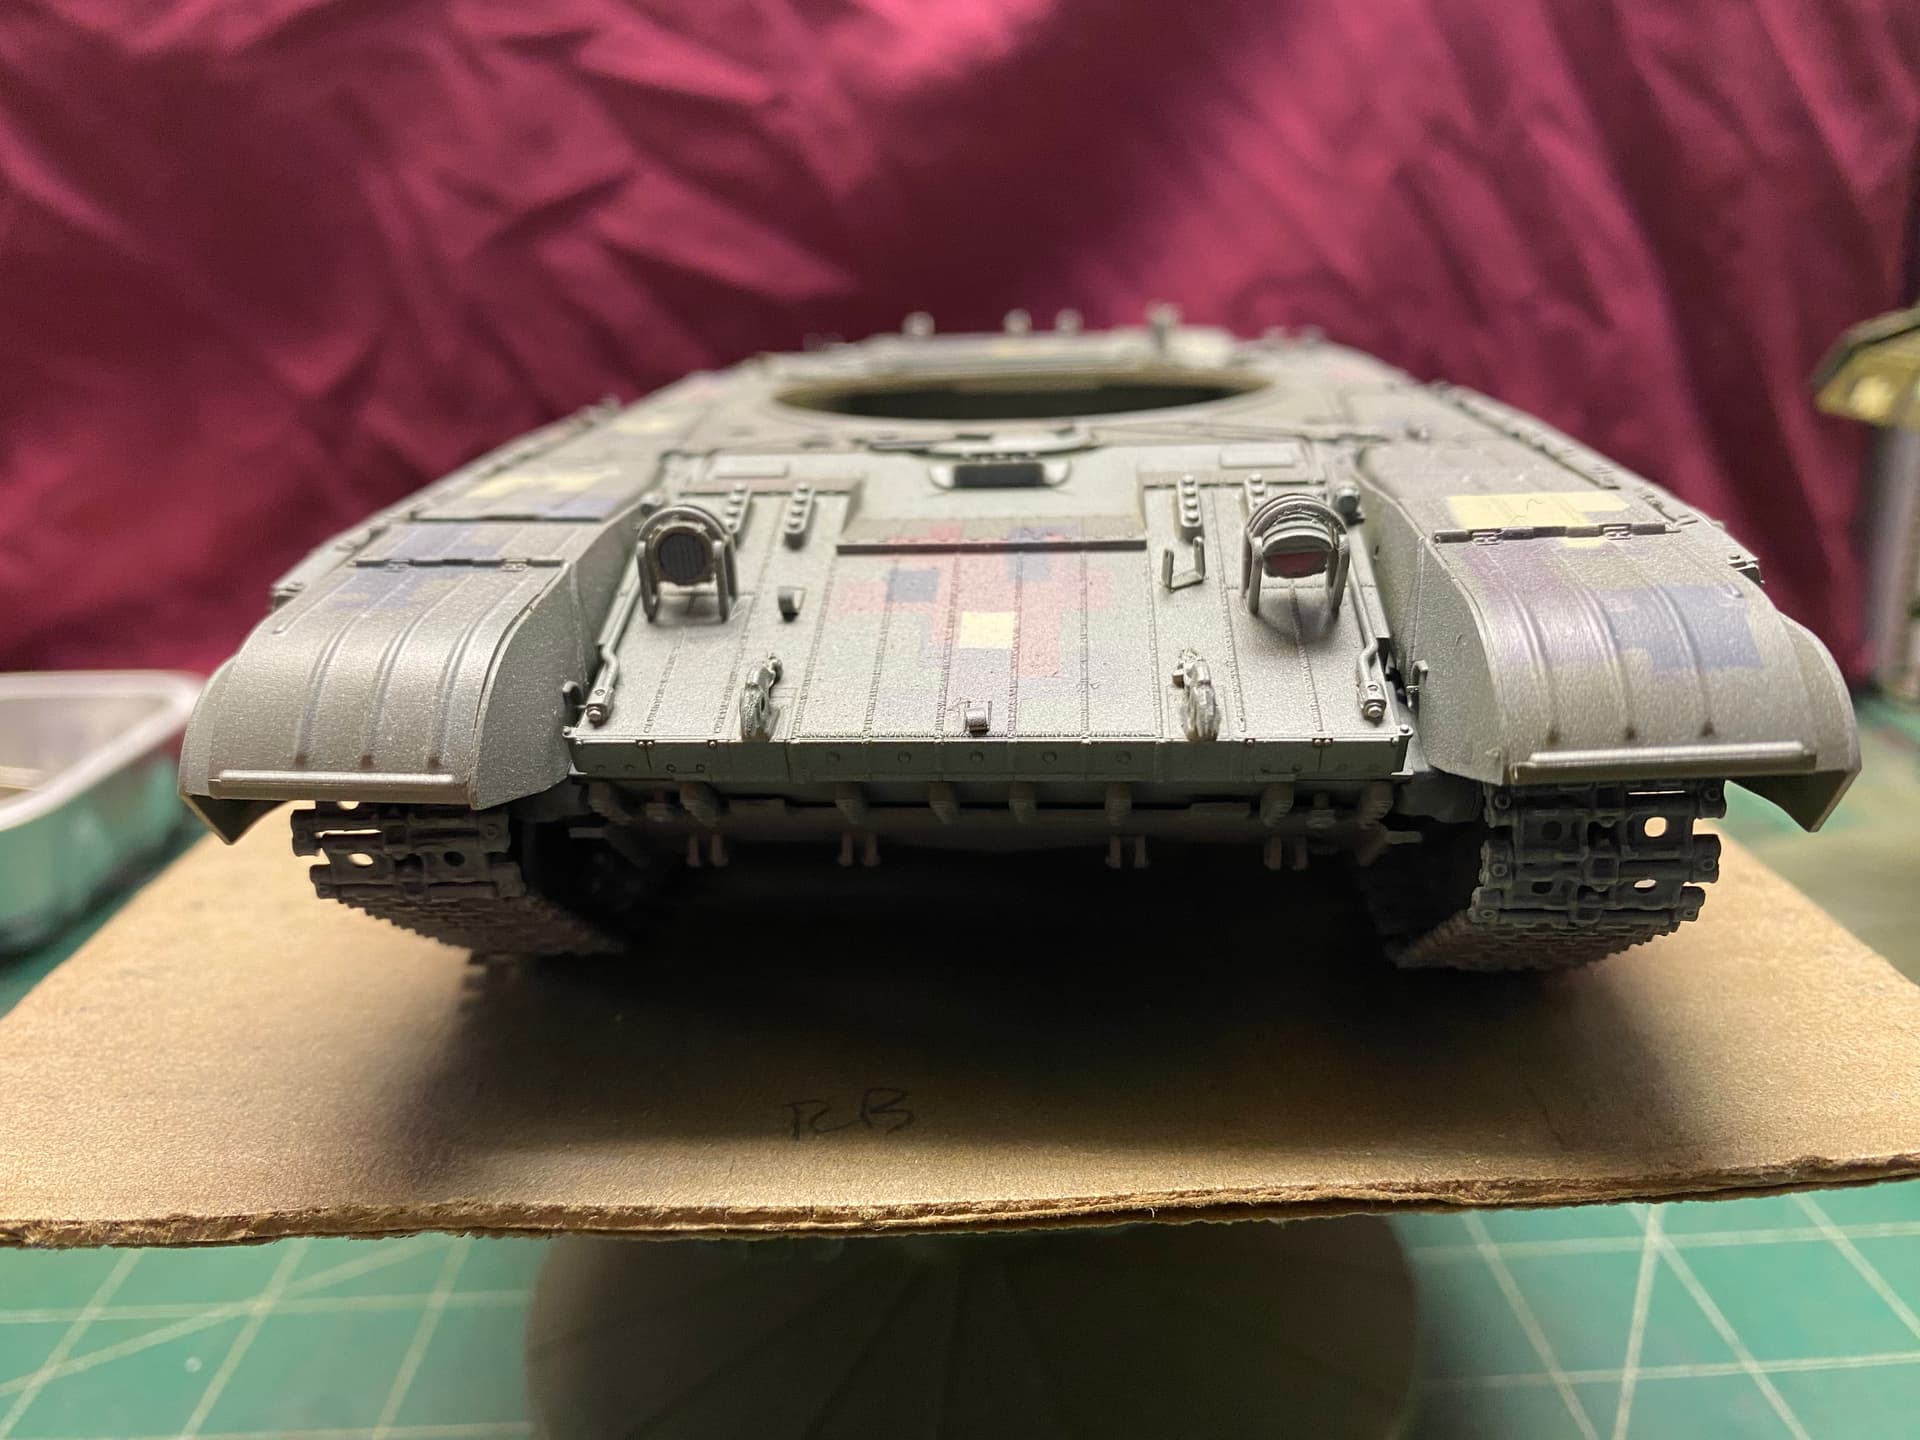
And just kind’a winged the rest of the hull.
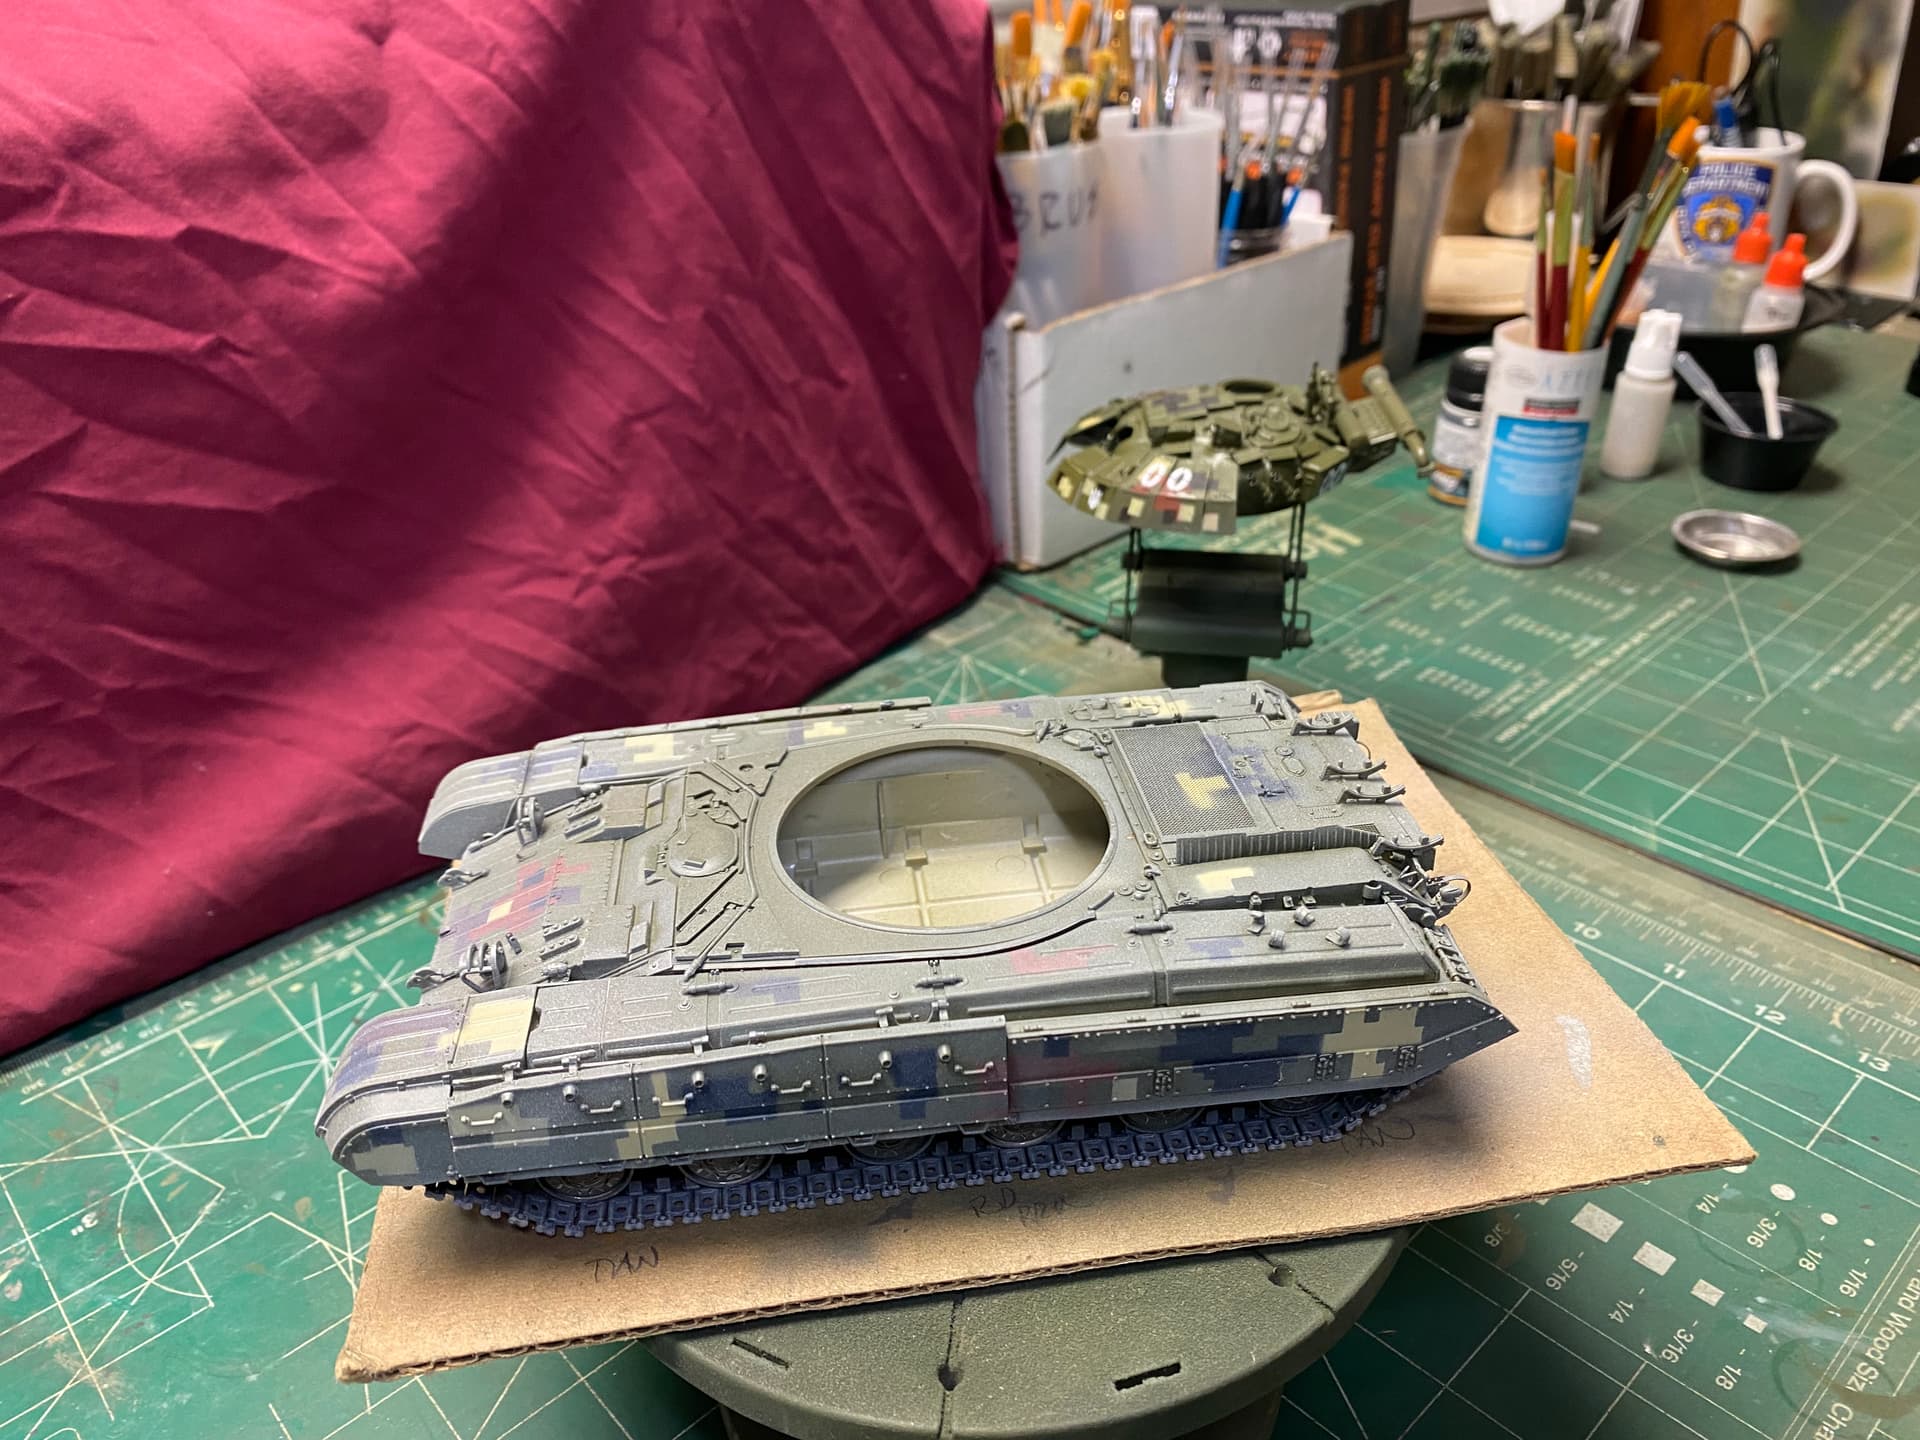
It occurred to me when I finished, maybe I should have done some dark washes beforehand to pick out details and maybe I still will.
What do y’all think?
5 Likes
Speaking from my own perspective- a pin wash around the details is what I would do after varnishing the paintwork and decals. I use acrylic satin varnish which gives a nice, slightly shiny surface which allows the wash to flow into and around details easier. Green usually requires a fairly dark wash too.
From what I can see there is nothing to stop you doing that at your current stage, if you wish, as you have kept the weathering light.
2 Likes
Like Karl said, but it’s looking very good at the moment… Very neat work ![]()
1 Like
Try to ignore the 33 year old Verlinden ruin with the (inside joke) French Hotel sign for a moment.
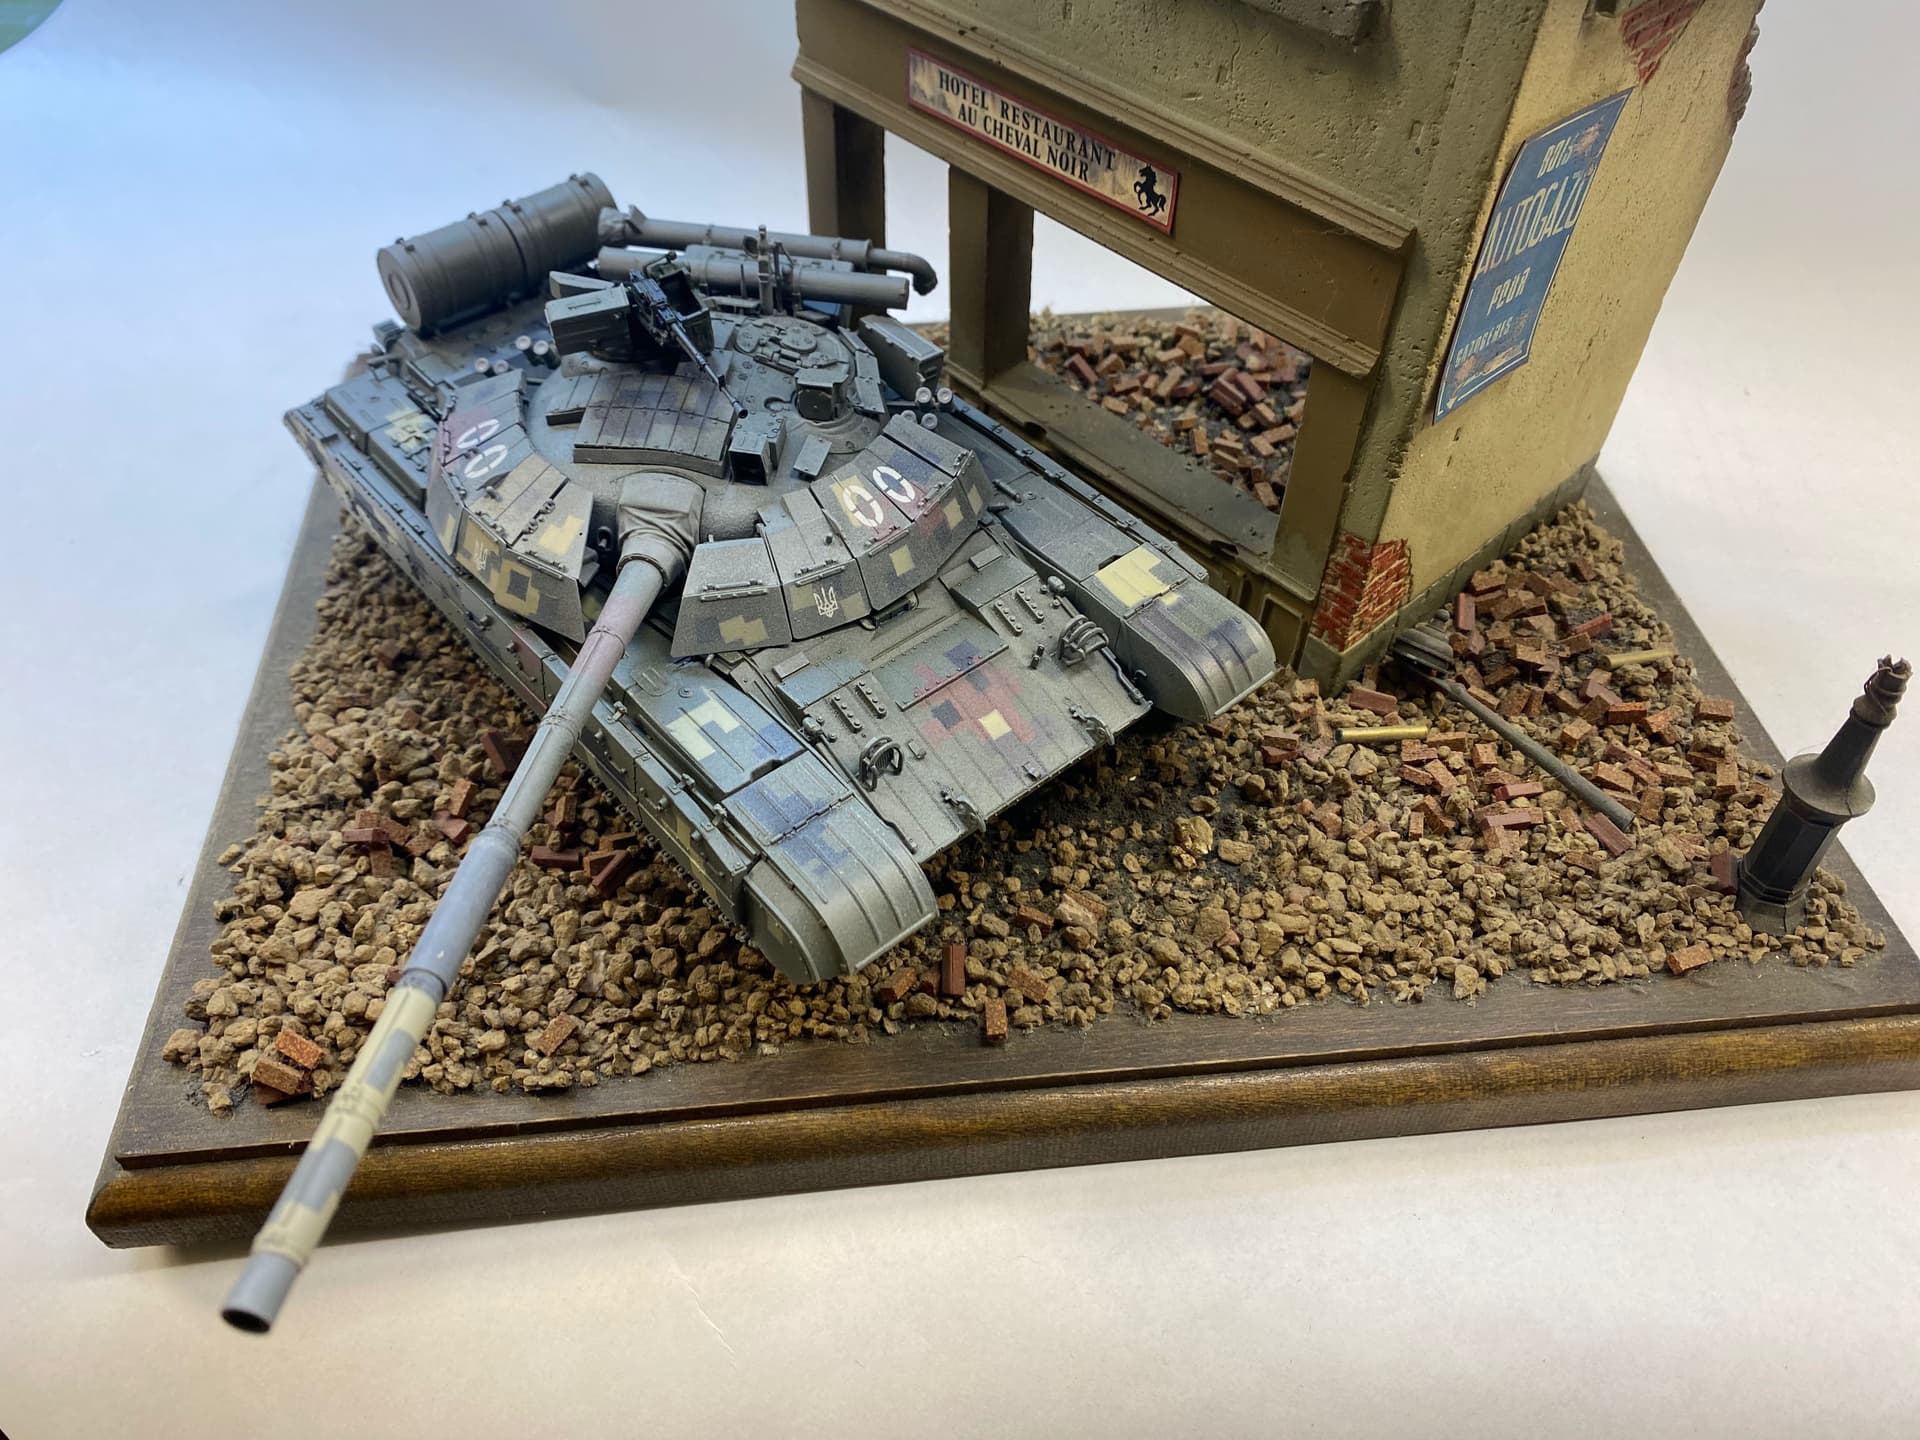


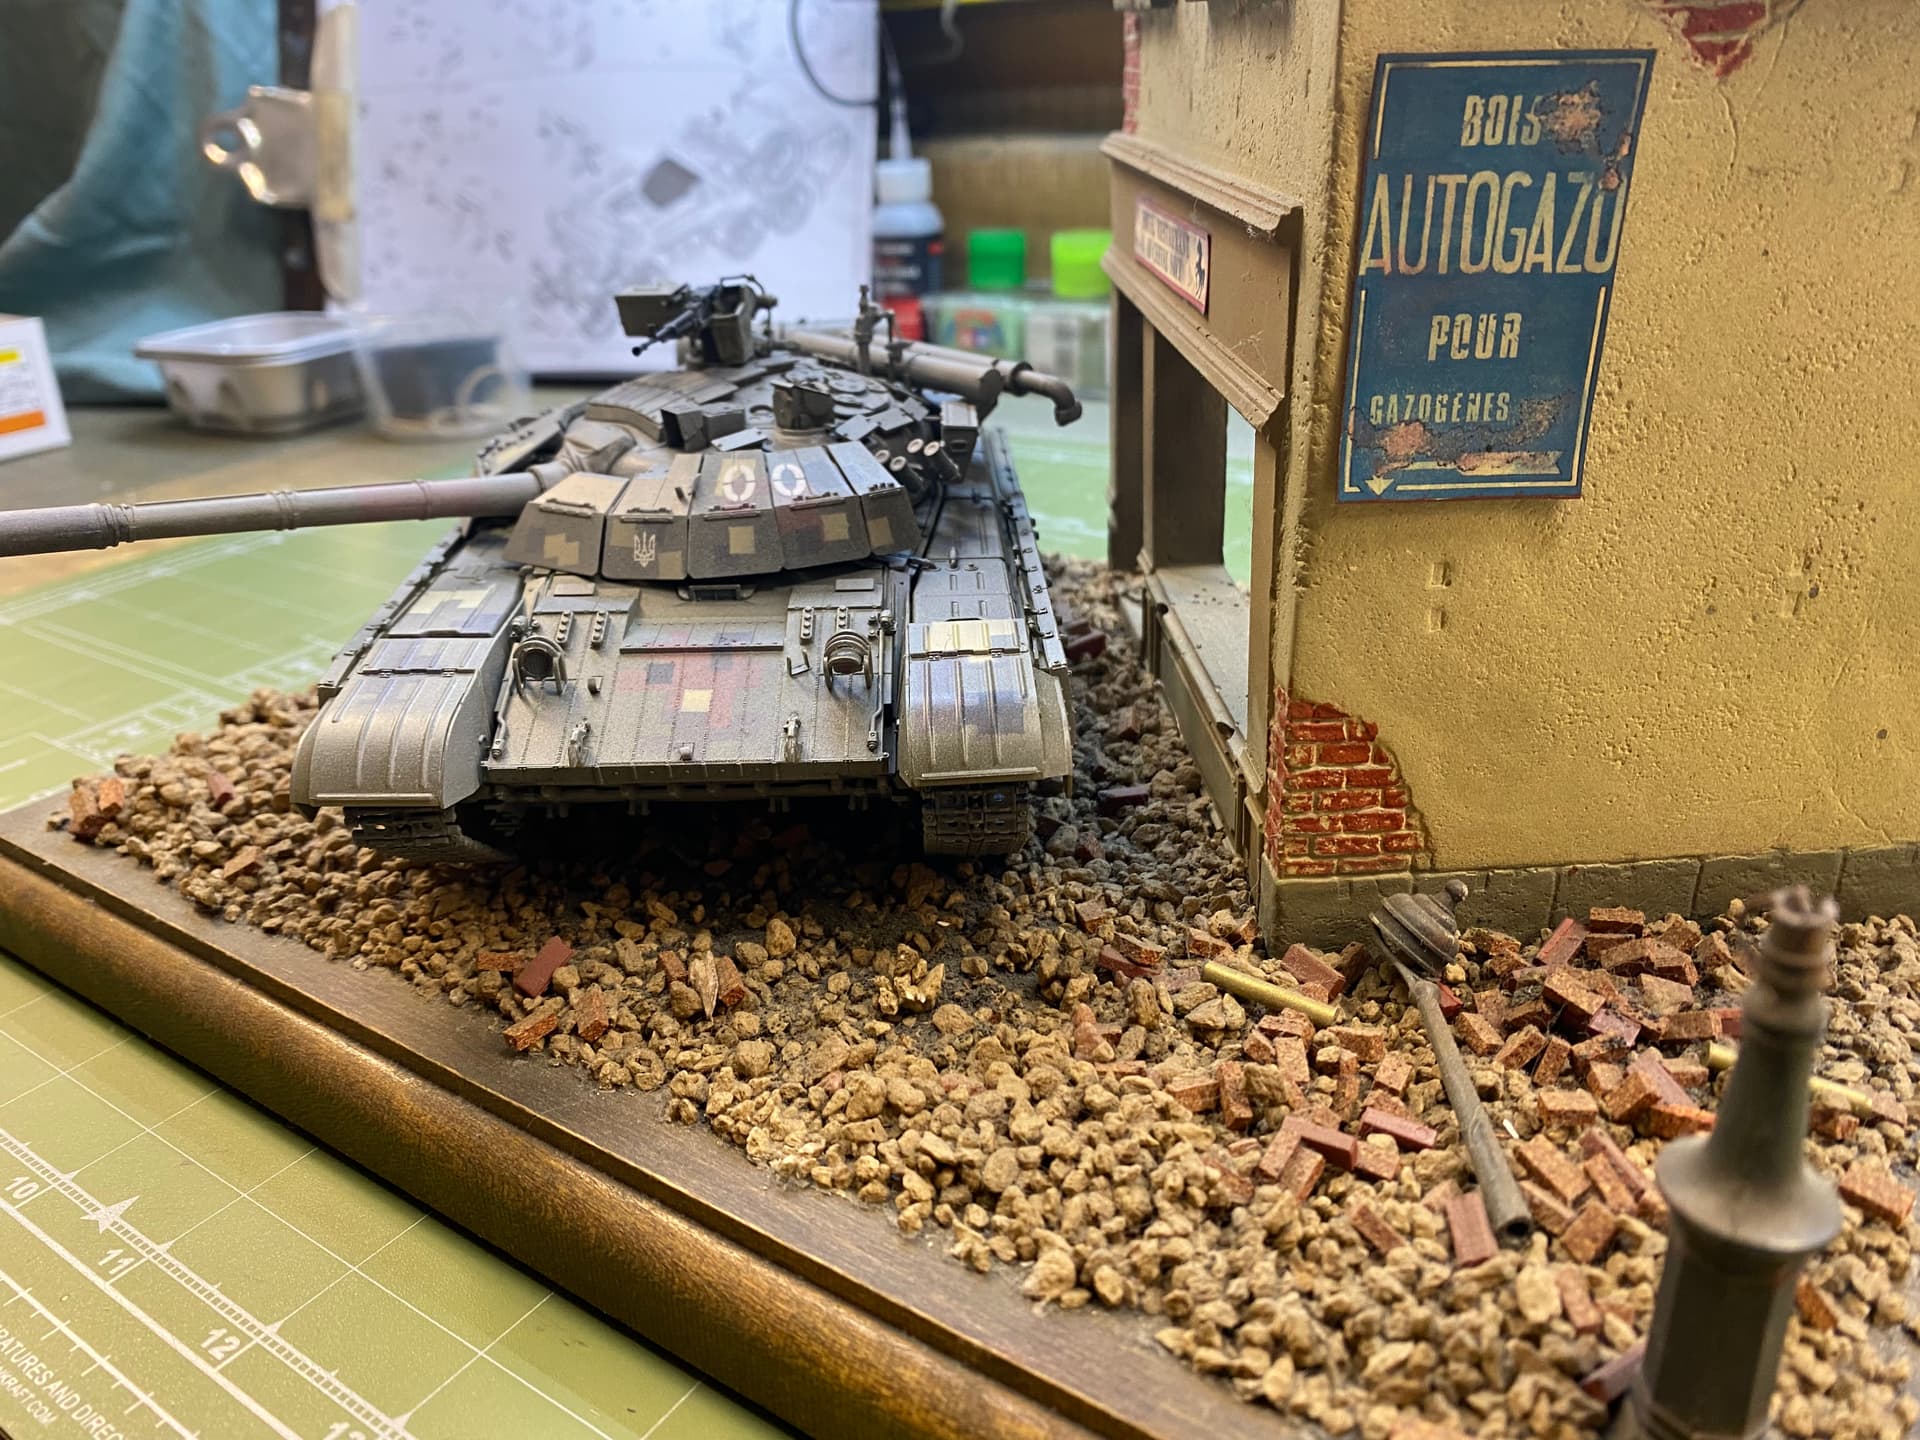

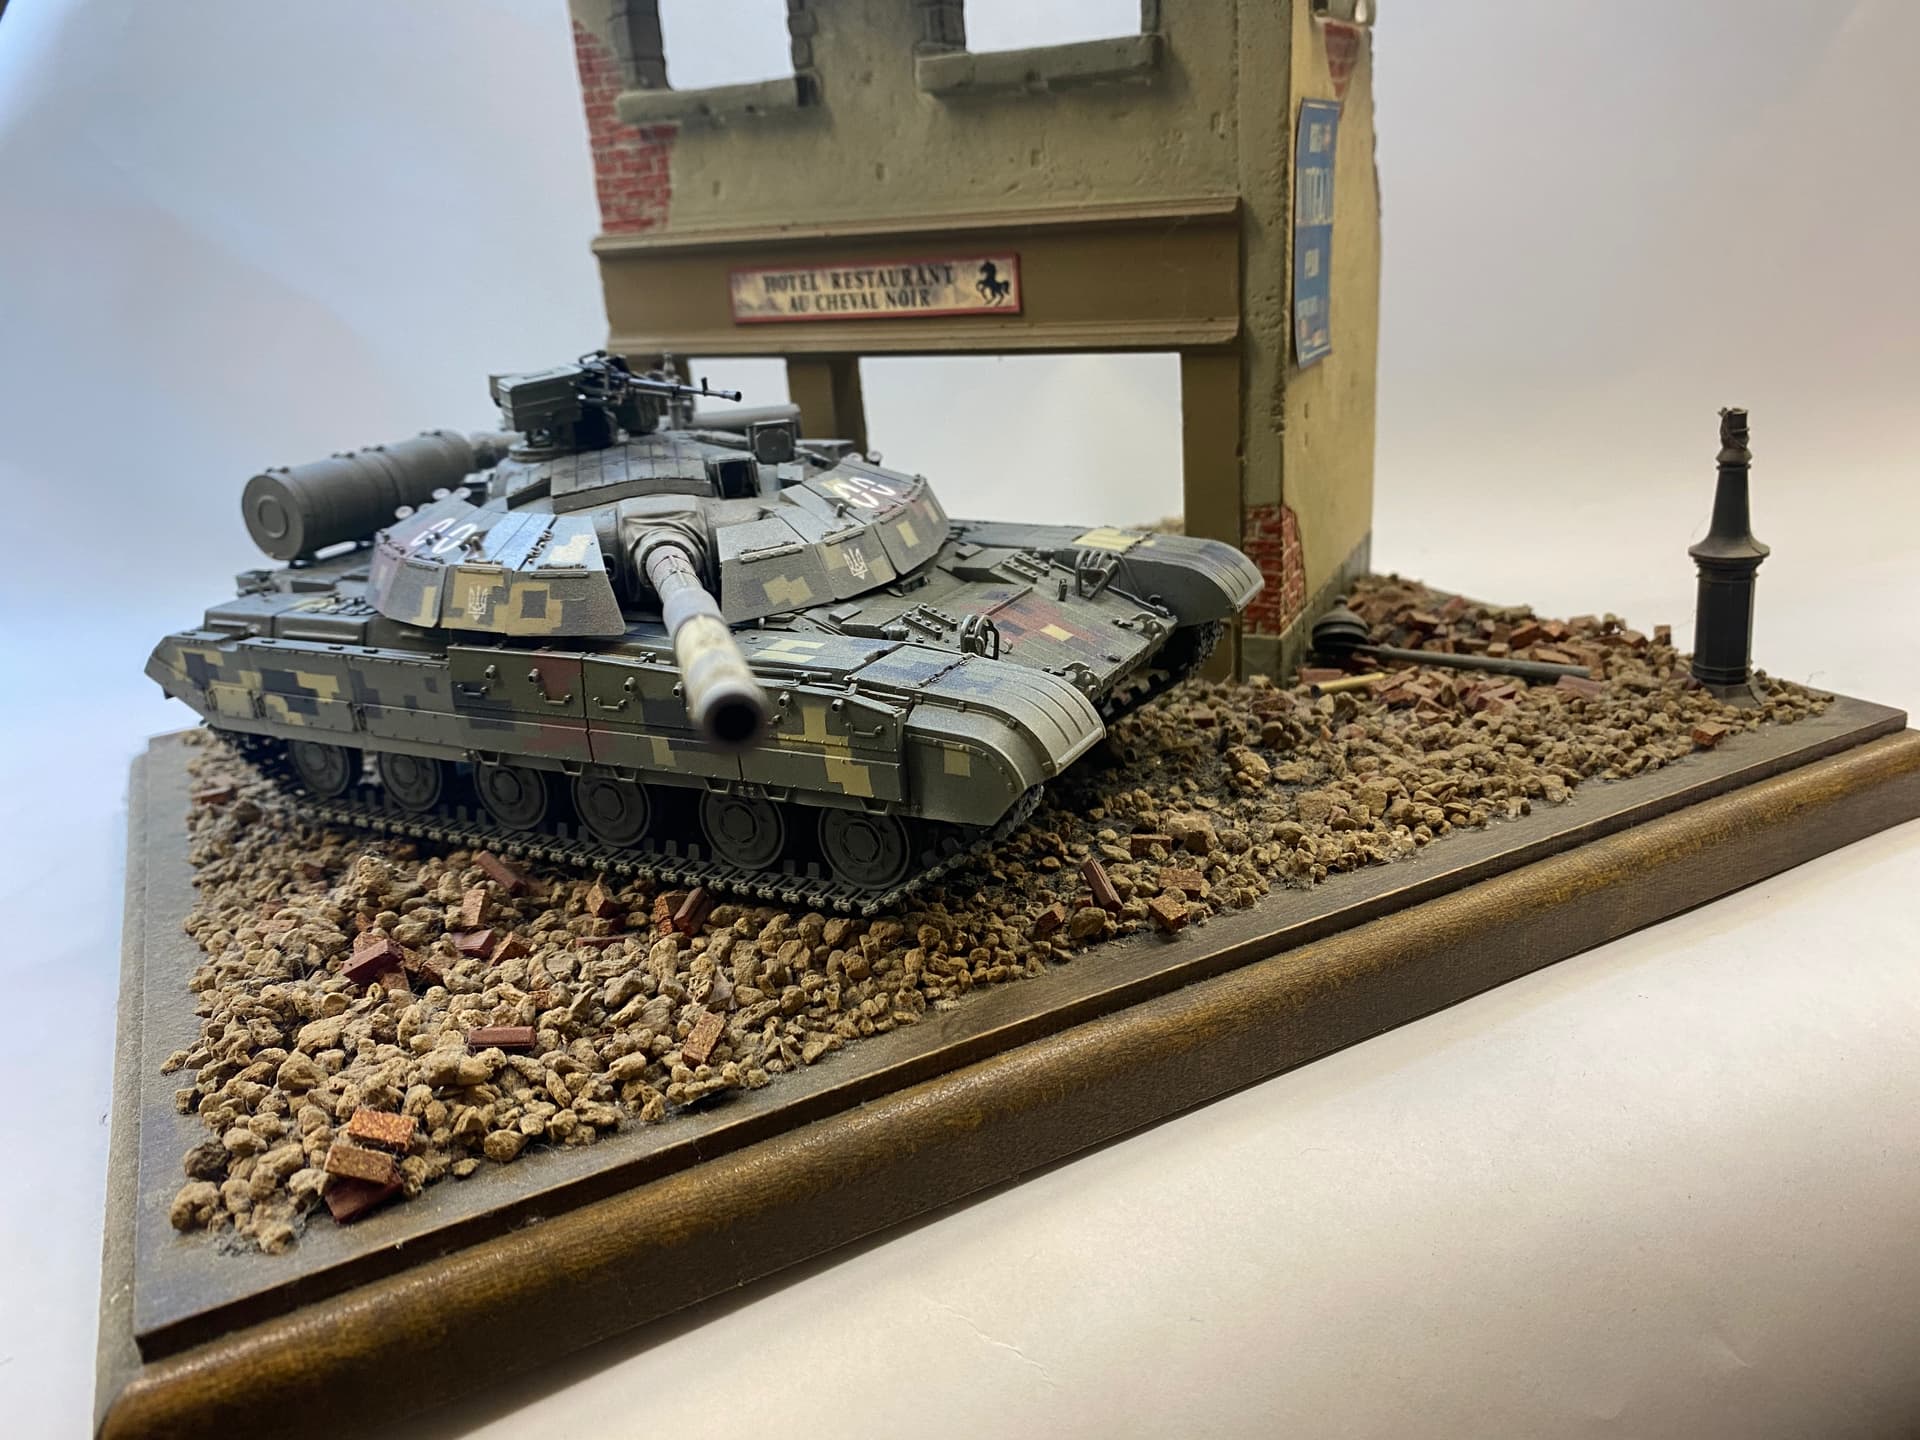
So aside from making the recovery cables and painting and installing the dopey rubber ditching log, I think this is done. What say you?
Edited to add: and shoot some satin clear.
8 Likes
Very nice build! Thank you for sharing the process. ![]() . . …
. . …![]()
—mike
2 Likes
Cracking job. The Digi looks terrific… Really nice job all over ![]()
![]()
1 Like
Thanks guys.
I think you did a grand job with it. The camo is spot on in terms of color, size and spacing and the weathering gives it a nice dusty look.
1 Like
Really looks outstanding. The digi - cam is spectacular.
1 Like
Your camo turned out great!
FWIW, I use the opposite technique for my digital camo: I start with a base coat of my lightest color and then mask off the places where I want that to show, then I over spray with the next color, and mask those spots (don’t peel off the masks from the previous step), and so on. By the time I’m done, the whole model except for the spots where the last color is visible is covered with masks. I find this technique works well for factory or parade camo schemes, but it is pretty tedious. For field-applied camo, I think your technique is much easier.
![]()
1 Like
That looks excellent to me. Really great job
1 Like
This is exactly how my first attempt on the ZTZ-99A (and the rifle skins above) was done. Maybe I was in a hurry or just not thinking straight, but I ended up scratching the hell out of the under layers of paint. Also, I neglected to clear anything, so the masks felt like they were glued on….
Nice job. You really nailed the camo pattern.
1 Like
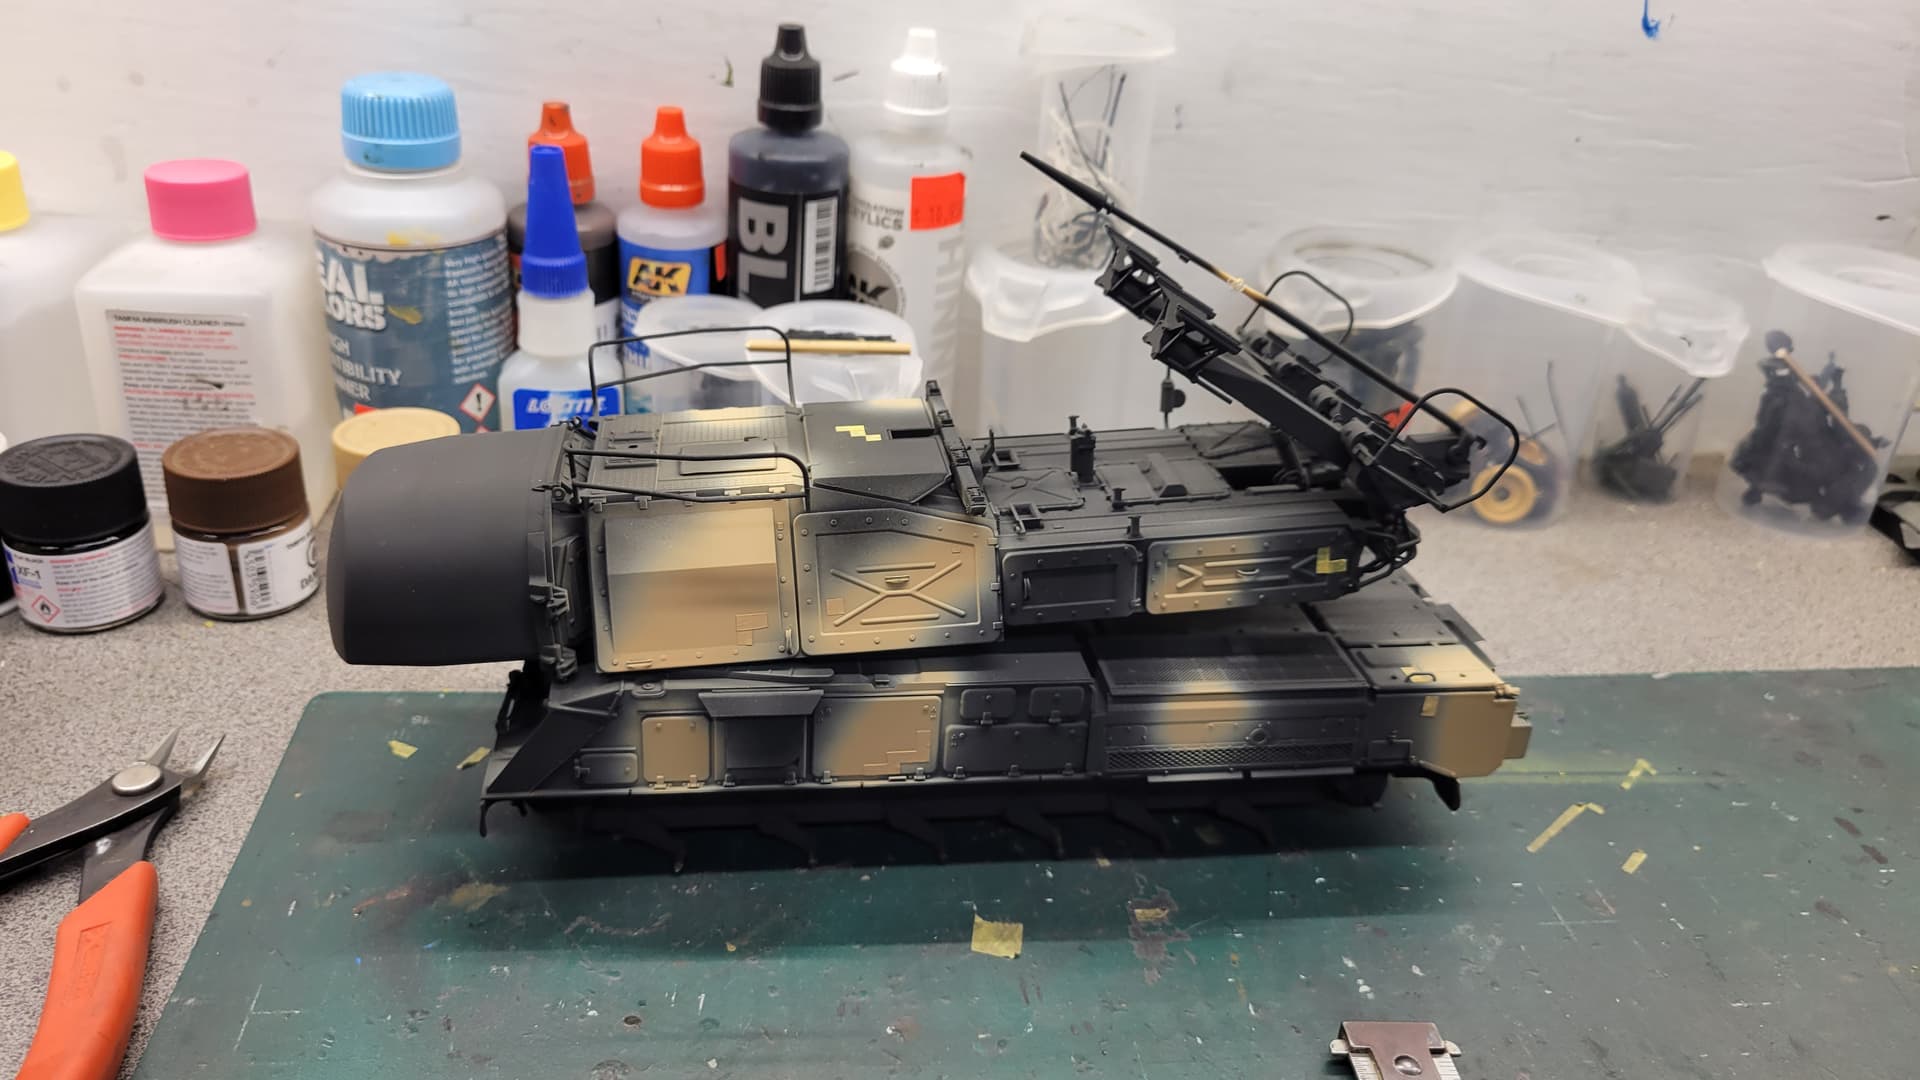
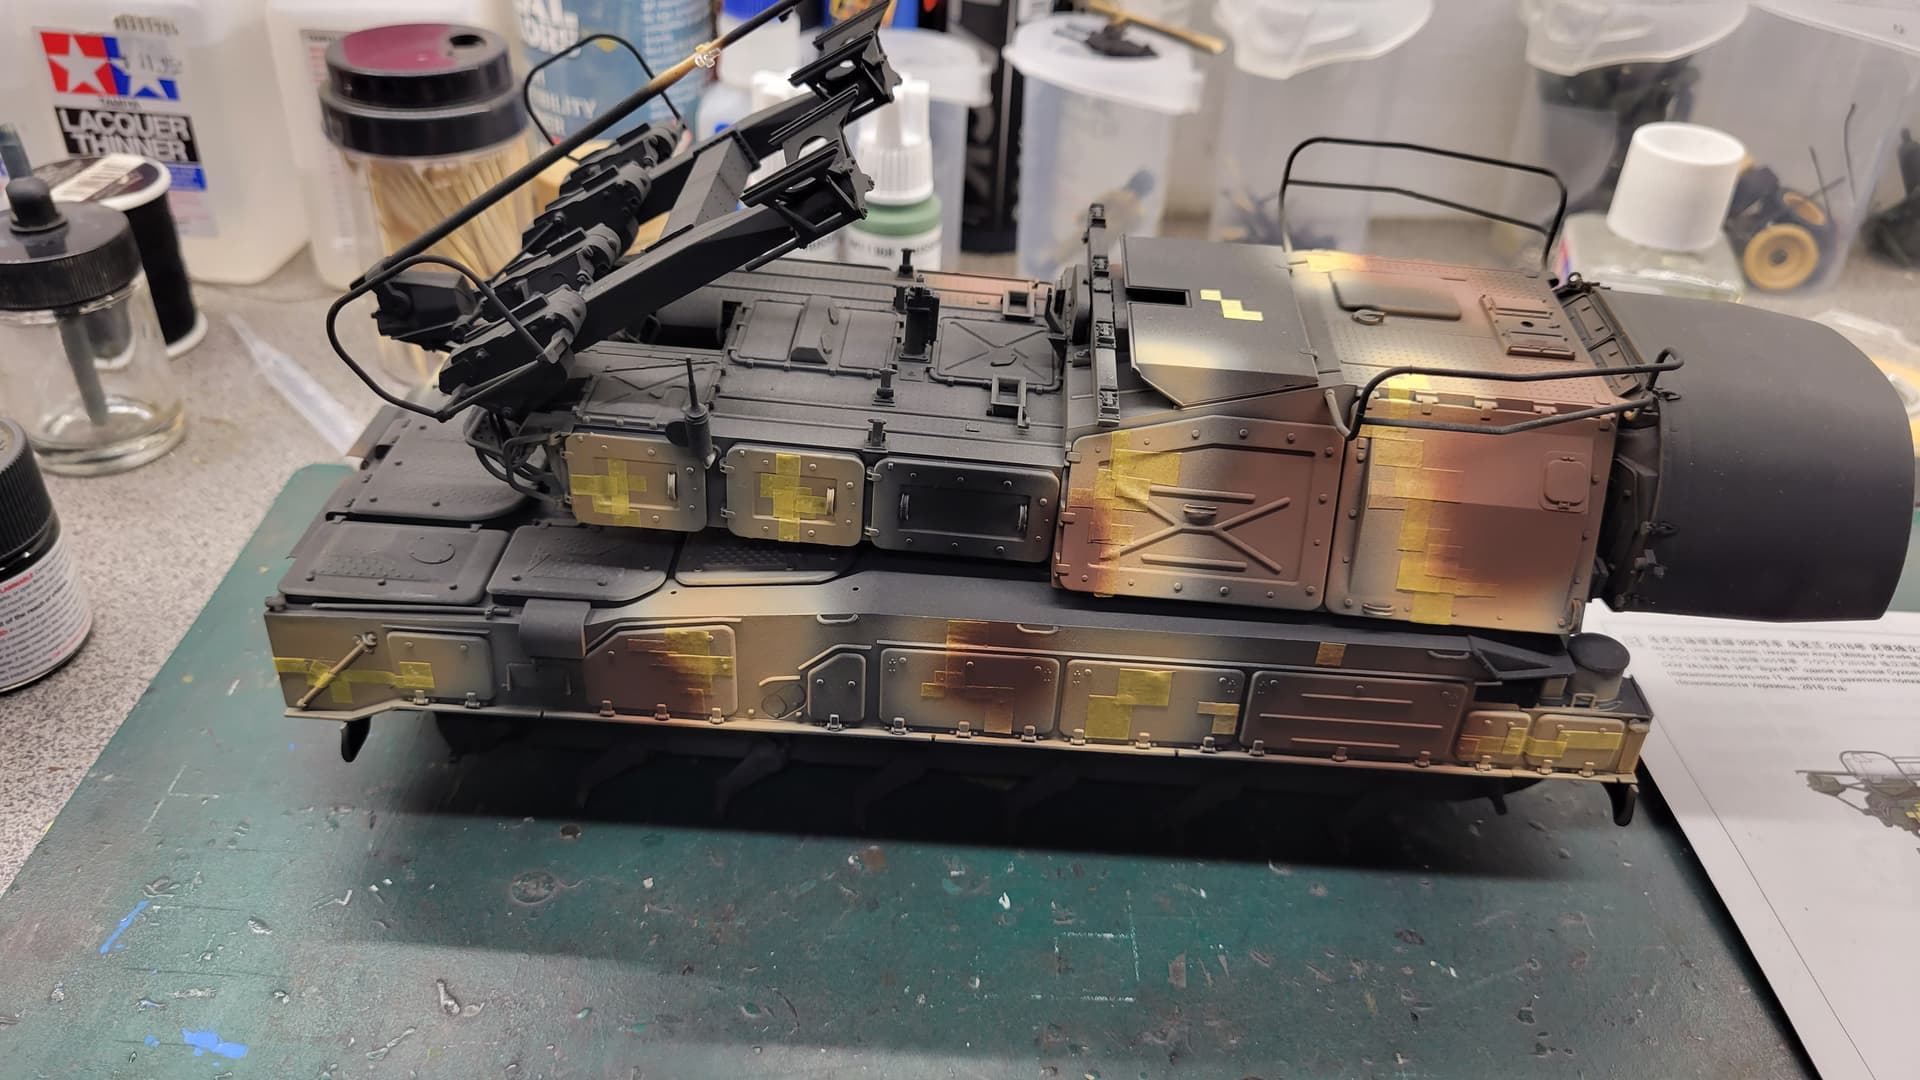
I tried another technique I started by painting my vehicle completely black NATO then I masked the parts that I wanted to keep black
I repeated with the sand color and finished with the red brown
then I gave a black undercoat
and I finished painting the vehicle completely green
I removed the markings
Here is the result
this is the first time i have tried a pixel camouflage


5 Likes