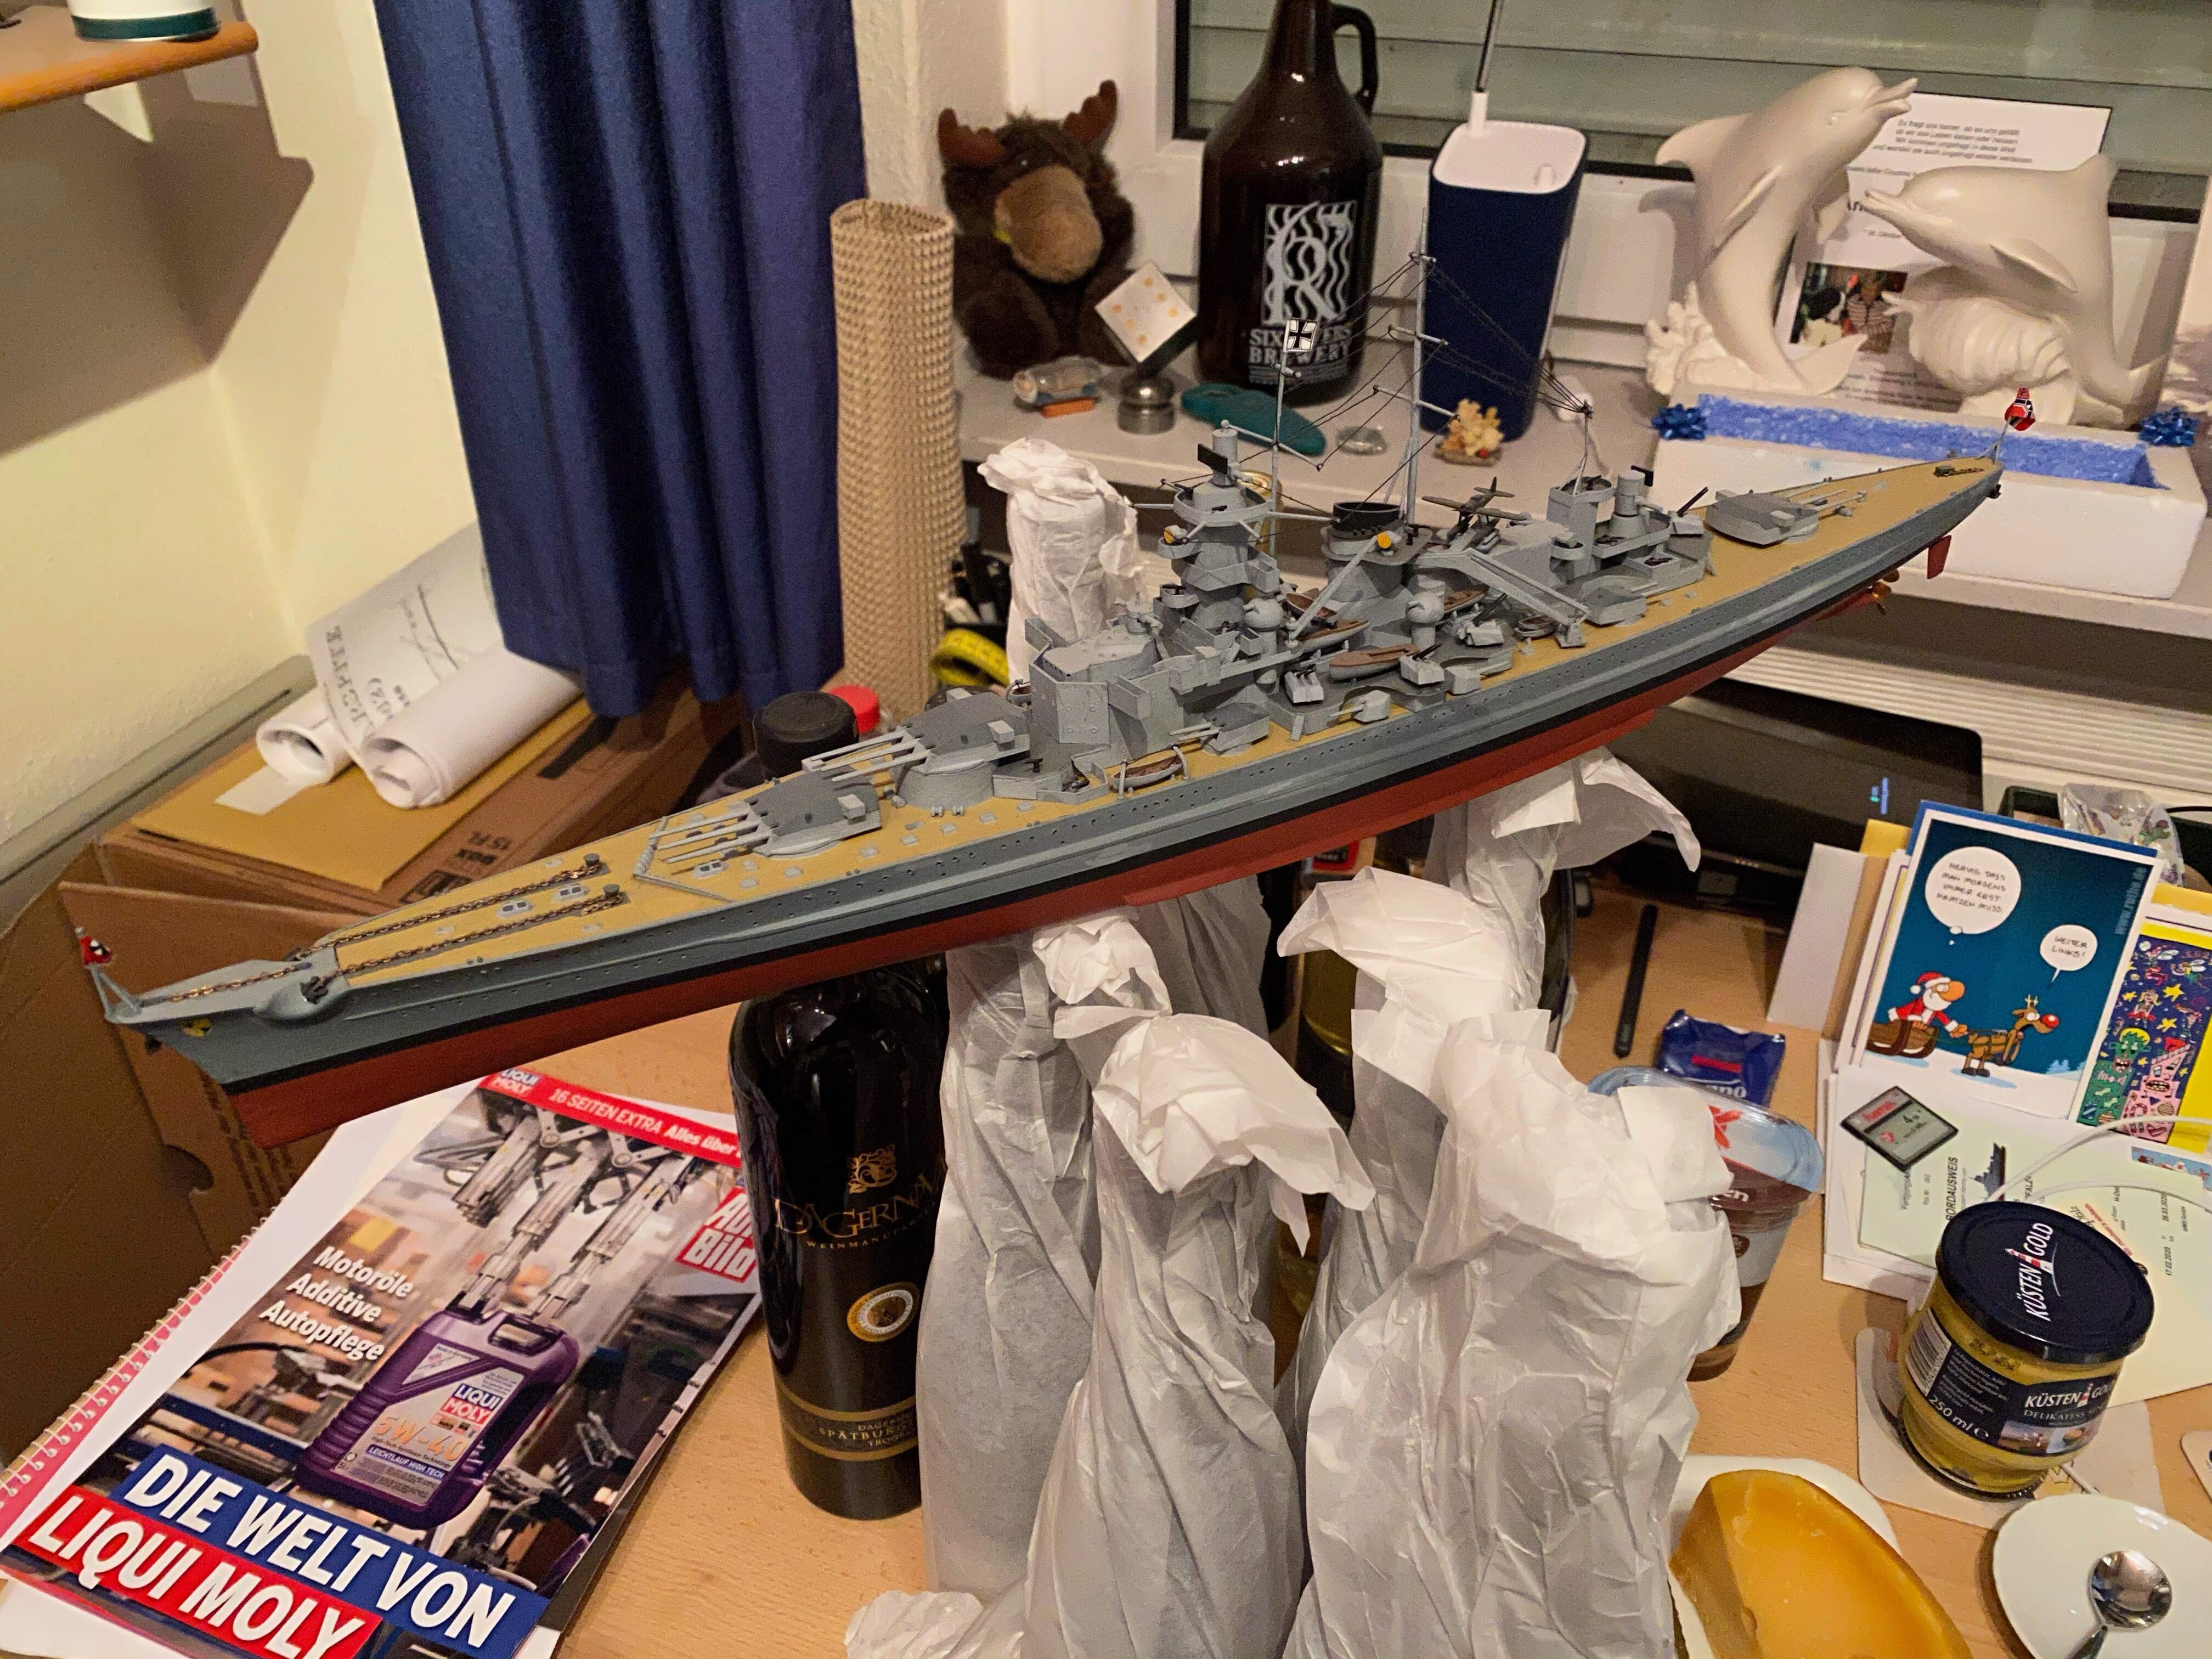
Back home for a few days. Just a few minutes to see if Gneisenau is doing all right, and to keep this build log going. The surfacer is nicely cured, so possibly I can sand the forecastle without another round of it.
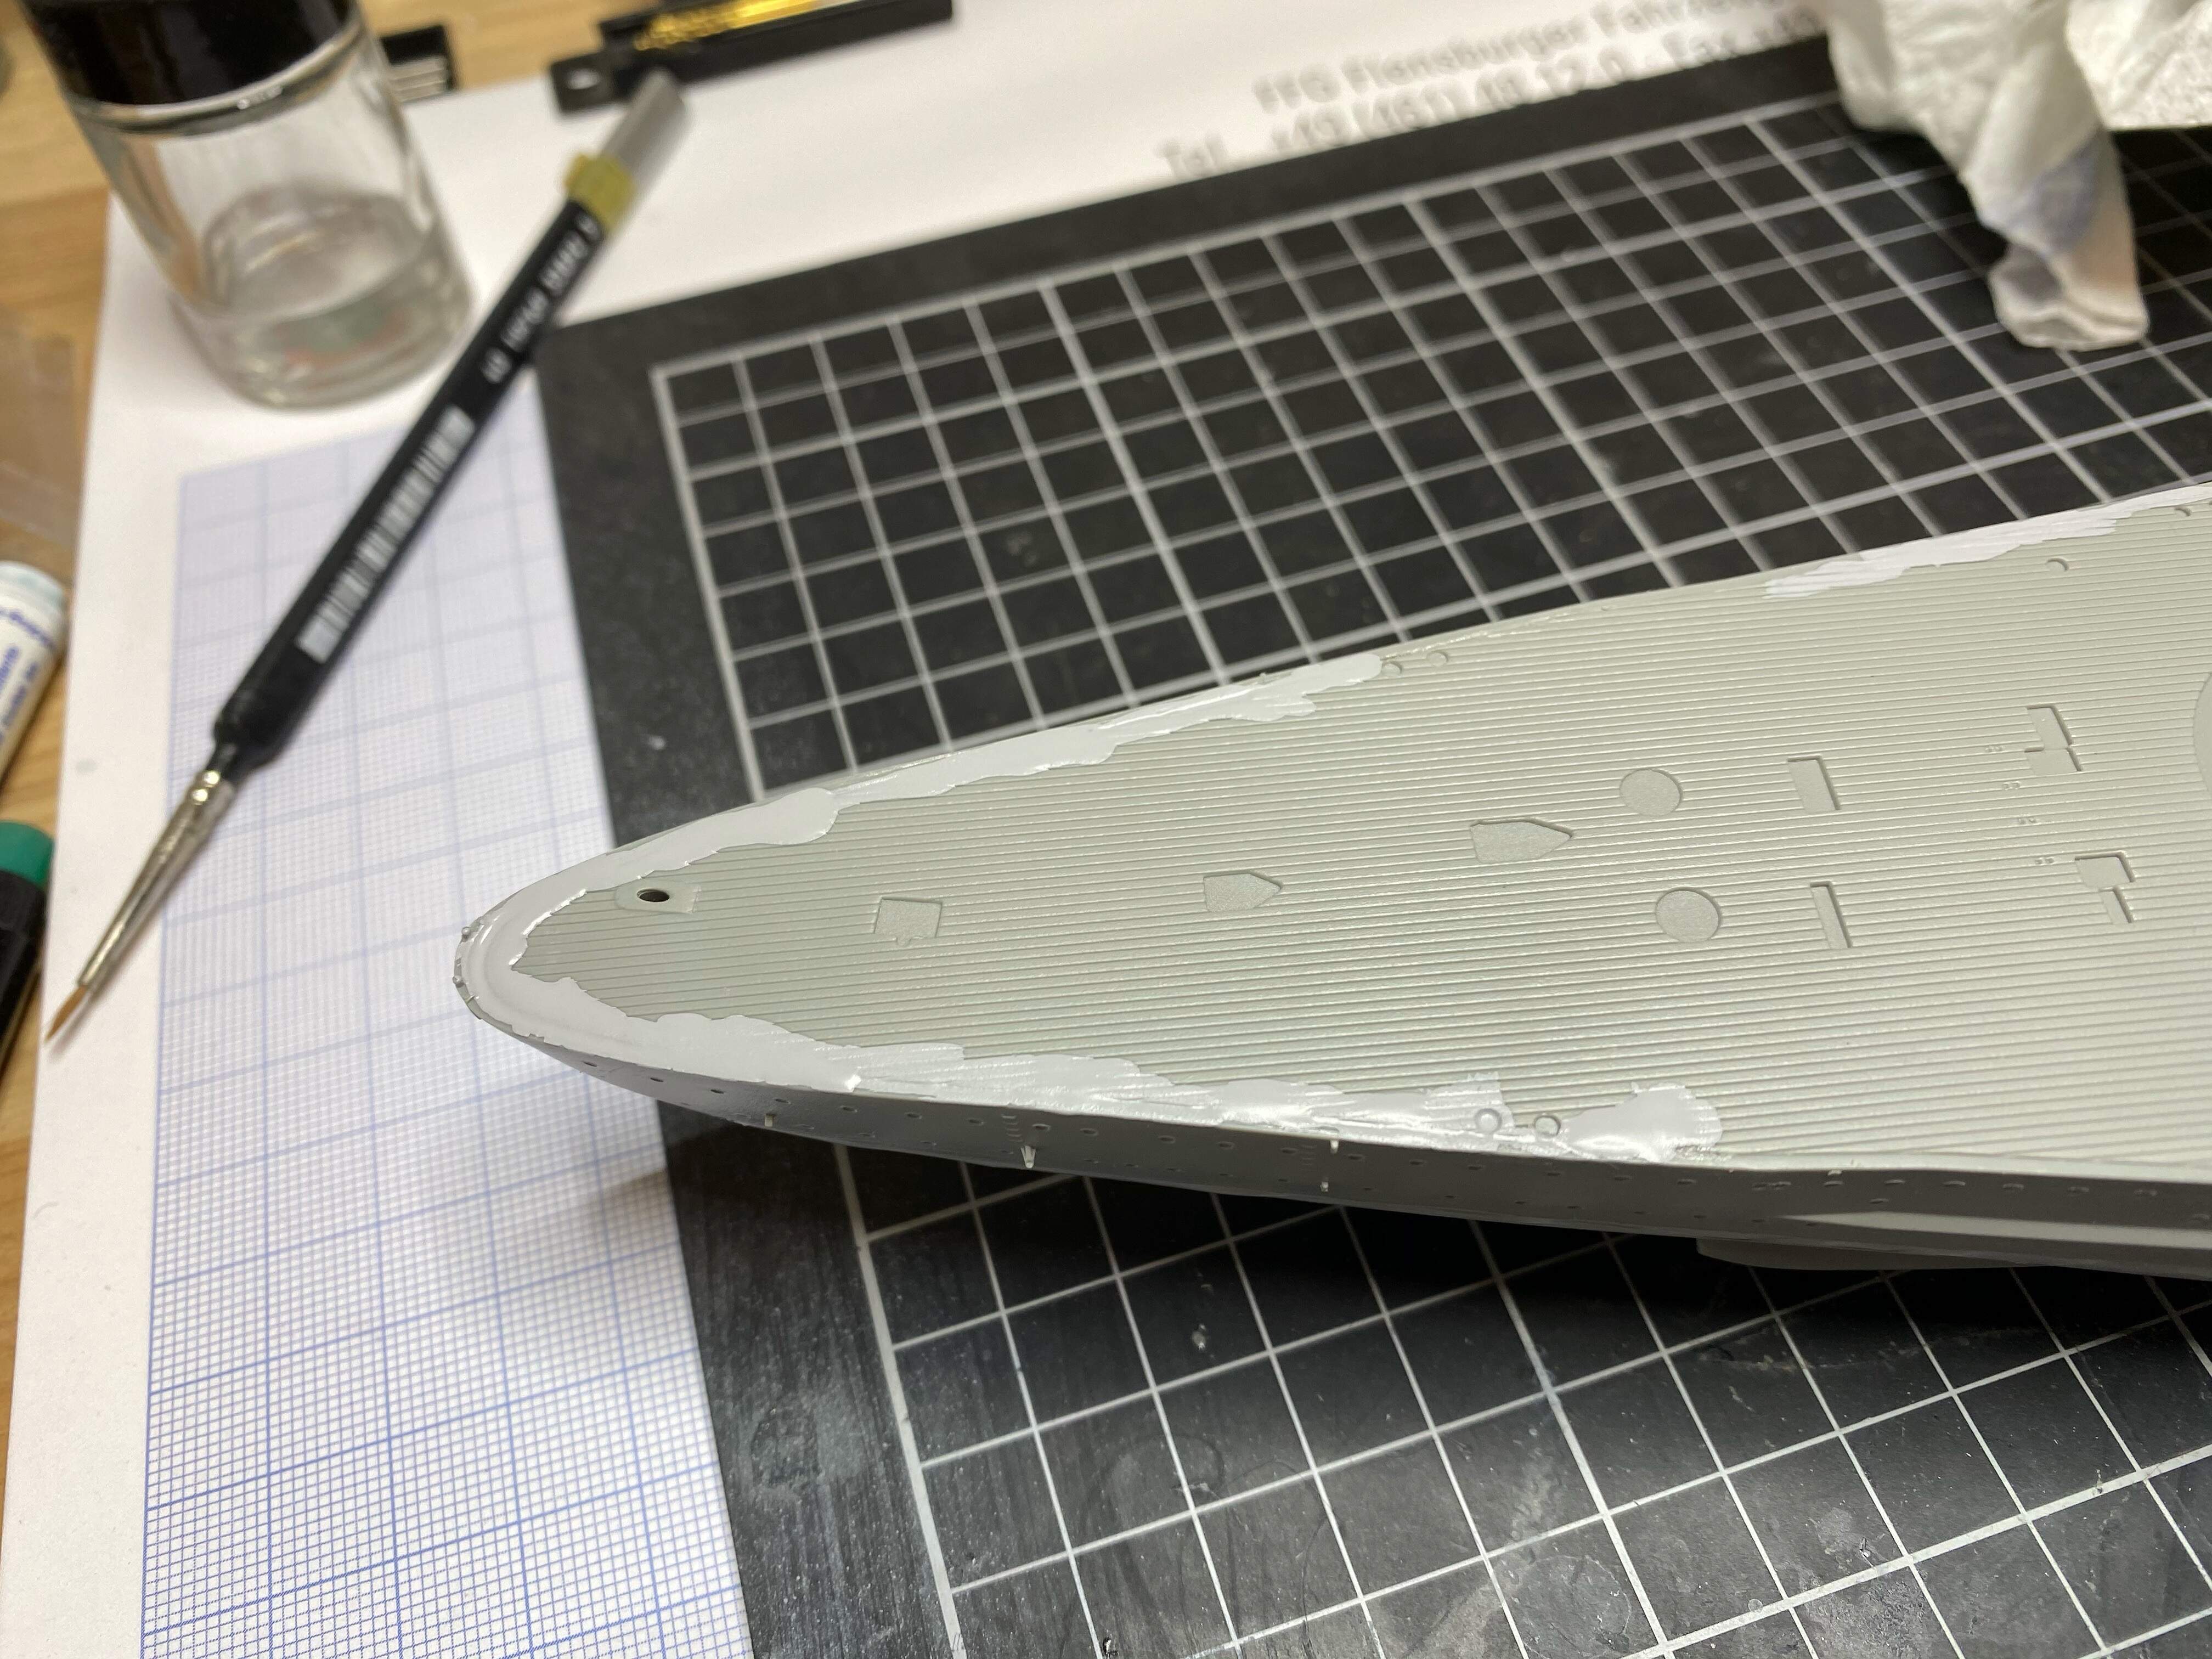
Then I glued the second half of the deck in place, it will need some surfacer all around but some bigger fixes at the stern. I’ll check again in how far the wooden deck will cover it up, but from first dry fitting this will need some work - however, nothing all too hard.
David and Russ, thank you for your kind comments!
It’s good to be home, even for just a few days. And getting some bench time.
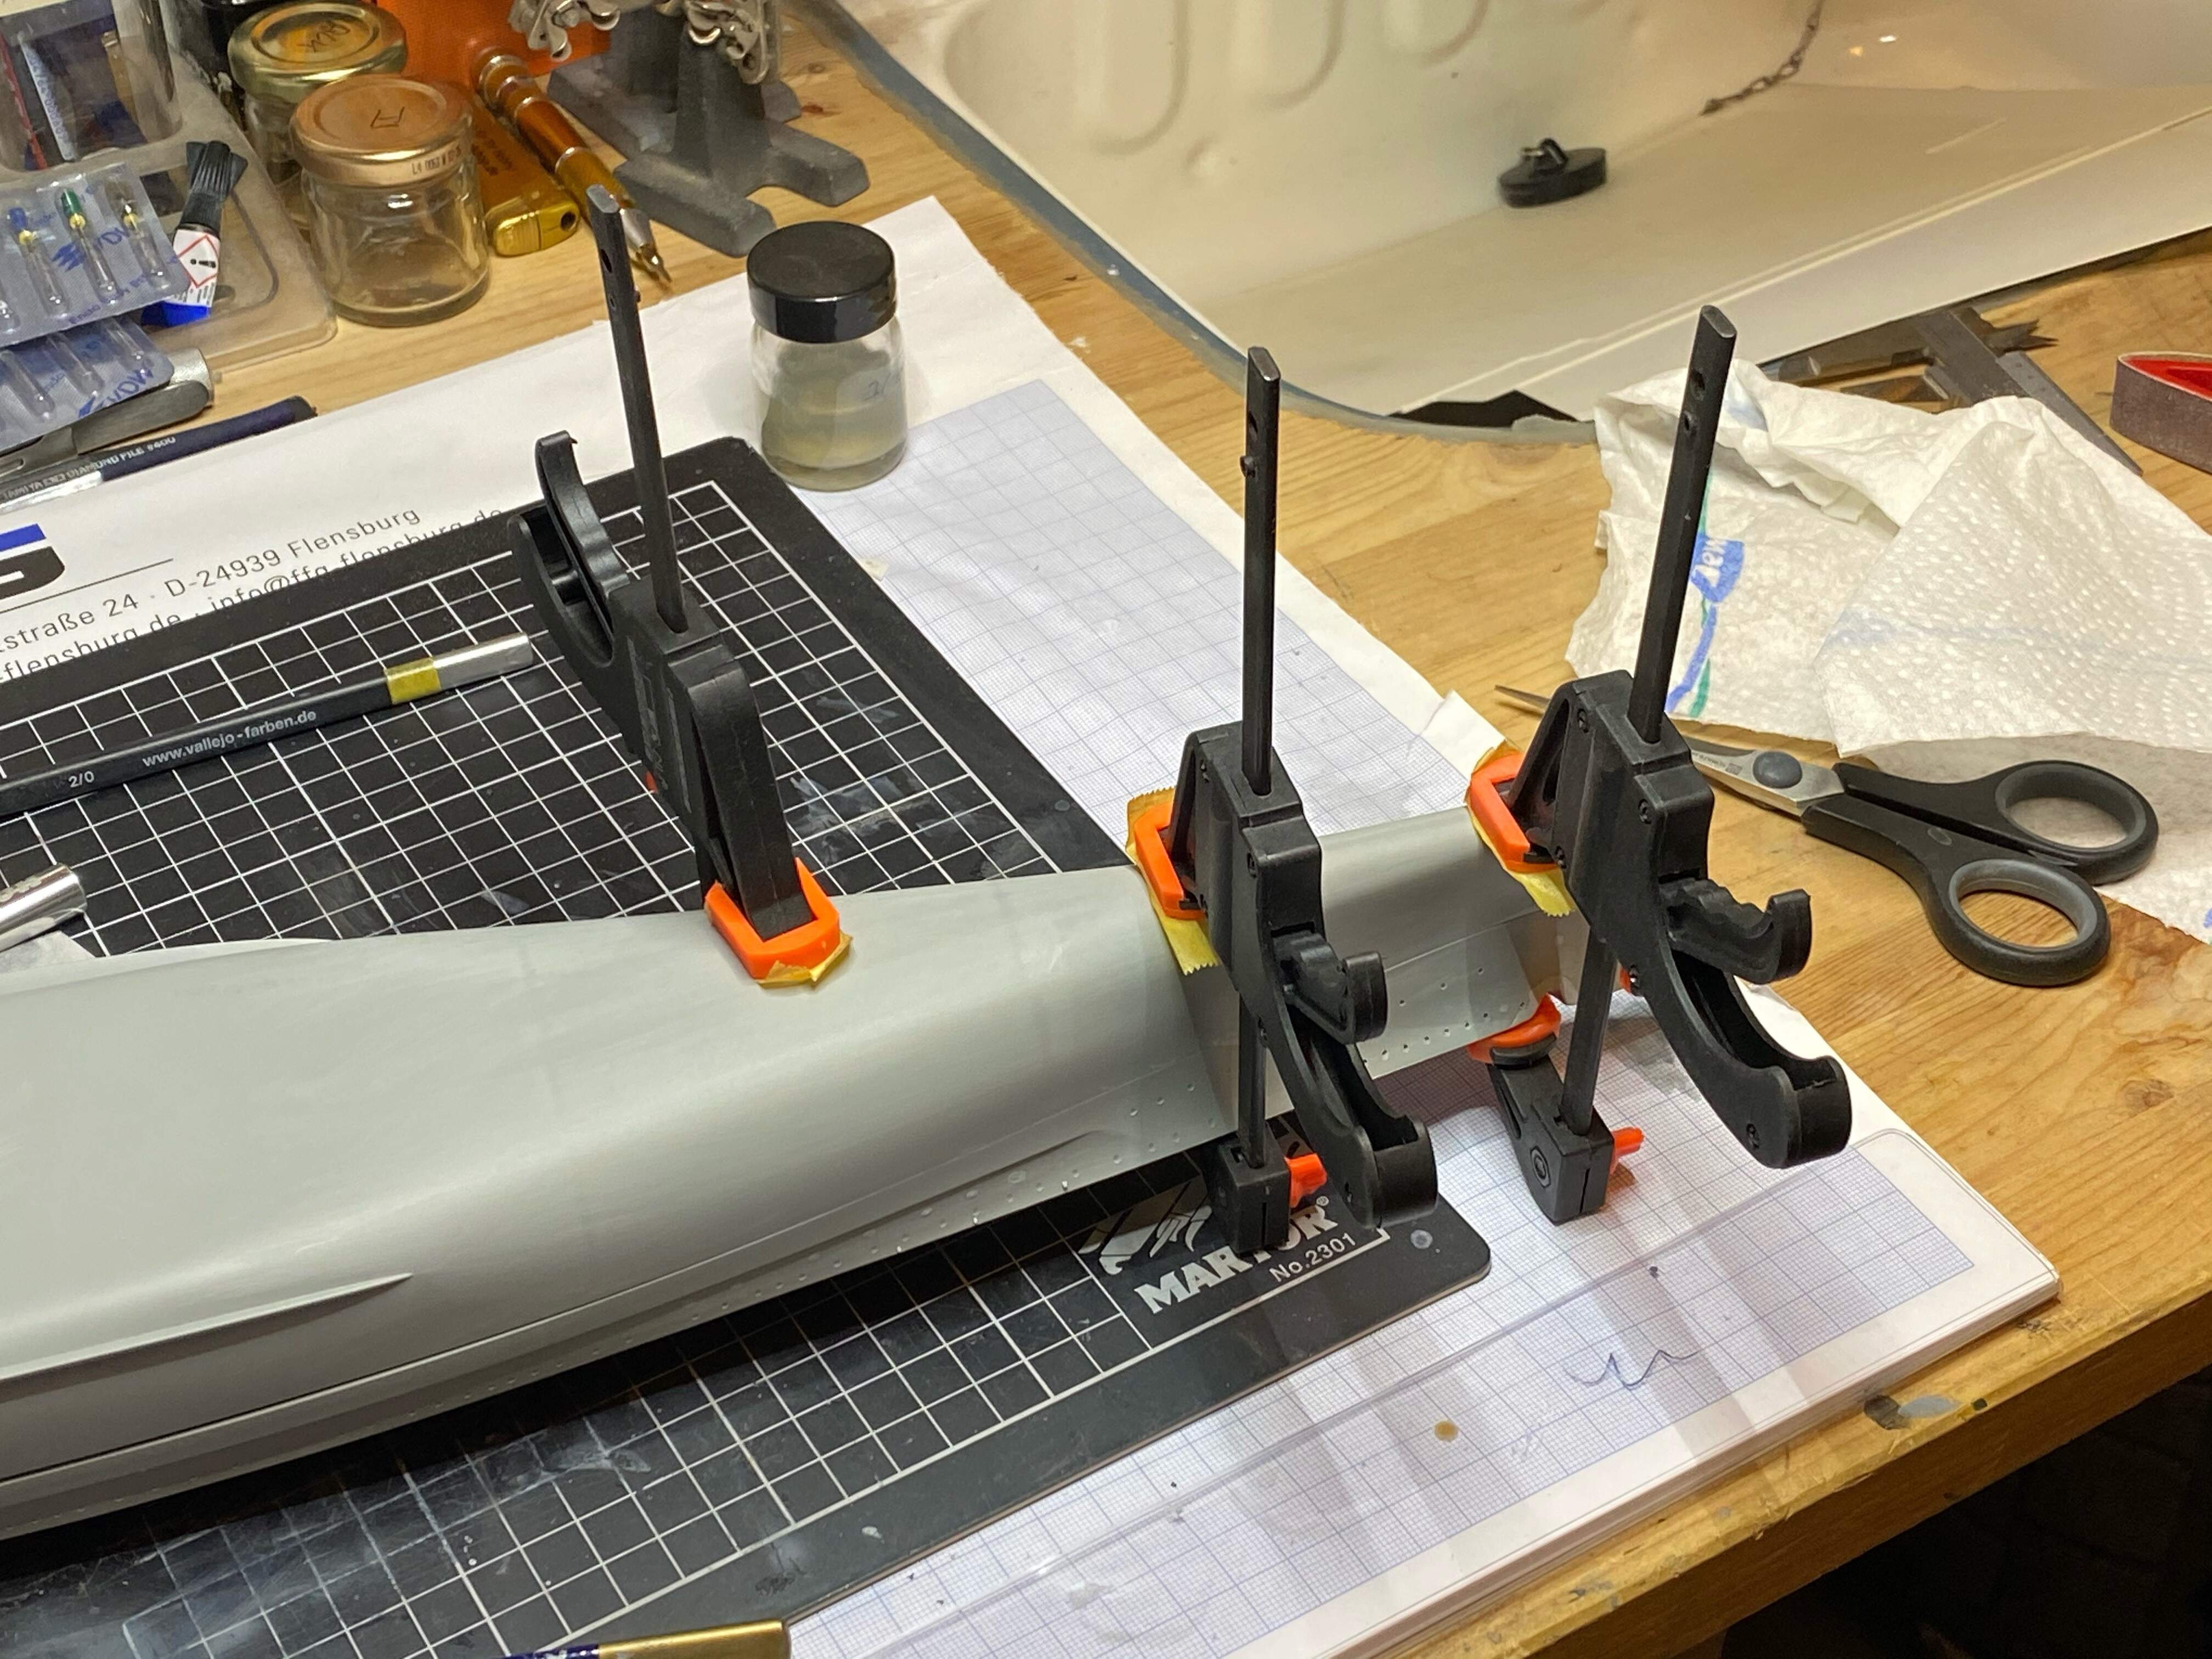
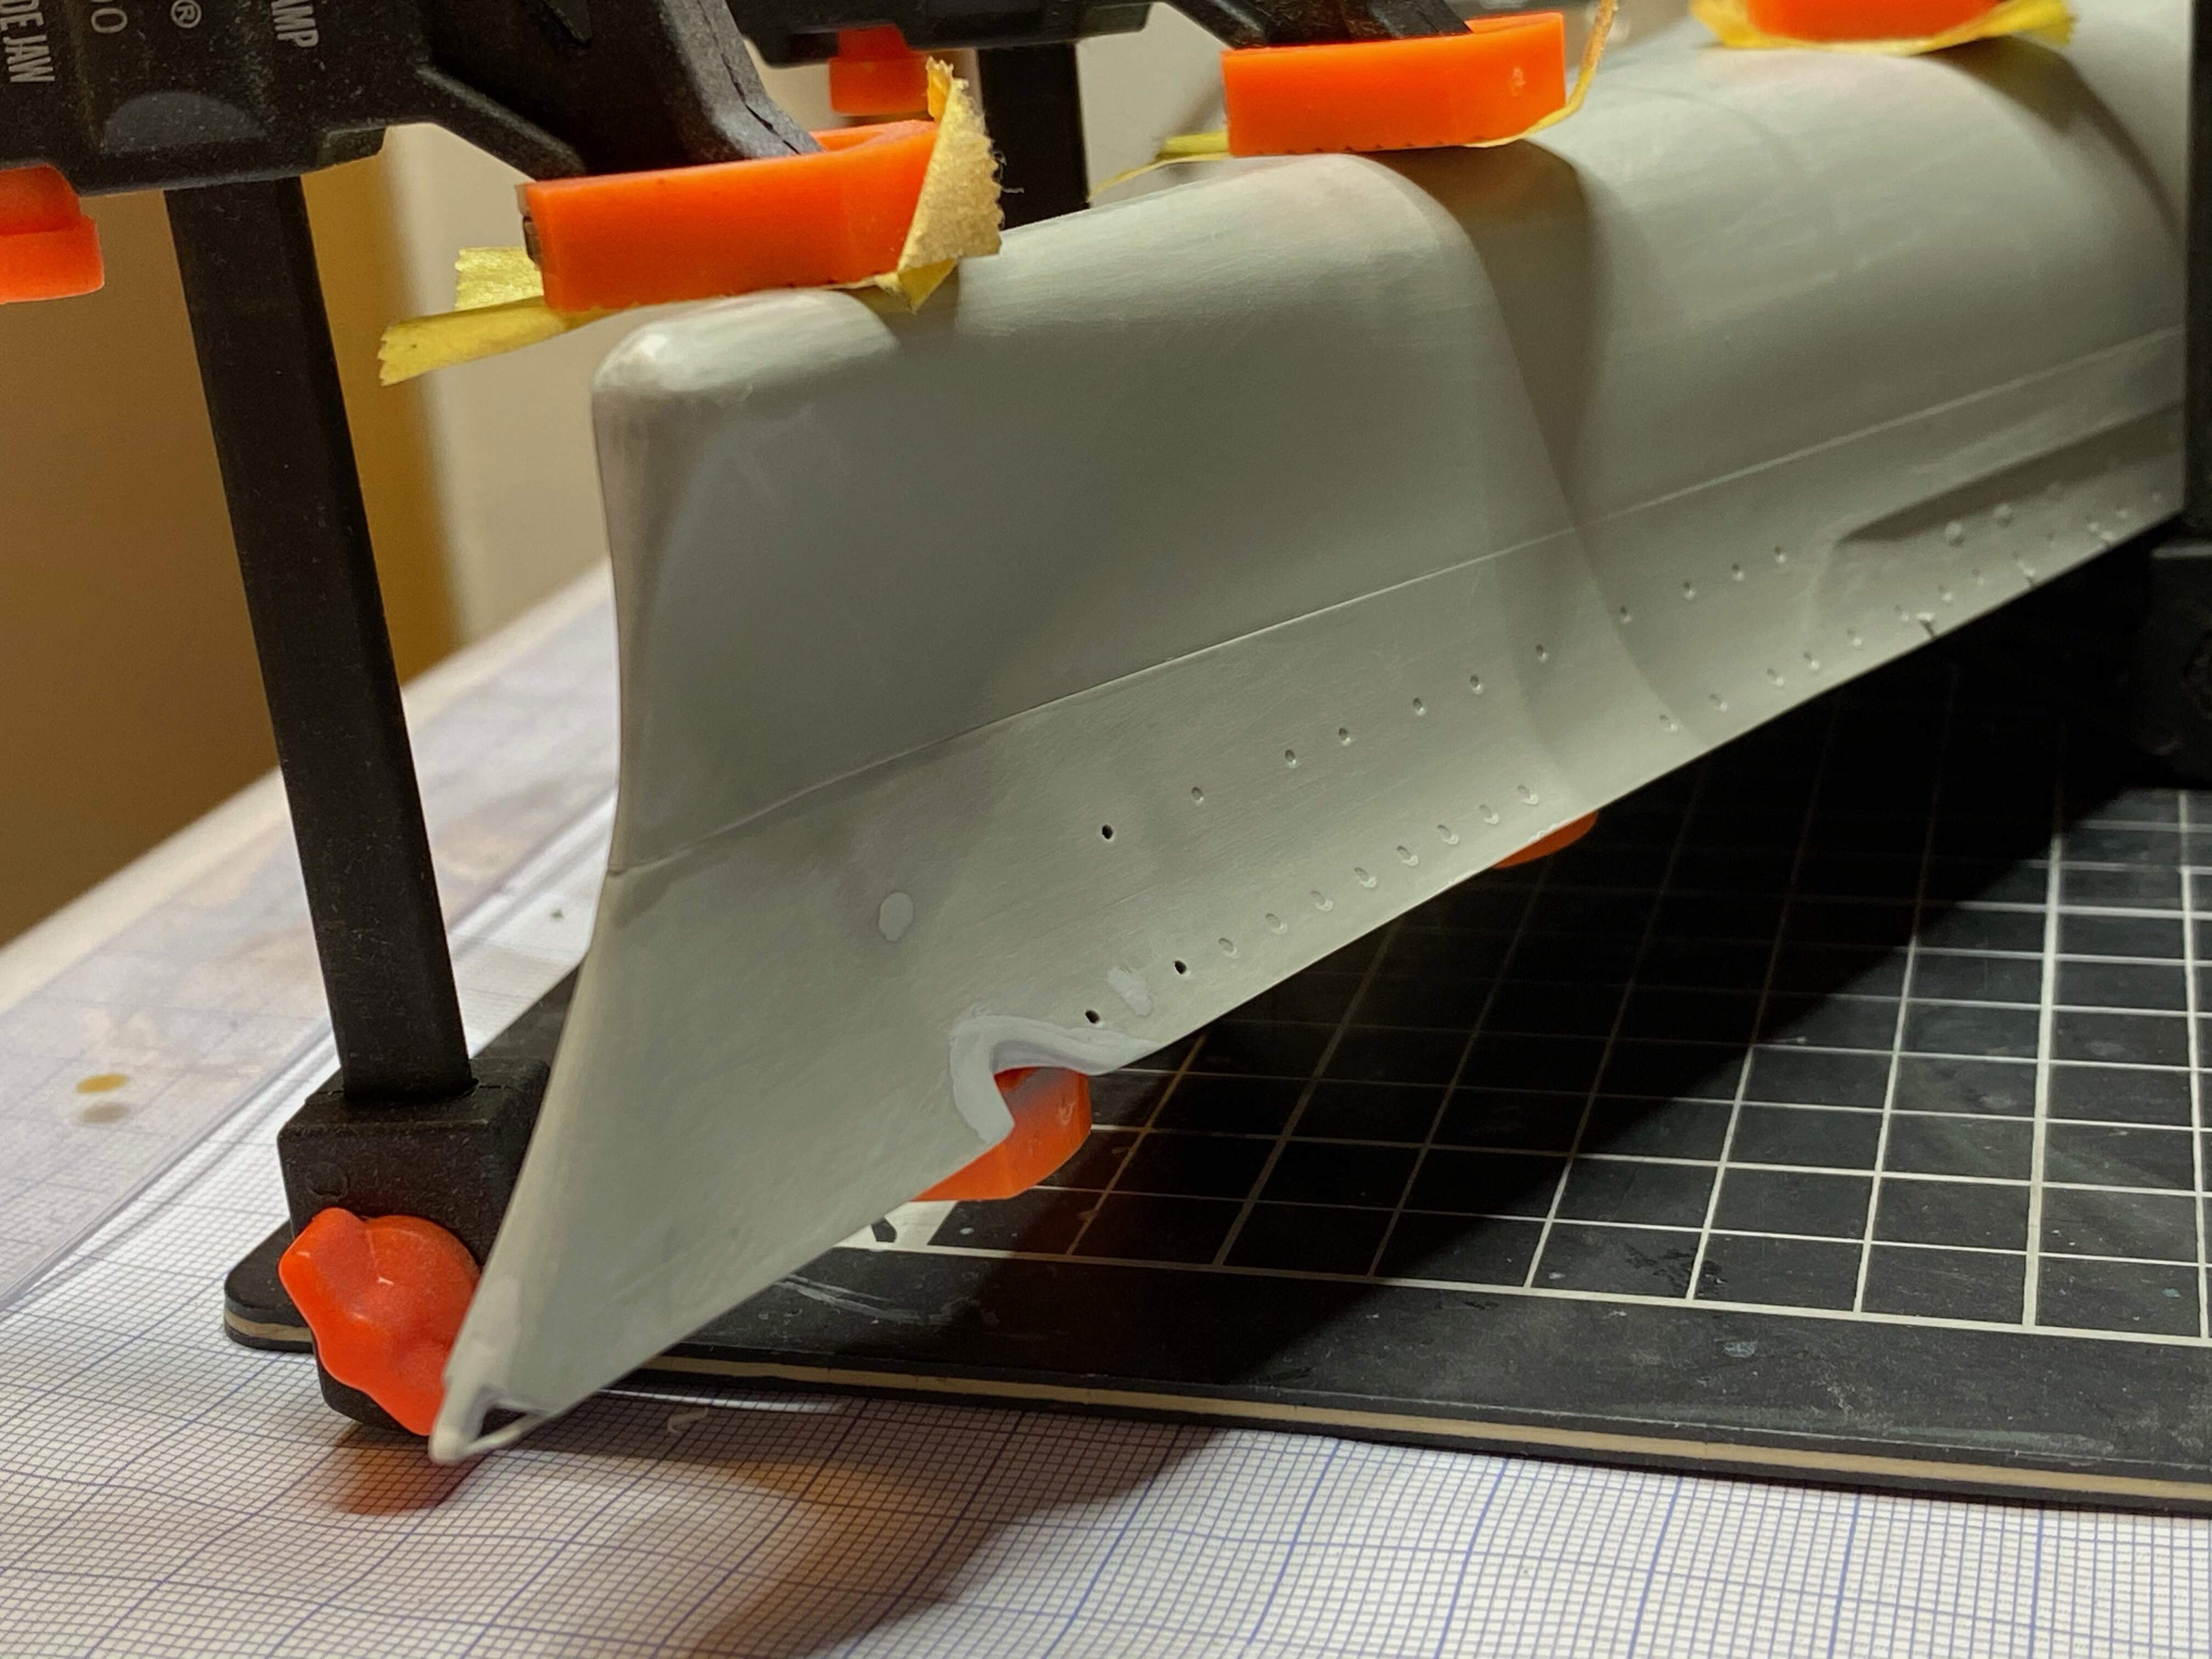
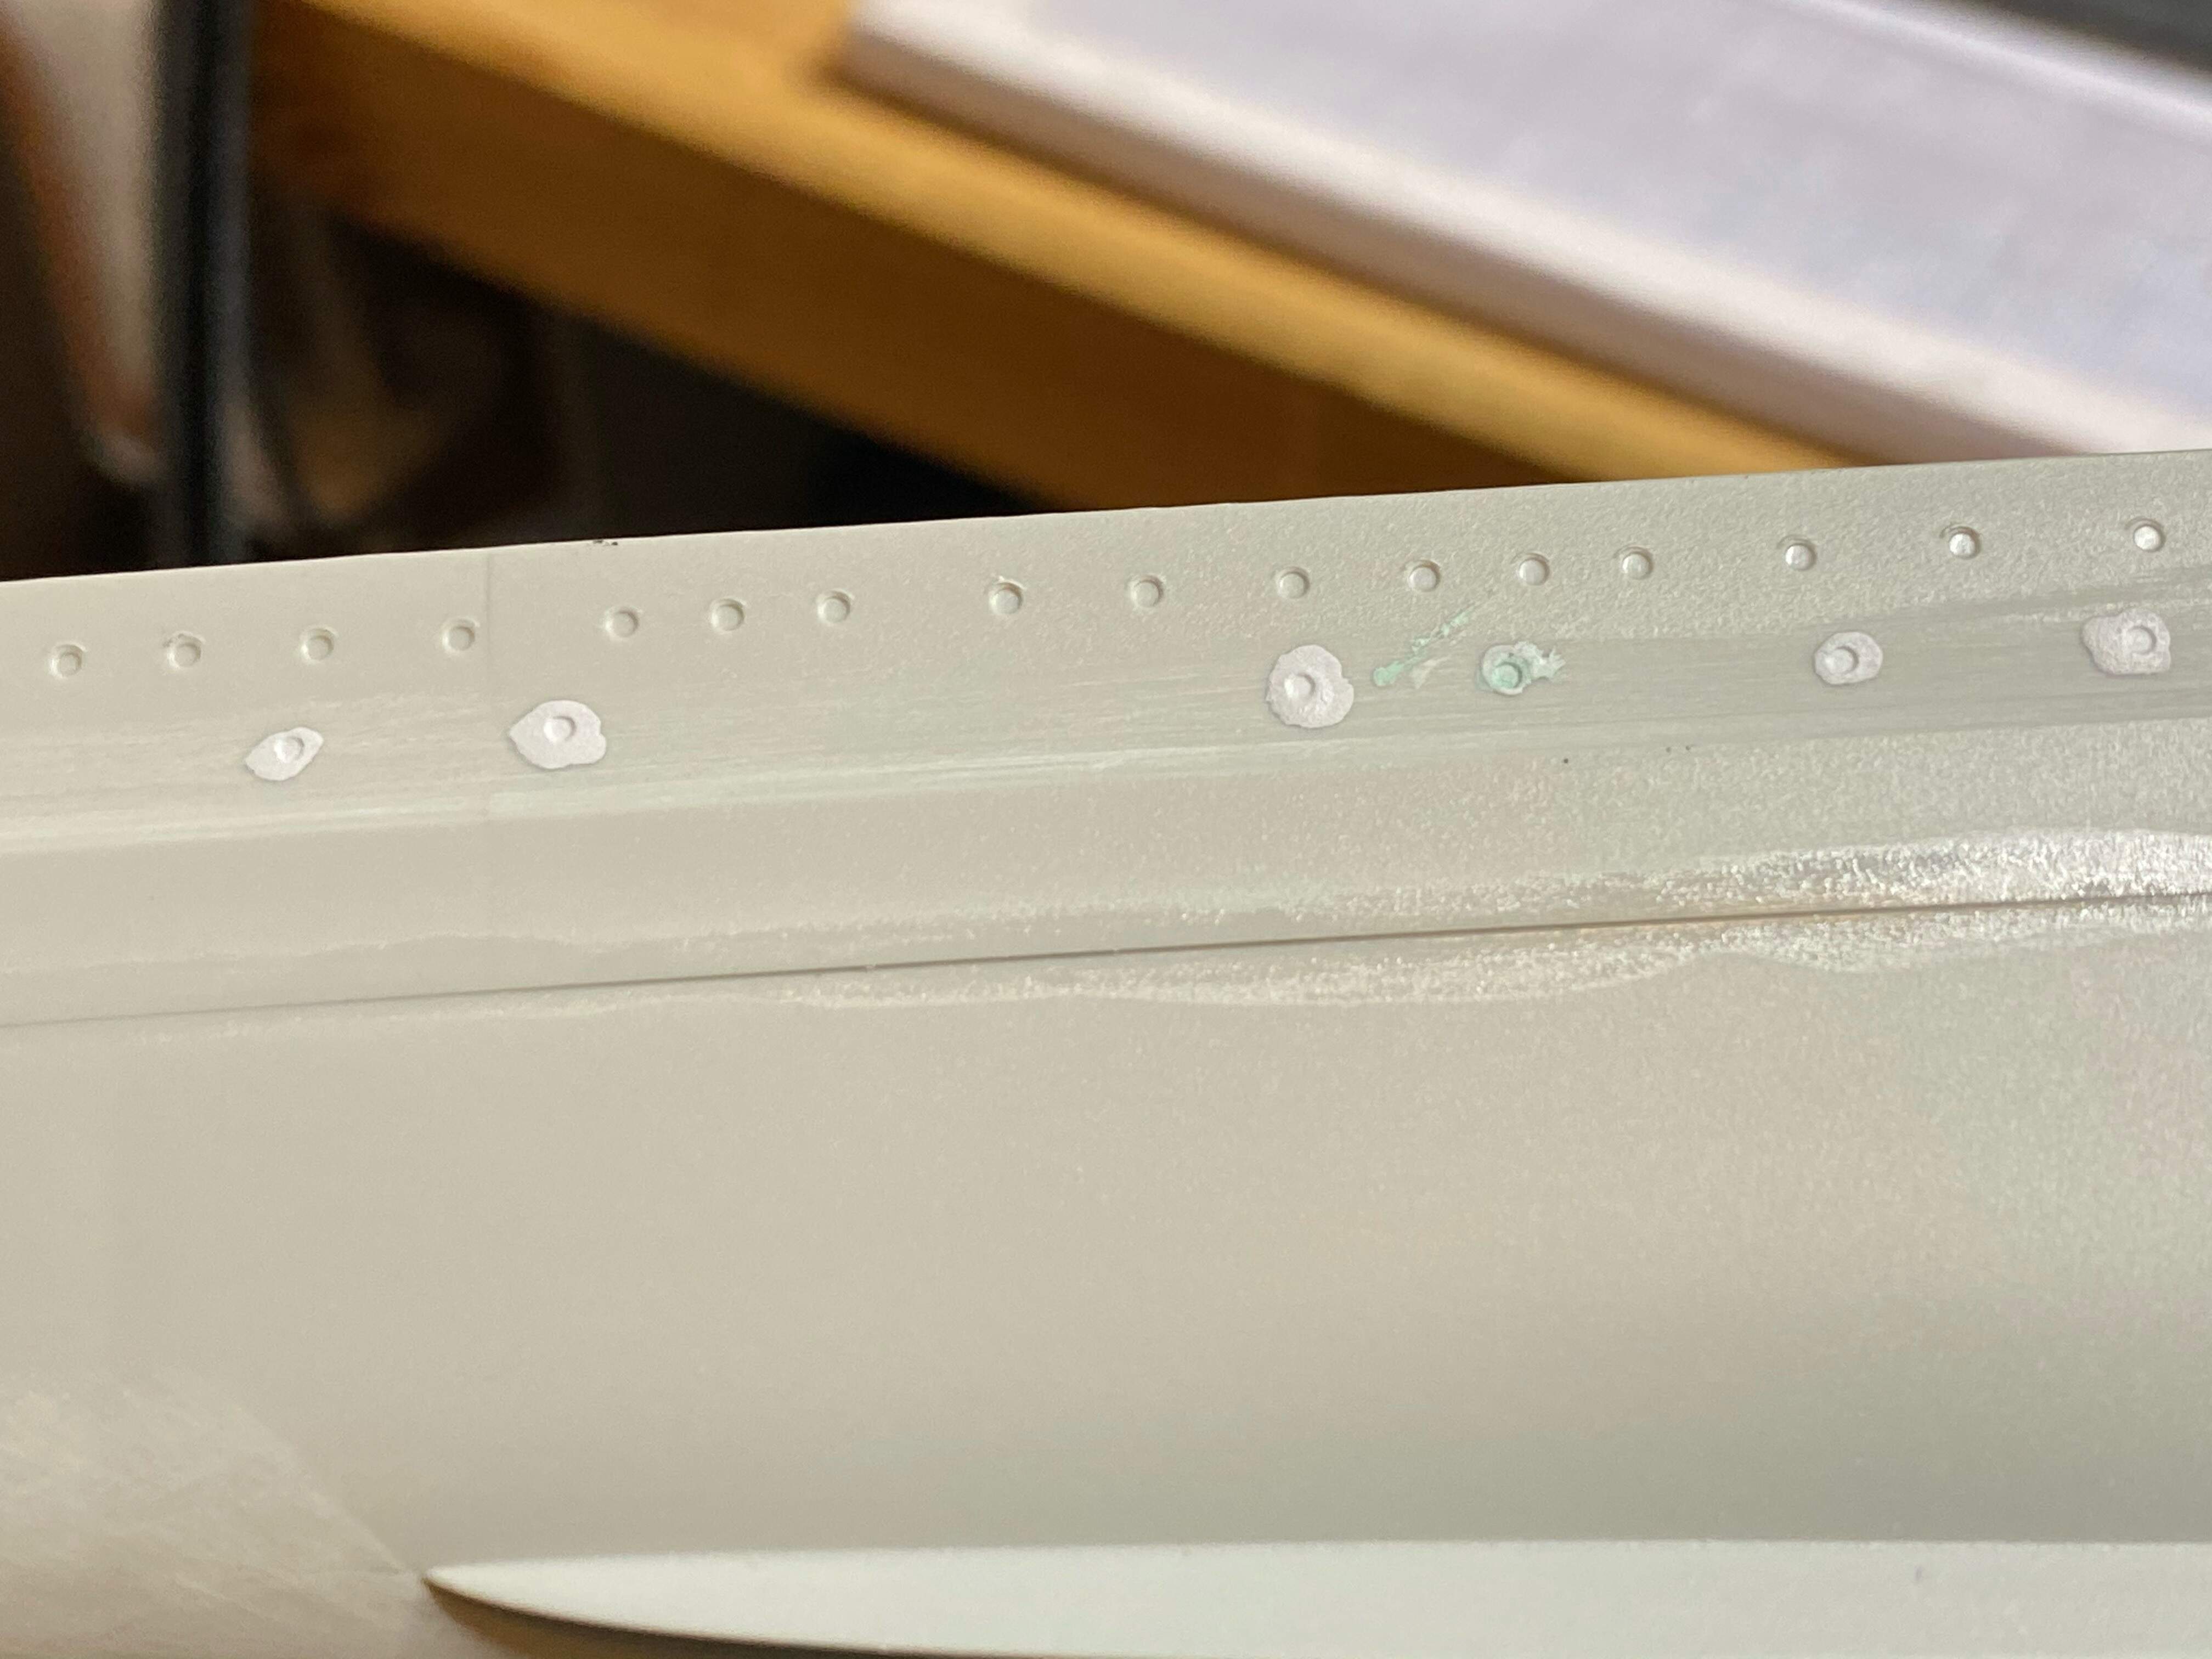
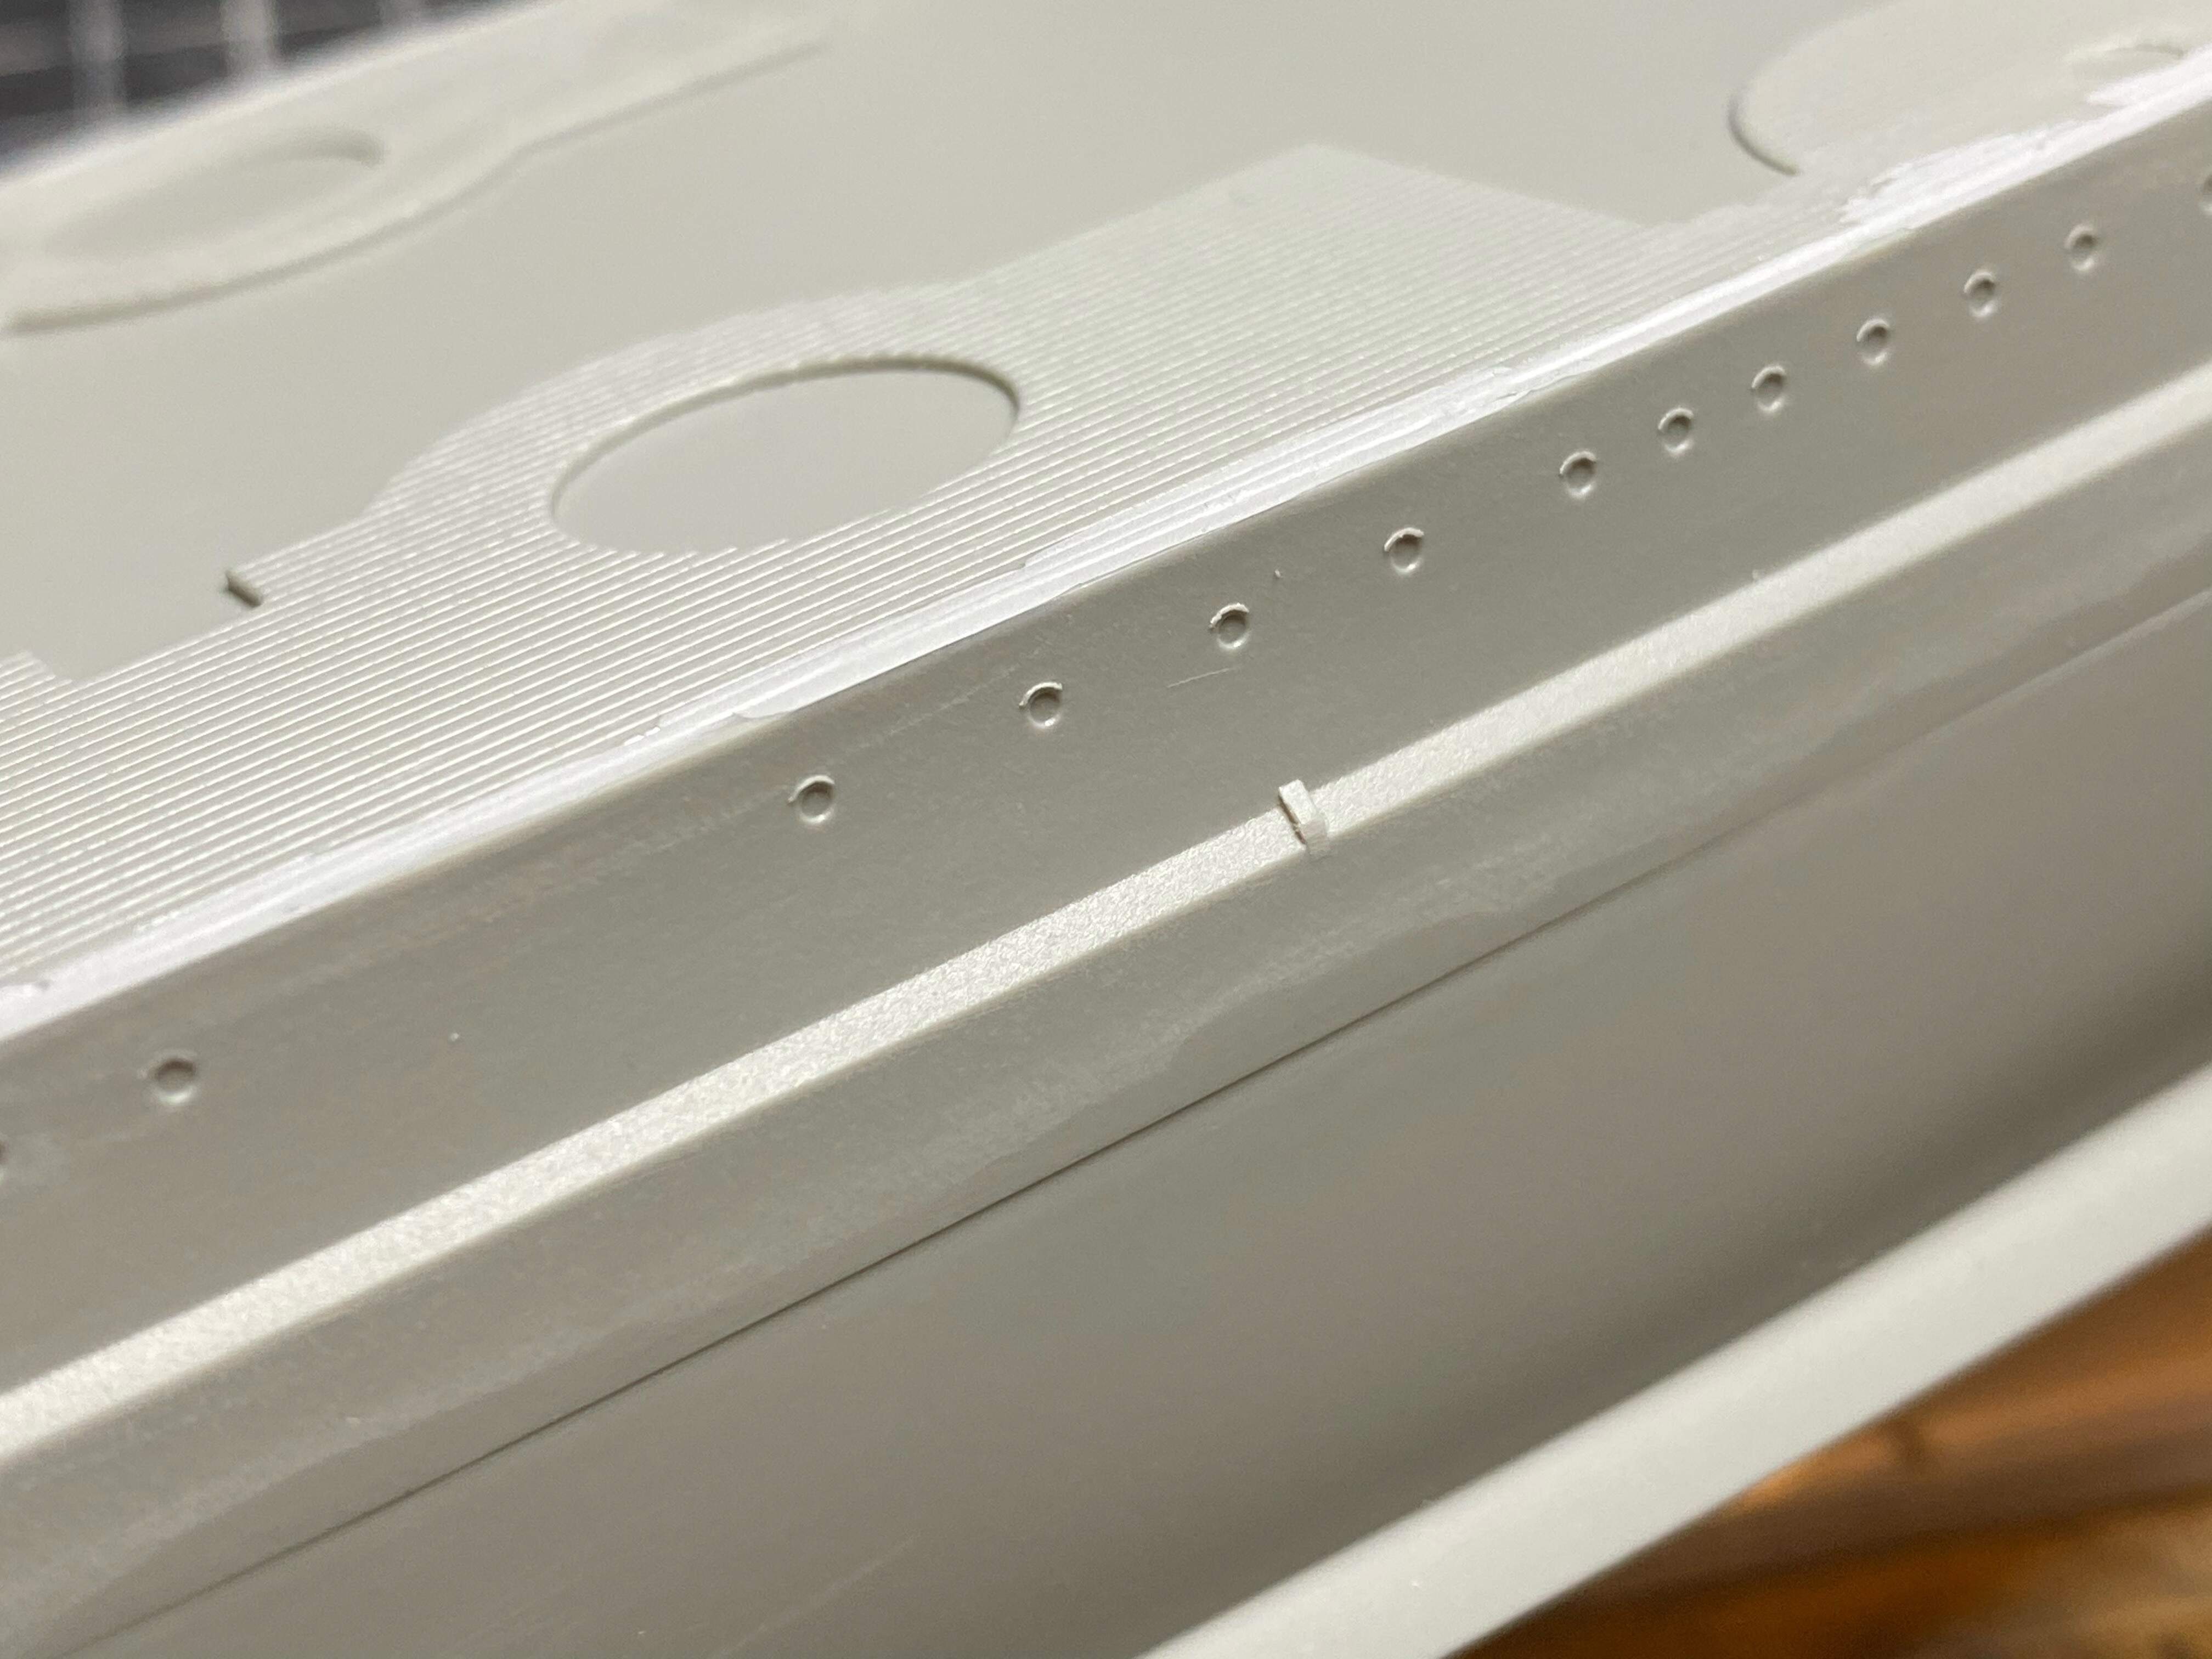
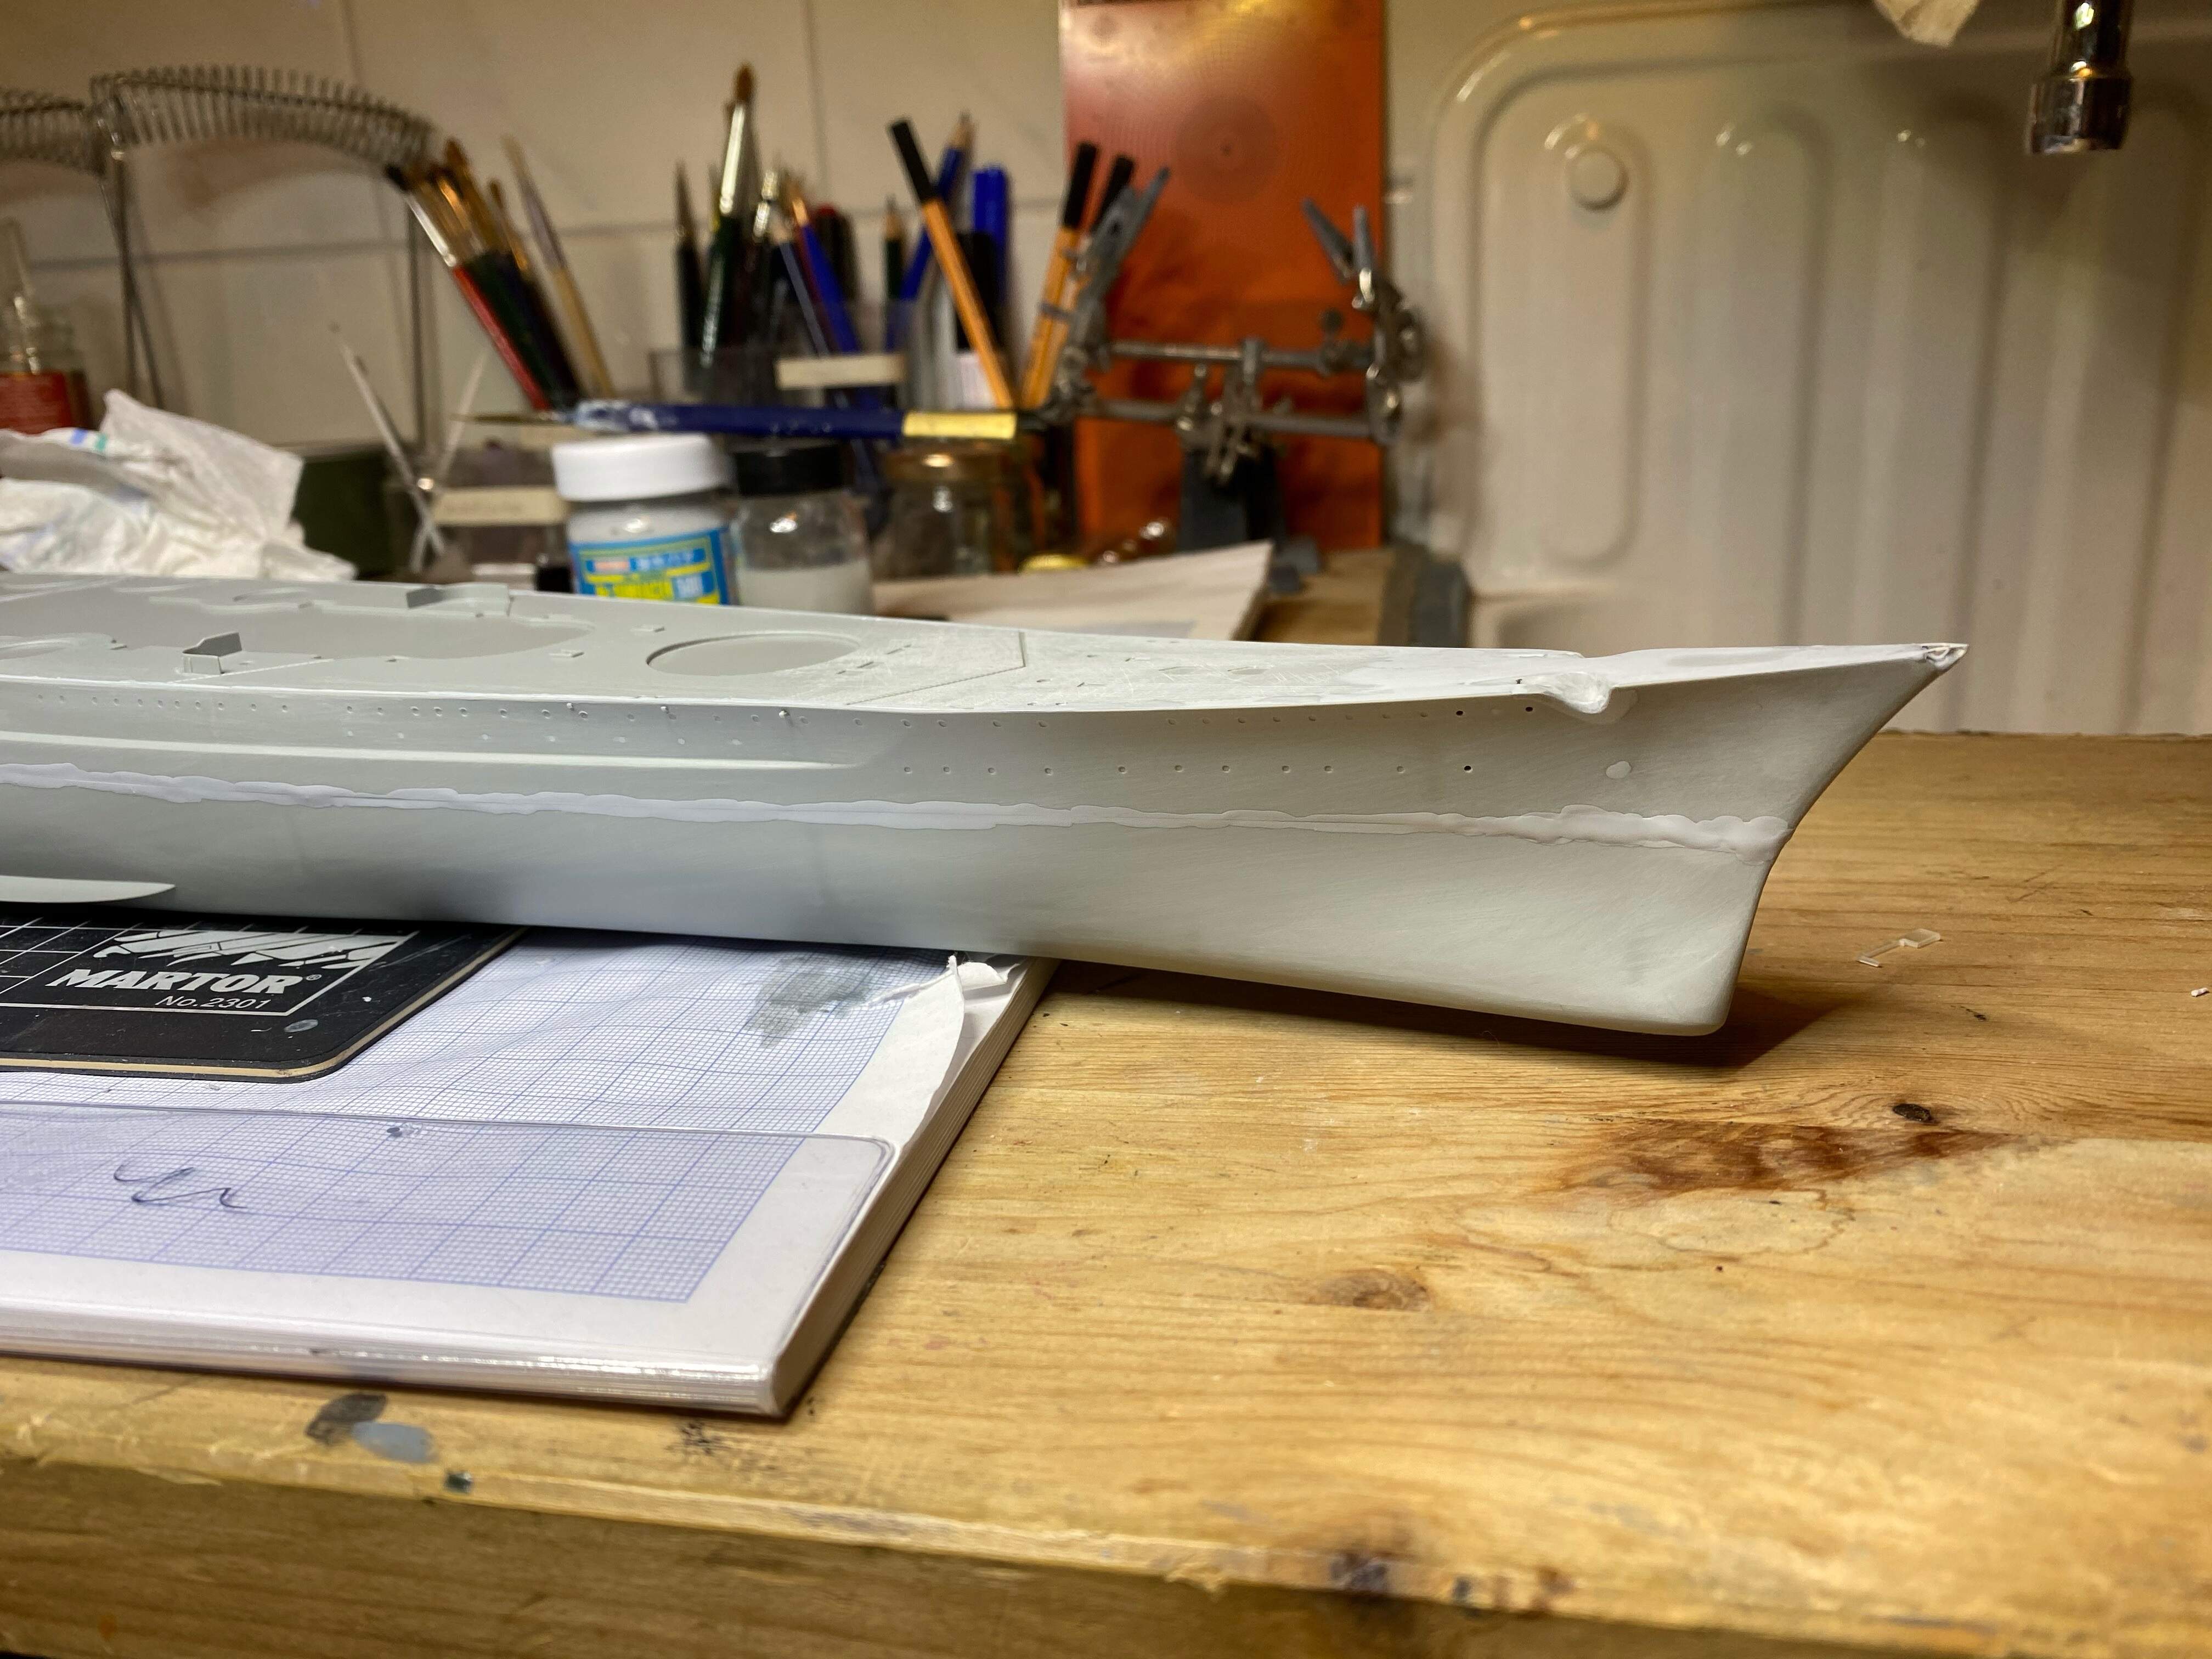
So a lot is filling and sanding, but I decided to glue the hull halves together since the seam normally will need filling and sanding, too, so it can all be done in one big effort.
The hull goes together quite nice - a lot better than any horizontally split Trumpeter kit I ever built - but still there is a significant seam, and some very light tension, so I worked my way from bow to stern using clamps.
During the next days I should find a little time in the afternoons, just enough to do a little sanding and filling, so it can cure for a day and then on to the next layer. There’s probably not so much visible progress, but I hope to move along quite a bit with the hull.
I see what you now mean about the seam that joins the top to bottom parts of the hull Jan. That seem like it’s going to take a fair bit of sanding and filling…
It took a little time but now I am a big fan of Mr. Surfacer and use it now on all seam repair on my ships and armor. All that work will pay off when the paint work is finish.
Glad to see you secured some time to work on what will definitely be one of your master pieces. Sorry to see that there are fit issues with the hull. can’t wait to see what your able to accomplish this week.
well it’s going to take some filling and sanding, but it really isn’t that bad. I remember some Trumpeter adventures, where you had to force the hull halves together. However, it still is not a “snuggly fit”, it is a clearly visible seam and some parts have to be significantly smoothed out.
thank you all for your kind comments.
Yes, there is some filling and sanding ahead of me, and even though I spent a little time at the workbench today, there is not really much to show other than more surfacer on certain areas. I will not post any pictures until there is something worth to present…
But here comes something very special, something very nice and kind!!
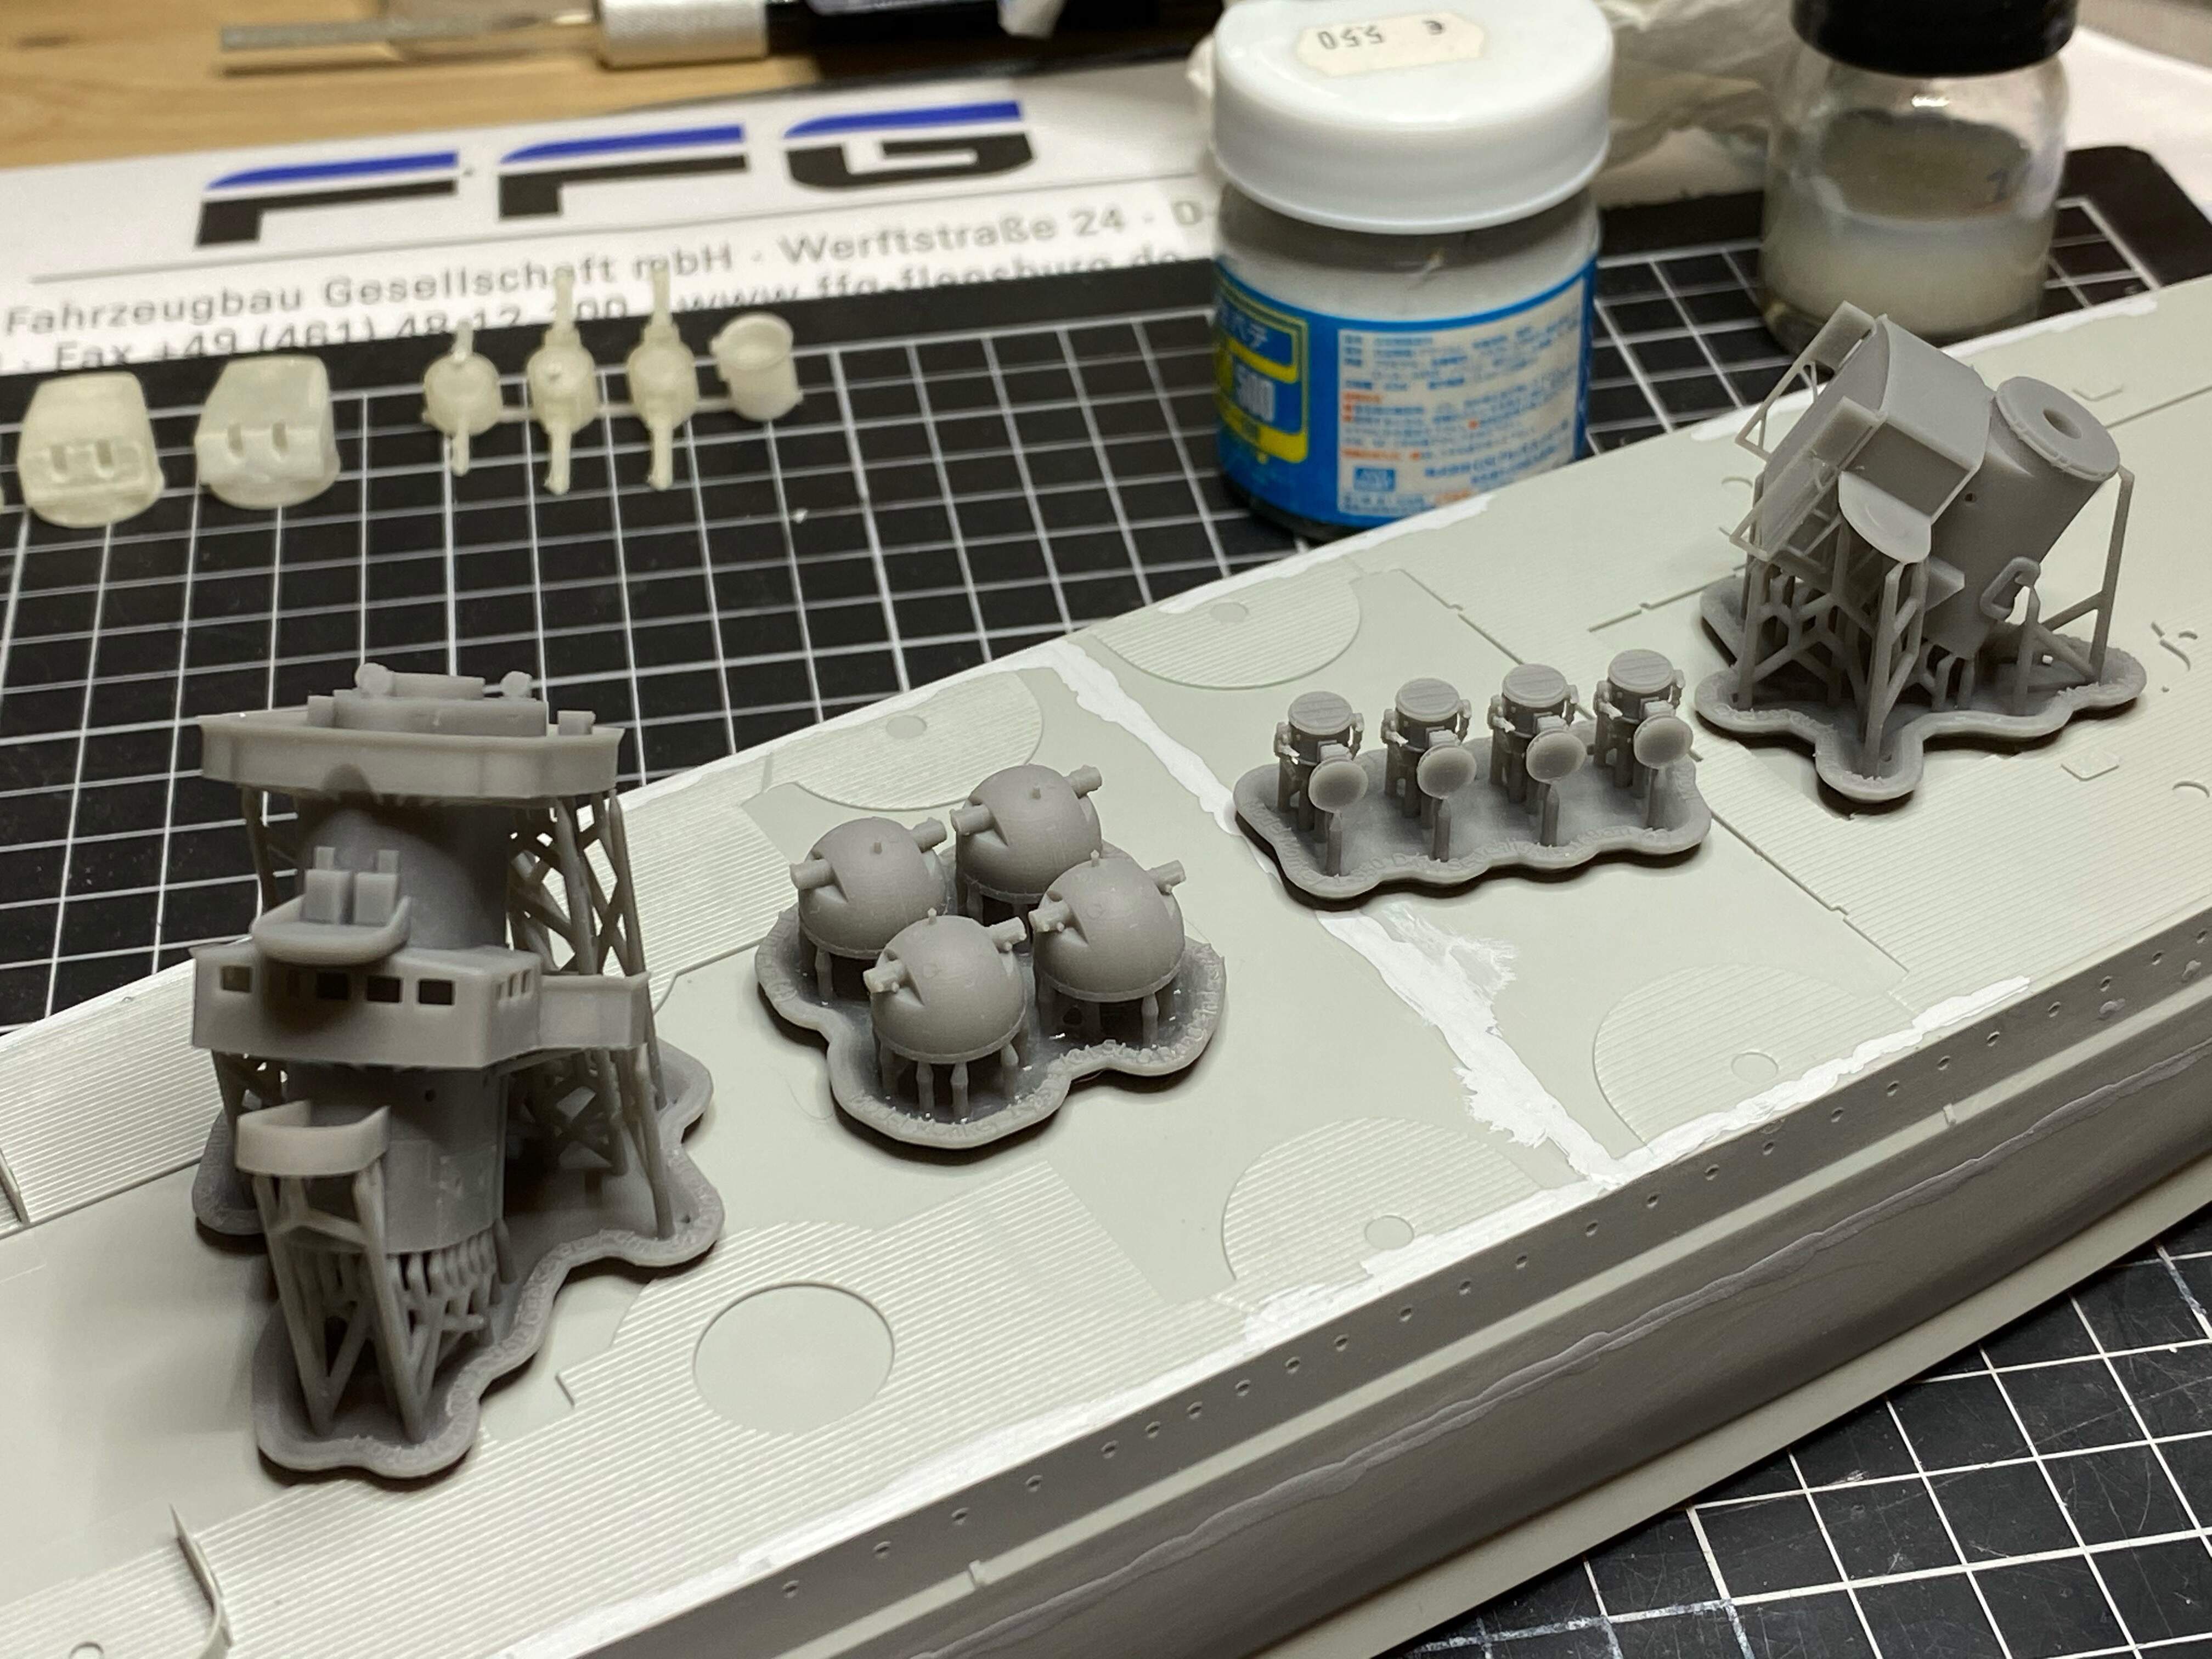
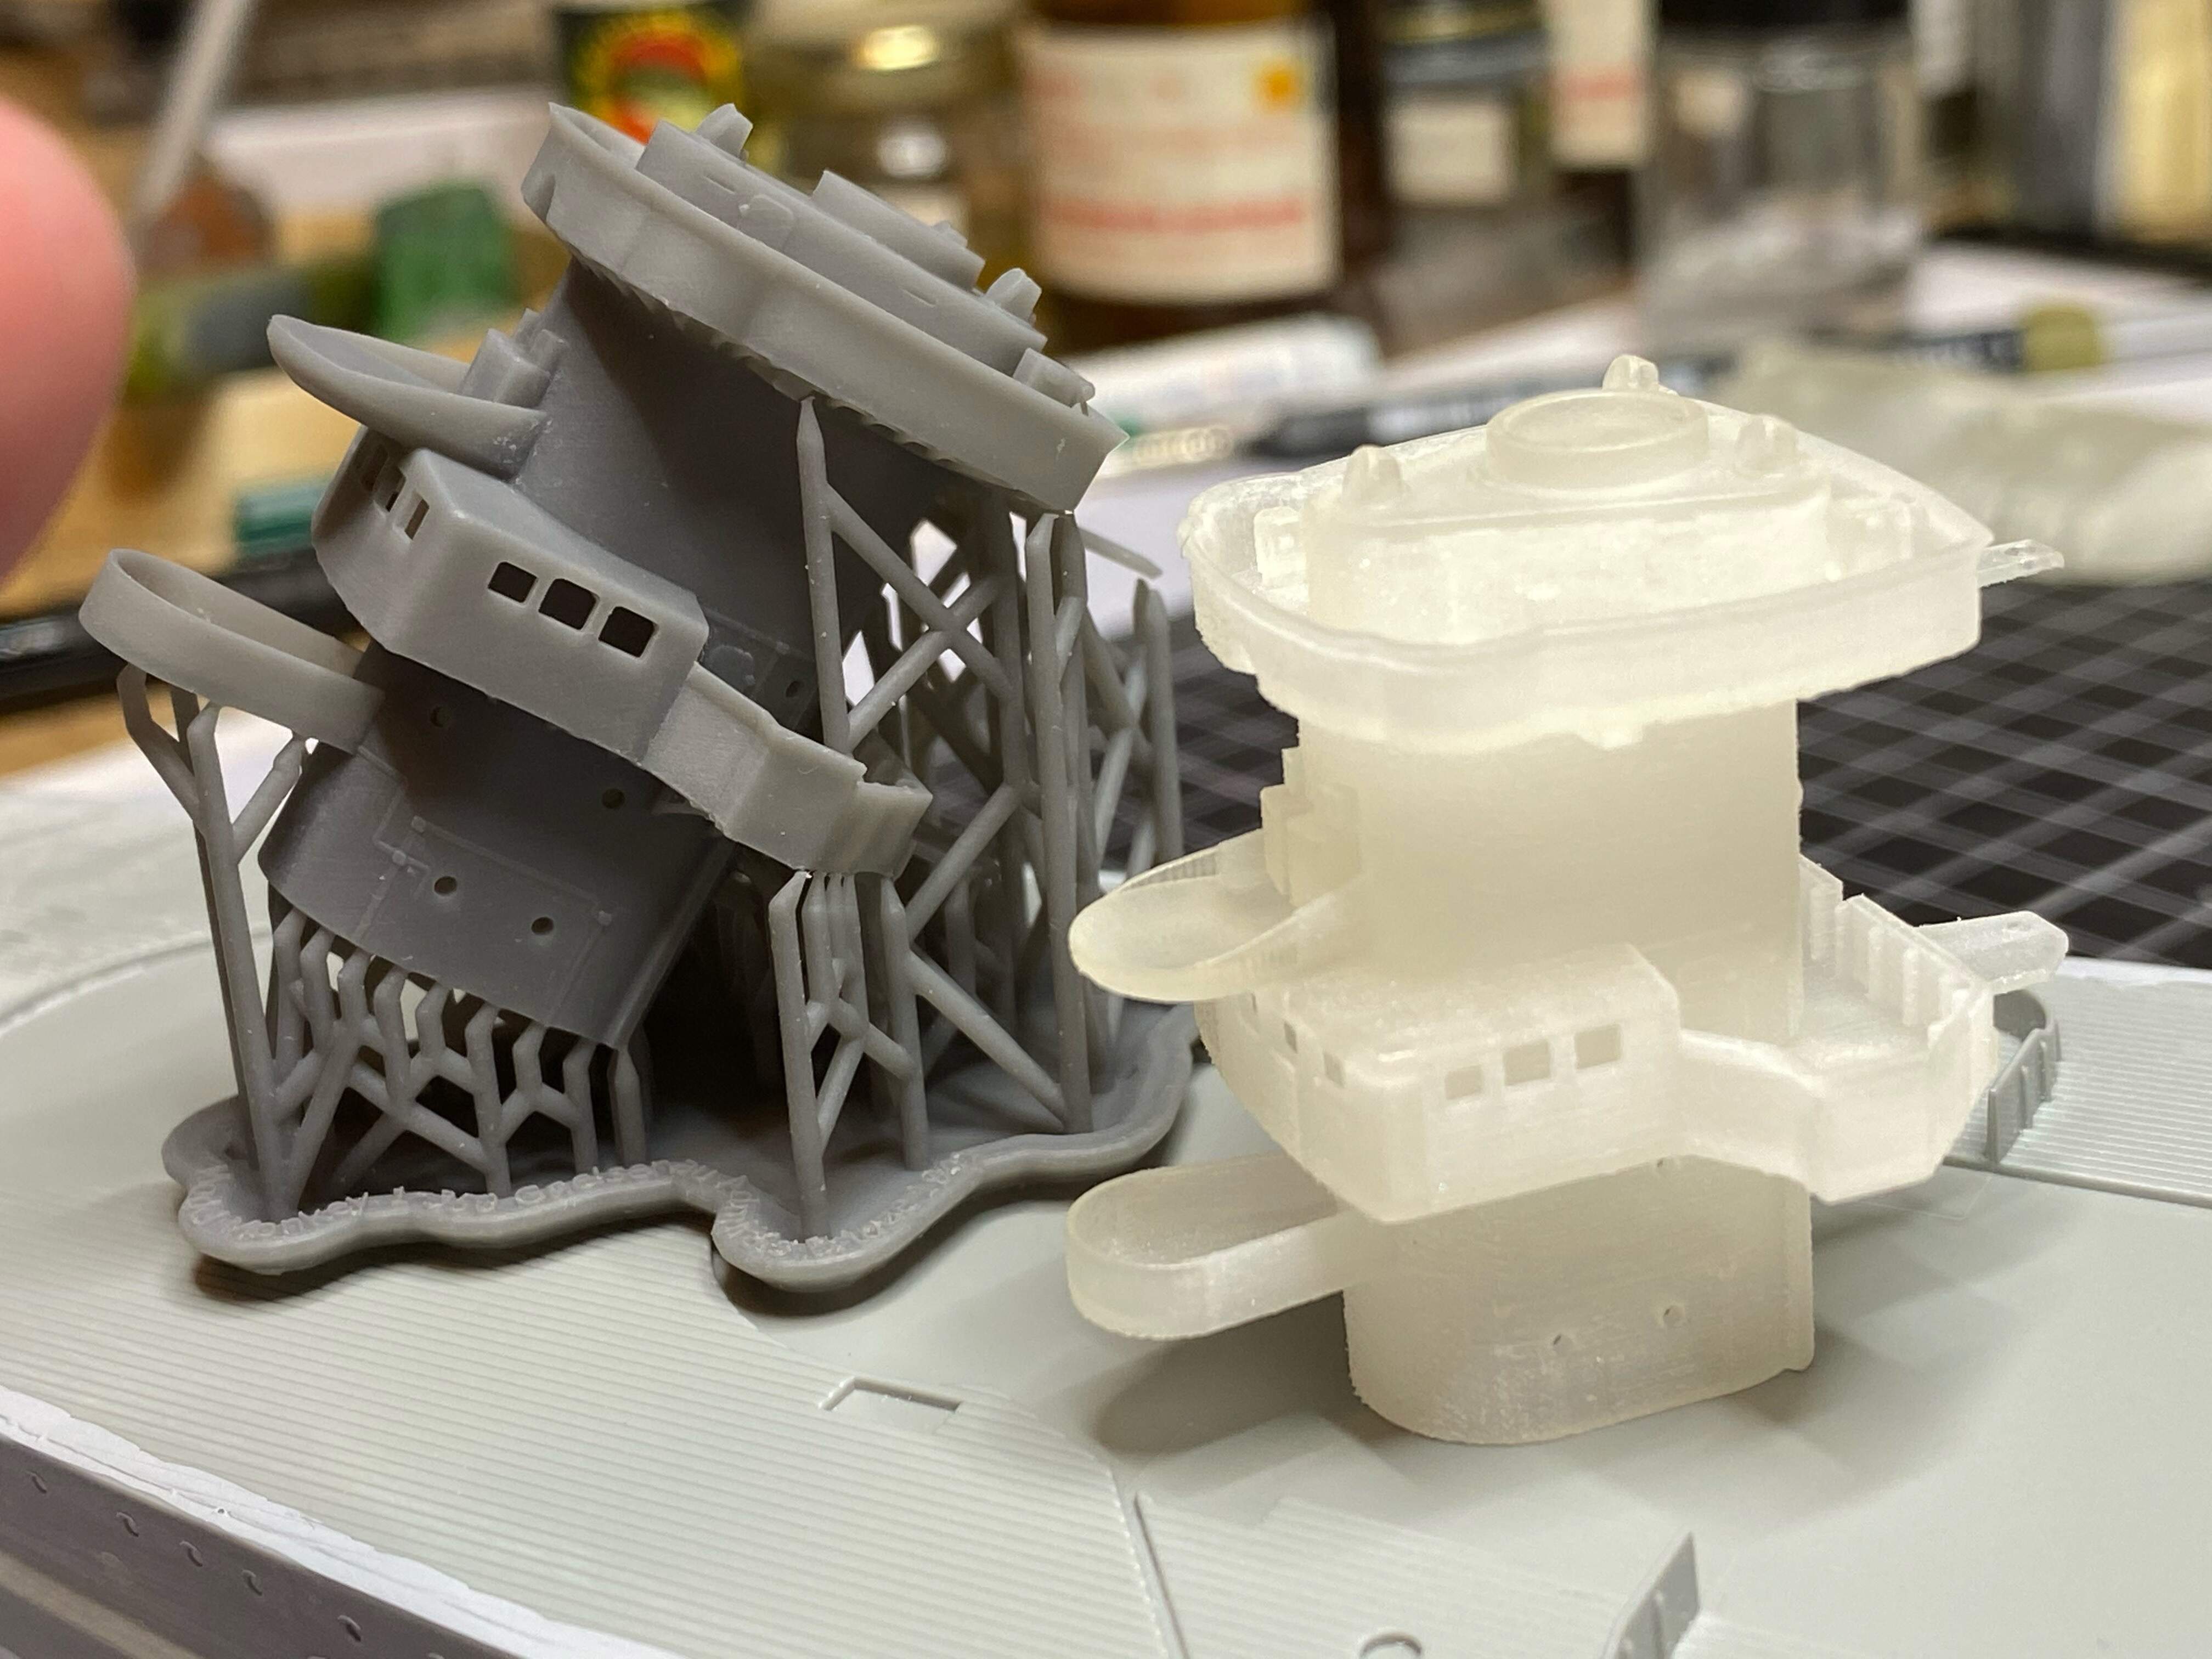
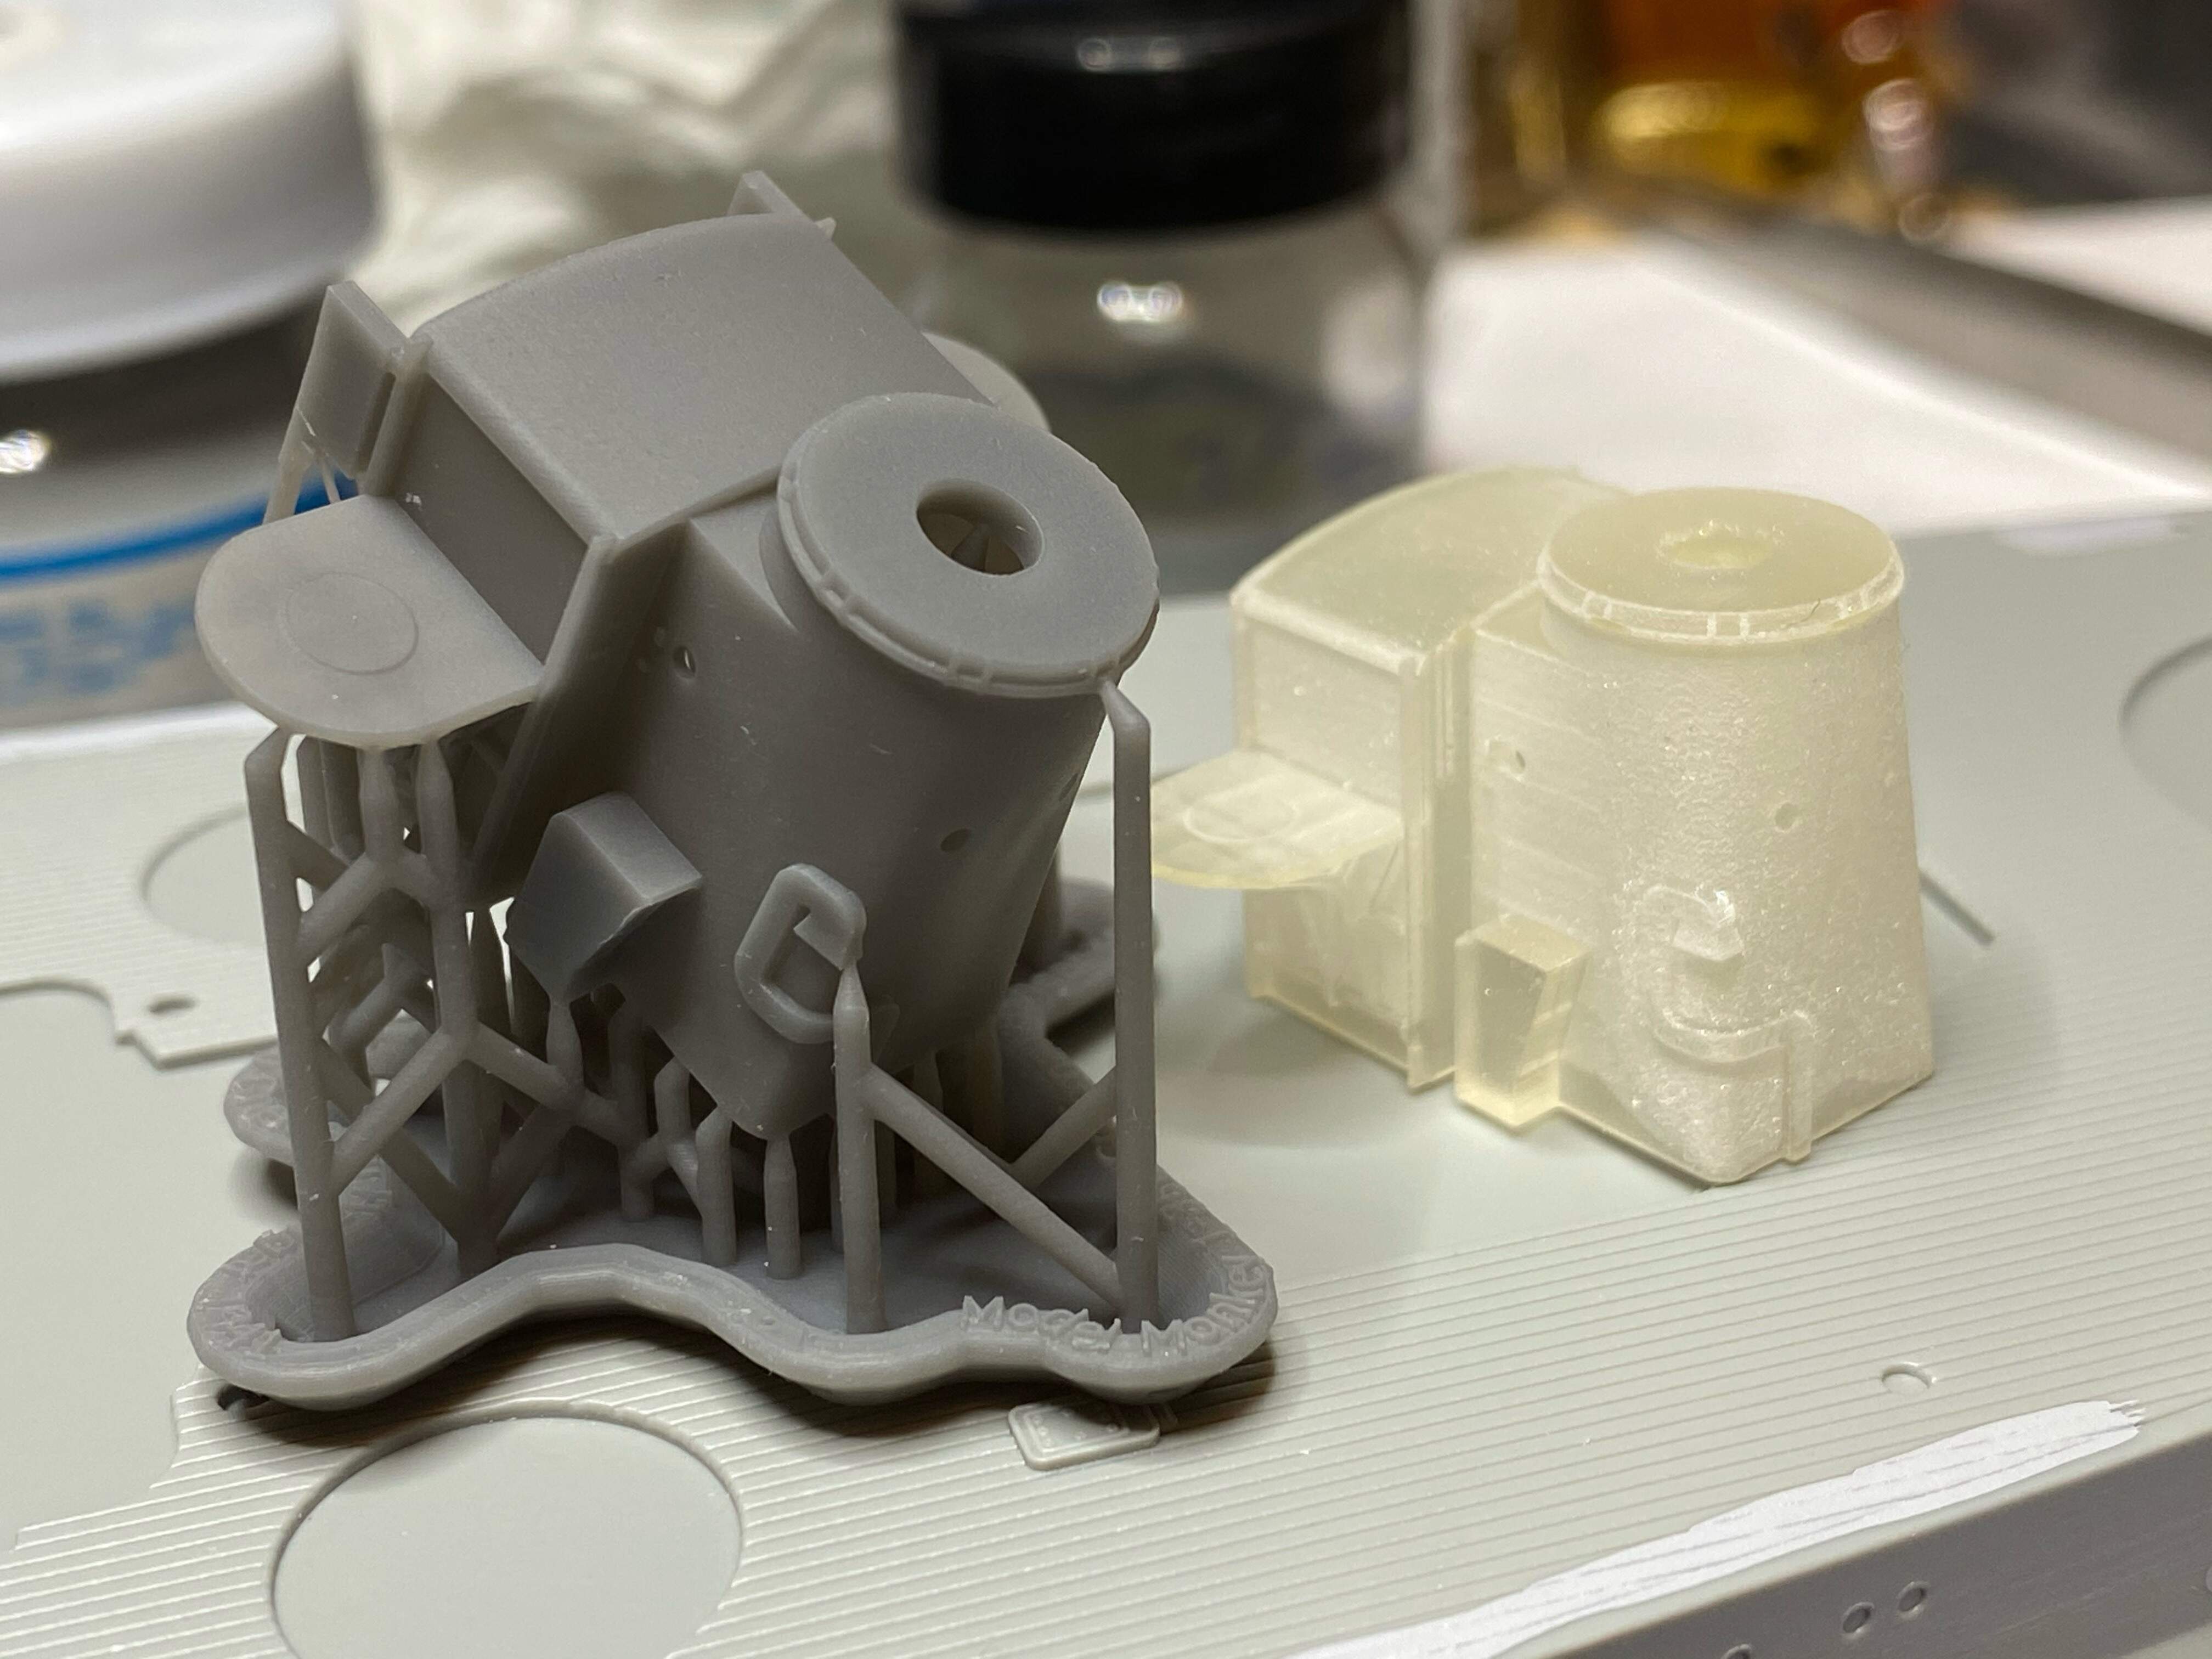
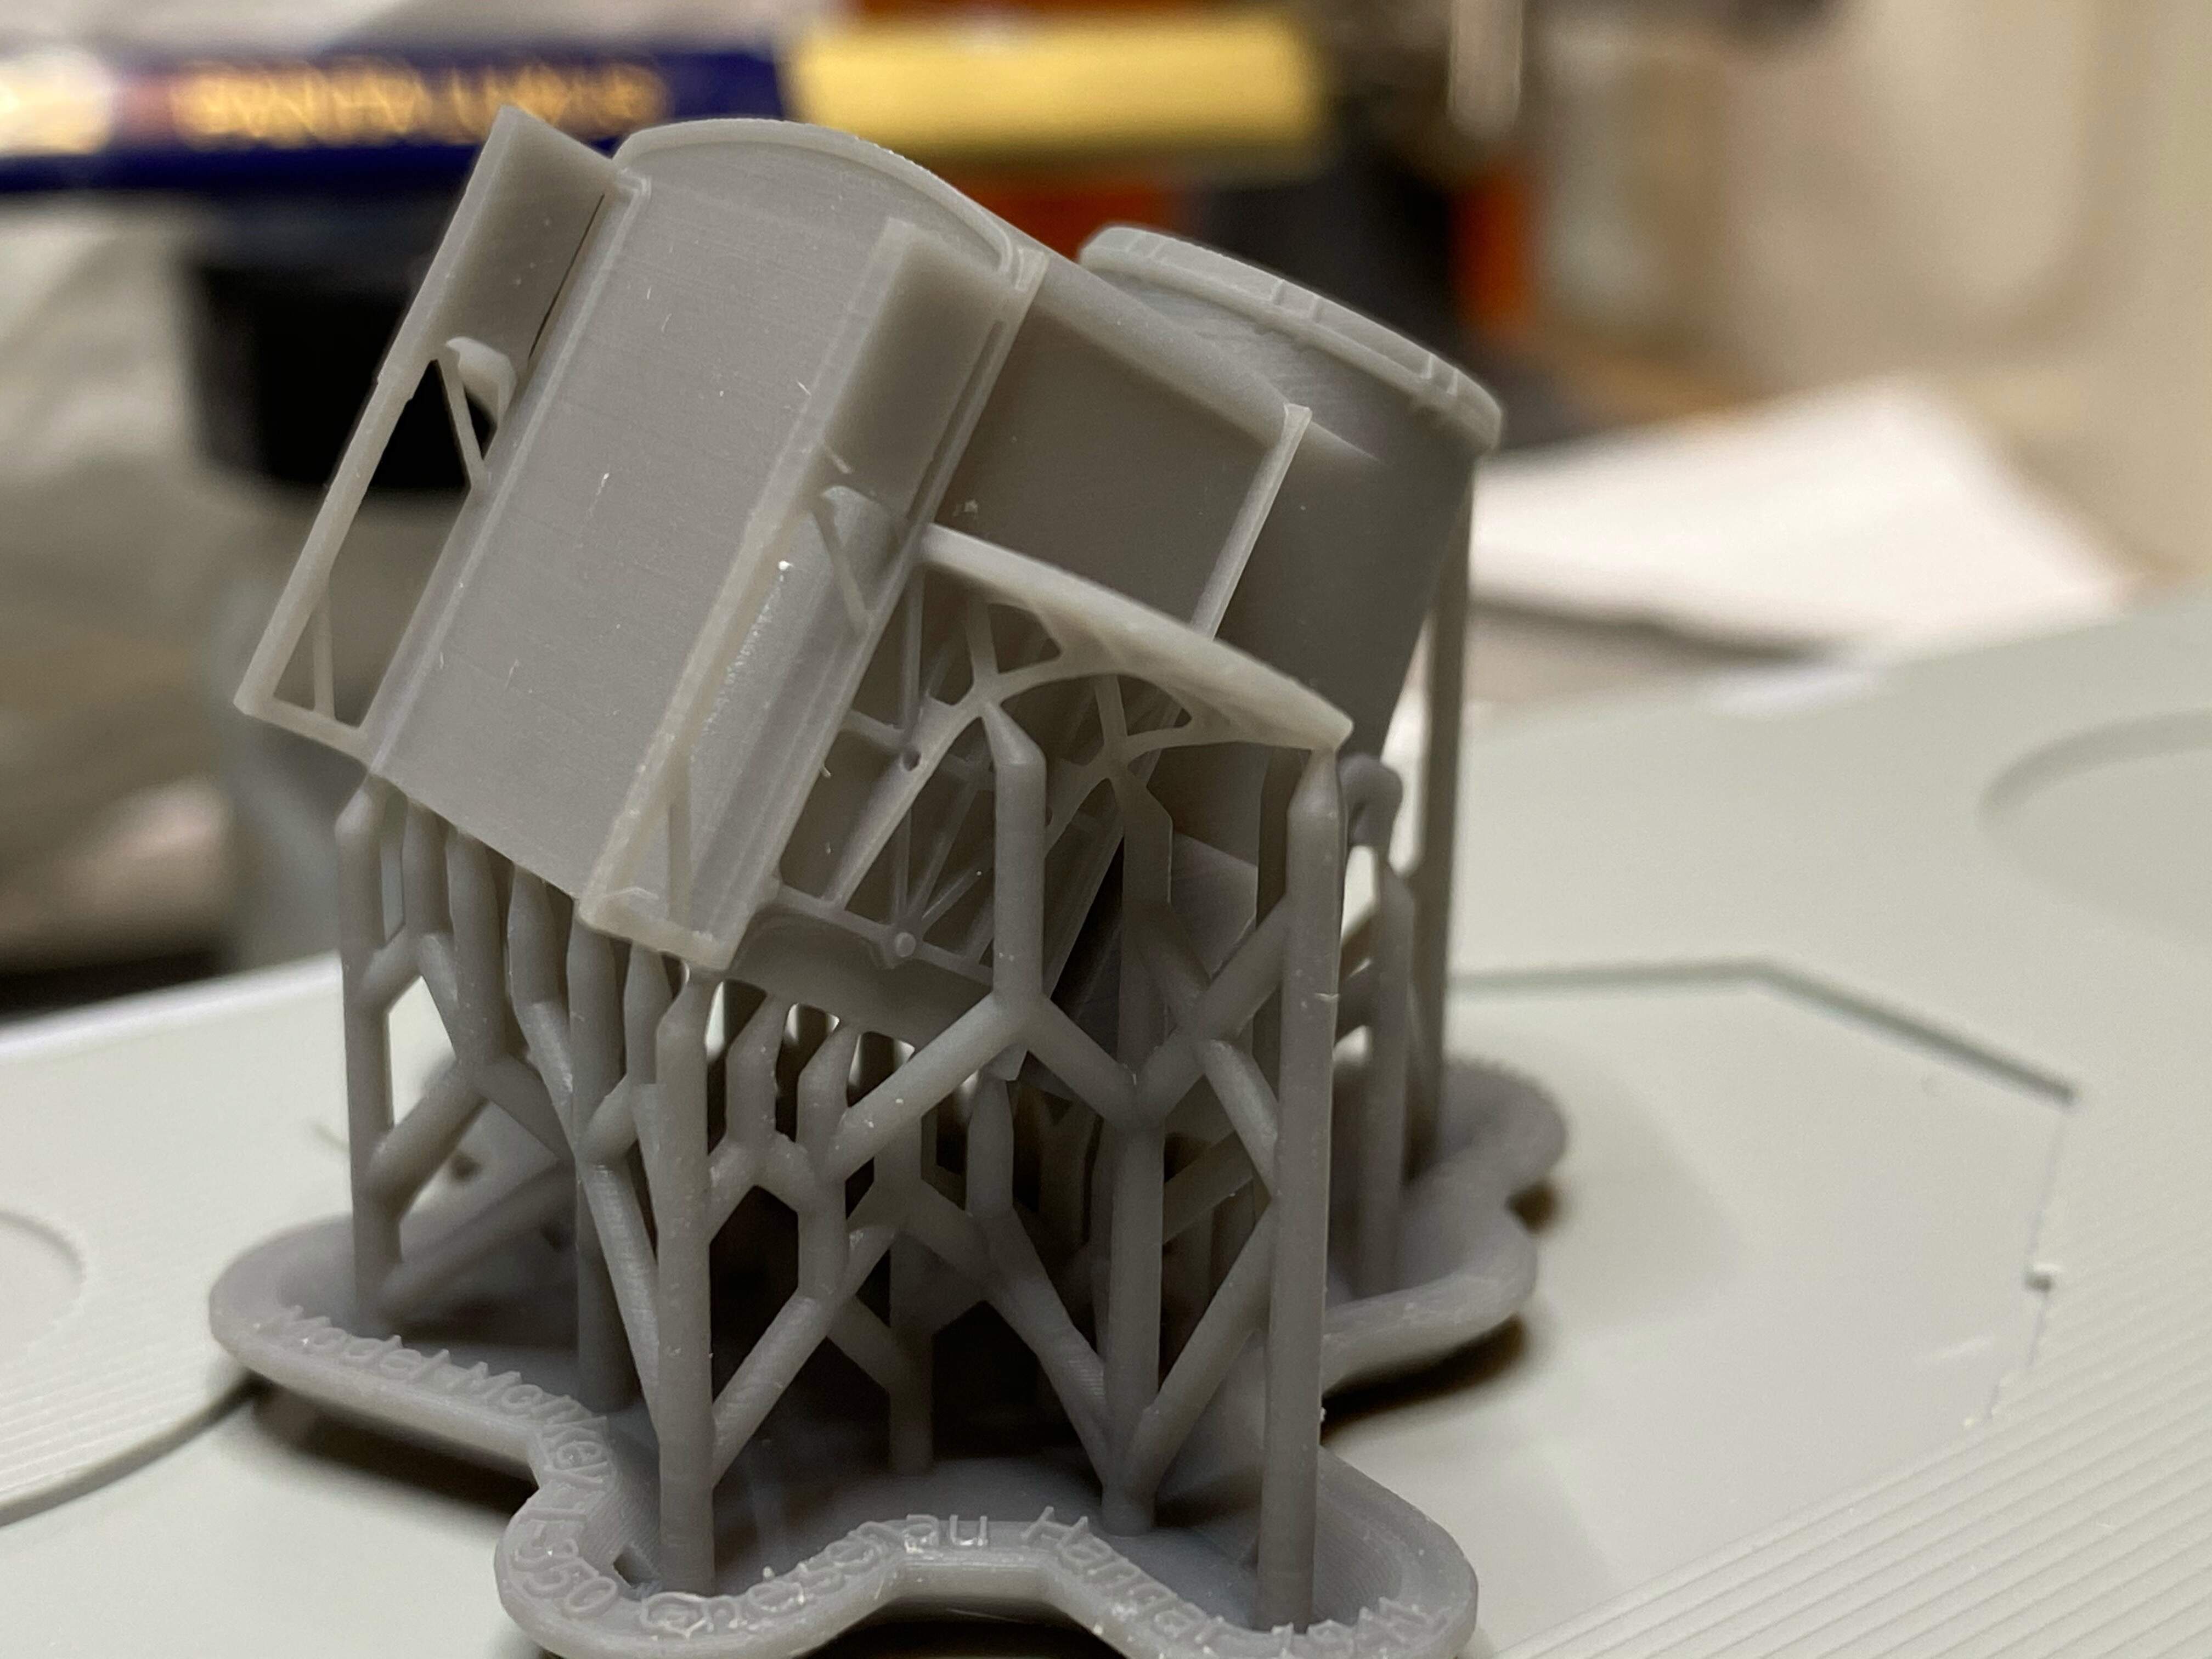
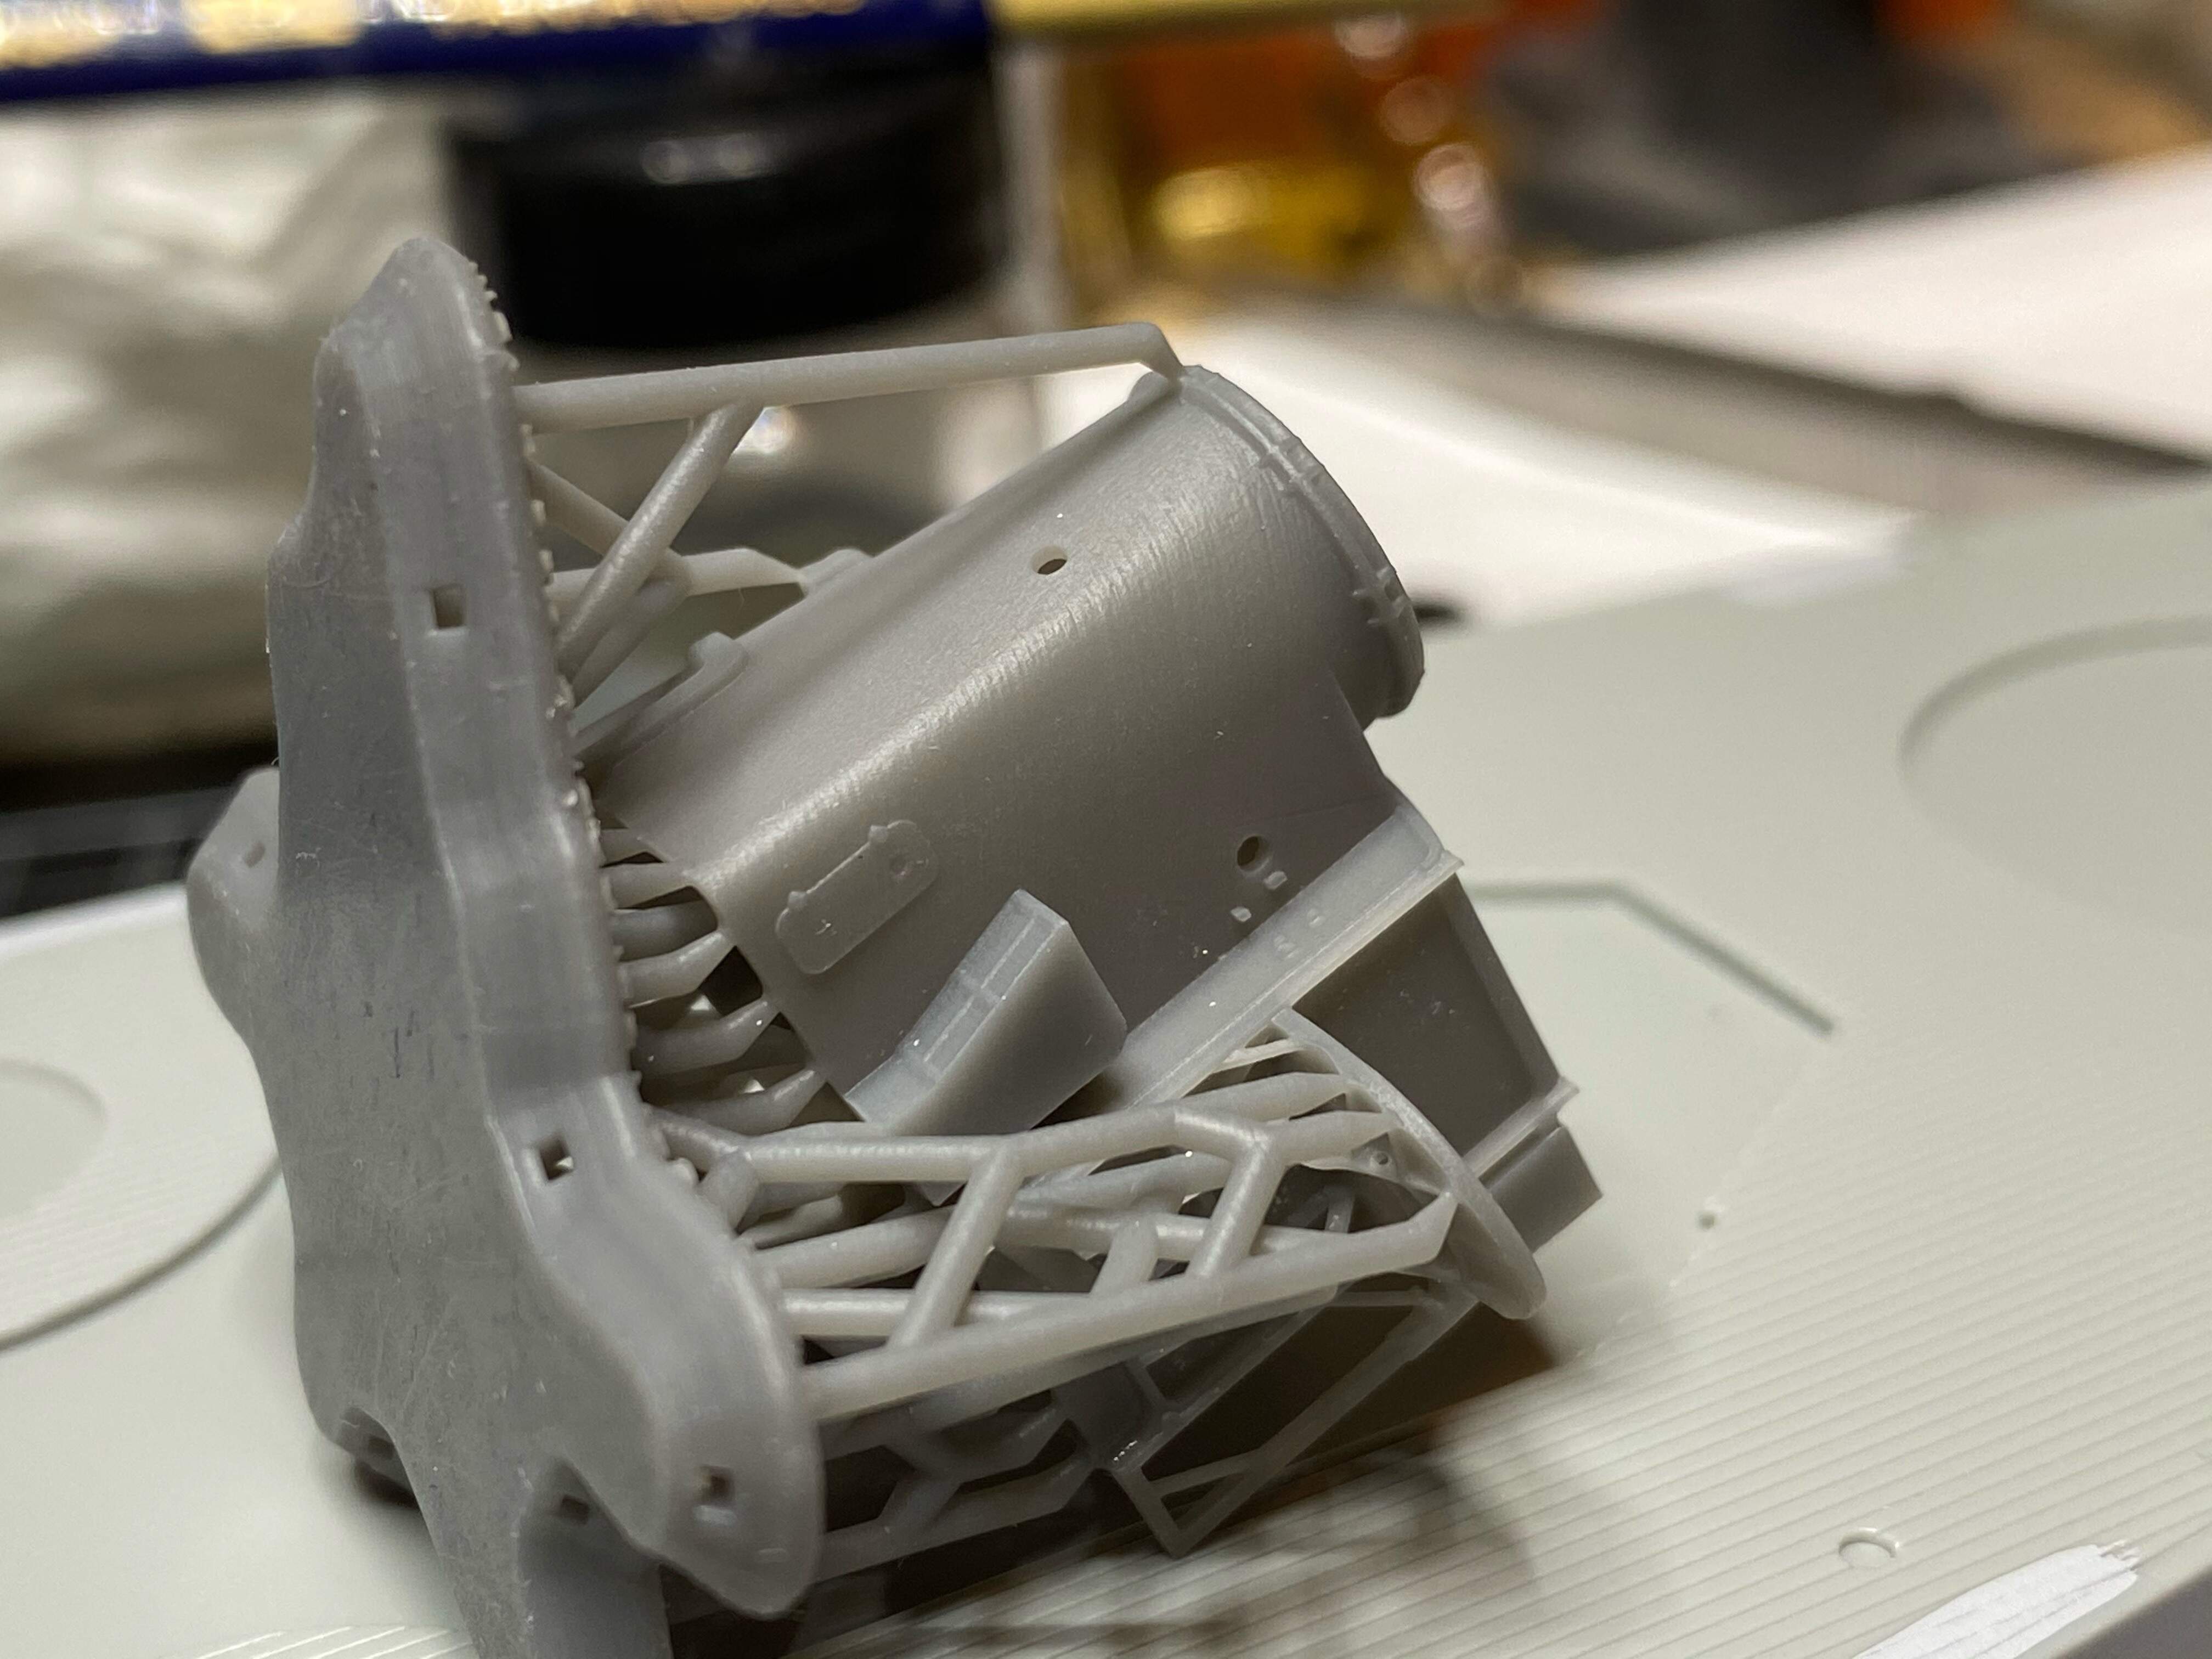
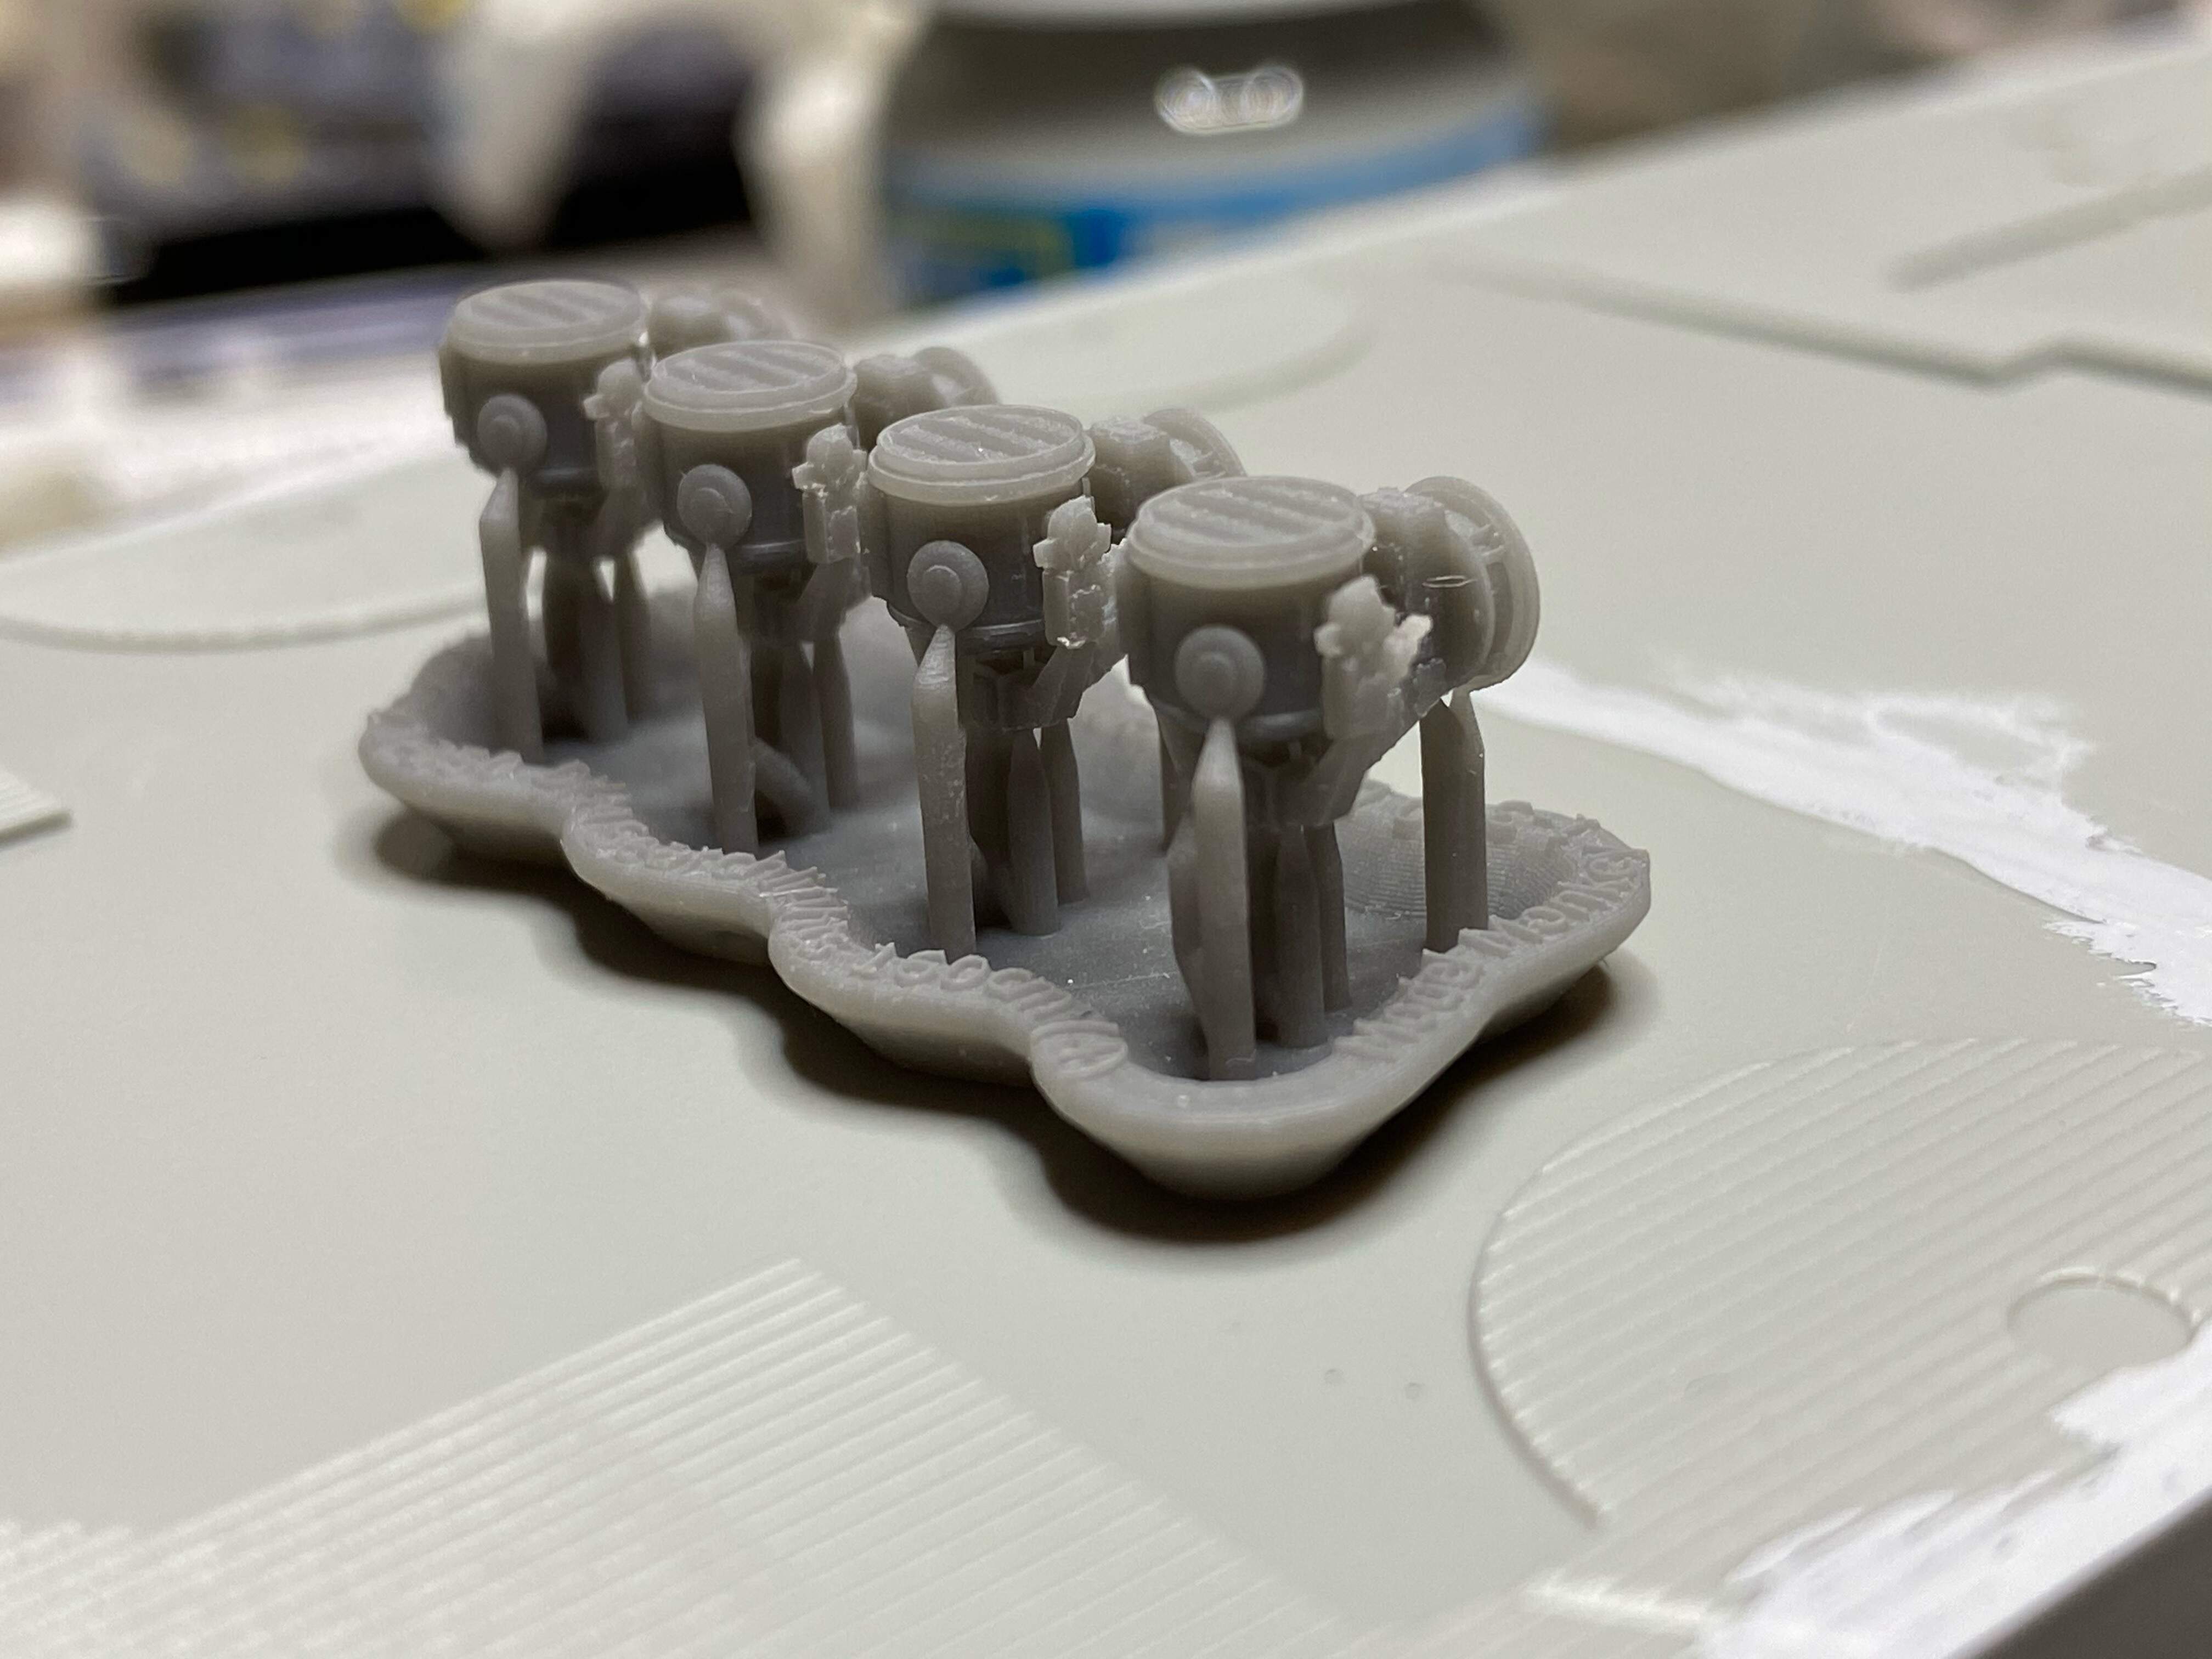
I got some 3D printed parts as replacements, particularly important the forward superstructure/bridge and the hangar that allow me to build this kit into a Gneisenau. In fact, the idea to build her as a Gneisenau vs. Scharnhorst only came to me when I discovered those pieces that are made by Model Monkey and obtainable through Shapeways.
Following my initial post, Steve Larsen from Model Monkey contacted me via pm and offered to replace the parts I bought from Shapeways by his new resin parts. He sent me the new parts and they arrived last week:
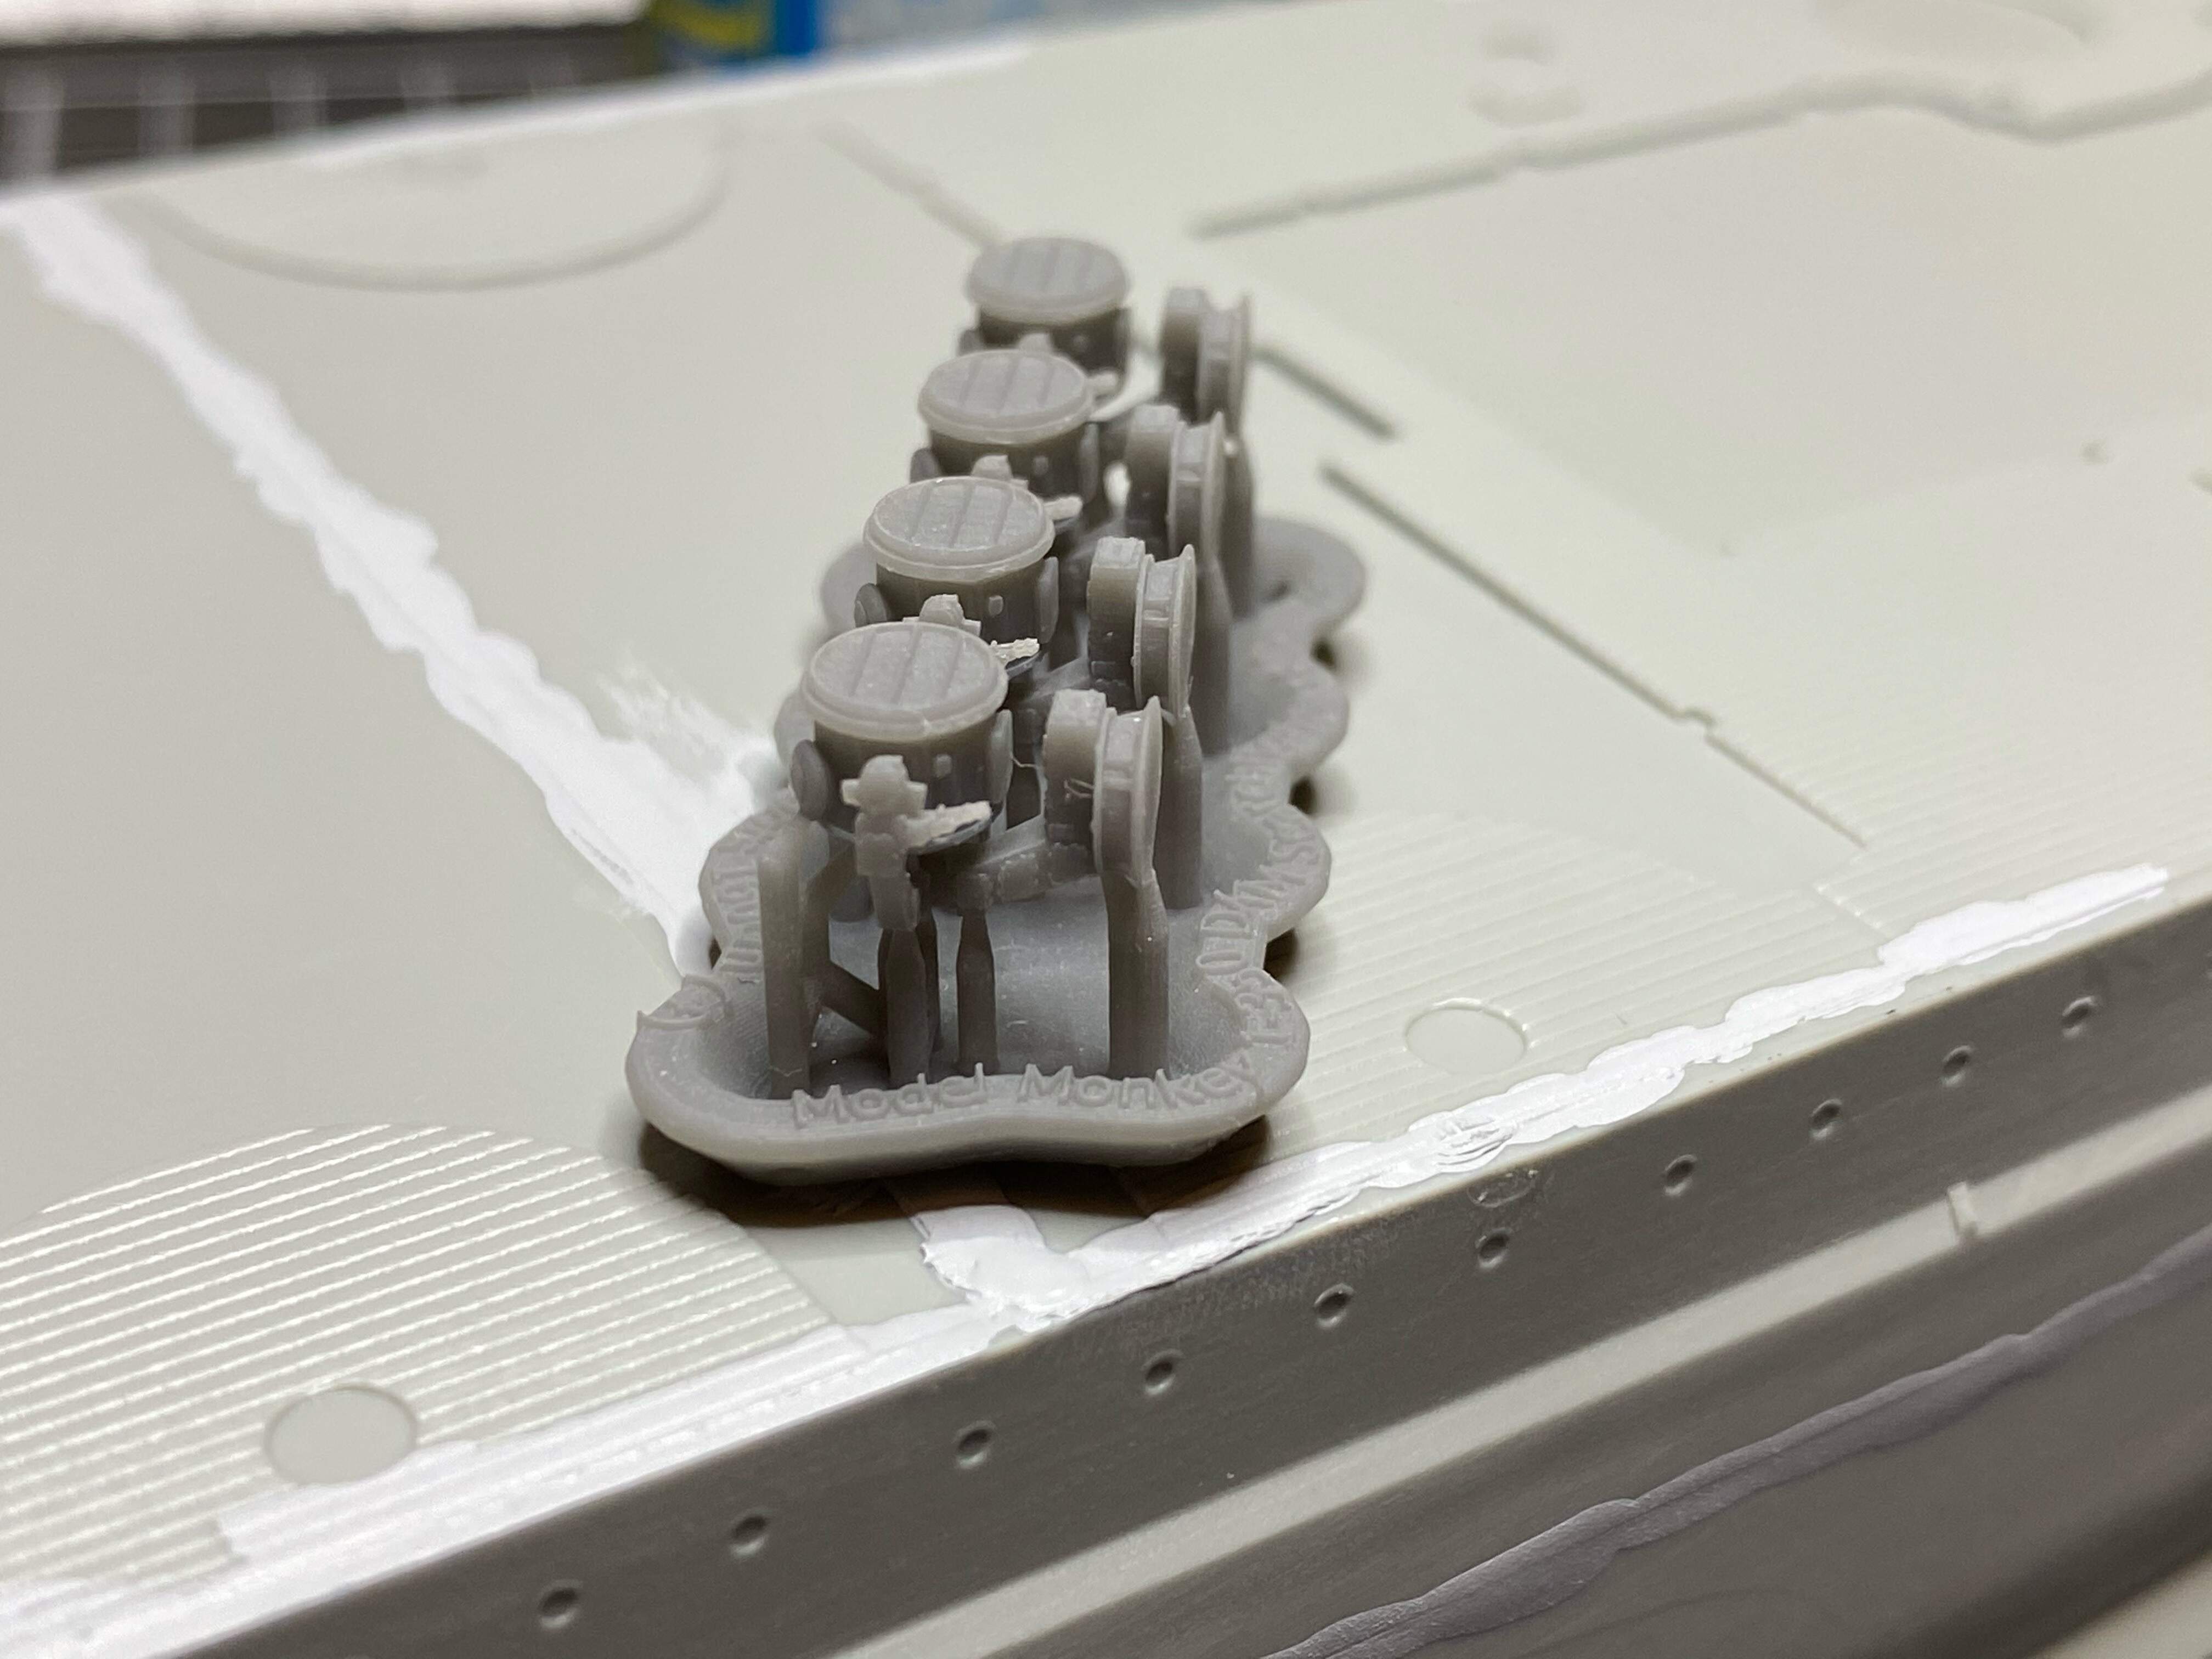
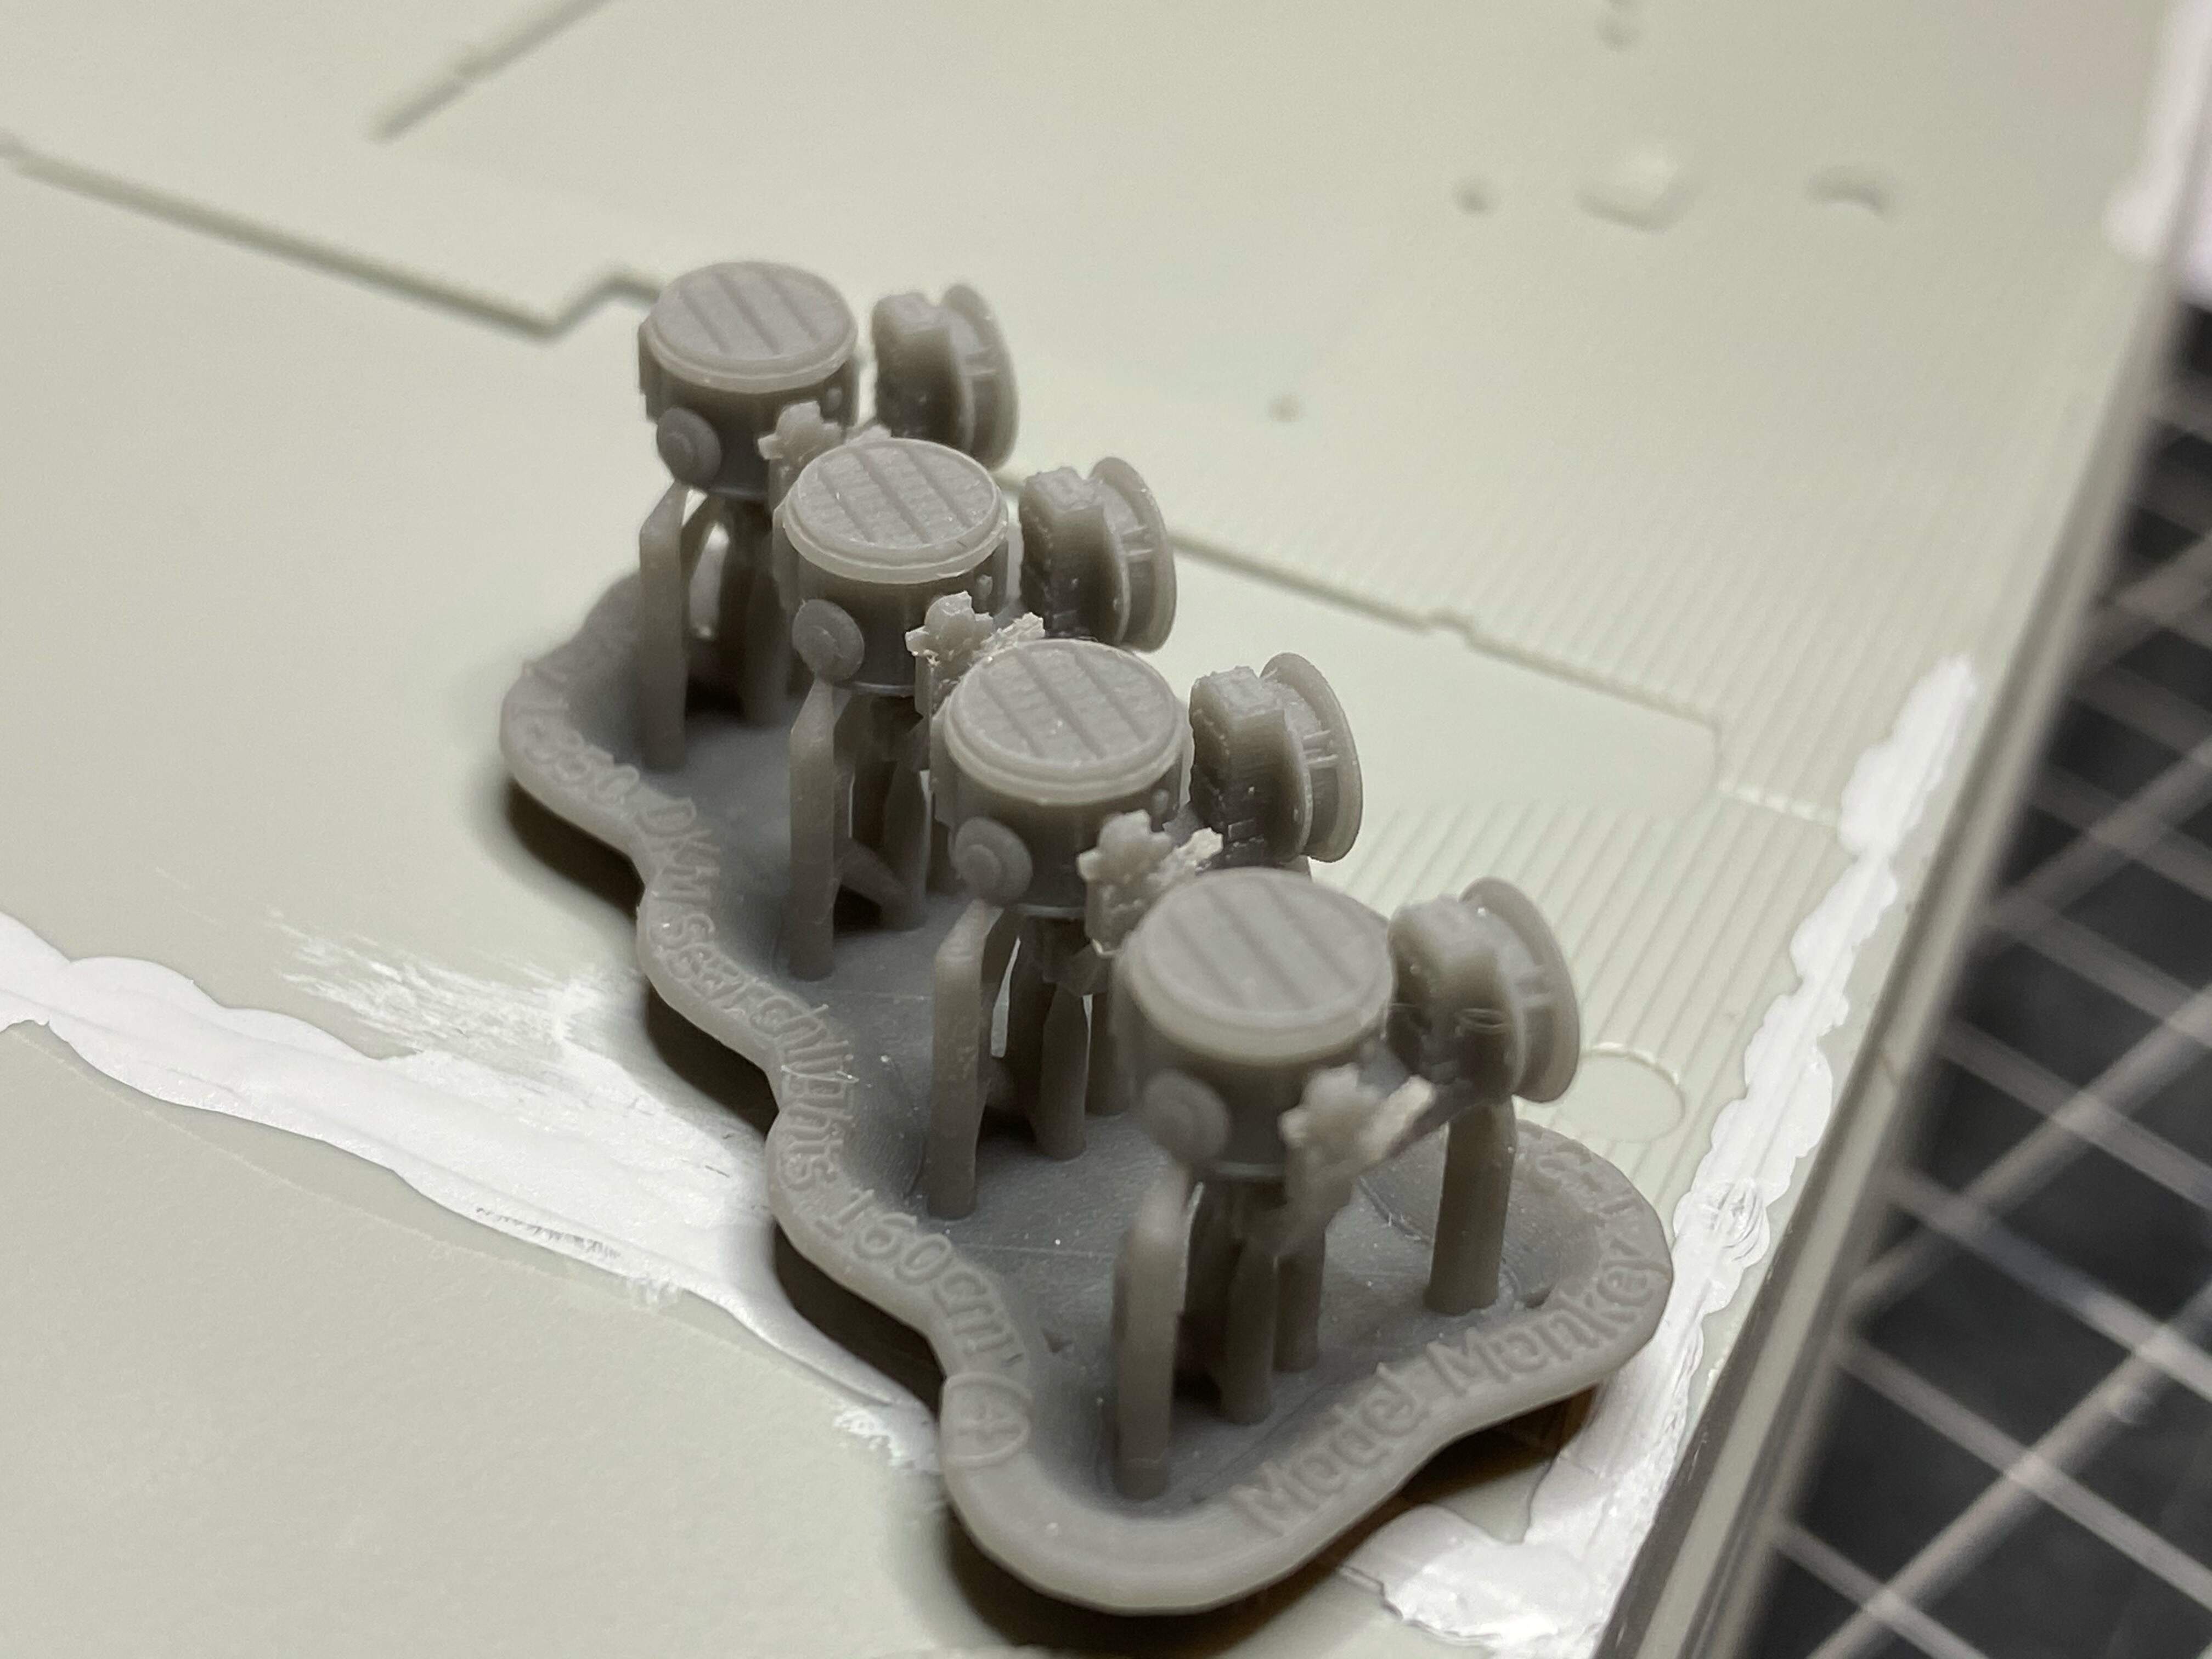
All I can say, beautiful stuff and a big improvement over the originally 3D printed parts. The material makes a much better impression than the lighter stuff from Shapeways (which is not bad, to be fair), and I think it will be much easier to work with and paint. Especially painting the Shapeways material is difficult, as I found out during my HMS Hood build.
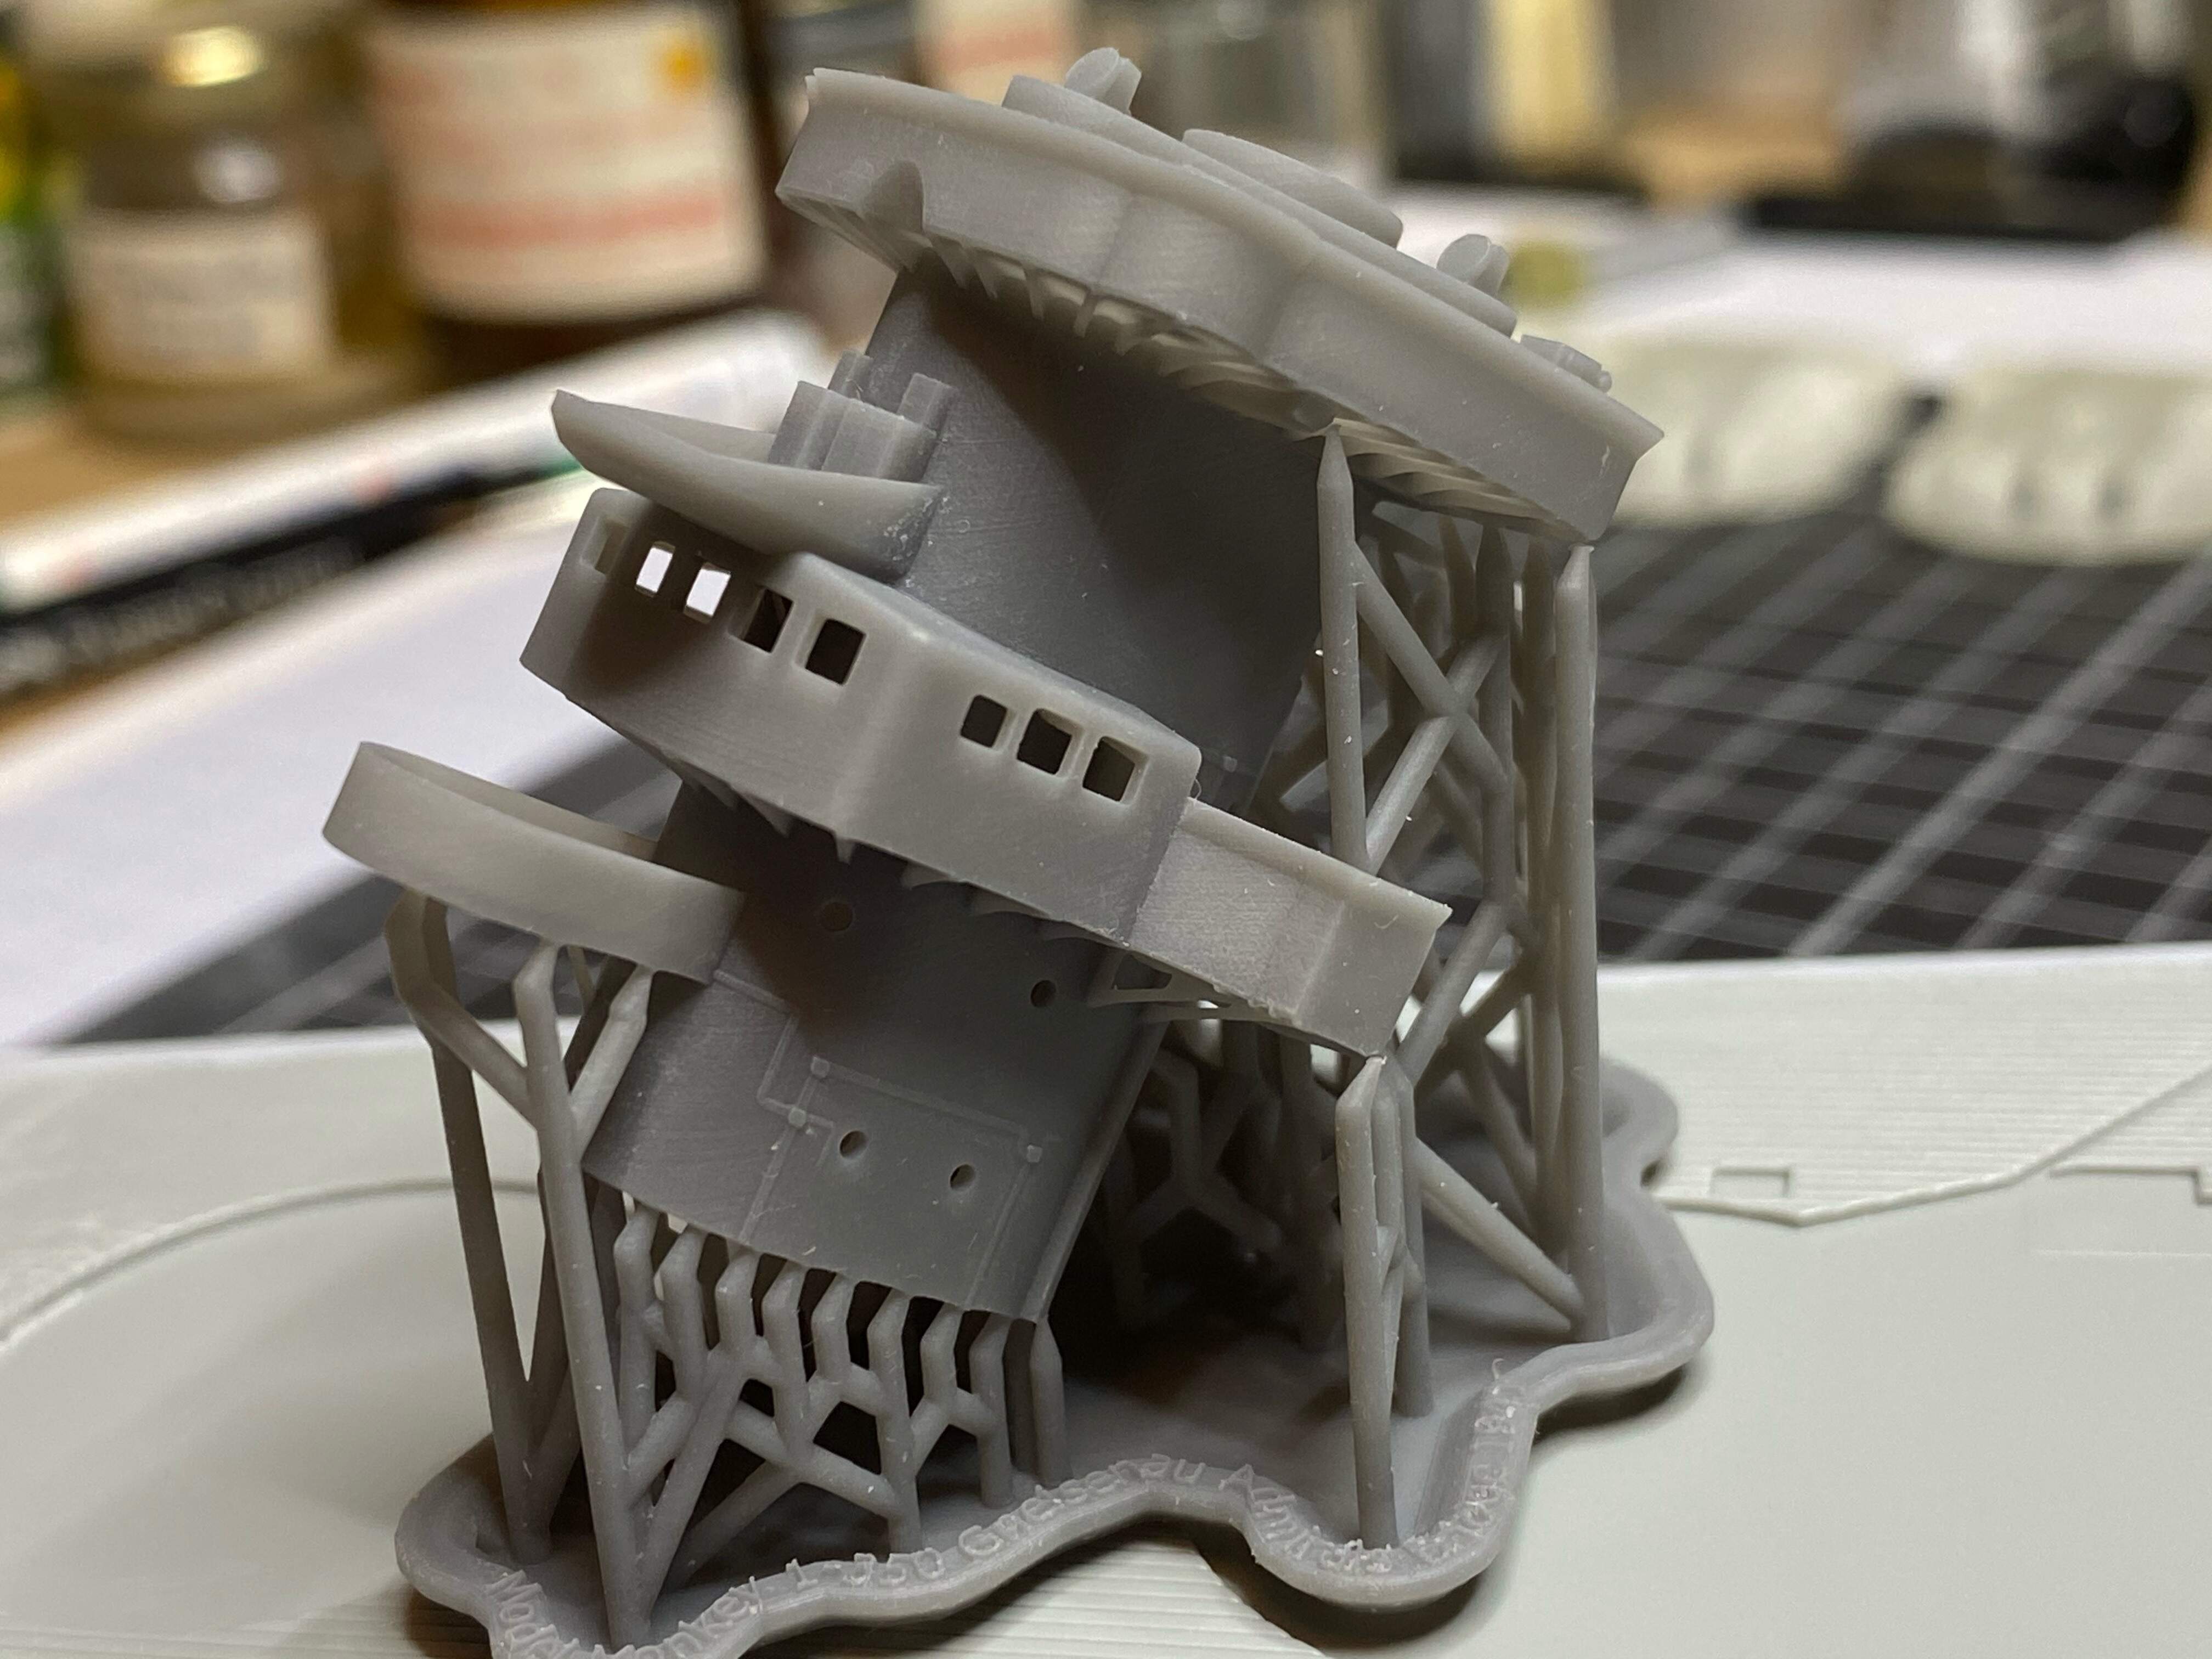
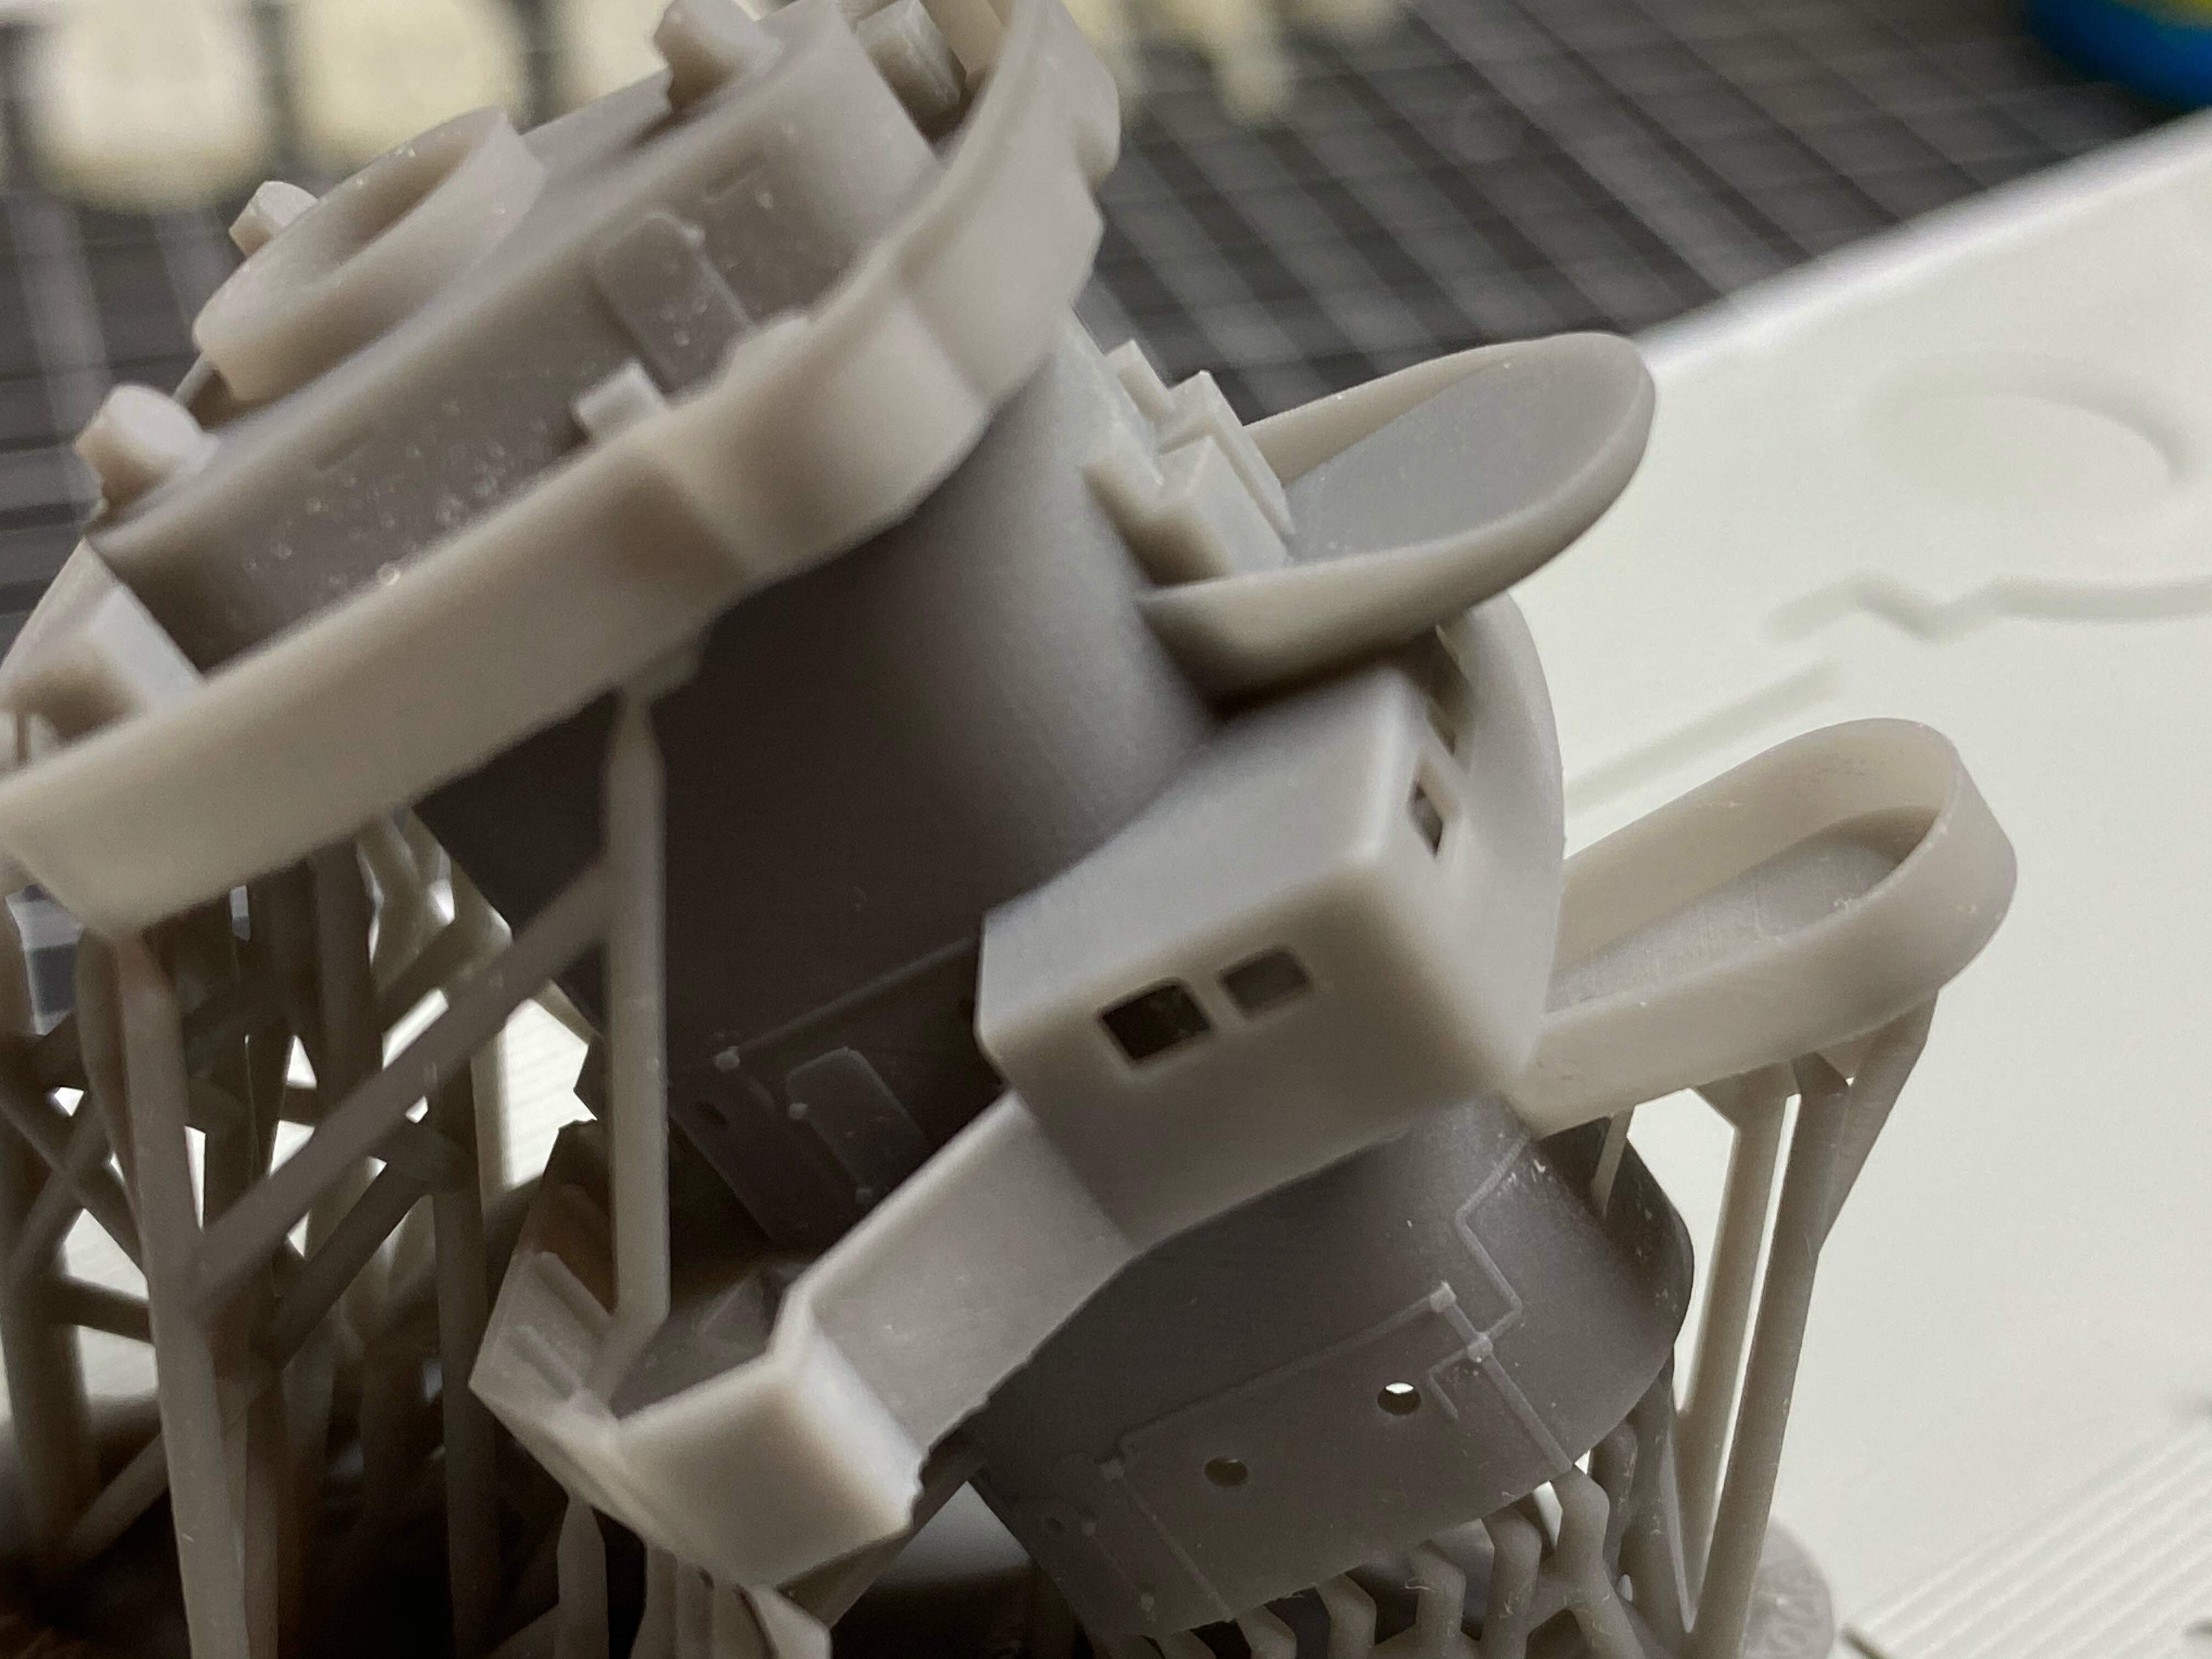
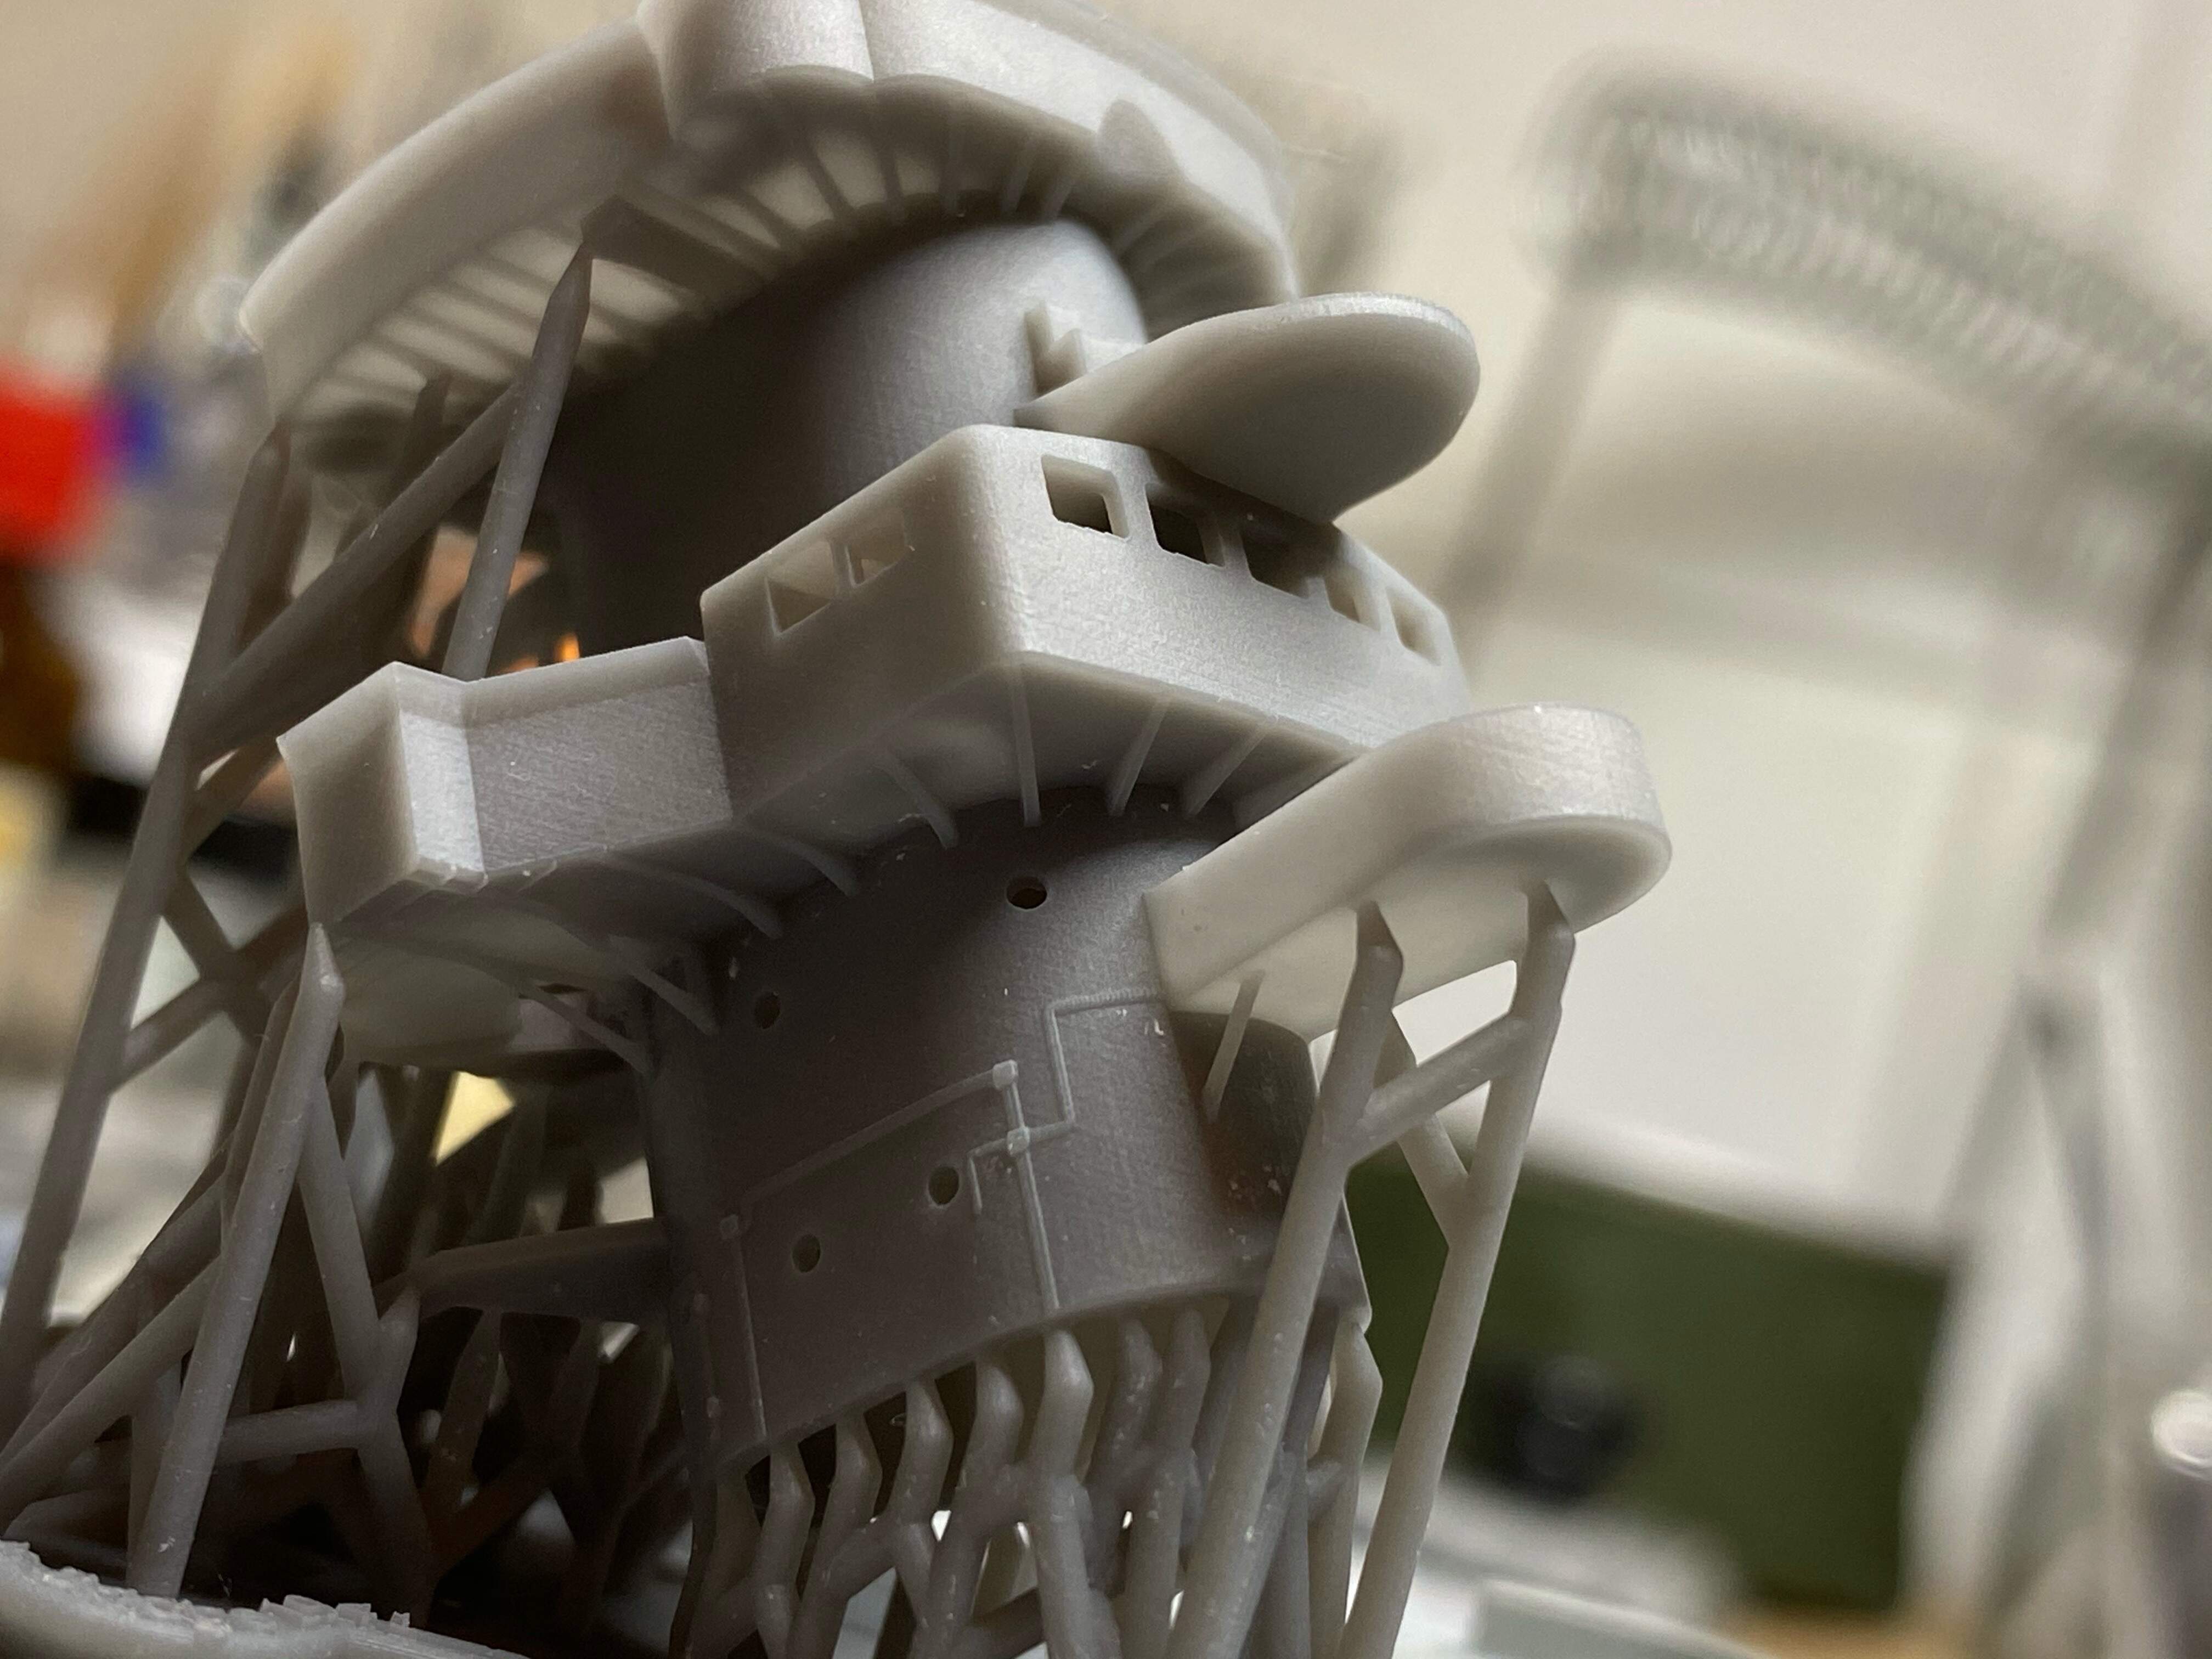
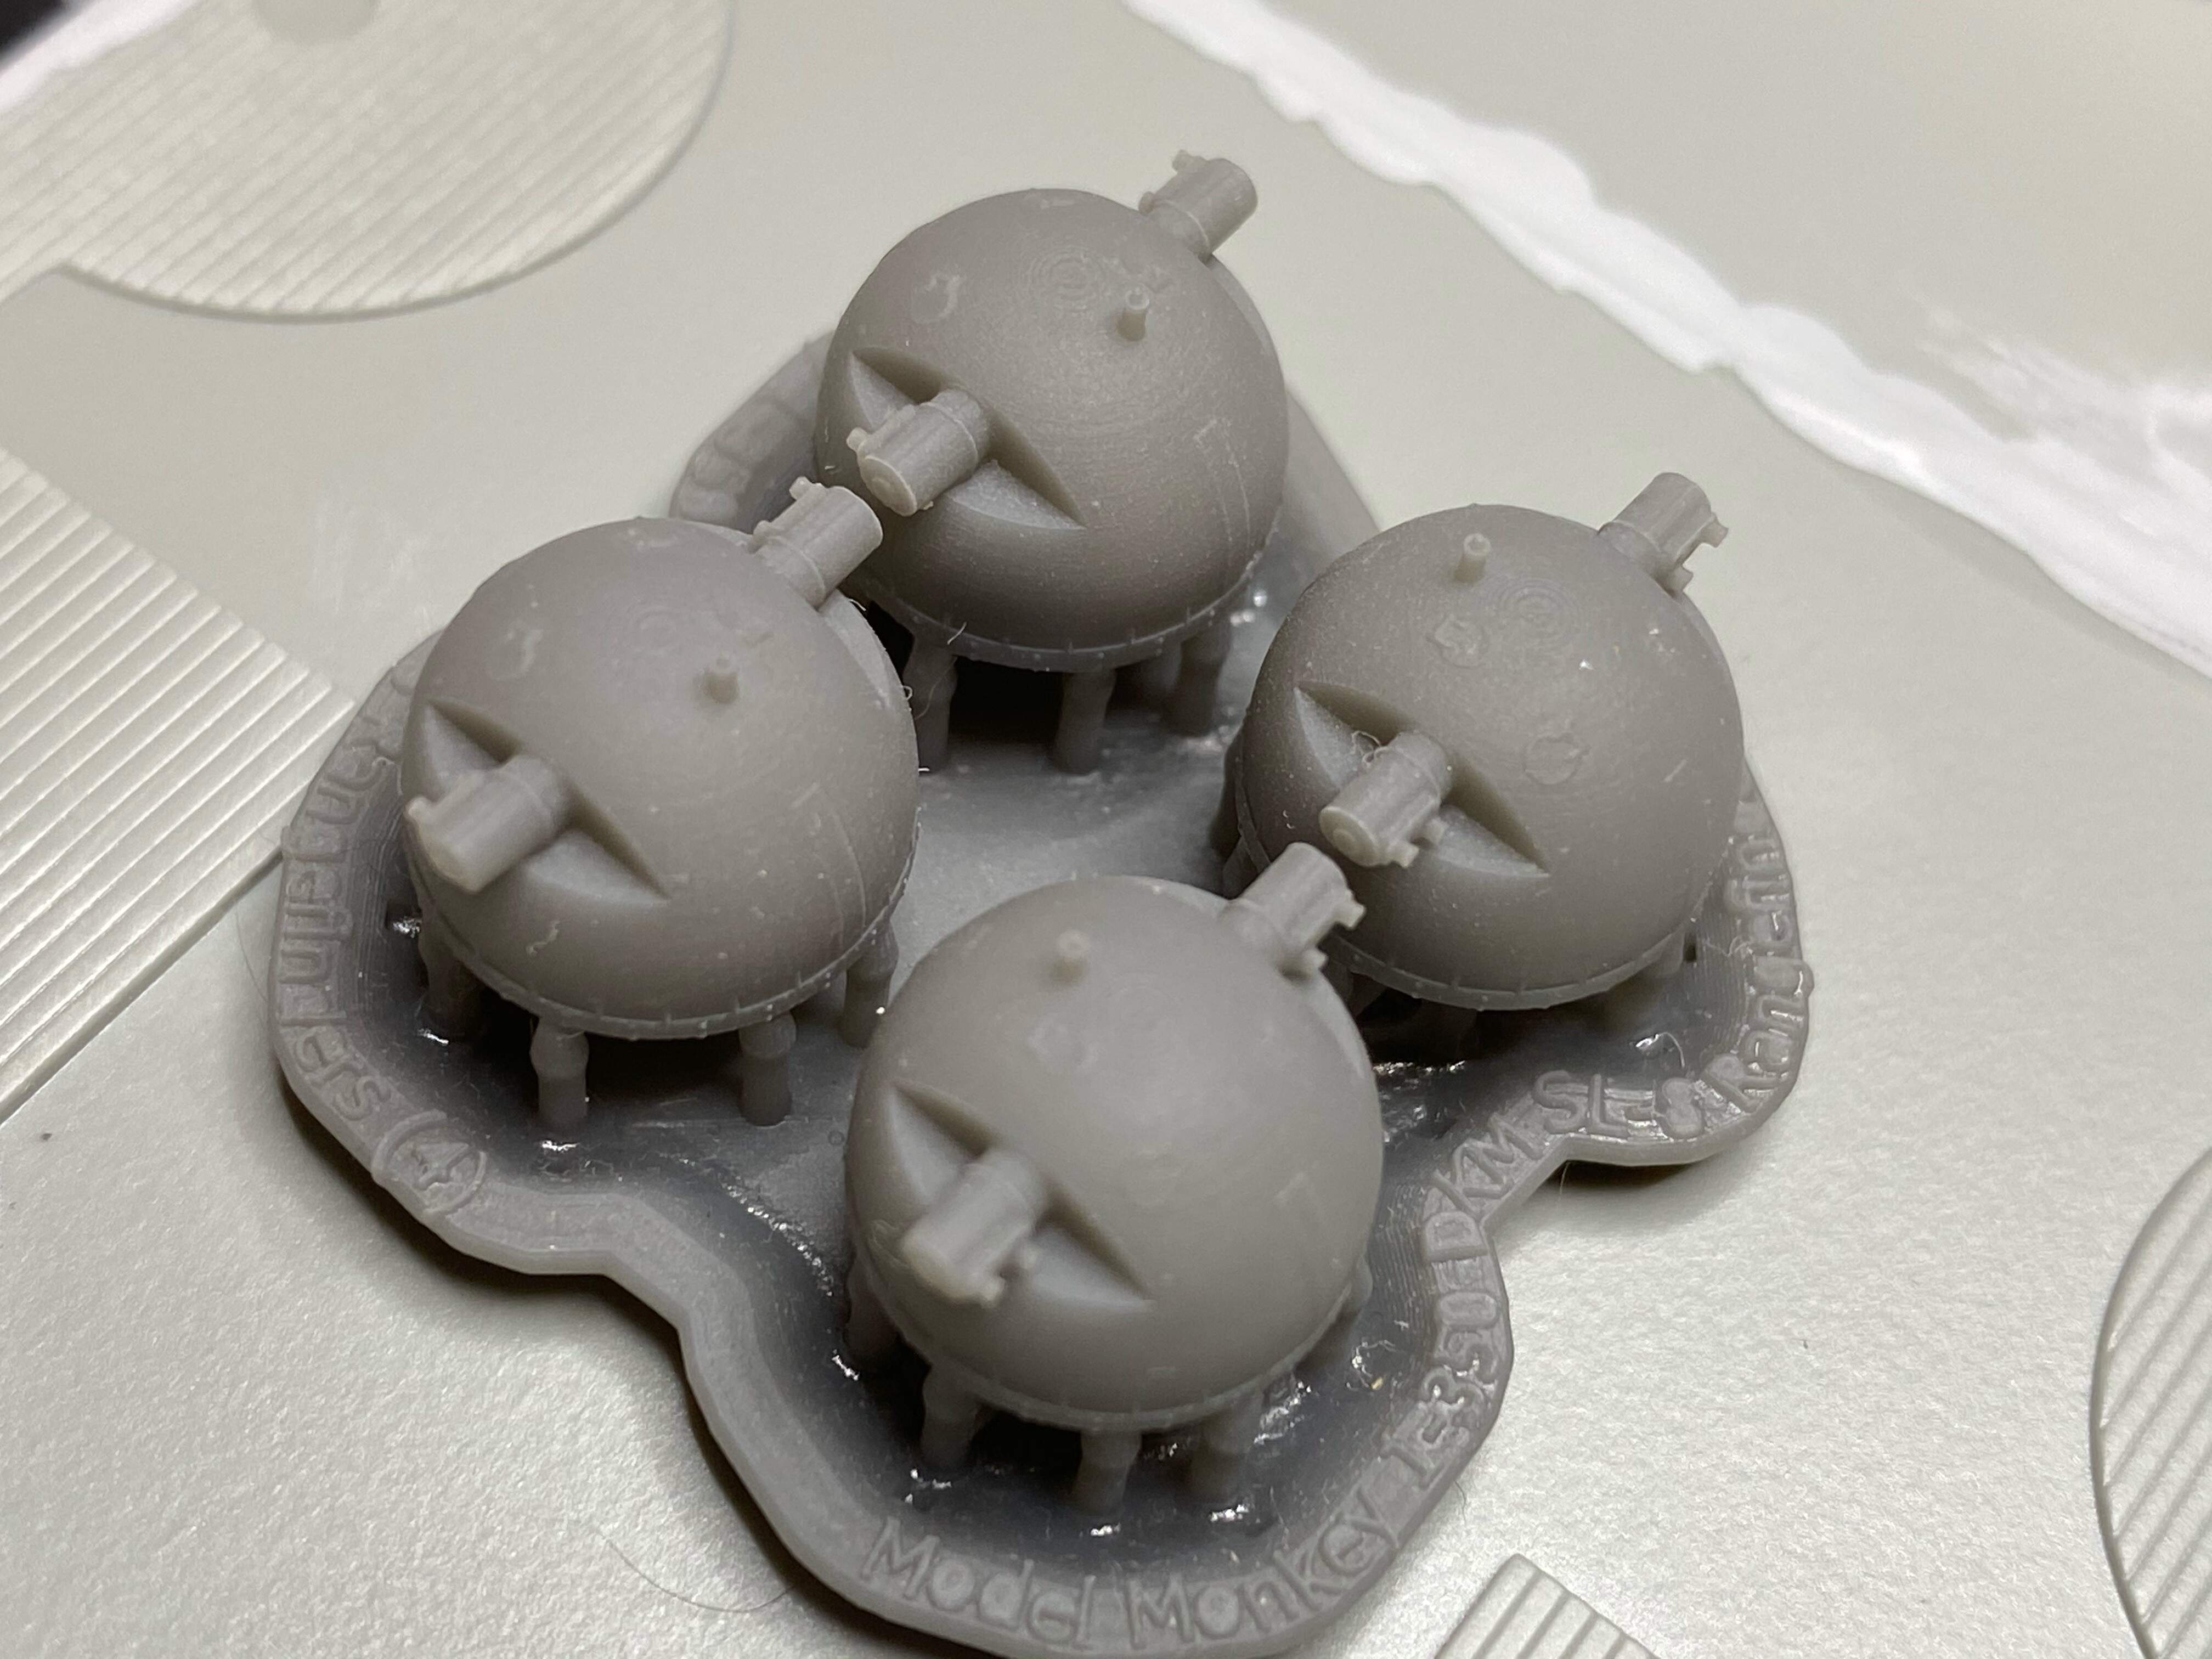
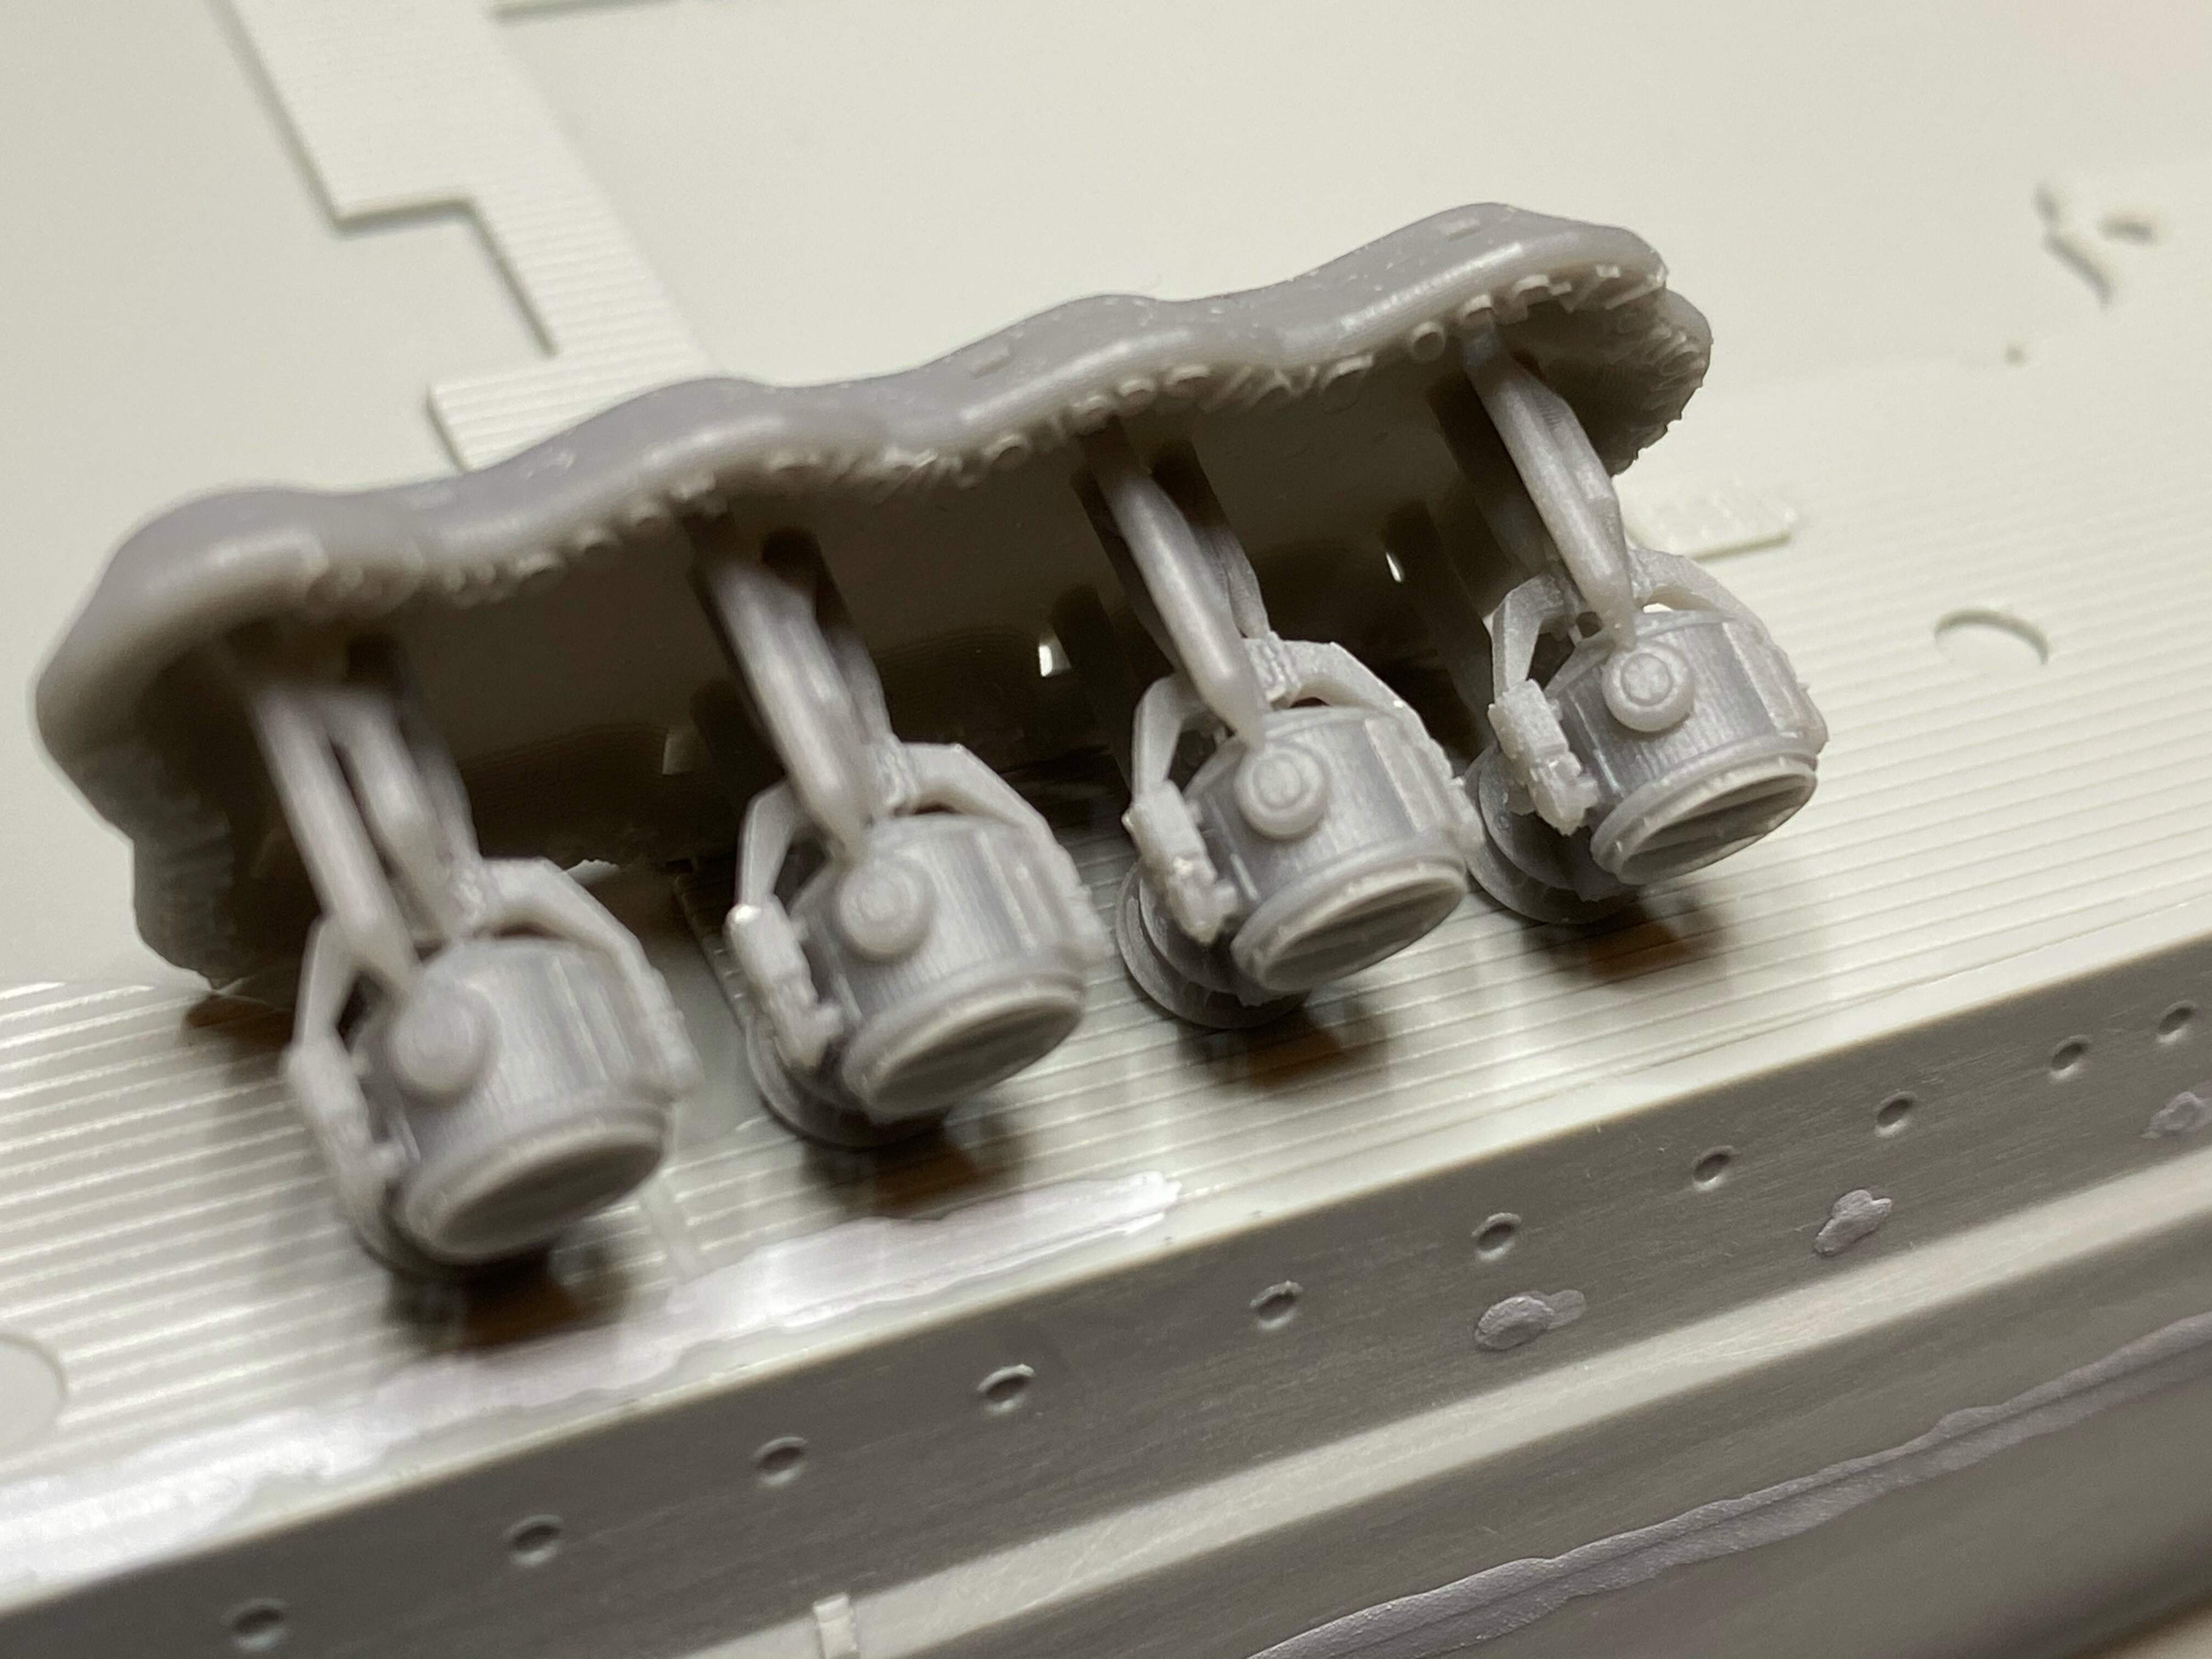
This parts have excellent detail, I have some detail shots and comparison between the old and new material.
Thank you Steve for that generous offer, you are a true gentleman!! I am looking forward to building those parts into my Gneisenau very much! And it’s good to know you’re shipping to Europe, too.
More progress on the hull in a few days, for now cheers
I agree, Model Monkey’s newer resin printing process (the dark gray pieces) makes for parts that are far superior to the semi-opaque style favored by Shapeways. I 've used both and there is no comparison! I also agree than my experience Steve Larsen (Model Monkey) customer service is first rate.
Anyway, I’m excited to watch your build progress. Gneisenau was a beautiful ship, and for a vessel so important, I can’t remember ever seeing a model of it built!
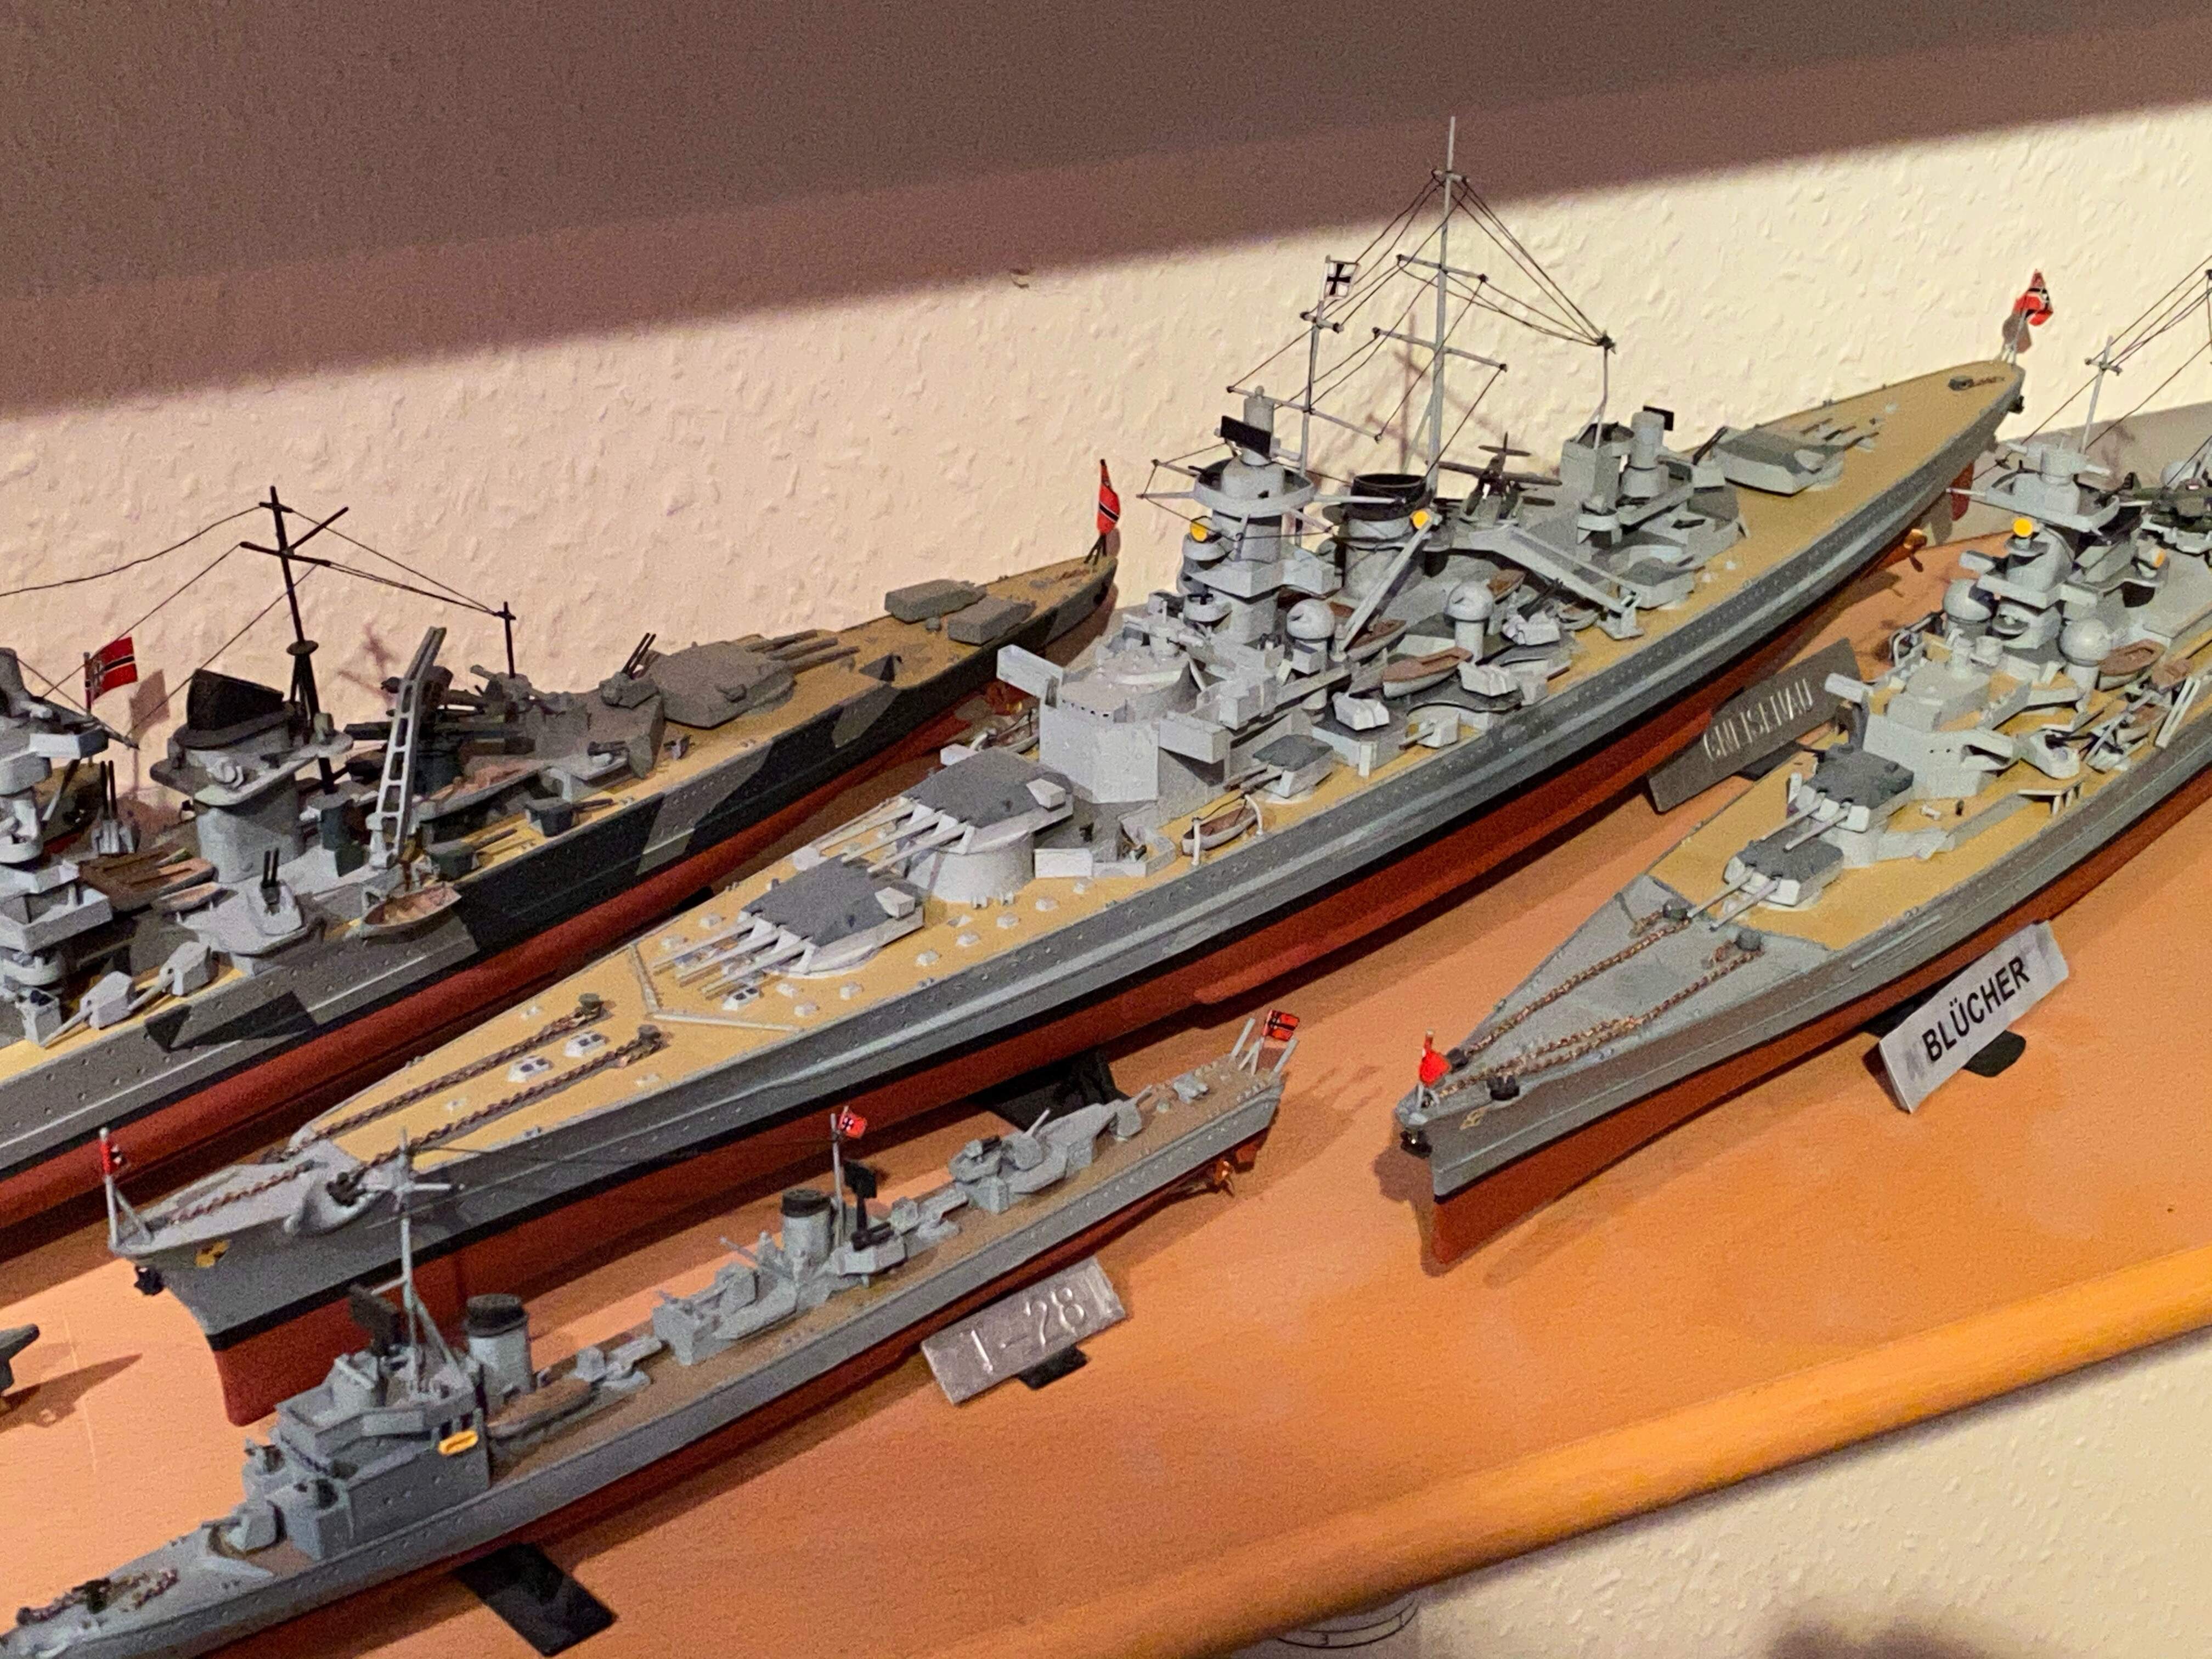
For models of Gneisenau, there were (are?) some very awkward ones in 1/720 by Revell, and a 1/570 that was the biggest scale for a while, but it was still way off resembling a Gneisenau. And I believe there are smaller scales as 1/1200.
Then there is one kit by Heller in 1/400, from mid/late 1970ies I believe. This is - before the Dragon Scharnhorst - by far the best Scharnhorst/Gneisenau you could get, but still pretty weak in detail and with some significant flaws. Even if you got separate kits for Scharnhorst and Gneisenau and several major differences were represented, it was still a mix between both sisters and various years. I simply can’t understand why Dragon issues three versions of Scharnhorst (1940, 1941 and 1943) but no Gneisenau. Well…
I built Hellers Gneisenau as a boy (no pictures exist, which is probably good, so I can keep her in my memory as a fine model I built at the time…) and again some 13, 14 years ago when I re-started my old hobby. All OOB and brush painted with Revell colors. Compared to the newer 1/350 ships with PE they’re pretty much just toys…
Have to agree, Jan: resin parts are a world away from the parts printed by shape ways: easier to sand; easier to paint; and a better all round finish and detail…
Very nice of Steve from Model Monkey to send the parts… Looking forward to see how they build up
Thank you Russ! - I look forward to the point when I will use them, though that’s some time to go…
Overall, real life kept me more occupied than I expected, with finally today preparing the living room and backyard for Advent season / Christmas, to have it ready next week. We will be underway next week again with my 1:1 F225.
But I got a little bit done. Most of it not really visible, sanding, filling, sanding the hull. But progress is encouraging there.
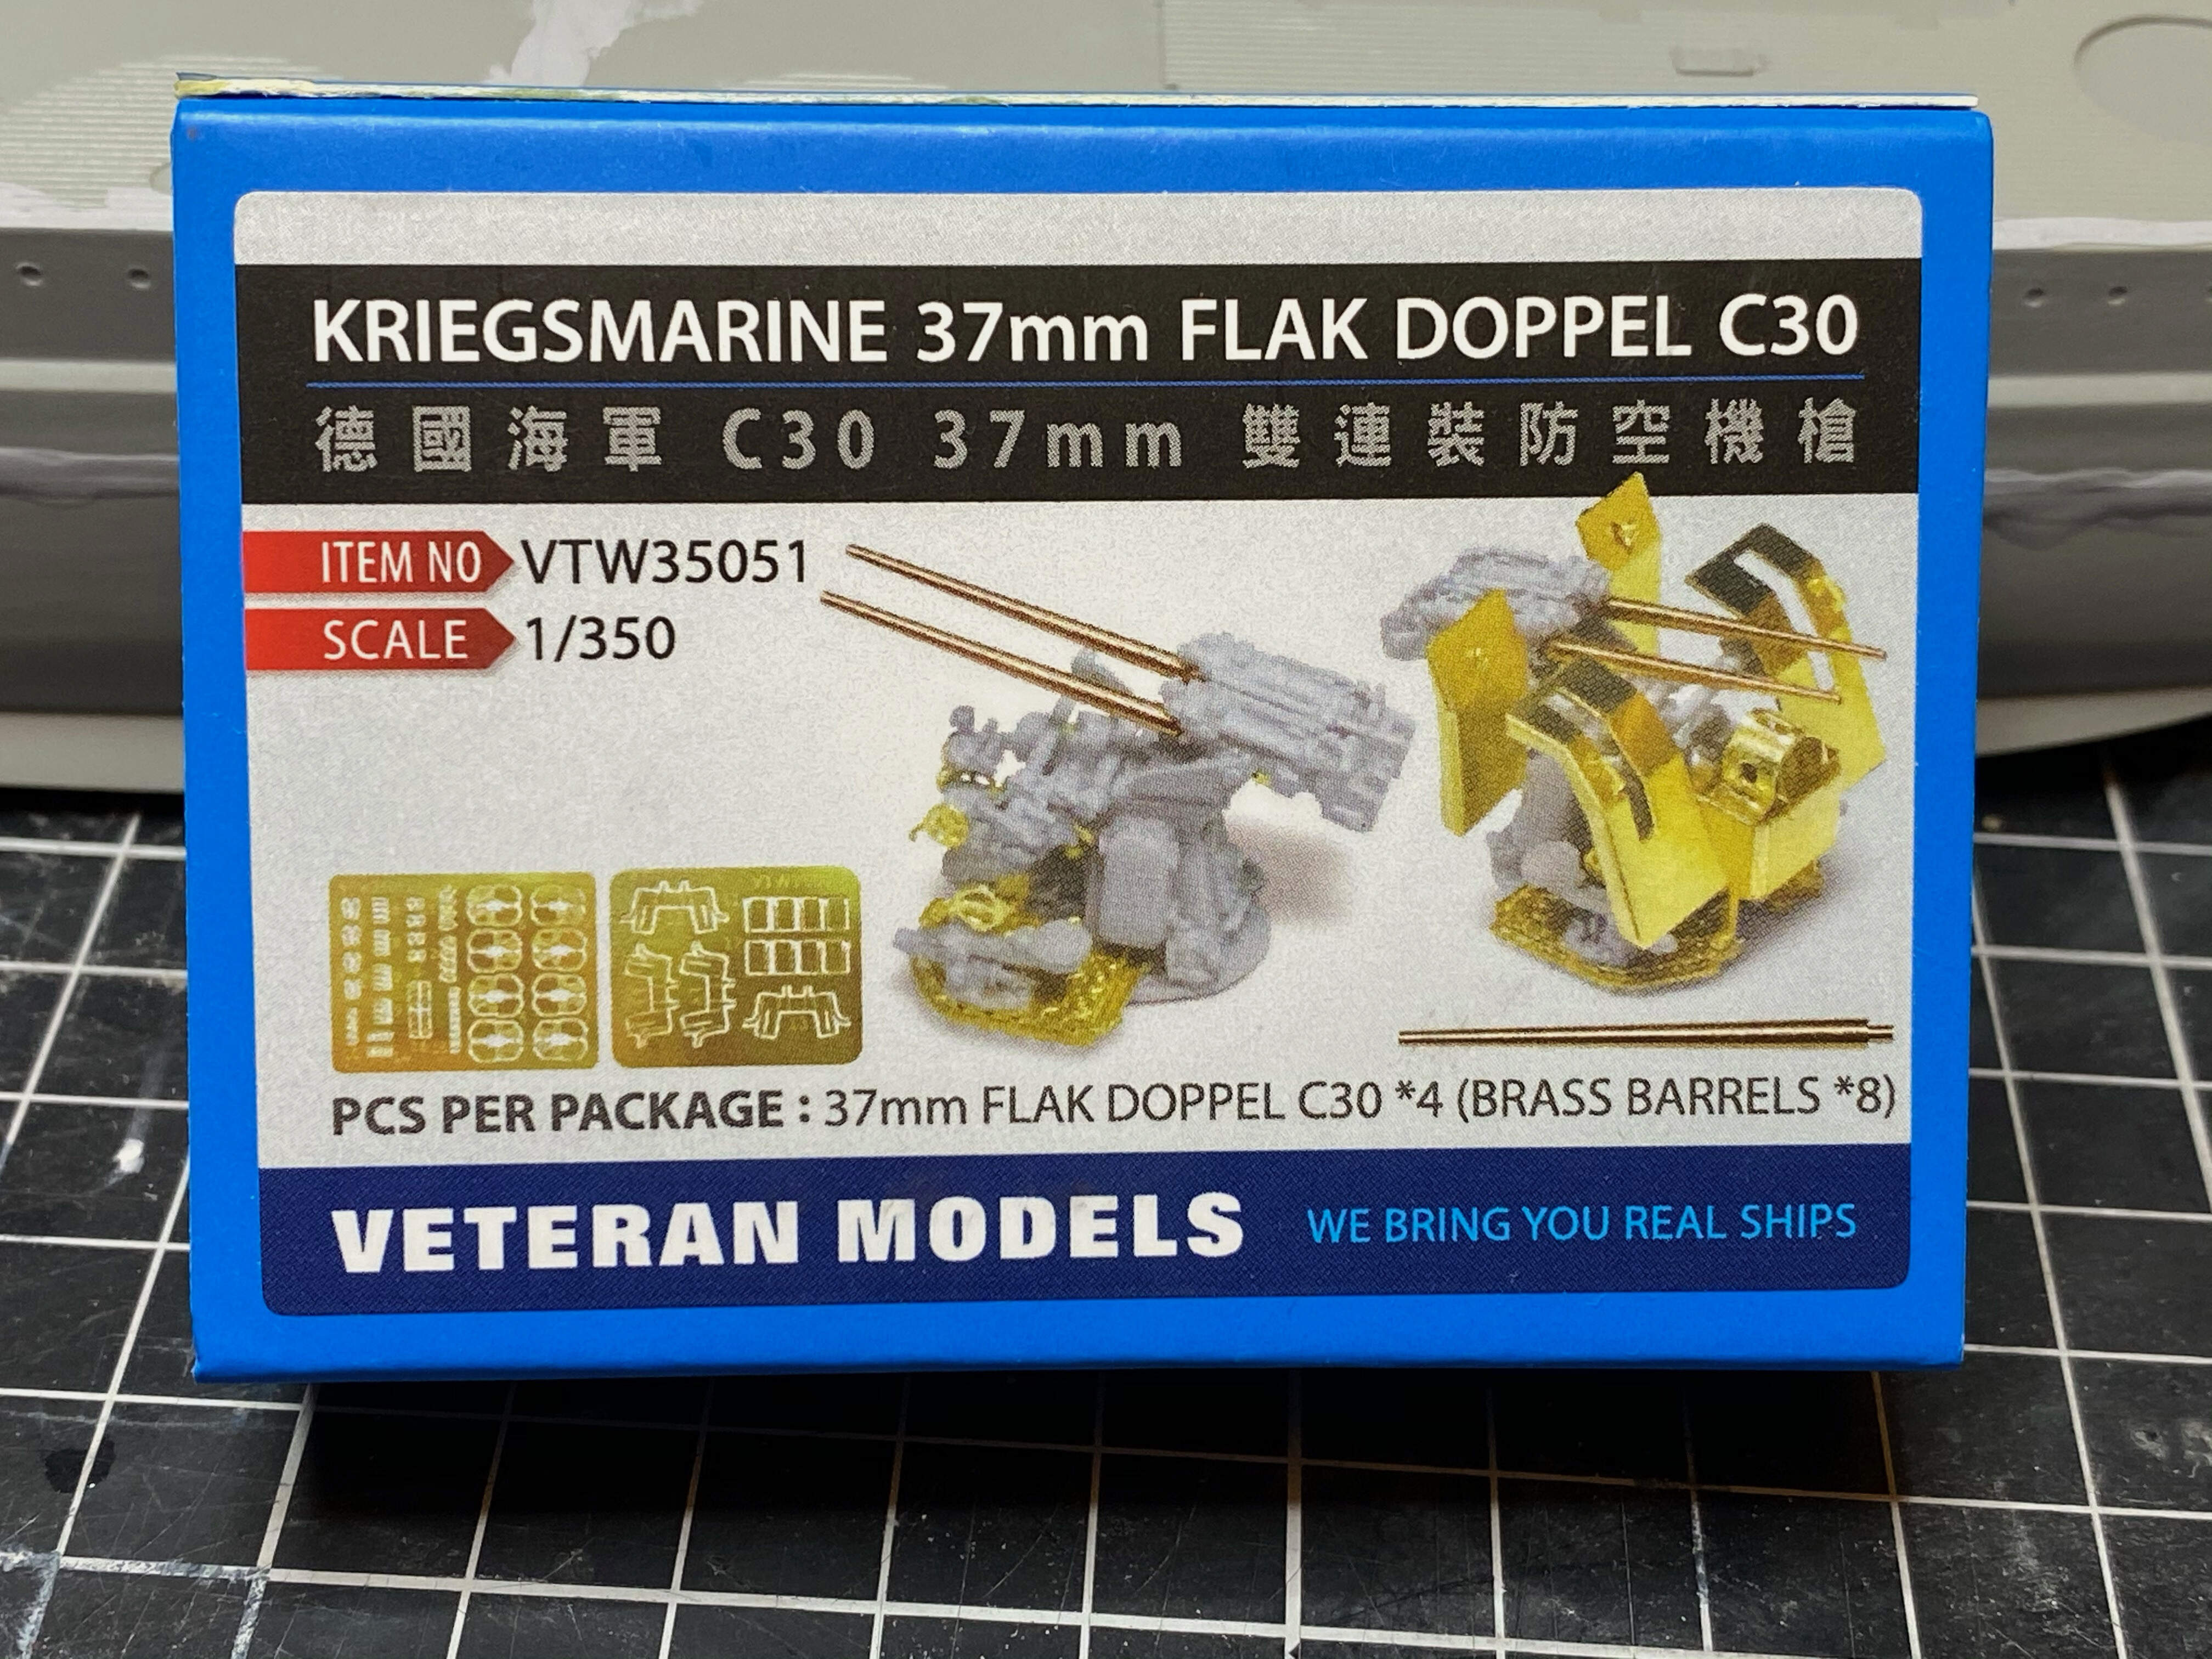
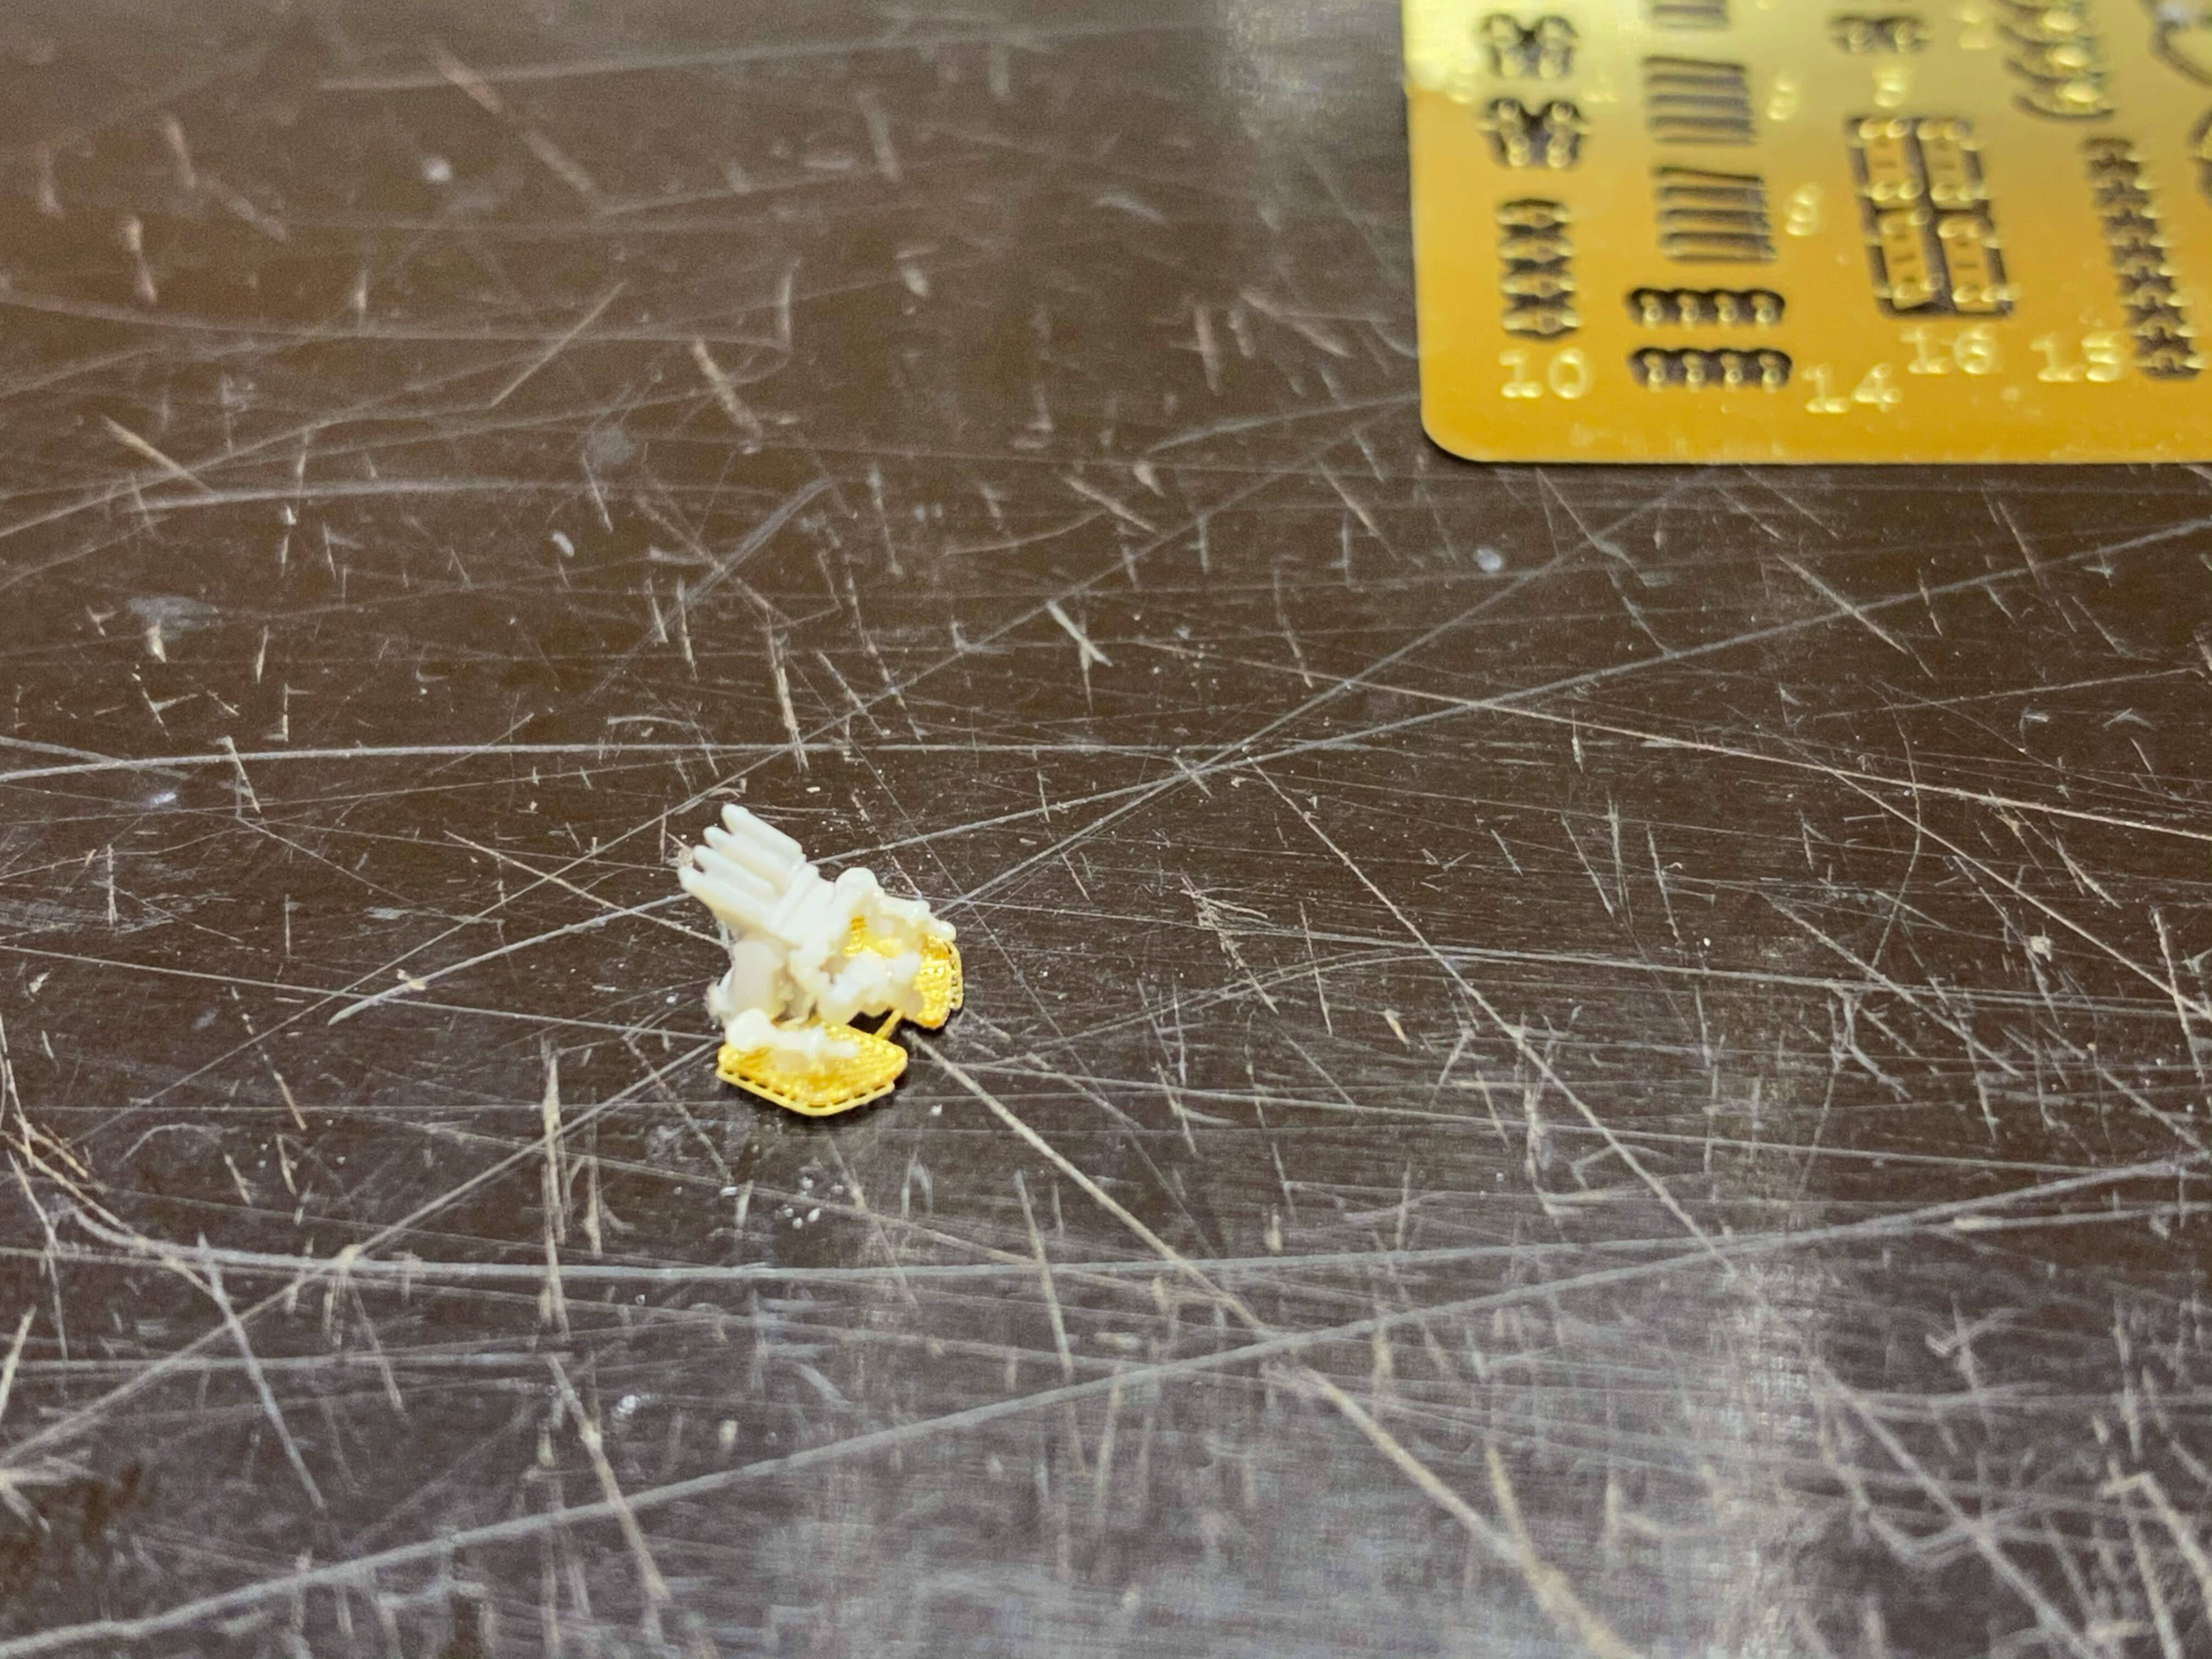
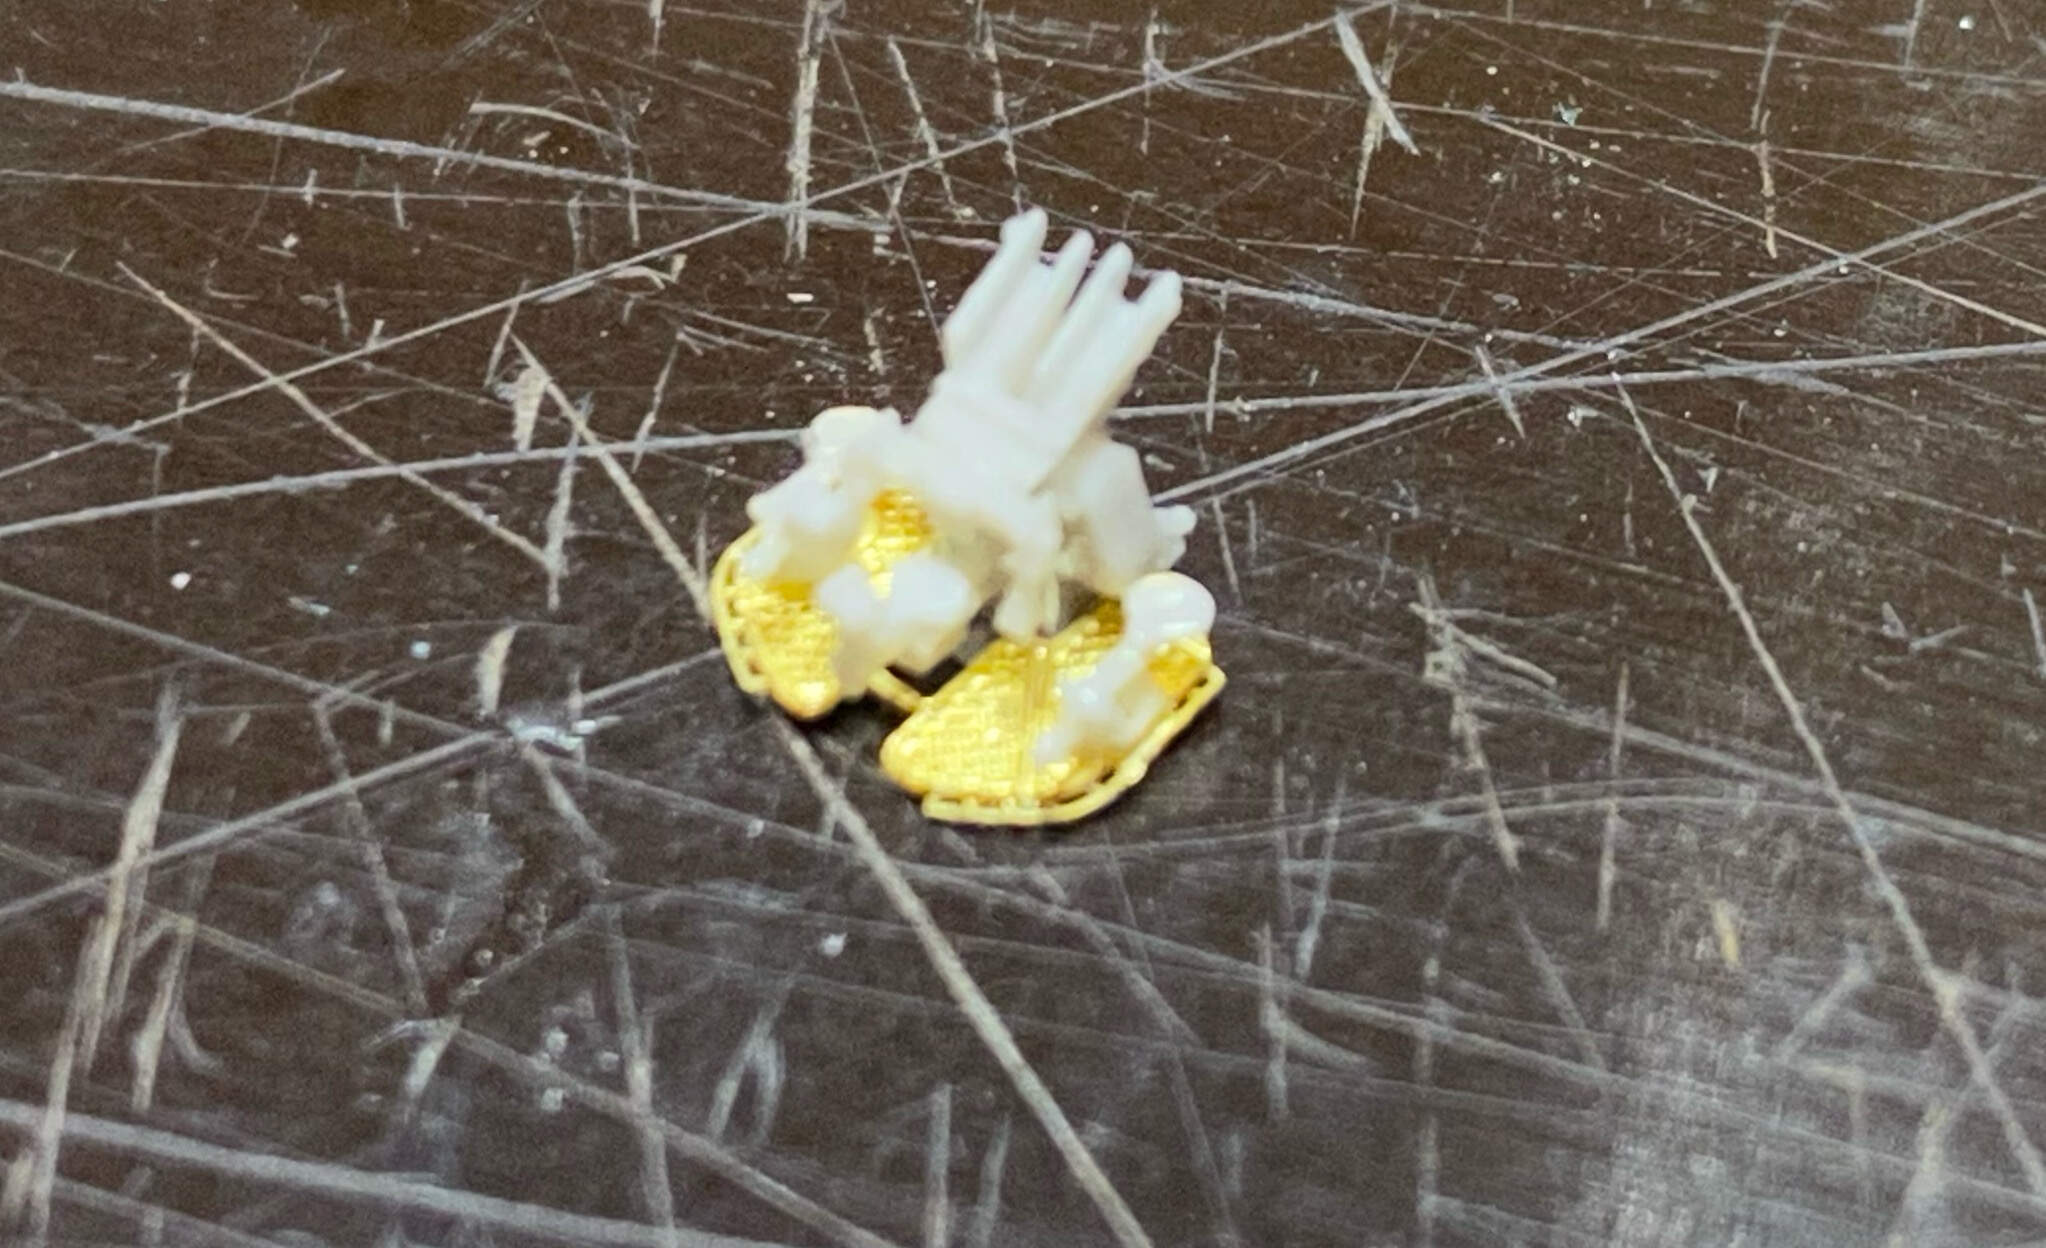
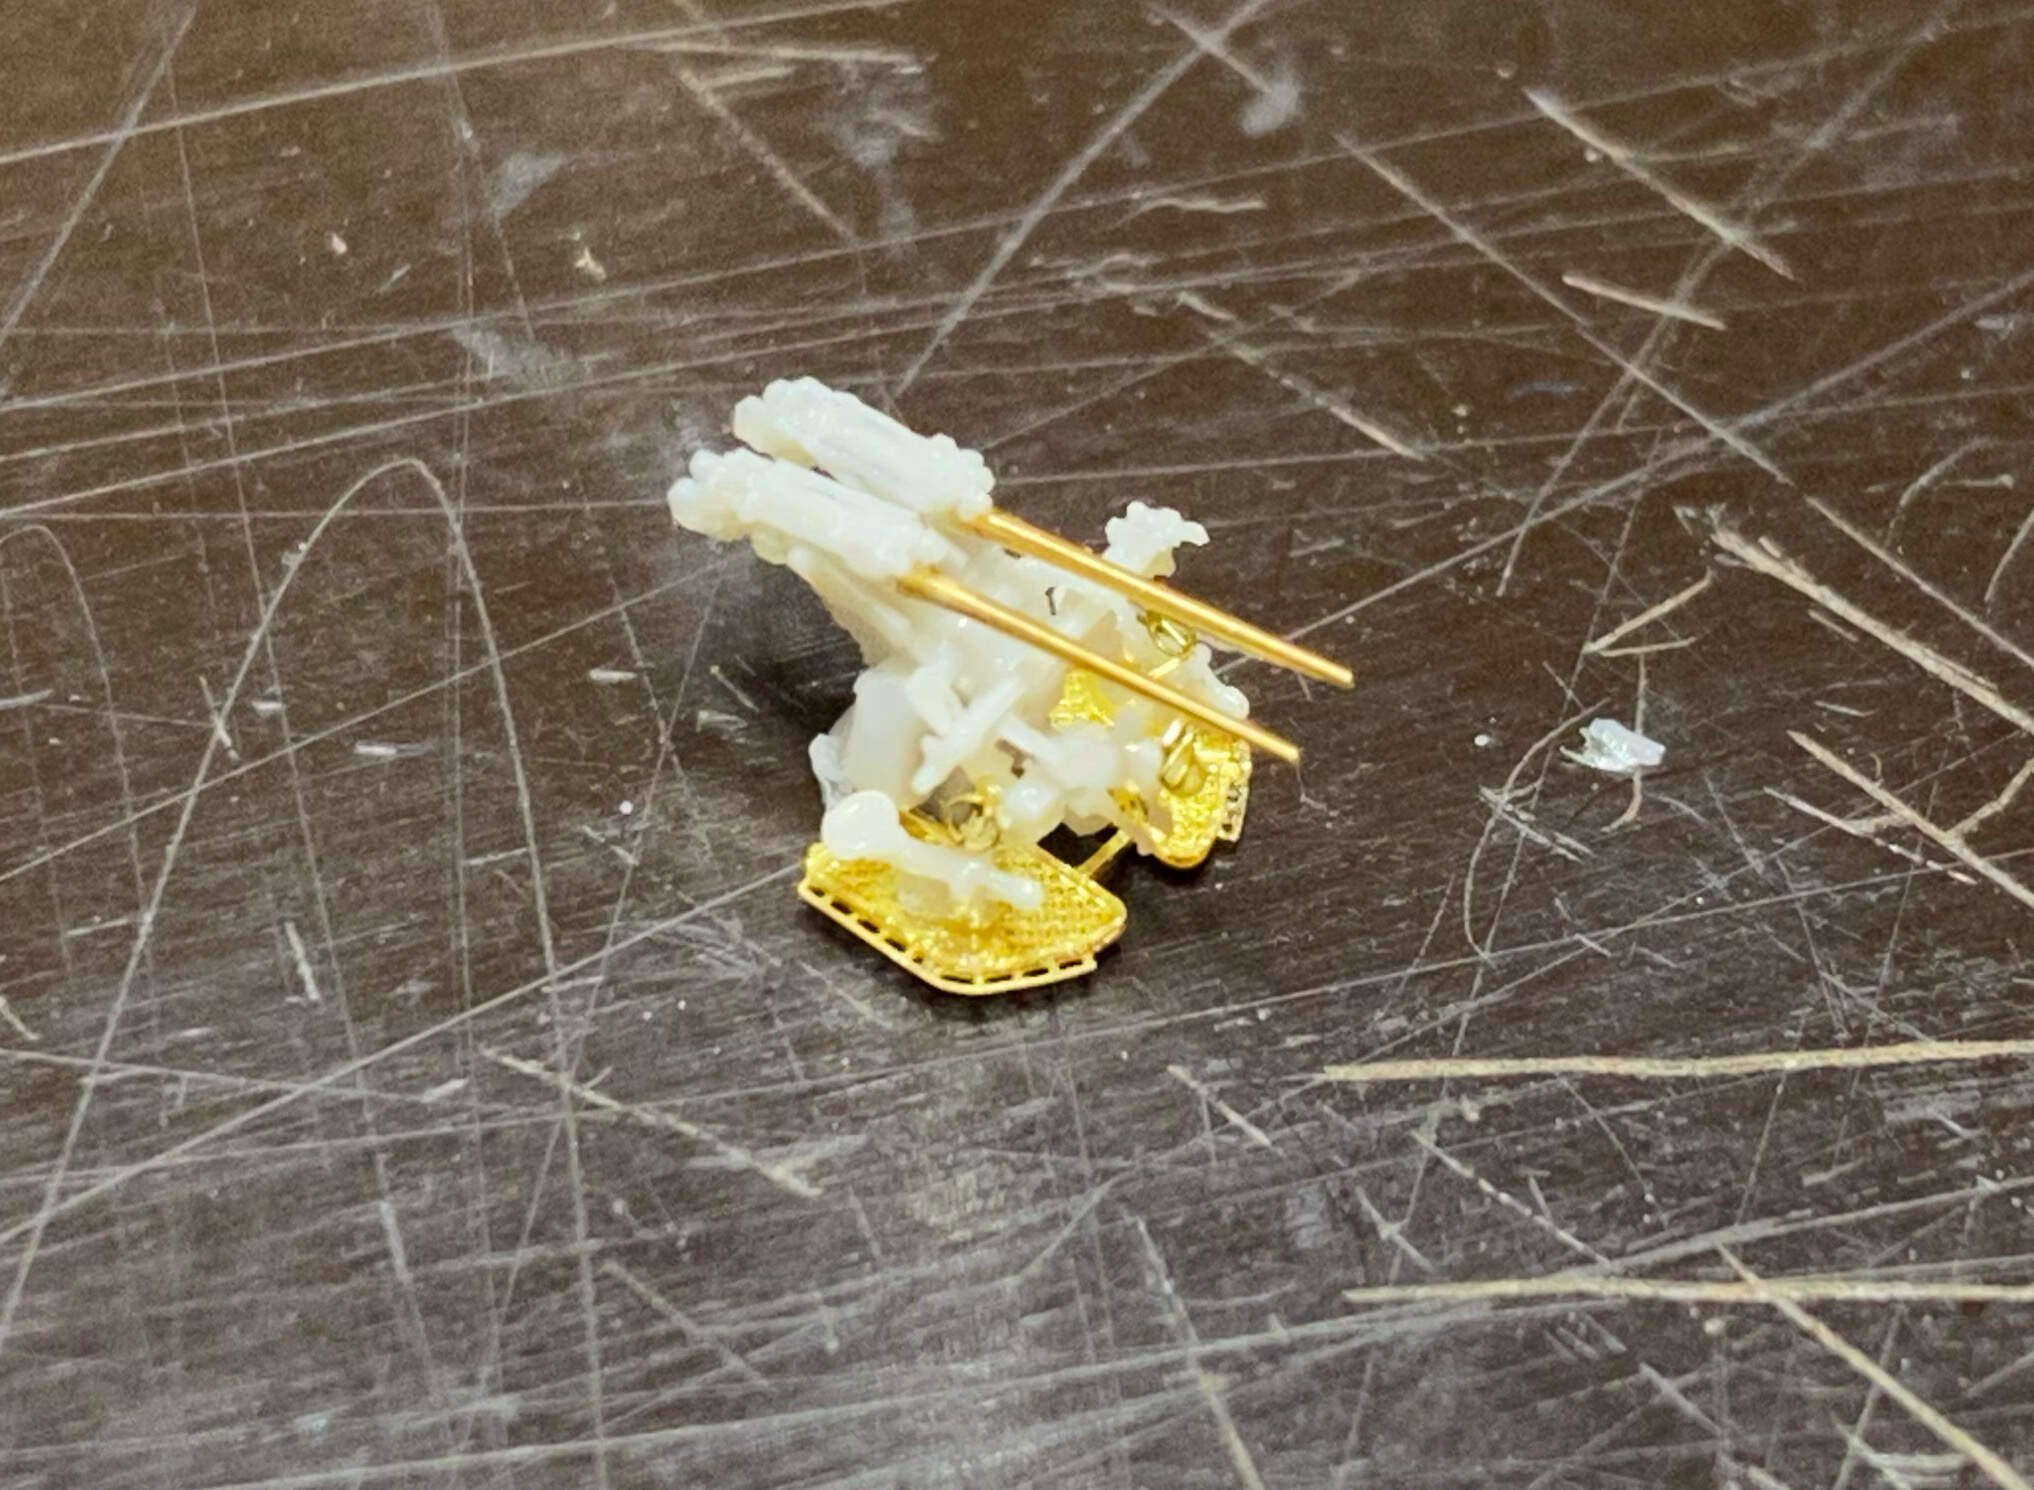
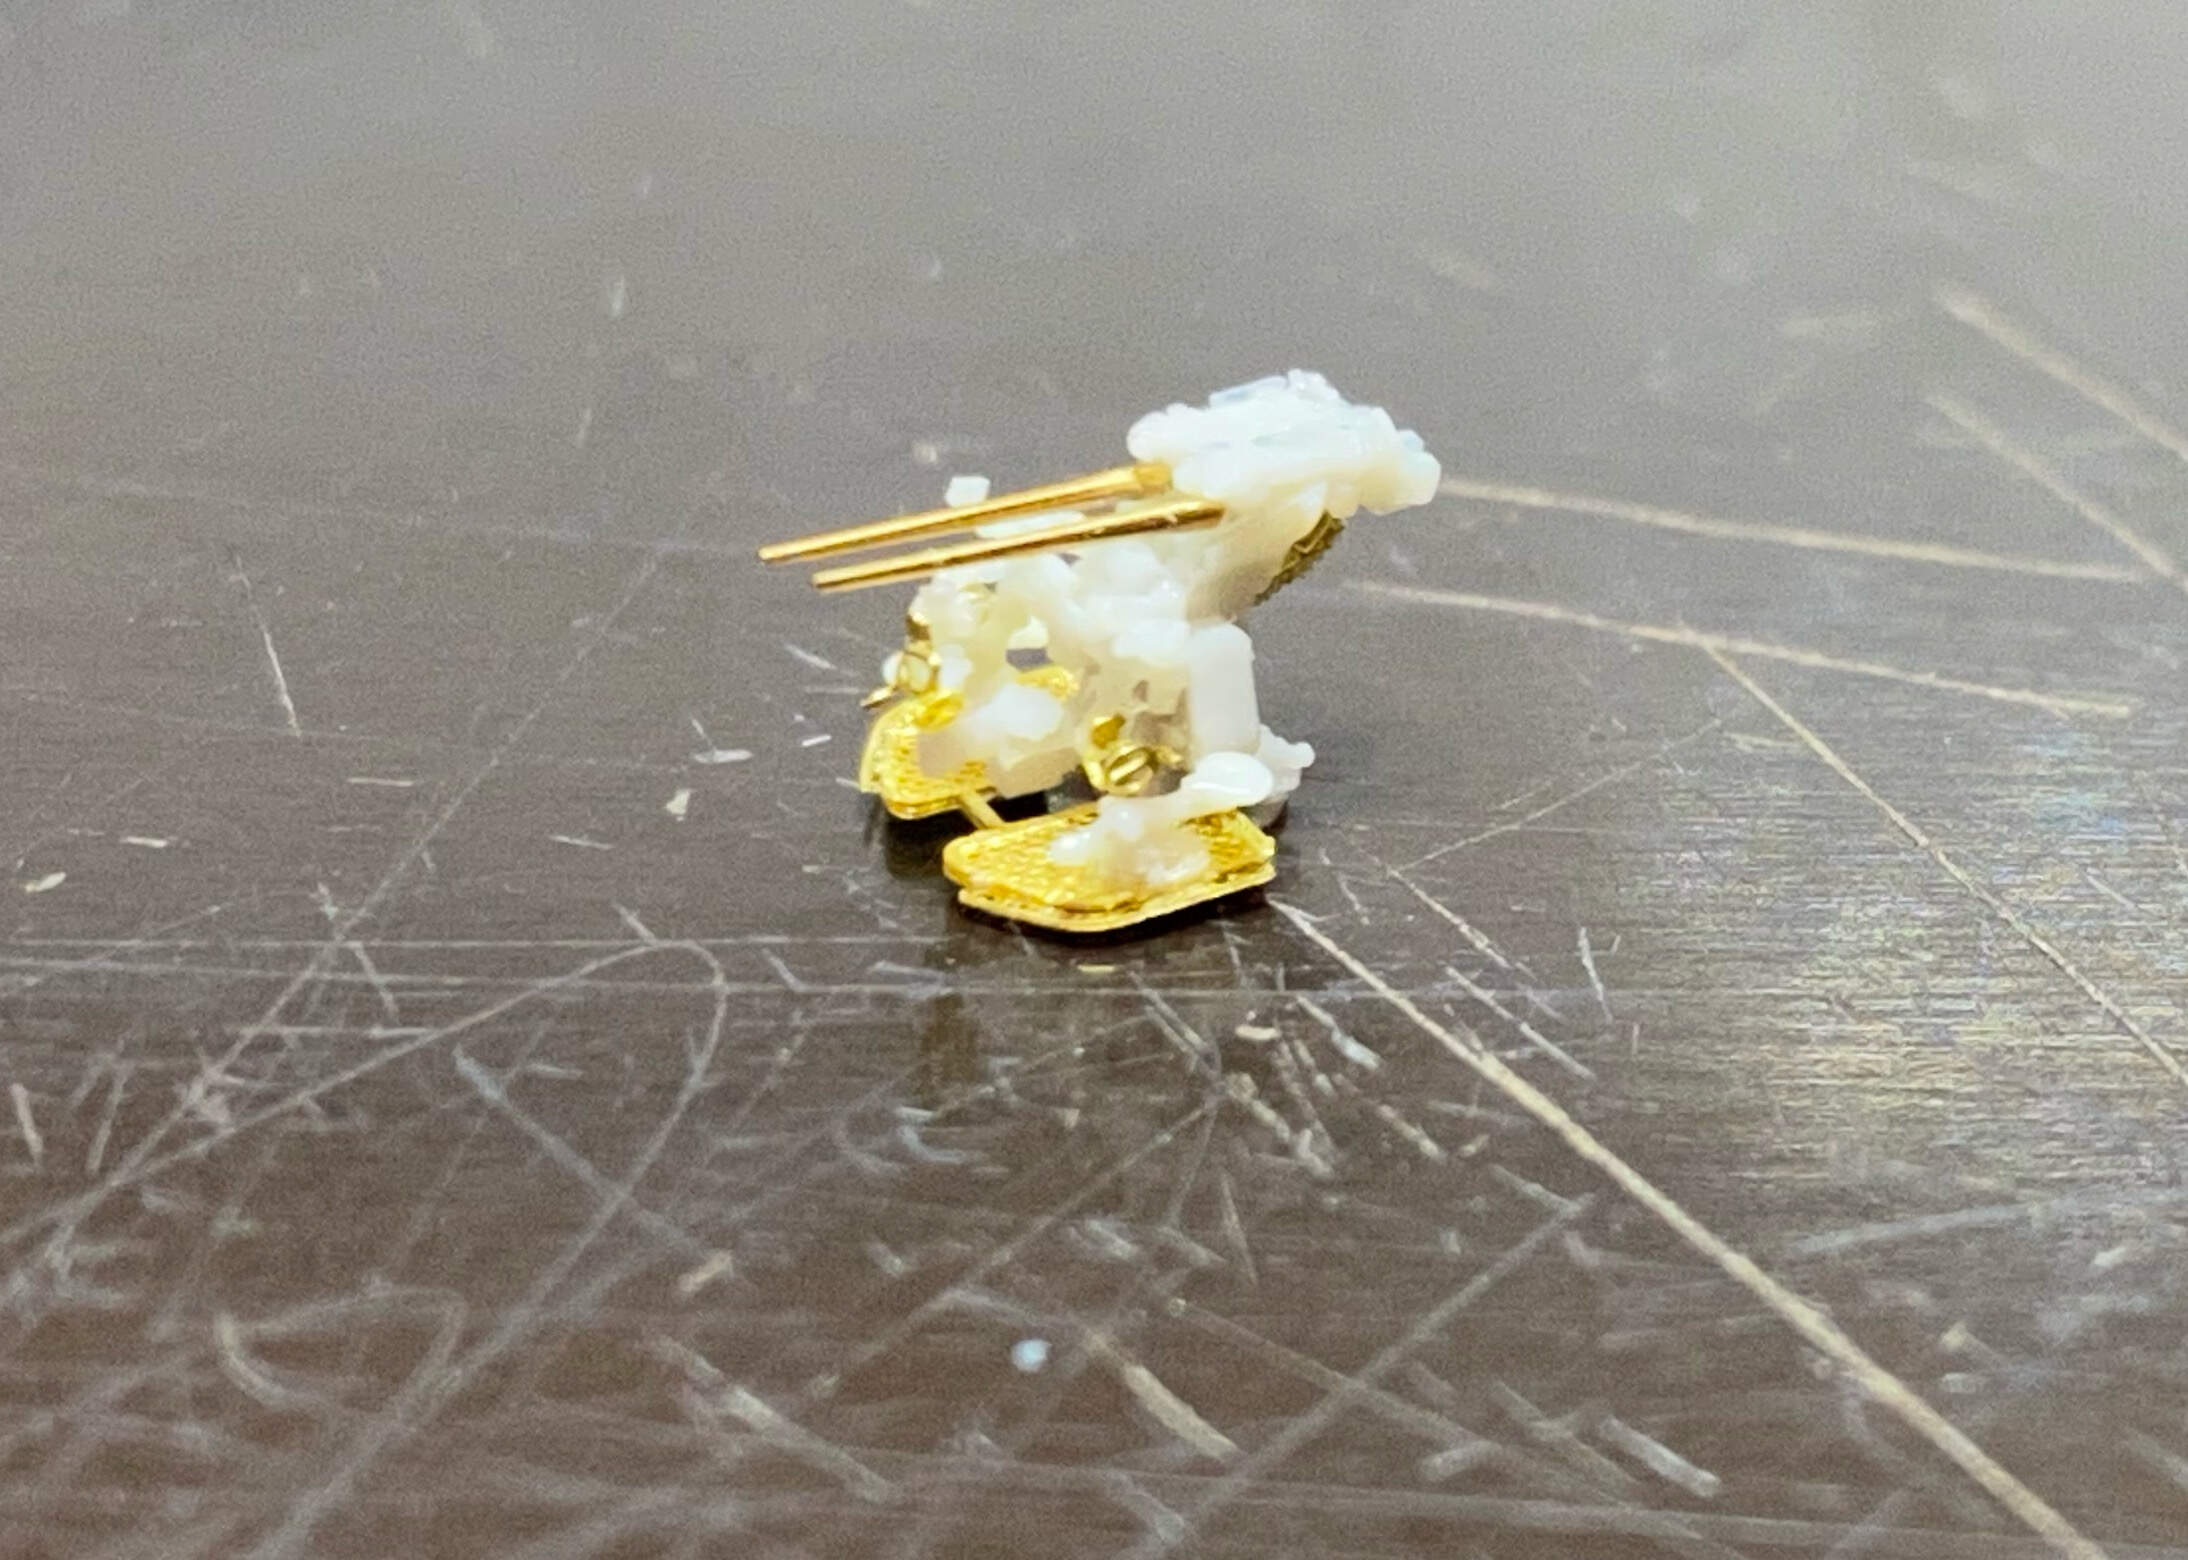
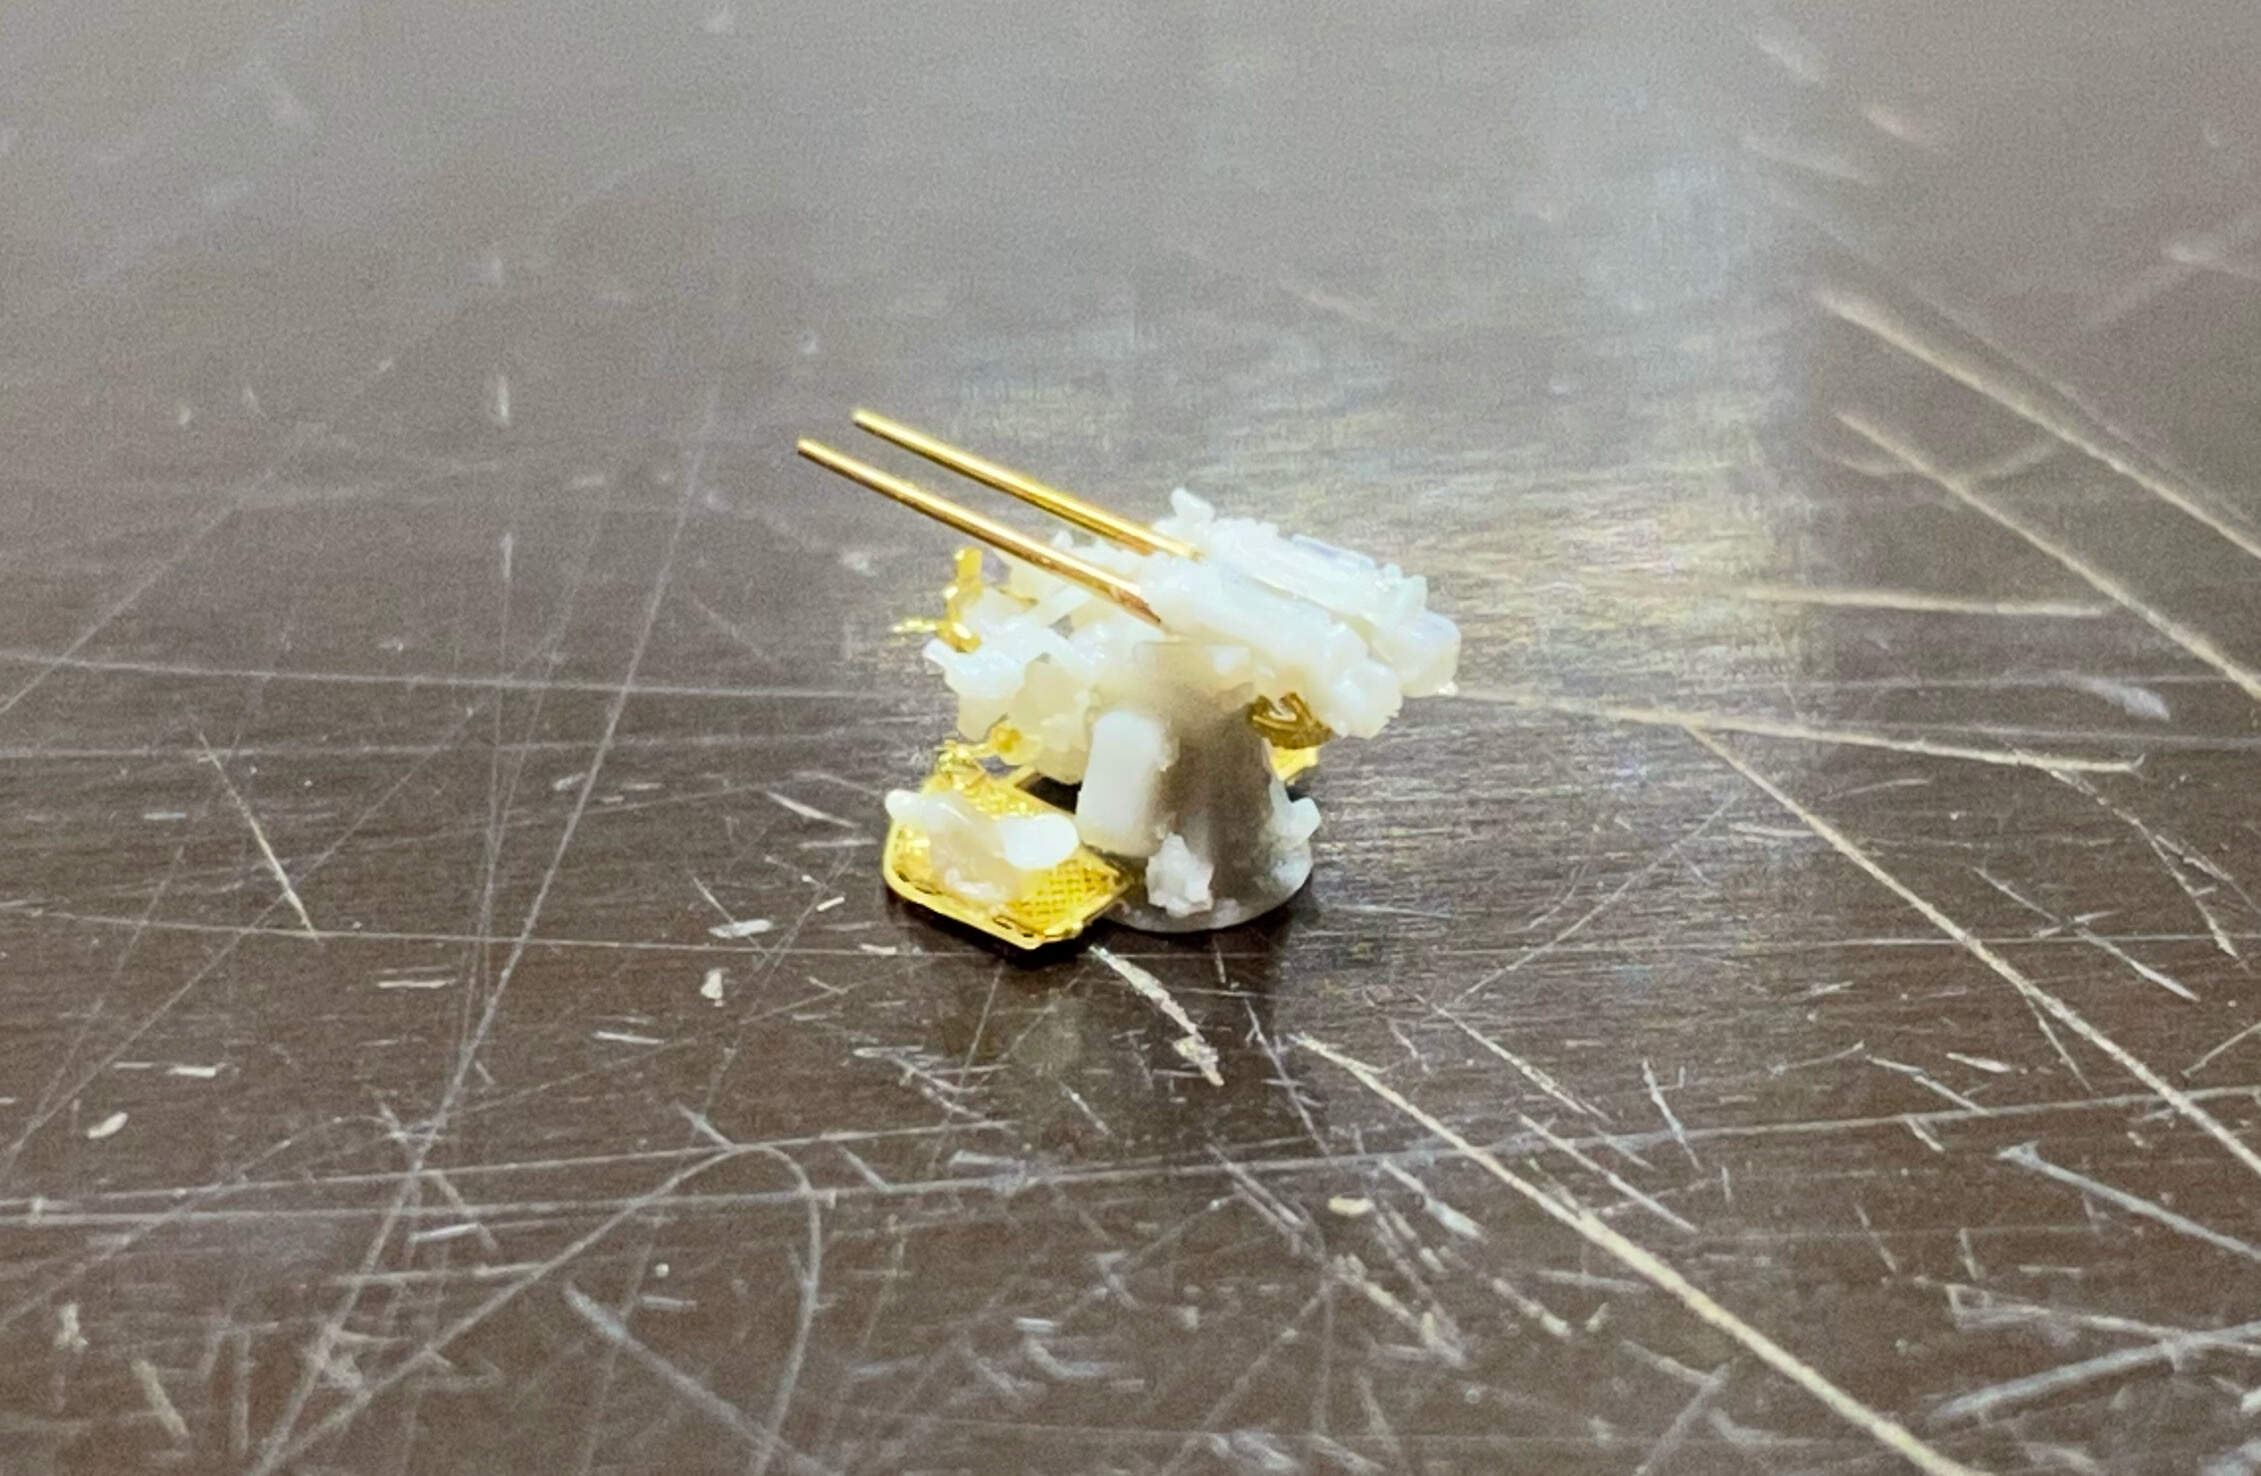
I had to do one other thing, trying the 37mm FLAK. Basically I have three options, the Veteran kit, a Flyhawk kit or the Dragon parts itself, possibly with Master turned barrels.
Veteran is only 4 pieces, and out of stock at my standard hobby shop, but since it’s essentially some time to go that probably would not be a problem. Flyhawk are 6 pieces, didn’t check availability yet.
So I’m going to build one of all three and then decide. I started with the Veteran, and that’s the only one I got ready yet. And It’s down to three, one microscopic piece snipped off my tweezers into eternity, so now I have some spares to build the remaining two…
They are fine models and well, very tiny details and I need my magnifier that I used for the 1:700, but otherwise reasonably easy and straightforward forward to build.
Next weekend I hope to find time for the remaining two, or at least one.
For now, thanks for looking and all comments welcome,
Jan - nice work on those AA Guns. I know how fiddly the Veteran kits can be - generally have a hell of a time putting together their IJN Type 89 AA Guns - They are great kits but I recently purchased some Very Fire versions and will try those on my next build -
thank you for your kind comments and for following this build! And Michael, welcome on board!
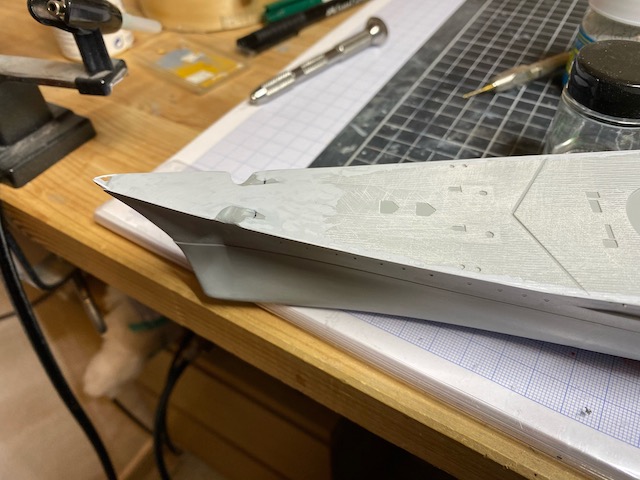
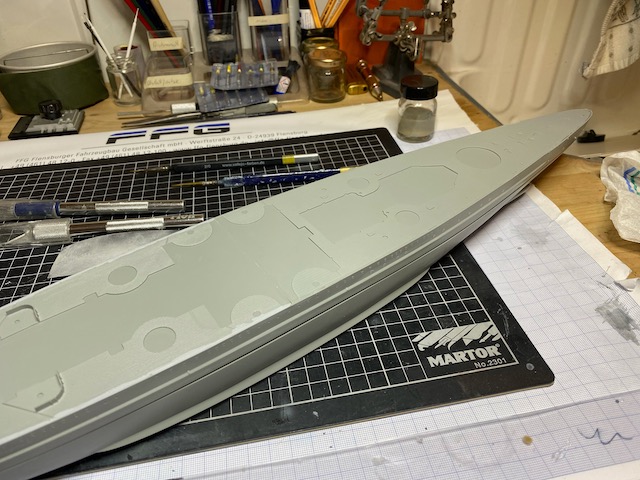
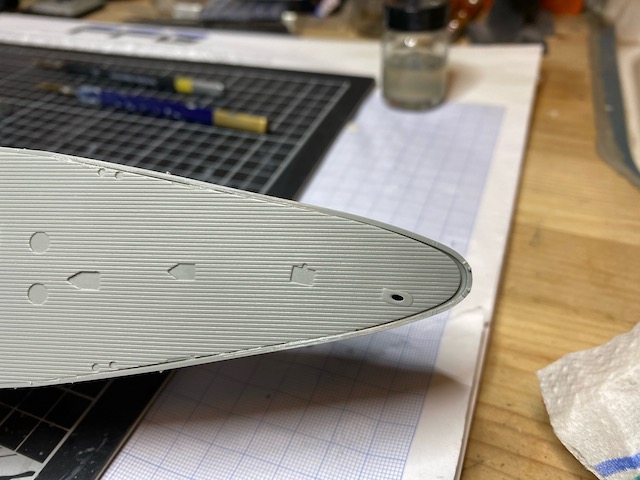
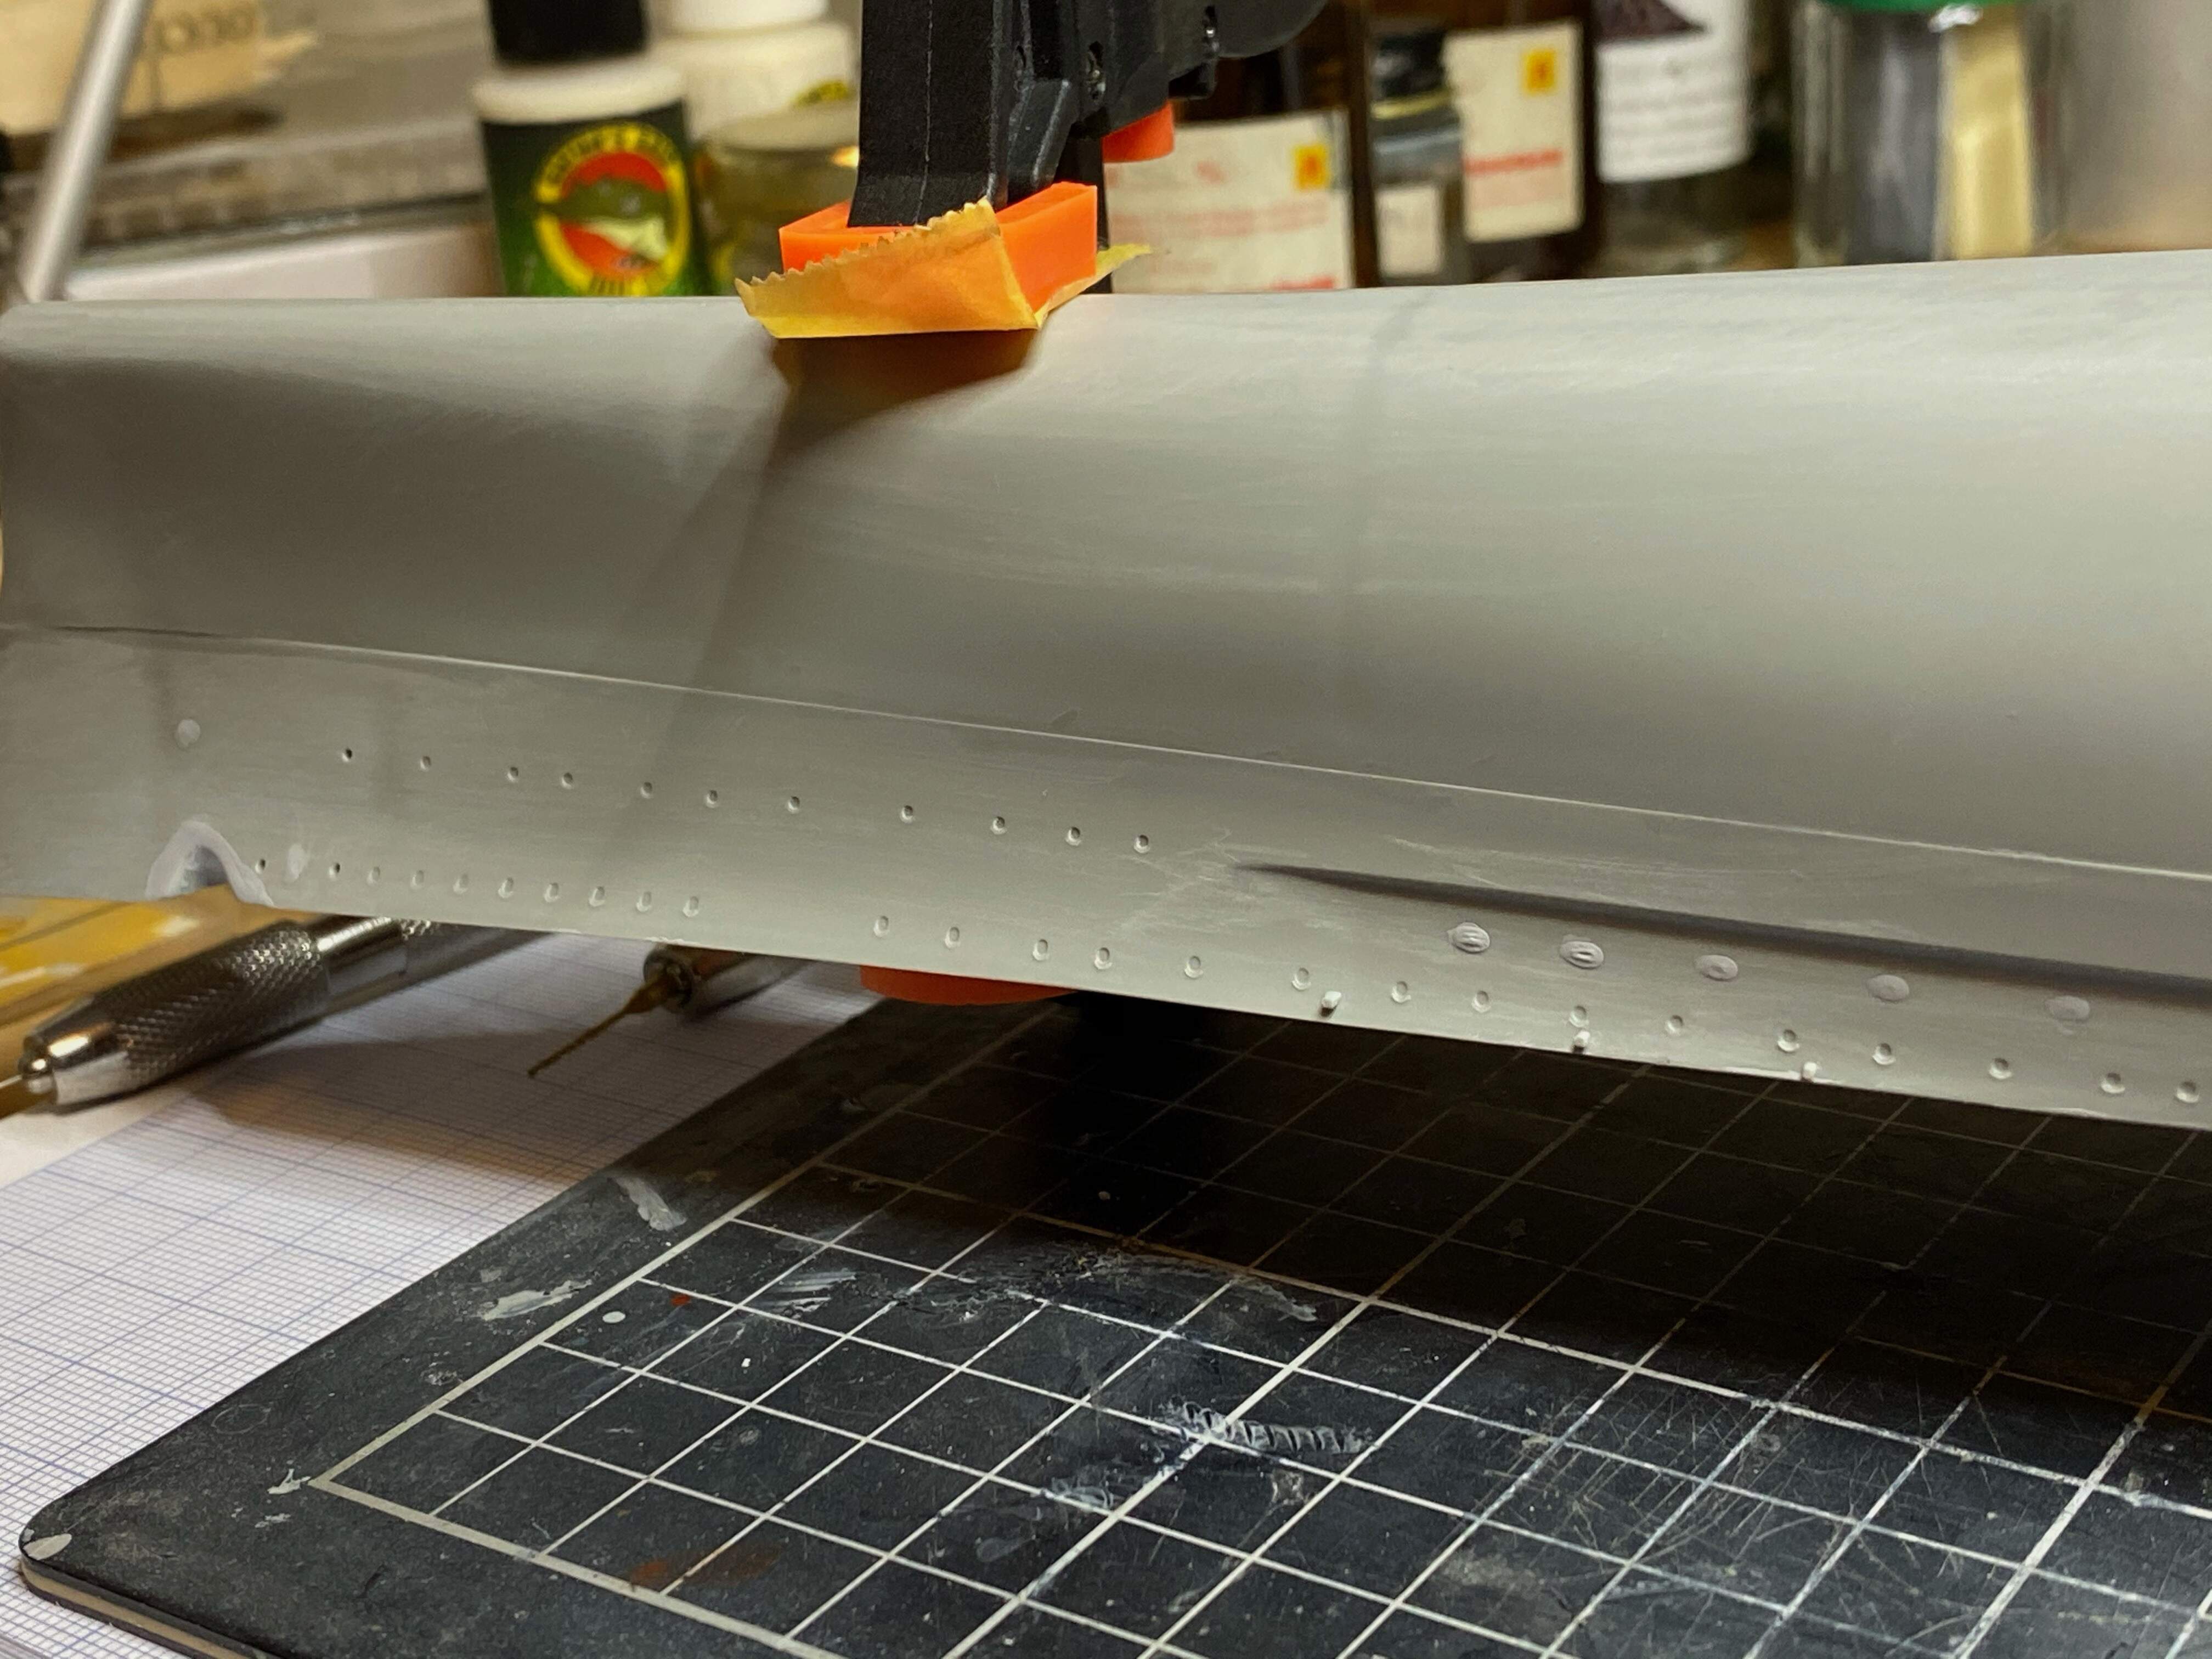
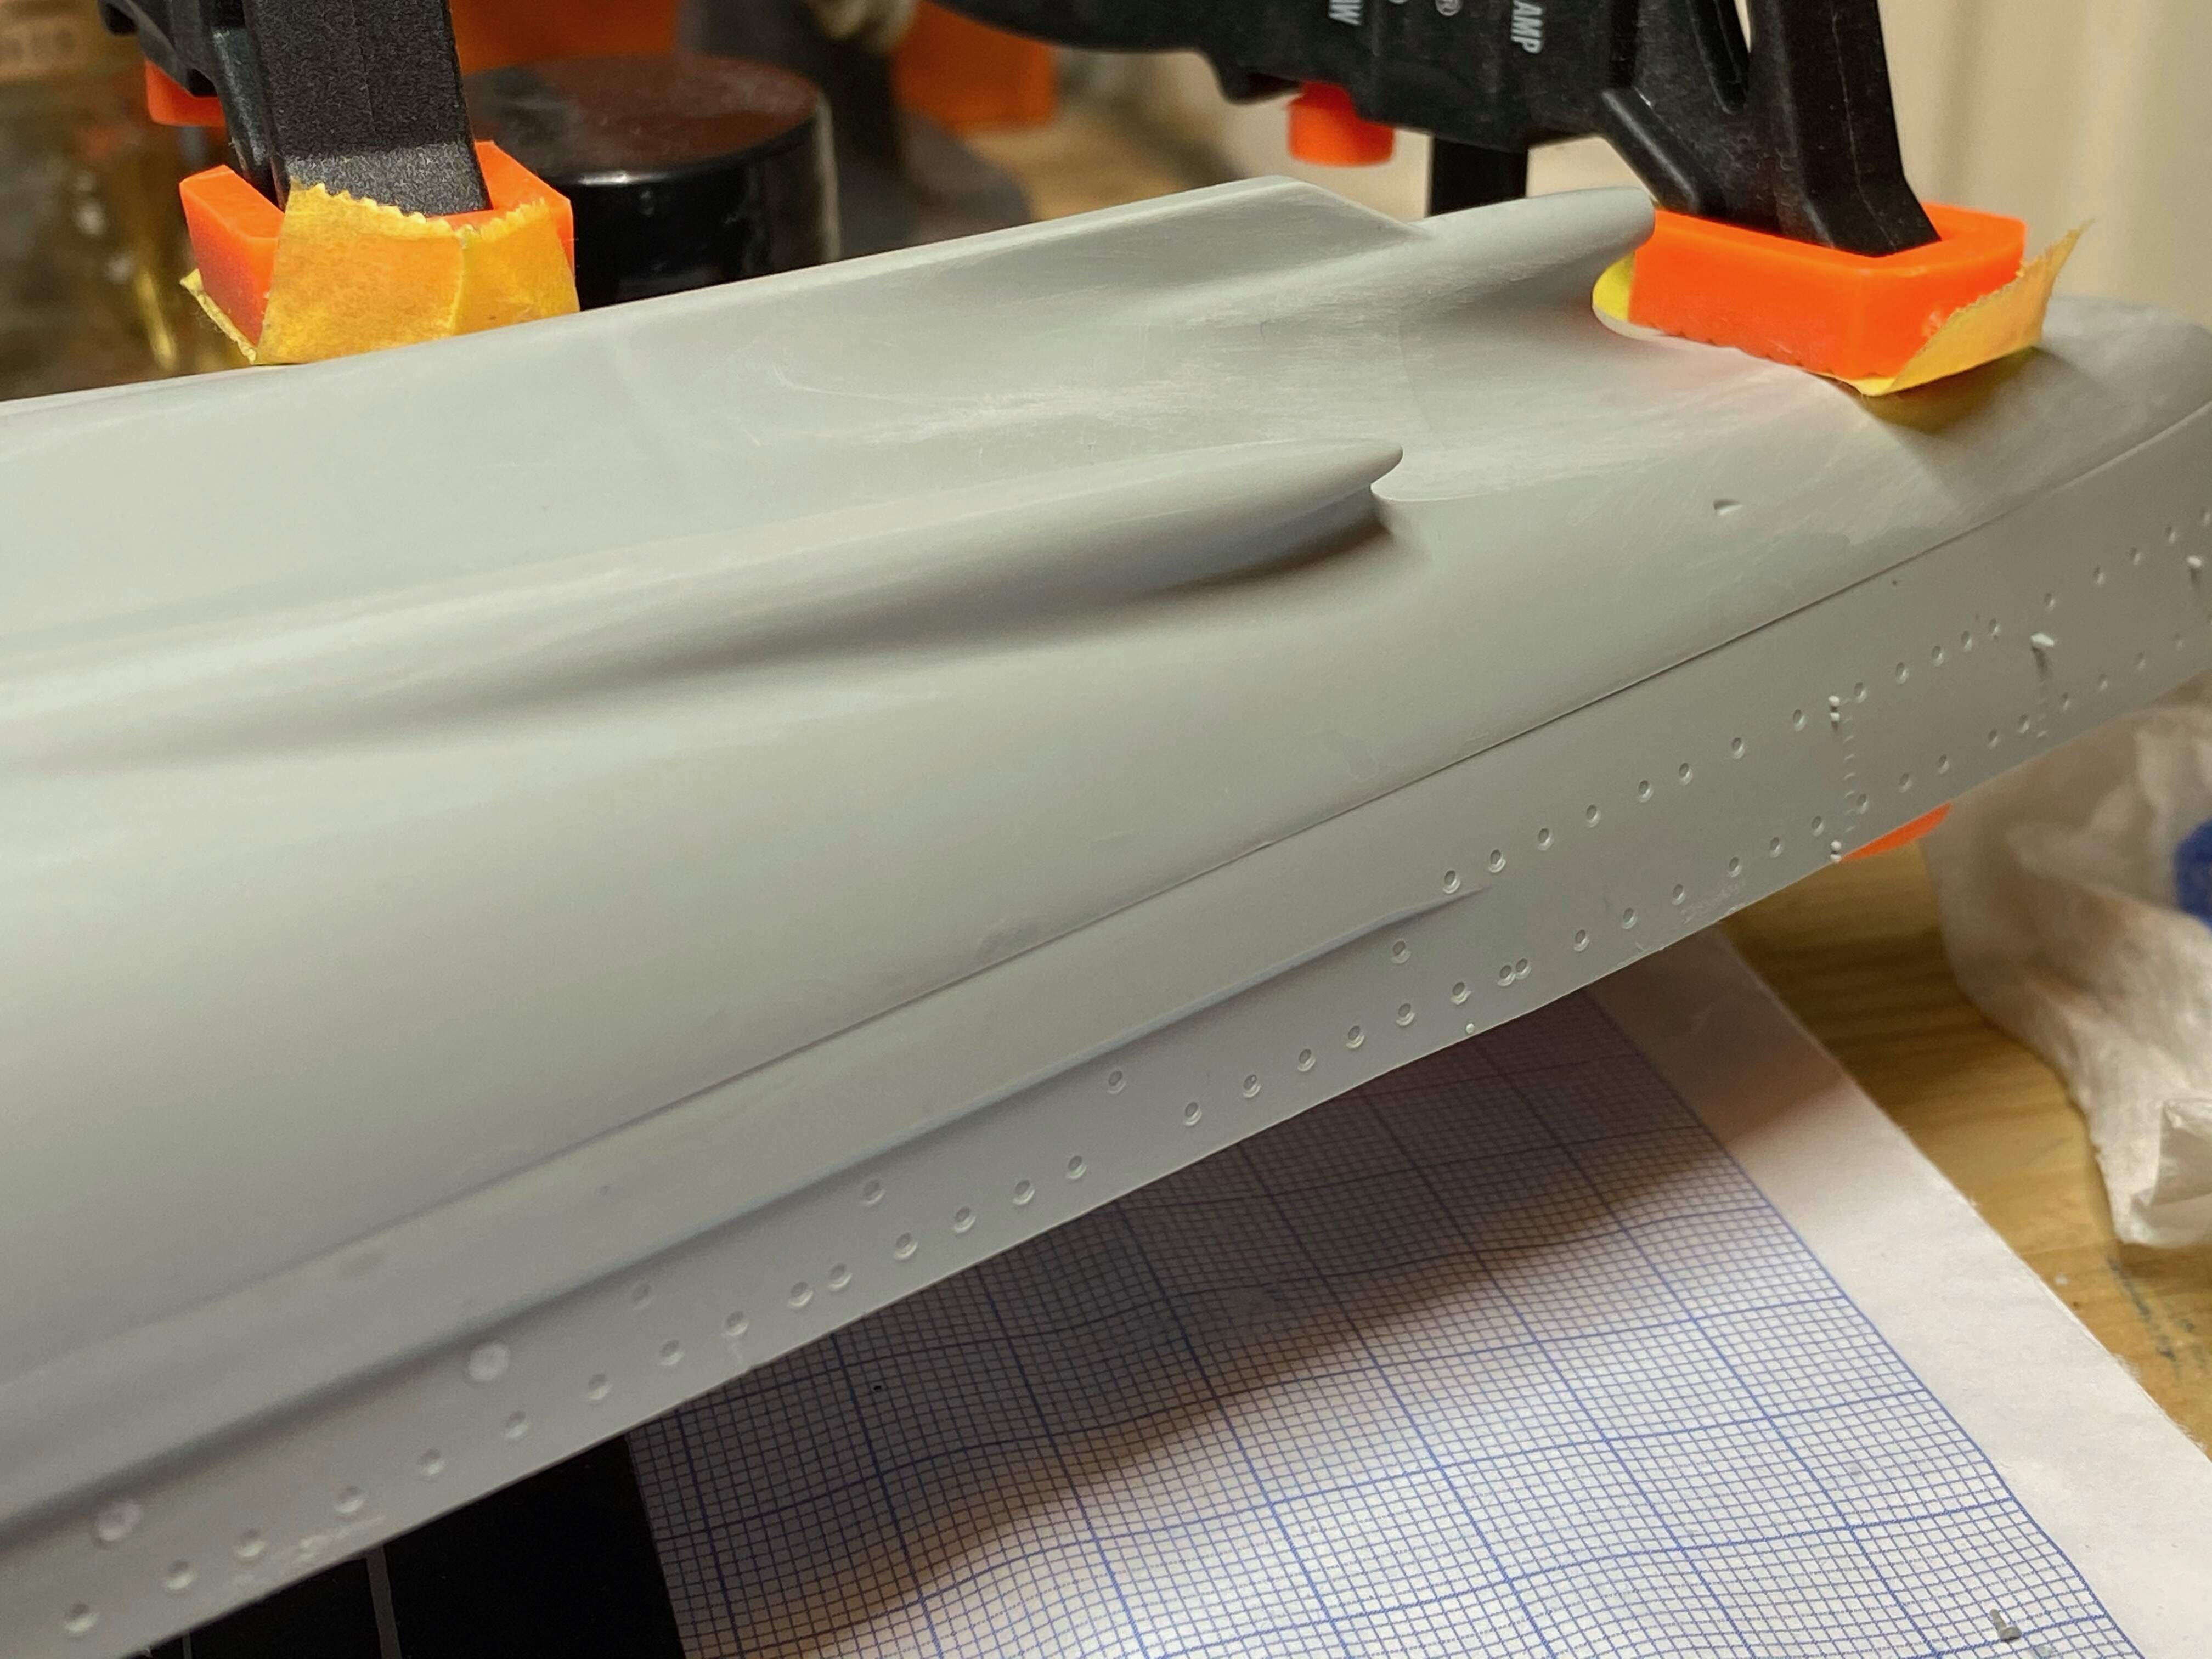
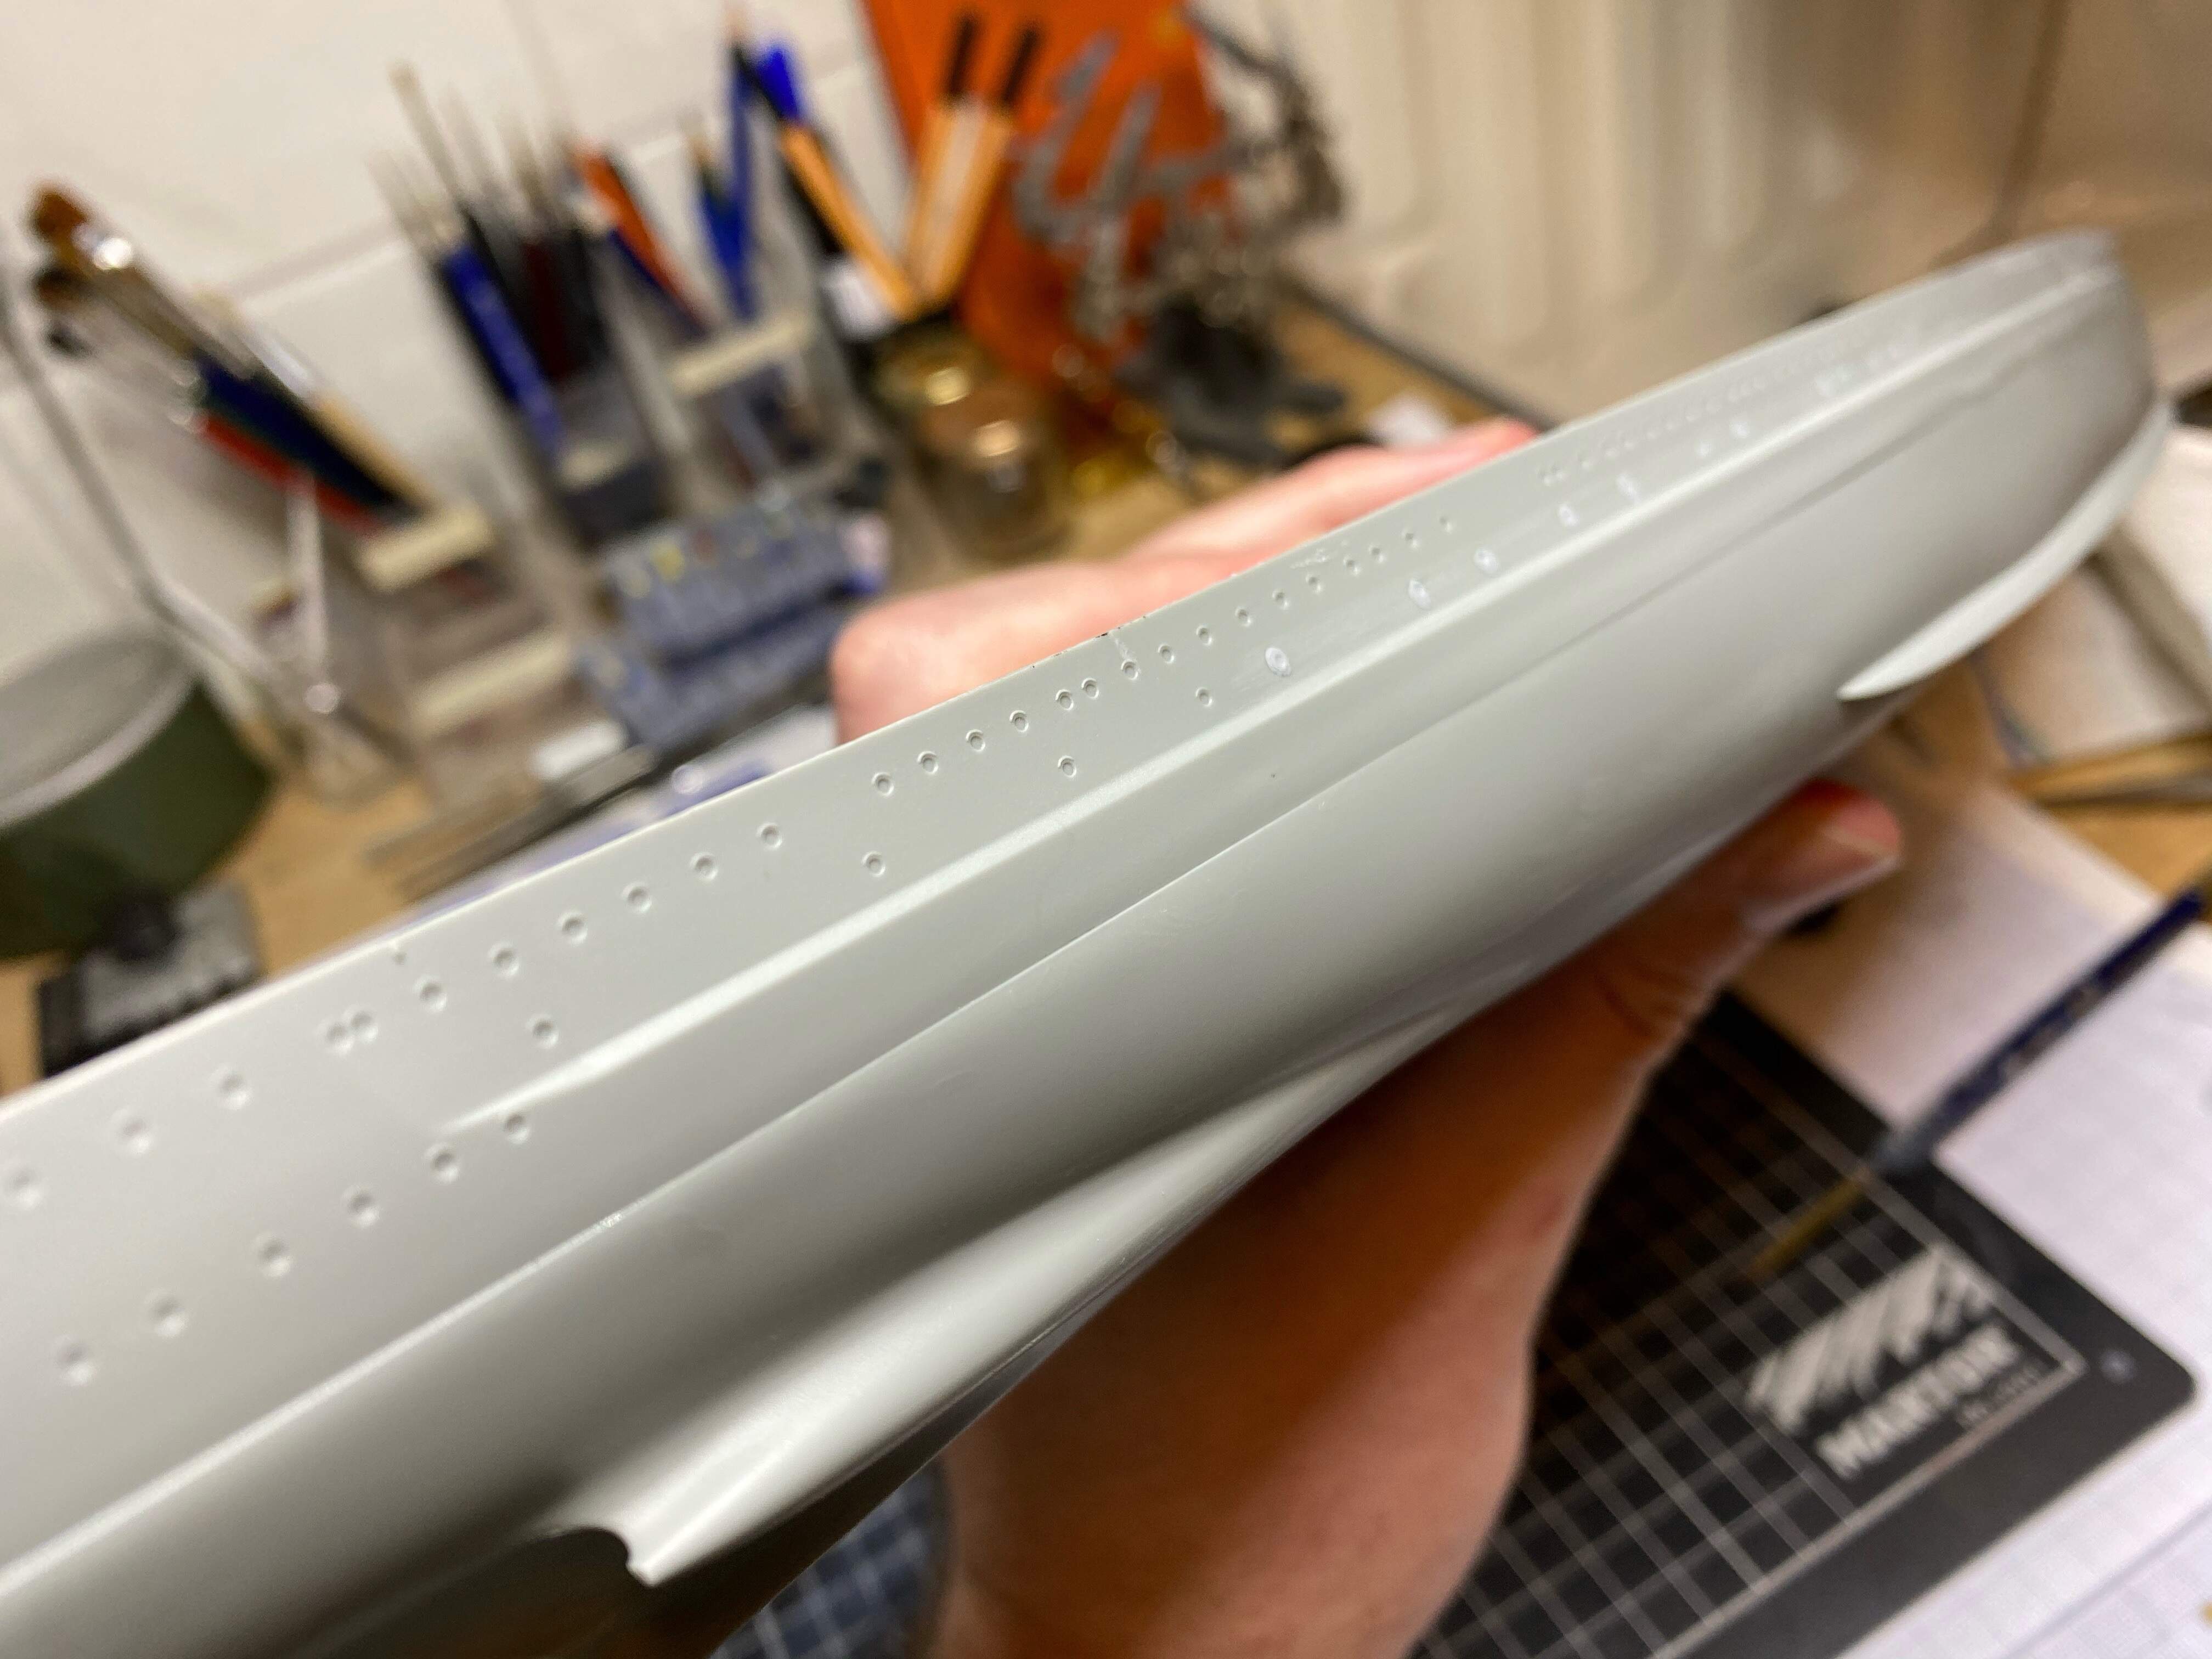
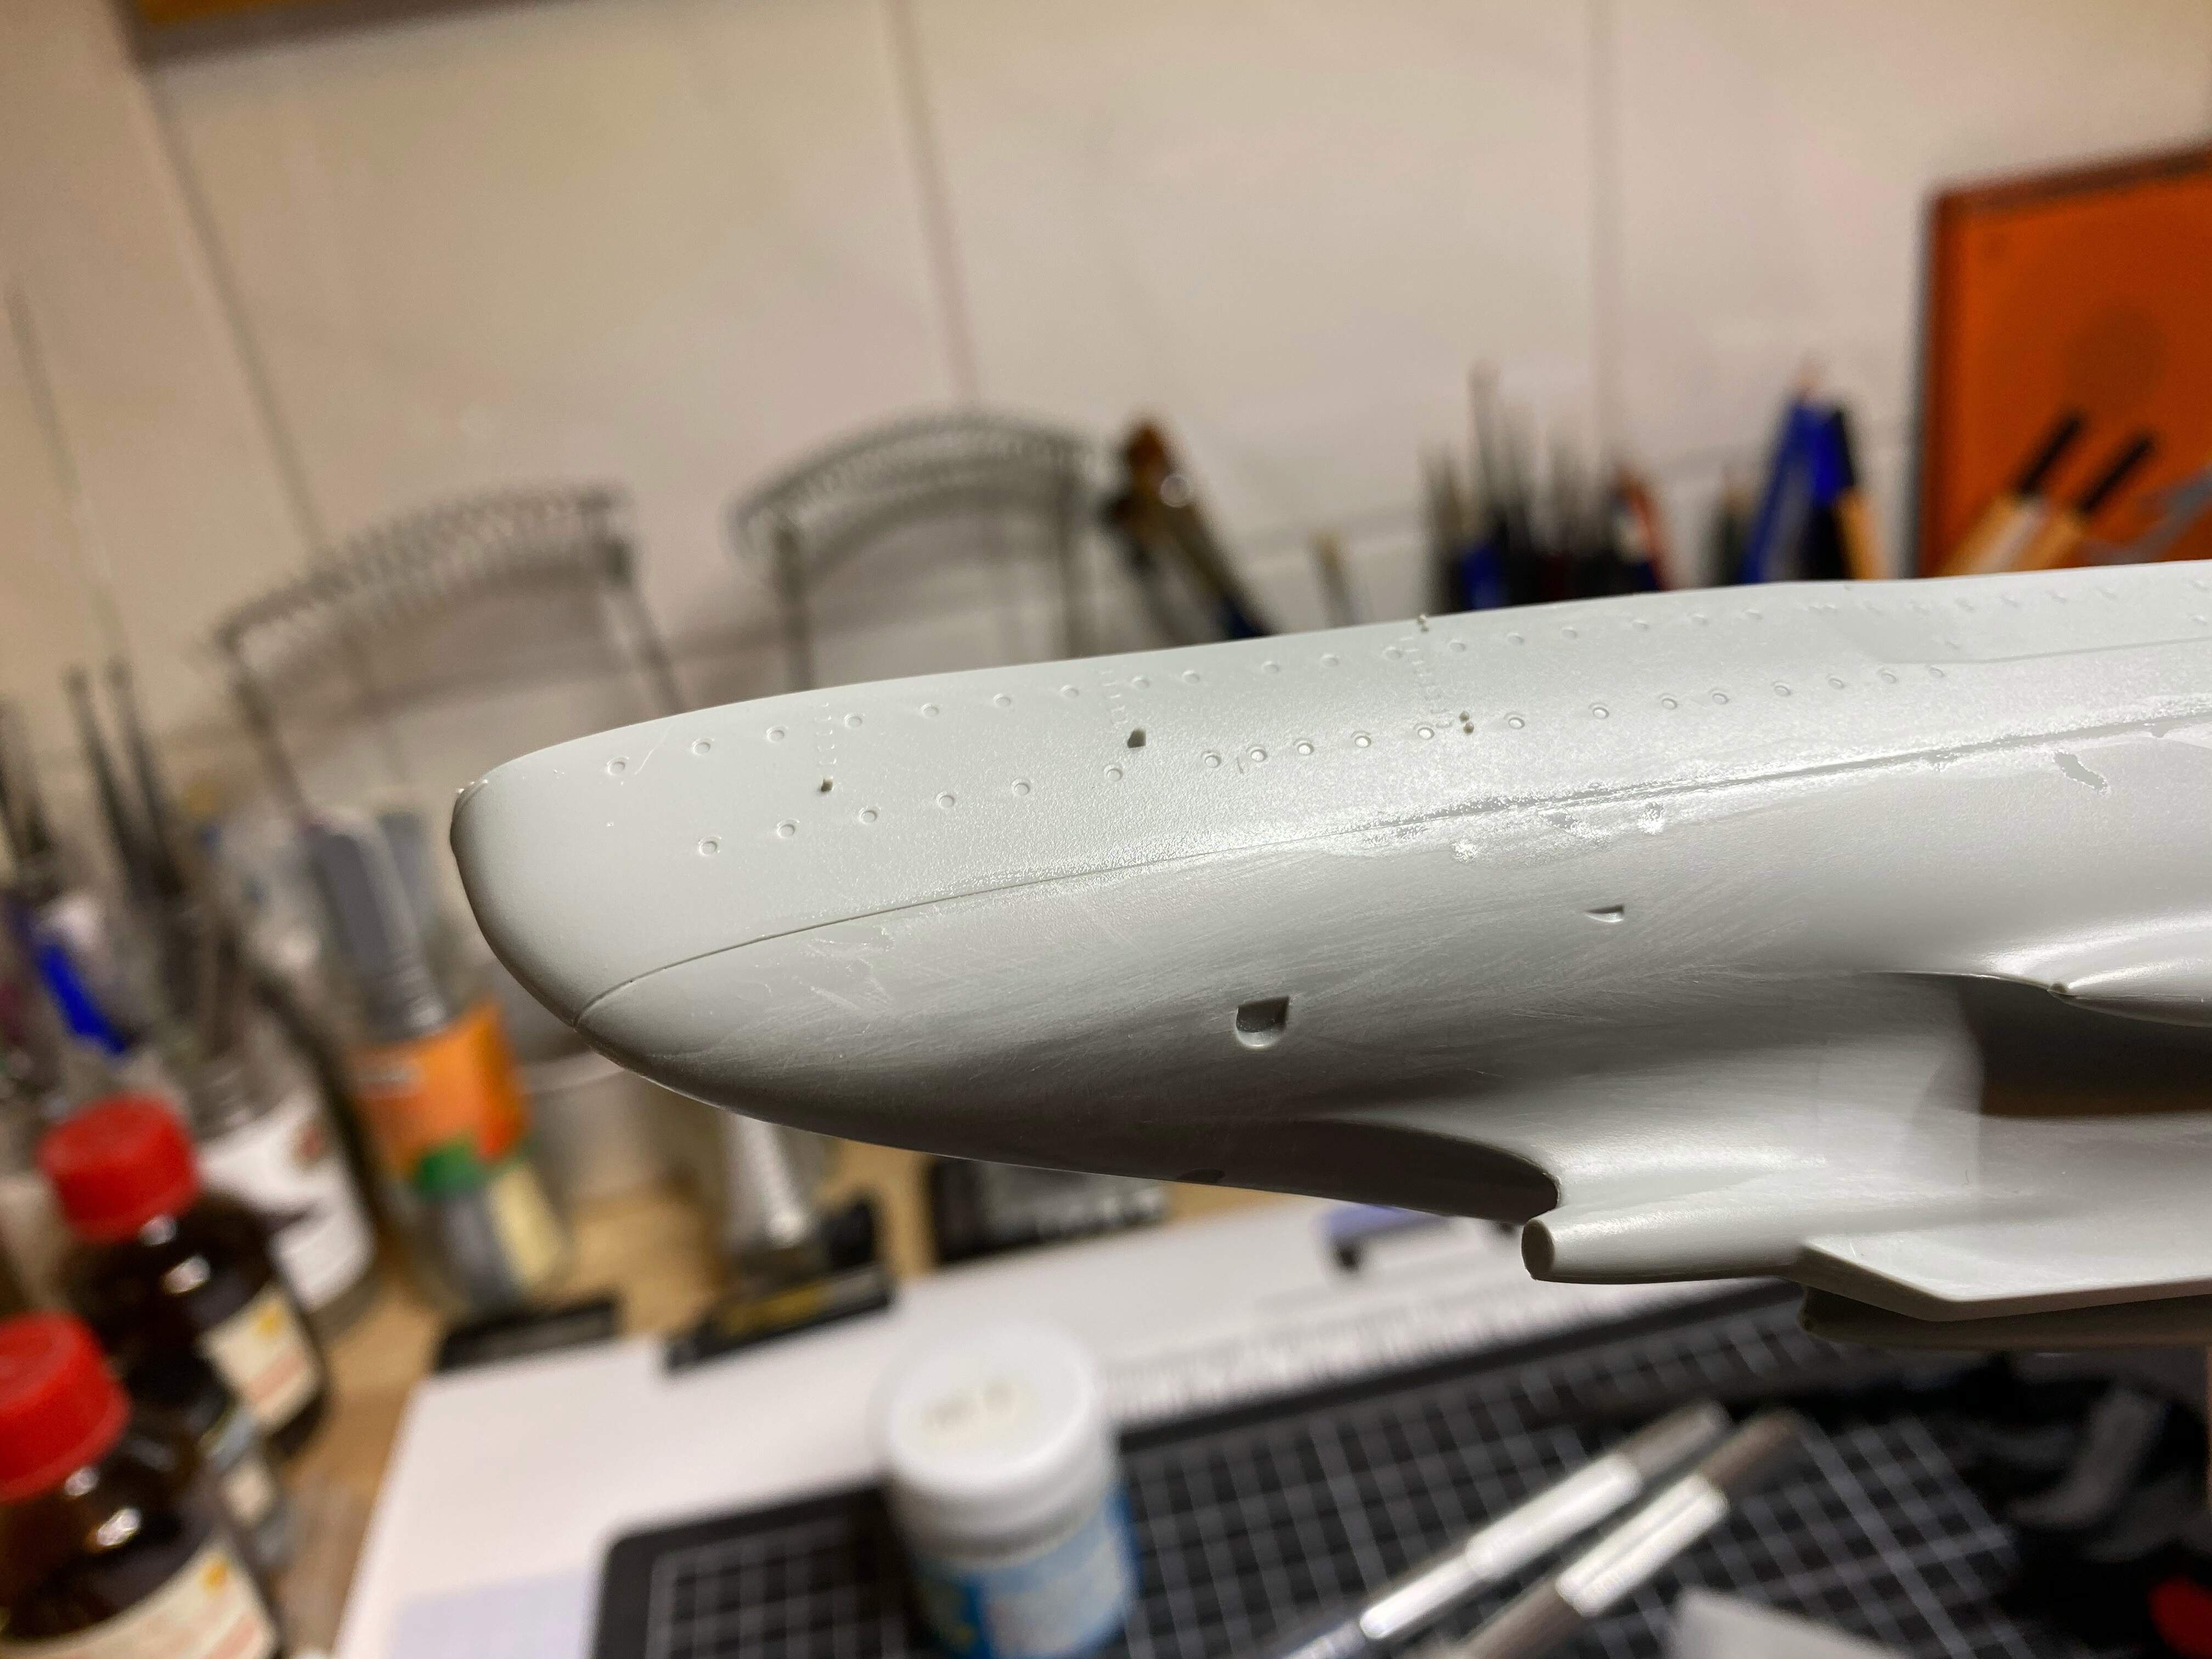
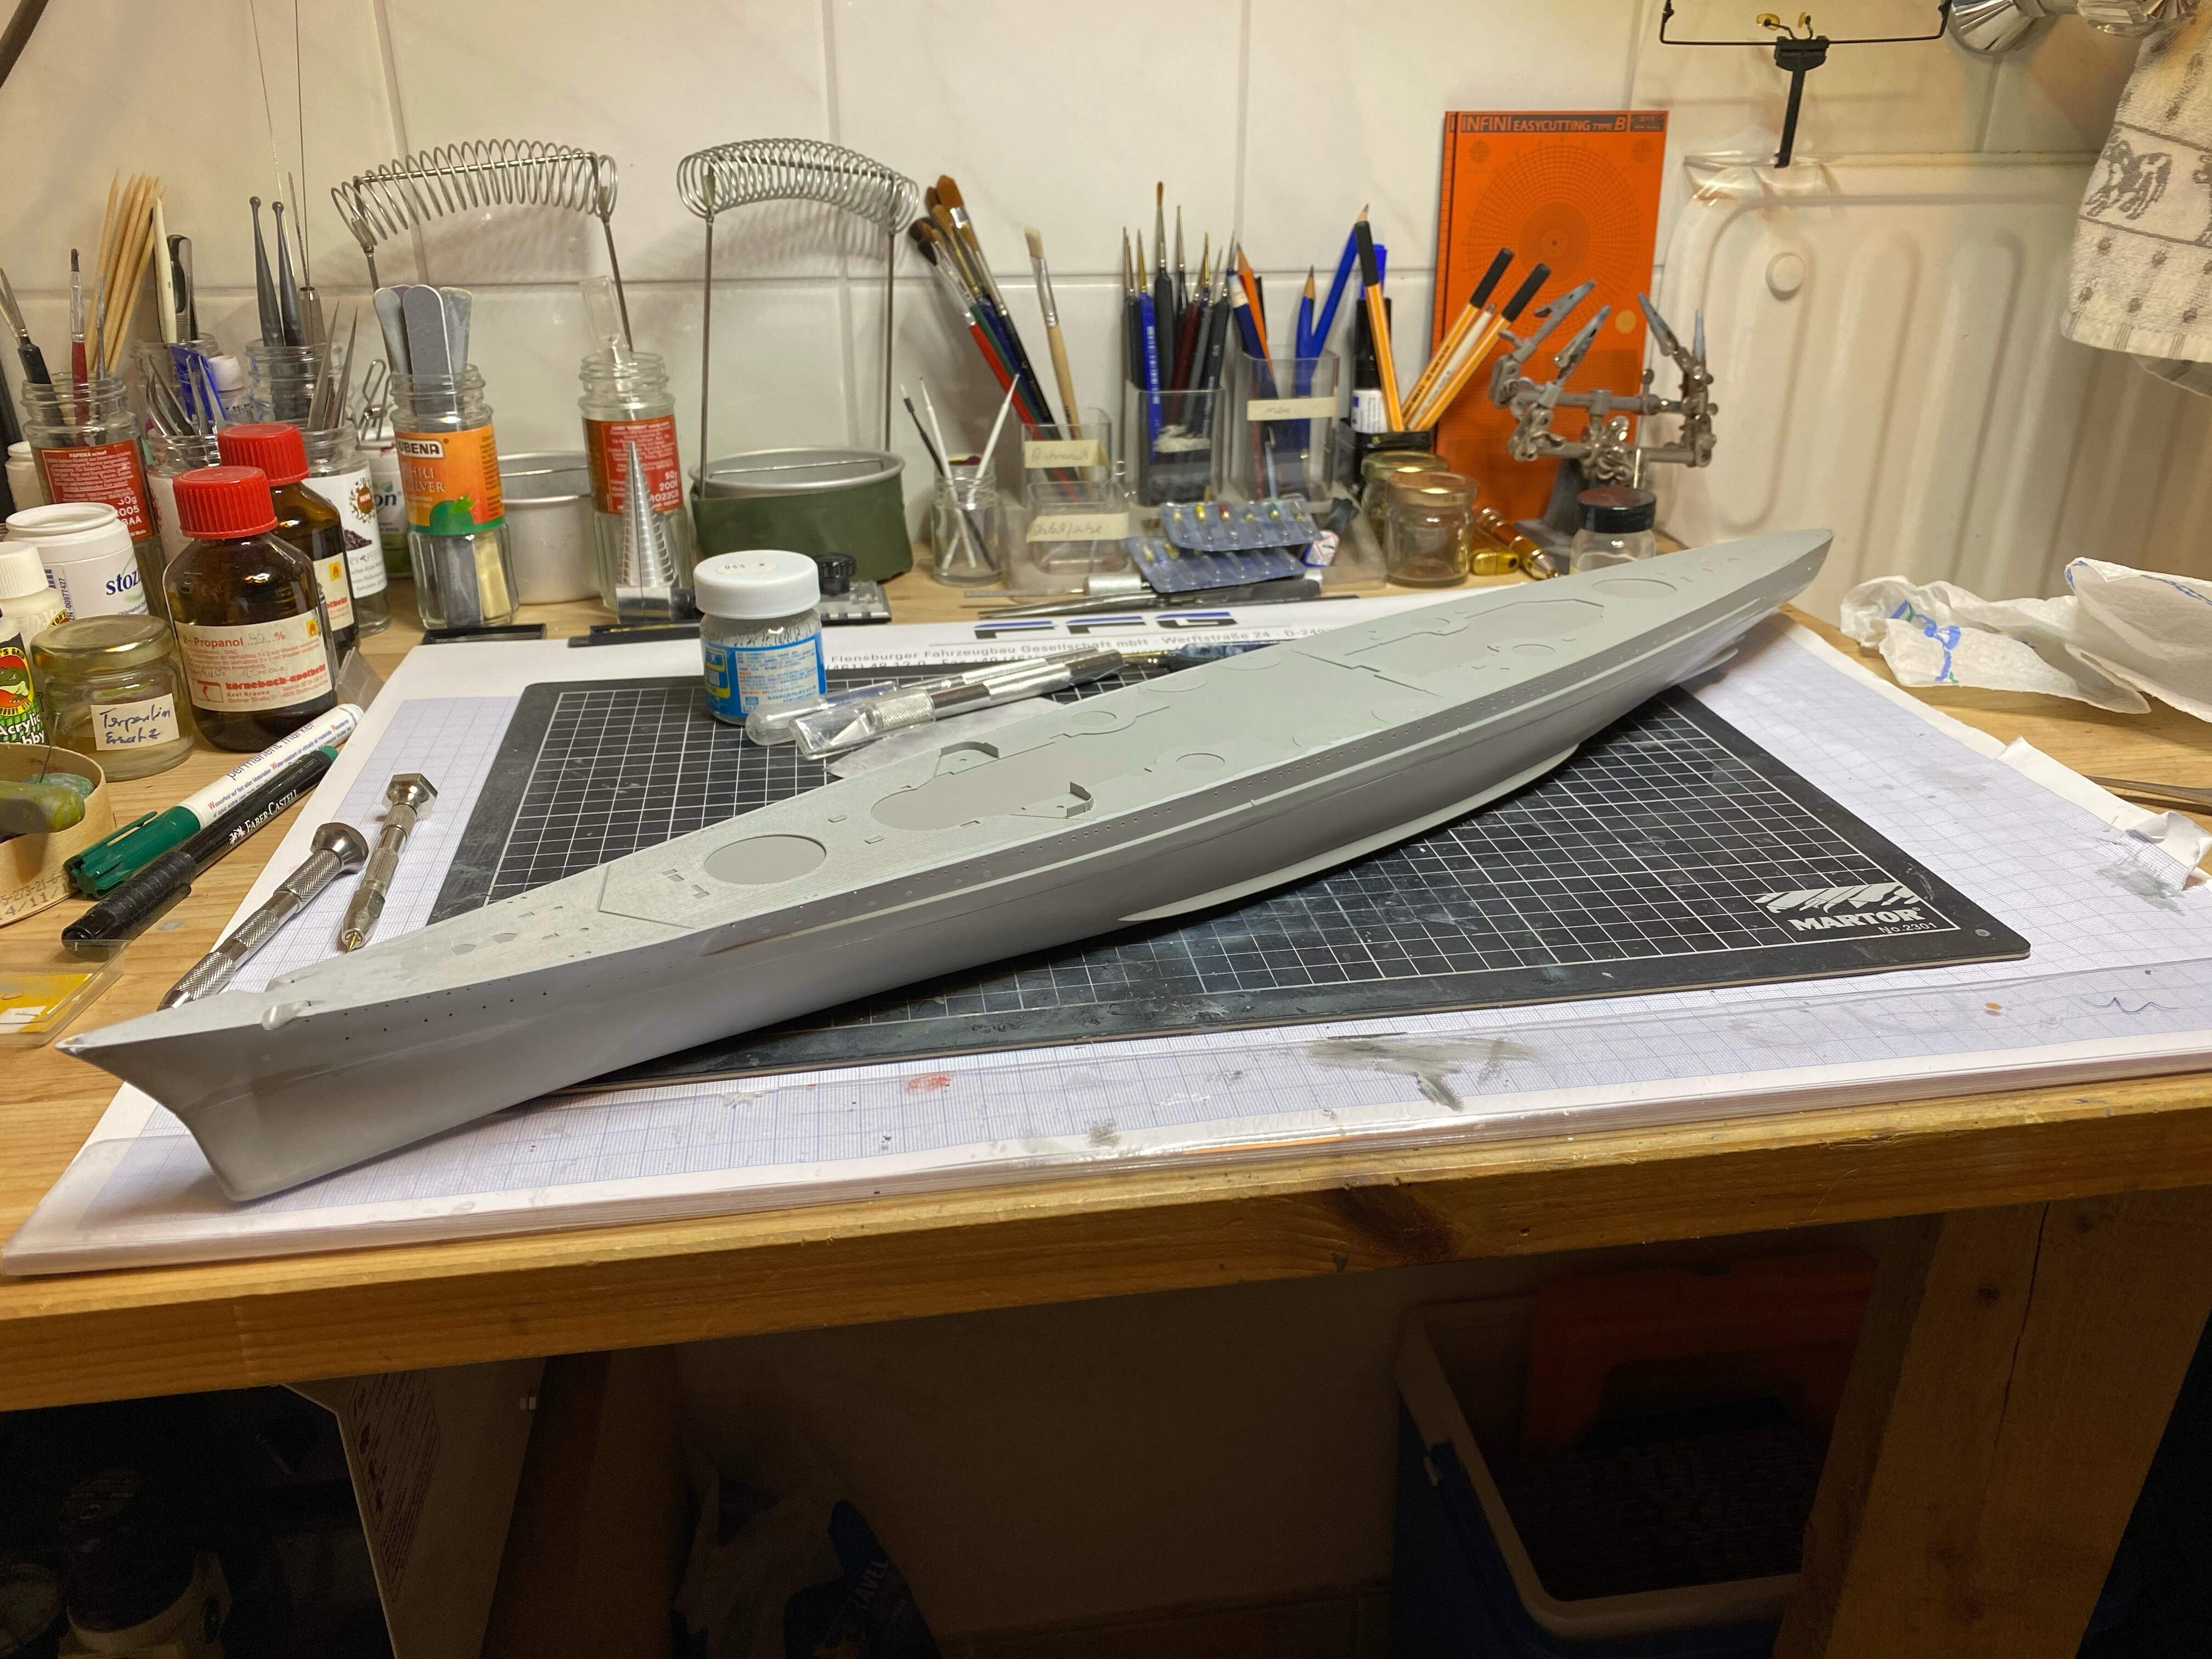
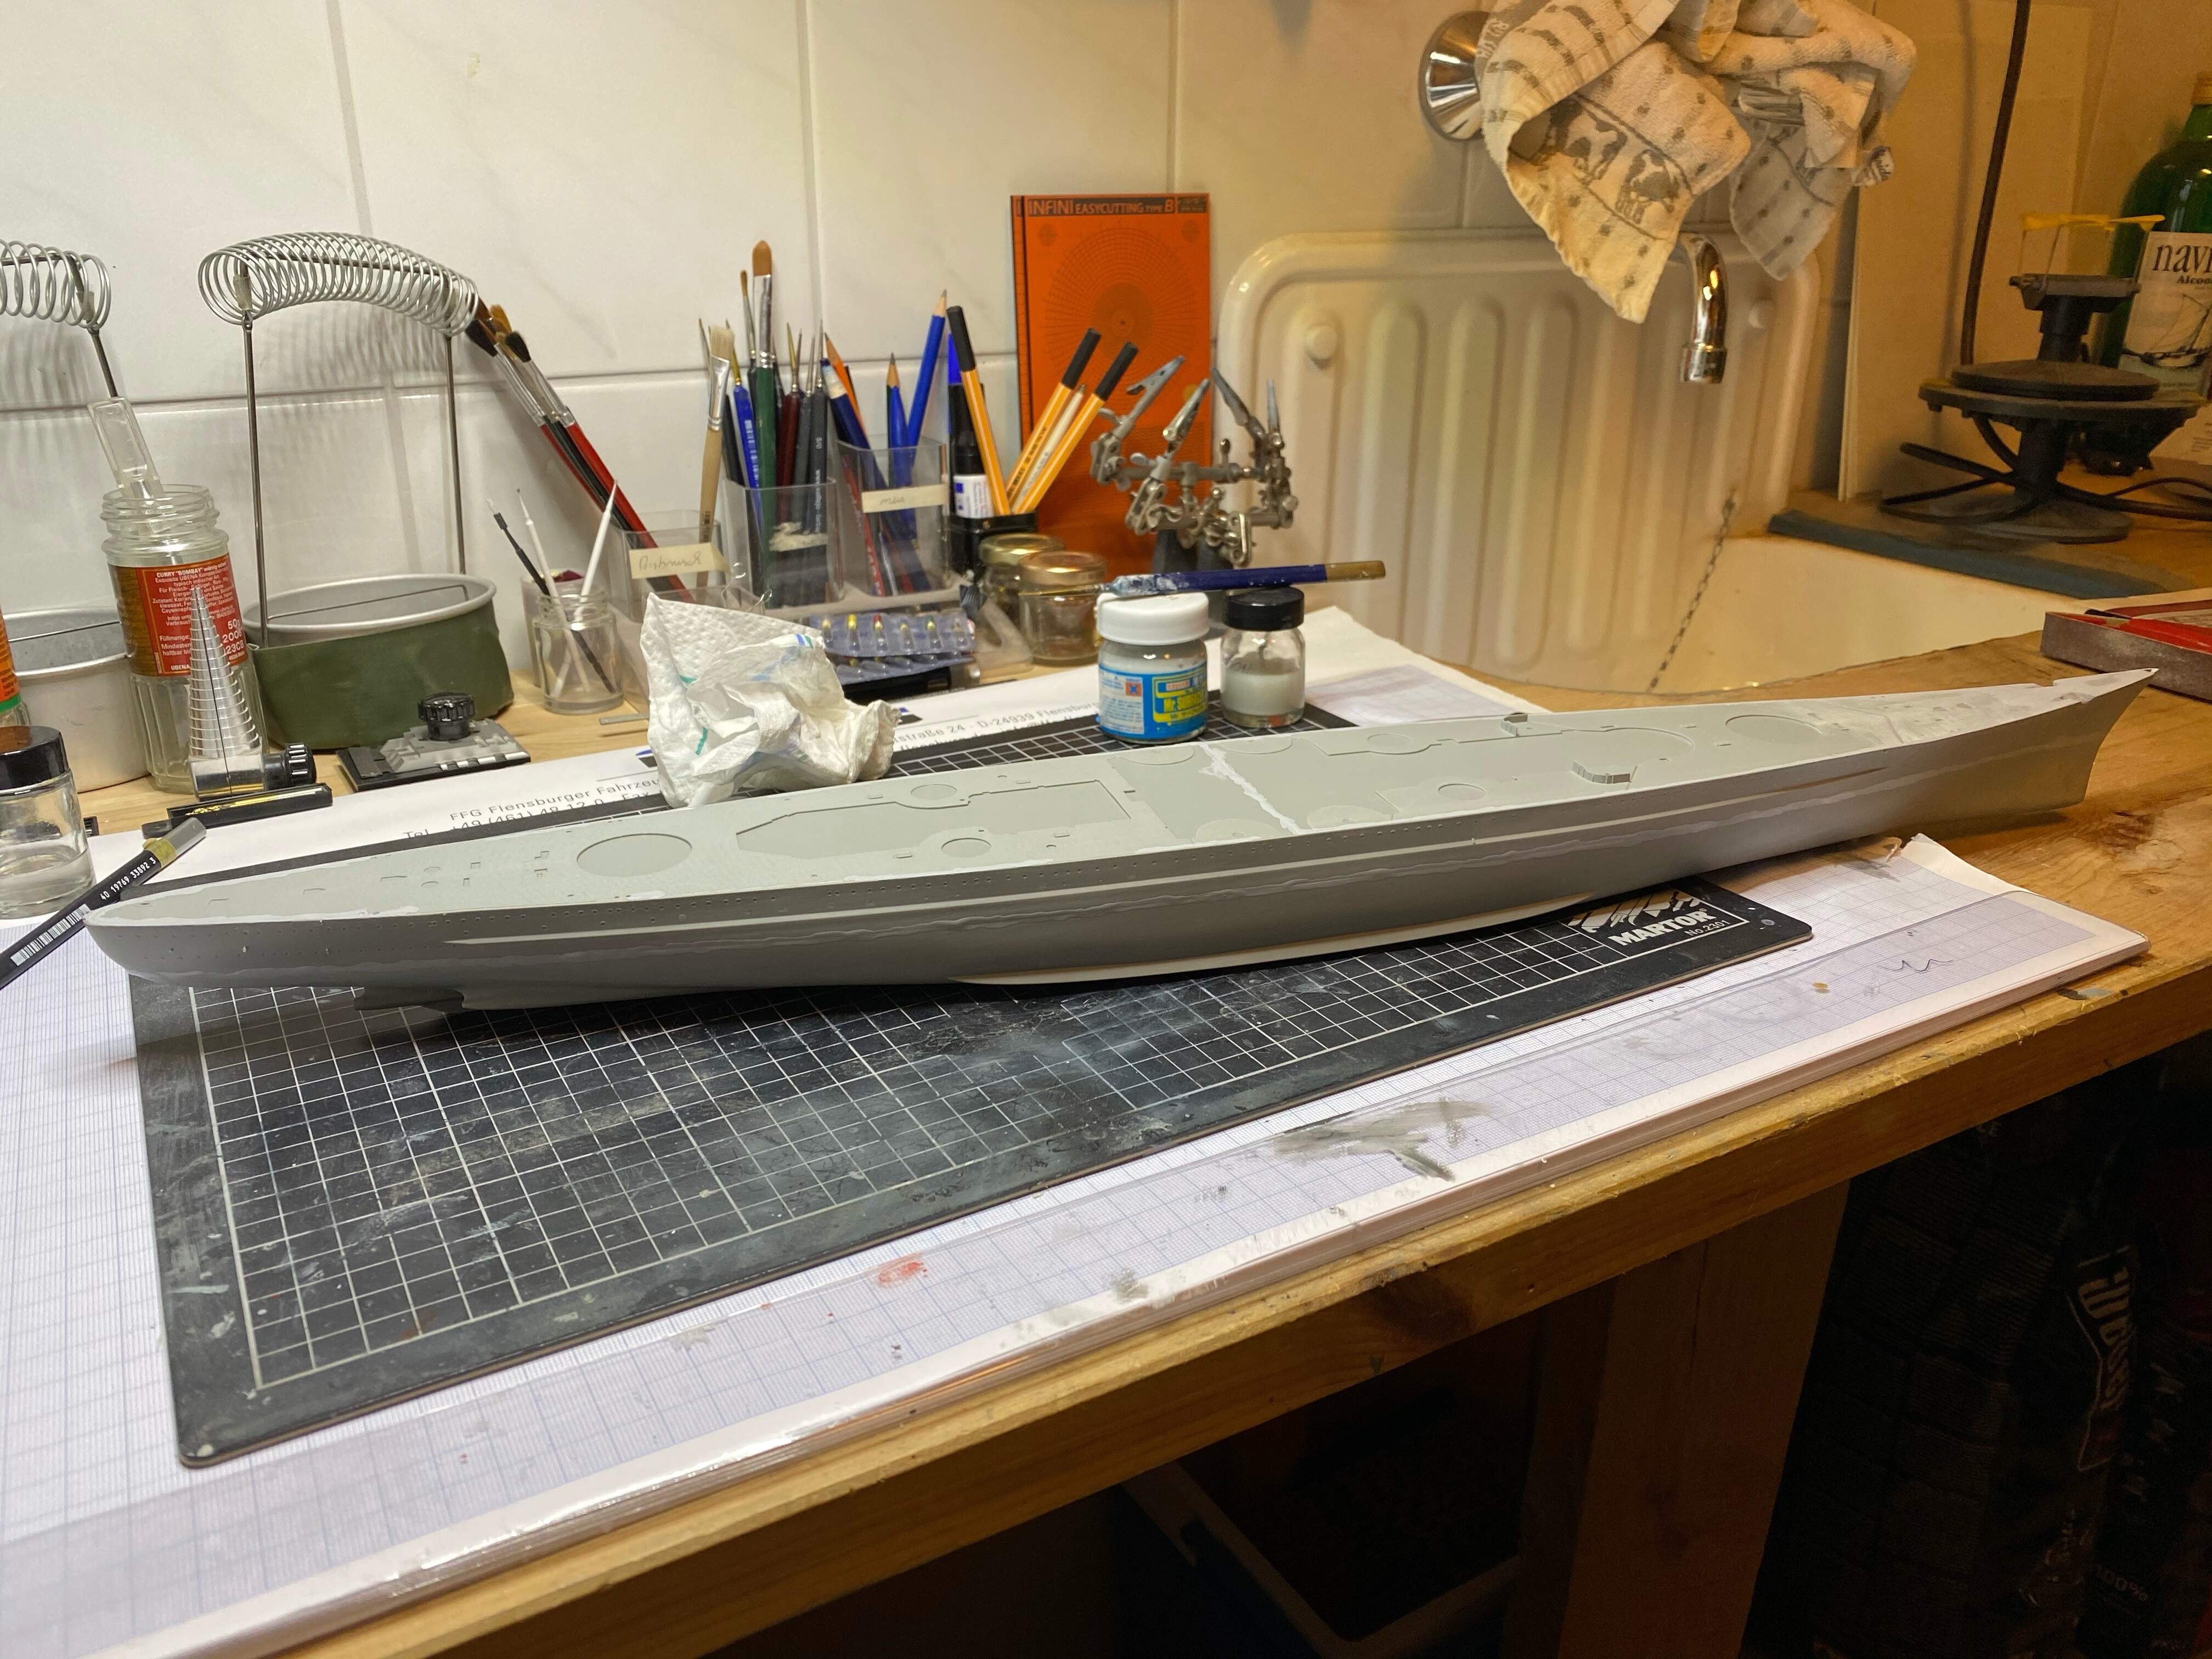
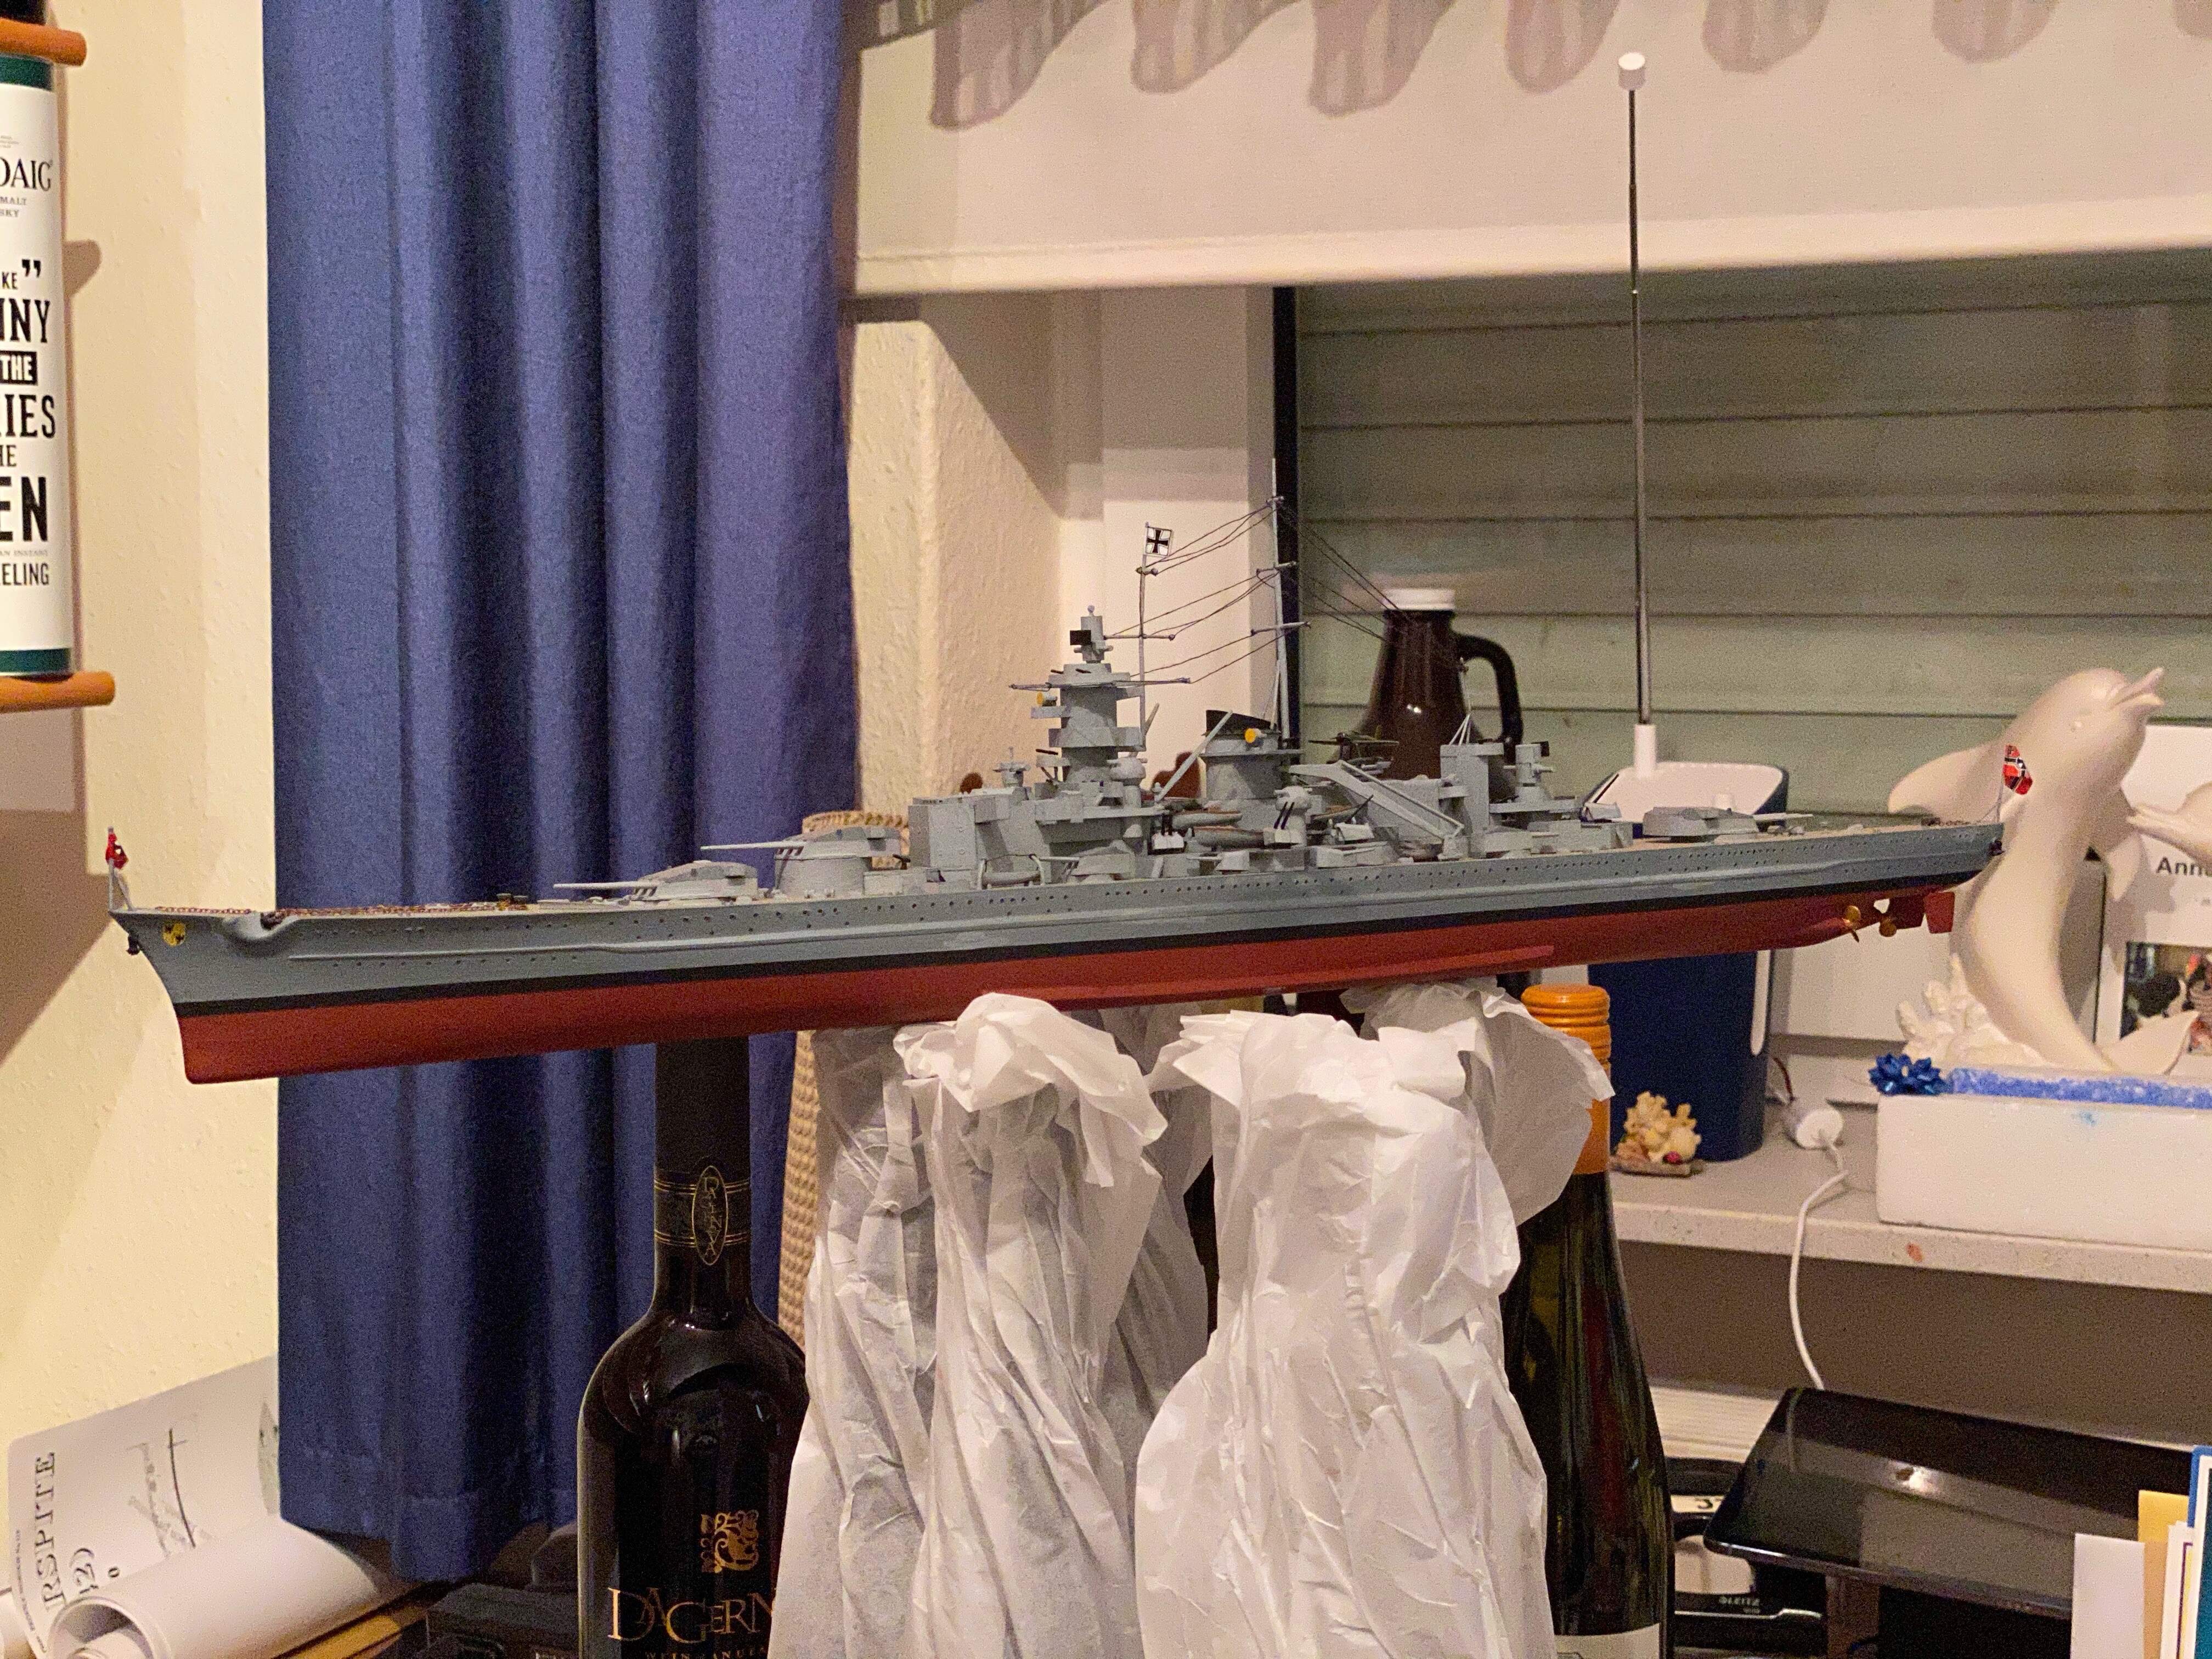
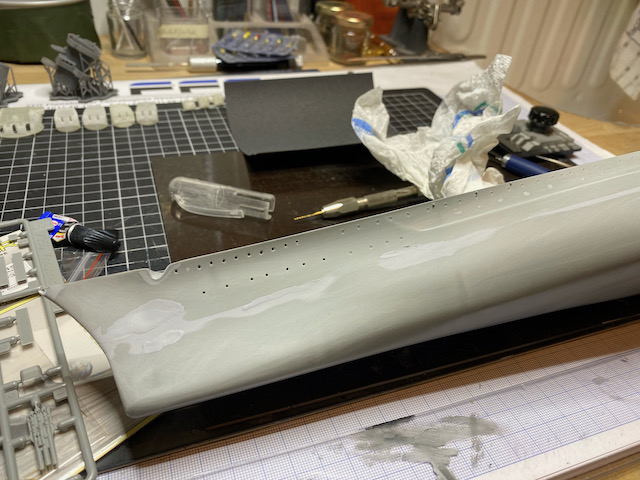
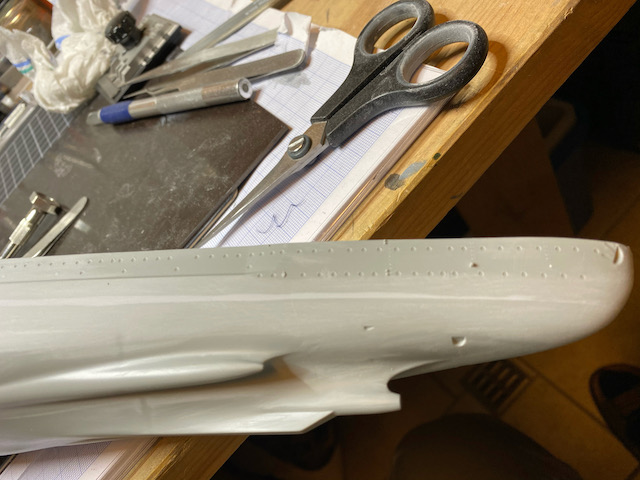
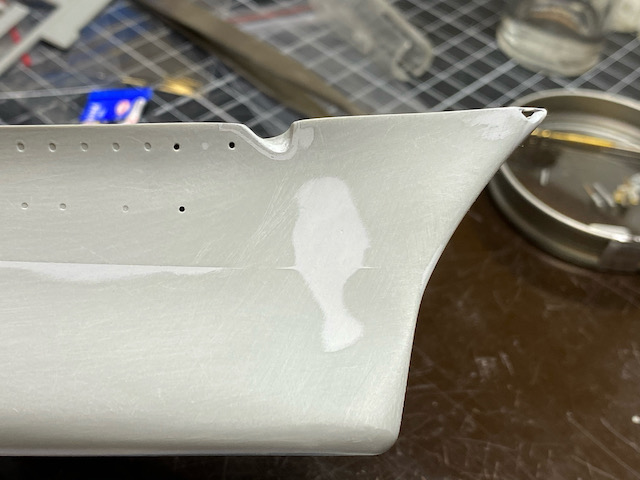
So here’s some progress! Most work actually was done to the hull, with the least visible results, but that’s ok - filling and sanding completed for the first general round. Next I will drill the bulls eyes, then sanding with finer grade and then a first cover with Mr. Surfacer 1000 from the airgun. That will show wat is left to do and touch up…
Here’s how she looks:
So the seam is mostly pretty decent, but there is some kind of a sink on the bow that needed the most attention. But it looks pretty much ok now.