DKM Gneisenau 1/350

Jan! It’s great to see you back at the bench, mate! :grinning:

3 months isn’t long in the grand scheme of things when it comes to ship models: it’s just good that Gneisenau is progressing and you’re hunting down that glacier :hugs:

Looking forward to seeing more soon :cowboy_hat_face:

1 Like

Dear all,

thank you so much for your kind comments! It’s great to finally have the dock workers back in place and the shipbuilding recommenced! The glacier is moving again!

Those 10,5 cm are a good (new) starting point, somewhat easier to do than the 3,7 cm or the 2 cm…
I hope to eventually find some bench time over easter and come back with a more serious update next week!
Great to have you all still along after such a long time!!

Cheers
Jan

3 Likes

molto contento che sei tornato al lavoro. Per i cannoni da 105 mm ho avuto molte soddisfazioni da quelli prodotti da BUNKER STUDIO

1 Like

Those 105 mm are looking sweet, Jan. Nice to see you back at it. Mark

1 Like

Hi Jan,

The Dragon 4.1s are rather good for kit parts, especially with the brass barrels fitted.

I am hoping to get some bench time over easter too.

Cheers, Si

1 Like

Just discovered this thread as well. Always good to see some DKM ships appear. This built sure is extensive but very nice to follow.
It’s also clear to me by know that 3d printed parts in ship modelling are much more common since a couple of years in comparison to armour modelling (which I mainly do). I really like how this hobby still keeps evolving with current techniques.

Anyway, keep up the good work skipper!

1 Like

Thank you all once again for your kind comments and following this build!

Yes, I found some more bench time over easter, at the same time I had to realize that I have to get used to using the magnifier glasses again, especially the ones with the greater magnification. While that was absolutely common several month ago, for now I had to take a break every 20 minutes or so to avoid getting a headache. Ah well, that should become better again soon…

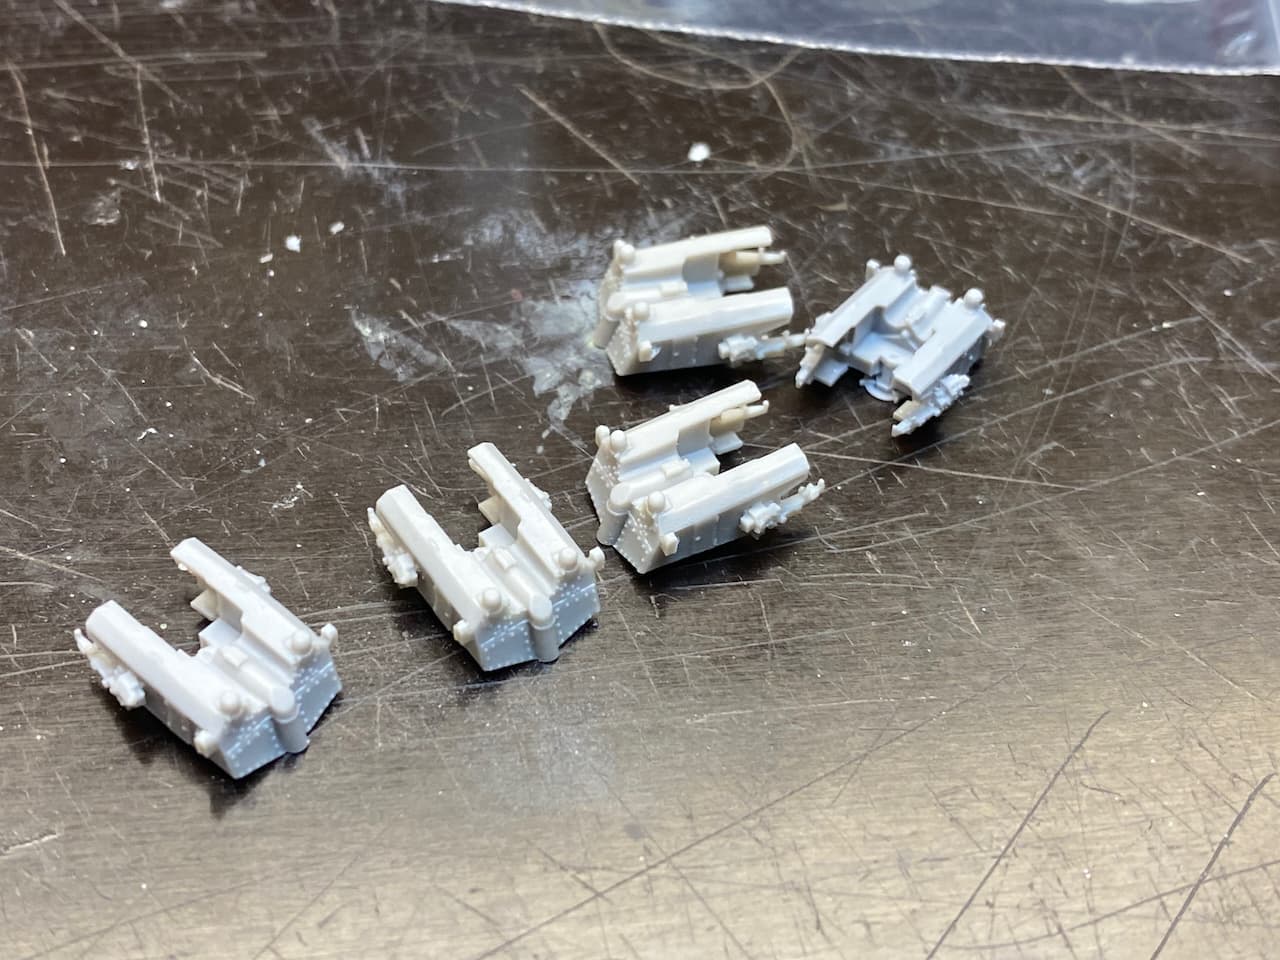
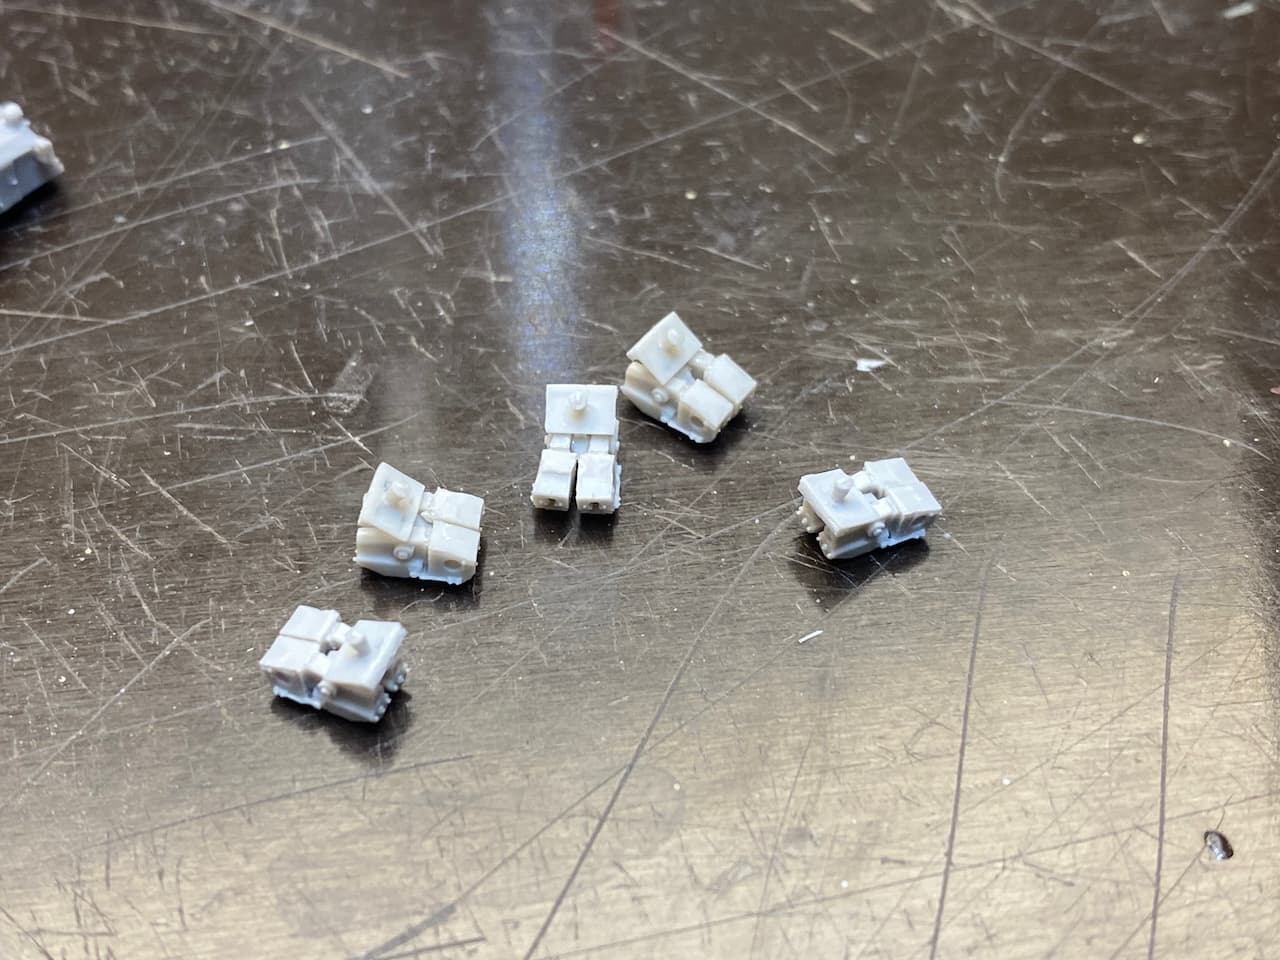
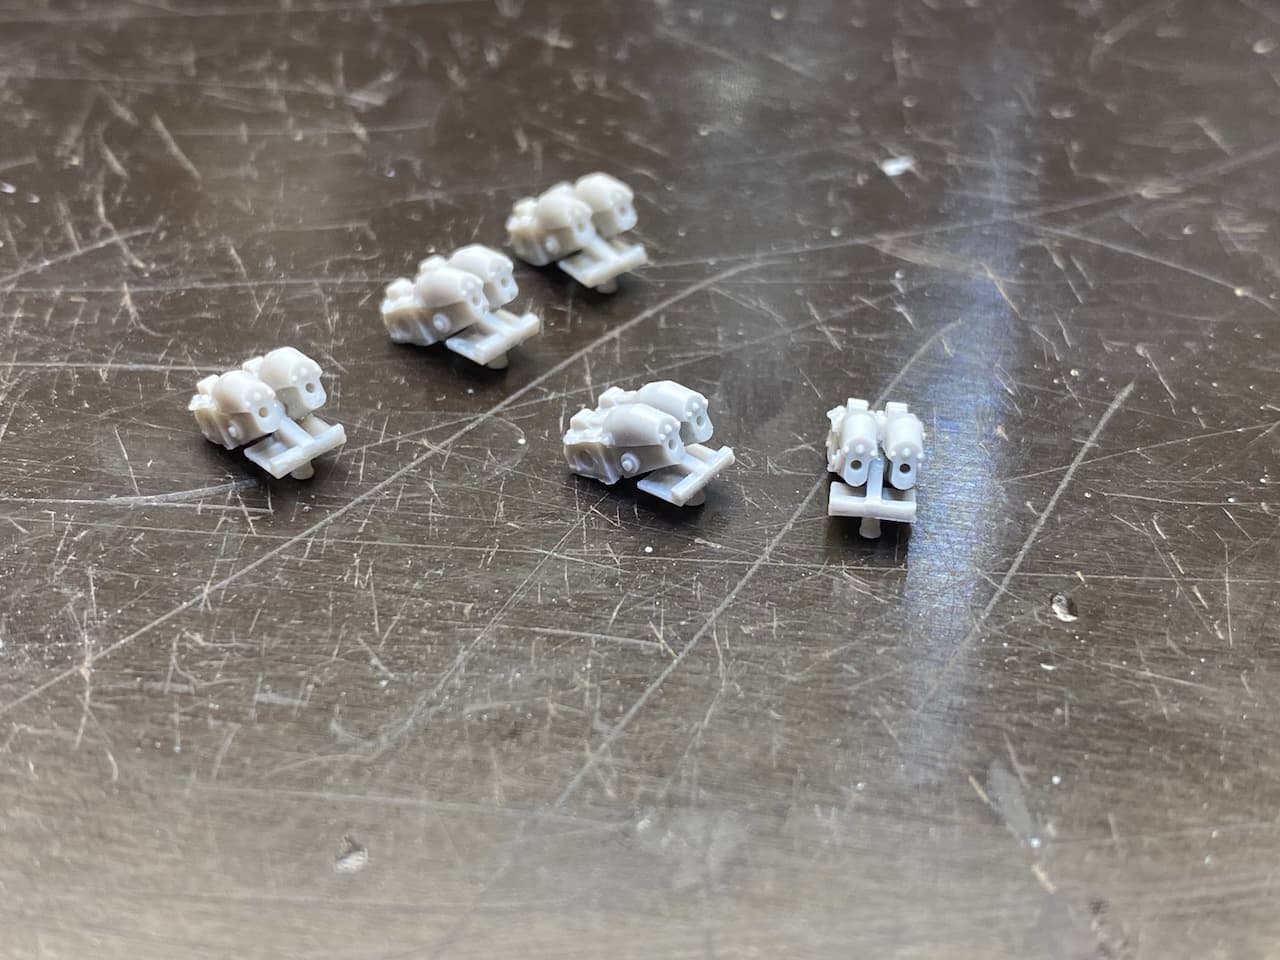
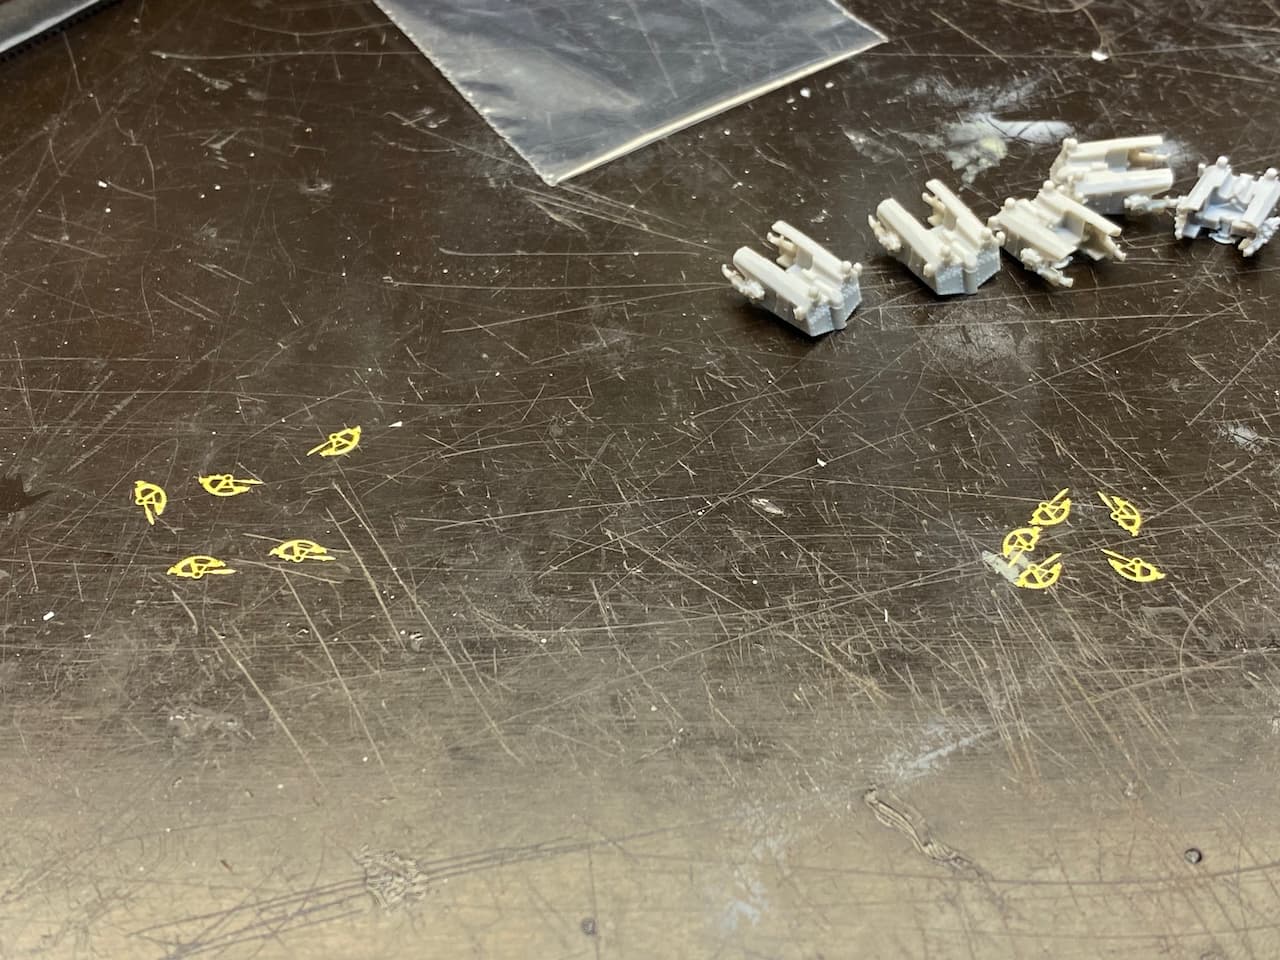
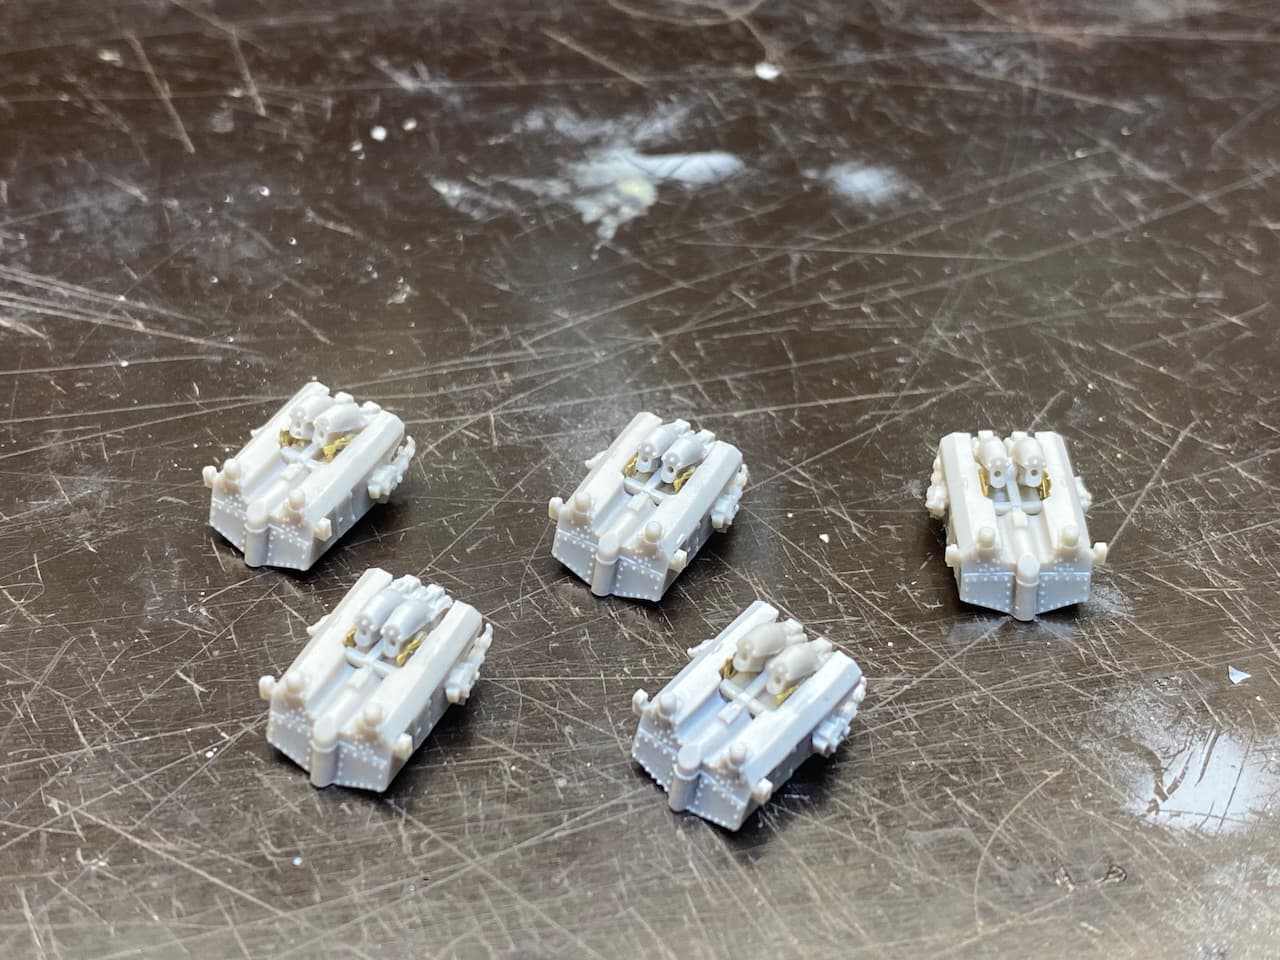
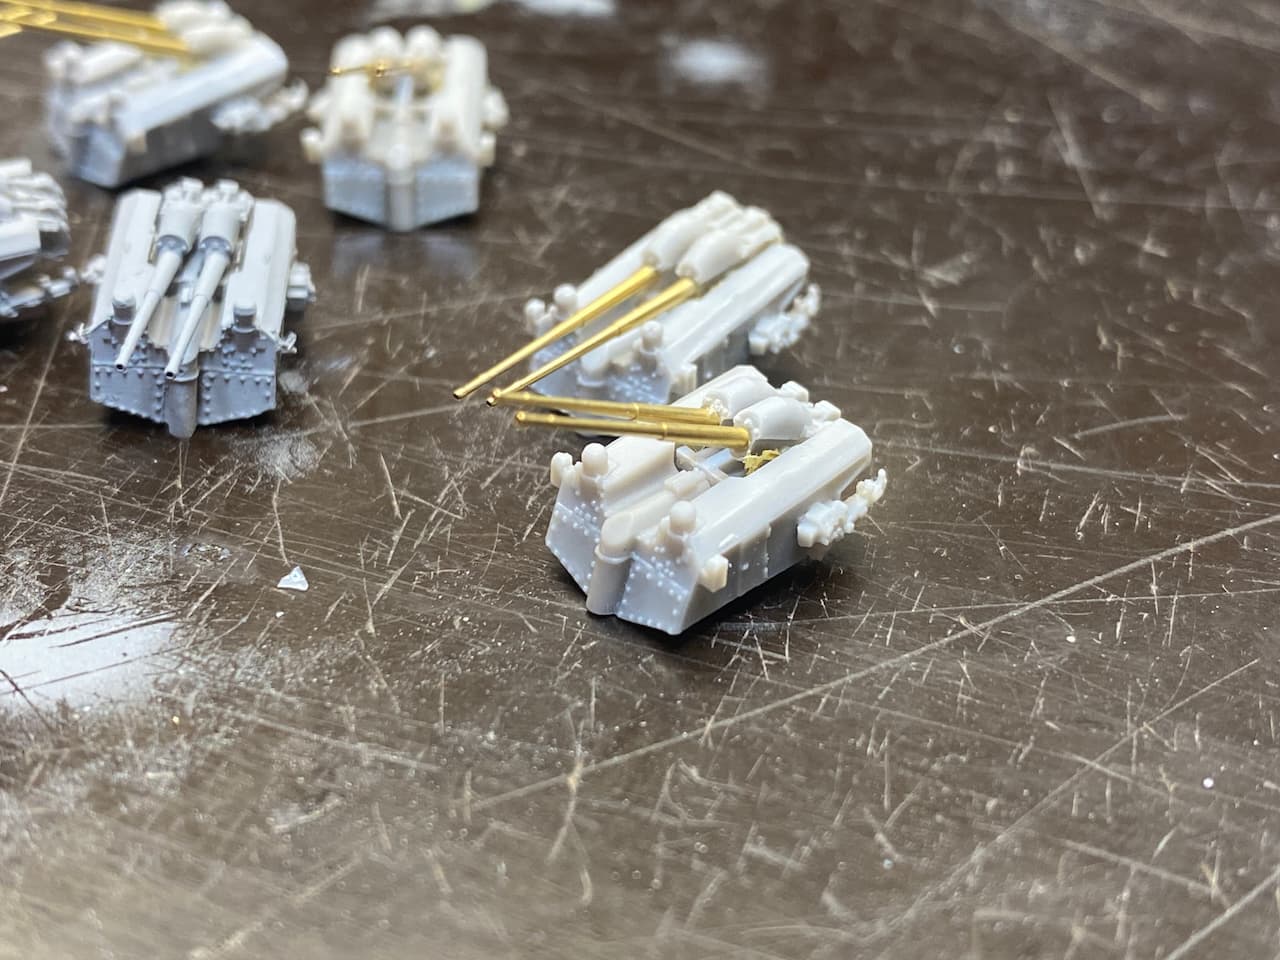
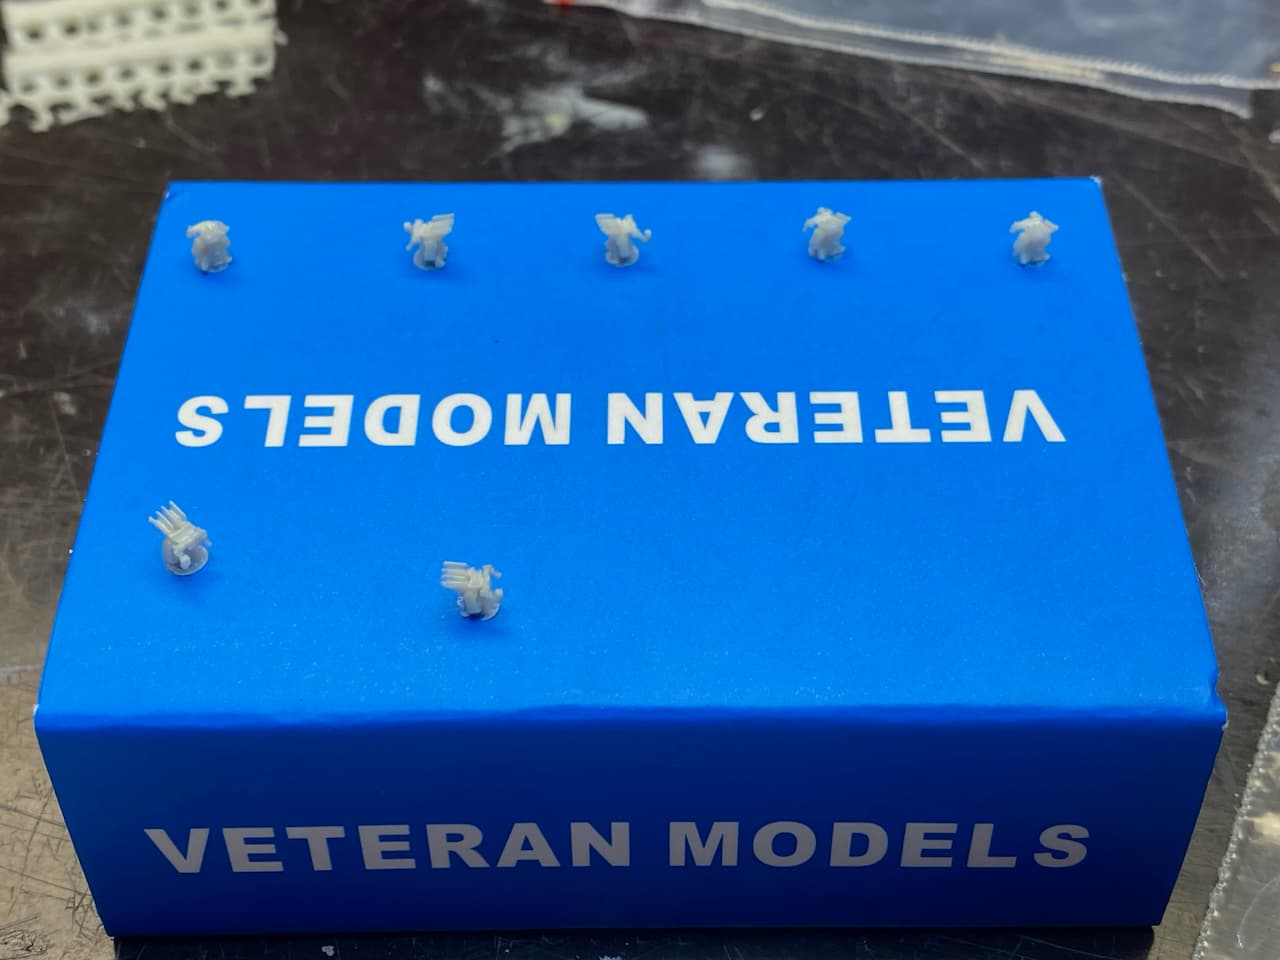
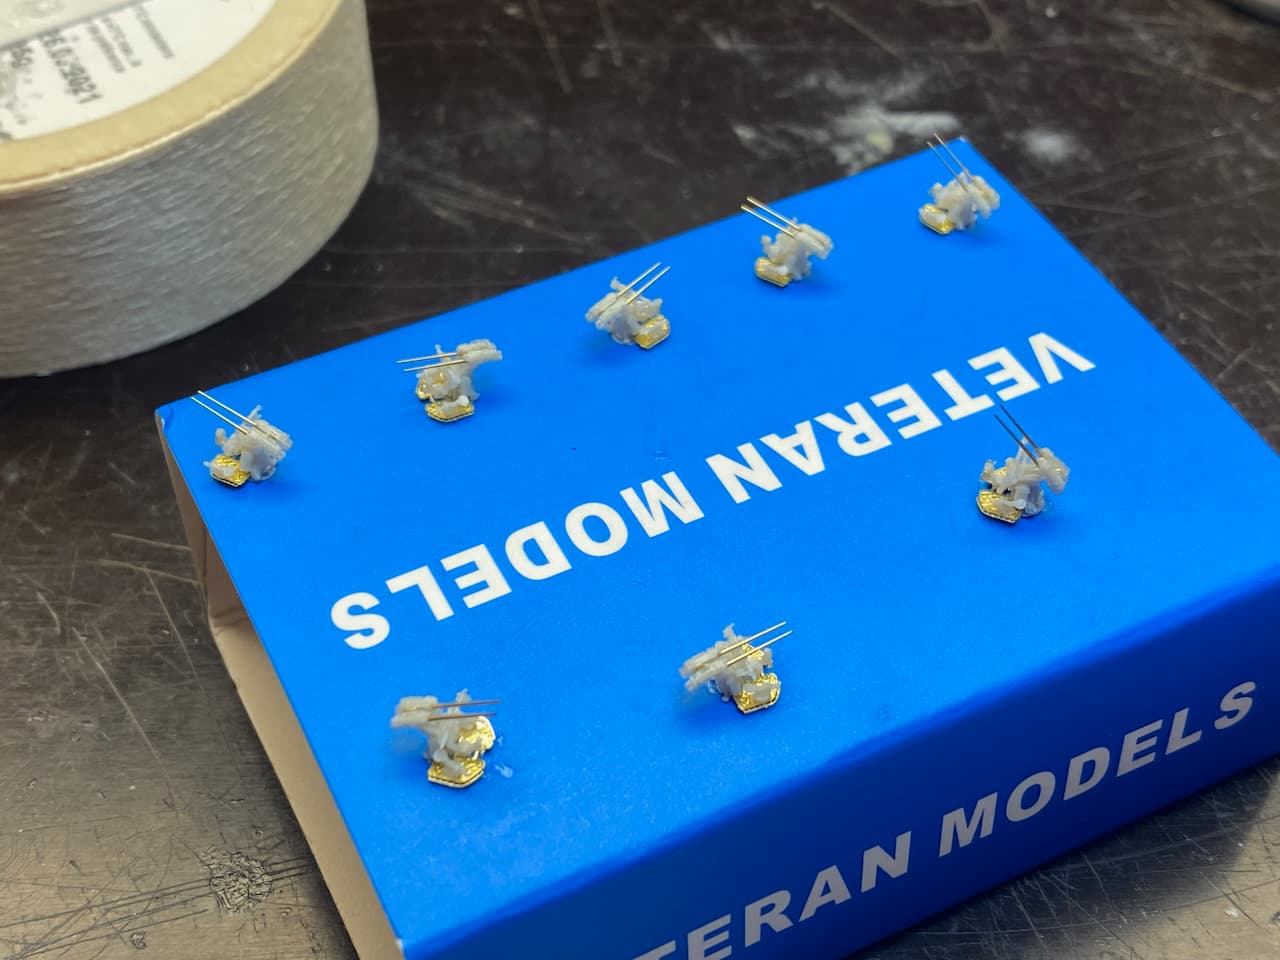
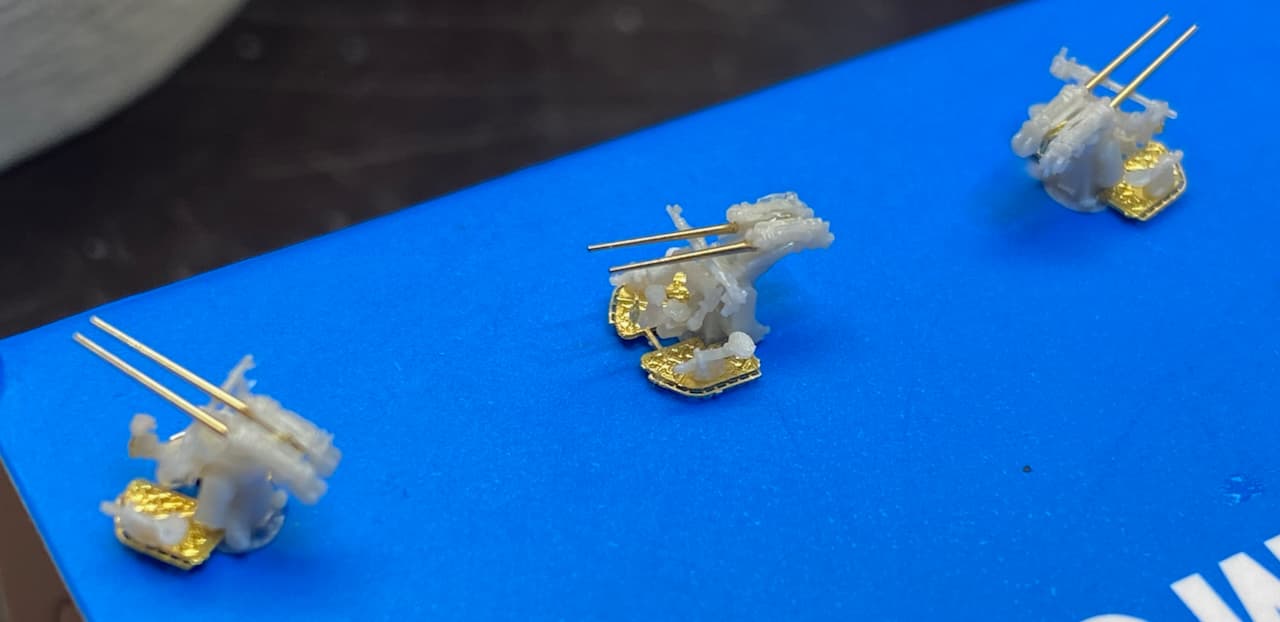
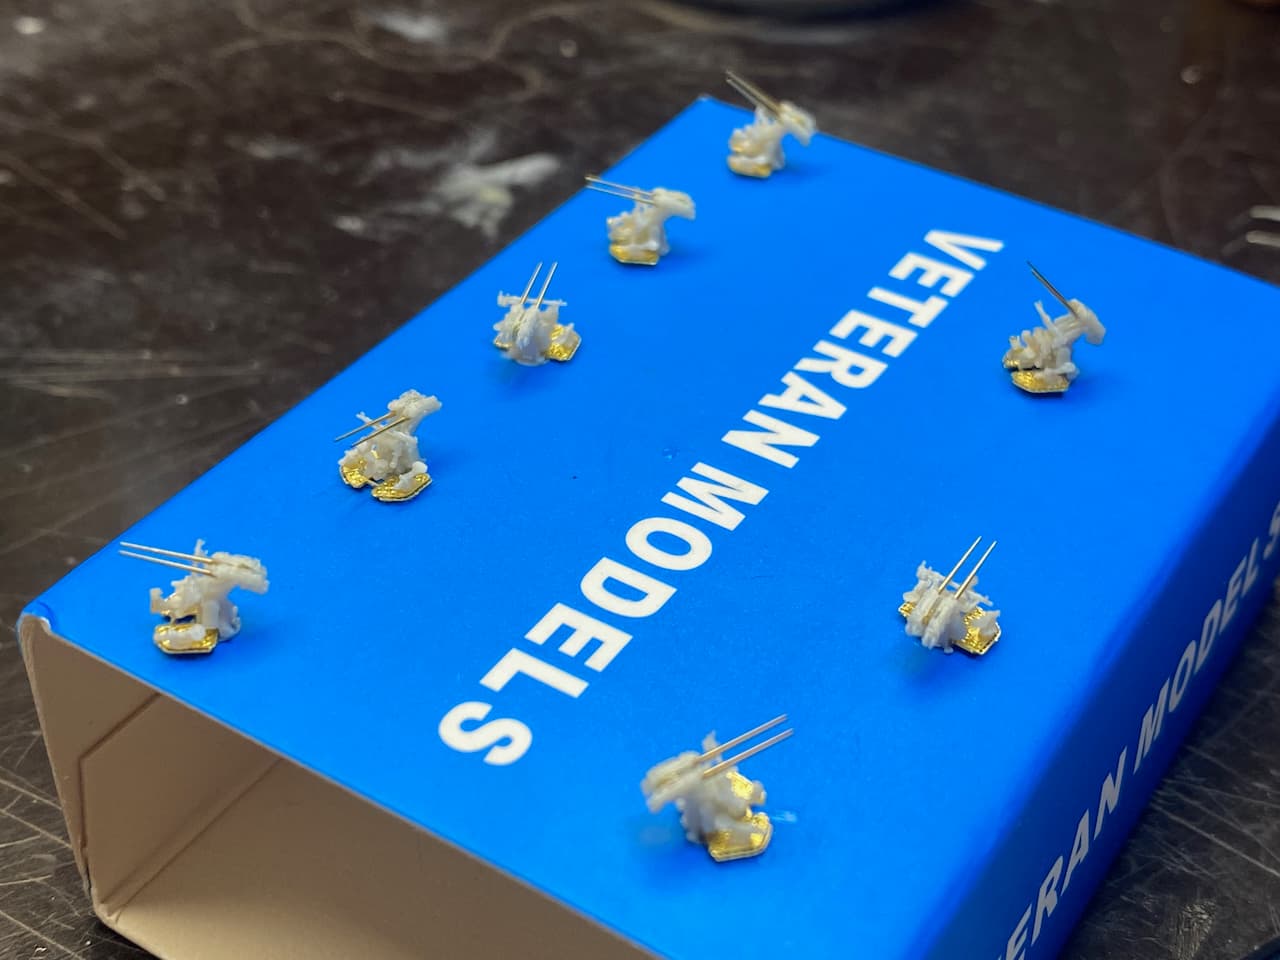
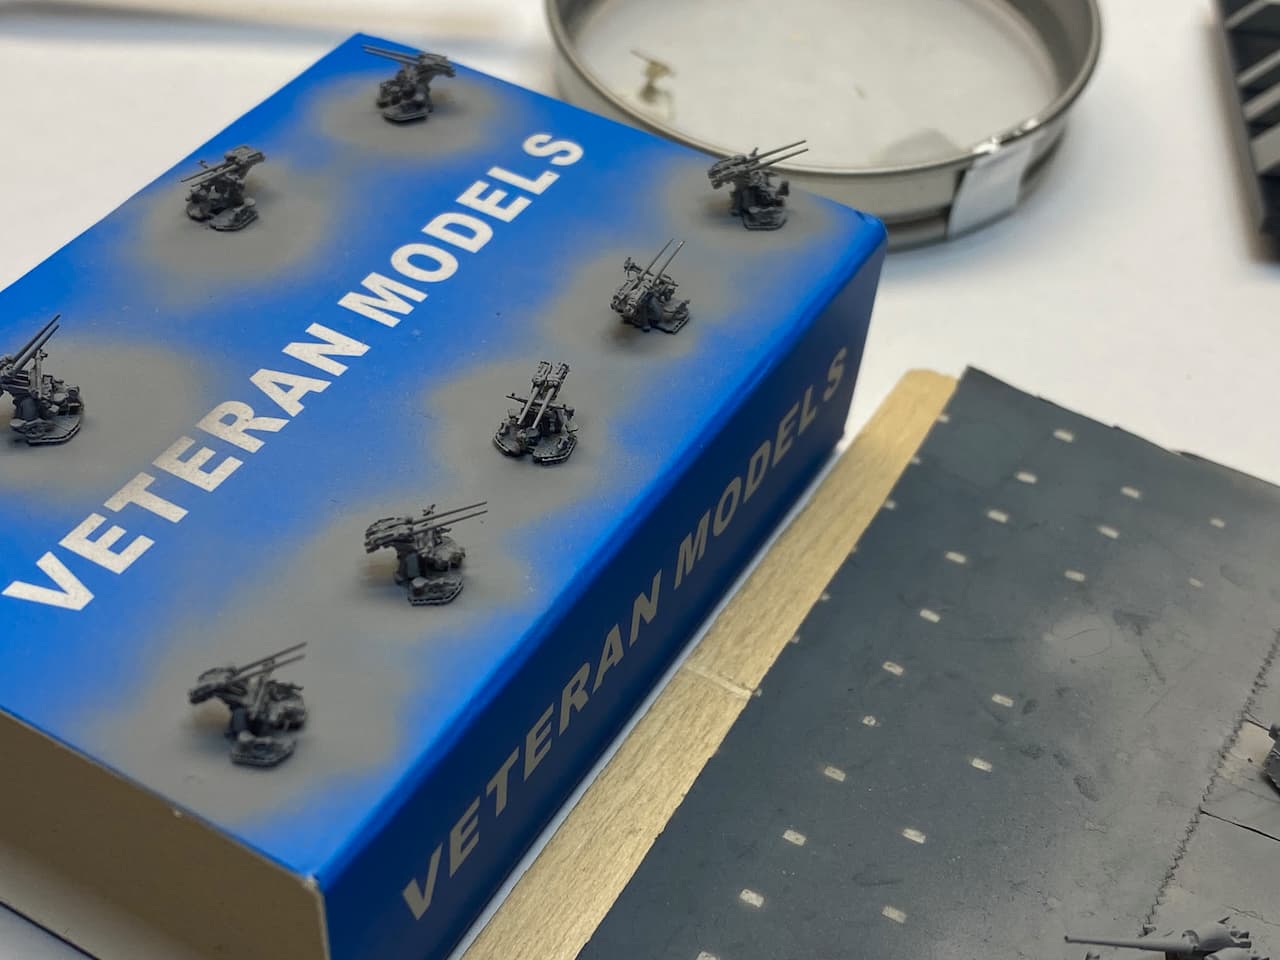
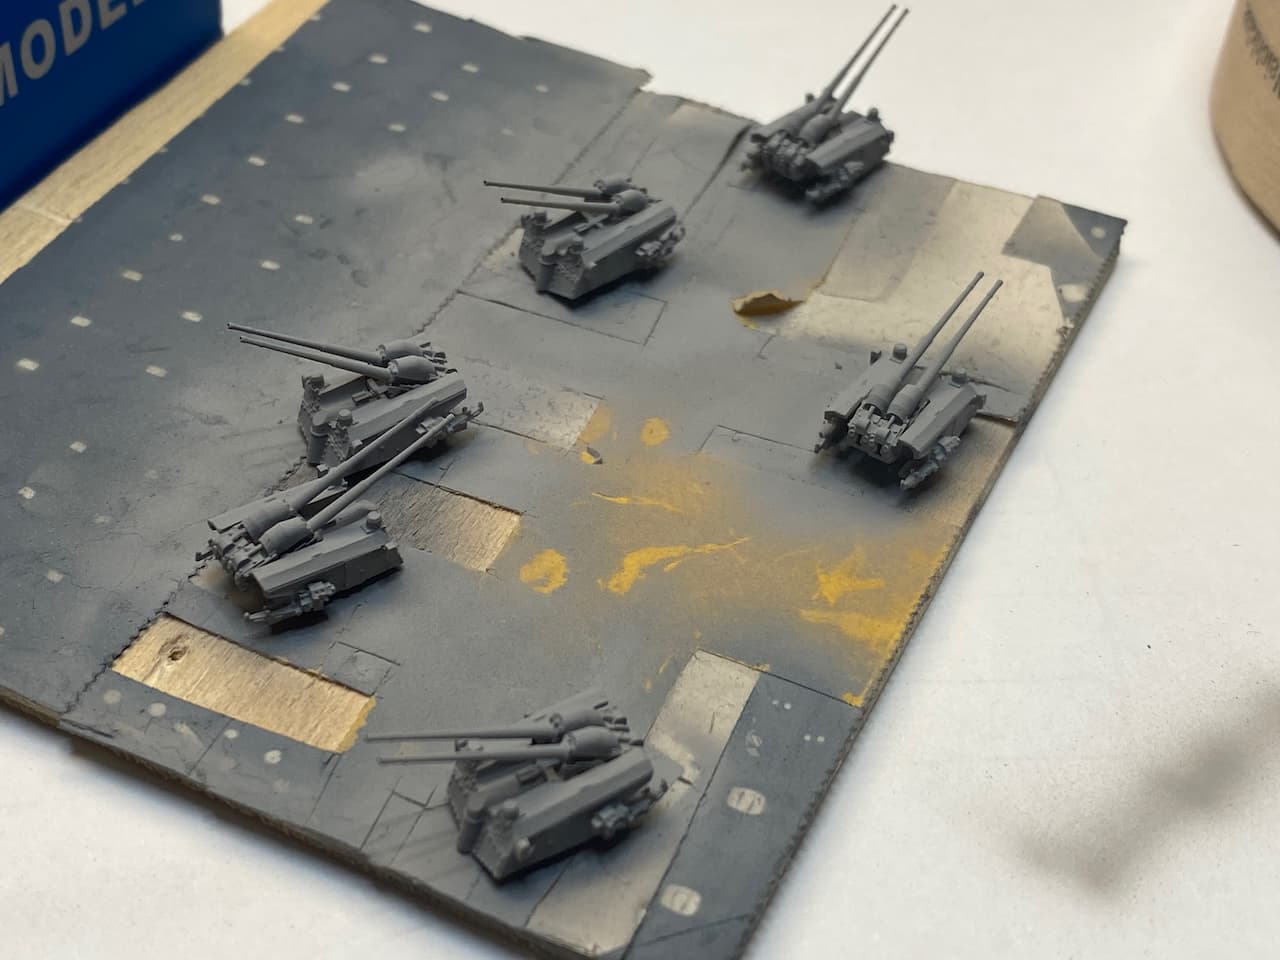
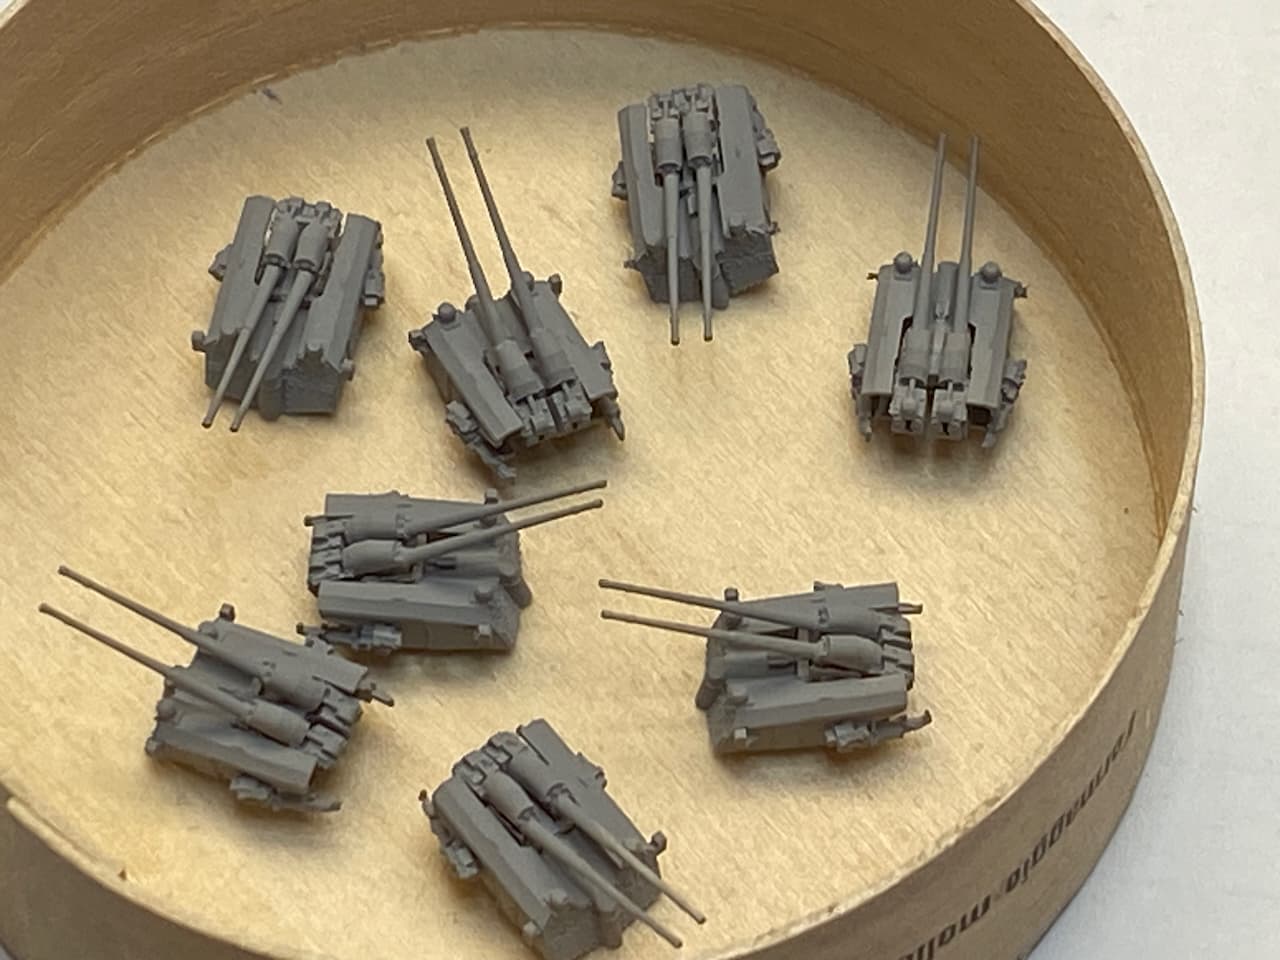
So still working ‘around’, set up a little serial production for the 10,5 cm AA.
This time I tried a very strange approach - I decided I would, just as a try, follow the obviously silly order of the instructions. Ok, must have been the 1 out of a 1000 chance or so :roll_eyes: , the instructions were actually better than my cunning plan to build them when I first approached those guns more than a year ago.
So here are a few impressions of my production line:

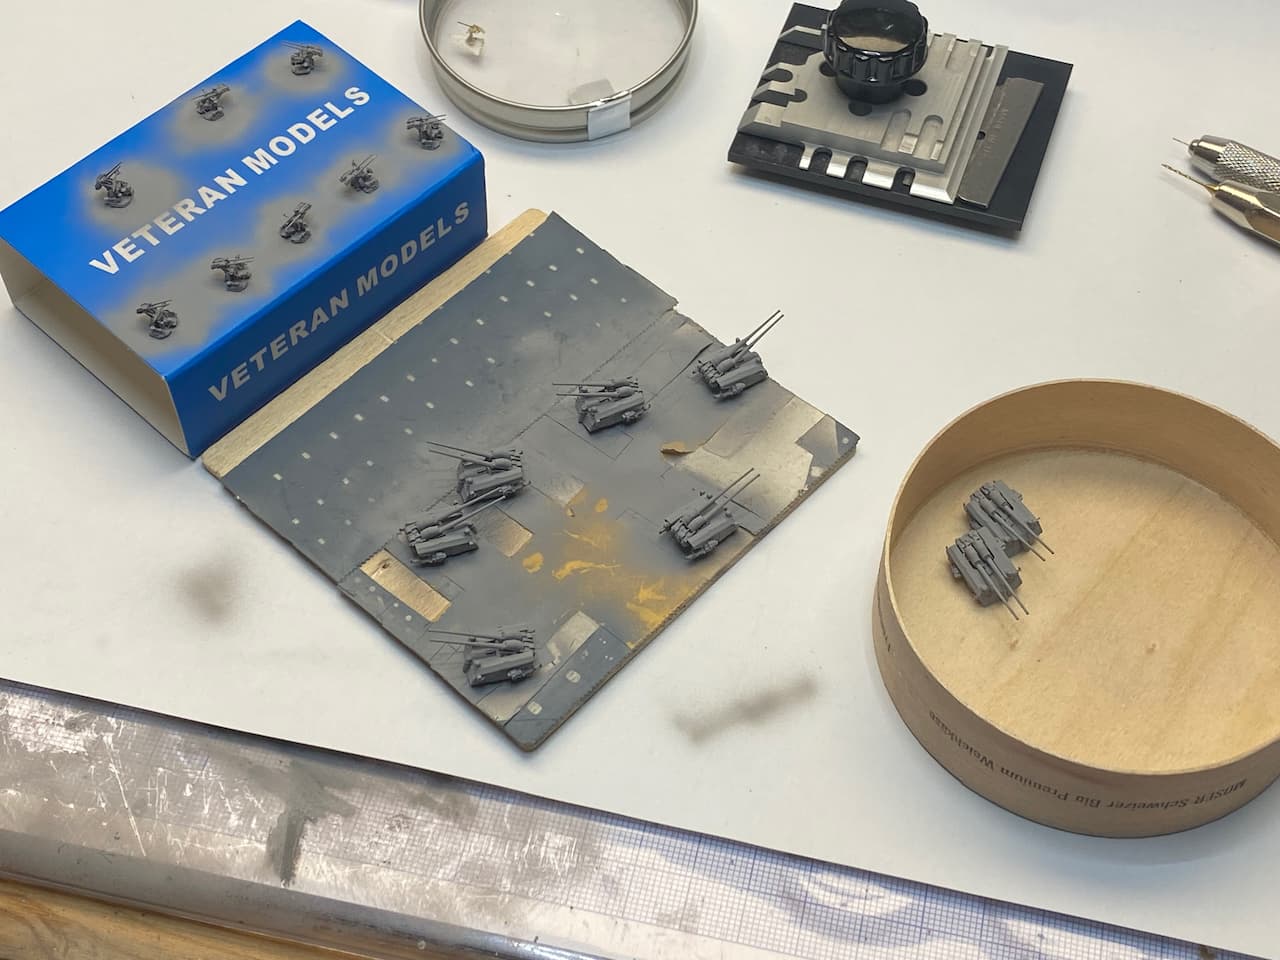
I am quite happy with how they turned out. Together with the one from last week and the two painted ones from long ago, that’s eight for seven mounts I need, so one spare.

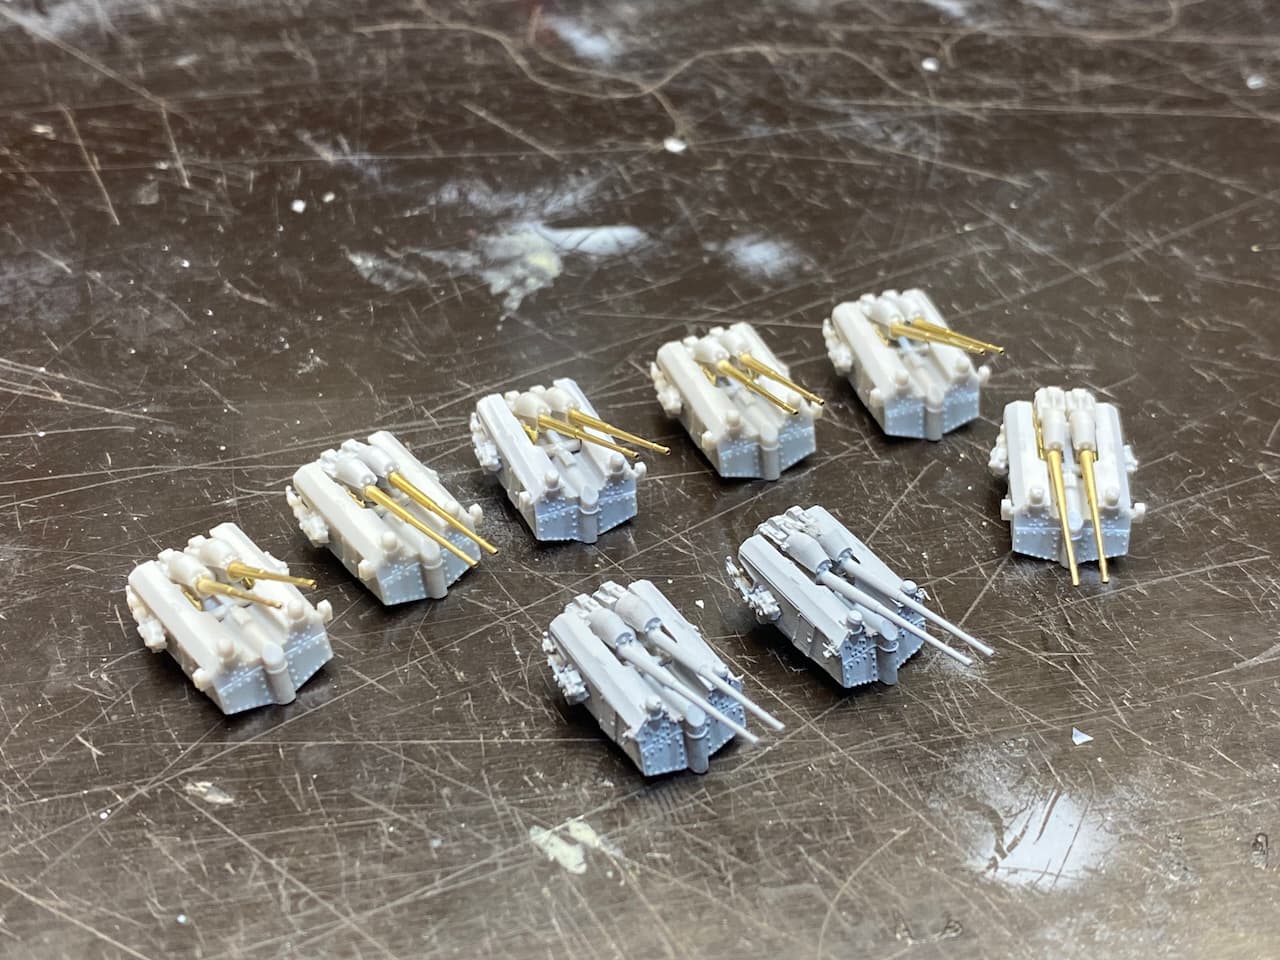
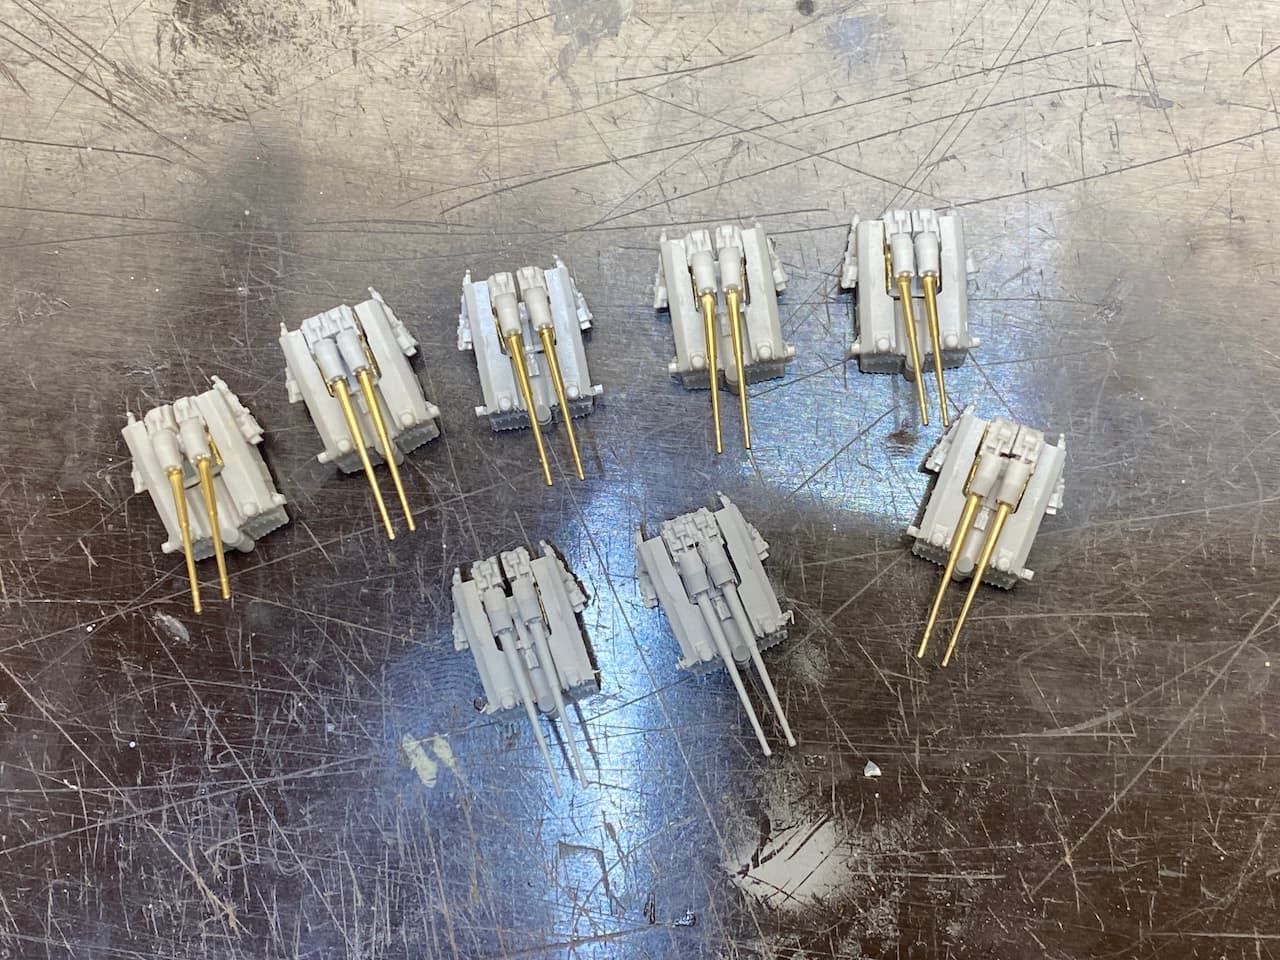
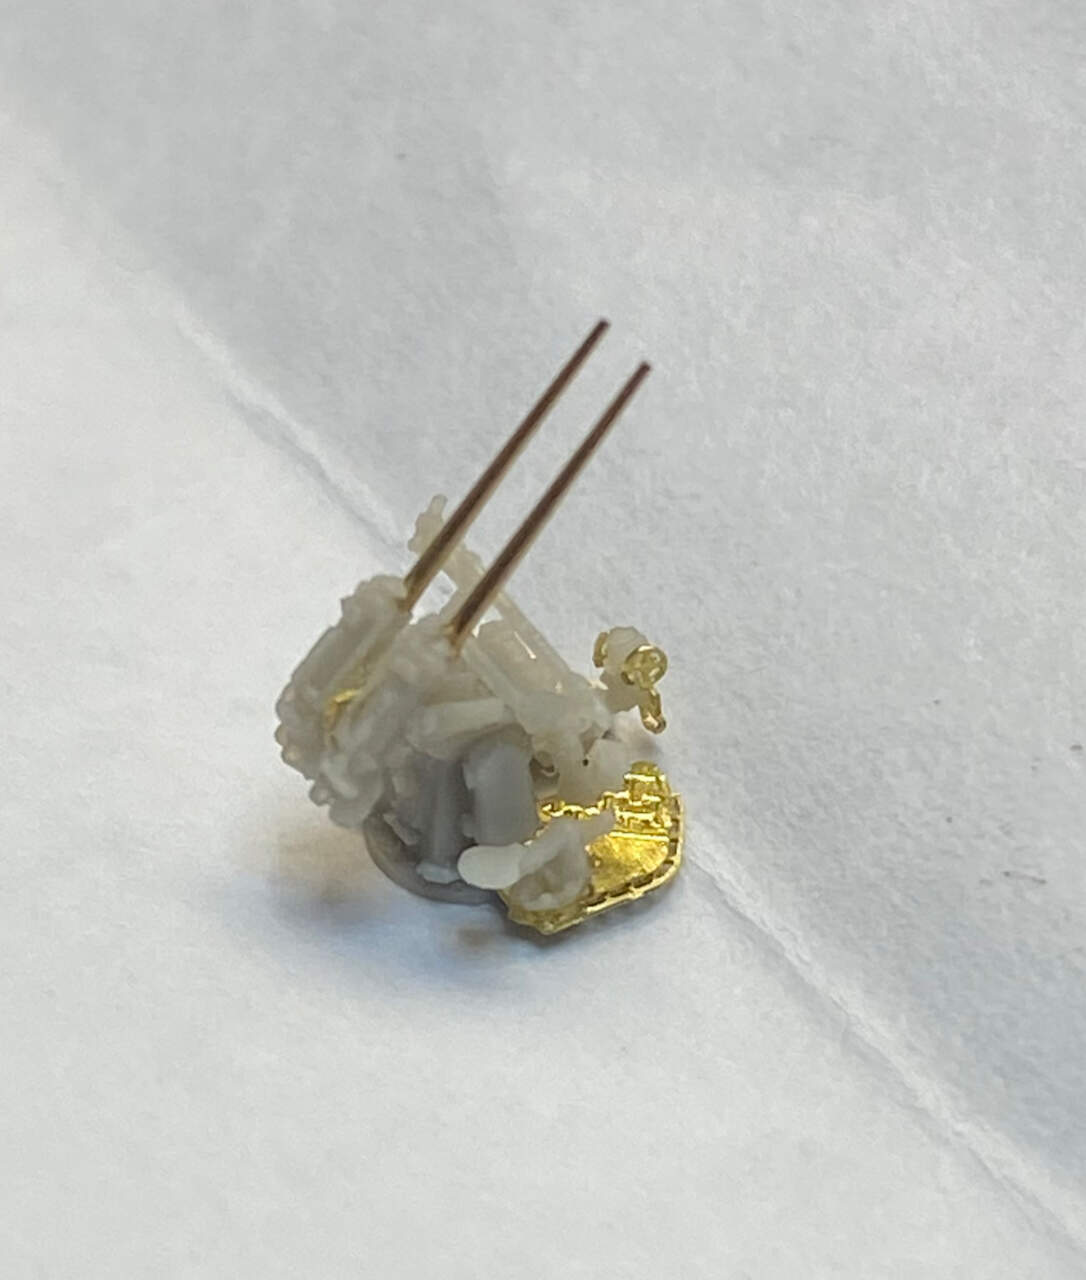
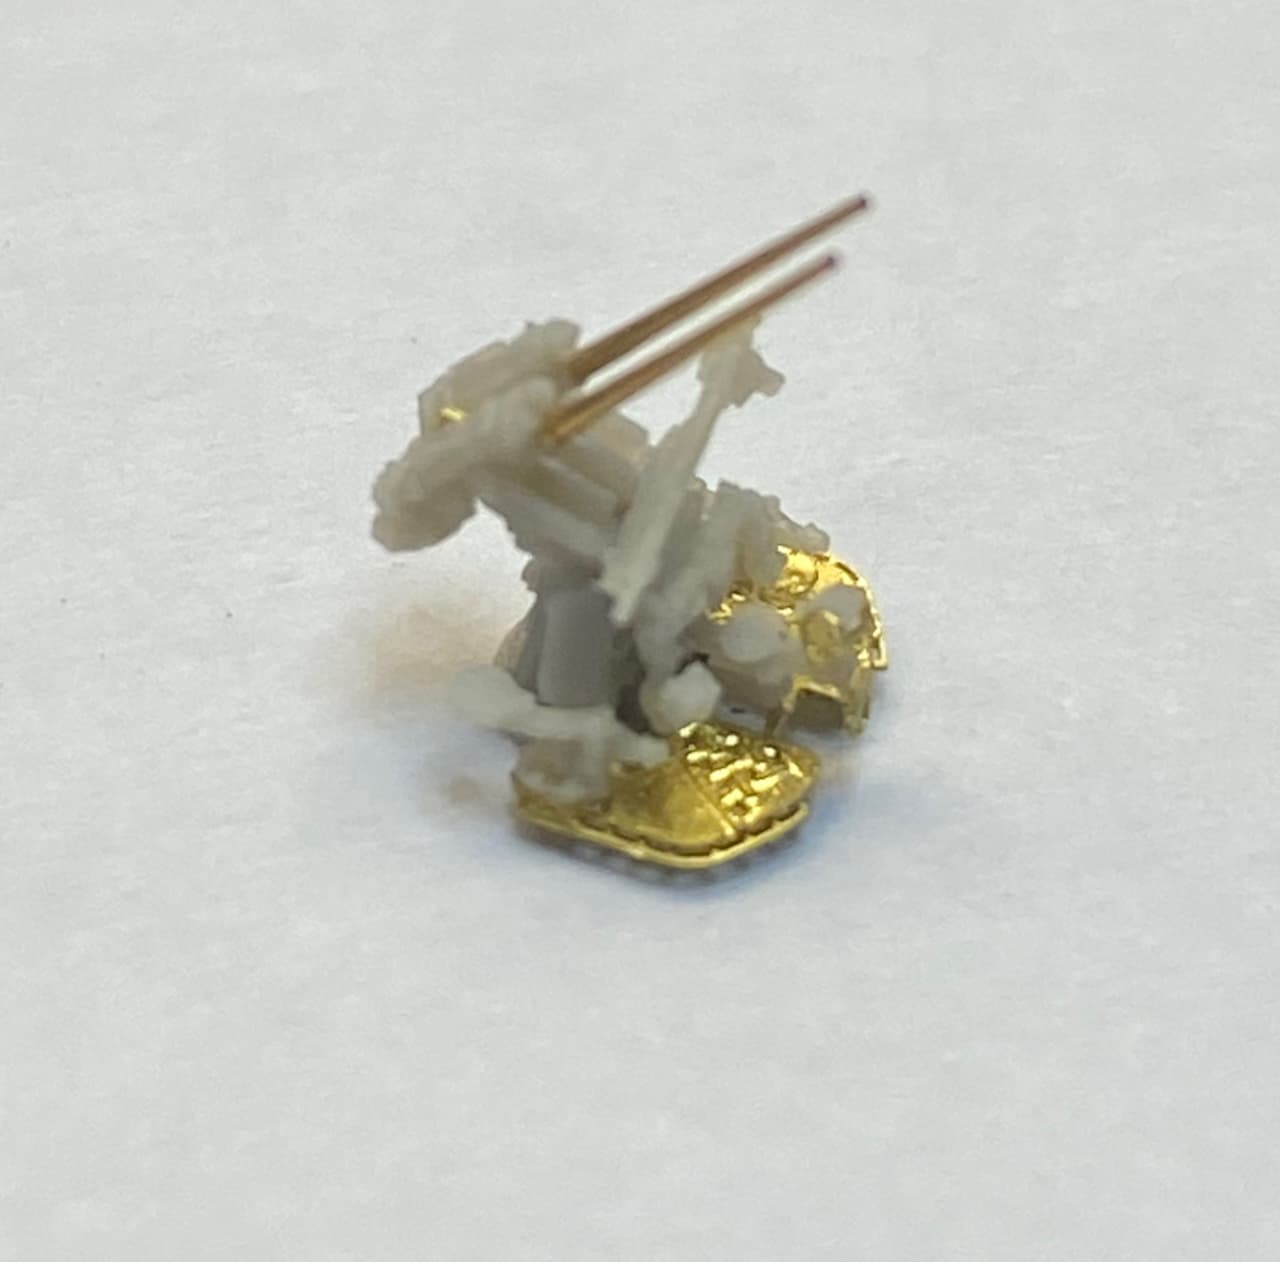
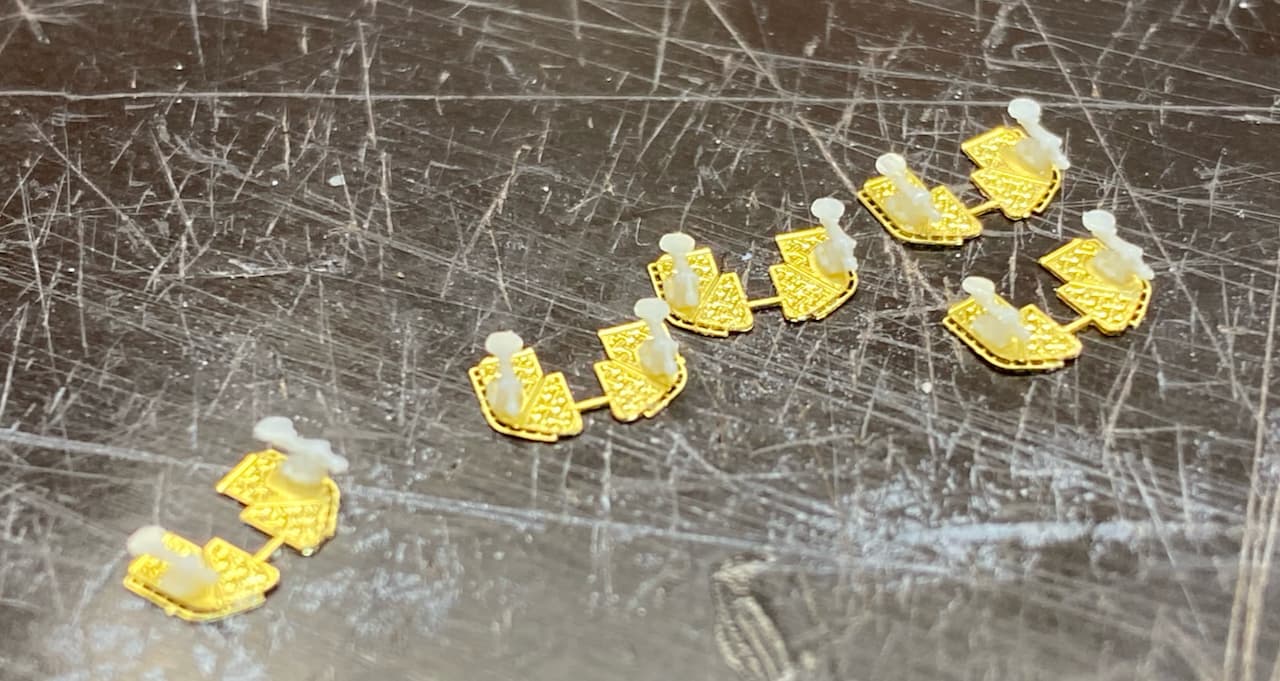
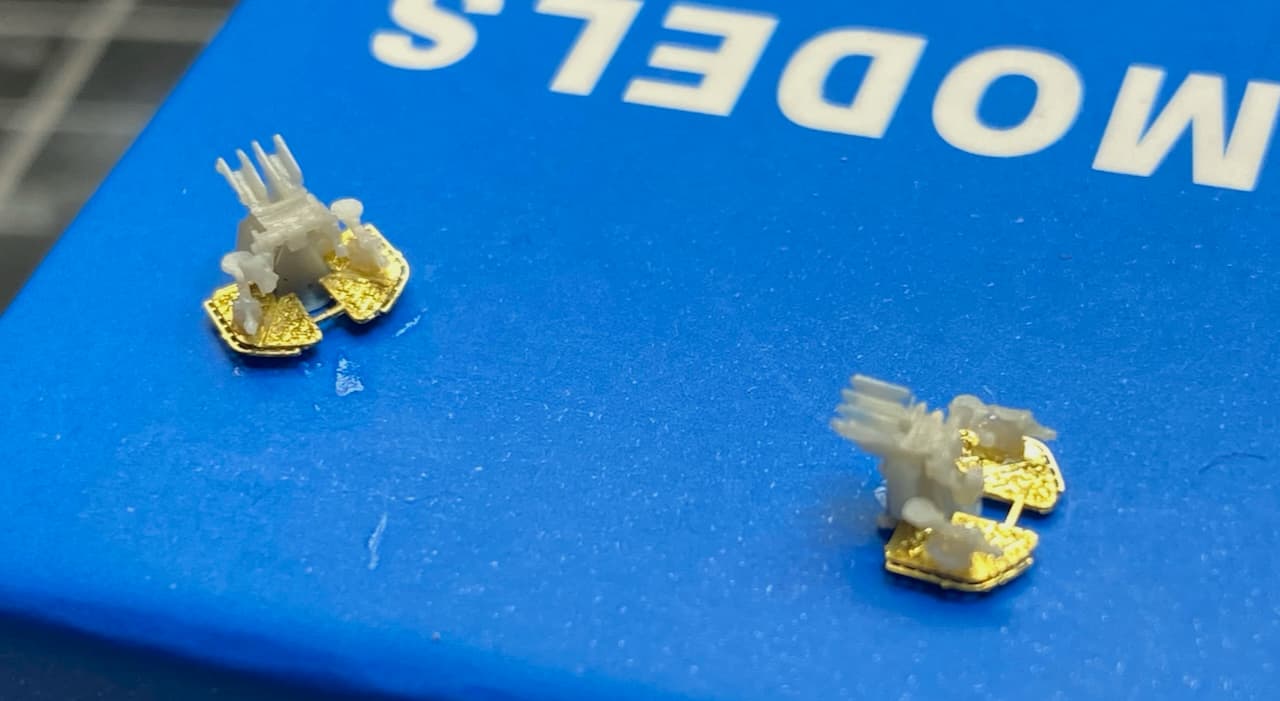
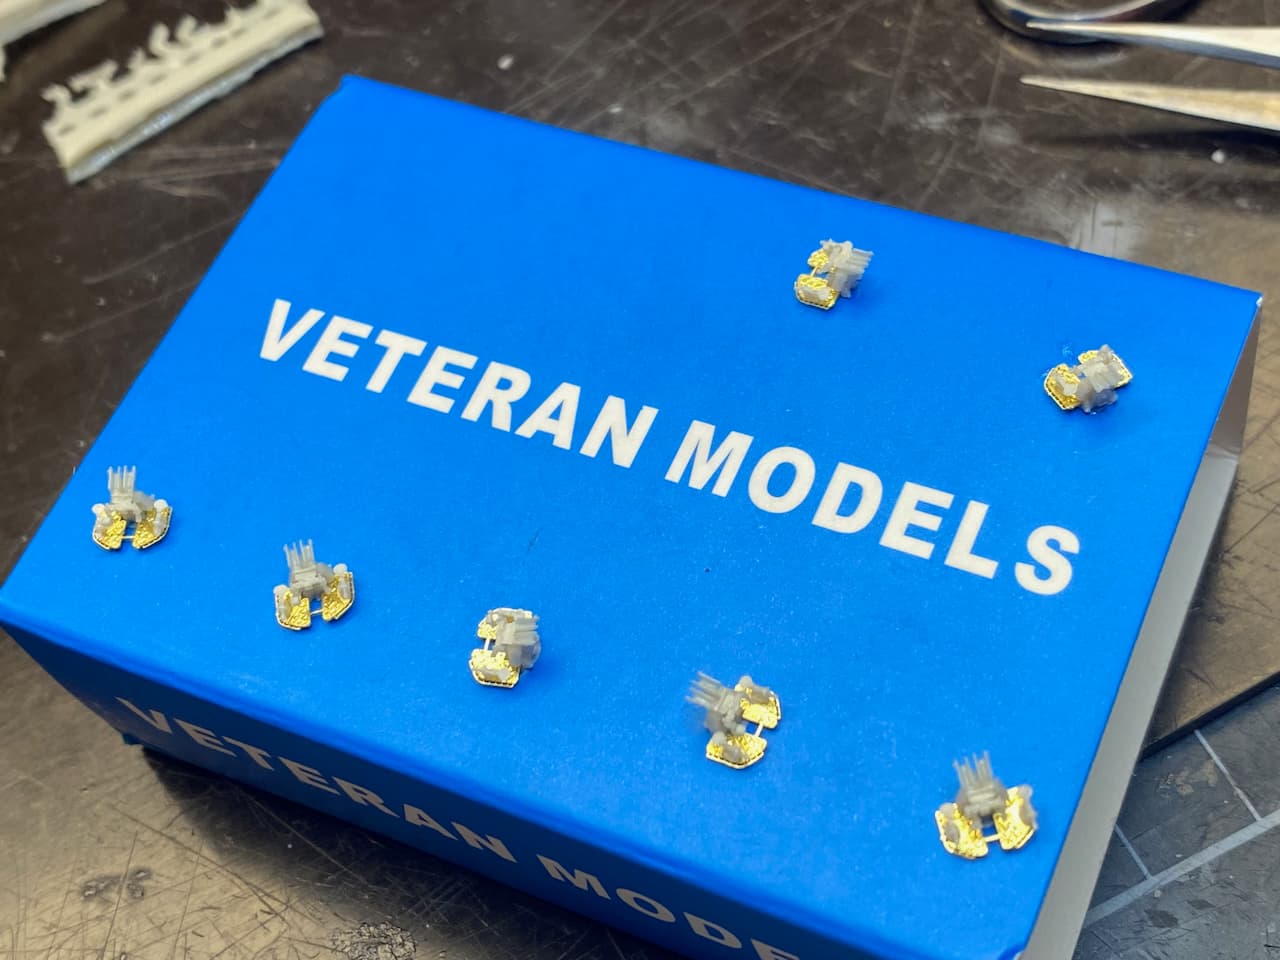
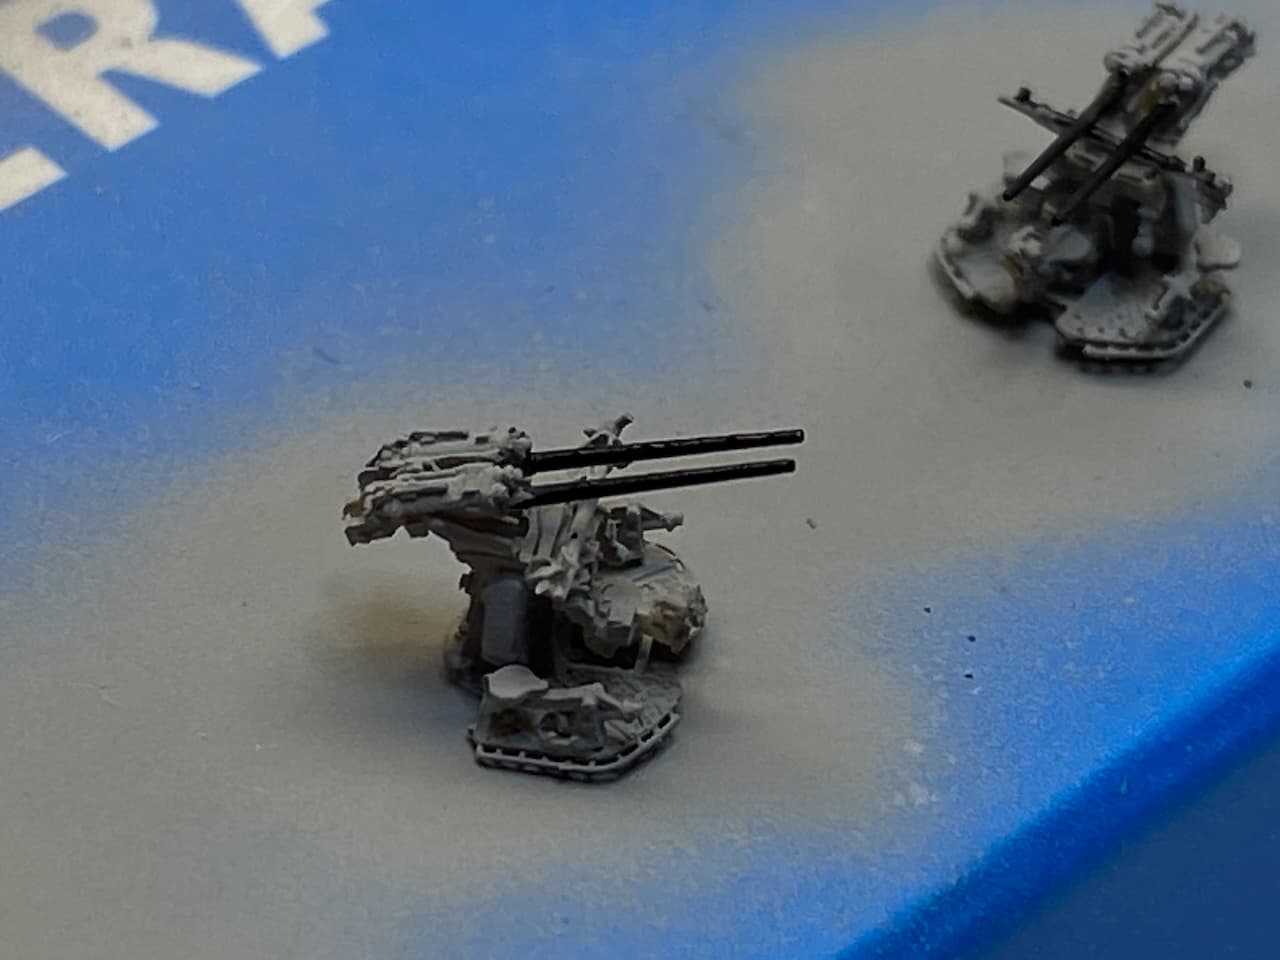
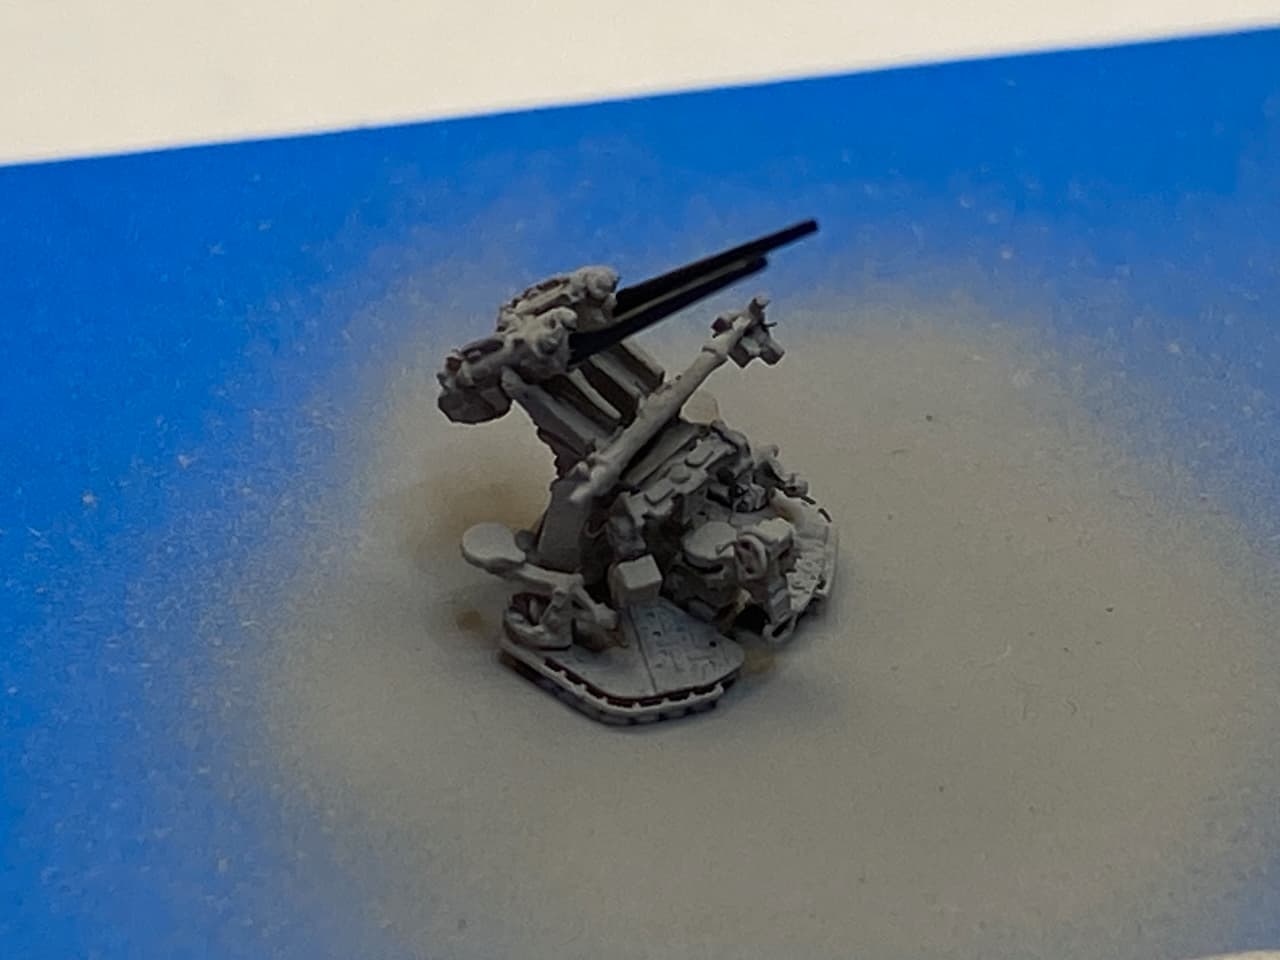
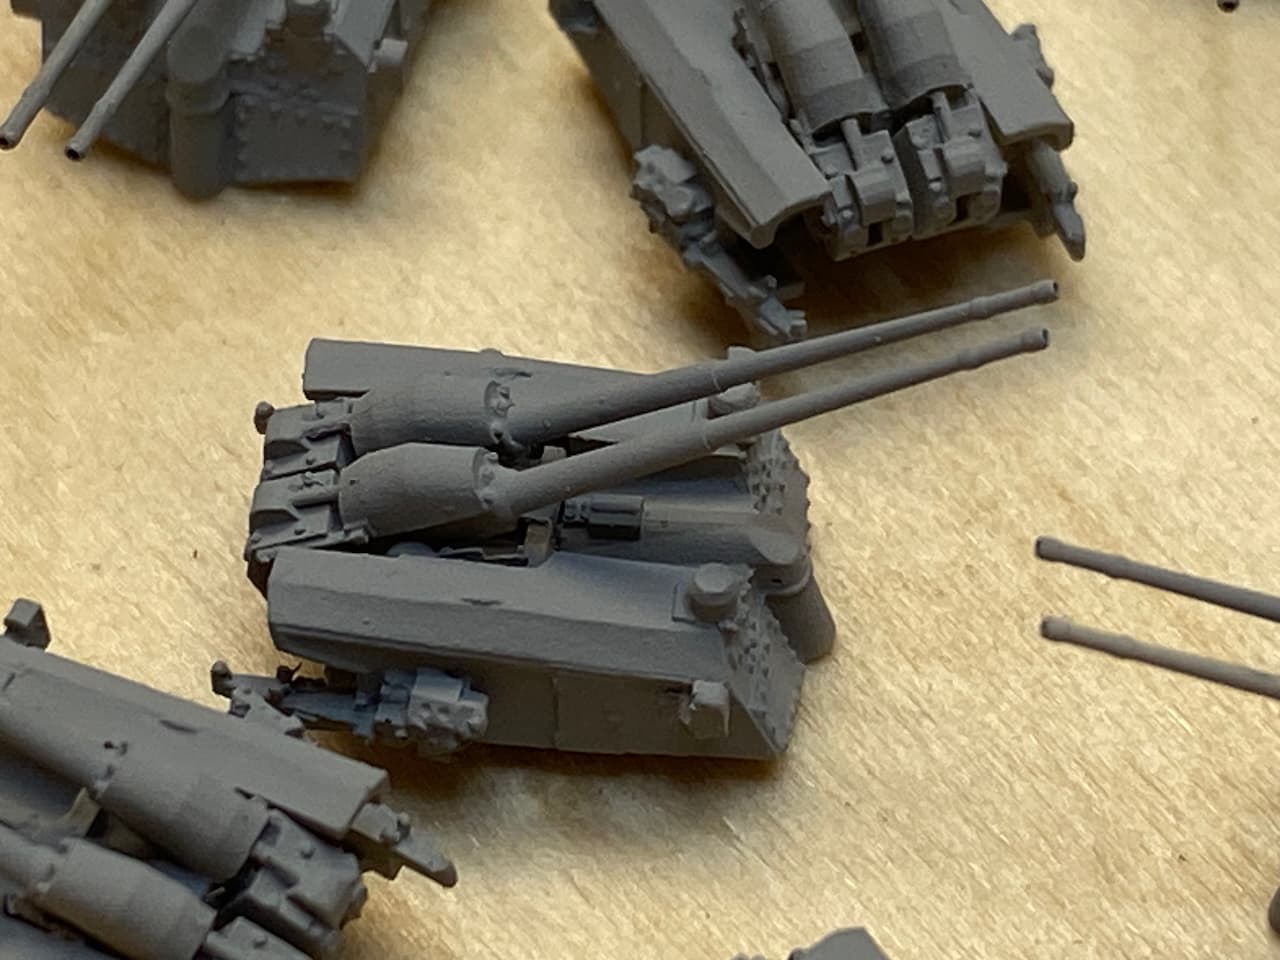
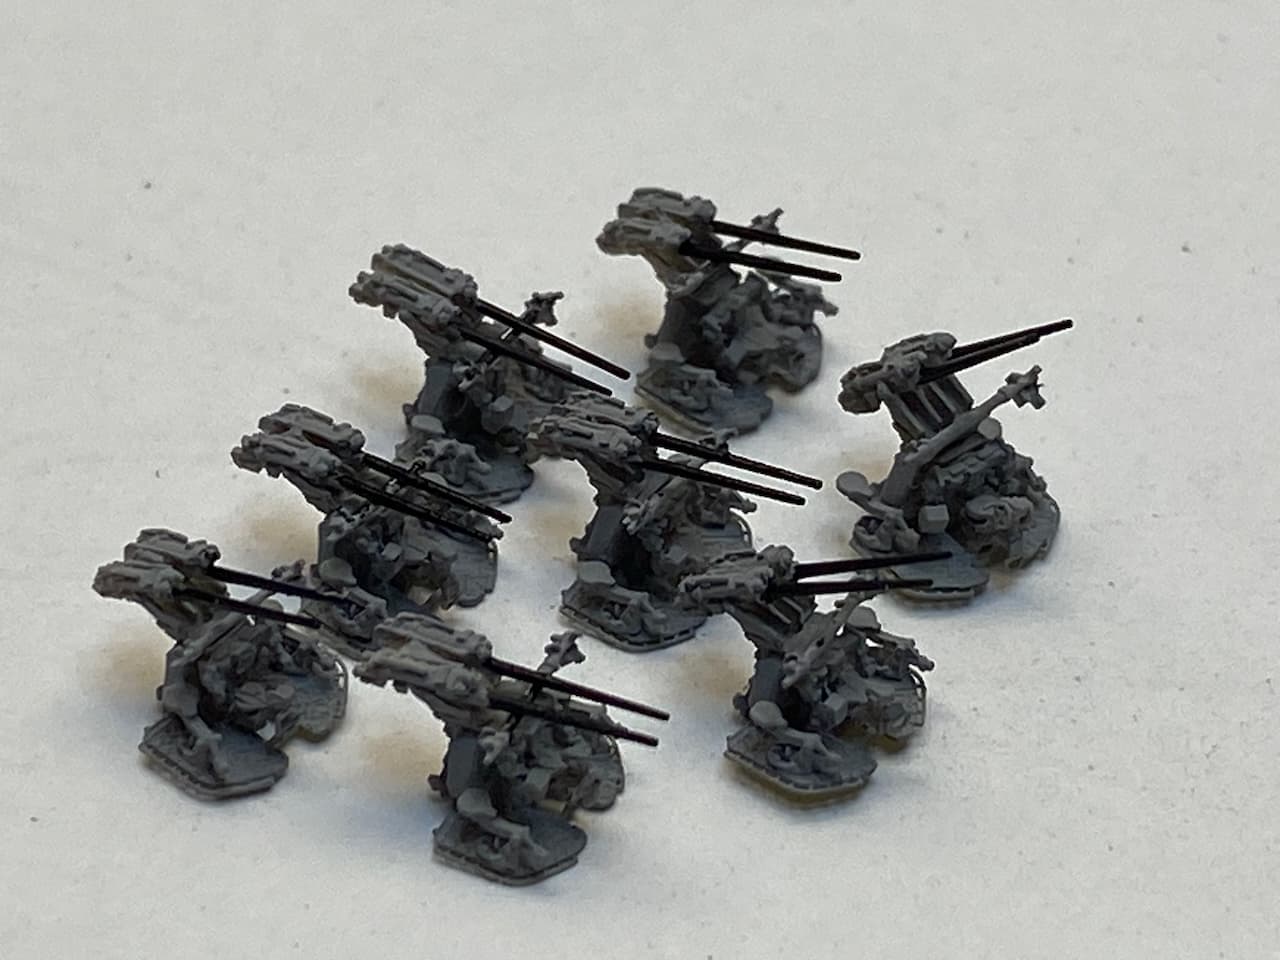
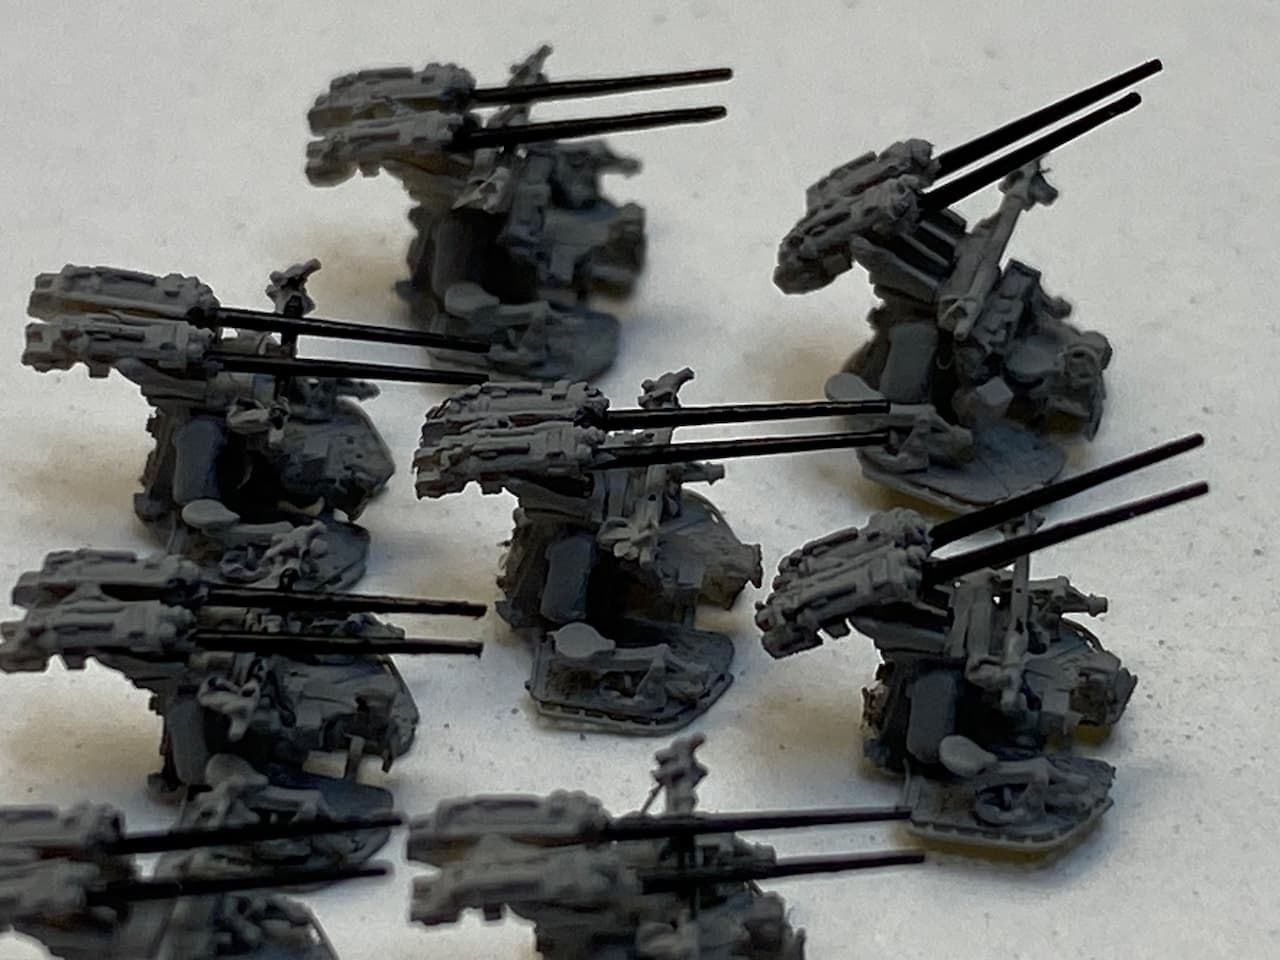
Now on step up in difficulty, the 3,7 cm.
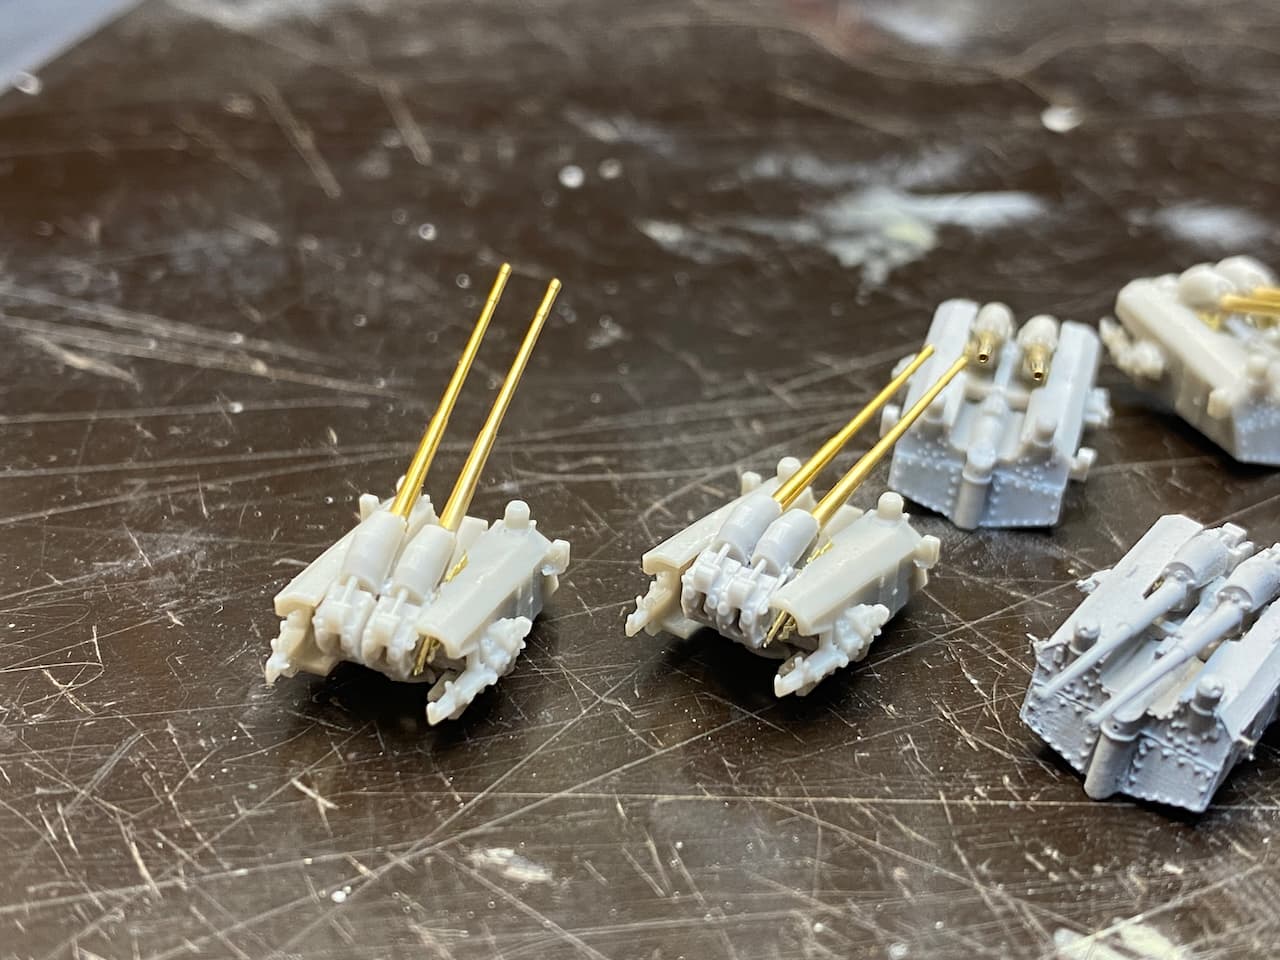
After some struggling (and loosing some parts) I decided that omitting two additional etched hand wheels, left and right, jut in front of the resin gunners seats, and two microscopic structural parts to the bottom plate, would be acceptable. Yes, I know they would belong there and are not, but I can’t even see them with the naked eye, and not even with my reading glasses.

Eight are needed, I’ll evaluate which of those from last year I will use, probably will have to build six more. With omitting those described parts, that should be doable next weekend.

…and then there are the 2 cm singles lurking and waiting… I just did one of those last year and it didn’t really turn out as I wanted. So that will call for some practice…

So far for now, I hope next Monday I can show you the 3,7 cm serial production…and eventually start working at the ship again!

Thank you all for bearing with me and my build speed and cheers
Jan

12 Likes

Masterful work on the 3.7 Jan :clap::clap::clap:

I remember how much fun they were to build on the Prinz Eugen. They weren’t easy by any means. Only 7 left to complete :hugs:

And those 10.5’s look awesome, even if you did follow the instructions :wink: Great work as always mate :smiley:

PS I know what you mean about wearing the magnifier: got to be done in small doses :grimacing:

1 Like

Always fun to do the small fiddly bits. Seems you got the hang of it.

1 Like

Very nice work on those guns, they will really enhance the build. Mark

1 Like

Looks really nice Jan. I dread this work, one reason why i put the Admiral Scheer on hold :smiling_face:

Cheers

Tom

1 Like

Those are some really lovely looking gun stations. so intricate … they will look superb when fitted onboard :+1: :+1:

1 Like

Wow, thank you so much for all those kind comments and following my ‘glacier’ slowly gaining pace again. Well, won’t ever go really fast, but you know that by now…

So memories come back - here’s one thing I stalled on when I worked on Gneisenau last year still in Berlin - the shape of the under-structure from the AAA directors forward. For Gneisenau it needs to have a conical shape, unlike that here correctly molded for Scharnhorst. I have to take all measurements first and then think about how I approach this one…

But for the task at hand. For now, this is about maximum I can achieve during a weekend (besides housework and other things that have to be accomplished during the weekends), neck and eyes are hurting somewhat from the big magnifying glasses…

A little production line for the 3,7 cm AA:

Glued them to one of the Veteran boxes, plan is to build them all right there (accomplished) and paint them as well, and then hopefully get them off that box without destroying anything… The ‘box-stand’ works pretty fine so far.

So here are all eight of them, the one from last week added.
I put the older ones aside, as they all differ somewhat from those new ones. Even the same Veteran ones. They will find ships to serve on, later…

In the end, I needed three boxes of four, two spare for later and two losses (or cannibalized due to some really tiny parts getting lost or broke).

So that’s it for this week, thank you all for looking in and cheers

Jan

8 Likes

ooo, I hope gluing them to the boxes will be ok, Jan… :worried:

What about upside down masking tape? I find that works quite well. If you tape it down onto a length of timber on both sides, with the sticky side exposed, it gives a reasonably taut sticky surface on which to build…

1 Like

Hey Mate,

I tried this before, as I tried double sided tape. Both wasn’t really working as I wanted it, the upside-down masking tape was ‘wobbly’ and didn’t really like airbrush painting the attached pieces (maybe should have glued the tape on the wood…), the double sided tape was too sticky… So I decided to give this approach a go - idea is to break them free with an exacto blade in the end, they are glued down only on a really tiny piece of resin. We shall see…I agree there is a risk :thinking:

Cheers
Jan

1 Like

I hear what you’re saying, mate. I’m just worried about them “flicking” off into the ether when prying with an exacto…

The tape I use is scotch blue tape, which is a painters tape with less tack. I tape it down on both sides to hopefully prevent any movement, but you’re right: sometimes there is a bit of wobble. I like your idea of glueing the tape down (spray adhesive?) to get it to sit tight.

Either way mate, will be good to see you chase down your glacier and am looking forward to seeing you get some paint on these :slightly_smiling_face: :hugs:

1 Like

All right, really brief update for today, caught a bad lurgi of some kind…probably enjoyed the first days you could sit outside on your terrace too much…so that interfered with steady hands and all that…
At least I re-woke the airbrush and got some simple color on my AA guns, without breaking something.

So that’s 8 reasonable 3,7 cm and 7(+1) reasonable 10,5 cm. The 3,7 cm will receive black barrels, later with a hairy stick. Maybe I find an hour to do that during the week.

Thank you all,
Cheers

Jan

11 Likes

Good to see paint on the guns Jan!

1 Like

Painting the guns finished.

And to relieve not only Russ from a nagging question - the ‘glueing to the box’- plan worked out really fine! All came off without damage.

Today was a day of more theoretical considerations, about the sub-structure of the SL6 AA director. What I would need is a an apex, base 8 mm, 55° ‘cone’, and that cut in half. Or two exact same halves.
I’ve checked everything I have from older builds to find something suitable, but came out blank. Checke Shapeways, nope. Checked if other ships would have something almost identical, where I could possibly borrow something from a kit. But all negative. I really do not have a smart idea how to approach that, this three dimensional conical shape. Building it up from disks? Or sanding it down from a rod? And one, ok, but two identical? Or just going with the wrong shaped from Scharnhorst? Comments, suggestions and ideas very welcome!

I hope to find a little more bench time tomorrow (bank holiday here), since the lurgi was quite nasty over the week, pretty much gone just today, and weather’s really nice to spend the afternoon on the terrace. Fresh air might be good as well.

Thank you all for looking in and cheers

Jan

11 Likes

Good to see the progess Jan,

Very nice wotk on the veteran light AA, they can be “fun” to put together, btu they are worth the effort.

Cheers, Si

1 Like