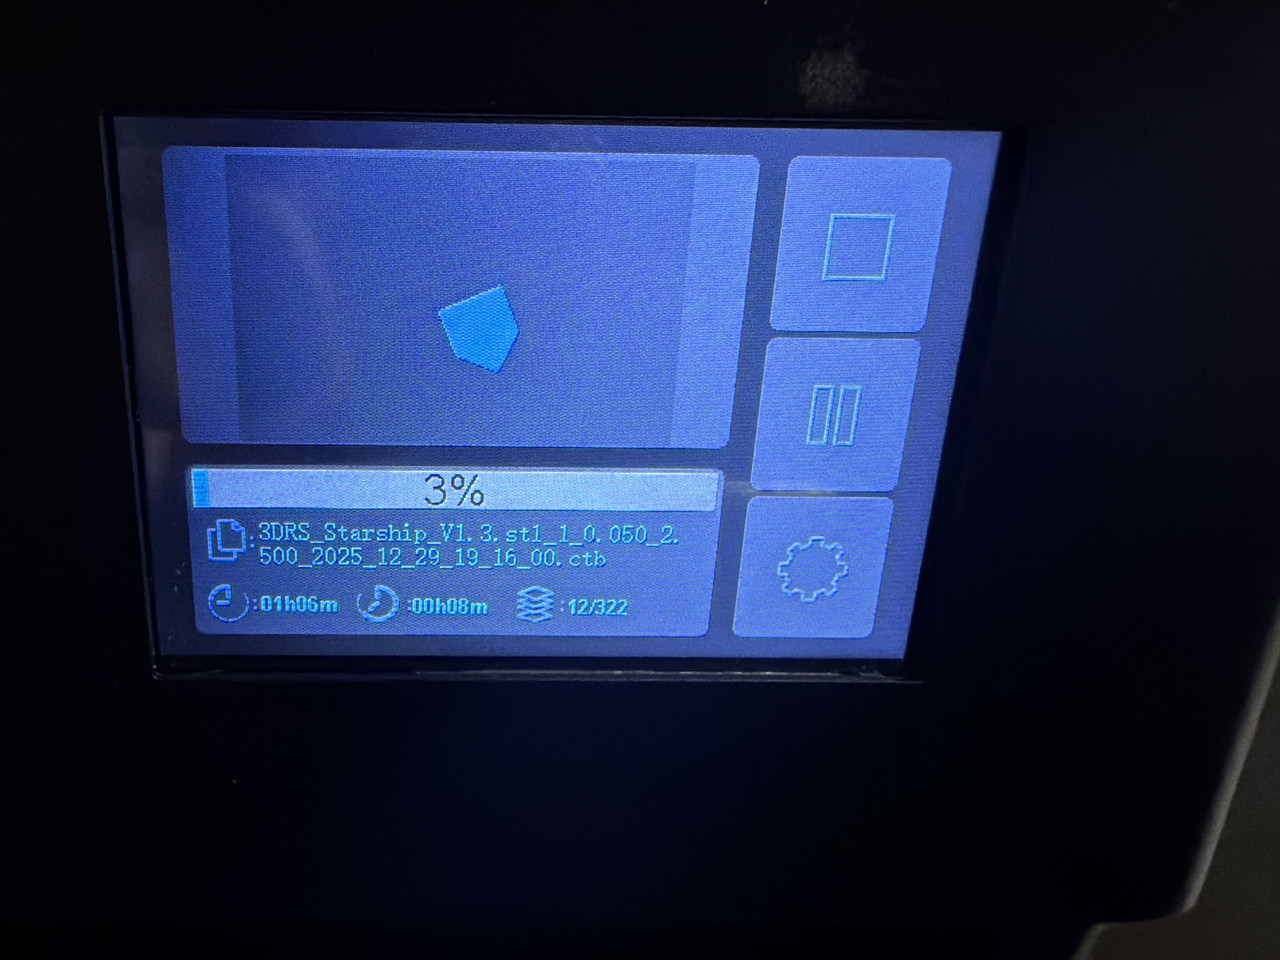
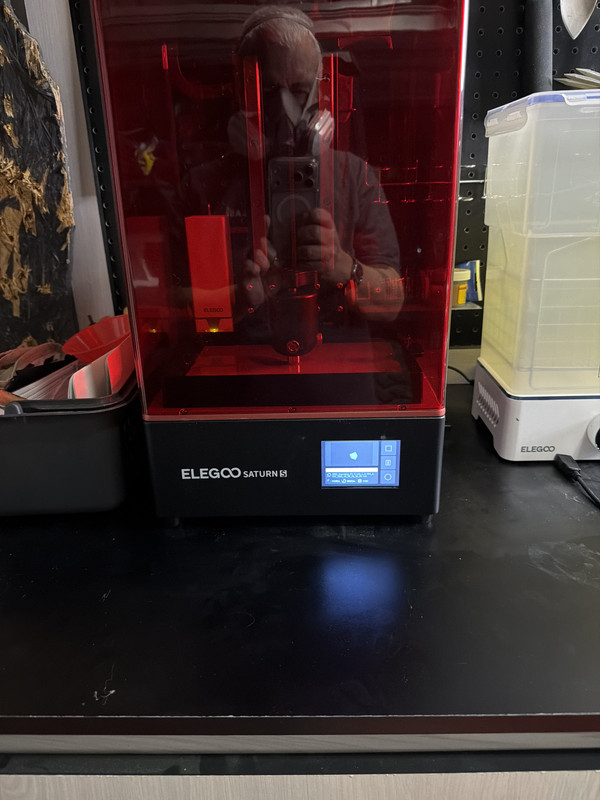
Well, with some substantial help from my son, aka tech support, we were able to get my 3D printer working this evening…
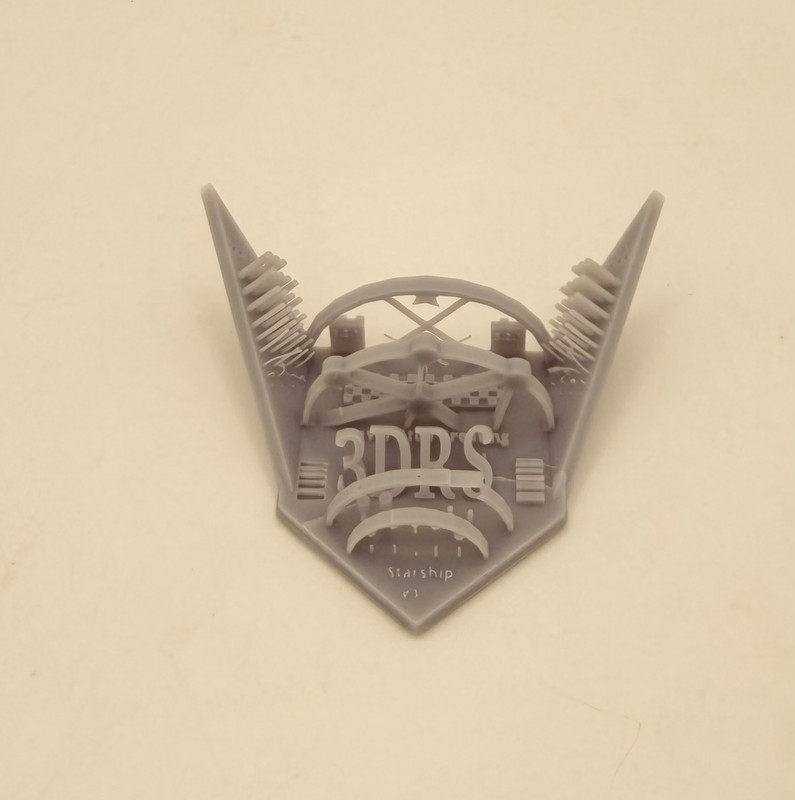
And after nearly 90 minutes of printing, then another 10 minutes or so of wash and UV light curing, we created this test print semi successfully…
I say semi successful, or as my son termed it, a successful failure, due to it ending up a bit too brittle, and this ended up cracking and breaking. So successful print, but an overdone finishing process. Lessons learned.
Good first effort. You will figure it out as you keep climbing down the hole. Elegoo is a great product. I have a Mars 5 Ultra that I got last Christmas and love it. I have printed all sorts of things. With the Chitubox slicer software I have been able to create all sorts of parts as well. Have Fun.
Thanks Gino. It’s a bit messier of a process than I expected, but that kinda adds to the fun. I downloaded the Chitubox account to get started, so off we go! I am so looking forward to making up what I’ve found so far. This is a crazy huge new world. Baby steps…
i have a resin printer, mainly for accessories for my 1/35 stuff (i have a folder full of jerry cans, oil drums, weapons etc) or larger figures (120mm +)
i’ve just take a side rabbit hole and gotten a filament printer for vehicles now. i found the resin to be a bit to brittle to build multi part kits (probably my settings) so hopefullt filament will be tougher.
plus i can print all sorts of storage items and organisers with it
The basic version of Chitubox is free and came with my printer. I paid for the Advanced version, about $75 a year, to allow me to split, cut, join, etc. and design my own parts.
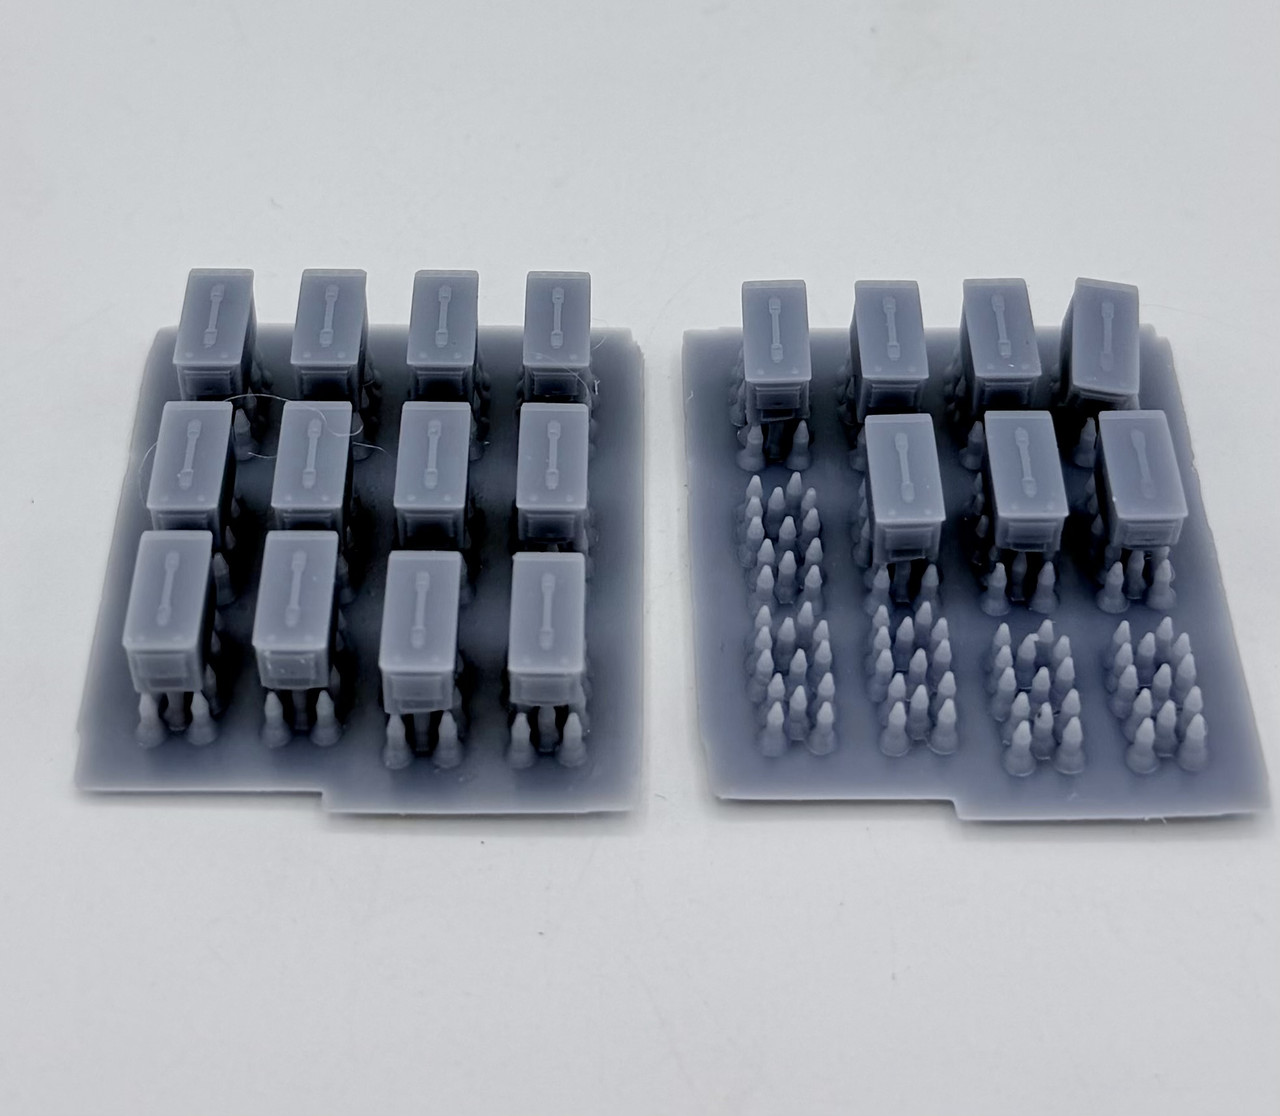
This evening I had another go at 3D printing after my crash and burn attempts after New Years… today’s success was much more successful. The first go (on the right) was about a 50% success rate, with some breaking free during the printing process, as can be seen by the support nubs only…. a few that stayed on the base were somewhat incomplete on the bottoms of the cans for unknown reasons. The second go, started immediately after I took the first group off of the printing plate, came out much better, with all twelve ammo cans printing, although a few were also again underdeveloped on the bottoms of sides…
I’m gonna have to mess with the jerry cans that crashed and burned on the first attempt and see if I can get those to print up properly…