Apologies, just that I have a brother called Michael who prefers Mick, it’s just automatic for me but remembered for the future. I haven’t started the wheels yet Johnny but I think they will look OK once done. I think the drive shafts have to be shortened so they don’t stick out from the body but won’t know until I try them. The hatch pads need to be black and the straps painted also. Couldn’t get Revell 65 for the extinguishers but managed Humbrol 75 deep bronze green and will add a gloss clear coat after attempting the white writing on them.
1 Like
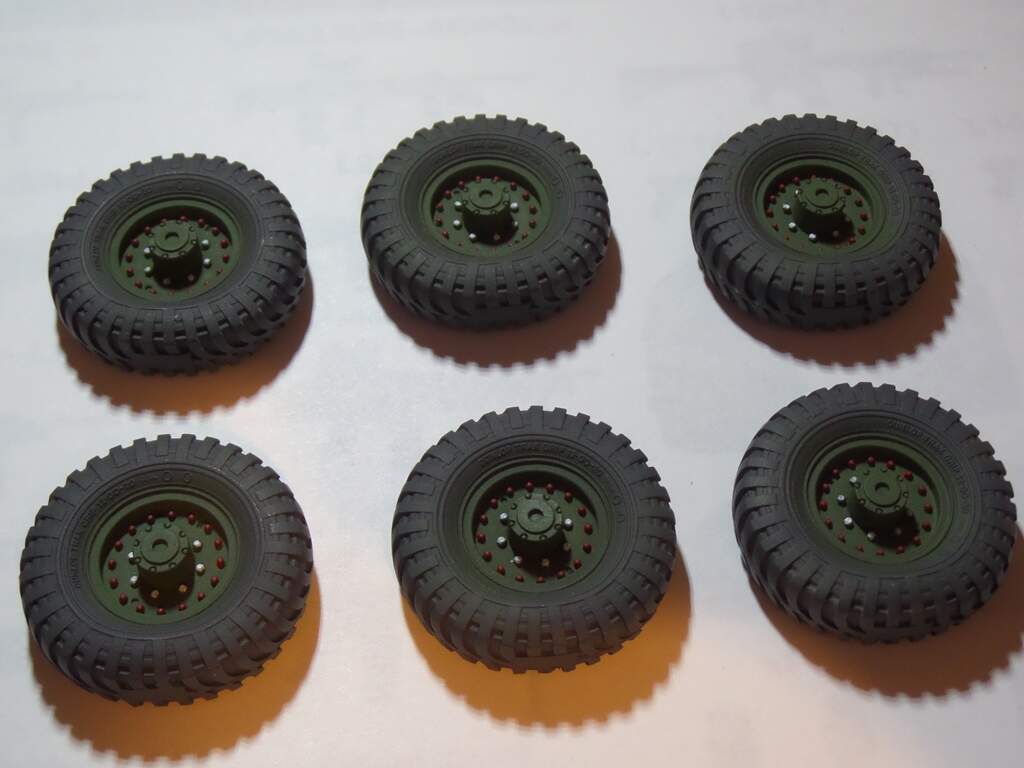
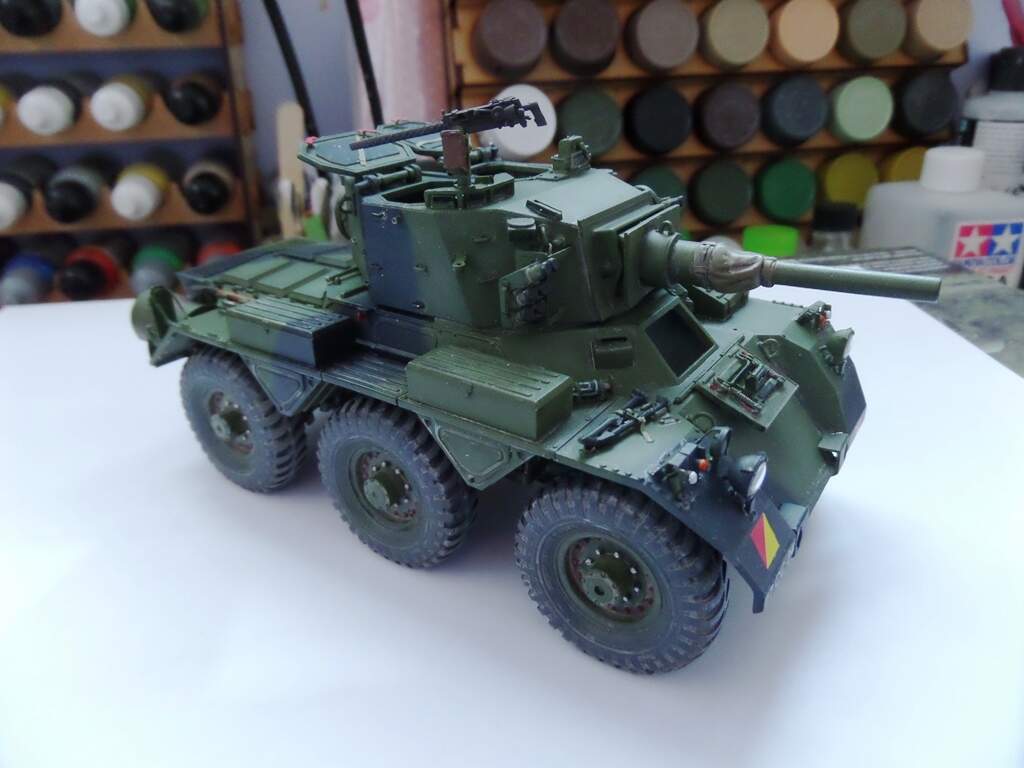
Wheels painted and nuts colour coded. They are done with Vallejo Panzer Aces 306 dark rubber and Tamiya NATO green. They look pretty good and are streets ahead of the kit wheels and also have the bulge at the bottom.
8 Likes
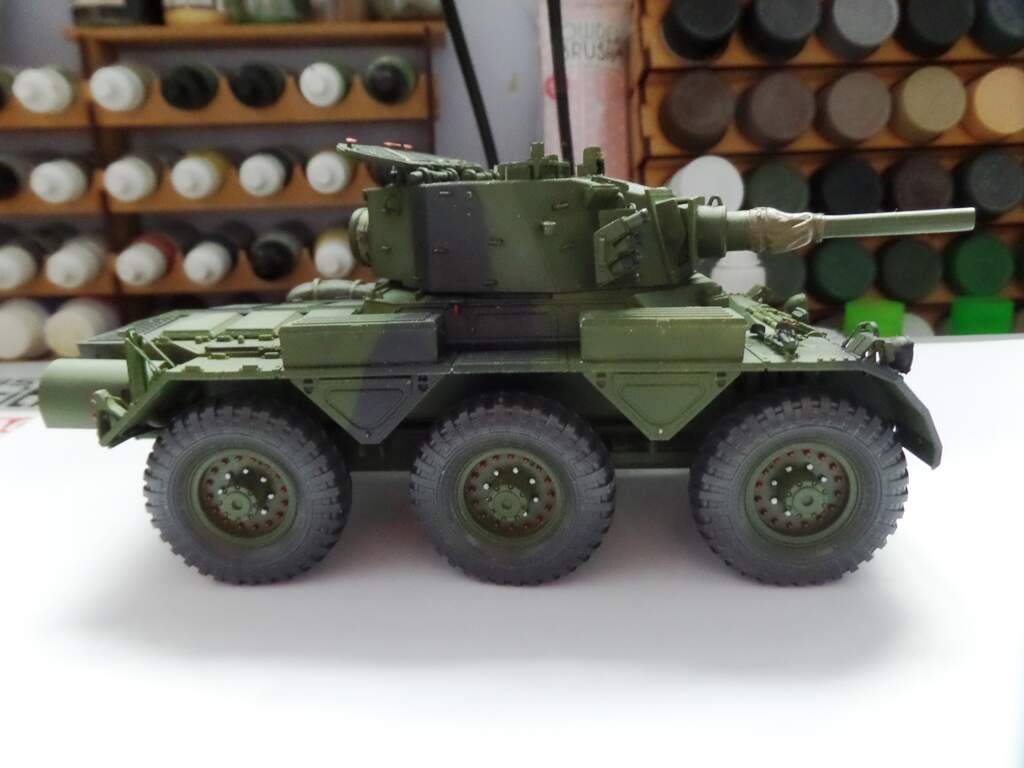
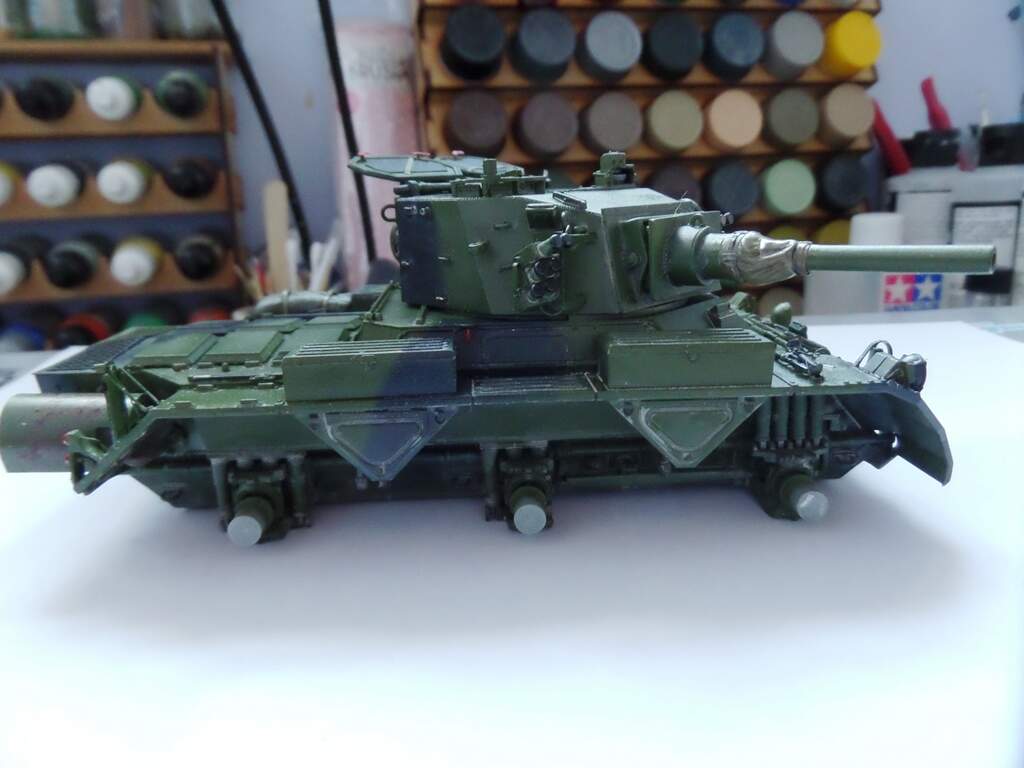
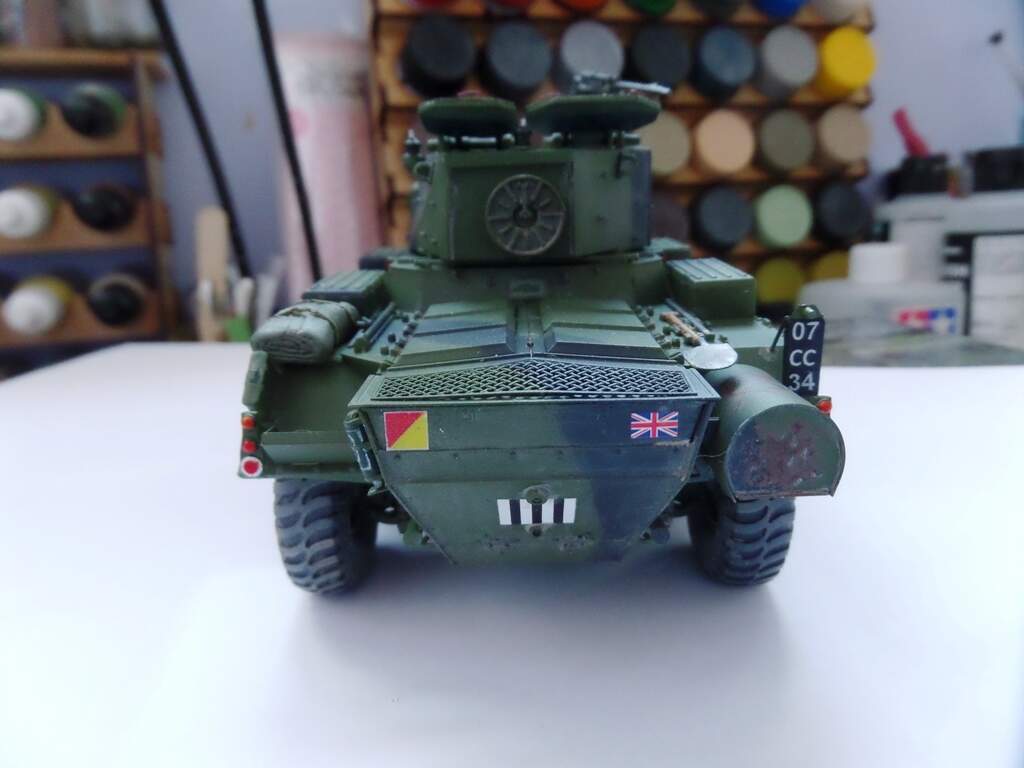
Wheels dry fitted just on one side to see what the ride height would be. It looks ok to me without going into measurements and the wheels look right in the wheel wells. I had to cut a few mill off the axles where they go into the wheel hubs otherwise they protruded past the sponsons. Those measurements were checked using digital calipers to make sure the wheels were all in alignment. Amazing how pics show up things you wouldn’t normally notice such as areas needing touch up due to handling. I’m approaching the heat/rust damage to the exhaust heat shield slowly as I want to get it looking correct as I have got this wrong in the past.
11 Likes
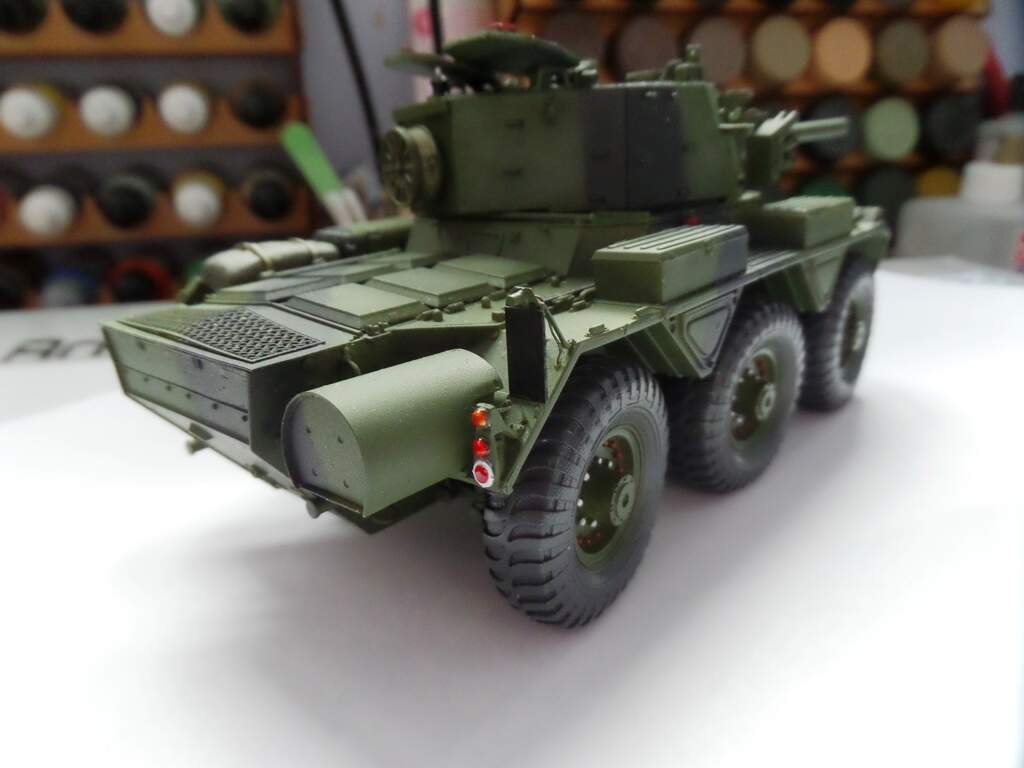
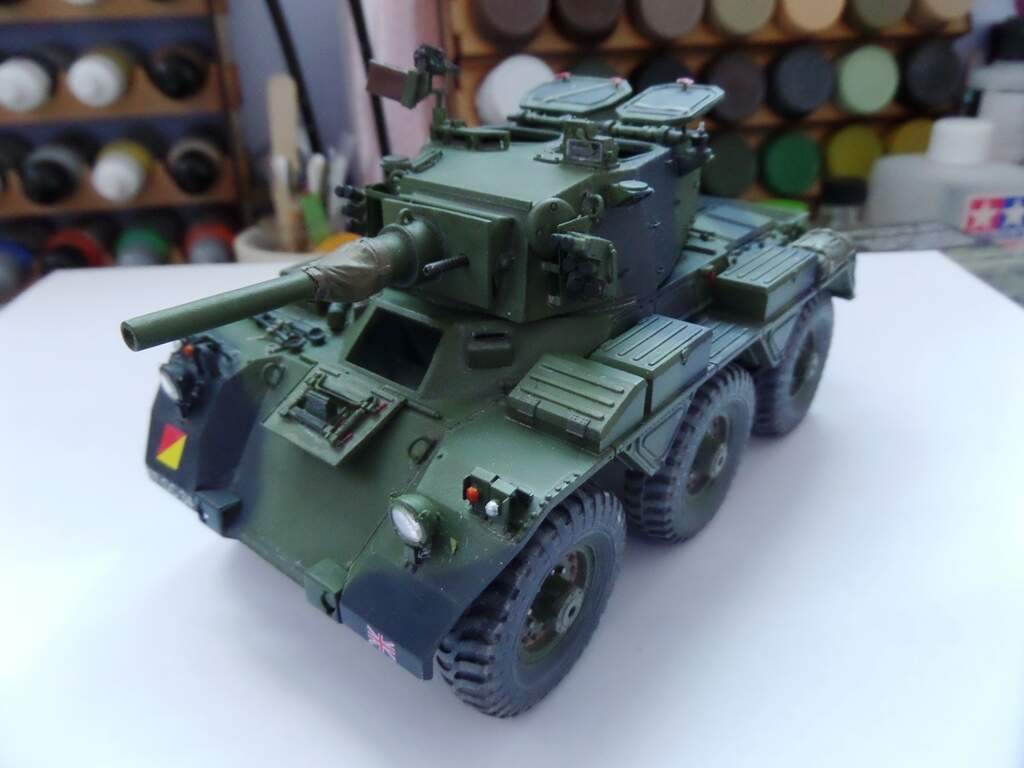
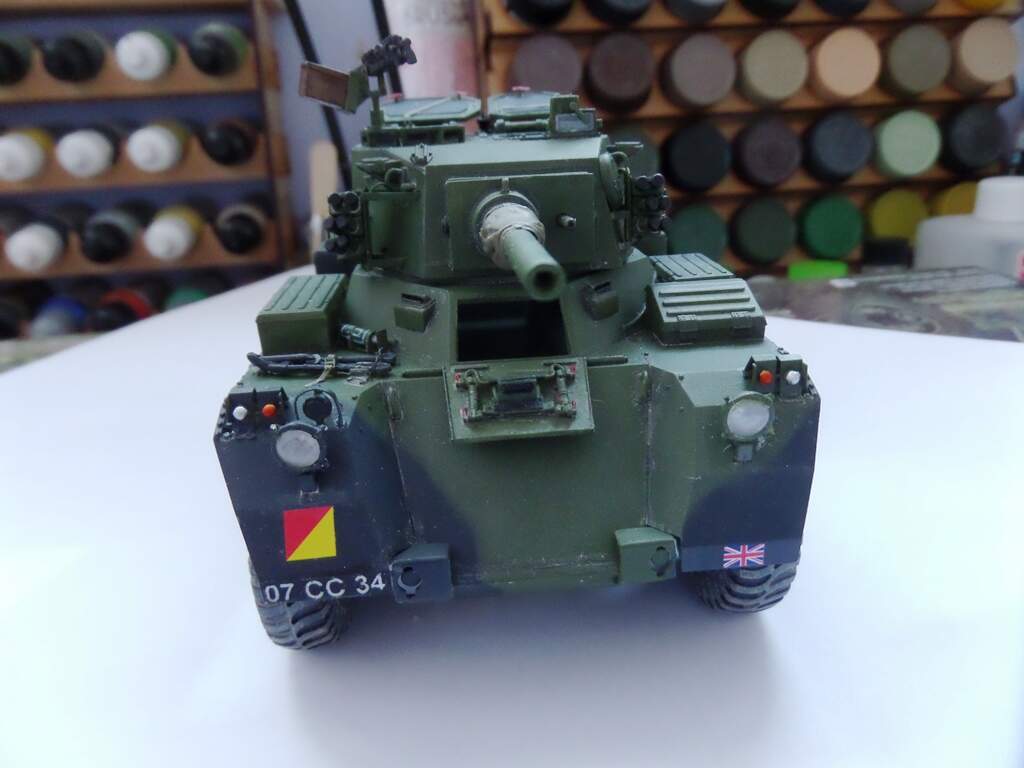
As a small distraction from the lunacy that Russian idiot is wreaking on Ukraine a small update. Gloss coated the model and wheels and then printed decals as I wanted a specific number plate and some of the kit decals are too large. I’ve then done a very light pin wash using Humbrol dust and will seal that in using another gloss coat. I didn’t want to overly weather the vehicle as they were kept quite clean most of the time unless on ranges or exercise.
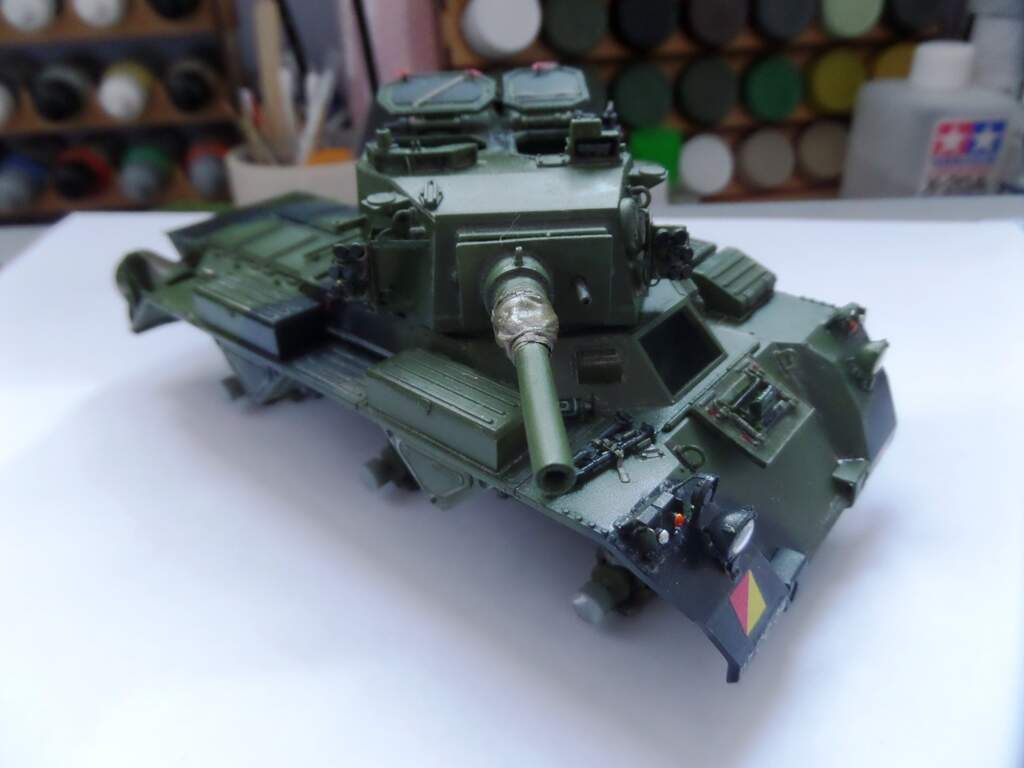

5 Likes
Looking great Max. That little bit of rust on the exhaust is very well executed.
1 Like
Rust has always been my downfall in the past. Typically it would come out looking very flat and one dimensional. I think it will look better once it’s been flat coated.
1 Like
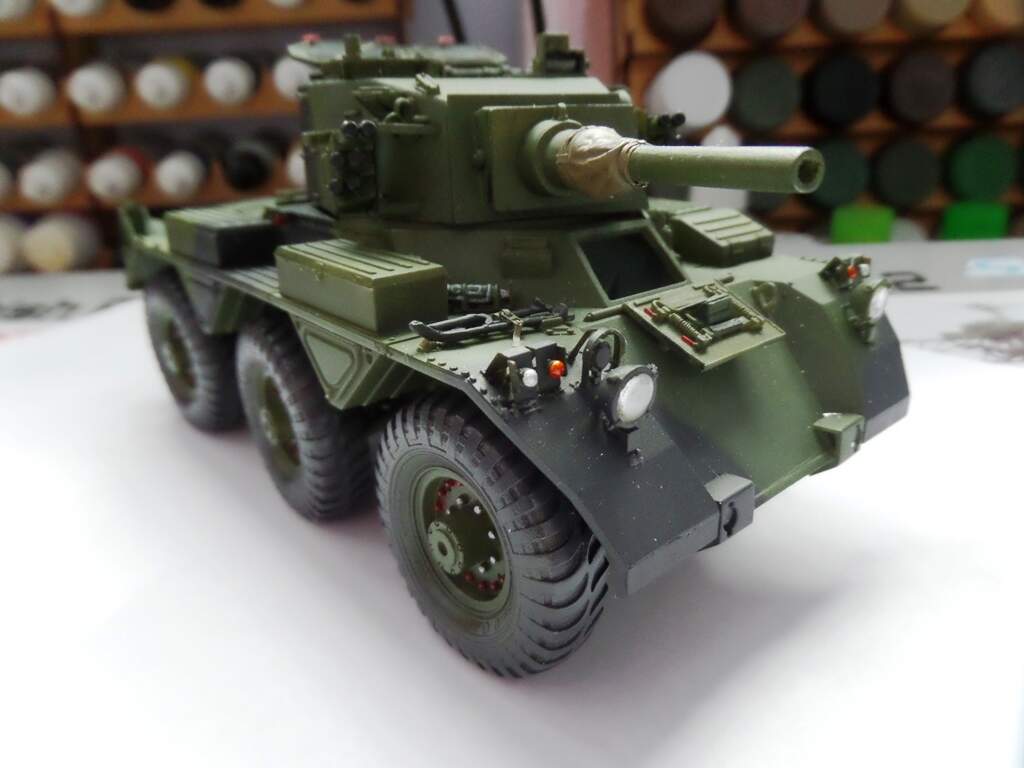
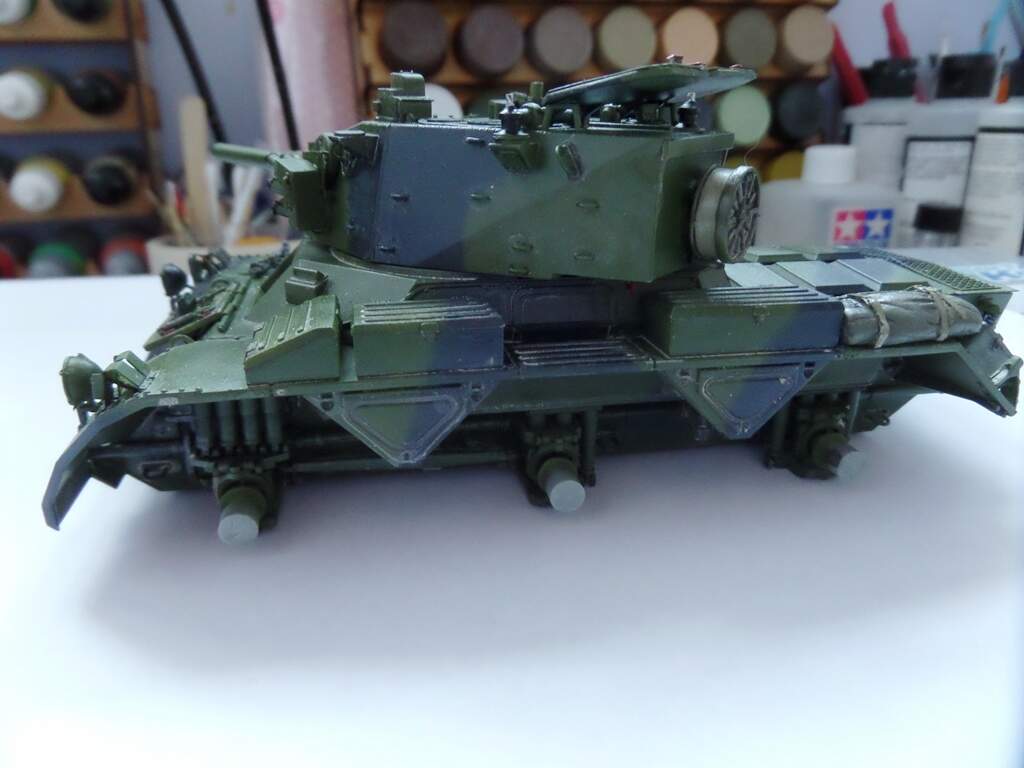
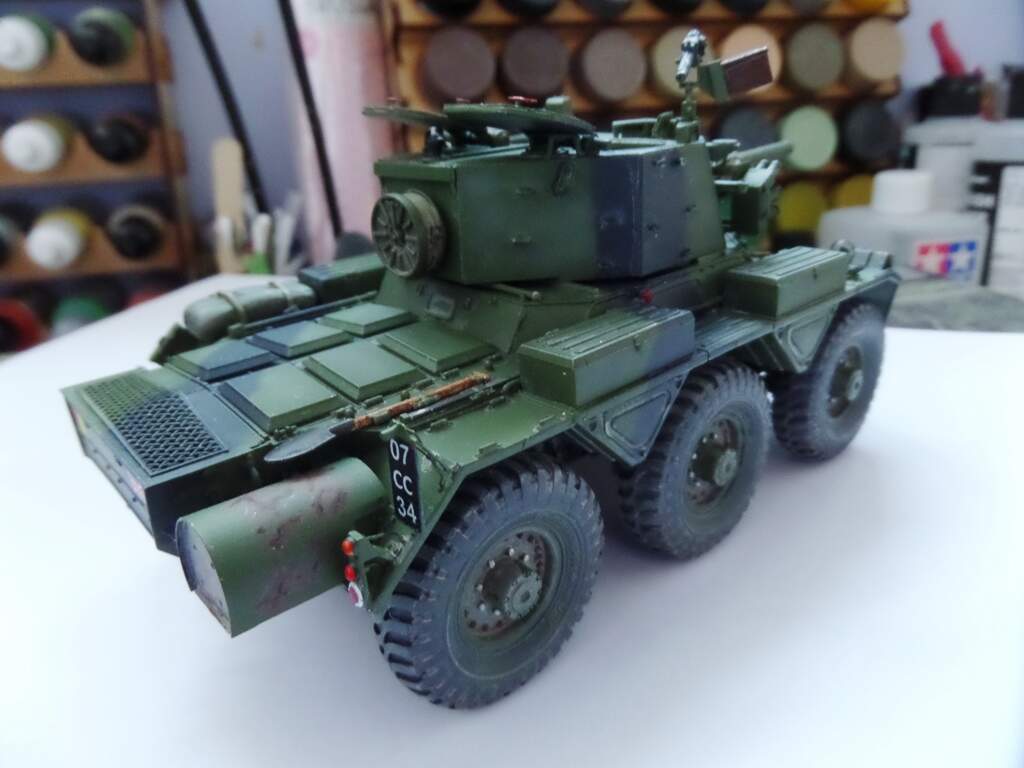
Aaaaand to continue. Wheels glued in place and the model flatted and the object glass and wiper added to the gunners sight. An ammo box for the .30 sourced from the spares box as the kit doesn’t have one, actually it doesn’t have the .30 either! Tools painted and fitted and just need to add the barrel arm for the .30 and the decal on the ammo box. Cam net to be made from scratch and the whip antennas added using Albion Alloys .5 and .3 mm brass rod. Will then give a gloss coat to the ammo box and extinguishers as in British service .30/7.62mm ammo boxes are painted gloss chestnut brown.

9 Likes
Sorry Maximus, missed this earlier; really looking the biz Mate.
My own method of making modern cam nets or rather those from the 70s/80s etc, is covered in my Leopard 1A1 piece in the Cold War section (sorry, not too sure how to cress-reference this); it might be useful but is certainly not the only method to make cam nets, and I’m sure you’ll probably have your own technique. Just a thought, and looking very forward to the finished model.
I’ll see if I can find your Leopard build and see how you did the net. The gauze I have at the moment is far too thick, strange as it sounds need to get some cheaper stuff haha.
Just scroll back a million years (within this Cold War section) or search for “Leopard 1A1”.
The gauze I use is just medical bandage gauze; the other components required are PVA glue and used tea leaves (fresh, not from bags). I sort of know all about tea being a Staff Clerk(!)
Forgot to mention that my Leopard was “wearing” draped cam, not stowed cam; if the latter, to be honest, you hardly ever see the netting as they’re rolled quite tightly. It might men a simple blob of Milliput moulded into a decent shape, could then be covered by a mass of tea leaves and that may get the effect you need. Just a thought.
2 Likes
I think using milliput is the way forward for a tightly wrapped cam net. I’ll use some herbs as the foliage sections.