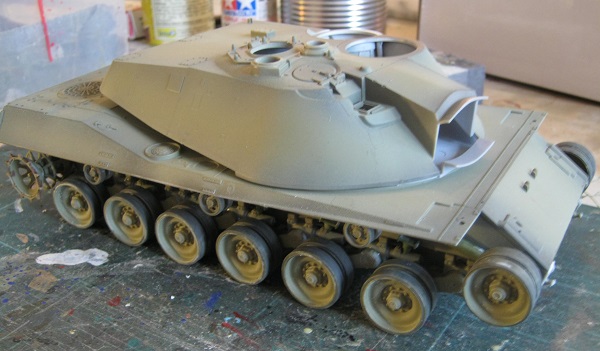
gun backed out, turret ready for a few more external parts after a trial turret fit.
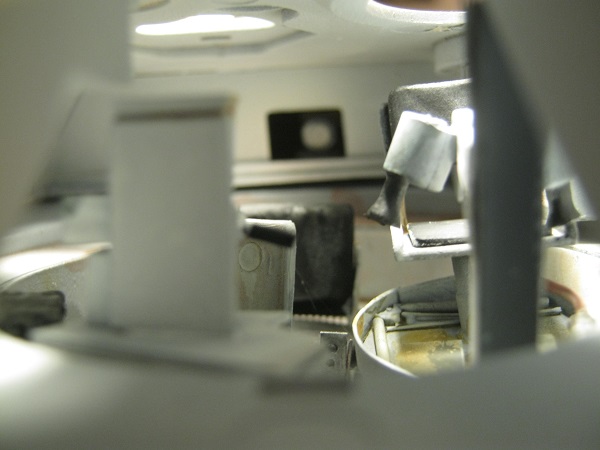
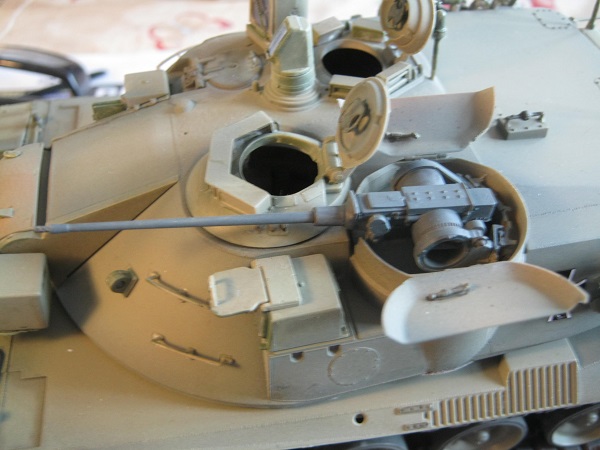
while I’m at this stage, here is a view through the open gap where the gun goes on the trunnions. You can see the tip of the auto loader rammer.
1 Like
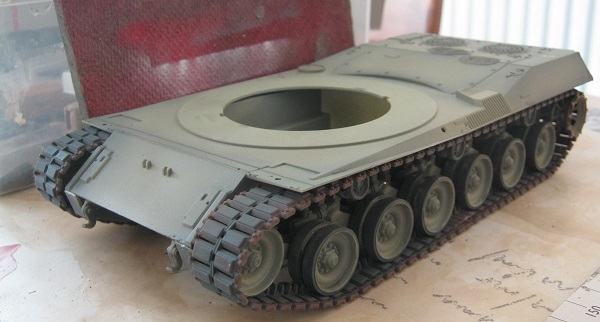
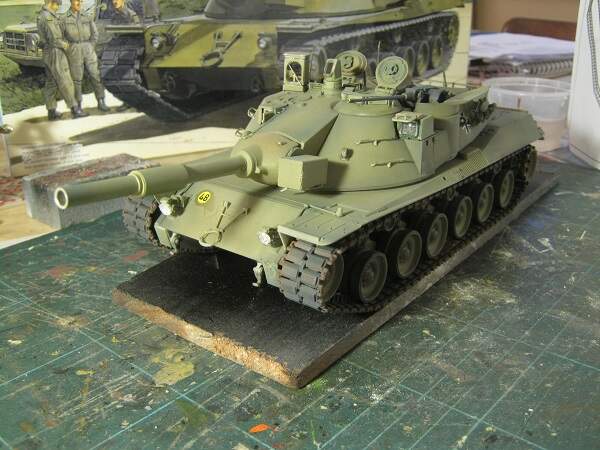
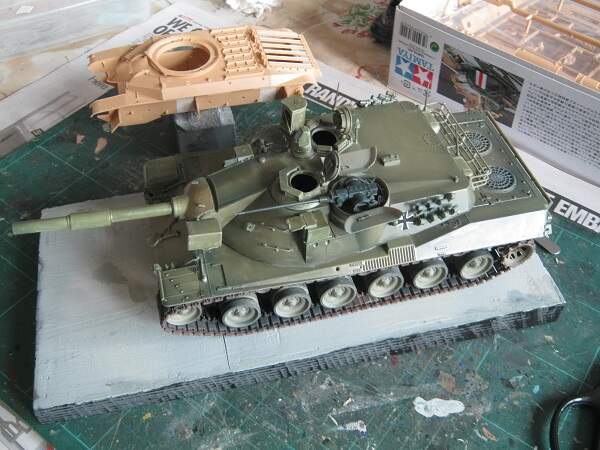
turret back off for the fitting of the tracks, this shot gives a real impression of the low silhouette provided by the crewless hull
2 Likes
This amazingly, is the only video on you tube to show the interior of a scrap MBT 70, for such an amazing vehicle is not been looked after by the American museum that holds it, the camera user, bless his wee self, has done his best, but his camerawork leaves a lot to be desired, but I forgive him as he is the only one to show us the inside, more of the floor please Sir.

Ken here’s a couple of pictures of the old Aurora kit, you’ll understand why I called it a tragedy and advise leave it well alone or leave it in the box unmade.
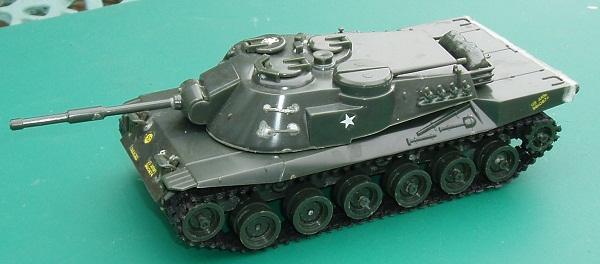
I purchased this made up one on e bay as, at the time it was the only one of the MBT 70.
I had one too; I think I made it roughly when I was around 15; I finished it as a Bundeswehr version but was all too aware of its shortcomings. Fast forward around 50 years and I acquired the Commander Models 1:35 kit, so into the bin the Aurora one went. I suppose in a way I should just have kept it just for the developmental record.
Anyway Grouser, some good work here; is there any chance you could post a picture showing the turret compartment from above (if you haven’t fitted it to the turret itself)?
1 Like
Yea, I am familiar with the Aurora kit. Not up to modern standards, certainly! But in its time, it was quite good, and for many years - decades it was the only game in town. And some people have built it up into a respectable replica of the real thing. Nothing like what you have though, that is awesome! I especially like interiors, so I love what you are doing. I was rather shocked to see that the turret, and drivers position, was so open. I would worry about body parts getting caught on things as they moved and counter moved.
Ken.
1 Like
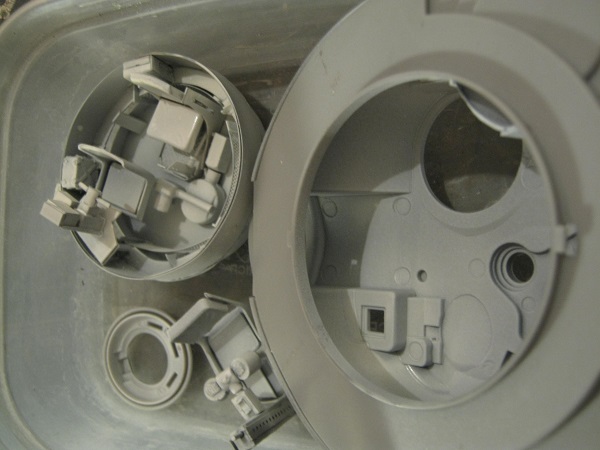
um, is this what you mean?
1 Like
I know what you mean Ken, when the turret turns the drivers pod would seem to rotate, but of course it’s just keeping station at 12 o’clock in relation to the hull, it would have seemed like one busy place on the move.


That’s just the job; thanks very much. Although it’s obvious, and I even have the kit in front of me, but until I saw your model it just hadn’t taken root how close every crew member was in the turret capsule.
1 Like
I am pretty sure I had read that the driver’s capsule was completely enclosed and separate from the rest of the turret for just the reasons you list. Of course I can’t find where I read that now. It does make sense though.
1 Like
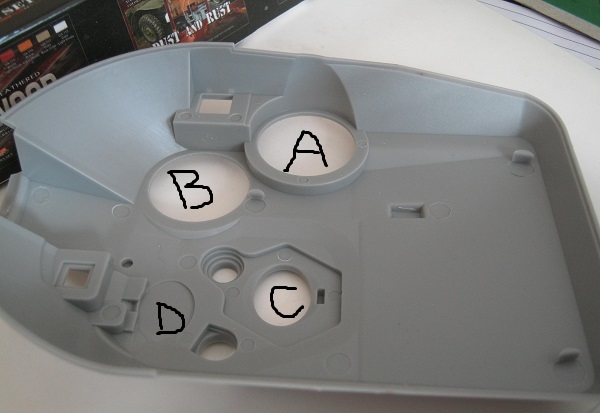
If you combine evidence from the you tube video I posted, the you tube videoer climbs down into the turret through B, the drivers hatch, this area shown on the model picture above of the kit turret upper half inverted to show the ceiling of the tank. A is the 20mm cannon compartment with a opening into the turret to allow the crew access, the video guy calls it a cubby hole, (bless his cotton socks he really didn’t know what he was looking at.) C is the Commanders hatch, and D is the sealed molded shut gunners hatch, you can see how tight it was in there.
1 Like
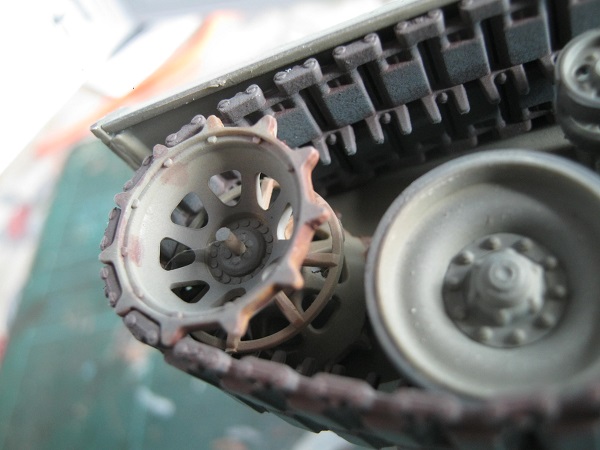
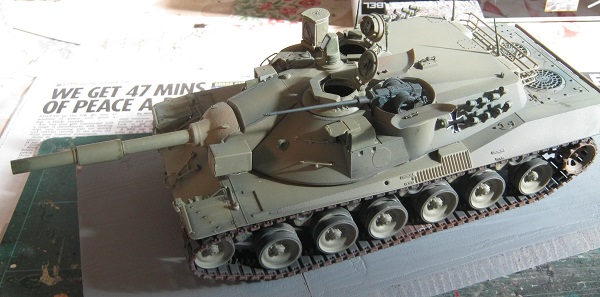
some surface rust on the sprocket wheel.
the 20mm mount being constructed.
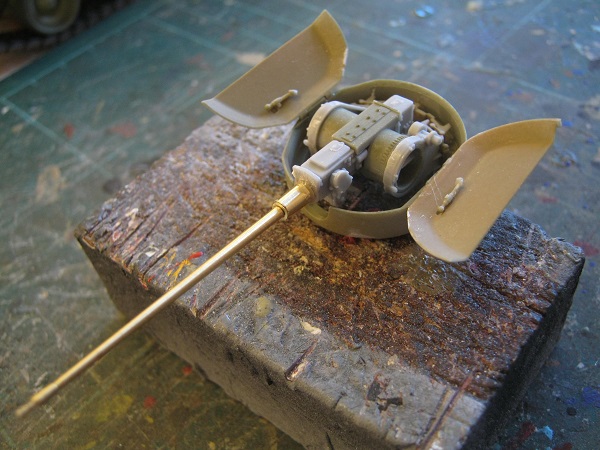
the 20mm finished and fitted into the gun Barbette.
1 Like
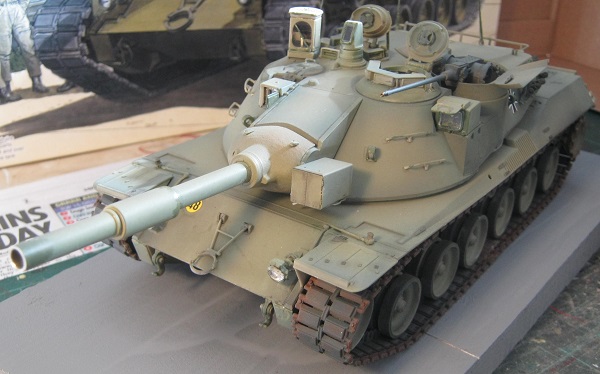
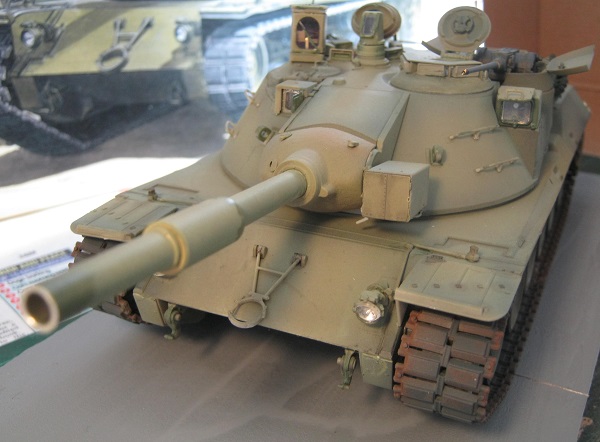
the German style headlamp fitted, the US version were rather Sherman, these look dead cool.

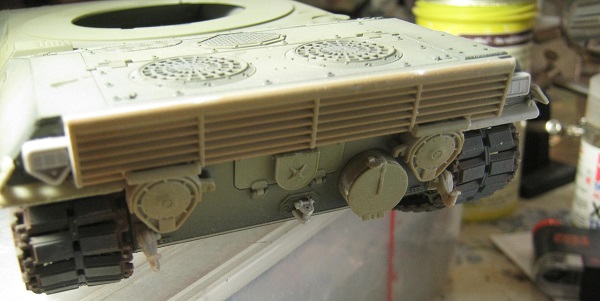
some details of the rear hull.
3 Likes
I’m still not convinced. There is no telling what is missing from that hulk in the video. It looks far from complete.
1 Like
I’m sure I agree, any information or links to reference images would be a great help both to myself and for my next go at this amazing subject, and for Boots DMS who is also a fan of this old tank.
with the model built it’s time to work on the concrete base.
I use car body filler to form the gripper texture of the concrete, then airbrush the concrete colour to get the correct effect I am looking for.
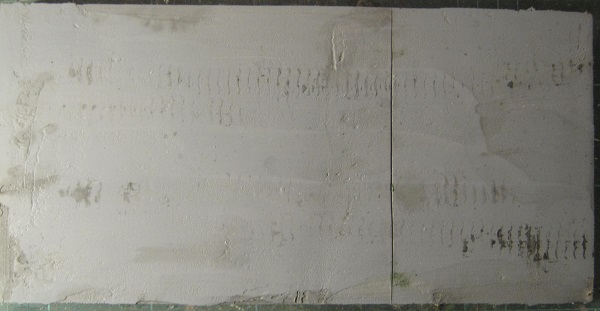
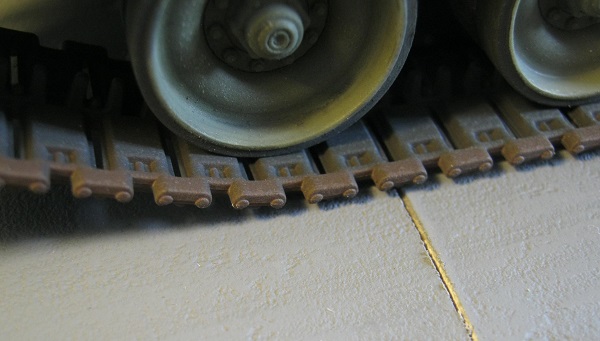
I was keen to include the concrete slab joint, expansion gap that you sometimes see on military range roads.
final positioning and a coat of varnish to seal in the decals.
the track over the concrete expansion joint at the Panzer Test and Development Centre, no litter in a place like this.
2 Likes
couple of shots of it at different angles and lighting conditions.
1 Like
finally in it’s hand made glass case to protect if from wire guided feather dusters, little fingers HEAT rounds, and High explosive cat paws.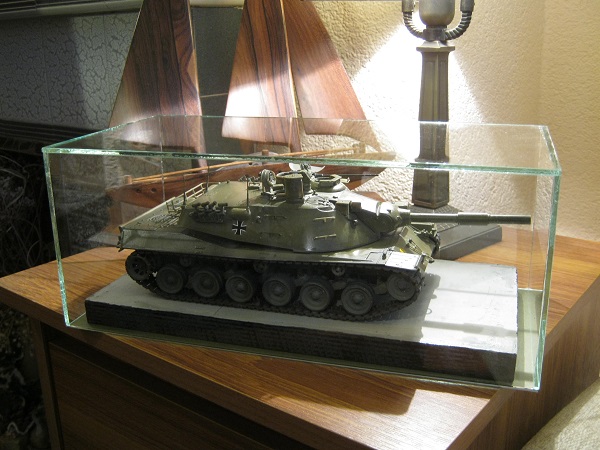
8 Likes