Layers.
Don’t try to do everything at one go.
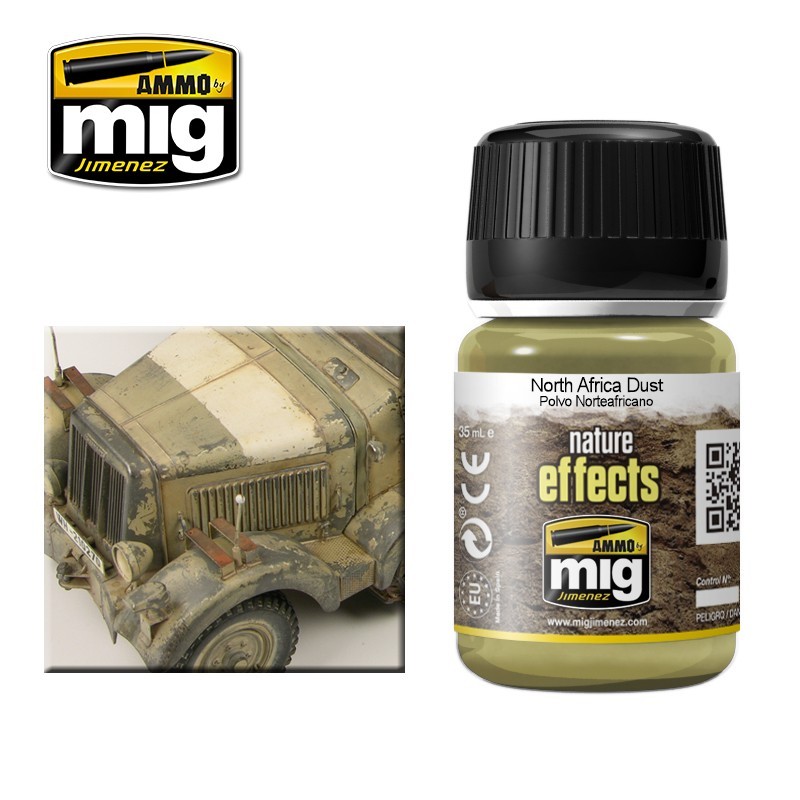
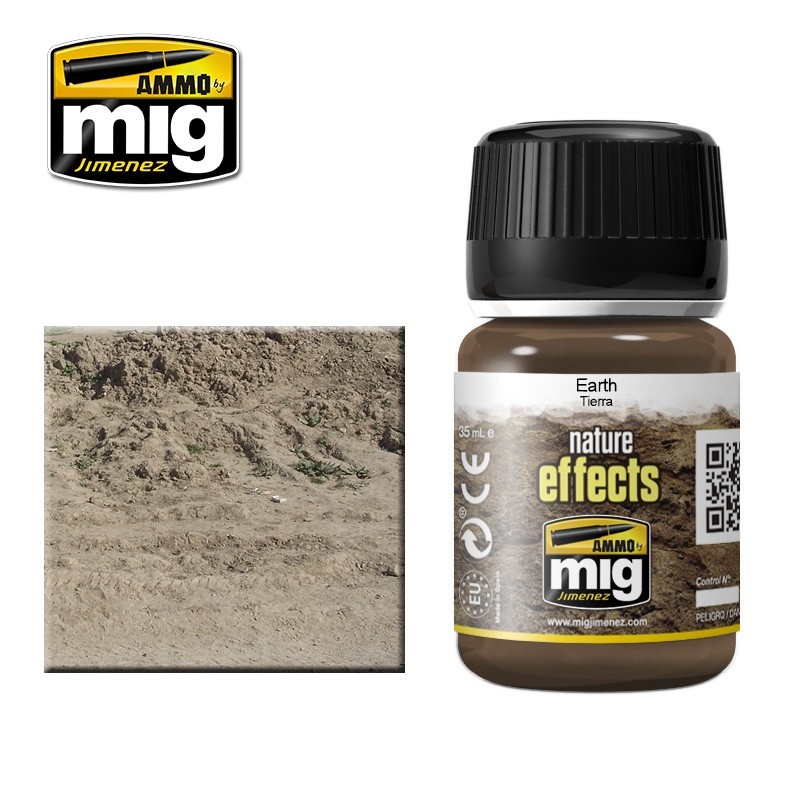
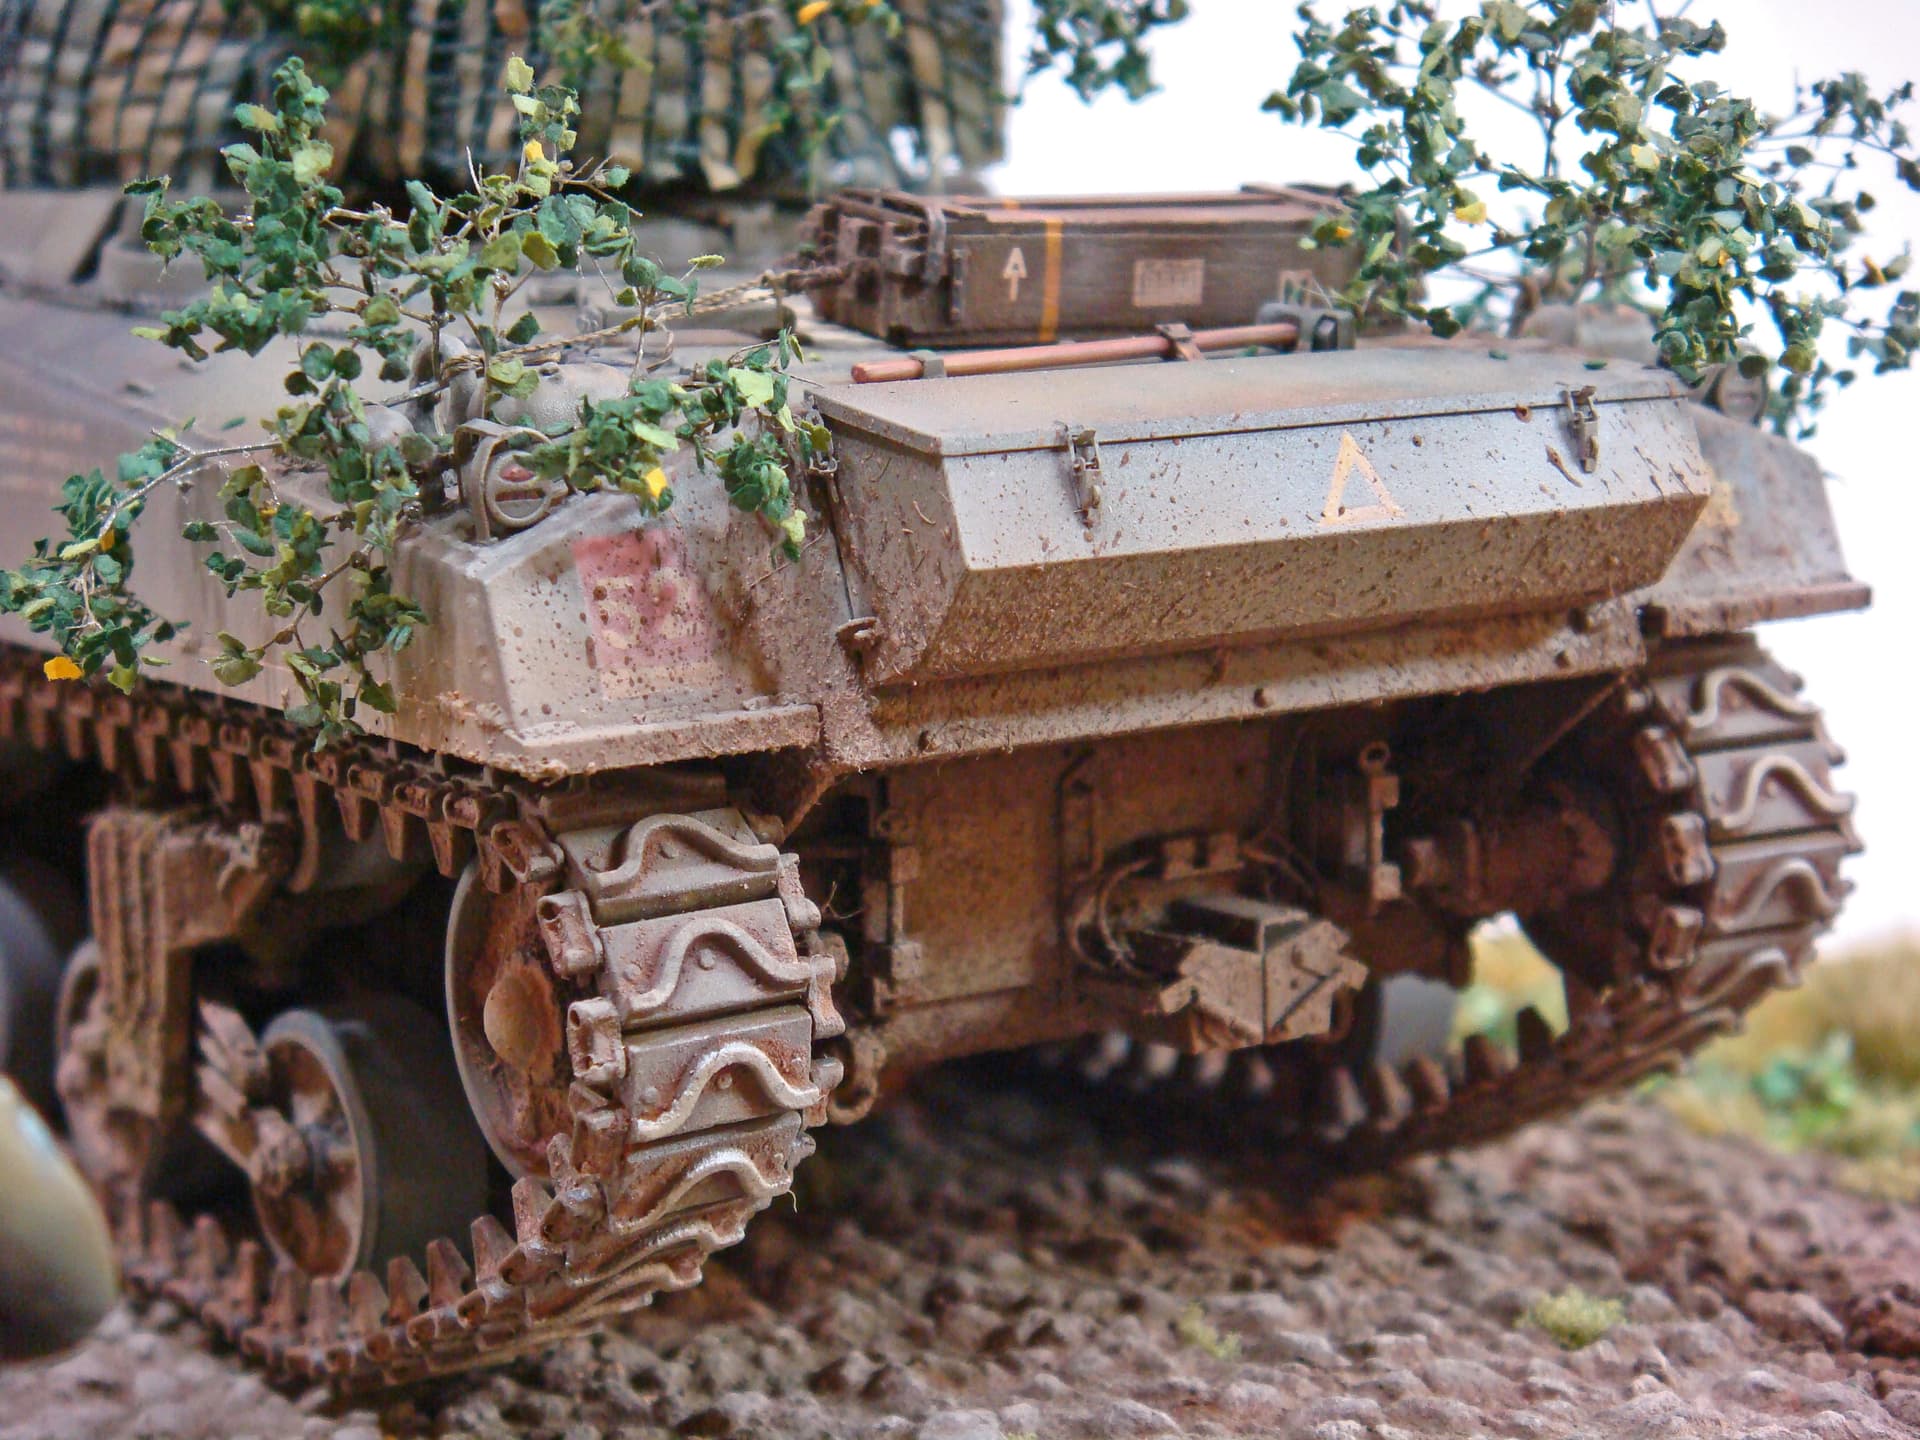
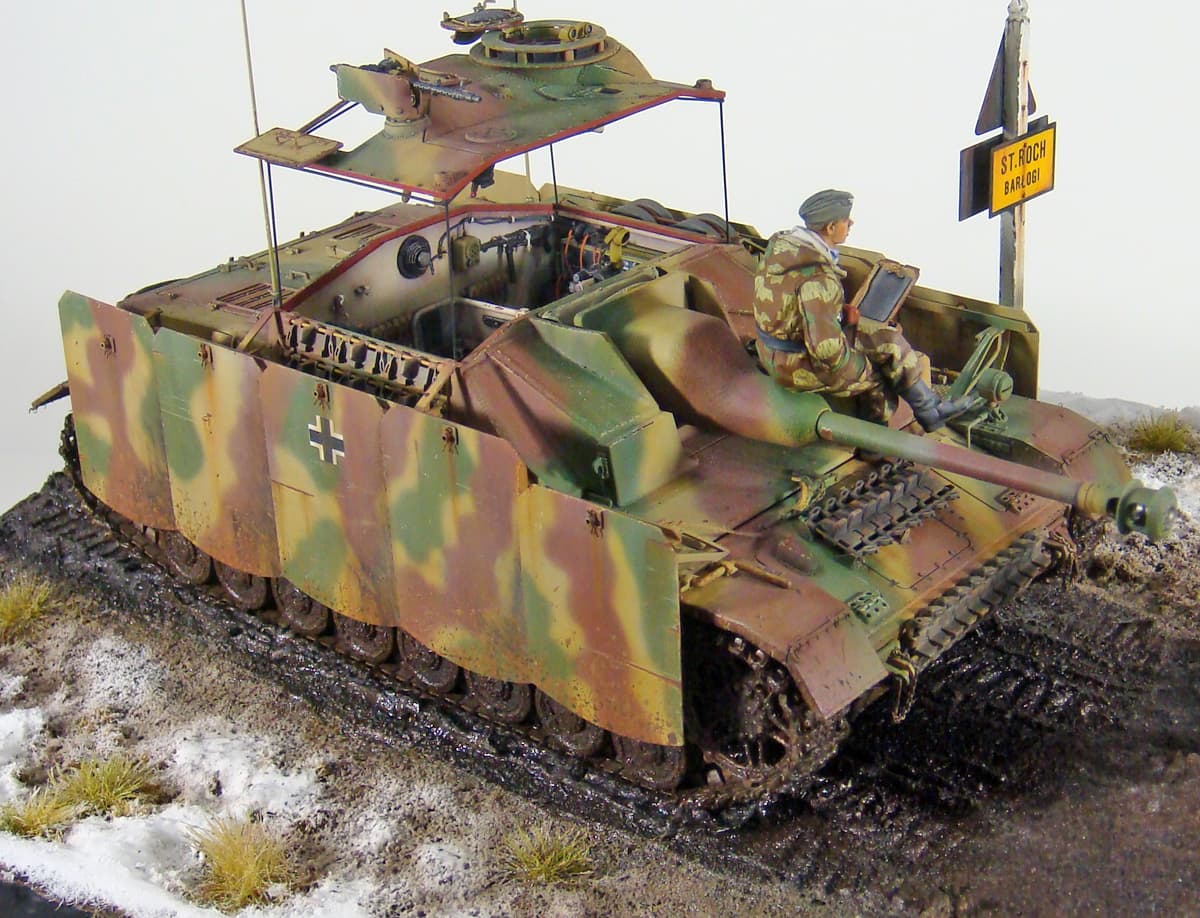
With an airbrush, start with the bottom and lower hull with more opaque effects. Often, I will start with straight earth colors before adding the other factory base / camouflage colors and blend those into and over the earth colors. These earth colors provide the foundation for the heavy weathering on the lower areas. Sometimes I’ll also start the weathering by adding 3D weathering textures with various artist texture gel mediums during the construction phase of the build so as to make getting into and around the suspension components easier. If I do this, I paint the initial earth colors right over these textures.
Layer on the next less opaque layer adding it OVER the earlier layer. Continue by making each successive layer less opaque and more semi-transparent but also continue to apply each over the earlier layers as you add the newer layer higher up into still clean areas.
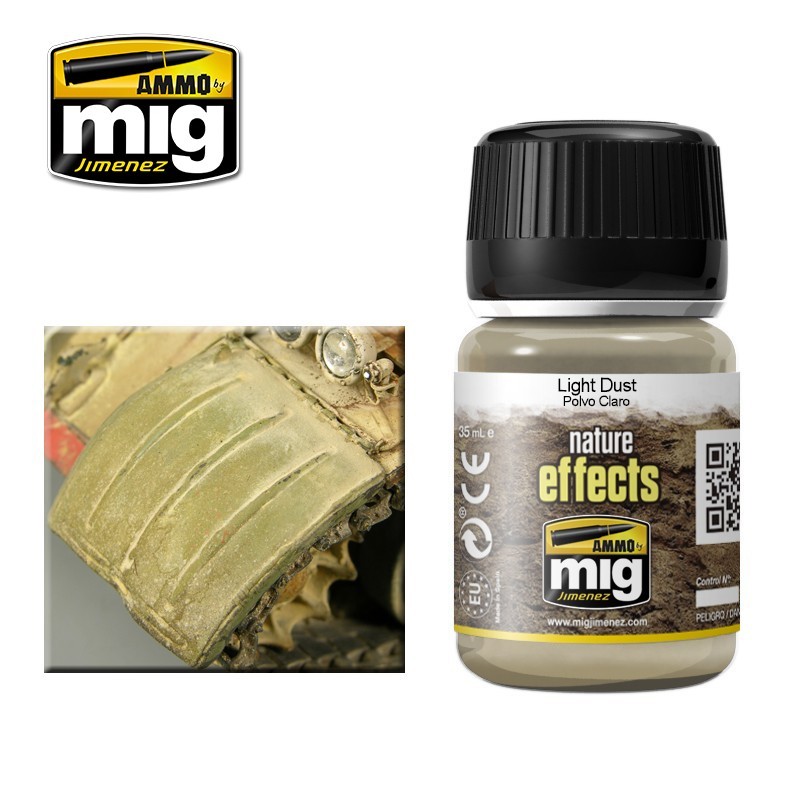
Finish up with a very, very light semi-transparent layer over everything. For this layer I usually mix up something that has LESS than 5% colored paint (measured by volume). In order to get this light “dust glaze,” it’s usually necessary to add a clear paint into the mix to add enough binders into it for it to spray well and evenly. This final color can also be layered selectively to build up varied opacity in different areas. However, it’s easy to over-do as the final effect doesn’t show up until it has dried, so allow it to dry between successive coats.
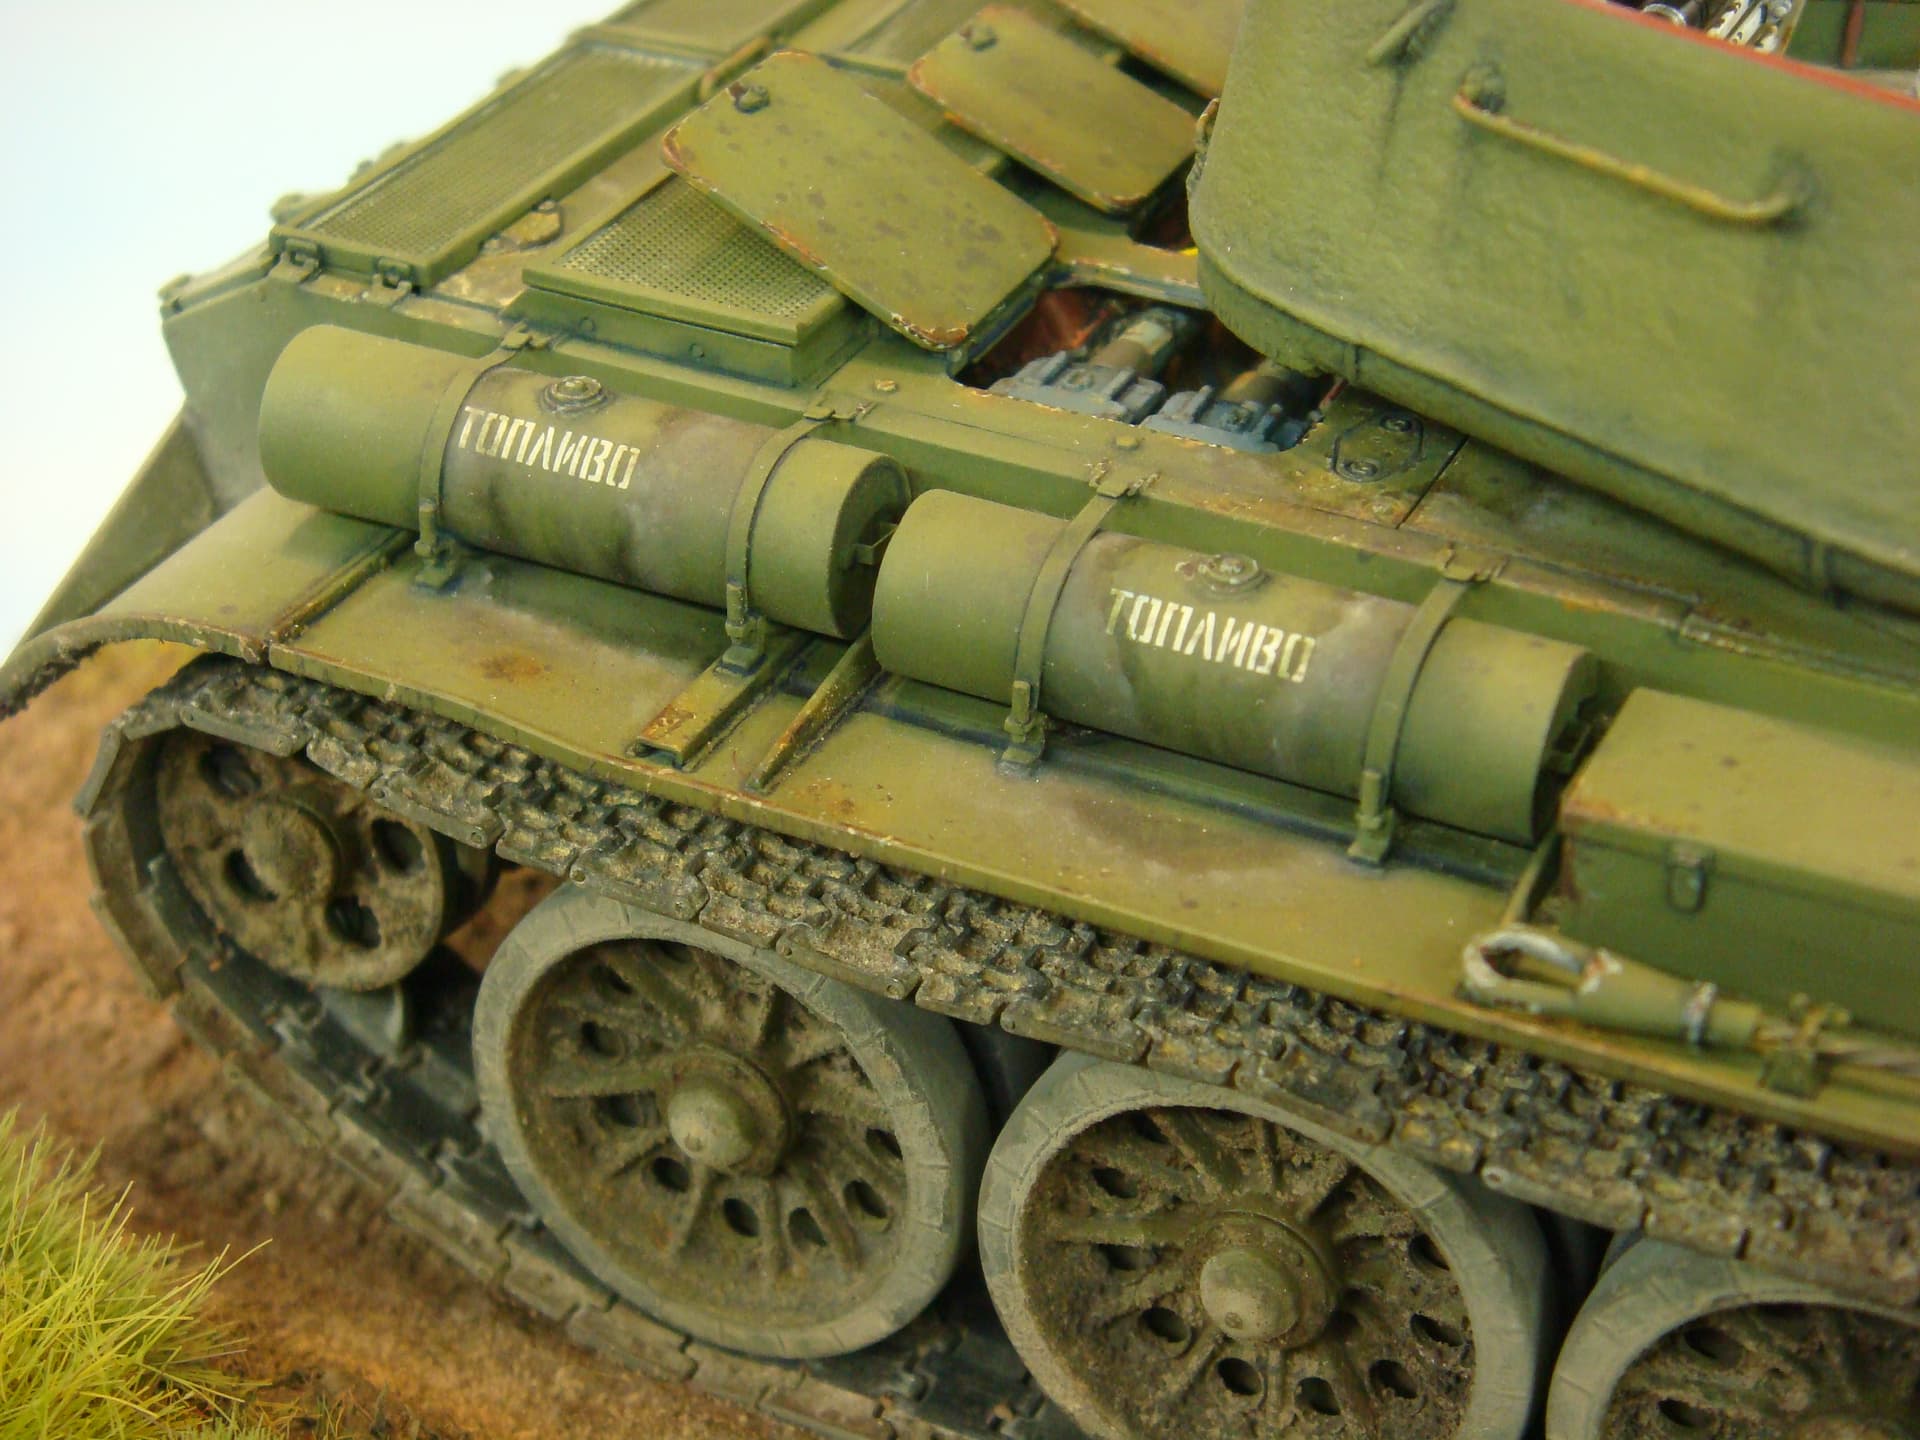
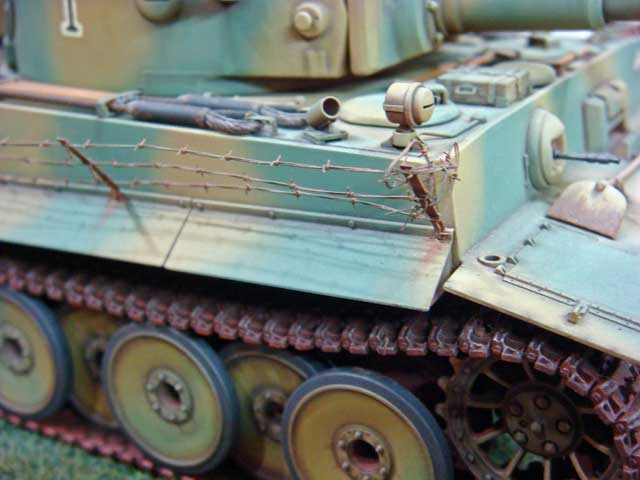
If I’m going to add chipping, bare metal, rust, or rust streaks, I’ll usually start to incorporate those effects right after the base factory / camouflage colors. However, these effects should also be layered into the overall finish, so I may add the same types of “micro” weathering effects at any stage of the finish.
The same holds for washes and other similar effects for fuel and water stains or grease stains and seepage.
For areas where the crew or other things have worn through the lightest dust layers, some final sponge chipping with the colored factory / camouflage paints can be done - usually effective in high crew traffic areas like around hatches.
Additional 3D weathering effects can be added at any stage, but I generally incorporate those as I build up the layers where the 3D effect will be located. To simulate successive layers of older, dry earth under later or newer moist or wet earth, start with lighter colors, then add successively darker colors, but with each successive layer, keep the area smaller and smaller so that the earth color appears darker towards the center or lower down.