Hi all,
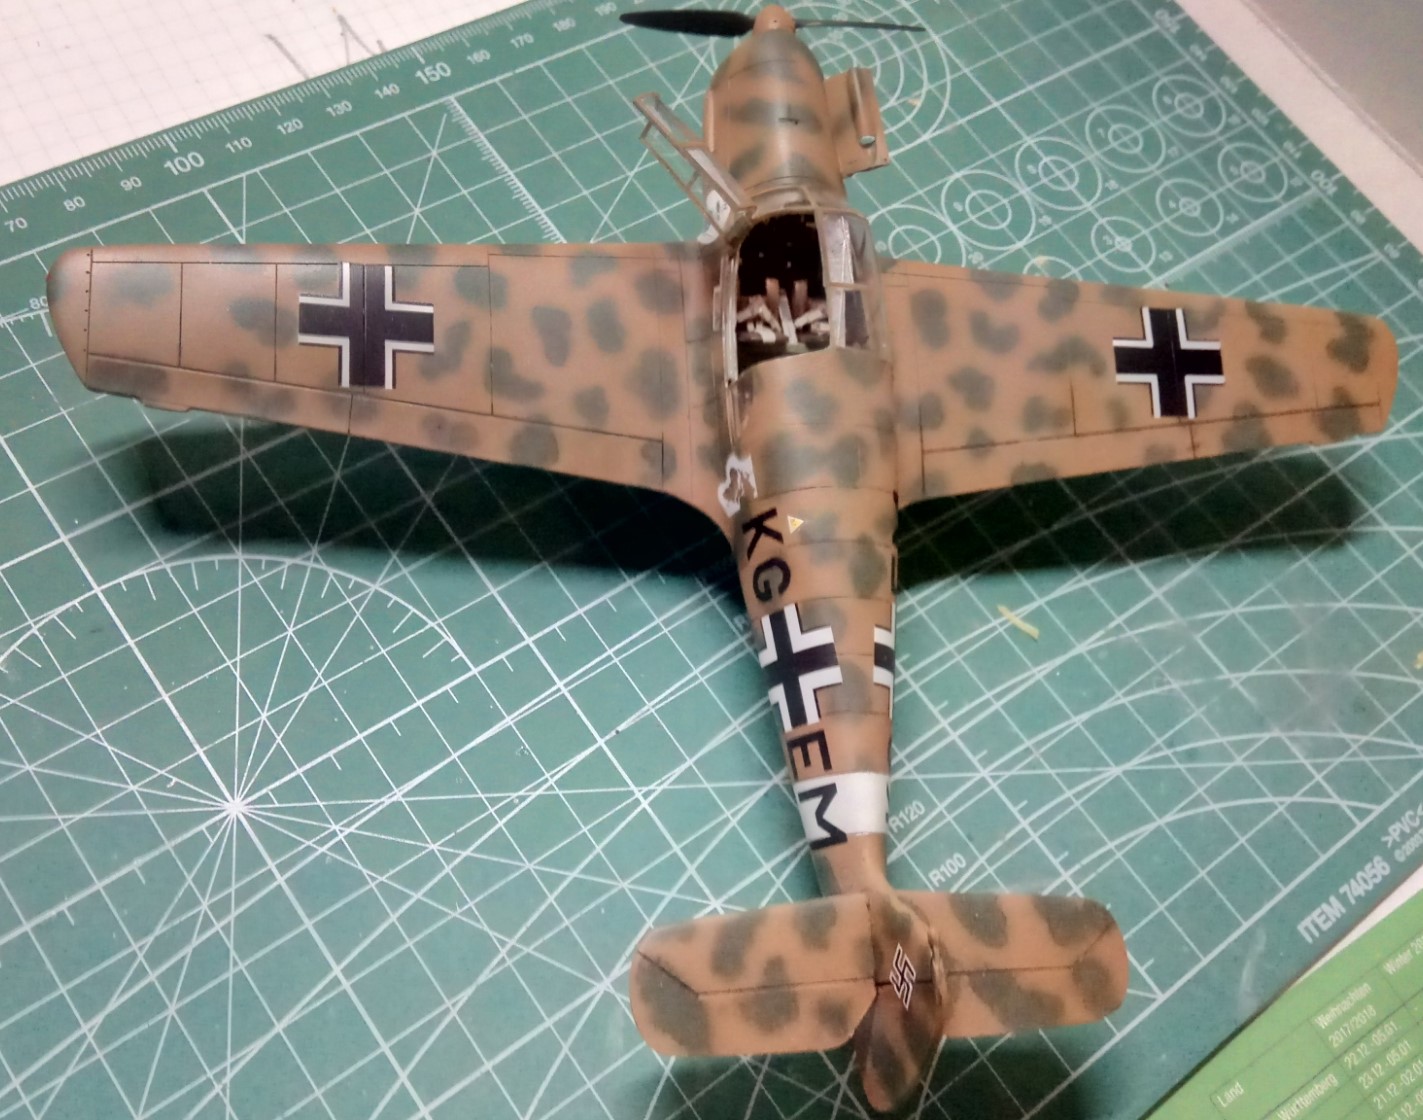
Well, I’ve been modeling along, and not really updating anything! Let’s fix that. Shanghaied, great save on the canopy! A good modification that works!
So, last update I had an airframe that needed some more filling and sanding. The ghost seams were filled using super glue and sanded smooth. This turned out rather well. One thing I noticed is that much of the rivet detail had been lost along the seams of the fuselage. So I got to use my RB rivet tool, something that I’ve been practicing with, and am becoming much better at using it.
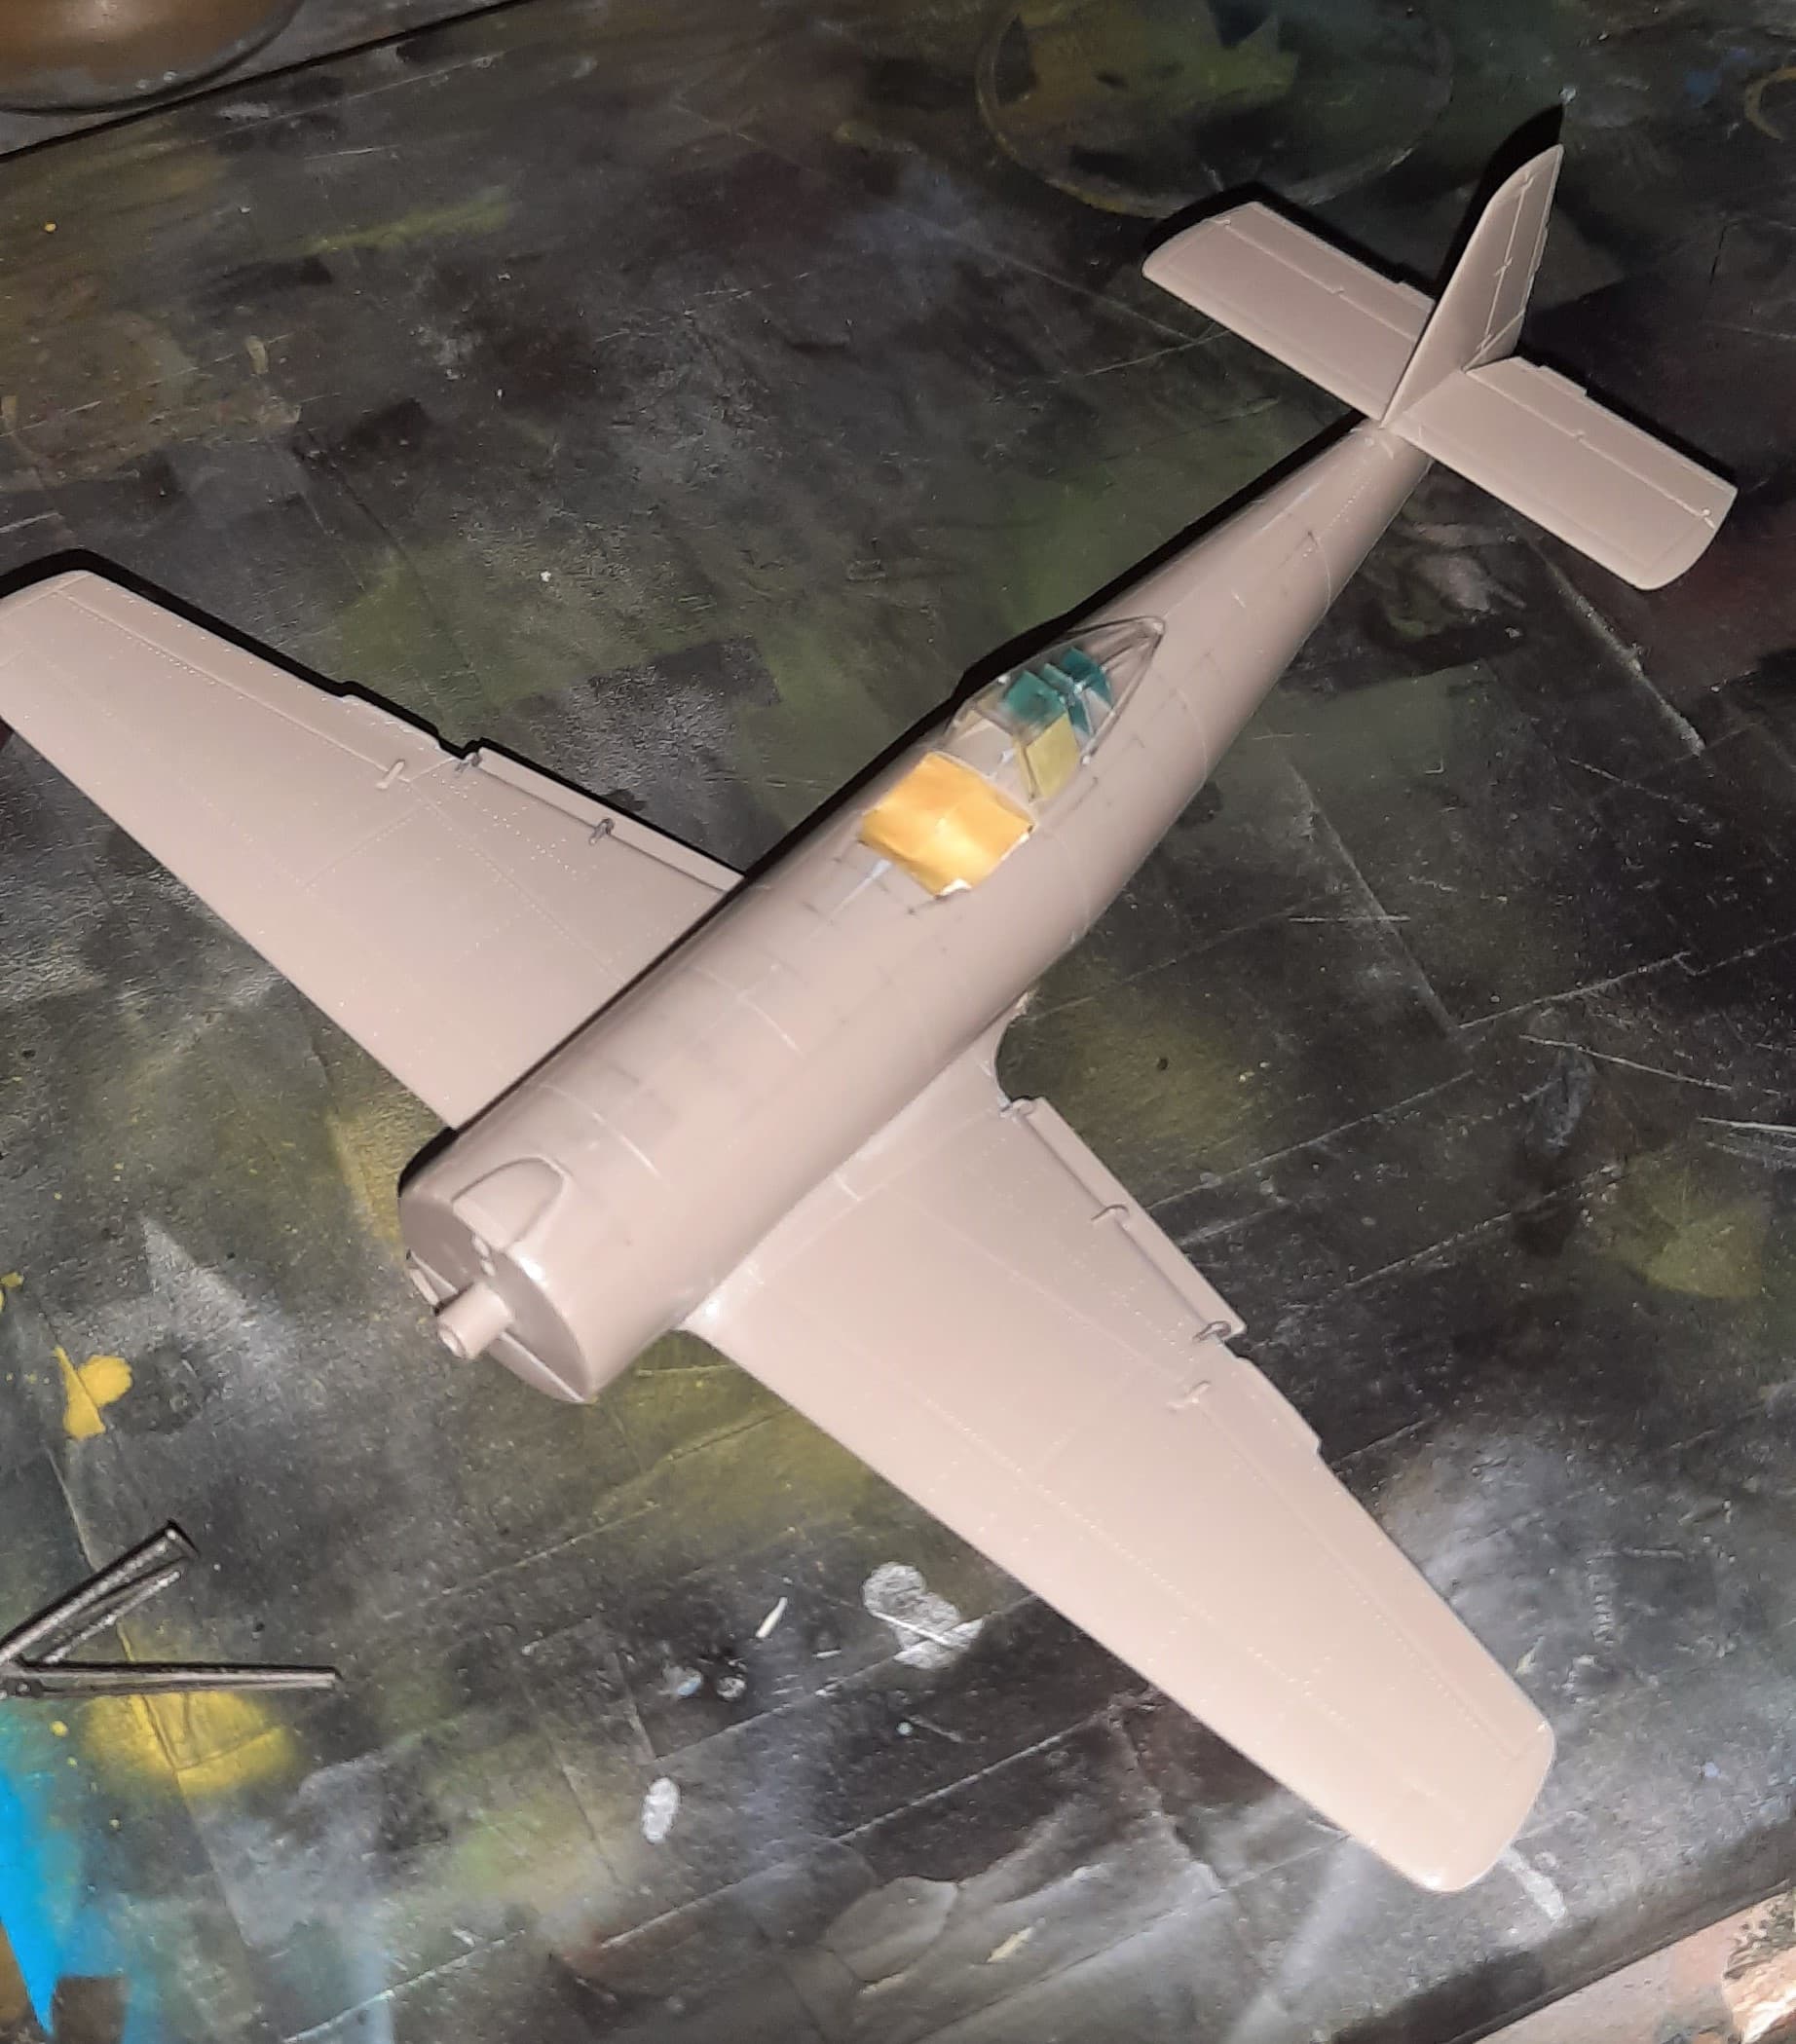
So, here’s how it looked pre-painting.
Next up was painting this small aircraft, though prior to doing this I laid the fiddly landing gear out, and glued it together as opposed to constructing post painting. This turned out to be a good call on my part. I primed the bird with Mr. Surfacer 1500 black, after it was dry I gave the whole thing a wipe down using an old tee shirt turned into modeling rags. I was rewarded with a very nice smooth finish to lay down the colors.
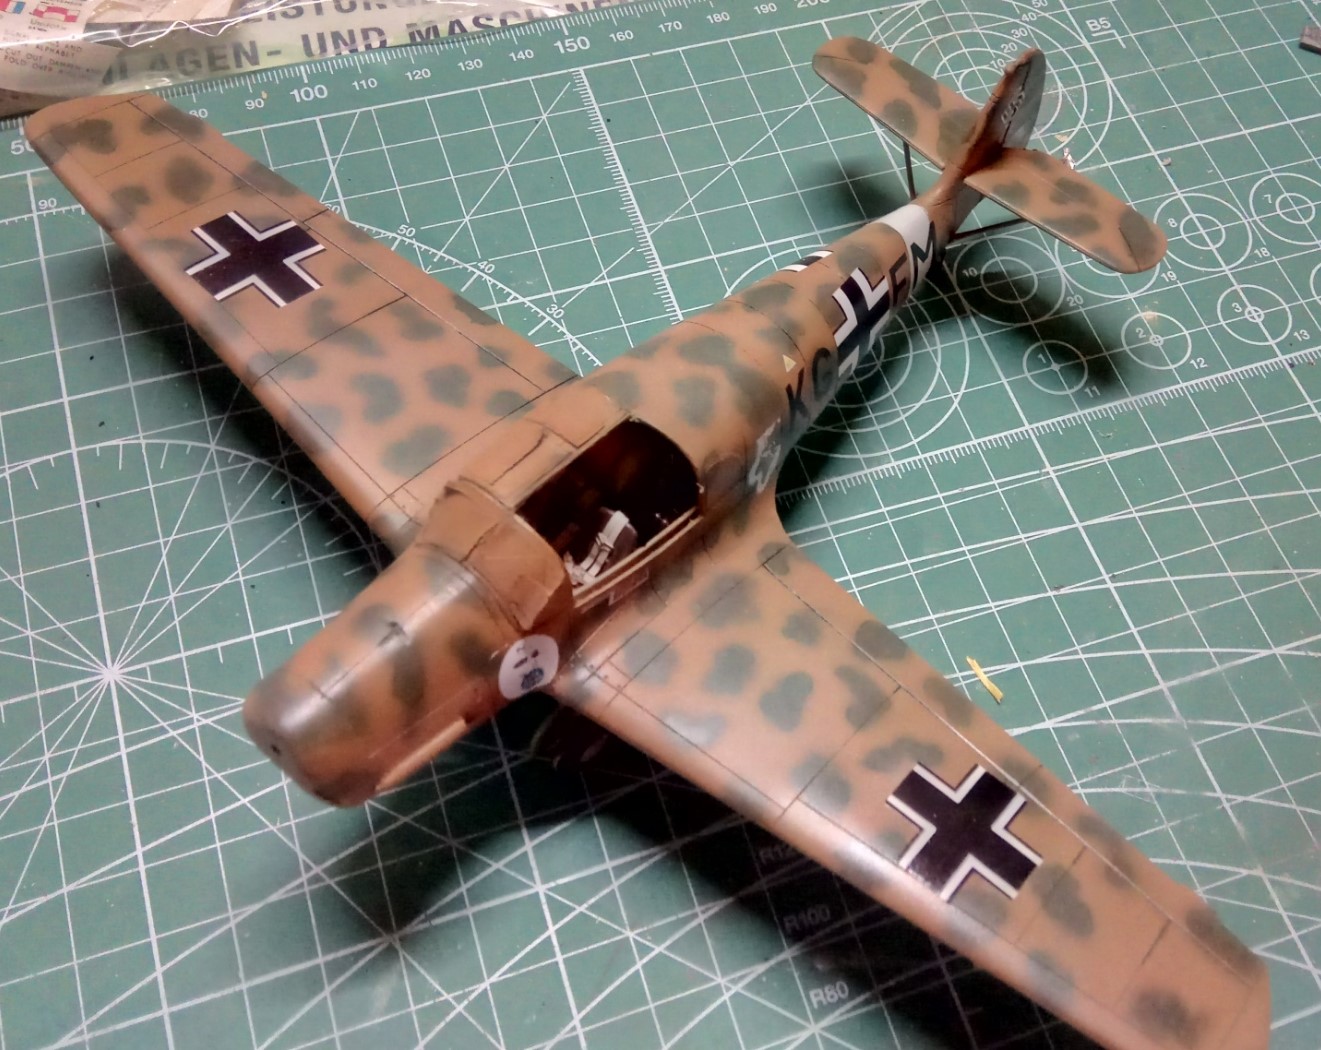
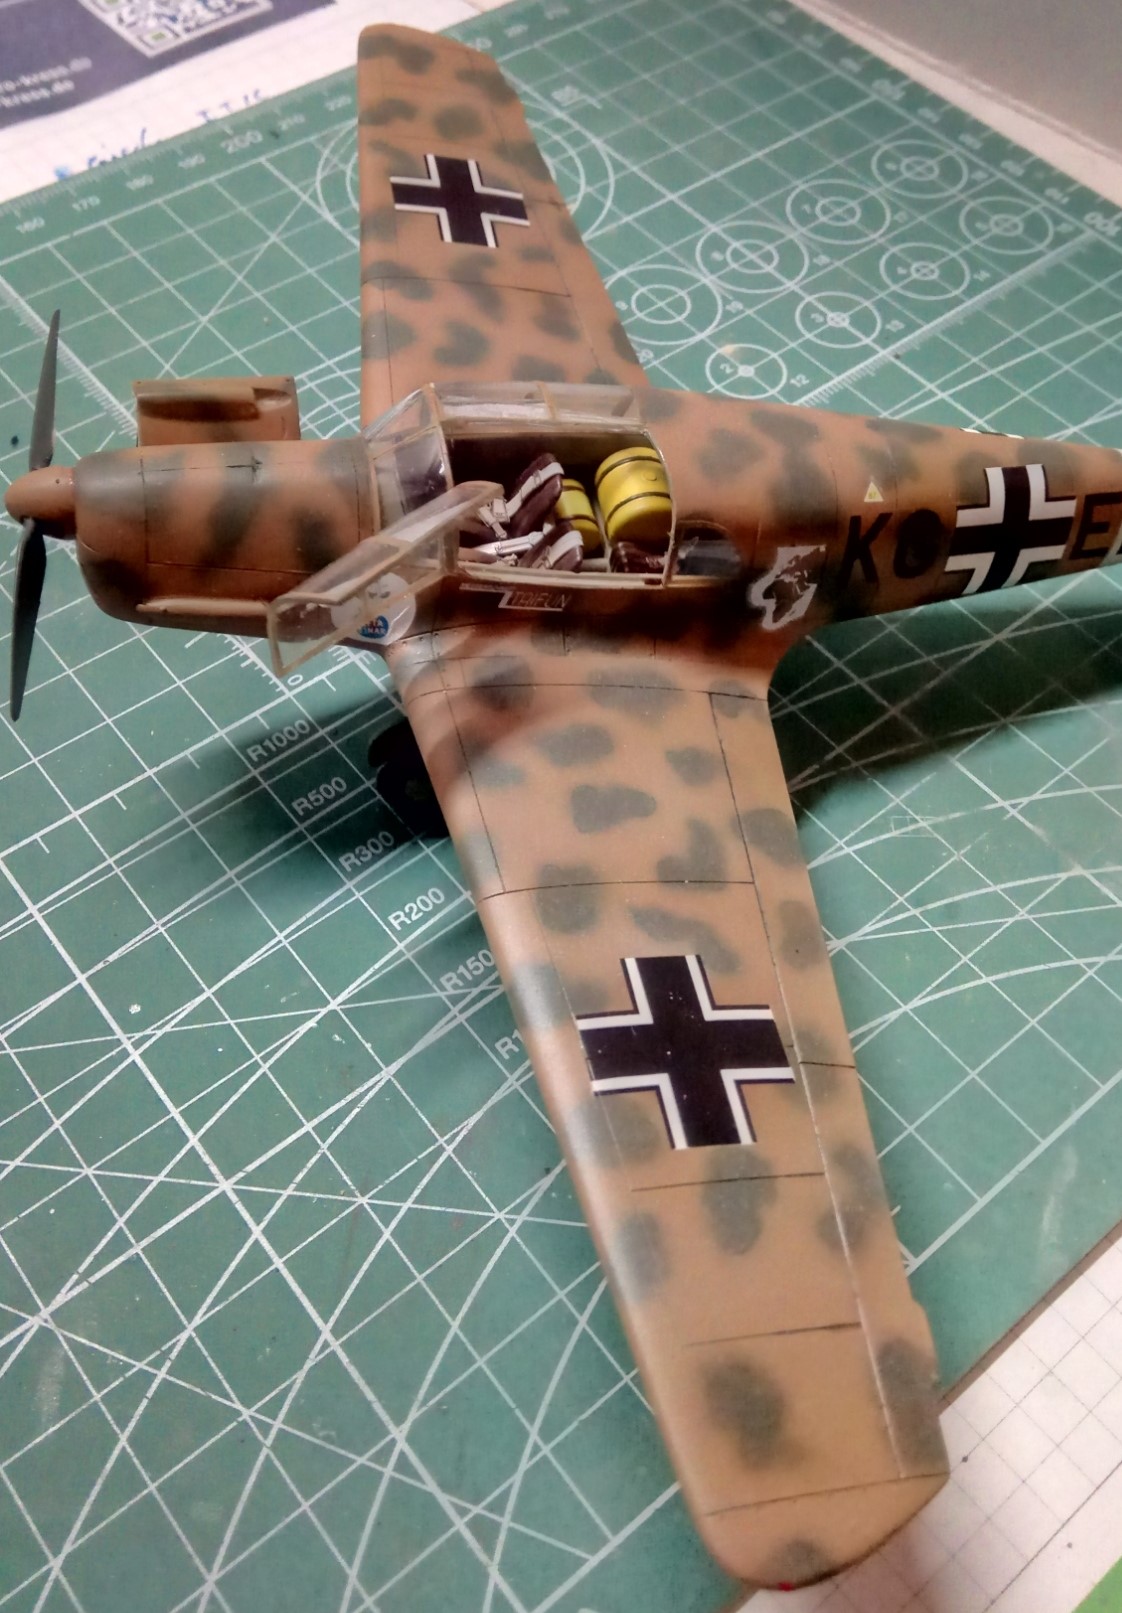
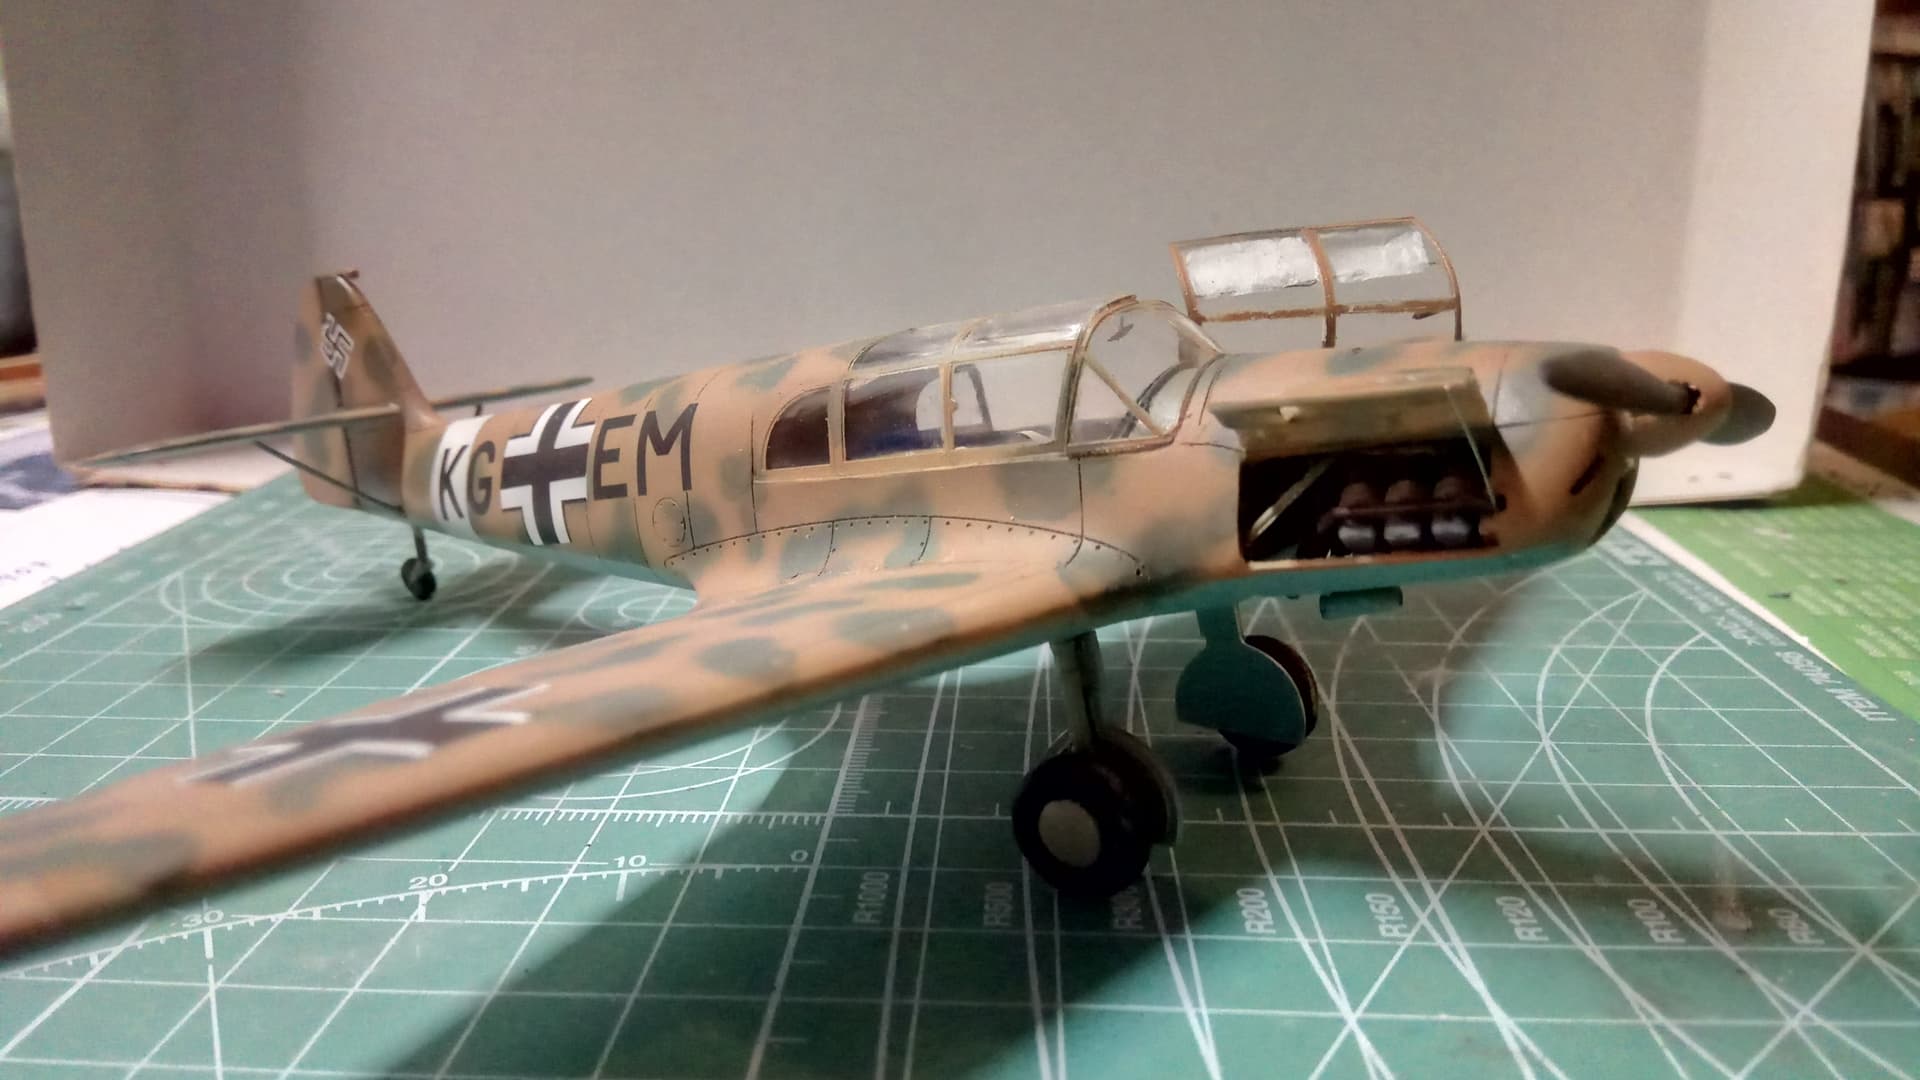
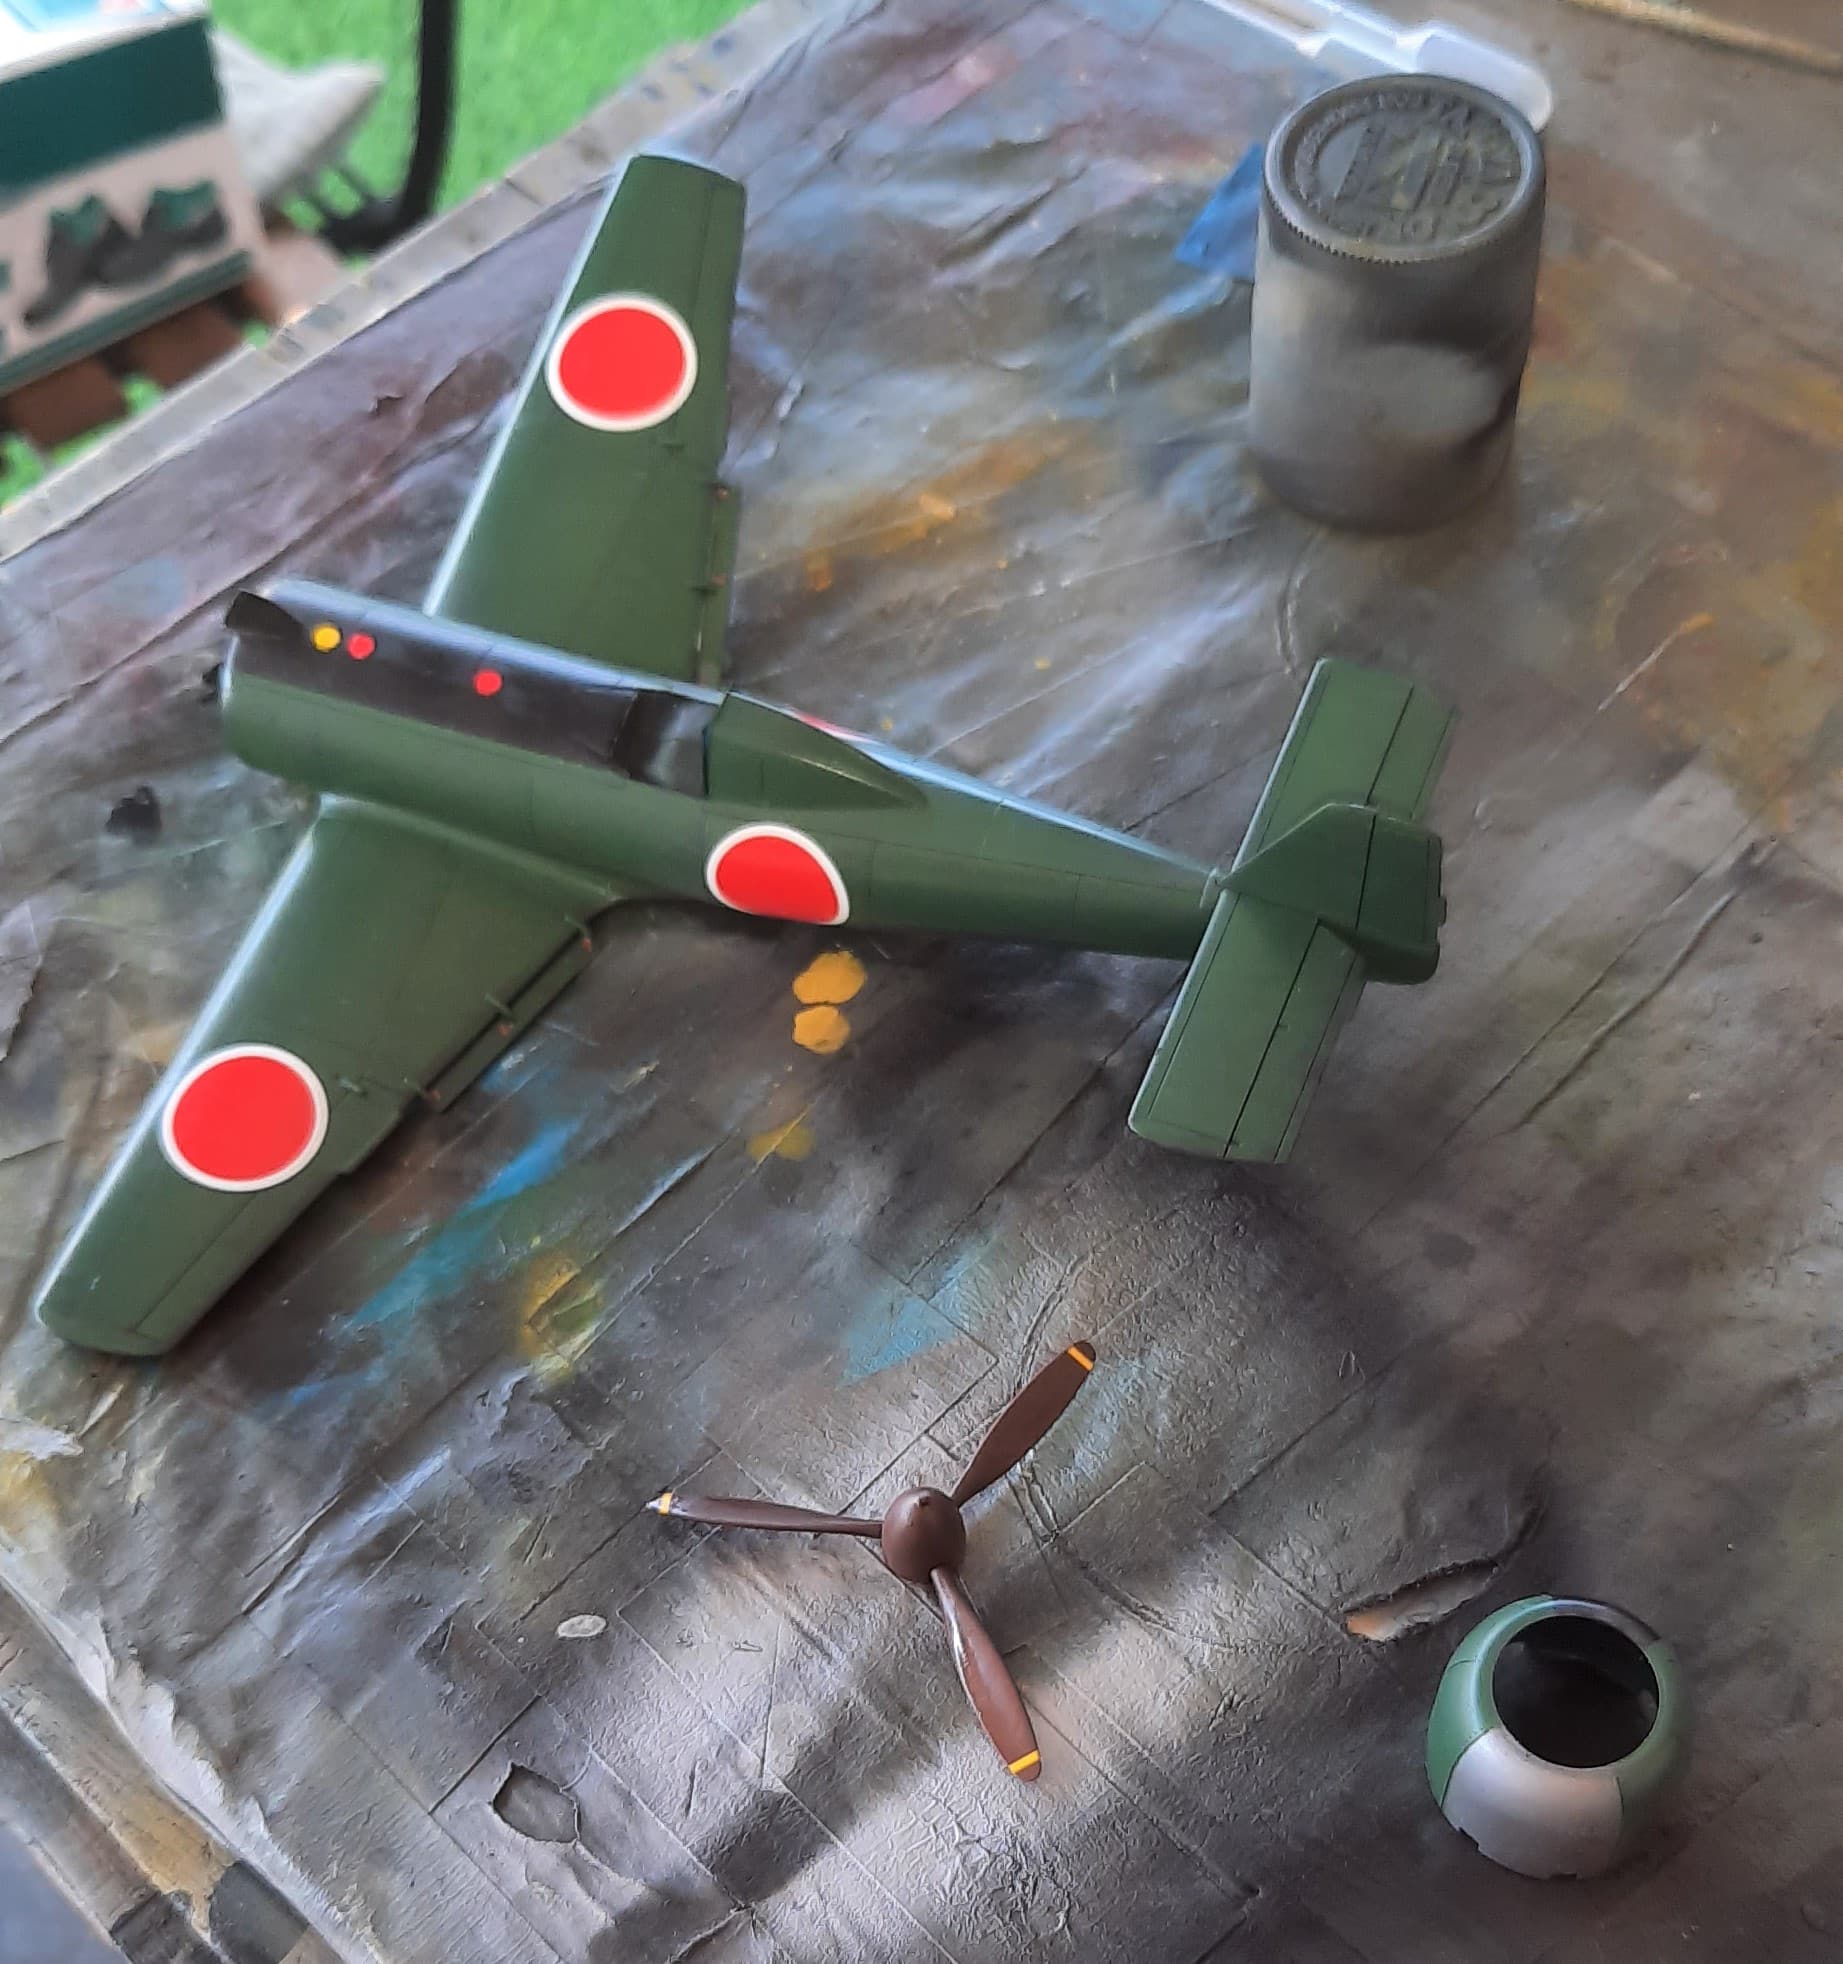
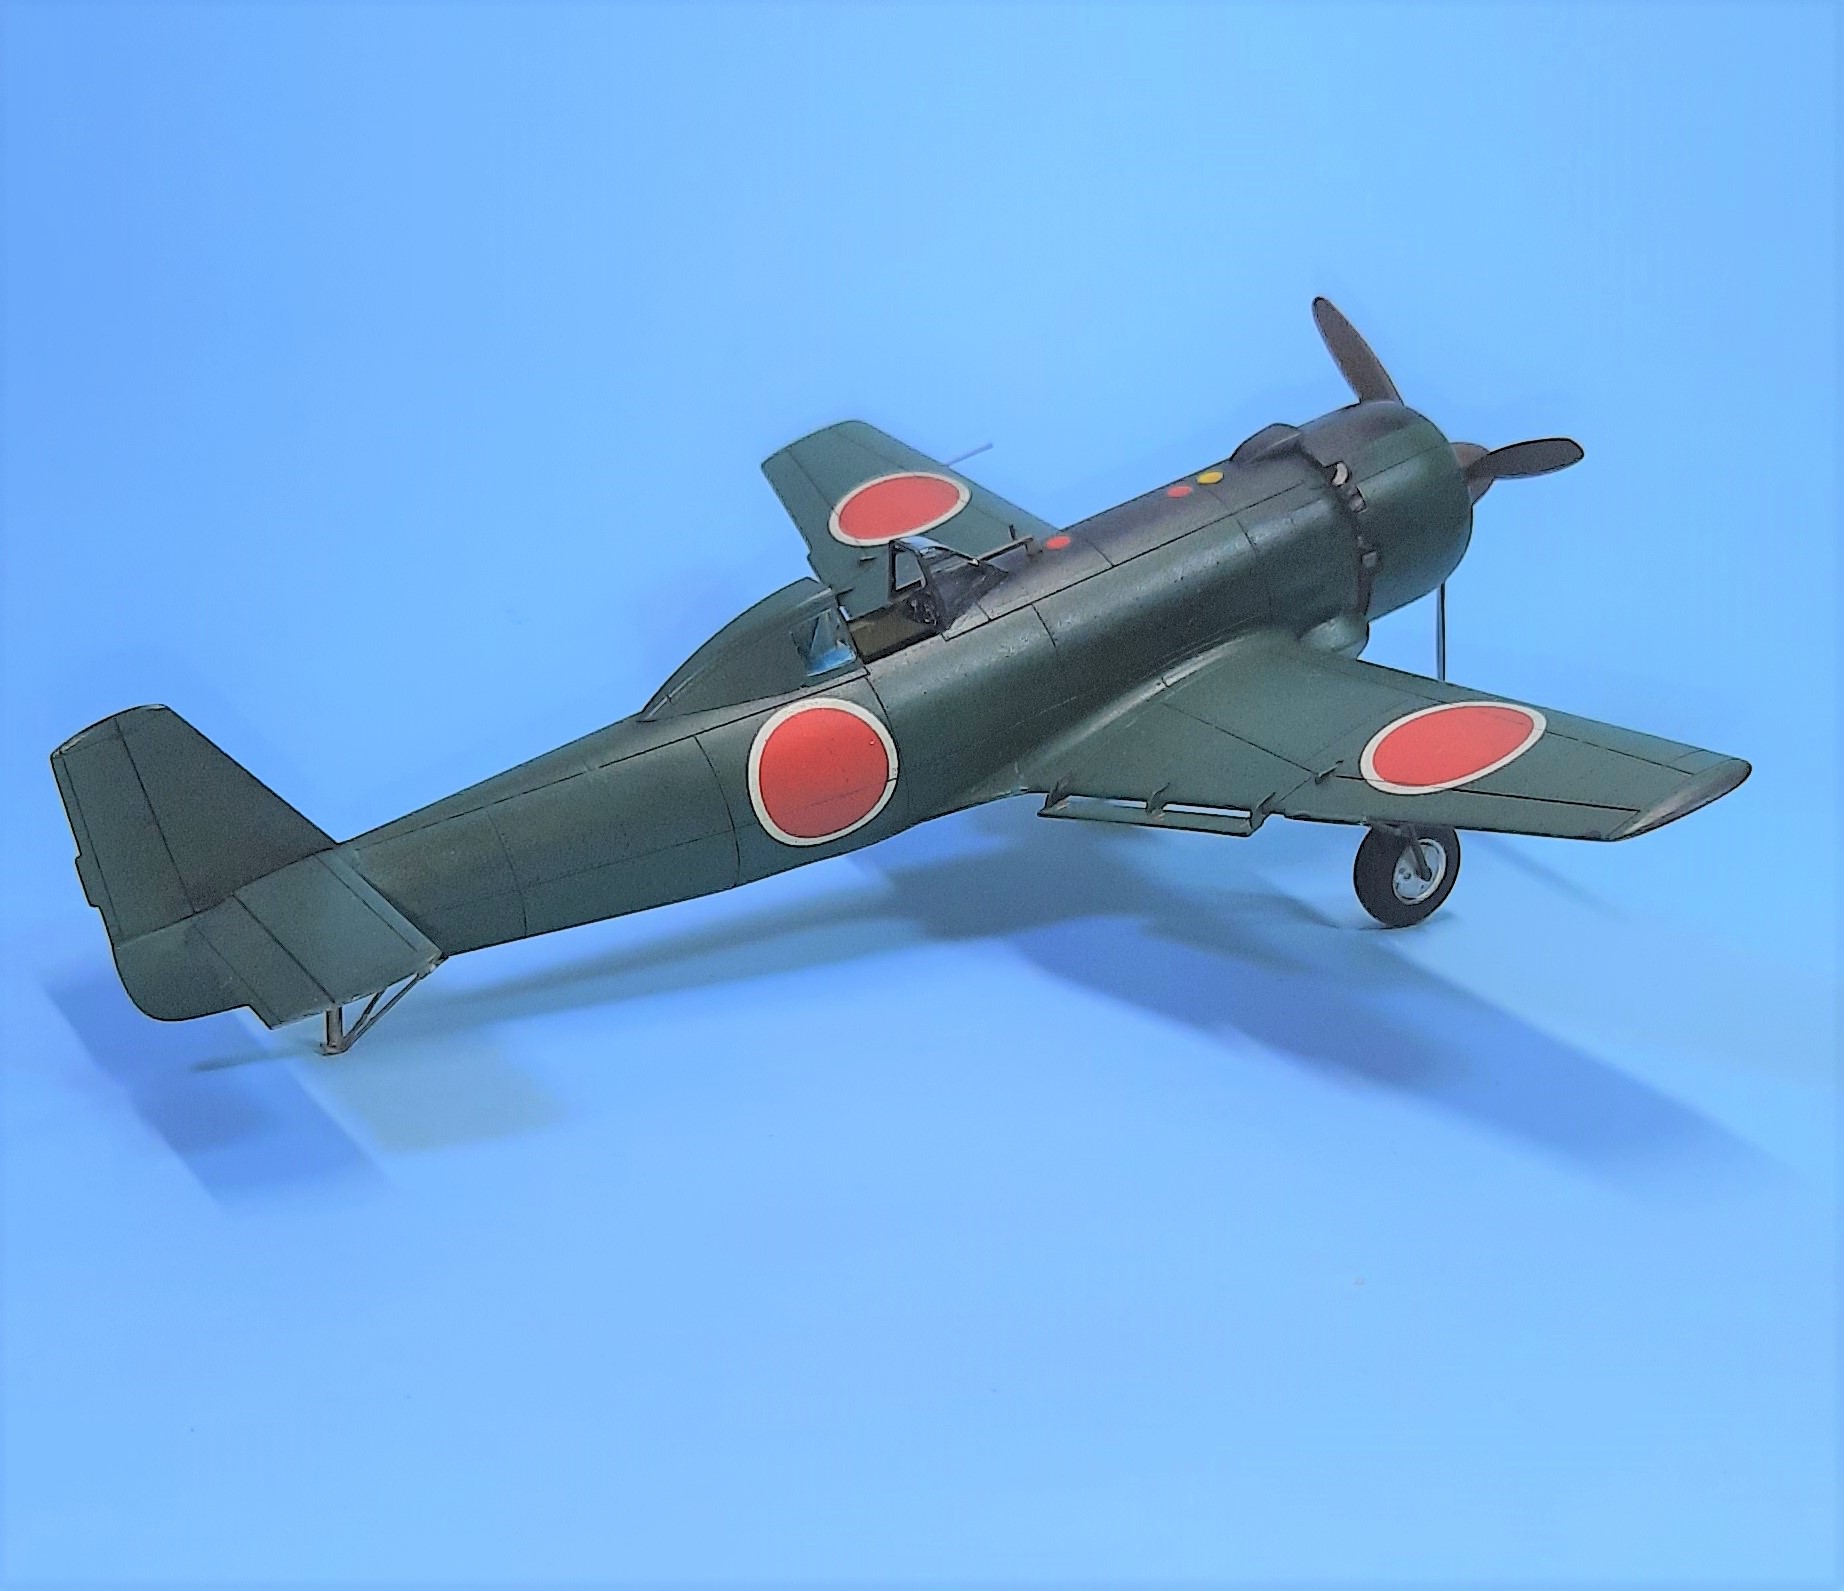
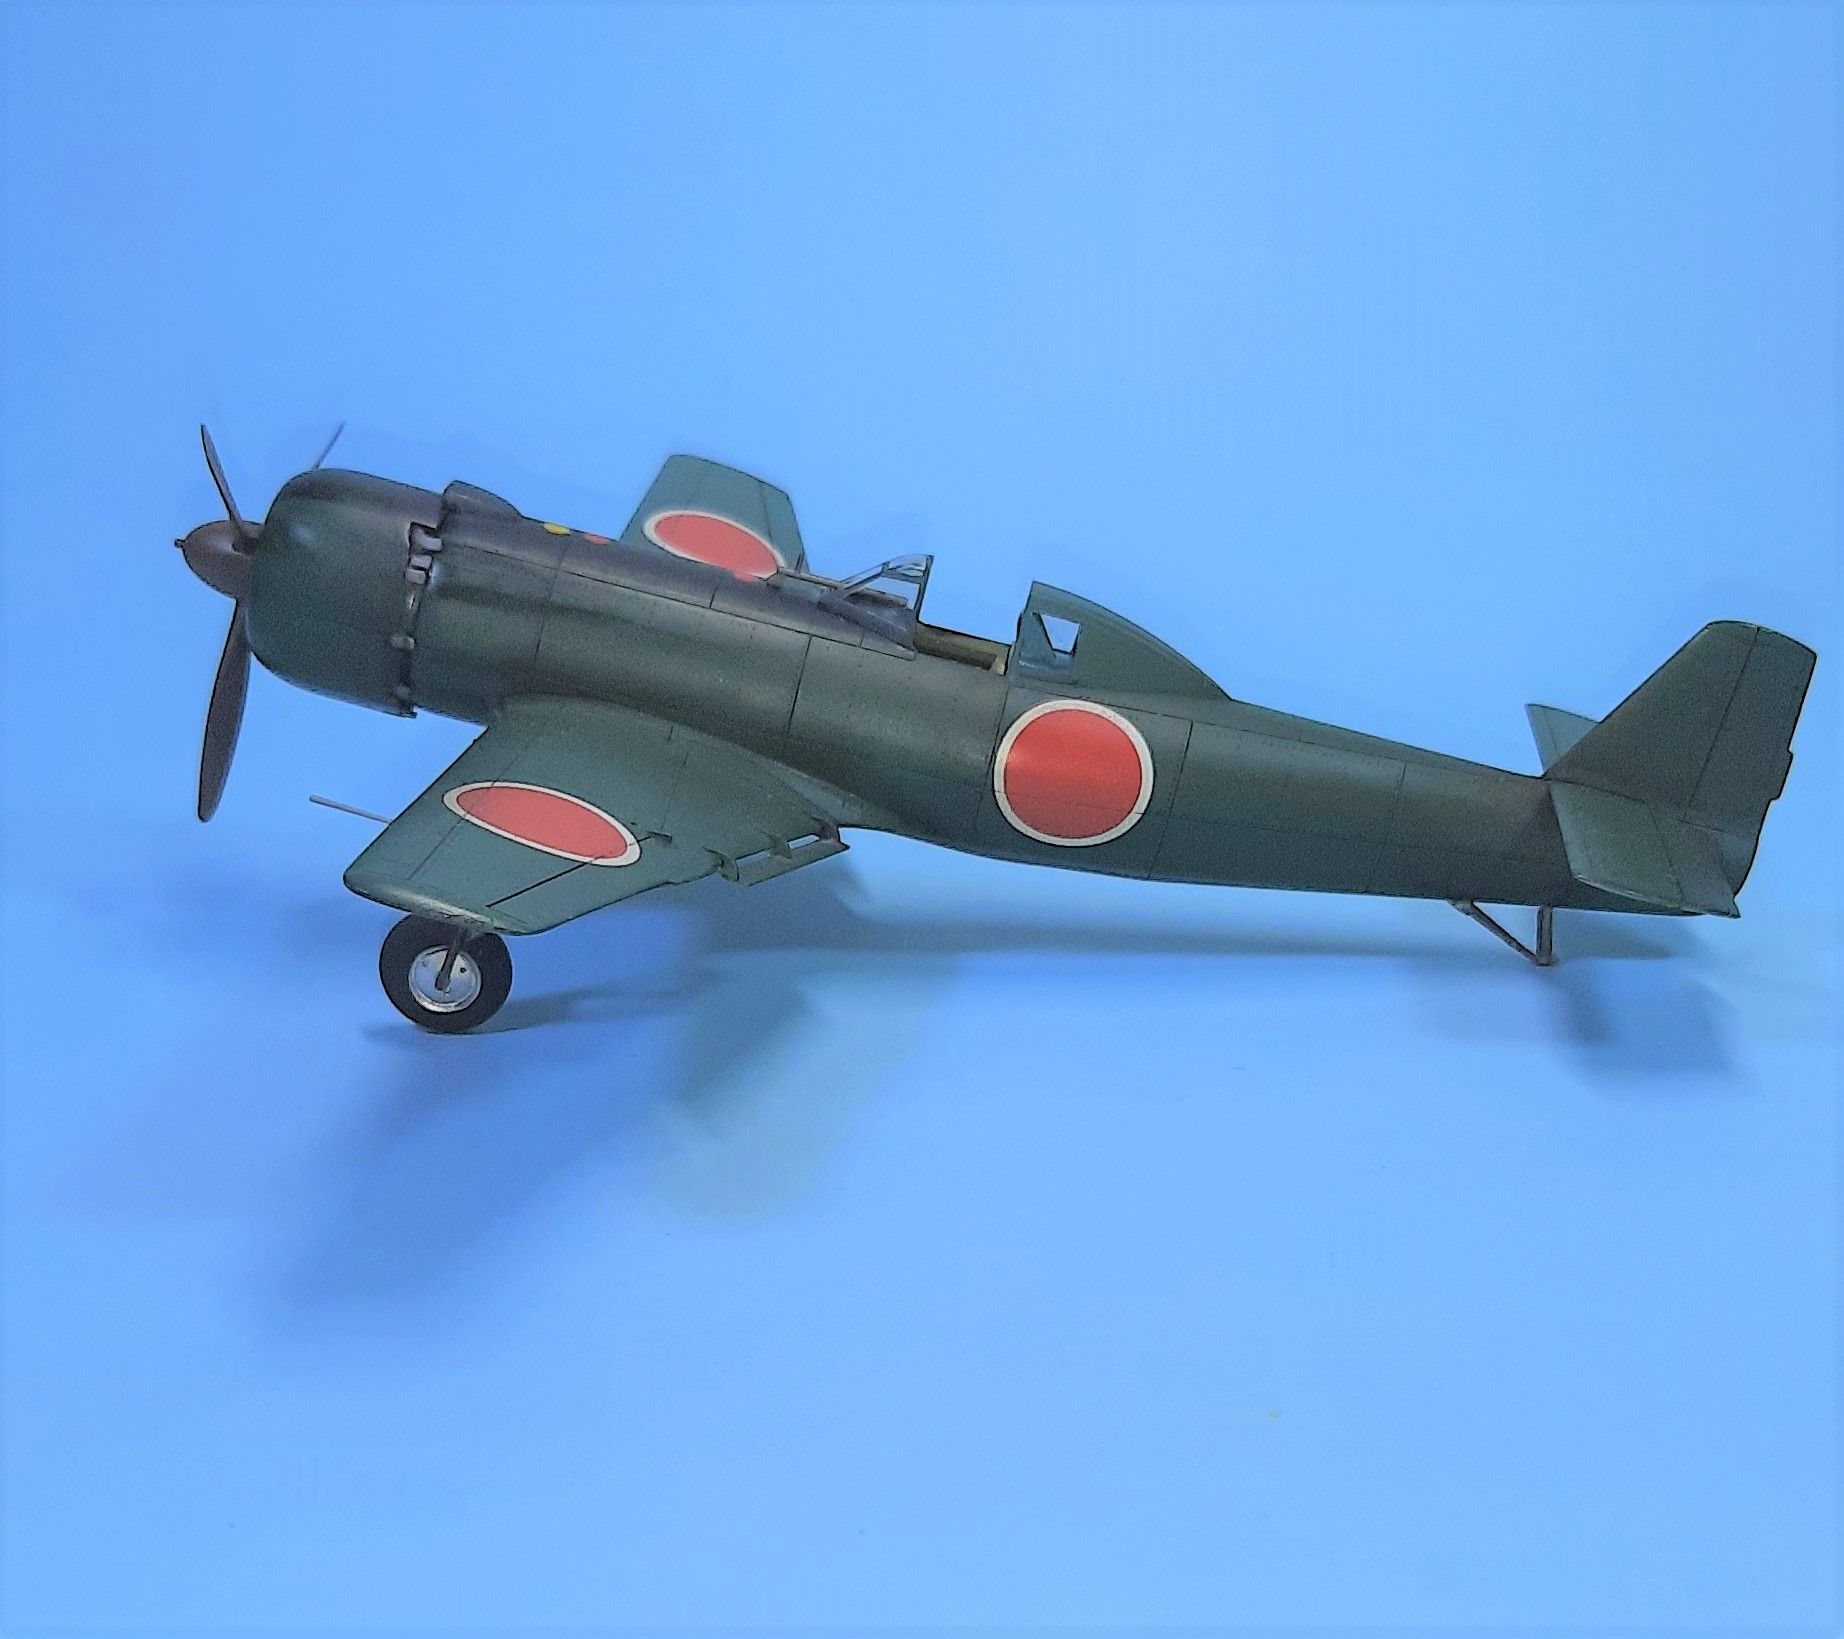
I painted the underside using Mr. Color (MC) 8, silver. giving a nice dull metallic finish. For the uppers I used MC 15, IJN Green (Nakajima), mixed with MC 1, white at a 2 parts green 1 white, then thinned 1:4 with ML 400 thinner.
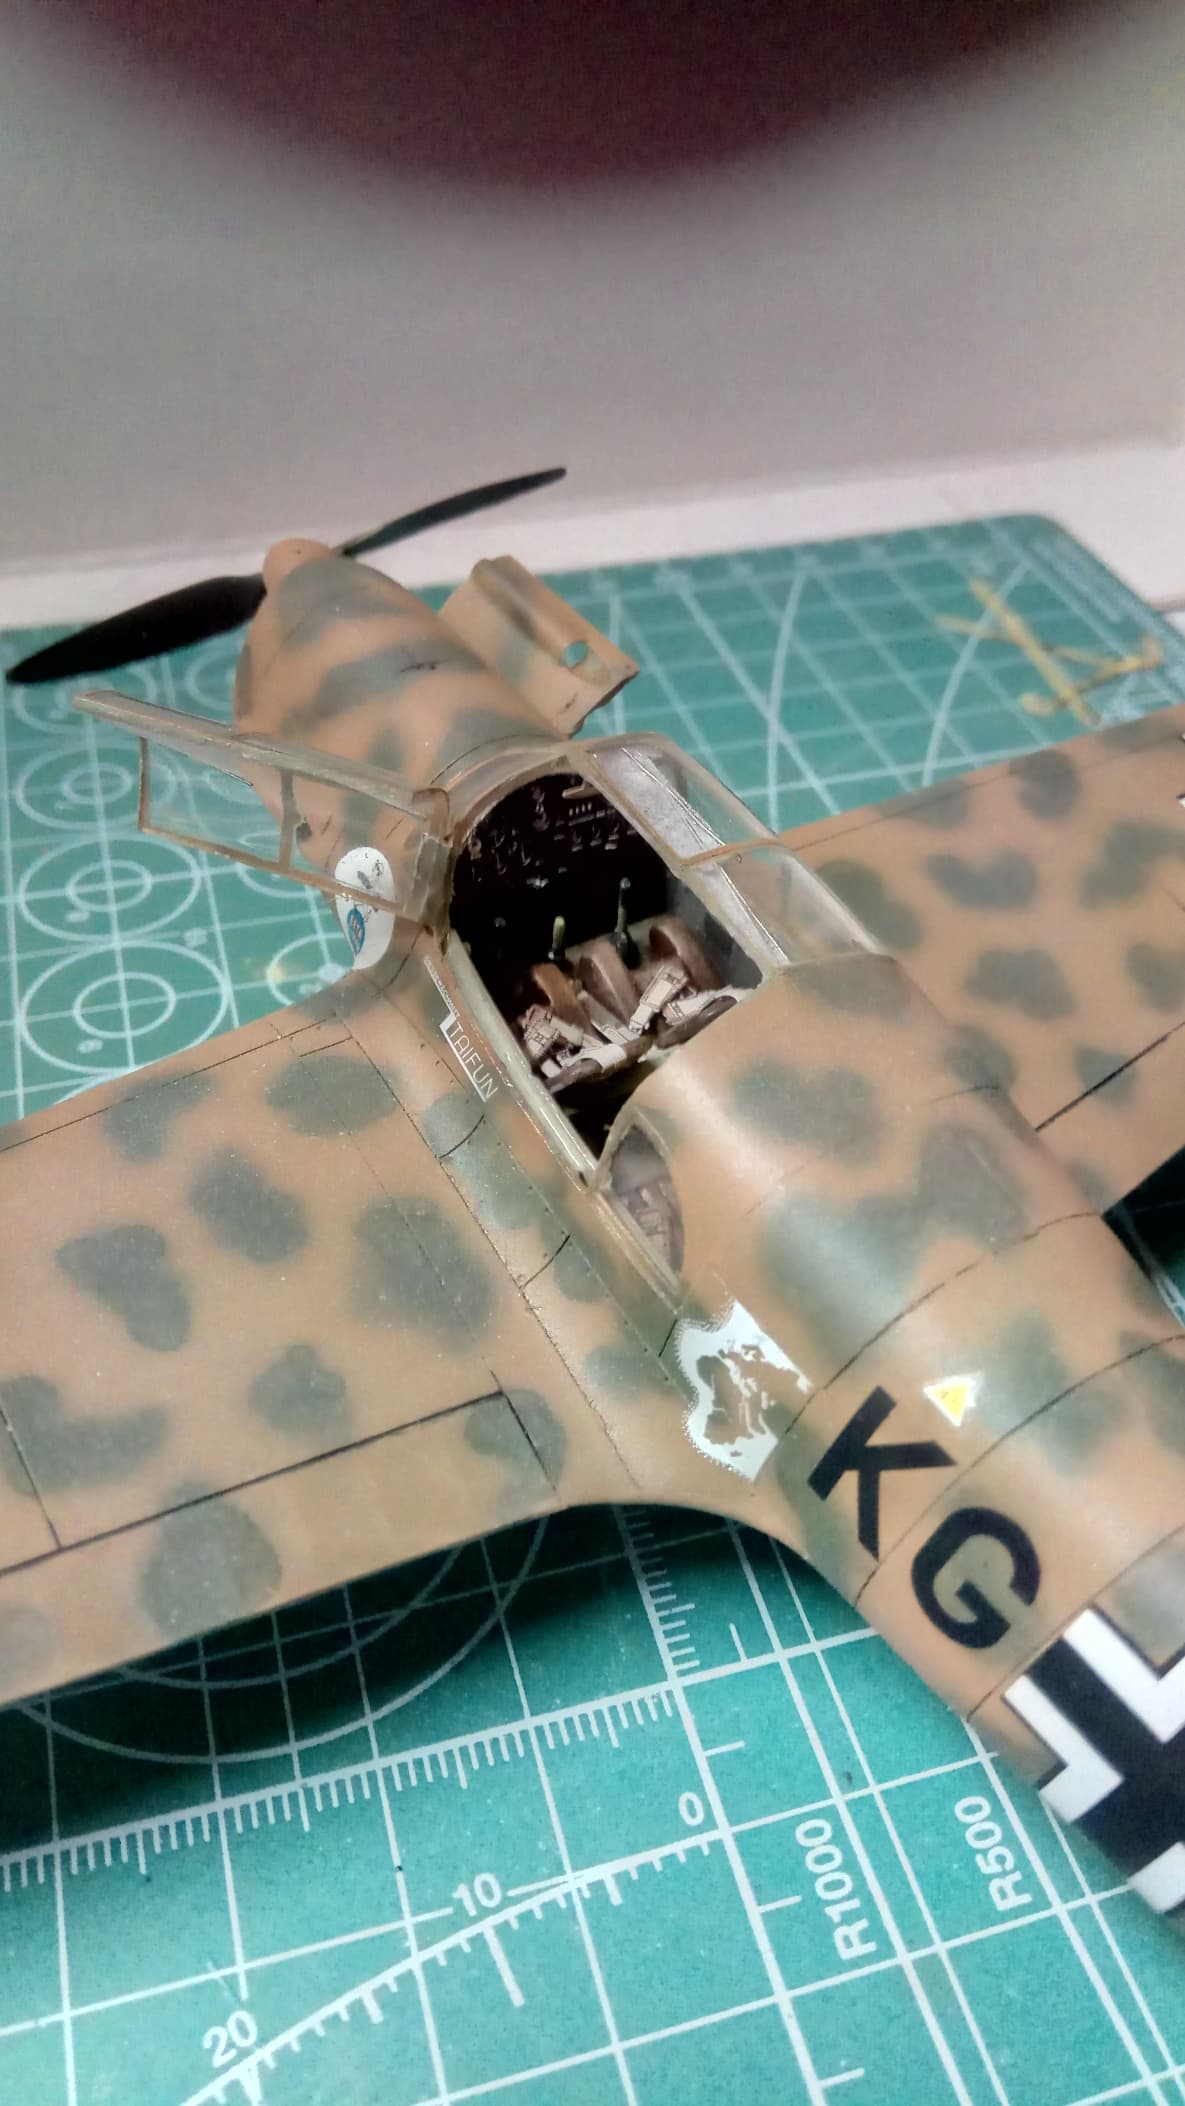
I black based the green and it turned out very nice. I did have a little fun with color, behind the cockpit is a covered area, where it can sort of be seen. While in all likelihood, the cockpit and associated areas were bare metal or painted the same color as the uppers. I figured that since this was going to be the prototype plane without the shock absorbers, why not make it per factory specs. Hence the cockpit done in Nakajima interior colors, and behind the cockpit I used my own mix of Atoke. I also painted the interior of the cowling this color. Fun, but not really noticeable, modeling humor is very subtle.
After this dried, I clear coated using my Future mix (70% future, 30% IPA, 1 drop of dish soap), giving it a total of three coats. Put the decals on, there’s not many, and this was done in about two hours. I sealed them with another coat of Future, and followed this up with an oil wash of burnt umber, then clear coated using a semi-gloss to tone it down a little.
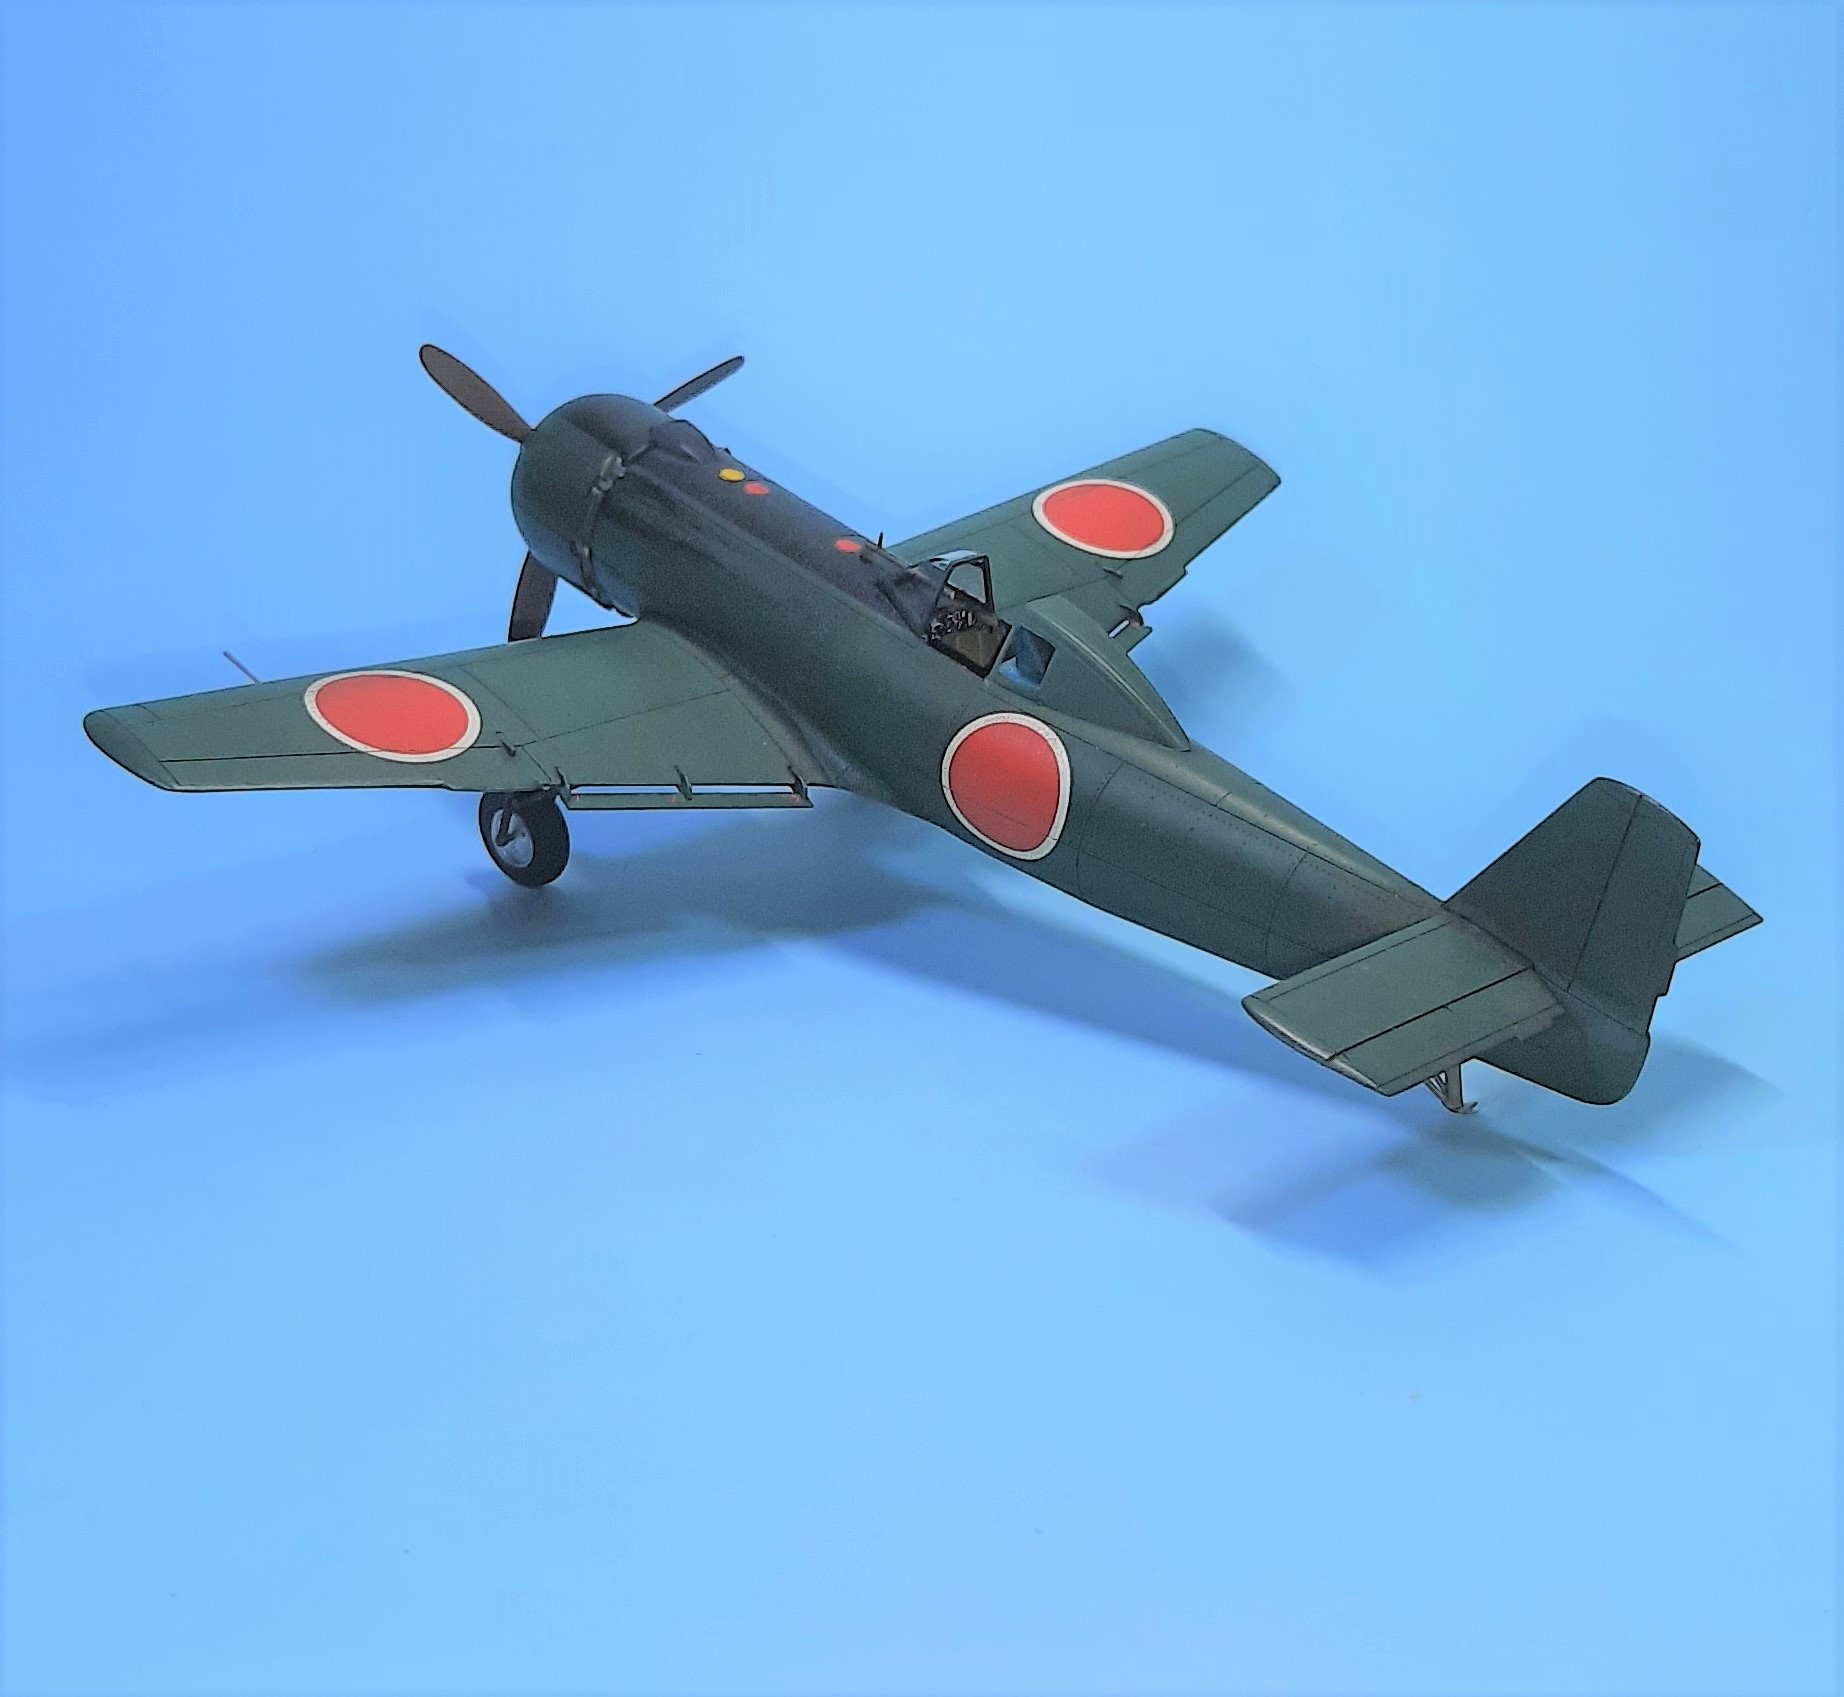
Fiddly bits went on with no issues, and the build ended nicely, with one little whoops. I managed to knock off the pitot tube so I stretched some sprue to size and drilled out the area and replaced it. No problem.
Up next will be some final photos and comments, till then have fun!