I’ve tackled full-on 3D-printed detail parts once before with Eduard’s Avia S-199 and had a great experience, but the level of detail here - especially the main wheel wells - is on a level I’ve never worked on before. So it promises to be REALLY fun!
I’m even going to try to paint the pilot figure! That’ll take me totally out of my comfort zone, as it’s a skill I’ve never even tried to master, despite always admiring what other modellers can do. But the figure included is so good, it’s got to be the golden opportunity to experiment and learn (probably the hard way!).
This could be a slow-burn build - I never was fast, and I have to admit I’m rusty these days - but a kit as superb as this doesn’t land on your doorstep often, so I hope you’ll join me on what should be a really interesting and enjoyable build. I’ll try some new products and techniques (to me) along the way - and we’ll see how it turns out! I’ll start work tomorrow.
You can check out my first impressions review of the kit HERE
I’ll be following along too, I have this kit but am daunted by the amount of 3D printed parts, The detail is exquisite though so your build might inspire me to at least start mine.
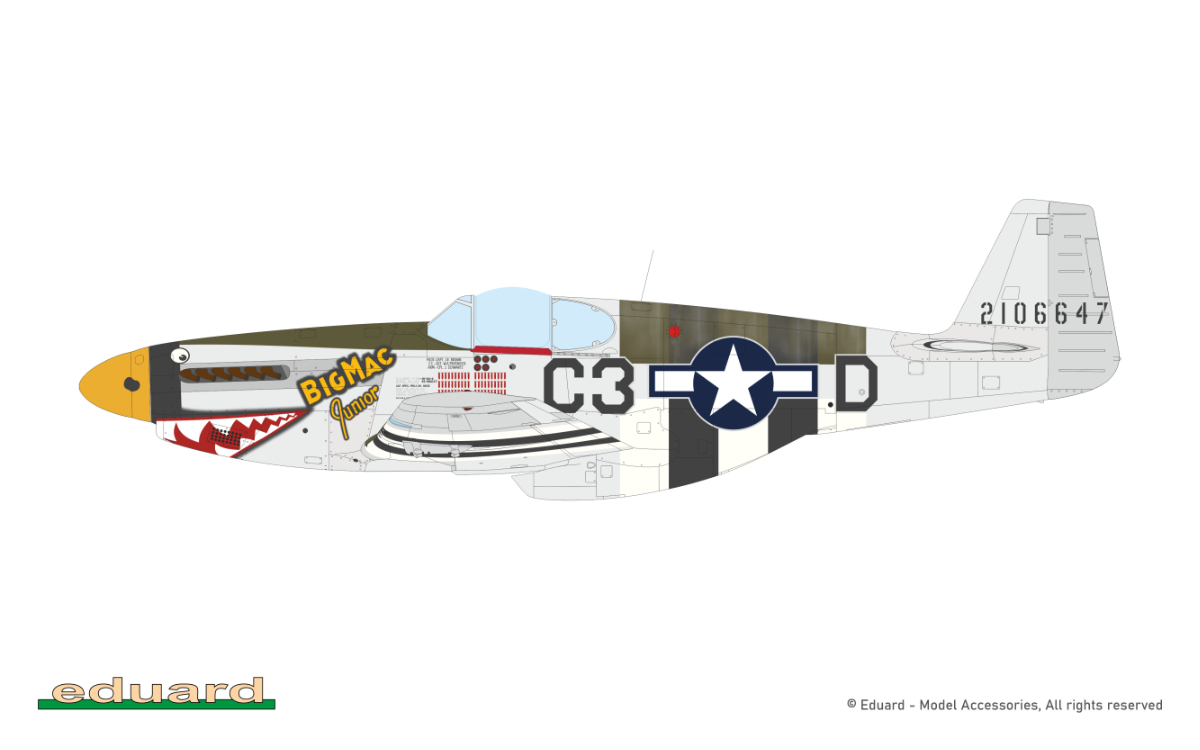
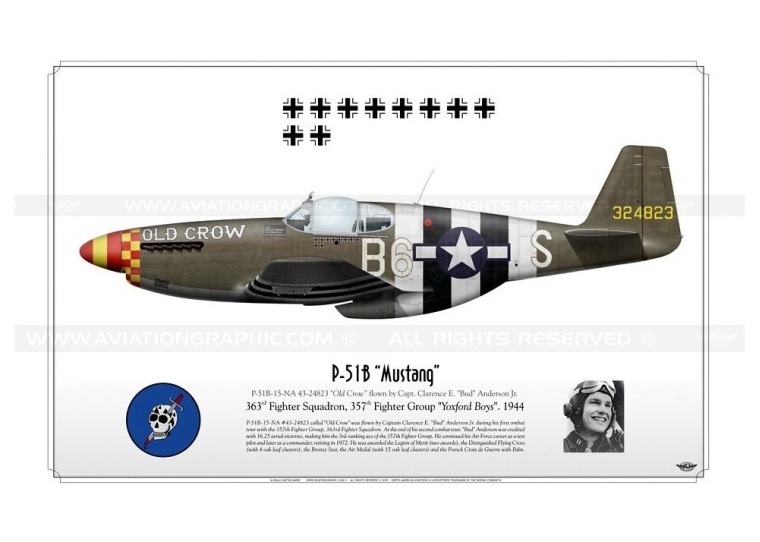
Yep, Old Crow is a true classic. I can’t resist doing a P-51 with a shark-mouth - and the fact that Big Mac Junior has a slightly goofy expression just adds to the fun.
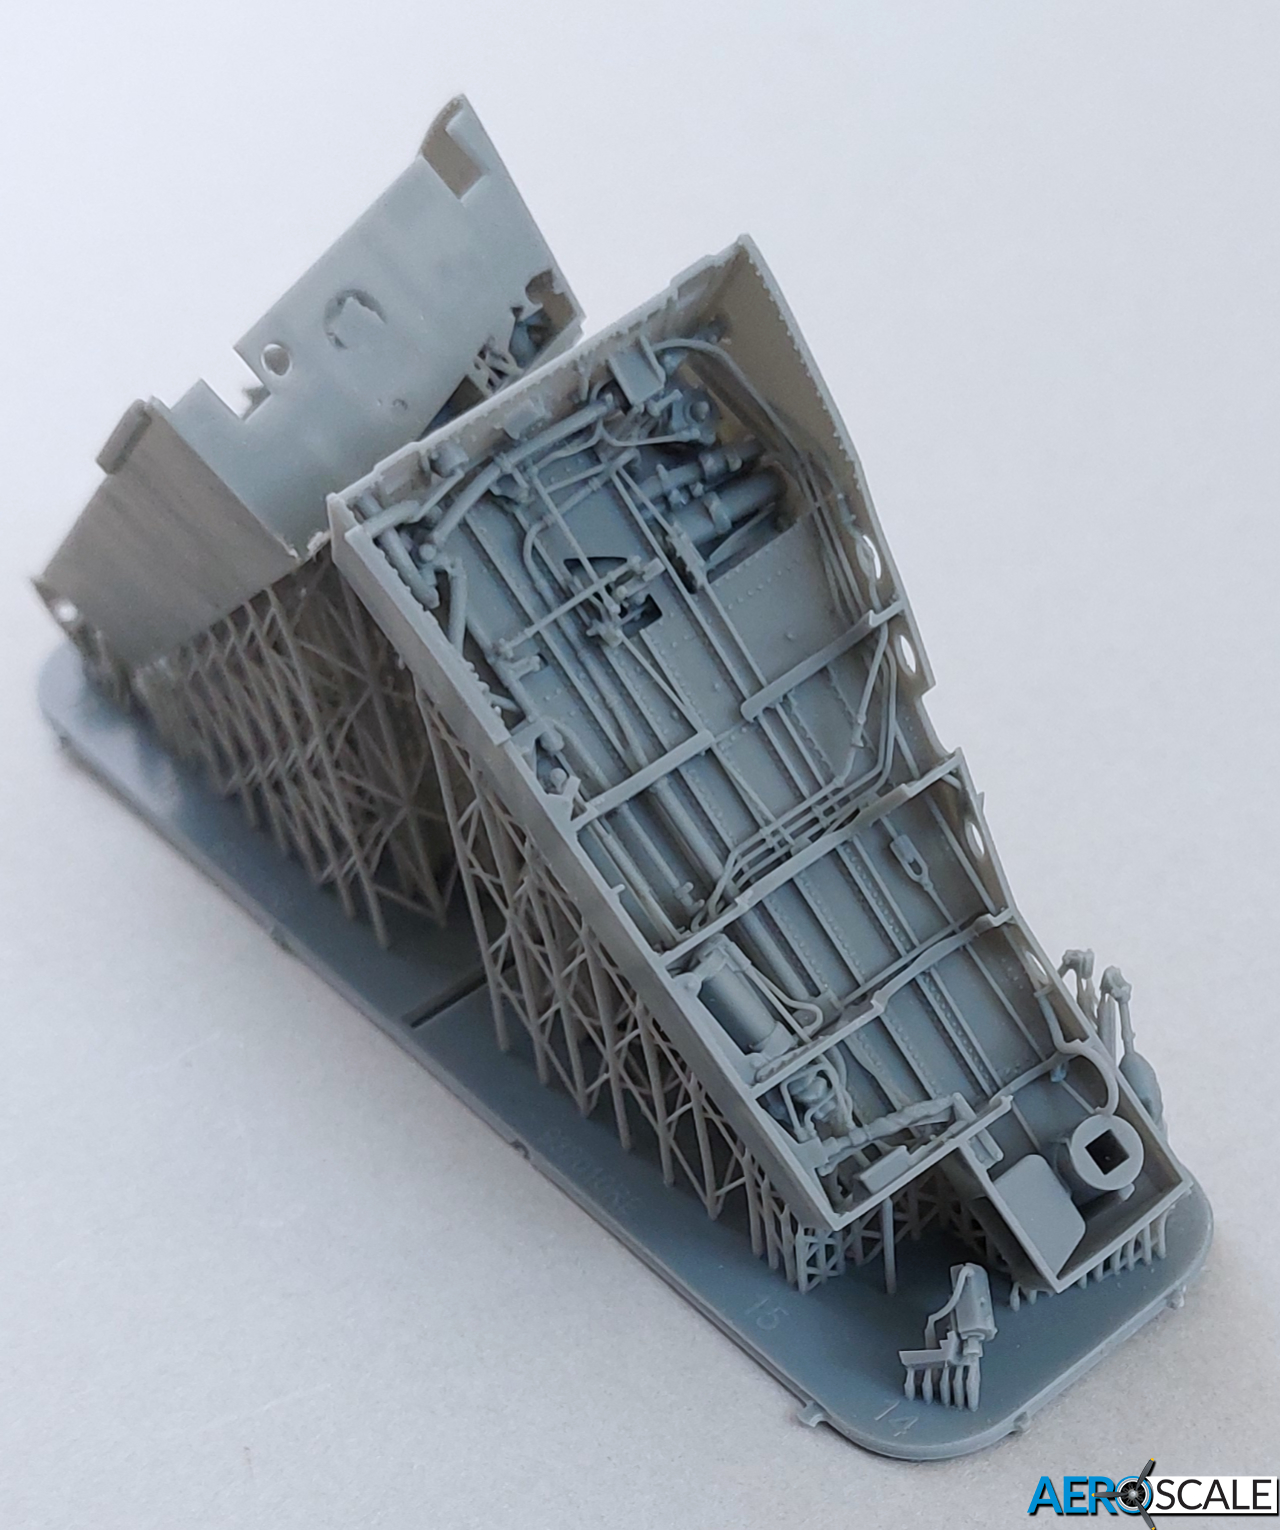
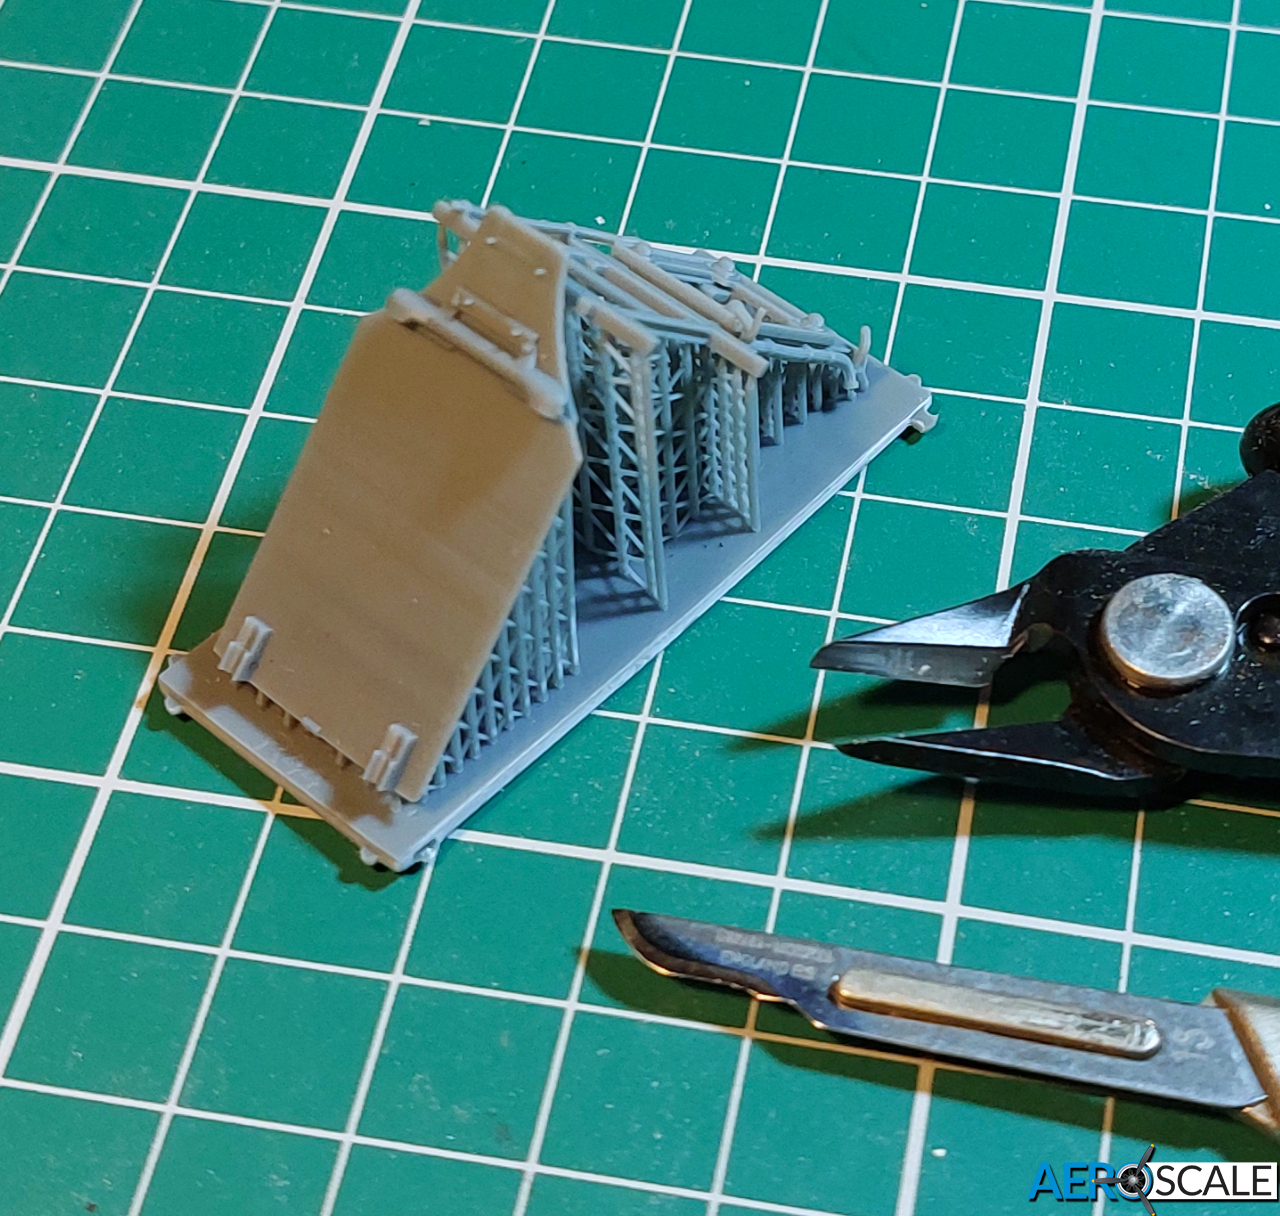
Well, I’ve made a start. Before moving on to showing the kind of detail there is in the cockpit, I’ll include a couple of pics of how the 3D-printed parts are formed on a lattice of supports for anyone new to working with this type of material.
I intended to do most of the basic prep with fine-nosed nippers, but in fact I found a scalpel easiest for the job.
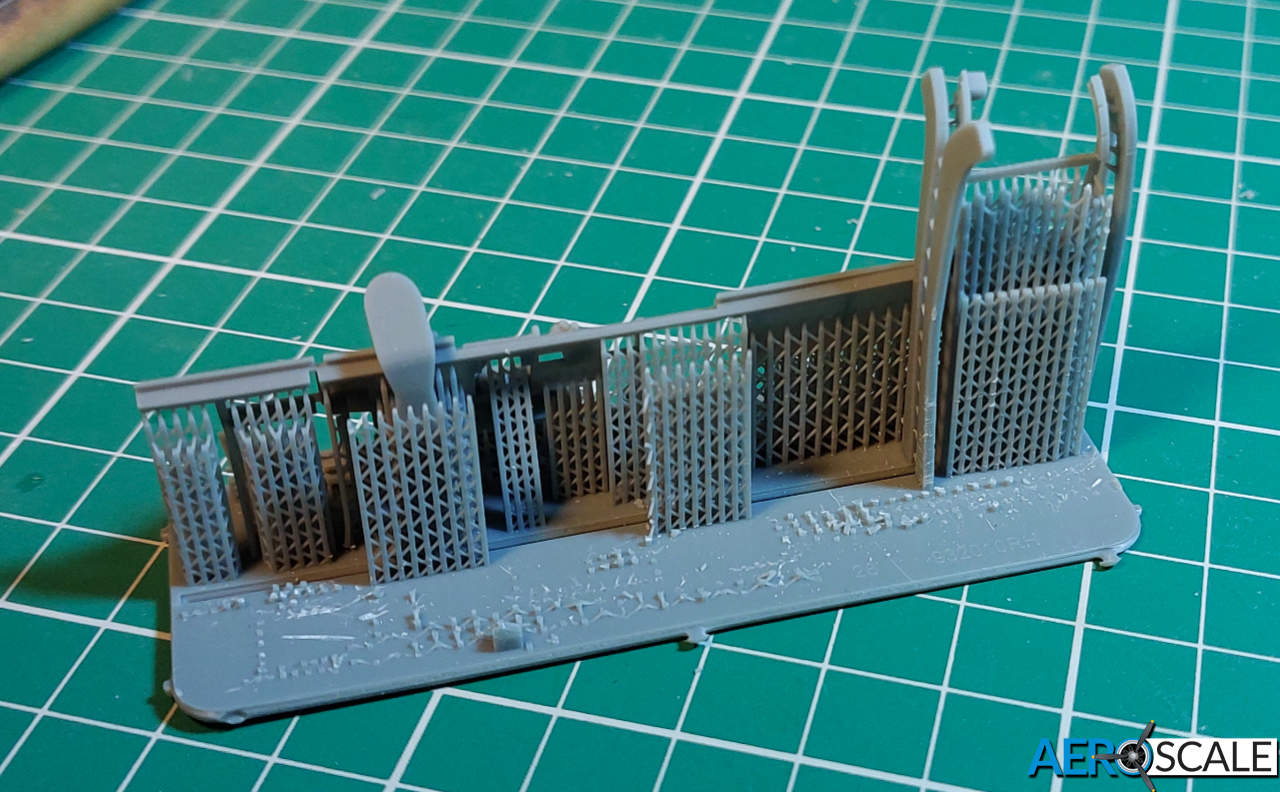
With one part removed, this shows what’s going on behind the scenes. You need to work slowly and carefully, because some of the parts are very delicate (more on that later). Whereas with a conventional all-styrene kit you can simply clip the parts off the runners before a quick clean-up, here the basic preparation is MUCH slower - expect to spend five or more minutes working on some of the most complex and delicate items. So, put on some music or a podcast and chill - take your time - and work methodically, checking as you go. There’s a strange satisfaction in freeing the parts - and the result of your patience is a component with a level of detail that’s impossible to achieve with any other current technology - even the best resin castings can’t match this with its “impossible” undercuts etc.
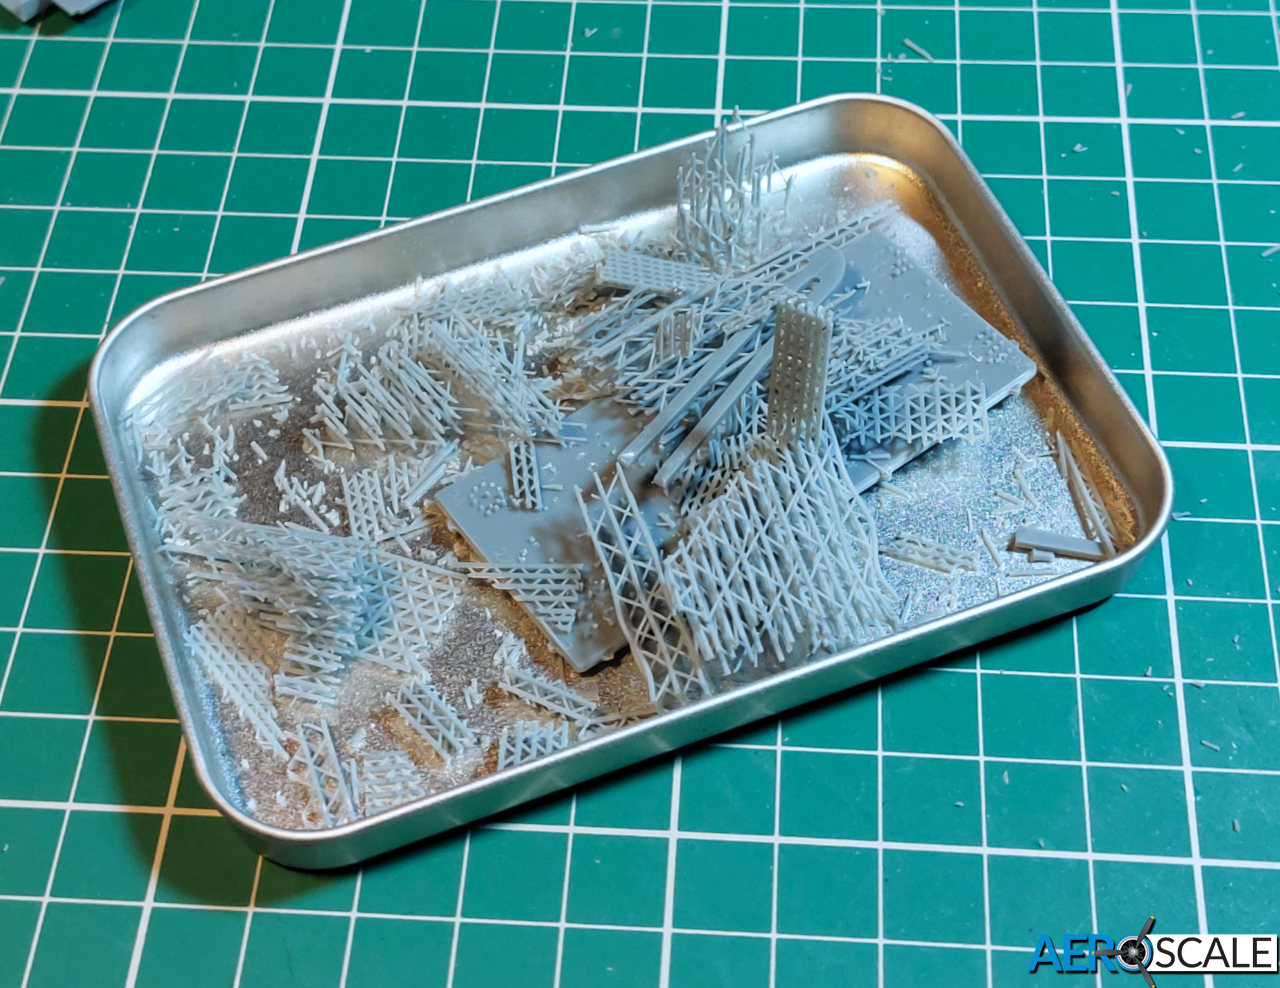
I hate throwing anything away - I wonder if there’s a use for this stuff? Will it dissolve like styrene to make a “gloop” filler? I somehow doubt it, but that could be tomorrow’s experiment.
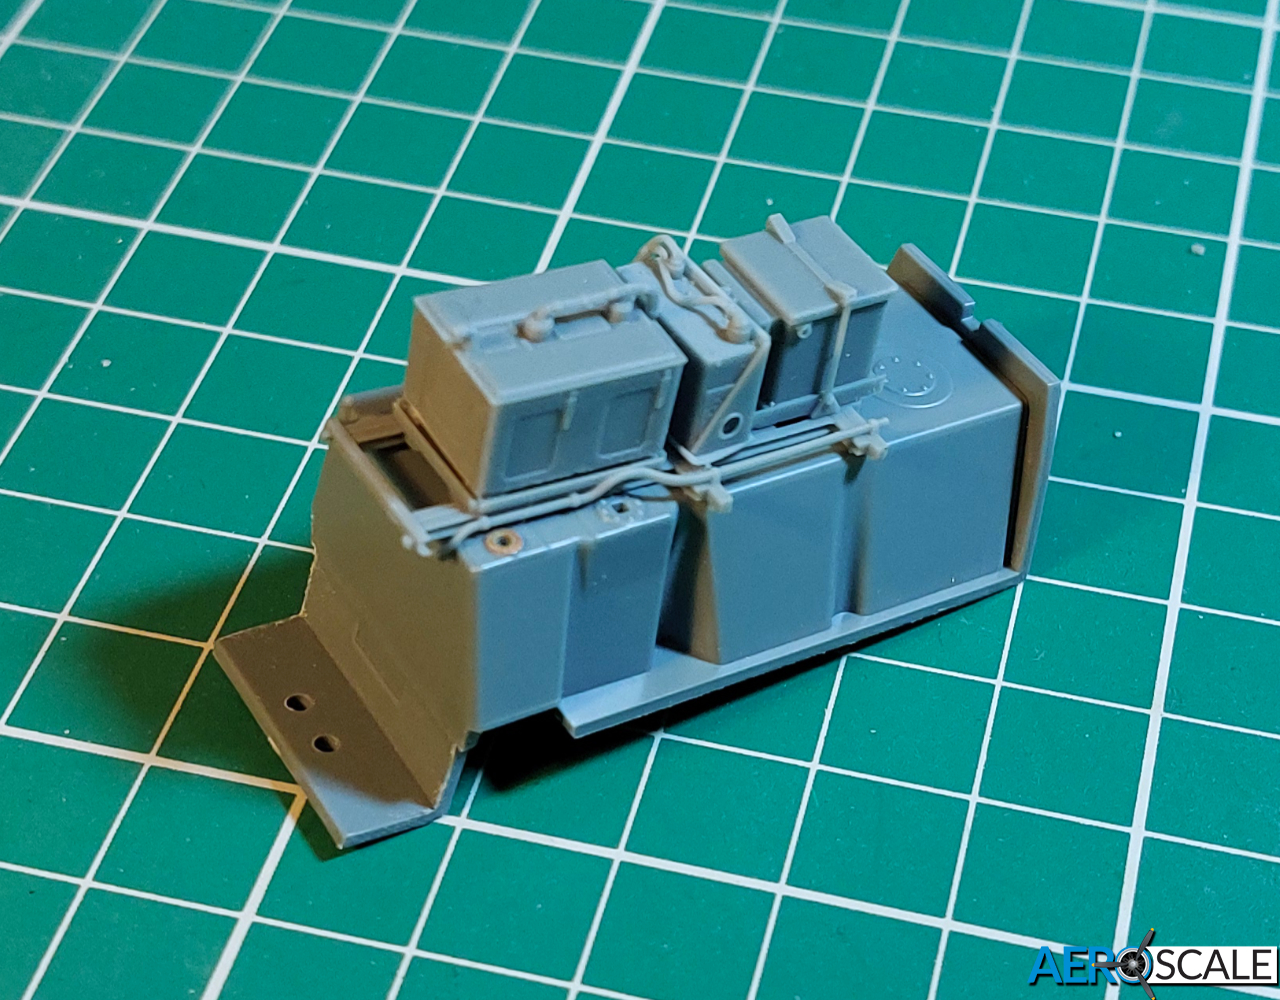
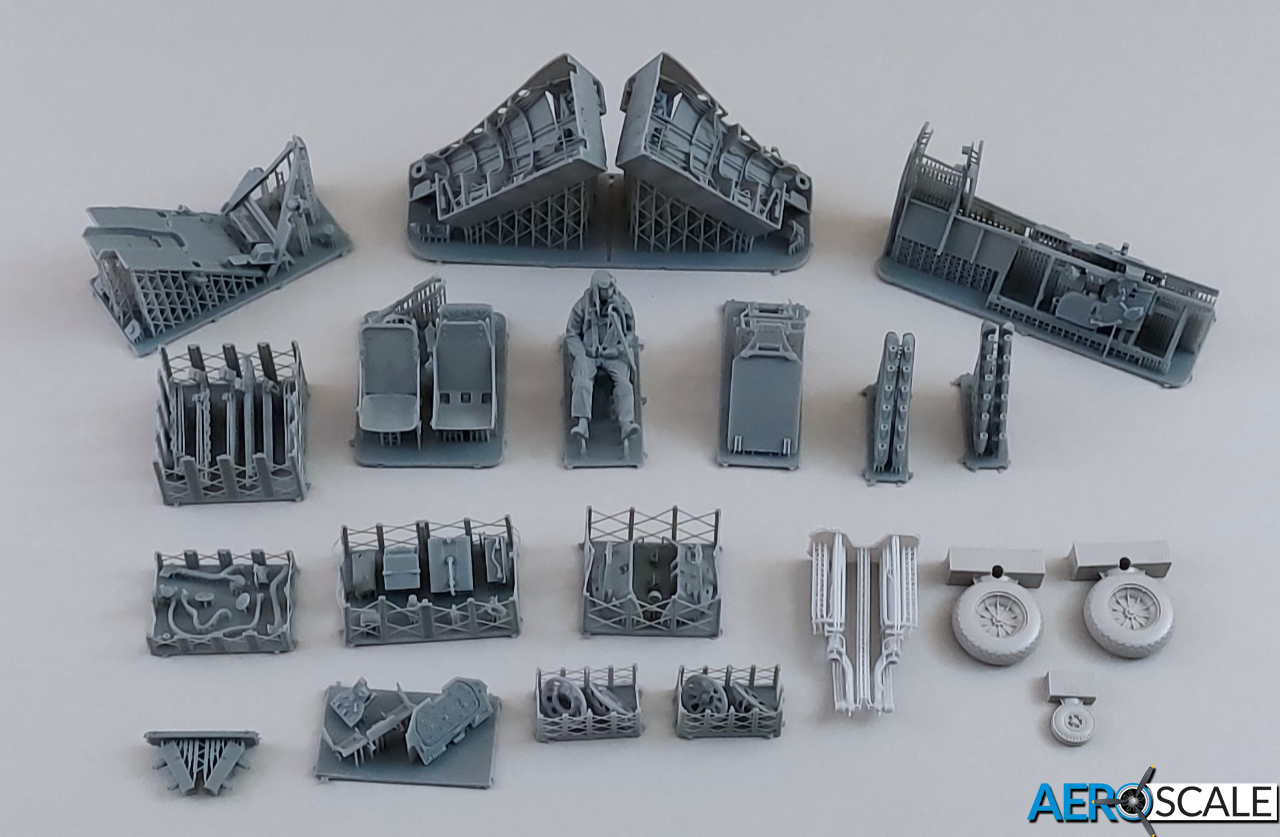
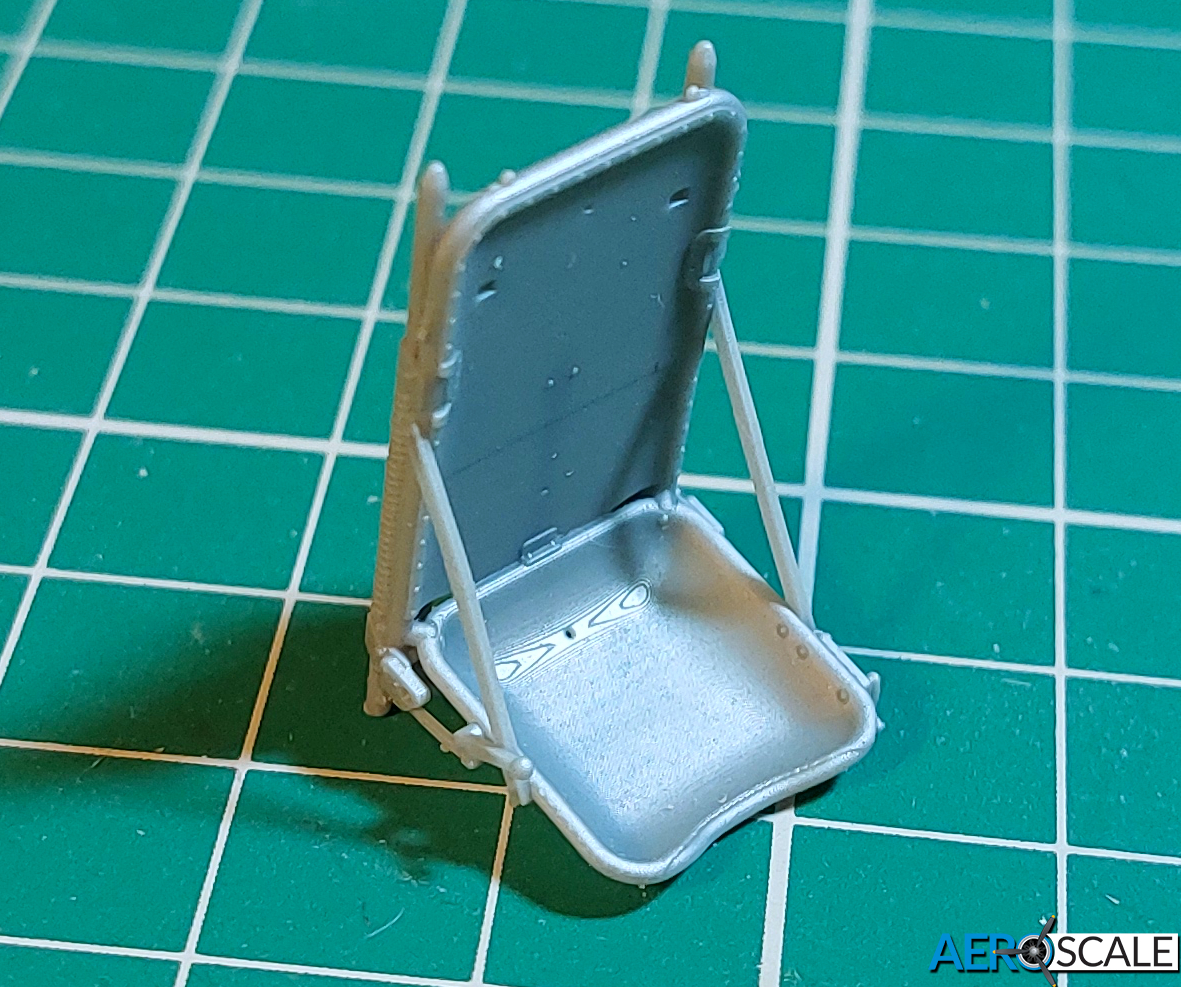
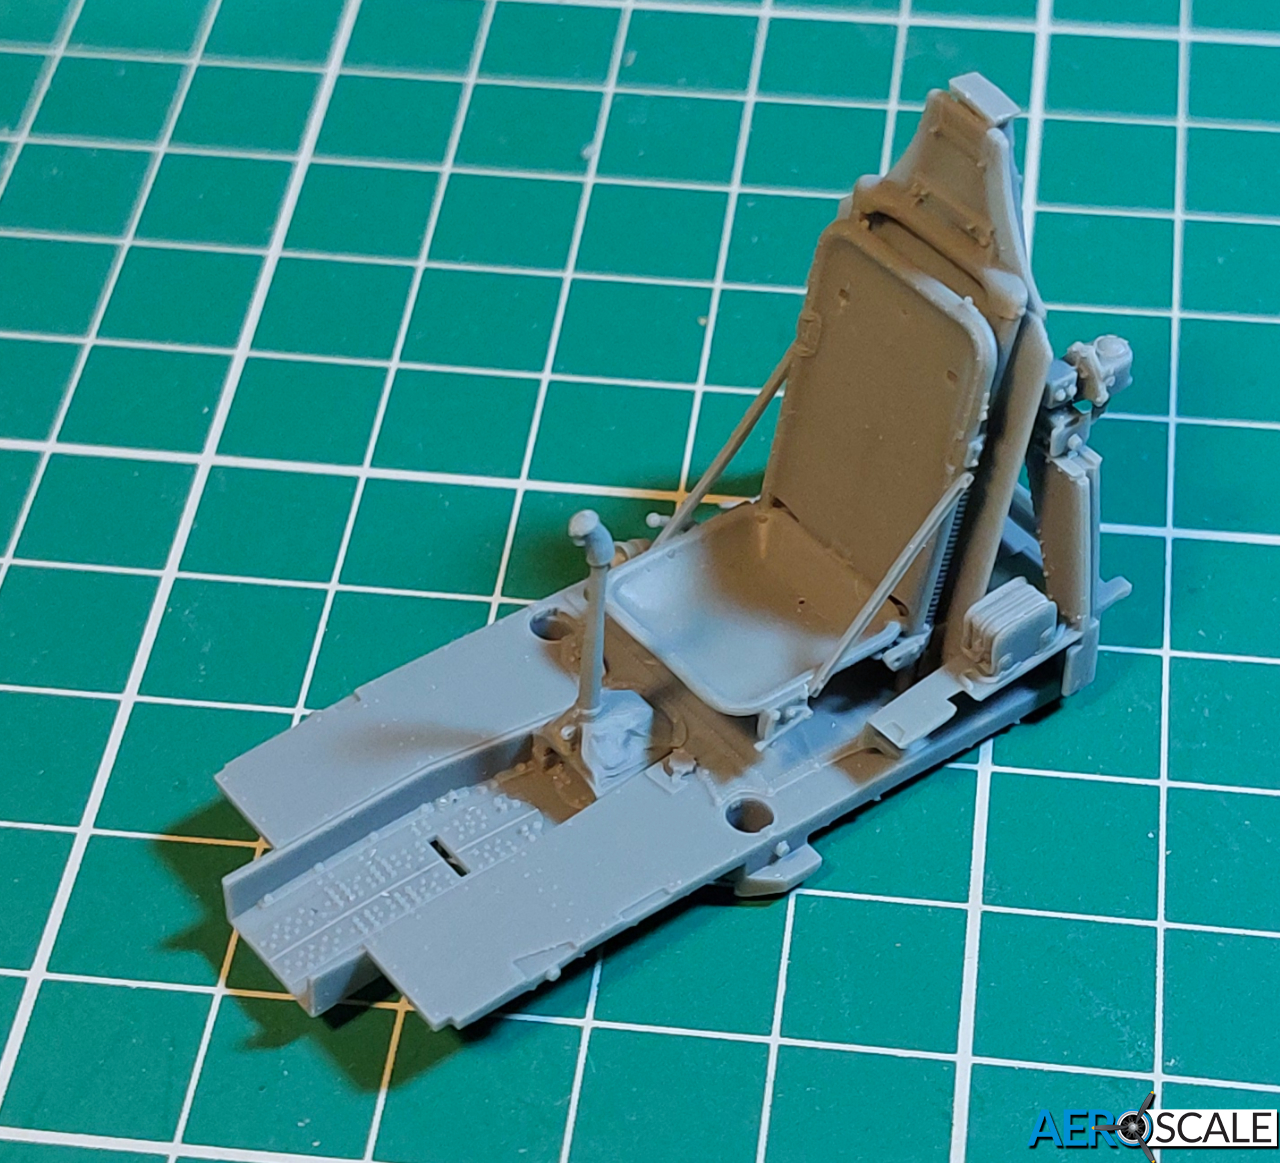
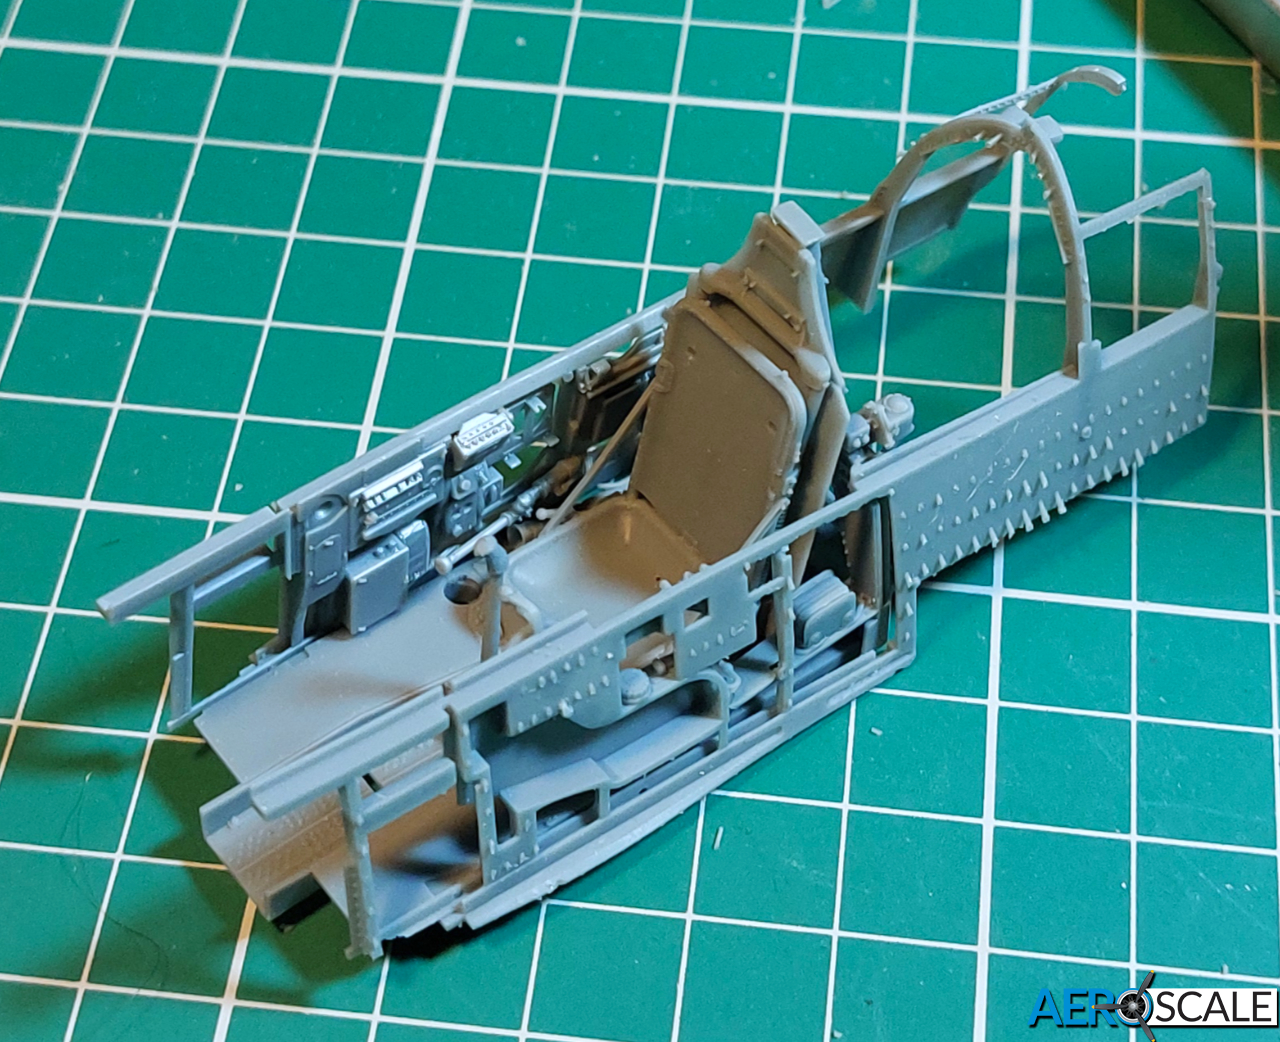
So, here are the basic cockpit parts - still waiting for final clean-up of the lattice-work attachments in a couple of the shots - and you can start to get an idea of the level of detail incorporated on each component. Where conventional styrene moulding would require a sub-assemble of multiple pieces, here very complex shapes are printed as a single item.
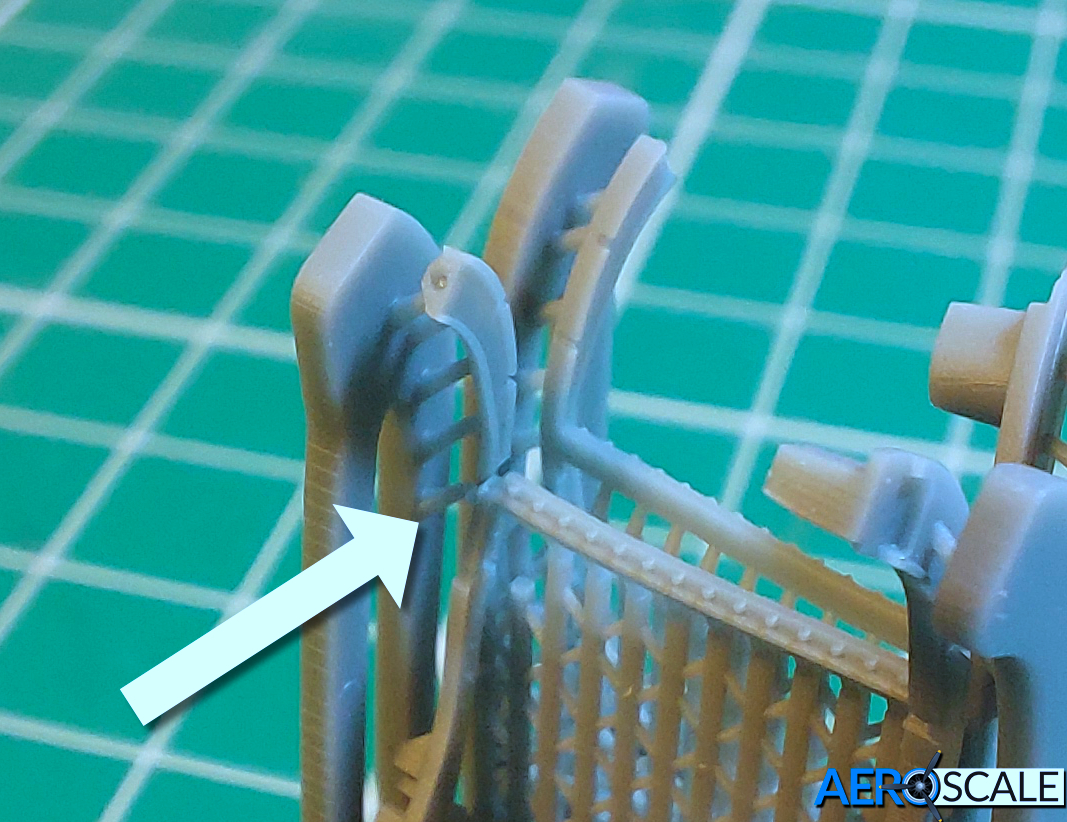
Sadly, all was not roses, though. I can’t stress enough how delicate some of the parts are, and it’s crucial that you assess where how and where you’re going to cut the lattice before you start cutting. Some of the parts are under a bit of tension on the lattice-work - and I spotted this part was broken before I began to free it. Luckily, it will be out of sight behind the cockpit - and I think the repair will be invisible:
No - that is the crucial thing to bear in mind when buying this kit. Basically, ALL the detail parts are 3D-printed only.
I speculate in the REVIEW whether Eduard might produce the other parts in styrene further down the line for a conventional kit, but for now their Mustang is purely what they term a “Hybrid” kit.
That’s what I’m wondering. I can’t resist experimenting. I know I keep too many things that I never find a use for, but all that waste lattice-work is begging for a second life in some form or other.
@Spitfire Over the years my understanding of Eduard is they will eventually re-release the kit as a regular kit or a “weekend edition”, without all the super detail bells and whistles. And no doubt there will be vendors producing their own parts for the kit.
Yep, I also think Eduard must have a conventional kit up their sleeve for release further down the line - the potential market for a state-of-the-art styrene kit of the P-51B/C is just too big to ignore.
So, I’ll expect to see ProfiPACK and Weekend Editions at some point - but I couldn’t guess when. Actually, I will - a Christmas surprise? It would fill an awful lot of modellers’ stockings!
I had a busy day today doing non-modelling stuff (boring! ), so I only managed to squeeze in a little time on the Mustang before heading out, separating a few more cockpit parts from their lattice-work.
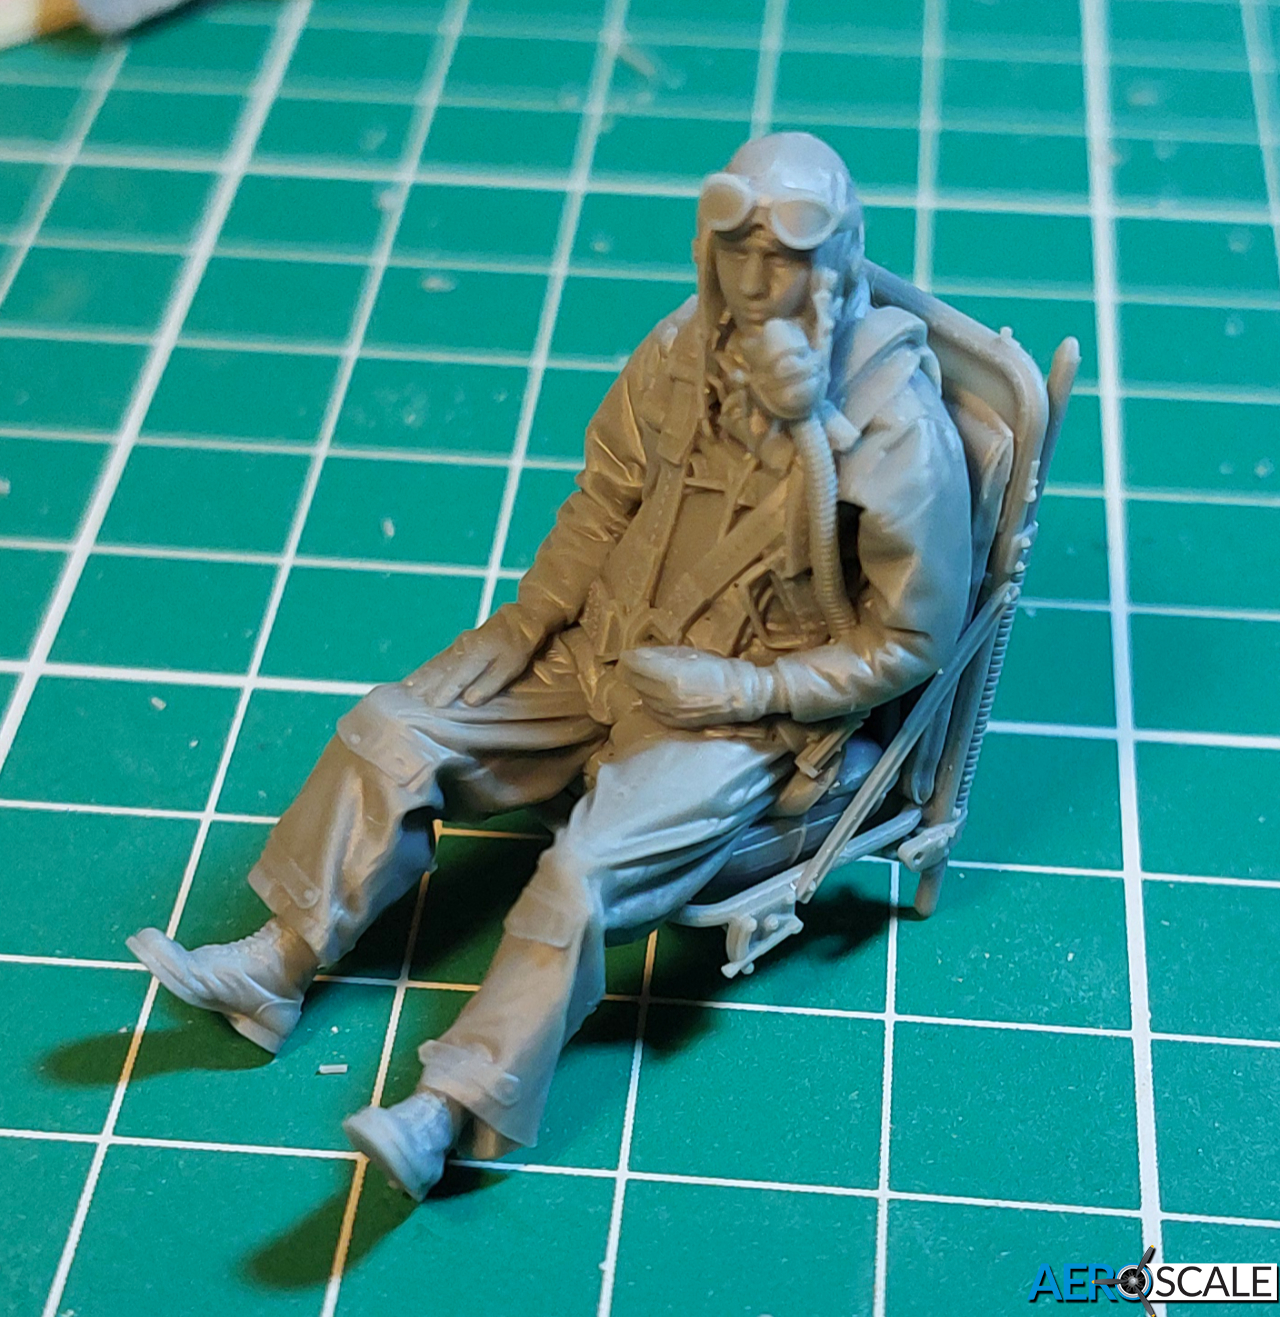
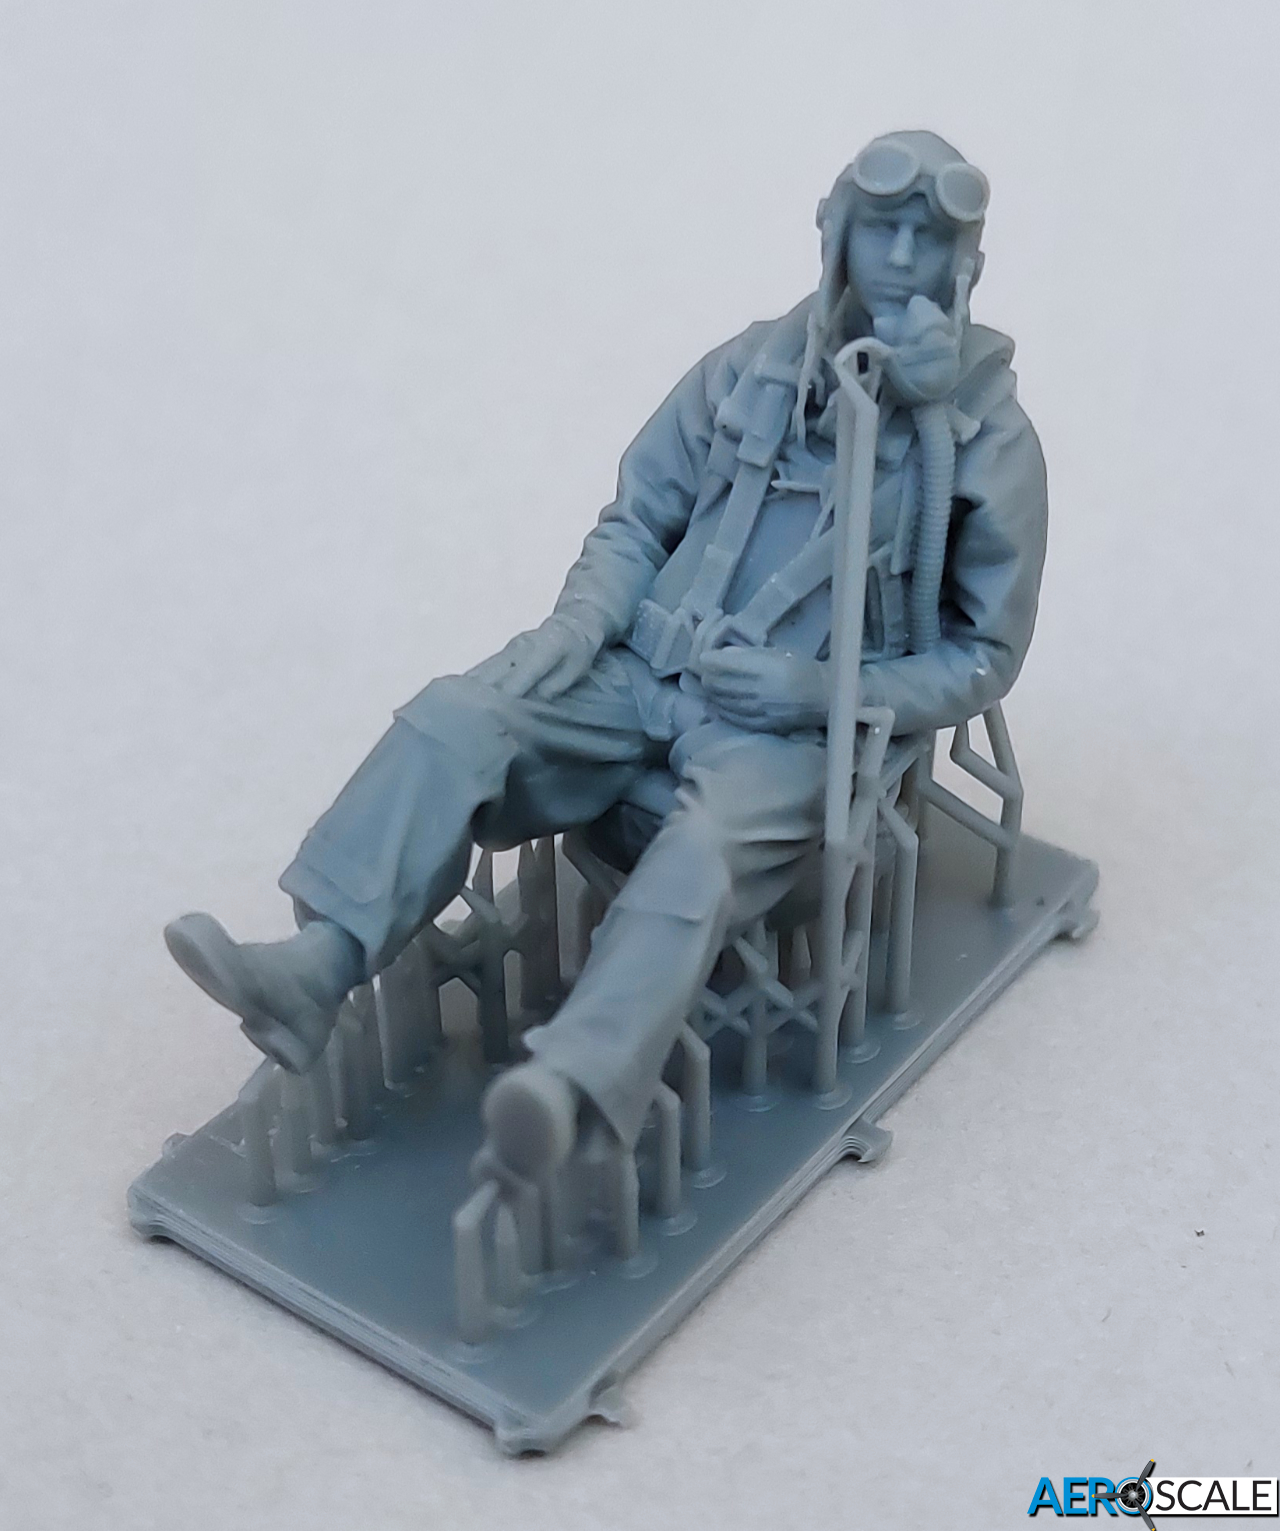
I know it’s a bit of a side-project, but I couldn’t resist also liberating the pilot figure:
I’m definitely going to have to use this opportunity to try to learn how to paint figures at least half-decently - to be honest, if I don’t do it now, I probably never will. If the result is bad, blame me not Eduard, because the 3D-printed pilot really is excellent!
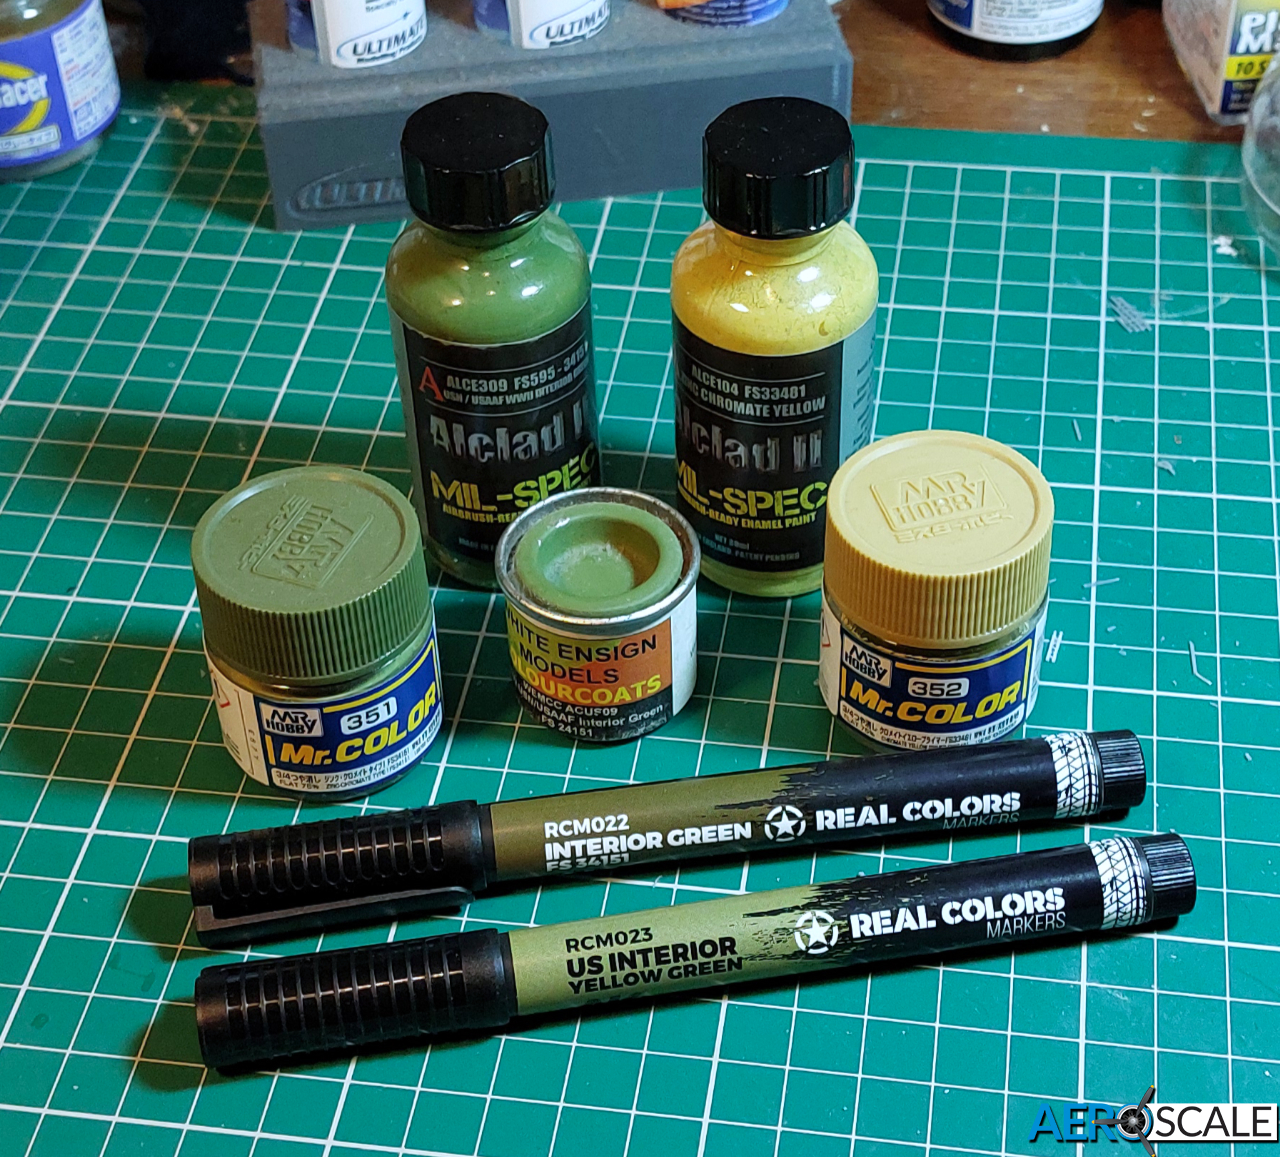
And then it was time to start to think about painting. I was pleased to find I had a decent selection of USAAF paints ready to hand. I’ve decided to go with the Alclad II Mil-Spec because it’s basically airbrush-ready straight from the bottle and sprays beautifully. But the other paints could come in handy for spot colours to add a little variety, as though they were pre-painted items from various sources coming together on the production line:
So, here’s where I’m at currently. It’s a relief to get the first basic coat of Interior Green on, just to make sure every nook and cranny is covered, but there’s loads to do to bring it all to life:
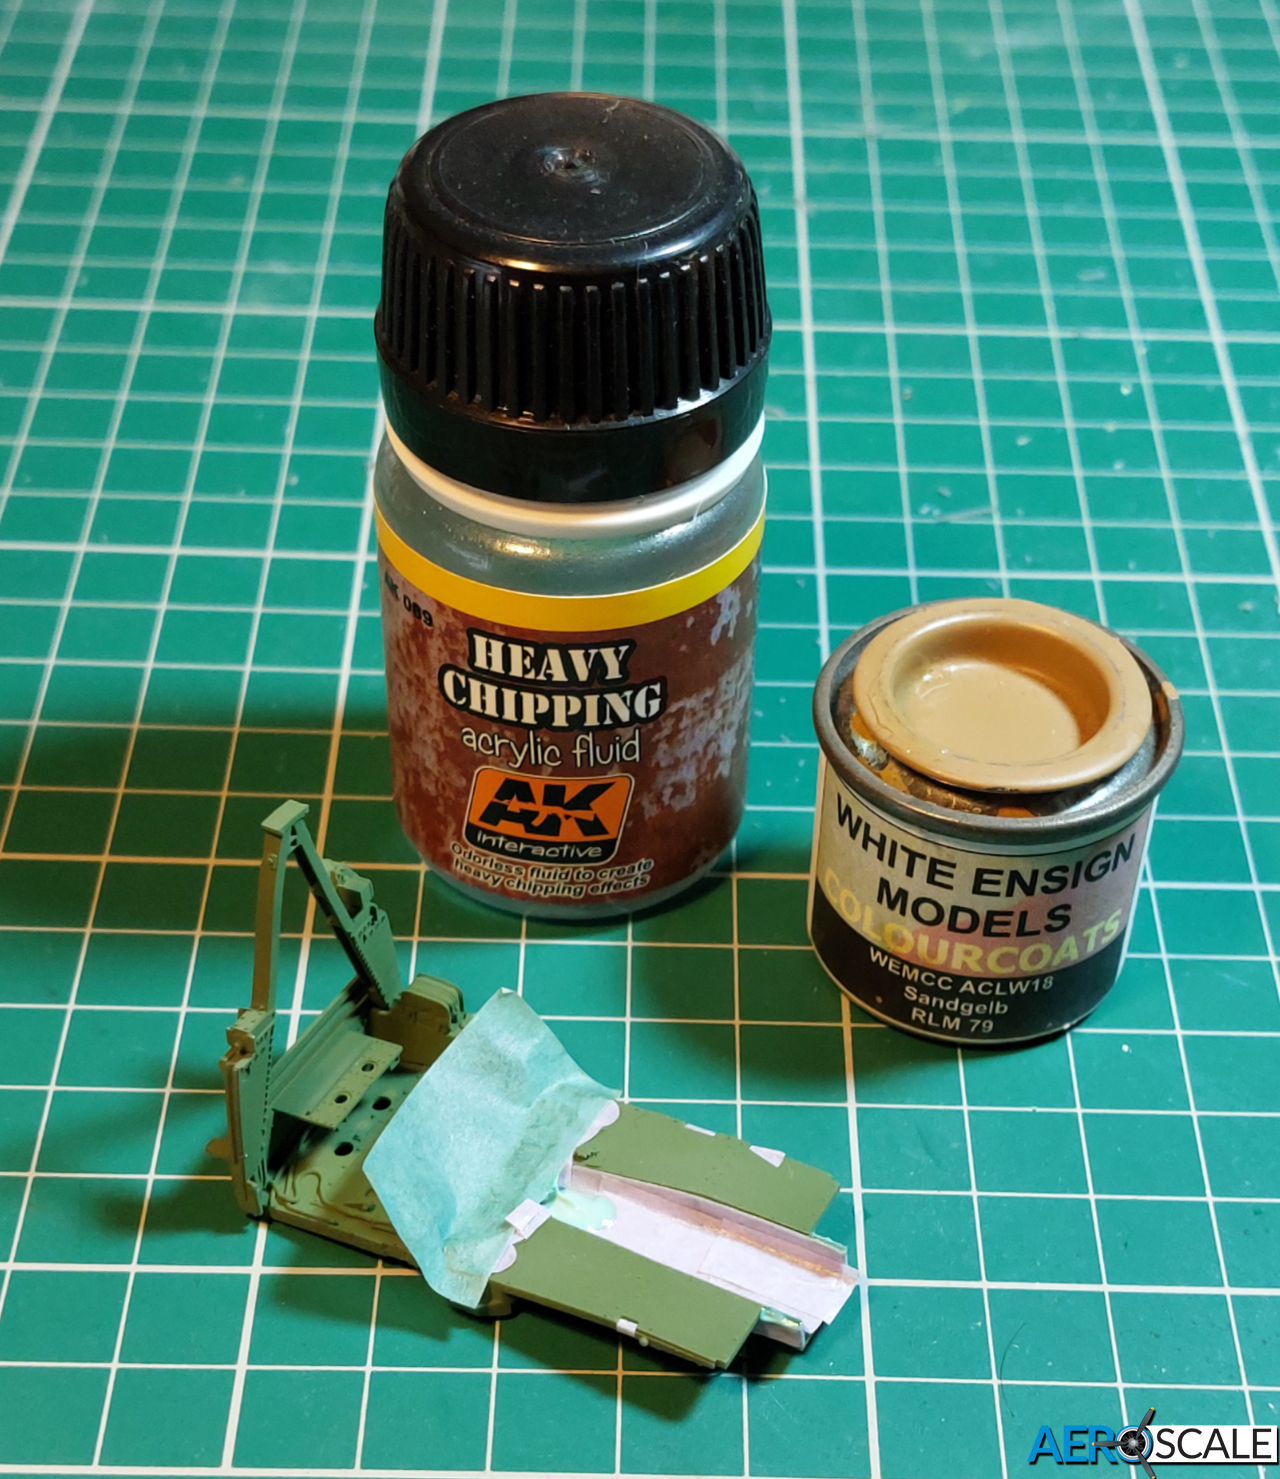
The floor between the pilot’s seat and the rudder pedals was wooden and painted with a black non-slip paint (usually - some sources say it could be left unpainted too). I’m going to try using AK’s Heavy Chipping fluid to represent a worn floor. I’ve only used it once before, and that was many years ago, so it’ll be a bit of an experiment for me.
Anyway, the first stage will be a coat of enamel light brown to represent the wood. There’ll be no need to worry about wood-grain - that wood be overkill.
Slight change of plan. Thinking about it while I waited for the liquid mask to dry, I realised I don’t know how robust the black will be when applied over the chipping fluid - logically, not very. As the the floor is going to take a fair bit of handling, and the black would have to be masked if I applied it early, I’ve decided to leave it until after I’ve shaded and weathered the rest of the part.






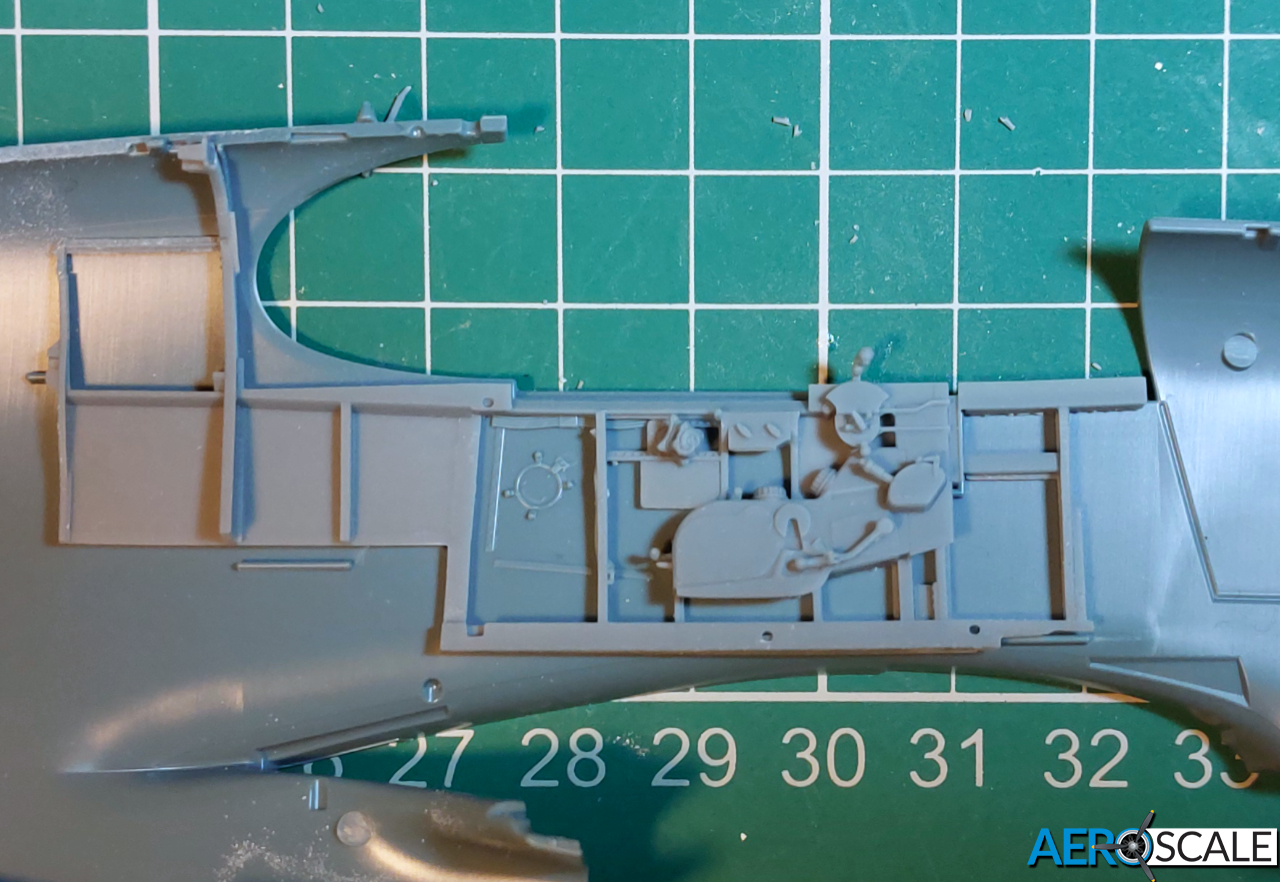
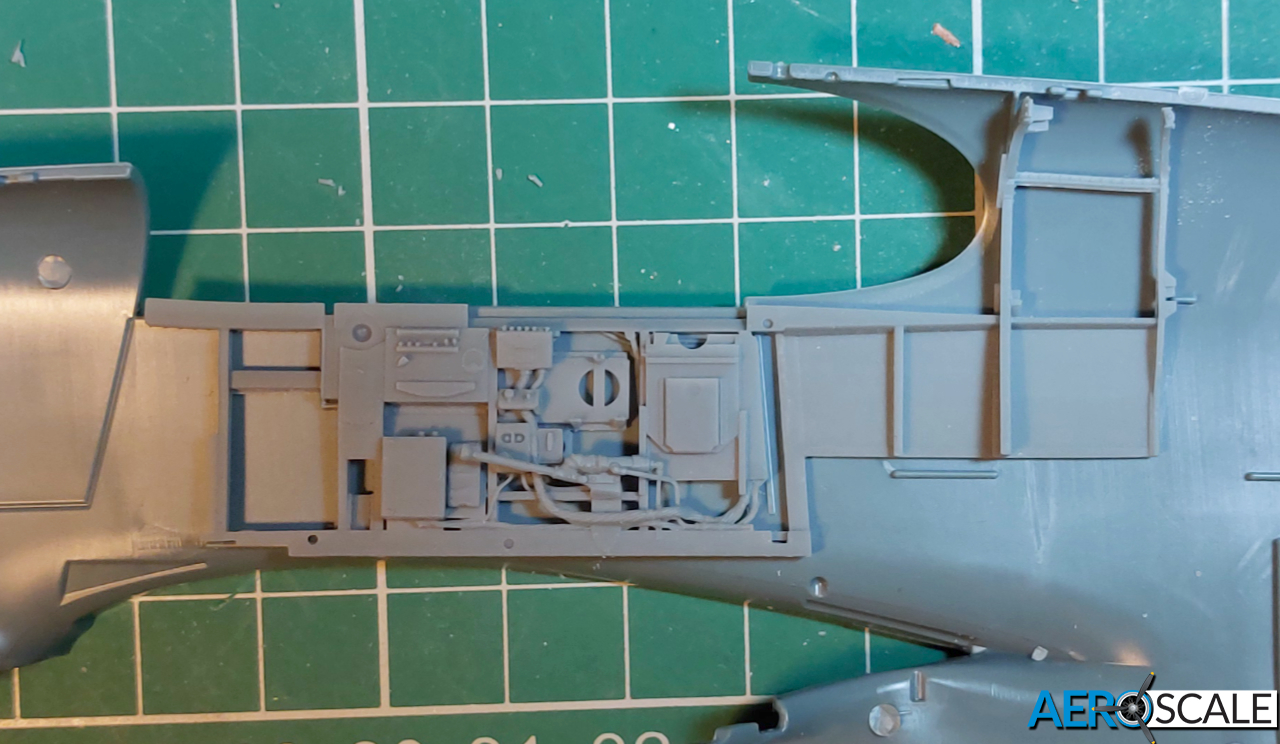

 ), so I only managed to squeeze in a little time on the Mustang before heading out, separating a few more cockpit parts from their lattice-work.