Looks good thus far. How did you put the texture on? I’m assuming it was a paste applied straight on but what type of paste? It looks pretty good
1 Like
Remember, those are rolled plate, not cast. They have a much smoother texture that a casting.
Ken
1 Like
I don´t know how Johnnych01 put the texture on the tank but I use to mix Tamiya putty and Mr. Hobby liquid cement and then apply the mixture by stippling with an old brush. Maybe some sanding later if needed…hope it helps.
Regards
Carlos
3 Likes
Almost as smooth as a baby bottom
The matt paint we use will make the model look rougher than the photo
2 Likes
Sorry Carlos, just saw this… I used Mr Surfacer 500 and just stippled it as it dried with an old hard brush…
Managed to get some primer on… Halfords rattle can red primer …

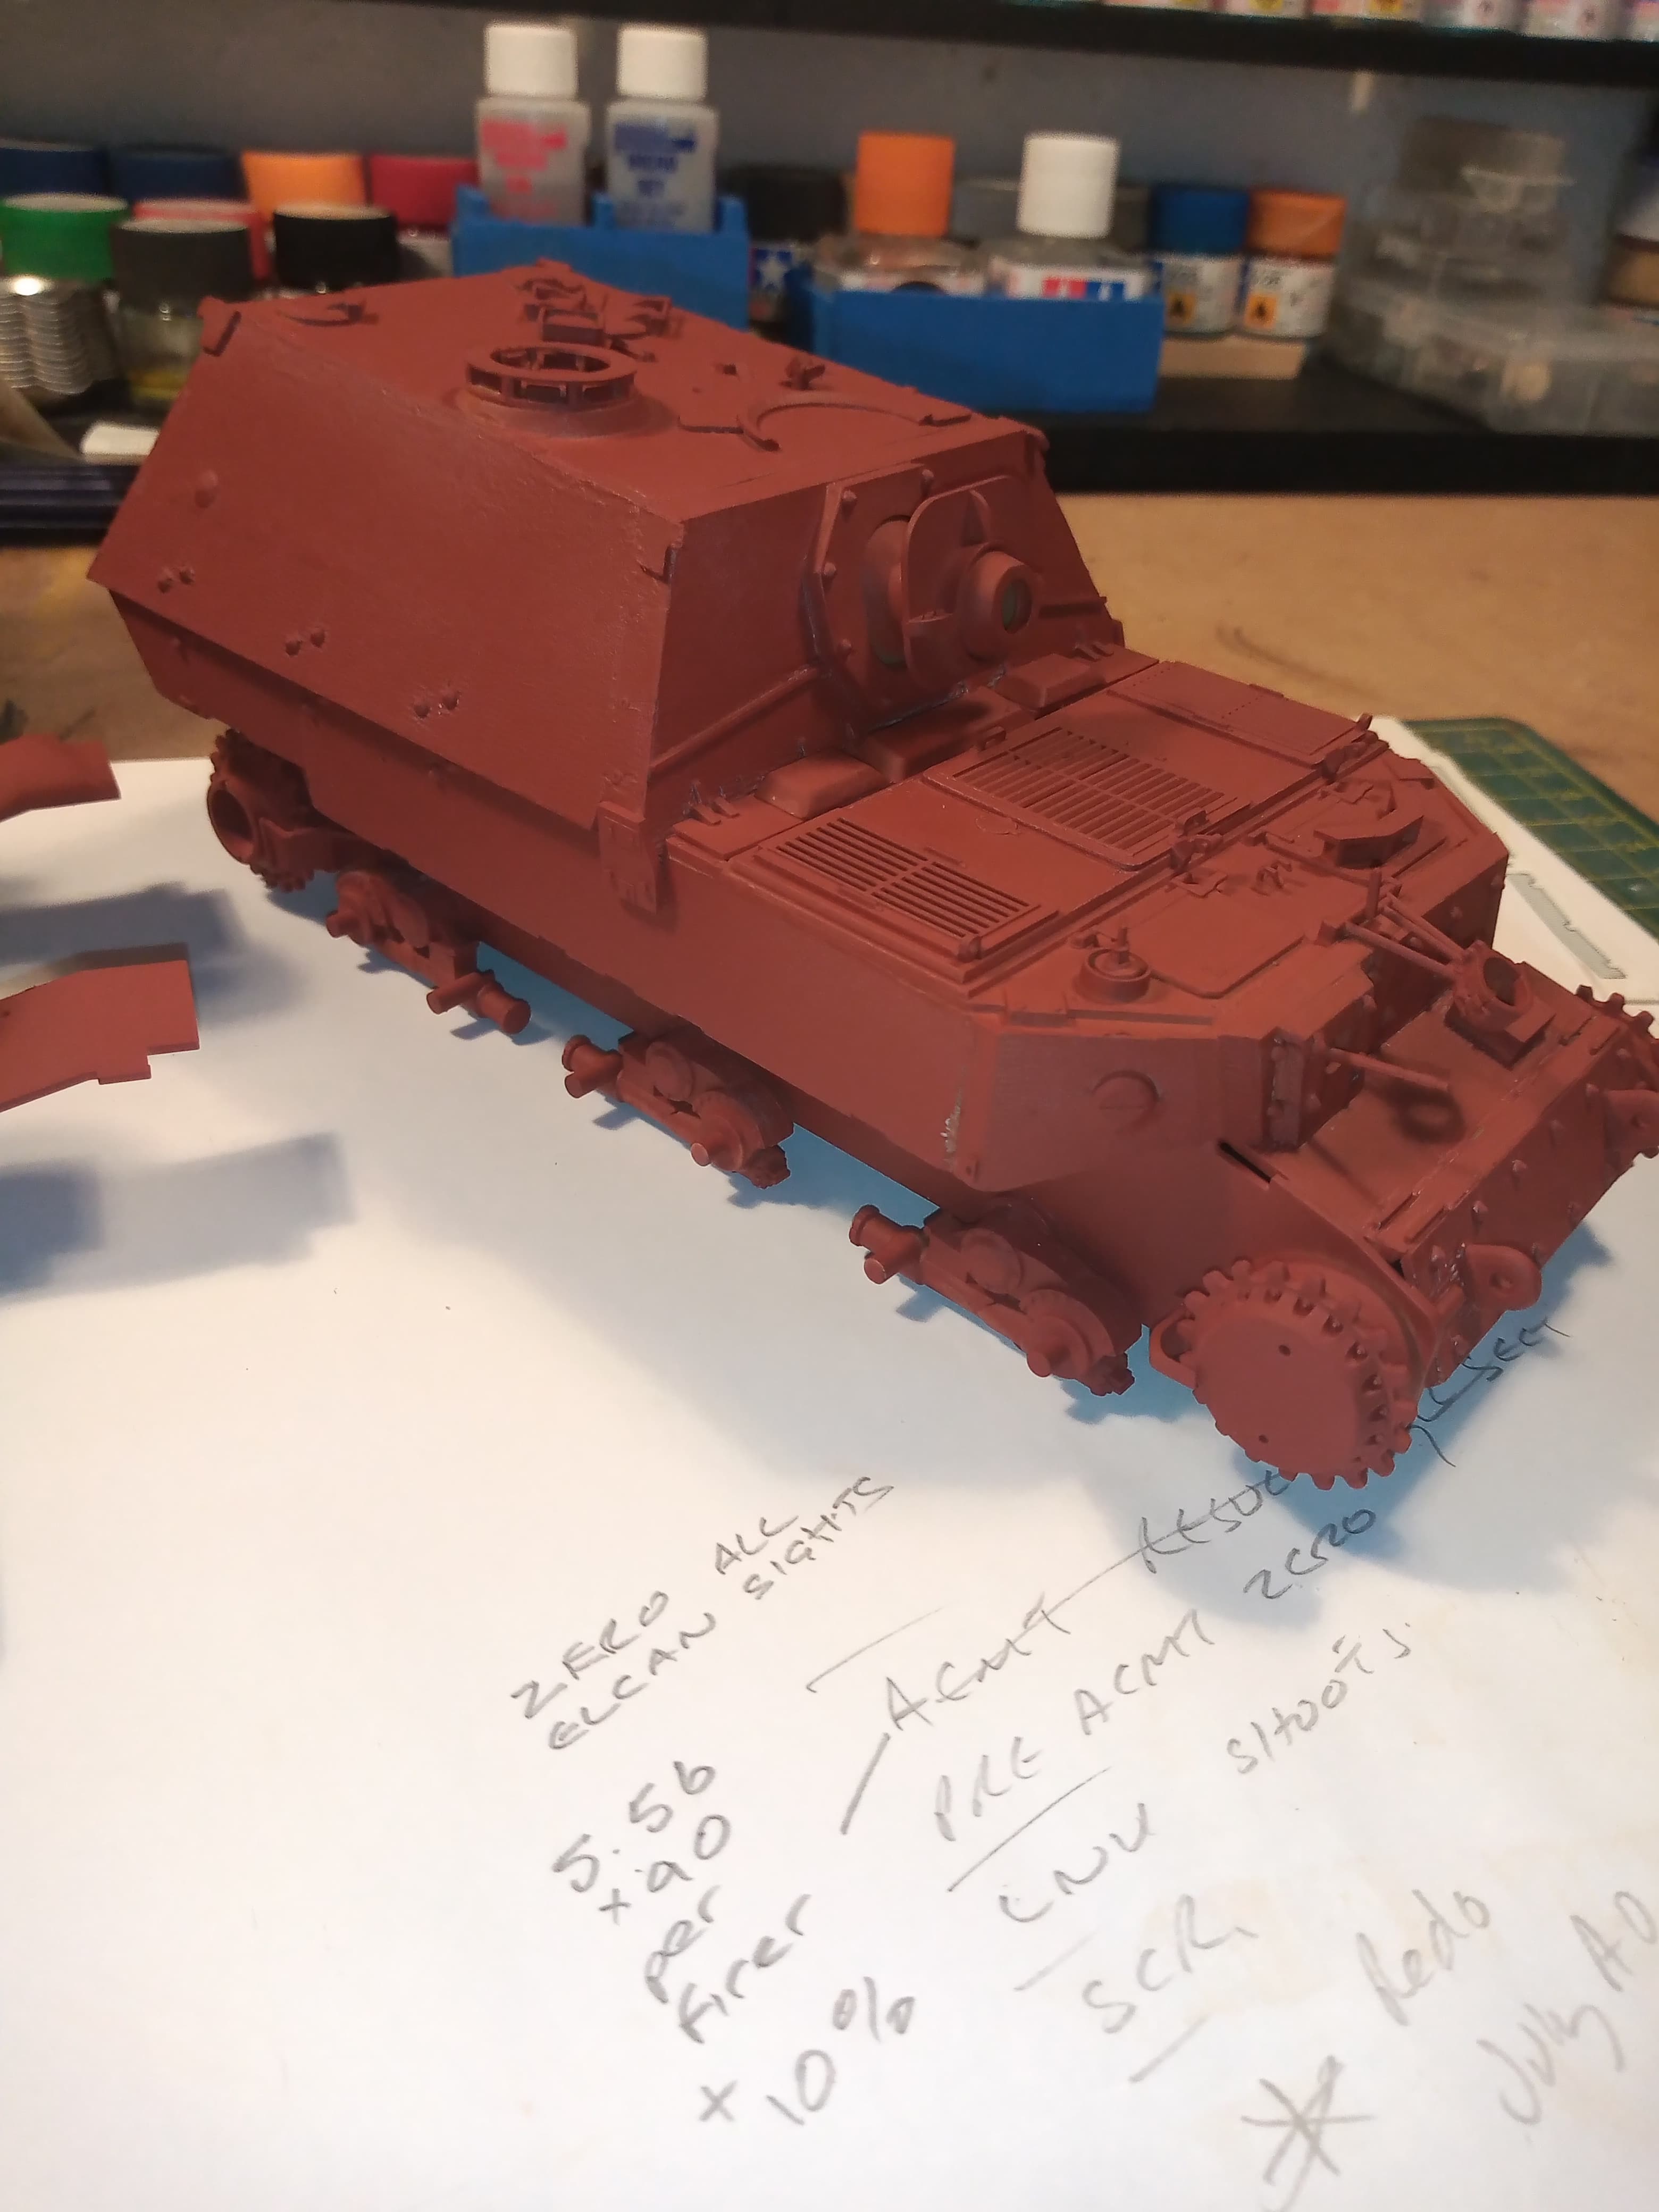
One thing I did notice was the primer has taken the edge off the Zimm decals… Will have to live with that … Something to note though…
8 Likes
Looking great Johnny,
3 Likes
Thanks buddy … glad you like it …
1 Like
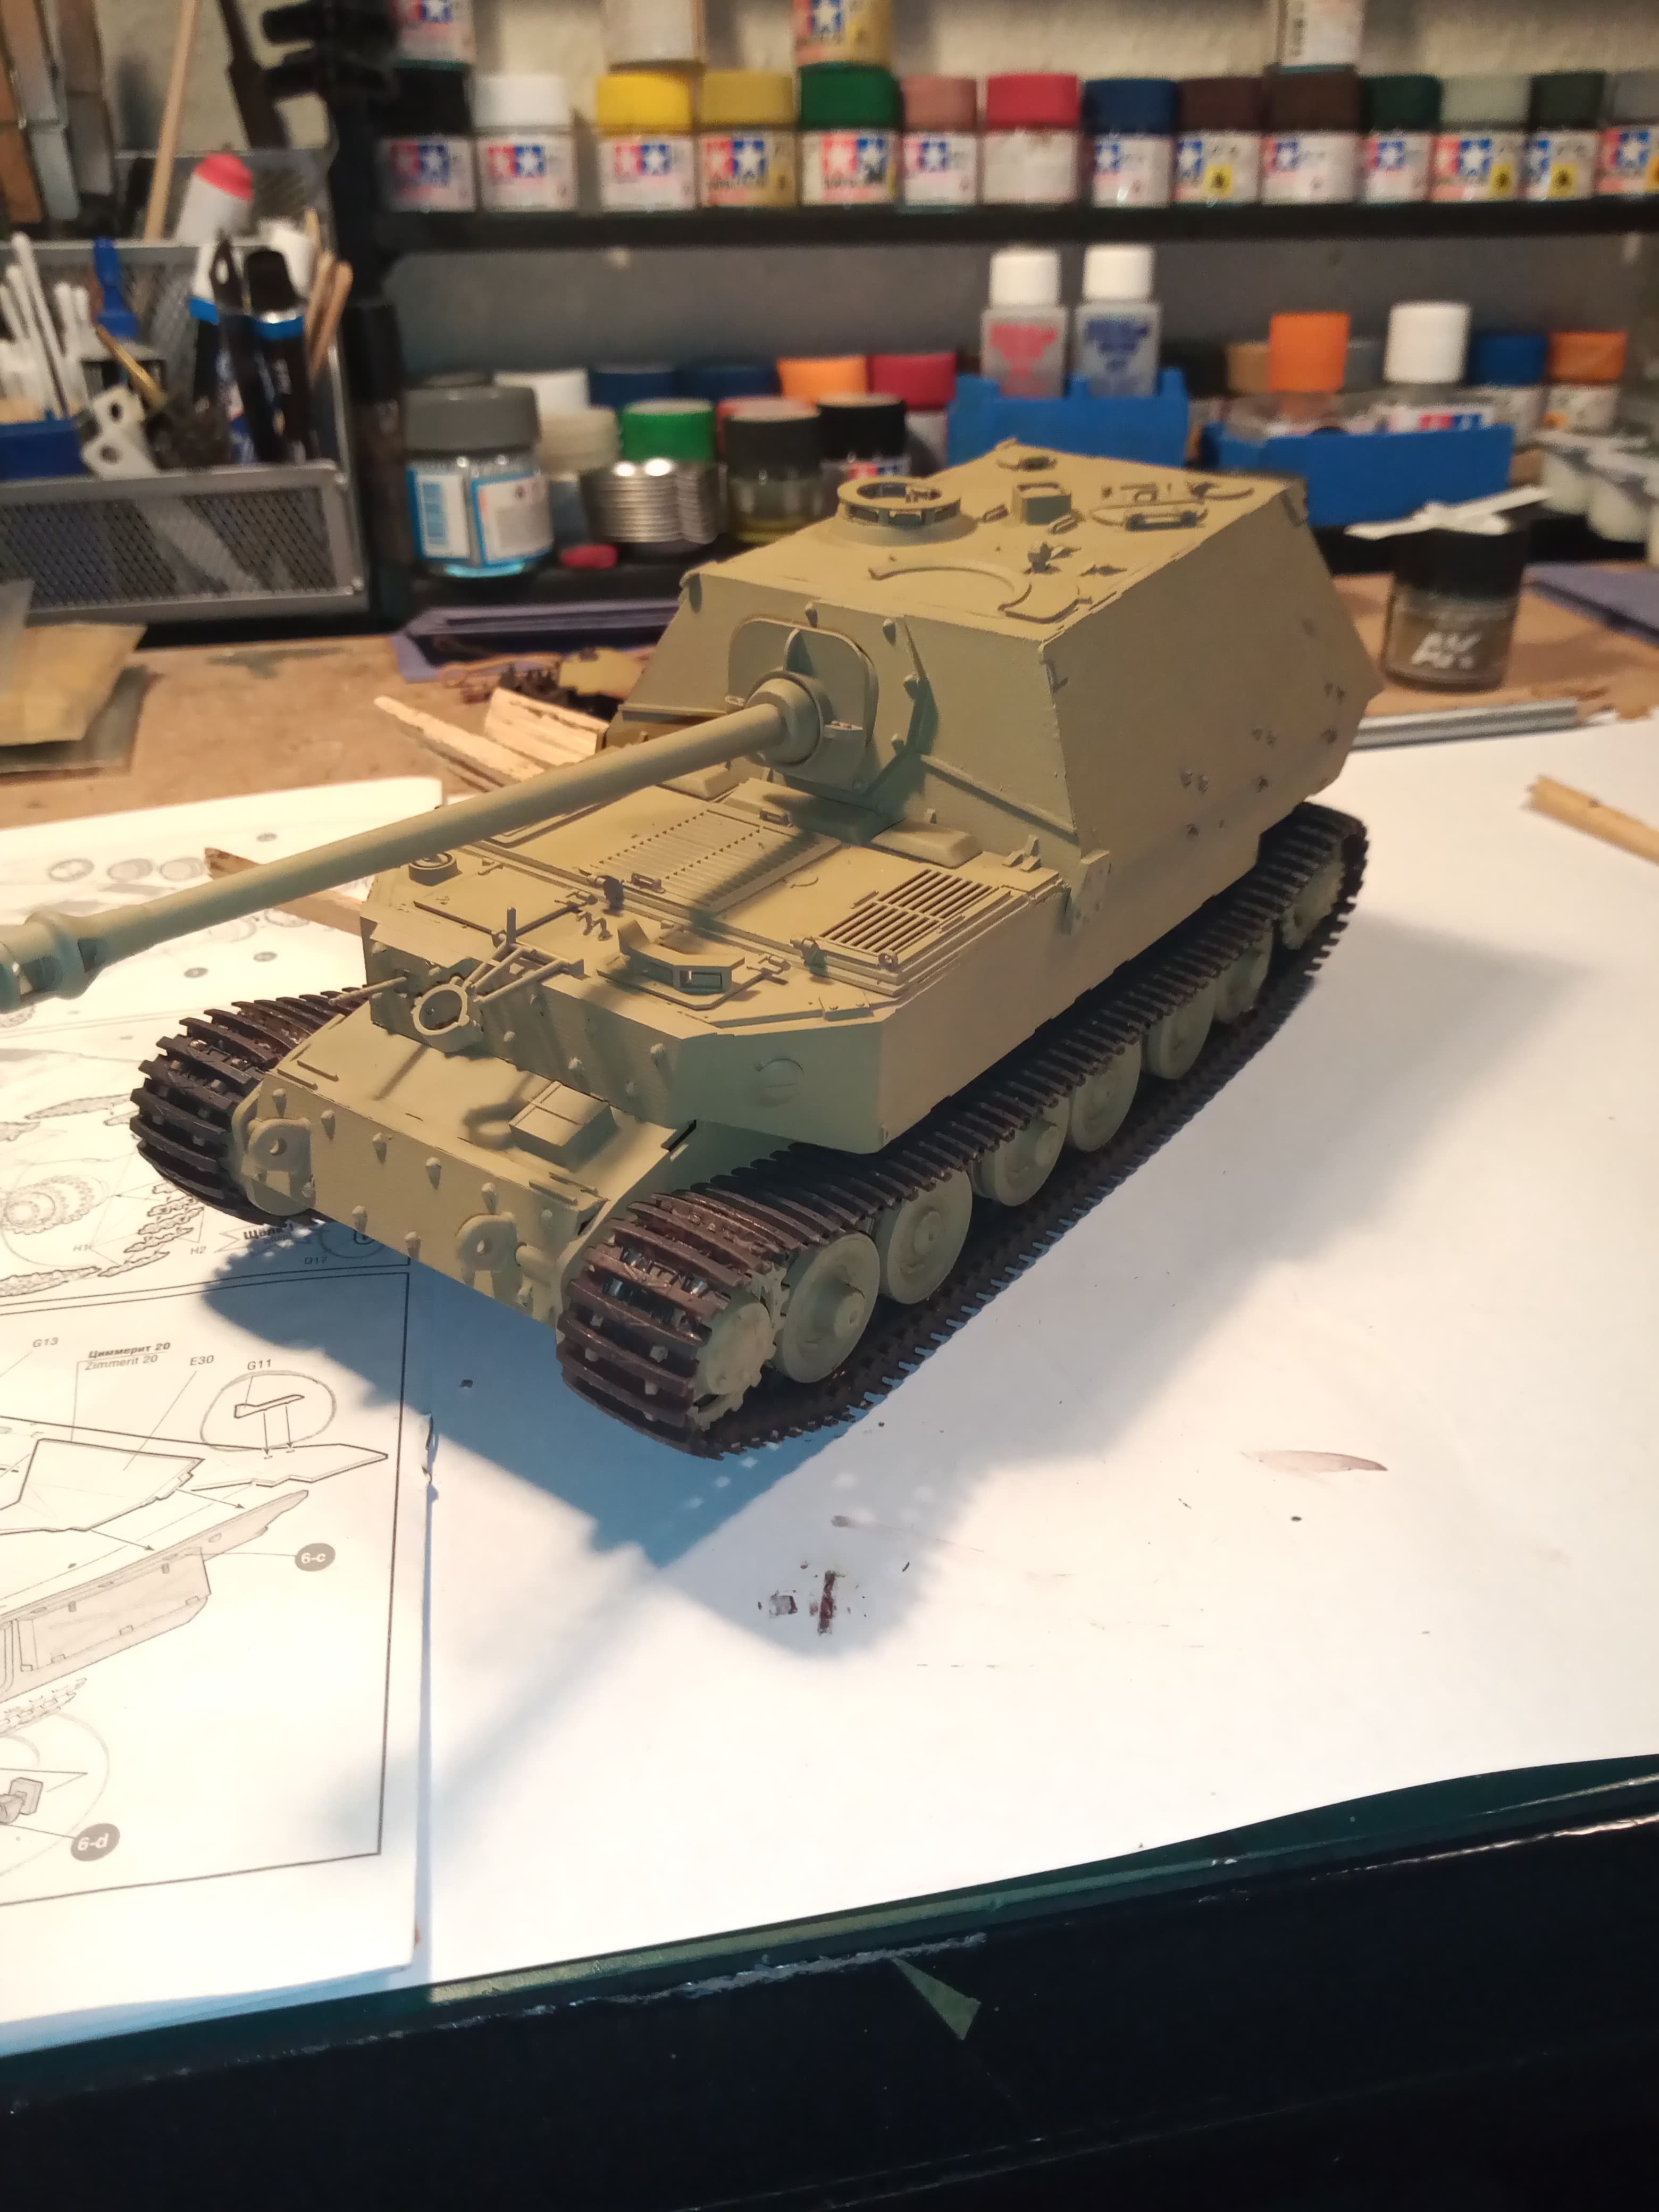
Got a quick base coat of AKRC Dunkelgelb dark yellow 060.

The photo shows how much detail paint takes away from the Zimm decals.

Still not sure whether to do the dunk and green cam or green and brown scheme …
7 Likes
Eventually got one side of the link and length fitted
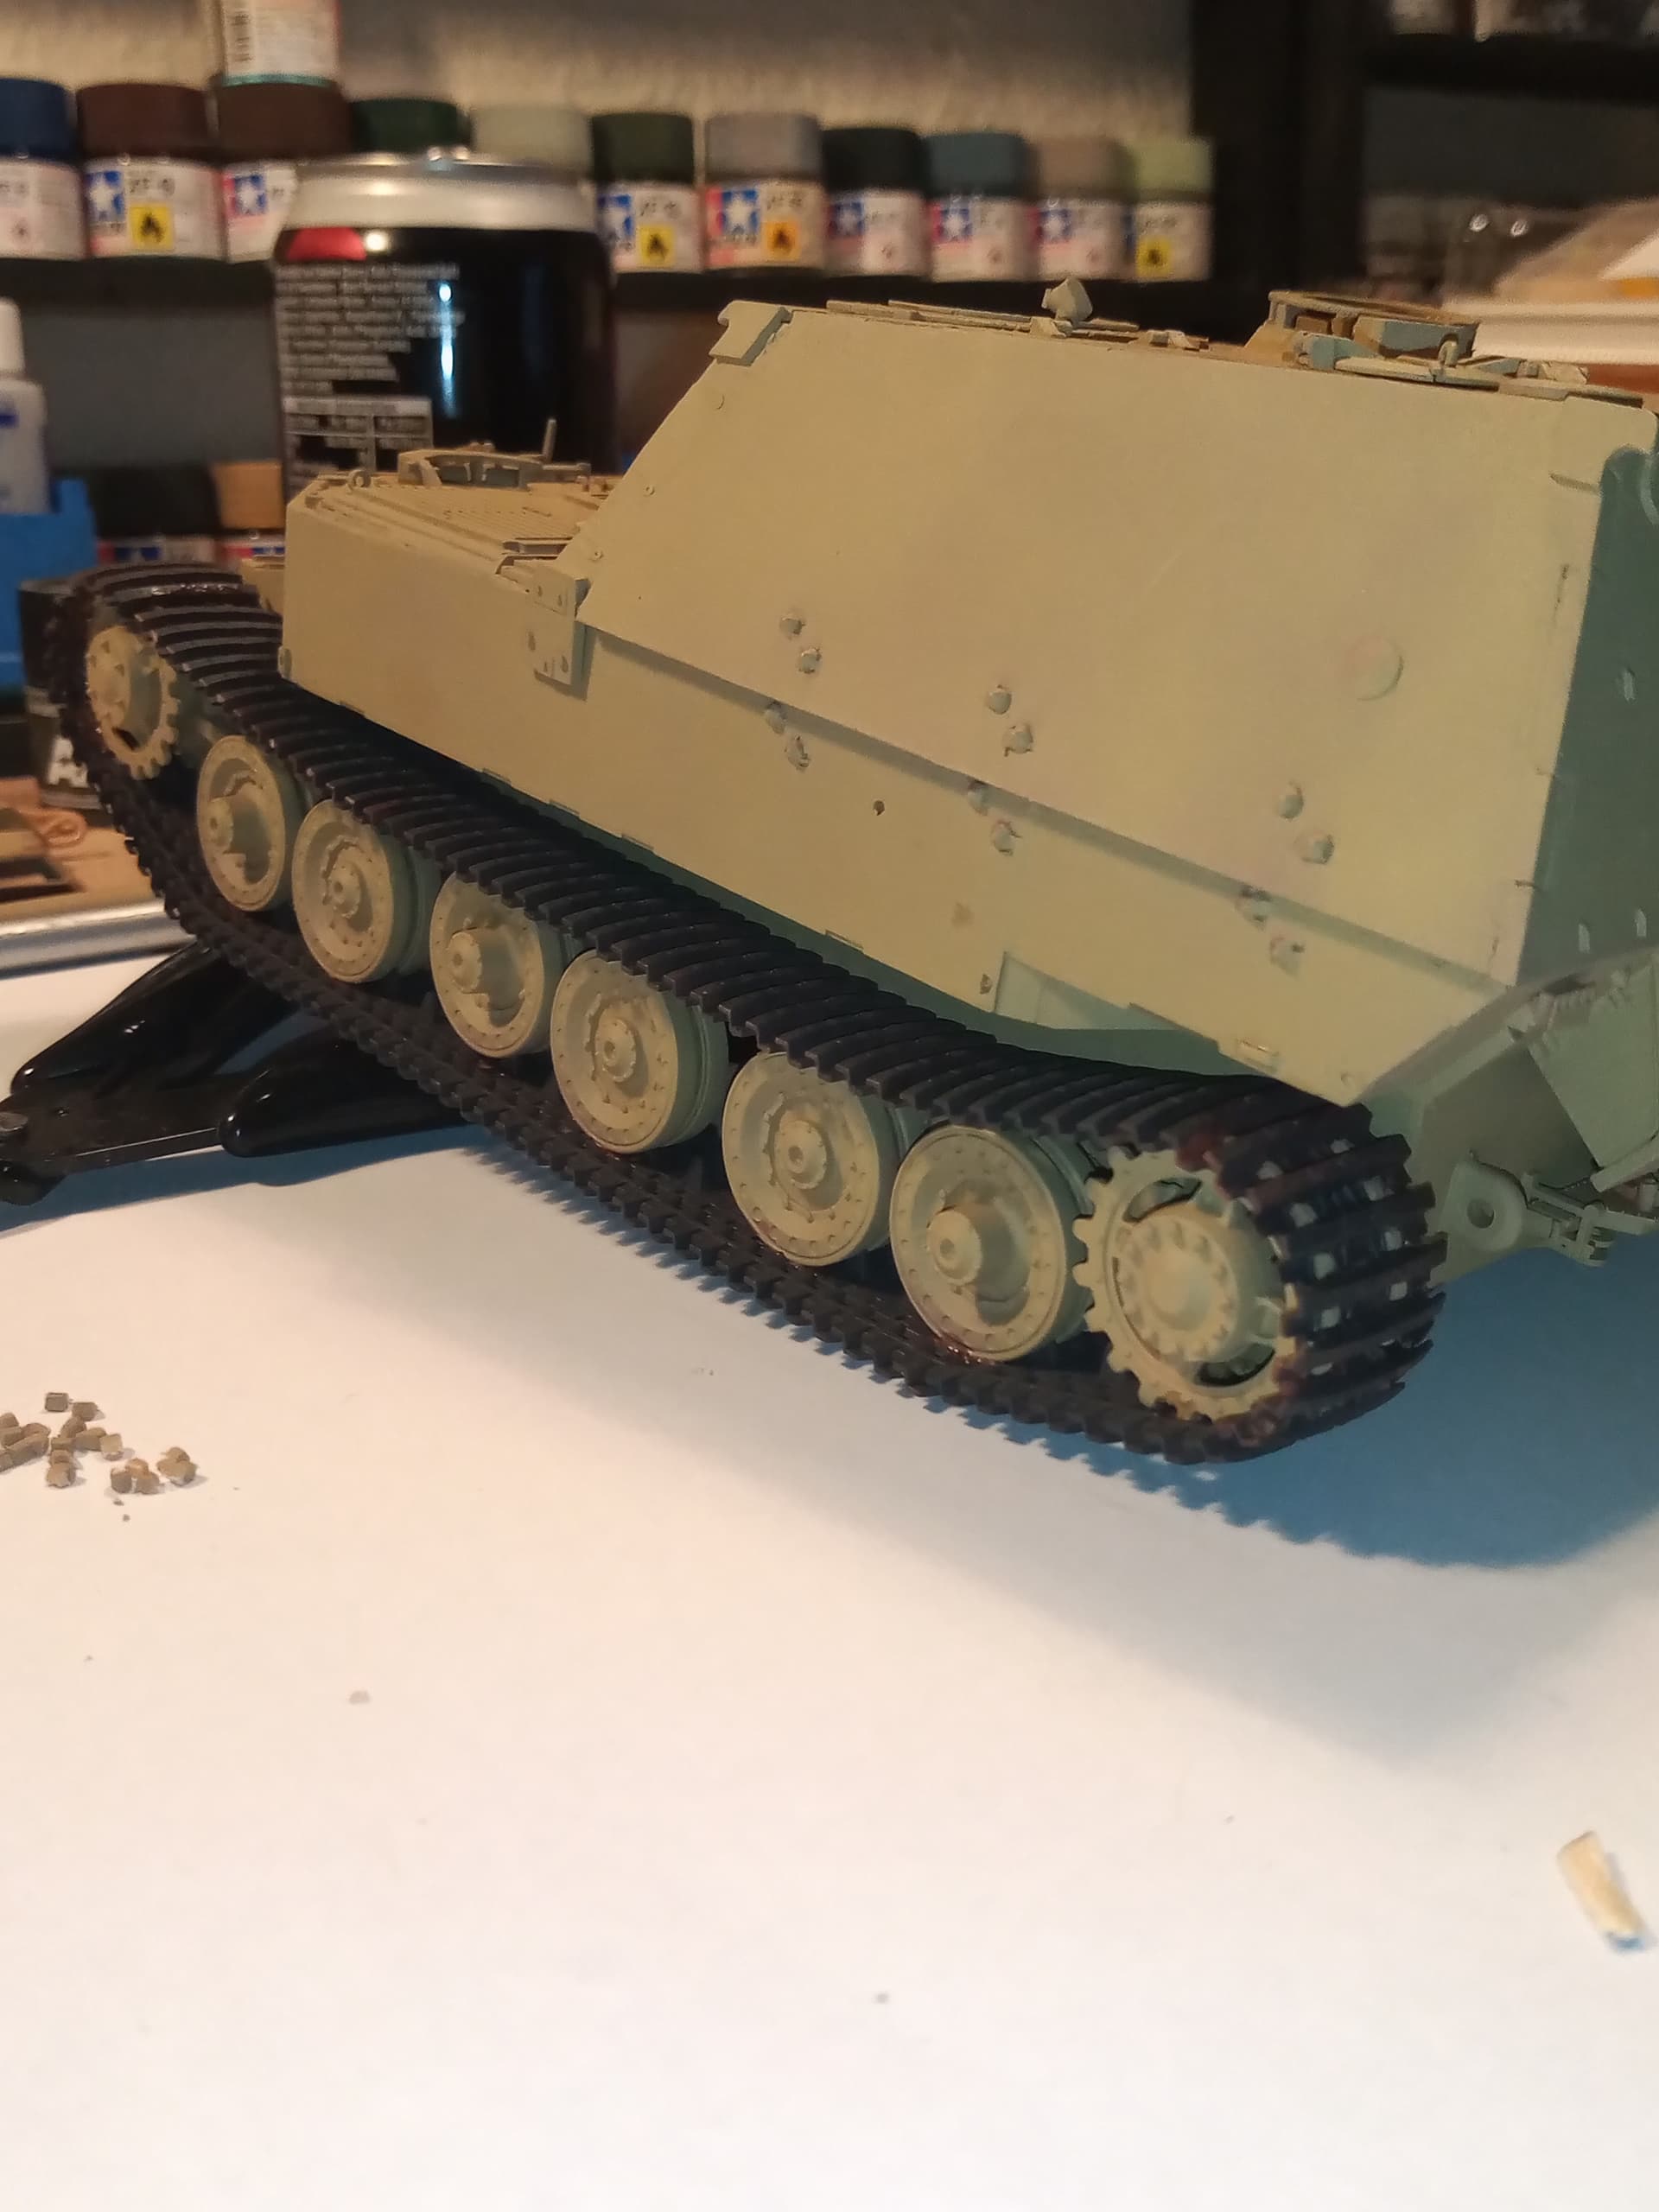
It did have a few issues though.
The bottom run and then the sections around the rear sprockets went on fine, likewise with the top sections.
The issue was the front sprocket section. When the angled front section was fitted, it marry up with the sprocket teeth…which in turn put all the other wrap around individually links out as well…
Easy option was to cut off all the forward teeth off and fit the track. Will have to replace the cut off teeth into the track holes, not a major drama … Just a bit time consuming… I am hoping I don’t have the same issue on the right hand side… I’m not sure what caused the misalignment as the front sprocket can only go on a certain way… Hey ho … Onwards and upwards ![]()
7 Likes
Outstanding job on this one John. I’ve been following along and you’re really doing a bang-up job. Yes, primer and paint fills in zimmerit, the less paint layers , the better. I’ve stuck my fingers in real zimmerit though, and it’s half the width of my index finger deep. Or less. So no worries on that front. Keep up the excellent work, it’s looking great.
2 Likes
Both tracks now on. Just letting the glue set…
Next will be the side running boards and their supports then a few other external parts and it will be time for the cam to go on.

Getting there slowly…
8 Likes
John, that’s a seriously sharp looking Elefant! A+++
2 Likes
John is that a glass of wine per process or bottle?! How much is needed for the cam?!
7 Likes
I’m still checking my refs for the tuning boards – did they go into action in close harmonies or canons? (That’s for music buffs) I reckon John’s been sculling a few vino collapsos over Xmas, let’s hope he sobers up before applying the cam ![]()
5 Likes
Well played sir! Sounds like we’re in harmony! But there’s still the Elephant in the room….
5 Likes
Tusk tusk, that’s a terrible pun Sam…yeah, yours too. Earth to John, Earth to John… ![]()
5 Likes
Nicely done Sam & Tim … thats me and a combination of speed typing, auto correct and not back reading to check !! ![]() … definitely a drink & song to remember !!!
… definitely a drink & song to remember !!!
5 Likes
Awww boooo you’ve corrected the text! Not fair! Now you’ve made us Sam look stupid, it was all his fault anyway ![]()
3 Likes
Good thing that Sam quoted the original text
![]()
6 Likes
Looking good so far!
3 Likes