So as my latest project winds down, it’s time to start another. This is Tamiya’s 1/48 F2A-2 that I’ll be doing in the pre war USN Yellow Wings scheme for VF-2 “Flying Chiefs”. Last nite at IPMS I started construction and built most of the interior up to where I needed to start painting. The original molds date back to the mid 1970’s, and overall the detail in not too bad.

More to come once I’ve got some paint on this one…
4 Likes
Nice choice of planes. I will be watching as this is an interesting underdog for the USN but a very successful fighter for the Finnish. I want to do the Special Hobby Midway Buffalo someday. Good luck on that old Tamiya kit.
1 Like
Thanks John. I like the underdog warplanes for kit subjects. I still have a couple more Buffalos in my stash to build one day. One will be a Midway F2A-3, and the other most likely Dutch in the East Indies.
1 Like
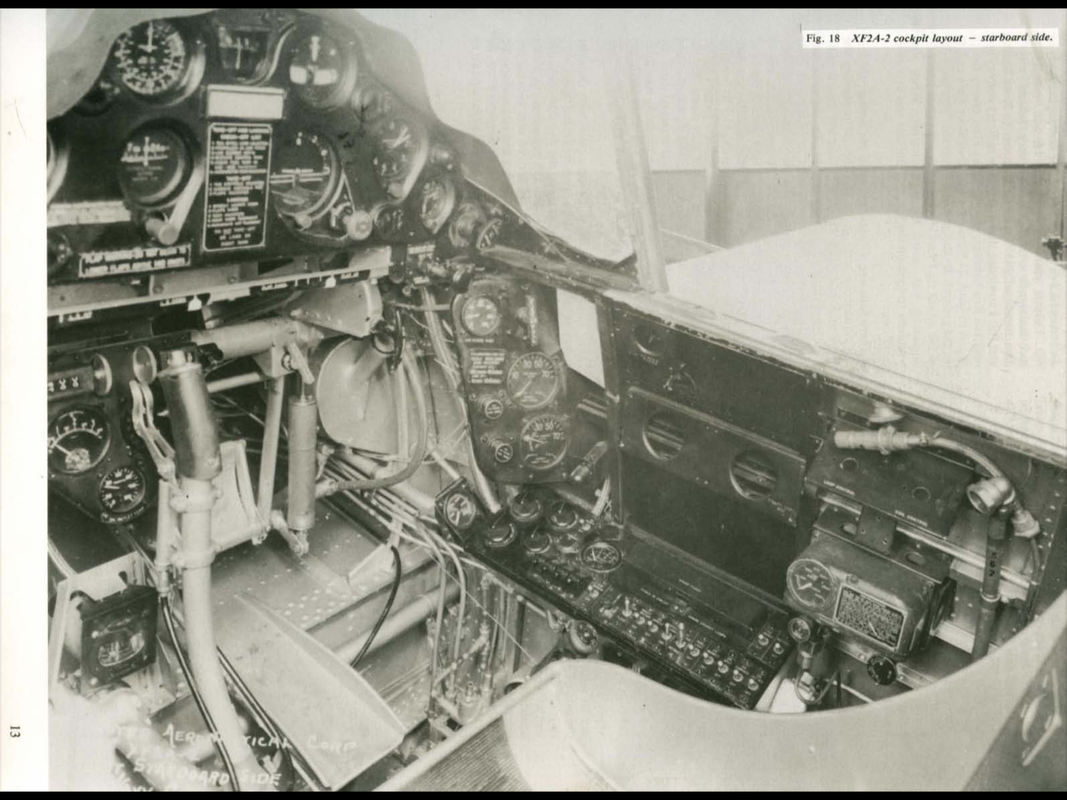
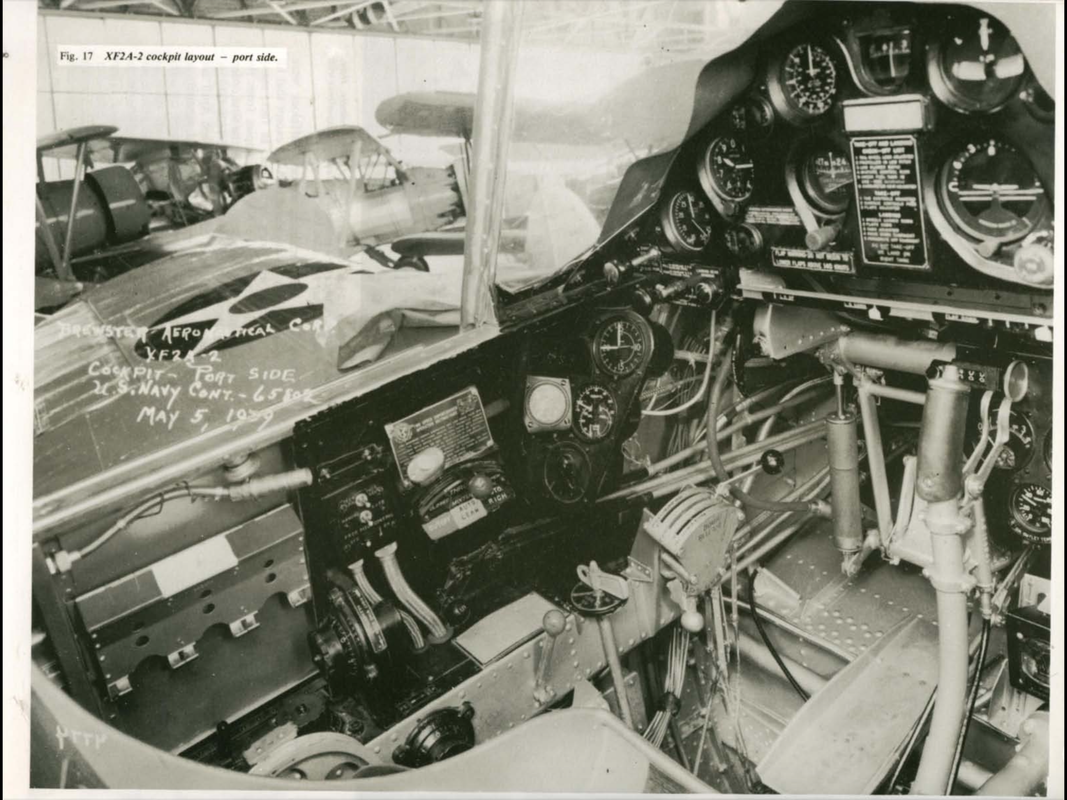
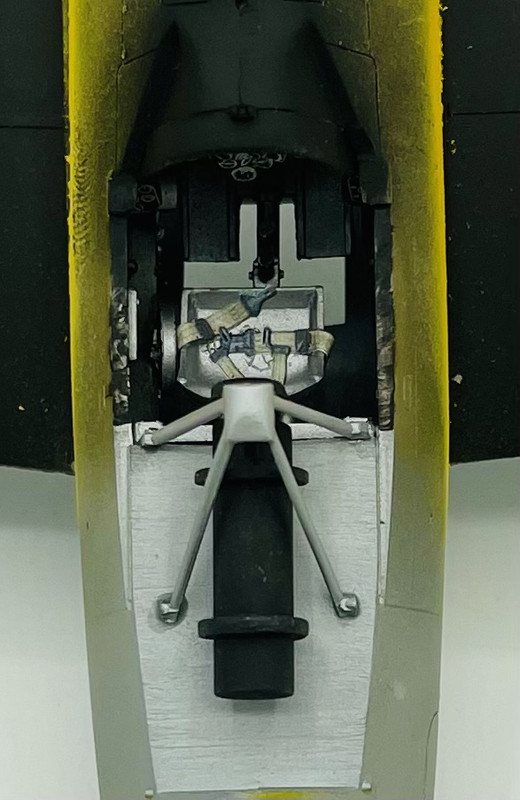
So today was a lot of painting… and masking… I found some good photos of the F2A-2 prototype cockpit, and went with those as a guide. As you can see, the cockpit is typical of the Yellow Wings era, and mostly aluminum lacquer, but with black sidewalls above the consoles.
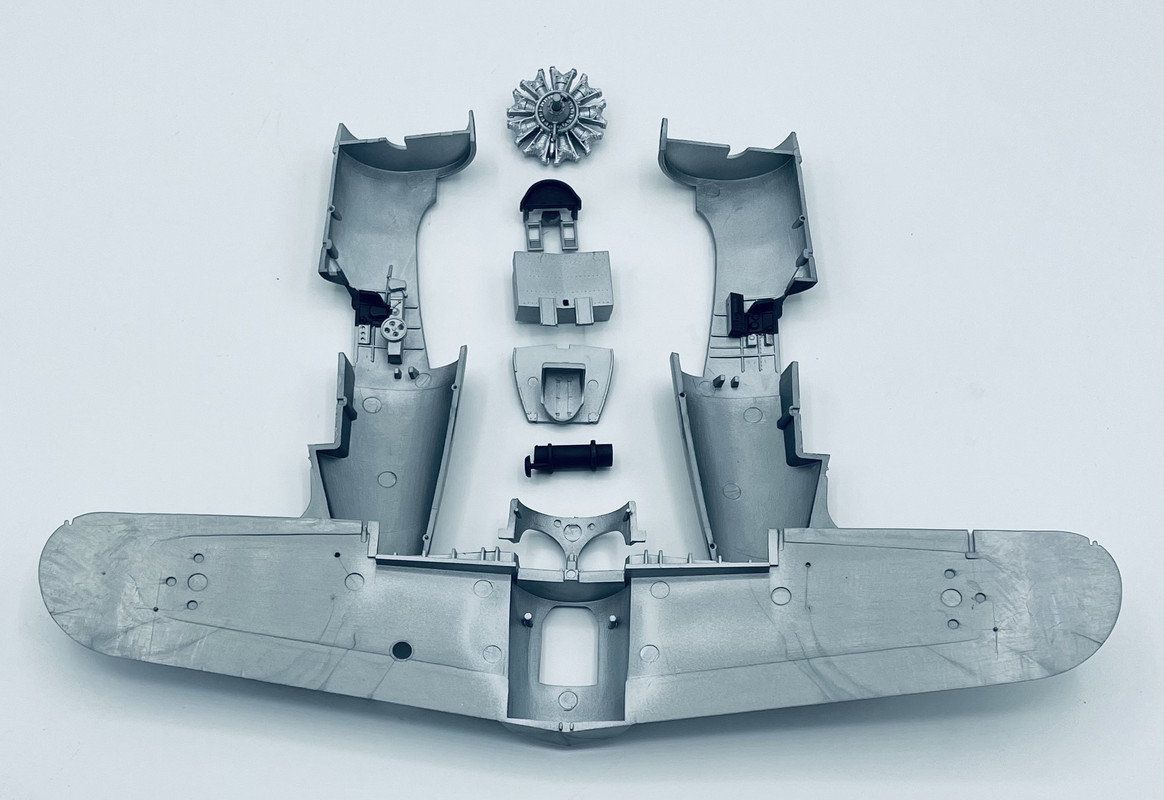
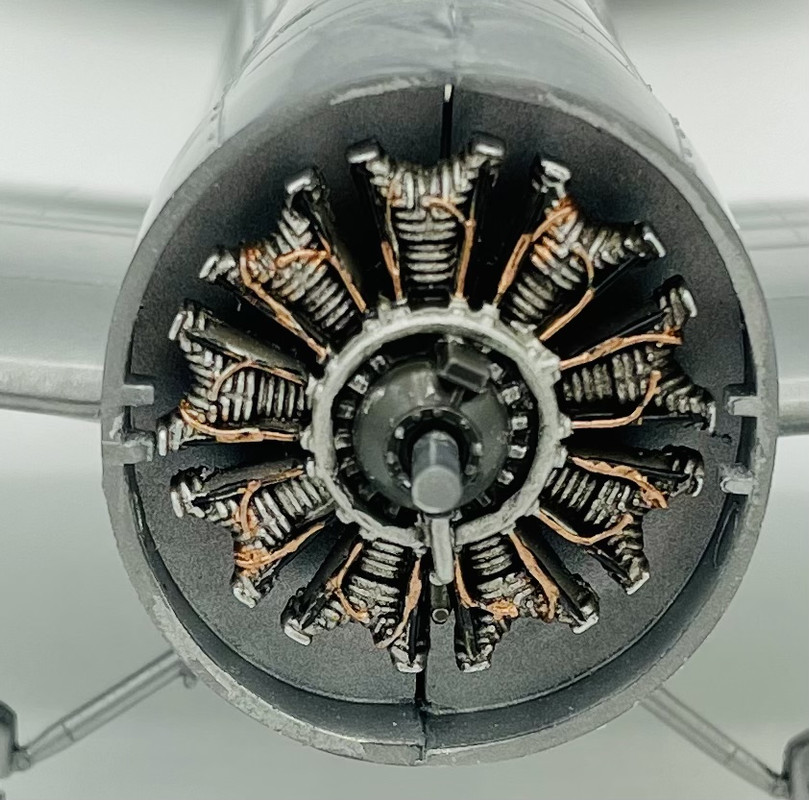
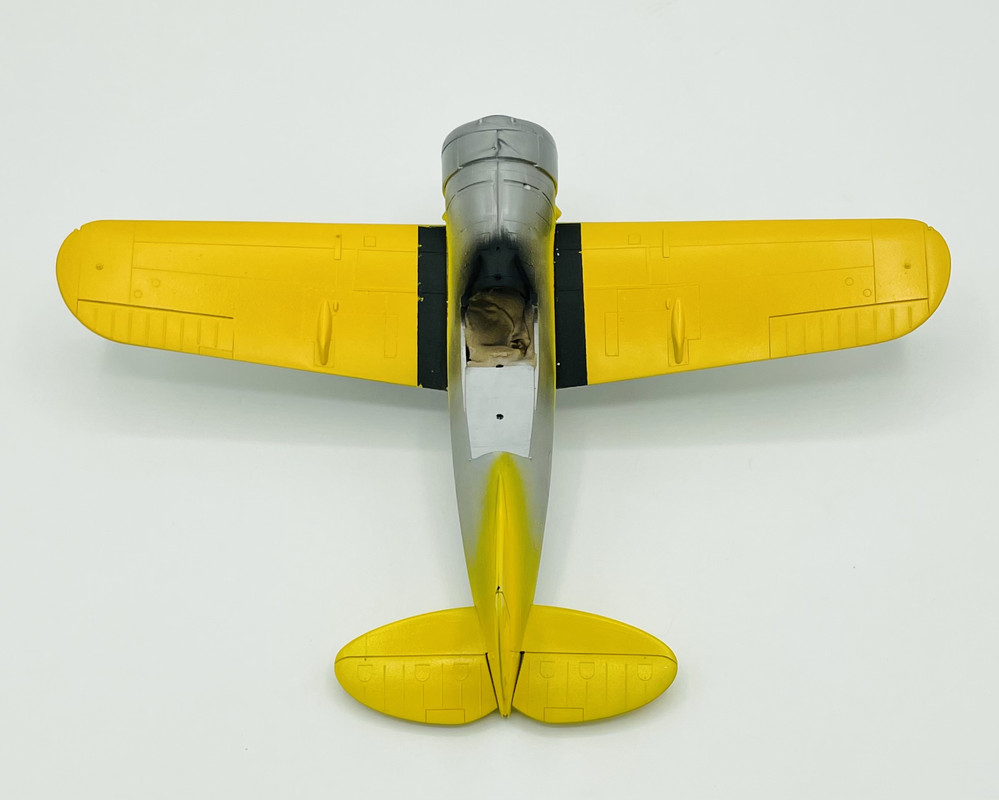
So I painted an aluminum base coat, and masked off the areas that would be black. Plus some Metalizer Steel on the engine to start that out
Next up is detail painting…
5 Likes
Looking good.
Going to be nice to see in the pre-war colours.
Thanks Stephen!
After several weeks away from the bench including a trip out of state and then a bout with Covid, I was back at the bench recently.
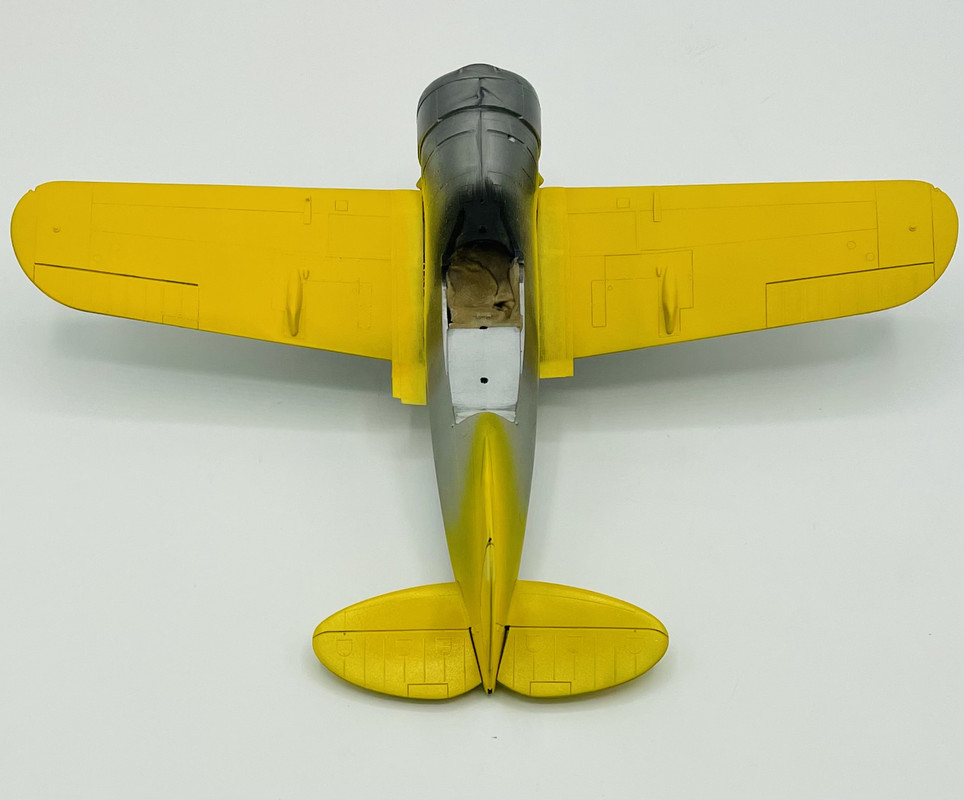
I was able to get the cockpit installed on my F2A, get the fuselage closed up, and then attach the wings
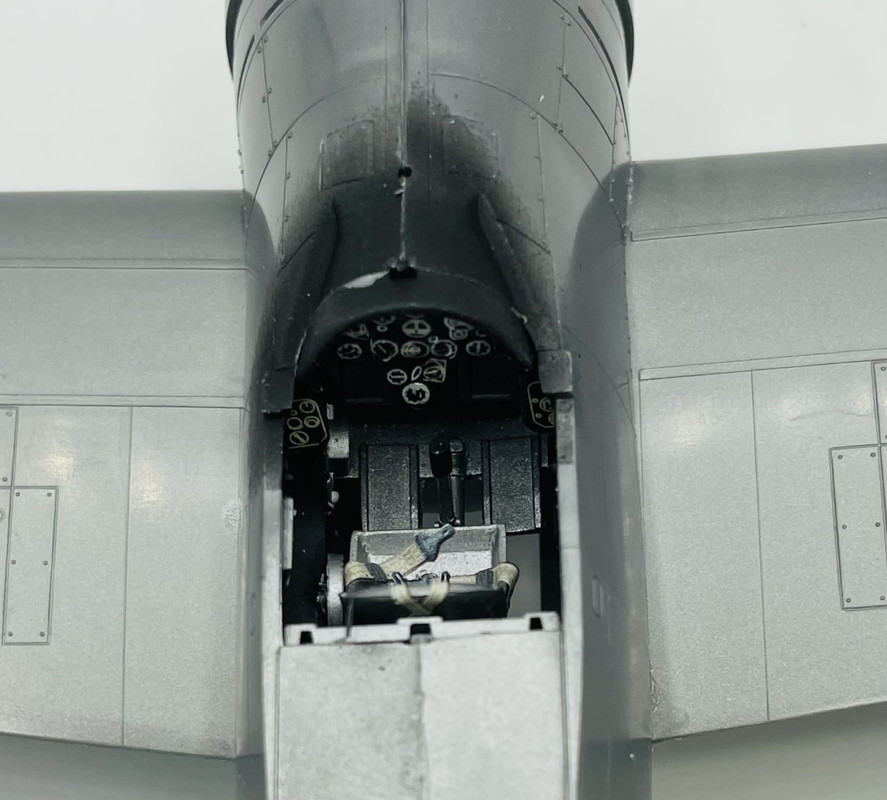
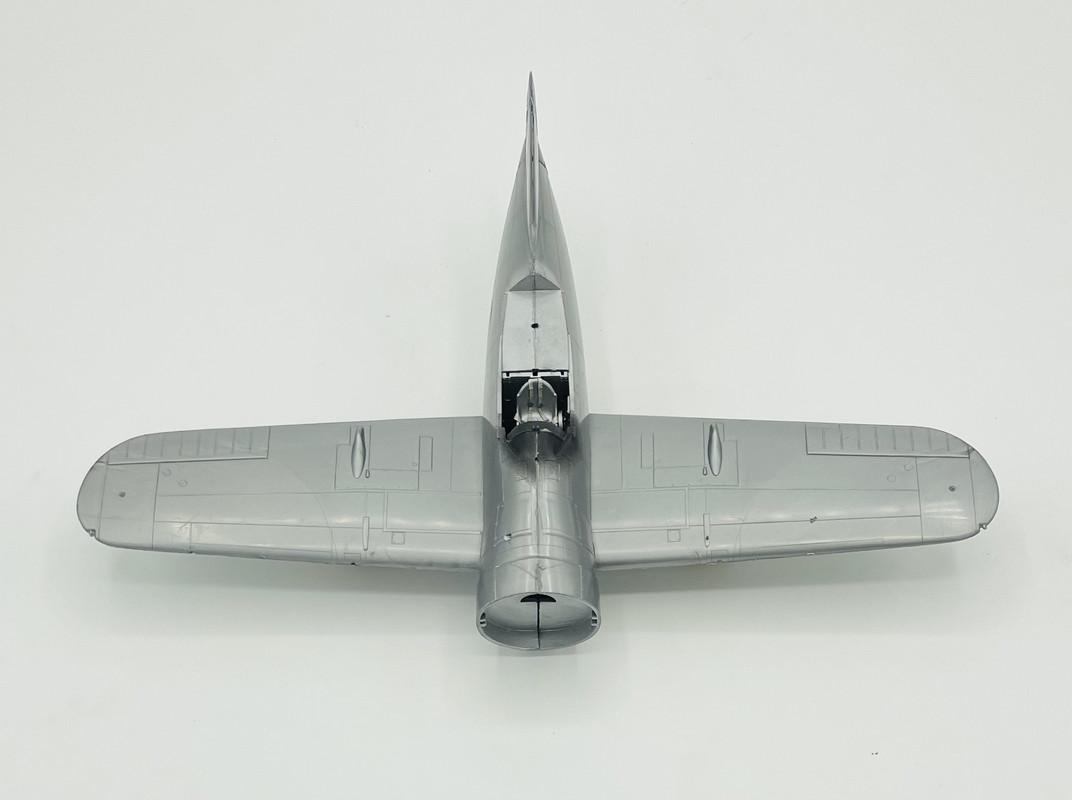
After seam clean up is complete, I’ll get the stabilizers glued on then a few more things before basic painting can start.
4 Likes
Due to a steady stream of houseguests here since the Labor Day weekend, I haven’t had much bench time. Until this weekend. I resumed work on my F2A.
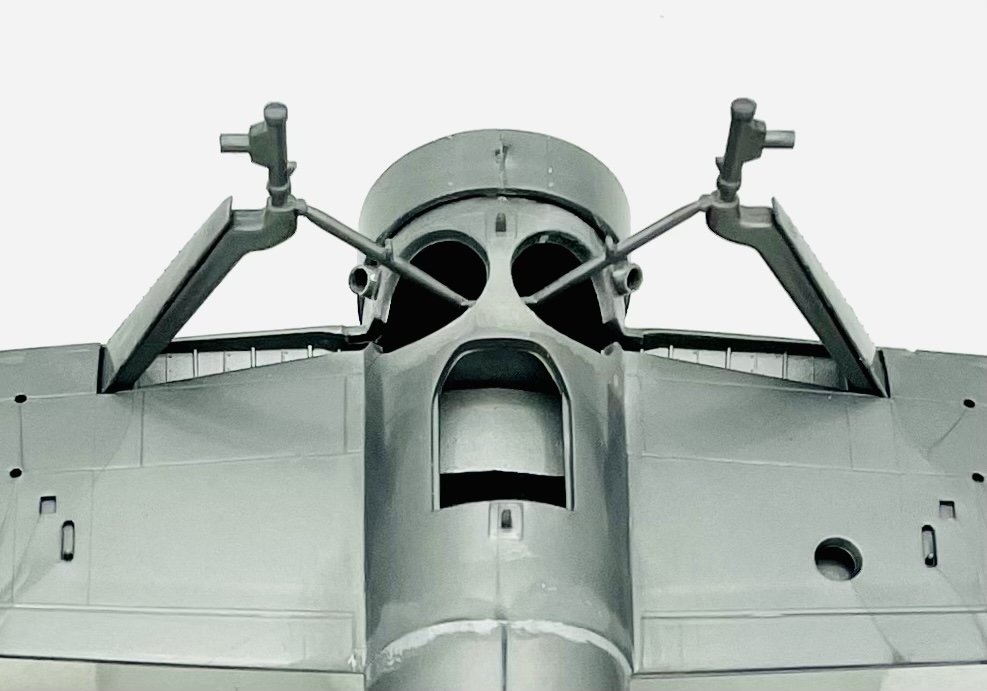
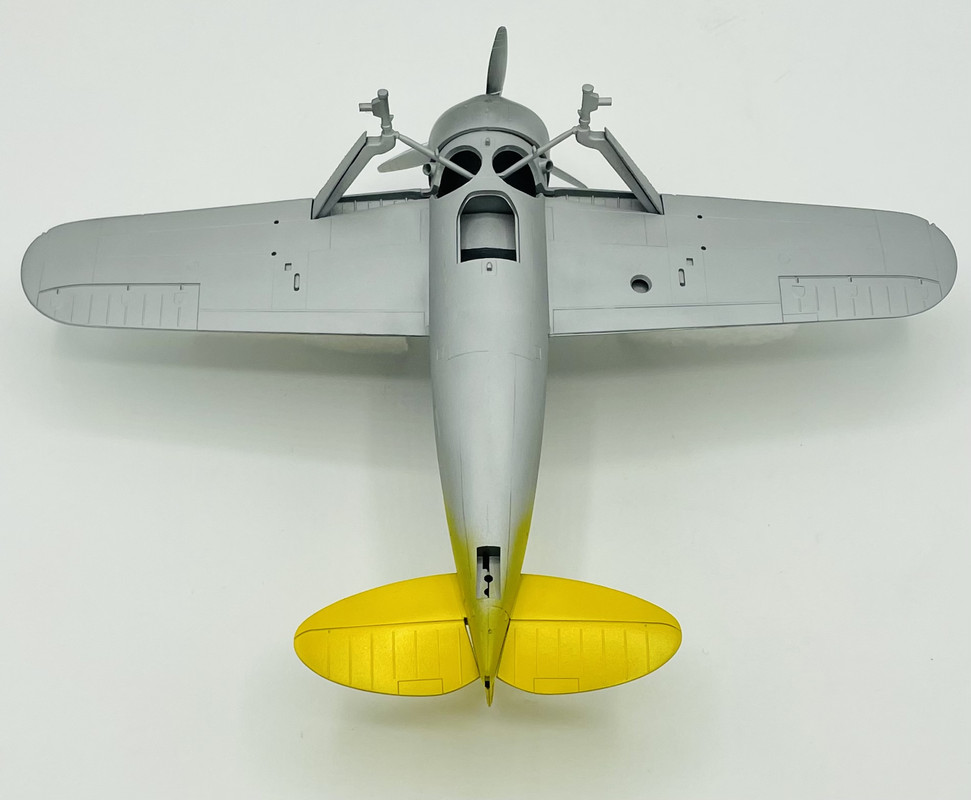
First up I installed and drilled out the exhaust stubs, and then glued the landing gear struts in place. Since all of this will be aluminum lacquer, there is no worries about adding those parts at this point
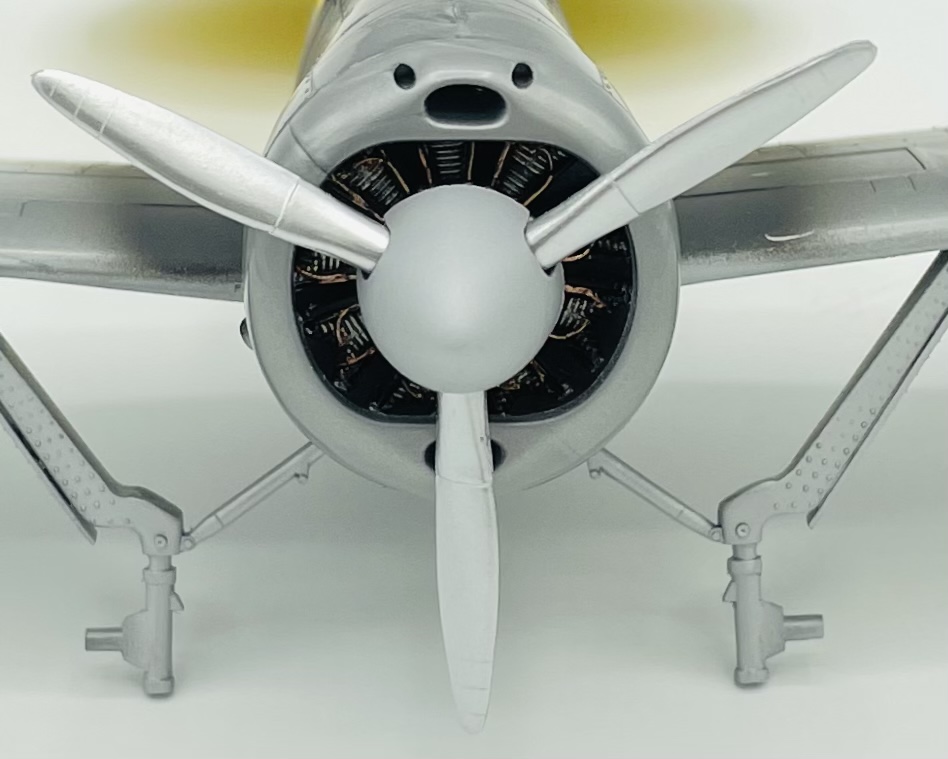
next I detail painted, added a wash, then installed the engine
lastly I have added the horizontal stabilizers and the engine cowling front.
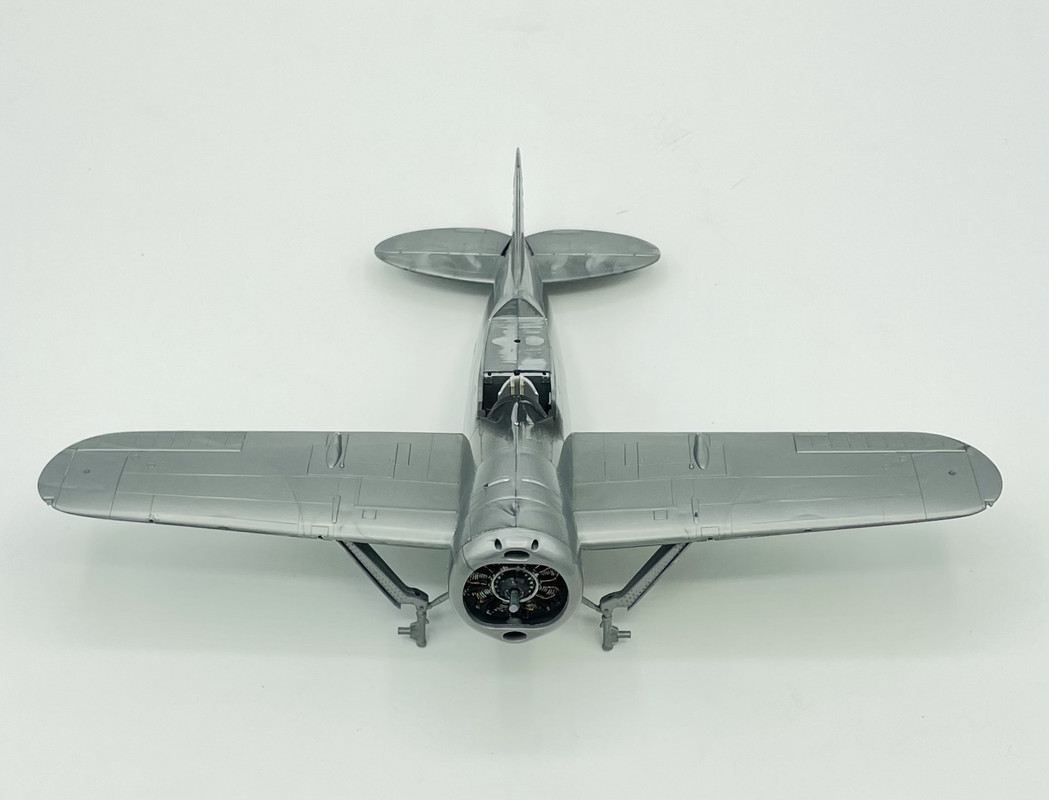
I’m just about ready to start some paint soon!
7 Likes
Well I’ve finally started slinging some paint onto this bird.
First up I tried out Tamiya Lacquer Flat Aluminum on the fuselage, empennage, and wing lower surfaces. I also airbrushed on some Tamiya Flat Black Lacquer in the wing walk areas. Then after letting that dry and cure over 24 hours I airbrushed on a coat of Tamiya Acrylic Lemon Yellow on the empennage for the Saratoga Air Group ID color
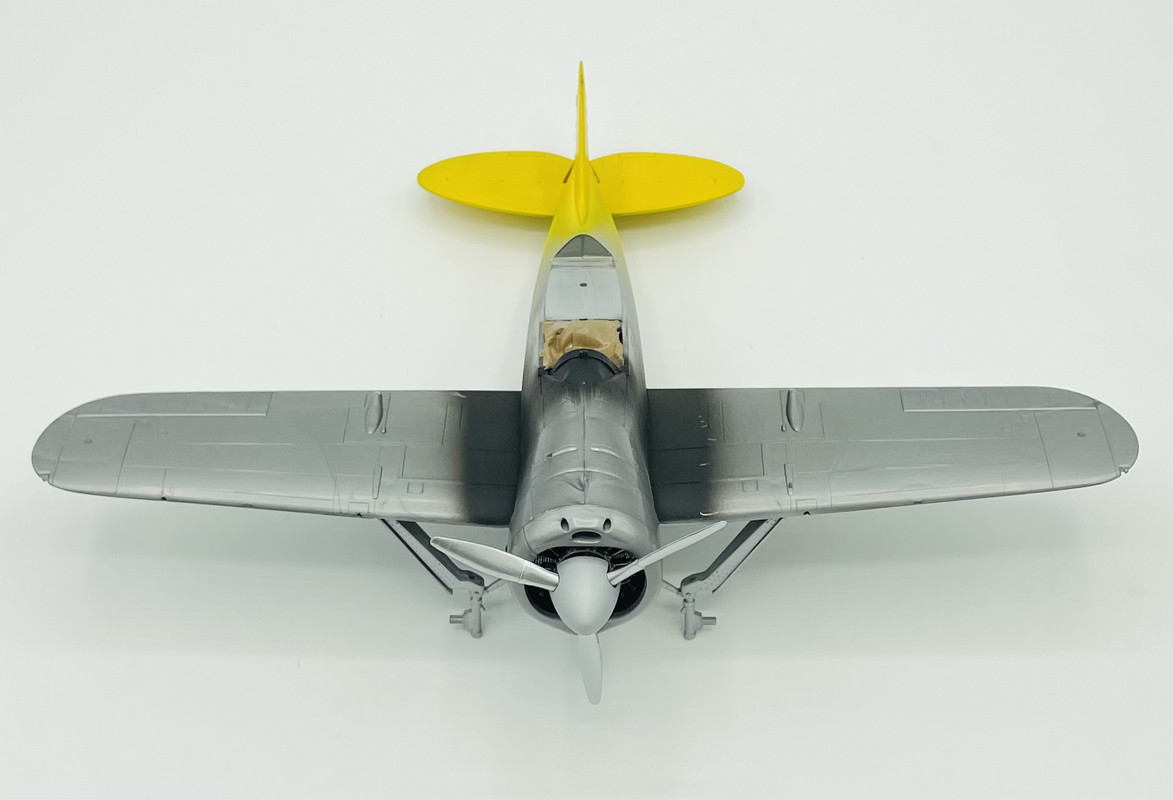
I’ll have to mask off the wing walks before I do the Chrome Yellow on the wing upper surfaces.
I then airbrushed the propellor with AK Real Color Aluminum, which is brighter and shinier than the spinner in Tamiya Flat Aluminum. I like the contrast between the two
More to come in a few days…
7 Likes
So I’ve been back to work on the colors of my Buffalo, but it took a couple of days…
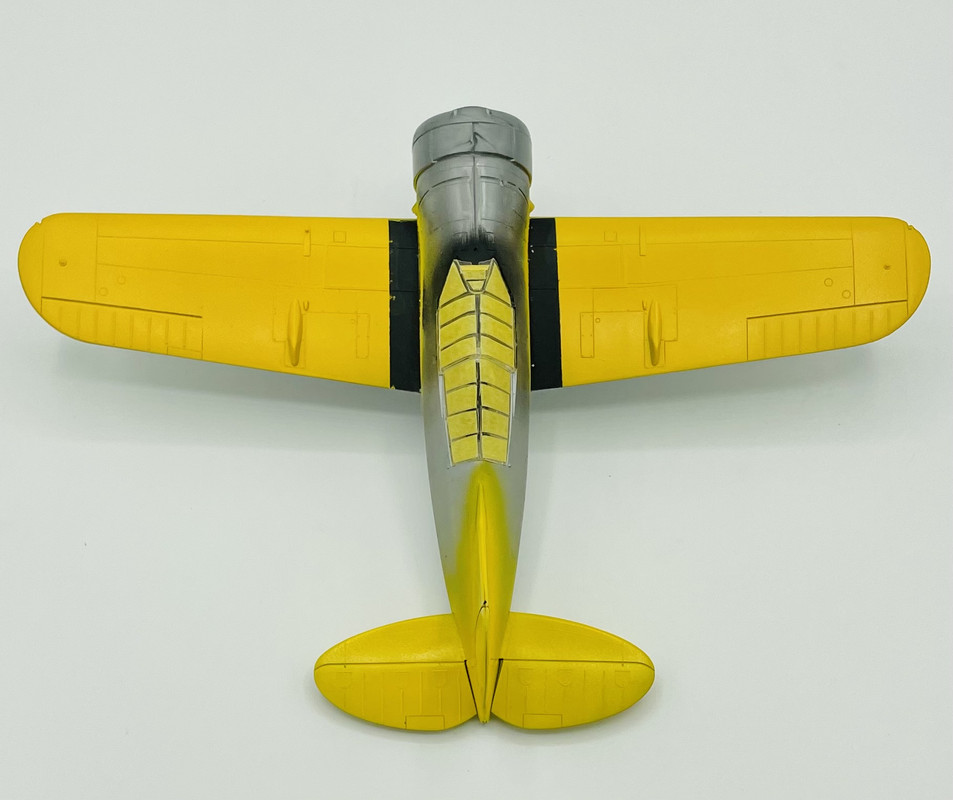
First up I airbrushed some Tamiya White Liquid Surface Primer onto the upper wing to help give a more vivid top color of the yellow
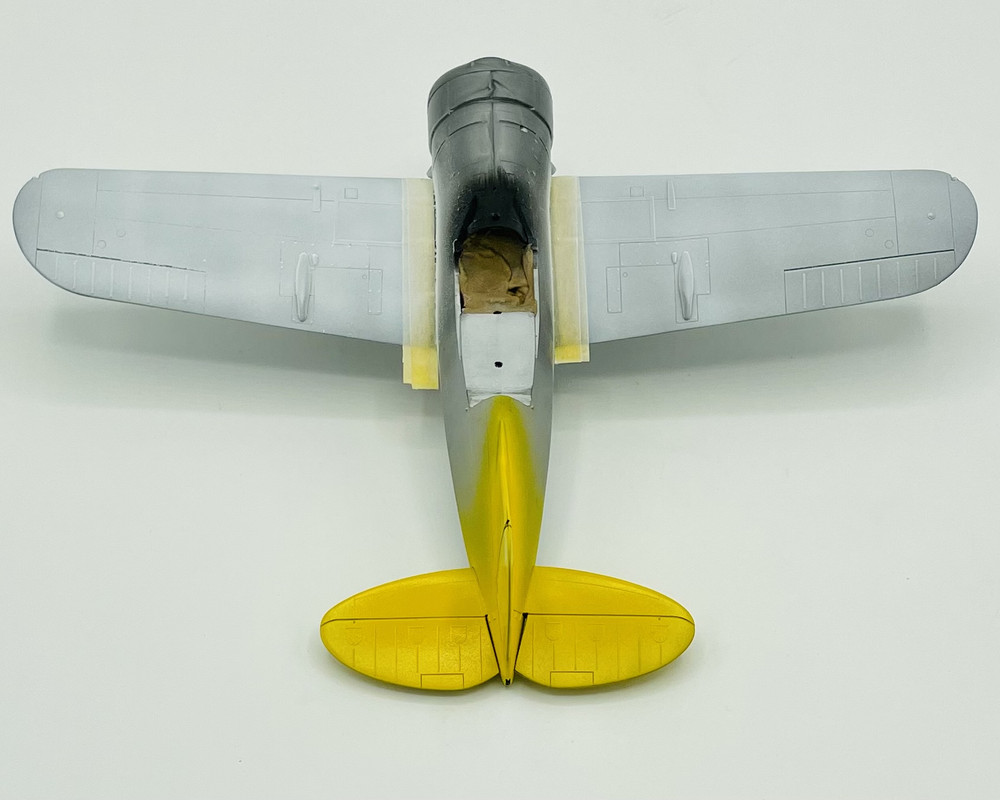
After letting that dry overnite, this morning I airbrushed on a coat of Model Master Flat Insignia Yellow onto the upper wings. With the white base it gave a nice rich color.
Then after lunch and giving the flat base time to air dry, I airbrushed on a coat of Model Master Chrome Yellow
I’ll have to go back and hit the wing walks again, as the masking bled a tad bit, but otherwise, it’s all good so far. I’m quite happy with the yellow now.
Next color will be the True Blue fuselage band, cowling, and wing chevron…
3 Likes
Just a bit of progress today…
First up, I added the life raft canister/headrest and the rollover bar onto the rear deck
Then I masked off the canopy and cemented that into place. Masking took quite a while….
I also glued the forward antenna mast into place then cut it off, as VF-2 did that and instead mounted the antenna wire running from the tail to a stub mast on the left wing. Tomorrow I will resume painting on this one…
5 Likes
Today, after lots of masking, I airbrushed on the True Blue section leaders band, cowling, and wing chevron
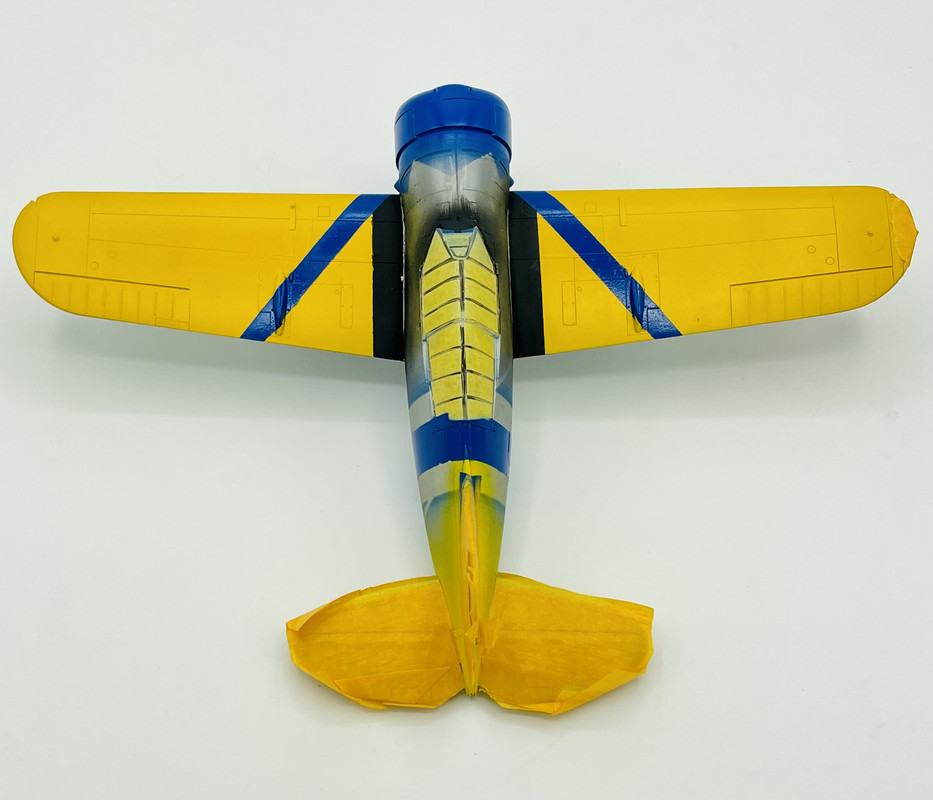
Next up is lots more masking, then airbrushing all of the aluminum lacquer areas of the fuselage and wing undersides…
4 Likes
Well, todays airbrush session was good, but, as always, there were complications….
The aluminum coat went on just fine on the fuselage and underside of the wings
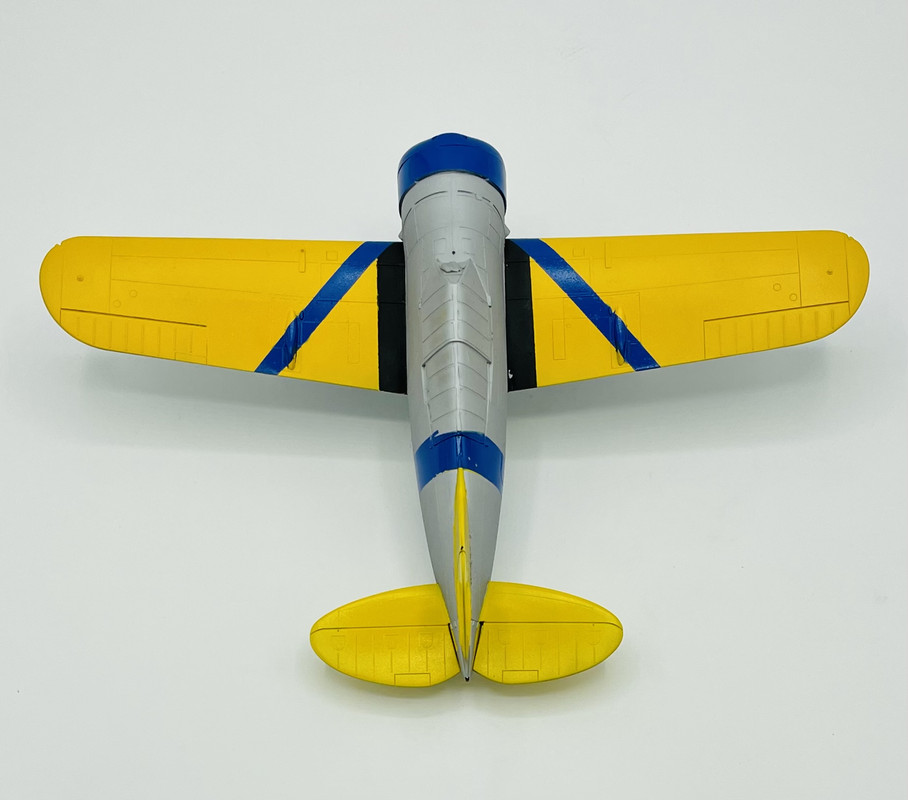
Unfortunately when removing the masking, some of the paint on the tail area came up, so I need to do a touch up there, plus on the blue fuselage band. So a day of touch up paint, then dry time before the gloss coat. But at least now all the base colors are on…
3 Likes
Today was the decal session, and now this sucker is really colorful. I used a combination of kit decals, which looked a bit questionable, some Microscale decals for national cockades and the squadron badge, and some Yellow Wings Decals for the propeller markings

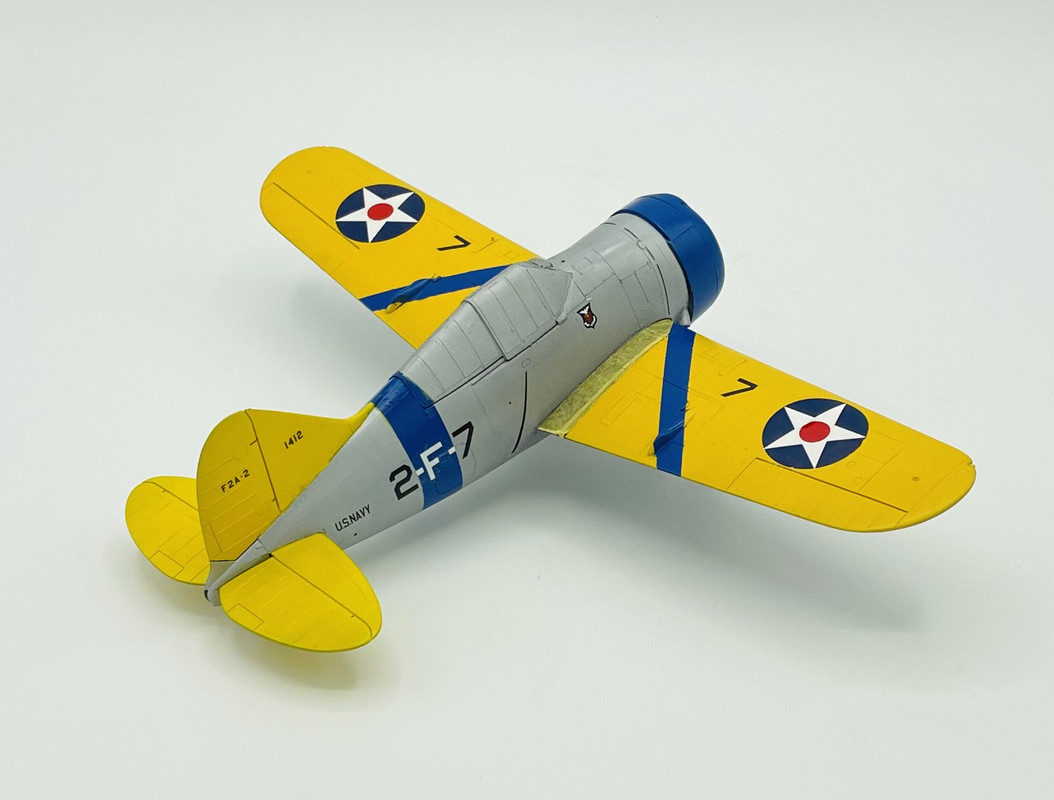
Now to get this bird all wrapped up
6 Likes
Thank you Richard. It’s no prize contender, but it’s decent enough…
Well today was working on the gloss clear coat prior to panel line wash, and on my flight deck base. I painted that up in pre war colors for now…
I also painted up and test fitted the wheels & prop… almost to the finish line!
5 Likes
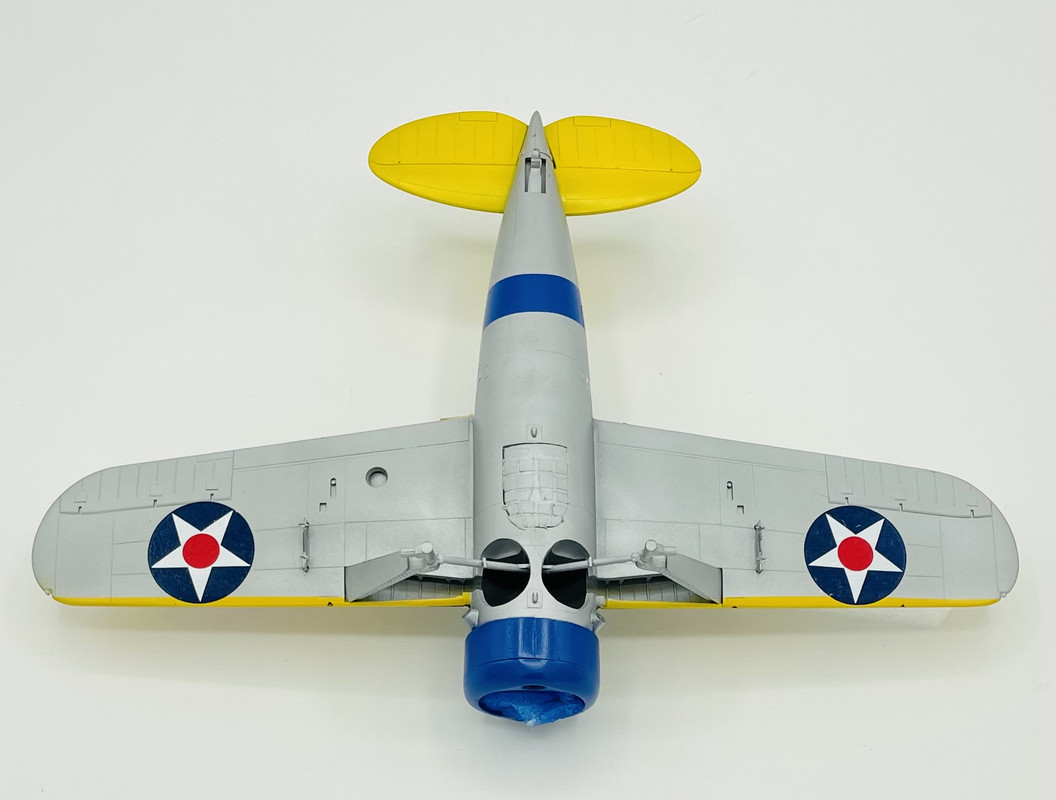
The past couple of days I was working on the panel line wash and getting those sealed up
Now I have just a bite more detail painting to do, the last small bits glued on, the masks removed, and adding an antenna wire.
Tomorrow…
7 Likes
Those pre war colors look great, I might have to buy an aircraft to do in these colors, maybe an Eduard wildcat would do the job. Cheers.
Thanks Bob. The last time that I made a model in this scheme was the old Monogram TBD back in the 70’s. After this build I’m certainly wanting to do a few more.
1 Like
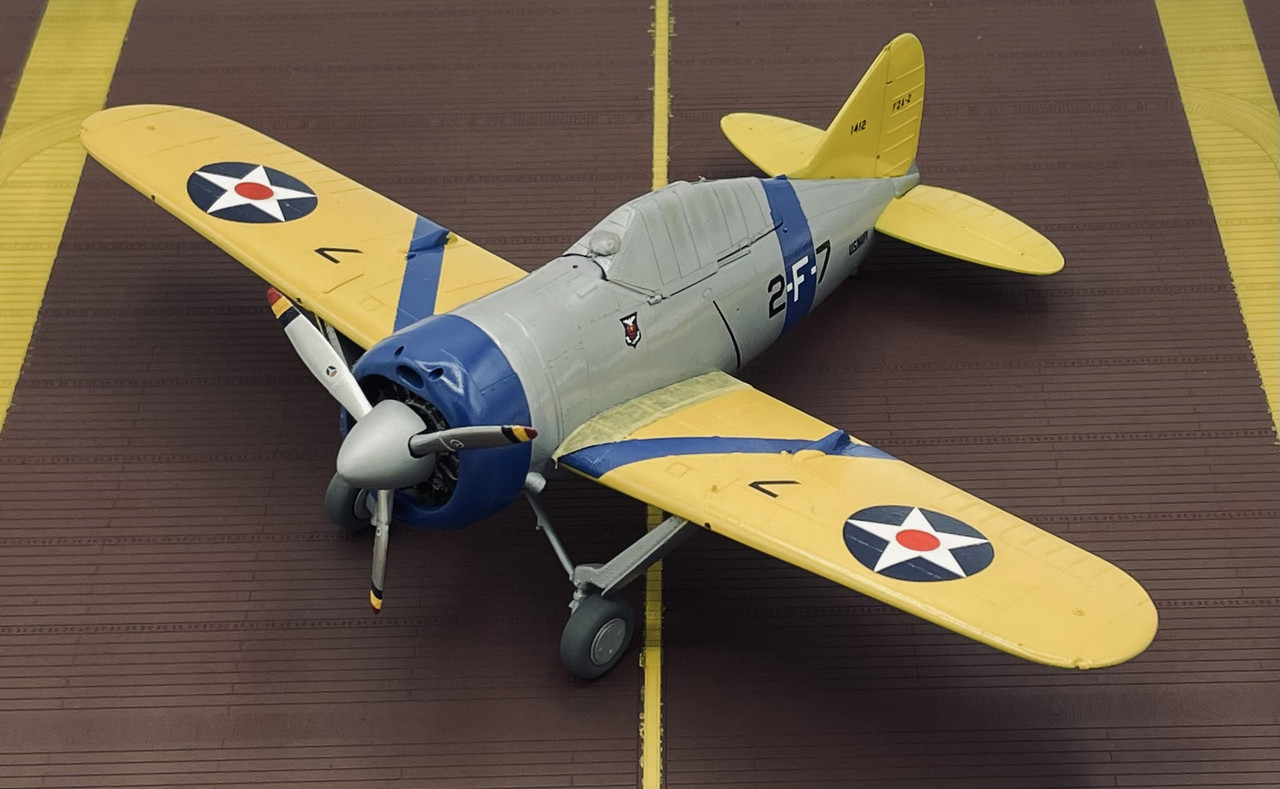
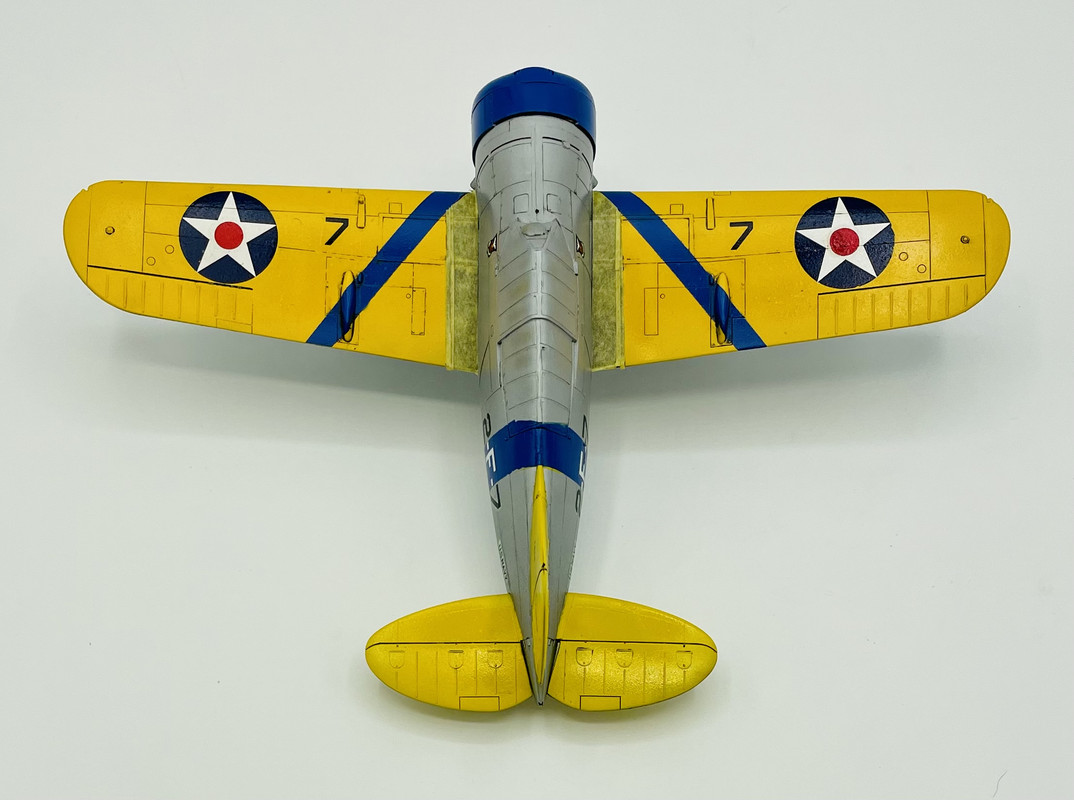
As of this afternoon, I am calling this one finished. This morning I did the last bits of painting, took of the masks, and added the last little bits.
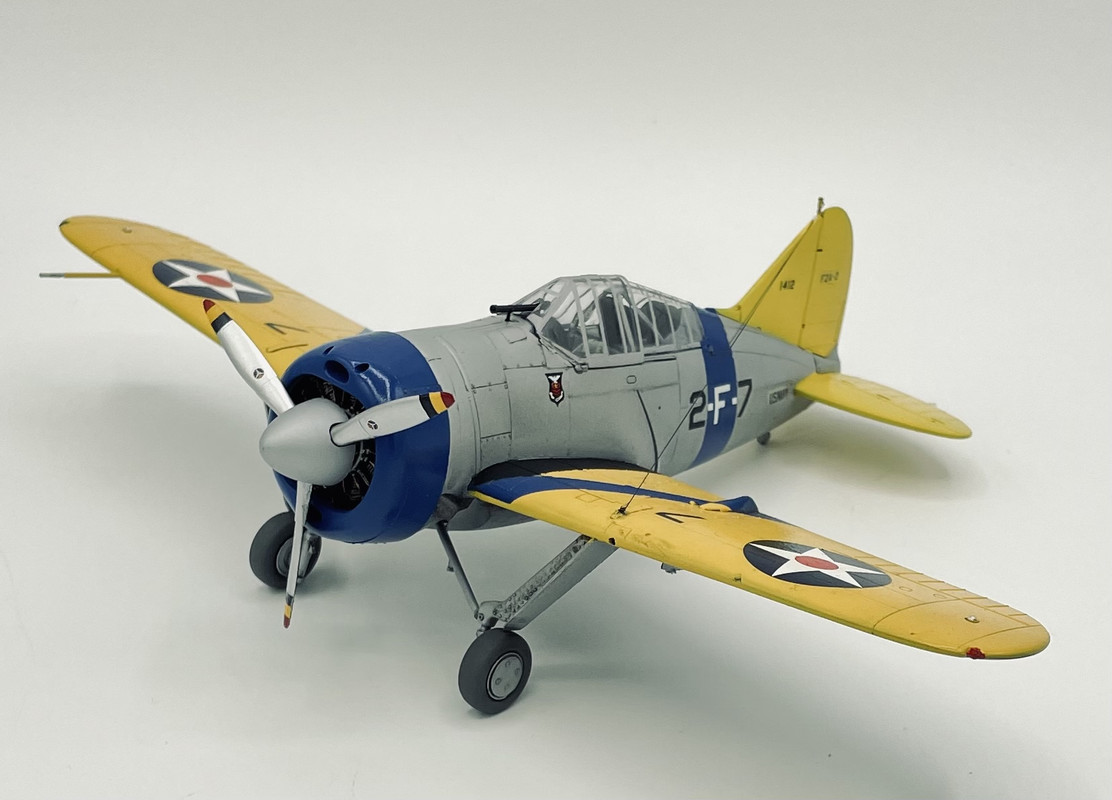
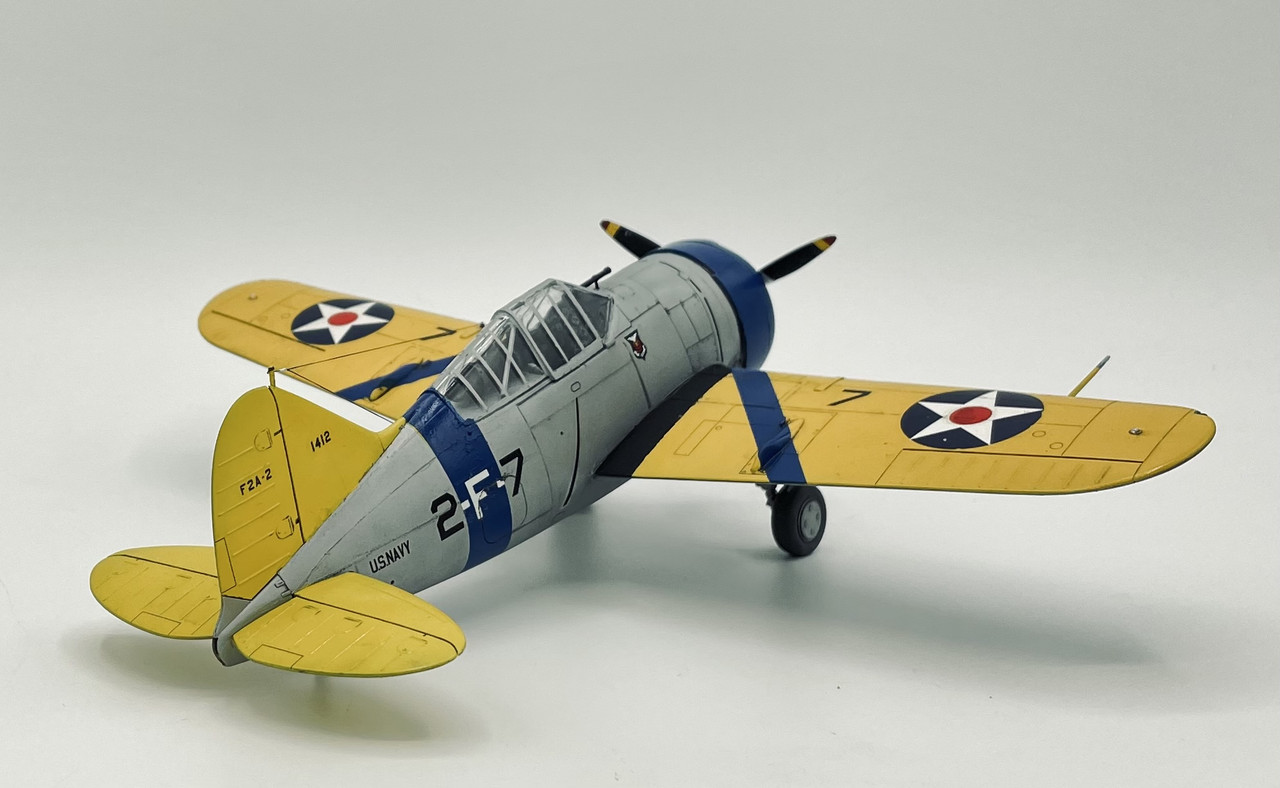
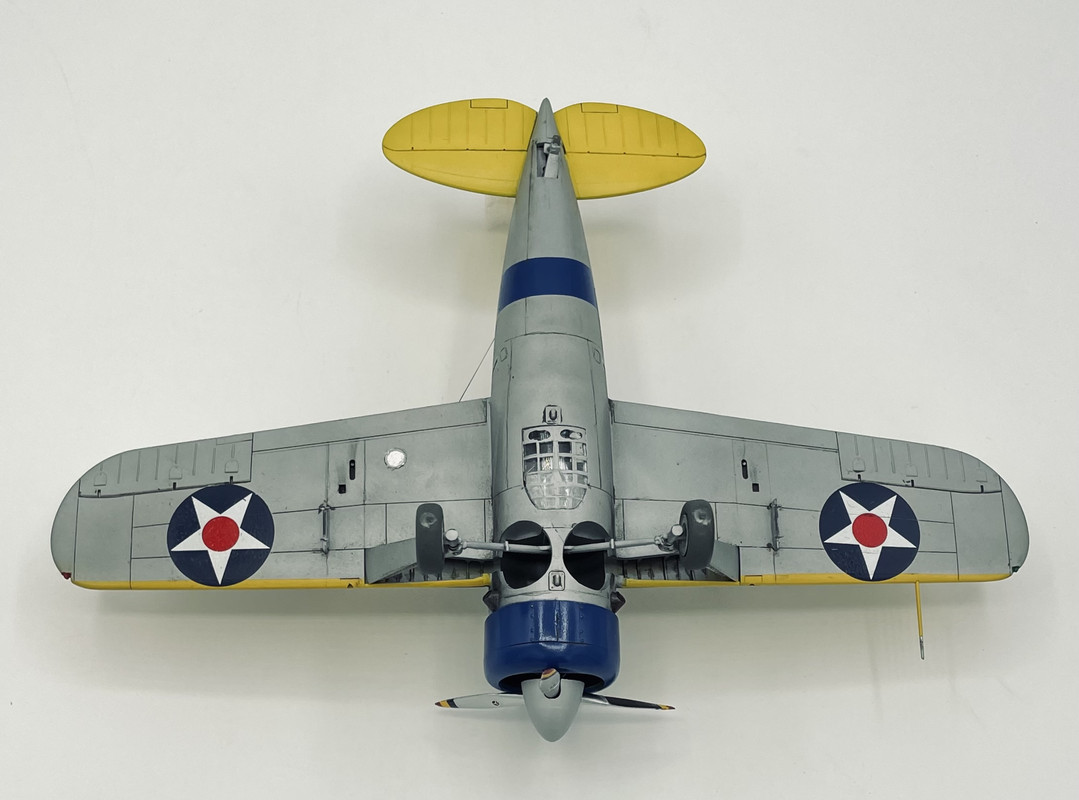
Tomorrow I’ll get a proper set of multi angle photos posted up…
11 Likes