A client down south wanted a rare subject.
The G-50 is definitely one of them.
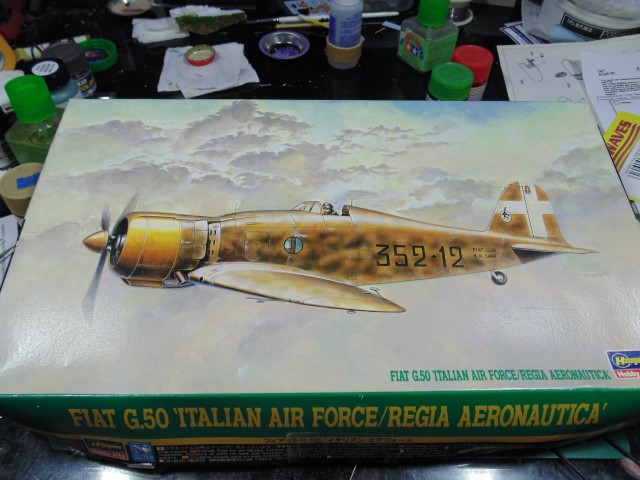
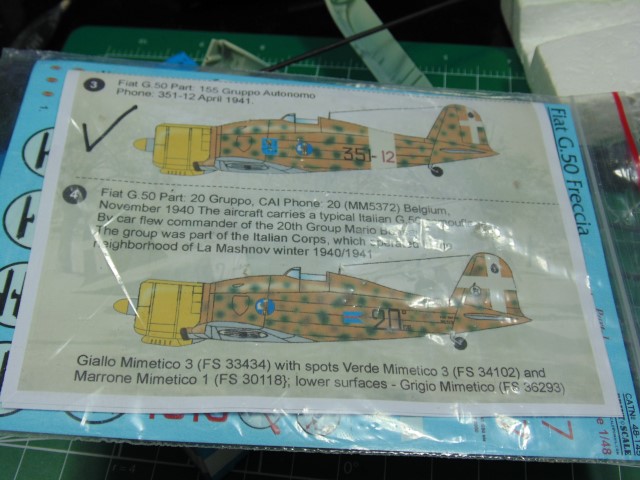
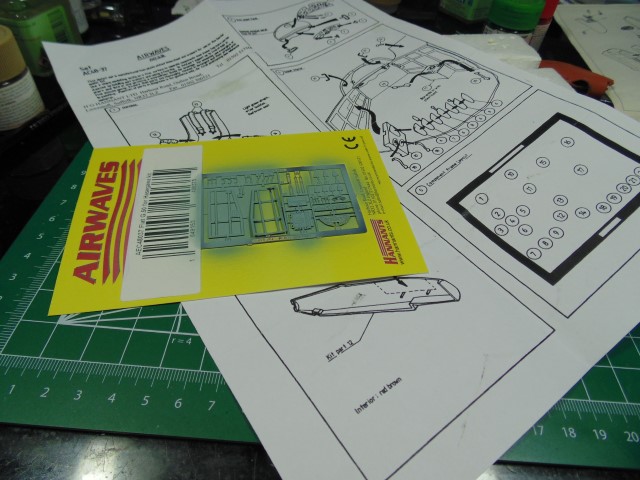
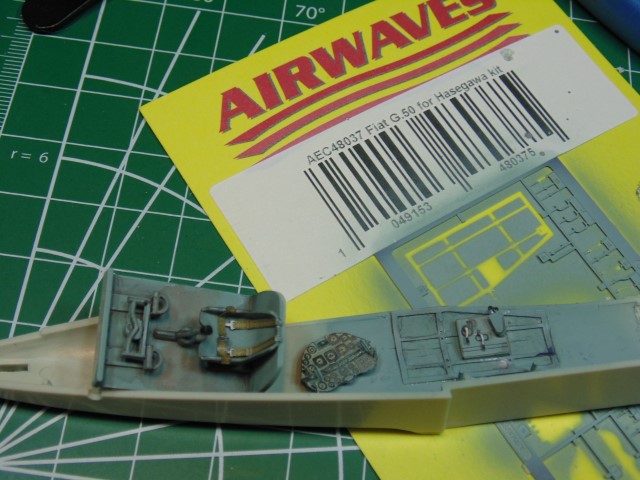
I’ll be using these aftermarket decals and camo scheme.
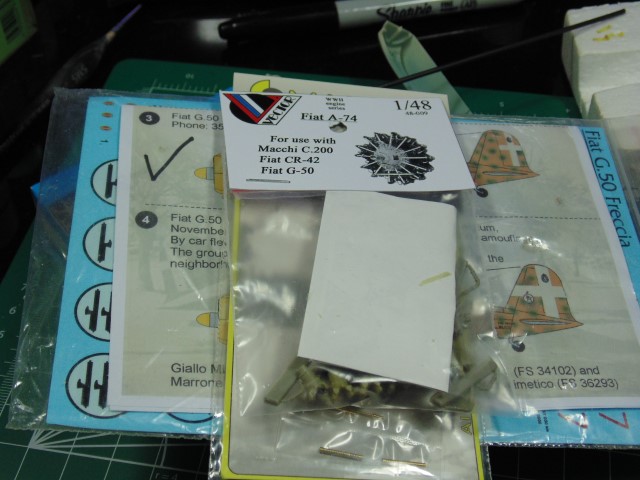
Master make some nice brass barrels. This should look good.

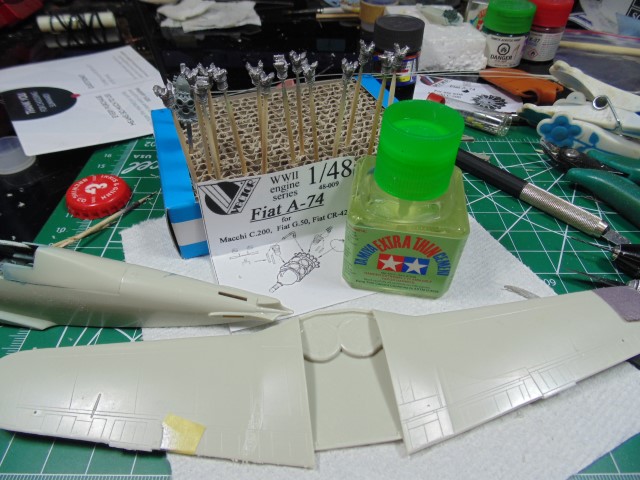
Naturally, I’ll be upgrading the engine.
Hannants re-issued the interior PE set. It’s something this kit seriously needs.
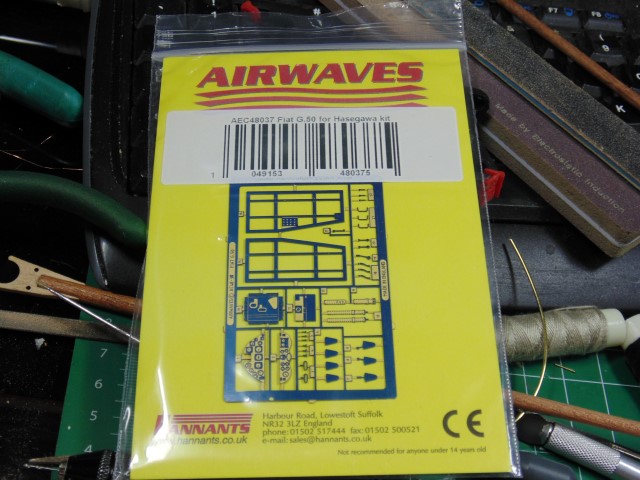
Now to get some color inside and begin the build.
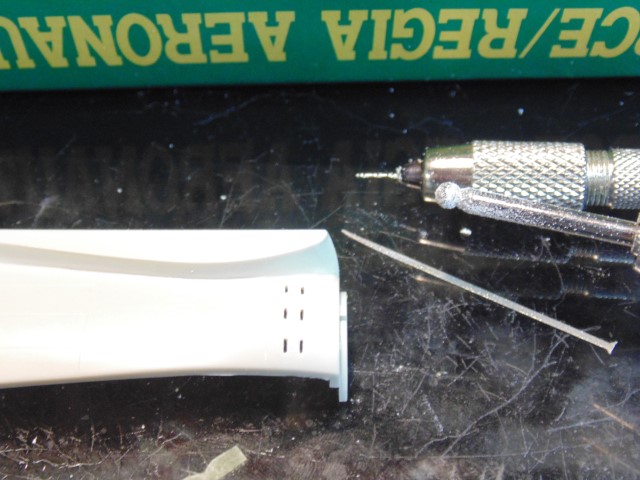
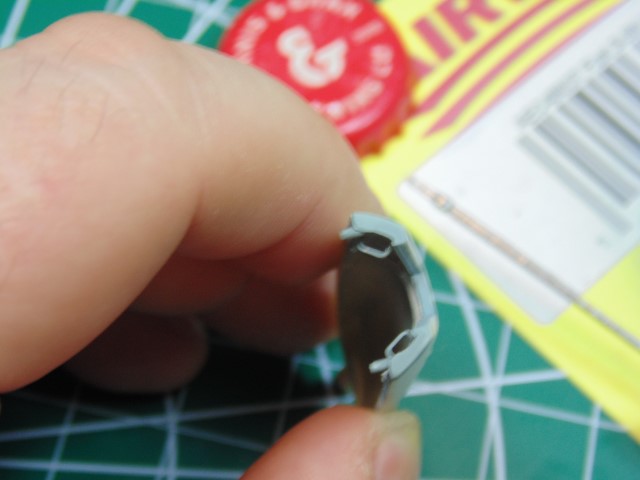
Also, the cowl vents need to be opened.
Huge thanks to Sunward Hobbies for some of the materials used in this series and to Brian D. O’Neill for helping me find this kit.
All the best Guys.
8 Likes
Another classic in the making. 
1 Like
Thanks Ryan, I’ll do my best to dress this one up as best as I can.
Carrying on with the Fiat.
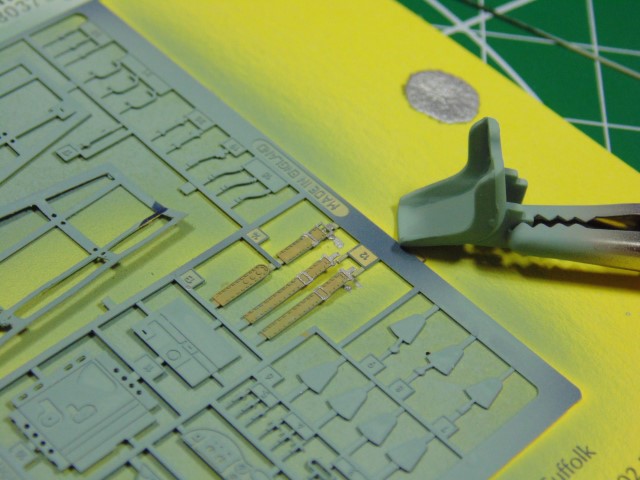
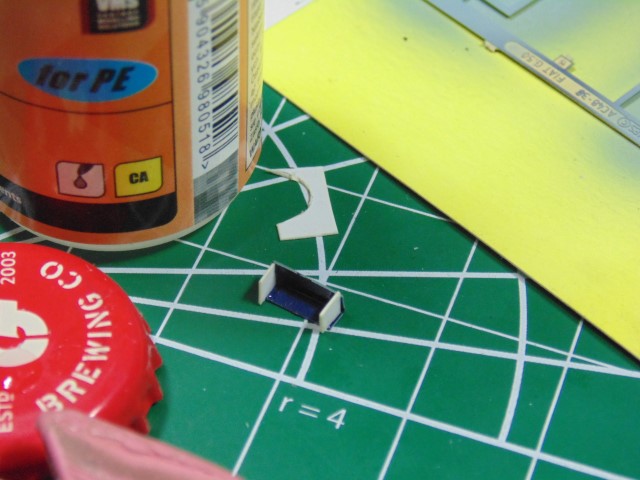
Following the Airwaves instruction, the seat harness was first. Some very fine painting got the look right, with more to come.
Not too bad and will secure the ends later.
A highly diluted black pigment was added and a touch of earth tone on the floor.
Love my bug PE bender for tiny parts.
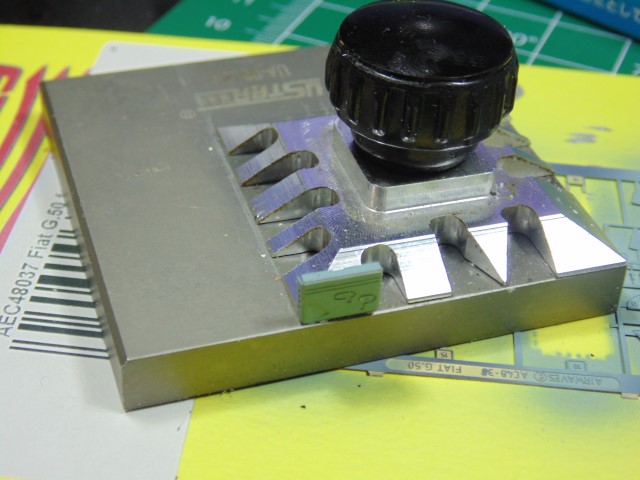
Some plastic stock are needed for the walls.
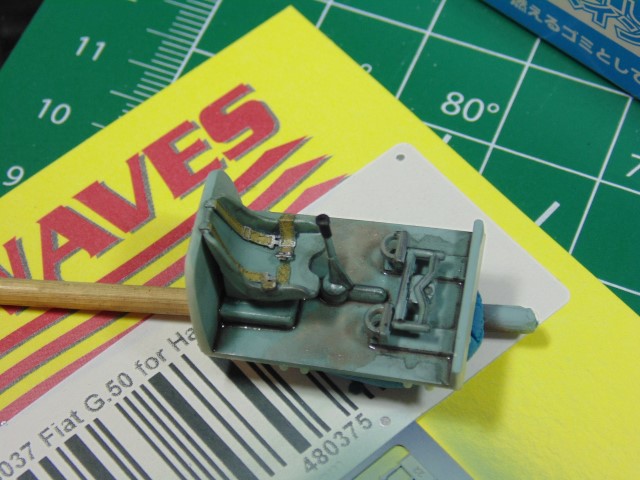
Super tiny parts are added to the port side and painted then washed. The plastic detail was removed form the instrument panel.
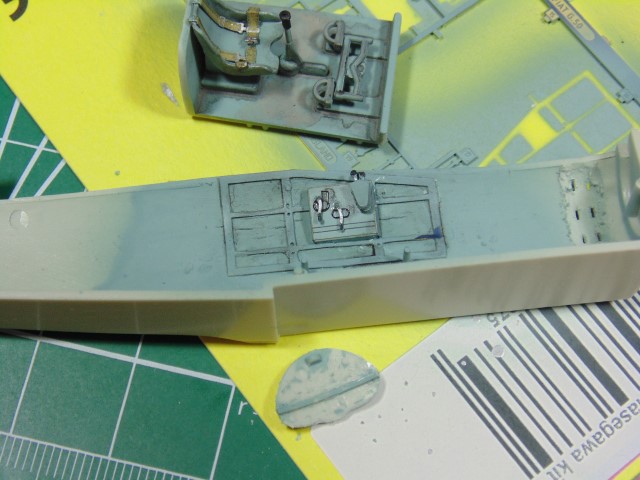
I dry-brushed some 214 metalizer to further pull out highlights. Note the extra details on the panel. Had to use a forehead lamp and magnifier for much of this work.
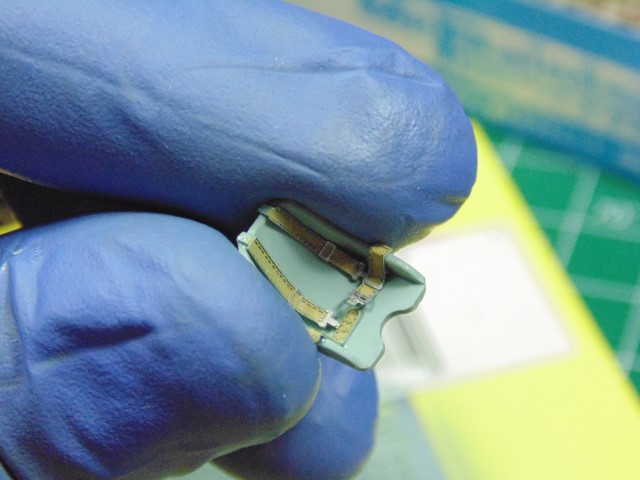
Grab handles added. Pardon the blurry picture.
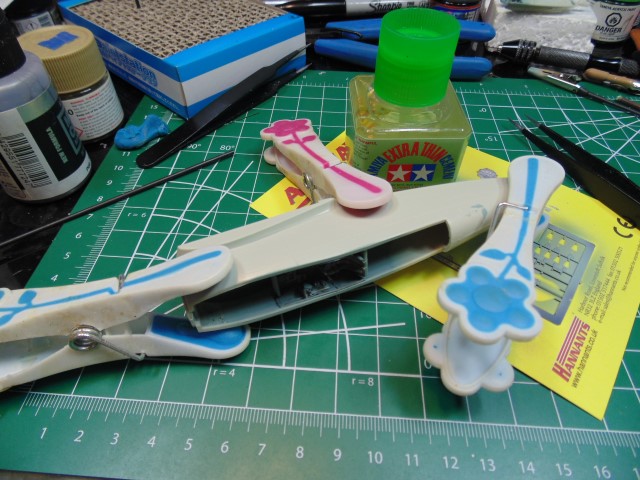
The fit here is great and some clothes pegs will “seal” the deal.
Huge thanks to Sunward Hobbies for some of the tools and materials. Thanks to YOU for viewing, liking and commenting.
Best of health Everyone.
8 Likes
Greetings fellow modellers,
Lets build a massive engine, well in 1/48.
First to snip off the plastic pegs, then core the 2.14mm center to marry up to the resin hub.

Each cylinder have to have the plugs and sides sanded.
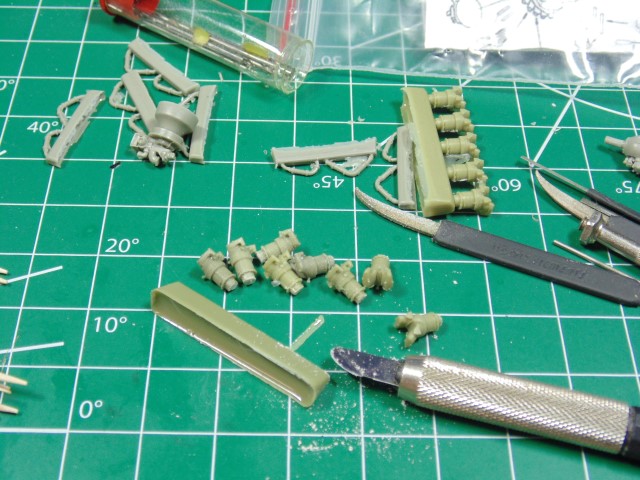
A three step process to to drill holes in the plugs to CA the sticks for painting/plus.
Plenty to do here, but it’s just a process.
Thanks.
7 Likes
Quick update,
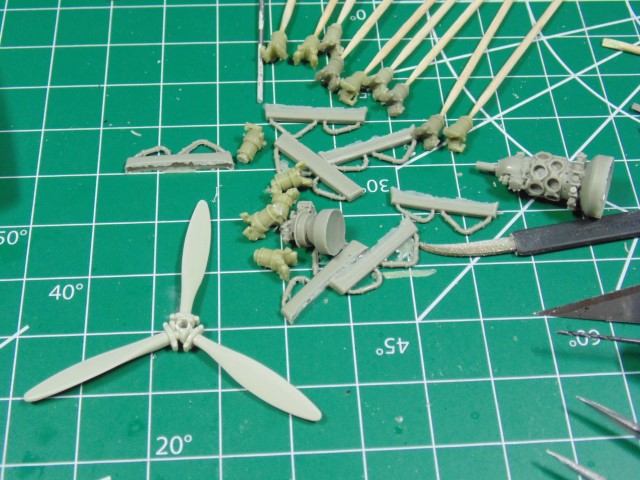
Engine component’s flash cleaned and stretched sprue made for the push rods. Tail hood attached and flashing-off along with the slow gluing walk around of the wing edges. Plenty of sanding to do, yet the fit has to be as best as possible for this project.
Quite a few a hours invested in this picture, but I figured put everything in the one shot instead of boring you with multiple photographs.
Propeller and engine fitment are next.
Thanks everyone.
4 Likes
Thanks Ryan and Michael for taking the time watch the build. It sure does help with motivation.
3 Likes
I enjoy watching a master at work. Look forward to seeing how you take a great looking vector engine and make it look better.
2 Likes
Oh man, the wiring should be fun, yet necessary because one of the cowl parts will be left as a separate part. this way my client can see the engine work.
Thanks again!
3 Likes
Always look forward to your posts. I’ve picked up on so many great tips here. Thank you for sharing! 
—mike
2 Likes
It’s my pleasure Sir. More tips to come. Even beyond that THANK YOU for sending the welcomed inspiration.
2 Likes
Hi Friends,
More detail work, because I know the person getting this project will shine a light and see them, plus he’s a super cool person.
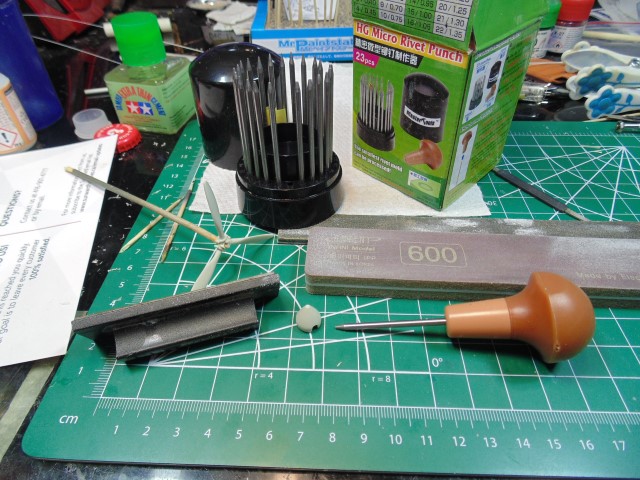
Masking off the cylinder heads to spray the lower parts a slightly darker, yet noticeable, color. Using Mr. Hobby strips here, normally I make my own. AK Extreme metal works great. Titanium and steel tones will be added.
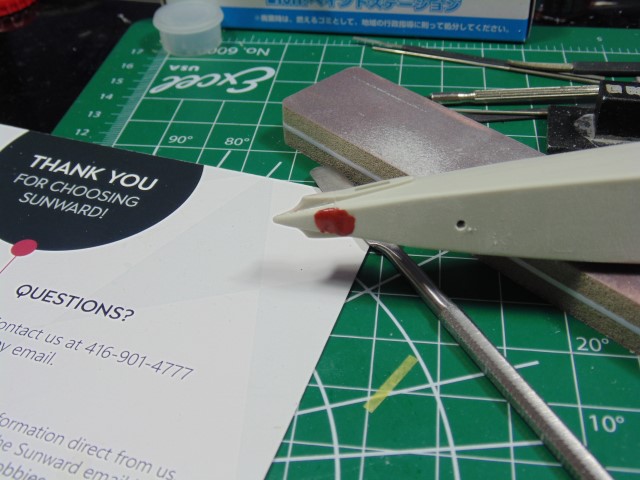
I sprayed the front of the prop will aluminum and am waiting for it to dry. The cone needs to have a detail to be screwed on and off. So I replicated it. Sand off the tiny tip with a quality file, then use a punch and blade to create the effect. Indent it well so the details come through. Naturally, the sides of the cone were sanded. I used a three step process from course to fine.
All the best Everyone.
6 Likes
Hi Guys,
The sanding is done on the wing tips and while I’d like to stay with the step by step instructions, there’s so much aftermarket stuff I bought for the kit it’s impossible. Hence, there’s going to be some bouncing around. Sorry for that.
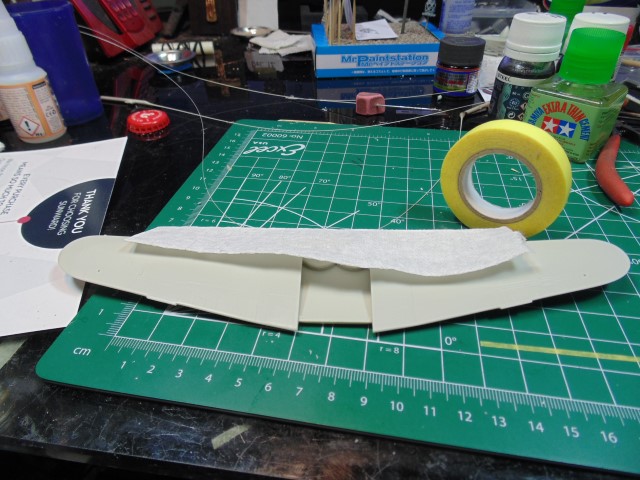
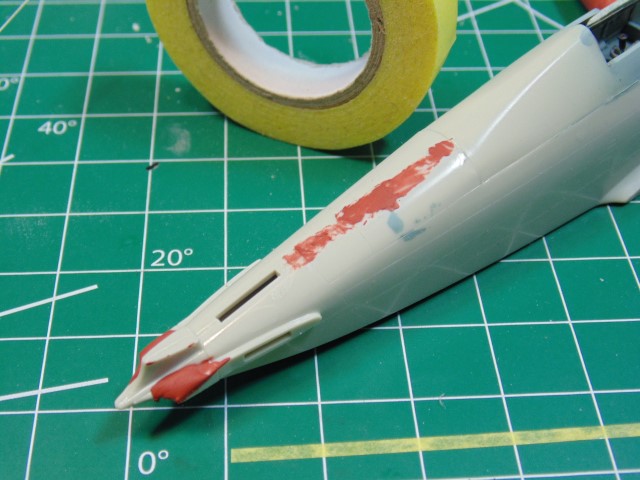
Touch-ups need to be done. Sure, it takes time, but it’s worth it.
Mix a drop of lacquer thinner with Bondo glazing putty in a small cup. Whip it up to fill the sink marks in parts.

Also works great for filling seam lines. It sands super smooth and once dried has no smell. It looks heavily applicated now yet sands away quickly.
Be kind to your loved ones this season. Also, please send some monetary love Jim for hosting this fantastic forum.
HG
7 Likes
Hi Guys,
Here’s the result of the three (and soon to be five) tones of the engine work, plus other work.
Sure hope you can see the different tones between the ones done and not done.
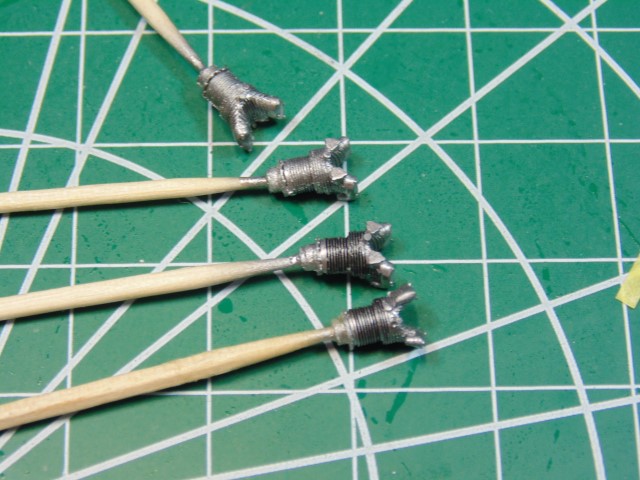
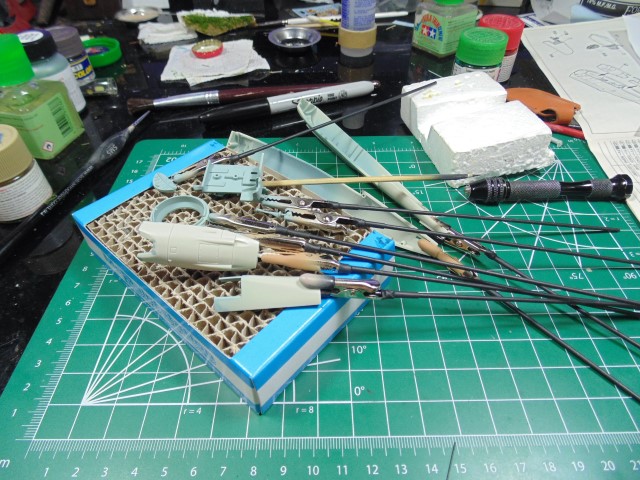
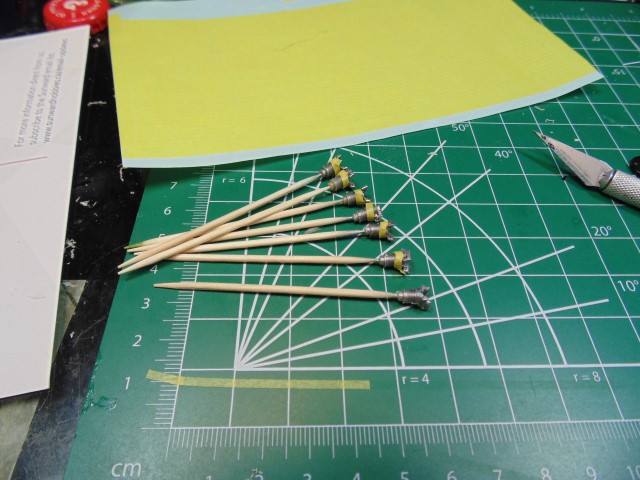
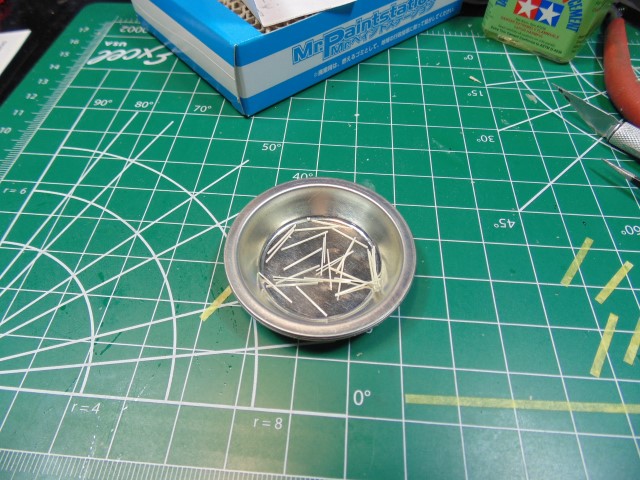
While things are drying might as well build some other components, such as these push rods. I’ll finely sand them down and paint. Once the paint is handleably enough on the other components. Yes, they are over sized to have something to grip whist working.
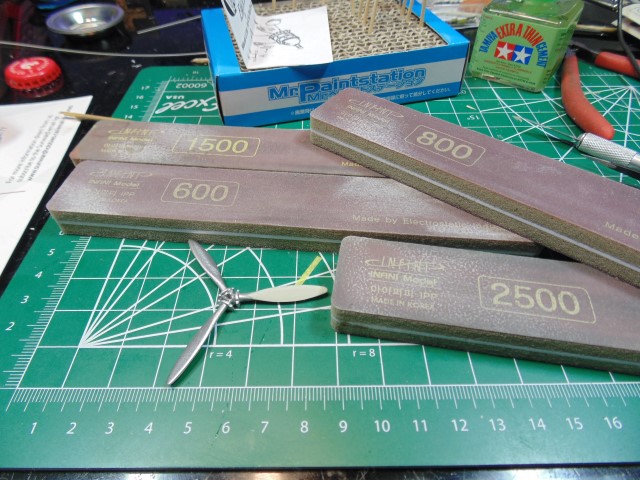
I made an error in sanding one of the prop blades. Sure hope you don’t mind me telling when I screw up. Non the less, all fixed and ready for paint. Having a sanded surface lessens the need for primer.
All the best!
HG
7 Likes
Love the cylinder work. Glad to hear you make mistakes, that makes you human like the rest of us.
2 Likes
Thanks for those kind words of encouragement Ryan. I flub the odd thing here and there, but sure am glad God gave the resilience to stick to it enough to fix the issue.
3 Likes
You are always going the way that I would not, HG. Well done so far and I’m sure you will produce another gem out out this kit.
1 Like
Thank you Sir. You do remarkable work!!! This kit needs help to get it to the standards of client. You know what I mean… sand sand sand LOL.
1 Like
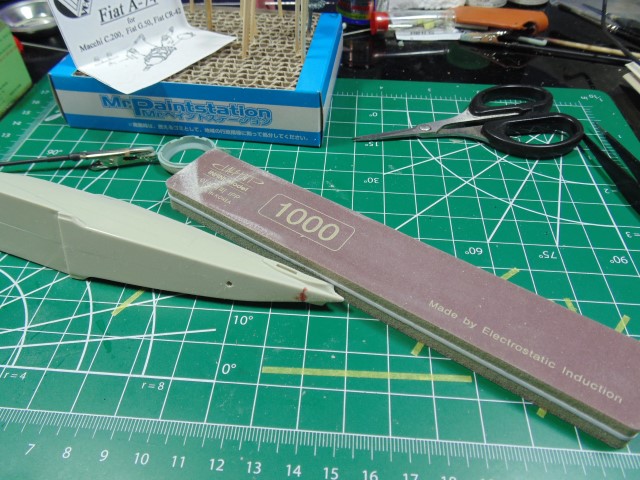
Hi All,
While it might not be exciting, it must be done.
I use many sanders and files to do the job.

There’s some nasty sink marks and lines in the connection points.
Don’t be afraid of liberally applying Bondo putty. It sands away easily and is super smooth with the right sander. Plus, it loves primer.
All the best.
HG
6 Likes
Quick update,
Propeller repaired, sprayed and decals added before a Testors dull coat.
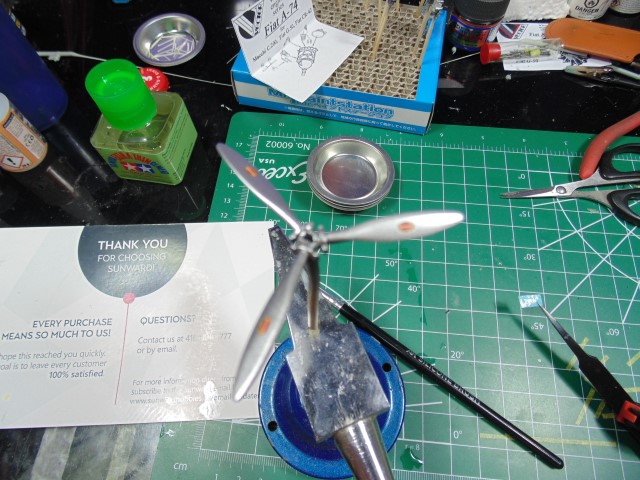
Tail bell and underside sanded for the first time, probably more to come on this task.
From here on in, I’ll be back and forward, between steps, to clean up the surface and then attach the engine.
Thanks EVERYONE.
7 Likes