Really enjoy watching the art. You pulled me in with Brian O’s lady and I love watching your efforts. Love watching B-17 stuff more, but this is fun! Thank you for sharing sir!
2 Likes
Thank you Sir, it is fun.
1 Like
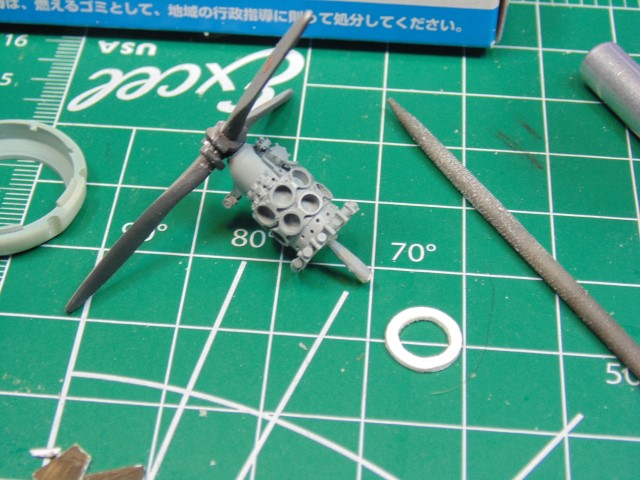
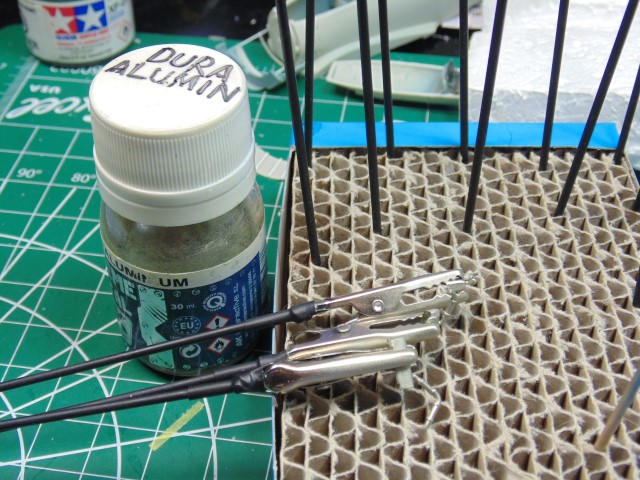
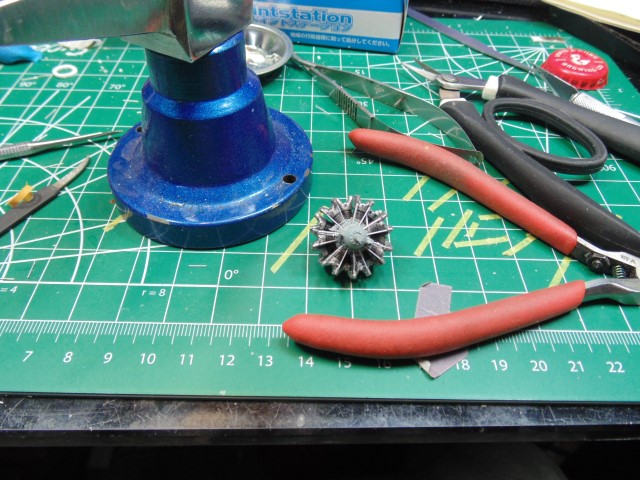
Getting closer to engine assembly now that the paint is dry on the pushrods.
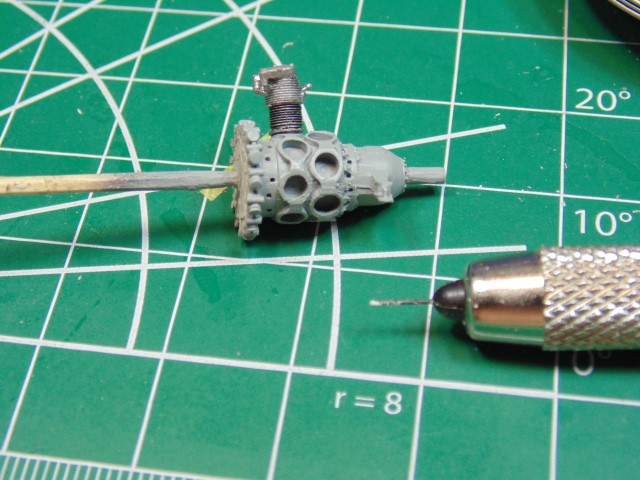
All the holes had to be drilled out.
This color will provide the contrast between the cylinders.
Each rod was sprayed three times and are much brighter than this picture.
Huge thanks to Sunward Hobbies for getting my supplies shipped so quickly.
More soon.
5 Likes
Hi Modelling Friends,
I honestly feel bad about such short posts recently, so here’s some more meat on the bones of this project.
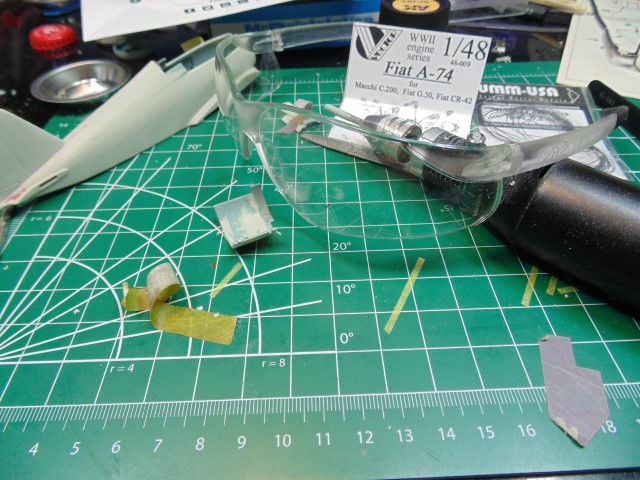
It’s necessary to clean up the resin exhaust pipes. I love these AK parts sticks. Keep some resin plug holder sections on one end to make it vastly easier to scrape and sand.
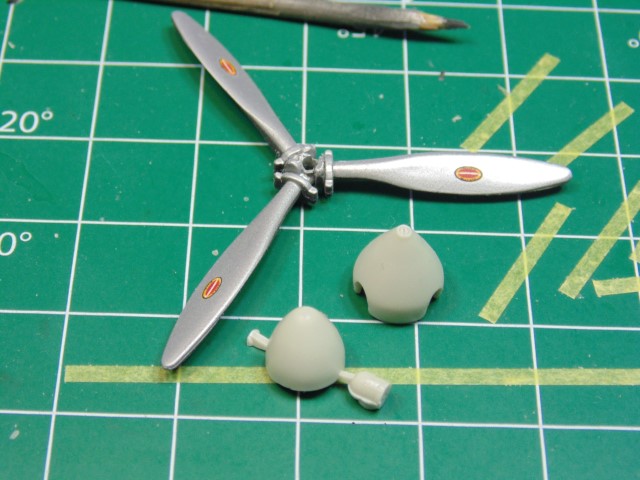
The spinner cone shape is still up for a conclusion. It all comes down to what the owner wants. Sure wish I had a resin prop, but you live with what’s available.
The thickness of the plastic prevents the cylinders enough clearance to fit properly. The styrene material will have to be heavily thinned out.
Also, the engine has to be moves ahead a few millimeters. I made a spacer for the prop to clear the front cowl part.
This is enough space for now, but will add another 0.5mm if needed.
Here’s the 2.0mm spacer. A work in progress.
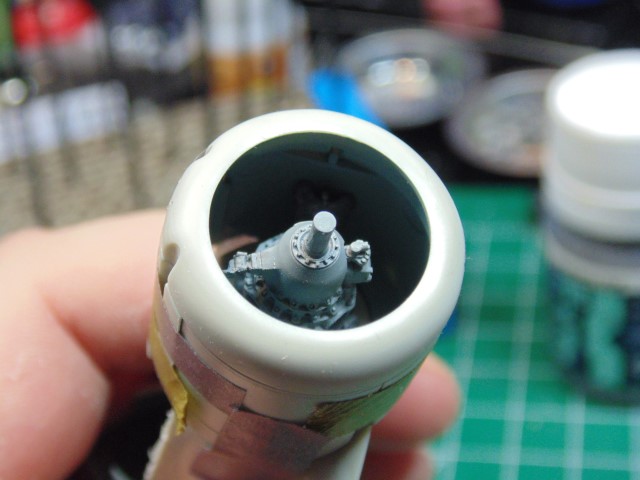
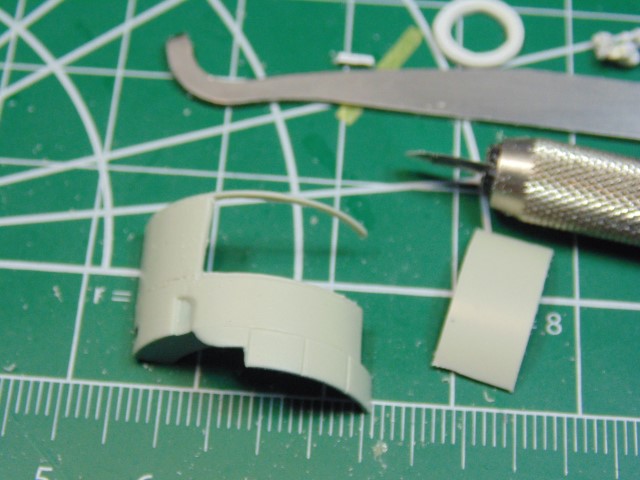
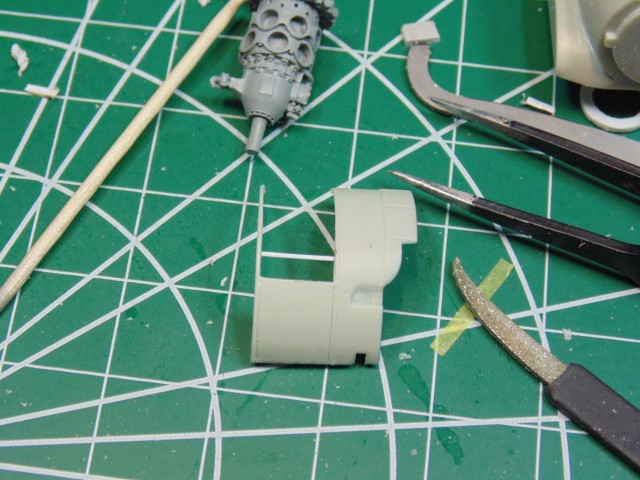
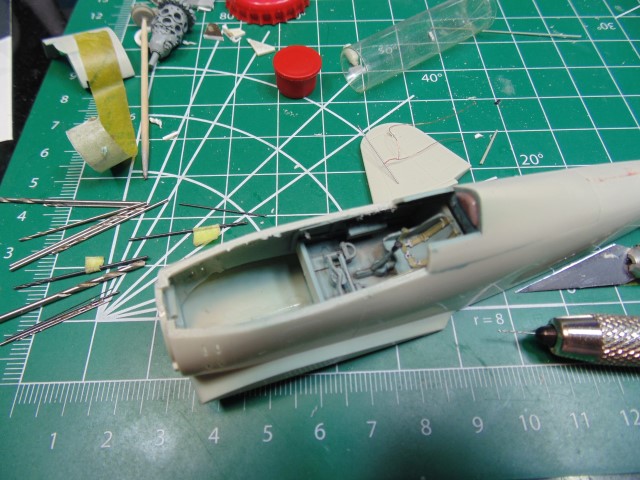
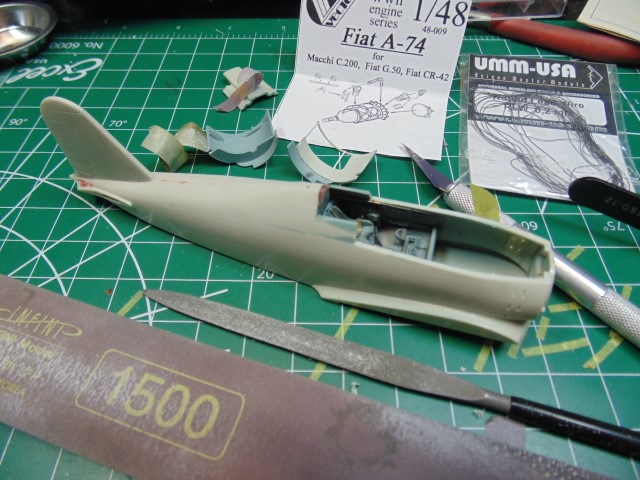
Test fitting the cowl will take you some time, yet doesn’t require any special skill. The large hole in the ring part is to allow the inner part of the resin engine component to slip inside.
A good deal of the connecting plastic will sanded/filed away, also the cowl parts will get cemented. You have to test fit the upper part of the nose part with the cowl, again nothing special here, just time.
I used my panel line scriber to deepen the trough then went at it with my Tamiya razor saw. Just cut through the middle of the panel line.
Then follow up with by narrowing the depth of plastic for easier sawing.
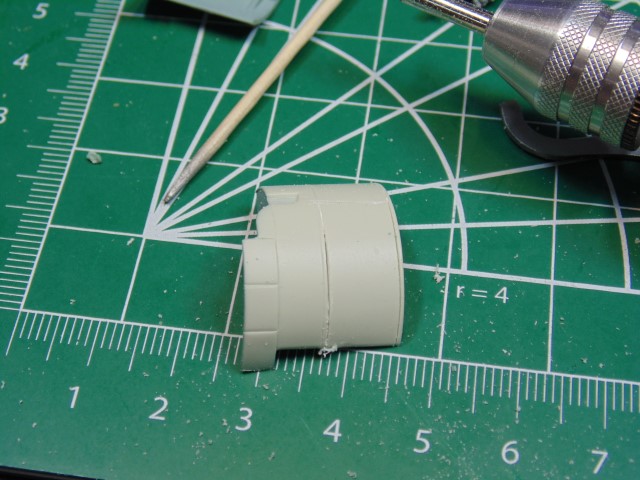
Now you can gently saw the remaining lines to remove the engine cowl part.
Not only will this allow the resin engine to fit better, you can go to town on up-detailing it to be easily seen.
There’s a brace frame part just above the exhaust ports. I’m going to replicate it as best as I can.
Wait till the cement has reasonably hardened before doing any fine sanding. It’s just a problem solving process.
Certainly, there are many steps to do before the engine goes in, but it was my choice to buy the Vector product to make the client smile… “in for a penny, in for a pound.”
Thanks for dropping by Everyone.
6 Likes
No good deed goes unpunished.
2 Likes
Thanks Ryan, this good deed is whopper HA HA, as you’ll soon see. ![]()
3 Likes
Hi Guys and Gals,
Moving along with the fine details.
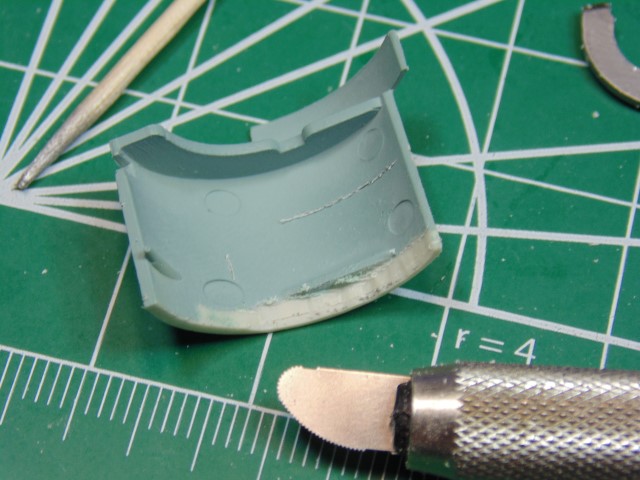
Adding some more frame work to the open cowl. Note the sharpness of the lower right corner of the opened up part.
While cement is drying I’ll fine fill the minute gaps in the wing-set parts. Yes, it’s Bondo filler and you know why.
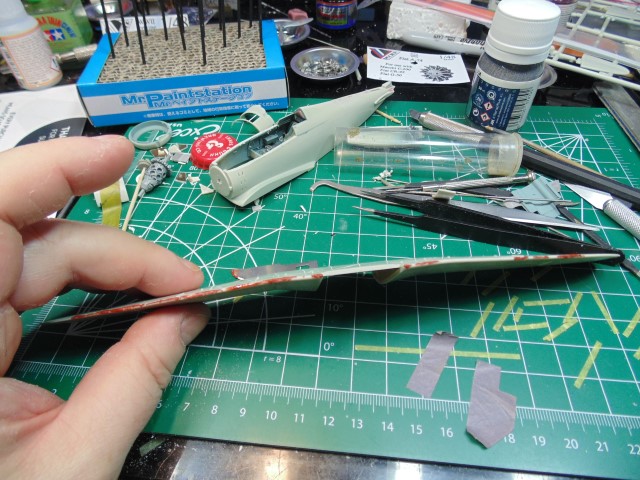
Use a good glove to prevent or cut down on the oil from your fingers. This filler dries in less than an hour, so it’s great for modeling speed, plus is rock hard and can be riveted and panel line rescribed.
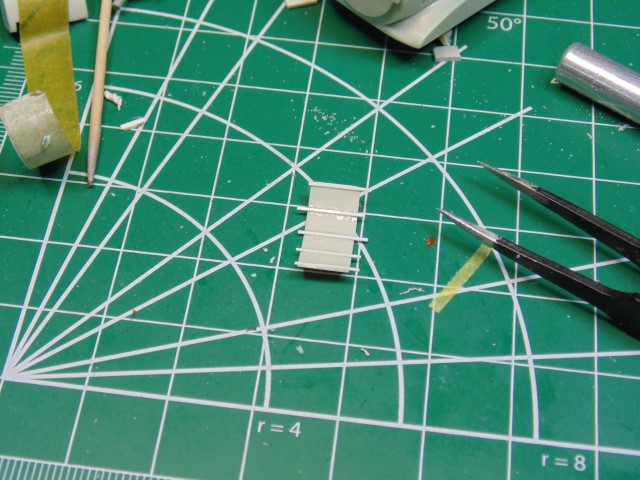
The open cowl part will NOT be discarded. It’ll end up on a mechanics bench with some other bits in a small diorama. It deserves a framework though. Here’s some 0.2mm strips which later will be sniped, sanded, painted and weathered up. It’s diameter thickness was reduced by two thirds. Tedious work, but put on some music and have at it.
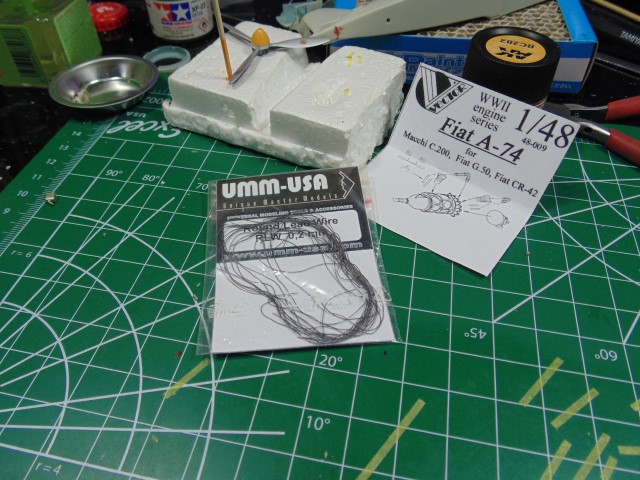
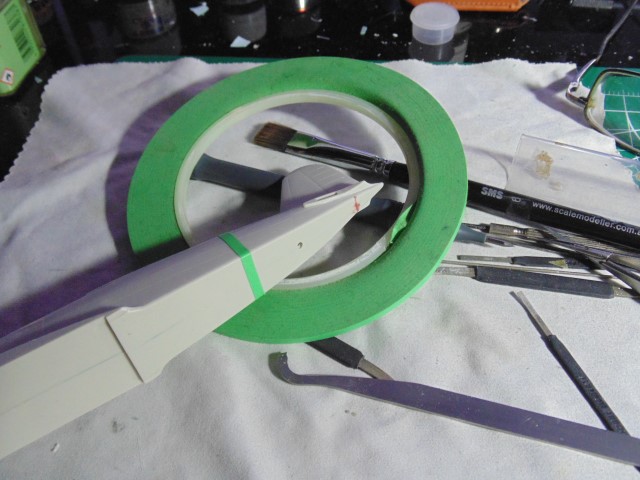
Lots of other things to take care of while stuff is drying. Here, I’m spinning some 0.1mm copper wire to replicate the adjustable tension wire for the radio antenna. It’s super easy to do by using a 0.3mm drill bit (or anything close) and strongly pinching the end which is going into the hole you’ve drilled into the stab fin.
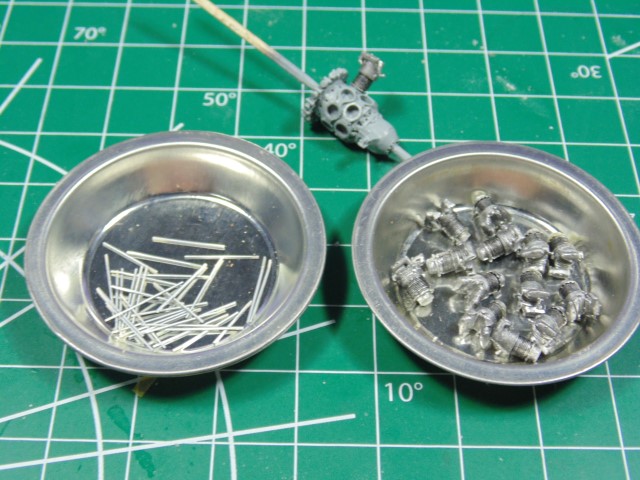
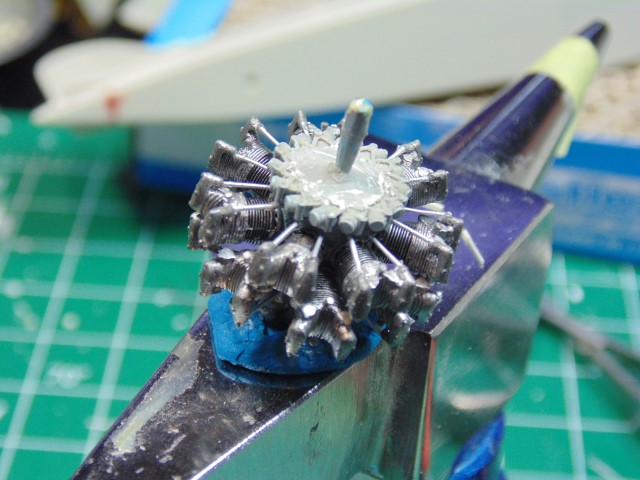
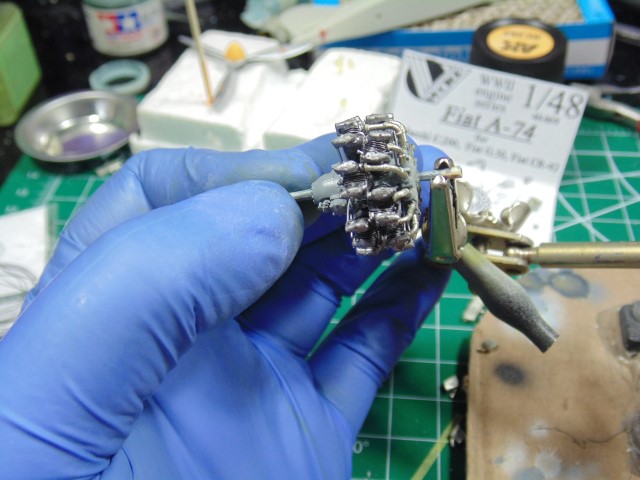
Now for the engine pushrods. Placing in the cylinders was not fun. They didn’t give enough back cylinders. I checked 4 times and it’s missing 3 aft parts. The ones included are identical to the front parts… sigh! Looks like I’m bending some led wire. Regardless, a micro dab of slow acting CA will give you a few seconds to align the pushrods.
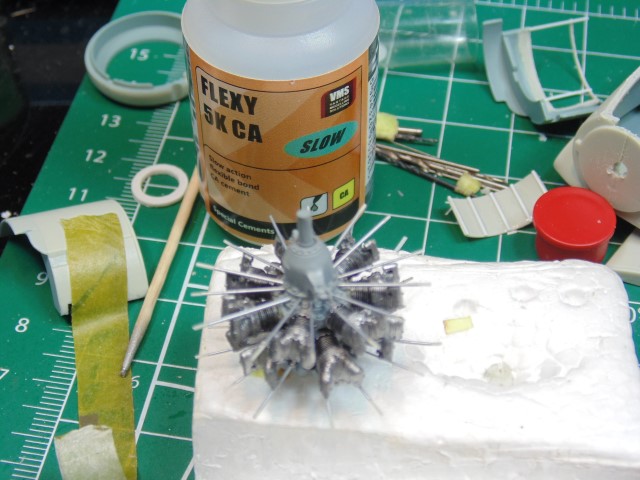
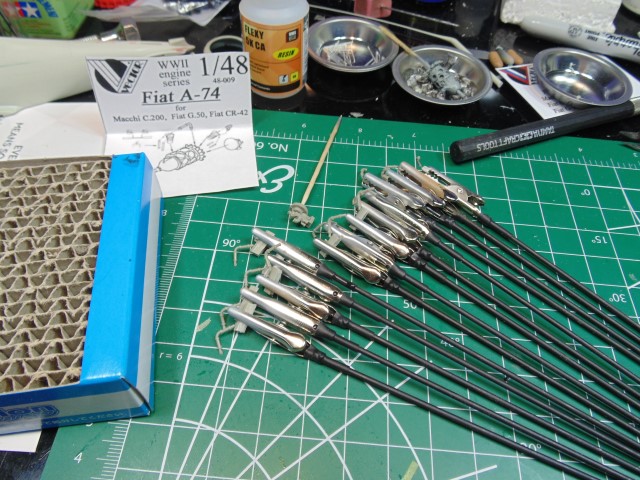
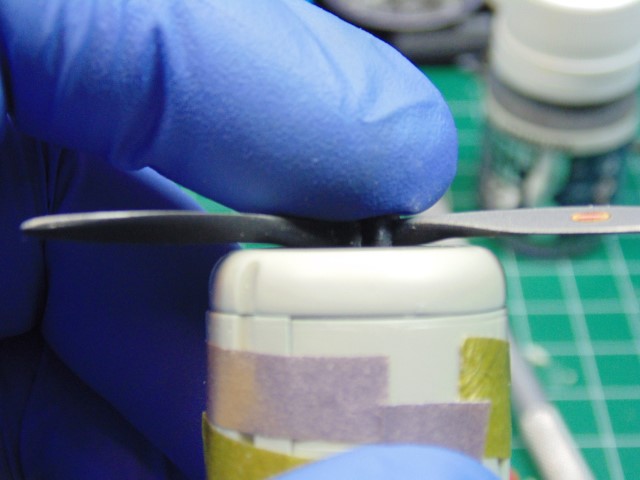
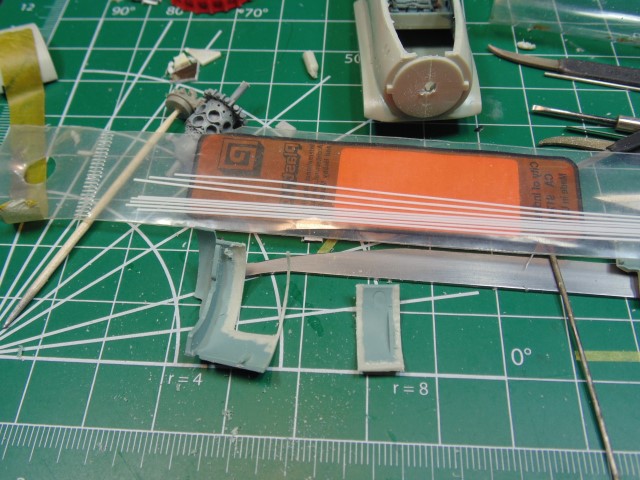
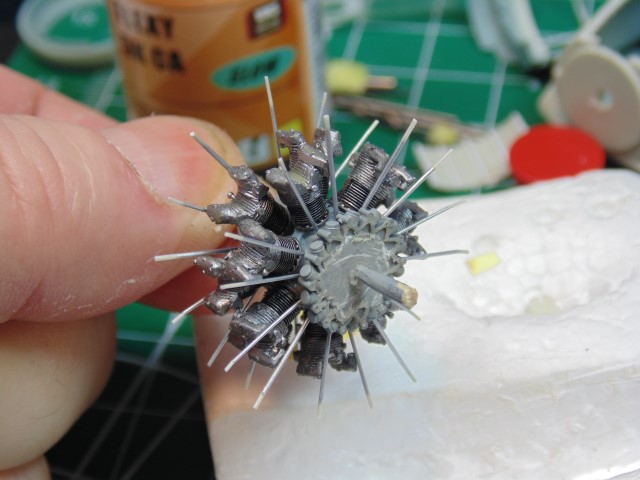
I oversized the lengths to allow me to clamp them for spraying and have room to delicately snip and glue them in place.

Front and back completed. Sure wish the maker had included better instructions.
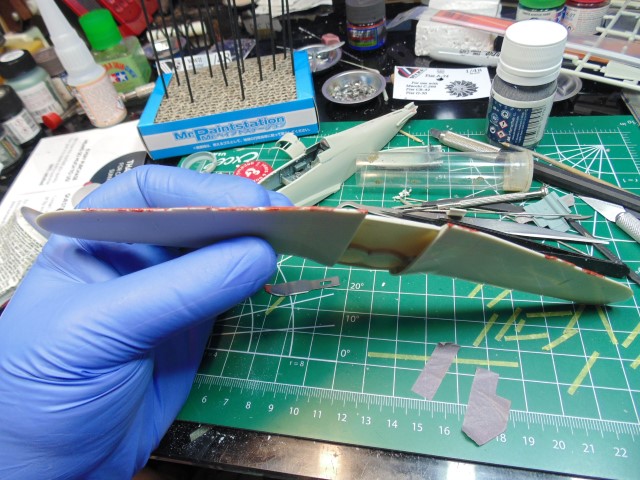
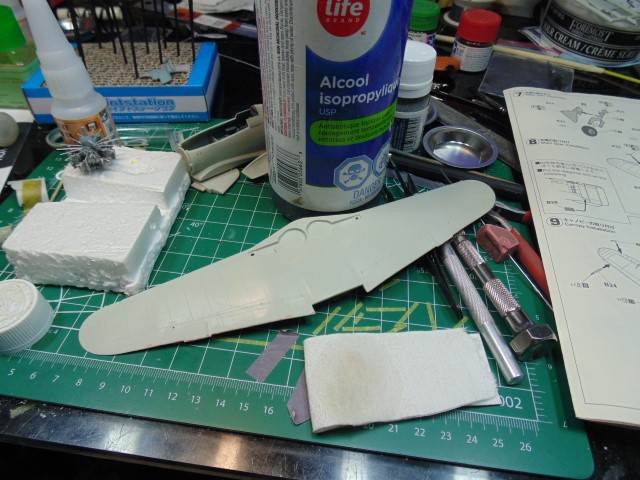
Time to clean the wing-set with some IPA, again I’m using gloves to prevent finger oil from screwing up the primer and paint later. I use a polishing cloth to apply and wipe free this fluid.
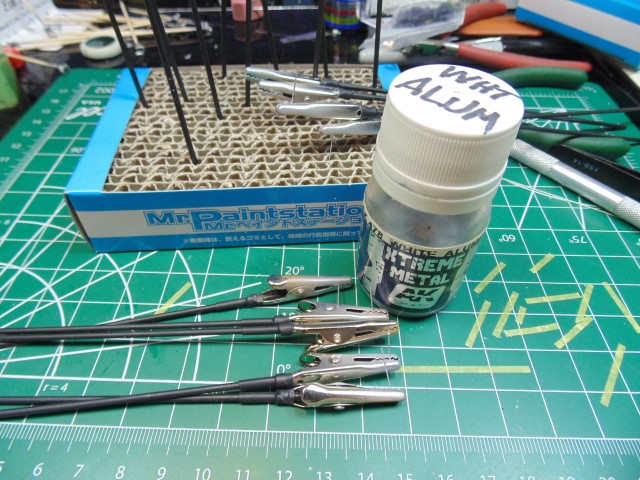
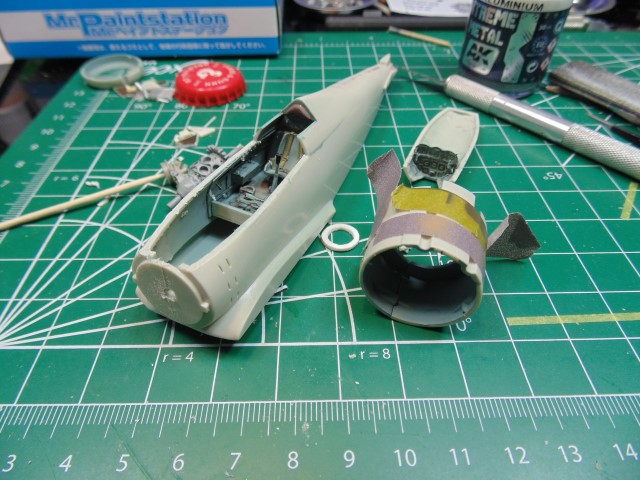
As promised, there is going to be a 5th metal tone on the engine. There’s a slightly burnt look on the exhaust of this project, as wanted by the owner. Later I may add a touch of medium rust pigment for a bit of color contrast.
Here, you can see the subtle yellowish difference in the metallic tone.
All the best Everyone!
6 Likes
The engine is staring to purr now. ![]()
1 Like
Oh man, thank you, hope that post wasn’t too long. Busy time of the year for all of us and don’t want chew up too much of your time.
1 Like
Time I have plenty. It is talent I lack. Therefore, I live vicariously through your fine work. ![]()
![]()
![]()
—mike
2 Likes
Mike, for the love of Pete, you’ve more than owned the right to ask for guidance. Just call my telephone number. I’m more than happy to help, your time permitting of course.
1 Like
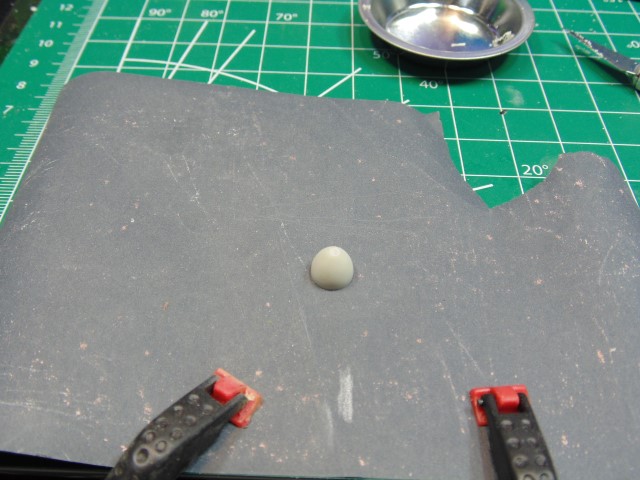
Some cool updates, even with this horrendous subzero cold period.
Using thick styrene filler for the severe low spot. Obviously, it will be sanded down to a polished 2500 grit when it has hardened in a day or so.
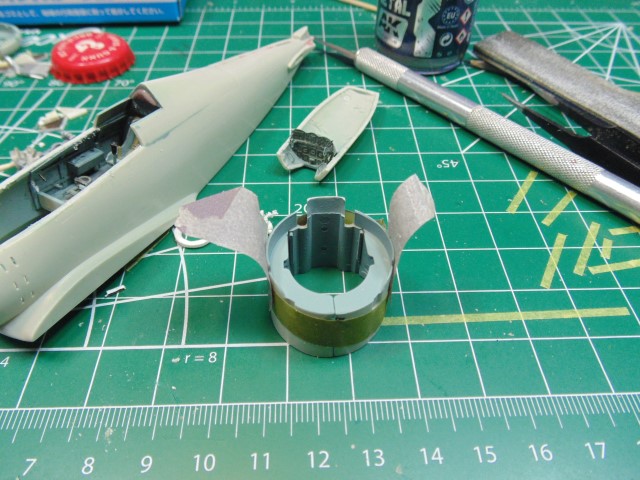
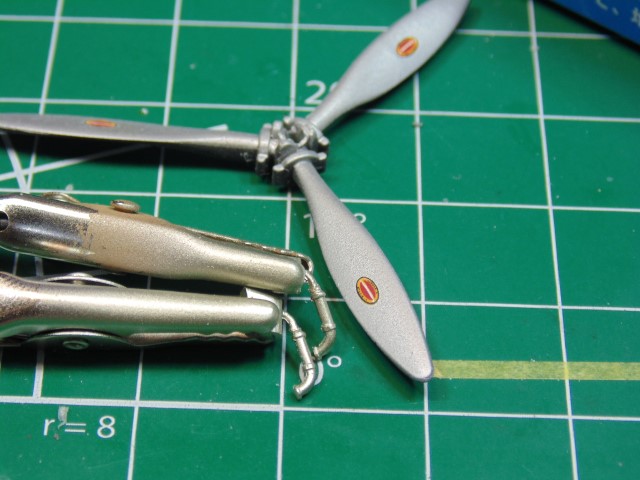
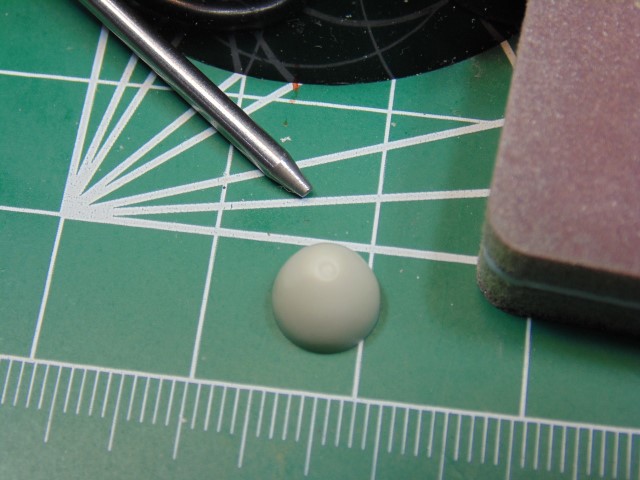
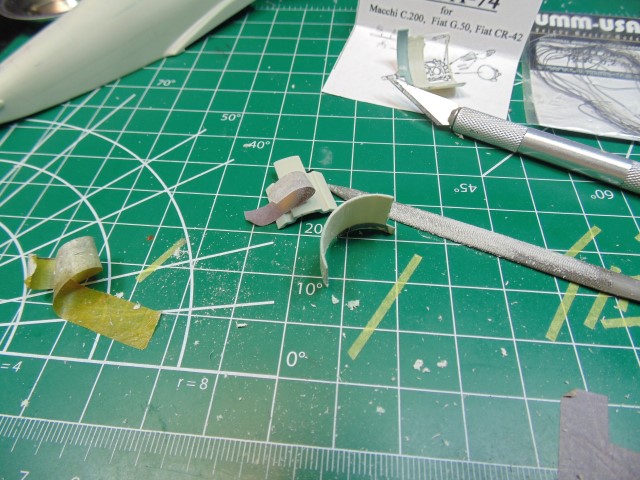
The owner wants the smaller spinner cone. After cleaning it up the tip needs to be leveled.
Then punched and notched with a blade.
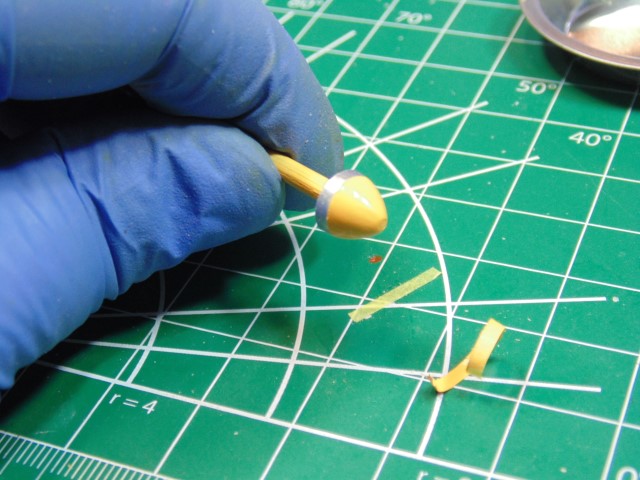
Sprayed with AK aluminum at the base then AK RC282 RLM79. Three coats went on it because of being buff sanded later after removing the tape. The demarcation line of the paint needs to be knocked down. Thus, give it a reasonable few layers so you don’t go back to plastic.
Now for the pushrods. I slowly snipped them away to get the length right at the back.
Remember, this is close-up and all minor flaws can seen, but…
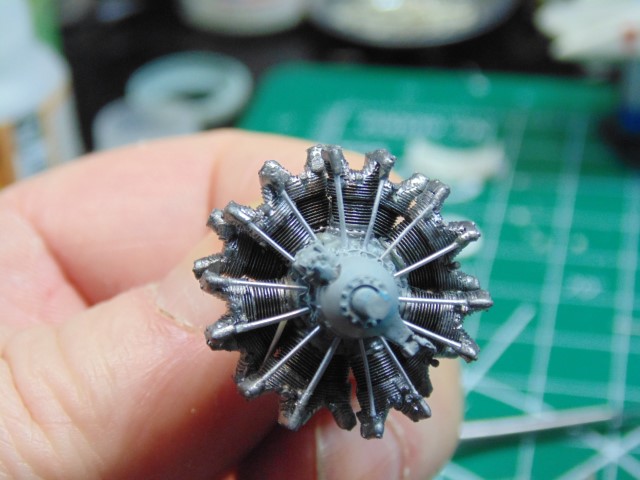
Use your PE tool to correct the alignment issues.
Because the plastic pin part was moved, due to the resin engine addition, the marrying up with the cone and prop has to be dry-fitted and carefully cemented.

Many thanks to ALL OF YOU for having a look at the progress. Huge thanks to Jim Starkweather for allowing us to post the work. Merry Christmas Everyone!
10 Likes
Hi Y’all,
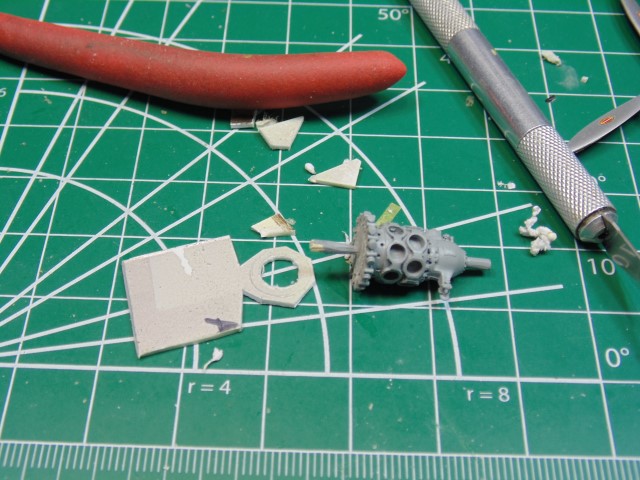
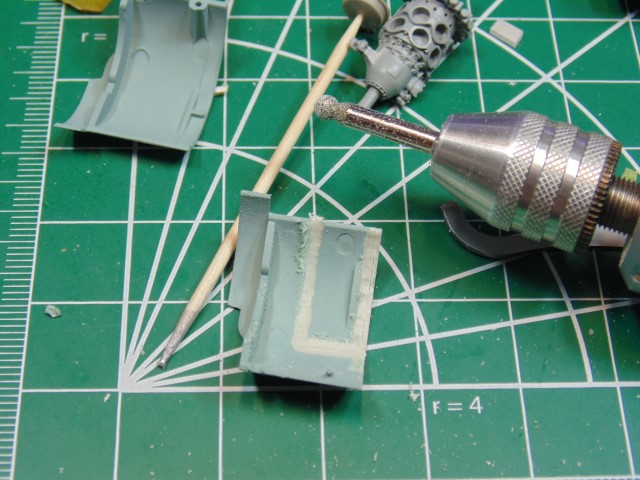
There’s no way to fit the resin engine in the plastic parts, thus some intricate surgery needs to be done.

First you have test fit and test fit it again to align parts. Clearly you can see the issue

Using a rotary tool I’m knocking off as much of the thickness as possible. You must have the clearance for the resin engine in order for it to be placed. Otherwise you’ll ruin the cylinder tops at the pushrods. Note the pencil mark for the removed plastic connection point. All this will be sprayed aluminum, washed and feathered, but the fit has to be spot on before any of that.
Attach the exhausts to make certain they don’t rise above the cylinder heads. If they do it will throw off the amount you have to shave on the cowl parts. Consider using single sided snipper for this to lessen the chance of snapping the parts.
Because the cowl will be mostly open I figured the engine should be wired up. Contact John at UMM and he’ll help. Please cut me some slack here, not knowing or even have seen an Italian WWII fighter engine. I just hope it looks interesting.
God bless.
7 Likes
Quick update.
Putting in some many hours with a hog-iron (electrical and handheld) to get the parts thinned downed.
The forward upper fuselage part still has to remain unattached and open to figure out the connection points of the engine.
Note the amount of material you’ll need to remove to pull this aftermarket addition off.
Please use some eye protection when handling a rotary tool. The right side of the cowl has to be dropped in thickness as well.
“OH the weather outside is frightful, but the sanding is sooo delightful.” Yeah, that was some pitiful attempt at humor. They can’t all be gems, but this model will be!
Thanks to everyone who eather stopped by, liked and commented.
8 Likes
Are you doing a holiday album next year? ![]()
Not that it would be any easier, but have you thought about making cowl from sheet styrene?
1 Like
Should we call you Dean Martin now? ![]()
2 Likes
I can/have make them, but the time involved is serious. You will see a beautifully replicated cowl panel in an upcoming article. Thank you Sir.
2 Likes
HA HA, Gonna need a bigger bottle of scotch!
4 Likes
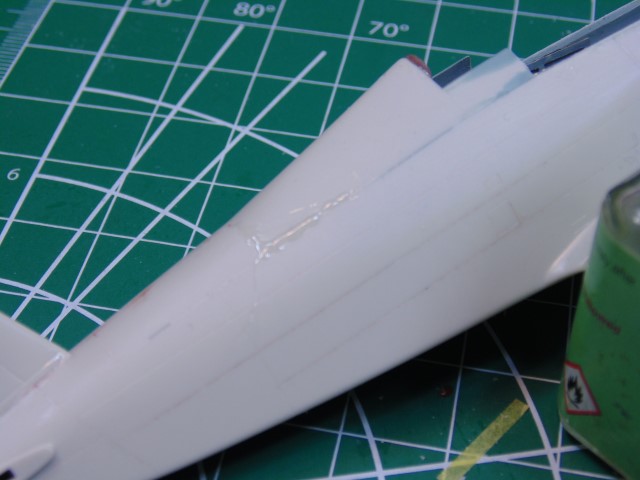
I managed to get the tail sanded smooth, plus rescribed the belly.
The elongated tail cone parts do not fit as well as the shorter ones, so filler is needed if you want a super clean look.
All the best!
6 Likes
Ok, so here we go … a massive binge catch up with this one. To start with I will be frank and just say some aircraft/vehicles or subjects do not interest me so I will flip over them quickly when a post pops up … What does always interest me are the very talented builders and engineers of these kits who put their souls into the builds to make them things of brilliance.
This was one of those builds that escaped me initially until I realised it was the trusted HG who was at the helm (or joystick in this case), so once I knew that, I was in for the long haul.
There is so much amazing detailing going on here its a real feast and hard to keep it all in focus or comment on it … the engine, cowls, cylinder heads and push rods done to perfection, the drilling, sanding all add to making the parts flow seamlessly together.
What is a testament to the skill involved is that this is just a continuation of all the builds that you do … each one super detailed and finished as to what the real thing would look like. Simply brilliant work .
2 Likes