John,
Those are incredibly inspirational words ( no kidding)!!!
The G-50 is going to an elderly man who worked his hind-end off for the FAA in the USA.
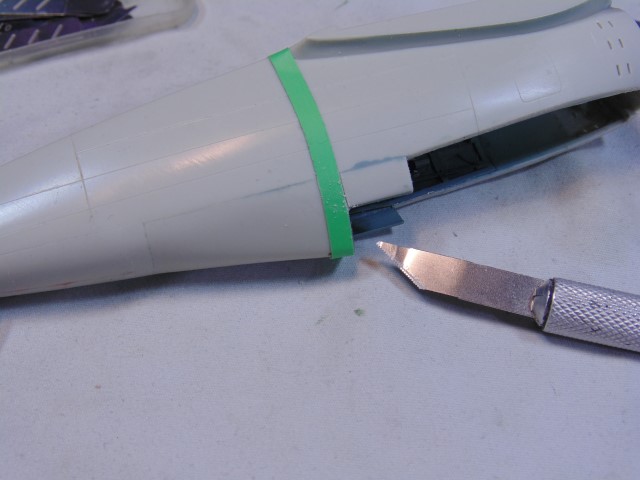
The side cockpit openings need to be sliced away to get the look that the owner wishes. Later, I’ll up-detail this.
Here, I’m using my trusted green tape as a guide helper to score lines for my razor saw. Hasagawa omits this detail. Gently run your panel line scriber for the first few strokes, then you add more pressure to deepen the line.
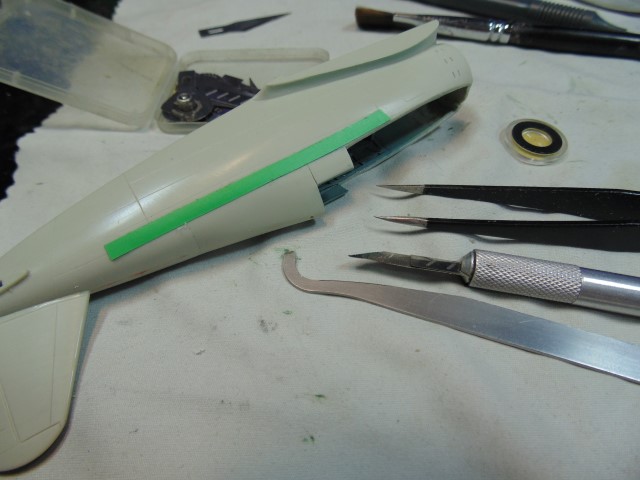
I’d strongly suggest not adding the headrest part until you’ve added these cockpit access openings.
Clearly you can see the small glass part and the cables on this cockpit access part. This will be replicated.
God bless.
8 Likes
Fantastic photo there, HG!  There’s quite a lot of paint missing around the cockpits. Never saw that on RA planes. That mechanic has a lousy job right now - loud and windy!
Greetins from Vienna!
Torsten
PS, l also use this green tape for my builds, last was the Stuka recently. But I get it here in Germany.
1 Like
Thank you Sir. The owner does not want that level of paint abrasion, just a touch here and there. Yeah that poor mechanic got his %^^& handed to him after that effort, but we’ve all been in that situation… oh the younger years ha ha.
All the best Torsten
2 Likes
That is very specific paint wear… What would cause that ?
2 Likes
Beautiful project! I have the same kit in my stash and have been eyeballing it for years as a project. What color are you using in the cockpit?
1 Like
Ten drops of XF-23 with one white, but if you’re gonna add a darkening panel wash just save yourself the time and use the 23. How many hours did I spend trying replicate that color, only for it to be completely lost with the filthy highlighting wash. Oh well, onward and upward right?
4 Likes
I can only guess, yet they polished the metal and then used a thin layer of paint. That’s the supposition from my Italian contact in the automotive industry. Thank you for watching John.
4 Likes
I seriously want to thank you guys for having a look.
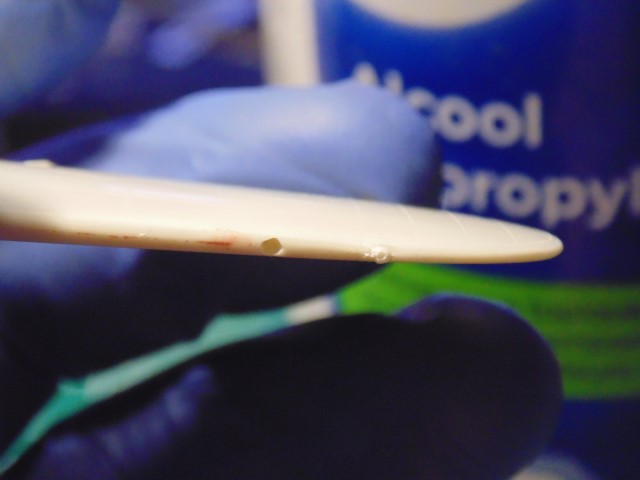
Time for the cleaning up of the dust and finger oil. IPA is always my preferred substance on raw plastics. It cleans acrylic paint off your brush nicely too.
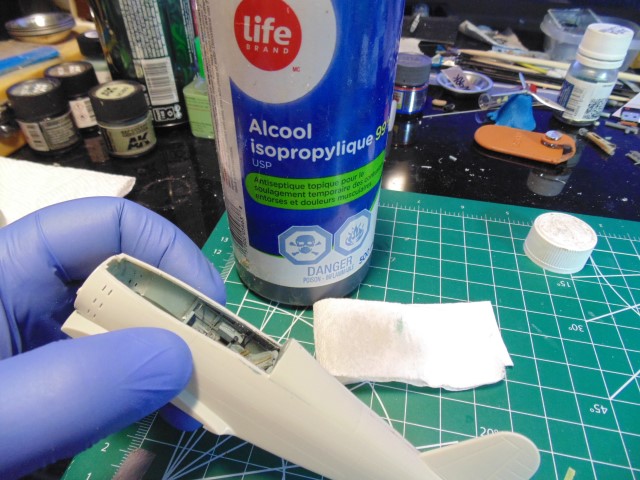
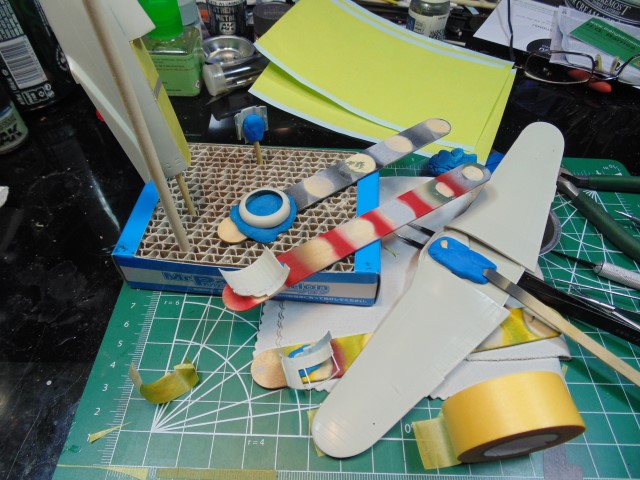
I have to, now, mask off the areas where all the work was done. Here, I’m using the outline of the upper fuselage part as a guide to mask and protect the interior work.

Obviously, I use multiple types of craft tape. I love Tamiya and Mr. Hobby tape for specialized points, yet they cost a lot when you’re doing so many projects. Consider using regular craft tape for the bulk parts. Hence the purple colored strip.

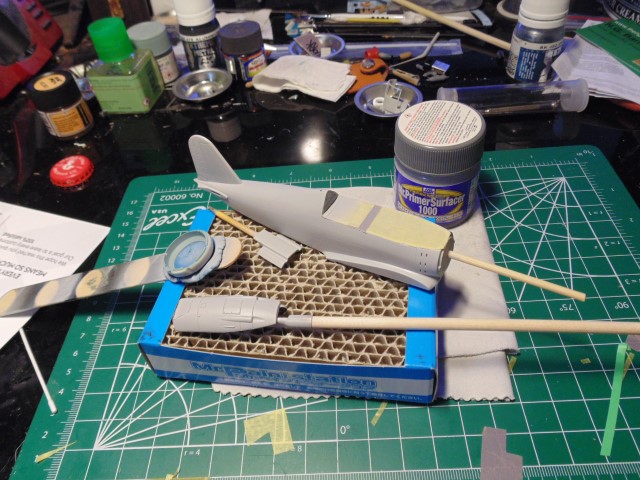
The parts in the instrument panel area need to be protected. This part has to be primed for the weathering later.
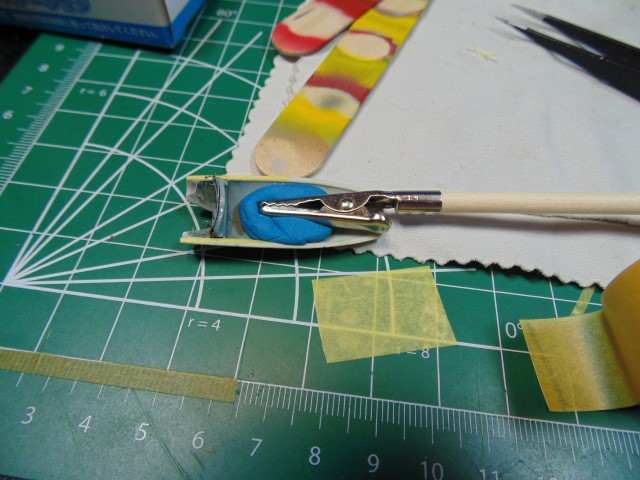
Getting ready for primer after some more soft 2500 grit sanding. Mr. Surfacer 1000 sticks really well to a slightly rough base. Poster-tac helps to keep these parts in place, but massage it a little bit prior to attaching the parts to it.
Huge thanks to https://www.sunwardhobbies.ca/ for shipping my supplies to me in a very timely manor.
You Modelers are incredibly inspirational.
7 Likes
Same for me when I read NVA, Carlos. For me it means Nationale Volksarmee (former East German Army), while you guys speak of the North Vietnamese Army … 
1 Like
Now I want an ale… bottoms up boys ha ha.
3 Likes
Quick update,
Most parts are now primed.
I won’t bore you with every single part being in a photograph. You know what I mean.
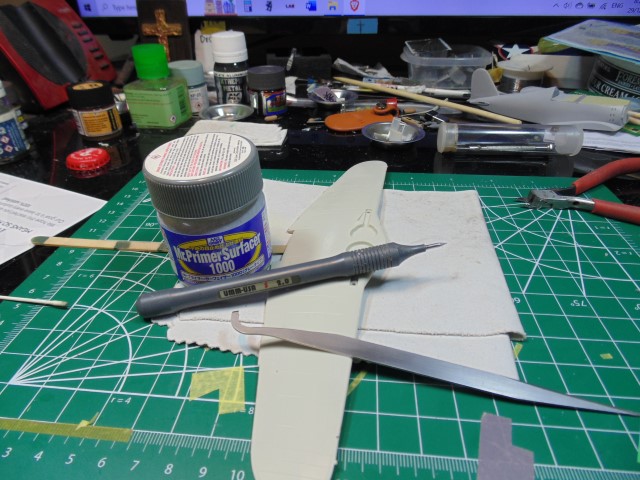
Rodger and I have consulted about the fine details of the navigation lights. The panel lines need to be, in my opinion, deepened due to the layers of primer, paint and weathering.
Short post, but it is about 11 hours of work.
Thanks for having look and God bless.
7 Likes
All the best for the New Year HG 
1 Like
The very same to you Russelle and your family and close friends. You’ll be in my prayers for good health and a joyous 2023.
2 Likes
Sometimes those hours whizz by and you think wow … What happened then lol… Looking good and all progress is good progress
2 Likes
Gosh, I forgot to reply in a timely manor. Life stuff happens. So true John about the time, then you get a call from woman in her 80’s asking for help.
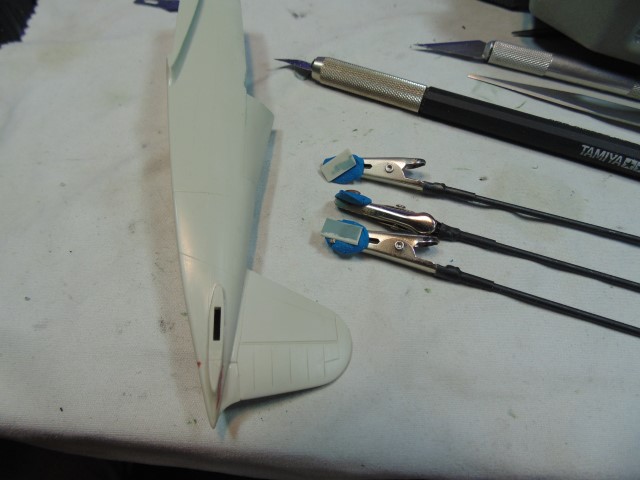
There are several issues dealing with “the details”. First, is the opening for the 1/48 pitot tubes points. Obviously, you can see the hole is too large and malformed. Now it might sound ridiculous but I’m gonna pre-fit the handmade metal tubes and let the plastic filler setup. I’ll add some wax to the tiny metal tubes, now’ve been polished, they were sanded clean.
The nav lights on this kit are a task. The one side is smaller than the other. After filling the micro errors in the wing seam lines I finely sanded the edges. Yeah yeah there’s a bit of dust on the edges and it will get brushed away prior to priming. Guys, use a magnifier for heaven’s sake… save your eyes and the work. A point 0.2 drilled cored out the hole for the handmade lightbulbs to be inserted later. Again, just a pictures, yet many hours in the making.
All the best.
7 Likes
Sometimes it’s good to cleanse modeler’s other things ( lips , gums , mouth … )
with IPA - doing so right now .
4 Likes
Thanks Tim. Happy new year!


