Filling this normally wouldn’t be bad, a little filler, some sanding and done. The issue is that there is some fine detail in the splitter plate, little dimples that on the real bird break up the boundary layer airflow on the splitter plate. I am worried about ruining this detail in filling the gap. Full disclosure this is my second set of intakes, I totally messed up the first set. I am thinking Mr surfacer and alcohol on a Q-tip but I am worried about the Mr surfacer clogging the fine detail
I would add tape across the area to protect the detail. I might also use Vallejo Putty instead. Similar idea as Mr Surfacer but with water and a lighter type putty then Mr. Surfacer. Might be easier to work with.
If the parts are styrene:
Stretched sprue. Stretched to roughly the same thickness as the width of the gap.
Glue in place with VERY small amounts of Tamiya Super thin or equivalent pure solvent “glue” .
Lay in position, apply solvent with the smallest brush you have, 00 or 000, from the left in the image, i.e. on the side that is away from the dimples. When the styrene has hardened again shave off the excess with a sharp nr 11, modelling chisel if you are confident with using these. An alternative is a fine cut flat needle file.
Think I’ve seen something like this before. Using 'VMS Flexy 5K Black Thin CA (VMS.CM11), allow it to flow by capillary action into the joint. Since the CA is black, you’ll be more able to distinguish between the filler and detail. HTH.
Another option is Vallejo putty, being acrylic you can remove it with some water before it dries, and even after dry a tooth pick can clean it as it does not bond to the plastic. For small gaps and cracks it is my go to.
I’ve been using this technique for years - and I thought I invented it! When done properly, and with stretched sprue from the same kit, after sanding and polishing, the joint gap will have totally disappeared.
I tried stretched sprue on my first pass, one issue is that dimple detail is right on the seam, frustrating since on the real thing the seam and dimples are about 6 inches apart.
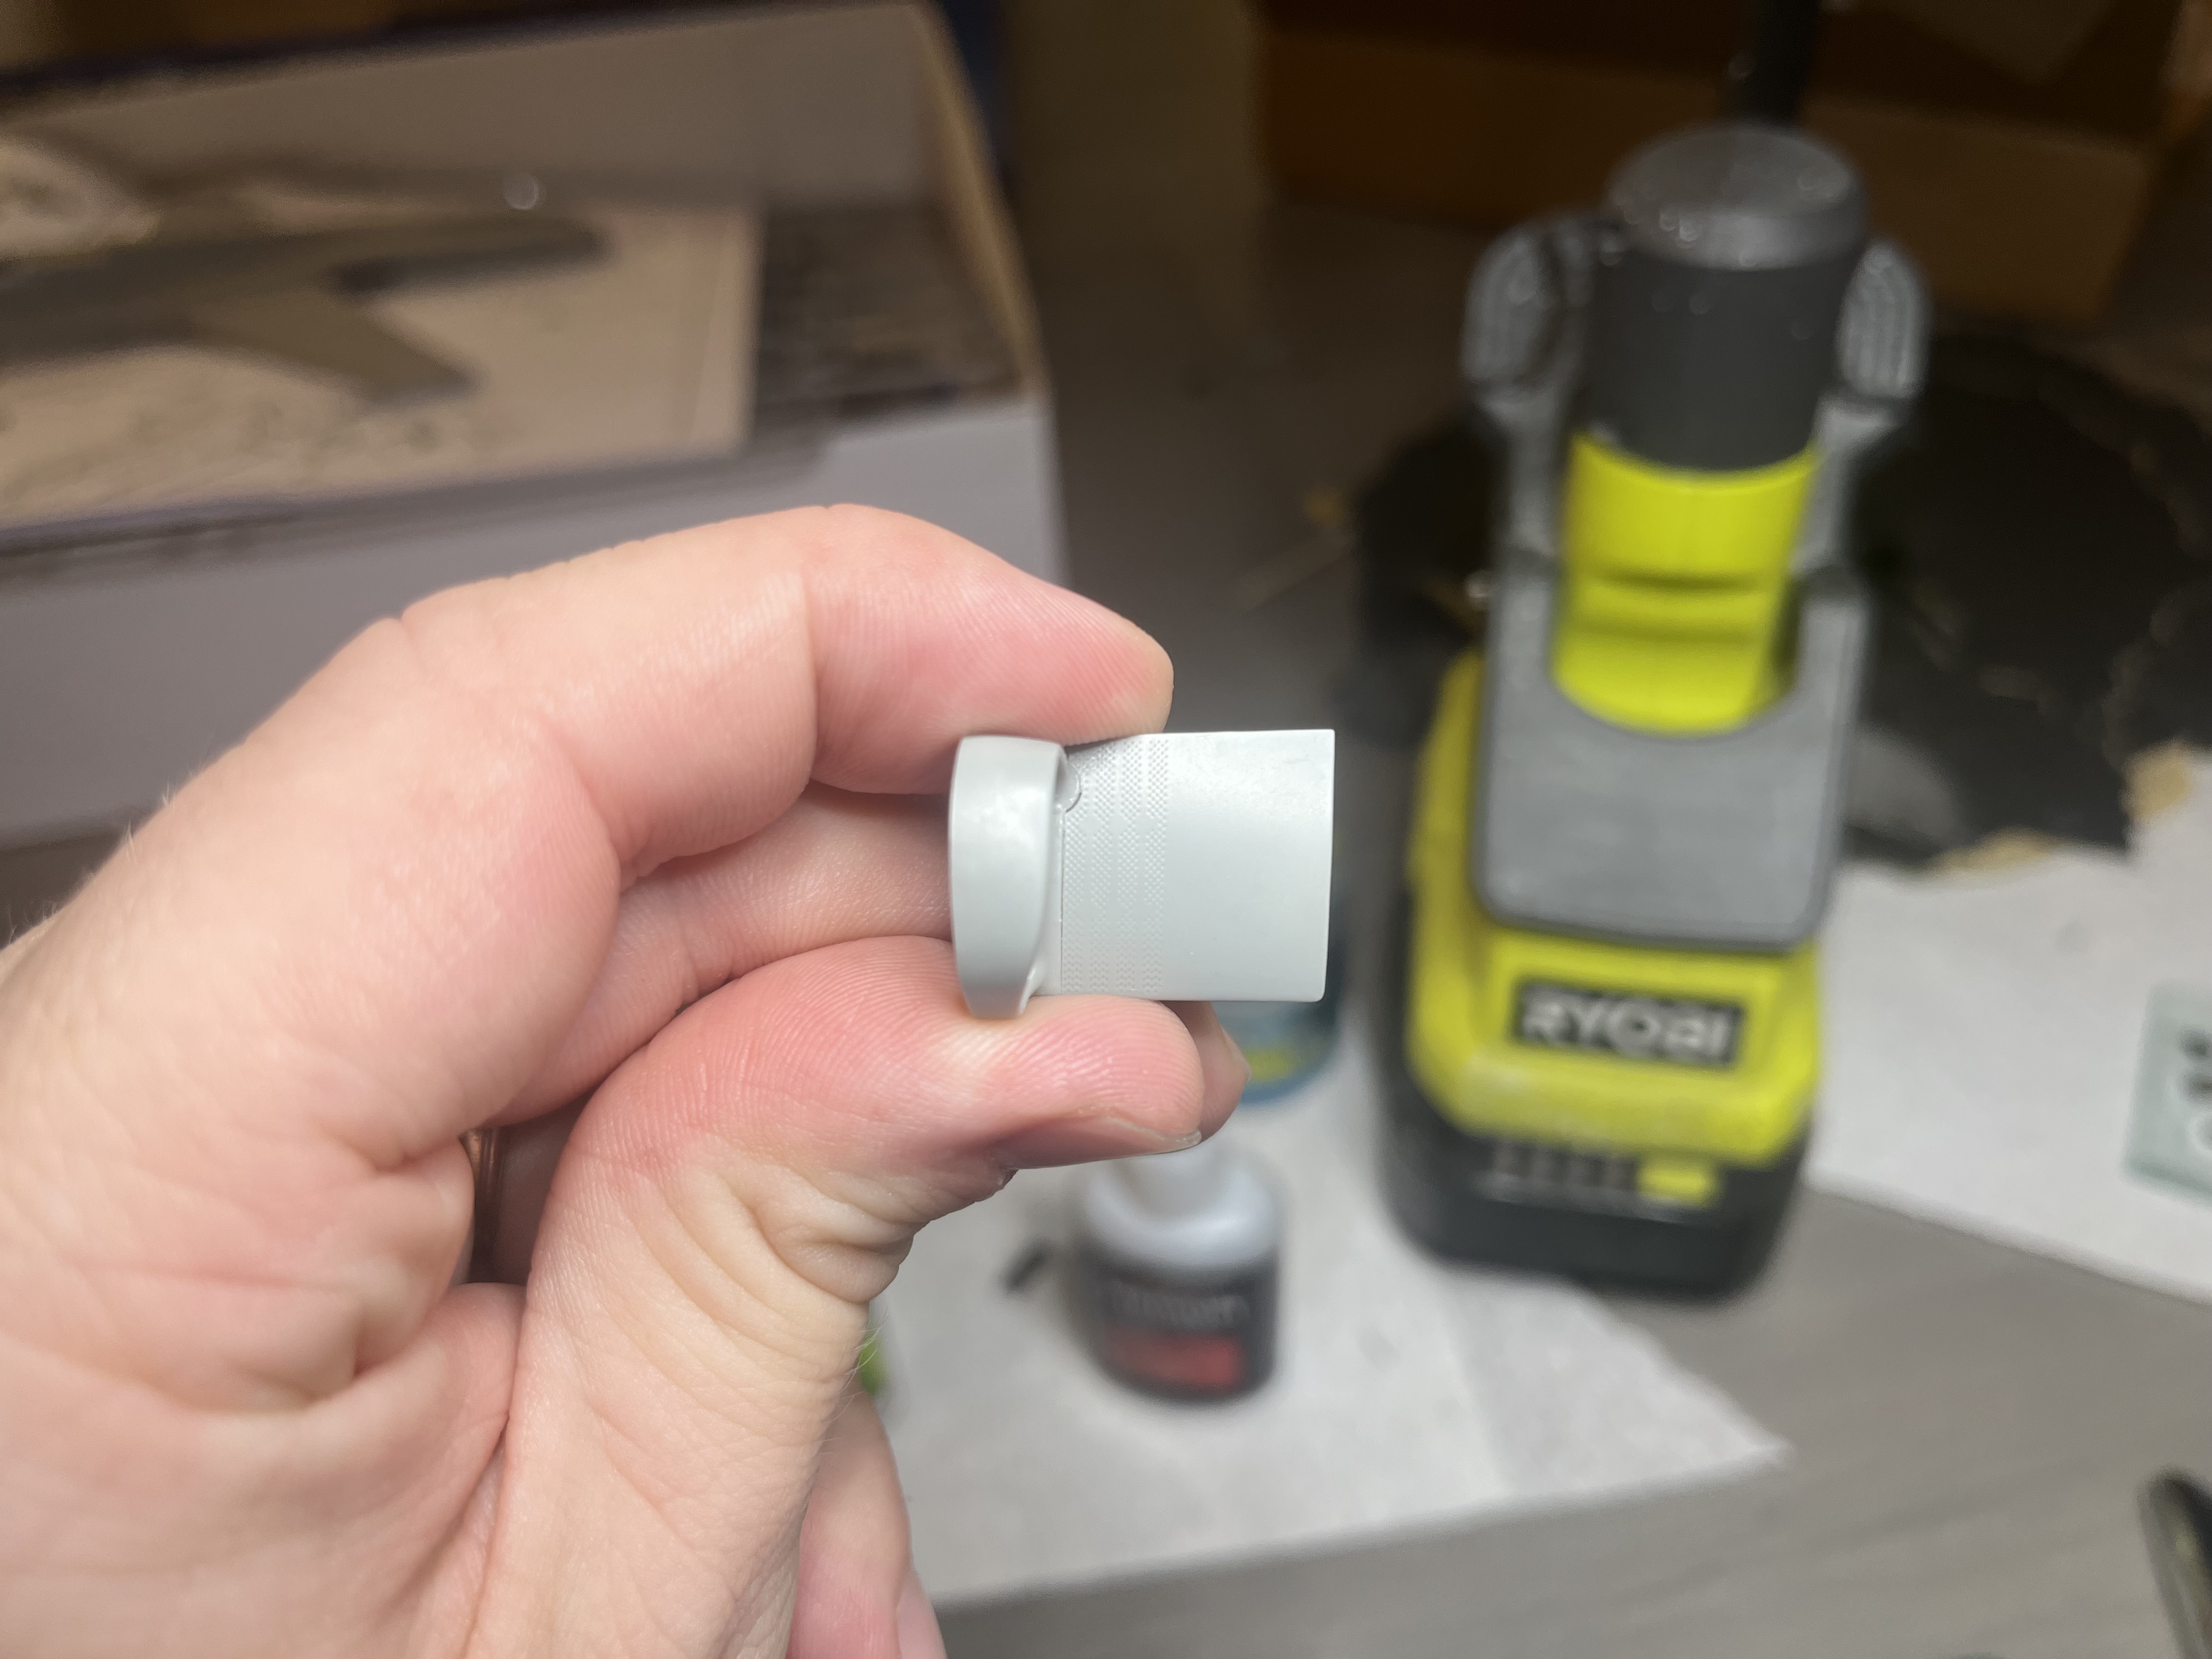
I decided to pick up some Vallejo putty. Stuff looks pretty legit
I have found Games Workshop’s liquid Greenstuff a great cheater for filling gaps where sanding might remove detail
You can thin it with 92% alcohol and stipple it into gaps with a paint brush; don’t sand it but carefully remove the excess with cotton buds moistened with that same alcohol