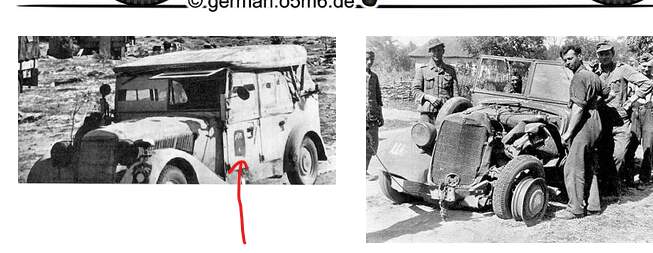
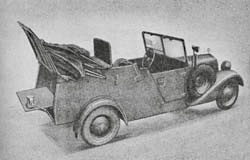
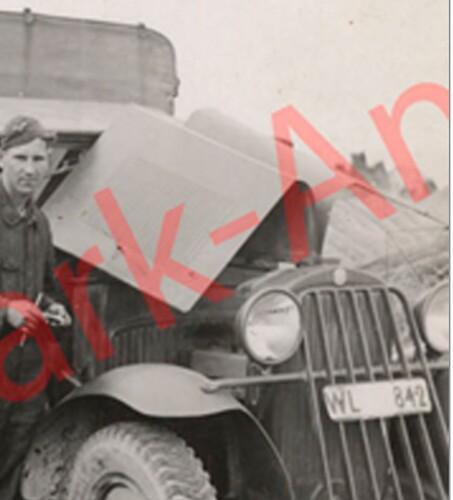
Better/Larger photo
I think there are pix of Rommel standing up in one with the windscreen folded down on the cover of the book, “Inside the Afrika Korps” by Col. Kreibel
Yep they were but the Kubelwagen 82 was better suited to the conditions, particularly the sandy terrain, so not many VK170 ended up in the desert.
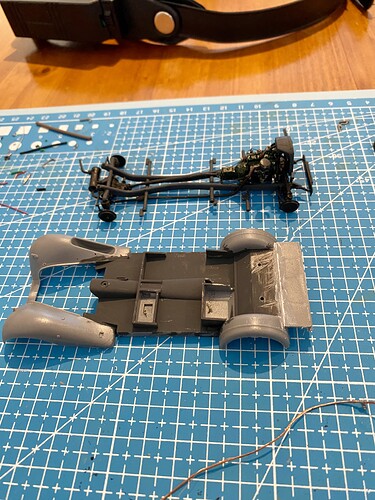
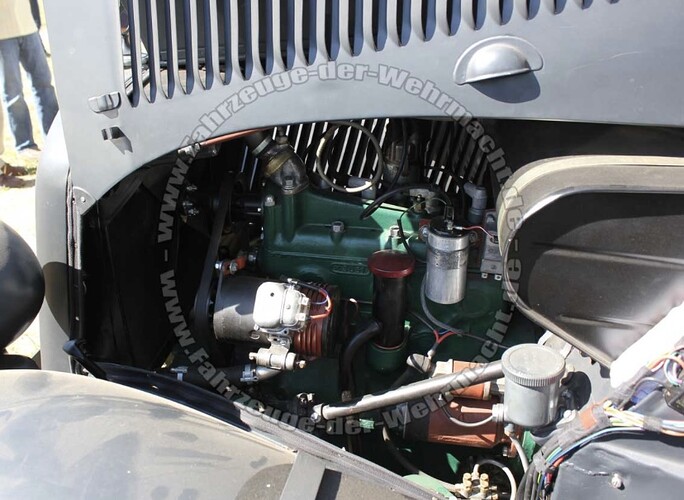
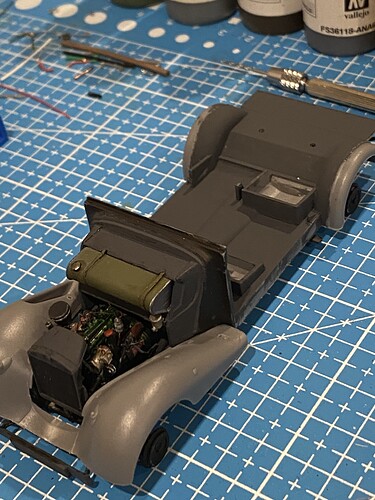
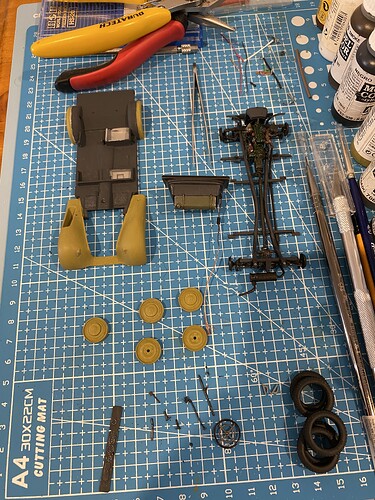
And continuing on. I’m going to mix up how I assemble the last parts of the vehicle. This is because I want to have the engine open to view which means the bulkhead/fuel tank needs to be completed which means the dashboard and foot well area also need to be done.
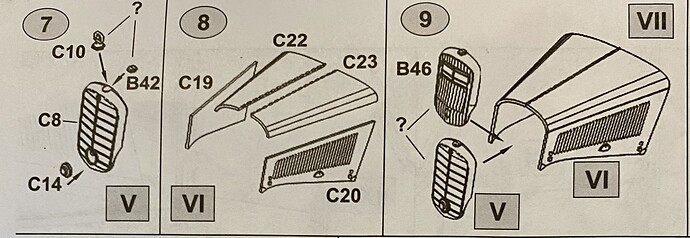
The instructions call for the upper body to be completely finished before marrying up to the chassis.
I’m going to assemble the front end first, add the suspension to the body which will have the front part assembled. I’ll then finish by putting on the rear part of the body.
And a mate who is now visiting our feeding area daily
the fat sod!
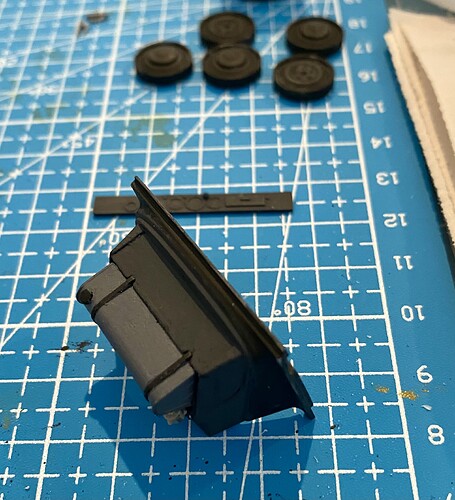
The fuel tank undercoat and first coat
And the reference photo to show what I’m aiming for
And apart from Cockatoos, Blue Wrens, Honey Eaters, Magpies, Peewees etc…, we now have the local Ibis mob coming to visit. The Ibis is more commonly known as the Bin Chicken given they eat anything and will messily rip through garbage bins.
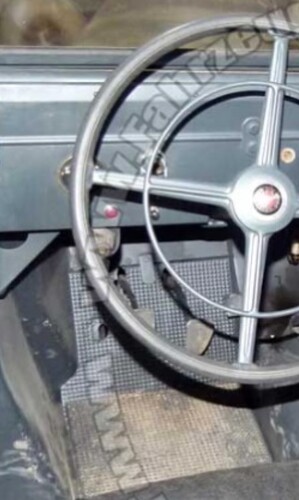
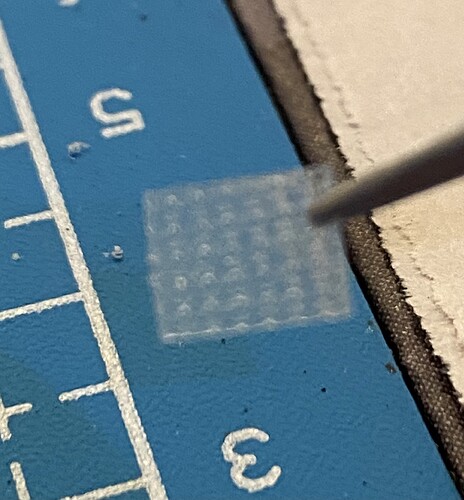
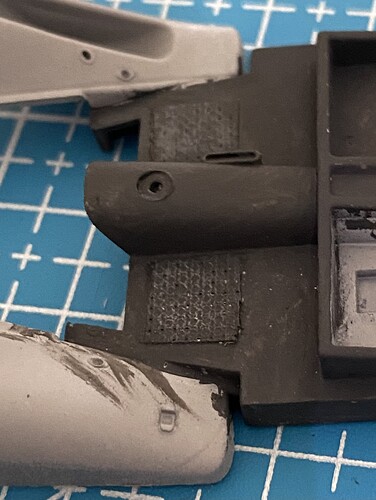
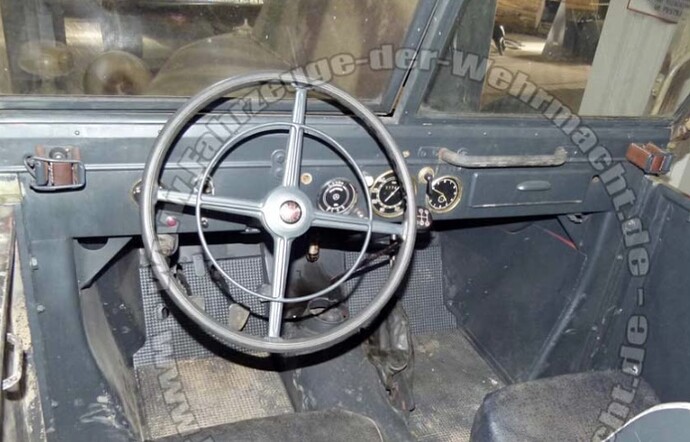
Doing some bits around the dashboard and foot wells. Reference photo (from fahrzeuge-der-wehrmacht.de) shows some floor mats which I’ve tried to replicate.
I used bits cut from a 3M medical tape ‘Transpore’. This one has a similar pattern on it to the mats.
In place I think they look ok and will get some weathering too.
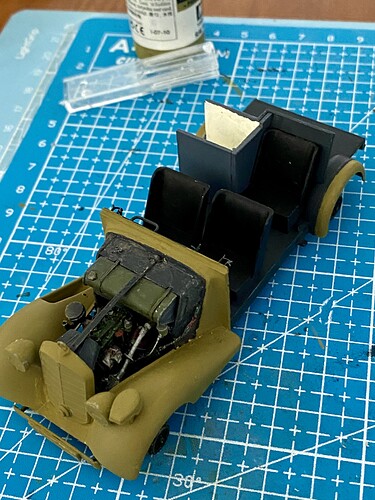
And a bit of an overview. Still ticking away at the front end. Hopefully finish and fit the dashboard along with pedals and steering wheel etc…, tomorrow.
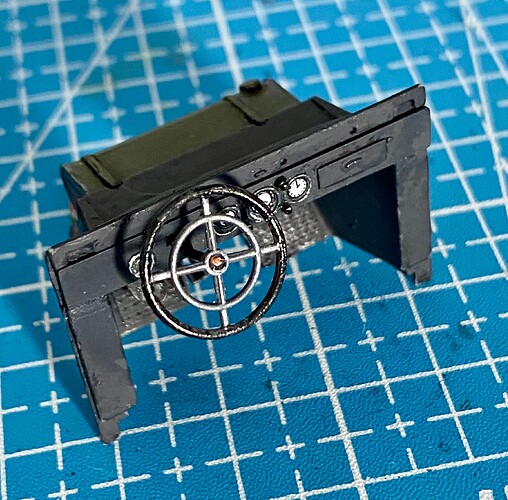
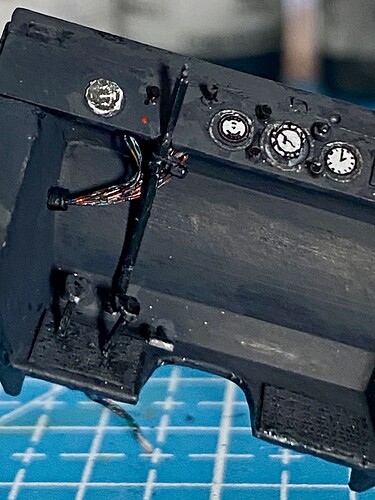
Dashboard done and I’ll weather it a little bit once secured in place.
Reference photo again from the excellent website fahrzeuge-der-wehrmacht.de
And my effort;
And wiring under the dashboard;
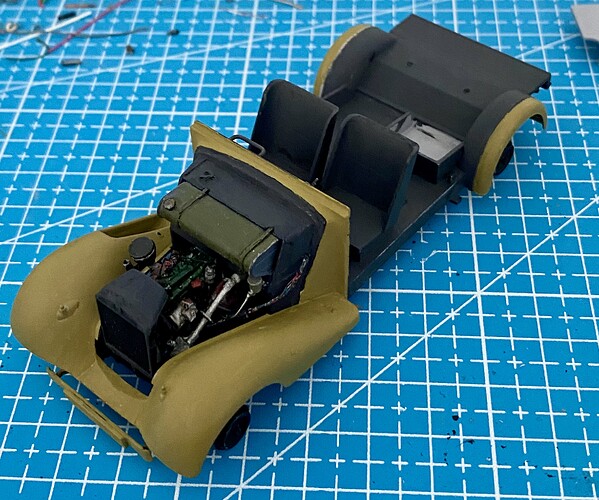
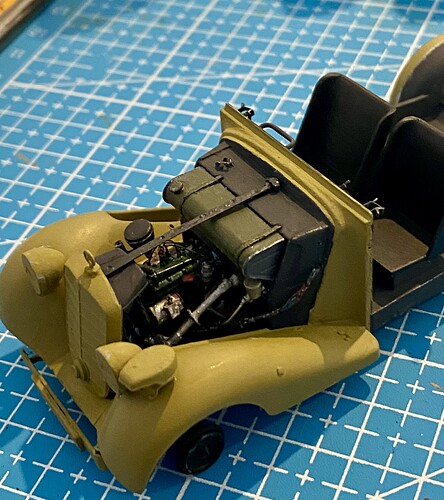
Update is that the suspension with engine has been connected to the lower part of the body. Painting certain parts that would be hard to get to later, has been done. Weathering will be done on completion of the whole vehicle.
The hood still needs to go on but I’m getting ambitious and want both sides open. I’ve got an idea how to do this but I also saw on the 1:1 versions there is a metal bar that runs in the middle of, and under, the bonnet from just below the top of the front grille to just above the petrol tank. This is used to support the centre hinges for the bonnet and is not on the model. On the model the two sides of the bonnet marry up to each other meaning only one side or the other can be kept open. I’m going to replicate that metal bar and hopefully use it to support having both sides of the bonnet open.
Whilst that is progressing I’m also getting ambitious about which version I’ll end up with and would appreciate any thoughts.
There are three versions which could come from this; the radio car (as per the instructions for this model), the telegraph or line laying vehicle and the minor repairs mechanics vehicle. With some scratch building all three versions could be made from this kit, using where I’m up to now as the common standard base.
I’ll also note the Kubelwagen 82, the Stoewer and the Mercedes VK170 were all used for all three versions, apart from also being basic troop transport. I’m sure there were other vehicles similarly used but these appear to be the main three.
Firstly the radio version would mean following the current kit instructions (with little tweaks like roof on or off etc…) and most required parts are in the kit. Step 28 has two poles secured to the right side rear of the body. This was actually only for the telegraph/linesman version with the radio version having an antenna secured there. Easy replacement.
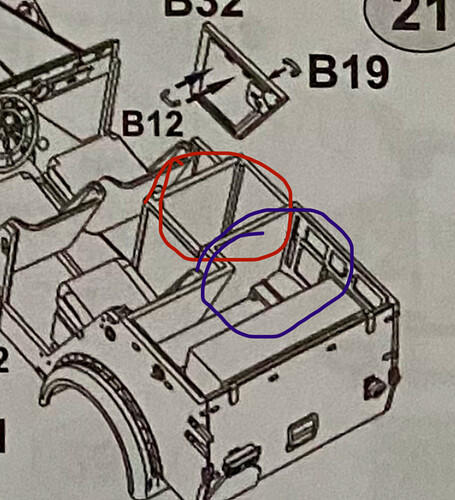
I’m unsure though about the box structures in the rear seat. This is on the instructions. The one circled in red I’ve seen as being a stand alone box that opens for storage and is used to sit the radio/battery on if using inside the vehicle. The one in blue is less clear as it could open into the boot or could be an extension of the aforementioned box.
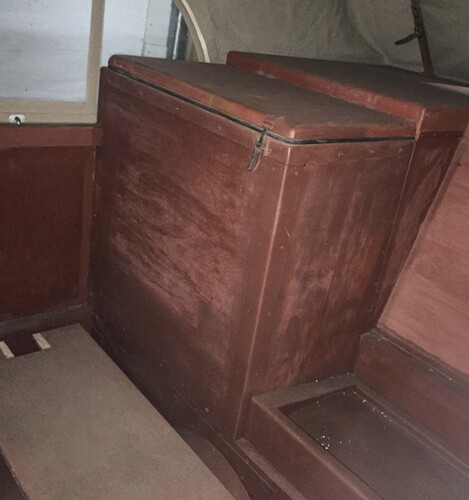
This restored version looks like the boxes are together.
Any suggestions as to whether it’s two distinct boxes, and whether the second box is open to the boot?
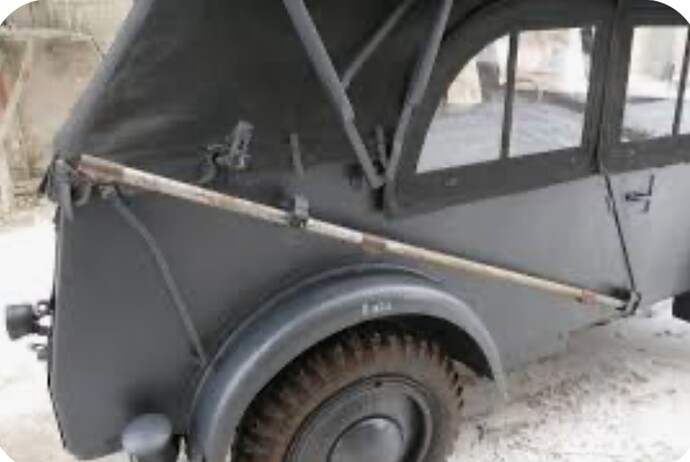
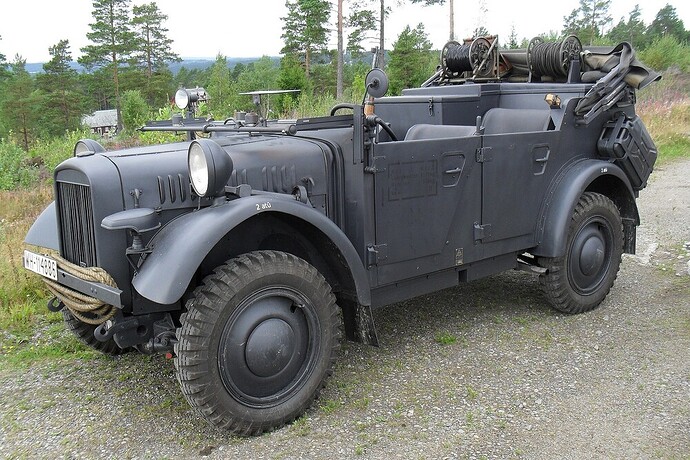
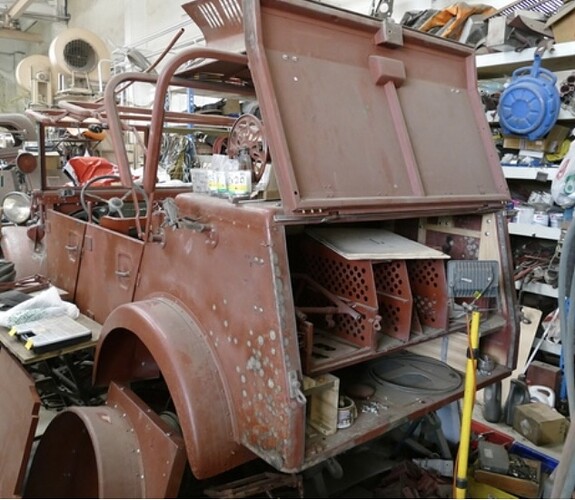
There were multiple configurations of the telegraph/line laying version. The one I’m considering carried two reels of cable on the rear deck, just in front of the folded down canopy. It also carried two more reels in the boot, one on either side with a zinc frame in the middle to hold equipment.
Others had a reel on the right front mudguard or only one reel on the rear deck.
This photo is the Stoewer version but principle would be the same.
And this is a Stoewer version being resurrected but shows nicely the boot configuration.
The third version and the one I really want to do, the minor maintenance version, may have to wait. I’ve seen photos of the Stoewer, Horch, the VK170 and the Kubelwagen 82 in this configuration. As per the telegraph vehicle there are multiple ways to configure this.
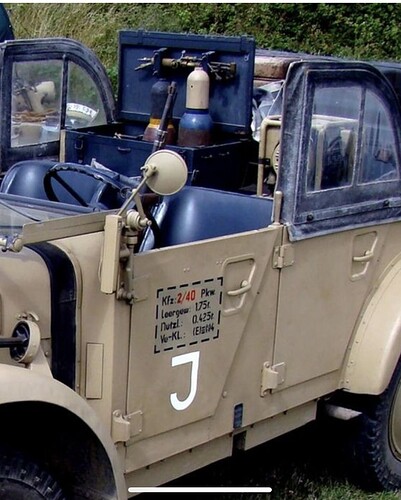
The VK170 had oxy- acetylene tanks either in the wooden box in the back seat, or the seat in back of the car was removed to stand them there with the box used for other tools. A table was slid out from the boot as a work station with tools etc…, in the boot in boxes. This also kept the three door configuration, like the radio and telegraph versions.
The Stoewer made similar use of the rear seating area and also had a work bench in the boot with folding legs. This also kept the three door version except for on some where a narrow door (1/3 size of the full car door) was put in behind the front passenger seat and the car’s window frames when taken off could be stored there just in the space in front of the wooden box in the back seat.
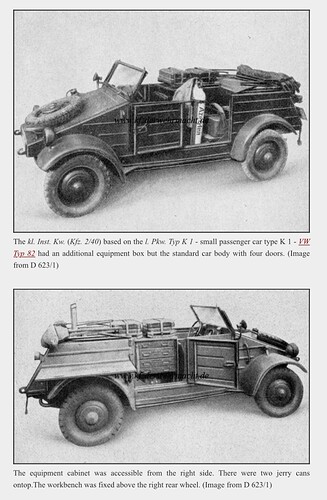
The Kubelwagen 82 had four doors but retained the wooden box in the rear seat. This box had multiple sliding drawers which were accessed by opening the rear right door. A work bench was attached to the rear right side of the vehicle and folded down for use.
Good interesting update and a lot of great detailing and painting being put into this. And a not very often heard of or scene topic.
Ta @Johnnych01
Still ticking away at bits on the front end. This is with the centre bar fixed in over the engine and the front grille in place.
And a reference photo to show what I’m planning in terms of having both sides of the bonnet open.
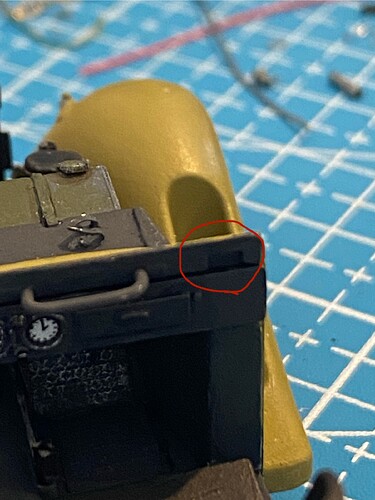
I also had two odd bits that sit in this spot (circled in red),
either side of, and just above, the dash board. They’re like two angled wedges but don’t seem to have a purpose. They’re not to hold the windscreen. I can’t see what they’re for and all 1:1 reference photos show rifle holders there. So I scratch built some rifle holders for those locations and binned the two odd bits from the kit.
Still ticking away at different points and jumping around the instructions so I can do the interior fit out of the rear of the vehicle last.
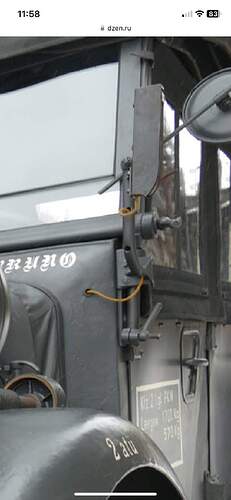
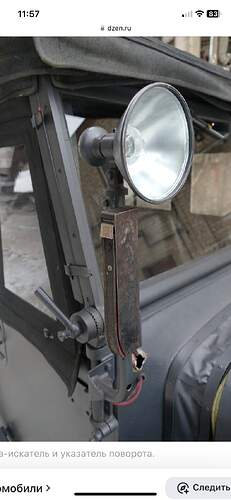
I’m also putting some colour on different parts and constructing some of the peripherals like the side indicators/wing mirrors. I put those together last night and I’m not overly happy with them so may just scratch some to look a bit more like these;
I’m still torn between building the radio version or the telegraph/line repair version but tending towards the latter particularly after seeing the radio version made by @brekinapez that is really nicely done and covers the subject well. To do the telegraph/line repair version I have most of what I need but will need to get some cable reels from somewhere. Most will have seen those on the trailers in 88mm kits. This version would need at least three reels (two in the boot and one on the rear deck). Unsure if I can scratch build those.
I will build the minor repairs version in future but for that I’ll use a Kubelwagen 82 that I have in the cupboard.
Put in the rear seat and equipment box. I was going to paint the equipment box in mahogany as per a reference from a rebuilt 170 VK but realised their rebuild was using timber to save money. The original version’s equipment boxes were made of metal sheeting and painted along with the interior. I’ve painted mine a similar colour but slightly lighter grey to reflect an equipment box that’s been replaced at some point. The inside of the box is painted elfenbein and will get some other bits added.
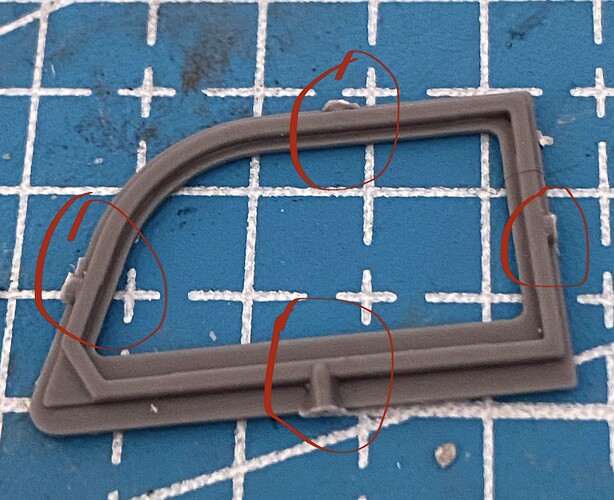
Also prepping the windows (windshield and side windows) for painting. The windshield snapped coming off the sprue (as predicted in a Nostradamus like manner by @brekinapez ) but it was able to be fixed.
I’m making the convertible version so the side windows won’t be on the vehicle, but I’ll scratch build a little rack to sit between the equipment box and the front passenger seat which is where the windows and frames were stored when not being used.
A note here about the parts. The side window frames have a bit of clean up (circled in red below) that I can’t help but think could have been better made. The windshield didn’t have this sort of clean up required although was more fragile.
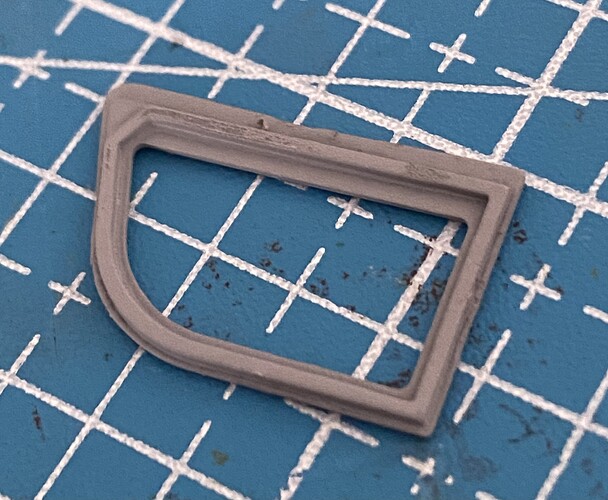
Cleaned up ok though with some time
Well we did warn you – but that said you’re putting up a far better fight than I did, I’m very impressed ![]()
![]()
You are sure doing an outstanding job on a difficult kit. Very nice results!
