I don’t recall mine having any such border represented on the side ‘glass’. They were just clear plastic panels in the shape of the openings. I suppose you could paint the canvas frame on but it would look odd. Maybe fake it with a strip of tissue or something around the perimeter?
2 Likes
Yep the wide border is there for what would be the outward looking parts of the window, but not the inward looking. I’ll take a photo to explain better. I’m thinking a thin strip of styrene on each side once the plastic is glued in place, will look ok.
Outside
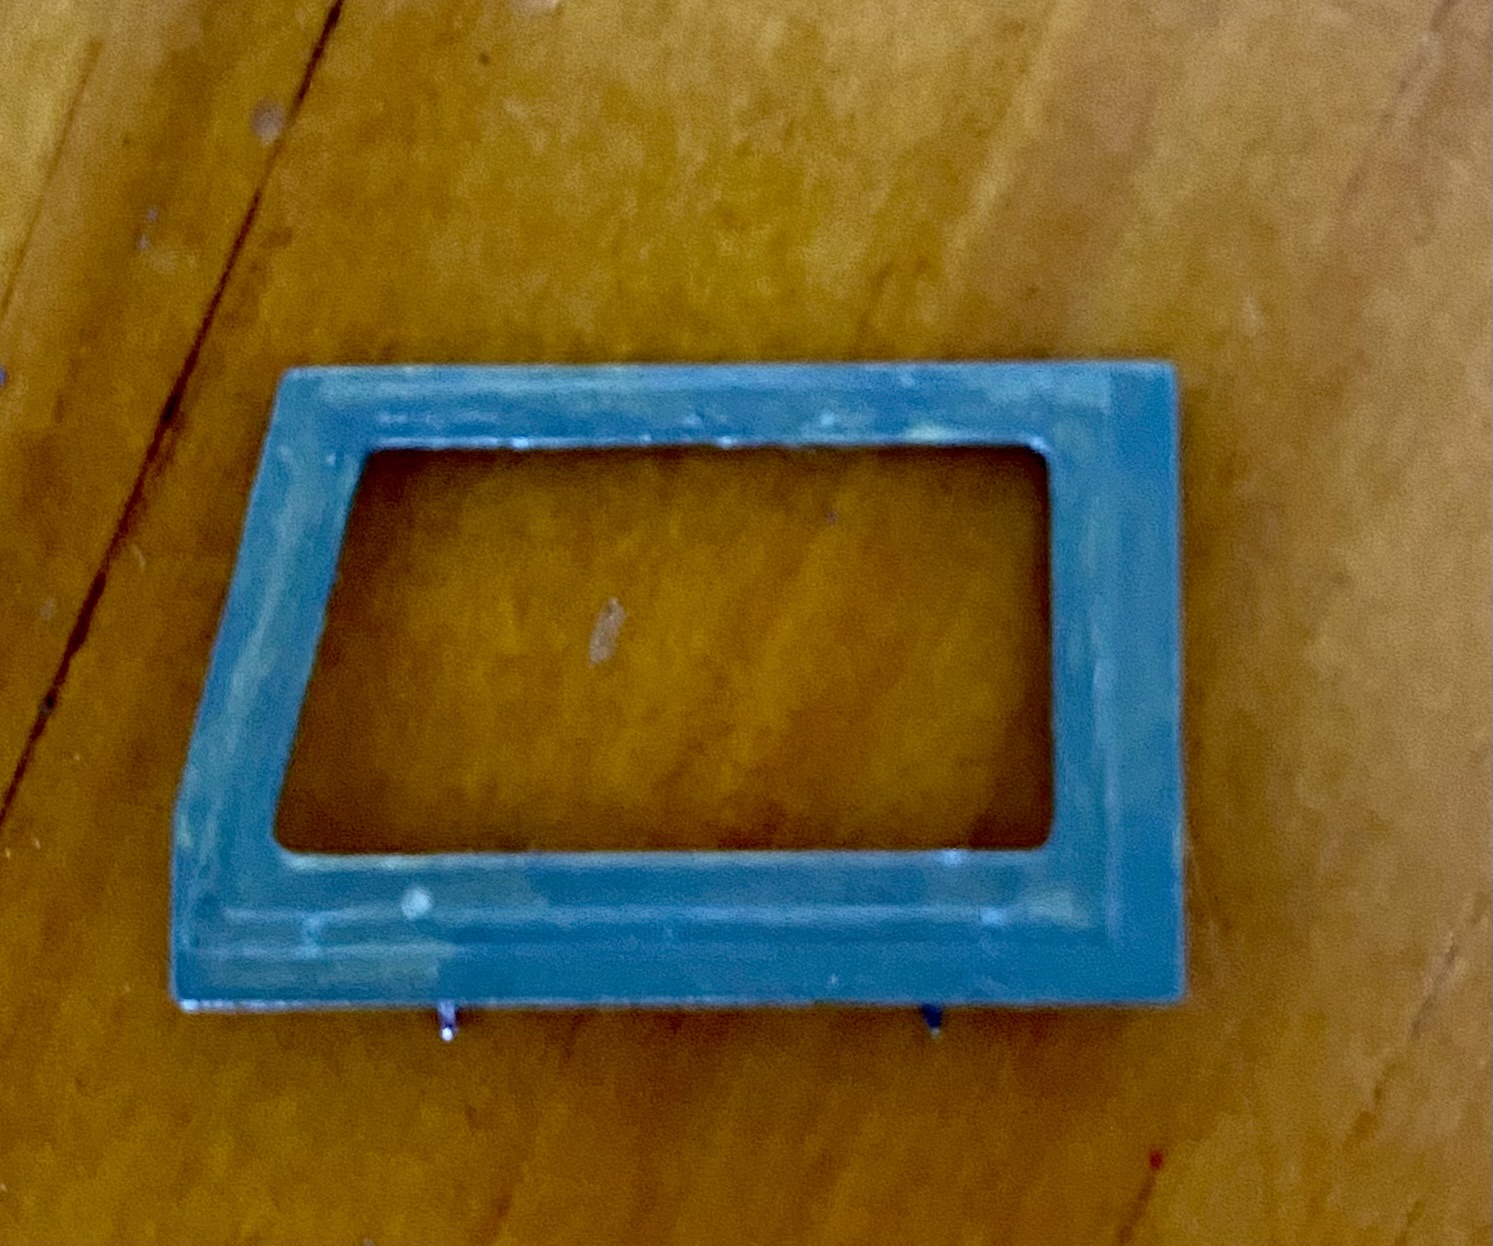
And the red circles are where the edge of the plastic will be glued, and will show through.

And no to the drone show. I’m sure we’ll see random acts of fireworks over the course of the weekend though!
3 Likes
Likewise – and yet you got the split windscreen version like Sam’s, whereas I got the single-windscreen version. Normally I’d search to work out how many versions MB produced but I lost the will to live on this kit years ago ![]()
2 Likes
Still wrestling with side and front windows so thought I’d achieve something at least by putting wheels on.

7 Likes

Nope. It all, i.e. in 1/35th scale, began with this kit:
which entered my stash on the 17th of October 1997
2 Likes
could apply to sooooo many kits!!
2 Likes
I know it’s too late for your great build, but Plusmodel makes some PE cable reels (set #085)

H.P.
5 Likes
Dammit! They would’ve been spot on! Thanks for finding those. I may look at getting them so I’ve got some on hand for future builds
2 Likes
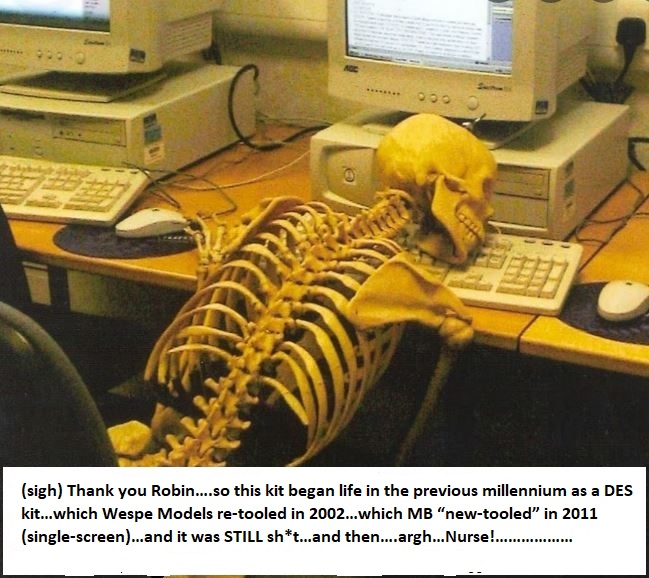
So this is the latest update after some frustrations with the side and front windows. This was also complicated by some days of ‘shaky hands’ that is not really helpful whilst modelling.
(Shameless borrowing of a .gif to illustrate my point, from one of the best movies ever)

For the front windscreen, following some very useful comments from resident experts and all round competent adults, I needed to fix the look of the windshield. This was to replicate the rubber surround for the windscreen that is set inside the windshield frame. After looking more closely (as an old boss was fond of saying “look with your bloody eyes, not mine!”) at the plastic windscreen from the kit, I considered that the plastic used for it was too chunky. This was contributing to the windscreen not fitting neatly inside the frame. I’d also smeared glue on the edges when trying to place it in position and this had provided a smoky look to the windscreen.
So I found some thinner perspex and cut windscreens to size then tried different ways to replicate the rubber surround. First off I tried a thin piece of wire to wrap around. Didn’t work on the corners as I couldn’t wrap it then glue it on tight enough. I then tried a correction tape that I use for belts/straps. This is black in colour and has a sticky tape type of adhesive on one side. The non sticky side has some texture to it that is almost cloth like at 1:35 scale but also has a matte look similar to a rubber windscreen seal. It looked ok but I couldn’t wrap it thin enough around the outside edges to look like a thin rubber seal.
I finally tried a permanent marker (‘Sharpie’) and that ended up looking ok. At this point I again tried a suggestion from @Uncle-Heavy about using nail polish remover to bond pieces as I had already muffed up the earlier pieces by getting glue on them. In trying to put the perspex windscreens into position I couldn’t get the nail polish remover to hold the pieces in place. It also removed the permanent marker from the perspex. Furthermore, in a ‘lightbulb’ moment this step showed me I’d cut the new perspex too small. If I’d used the correction tape or the wire around the outside of the perspex they would have fit perfectly but not using the marker method.
So I cut new windscreens and, after a successful dry fit, I will try to secure them in place soon.
Photo is of my front windscreen efforts. The bottom two (split screen windshield) are the originals that came with the kit. Too thick. The middle two are my first efforts that were too small for the space. The top two will hopefully be correct and go into position soon.

And the successful two candidates about to move into their new home.

7 Likes
Sweeeet, I think you’re on the right track, it should kill the white-edges issue & the thinner the “glass” the better. (FWIW I’m more a Young Frankenstone fan)
3 Likes

5 Likes
The solvent glue method depends on a tight fit between the parts or
using force to hold warped parts in place.
In a roundabout way this forces the model builder to ensure good fit
and thereby reduces the need for putty afterwards.
2 Likes
Ah so user error……again! Very common occurrence at my little work space! Ta for the clarification. I’ll try again with next build
1 Like
The solvent method relies on capillary action and capillary action depends
on capillaries being narrow gaps.
3 Likes
If you need an old style chuckle fest, Blazing Saddles, Young Frankenstein and Airplane.
Then zip tie a full left wing liberal into a chair and make them watch every second ![]()
![]()
Oh yeah, clear parts look great ![]()
5 Likes

5 Likes
So weird to me how Brooks is about the only person left alive from the “Blazing Saddles” cast.
3 Likes
If I ever get a full on left wing liberal tied into any chair of mine, the last thing that’s going to happen is to let him watch TV!
3 Likes