I’m a glutton for punishment! ![]()
2 Likes
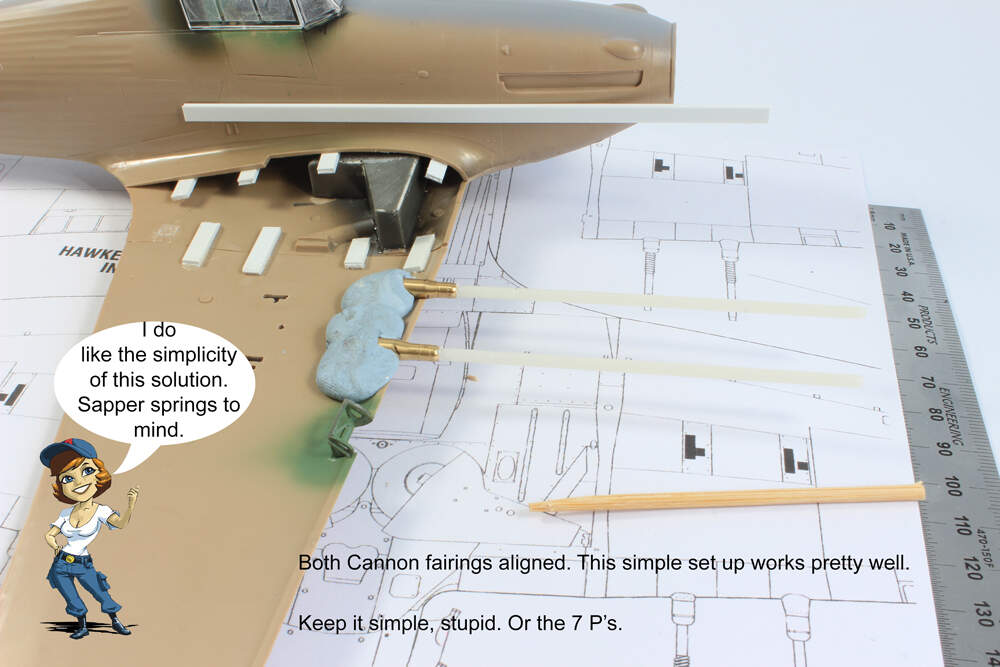
Gun Mounting Suggestion
three blocks of balsa
1 shaped to support the tail of the fuselage in a level flight attitude
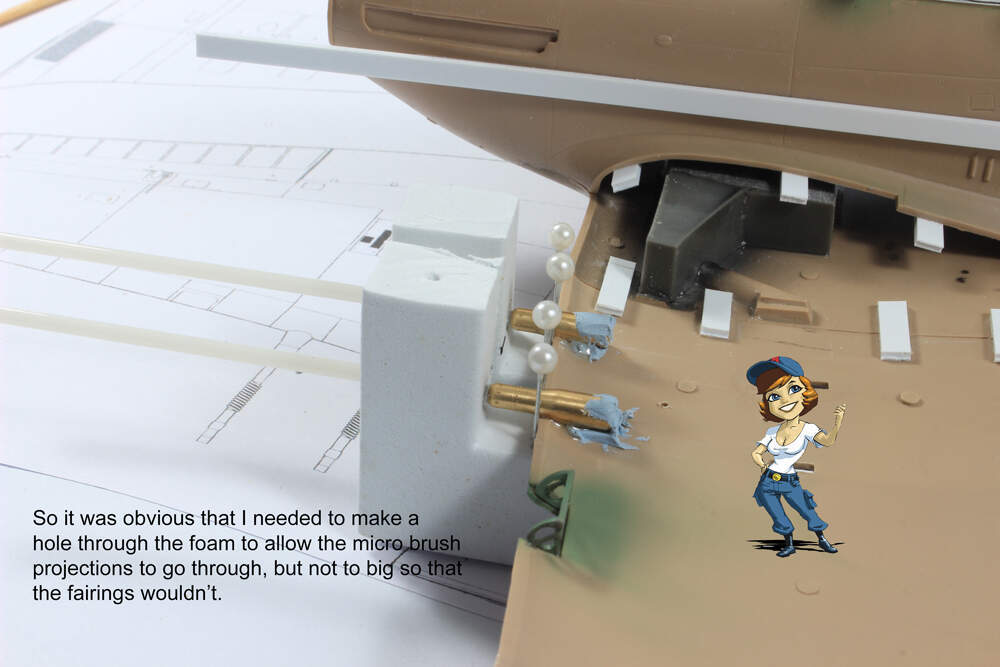
shape the other 2 too fit against the leading edge of the wings and slots in them to support the barrels while they set and makes getting everything lined up easier.
1 Like
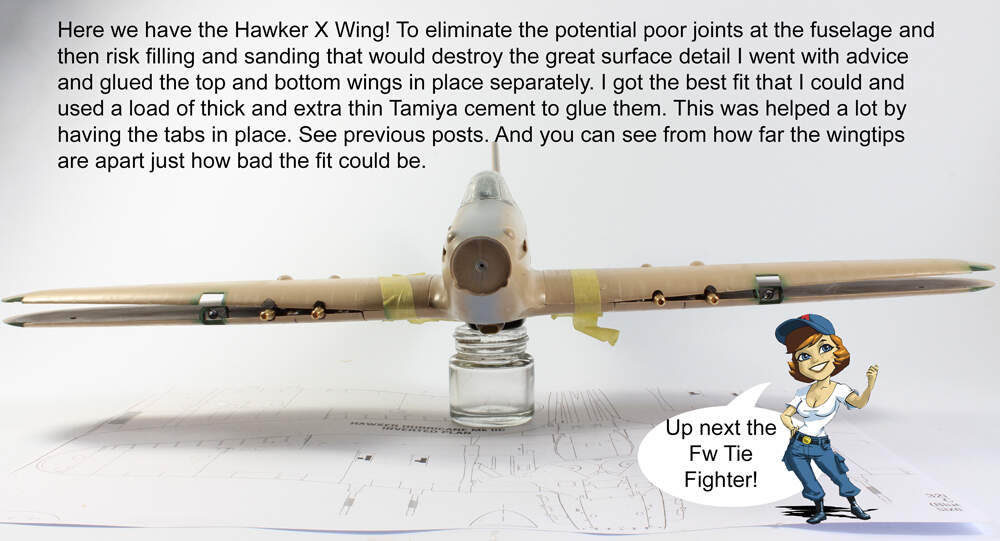
Sounds like a great idea, thanks. I have though thought of another way, using the drawing that can be seen in the last photo. It has been scaled to 1/32 so if I attach the lower wings to the central wing stubs then I can position the gun fairings and use measurements to align them then fix them in place before adding the upper wing. I have started down that route and there will be a bit more to it but I’ll record what I do.
Thanks again for the input, it is very much appreciated.
1 Like

Nice solution to the problem Mal. Do the strips supporting the wing/fuselage join span the width of the fuselage? Yes those canons are little masterpieces. Really enjoying this build log ![]()
1 Like
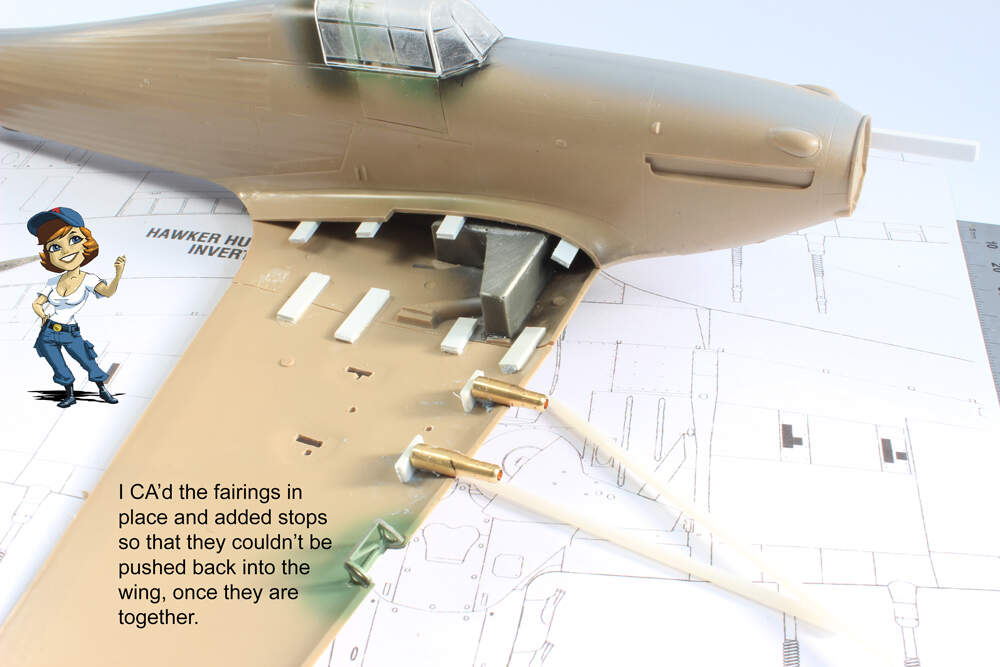
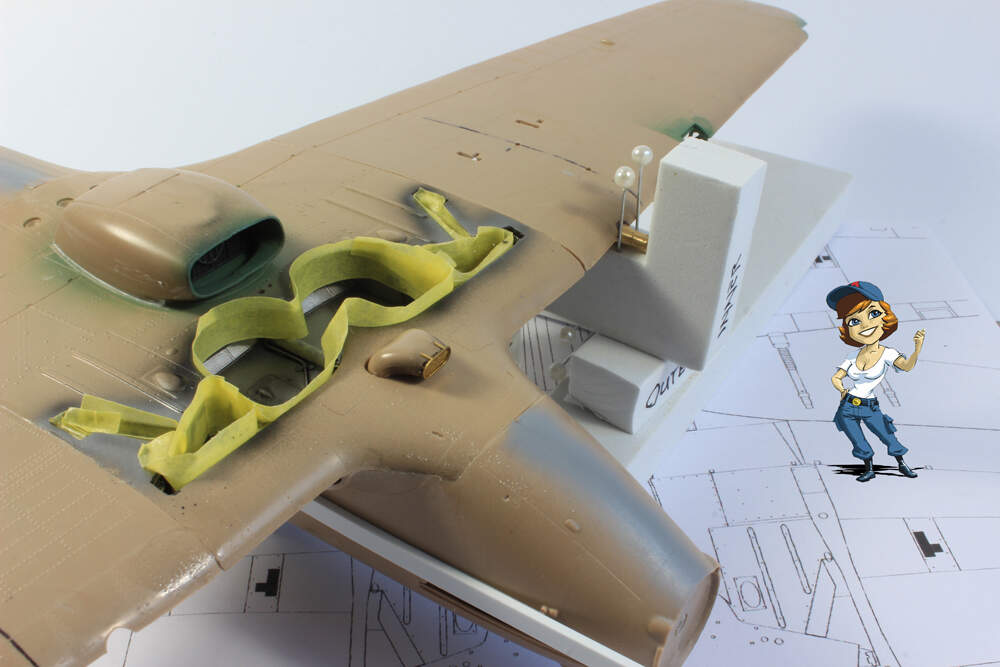
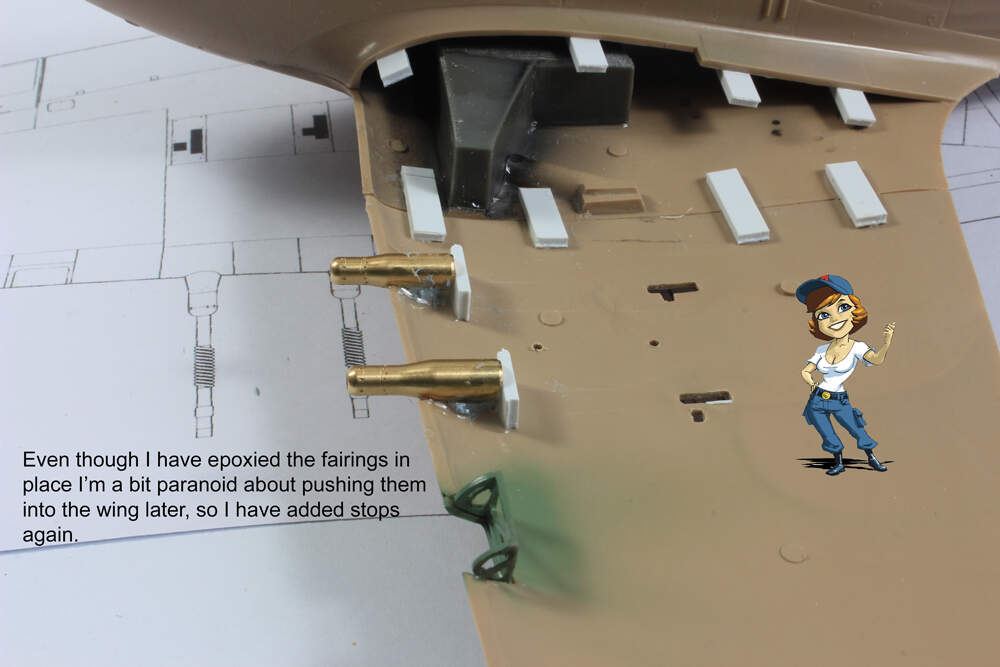
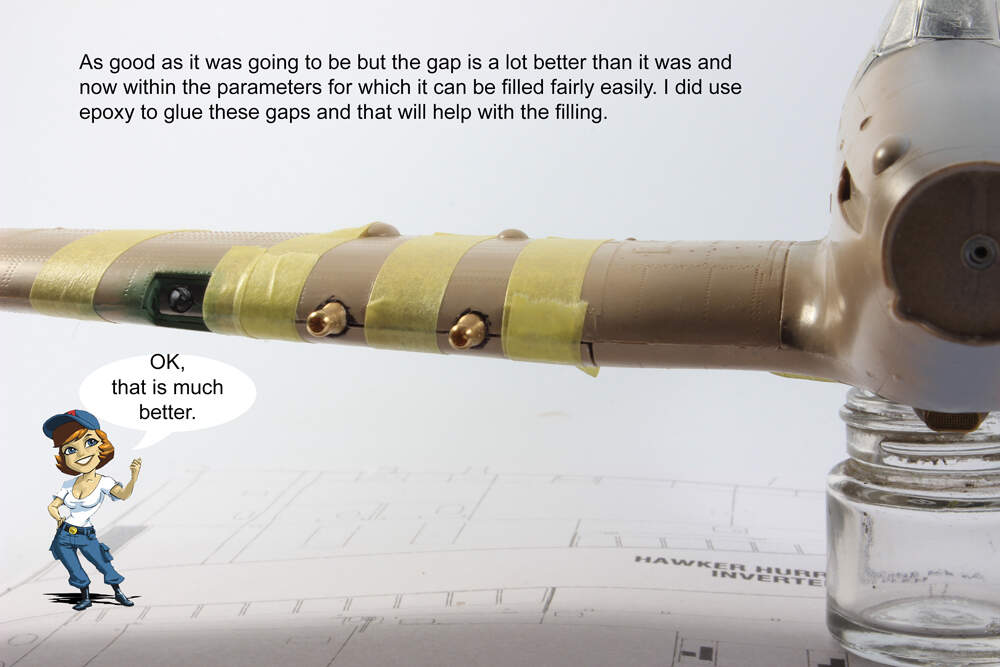
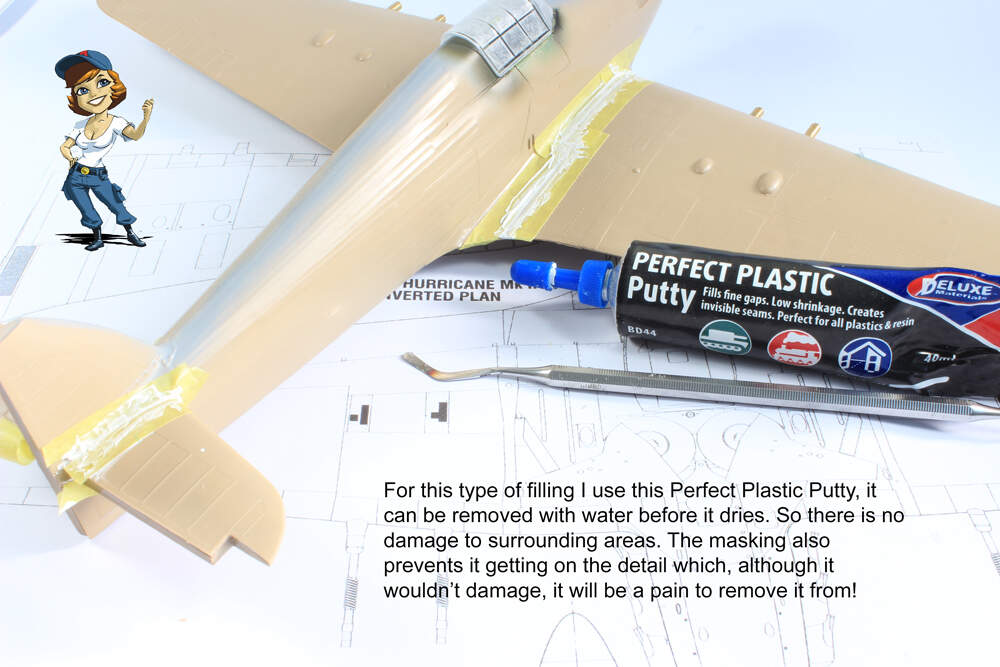
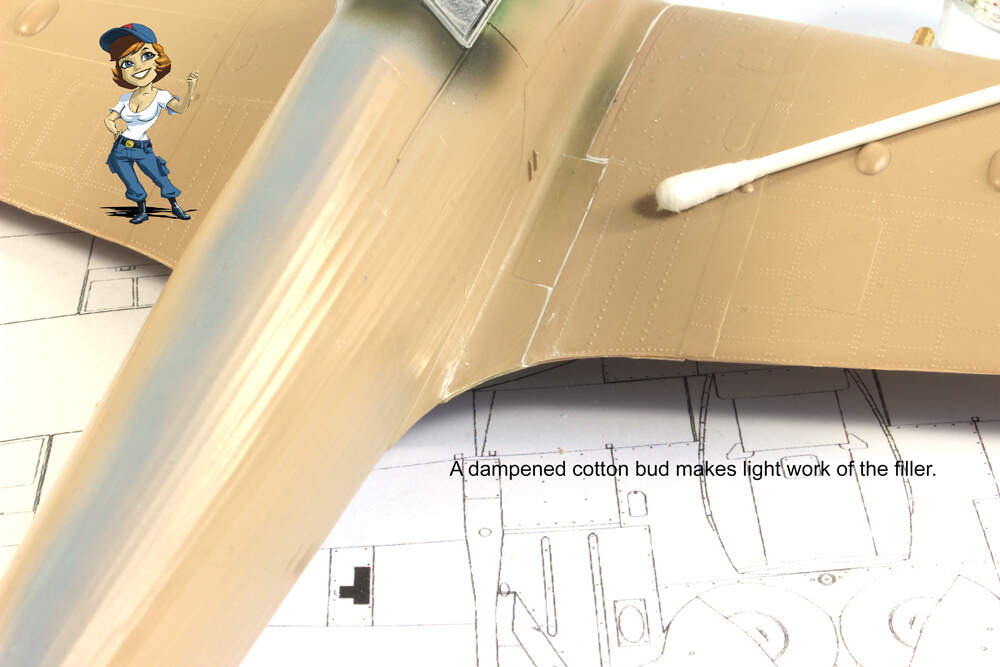
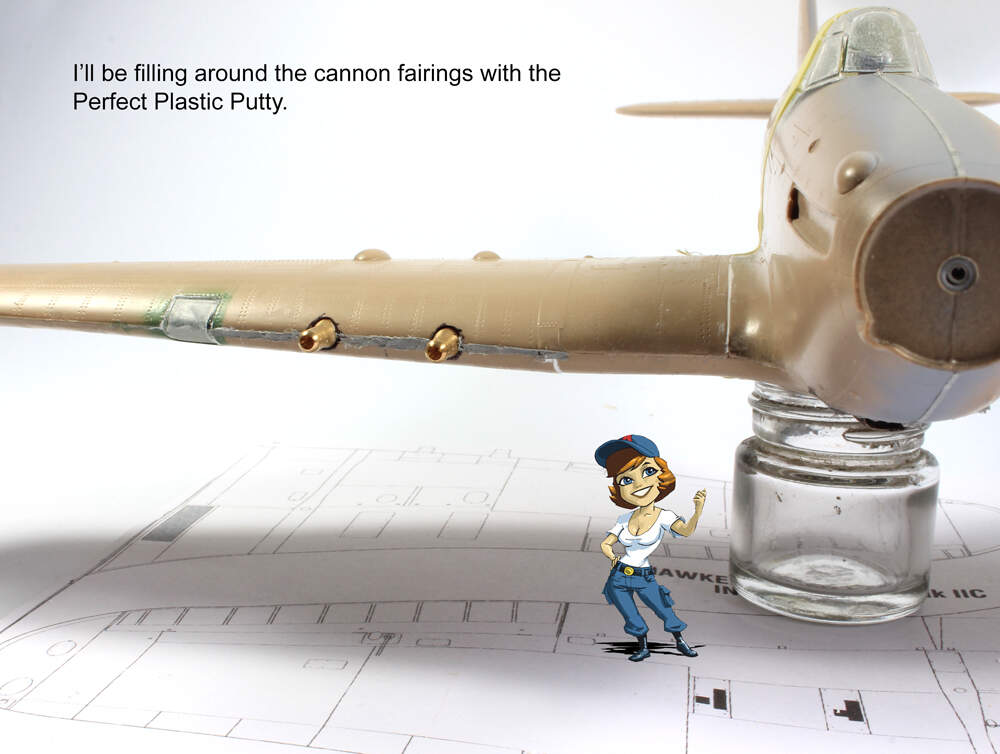
Yes, It is simple and works well. It is always a good outcome when a simple method can be found. No, the strips are just tabs and are required because, as usual, there are no positive fixings. With a little trimming, the lower joint is quite good. There is a gap at the forward edge but there is a PE piece for the strengthening strap that will cover the joint.
2 Likes
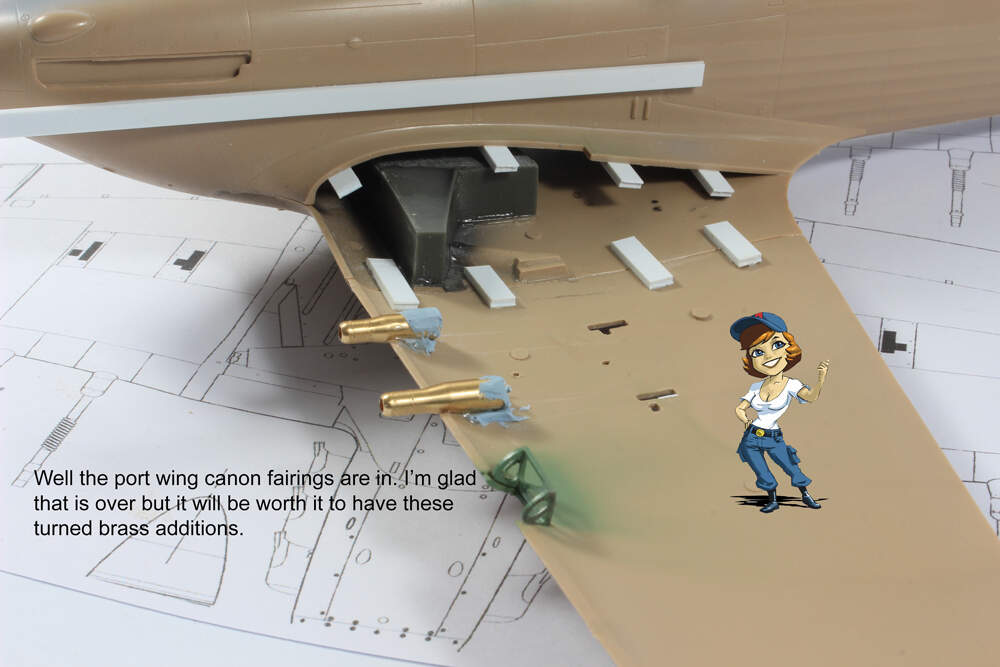
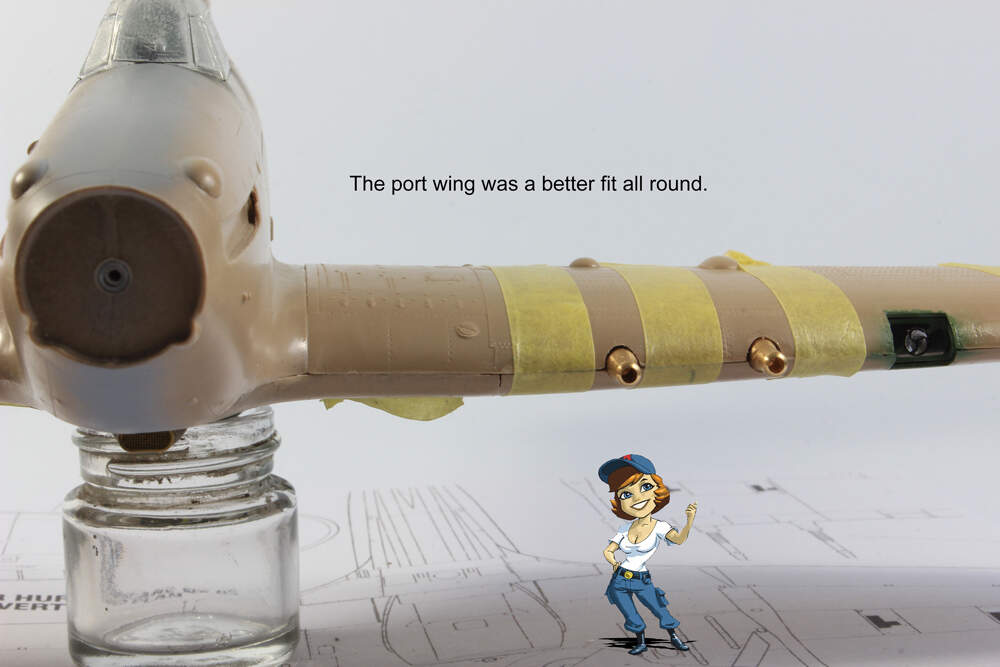
To finish this sequence, the starboard cannon fairings are now fixed in position, onto the port wing.

5 Likes
Can anyone spot the deliberate mistake?
1 Like
Deliberate mistake? ![]() Is there such a thing?
Is there such a thing? ![]()
Yep, it’s those that you find after the fact so it must have been deliberate. ![]()
But can you spot it? ![]()
1 Like
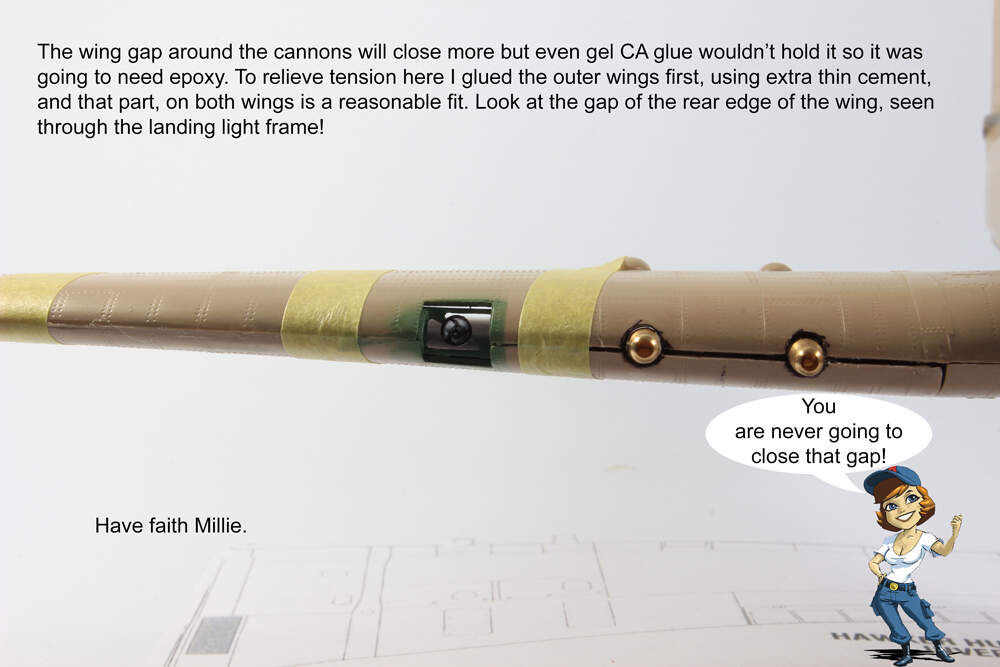
There seems to be a some kind of positioning recess on the cannons which appears to be misplaced on the starboard-outer one…?
1 Like
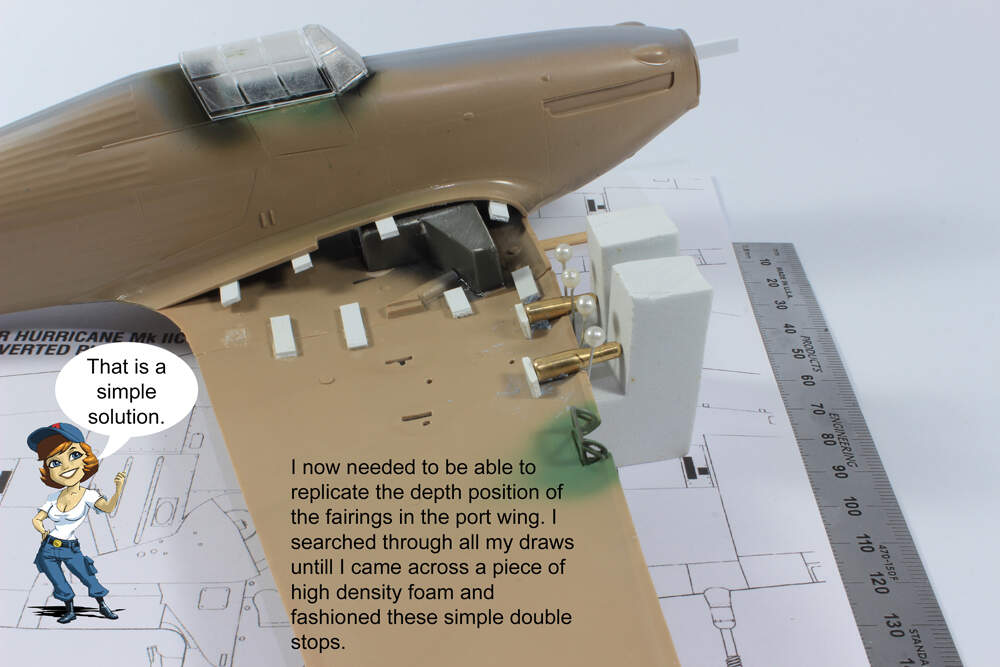
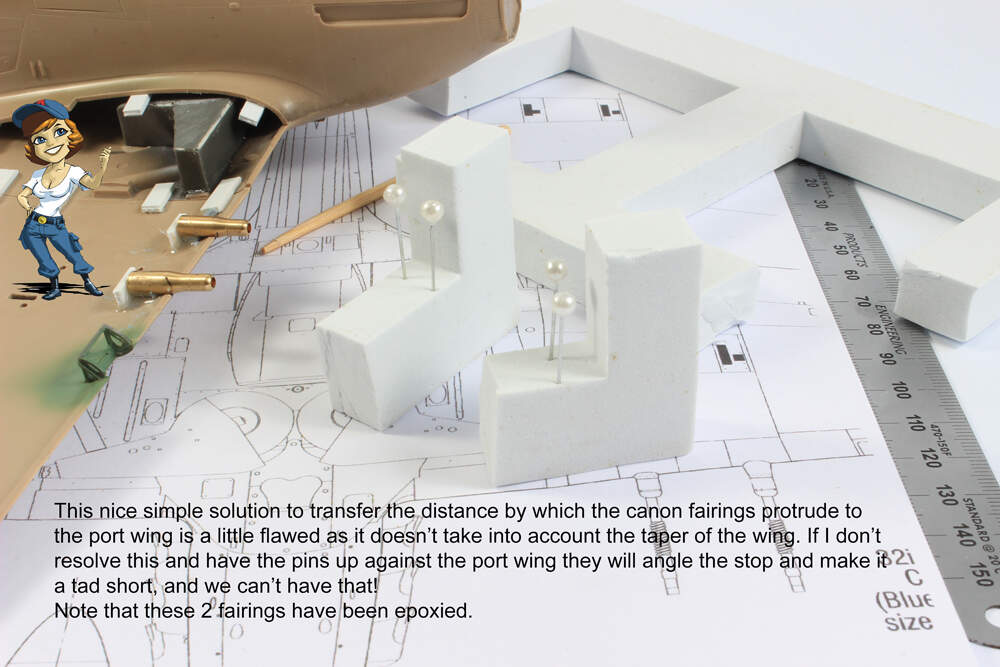
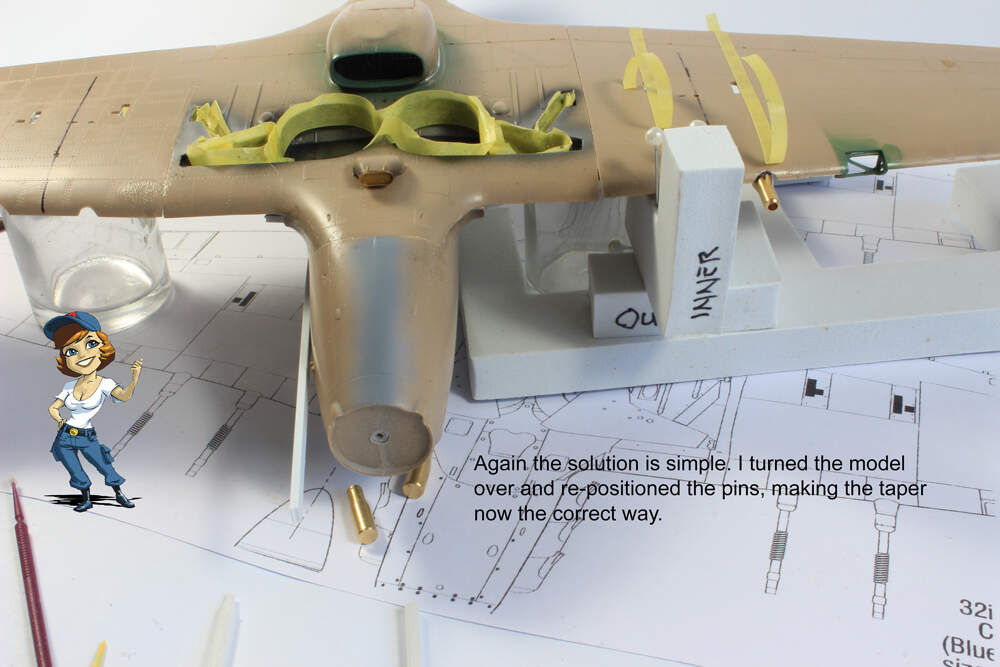
I’m not sure what you mean but there is, what must be an optical illusion, of the outer fairing in the penultimate photo being out of line? But everything was checked for alignment several times. i am referring to the pins used as stops against the wing leading edge to transfer the distance to the set on the port wing. ![]()
1 Like
OK, so the “deliberate” mistake was not taking the taper of the wing leading edge into consideration. I overcame that easily but…!


5 Likes
Some very intricate attention to detail here Mal ![]()
2 Likes
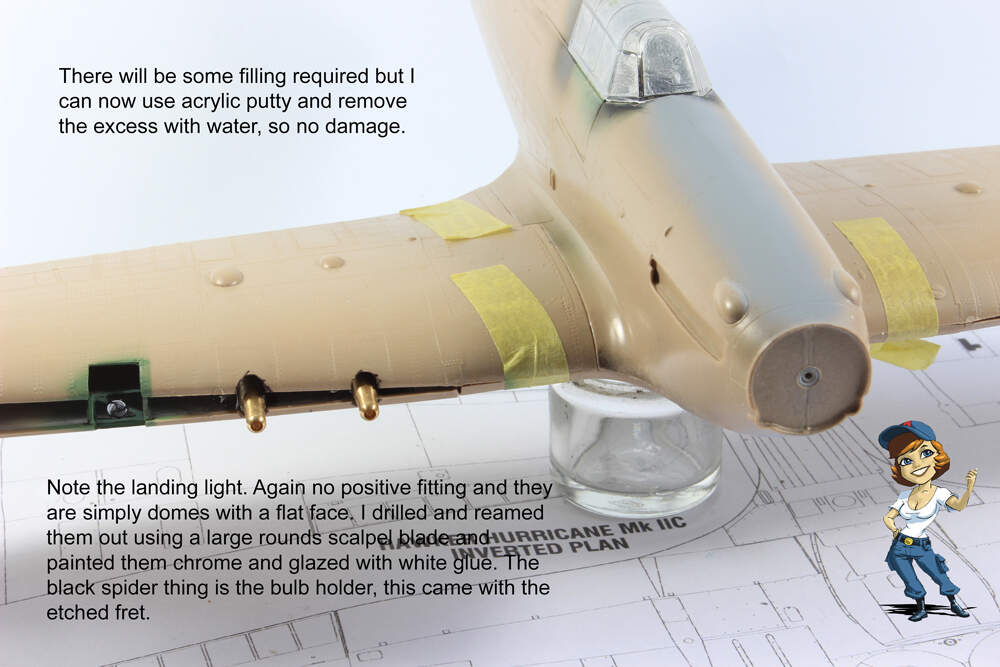
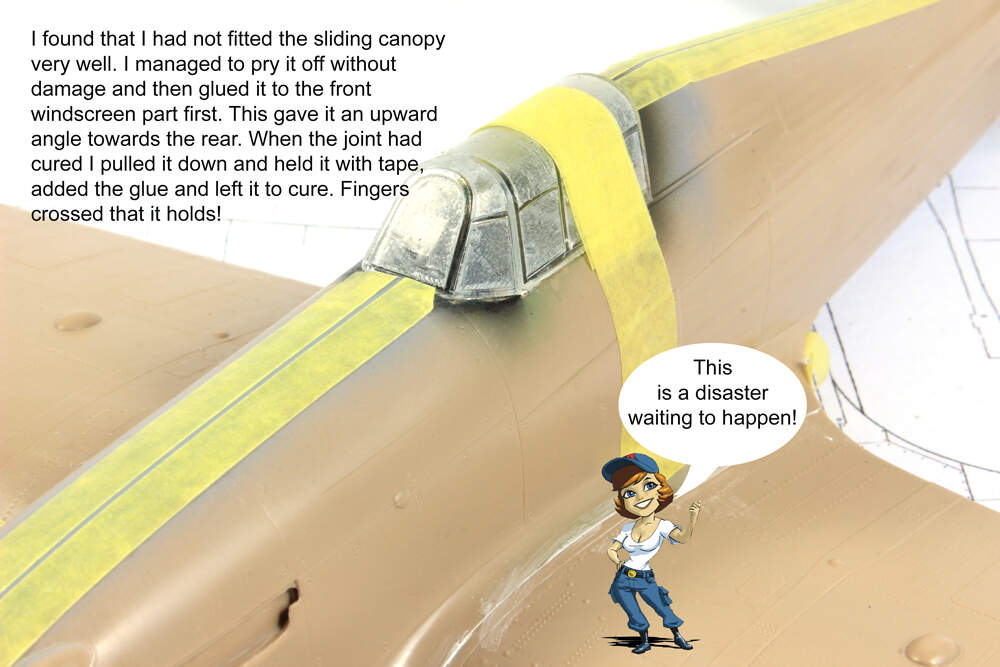
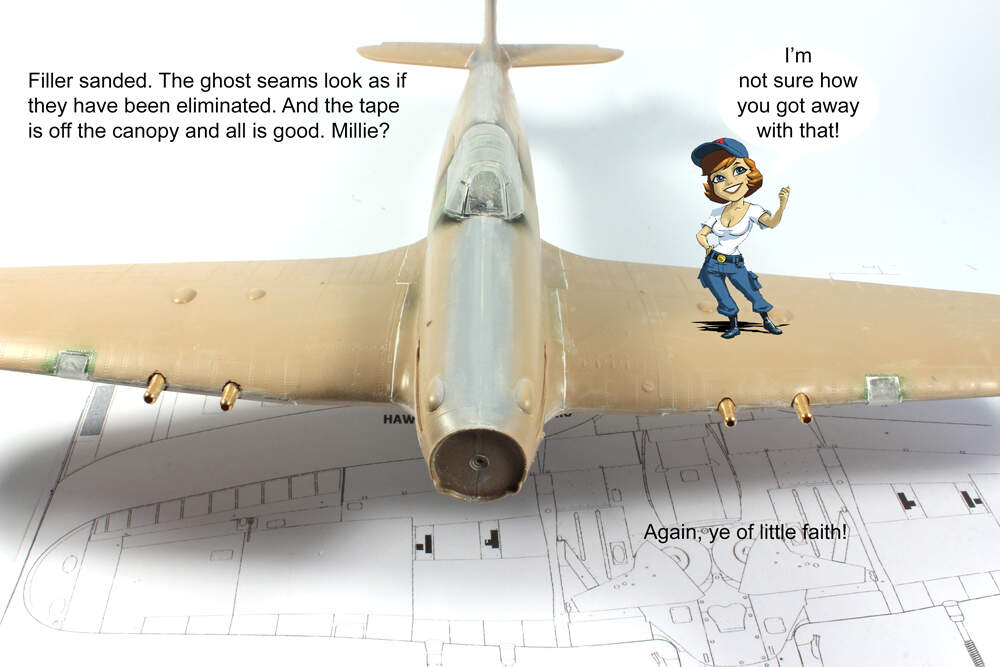
I have been working on getting the upper wing sections on. As per most of this kit, it ain’t no walk in the park, more like a walk through a cemetery! But I have survived, although mentally scarred and I’m not finished yet.
8 Likes
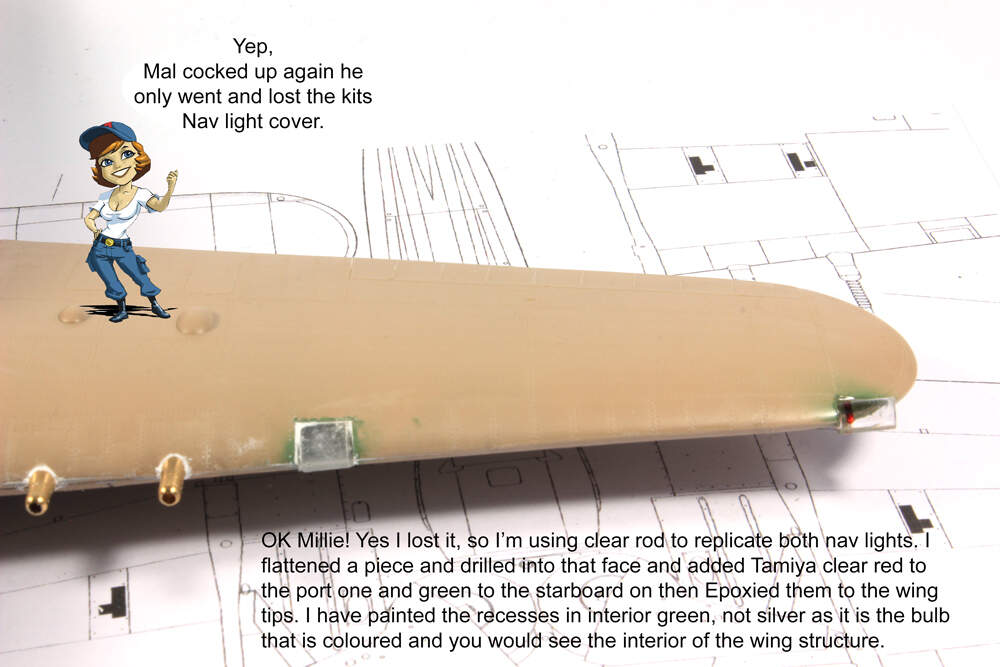
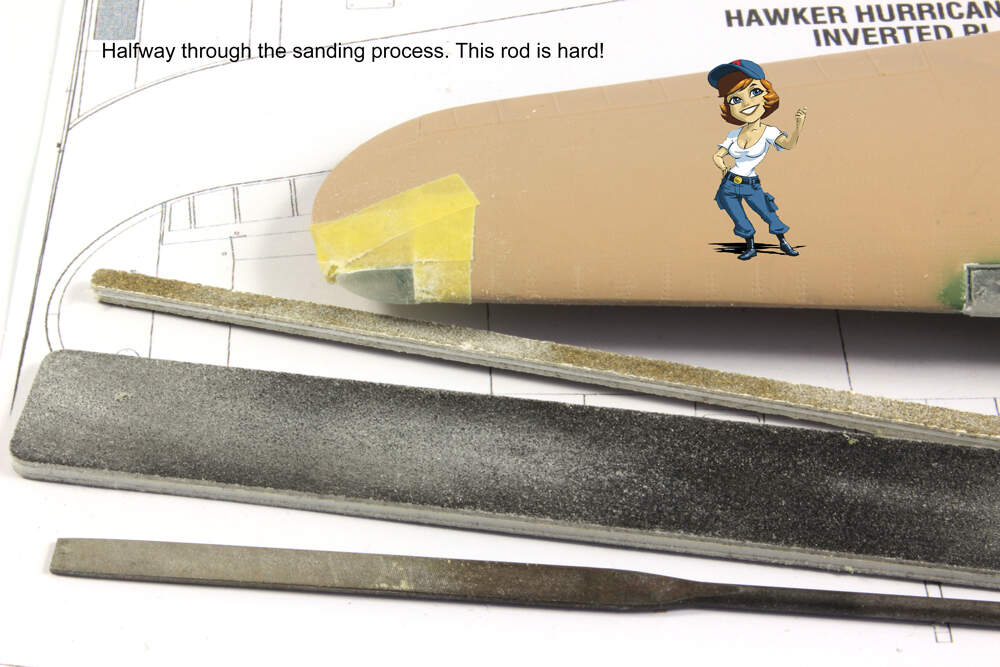
This update has taken far longer than it should have but I lost a clear piece for one of the nav lights so ended up fabricating both of them!


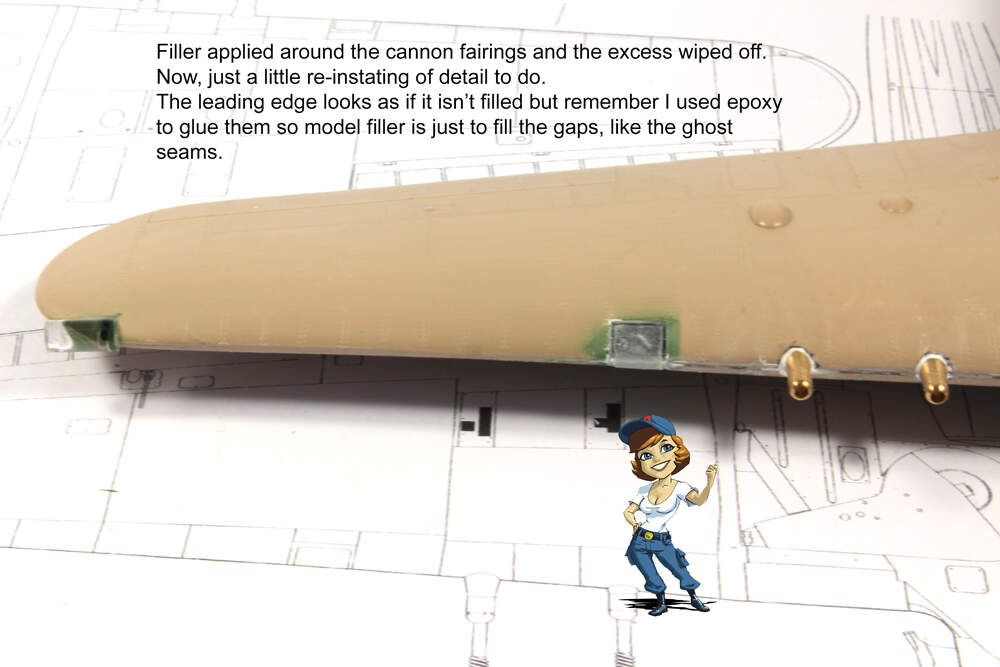

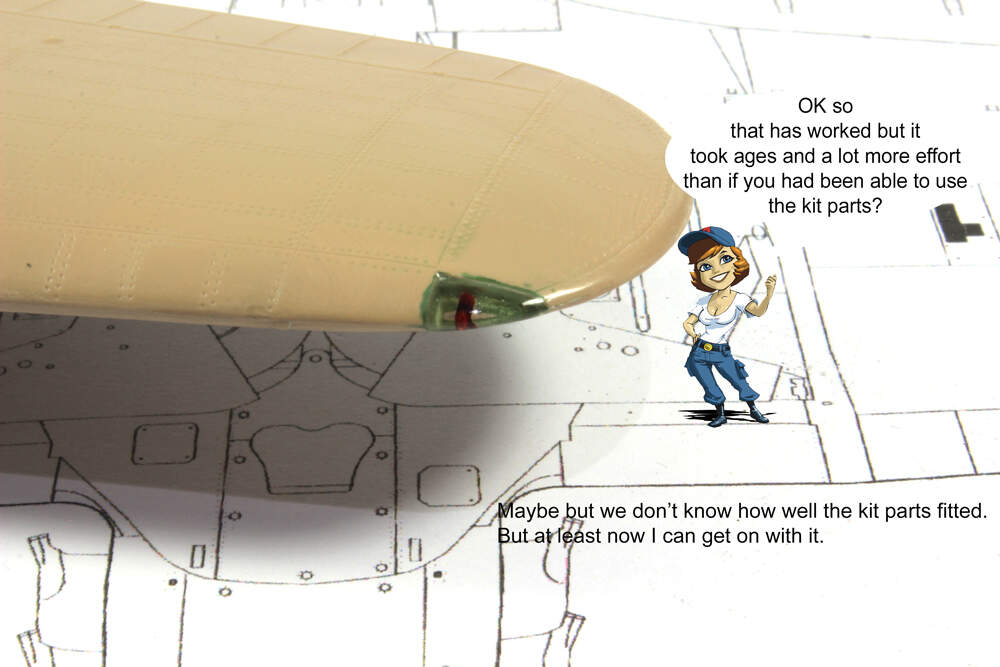
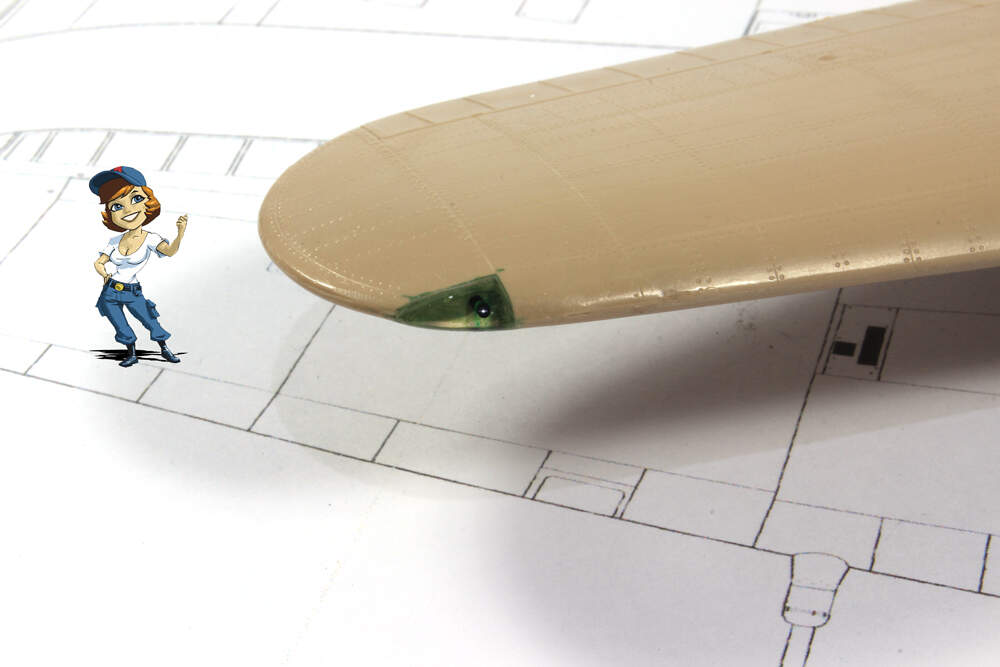
So now almost ready to paint, just a bit of detail restoration and a possible scratch-built antenna.
6 Likes
Very clean work Mal. It will make a big difference with all that care you’ve put into it. Looks seamless … ![]()
2 Likes
Lordy me, Mal! There’s a lot of elbow grease going into this kit! ![]()
Kinda reminds me of building a certain Airfix kit ![]()
Making it something special though, Mal! ![]()
3 Likes
Yes, I’m running out of that particular grease! ![]()
Which Airfix kit is that?
Is that “special” in a special needs kind of way, cause that is what it feels like! The fact that I am almost at the painting stage does make it feel kinda special but only because I am looking forward to that which is also the only reason that I have kept going!
2 Likes
Ha! Well my jar of elbow grease is empty after putting together the Airfix Type 45 Destroyer ![]()
Thankfully, I’m down to the last few plastic items I’ll use and it’s all after market from here on in ![]()
I agree, if there was no painting to be had, it wouldn’t be worth emptying the elbow grease jar at all ![]()
2 Likes