Good start so far.
![]()
What do you mean? The masking tape color?
No, the O2 tanks. I had a heck of time getting the right color for those and had to paint them white first to be sure it would cover. Yellow’s always been a pain for me.
Michael ![]()
![]()
light brown is also a good base coat for a convincing yellow
Painted the fuselage windows with micro mark liquid mask prior to putting them in. Hope it works
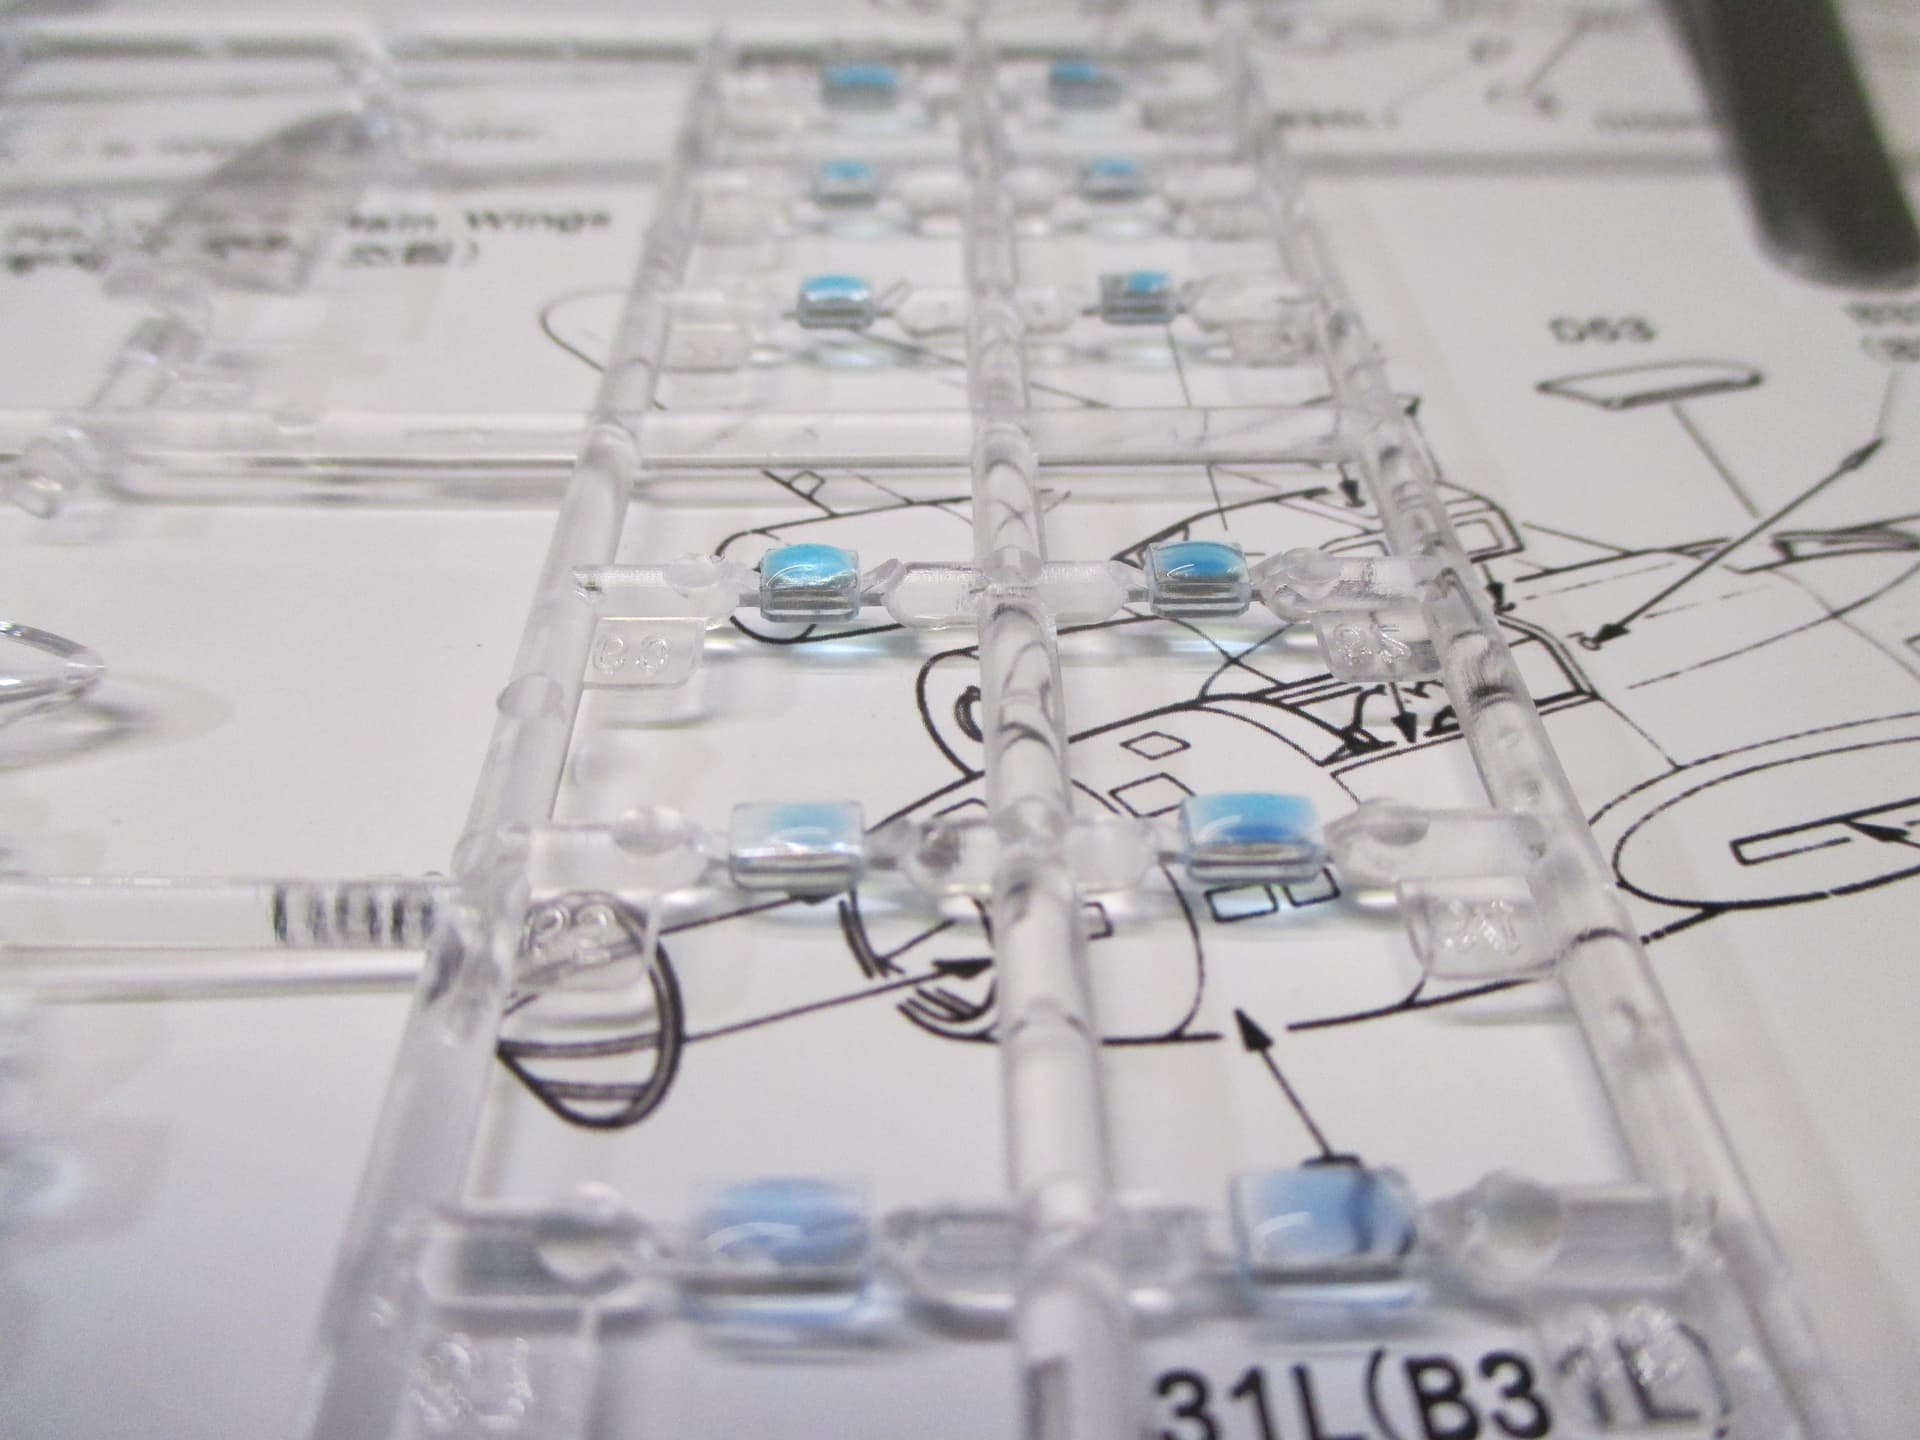
The windows assembled into the fuselage
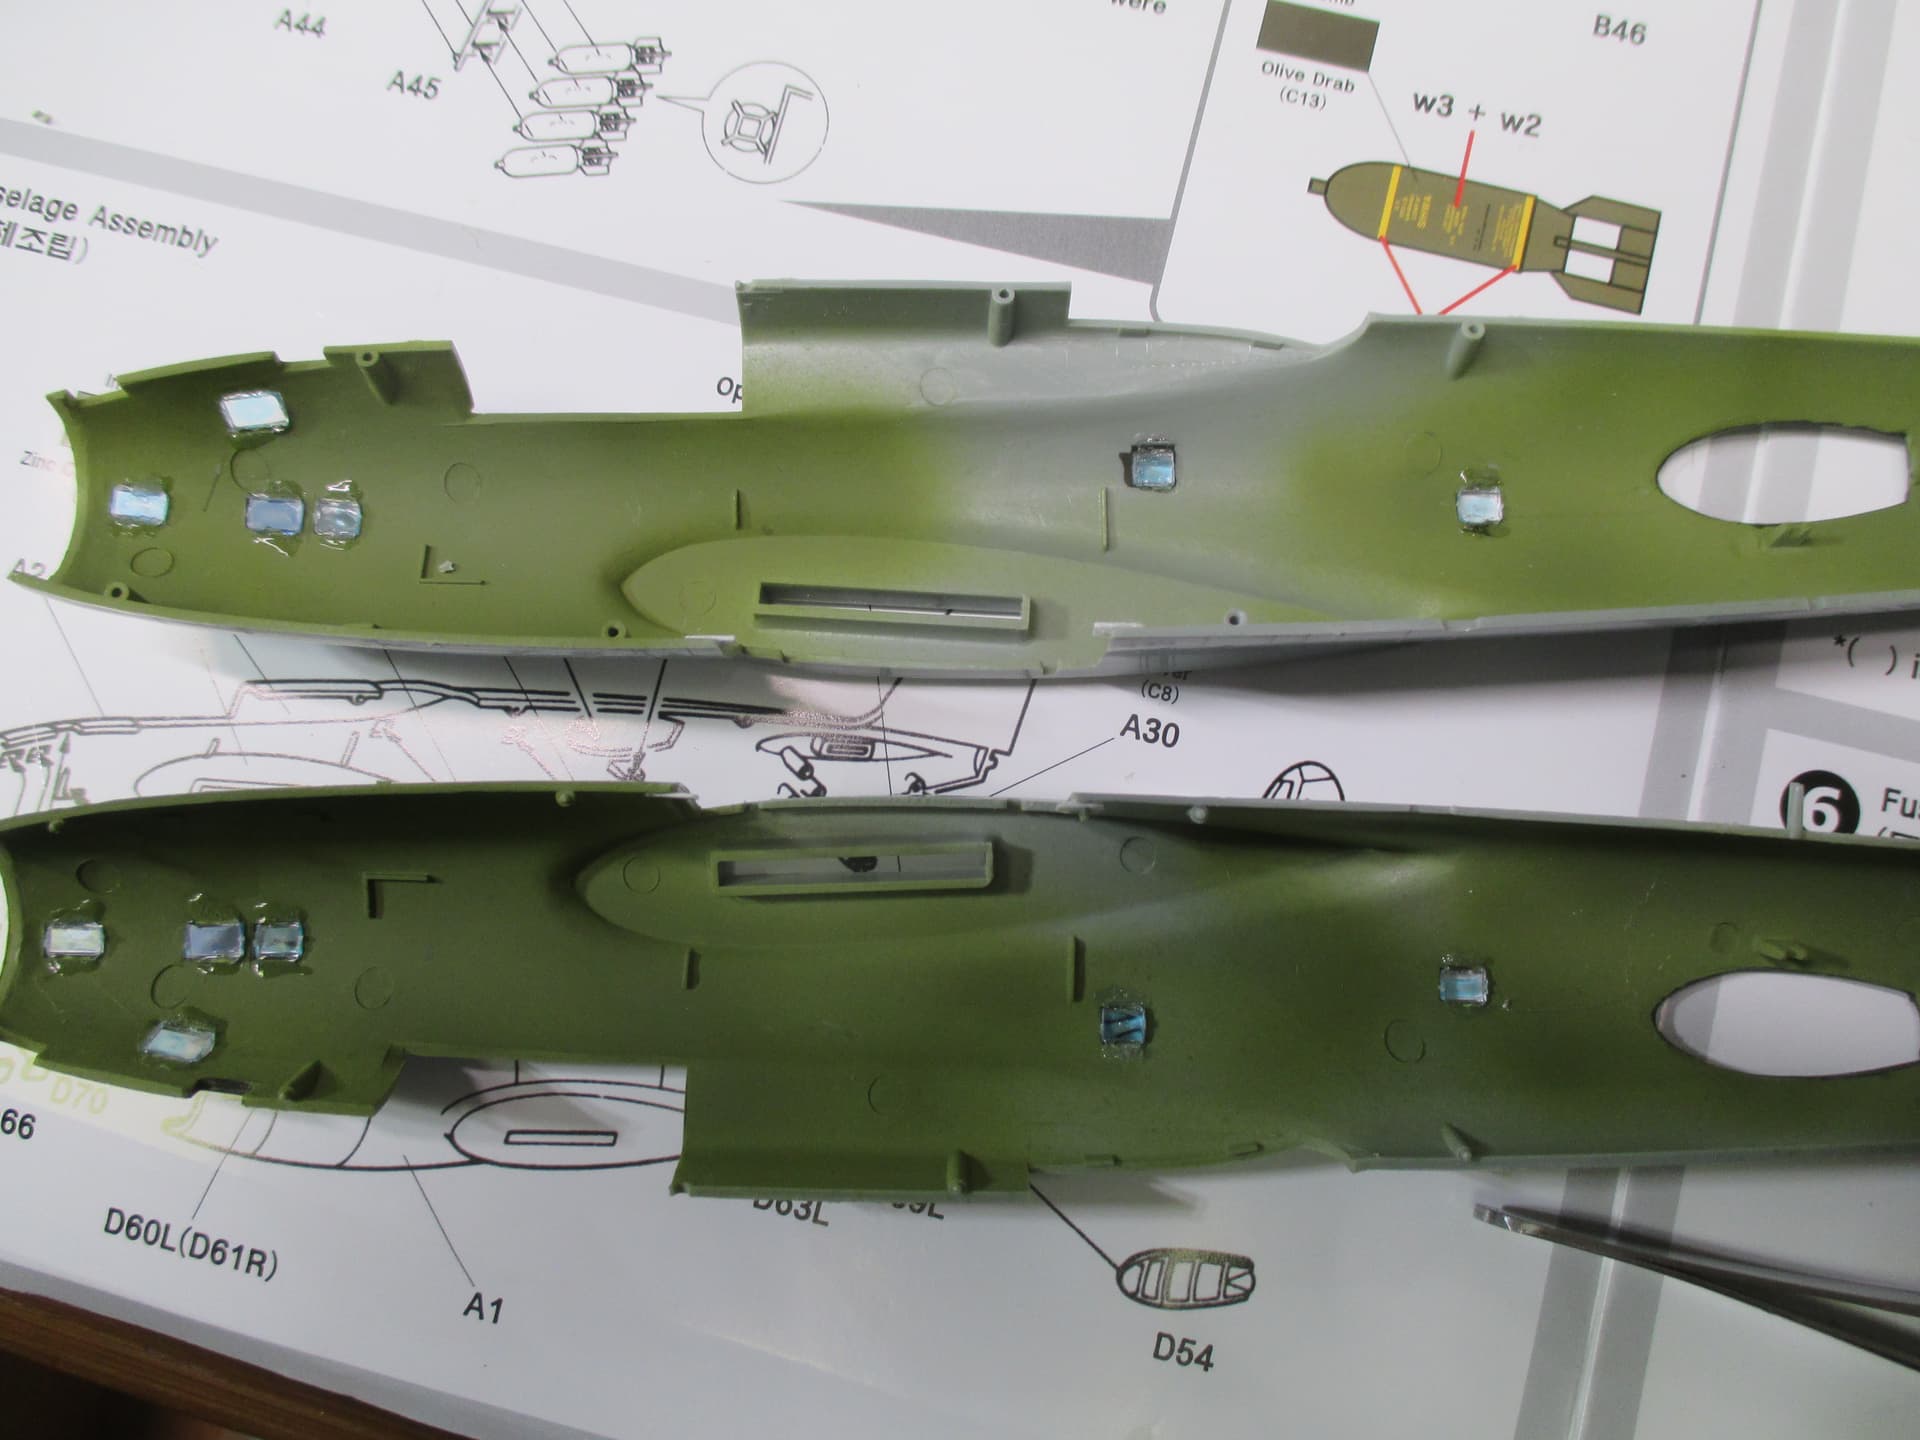
The cockpit and bomb aimer’s position installed and the fuselage banded and clamped for gluing. I had to pare off some of the rear cockpit bulkhead to get the fuselage to close together

6 Likes
Ah, got it. Yellow isn’t my Favoriten color too. It needed four or five thin layers with enough drying time between them.
OK, I tried to close the fuselage up on my Eduard Bloody Hundredth kit. “Tried” is the opperative word. Here are a couple of tips I have so far for anyone building that kit or the HK kit. Hope I’m not too late, Dukw!
First, on the Eduard kit. On page 10 of the instructions at the bottom of the page they illustrate how to do the instrument panel on the left. That part’s fine. But on the right they show the installation of a small fold-up box (PE16) and some small instrument clusters (PE14, 15, 8 and 9). Placement is very unclear, but it looks like they’re showing you to put those under the center part of the main panel. Don’t! That lower center cut out is where the throttle pedestal will go when you join the bulkhead to the cockpit. I’m not sure where those parts actually go, but not there.
Second, joining the fuselage halves. There’s a lot of detail in there and it’s tricky to line it all up, but I thought I had it. Until I tried to add the top part (E12). Then I found that the gap between the main fuselage halves was too wide for E12 to fit correctly and it sank down between them, leaving a nice big step on each side. Tip: cut off the locating pins on the cockpit sides and the corresponding raised holes on the insides of the fuselage halves. Given the way the interior detail goes together, there are plenty of locating areas with all the bulkheads to line everything up. Those locating pins/holes are next to impossible to line up exactly and aren’t needed. In fact, they get in the way of closing everything up tightly.
I’ve gotten it all apart and will try again this weekend, but I wanted to give anyone working on this kit the heads up.
Good luck!
Michael ![]()
![]()
3 Likes
Hello Michael, thank’s for the hints. Realy helpfull. They don’t come to late for me.
Regarding the instruction issue on page 10 i had a look to my references.
The Pilot’S Flight Operation instruction for B-17F and G as well as the B-17G Field Service Manual doen’t show instruments like the parts PE14 + 15. May be that the reference Aircraft that Eduard used has some modifications to the original Instrument panel.
The other parts in question were located on top of or at the upper front of the dash board housing. But it looks like that these parts were not installed to every plane.
The instruction sheet of Eduards set 491057 shows the right location.
I did a little cross reference with the part numbers of the Eduard B-17F kit in red next to the part numbers of kit nr. 491057.

I hope this will help a little bit.
Happy modelling
Harald
1 Like
Good thinking! Unfortunatly, it may be too late to move those things around (I put them below the panel to the side), but I’m not going to worry about that if I can get the fuselage together right. I’ll let you know how that goes now that I’ve cut off those pins and holes.
Michael ![]()
![]()
2 Likes
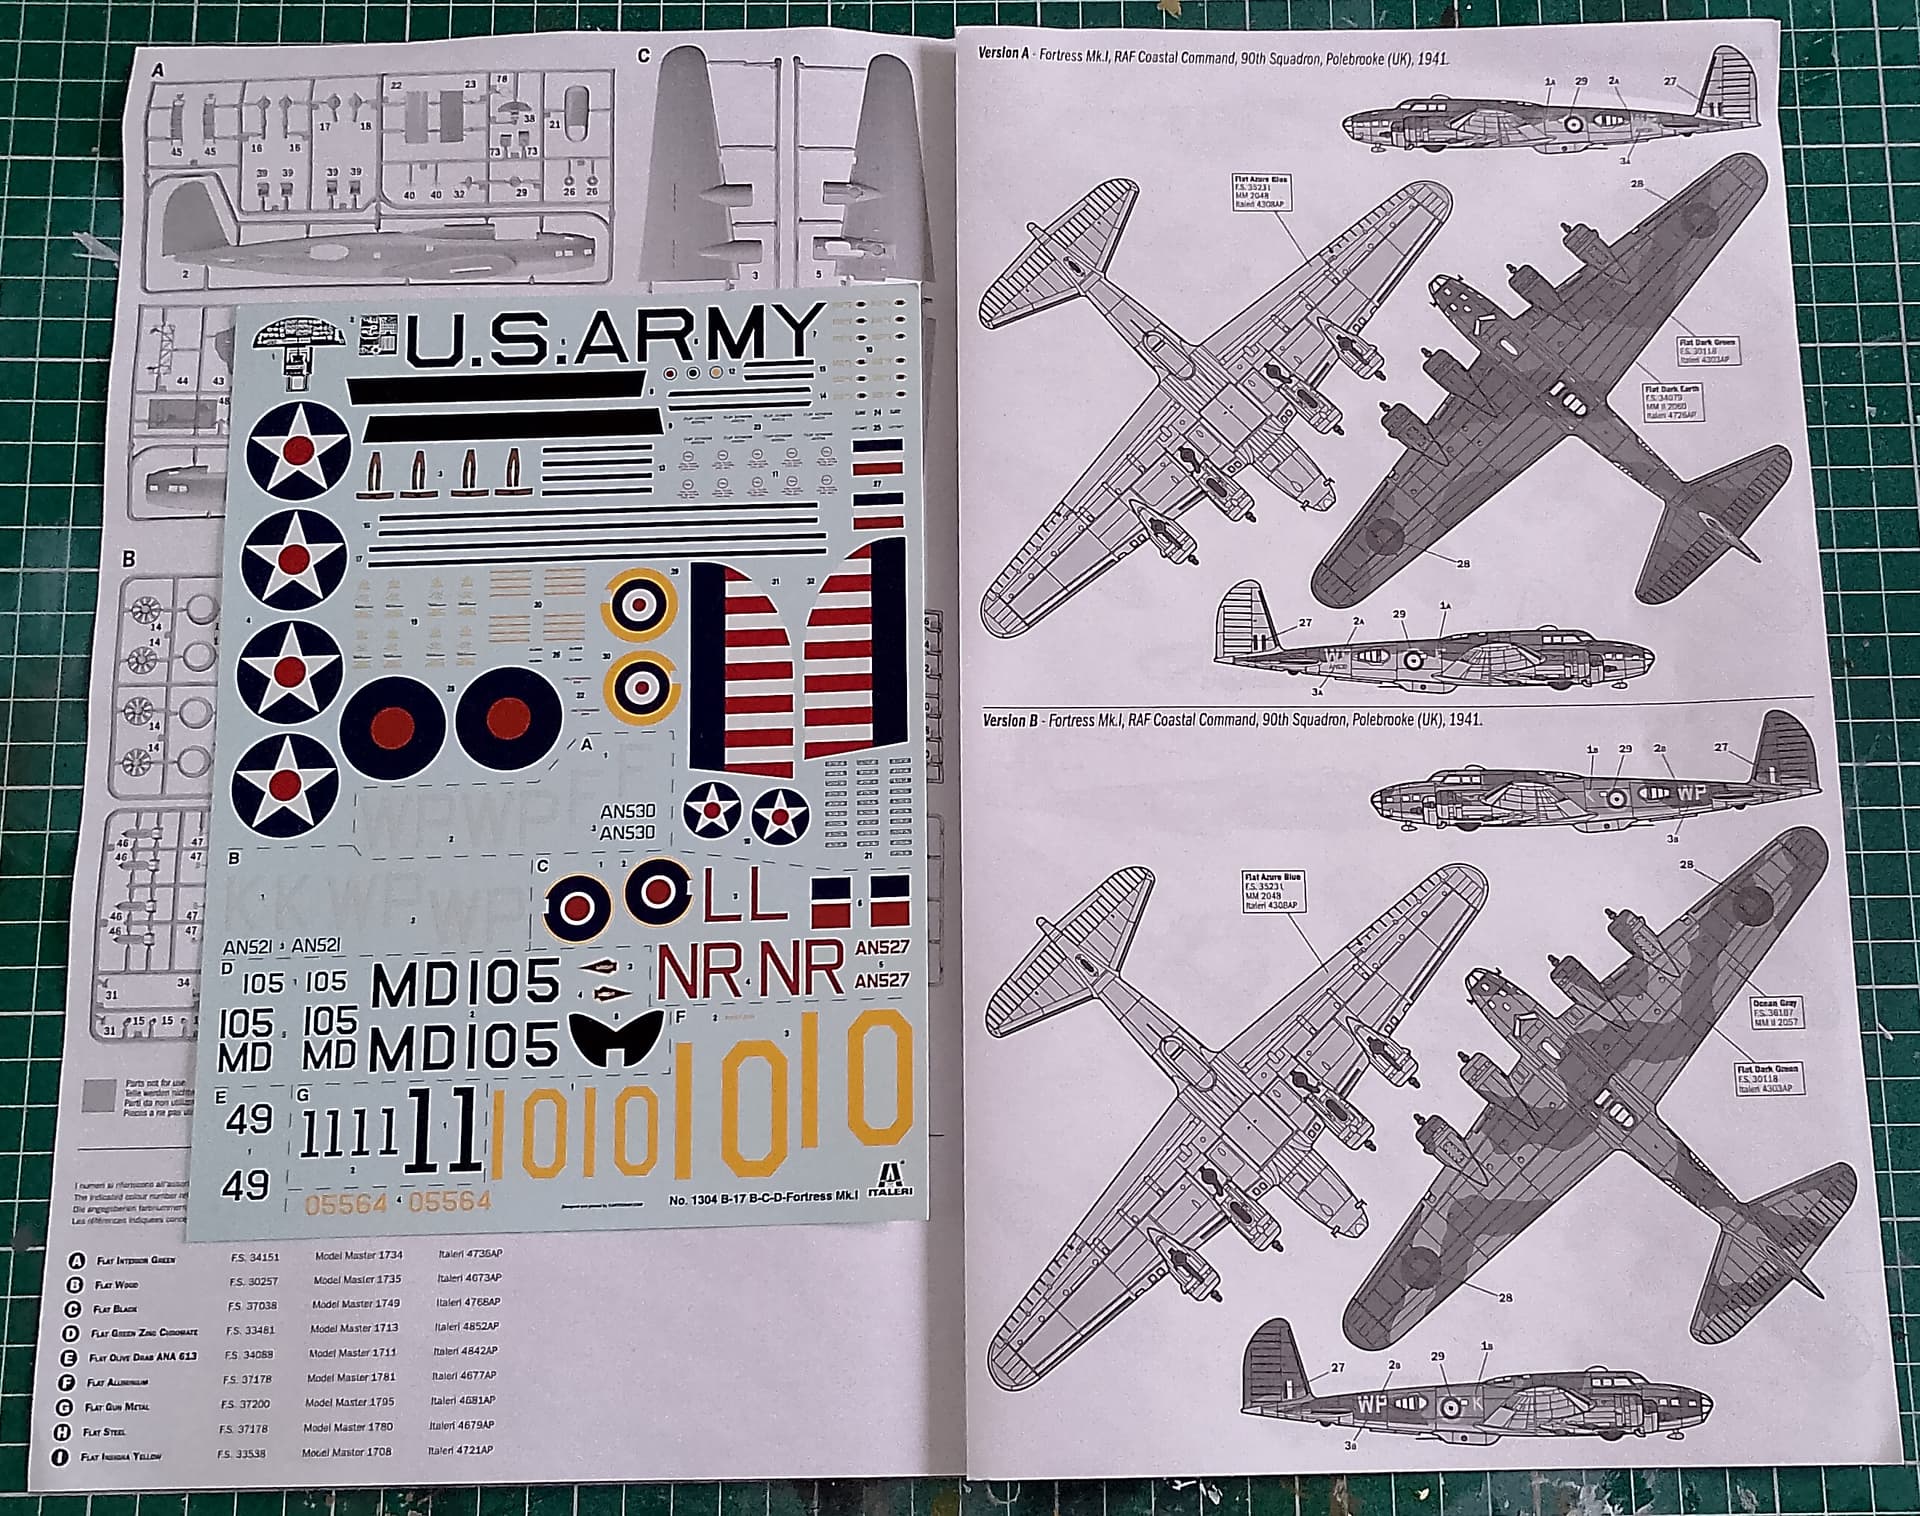
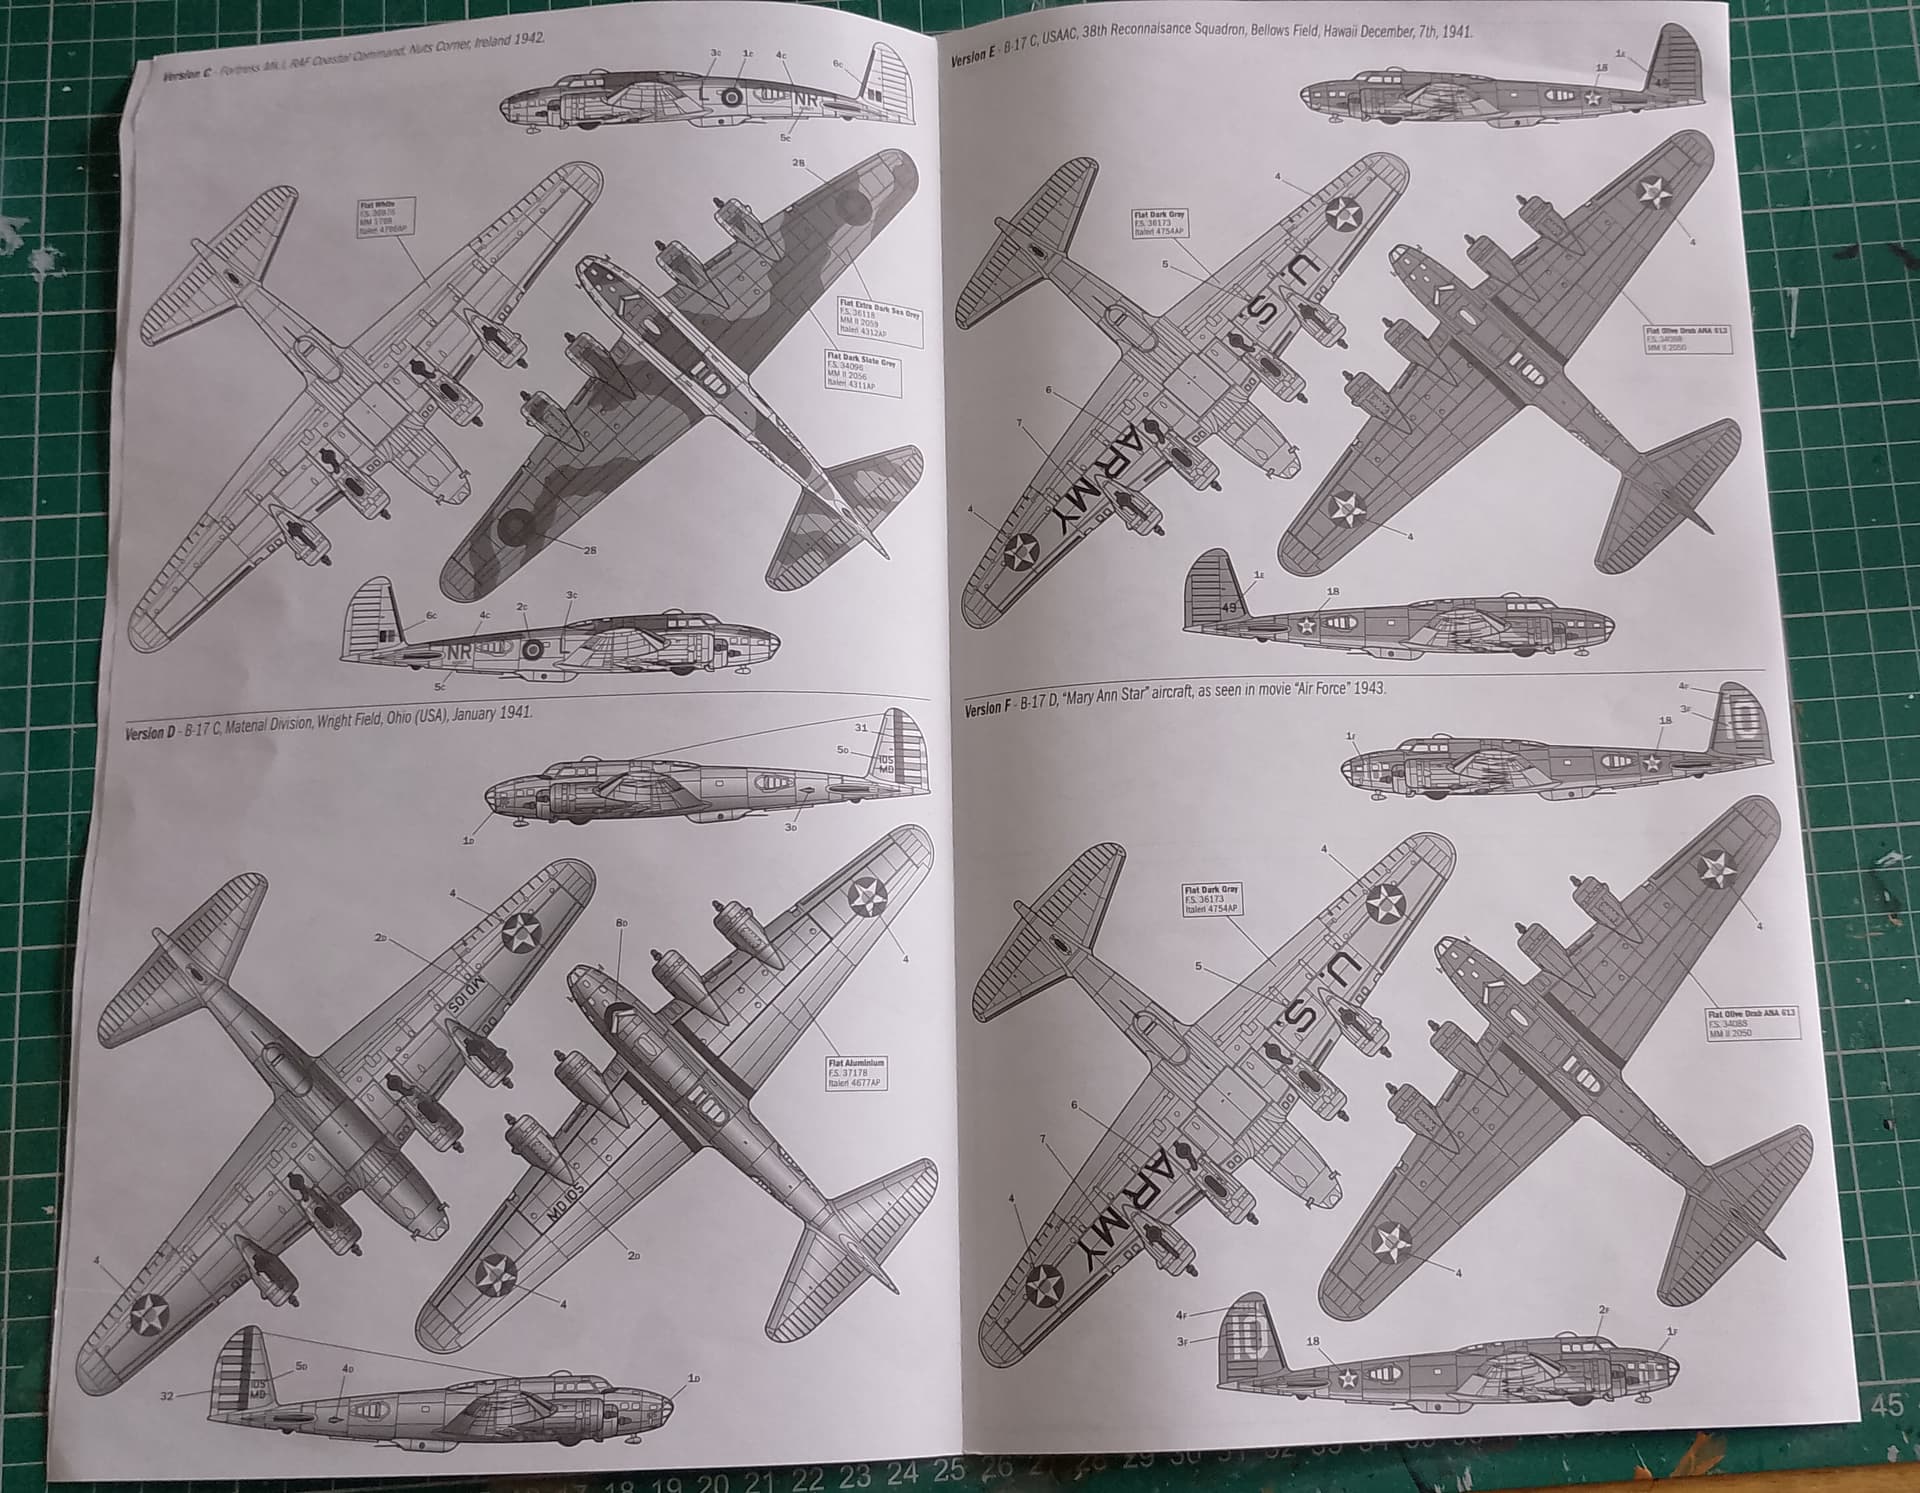
I’ve decided to do the Italeri rebox of the Academy Fortress Mk.1.
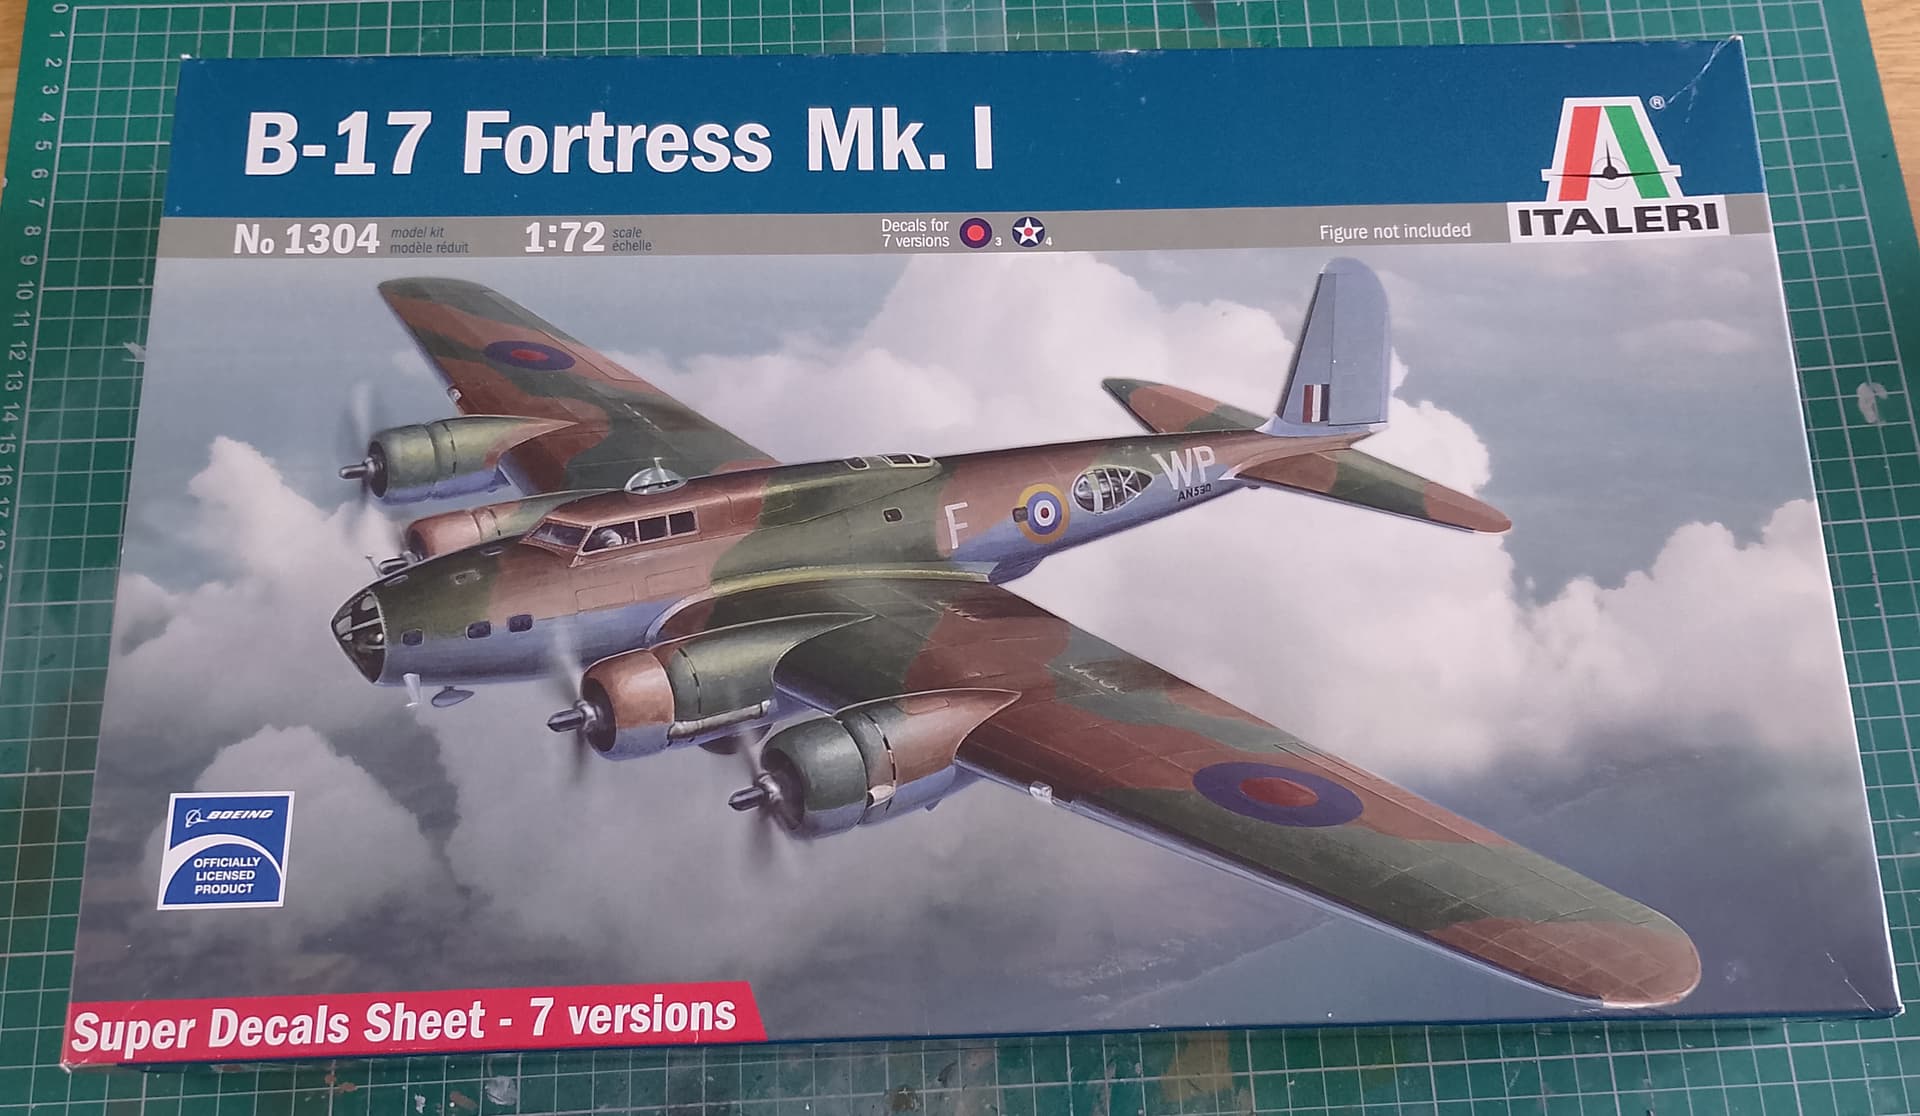
Lot of good marking options in this kit. Thinking of doing the dark green/earth over azure blue. Have a Fortress II in the later white Coastal Command colours, so don’t want to do it the same on this.

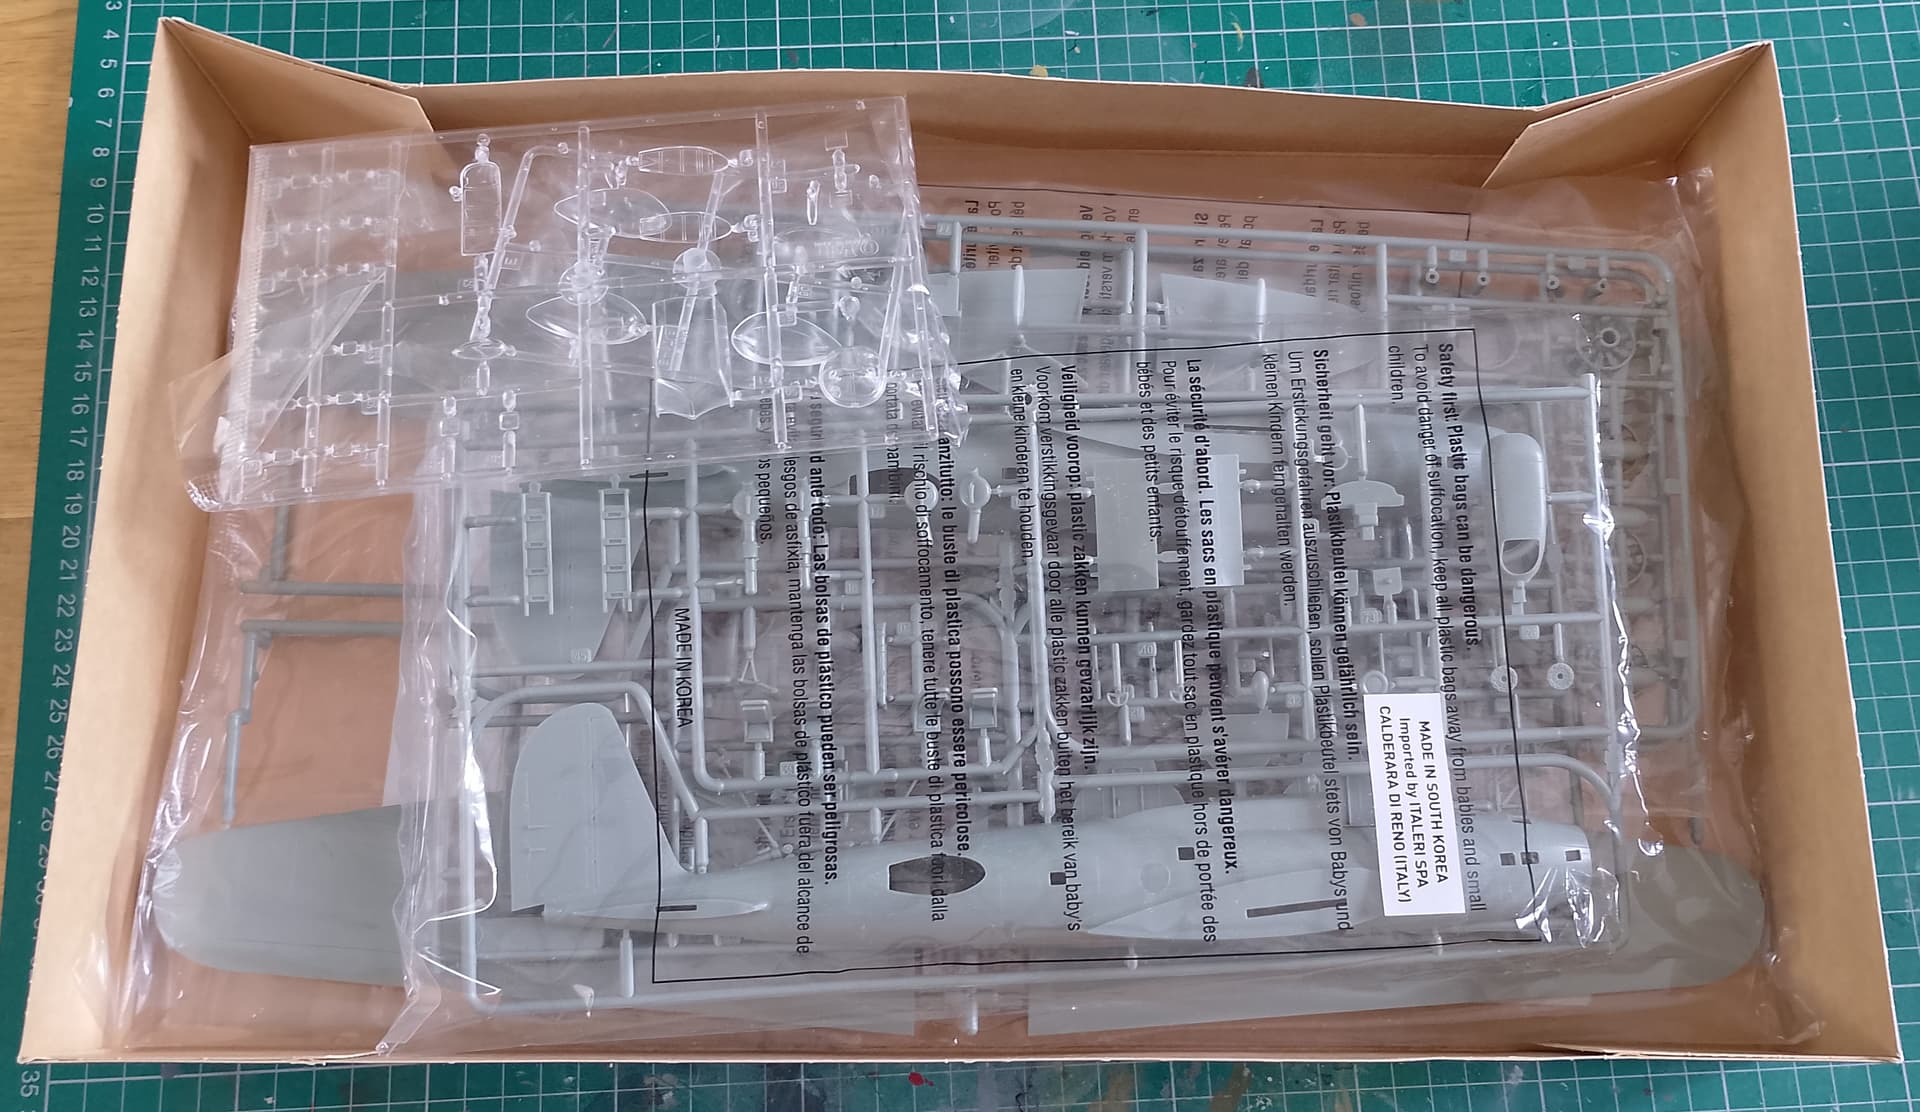
I’ve got the summer holidays coming up, so hoping to start it and get most of it done over then. It’ll be a straight oob build, won’t see much of the inside when it’s all buttoned up.
Will do a little research on the interior colours. If I remember right, the cockpit and bombardiers position should be bronze green and the rear unpainted aluminium? Maybe ZC green?
8 Likes
Found this earlier today, might be of help when it comes to painting the interior.
In a nutshell, unpainted aluminium except for the cockpit in bronze green.
Looking in my spares, I’ve found what I think are RAF anti-submarine bombs from the Airfix Whitley. Would assume these would still be a common load early in the war. Can scratch build depth charges easily from plastic tube as an alternative.
4 Likes
A set of canopy masks arrived today for the Fortress 1. I could have sworn Eduard did a set for it, but had no luck. Maybe it’s long OOP.
I did however find a set from KitMasx in Canada. Landed a few days after ordering, so really happy with the service.
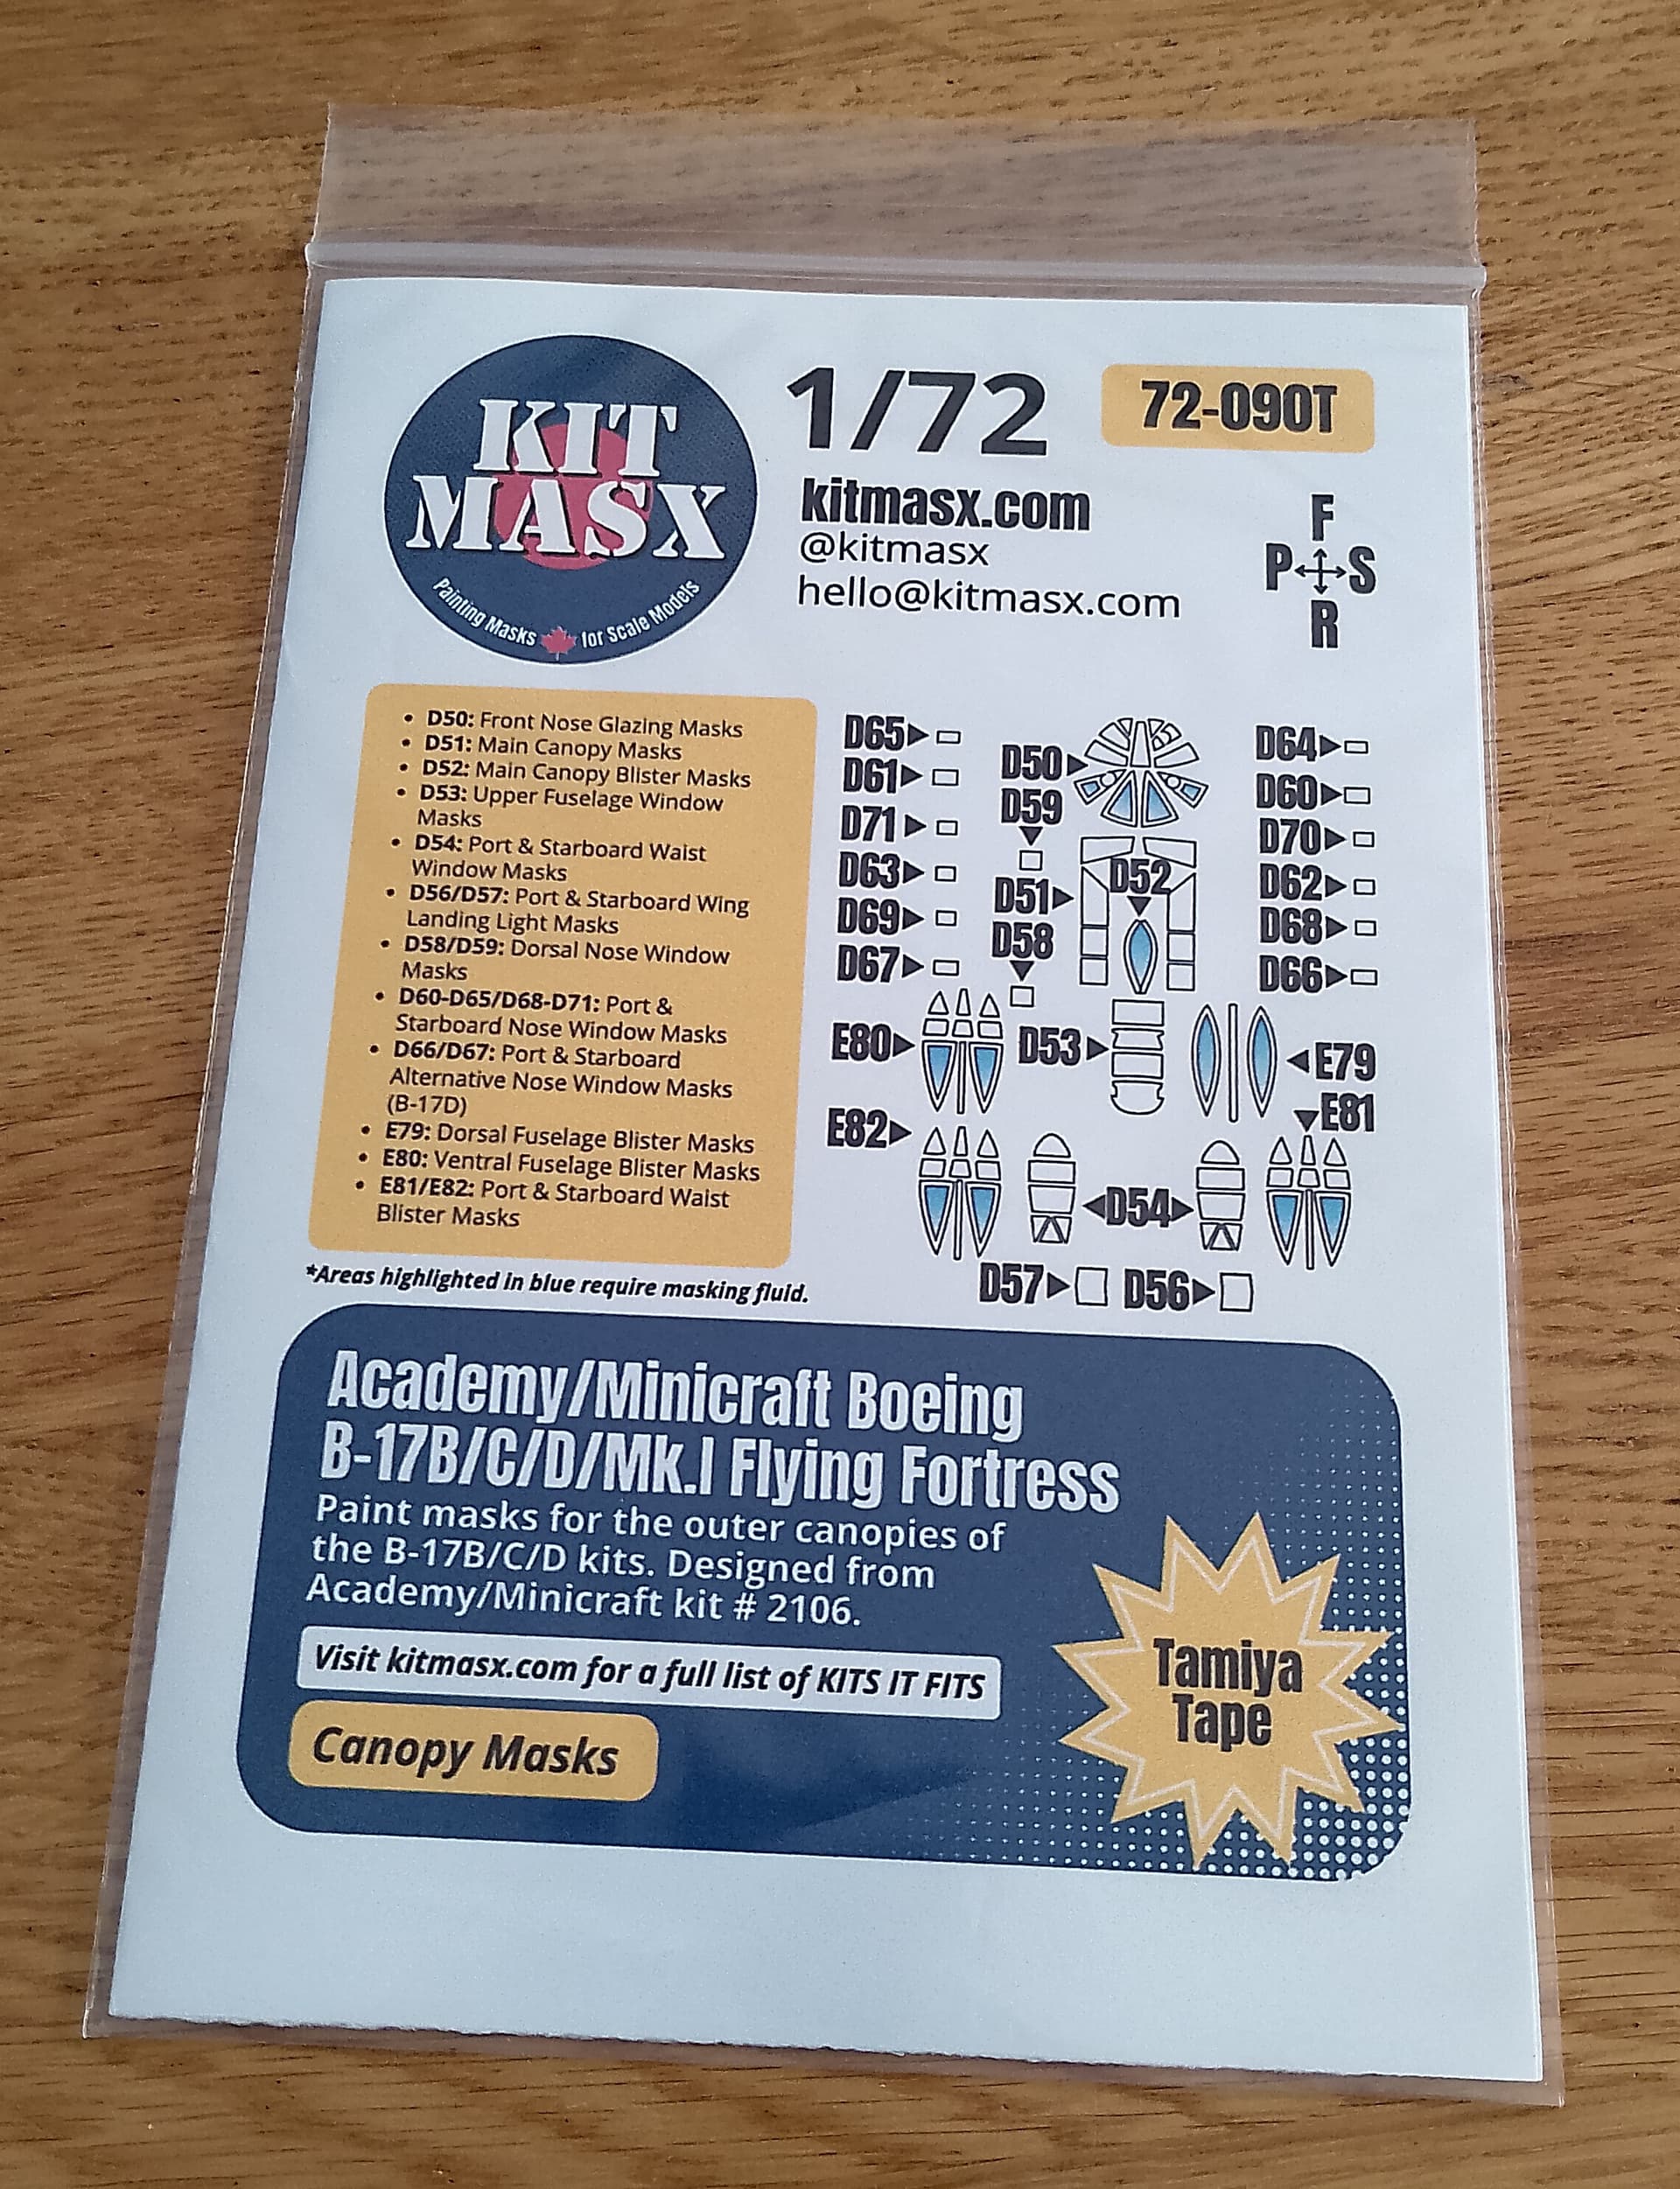
Will definitely save me some time with the complex framing on the canopy and gunners windows.
4 Likes
Michael, thanks a lot for the heads up! Very important points and much appreciated that you share.
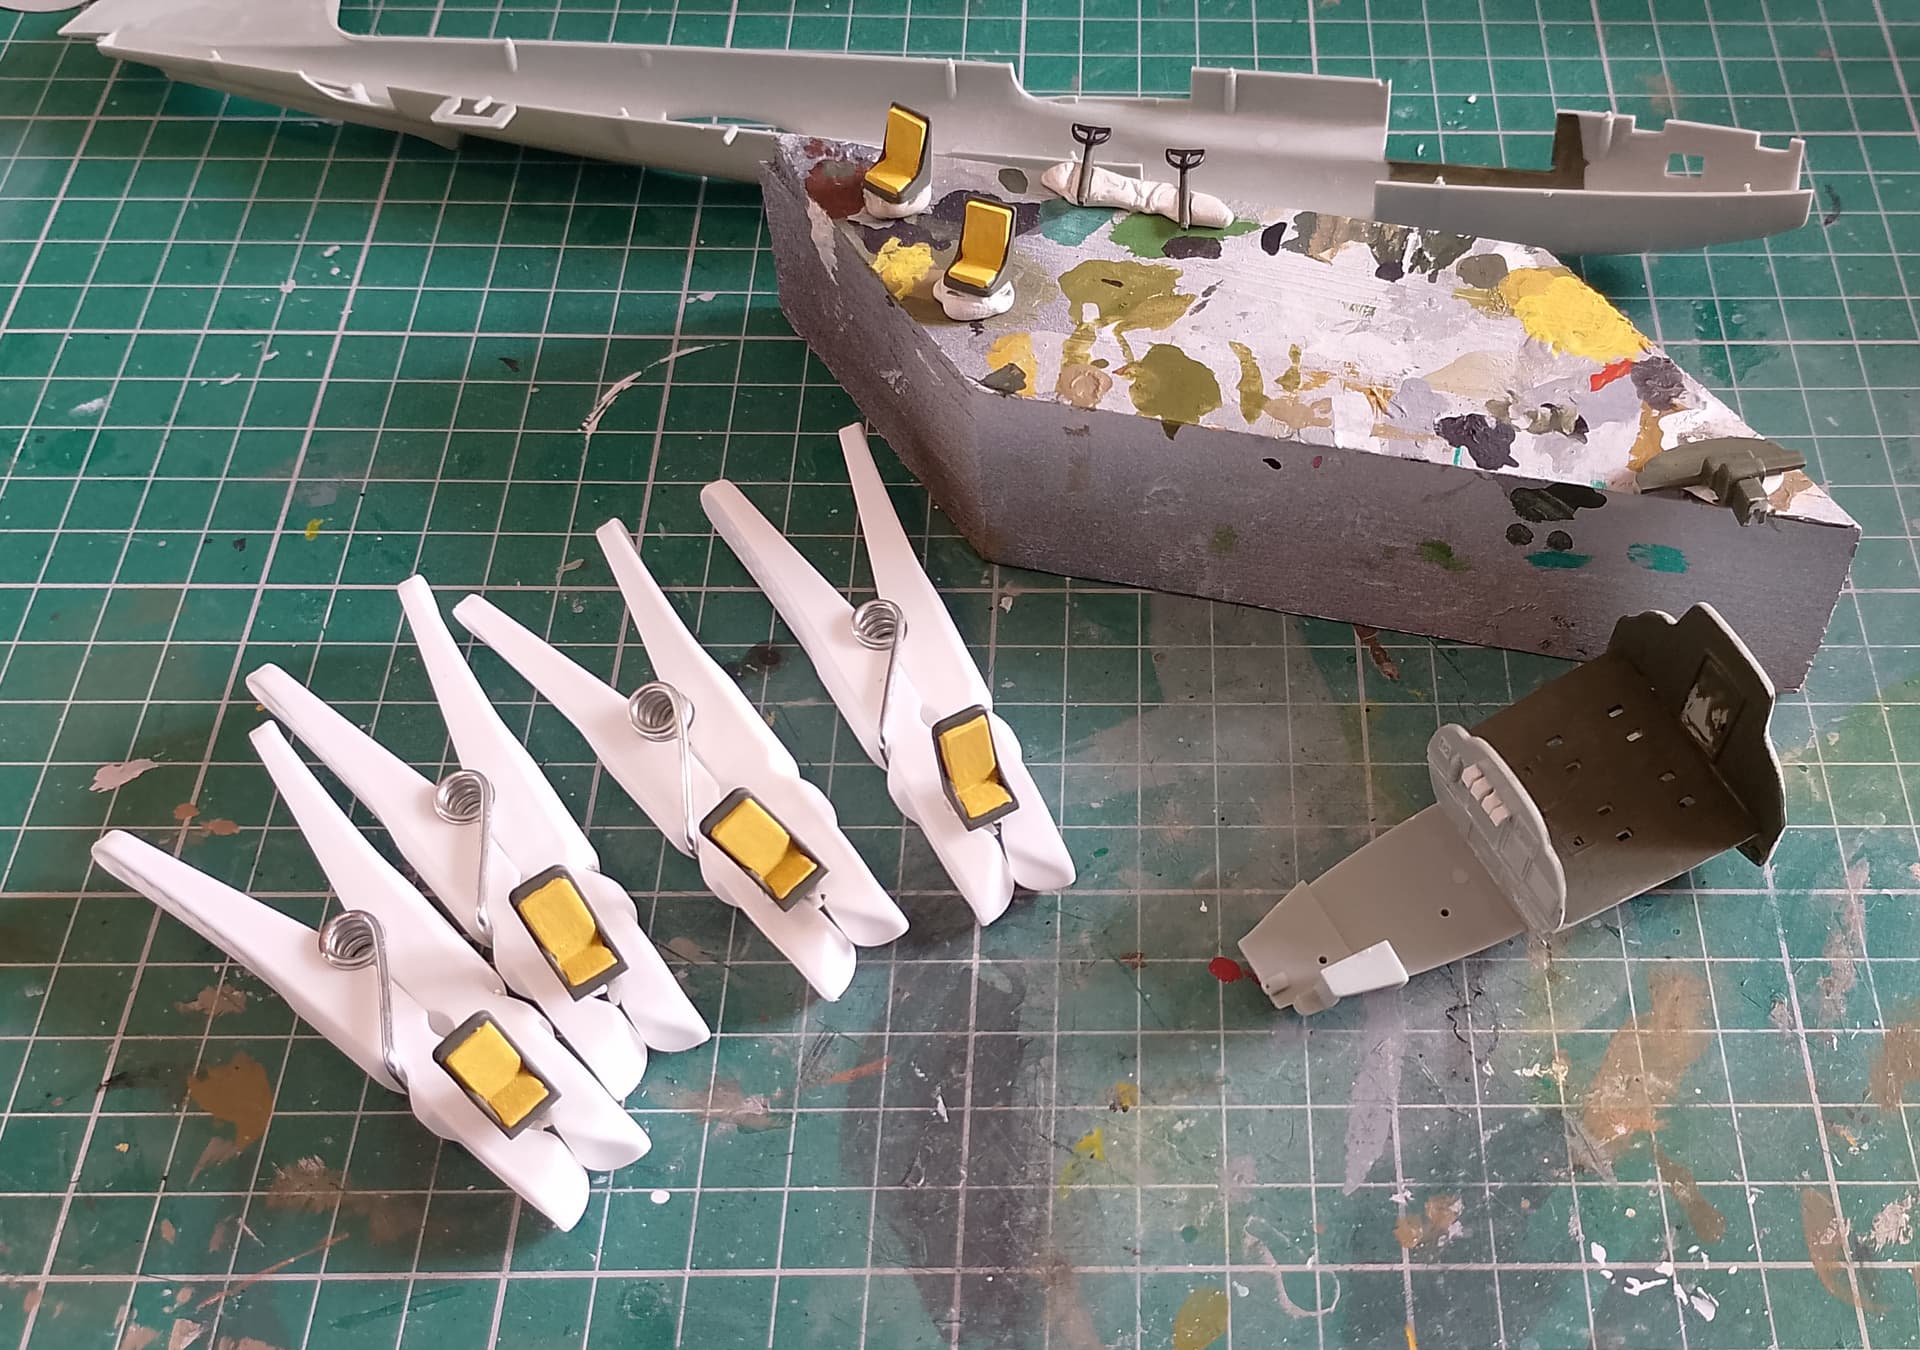
I’ve made a start over the last few days. Mostly tidying up the cockpit and nose position parts before assembly and painting.
I might scratch a radio compartment and fit a floor in the rear fuselage. You can see a bit of the inside through the windows at those stations and it will look a bit bare if left. I won’t go mad with details.
Try and get some photos up tomorrow.
I have certainly been enjoying all of the builds here. I have the Academy B-17 B and C kits someplace but have not seen them in some years. Probably still packed away in storage after the long distance move.
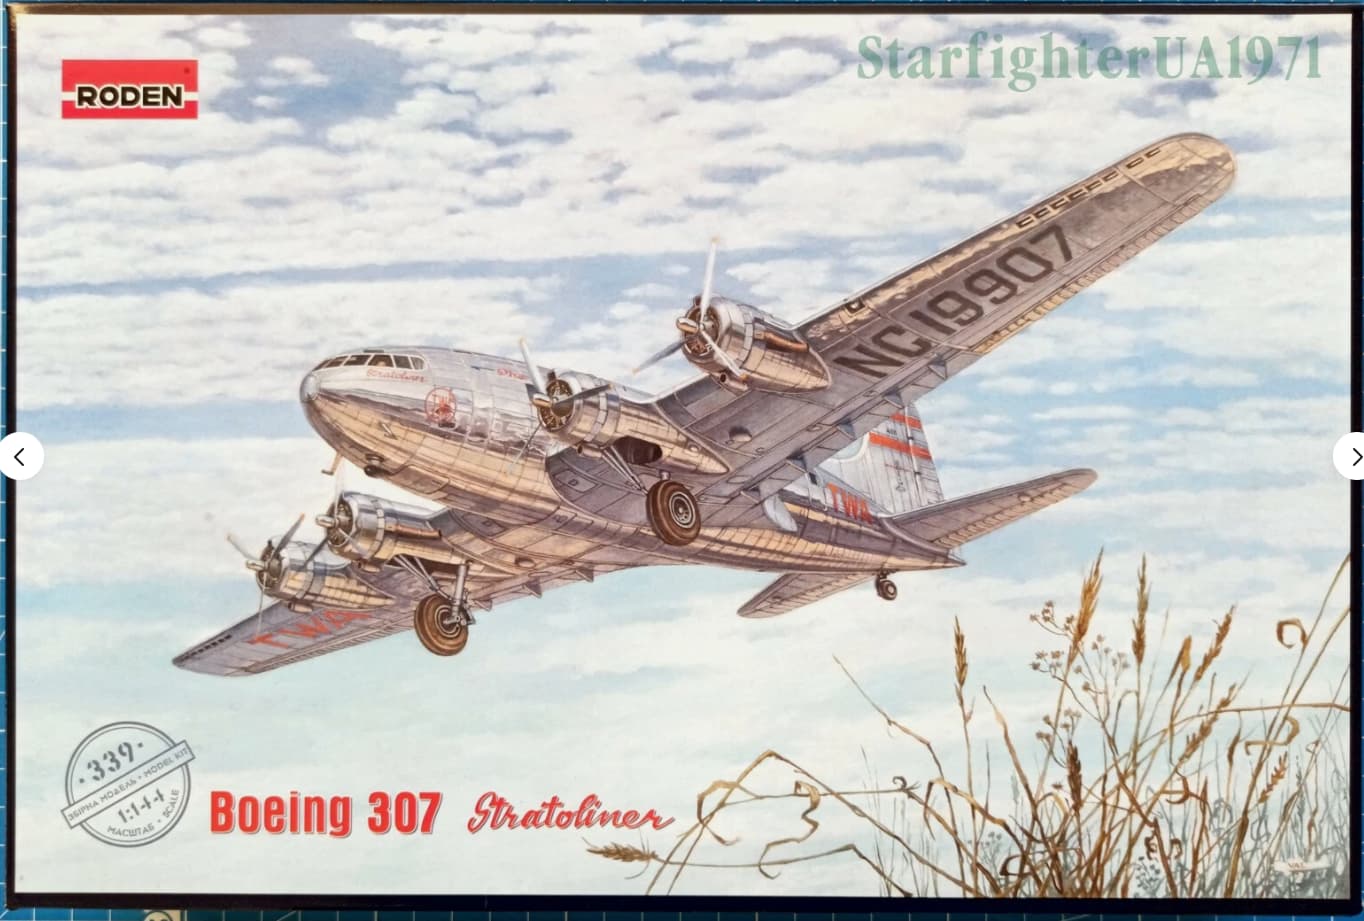
How flexible can we be on what a B-17 is? I just ordered this Boeing 307 Stratoliner as I’m doing a lot of airliner projects lately. The 307 came about when Jack Fry of TWA was invited to fly one of the early B-17s, possibly in hopes that TWA might be interested in an airliner version. They were and ordered some which were built, delivered and placed in service before Pearl Harbor.
The 307 used B-17 wings & tail feathers with a pressurized airliner fuselage. Once pressed in to Army Air Corp service the pressurization was deleted. They were used a lot and returned to TWA as war weary aircraft in 1944, rebuilt and placed back into service.
Would a 307 be acceptable to build for this campaign?
Paul
5 Likes
OK, that’s a tough one. I tend to be open to interesting derivations, to a point. After all, this is supposed to be about enjoying our hobby. This one is a bit outside the box (so to speak), but what the hell, go for it!
Michael ![]()
![]()
3 Likes
Thanks so much for allowing this deviation. These birds did have a long history, initially with early B-17 wings and tail feathers and the five TWA planes were rebuilt in 1944/1945 with B-17 G parts. They then served long carrers with several airlines going right into the 1970s.
Some standard Fortresses also lived long useful lives before they became cherished “warbirds.” The Stratoliner is not so different in that respect.
My kit is on its way from the Ukraine and is slated for arrival in mid September so it will be a while before I can begin it.
Thanks again!
Paul
1 Like
Slow work on the Bloody Hundredth kit. Fuselage back together (transferred the gap to the bottom, sigh) and working on the wings. I did run into another issue. Eduard would have you not use parts F3 and 4, housings for the inside engine supercharger pipes on the sides of the nacelles. While no doubt the resin parts are much nicer than the plastic ones, they don’t seem to take the place of housings. I think you need to install those on this kit as well.
Michael ![]()
![]()
2 Likes
Too bad you are having such troubles with this kit that looks so wonderful in the box. I also bought one and was very excited once it was open the great detail was visible.
My own project Boeing 307 arrived and will be the next project after clearing off a couple of ongoing builds.
Paul
1 Like