Fortress in the Sky: The B-17 at 90

I got a bit of time to make a start on the Stratoliner while waiting for paint to dry on another project.

With this 1/144 scale the windows are a problem. Clear ones are a lot of work both for the kit manufacturer and for the builder. I feel decals look much better and are certainly less work but this maker, Rodin, make all of their kits in this scale with windows. A few months ago I built one of their Convair 340 kits and puttied in the windows, a time consuming job. Using aftermarket decals for Braniff Airlines, the model came out well and certainly looks better than the clear plastic ones would have. I’ll check to see it any period appropriate TWA decals are available for this pre war 307 but I have not seen any so far. That means a time consuming masking job is ahead.

Here are some pictures of the start of this early B-17 derivative. This is a low production kit and has both sinks a short shots. Enough carping, I’m just glad someone made a decent buildable kit of this aircraft.

Paul

8 Likes

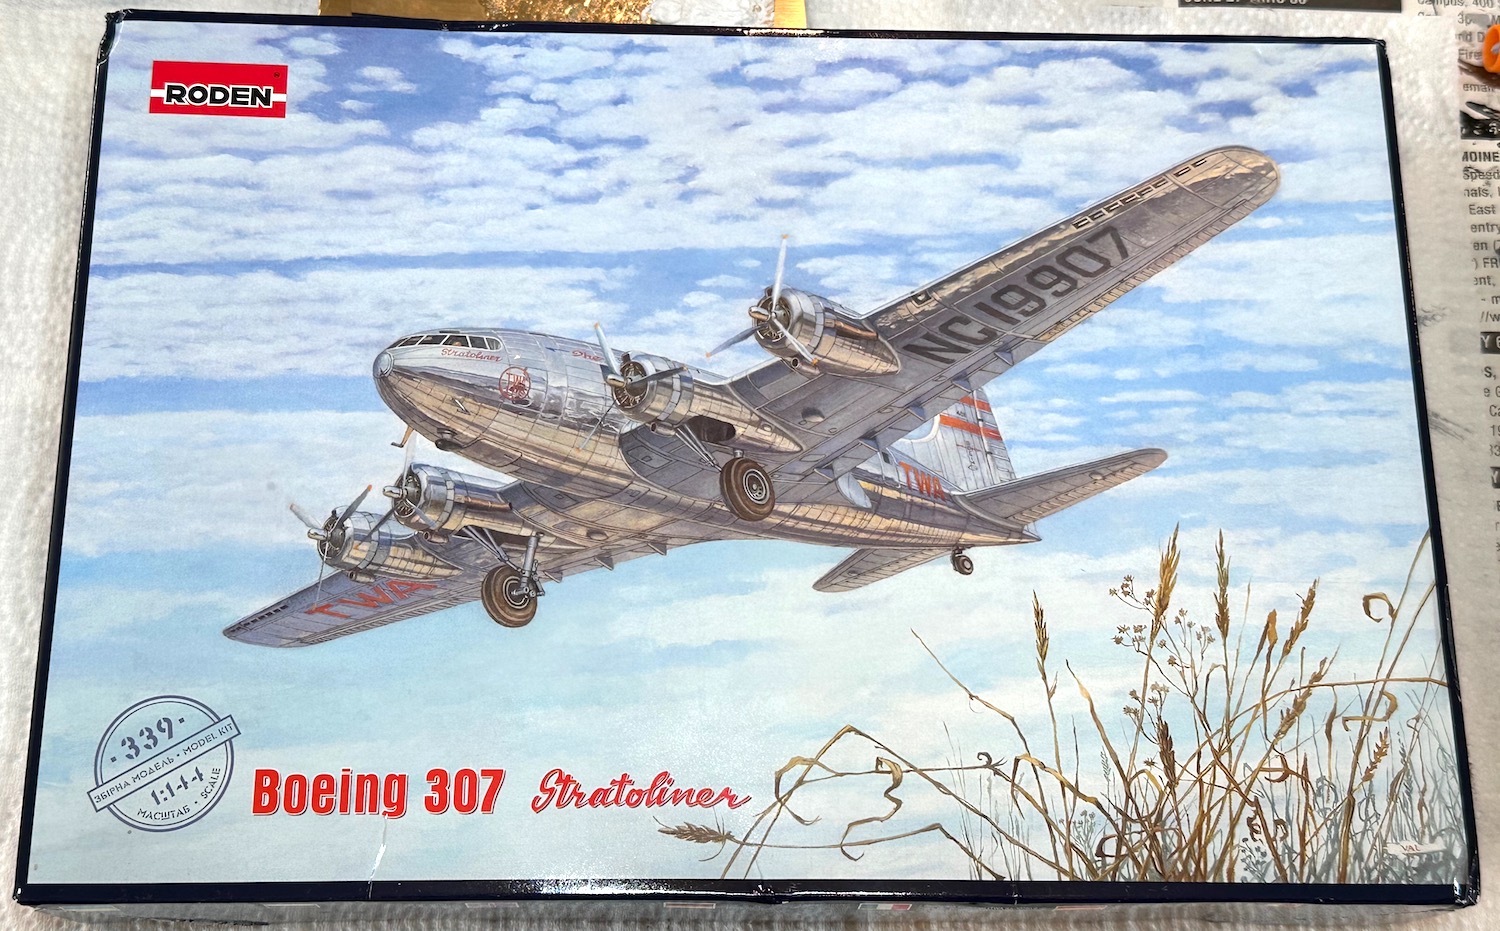
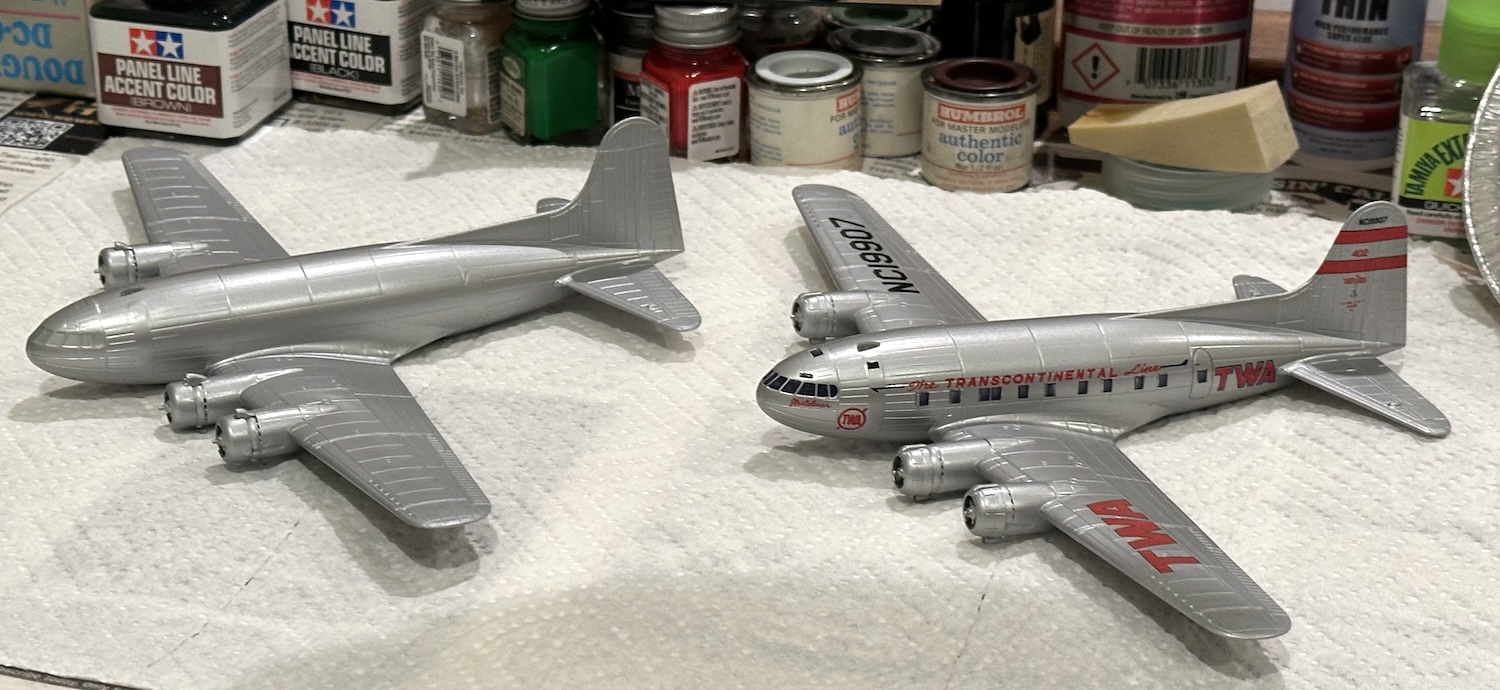
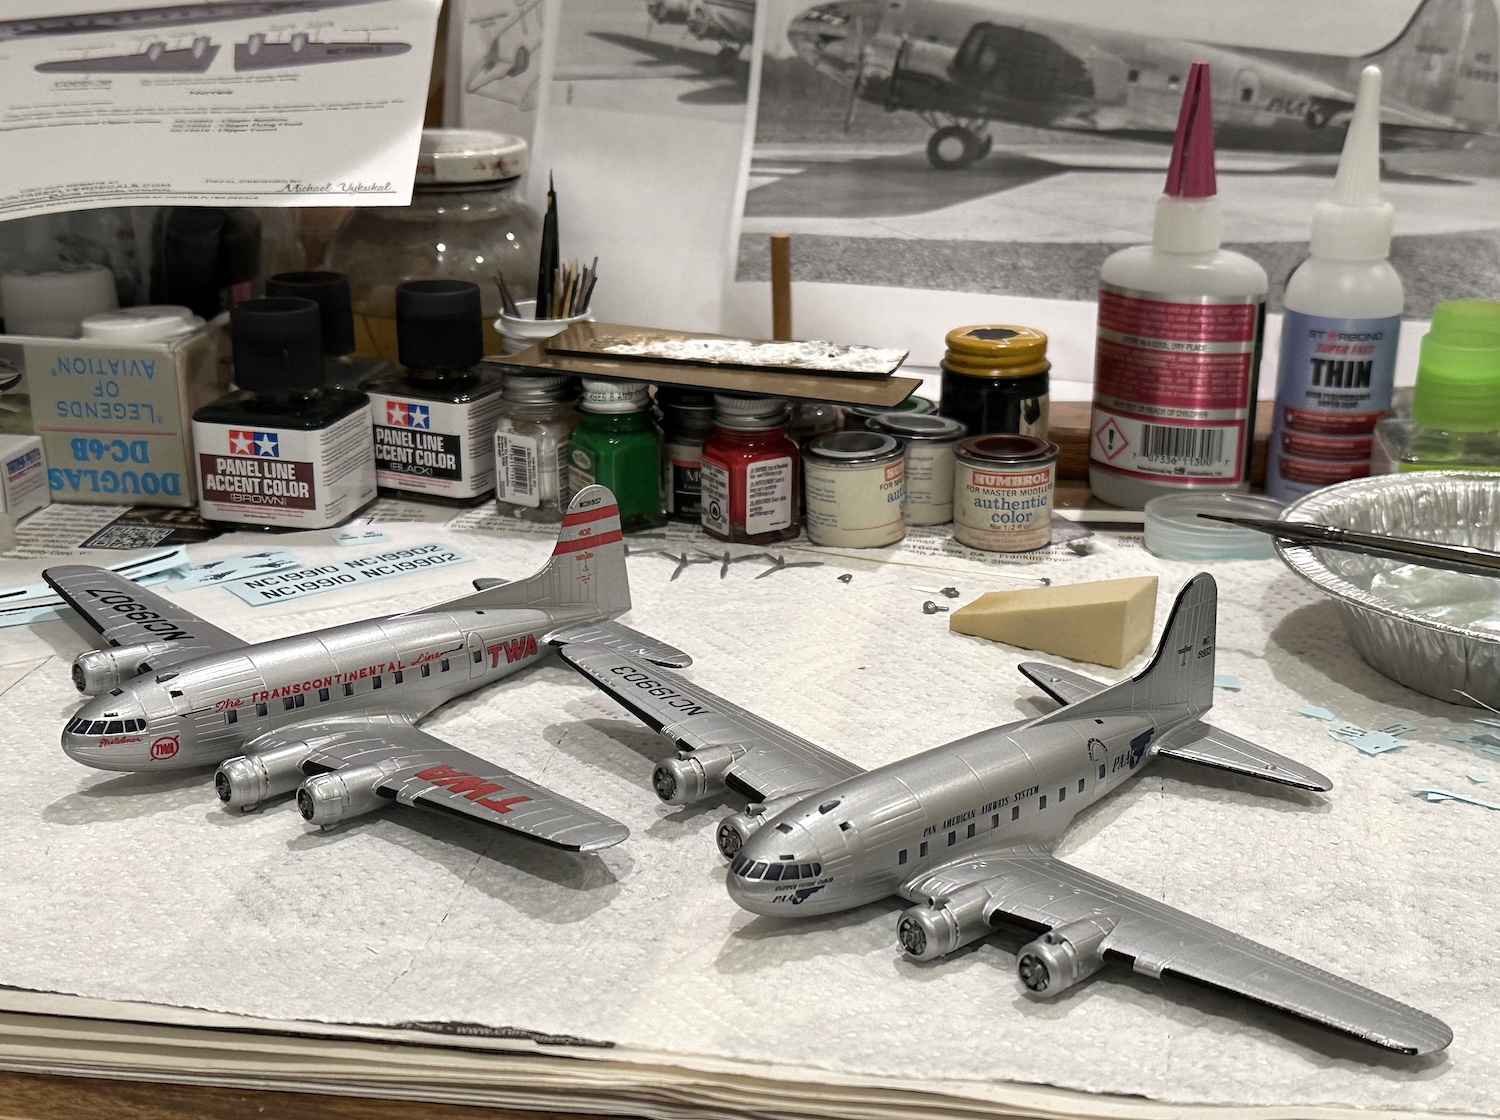
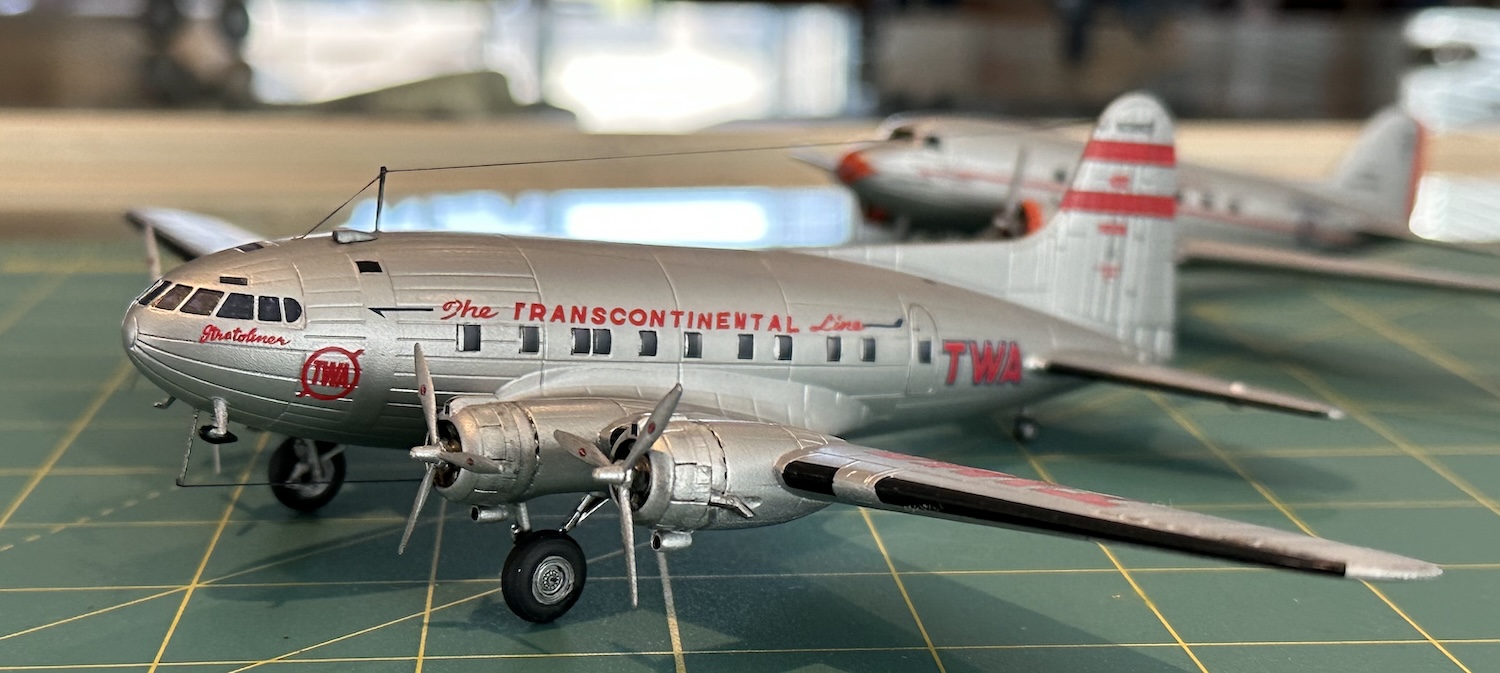
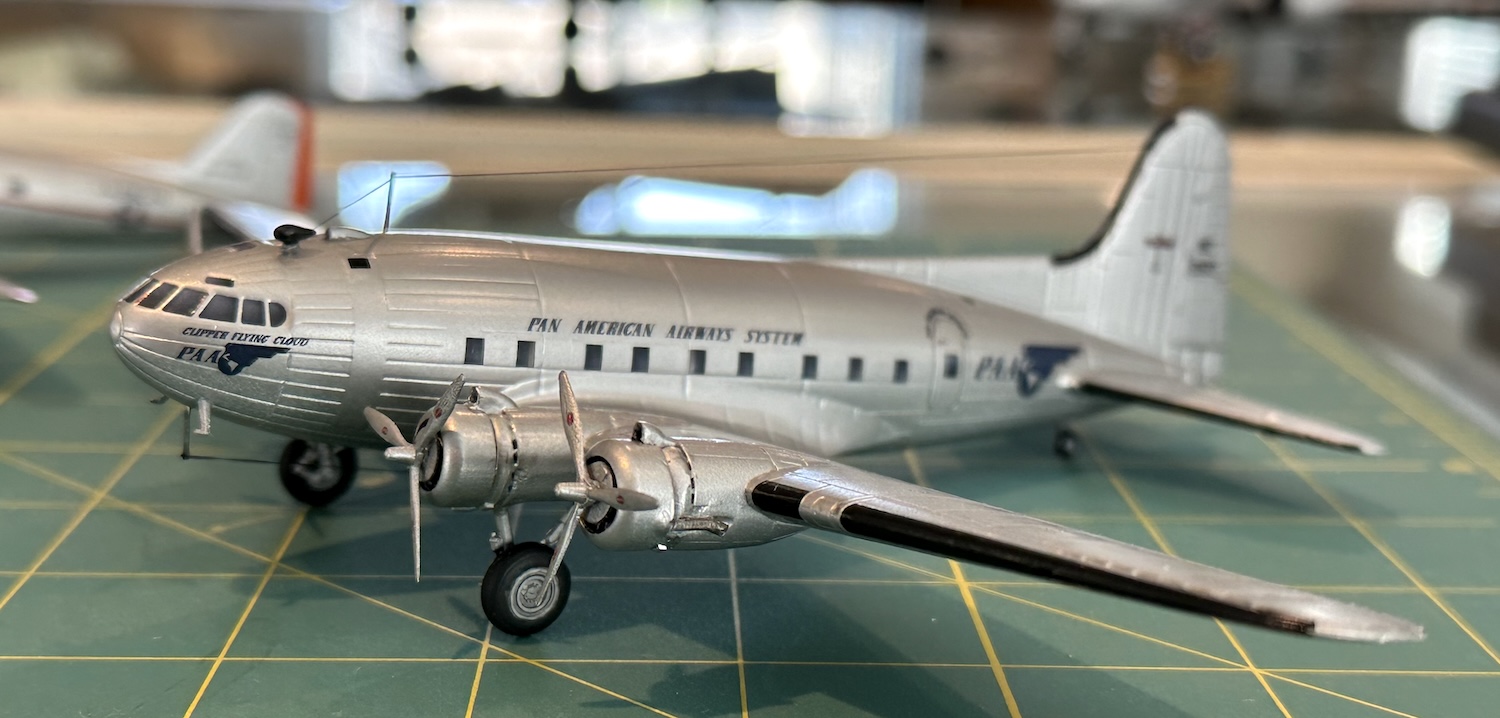
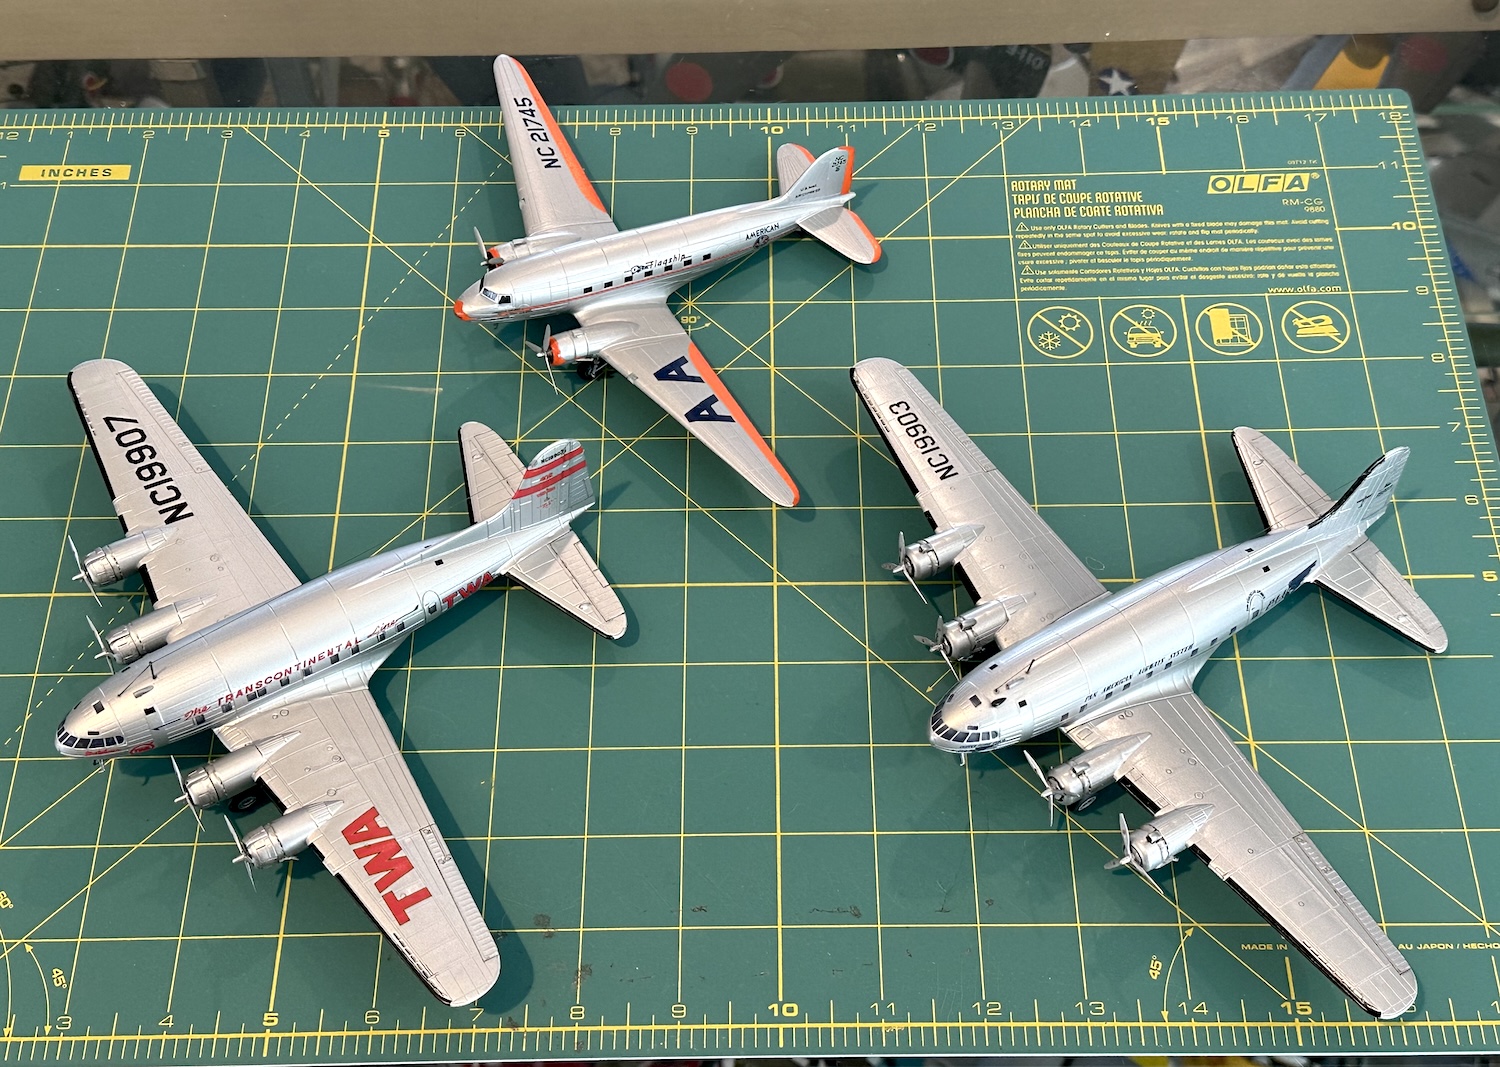
Some more progress was made on the Boeing 307 Stratoliner. This Rodin kit contains parts to make both the TWA version shown on the box art & the PanAm version not shown or even mentioned in the destructions. Vintage Flyer makes some very nice decals for the PanAm version.

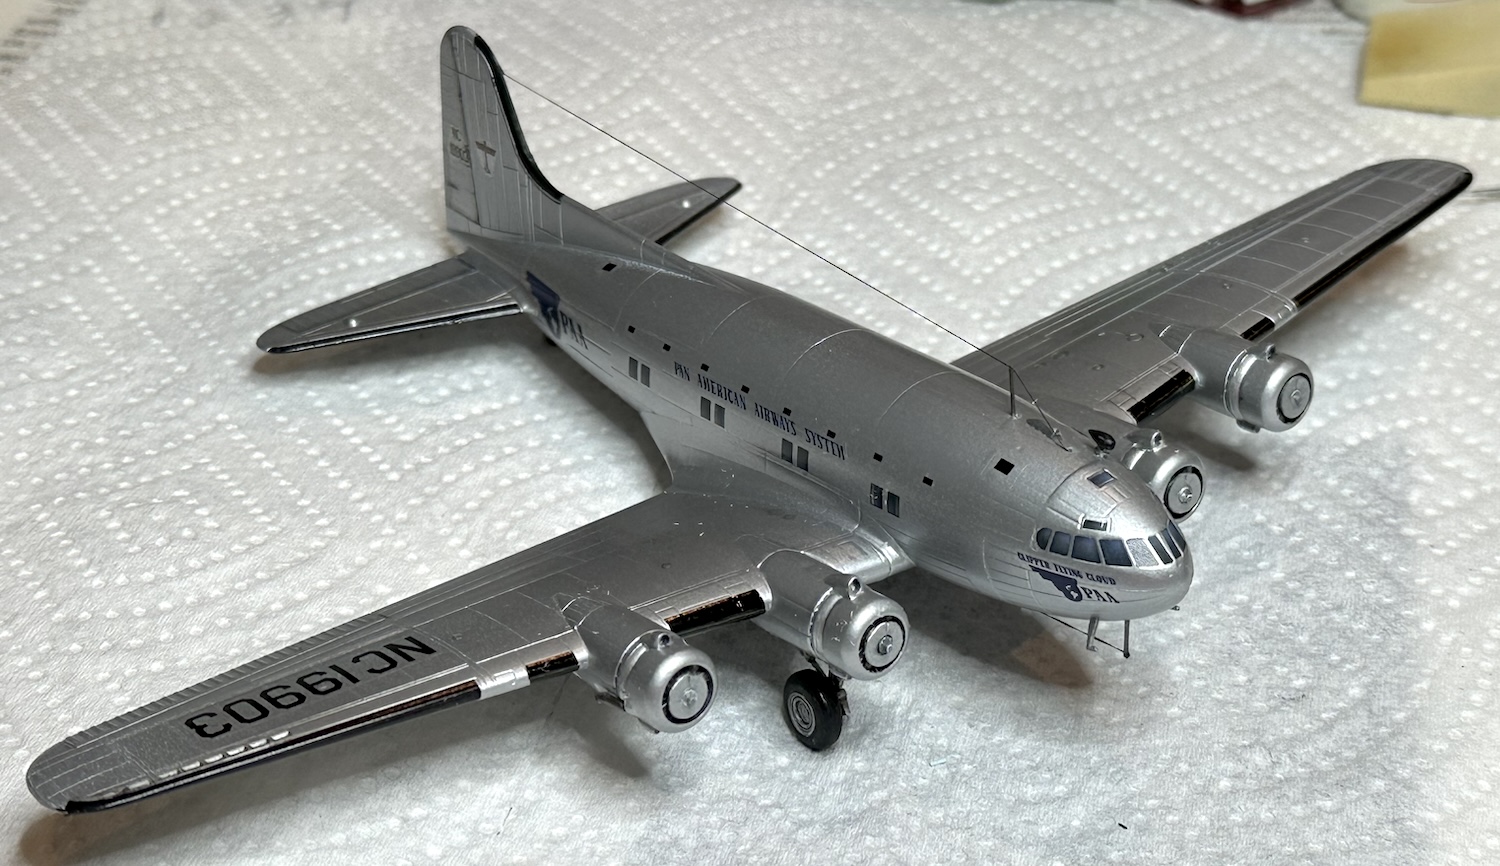
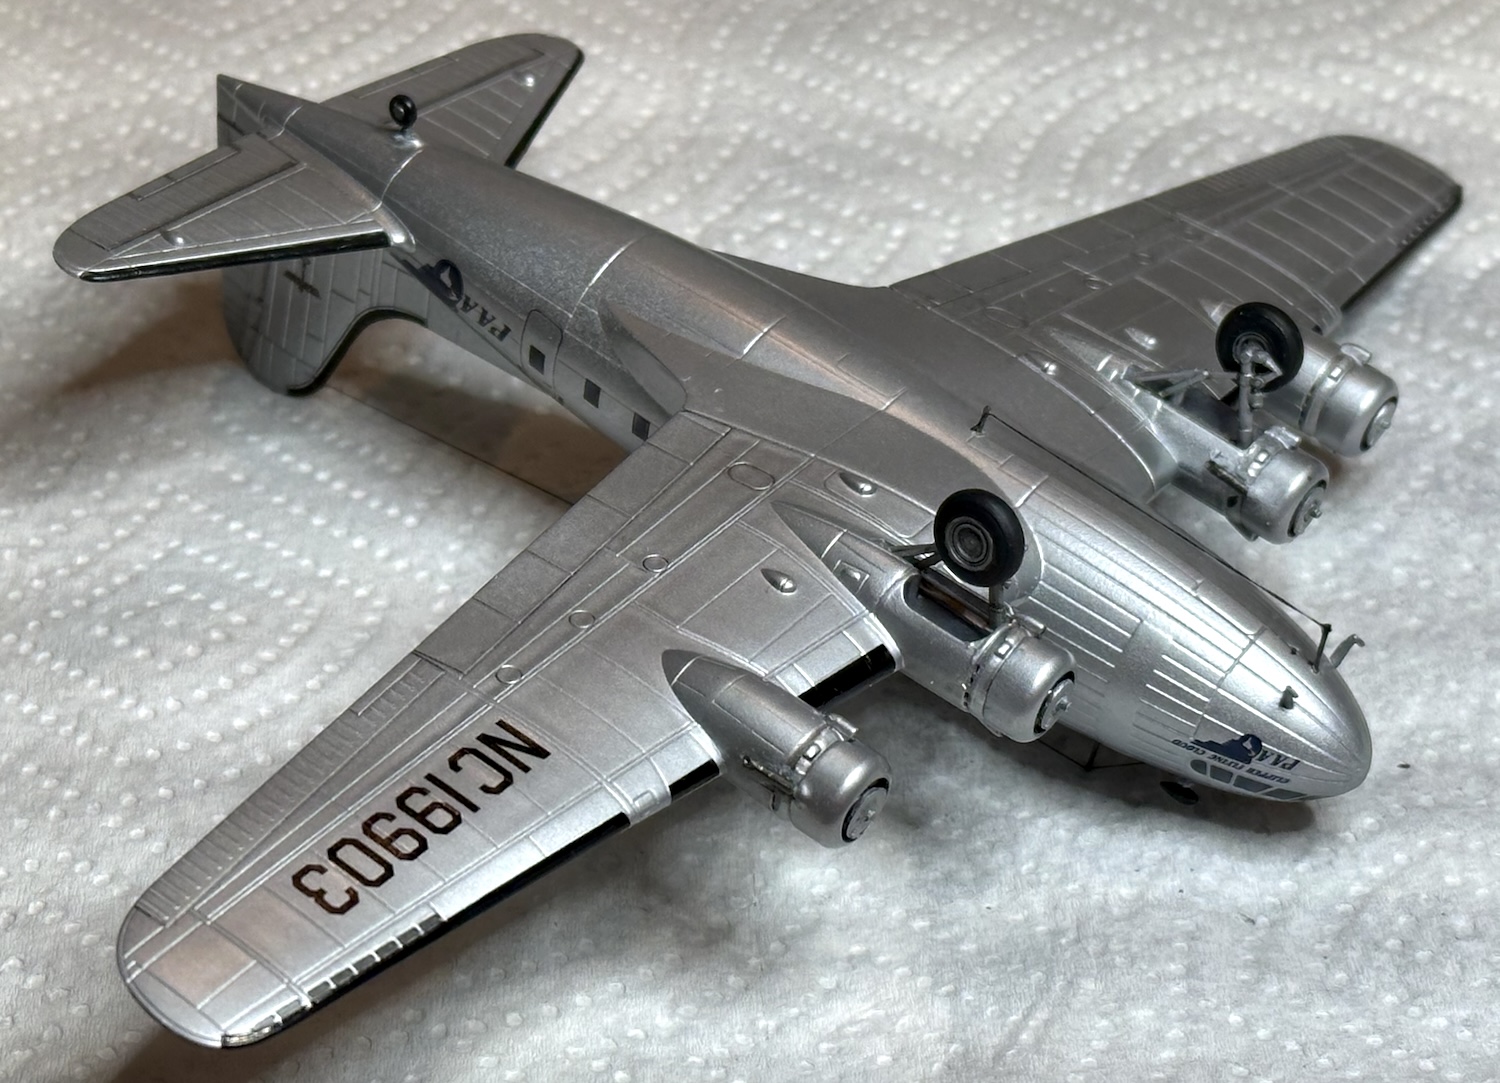
They are not the same bird! Only 10 of these beasts were made before WW2 forced production to concentrate on B-17s. One was for Howard Hughes as a personal aerial yacht, three were for PanAm & six were for TWA. The TWA version had cowl flaps and visible flap tracks on the bottom of the wing. PanAm used a clean wing and had no cowl flaps.

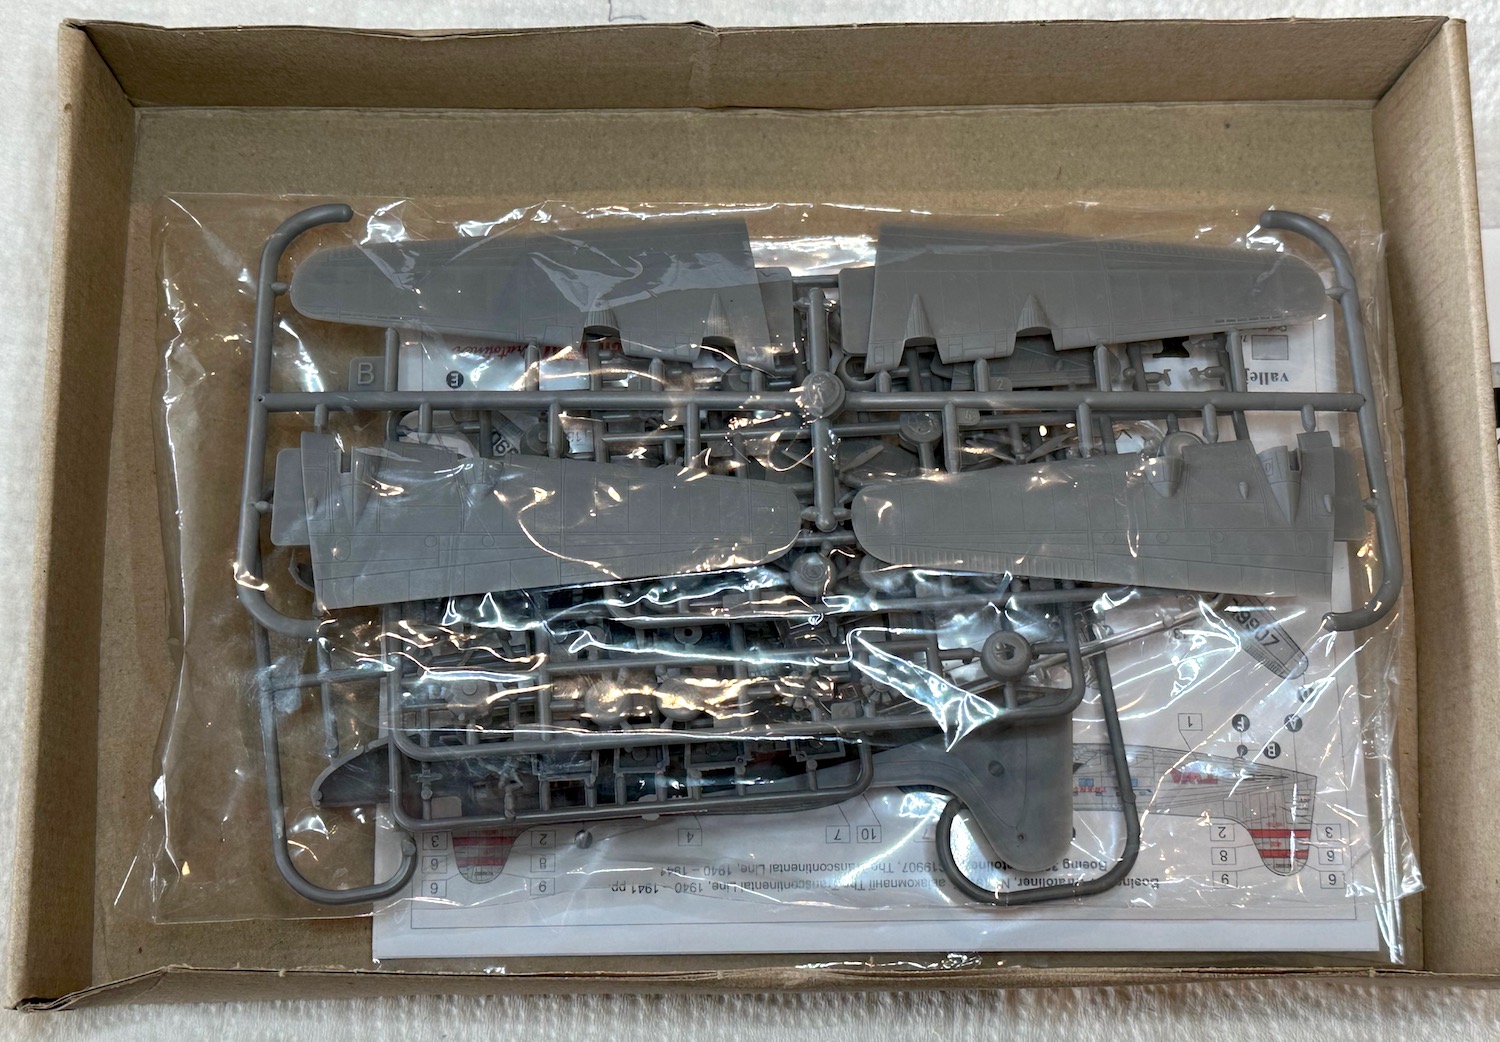
While the parts for both versions are included, the destructions are far from clear about which ones to use and in at least one case, actually call for PanAm nacelle parts which will not mate with the TWA cowlings. You will need to sort this out before building.

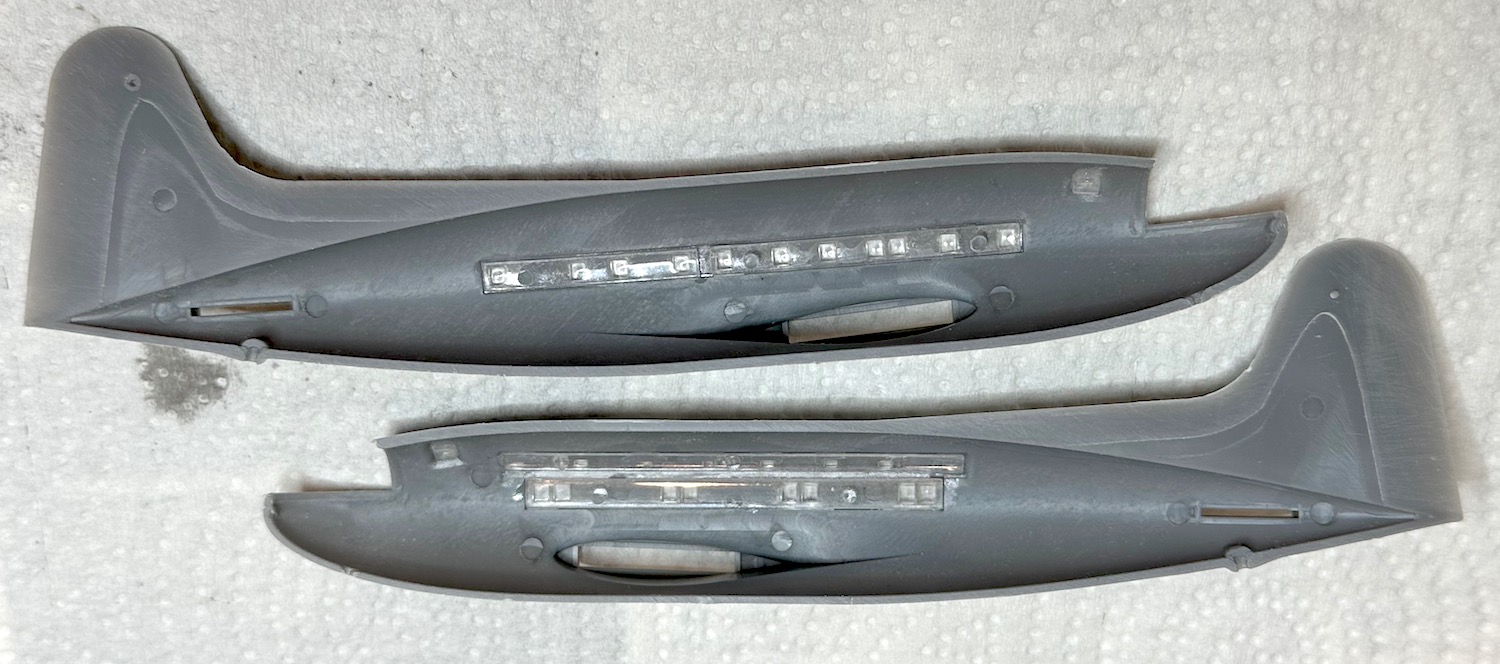
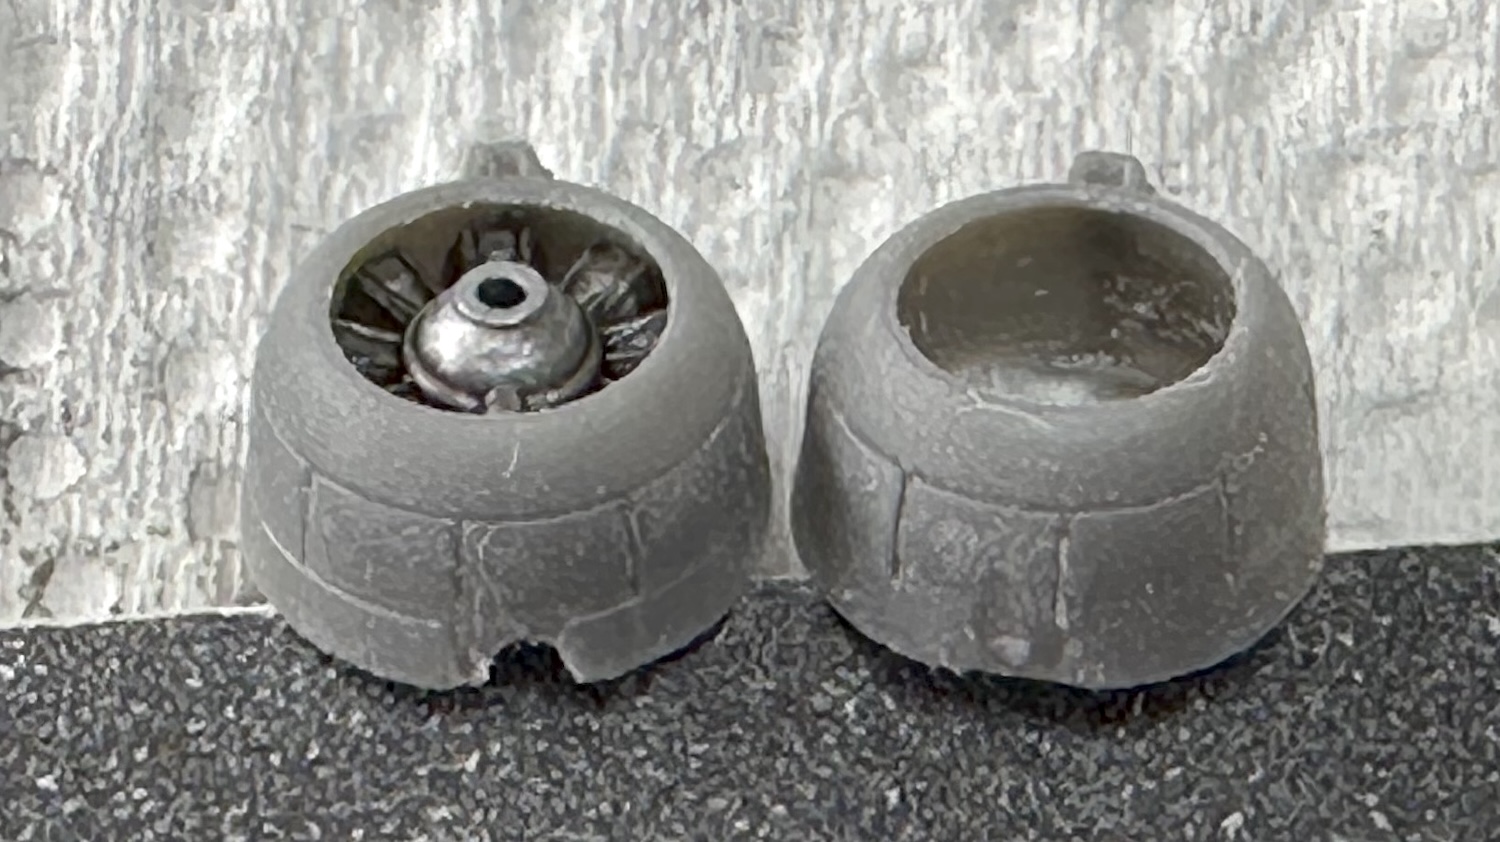
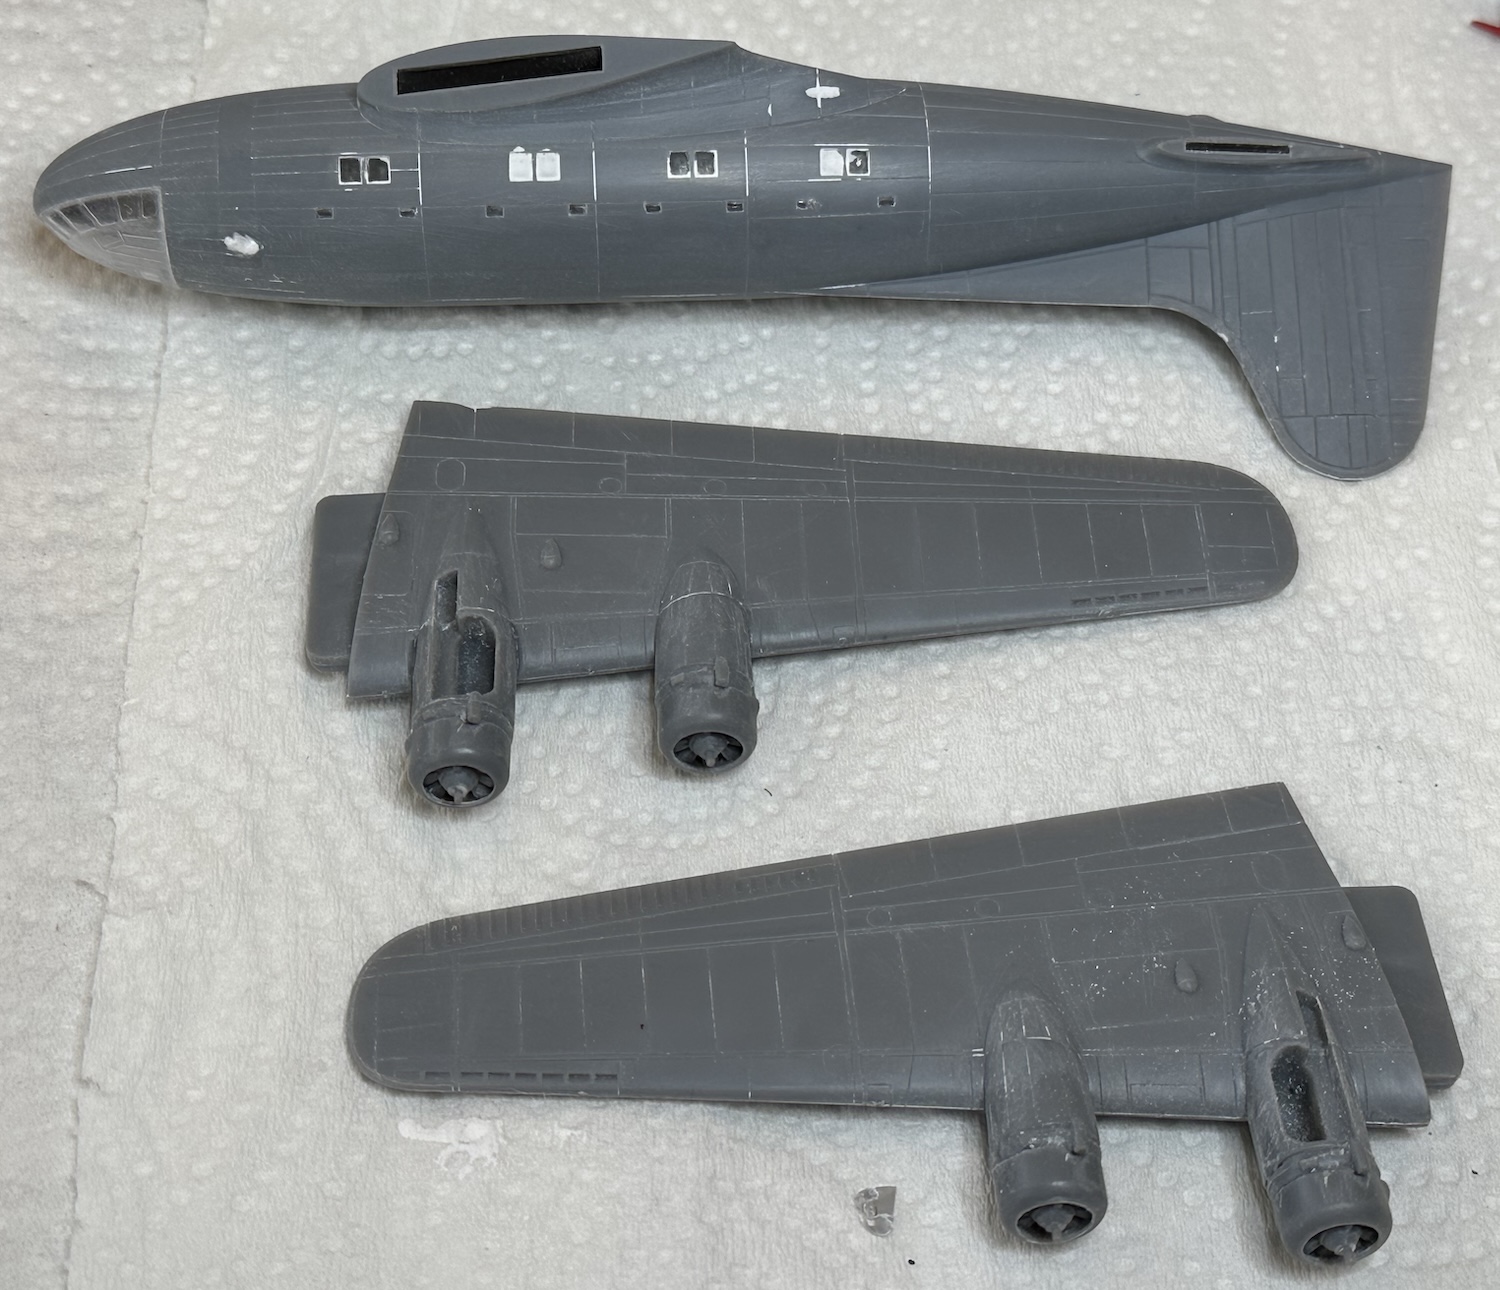
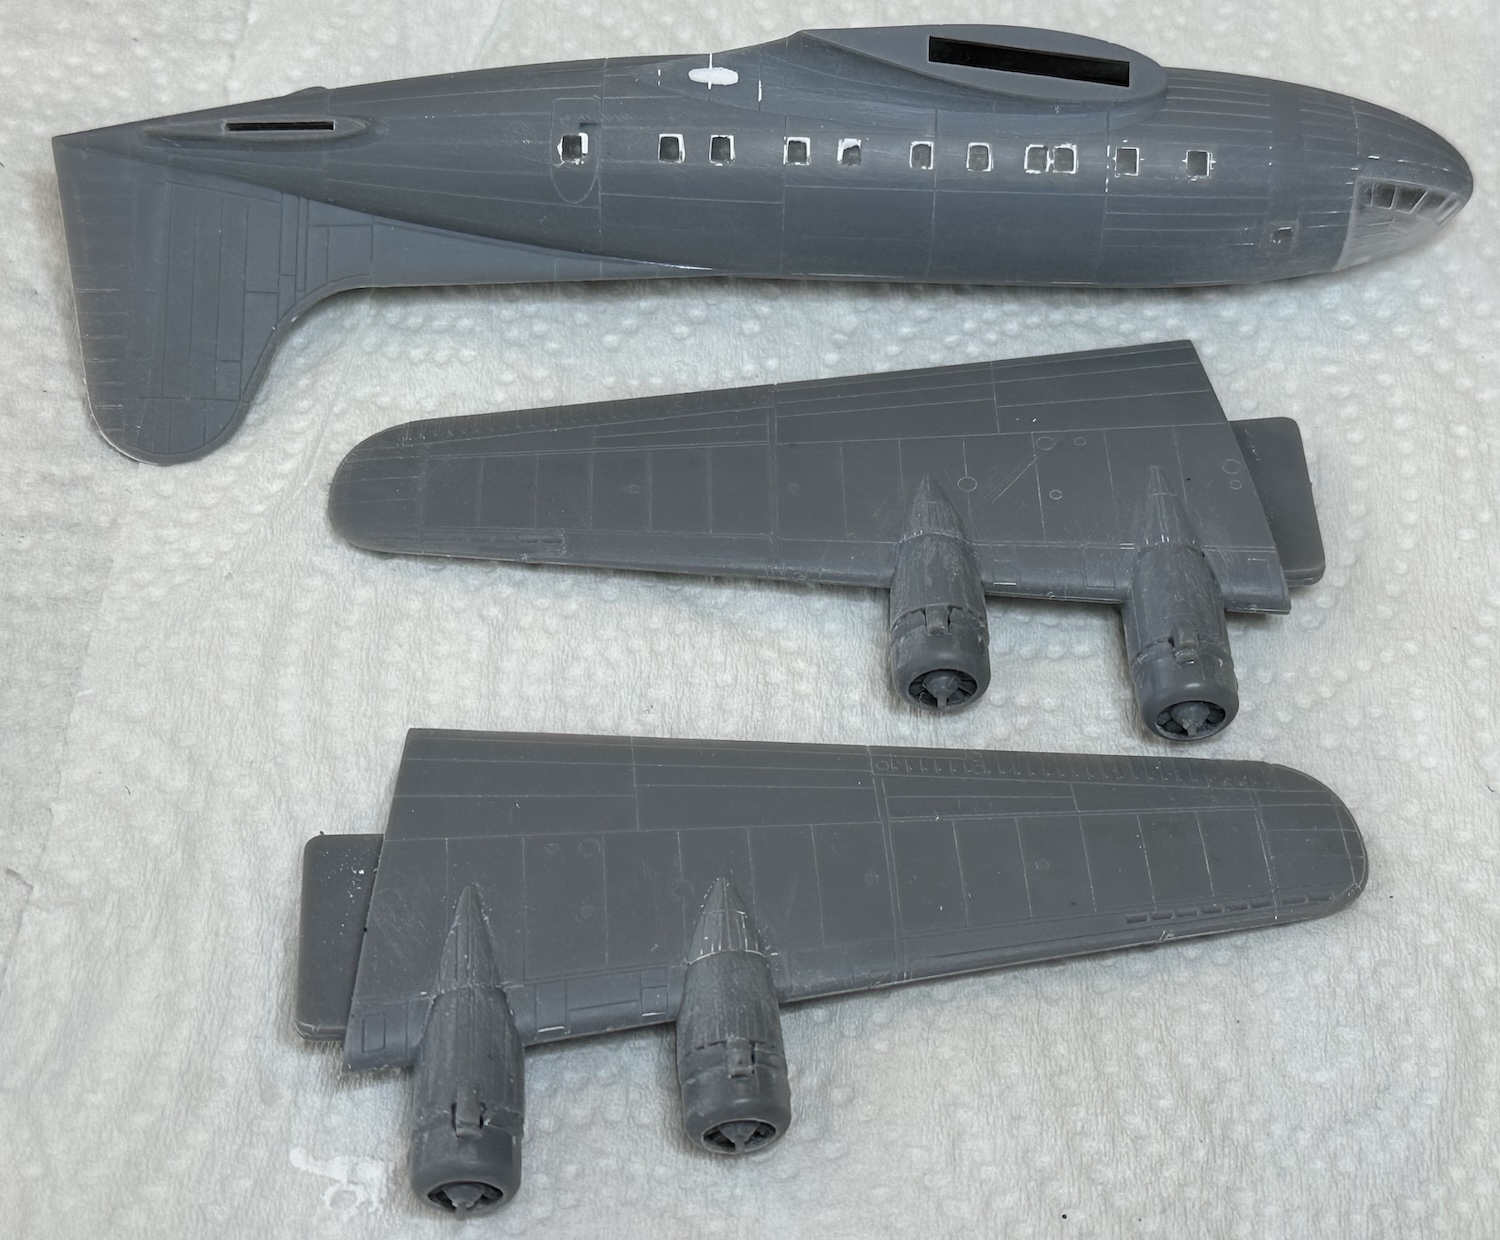
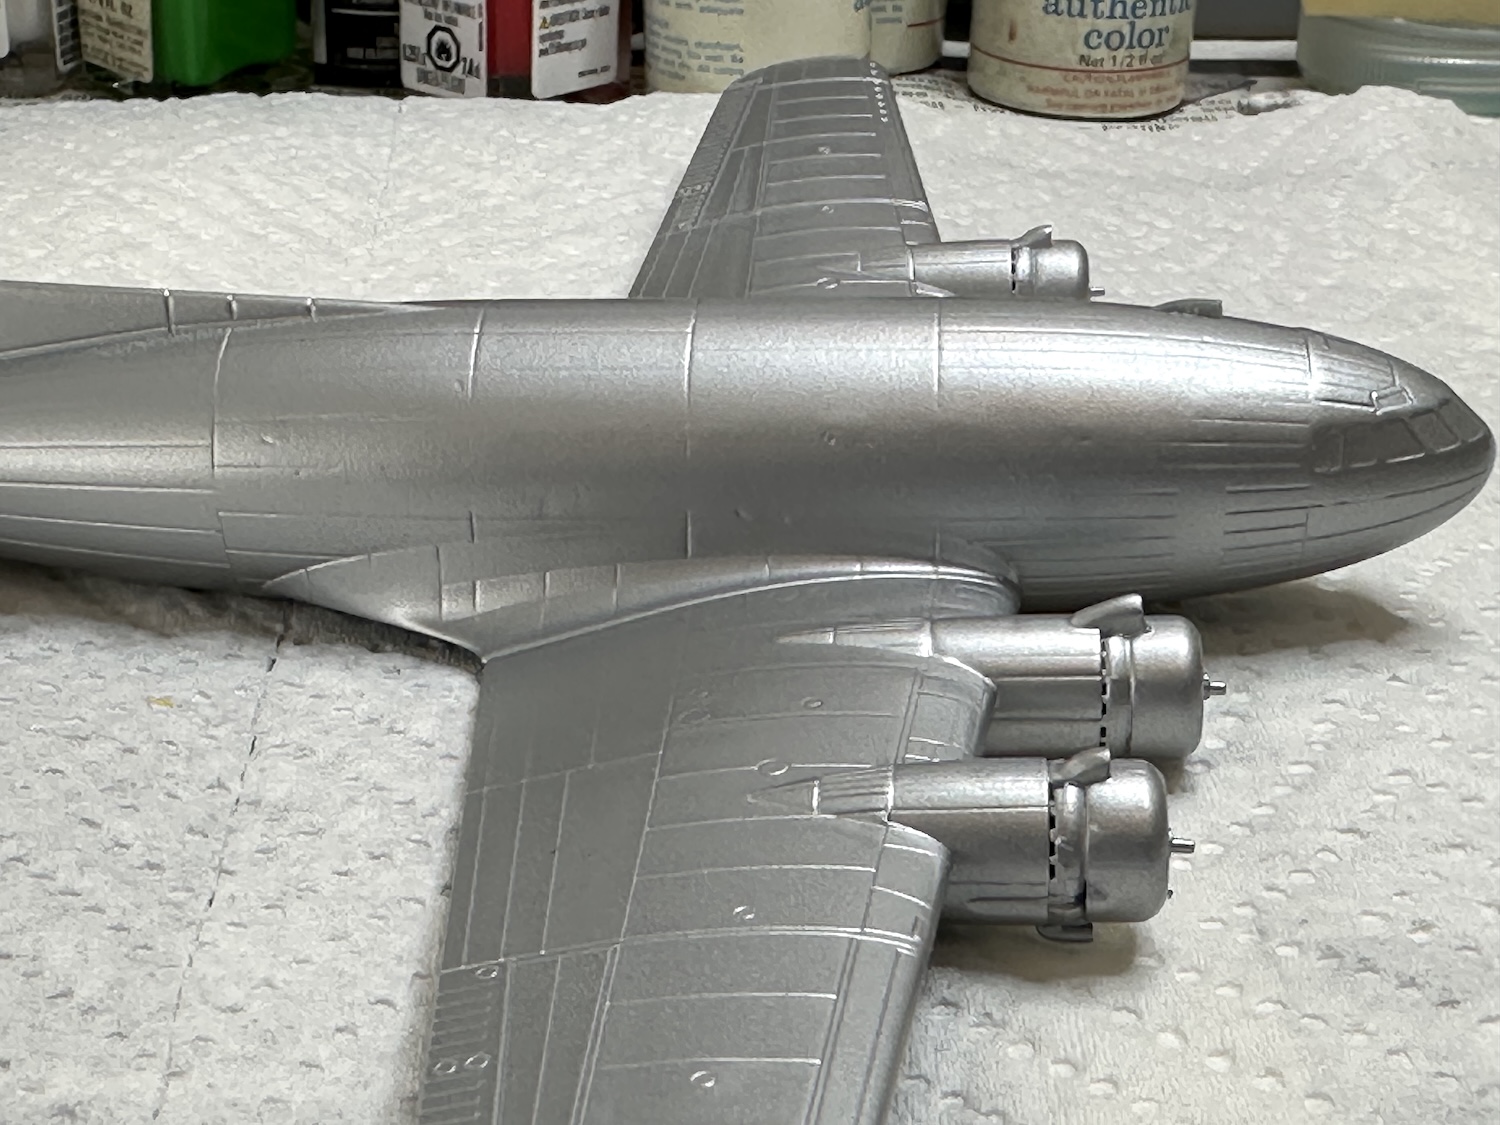
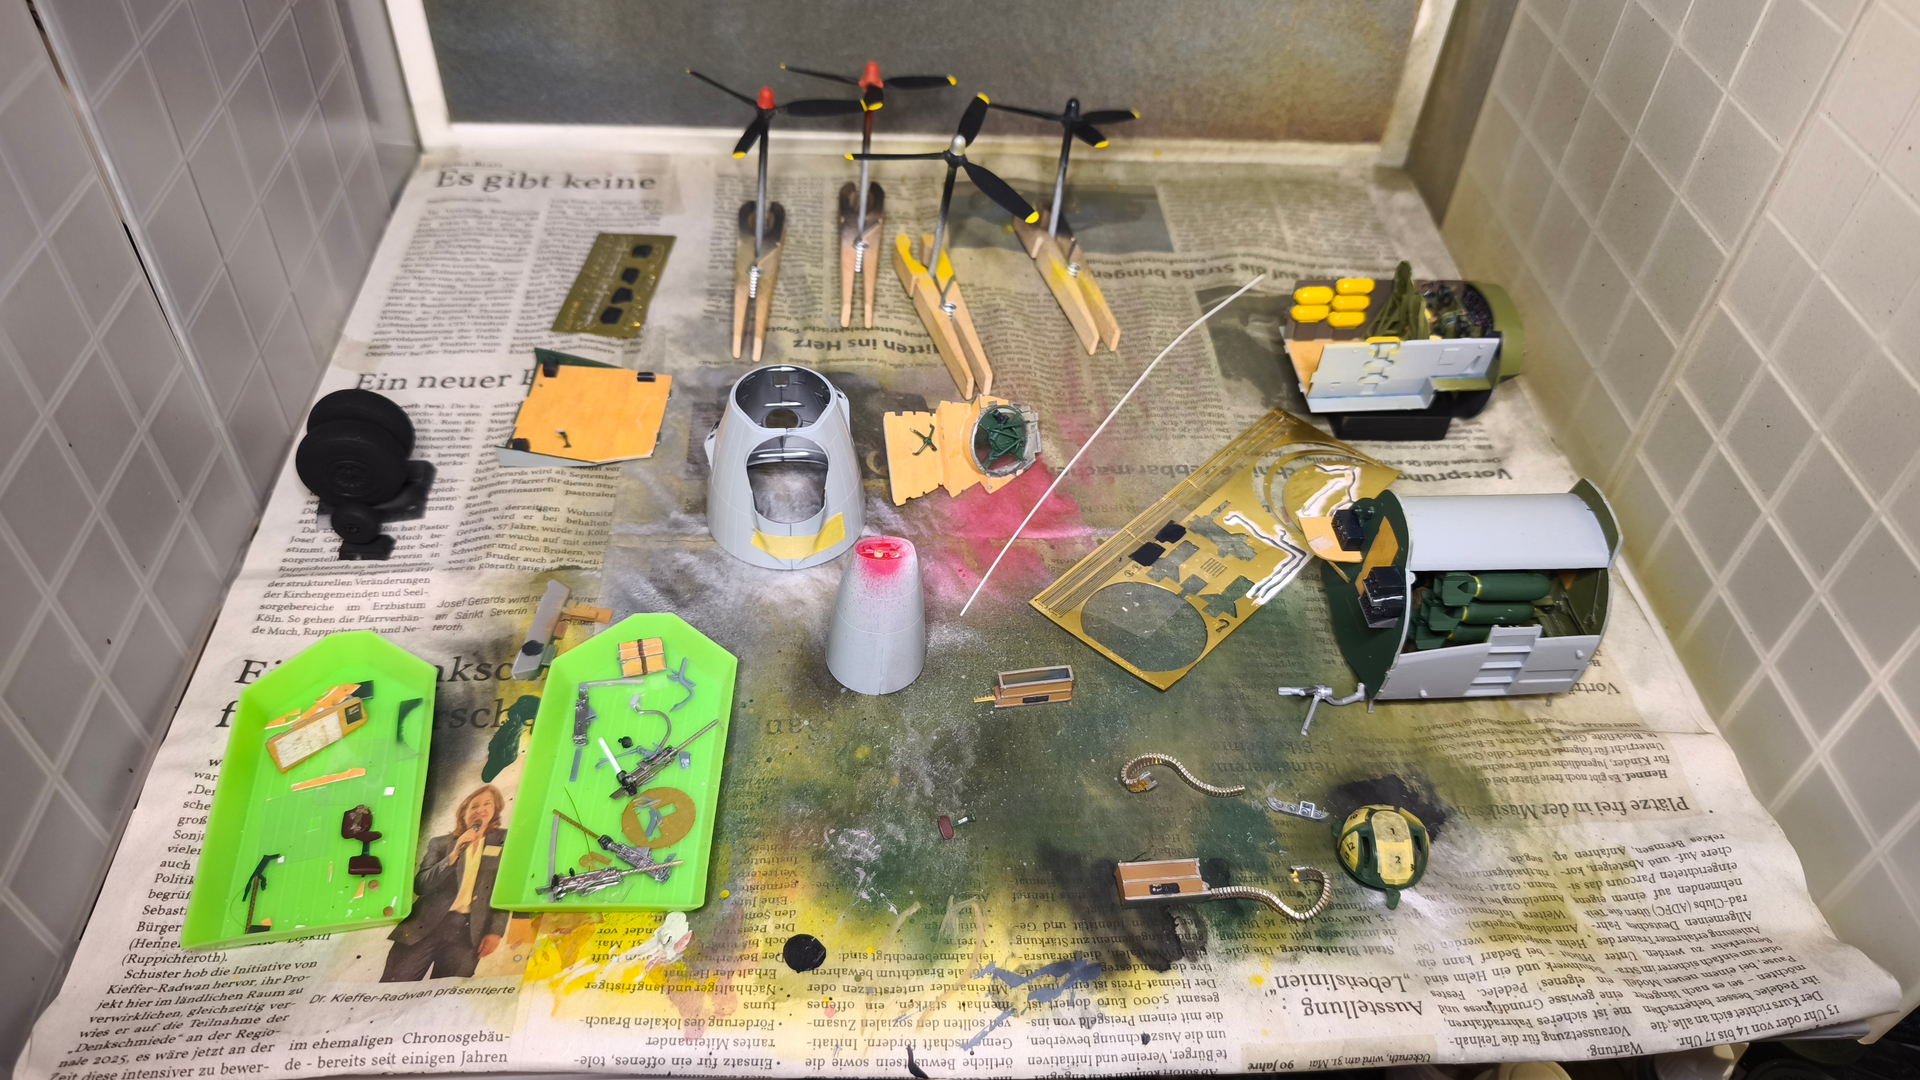
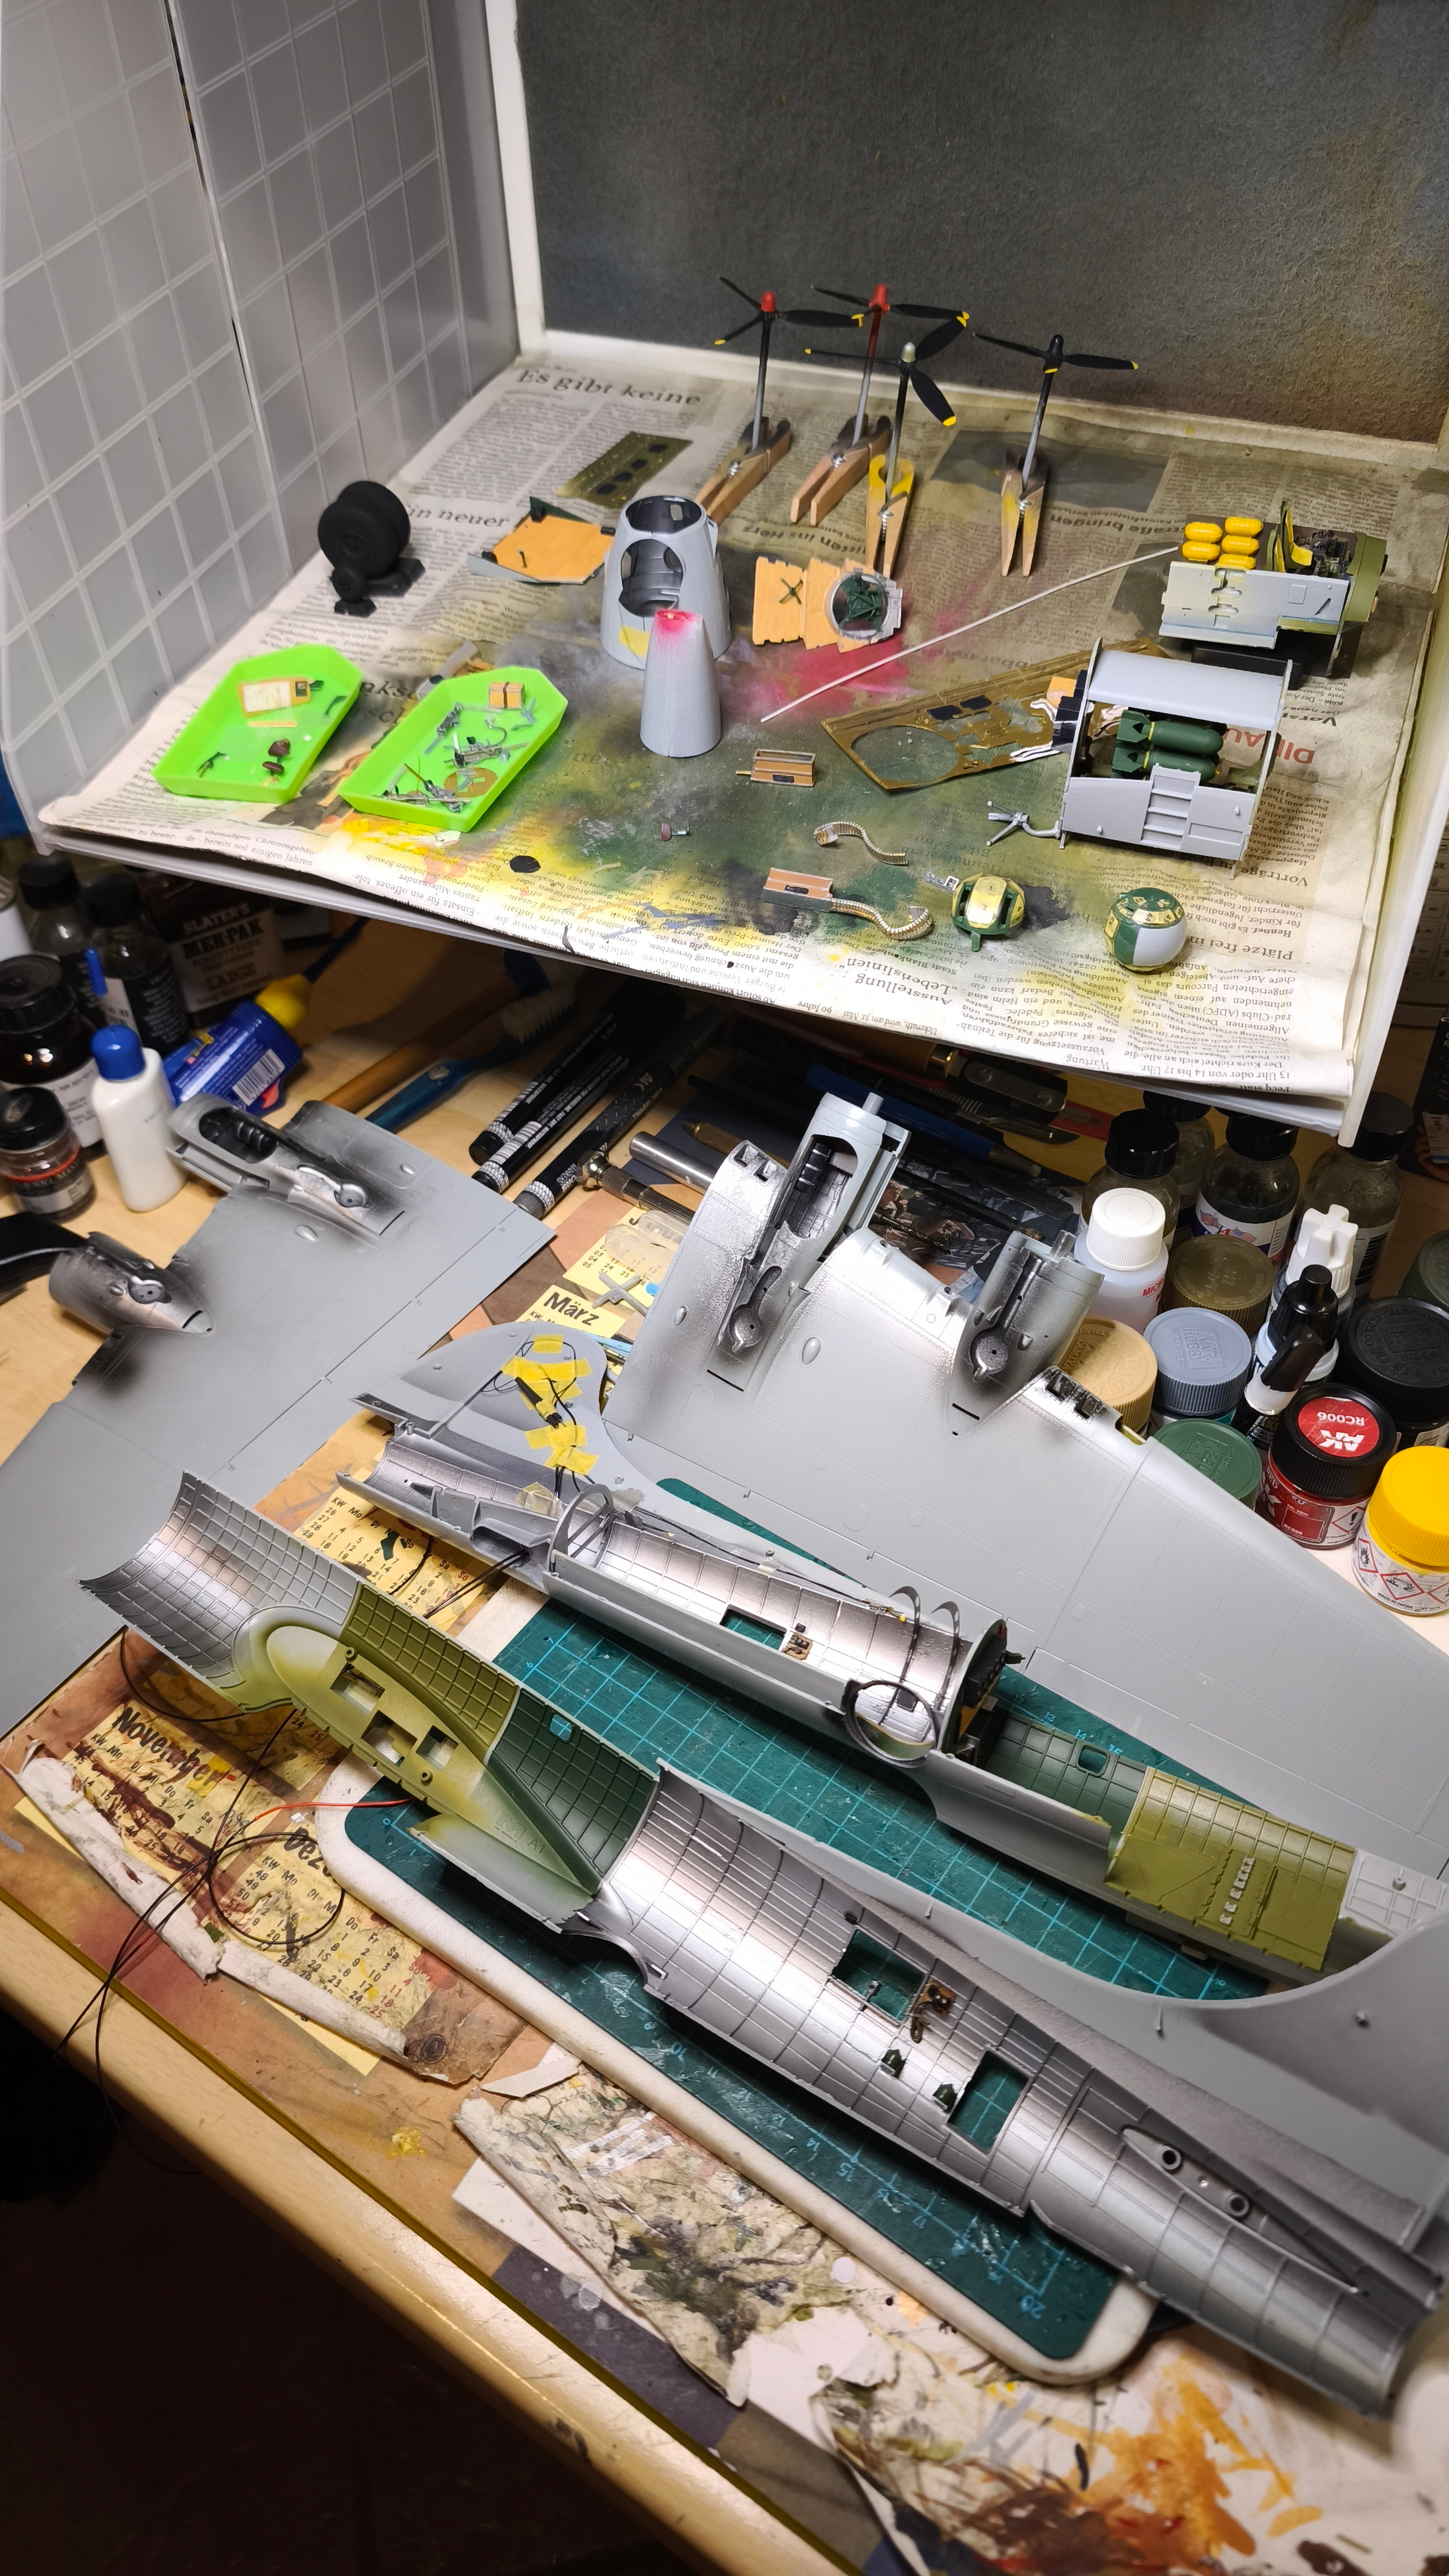
Also, even the correct parts do not always fit as they should. Here are the TWA cowlings that had to be “adjusted” to fit the oil coolers on the TWA nacelles:

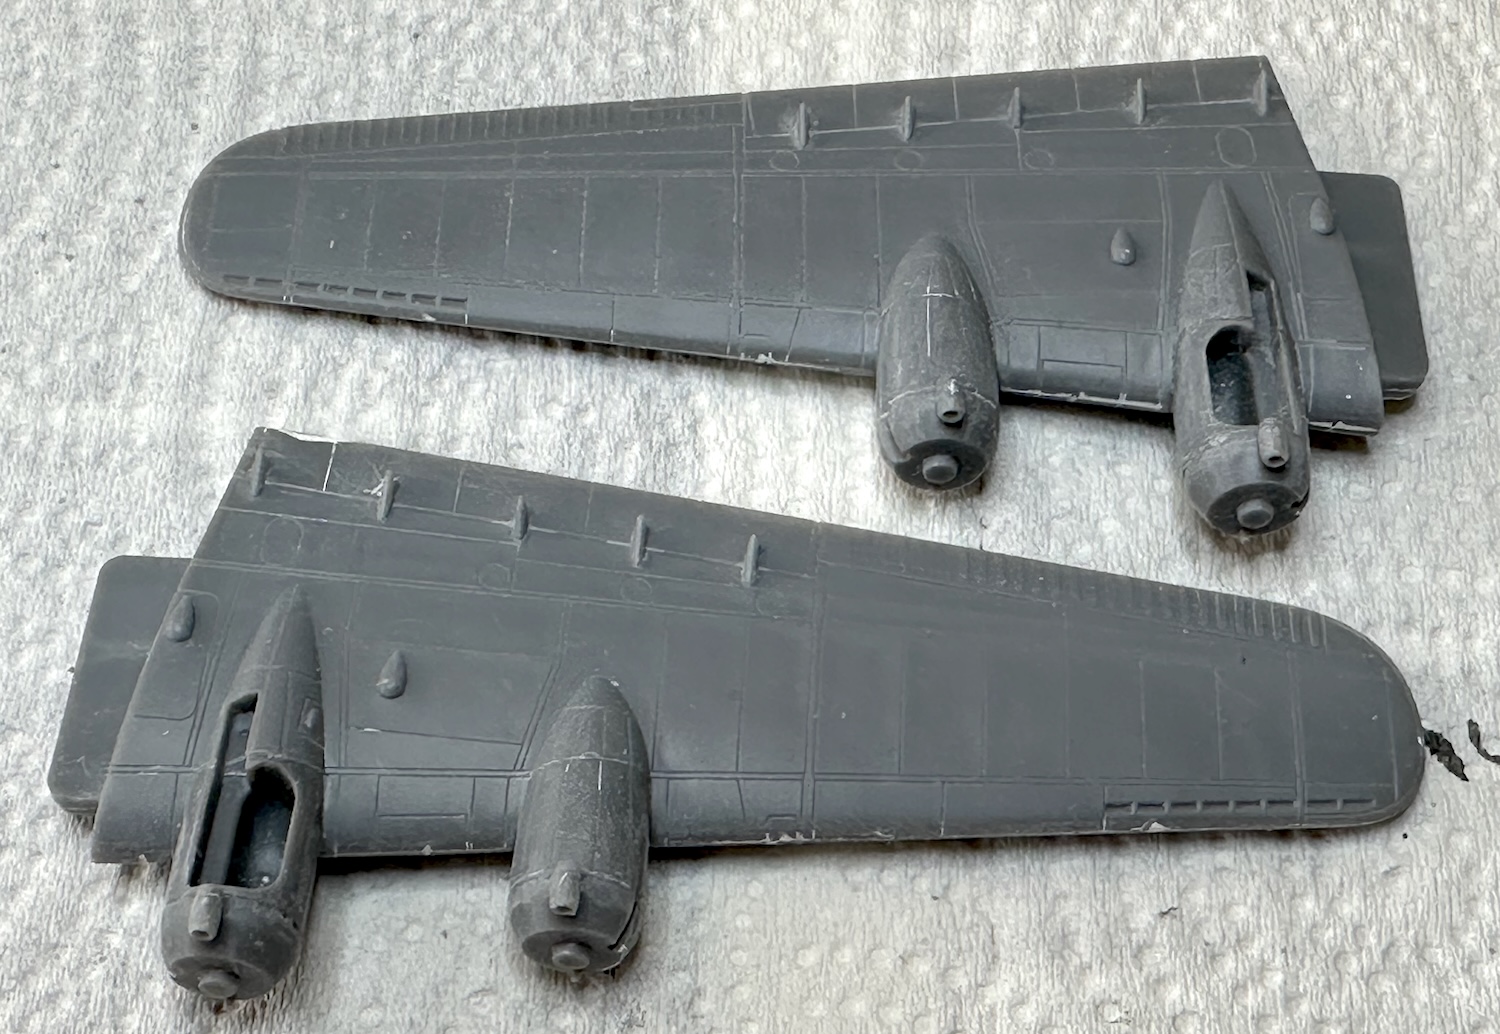
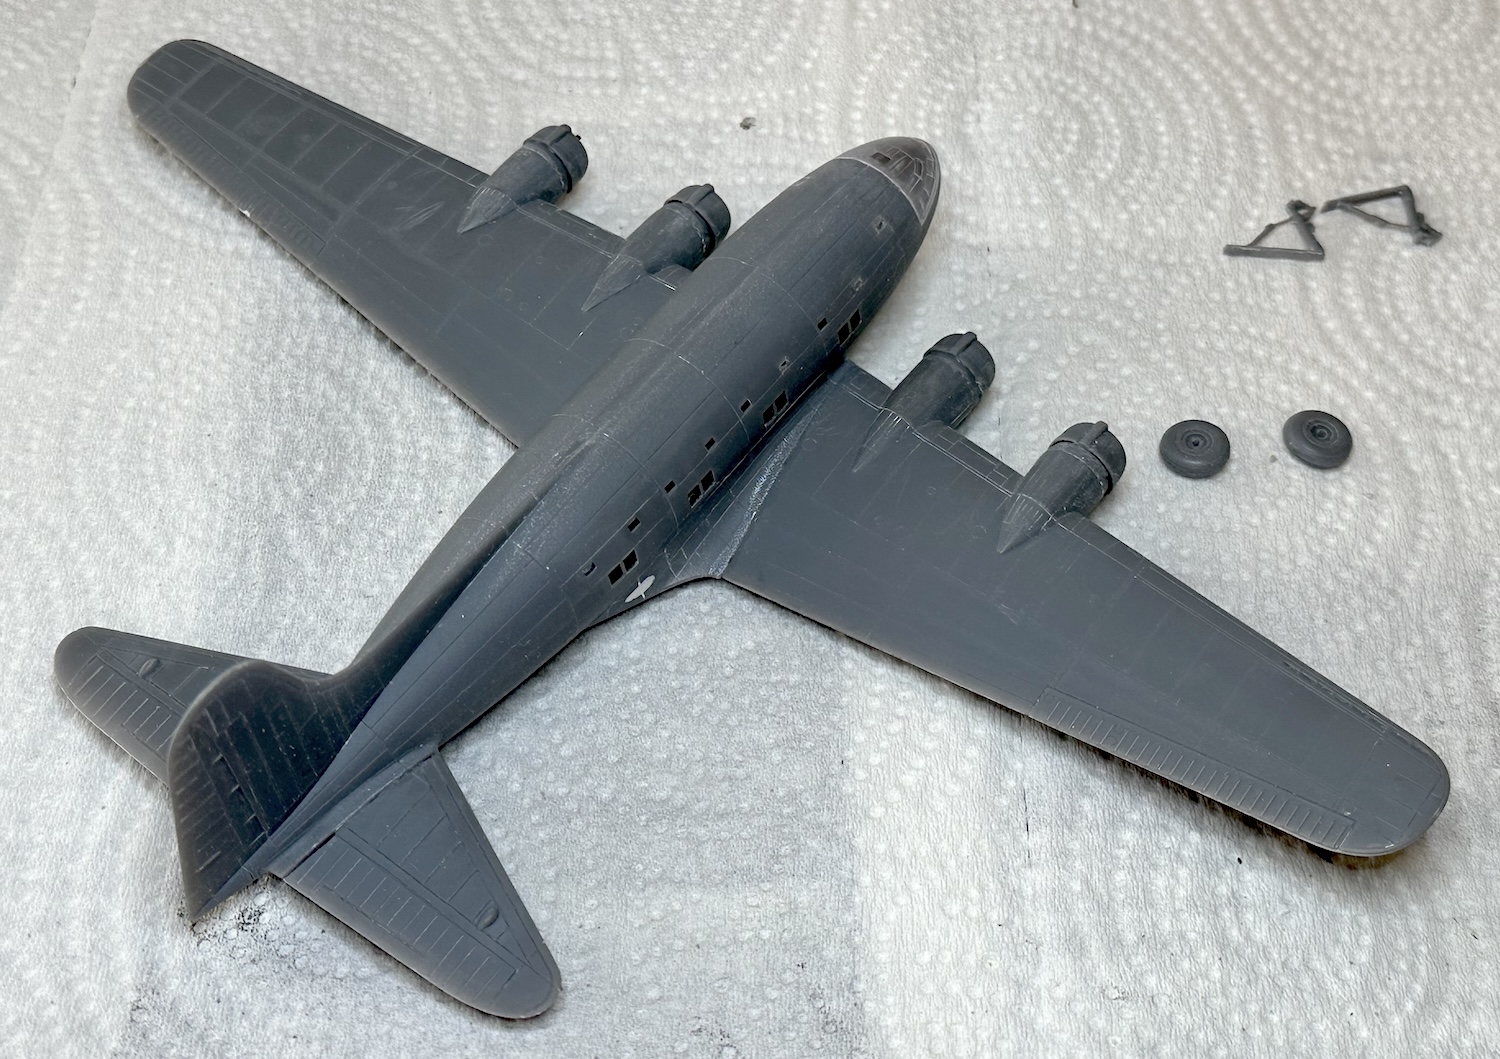
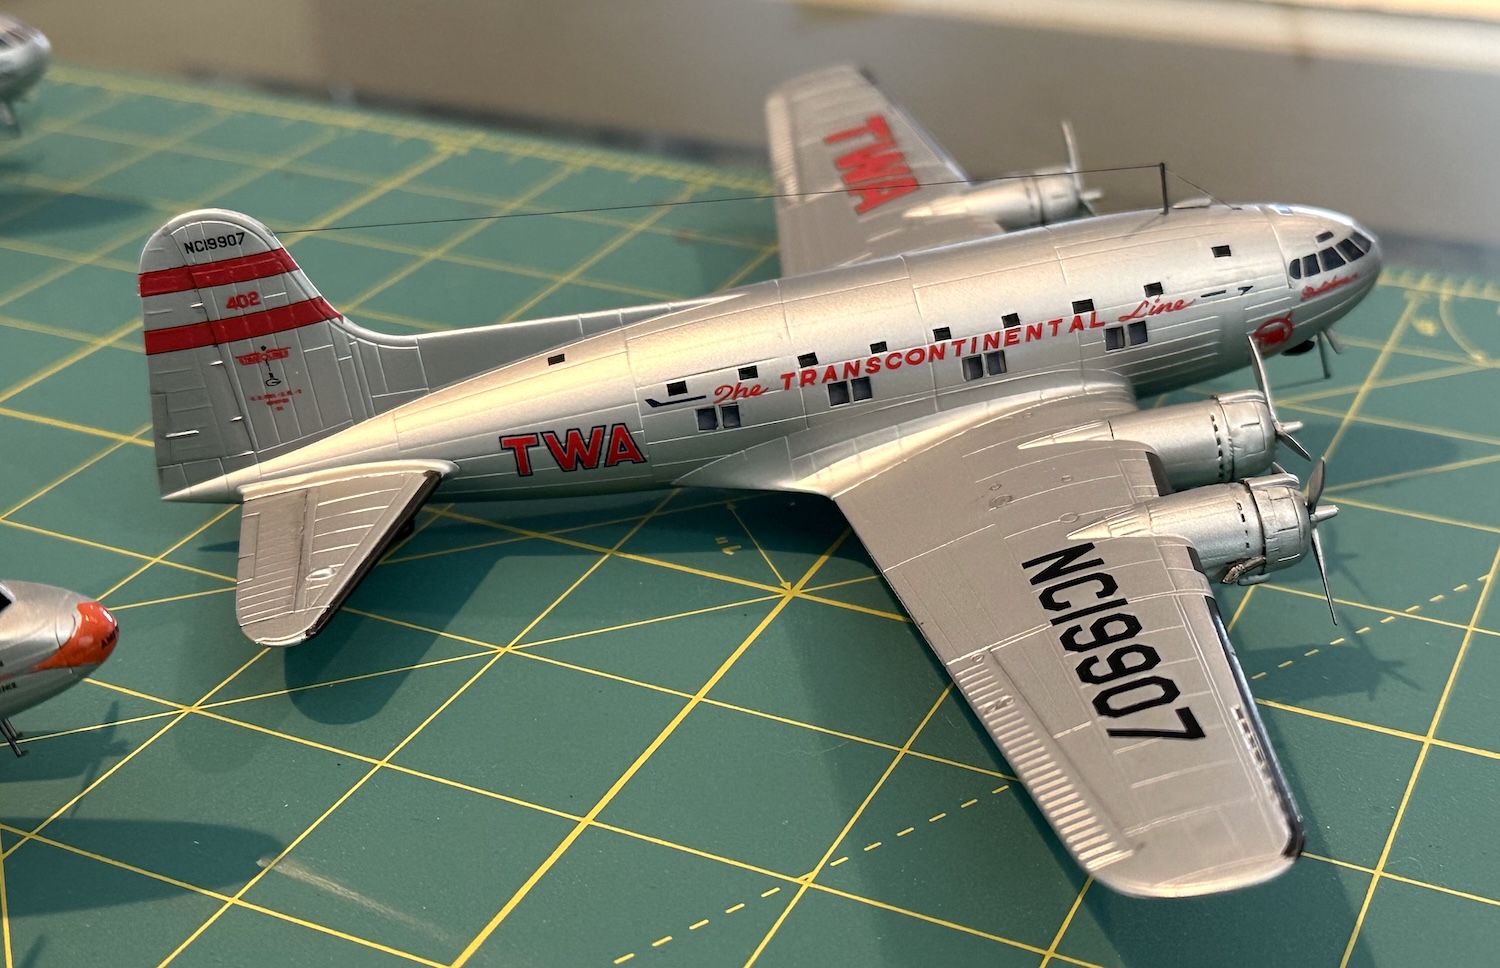
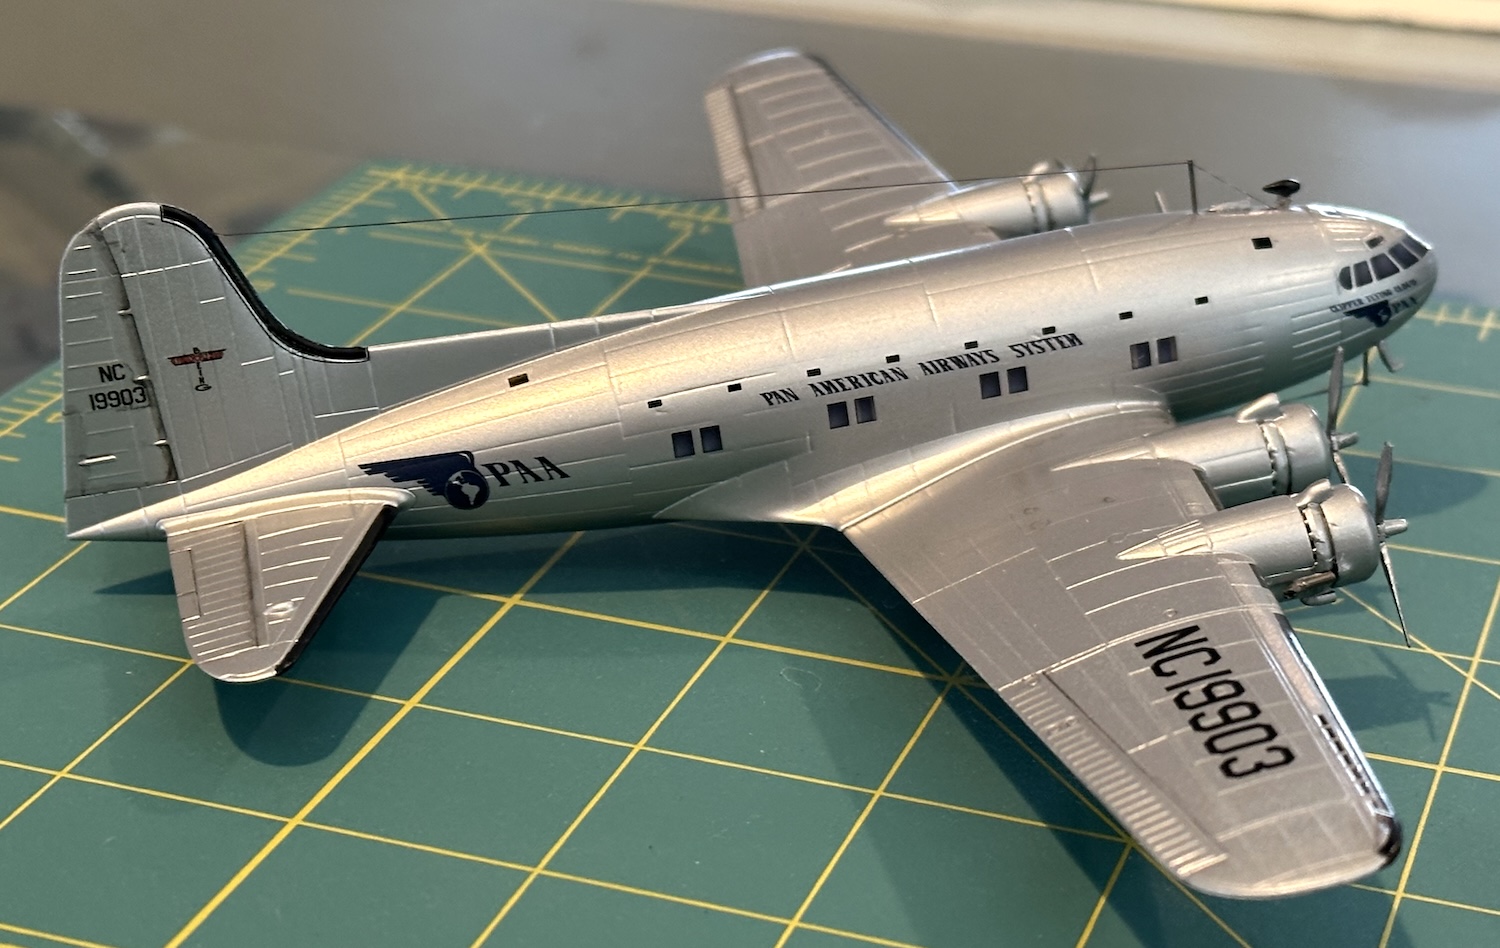
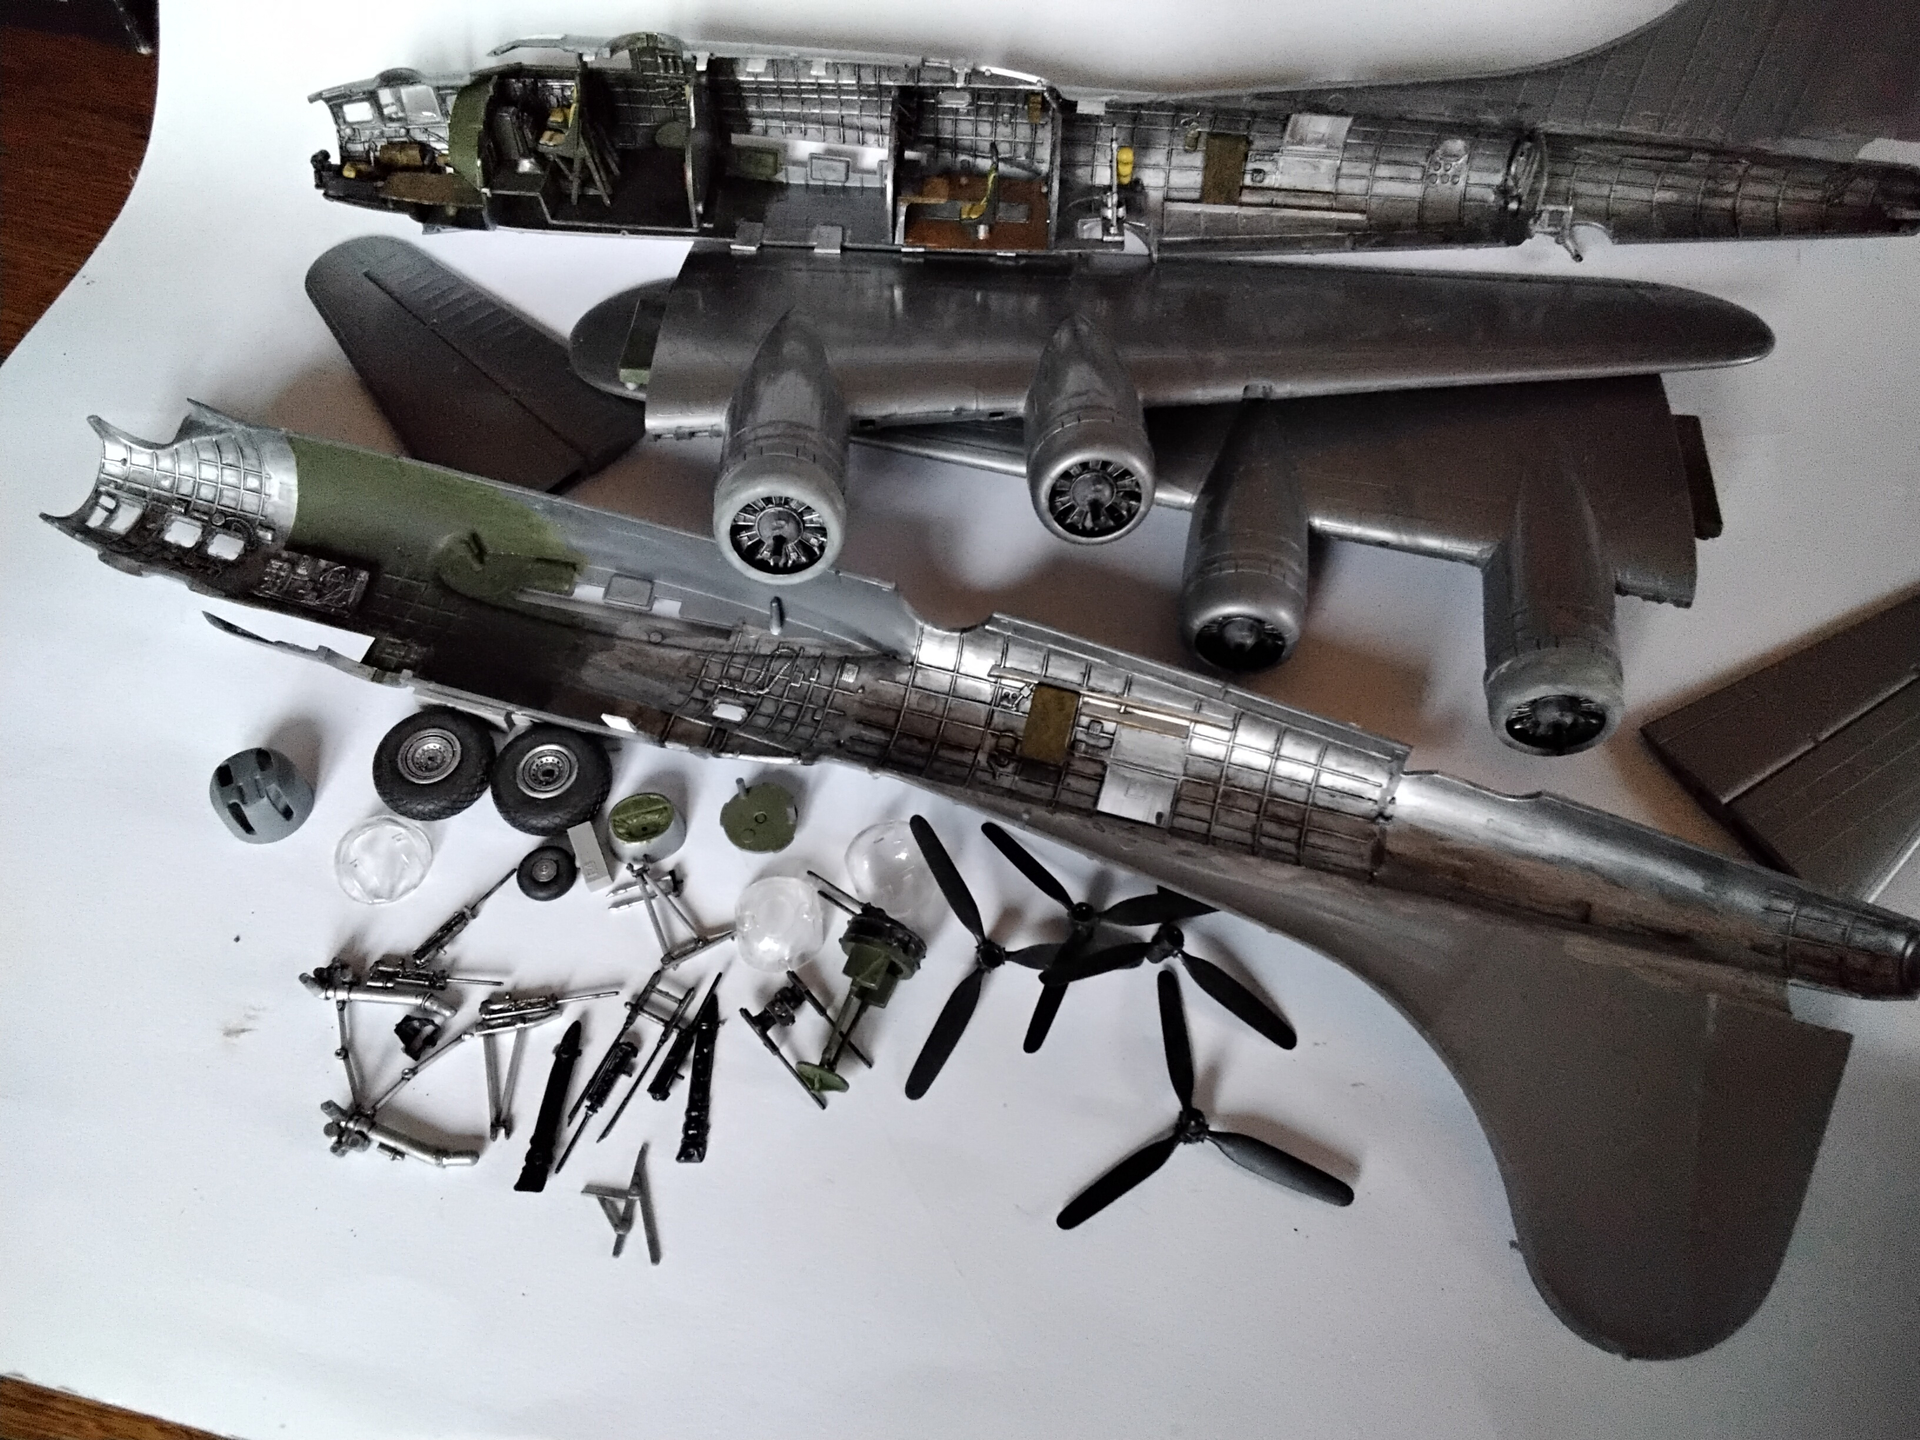
Here are the wings built with the proper TWA parts:

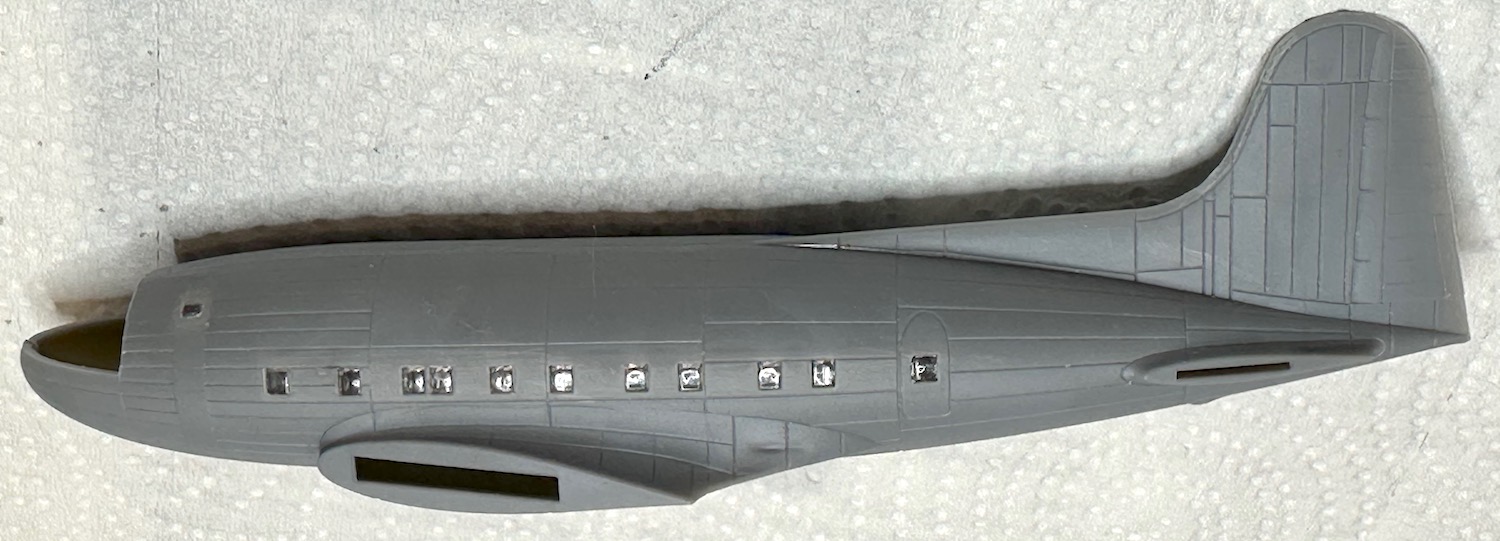
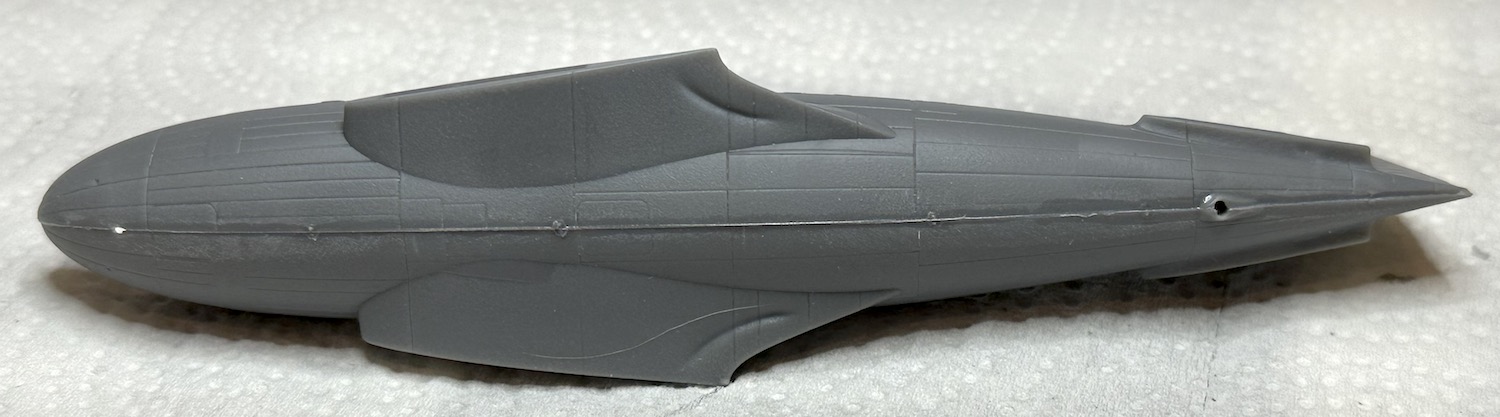
Here are the main parts built and ready for primer:

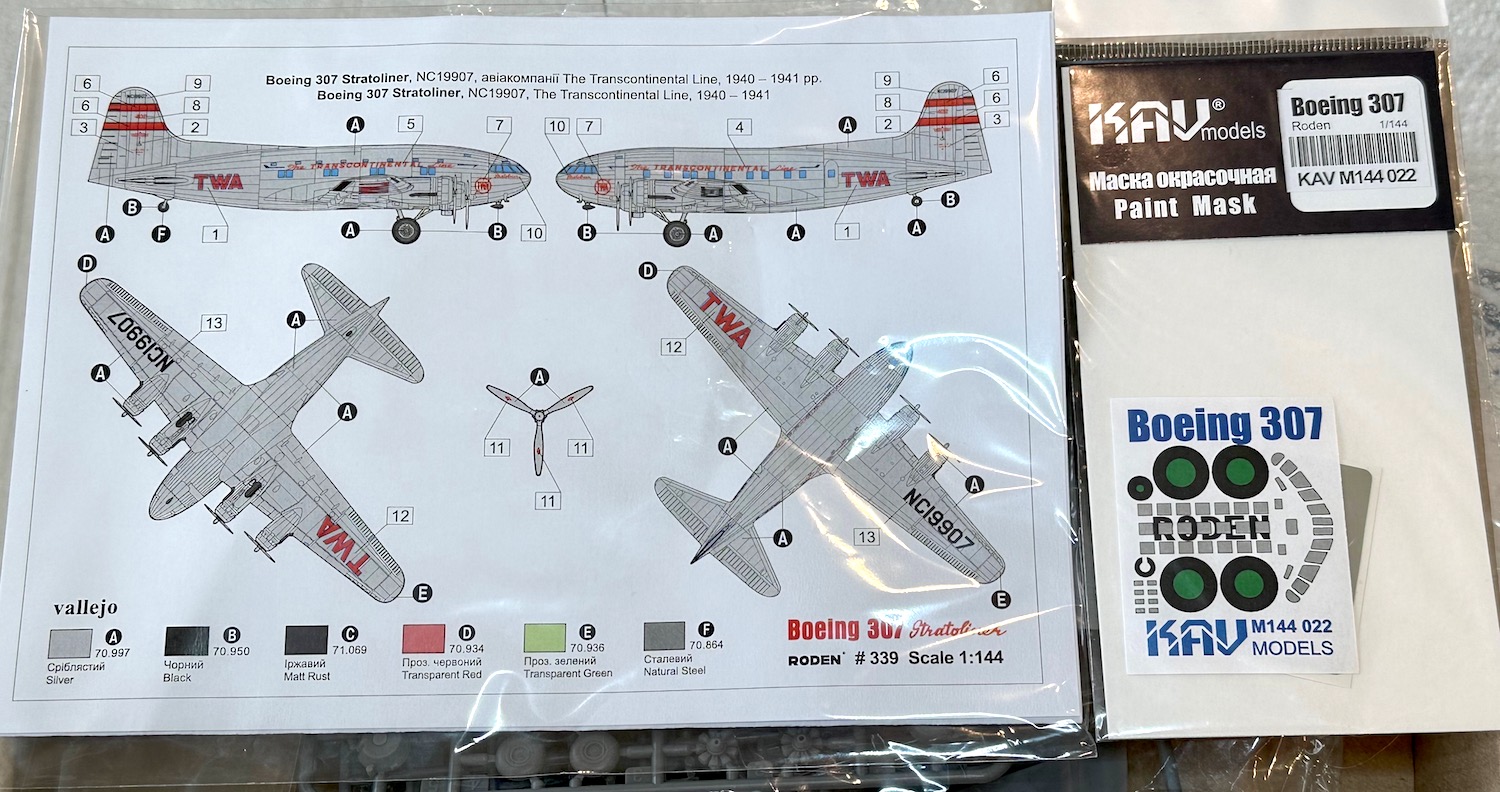
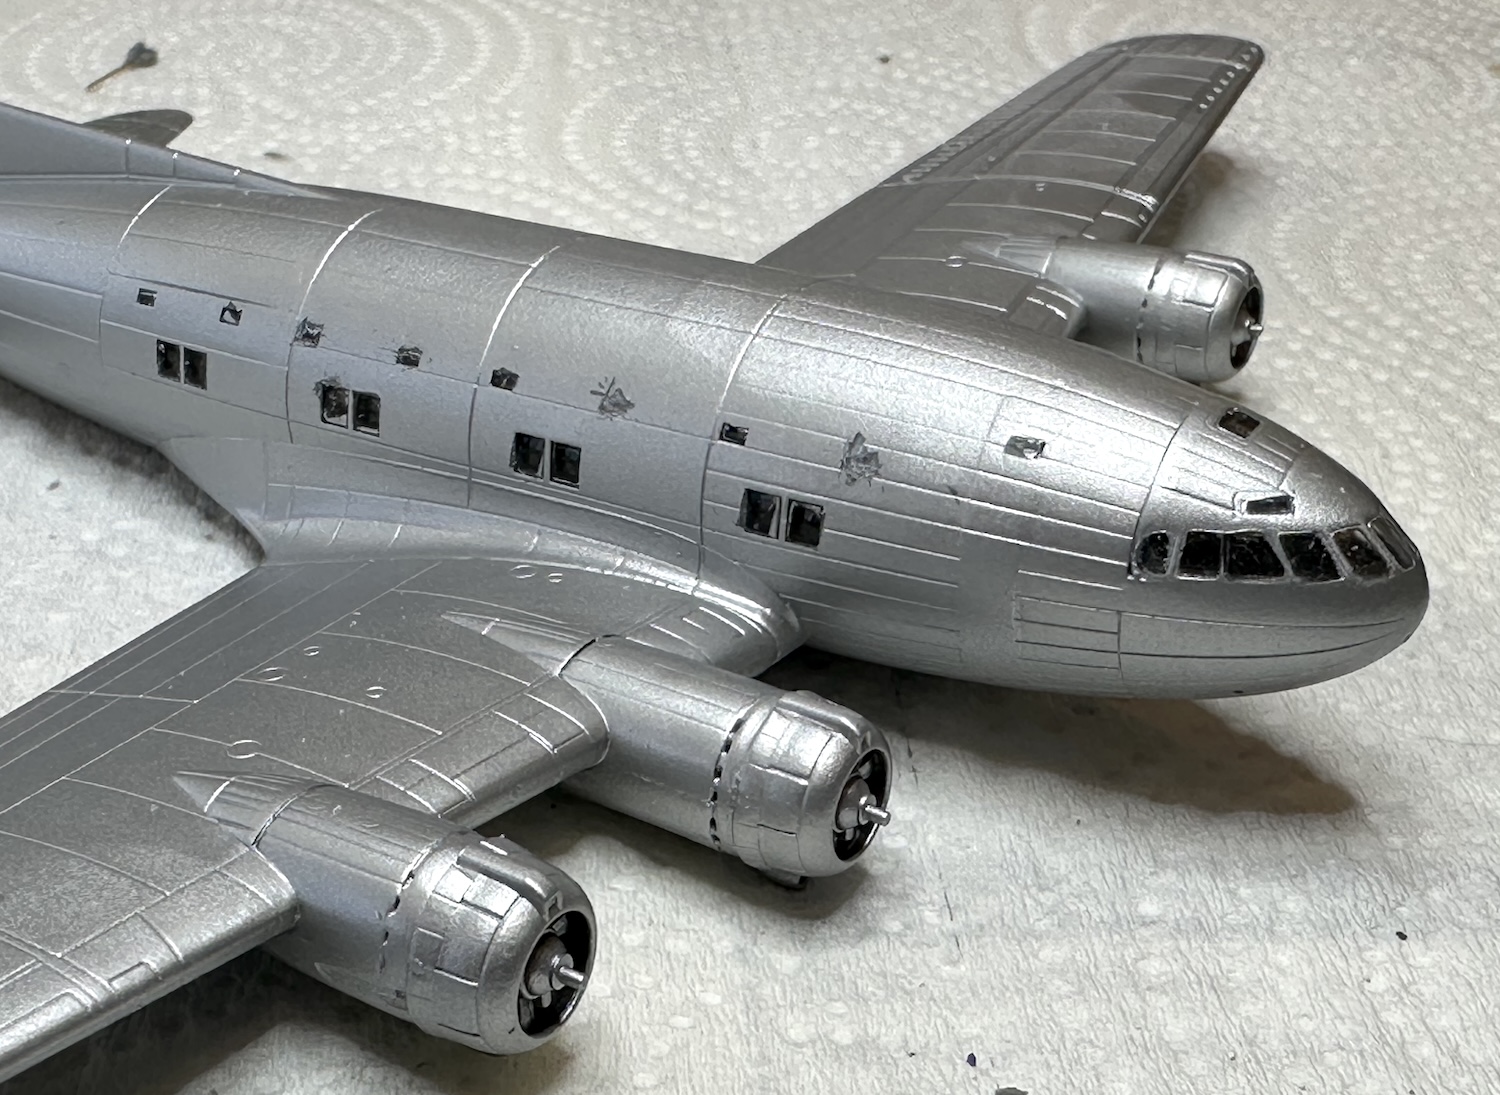
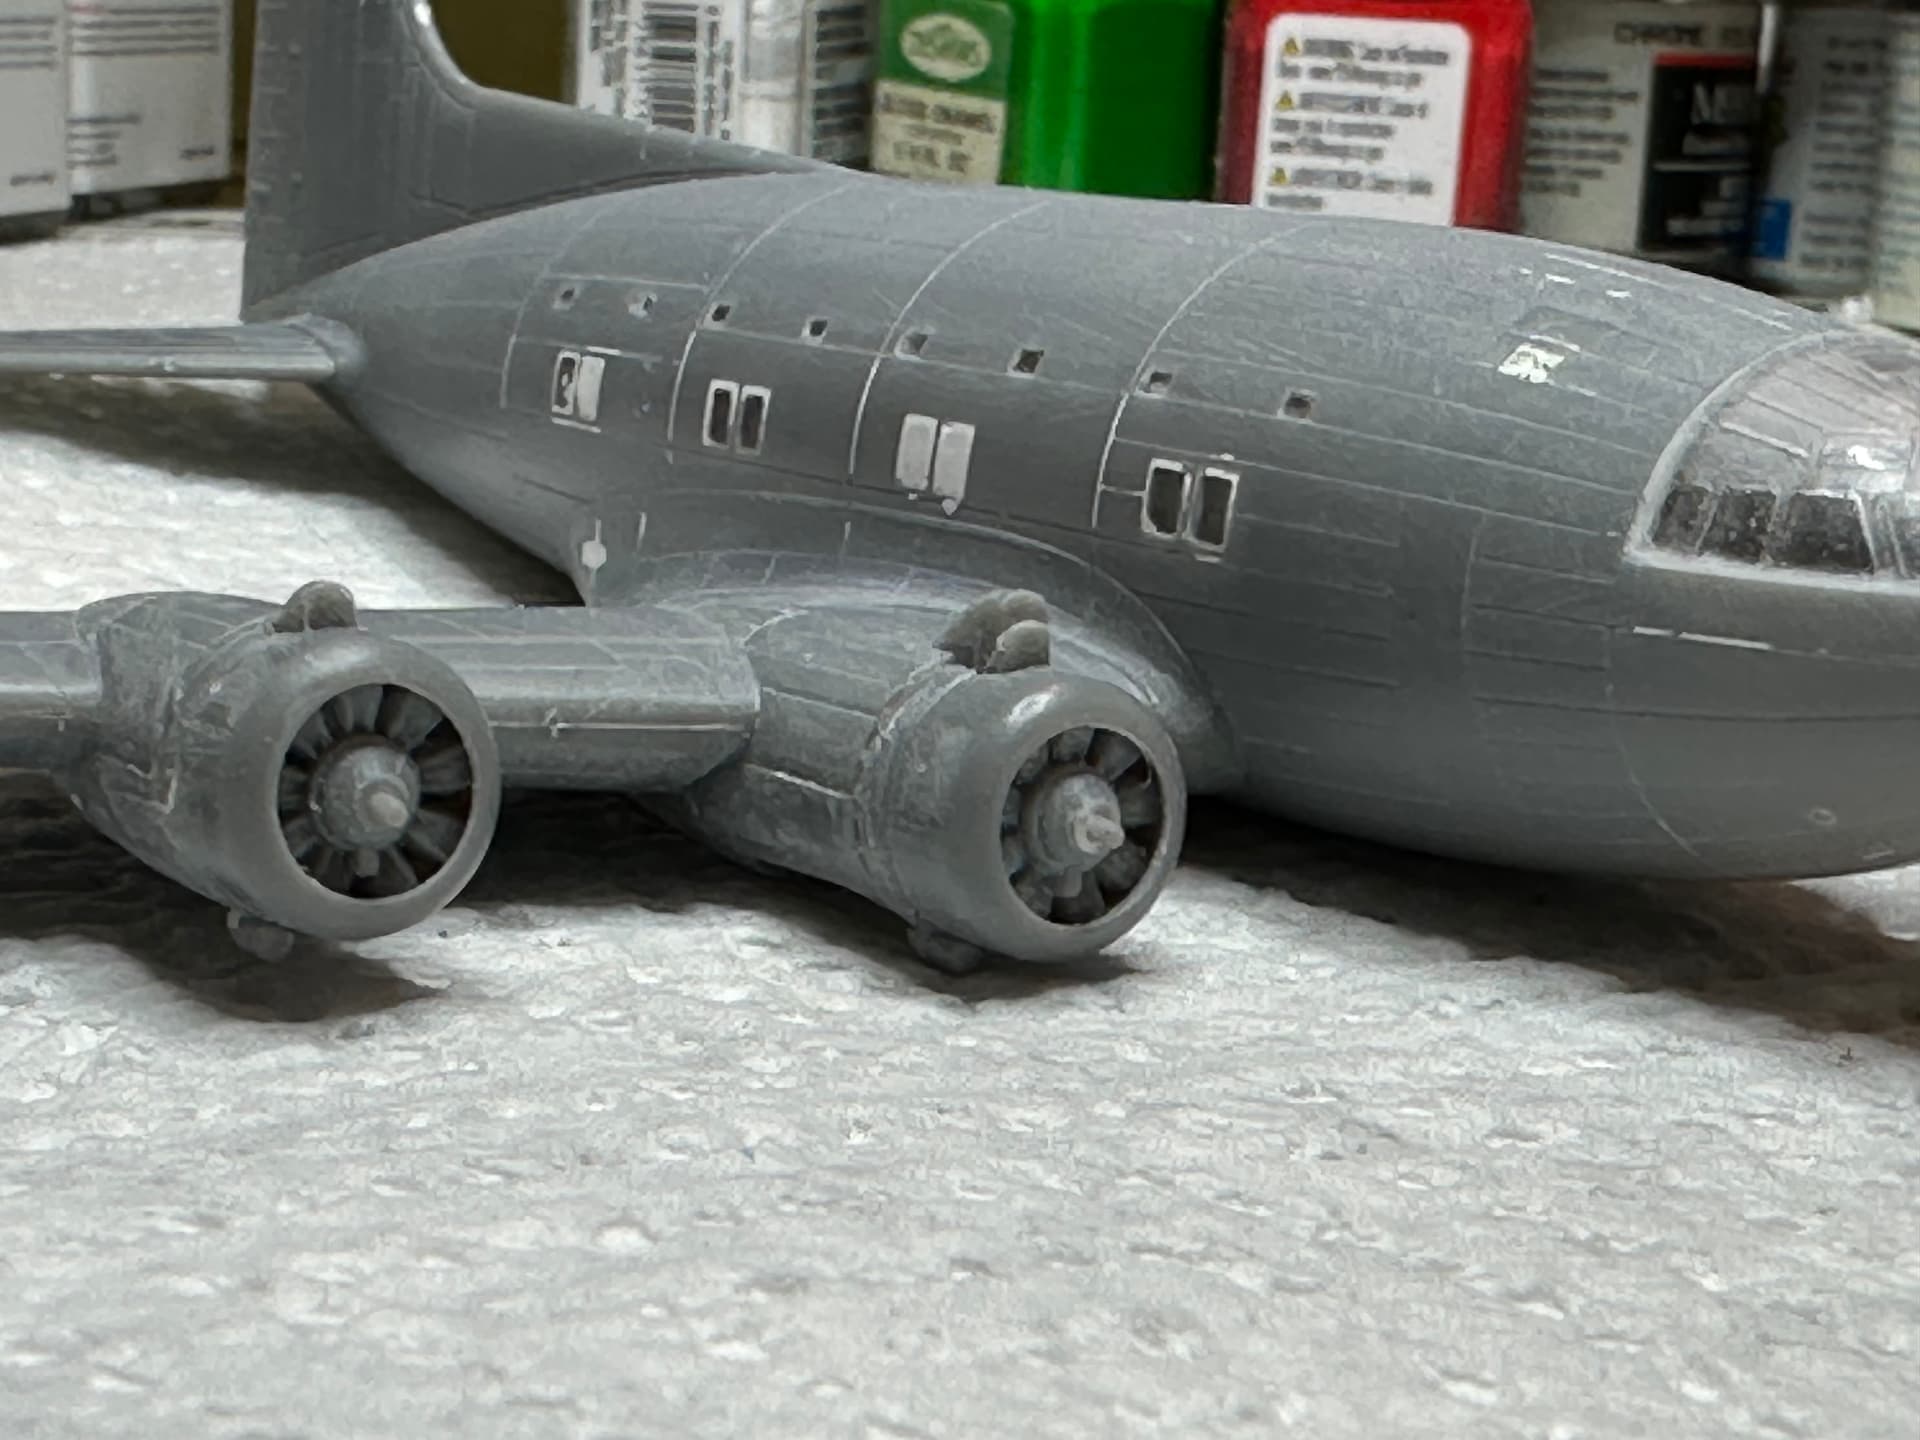
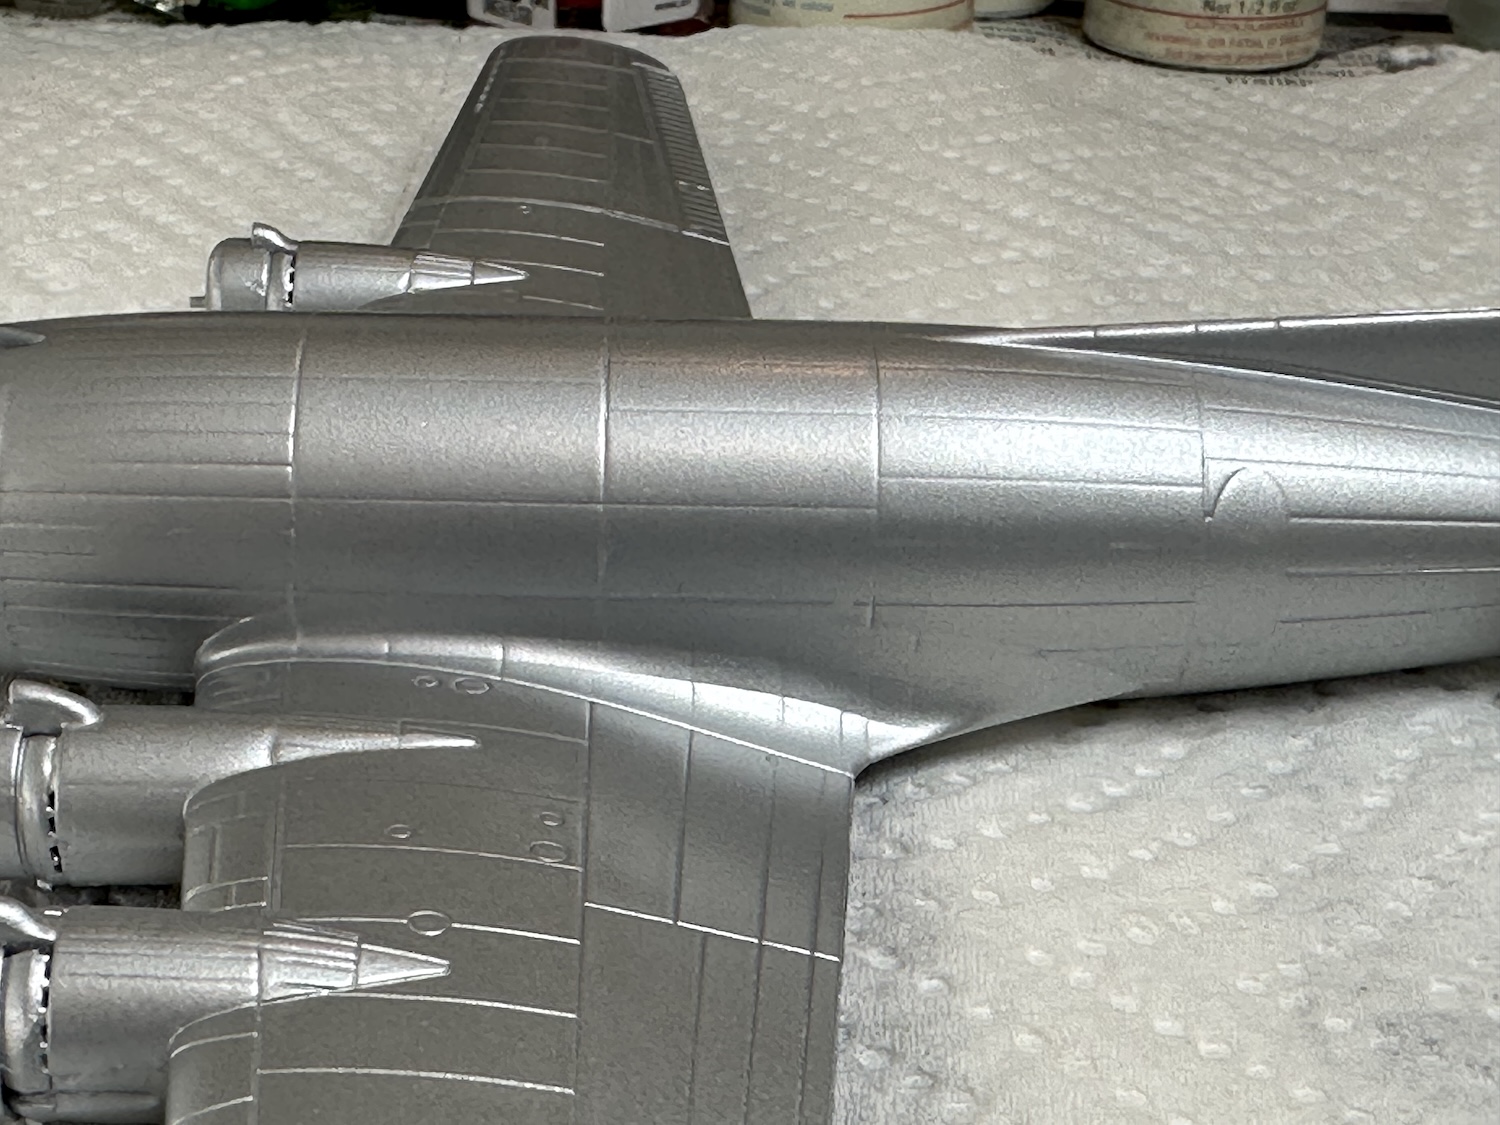
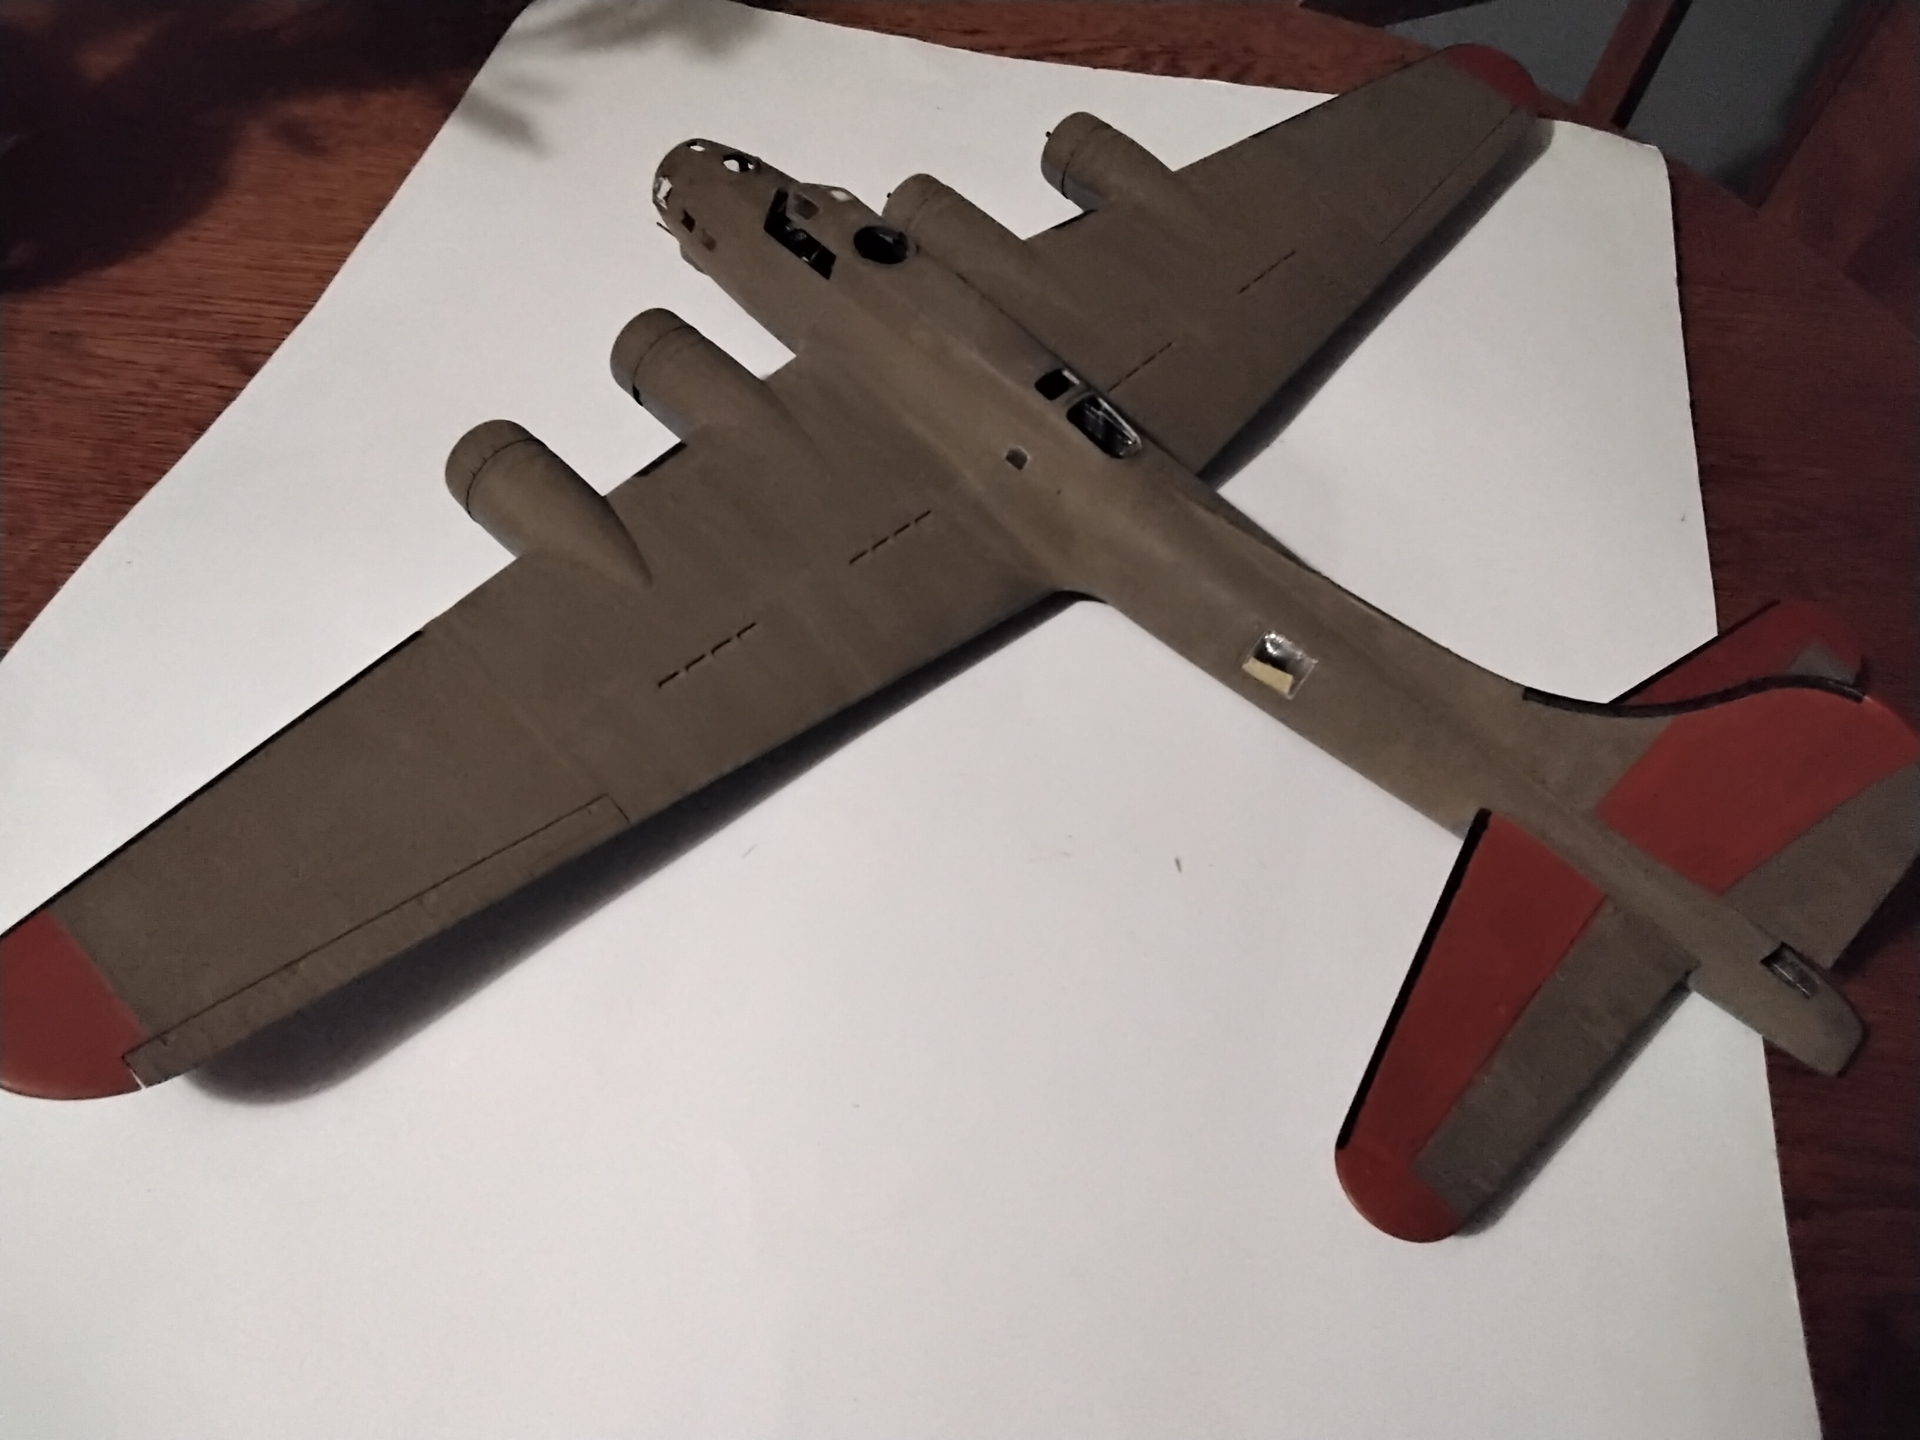
The masks I used were not very nice. They were an extremely thin adhesive film that had only a very light translucent grey color, very, very hard to see & place or once in place, to see & make sure they were in the proper location or even in place at all. Because of this, I abandoned the idea of a white primer to check seams and fills. I shot the AL paint right on the plastic & hoped for the best:

As you can see, this did not work out at all. Further, nothing can be seen inside through the clear parts, there is absolutely no reason not to just use decals on these tiny 1/144 kits.

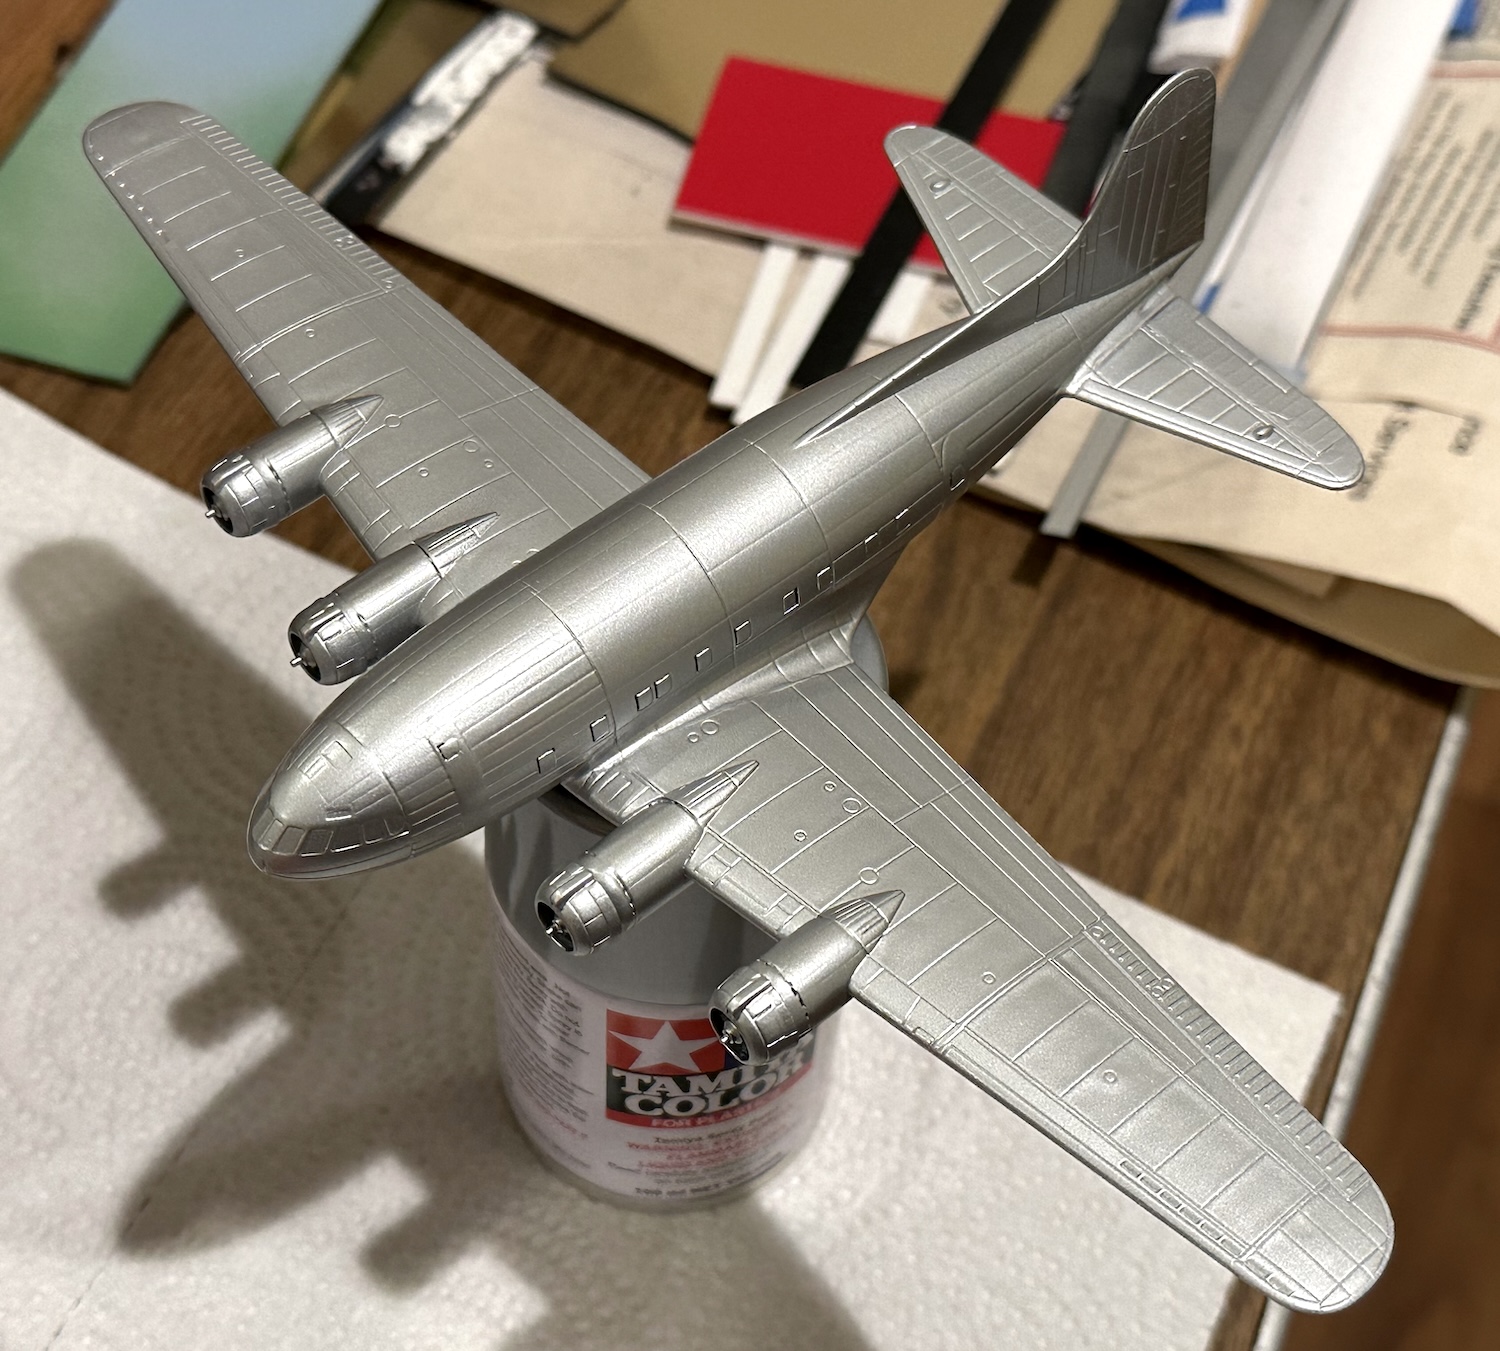
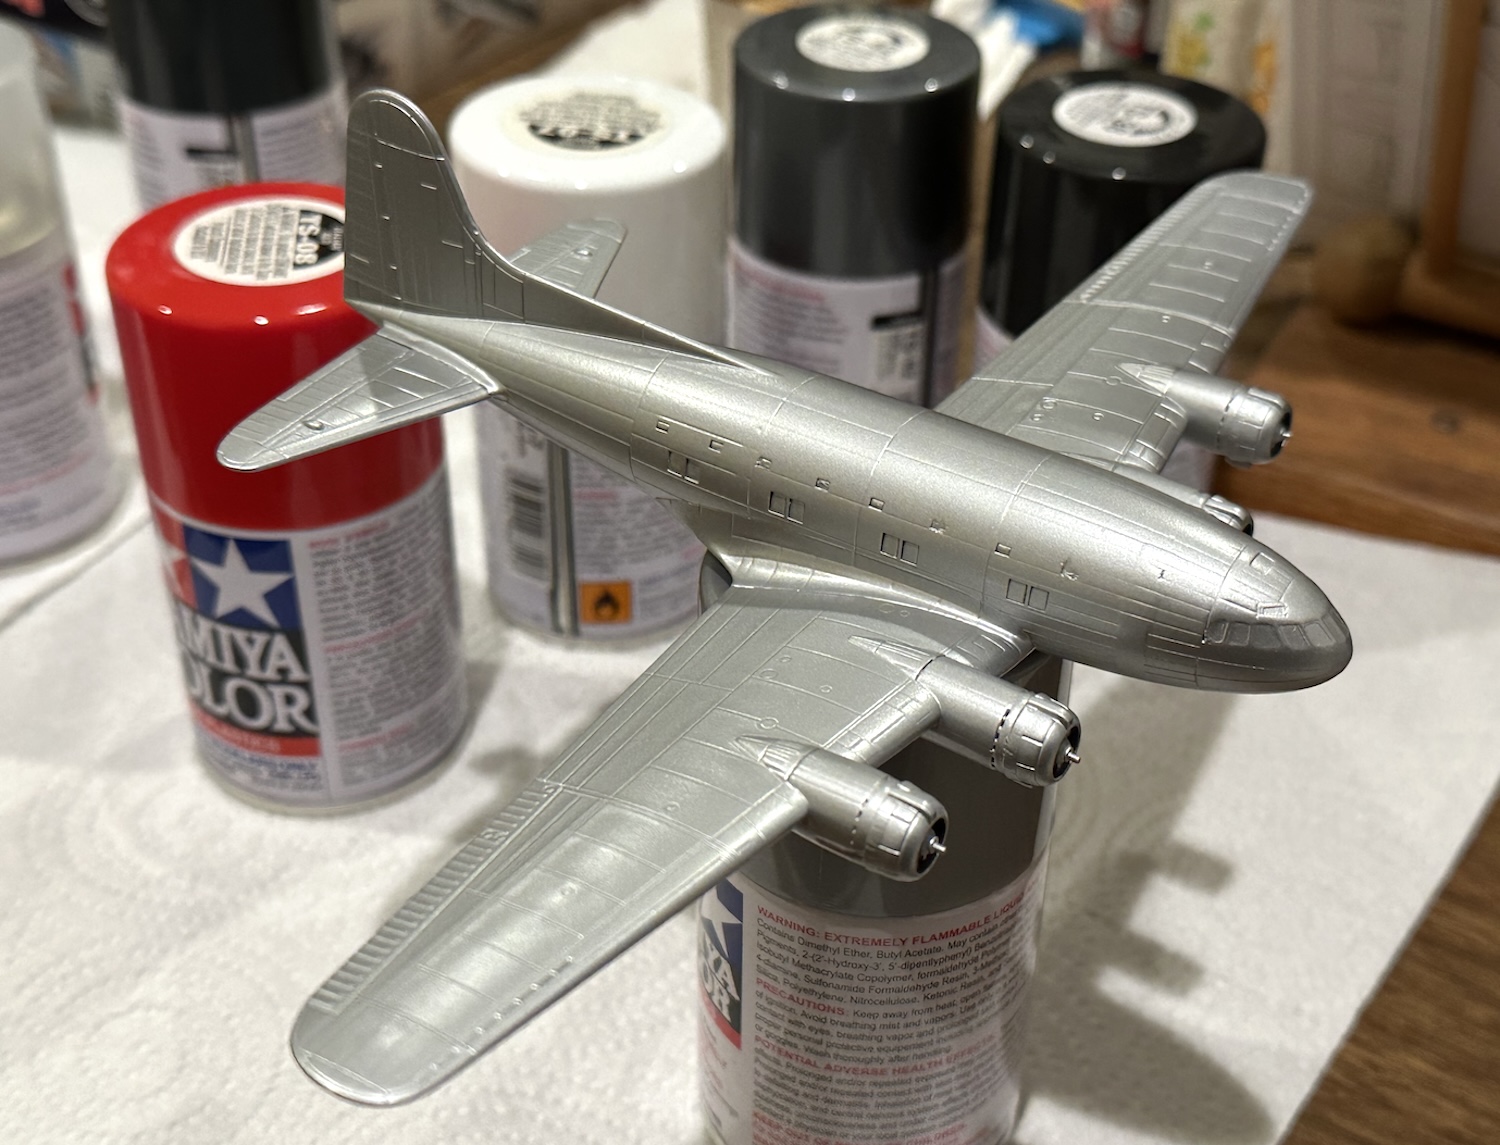
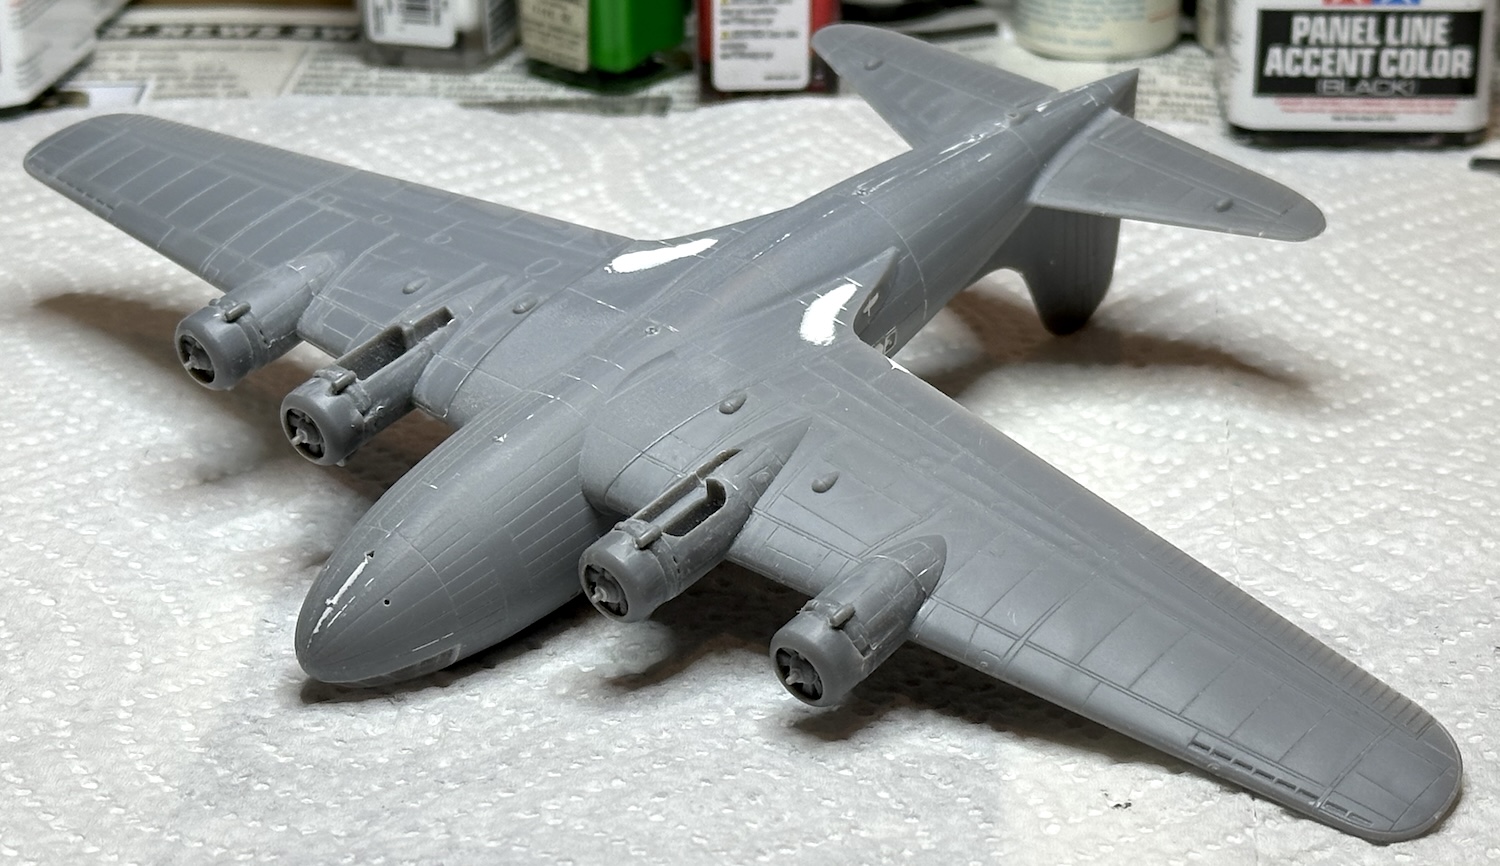
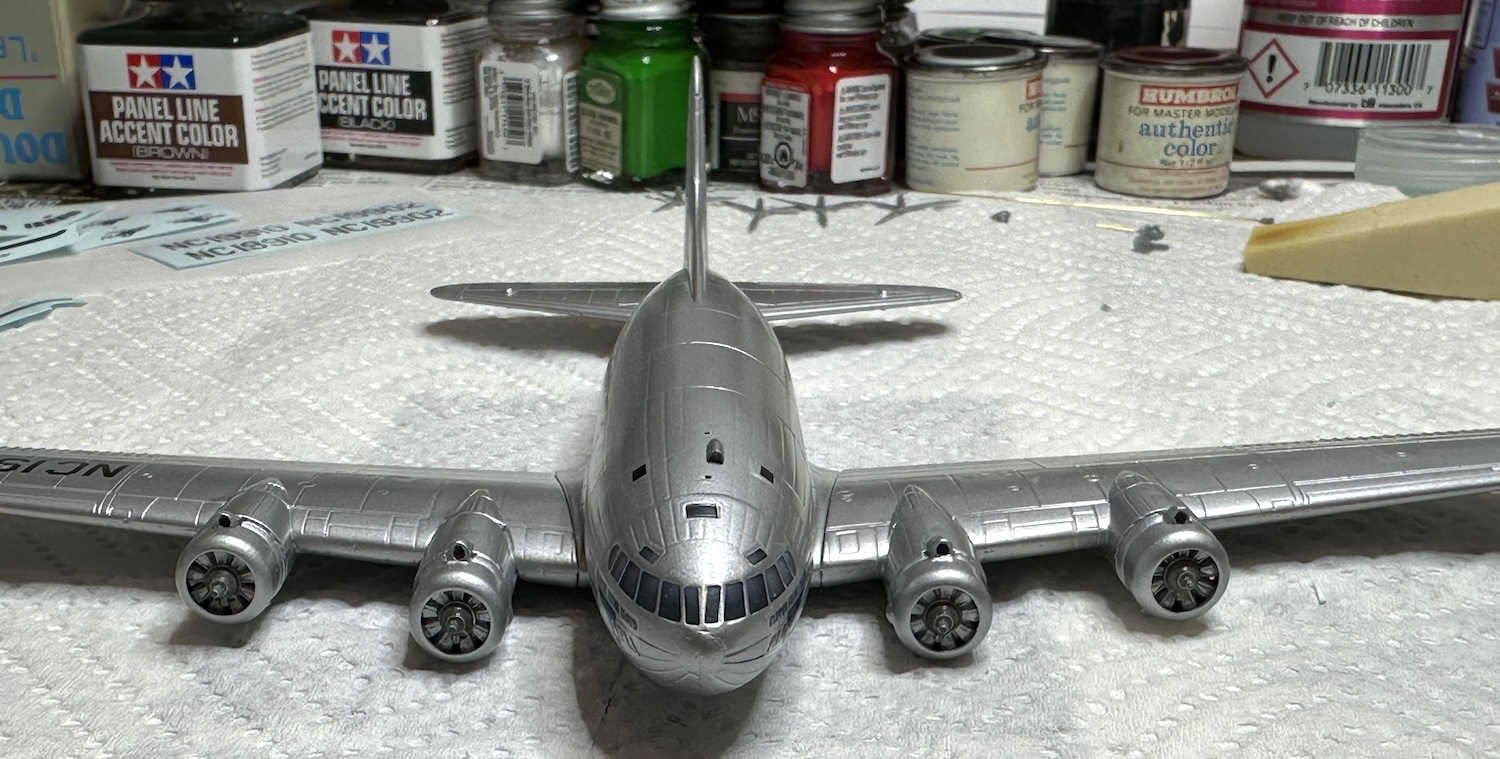
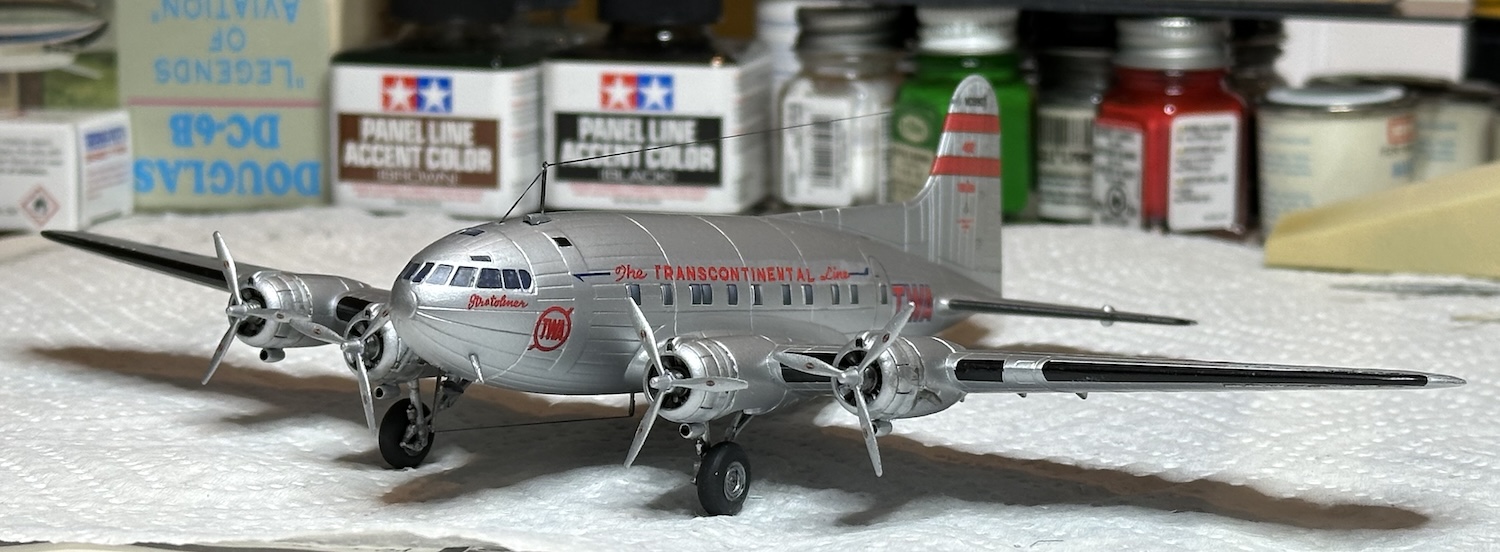
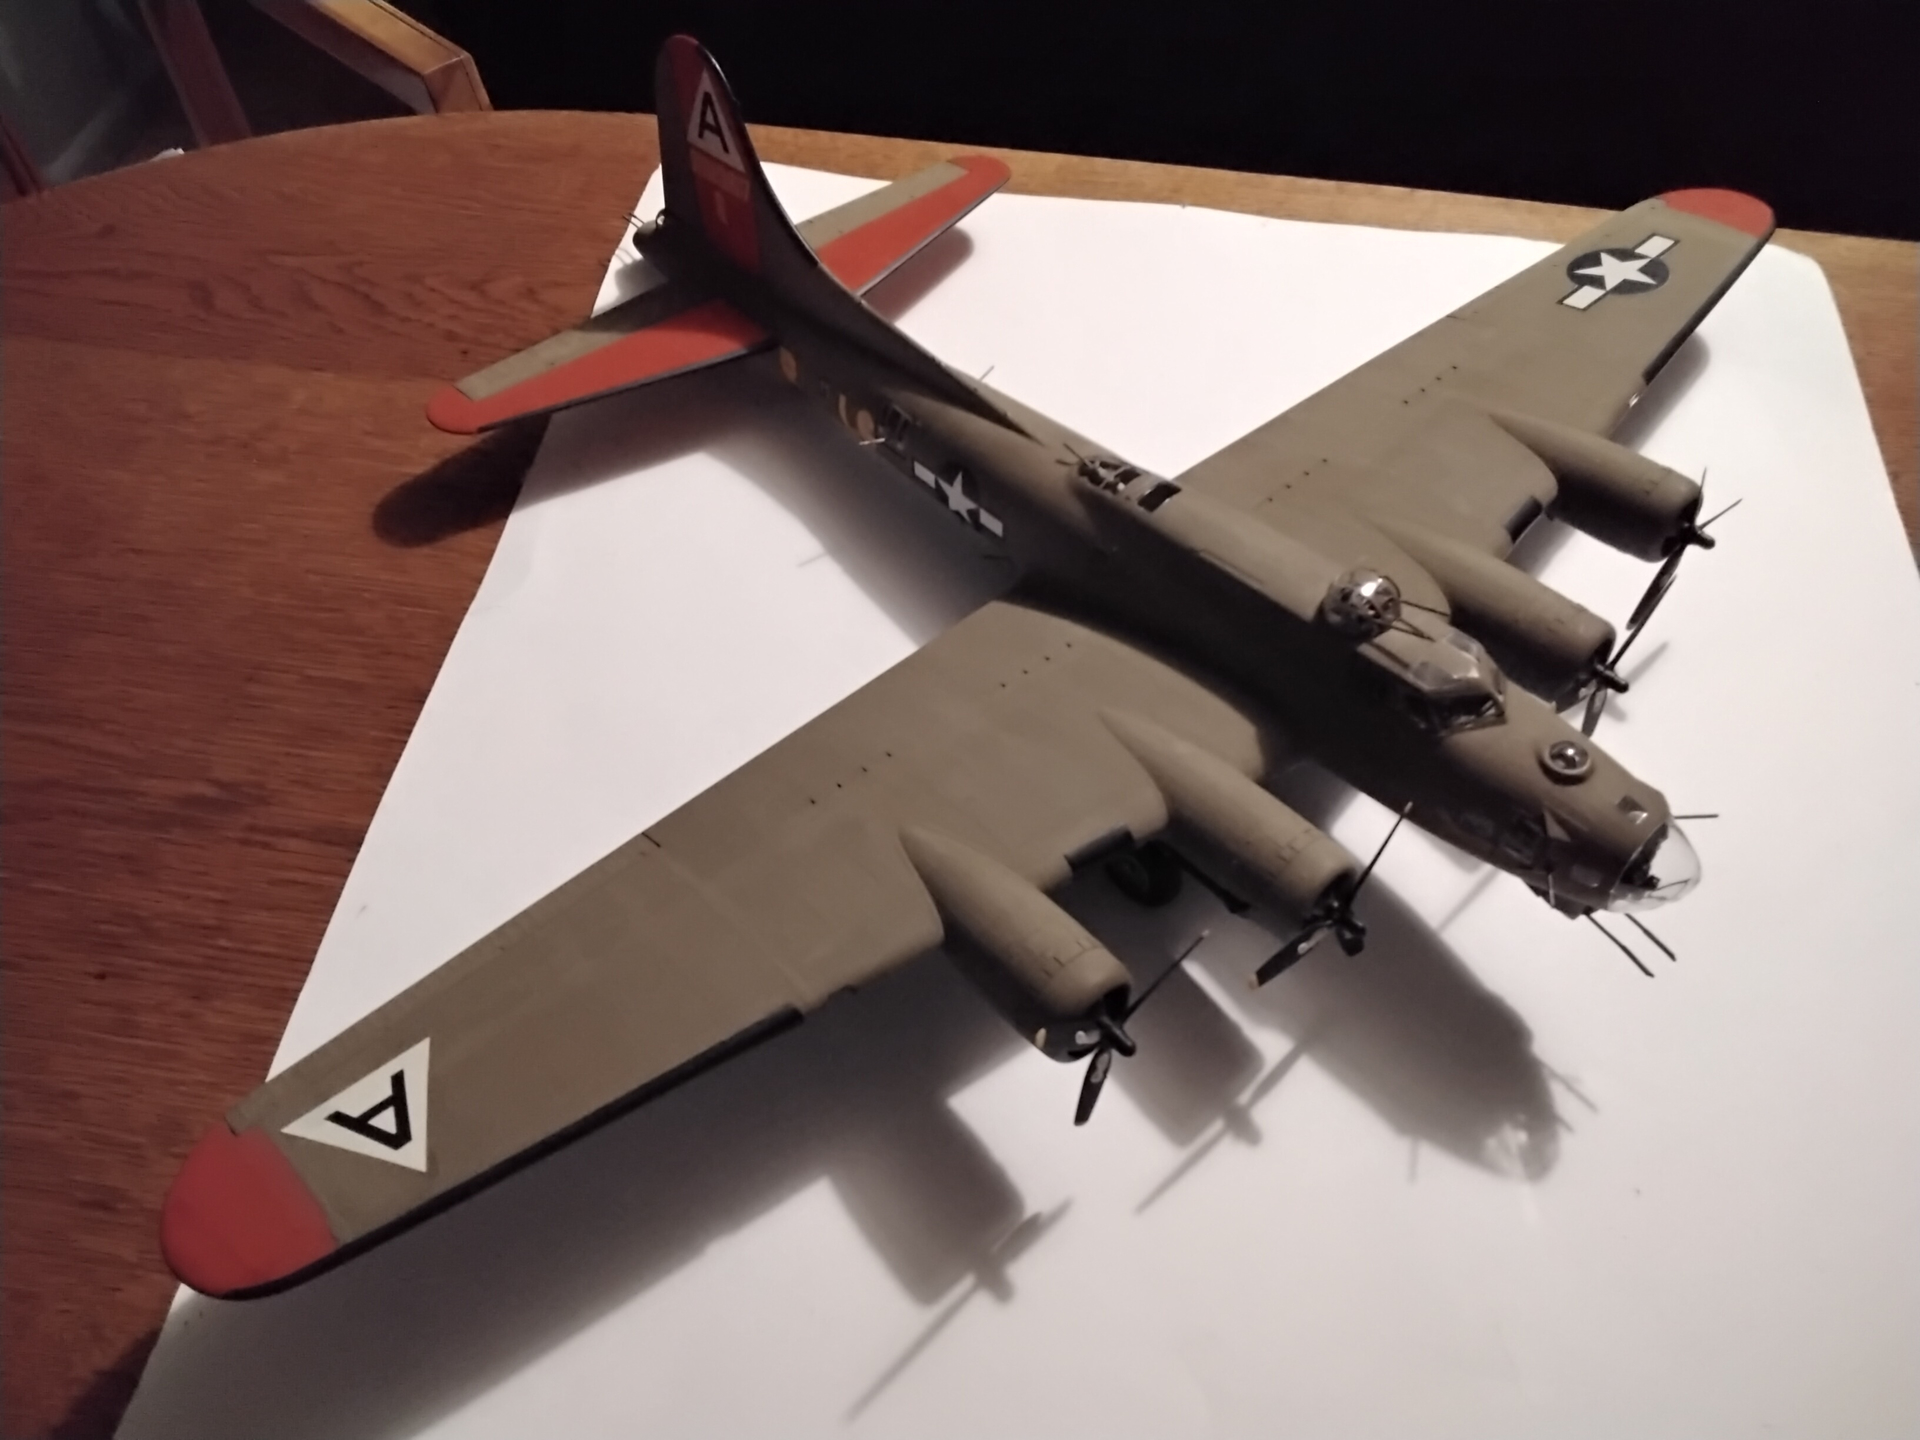
The model was sanded down and shot with white primer which was then burnished down with a fine 2400 sanding stick. It was shot again with the Tamiya rattle can AL paint:

That’s where the project is right now waiting for the TWA decals to arrive from Vintage Flyer. They will be for the post war TWA aircraft which were extensively modified with B-17G wings and horizontal tail surfaces. This kit has the prewar flight surfaces and would need some kit bashing and a lot of work to use the VF decals so I intend to only use the windows from the set.

Paul

7 Likes

While waiting for paint & glue to dry on other projects, it seemed to make sense to start the second Stratoliner, the one with PanAm wings & nacelles while the TWA build was still fresh in my mind. The dirigible like fuselage appears to be common for both the PanAm & TWA versions but the TWA model had slotted flaps that needed external bits hung from the bottom of the wings. The PanAm version had simple hinges like the B-17s and did not need the extra bits. For PanAm, you just fail to drill the holes in the wings which are nicely located inside.

The biggest changes were with the nacelles, firewalls & cowls. The TWA version has cowl flaps, the PanAm version does not. I’m not sure how they would have controlled the engine temps without them! They did have ground installable winter front disks which are included with the kit.

As nice as the fit of the fuselage wing & tail bits is, the power plant parts are terrible for both the TWA & PanAm versions. I spent an entire evening sorting the parts out, fitting and assembling them. Nothing fit!

Once together, they look pretty nice but I got suspicious looking at the GIANT carb air intakes. Consulting the internet a few minutes ago, I see the real ones are quite petite. I wished I had looked at the photos before I started on this project!

The fuselage was built with the windows puttied over. The PanAm kit will get the window decals from Vintage Flyer.

One last point for today. The propeller hubs look like torpedo noses, way too long and out of scale. Does anyone know of B-17 propellers in 1/144th?

Paul

7 Likes

More progress on the /1/144 Boeing 307 Stratoliners. You may remember with the TWA version I tried masking the clear windows which did not work out. I decided to try laying the Vintage Flyer window decals over the existing plastic windows. That worked very well but for the spacing. The long decal snuggled down around the plastic windows in the center making the spacing wrong at the outer ends. Too late, I realized that I should have cut the long string of window decals into individual bits and applied them that way. This was on the left side. On the right side, I did cut them apart and they fit as they should. This post war TWA sheet had no decals for the upper berth window so I made them out of deicer boot decals that were surplus. I was building the ca 1940 version and needed to use some of the Rodin kit decals. These were printed somewhat out of focus, slightly out of register and often shattered into many bits making using them a chore. They are also glossy making a semi gloss seal coat a necessity. I will avoid Roden kit decals in the future where another option is available.

The PanAm bird had the windows puttied up right from the start. It took five coats of putty to do this but the effort was worth it as the Vintage Flyer sheet for the 1940 bird went on without issues. Just a word about these VF decals. They have a constant background film and need trimming. Also, that background is VERY thin and these decals can fold around the backing paper or on the model. They need careful attention in getting them on without folding. The upshot is that that film is all but invisible!

On both TWA & PanAm, I used some of the VF deicer boot decals and just hand painted boots.

By this point on the project, all the nav/com antennas are figured out and the holes are drilled ready for those parts. Photos from the internet were essential in sorting this out as there are no reference books that I know of and the two airlines ordered differing equipment from Boeing.

Paul

6 Likes

The decals were on at with the last post, on the TWA Stratoliner, a mix of Vintage Flyer & kit decals. The kit decals were brittle and shattered easily, no fun at all! The PanAm was all Vintage Flyer decals and much easier.

Next the 307s got up on their gear and had the antennas added to holes already drilled. PanAm had their ADF football on the roof rather than on the floor. I would love to know why.

One of the distinctive differences between the PanAm & TWA 307s is the engine cooling system. TWA used the conventional cooling gills like the B-17, PanAm adopted a cooling disk which I imagine had to be removed for operation in warmer climes. Looking over their route system, this seems very odd as PanAm flights were largely in those warmer climes!

The kit provided the disks but as with the rest of the PanAm parts were not mentioned in the instructions. While the fit of the fuselage, wings & tail were very good on these kits, the engine/nacelle bits fit poorly and needed a great deal of work. One of the upshots is that the centering of the propellor drive shaft was not perfect. With the TWA version, this was not obvious but with the PanAm disks, it was quite apparent. To use these parts, each had to be sanded to try to even the gap at each engine, a process that was only partly successful. Had I known earlier perhaps I could have been more careful in fitting the engines into the cowlings . . .

With that messy process done all that was left was adding the propellors.

This duo is done and looking pretty snappy with their 1940 livery. A DC-3 also with livery from the same time period is included for comparison. These little Roden 1/144 kits have their strong & weak points but I am very grateful that they were kitted at all. Had the war not interfered, the Stratoliner might have become a big production item. As it happened, despite good service and long careers they are an overlooked footnote in aviation history.

Paul

7 Likes

Nice work, Paul! Very interesting take on the B-17

Meanwhile, with little over a month left, I had stalled out on the Bloody Hundreth kit. Then, this morning, I had a little time, and I got the gloss coat on and am ready to start decalling. Unfortunately, I can’t show you a picture as for some reason I’m unable to get it to add to this post. Hopefully tomorrow.

Anyway, there’s a glimmer of hope!

Michael :israel: :face_with_tongue:

1 Like

I hope you get some work done on your B-17, it’s been too quiet on this list! I see others have had trouble uploading pictures on the USSR list.

Paul

1 Like

It has been noted several places around the site that they are currently migrating data to a new server so uploading is temporarily disabled.

1 Like