Michael,
My favorite aspect of car modeling is building and then painting, decaling, and finishing the body. So that’s just what I like to start with. There’s times as I’ve posted that the body isn’t what I expected, or has molding issues, and I just move on to another kit. In the case of the Porsche 917K I ordered a new kit after a long search, and have started over.
joel
Joel, well done for not giving up.
Reminds me again of my Airfix 917 build where I originally painted the upper body, including the orange stripe, but then warped it badly after getting it too near a 300w halogen light. The whole thing shrunk in width by about 5%, so there was no way back. I had to buy another kit, not too easy as it’s OOP, got one from an ebay seller in Spain.
Having messed up the first time, I then adopted the approach you’ve outlined, of fully assembling the bodywork first, then painting.
Looking forward to seeing the paint on this.
Hope you and your wife are getting there healthwise.
Mathew,
Thanks so much for stopping by and checking out my 2nd attempt at the Porsche 917K.
I’ll be posting another update in a day or two as she’s already primed and ready for the Base Gulf Blue color coat.
joel
1 Like
Time for the 3 P’s: Prep, Priming, & Painting.
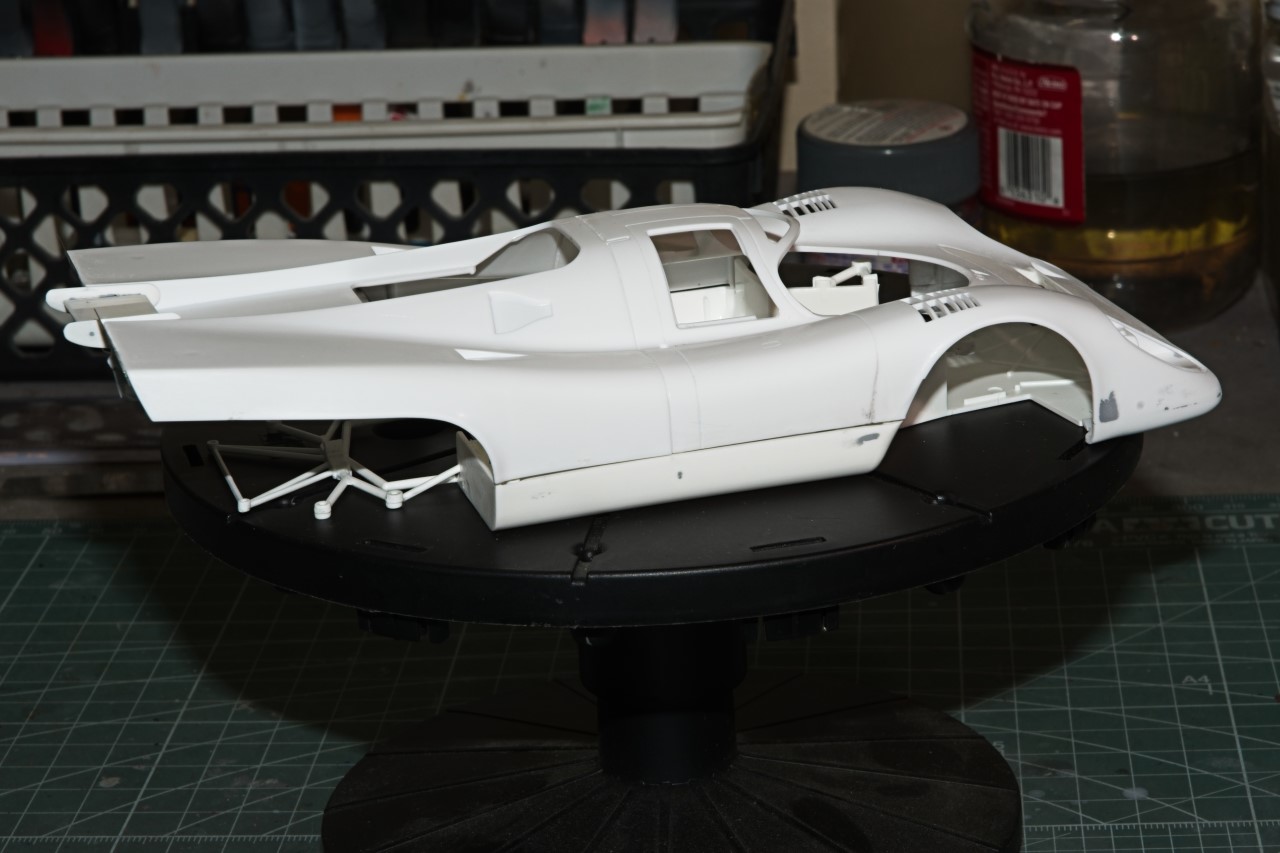
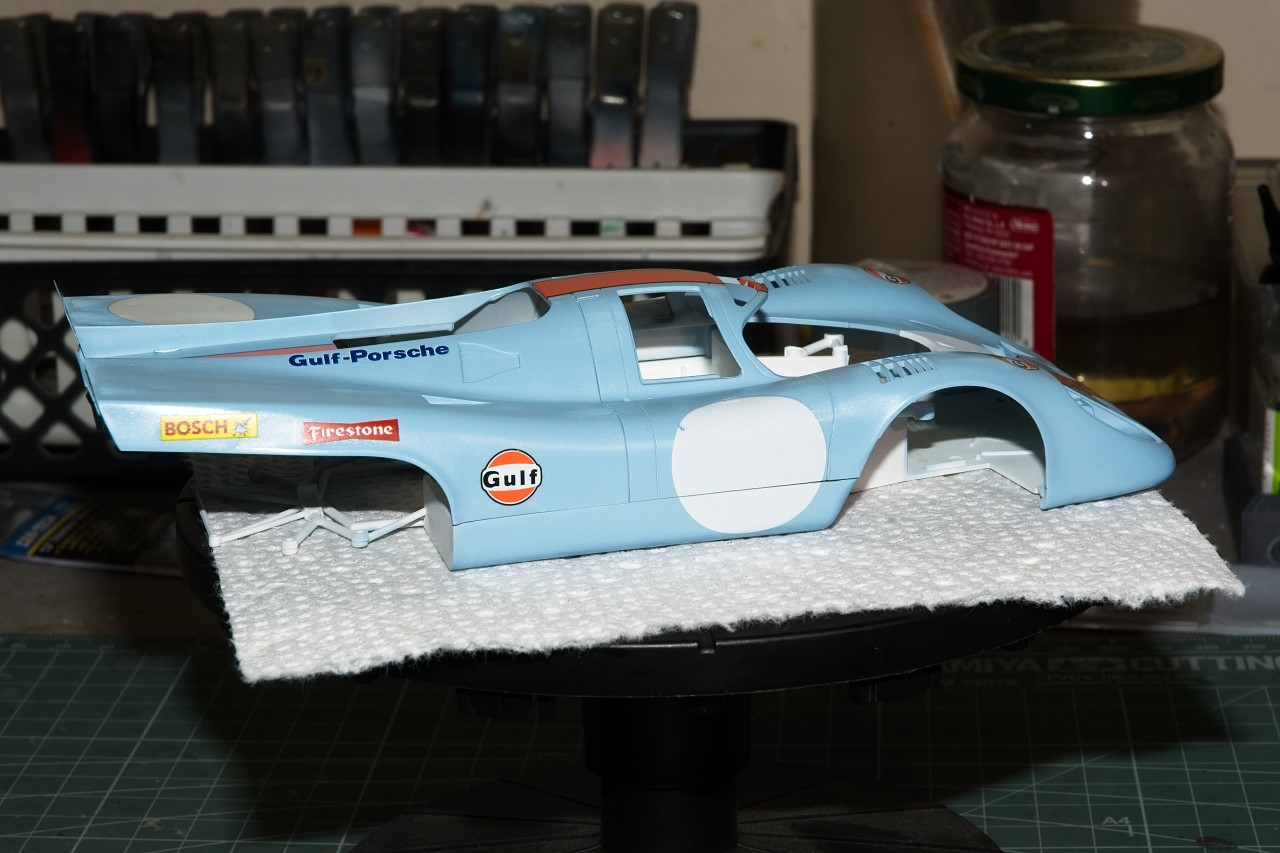
I spent a good deal of my prep time getting the top and bottom body shells to actually fit correctly, or as close to it as i could get without the need for weight or tape to hold them together as was the case with version #1. Here’s how close I got:
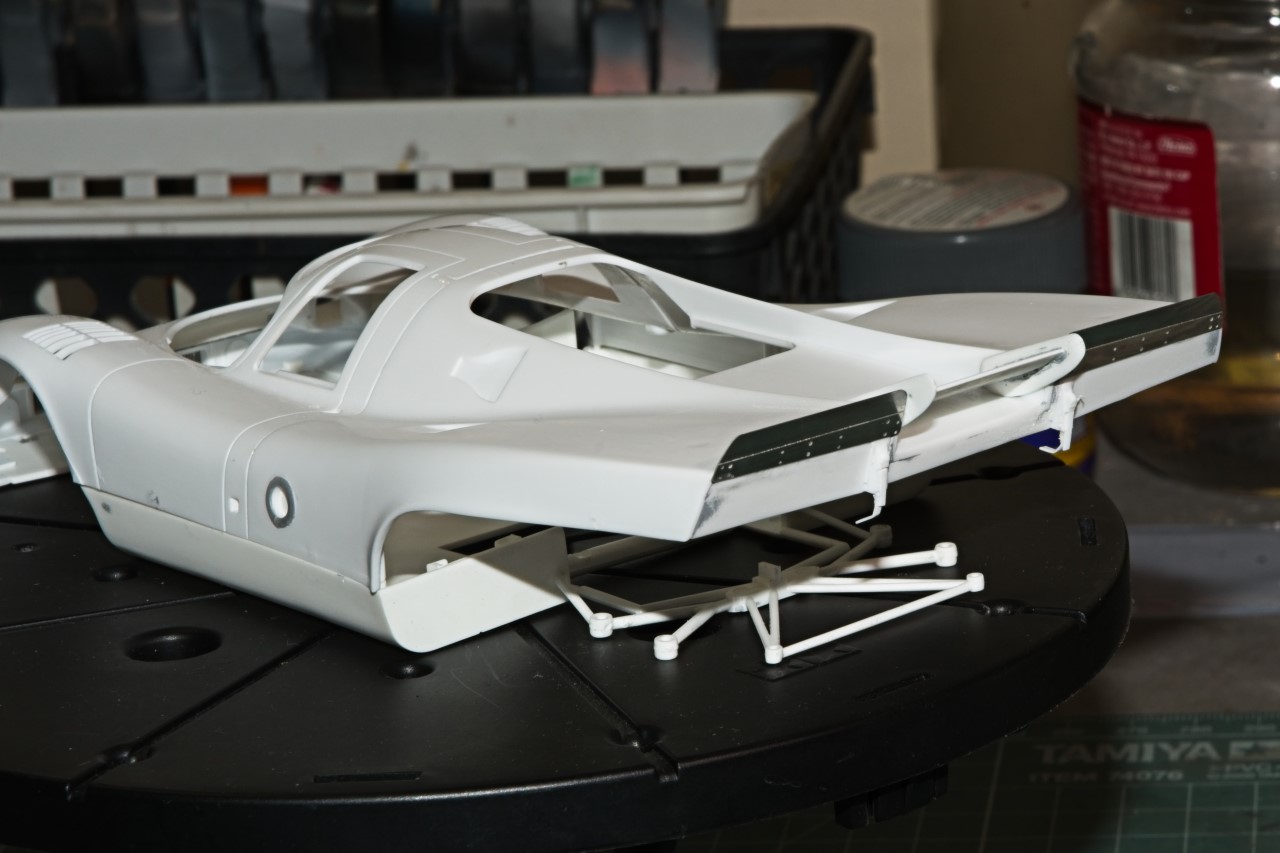
I did add the top plate for the side ID light made from plastic rod and sanded it almost to the thickness of paper.
The rear panel got two PE winglets coupled with the mini middle wing to add more down force and thus keep the rear end stable going down various high speed straights. I also added some detail to the latches that will hold the engine cover in place by attaching to the top of the rear tubular chassis.
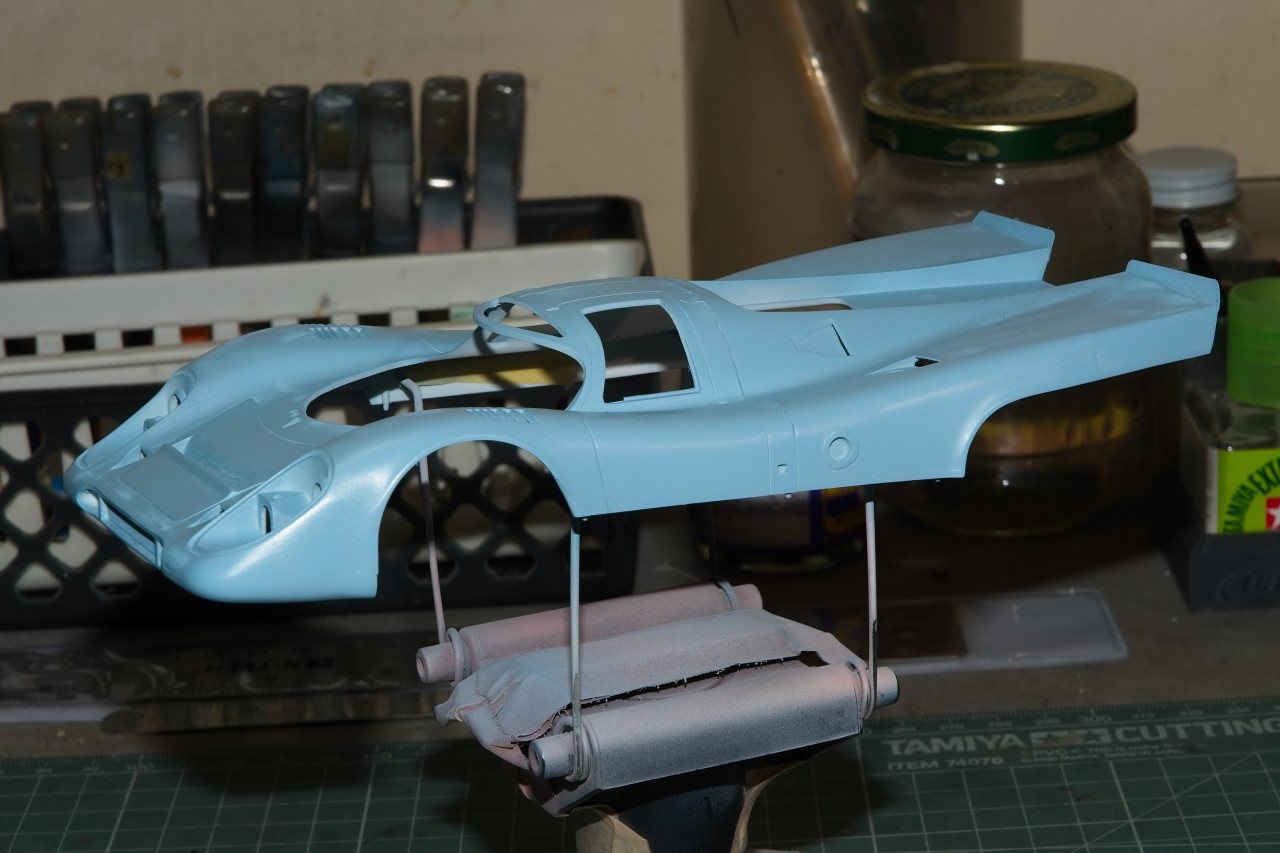
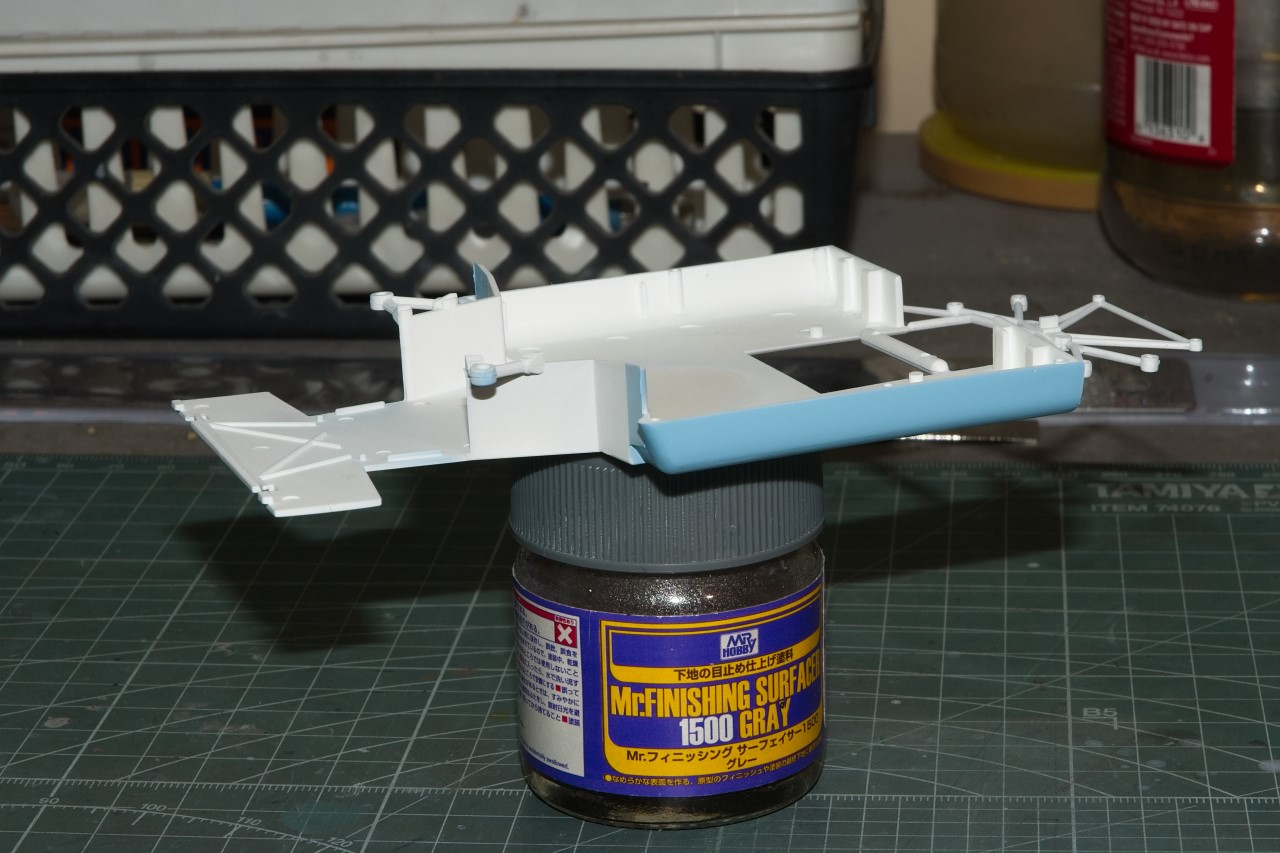
Priming was with my usual custom mix Tamiya Gray and White lacquer primer in equal parts, then thinned with an equal amount of Gunze Mr. Color Leveling Thinner.
After letting the primer dry for two days, I wet sanded it with a piece of Tamiya 3,000 sponge, letting the sponge do most of the work.
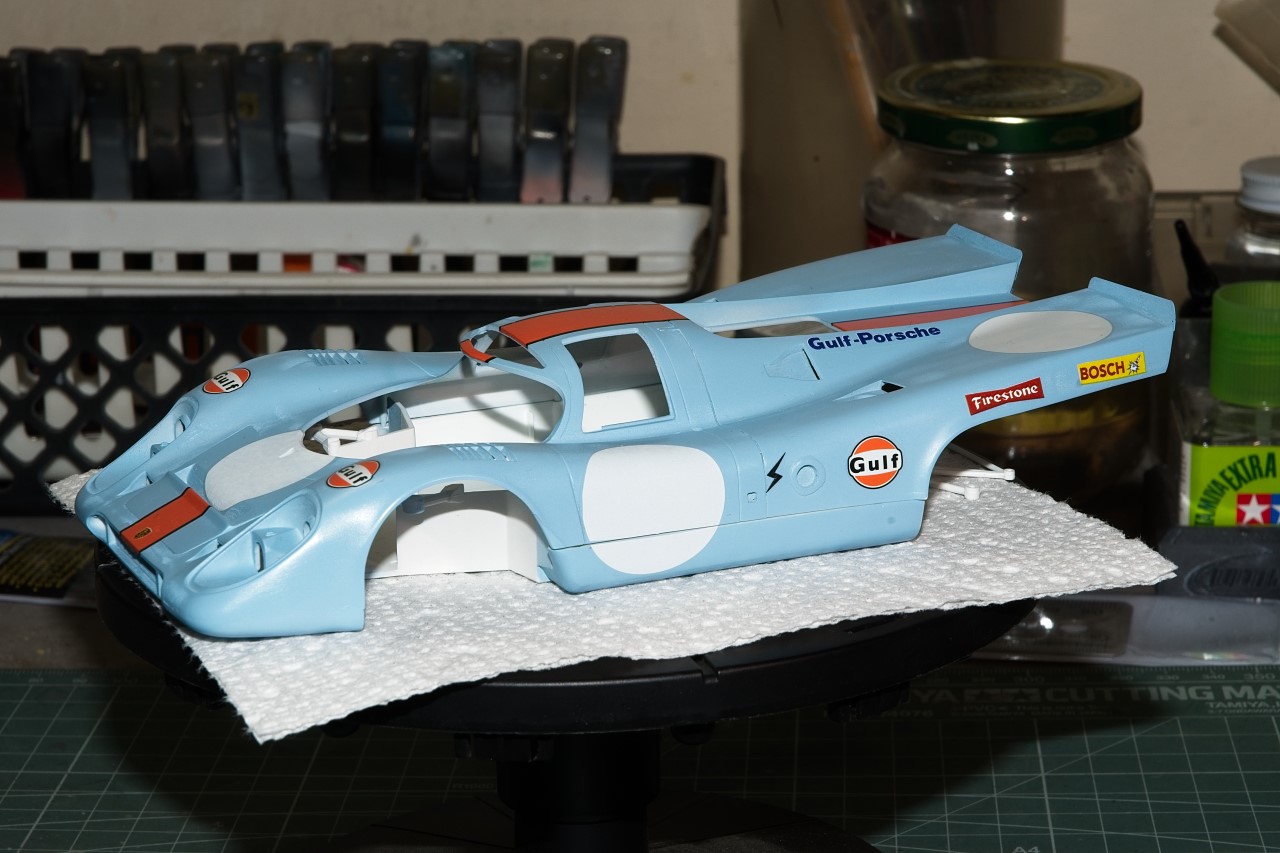
Now comes the base color coat. My go to manufacture is still Gravity of Spain. the paint is GC108 which they list as Gulf Wyer Blue, but in reality it’s not the correct name that everyone uses, it’s Ford 1966 Arcadian Blue from the Mustang color line that Henry Ford II insisted on. I believe that Wyer carried over that color from the Ford GT40s to all of his Gulf livery teams.
joel
4 Likes
Looking good Joel. Nice to see you pushing the Porsche to finish line LOL.
Nice to see some colour on. I guess everybody thought it was Gulf blue because Wyer used it. But good idea to save some money and go with Henry’s request. Did the orange come from Gulf?
cheers
Michael
Another gem in the making - I always enjoy following your paint/ decal process.
Looks good Joel. Silky smooth paint job.
Michael,
I’m 100% positive that I’ve spent more time researching the colors and the names of those colors and where they came from for the Gulf Wyer Livery cars then any other car, aircraft, and house paint known to man.
Honestly, I’m right, and I’m also wrong as the story of the Gulf Wyer colors is pretty complex.
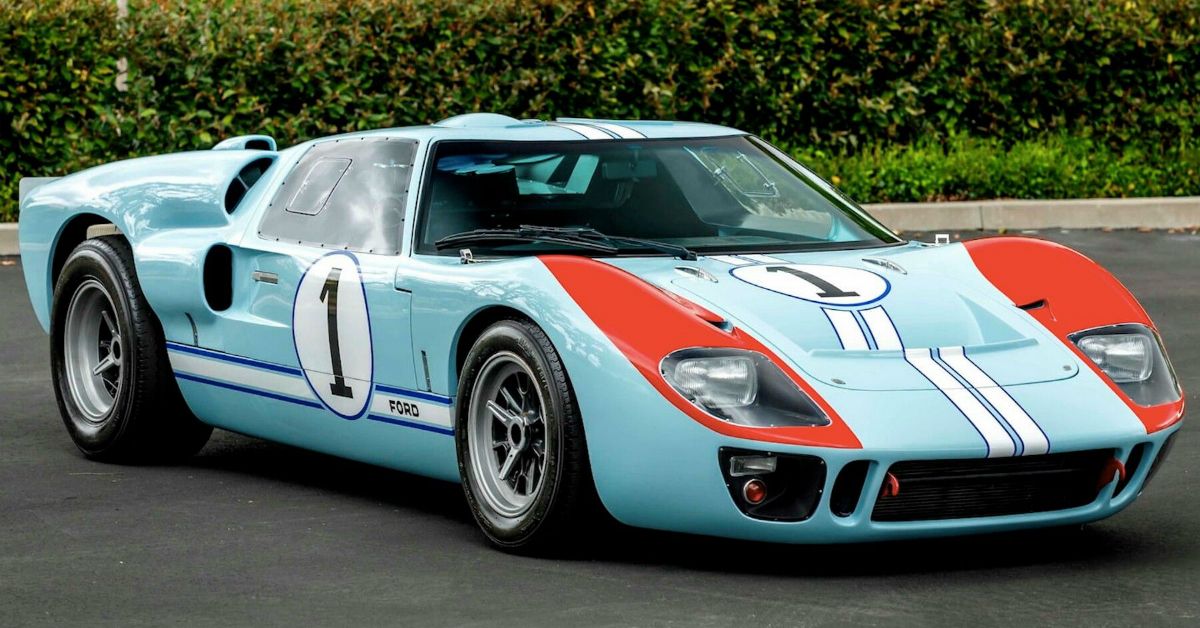
Henry Ford II wanted all of his GT40s to use Ford Mustang paint, and so be it. One of the cars was basically painted Arcadian Blue:
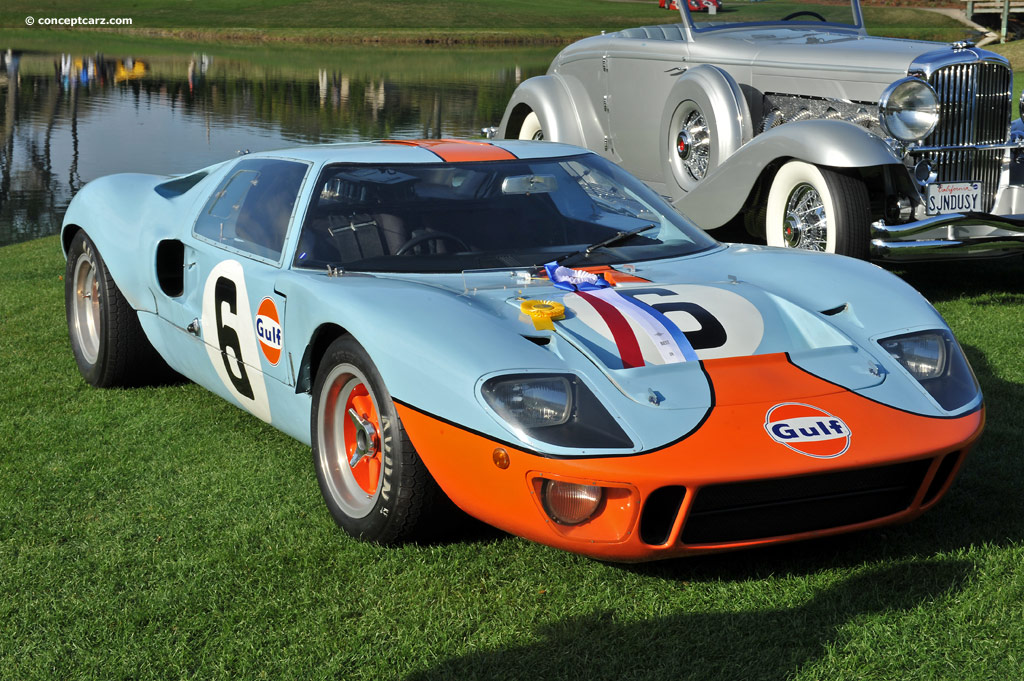
When Wyer took over the GT40 program from Ford, he was able to secure sponsorship with Gulf International Oil company, whose logos colors were Powder Blue and Marigold Orange. The Powder Blue and Arcadian Blue are almost Identical.
So the Color has remained all these years. The paint itself is manufactured by Pittsburg paint as: Gulf Powder Blue (P030-8013).
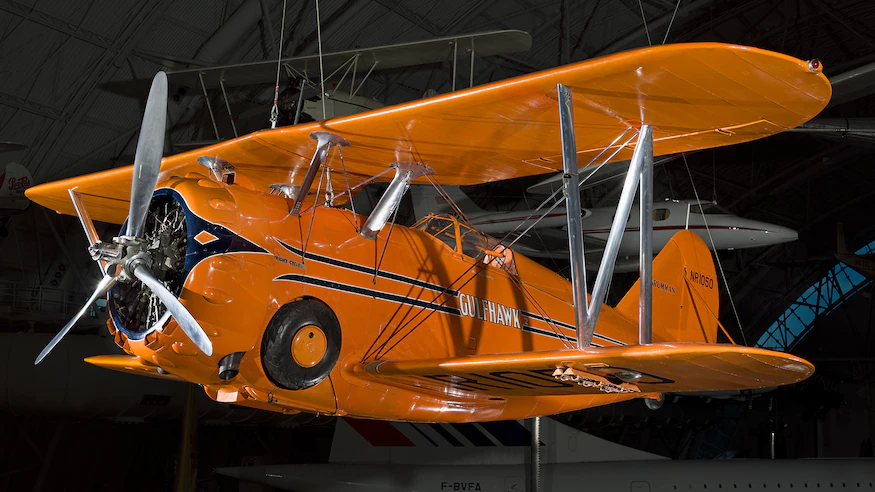
As for the Iconic Marigold Orange, well, that gets even more complicated. The color was 1st used on a Promotional tour Grumman Gulfstream II sponsored by Gulf, and they liked the color.
Pittsburg Paint then made the paint as: Marigold (P030-3393). Those two colors are still known as the Mirage colors.
The 1971 Steve McQueen Movie: LeMans actually made the car and livery iconic, not that actual 2 years that the car was used by Wyer in competition.
Joel
4 Likes
Richard & Jesper,
Glad that both of you stopped by to checkout my progress to date.
As you have just read, Michael’s paint question actually got me off my butt and finally came up with the paint color history that’s more complex then my taxes.
joel
Richard,
Thanks so much for stopping by and your thumbs up for progress to date. It’s a slow push to the line for sure, but eventually I’ll get there.
joel
Thanks for the history on the paint explanation for the Gulf cars!
cheers
Michael
I appreciate, you’ve taken the time to dig into the history, of the colors. Very interesting.
Guys,
Honestly, I did it more for myself then you guys. Too bad that some of the pictures I used, the colors are somewhat wrong, as restorations do vary from car to car.
Joel
Next up on the 917K is masking and painting the Marigold Orange using Gravity paints and Tamiya White primer for a base. Not looking for a pure White base, just a basic primer coat and then let the paint do the rest.
I’m figuring 1 or 2 hours for the lite primer coat to cure, then on with the color coats.
joel
1 Like
Well, the painting of the Marigold Orange didn’t take place because yours truly knocked over the bottle of Gravity paint because once again I wasn’t paying any attention to the task at hand. Now I was ALMOST positive that I had a 2nd bottle as I’ve bought 3 bottles of the Gulf Wyer Blue for 3 builds and a spare Orange bottle, but I just couldn’t find it in my Gravity/Scale Finishes storage box. So it’s move on to plan B.
Plan B is simply to cobble up the old Fujimi decal sheet from build #1 that I did paint the Orange stripe on. Fortunately, I still have those decals, but they’re for the Spa winning car that has no top side window, and the full Orange nose. So I just cut up the front cockpit piece and then cut out a stripe for the nose section. Once the decal was applied and dried, I cut out two pieces of black stripes and laid them along the edges of the decal.
The number circles were another adventure as the Indy Cal sheet I had for the Spa car had the number 24 printed in each of the 4 number circles. So I had to dig through my spare decals and come up with a combination of Fujimi, Indy Cal, and some other decal company white number circles, then cut one to properly fit the front deck. Last job was to measure and cut the side decals so that part of the number circle was on the lower chassis section.
The rest of the decals are a combination of Indy Cal and Fujimi decals. The decaling went flawlessly without a single issue as I now let the 4 solution process do nearly all of the work. Heat is supplied from a Tensor light that just helps the decals soften up a touch. All I really do is once each solution is about halfway dried is to gently roll out the decal to remove excess solution and settle down an little wrinkle which was few and far between.
Notice that this attempt I’ve gotten the top and bottom body sections to fit almost perfectly flush, no 1/4 inch warp gap that drove me nuts in the 1st build attempt.
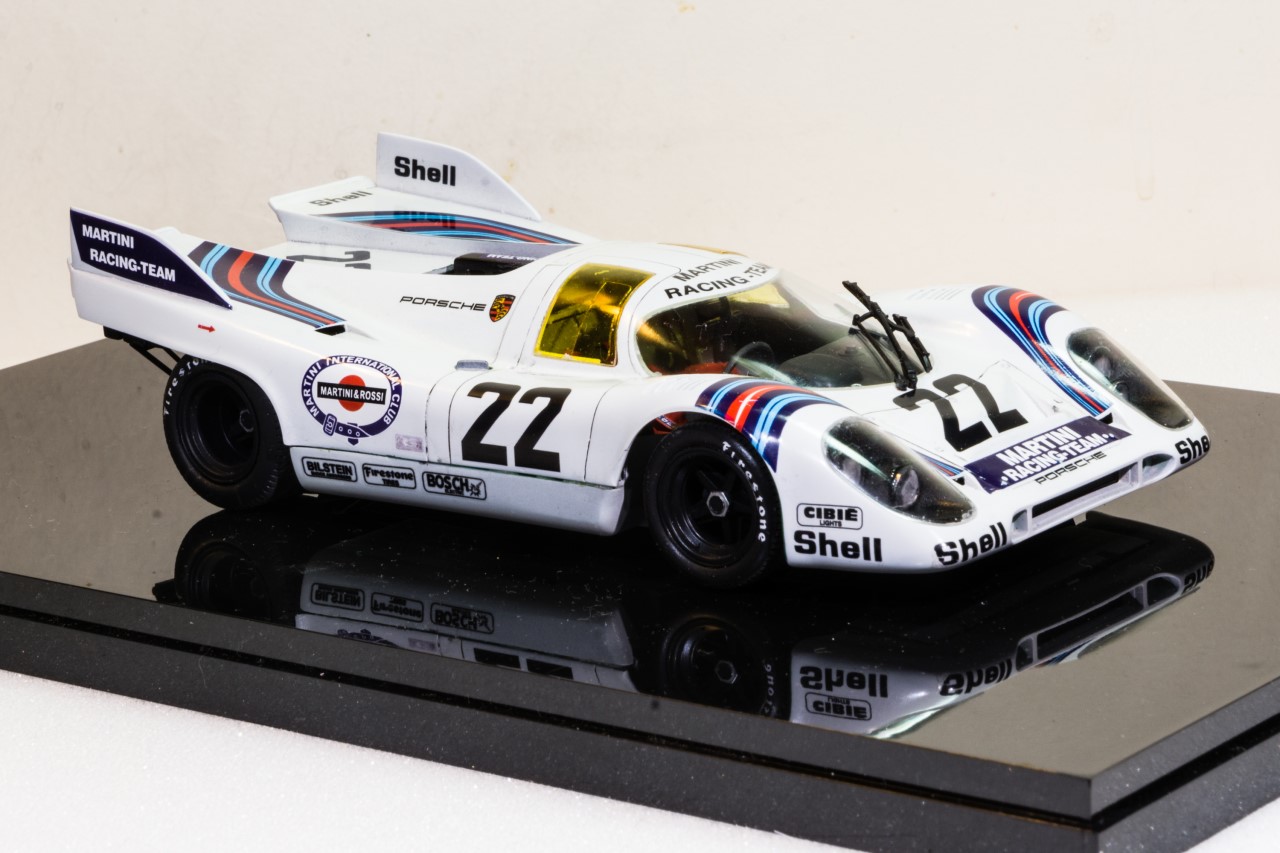
The only issue I have is that I’m waiting for Indy Cal to send me a sheet for the Martini
#22 car as that’s what it took to get the 4 number
#2s I need. I’ve used this sheet before.
joel
7 Likes
Sounds like a great recovery from unfortunate mishap with paint. I have knocked a few things but fortunately never paint.
The car looks amazing, as does the fit so I am looking forward to the gloss coat that will seal it all in.
cheers
Michael
1 Like
Michael,
Yep, I really got lucky with keeping the old decal sheet with the stripes. With my usual luck I’d have to buy that sheet as well from Indy Cals.
BTW, I did find that other full bottle of Gravity Magnolia Orange. The top label had parted ways with the cap and I never bothered to look at what was actually in the bottle. Must have thought that it was another bottle of XXX white as I just keep on buying different ones from Gravity. Guess I just can’t help myself.
All things being equal, the decals from Indy Cal should be here by mid week. Then I just need to find a day that we’re not running to doctors, tests, and labs to apply them. Hopefully by the weekend the Glossing will start.
joel
This is moving along beautifully Joel (aside from the paint shenanigans), really nice work on the body and decals to this point.
Cheers, D
D,
Always appreciate it when you stop by and check out my current build. And thanks for the thumbs up on the progress to date on ver. #2.
I’m really glad that I decided on a complete new kit then trying to work around the issues I faced with the 1st build. So far the results have exceeded my expectations.
joel